Make masterful monos in Affinity Photo
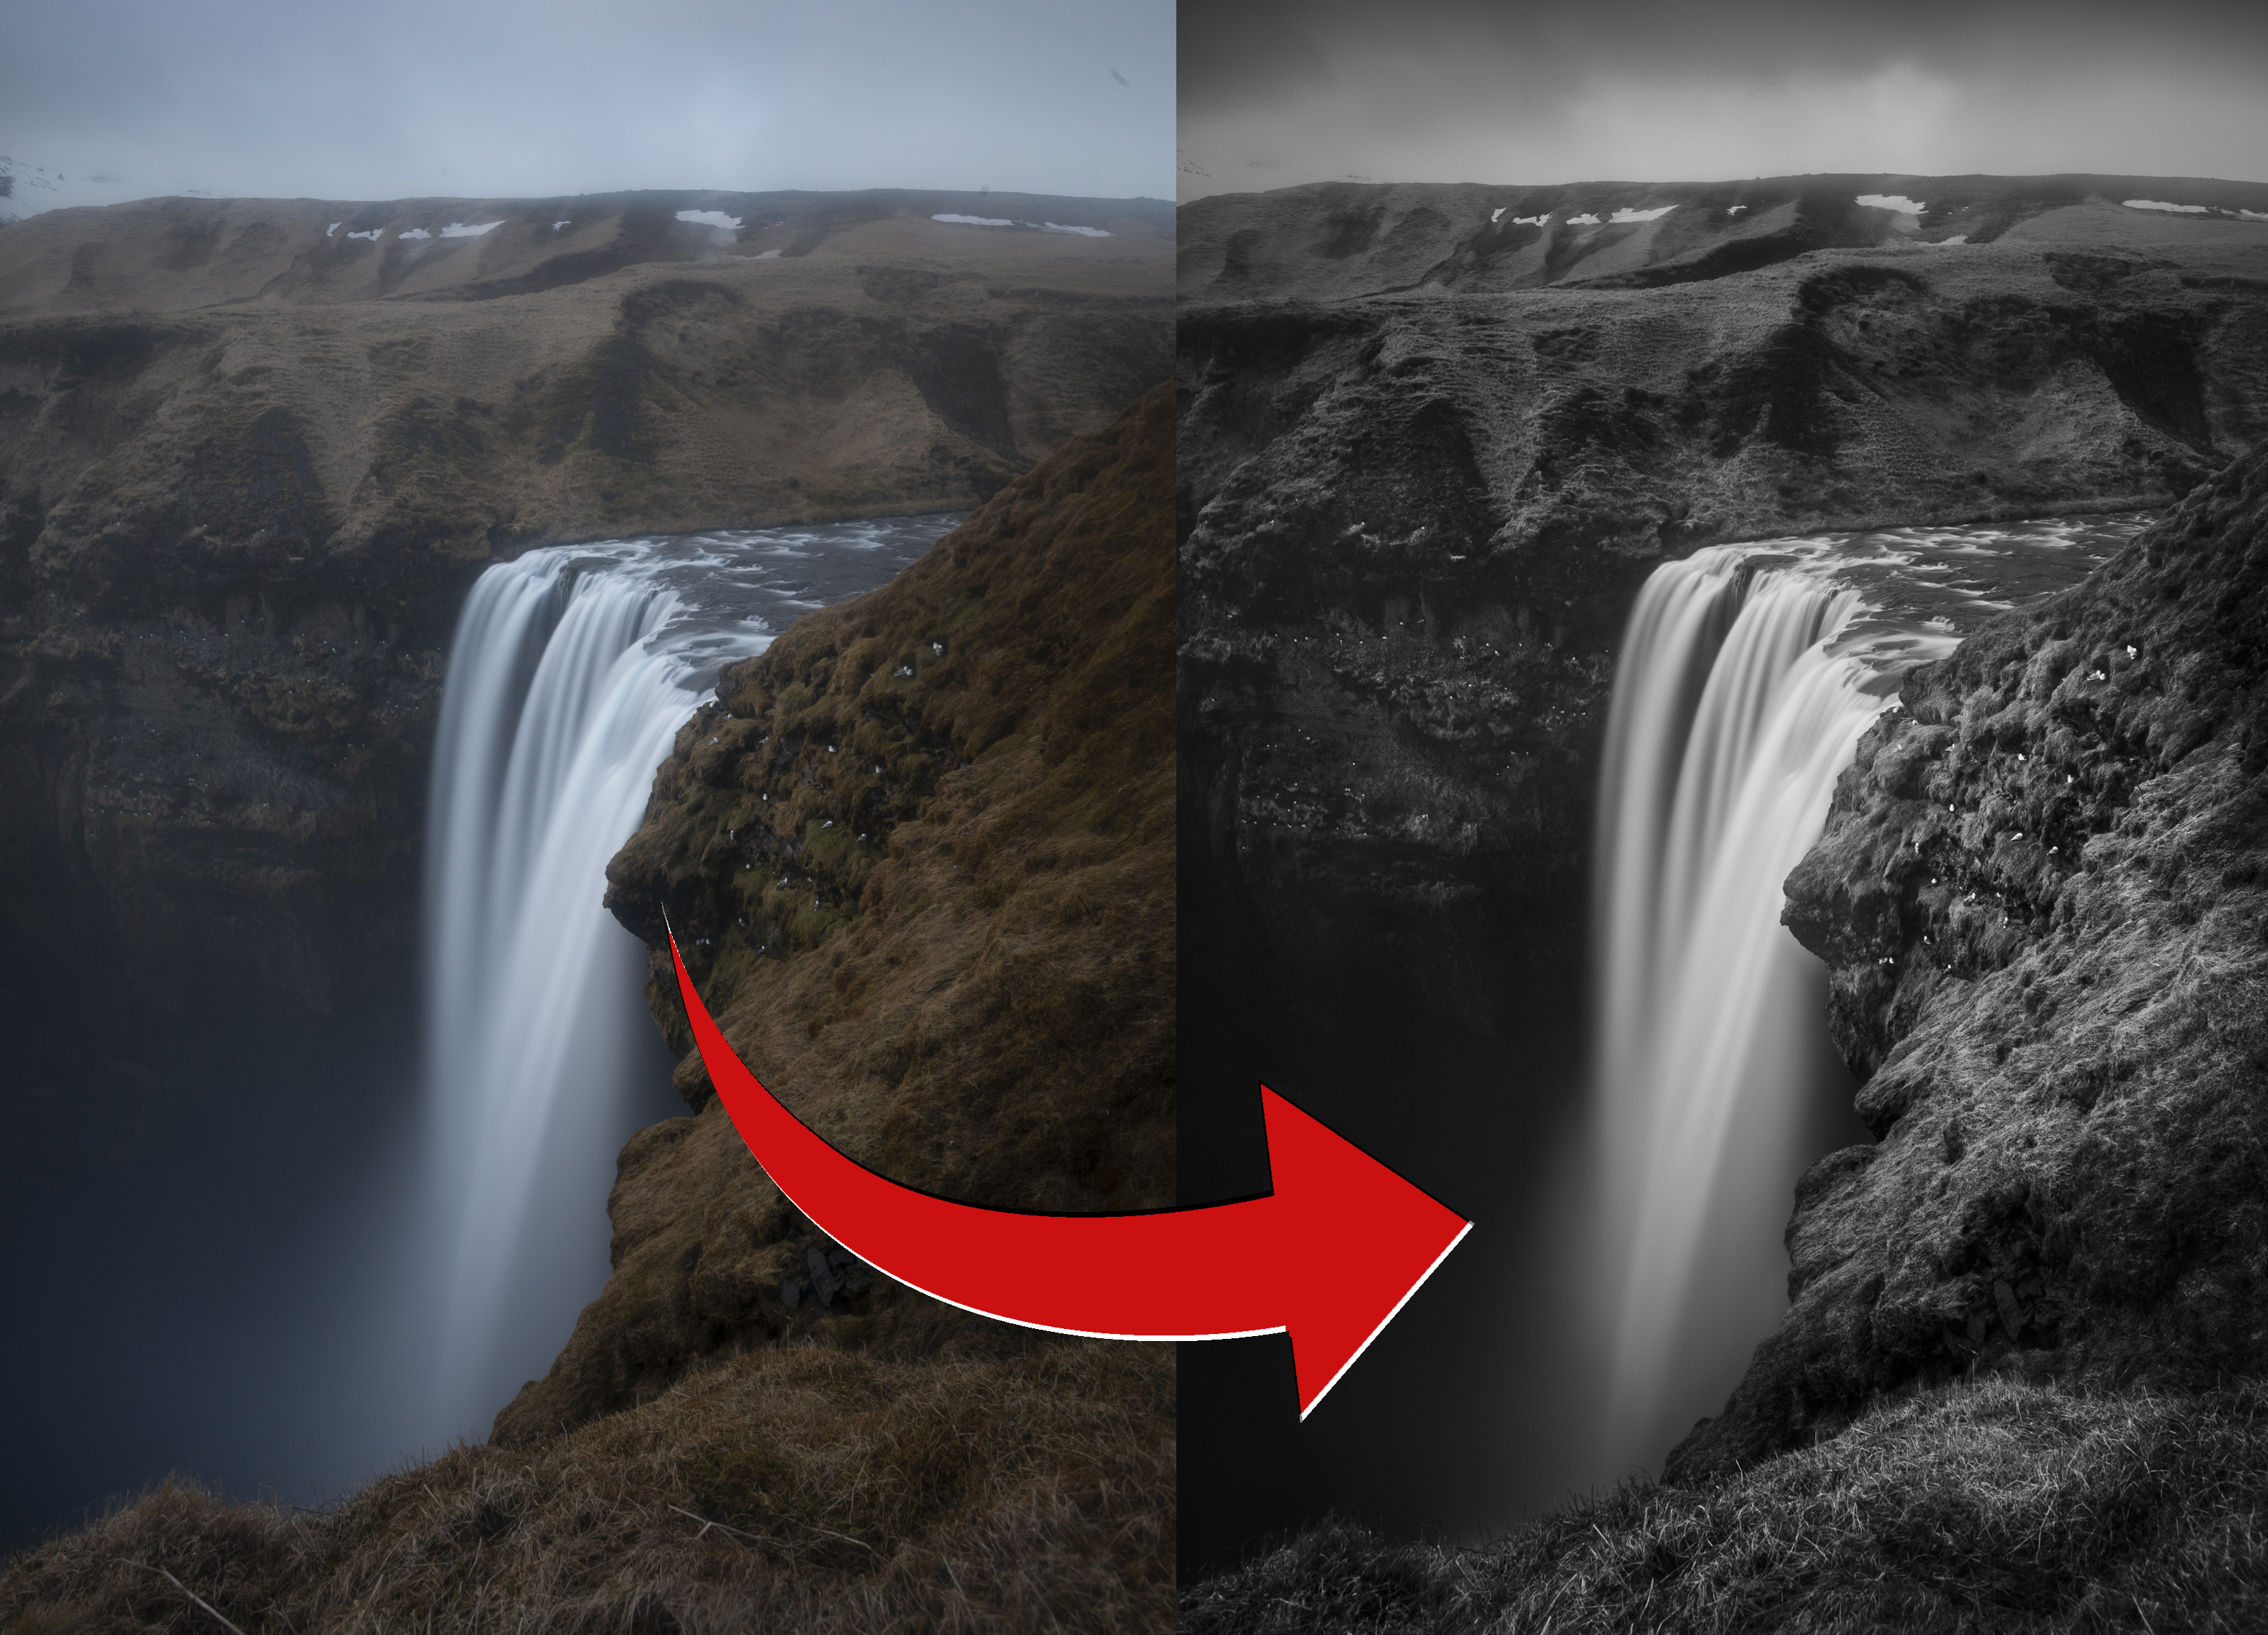
Affinity Photo’s Develop Persona offers a great deal of control over black-and-white conversions. It’s geared towards raw photos, and appears automatically whenever you open a raw file in Affinity Photo.
Any edit you make here can be altered at any point, and is only committed once you click the Develop button in the top left. This means you can make a series of adjustments to enhance different areas of the black-and-white image, then balance them to work in harmony with one another.
It might seem obvious, but it’s worth remembering that when colour is removed, an image is reduced to shades of grey. Objects that may have contrasted with one another in colour might become indistinguishable in monochrome. As such, much of the work with black-and-white editing is in manipulating contrast.
Black-and-whites can typically withstand stronger local adjustments than colour images, so you have more scope for lightening or darkening areas or boosting contrast. In Affinity Photo, we can do this with Overlays – we can use these tools to convert our raw photos to masterful monochrome with ease…
Go mono with Affinity Photo
Convert to mono
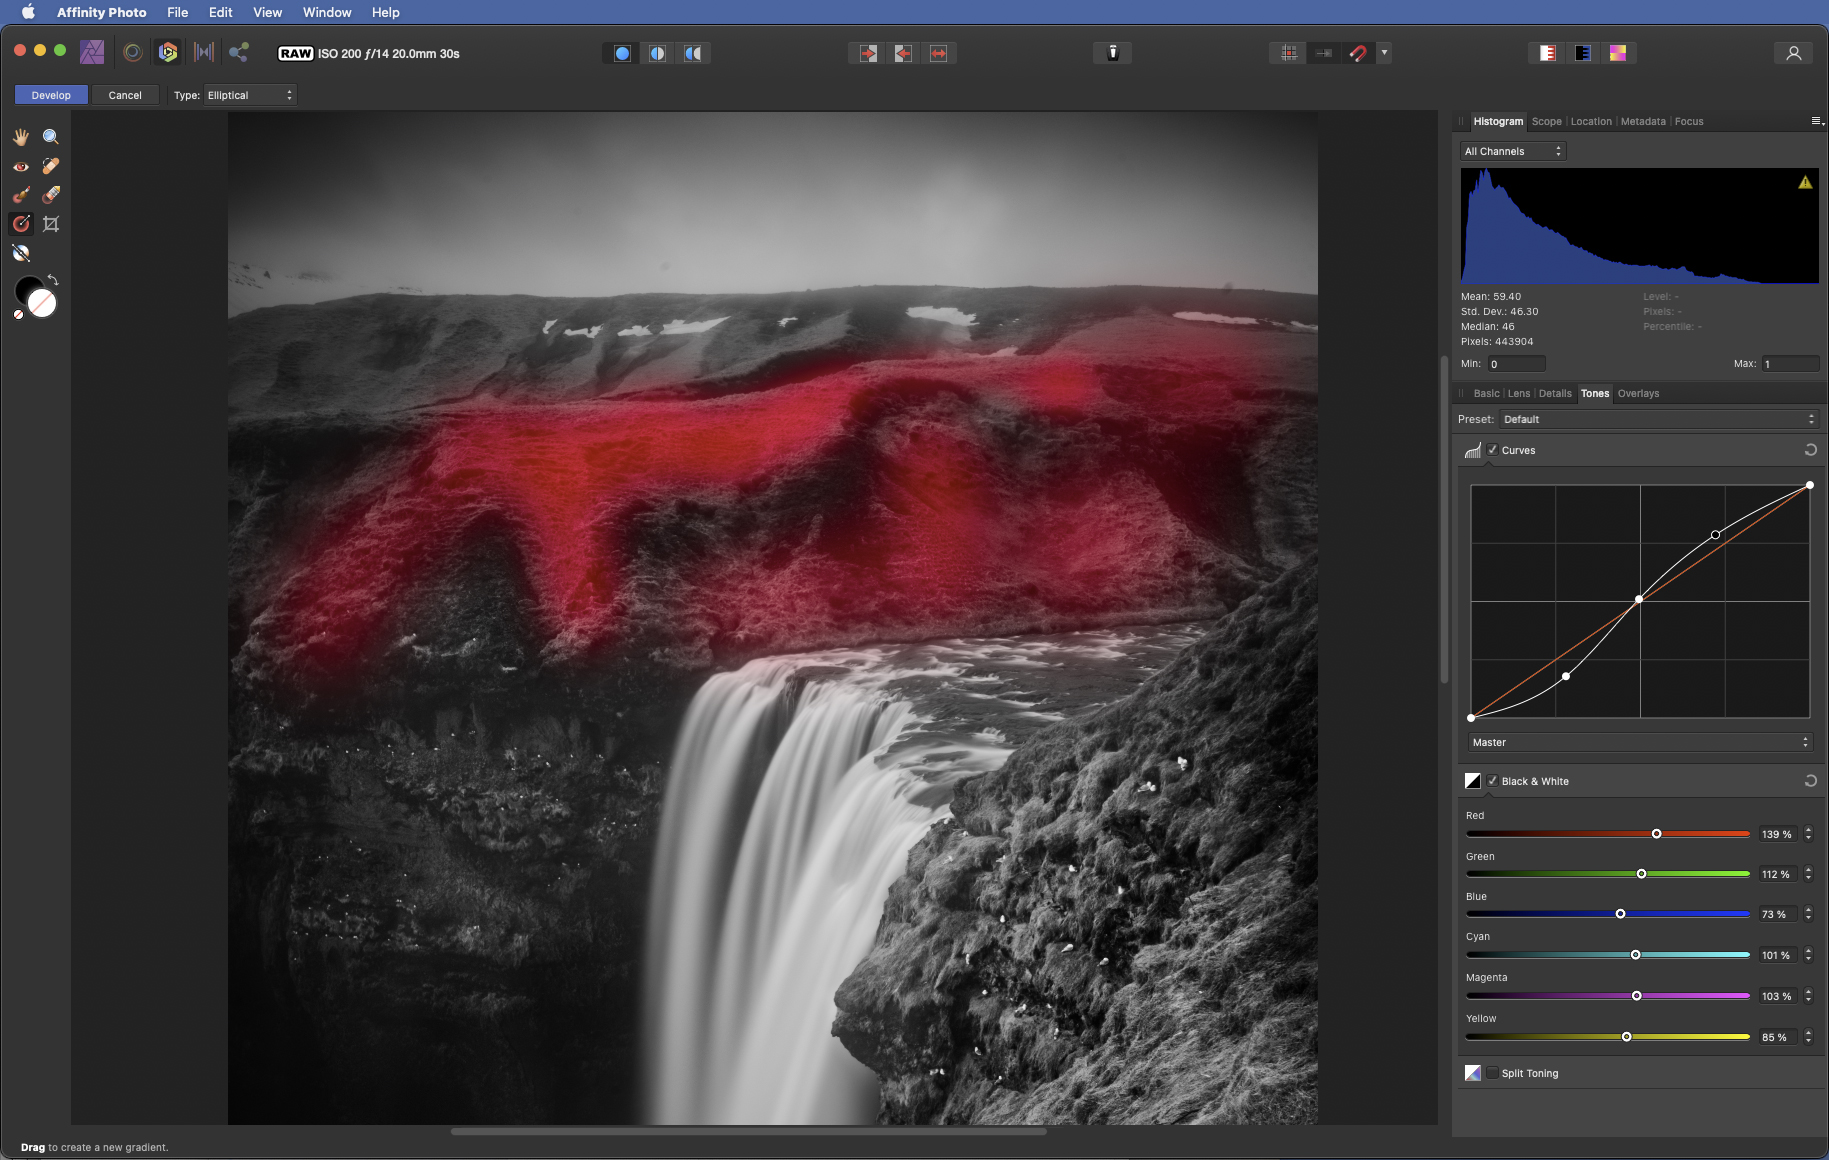
The Black & White controls are in the Tones Panel. Converting to mono is as simple as ticking the Black & White box; you then have control over the brightness of six colour ranges within the image. You can fine‑tune the look by, for example, darkening blues to make a sky more dramatic or lifting yellows and greens to boost foliage. Here we’ve lifted the reds to brighten the rust-coloured grass.
Control contrast with Curves
The best way to add punch to mono images is with Curves. The diagonal line represents the tonal range, with the shadows on the left and highlights on the right. Wherever the line is pushed above the original diagonal, that part of the tonal range will go brighter. Pull the line below, and it’ll go darker. An S-curve enables you to enhance the contrast by boosting highlights and deepen shadows.
Master Overlays
We can make local adjustments to enhance areas of an image using Overlays. To make an Overlay, either grab the Overlay Gradient Tool or the Overlay Paint Tool from the toolbar, or go to the Overlays Panel and use the icons at the bottom. Here you can adjust the overall strength of the effect with the Opacity control. Once done, switch back to Master to make more universal edits.
Darken skies
The Overlay Gradient Tool lets you drag a linear gradient to create a transitional blend. It’s ideal for darkening skies to balance them out with the land below. Here we’ve dragged down from sky to land. Adjust the tonal settings in the Basic Panel to affect the area. To tweak the area covered, highlight it in the Overlays Panel and grab the Overlay Gradient Tool to change it.
Paint to boost
The Overlay Paint Tool is ideal for dodging and burning areas of black-and-white photos. Start painting to add a red overlay to the image. While painting, use the ] and [ keys to resize the brush, or use the Hardness slider at the top. The Edge Aware box is helpful for painting precisely around objects like rocks. You can erase mistakes with the Overlay Erase Tool. Once the area is defined, go to the Basic Panel to enhance it.
Add a vignette
A vignette can be very effective in black-and-white photos: by darkening the corners, we can draw the eye towards the centre. First we need to darken the entire image, so drop Exposure. Grab the Overlay Gradient Tool and set Type to Elliptical. This gives you two handles to control the area covered by the gradient. Once done, use the Basic Panel to lift the central area.
Use white balance with B&W
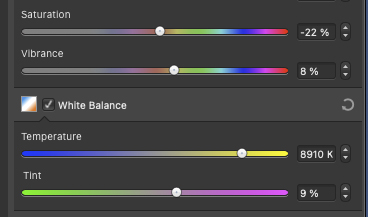
Key to black-and-white raw editing is understanding how colour information is used during the conversion. Not only can we make use of colour to control the brightness of areas in the image (see tip 1), we can also use other colour tools to fine-tune the look of our black-and-white photo.
An obvious example is the White Balance sliders. After converting to mono, try adjusting the Temperature and Tint sliders to see how they affect the look of the conversion. The Saturation and Vibrance sliders also offer an extra degree of control.
Make the move into magical monochrome
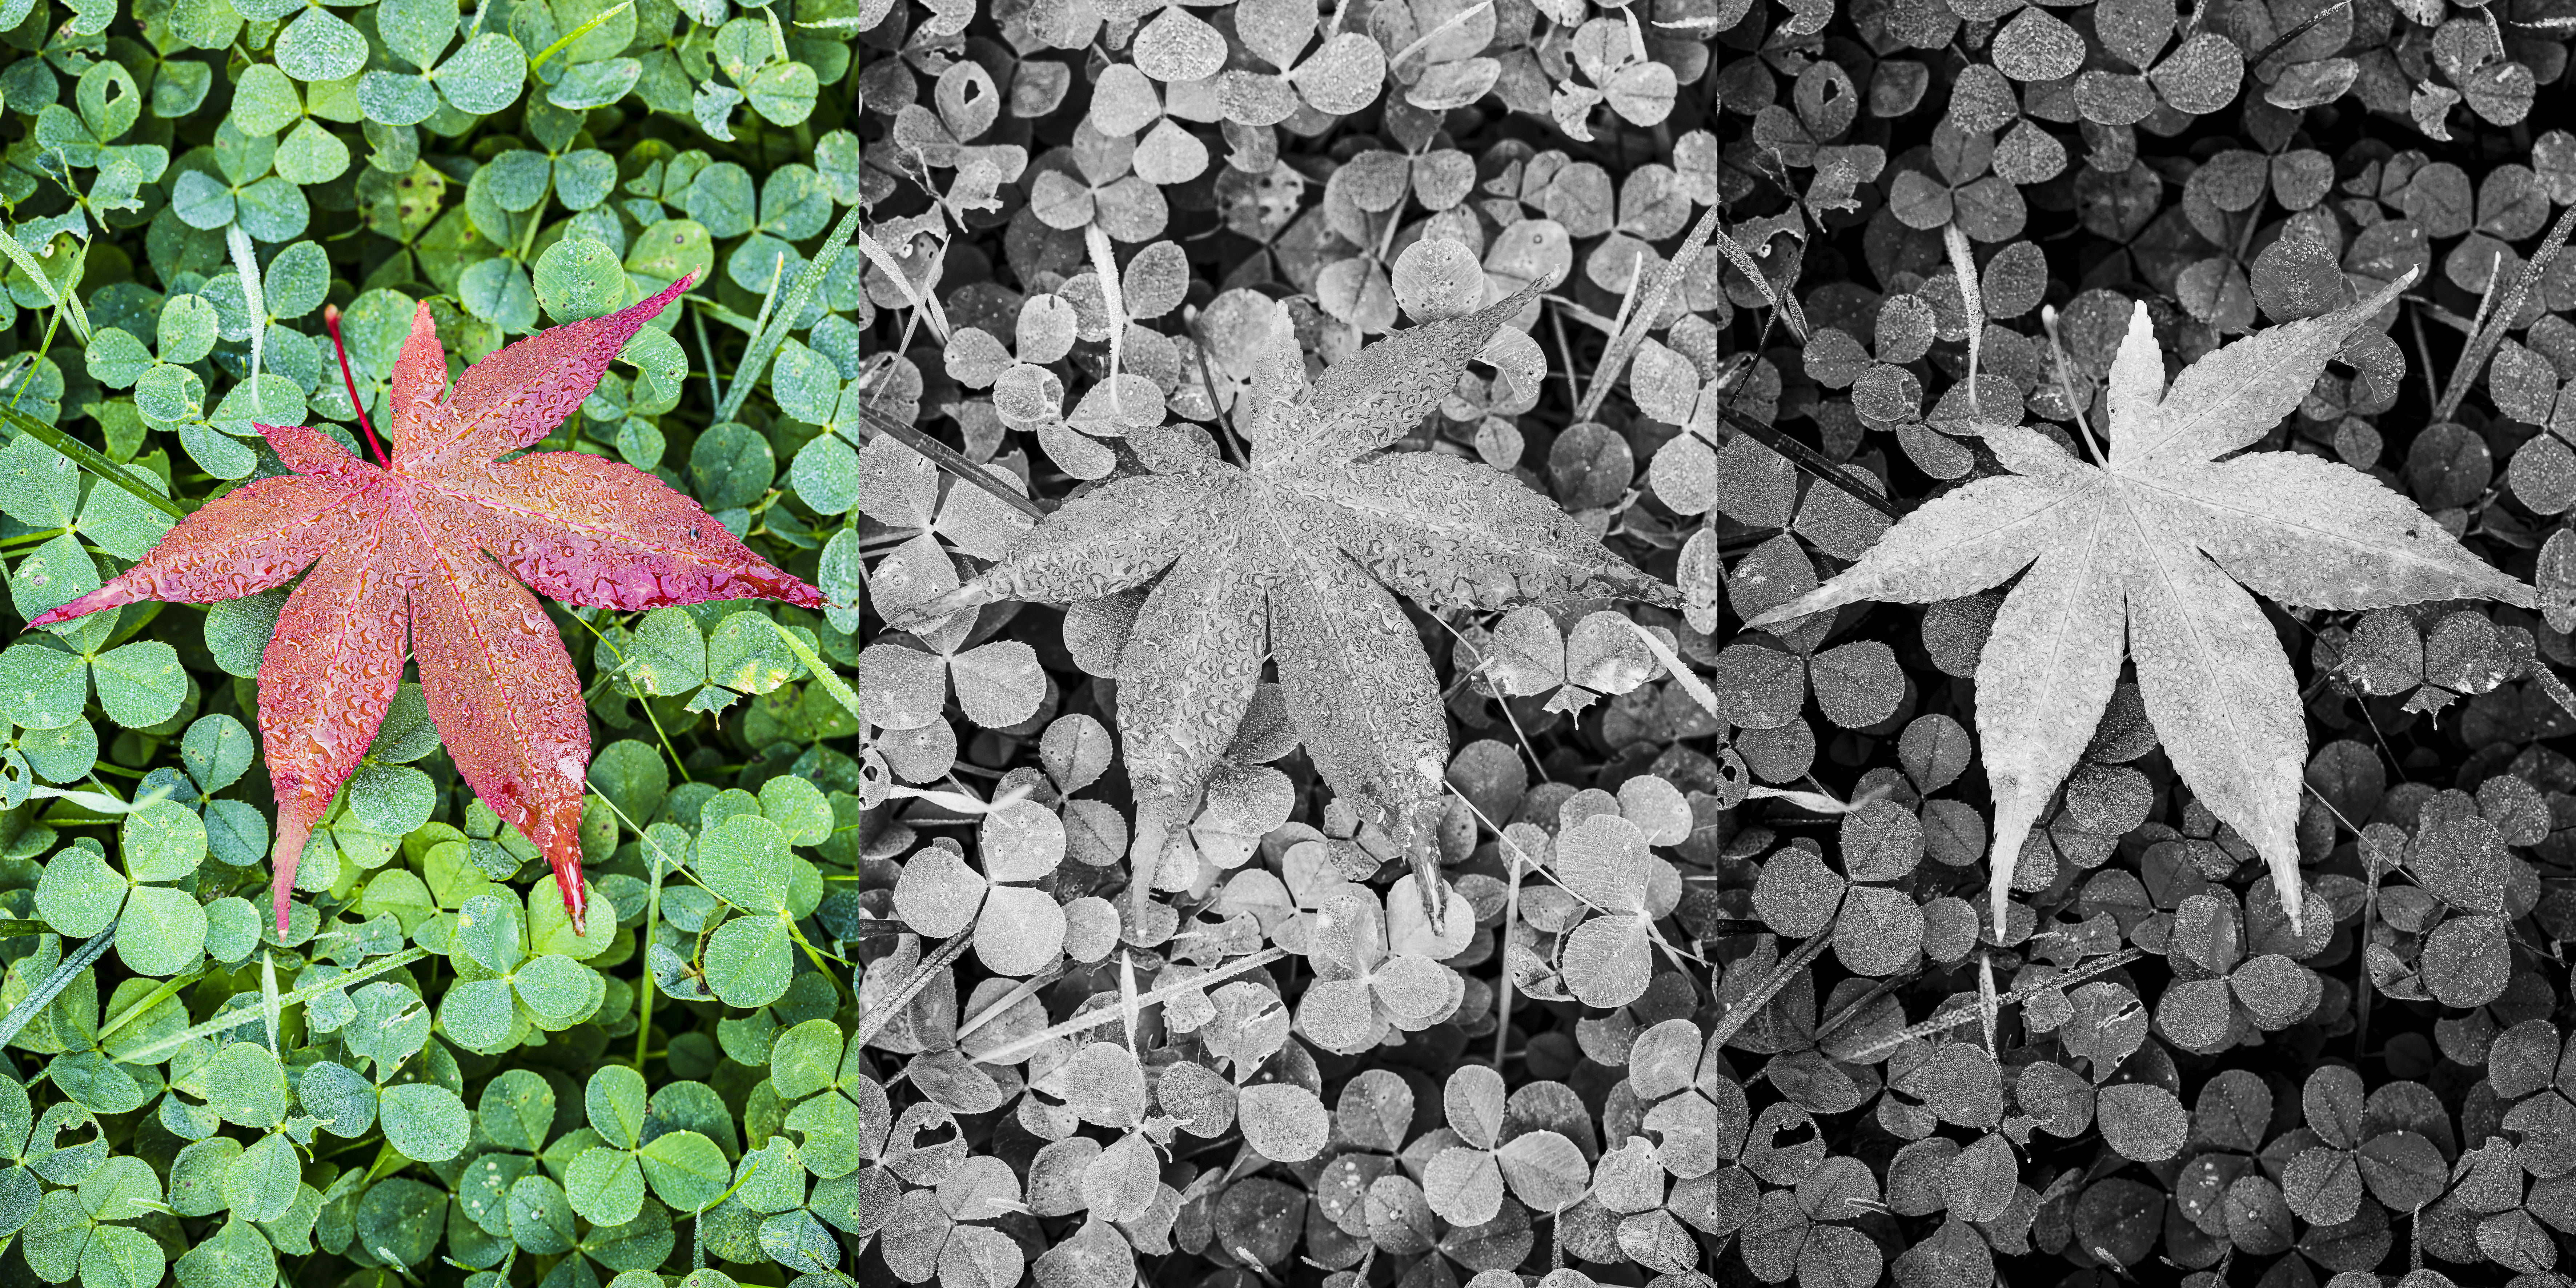
More than a nostalgia trip to the early days of photography, black-and-white images can be truly compelling – and it’s easier than ever to shoot and edit them.
Creating a monochrome photo is a deliberate process; an intentional move that shows you mean business. You can use mono to bring a timeless, evocative quality to landscapes; add grittiness to candid street portraits; or give a still-life a vintage look with a sepia or selenium toning effect.
Monochrome is anything but grey and boring, and incredibly versatile. Doing it digitally means that it’s easy to recreate a range of classic looks or just experiment, then revert back to a colour image and start over.
There are two main ways to convert your colour photos to mono: in-camera or in software. If your camera has a set of basic shooting modes, it’s likely to have a black-and-white option that takes care of pretty much everything for you. Step up to the more creative shooting modes, such as Manual and Aperture Priority, however, and you’ll have more control over the look of your images.
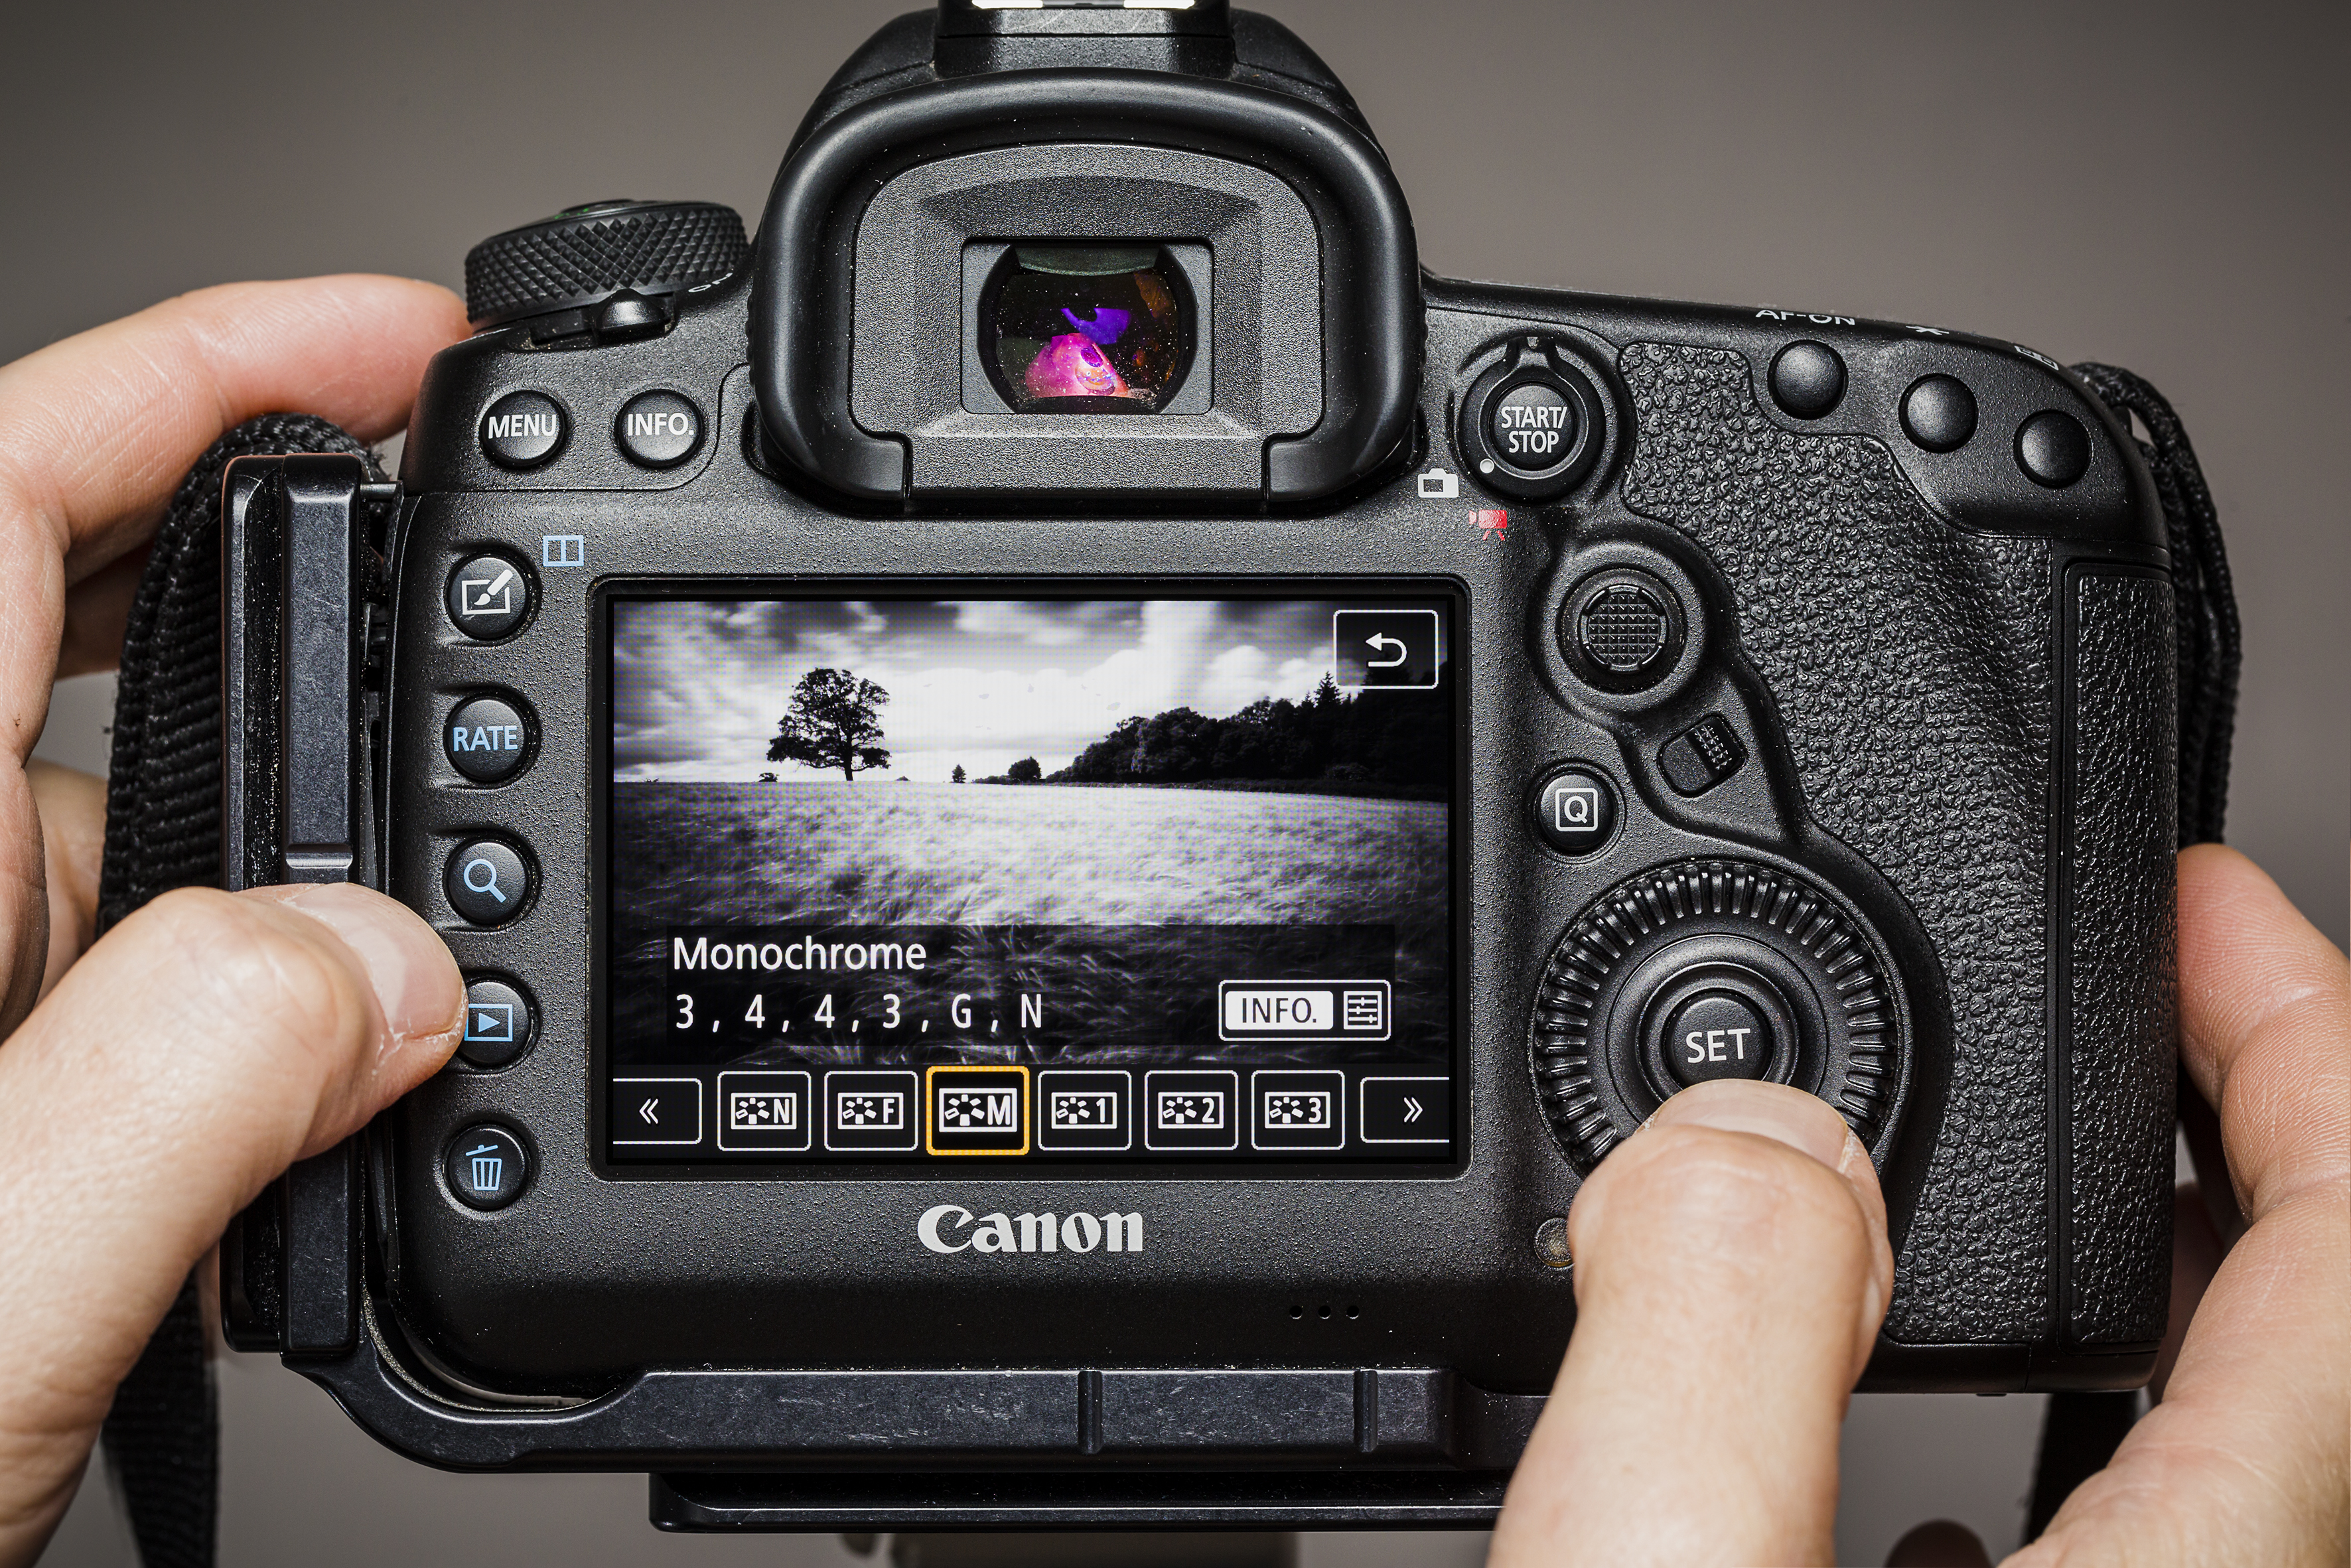
Do it in-camera
You can select a picture style when you use these advanced modes, which is where you’ll find the monochrome option. You can adjust parameters, such as increasing or decreasing the contrast and sharpness, and use black-and-white filter effects to make certain colours brighter or darker in the final image. You may also be able to apply colour-toning effects, such as adding a sepia tone.
Some cameras have a film simulation option rather than a dedicated black-and-white mode. Fujifilm’s X and GFX cameras are known for their film simulation modes, including Monochrome and the grainier Acros – which are based on Fuji’s Neopan 100 Acros film. Each of these is available as a presets with a colour filter applied, too.
Doing it all in-camera saves time, and it’s a great way to get your head around black-and-white when you’re starting out; it’s easier to relate the peaks and troughs of a histogram to the grey tones of a monochrome image than it is with a colour photo. The only trouble is that if you save your images as JPEGs, there’s no going back on the decision. You can’t undo the black-and-white treatment and get back to the colour original.
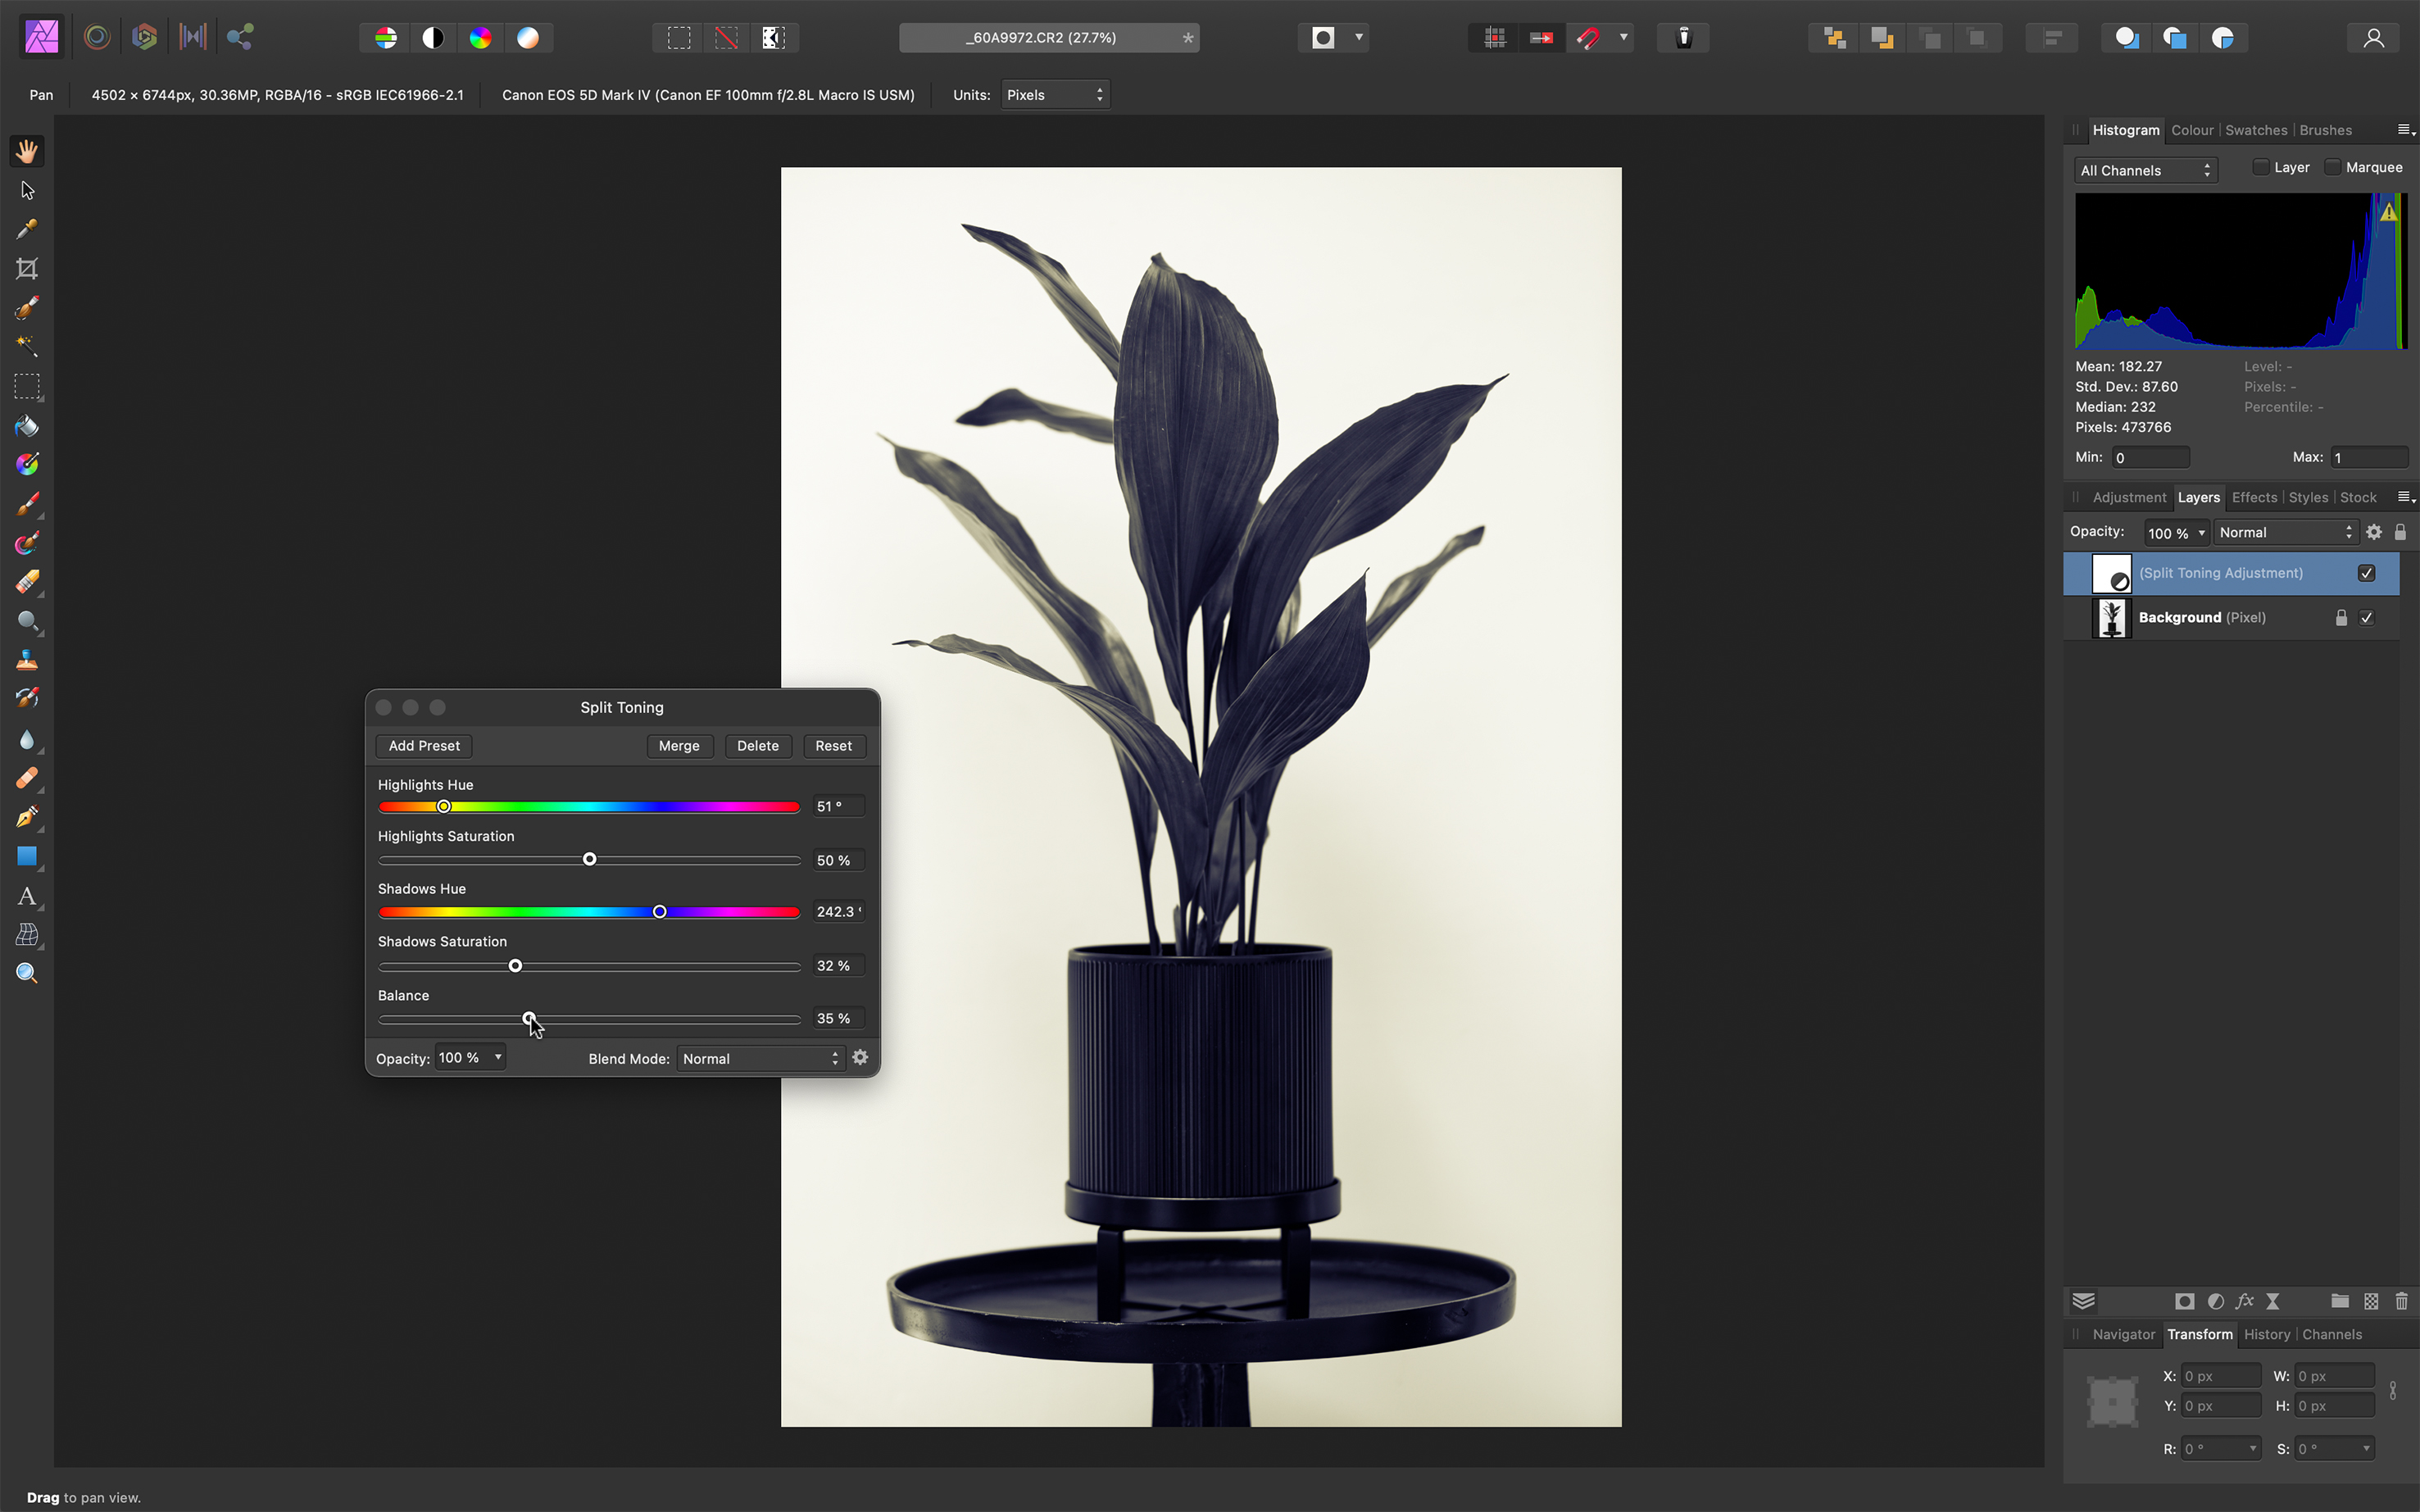
Do it in post
Another option, then, is to shoot in colour – you’ll then be able to convert the image to black and white later, using the more versatile tools on offer in your image editing software. Capturing in colour also buys you the peace of mind that you can always revert back to the original.
The ability to adjust the underlying mix of colours when during the conversion to black and white is a huge asset. You can use this technique to darken the blue sky and lighten green and yellow foliage in a landscape shot, for example, or subtly lift skin tones in a portrait by lightening the reds and oranges.
You can also use all the other processing tools to add or reduce contrast, add a splash of colour with split-toning, or selectively brighten and darken specific areas in a similar way to producing a black-and-white print in a darkroom. In fact, with a few quick adjustments, you can recreate the effects of using old film emulsions – from the grainy and high-contrast through to specialist films like infrared.
Once you hit on a look you love, you’ll be able to save it as a preset or LUT (Lookup Table) that you can use to apply that same treatment to other images.
5 Black-and-white photo tips
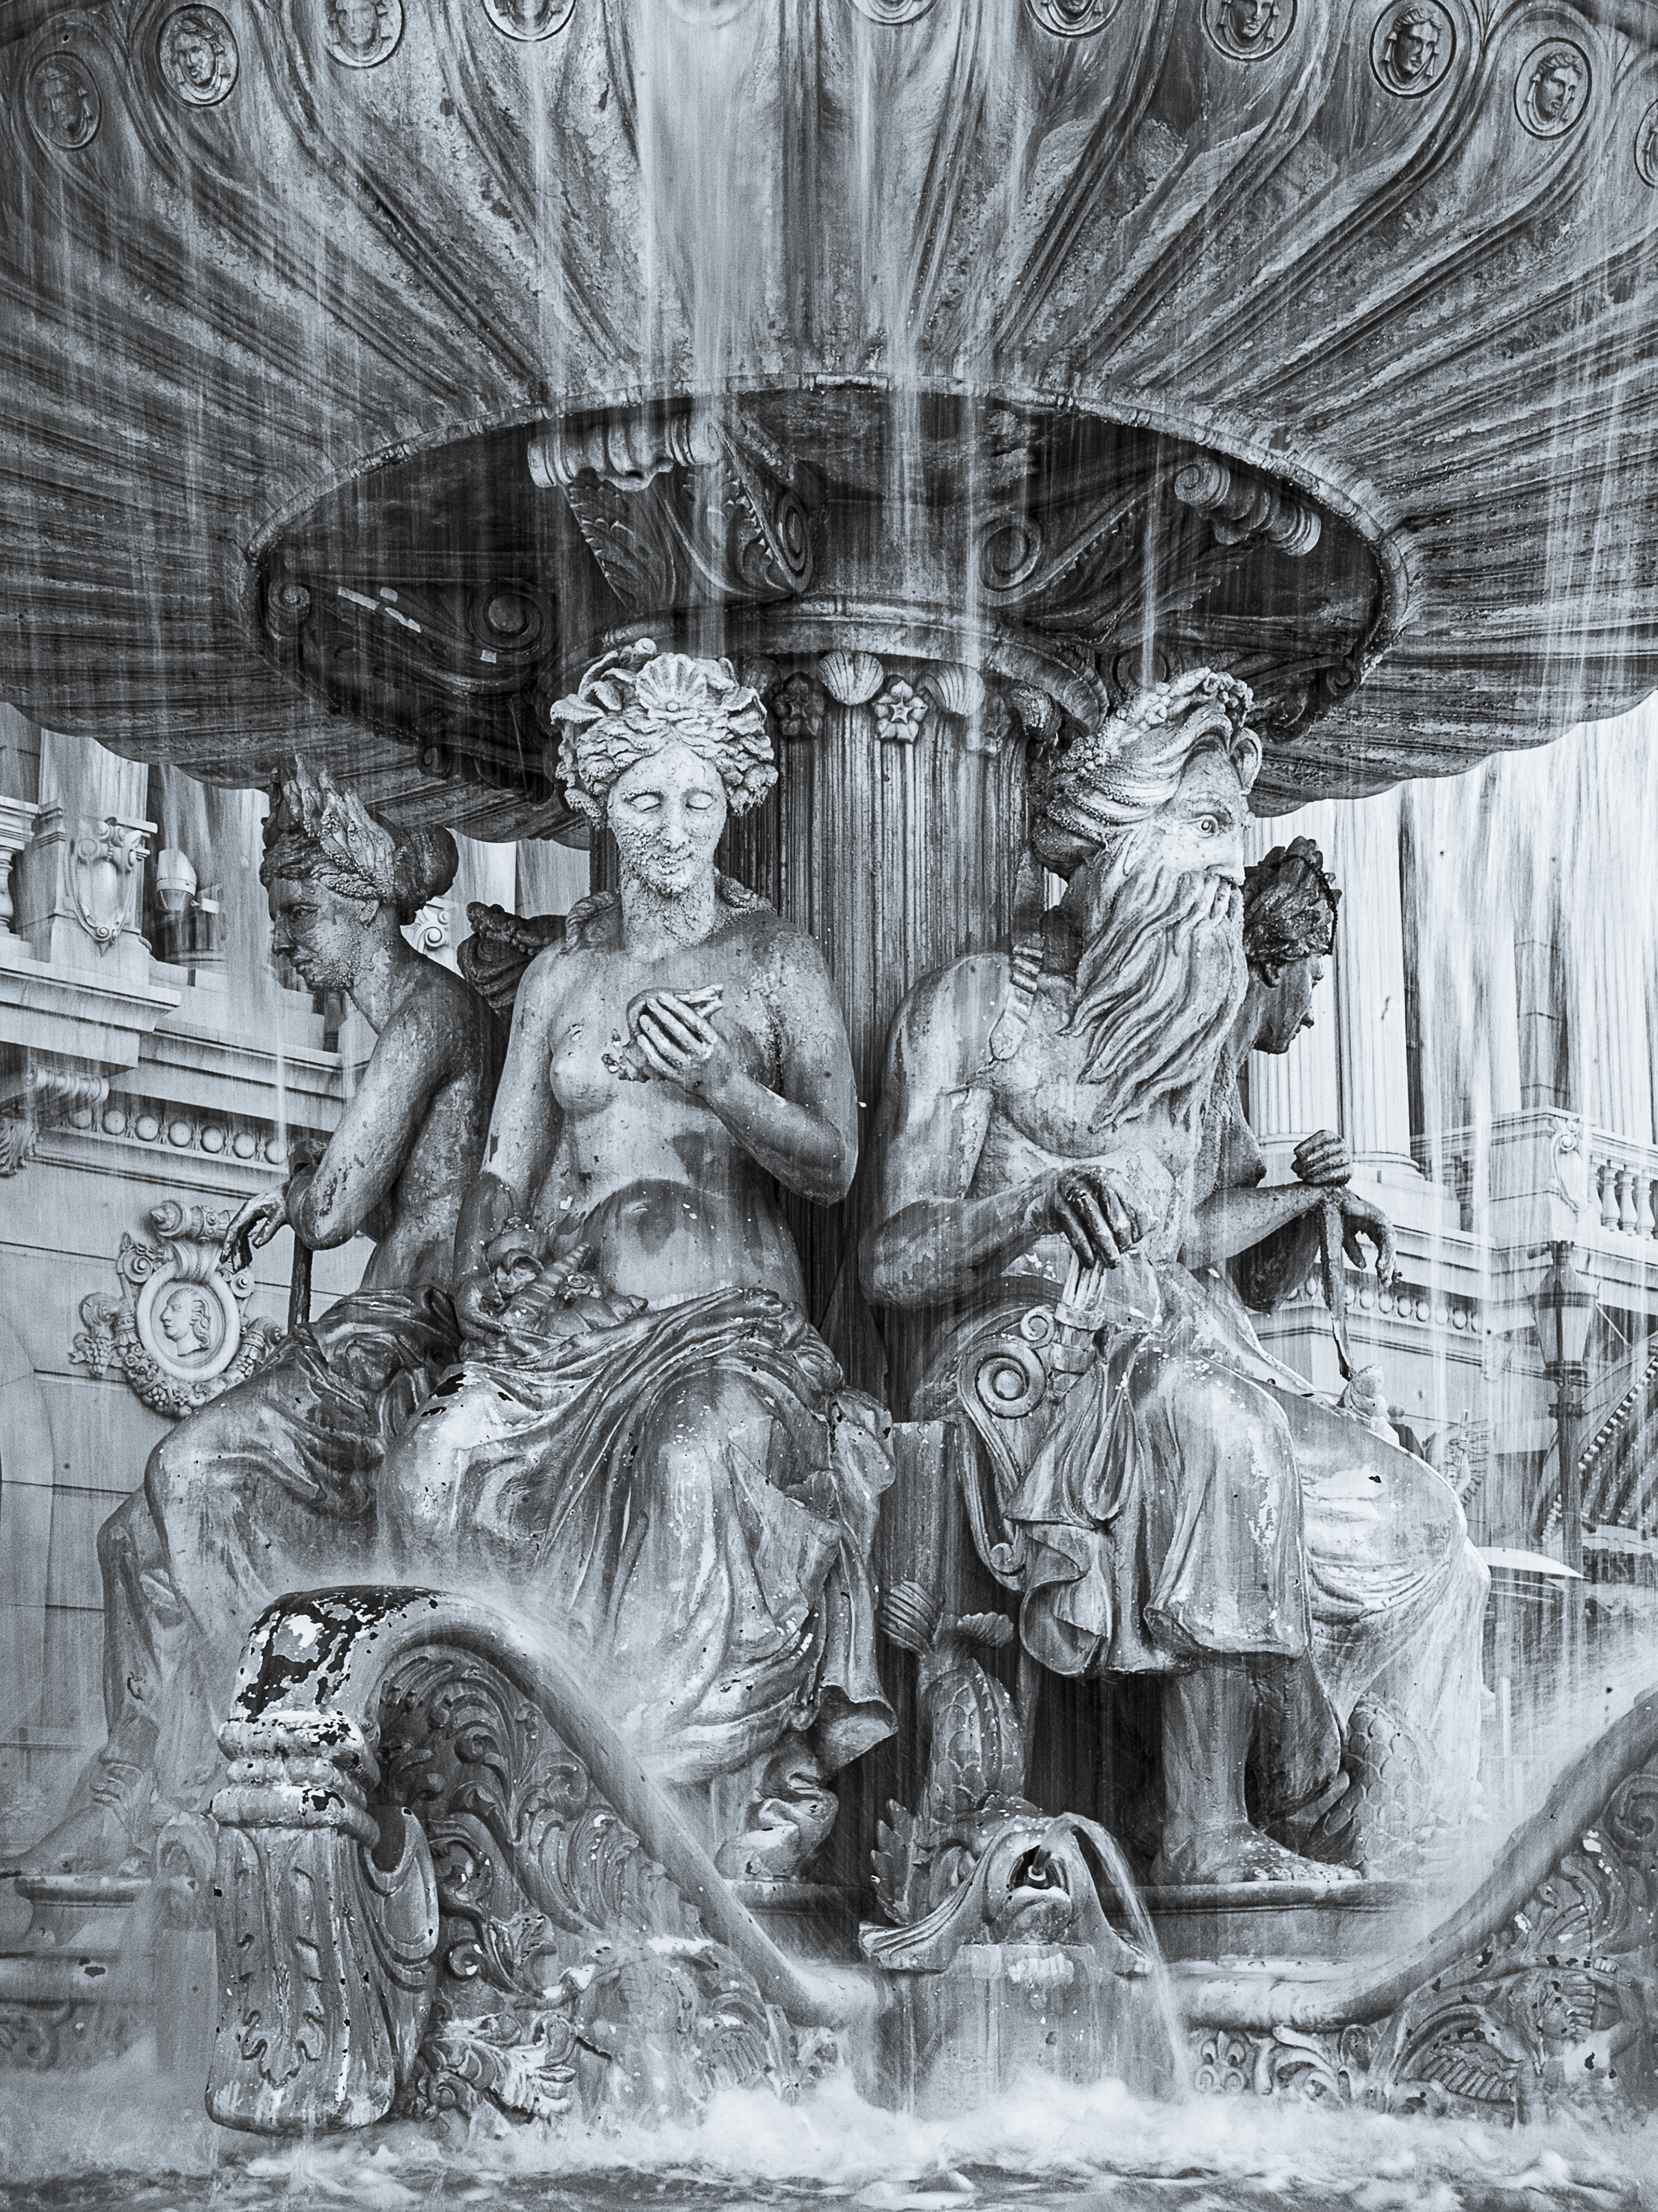
1) Shoot in RAW (or JPEG + RAW)
You can select the mono picture style on your camera to get a black-and-white preview image, but the raw file will be saved with all the colour information intact . This enables you to compose in mono, but convert the image using a RAW converter’s powerful controls.
2) Keep it simple
Without colour to carry an image, get back to basics with composition and focus on
line, shape, light and shadow. Shadows in particular can become quite structural. Try underexposing a shot so that they become ink-black, and use them to frame other elements that are highlighted in pools of light.
3) Don’t just desaturate
Use the colour sliders when you convert your images; you’ll be able to make some colours lighter and others darker on order to make your pictures more dynamic. These are global changes, so you may need to use a brush to lighten or darken specific areas.
4) Dodge and burn
You can selectively lighten (dodge) or darken (burn) parts of the image using the brushes in your image editor. This enables you to draw attention to specific areas. Try dodging the white of a person’s eye and burning the pupil – but bear in mind that a ‘less is more’ approach is usually best.
5) Experiment with toning effects
Add a colour wash to give your mono images a standout quality. You can do this in-camera with JPEG images, or use the split-toning feature available in editing software for raw and JPEGs.
Reader challenge: monochrome
This month, we want to see your best monochrome images for a chance to win a copy of Affinity Photo. They don’t have to be purely black-and-white – toned images are acceptable – but the underlying image should be mono in nature.
There’s a huge variety of subjects that have the potential to look fantastic when they’re captured in black and white: street, documentary, landscape, still-life and portrait photographs contain all the ingredients you need for classic images, but there’s a world out there just waiting to have the colour sucked out of it.
To enter your best monochrome image (one per reader, please), email your entry to digitalcamera@futurenet.com, putting ‘Mono Challenge’ in the subject line. Or go to our Facebook page at www.facebook.com/digitalcameraworld, look for the ‘Mono Challenge’ post, and upload your entry into the feed.
By entering your image into this competition, you confirm that you own the copyright to the image, and agree that Digital Camera can publish your image in relation to this competition. You retain full copyright of your image, and will be credited if it is published in the magazine.
The closing date is 14 October 2021. The winner will receive a copy of Affinity Photo for Windows or macOS. Good luck, and enjoy producing your mono magic!
Get the Digital Camera World Newsletter
The best camera deals, reviews, product advice, and unmissable photography news, direct to your inbox!
Digital Camera World is one of the leading authorities on camera and photography news, reviews, techniques, tutorials, comparisons, deals and industry analysis. The site doesn't just specialize in cameras, but all aspects of photography, videography and imaging – including camera phones, gimbals, lenses, lighting, editing software, filters, tripods, laptops, printers, photo books, desks, binoculars and more.
Whether you're using, looking to buy or trying to get the most out of a compact camera, action camera, camera drone, cinema camera, beginner camera or professional camera, Digital Camera World has a roster of experts with combined experience of over 100 years when it comes to cameras, photography and imaging.

