Master LUTs in Affinity Photo
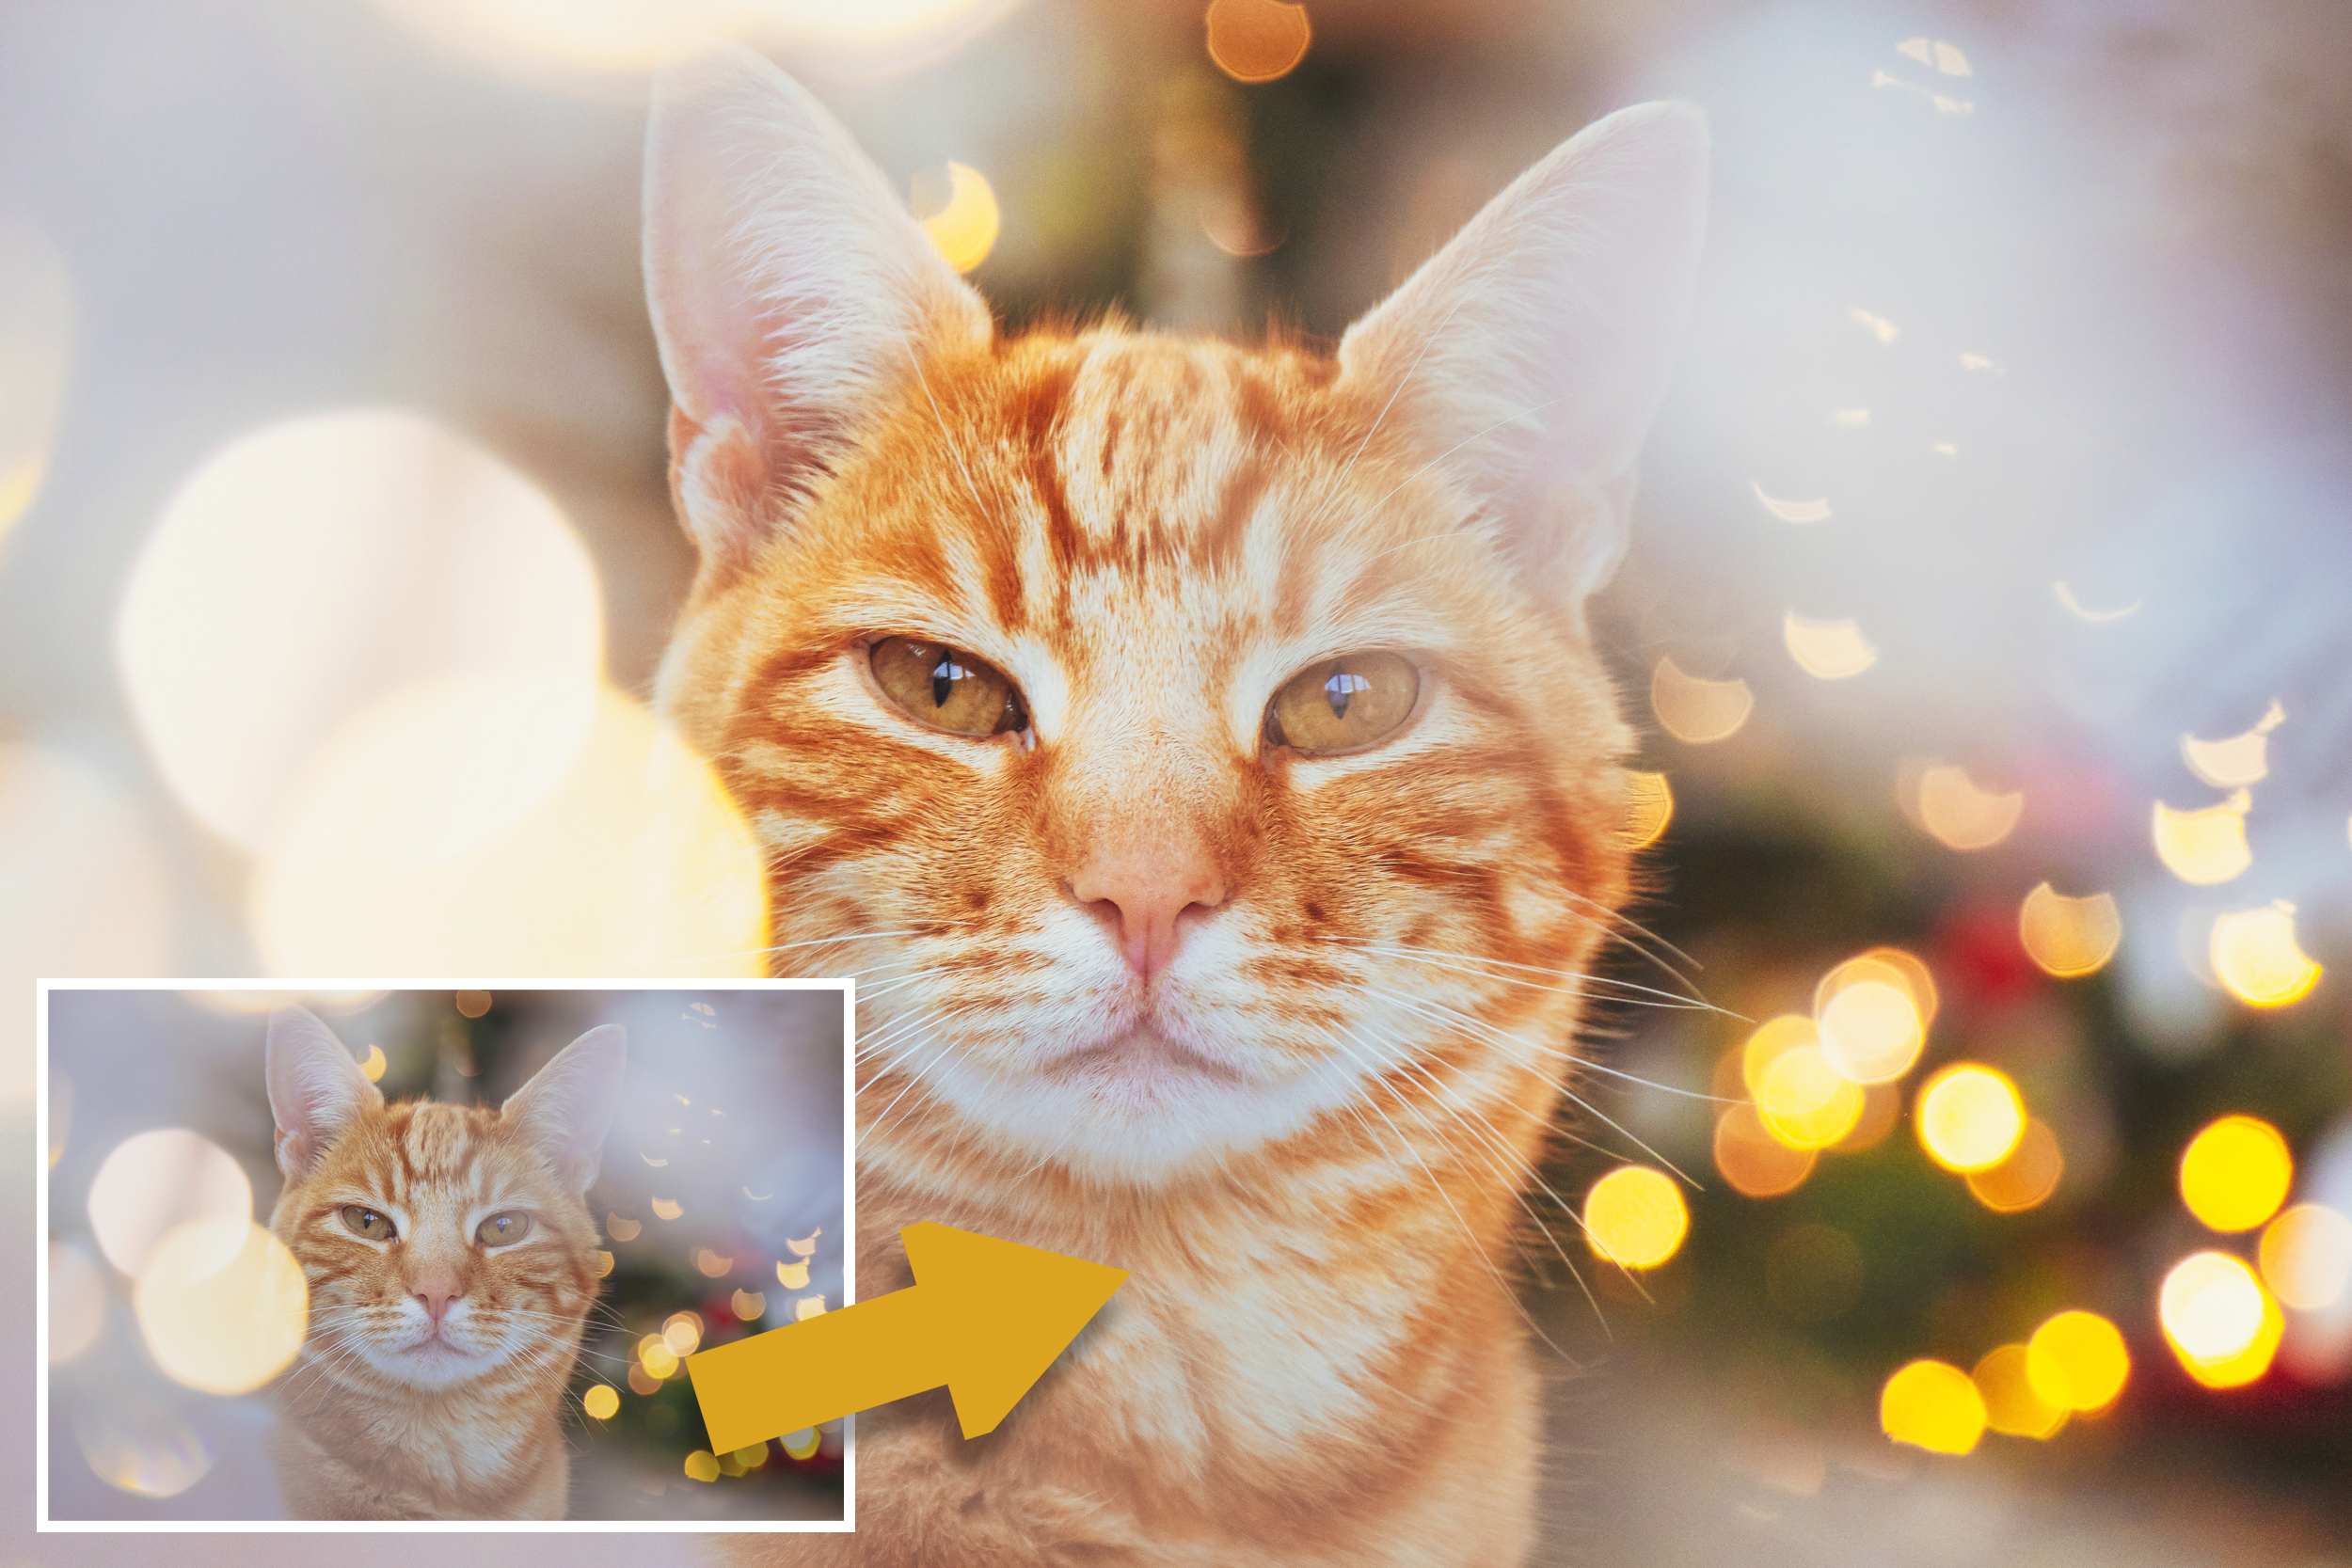
Affinity Photo offers an array of powerful tonal tools – and among the most helpful are lookup tables. A LUT is a kind of preset that lets you save and apply different colour effects with the minimum of effort.
You can use the default LUTs in Affinity Photo or download them from numerous sites, many of which are free. And as well as using LUTs made by others, you can create your own with ease.
If you come up with a combination of tonal adjustments you like, you can save the effect as your own custom LUT and try it out on other images with a single click. Not only do LUTs speed up your image editing, they also give you the freedom to try out different looks to see which works with any given image.
What’s more, because the effect is applied as an Adjustment Layer, you can take advantage of all the other benefits of a layer-based workflow in Affinity Photo…
1) What are LUTs?
Lookup tables are used for changing colours and tones in your photos, to give them a certain look or style. Imagine each colour in the image is listed separately in a table with two columns. The first column notes the original colour, the second notes the shift to a new colour. This table can be used on any image, and each colour will always be translated to the new colour.
2) The LUT Panel
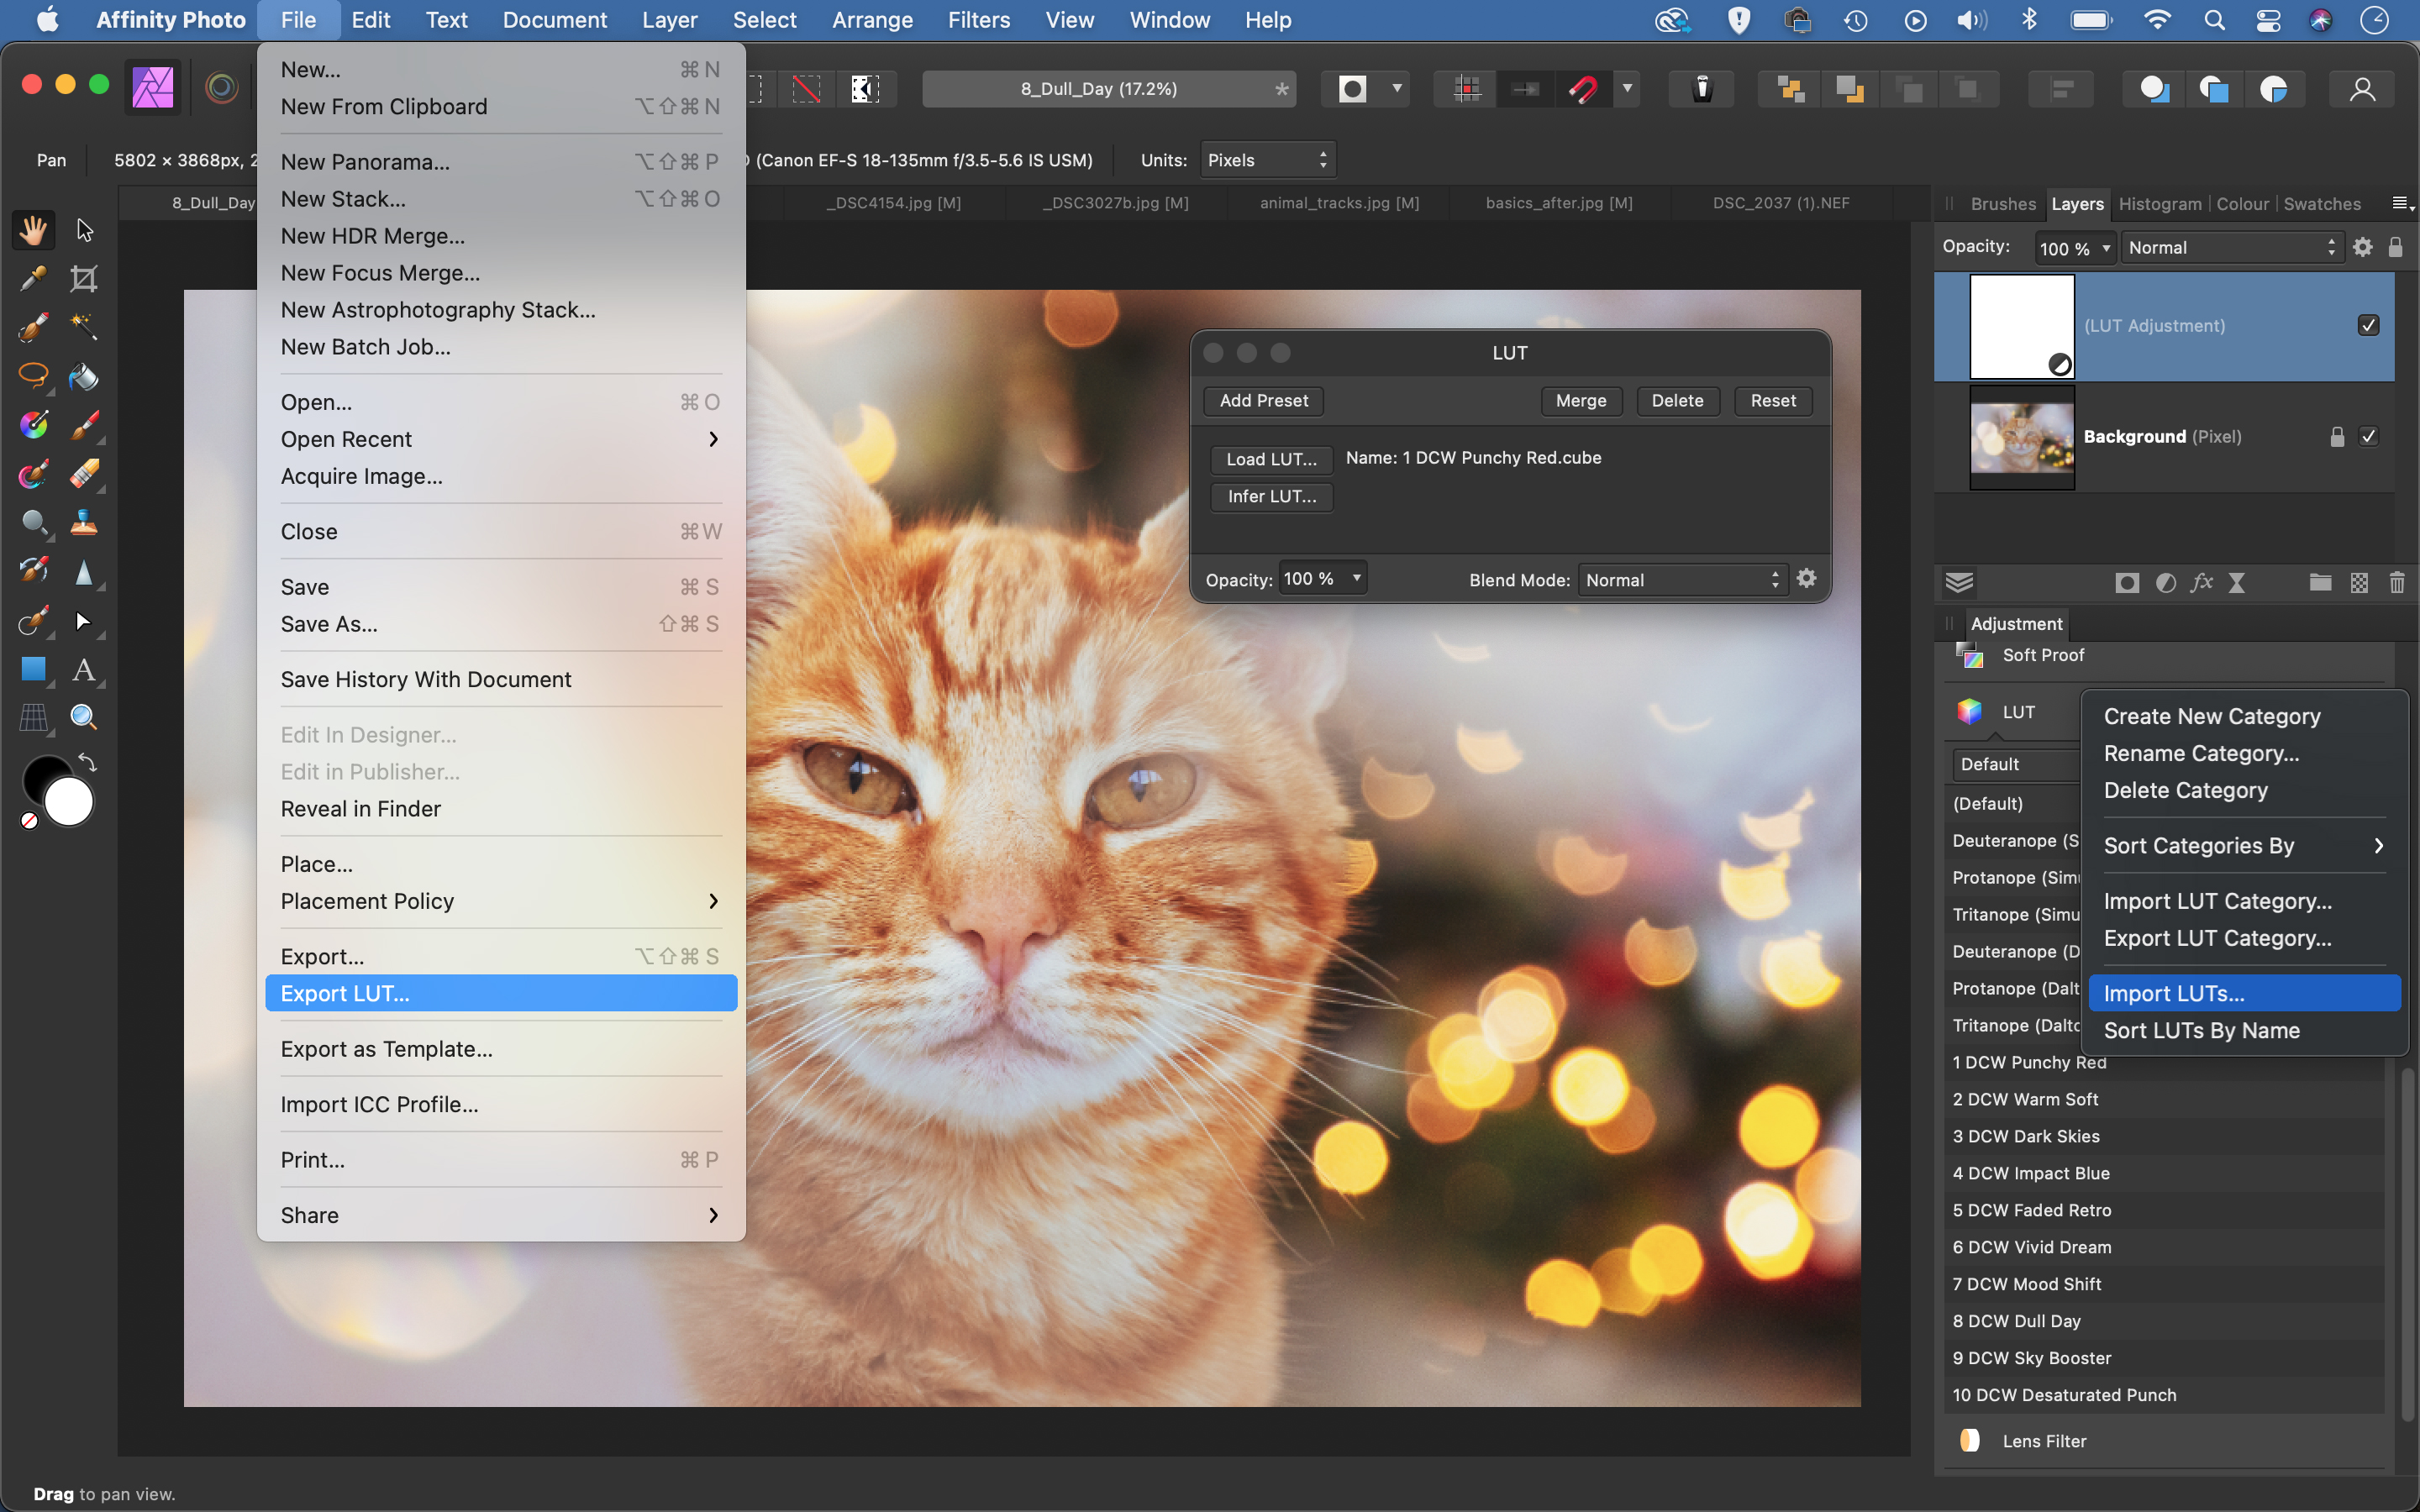
Open the LUT Panel via View > Studio > Adjustment. Scroll down the adjustments to the LUT section and you’ll find several default LUTs, like Protanope and Tritanope (which cancel out red and blue respectively). You can right-click over any LUT in the list to rename, delete or export it. Handily, you can click through the list of LUTs to preview the effect without them being added on top of one another.
3) Adjustment Layers
In Affinity Photo LUTs are applied as Adjustment Layers. This brings all the benefits of working with layers in Affinity Photo. You can go back and choose a different LUT at any stage by double-clicking the layer. You can also change the opacity of the Adjustment Layer to tone down the colour change, or you can duplicate the layer to double up the strength.
4) Blending Mode shifts
One of the best things about adding LUTs as Adjustment Layers in Affinity Photo is the option to change the layer Blending Mode. As well as offering all kinds of interesting effects, this also means you can pick and choose which part of the LUT you like. For example, if you want a colour change without any change to brightness or contrast, use the Color Blending Mode.
5) Export your own LUTs
You can create your own LUTs with ease, to apply your favourite colour treatments to other images in an instant. Open any image then start adding Adjustment Layers to alter the tones and colours in any way you like. You can use Blending Modes in combination with your Adjustment Layers. Once you’re happy with the look, simply go to File > Export LUT. Set the format to Cube and the quality to Max.
6) Import LUTs
To bring LUTs into Affinity Photo, click the cog in the LUT Panel and choose Import LUTs. Navigate to files you want, highlight them all and click Open. Click through them to try the different effects out on your photos, and modify them by adjusting the layer opacity or using masks to make them work selectively over the image.
Explore the art of night photography
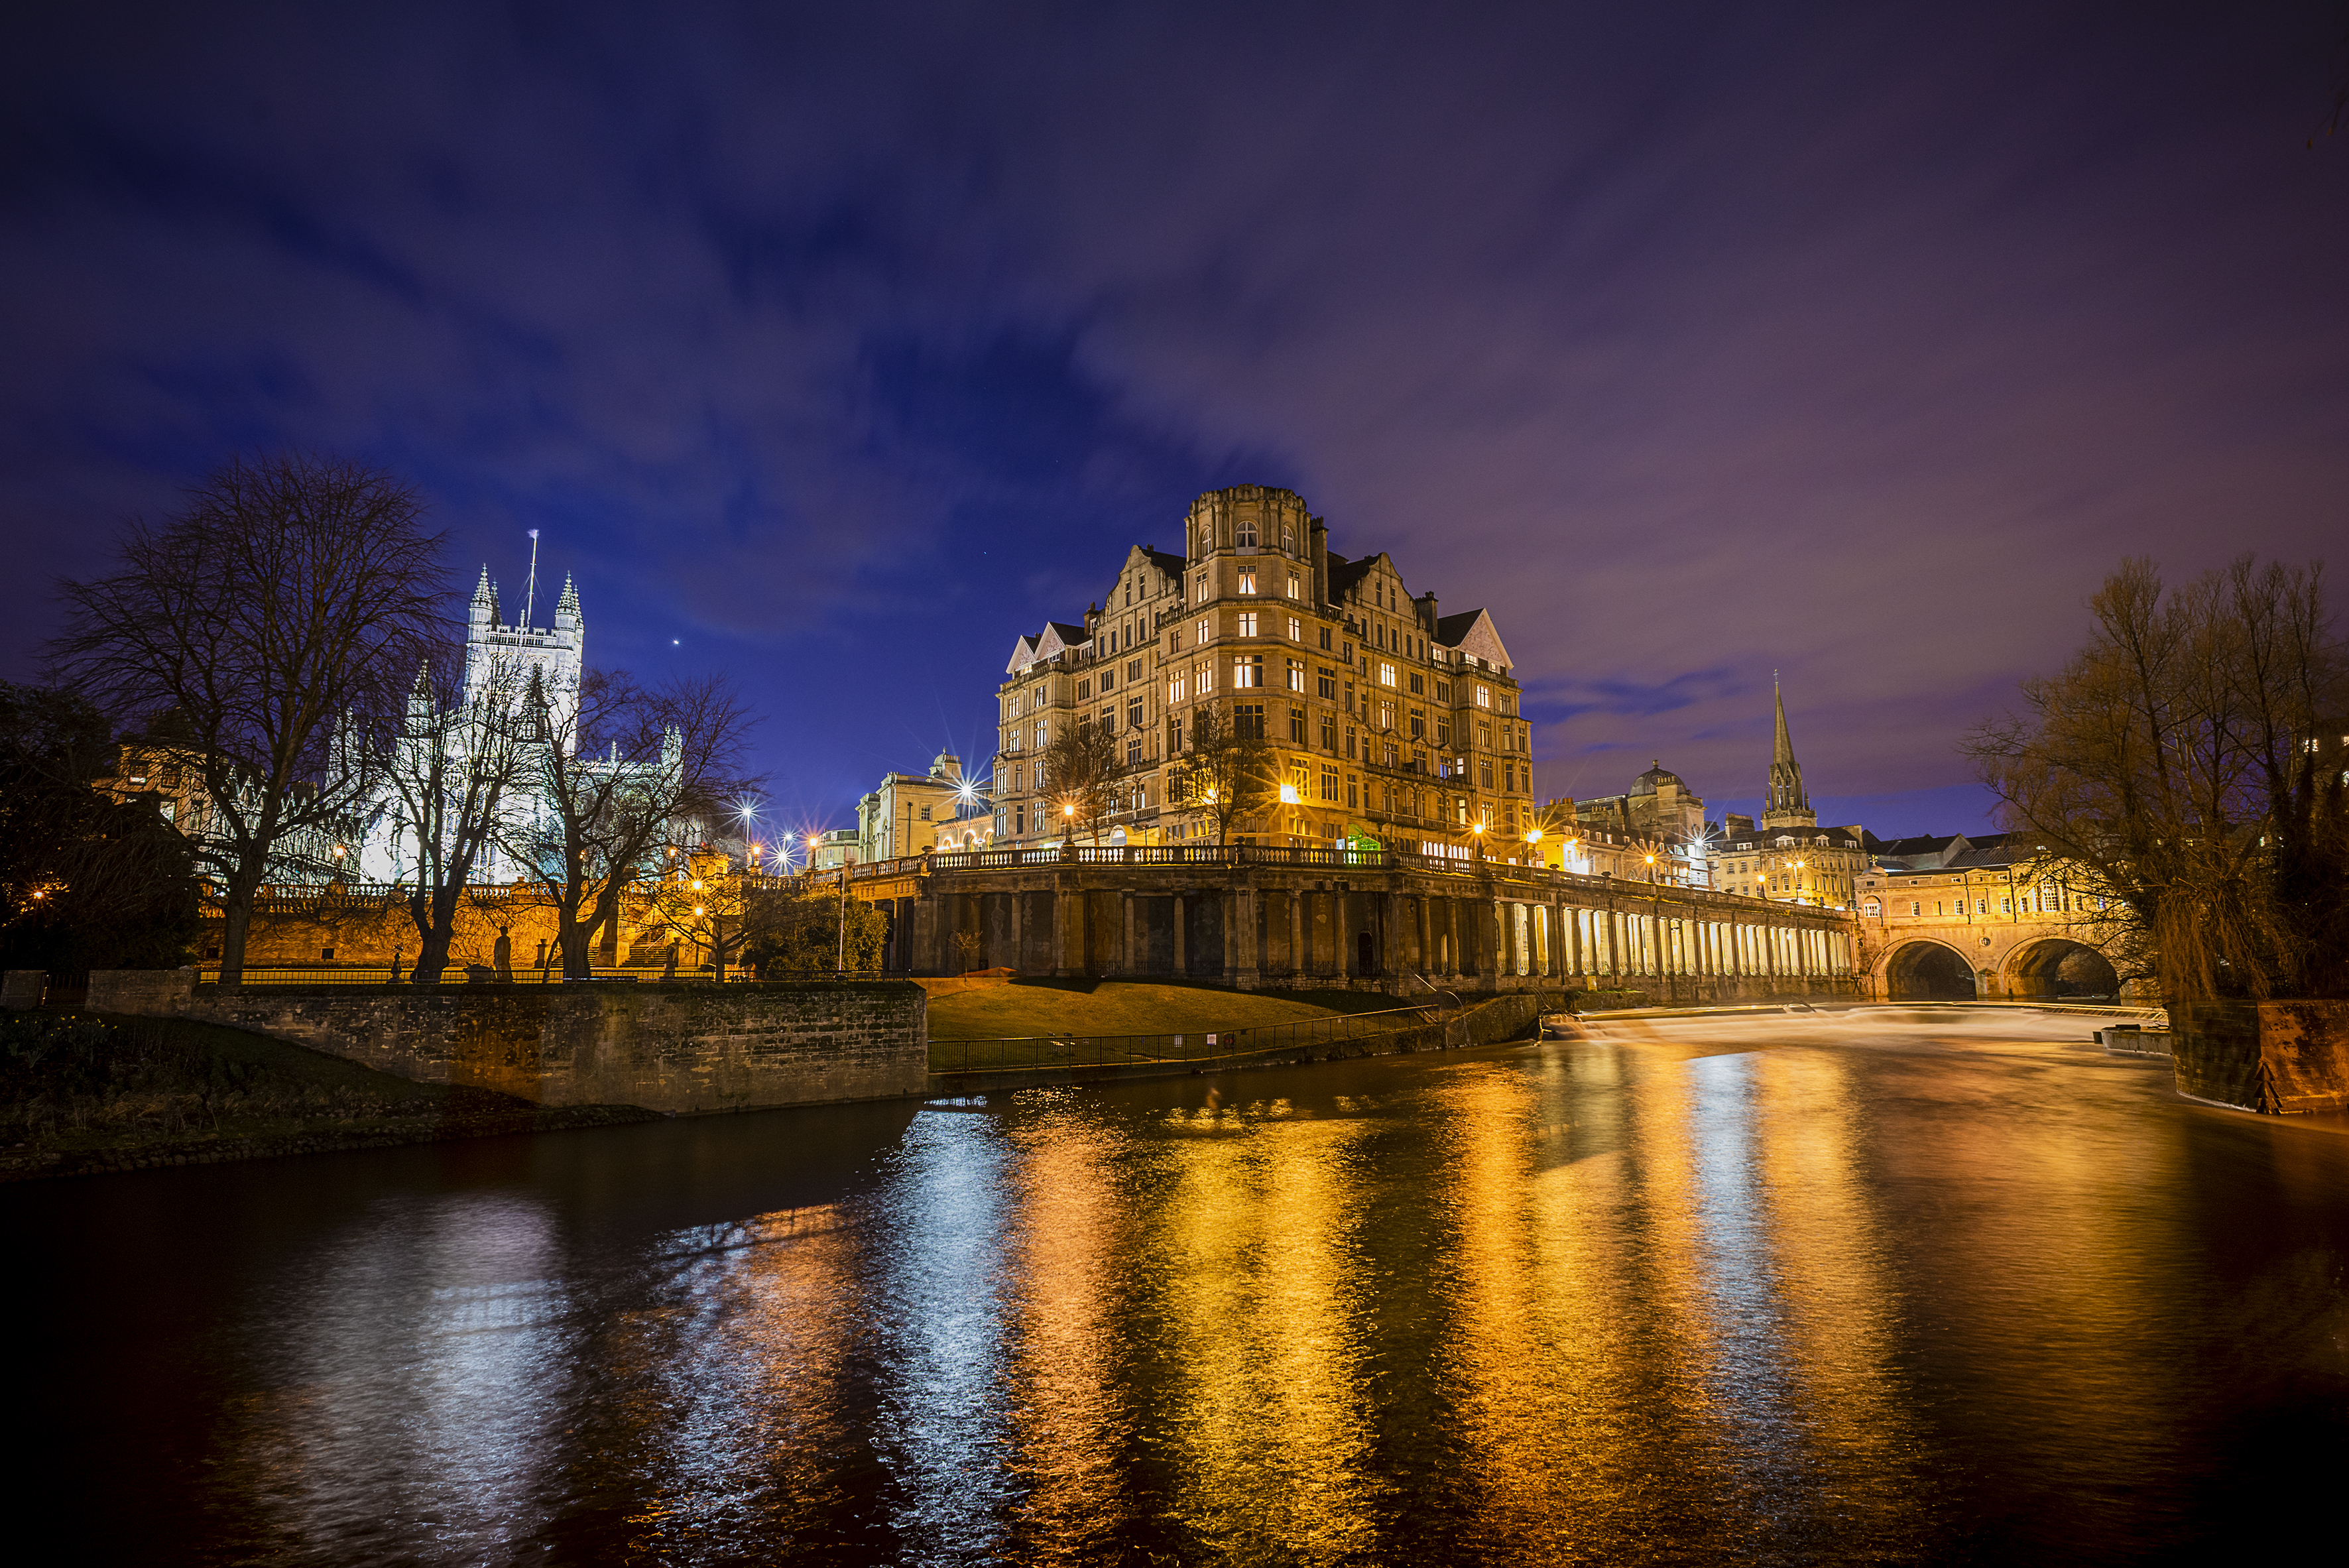
Daylight hours might be in short supply at this time of year, but there are plenty of opportunities to get creative with your camera after dark. Night photography is a little more technically demanding, of course, but it does enable you to show the world in a whole new light (whether that’s from the moon, a street lamp or your camera flash).
The most challenging aspect of shooting at night is exposure. There are lots of elements to juggle in order to get sharp, clean images, but when you’re exposing a photo in the dark you have some options. There are three exposure controls that you can change on your camera: aperture, shutter speed and ISO. To use a faster shutter speed (which reduces the brightness), you’ll need to set a larger aperture or a higher ISO to increase the brightness again. In some situations, you may need to adjust both.
Opening up the aperture by selecting a lower f-number (for example, going from f/8 to f/5.6) is usually the first step in unlocking a faster shutter speed at night. This is because picture quality degrades when you start to increase the ISO. That being said, the high-ISO performance of modern cameras is impressive, and you may only notice noise in your pictures when you magnify the image on a computer screen.
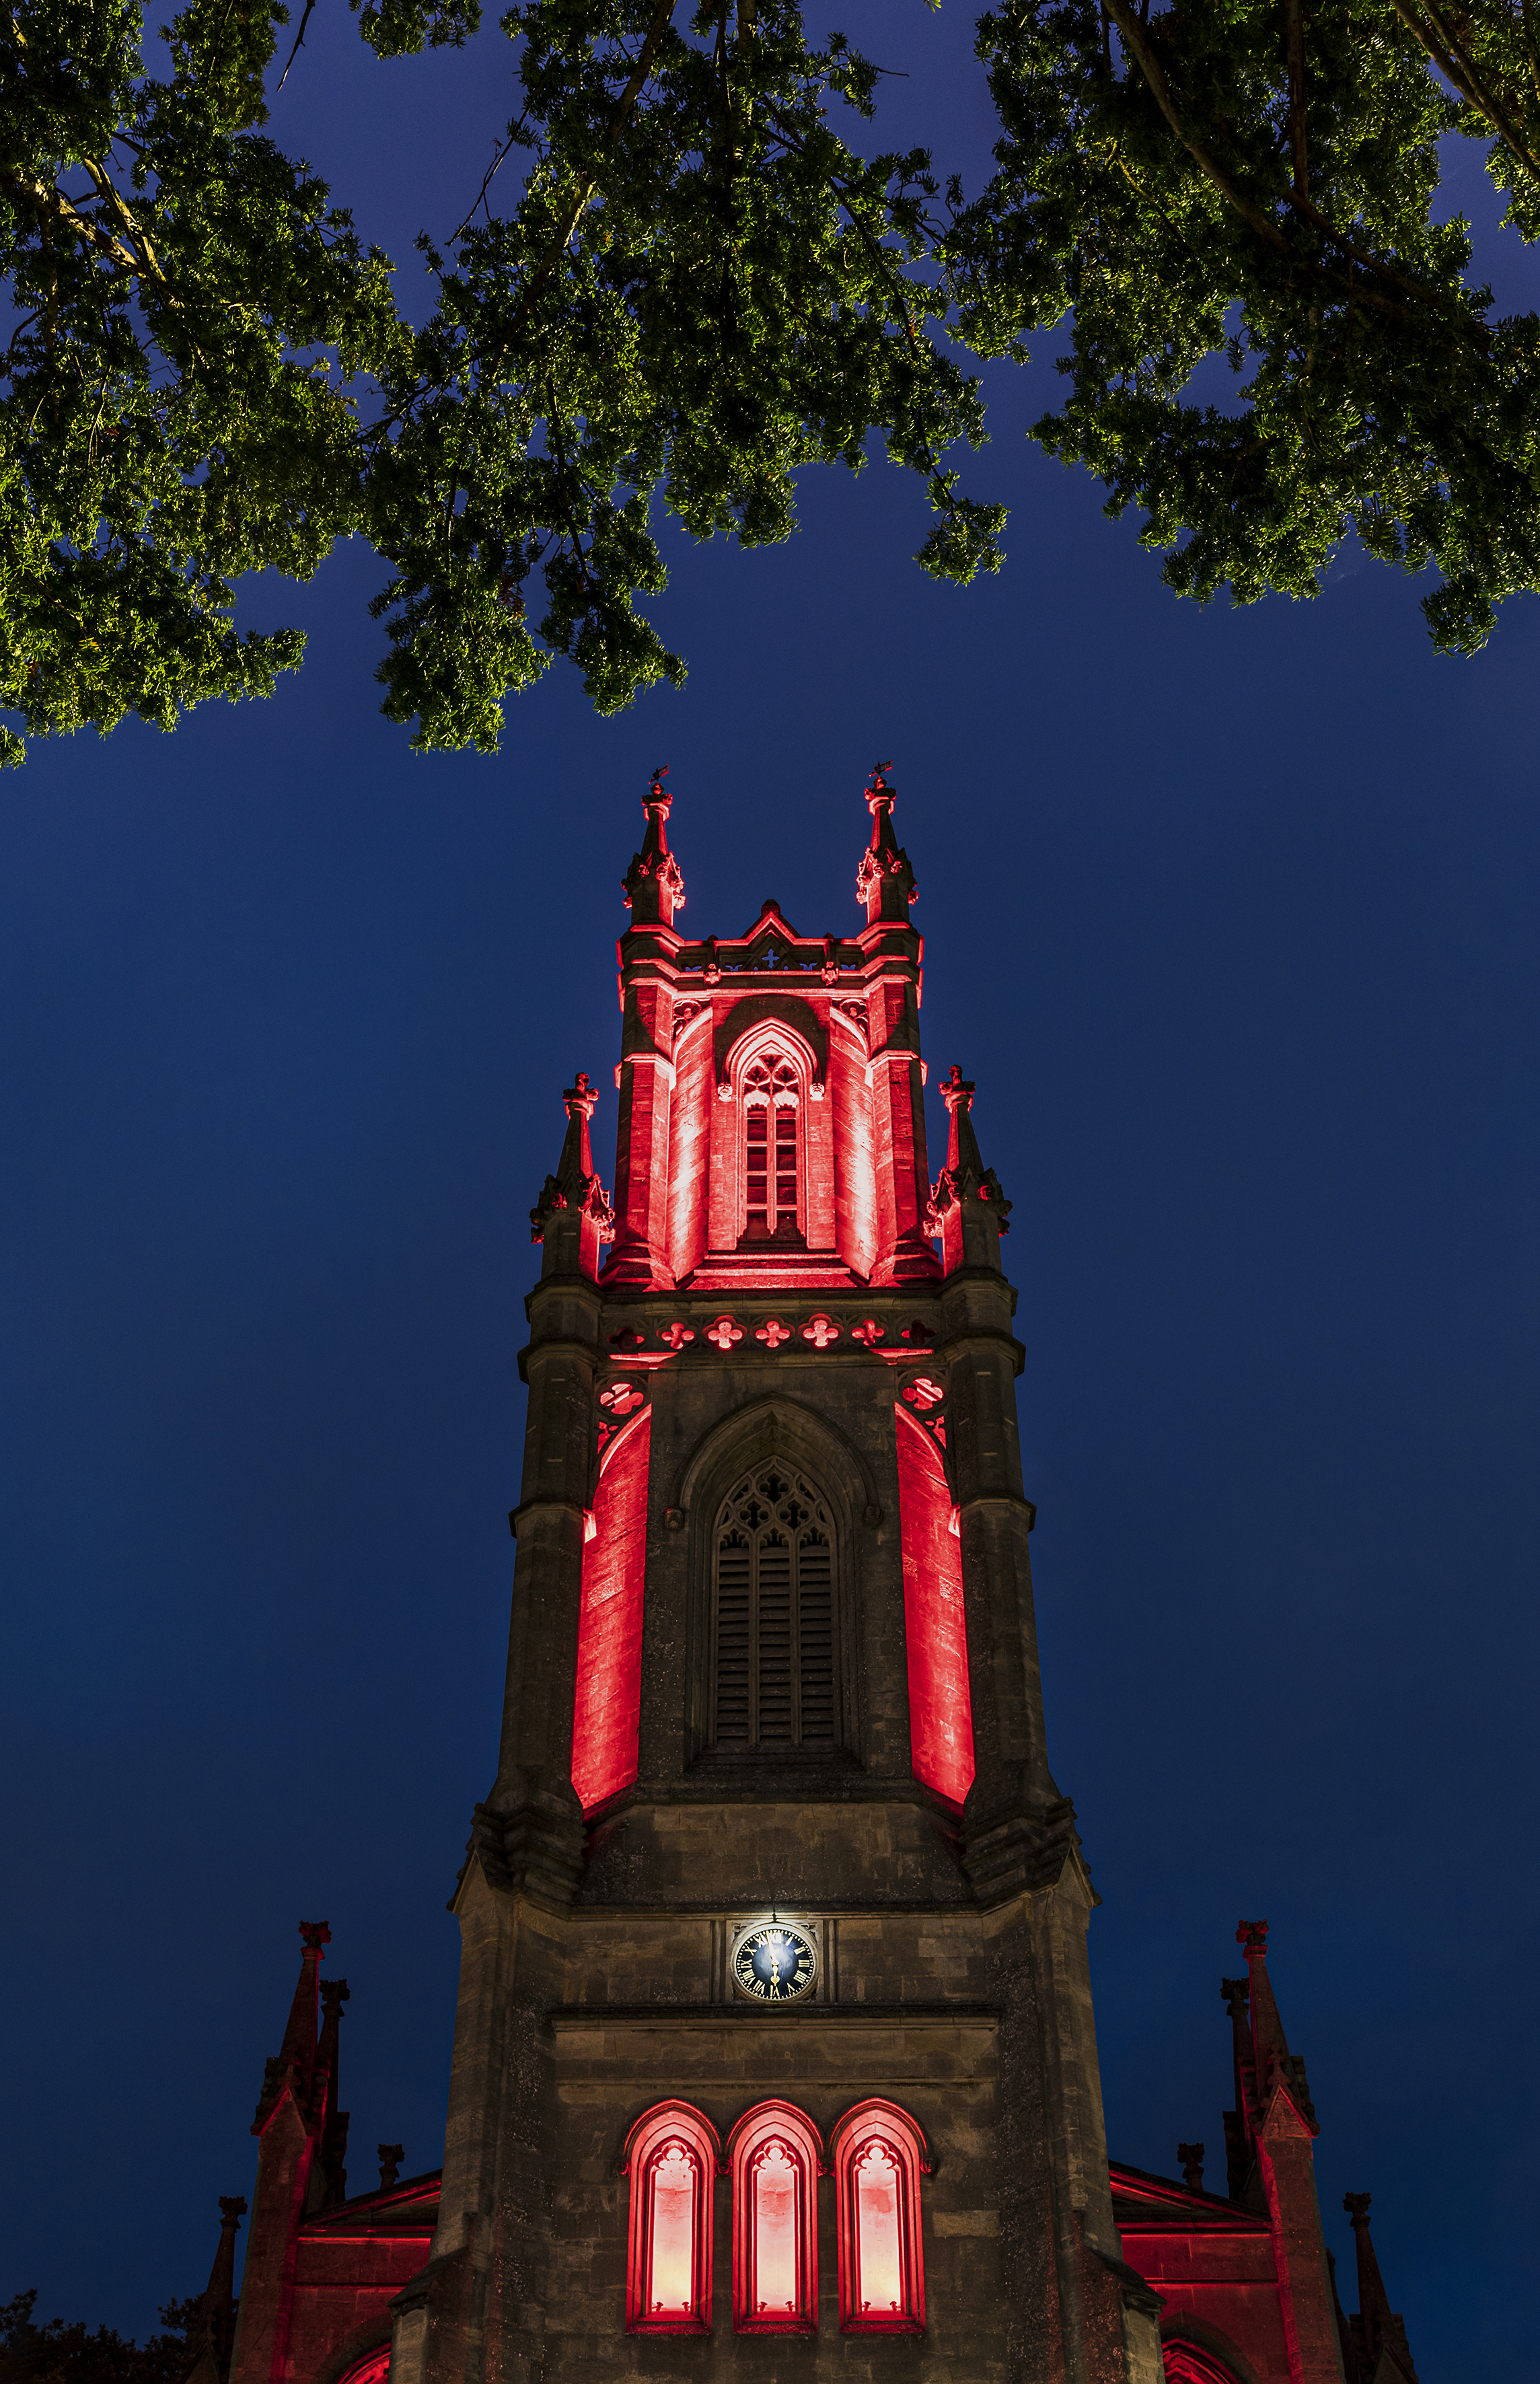
If you regularly shoot in Aperture Priority, you’ll be relying on the camera to set an appropriate shutter speed for the image, and it’s easy to miss that the shutter speed is becoming too slow. To avoid this, try setting your camera’s ISO to its Auto setting. This enables the camera to increase the ISO in order to maintain the shutter speed it determines is required for sharp handheld shots.
Another technical aspect to consider is the high level of contrast you can be faced with when you shoot at night. You may have to expose for the highlights, in which case the dark areas may lose all detail, or expose for the shadows, where the brightest areas will be burned out and featureless. Alternatively, you can bracket your shots by taking photos of the same scene at different exposure levels, then blending them together in photo-editing software.
You can remedy this somewhat by starting to take pictures during what’s known as the ‘blue hour’, while there’s still some light and colour in the sky. The closer the exposure values of the sky and areas of your scene that are lit by artificial light are, the easier it will be to record a more balanced exposure.
As well as relying on the lighting in the scene, you can introduce your own. A flashgun provides more power and creative control than a built-in unit; paired with a wireless transmitter, it gives you the freedom to position the light at more interesting angles. Use your camera’s slow-sync flash setting to ensure you capture some of the ambient light in the background as well as the flash-lit subject – although you may need to support the camera with a tripod if you do so.
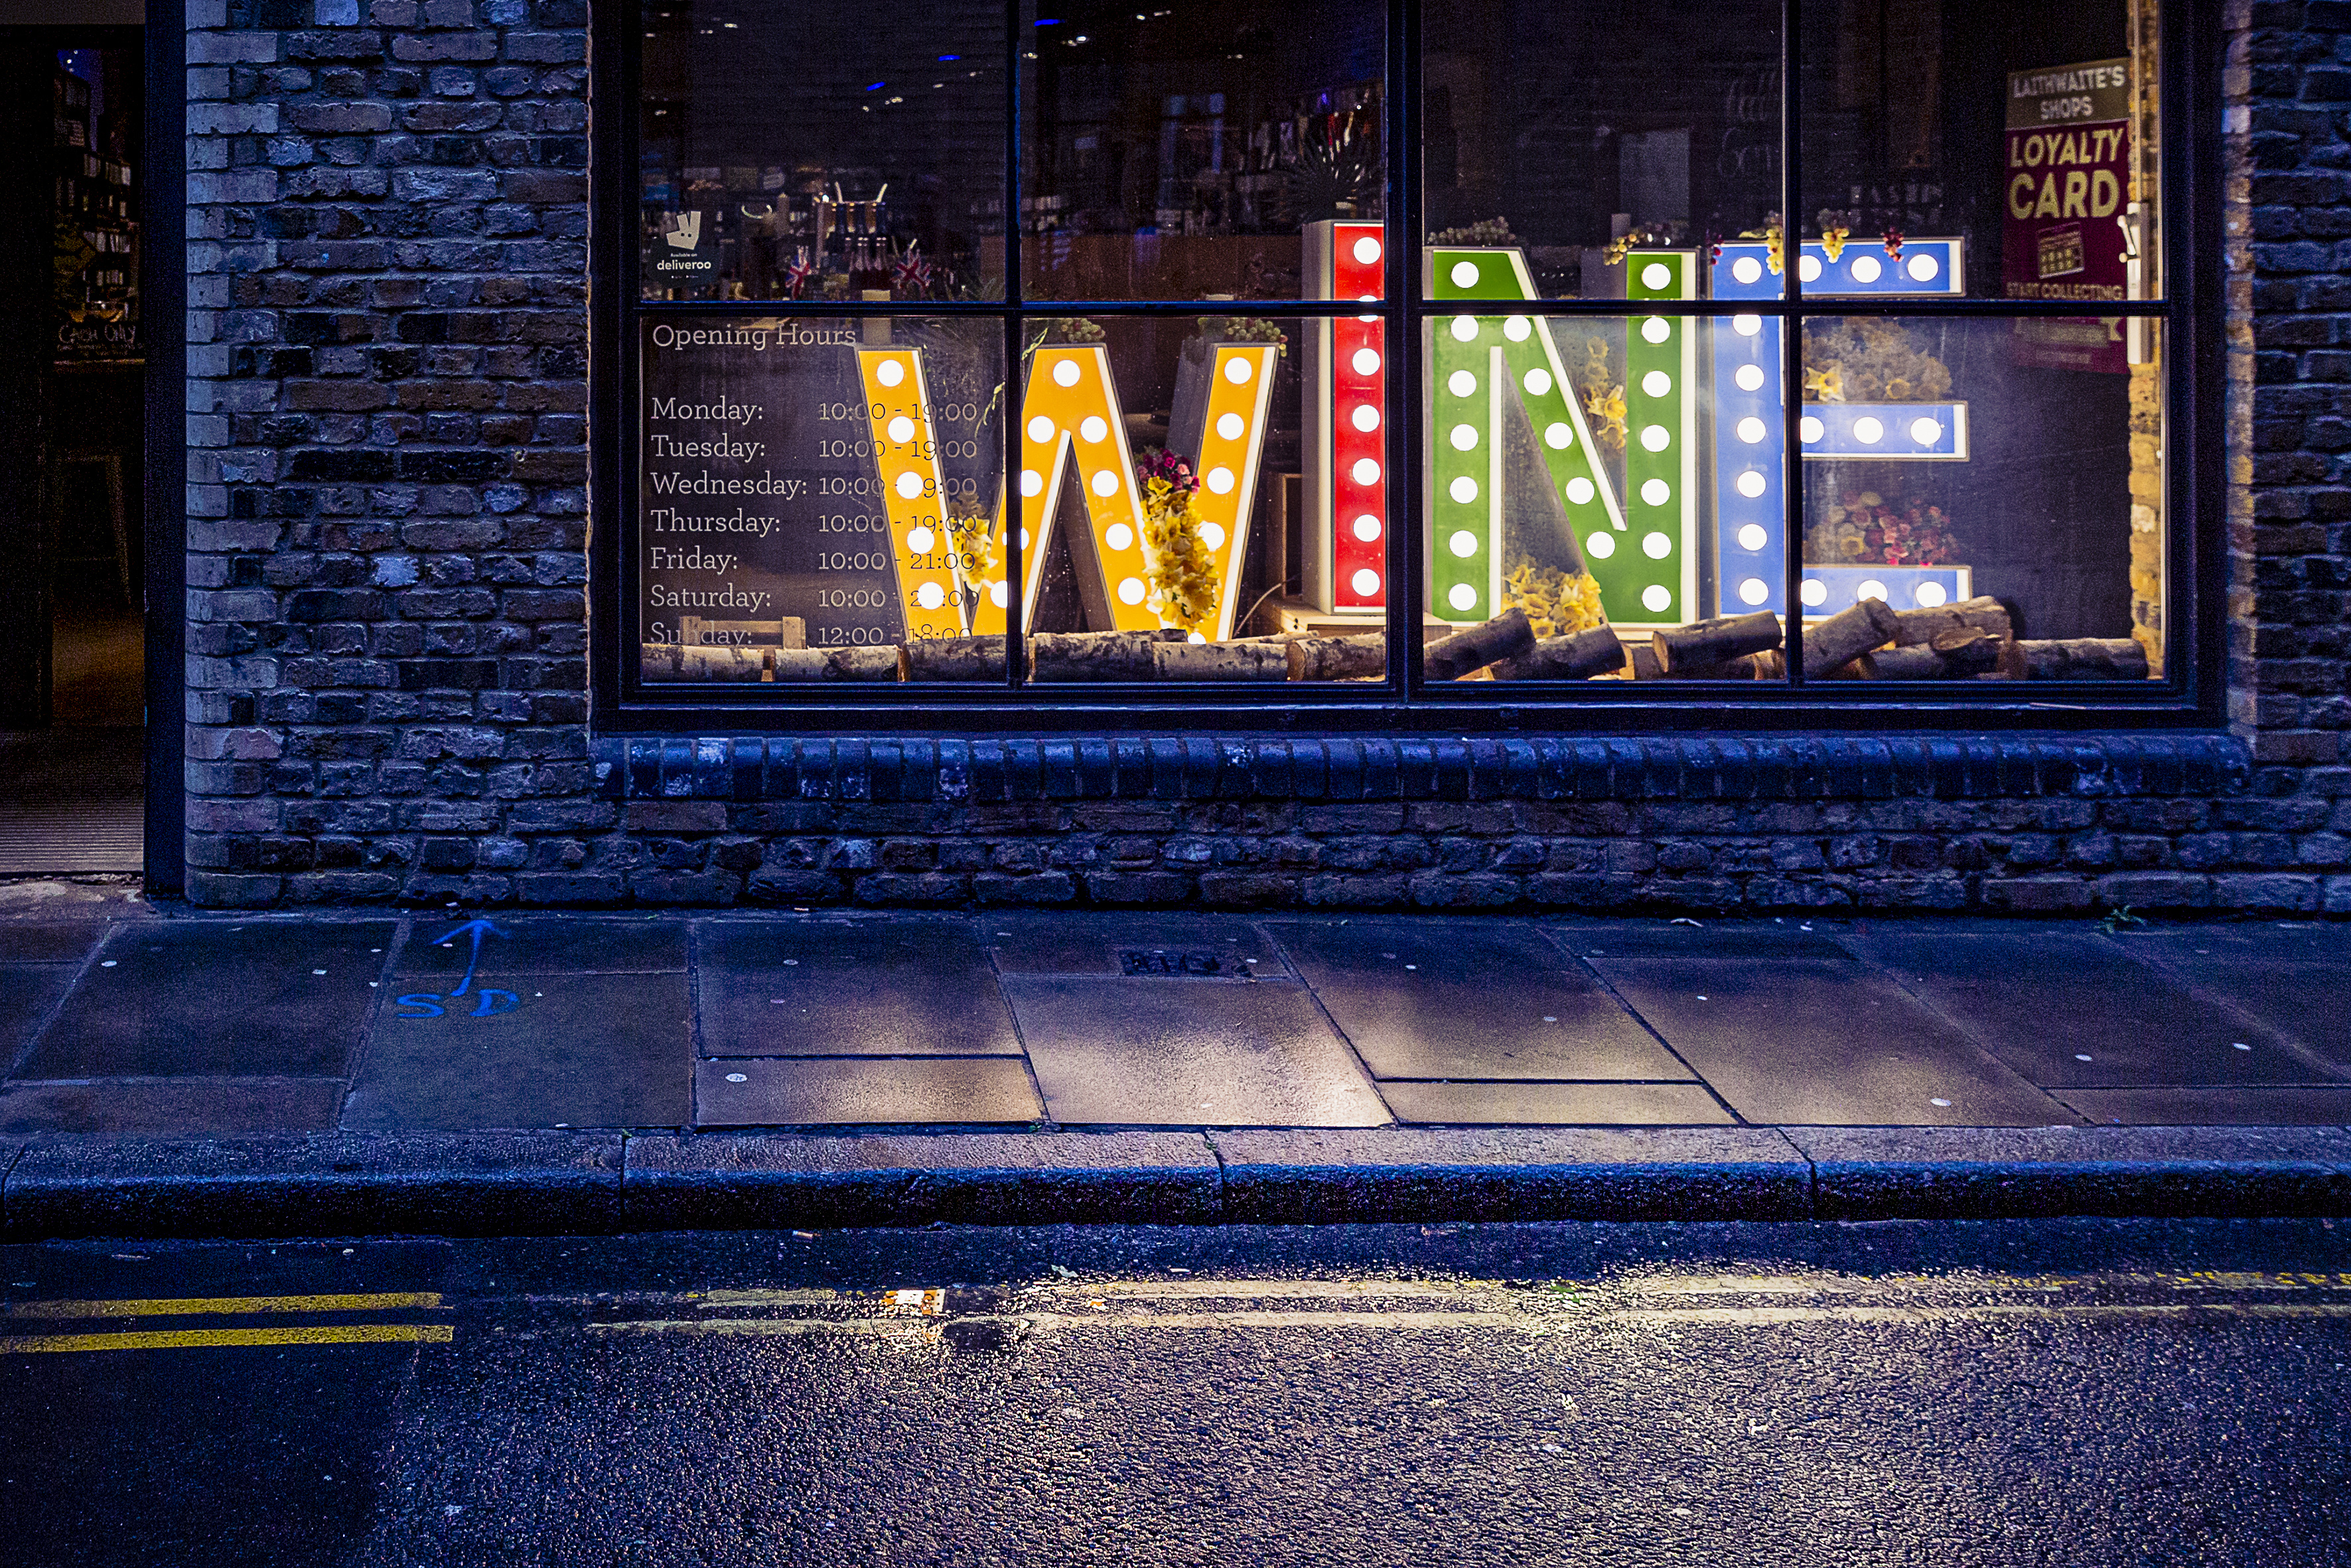
5 night photography tips
1) Use a tripod
This allows you to use very long exposures and keep the ISO at a low setting for maximum quality. Safety first, of course: avoid using tripods in locations where there are going to be people walking nearby, or on bridges above busy roads.
2) Scout locations in daylight
Although you can do research ahead of time using Google Maps and Google Images, it pays to arrive early at a location so you have the time to frame your shot and set your focus while you can see what you’re doing. It also means that you’ll be able to photograph while there’s still some colour in the sky.
3) Don’t shoot in the dark
You can usually create more evocative and balanced images while there’s still some blue twilight tones in the sky rather than when everything’s pitch-black.
4) Bracket the exposure
If you brighten up shadows in software, you’ll make any noise more obvious. Likewise, lights that are grossly overexposed in an image can be distracting. Consider taking a set of different exposures and combining the best bits of each later.
5) Power up
Cool nights, long exposures and extensive use of electronic displays in the dark will sap the batteries in cameras and flashguns, so take plenty of spares. Keep them warm in an inside pocket if possible, and make sure they’re fully charged before you set out…
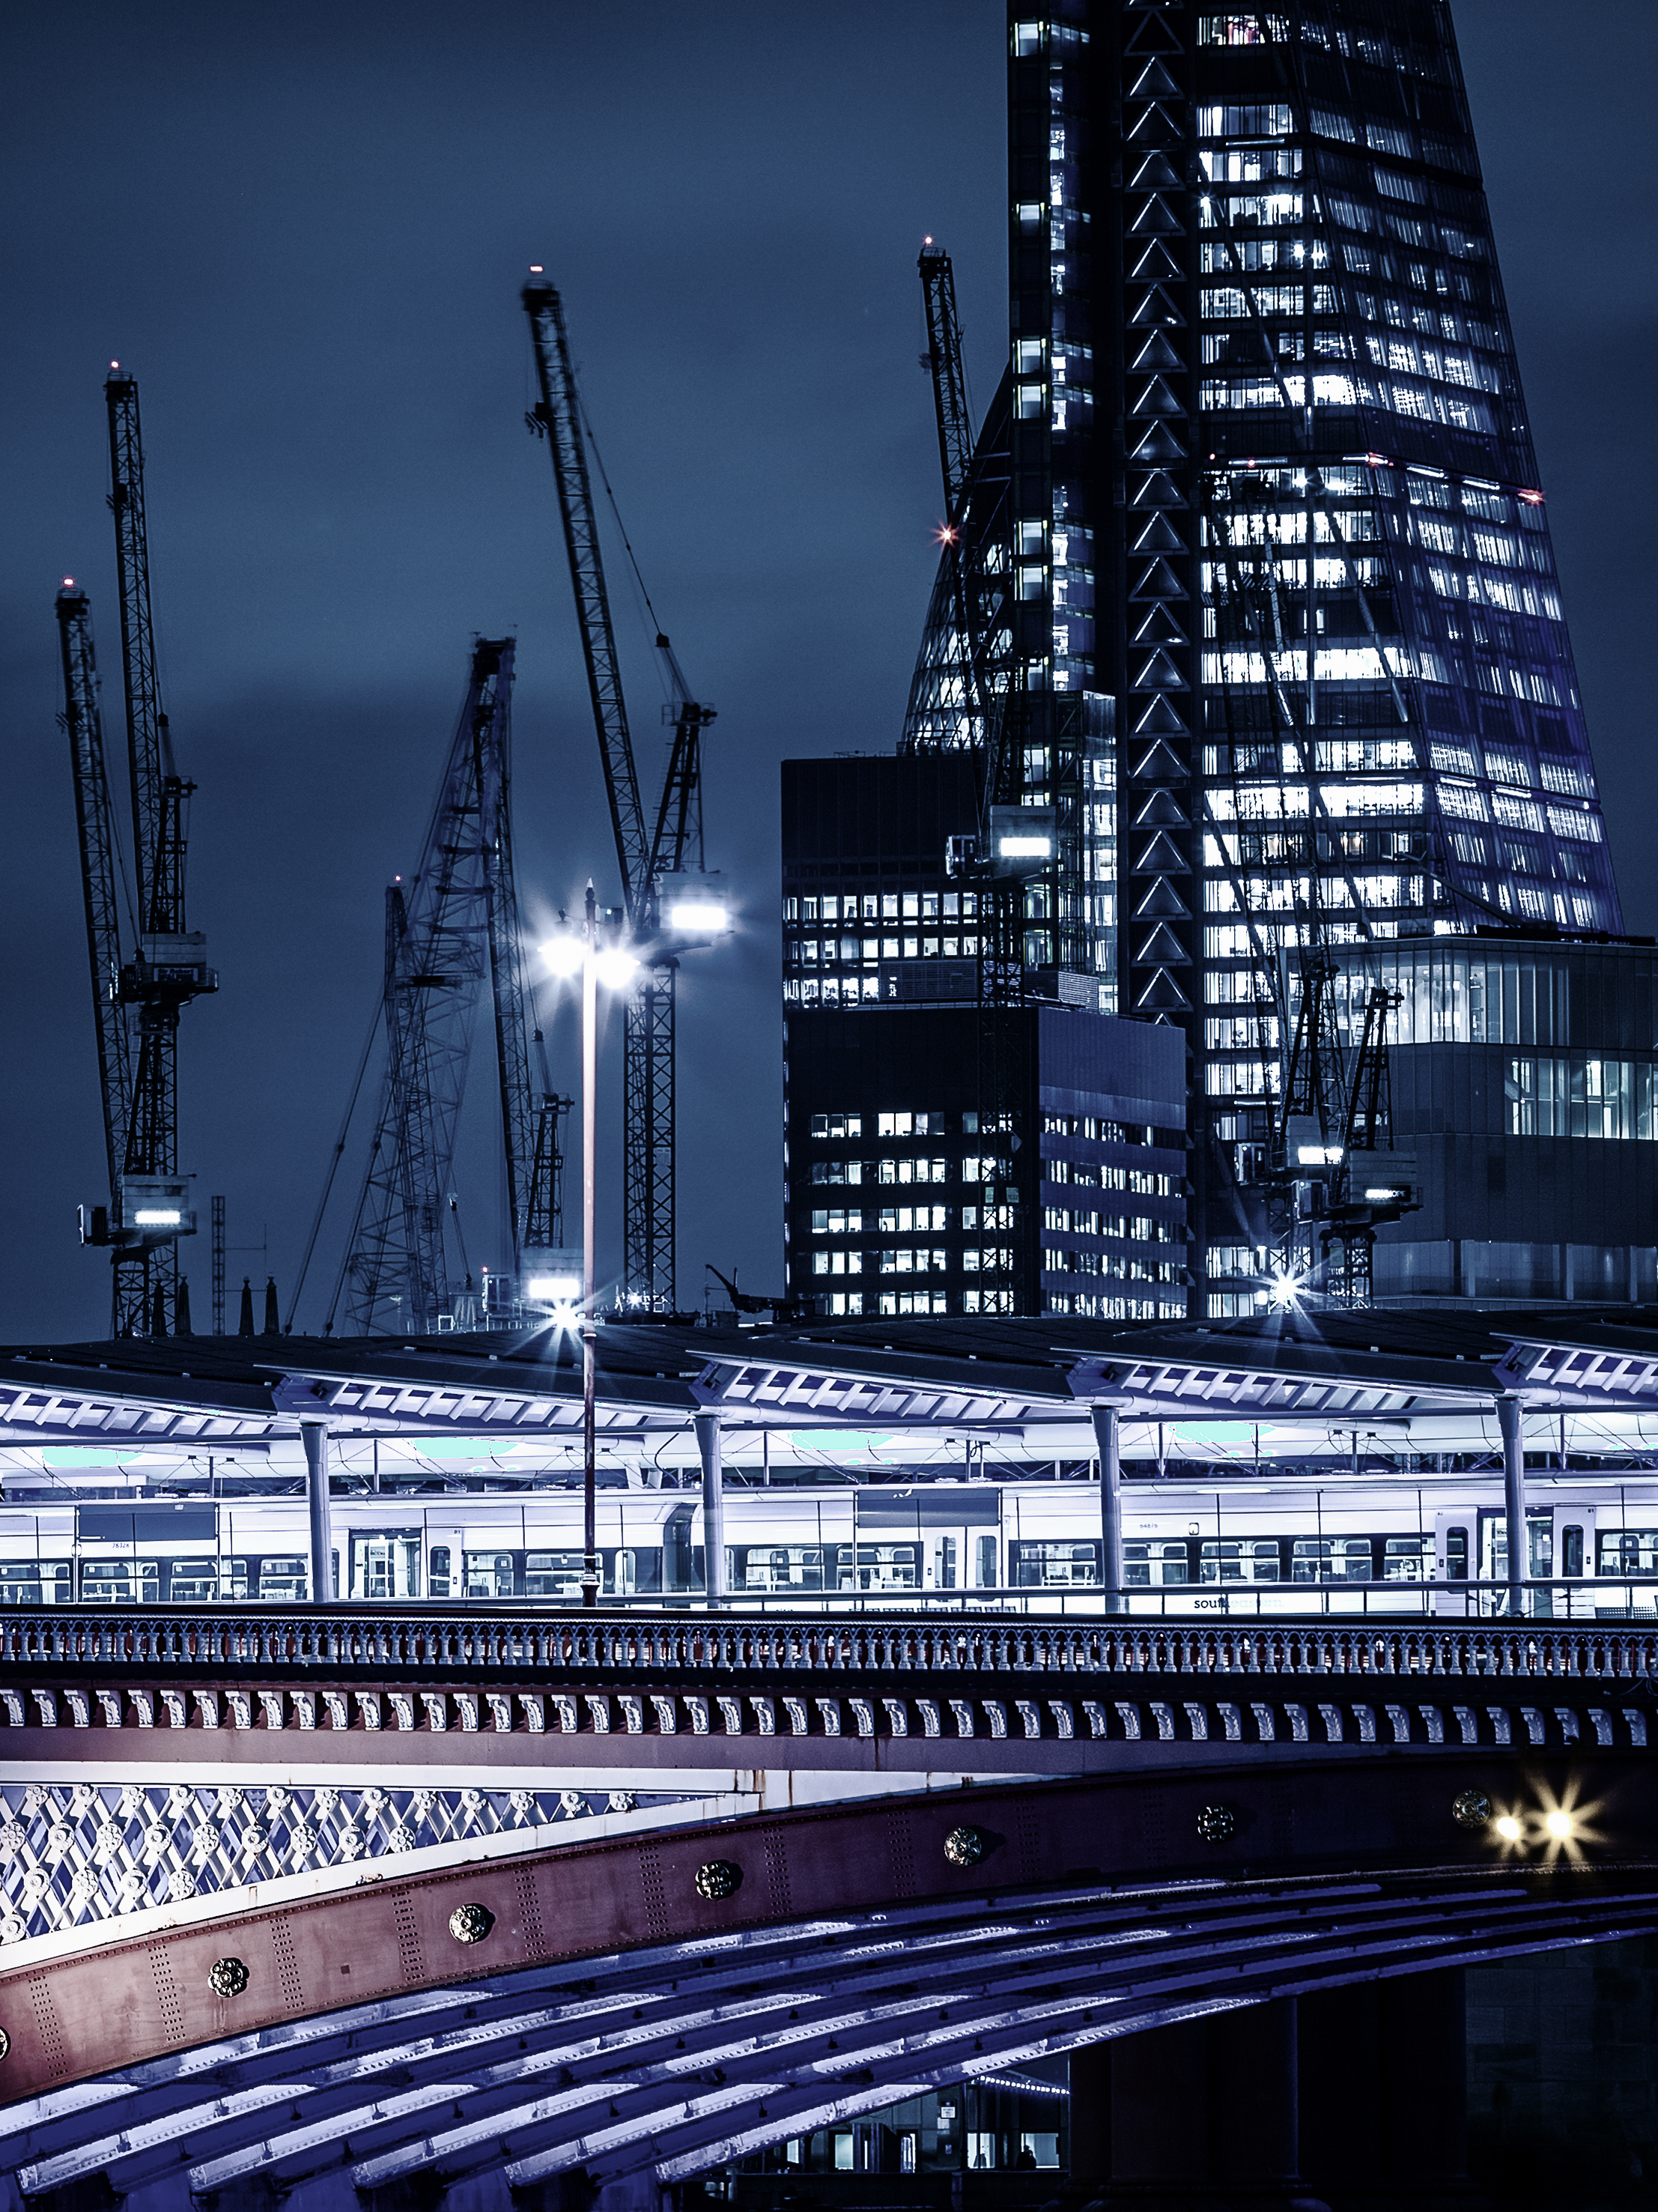
This month, we want to see your best images taken in the dark for a chance to win a copy of Affinity Photo. You could be shooting in the gloaming, at midnight or just before the dawn – as long as it’s got a bit of darkness to it, that’s the main thing. There’s no restriction on the type of subjects you can shoot – from rural nightscapes and nocturnal nature to urban nightlife and floodlit architecture – or the creative treatment you apply.
To enter your best night shot (one per reader, please), either email your entry
to digitalcamera@futurenet.com, putting ‘Night Challenge’ in the subject line; or go to our Facebook page, which is www.facebook.com/digitalcameraworld, look for the ‘Night Challenge’ post, and upload your entry into the feed.
By entering your image into this competition, you confirm that you own the copyright to the image, and agree that Digital Camera can publish your image in relation to the ‘Night Challenge’ competition. You will retain full copyright of your image, and will be fully credited.
The closing date is 06 January 2022. The winner will receive a copy of Affinity Photo for Windows or macOS. Good luck, and get shooting!
Get the Digital Camera World Newsletter
The best camera deals, reviews, product advice, and unmissable photography news, direct to your inbox!
Digital Camera World is one of the leading authorities on camera and photography news, reviews, techniques, tutorials, comparisons, deals and industry analysis. The site doesn't just specialize in cameras, but all aspects of photography, videography and imaging – including camera phones, gimbals, lenses, lighting, editing software, filters, tripods, laptops, printers, photo books, desks, binoculars and more.
Whether you're using, looking to buy or trying to get the most out of a compact camera, action camera, camera drone, cinema camera, beginner camera or professional camera, Digital Camera World has a roster of experts with combined experience of over 100 years when it comes to cameras, photography and imaging.
