Master the ageing process in Affinity Photo
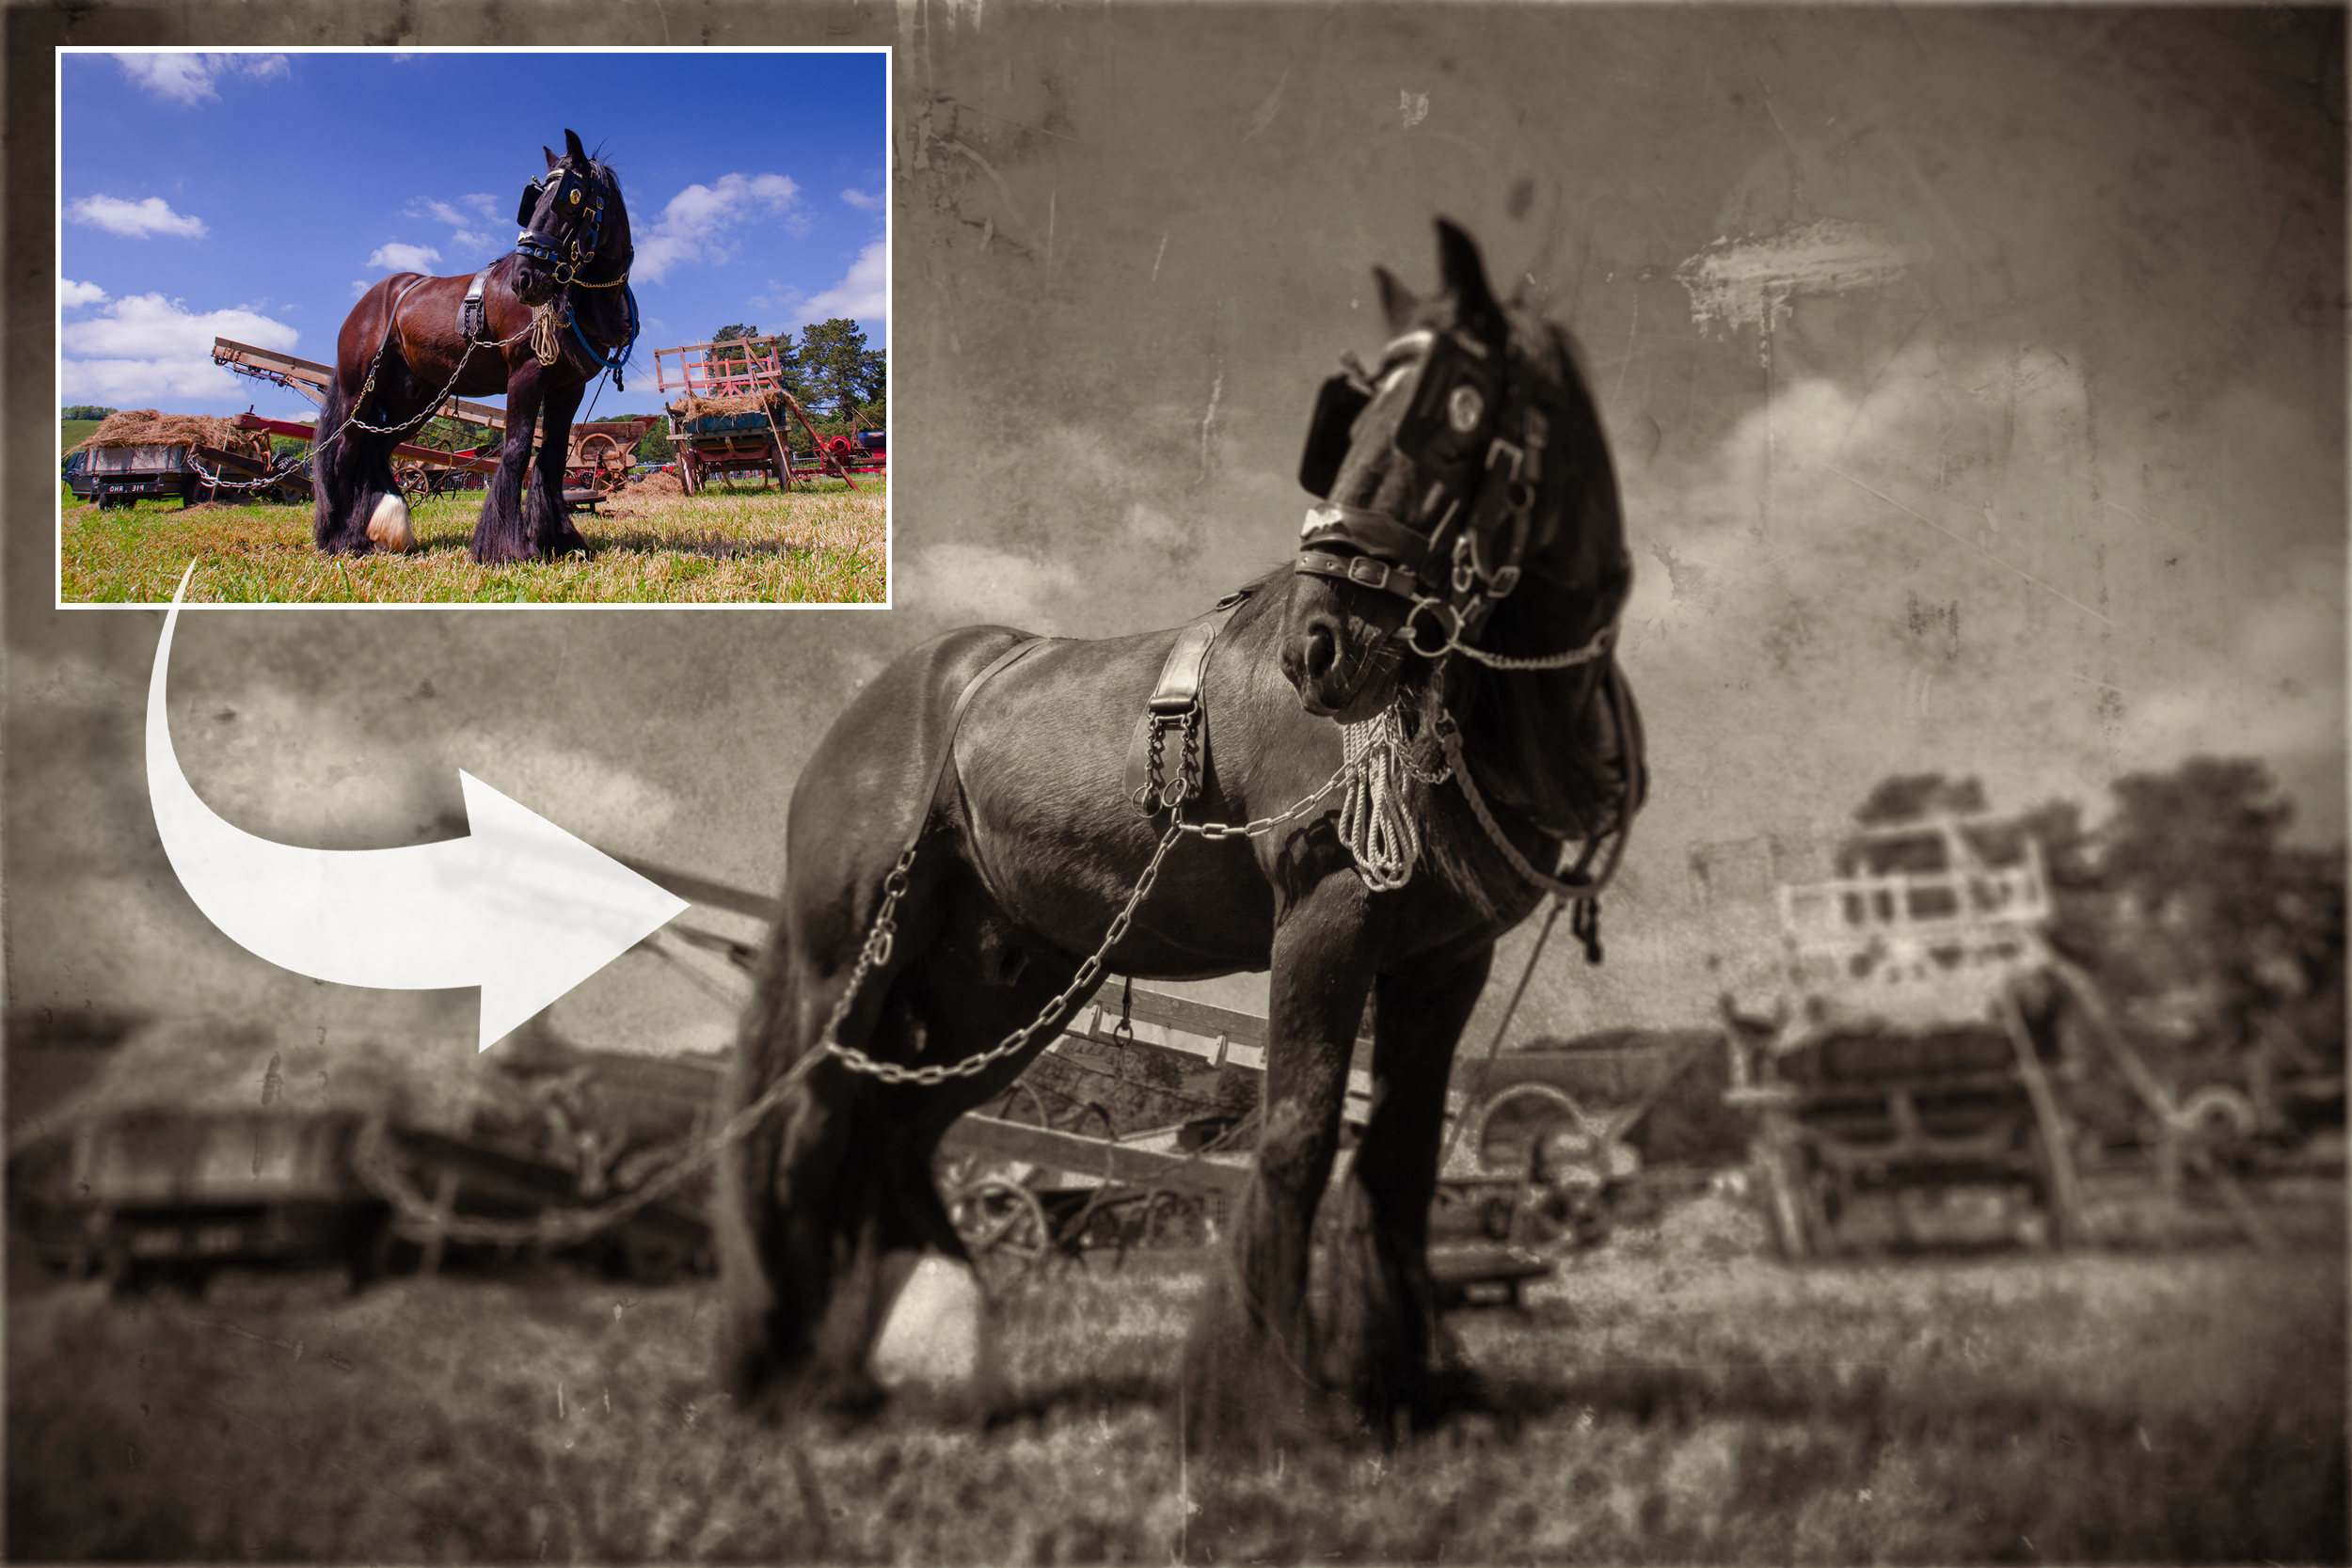
Vintage photo effects are all the rage, but the problem with one-click filters is that they can start to look a bit generic. The best retro effects may take a little more care and effort to craft, but can end up looking far more distinctive.
In this project we’ll look at how to transform a modern photo into a vintage classic with a series of simple tricks in Affinity Photo, from adding dirt and grime to tinting the colours. Whatever photo you choose to work on, these tricks can age it beyond recognition in no time.
One of the easiest ways to fake the ravages of time is to blend a texture. This enables you to combine the messy parts of one photo with another. We’ve supplied a set of 16 textures, which you’ll find in the this download. Each can be blended with your photos for a range of vintage effects (and you can try blending more than one texture, as we’ve done here).
You can also mimic the imperfections of old cameras and lenses by adding a vignette and softening the frame corners. Each edit we make uses a separate layer, so you can mix and match until everything works in harmony.
1) Add a vintage color tint
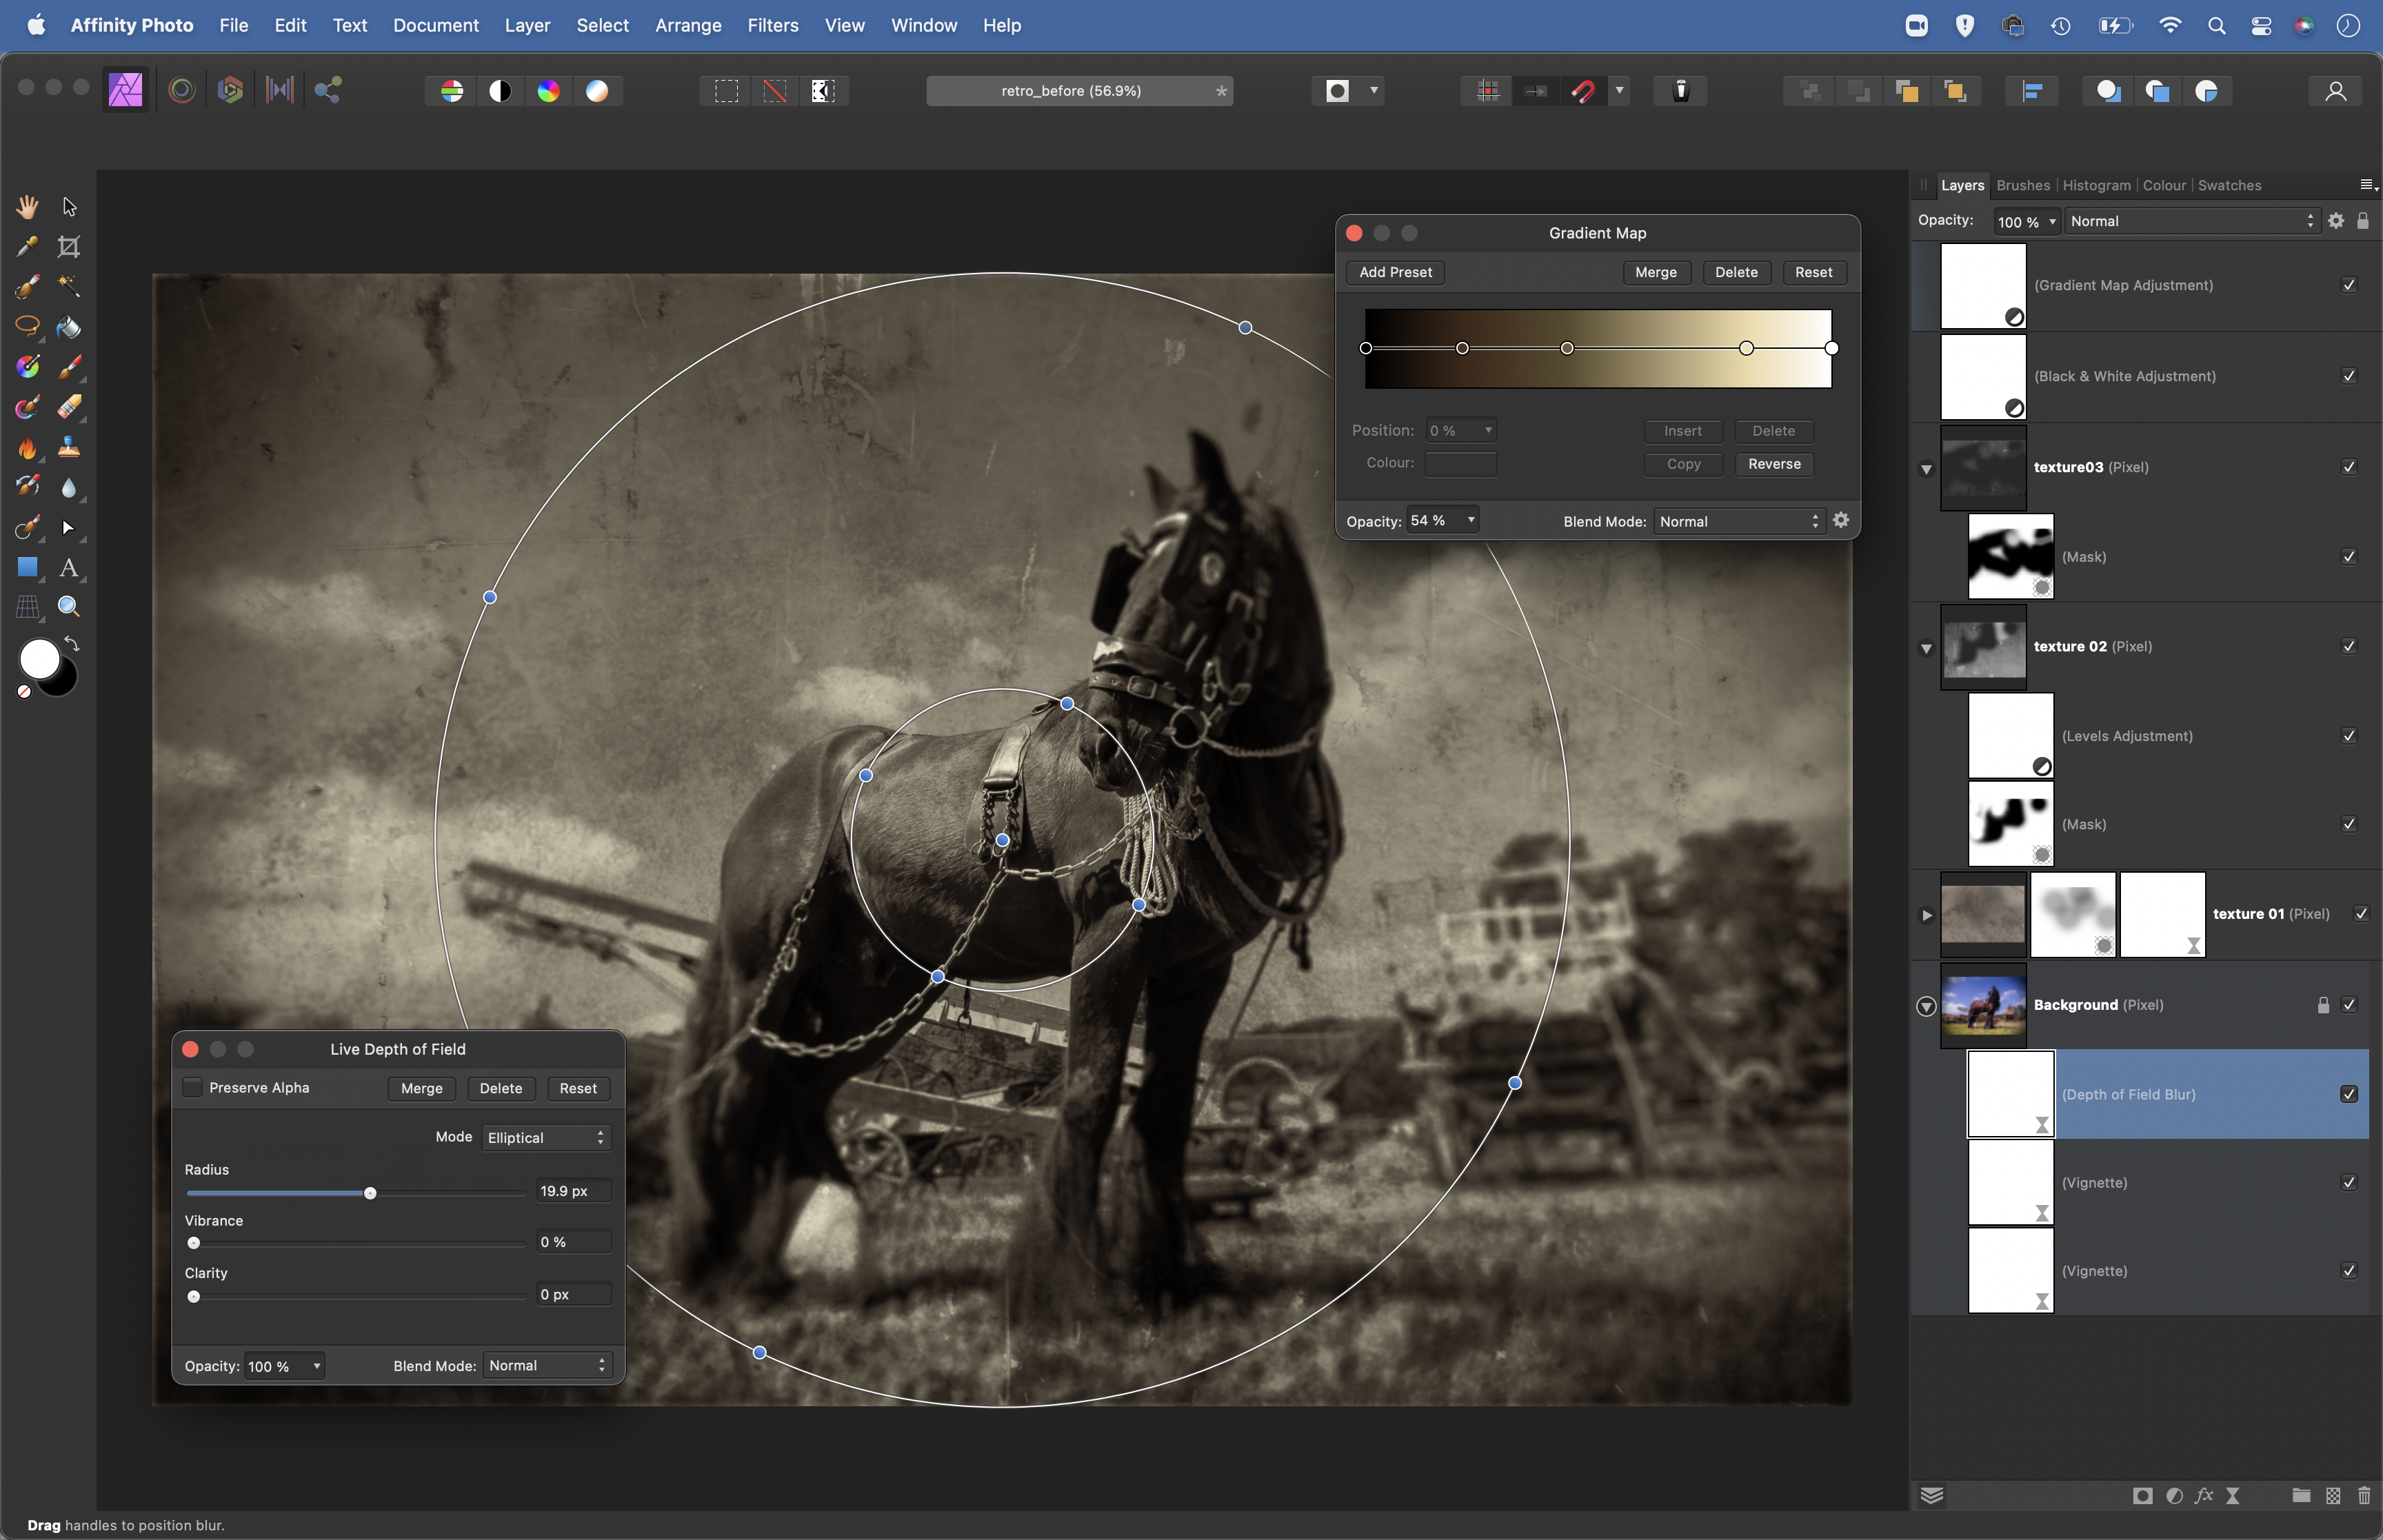
Use Adjustment Layers to tone your photo. First add a Black & White Adjustment, then add a Gradient Map Adjustment. This allows you to ‘map’ colour along the tonal range, from shadows to highlights. Click the colour stops and choose colours to add along the gradient line. Here the shadows are tinted brown and the highlights are given a warm hue.
2) Blend a texture
Open one of the 16 supplied texture images, then copy and paste it into the image. Position it with the Move Tool and resize to fit over the image. Go to the Blending Mode dropdown and hover over the different modes to see a preview of each effect. Typically the best modes for blending textures are Lighten, Screen, Darken, Multiply,
Overlay and Soft Light.
3) Hide with masks
When you blend textures with photos, there will often be areas that are too heavy or that obscure important parts of your image. You can use a mask to hide these parts of the texture. Click the mask icon in the Layers Panel, then grab the Brush Tool. While the mask thumbnail is highlighted, you can paint with black to hide parts of the texture layer, or paint with white to reveal them again.
4) Change the brightness
When it comes to blending textures with photos, often we need to go further than choosing a Blending Mode. You can control how the texture works over the image by adjusting the brightness. Here we’ve placed a Levels Adjustment Layer (on top of the texture layer so it only affects this layer) to lighten the texture. You can try increasing the contrast of a texture layer, or inverting tones.
5) Blur the edges
Old lenses often suffered from severe edge softness around the corners of the frame, and this is something we can easily recreate with a Blur Filter. With the bottom image layer highlighted, go to Layer > New Live Filter Layer > Blur > Depth Of Field Blur. Set the mode to Elliptical and increase Radius to add blur around the corners. Use the circular controls to determine where the blur occurs.
6) Add a vignette
Old lenses typically suffered from heavy vignetting. This is caused by less light entering through the edges of the lens than the centre, resulting in dark corners in the image. In modern lenses it’s usually seen as a problem to fix, but it can also be a powerful feature in vintage effects. Highlight the bottom image layer then go to Filter > Colours > Vignette. Lower Exposure to darken the corners.

Your free textures
We’ve supplied 16 textures for you to use on your own images (download here). These surfaces can give your photos an instant vintage feel by adding dirt, scratches and marks. Simply copy a texture image on top of your photo, position it so that it covers the entire frame, then experiment with Blending Modes, blending options and layer opacity until you get the desired result.
It’s also worth using your camera to build up your own texture library. There are lots of interesting surfaces around the home and garden.
Make the most of your winter photography
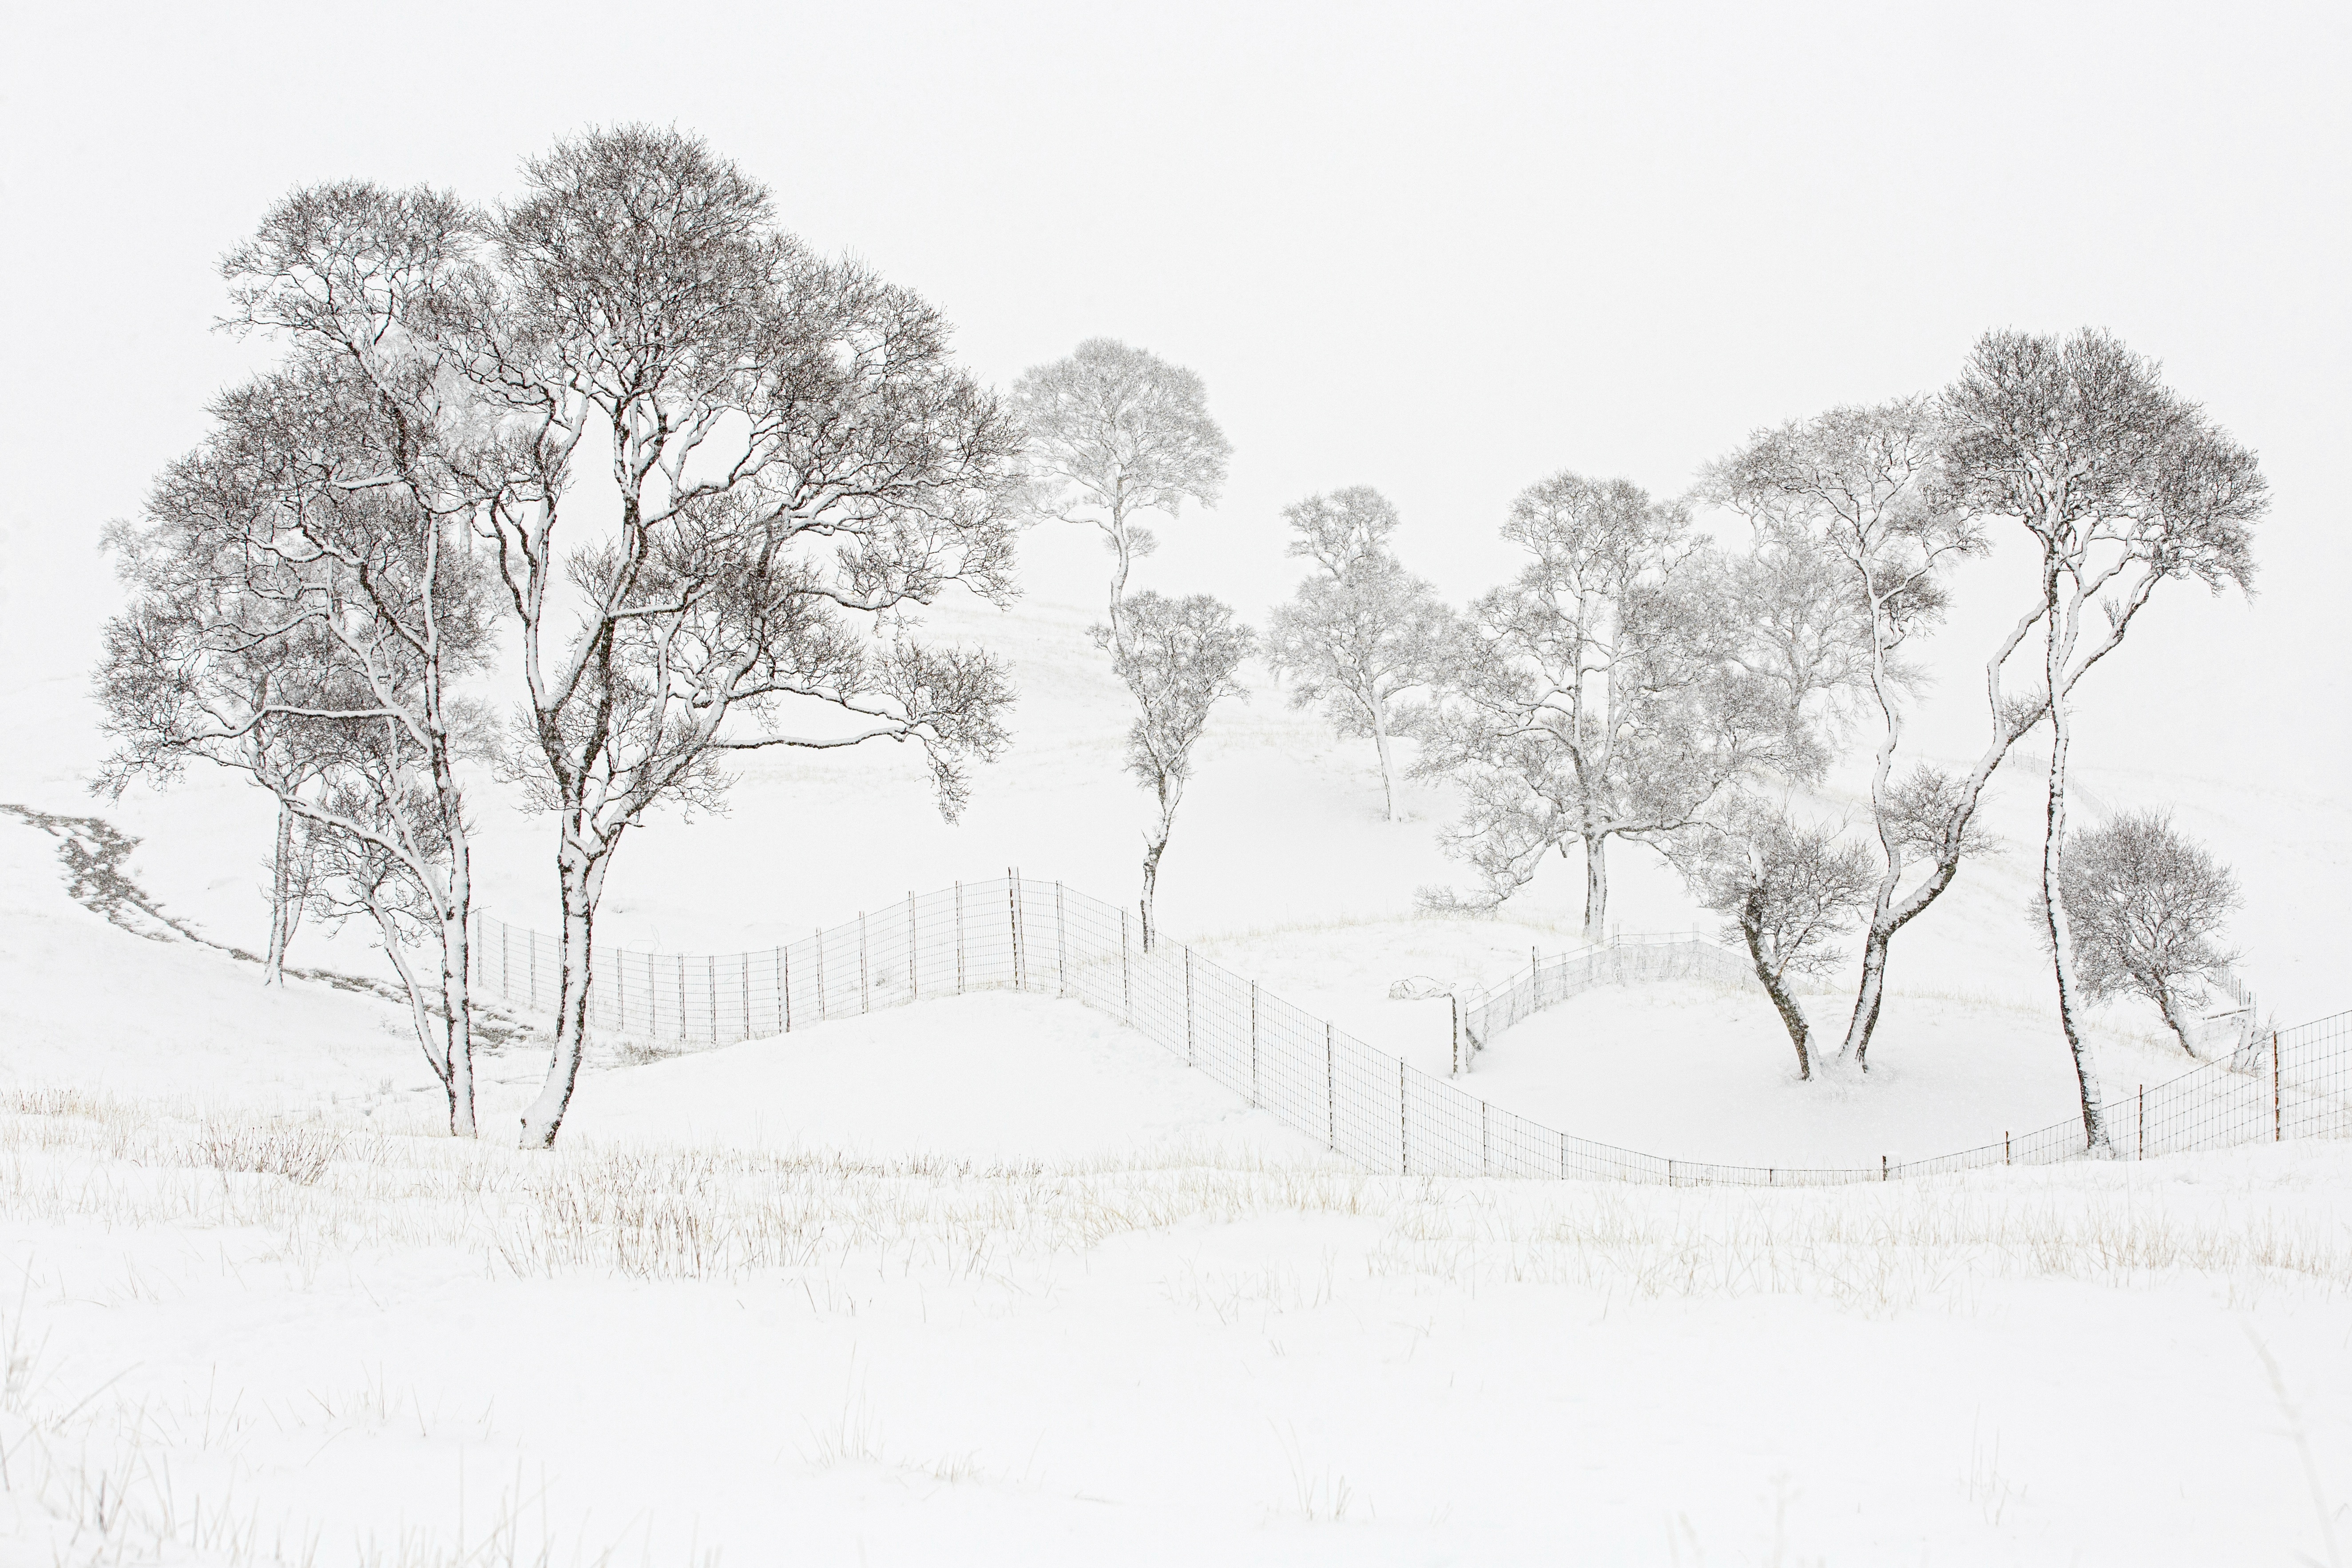
We might be in the bleak midwinter, but for photographers who are prepared to put up with the cold and the wet and dig into their creative reserves, it really is anything but bleak.
It’s fair to say that the great outdoors can look a little ‘earthy’ at this time of year, though, so it pays to be prepared for the pockets of visual joy that occasionally open. From snow-covered scenes and frosted garden plants to punchy sunsets and nature’s great events (such as vast flocks of migrating geese and starling murmurations, to name just two), there are plenty of opportunities for terrific pictures – as long as you’re ready for them.
The first thing to do is make sure that you know your way around your camera’s exposure compensation controls. Faced with bare skies, snow, ice and fog, your camera may end up delivering pictures that are too dark. Essentially, it interprets all those pale scenes as midtone subjects that are too bright or overexposed, so it reduces the exposure accordingly. Even a scene lit by the low light of a winter’s day can be enough for the camera to produce an overly dark image.
You can quickly restore the brightness by dialling in some positive exposure compensation: you want the exposure indicator in the viewfinder or rear screen to move towards the ‘+’ end of the exposure scale. The amount you need to increase the exposure by will vary, and more advanced cameras require less adjustment than beginner-friendly ones. It’s always worth checking the histogram: this should spike or be heaped towards the right of the graph, but without spilling off the edge.
Remember to reset the exposure compensation to zero (with the indicator in the centre of the scale) before you move on, otherwise you may end up inadvertently adding more compensation when you don’t need to. Your camera may automatically reset exposure compensation when you switch it off, or give you the option of enabling that function via the main menu.
With winter’s shorter days and generally lower light levels, you’ll often find yourself having to deal with slower shutter speeds. The longer the exposure time, the greater the risk of blurred pictures – whether that’s caused by the subject moving, or by you not being able to hold the camera still.
While you can increase the ISO to achieve a faster shutter speed and shorter exposure time, that can lead to a decrease in picture quality. You may be able to open the aperture to let more light in, although that can result in a shallower depth of field, which may be an issue too.
The advanced image stabilisation available in top-end lenses and mirrorless cameras like the Canon EOS R5 can be incredibly effective at removing the effects of camera shake, but you’ll have to pay a considerable sum to get that level of performance; it can drain the battery faster, and battery life is a precious thing when you’re
shooting in cold conditions.
A tripod is often the best way to go, although you may want to accessorise it for cold-weather shoots, If you’ll be using it in snow, for example, tape some plastic bags to the bottom leg sections, and if the temperature drops, consider adding some leg protectors (or pipe insulation) to make it easier on your fingers!
5 winter photography tips
1) Check the exposure
Bright snow, pale skies and overcast conditions can lead to pictures that are too dark. Be ready to use positive exposure compensation to brighten things up. If you’re working in Manual mode, open the aperture, extend the shutter speed or increase the ISO.
2) Get out early
The conditions are often calmer at the start of the day, and you can capture fresh snow or frost looking its finest; otherwise you’ll miss some of that magic, especially if you live in a town or city where footprints will quickly ruin pristine ice-white pavements. Plan shots in advance so that you don’t inadvertently spoil the scene with your own feet!
3) Go minimalist
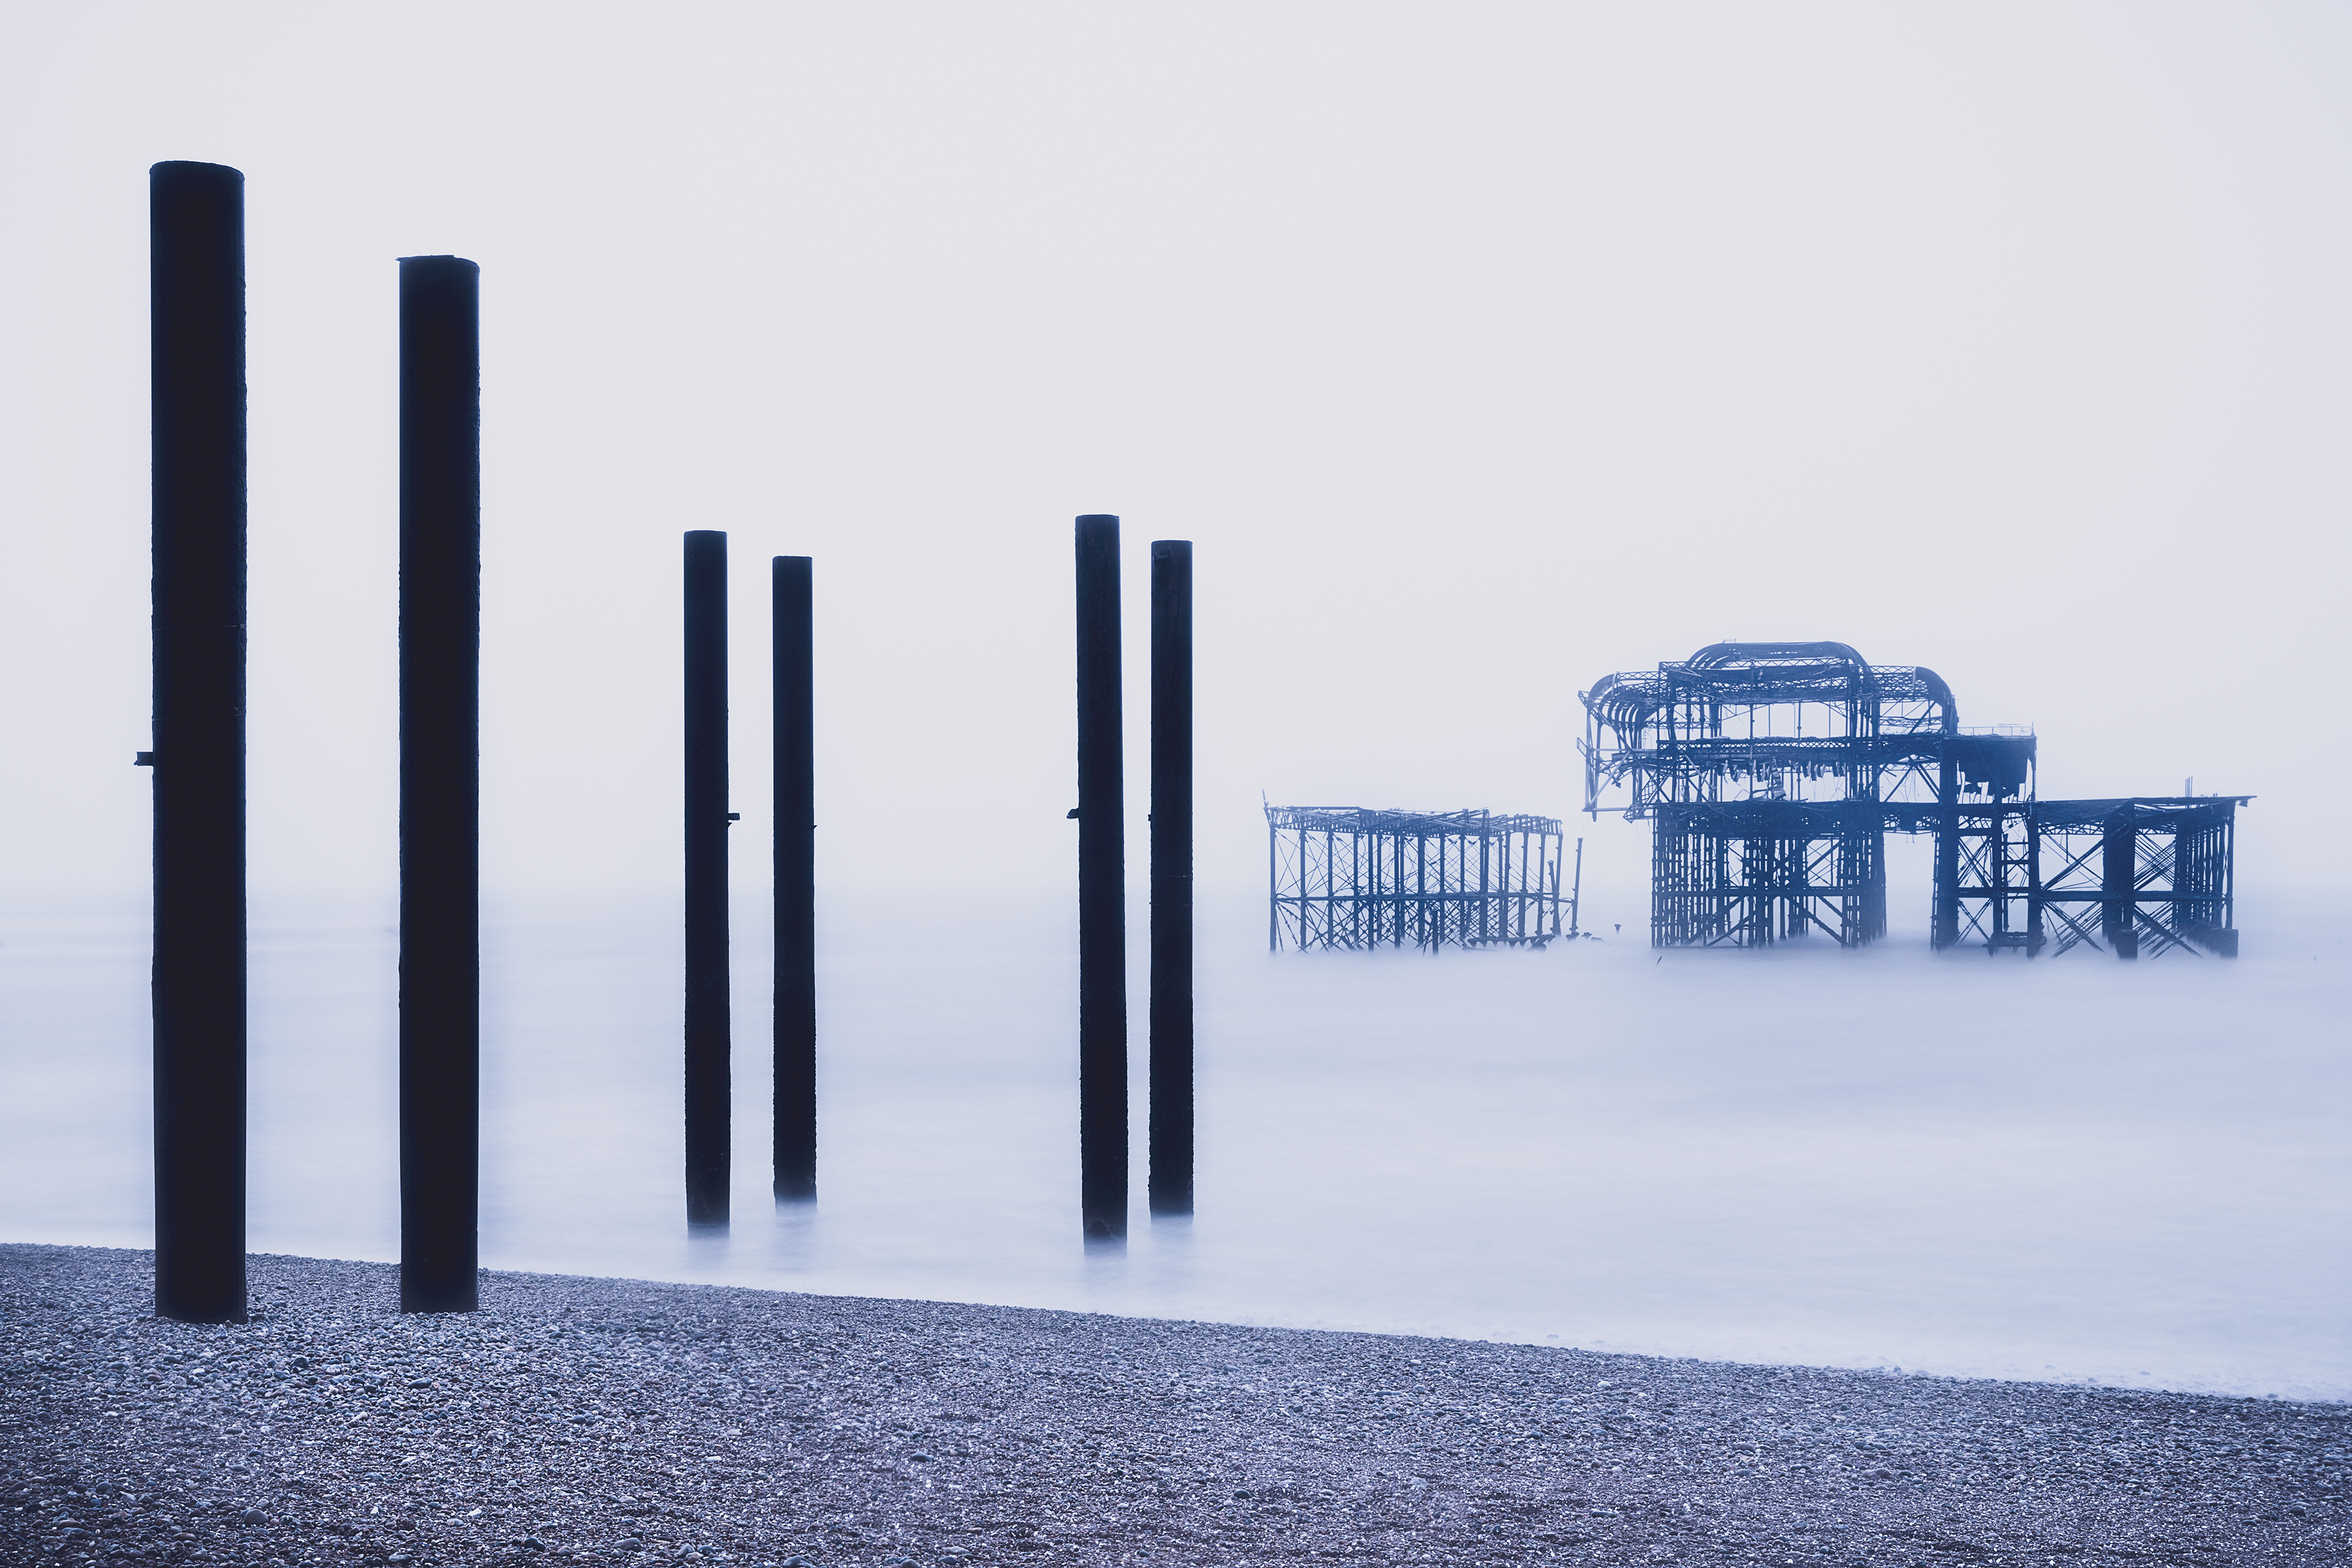
Use foggy or snowy conditions as a blank canvas, and focus on creating sparse compositions where there are only a few carefully arranged elements in the frame.
4) Get creative with colour
Look for colourful subjects that can form a focal point on grey days, and experiment with white balance along with hue, saturation and luminance adjustments in editing software to add a cool quality to frozen scenes.
5) Look after your kit
Whether you’re shooting in rain or snow, take some precautions to ensure that your camera doesn’t let you down. Use microfibre cloths to dry it regularly, fit a lens hood, and avoid changing lenses if you’re working in particularly windy conditions.
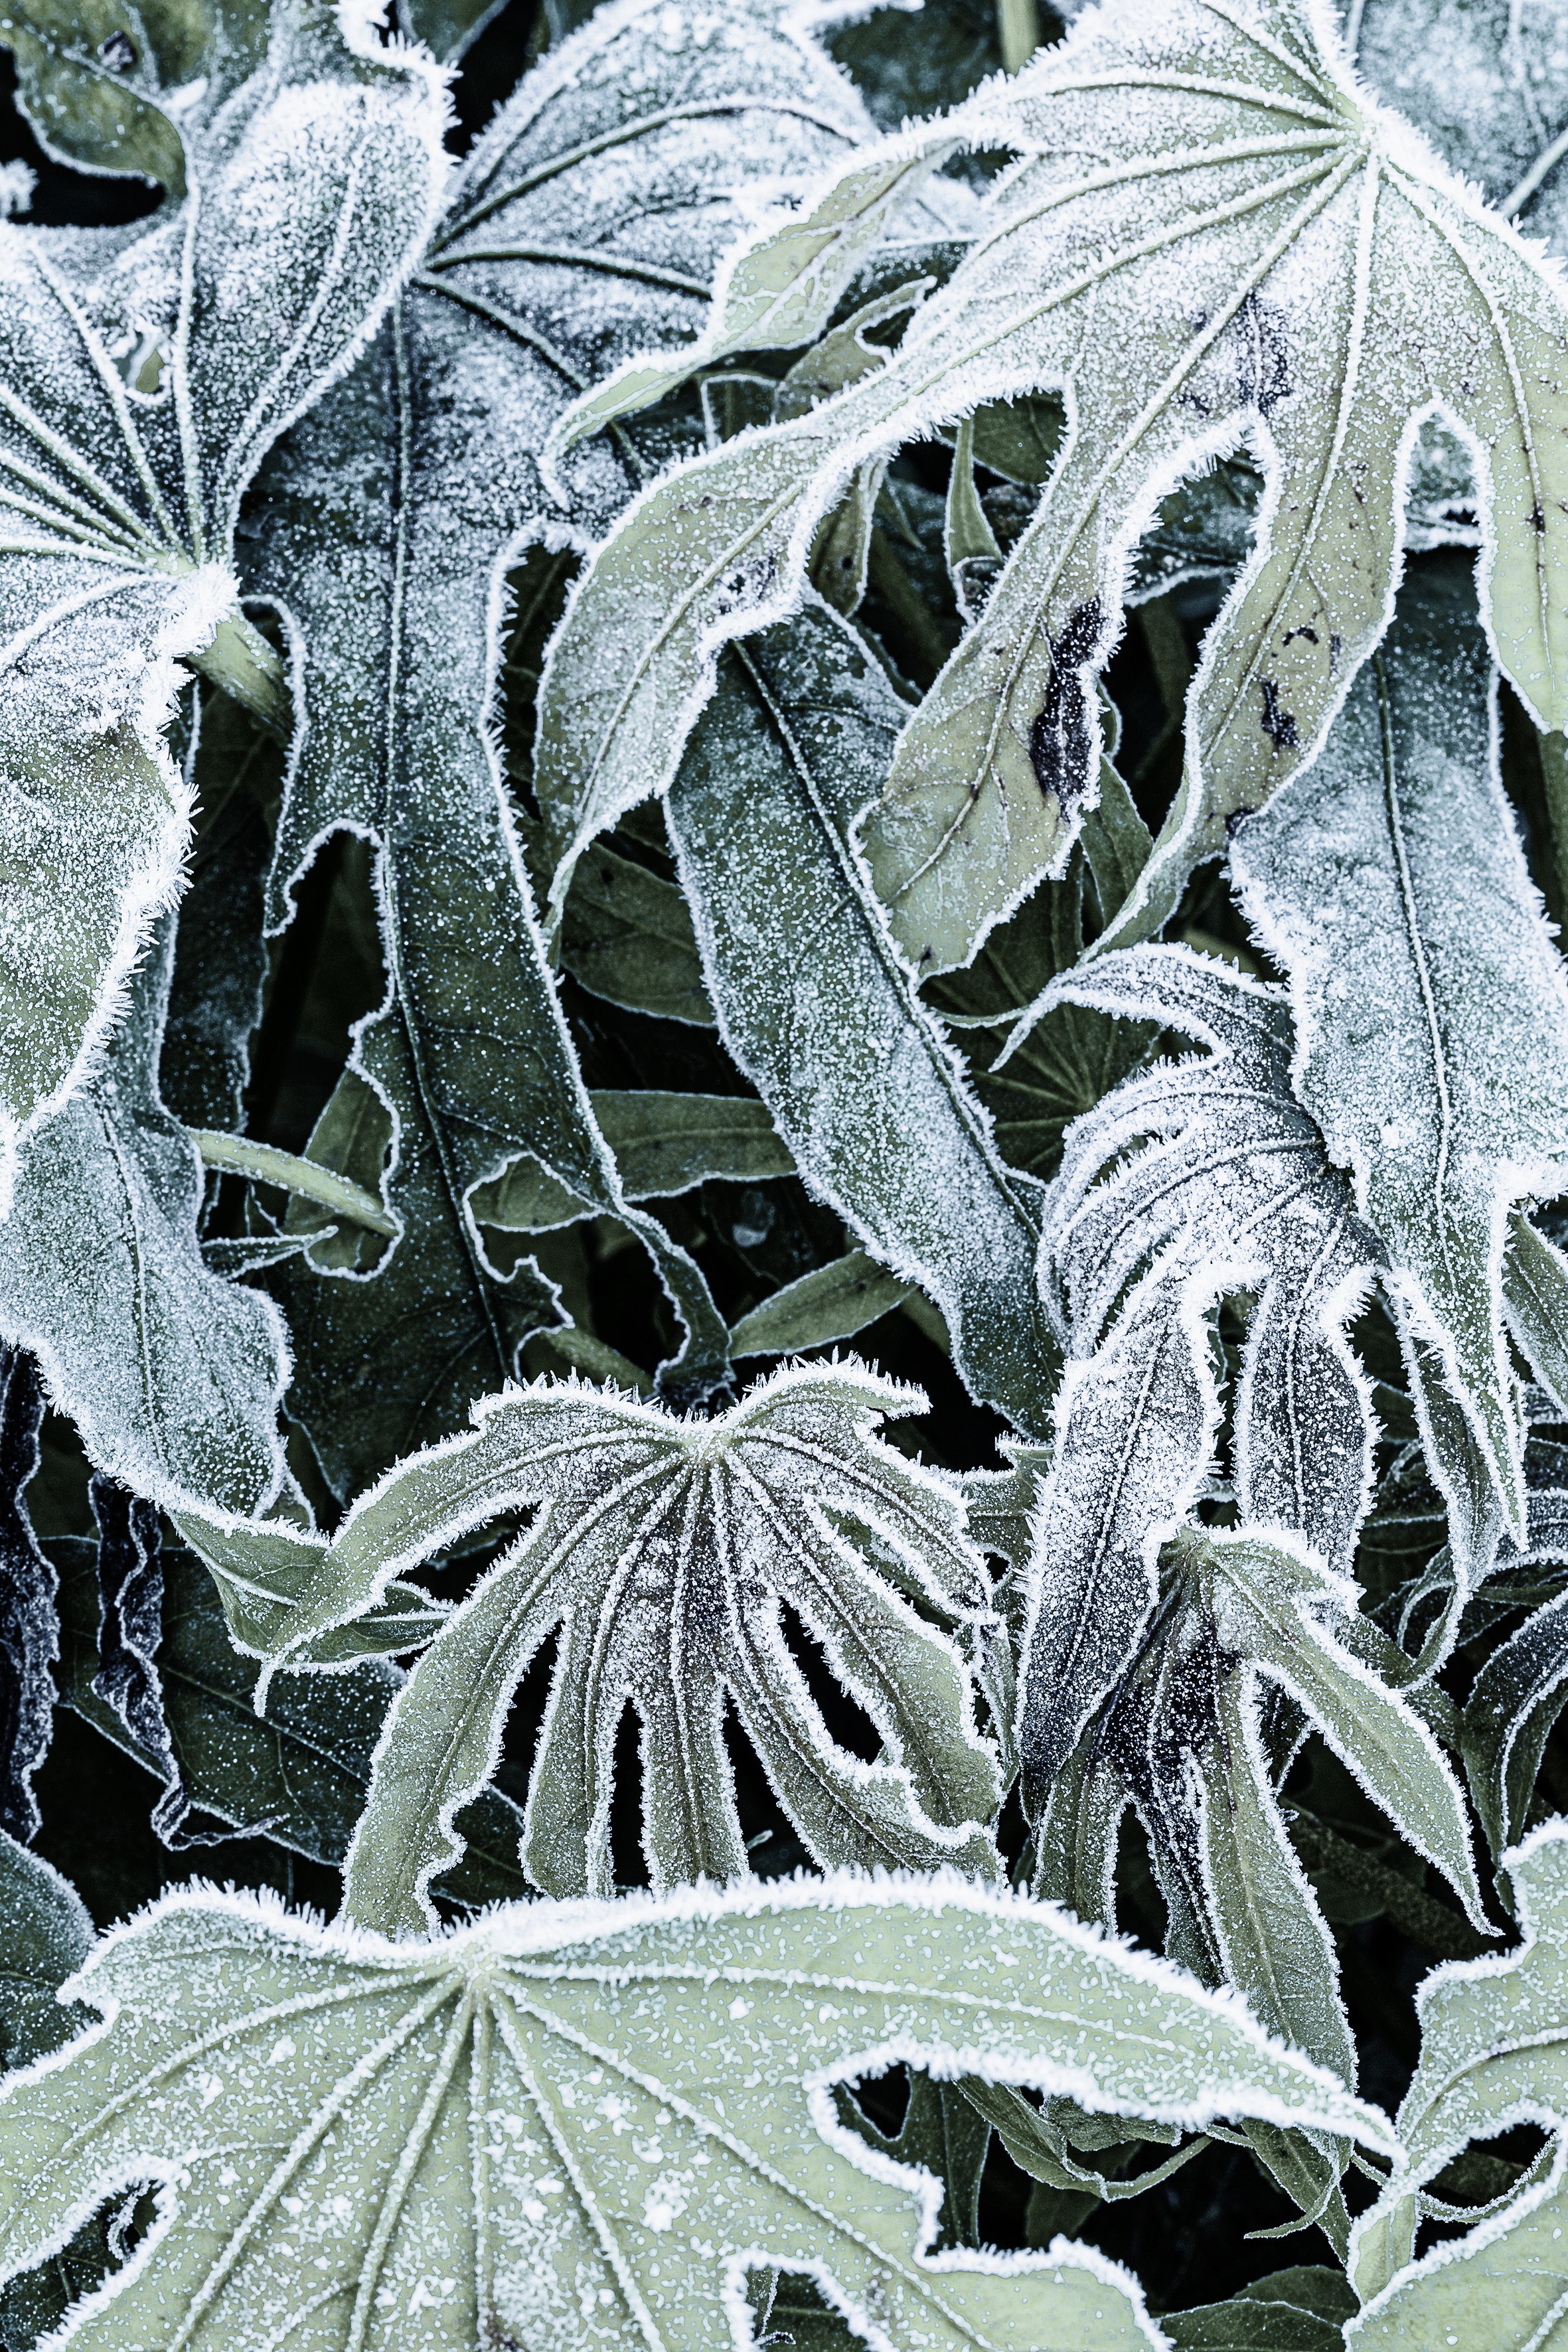
This month we want to see your best shot taken during the winter months, for a chance to win a copy of Affinity Photo. It doesn’t have to be taken in the middle of a blizzard; you don’t have to feature snow at all. But it needs to have been unmistakably taken in winter. Perhaps some cold close-ups – cracked ice and swirling, feathery frost patterns? How about abstracts of steamy kitchen windows or minimalist cityscapes captured in dense fog? There are plenty of subjects to get stuck into, but try to approach them with a fresh eye, too.
To enter your best image (one per reader, please), either email your entry
to digitalcamera@futurenet.com, putting ‘Winter Challenge’ in the subject line;
or upload your entry to the ‘Winter Challenge’ post on our Facebook page. By entering your image into this competition, you confirm that you own the copyright to the image, and agree that Digital Camera can publish your image in relation to this competition. You retain full copyright of your image, and will be fully credited if it is published.
The closing date is 03 March 2022 and the winner will receive a copy of Affinity Photo for Windows or macOS. Good luck!
Get the Digital Camera World Newsletter
The best camera deals, reviews, product advice, and unmissable photography news, direct to your inbox!
Digital Camera World is one of the leading authorities on camera and photography news, reviews, techniques, tutorials, comparisons, deals and industry analysis. The site doesn't just specialize in cameras, but all aspects of photography, videography and imaging – including camera phones, gimbals, lenses, lighting, editing software, filters, tripods, laptops, printers, photo books, desks, binoculars and more.
Whether you're using, looking to buy or trying to get the most out of a compact camera, action camera, camera drone, cinema camera, beginner camera or professional camera, Digital Camera World has a roster of experts with combined experience of over 100 years when it comes to cameras, photography and imaging.

