Master the Depth Of Field Blur Filter in Affinity Photo
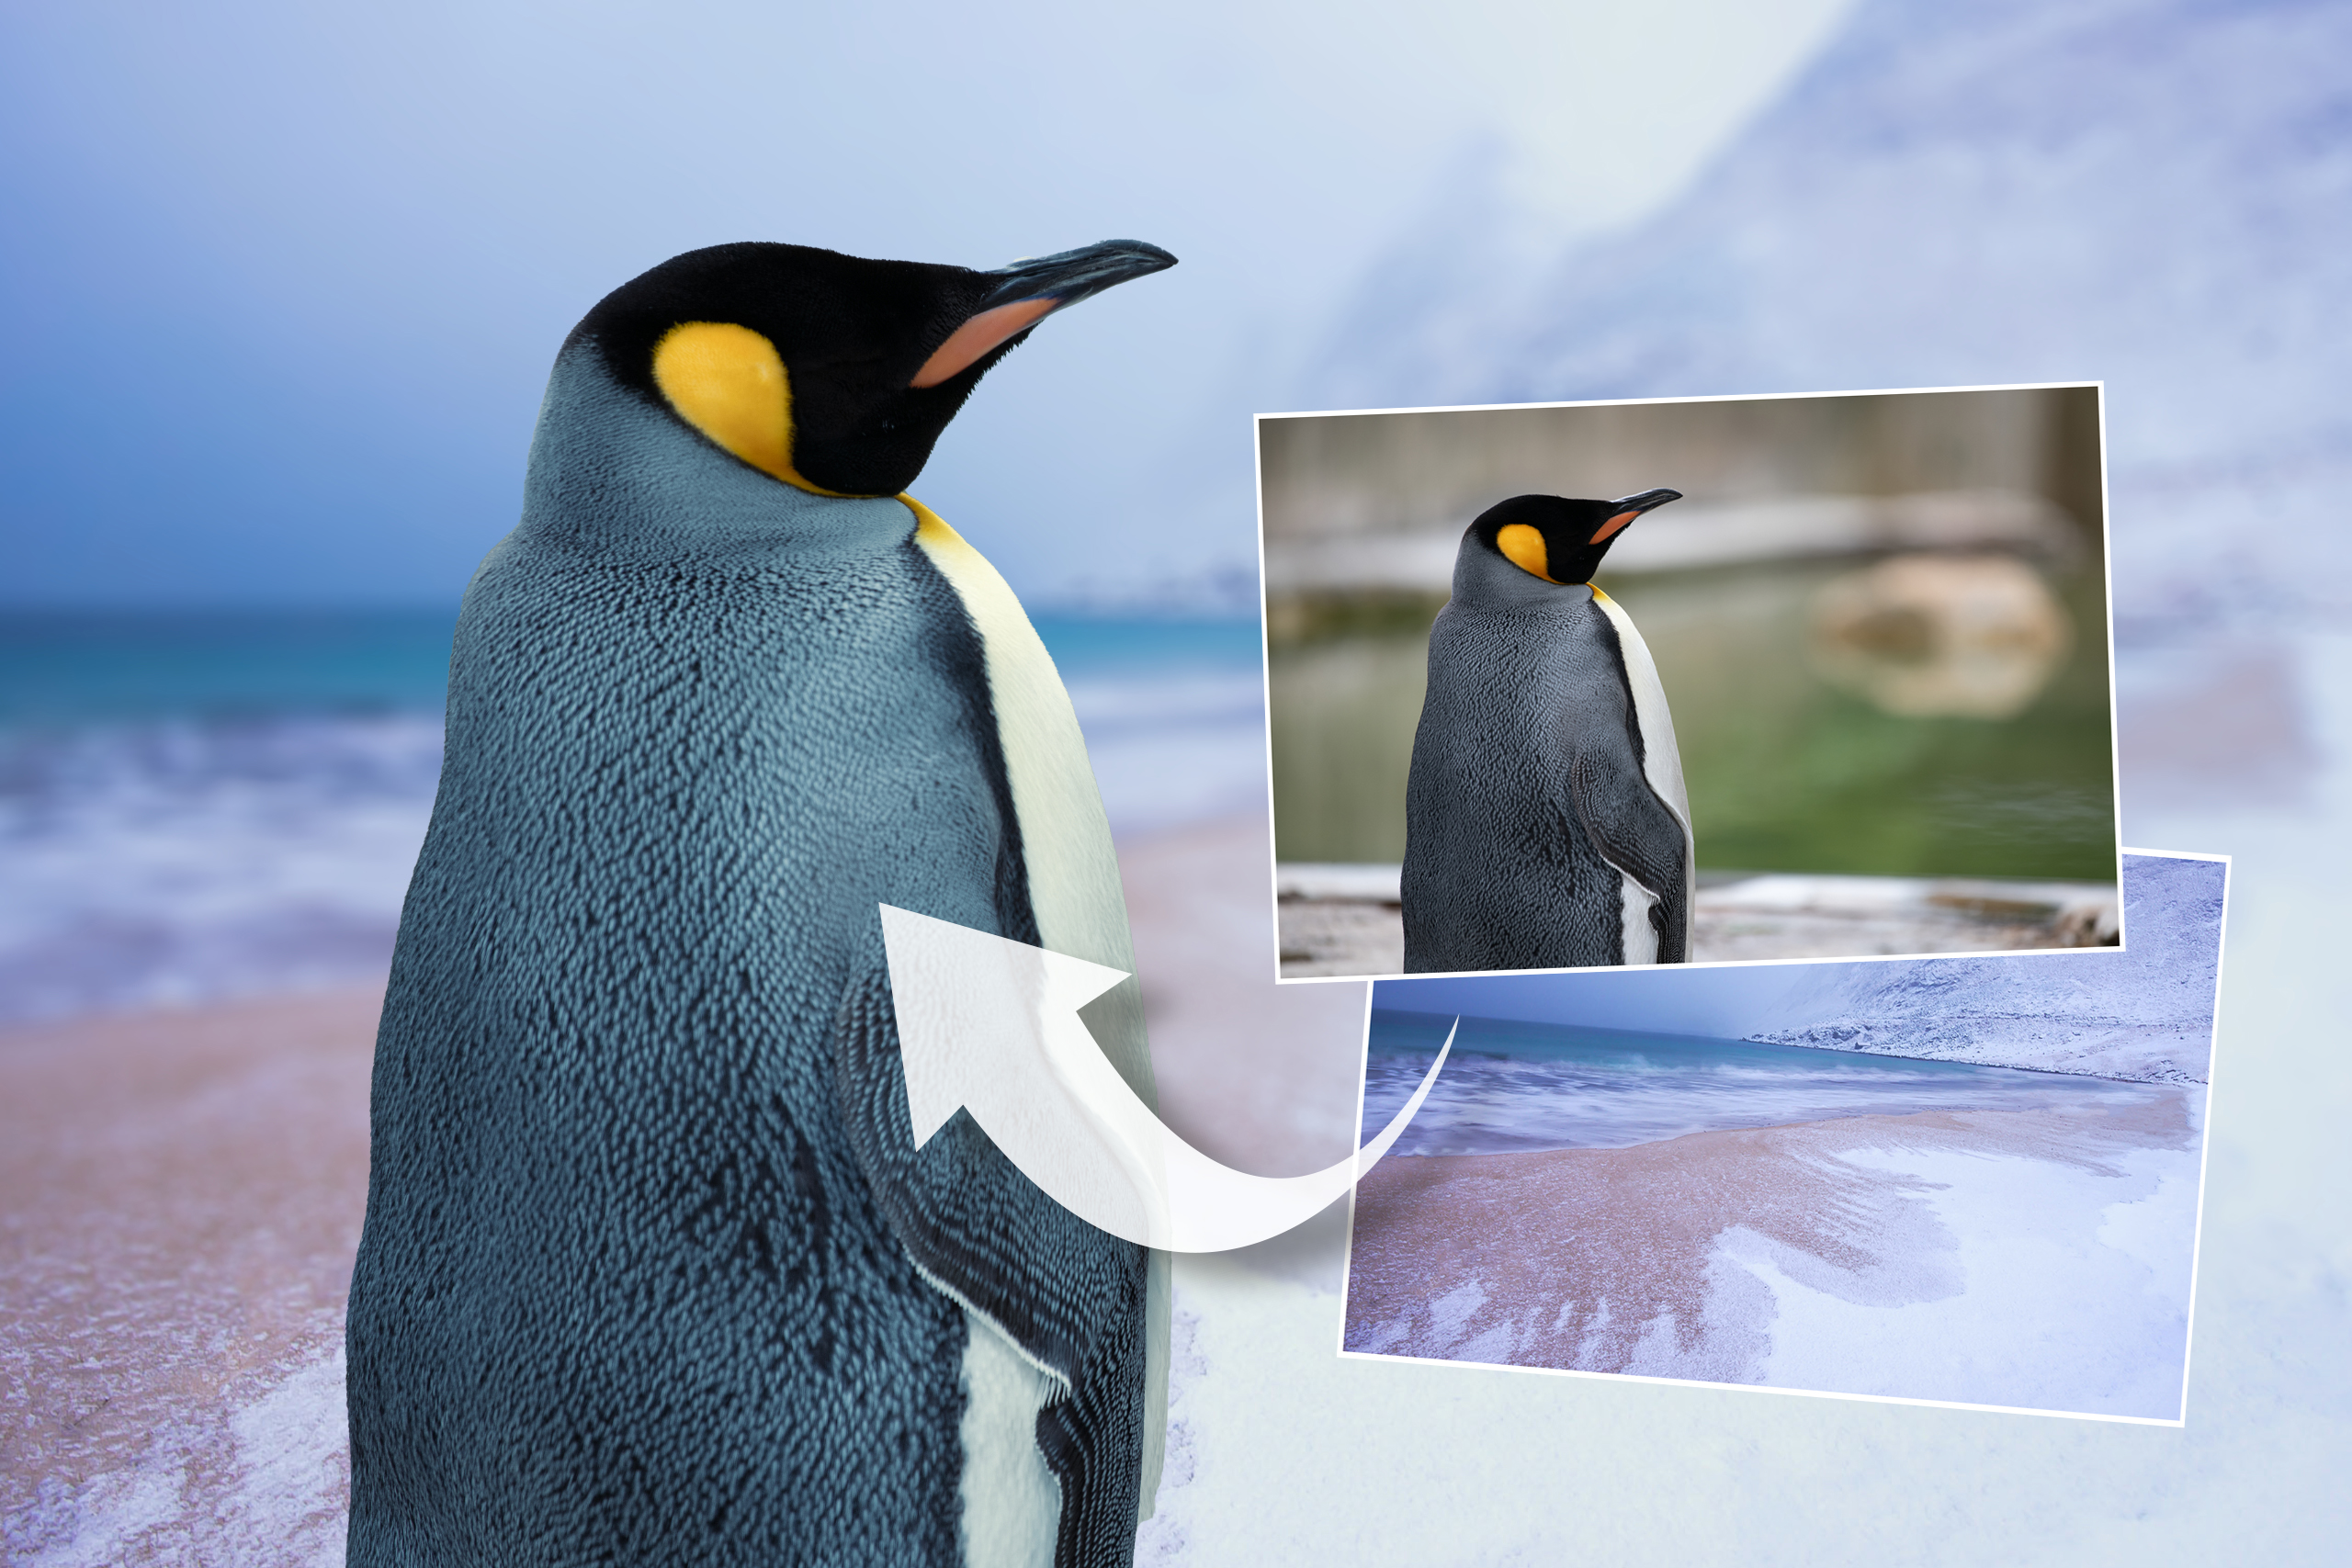
Whether you want to blur a backdrop, adjust depth of field or draw attention to your subject, Affinity Photo’s Blur Filters can help. Of course, nothing beats natural, in-camera blur, but if you decide afterwards that parts of a frame would look better out of focus, then Affinity Photo makes it an easy edit to do.
There are also times when blur can be an essential editing tool. Here we’ve created a simple composite by cutting out the penguin and dropping it on a snowy image. The problem, though, is that our new background is too sharp. Thankfully, we can use the Depth Of Field Blur Filter to create realistic blur, so that it looks more natural.
In this project we’ll look at the key features of the Depth Of Field Blur Filter, and you’ll find a full walkthrough of the compositing technique in the accompanying video. The great thing about the filter is how it doesn’t just apply blur, but also lets you control the plane of focus and the transition between sharp and blurred areas, like adjusting your focus point and aperture while shooting.
Here it enables us to create stronger blur as the scene recedes into the distance, just as it would in-camera.
1) Cut out, copy and paste
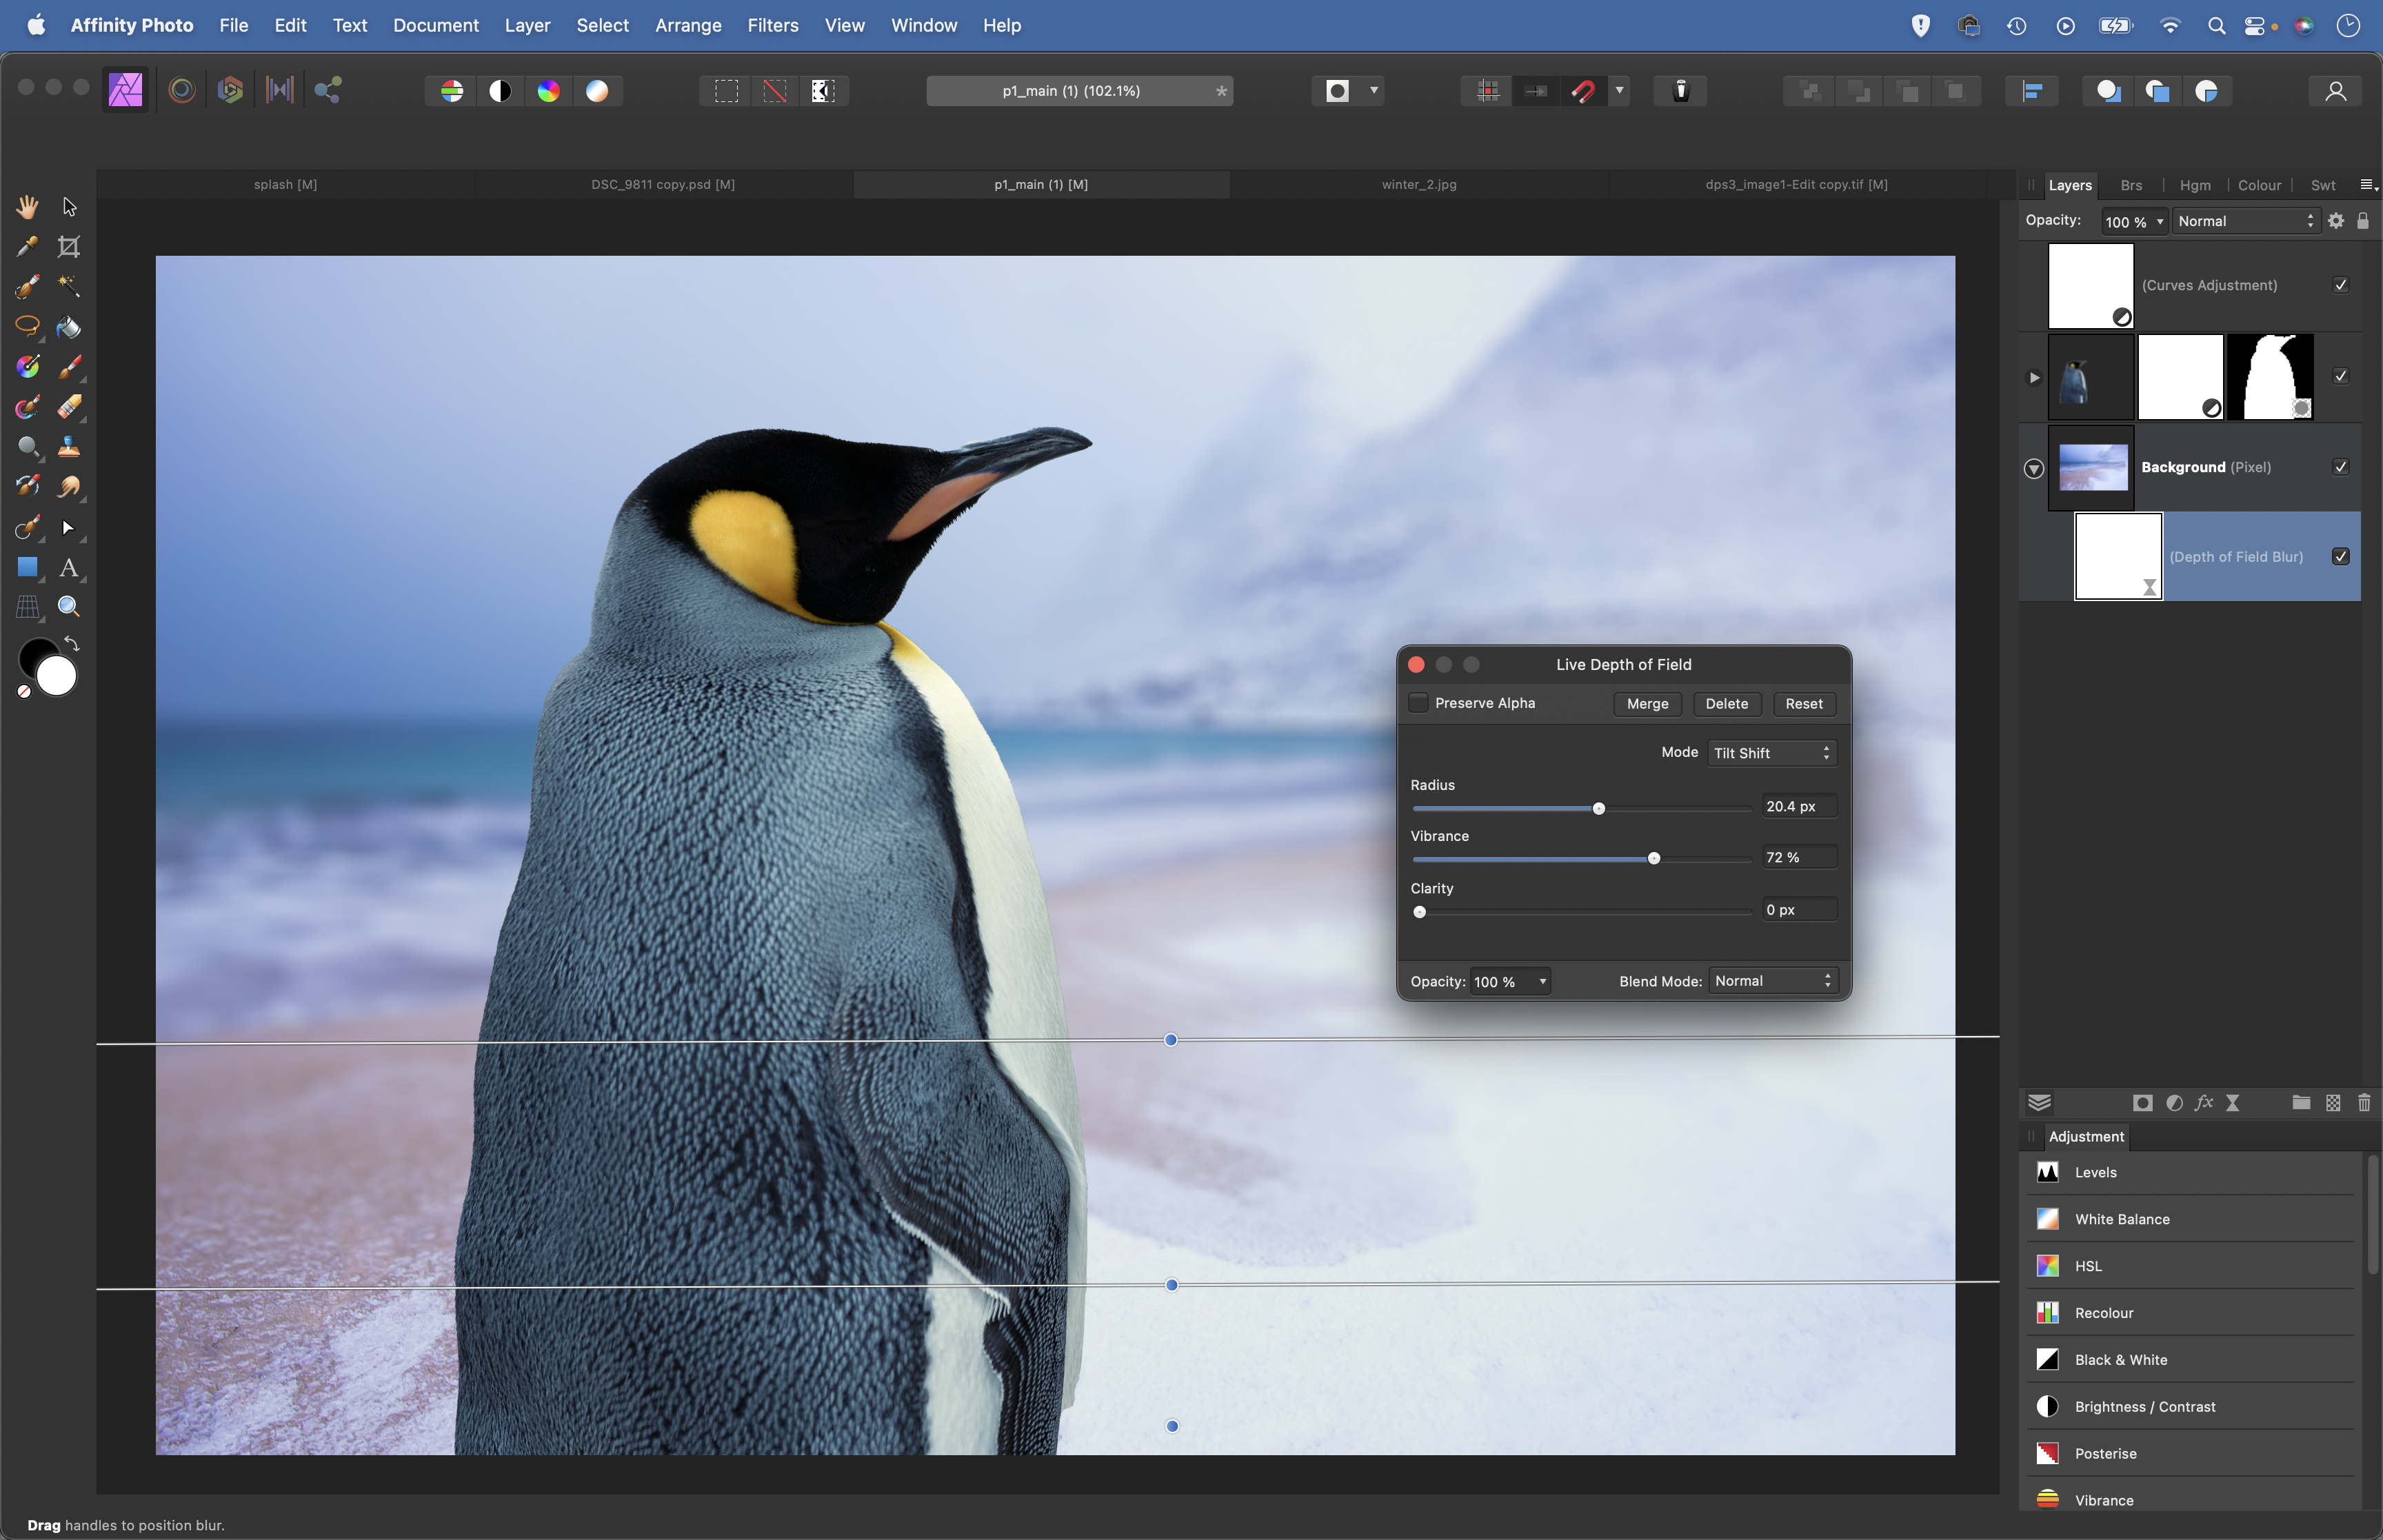
We’re using the Depth Of Field Blur Filter on the background of our composite image, so first we cut out the penguin by painting over it with the Selection Brush. (Tick Snap To Edges in the tool options.) Use the Refine Selection tool to improve the edge by increasing Radius. Output as a mask, then copy, paste and position the penguin into our snowy scene.
2) Add a Live Filter layer
The Depth Of Field Blur Filter lets us apply blur, like using a shallow depth of field when you shoot an image. We could use Filter > Blur > Depth Of Field Blur, but the better option is usually to apply it via Layer > New Live Filter Layer > Depth Of Field Blur. This way, the blur effect can be edited at any time simply by double-clicking the Live Filter thumbnail in the Layers Panel.
3) Tilt-Shift Mode
There are two modes to choose from. Elliptical creates a circular effect with a sharp central area that gradually falls off to blur; it’s useful when you have a central subject you’d like to draw attention to. Tilt-Shift mimics the look of a tilt-shift lens by creating linear blur. This mode is better suited to a scene like this, where we want the foreground details nearer the penguin to be sharper, with stronger blur in the distance.
4) Control the blur area
In Tilt-Shift Mode, the area between the two central lines remains fully sharp, while the outer lines control the transition towards blur. Beyond the outer lines will be fully blurred. Hold Ctrl/Cmd while dragging the points to adjust both sides at once. Hold Shift to lock the angle while dragging the control points. We’ve moved half of the effect outside of the image, as we only need it to work in one direction.
5) Fine-tune the blur
Once you’ve defined an area, you can fine-tune the strength of the blur so that it fits perfectly with the scene. Radius controls the overall strength of the blur effect. A higher value will fade out the details to attractive blur. Vibrance increases the colour intensity. Clarity increases the midtone contrast in the blur, which will make the clearer details slightly crisper and more defined.
6) Try Field Blur
For more control over the blur, it’s worth experimenting with Field Blur, found under Filter > Blur > Field Blur. With this, you can click on any area to add a handle, then control how blurry or sharp the area around the handle is. Global Radius sets the overall blur strength, then you can reduce a handle’s Selected Handle Level to reduce the blur in different pockets of the scene.
How to get the toytown look
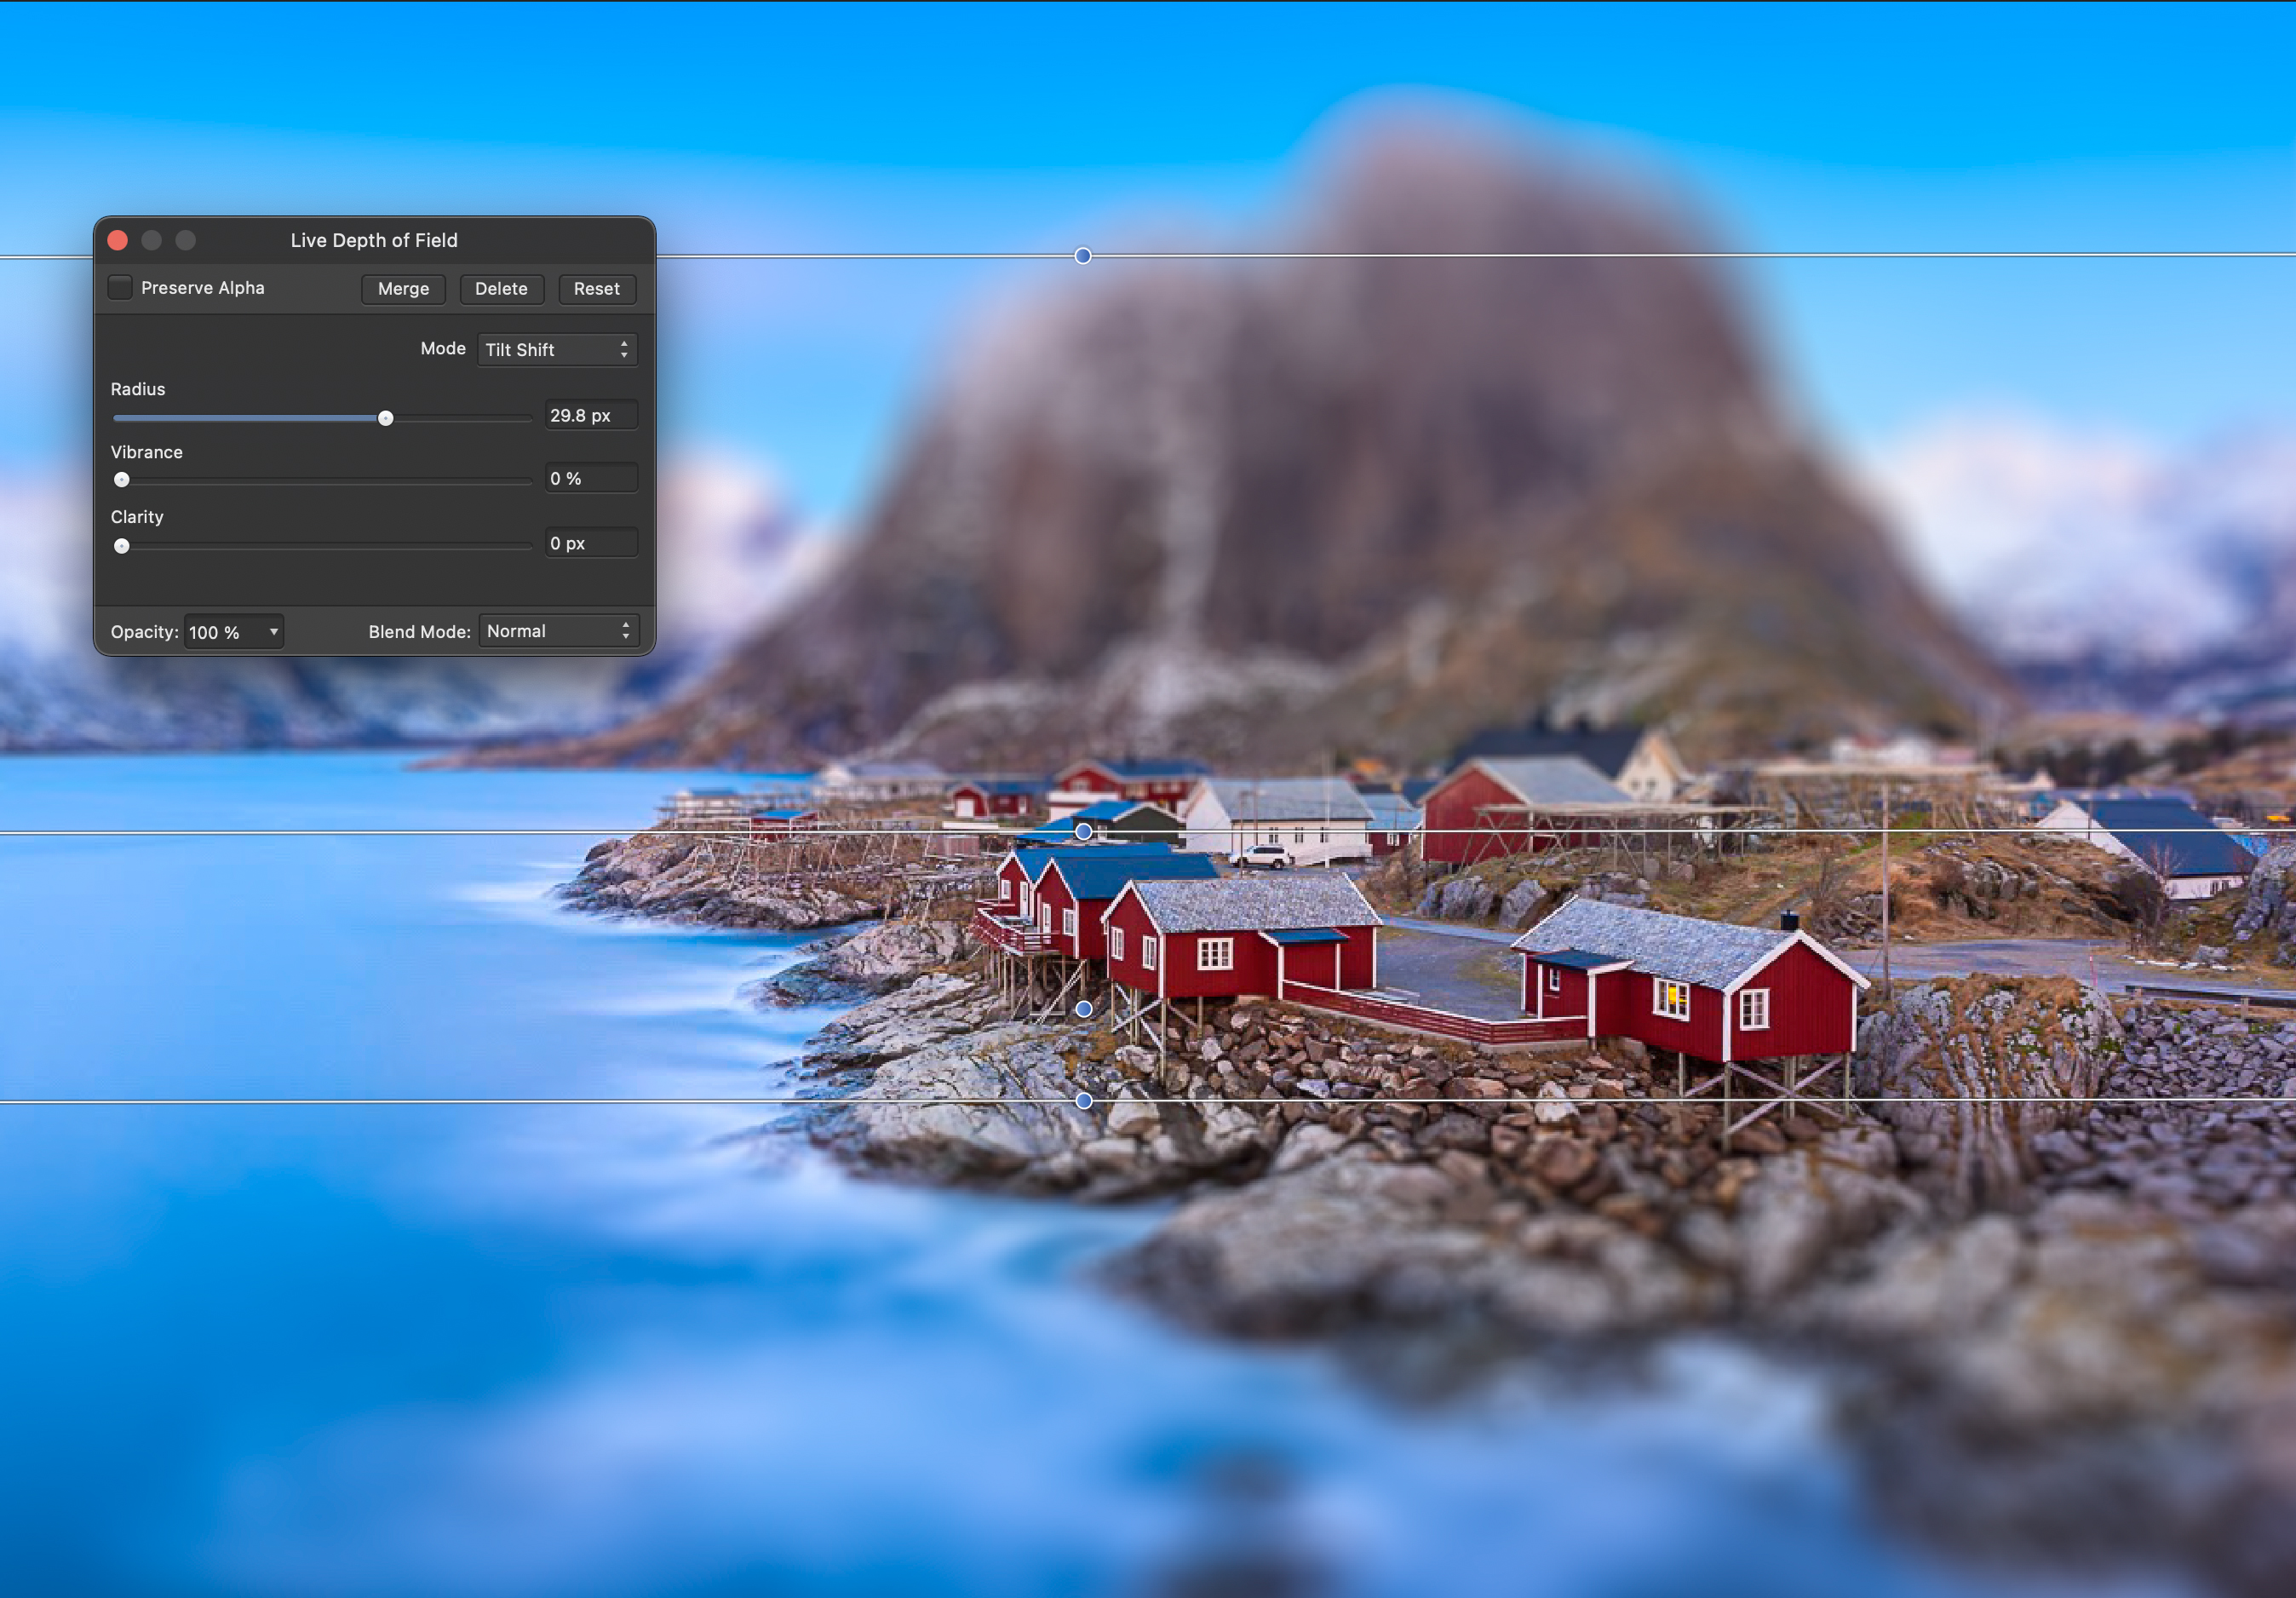
Tilt-shift blur effects are often used to give images a toytown effect like this, making the scene look like a miniature model village. The technique works best on wide scenes and cities captured from a top-down view. Simply apply the Depth Of Field Blur Filter, choose the Tilt-Shift mode, then adjust the blur area so that a sliver of the scene remains sharp with blur above and below it. To enhance the look, try boosting colour and contrast using a Vibrance Adjustment Layer.
Creative close-ups with a seasonal twist
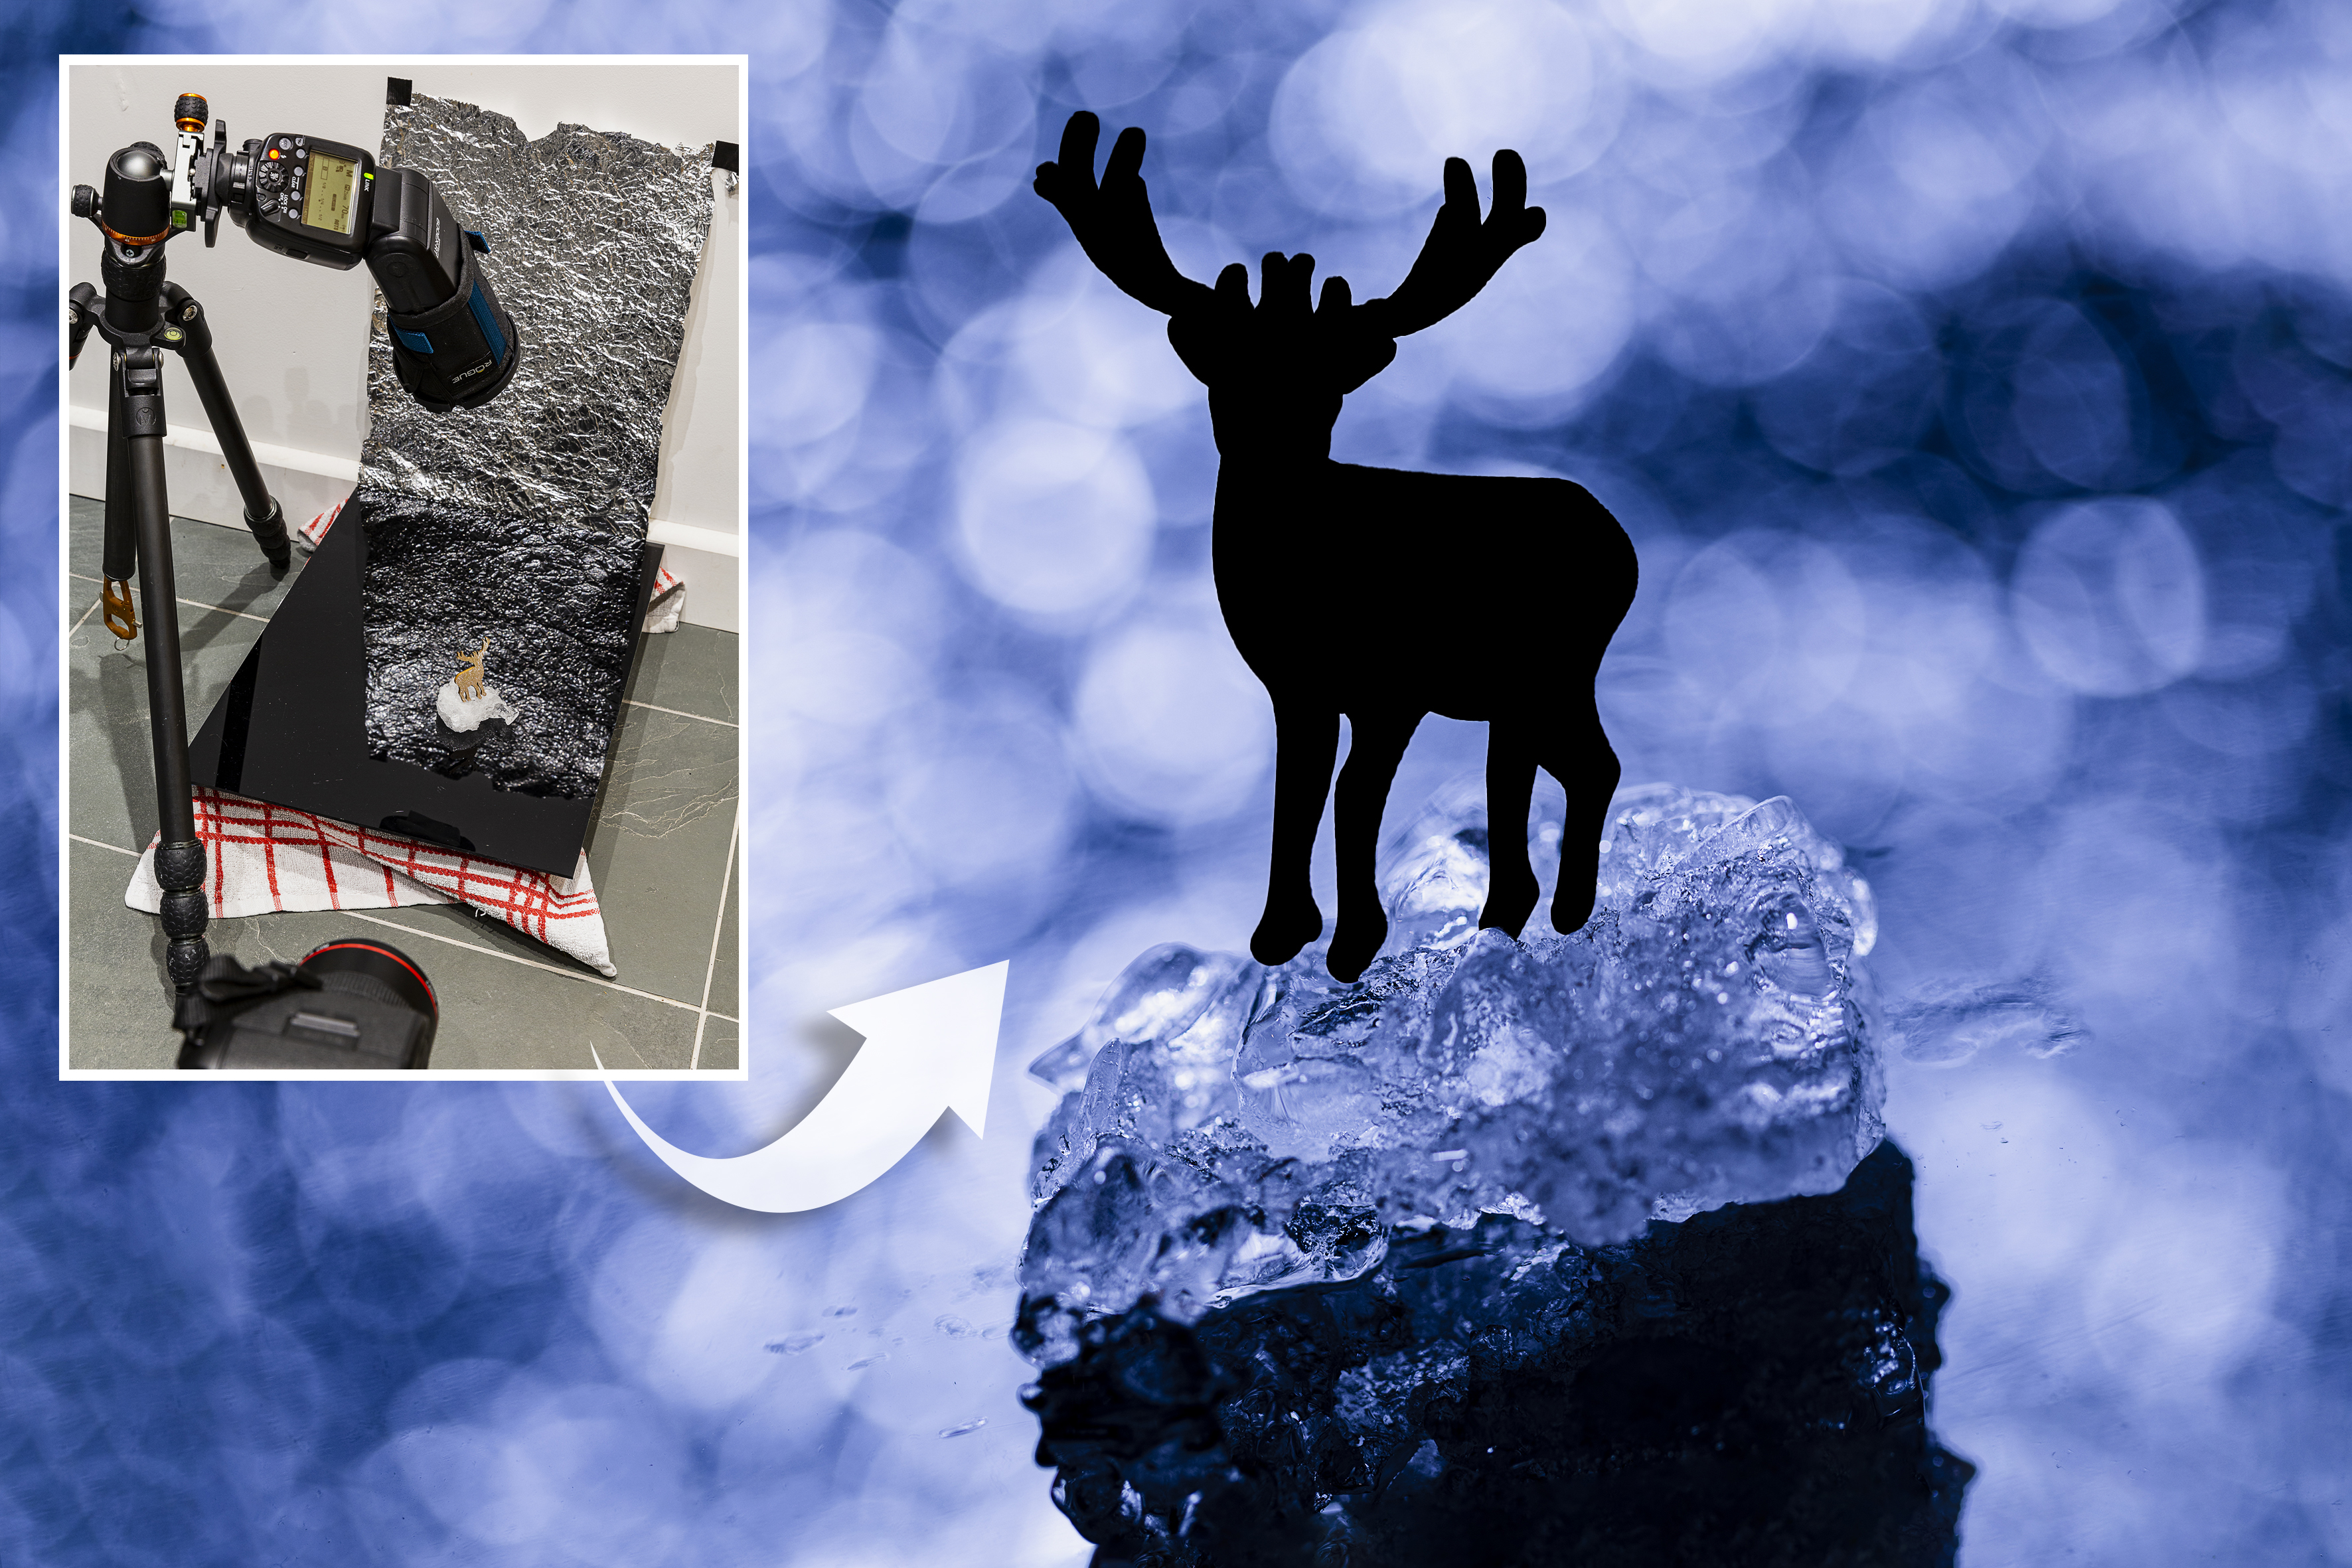
If you still haven't lugged your Christmas decorations back up to the loft (or perhaps if you still haven't taken them down!), why not take advantage of the opportunity to shoot some arty close-ups? There’s a host of small-scale creative projects you can try, including using Christmas lights to produce a beautiful bokeh background; building miniature dioramas (complete with flour for snow); and shooting baubles and tinsel refracted in water drops.
The traditional kit for close-up photography is going to be useful for this type of work. A lens that’s capable of focusing close is obviously a benefit, and a macro lens that’s capable of recording a subject at half-life-size or life-size will open up more options. Lenses with longer focal lengths can help you to create backgrounds with more impact, as out-of-focus areas will appear larger relative to the subject in the foreground. So, if you have the room to move, try using focal lengths in the region of 80-100mm rather than a wide-angle lens.
A tripod is a good thing to have to hand, as you’ll often have to deal with low light and longer exposure times when you’re shooting indoors. Using a tripod affords stability and enables you to keep the ISO low for maximum image quality, without having to worry about the length of the exposure. Use the self-timer so that you don't nudge the camera while taking the shot, and if you’re using a DSLR it pays to shoot with Live View so that the mirror doesn’t create vibrations.
Lastly, there’s the lighting. Working indoors means that you not only have to contend with lower light levels, but a mix of colours, too. You might be faced with an overall warmth from the room lights, plus colour-changing Christmas lighting, candles and more. The camera’s Auto White Balance might strike a good balance between all of the different colours, or it might make a complete dog’s dinner of it and leave you with a weird colour cast.
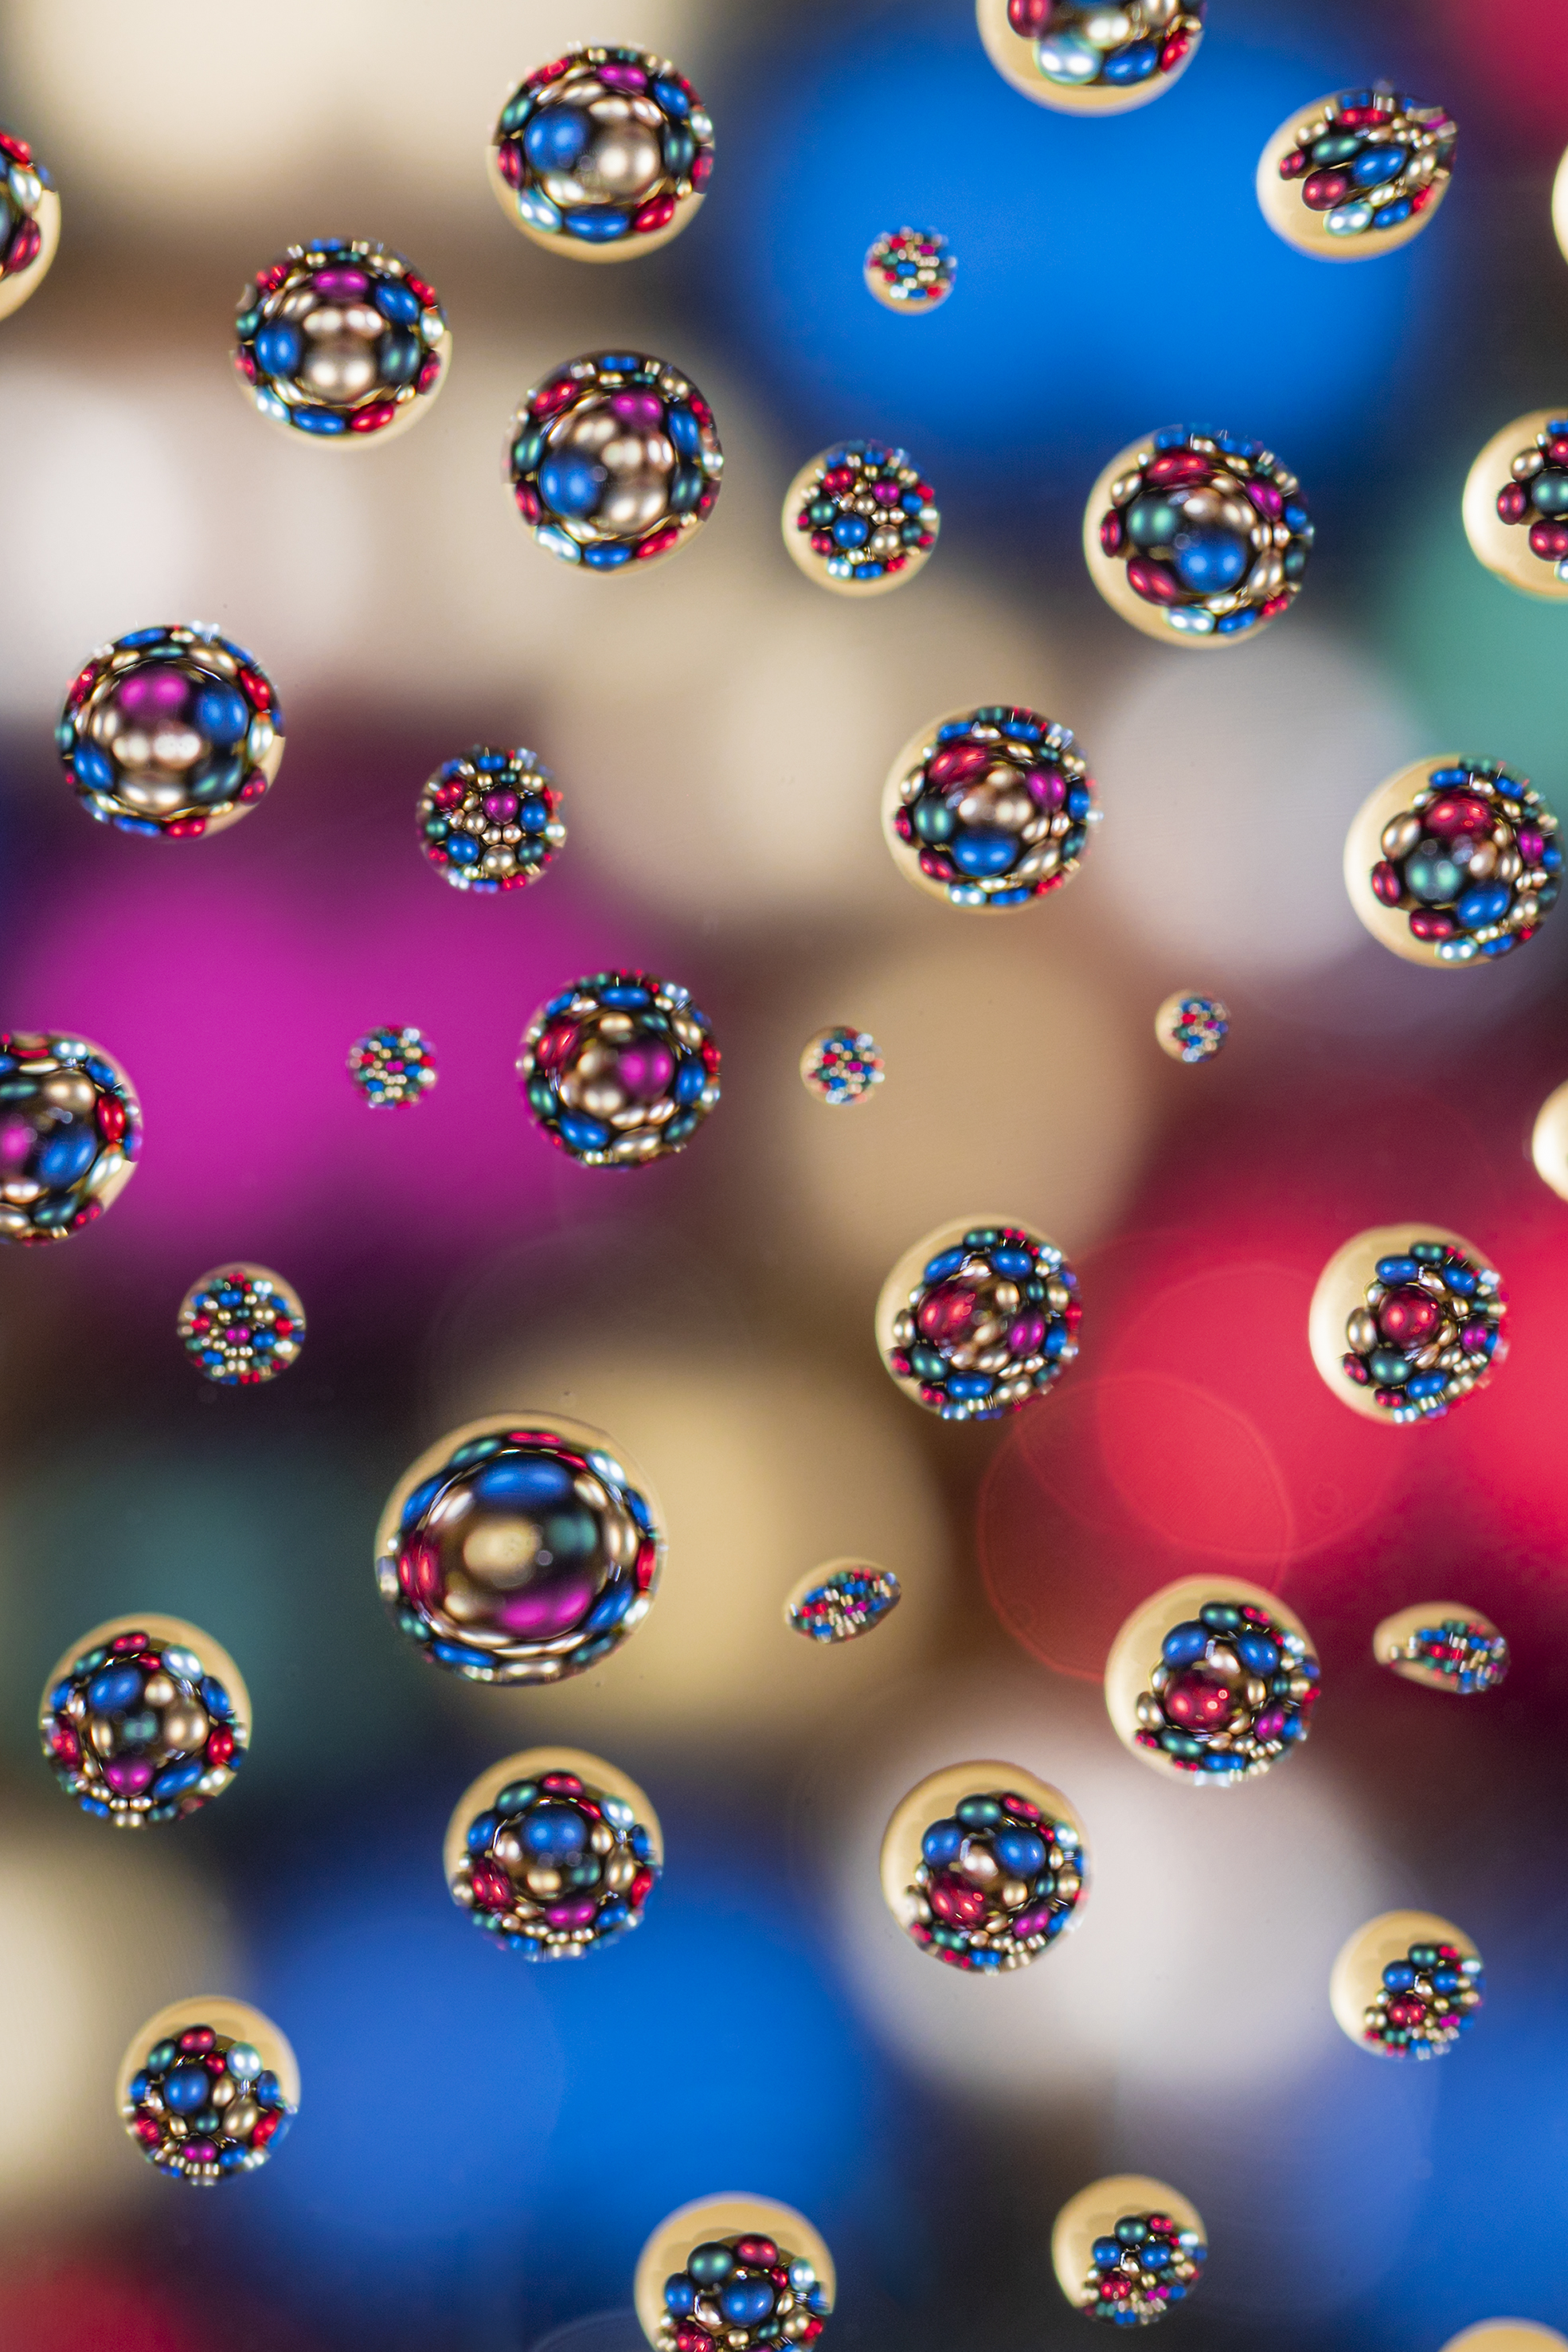
If you shoot raw, though, you’ll have more freedom to fix colour problems when you process your images. Take a test shot with a piece of white paper in the frame: later you’ll be able to click on this with the White Balance Eyedropper Tool in your editing software, and get a neutral result.
With this style of photography, a lot can be achieved with minimal kit. Snake some LED string lights over some black velvet draped over the back of a chair, for example, and you’ve got a simple and attractive backdrop. Alternatively, head to your nearest art store and pick up a selection of coloured card and foam board, which you can switch in and out to complement the subject. Another creative option is to scrunch up a large sheet of kitchen foil and flatten it out again, then place it far enough from the subject to create a sparkling but soft backdrop.
Even a laptop or tablet screen, filled with a suitable seasonal photo, can provide an illuminating background for smaller objects. You may need to illuminate the subject with flash or a desk lamp in order to create a balanced exposure. There are plenty of easy techniques that can be used to show the subject in a different light, too.
How about shooting a time-lapse sequence, where still images are shot at regular intervals and then combined in a short video clip? A chocolate figure or a shape made of ice, melted in stages with the help of hairdryer, makes an easy and controllable subject, and your camera may have an intervalometer or even a time-lapse movie mode to make things easy.
How about trying one of the techniques we’ve covered in recent issues, such as painting a still-life setup with a torch or trying a multiple exposure? The sky (or rather, the ceiling) is the limit!
5 indoor close-up tips

1) Experiment with the aperture
Wide apertures such as f/2.8, f/1.8 and f/1.4 might reduce the depth of field to a sliver of sharpness when you’re shooting at close distances, but the effect this has on background details – particularly dots of light – can be mesmerising.
2) Add more light
From a simple white reflector to flash bounced off the ceiling or diffused through a softbox, there are many ways that you can embellish the ambient light when you shoot indoors. If you’re using flash, consider adding a colour-correction lighting gel to bring the colour of the flash closer to that of the existing lights, for a more natural result.
3) Set a white balance preset
If the subject is lit by ‘warm’ or coloured LED lights, Auto White Balance may end up trying to neutralise the colour in the light that you’re trying to capture.
4) Use a tripod
You’ll often have to deal with longer exposure times when you’re working indoors. If the room you’re shooting in is carpeted, consider putting a weighty book or similar object under each tripod foot, in order to reduce carpet ‘bounce’.
5) Focus manually
A camera’s autofocus system can end up hunting back and forth when you’re shooting in low light. Switch to manual focus and use the magnified image on the Live View display (or in the EVF of a mirrorless camera) to focus accurately.
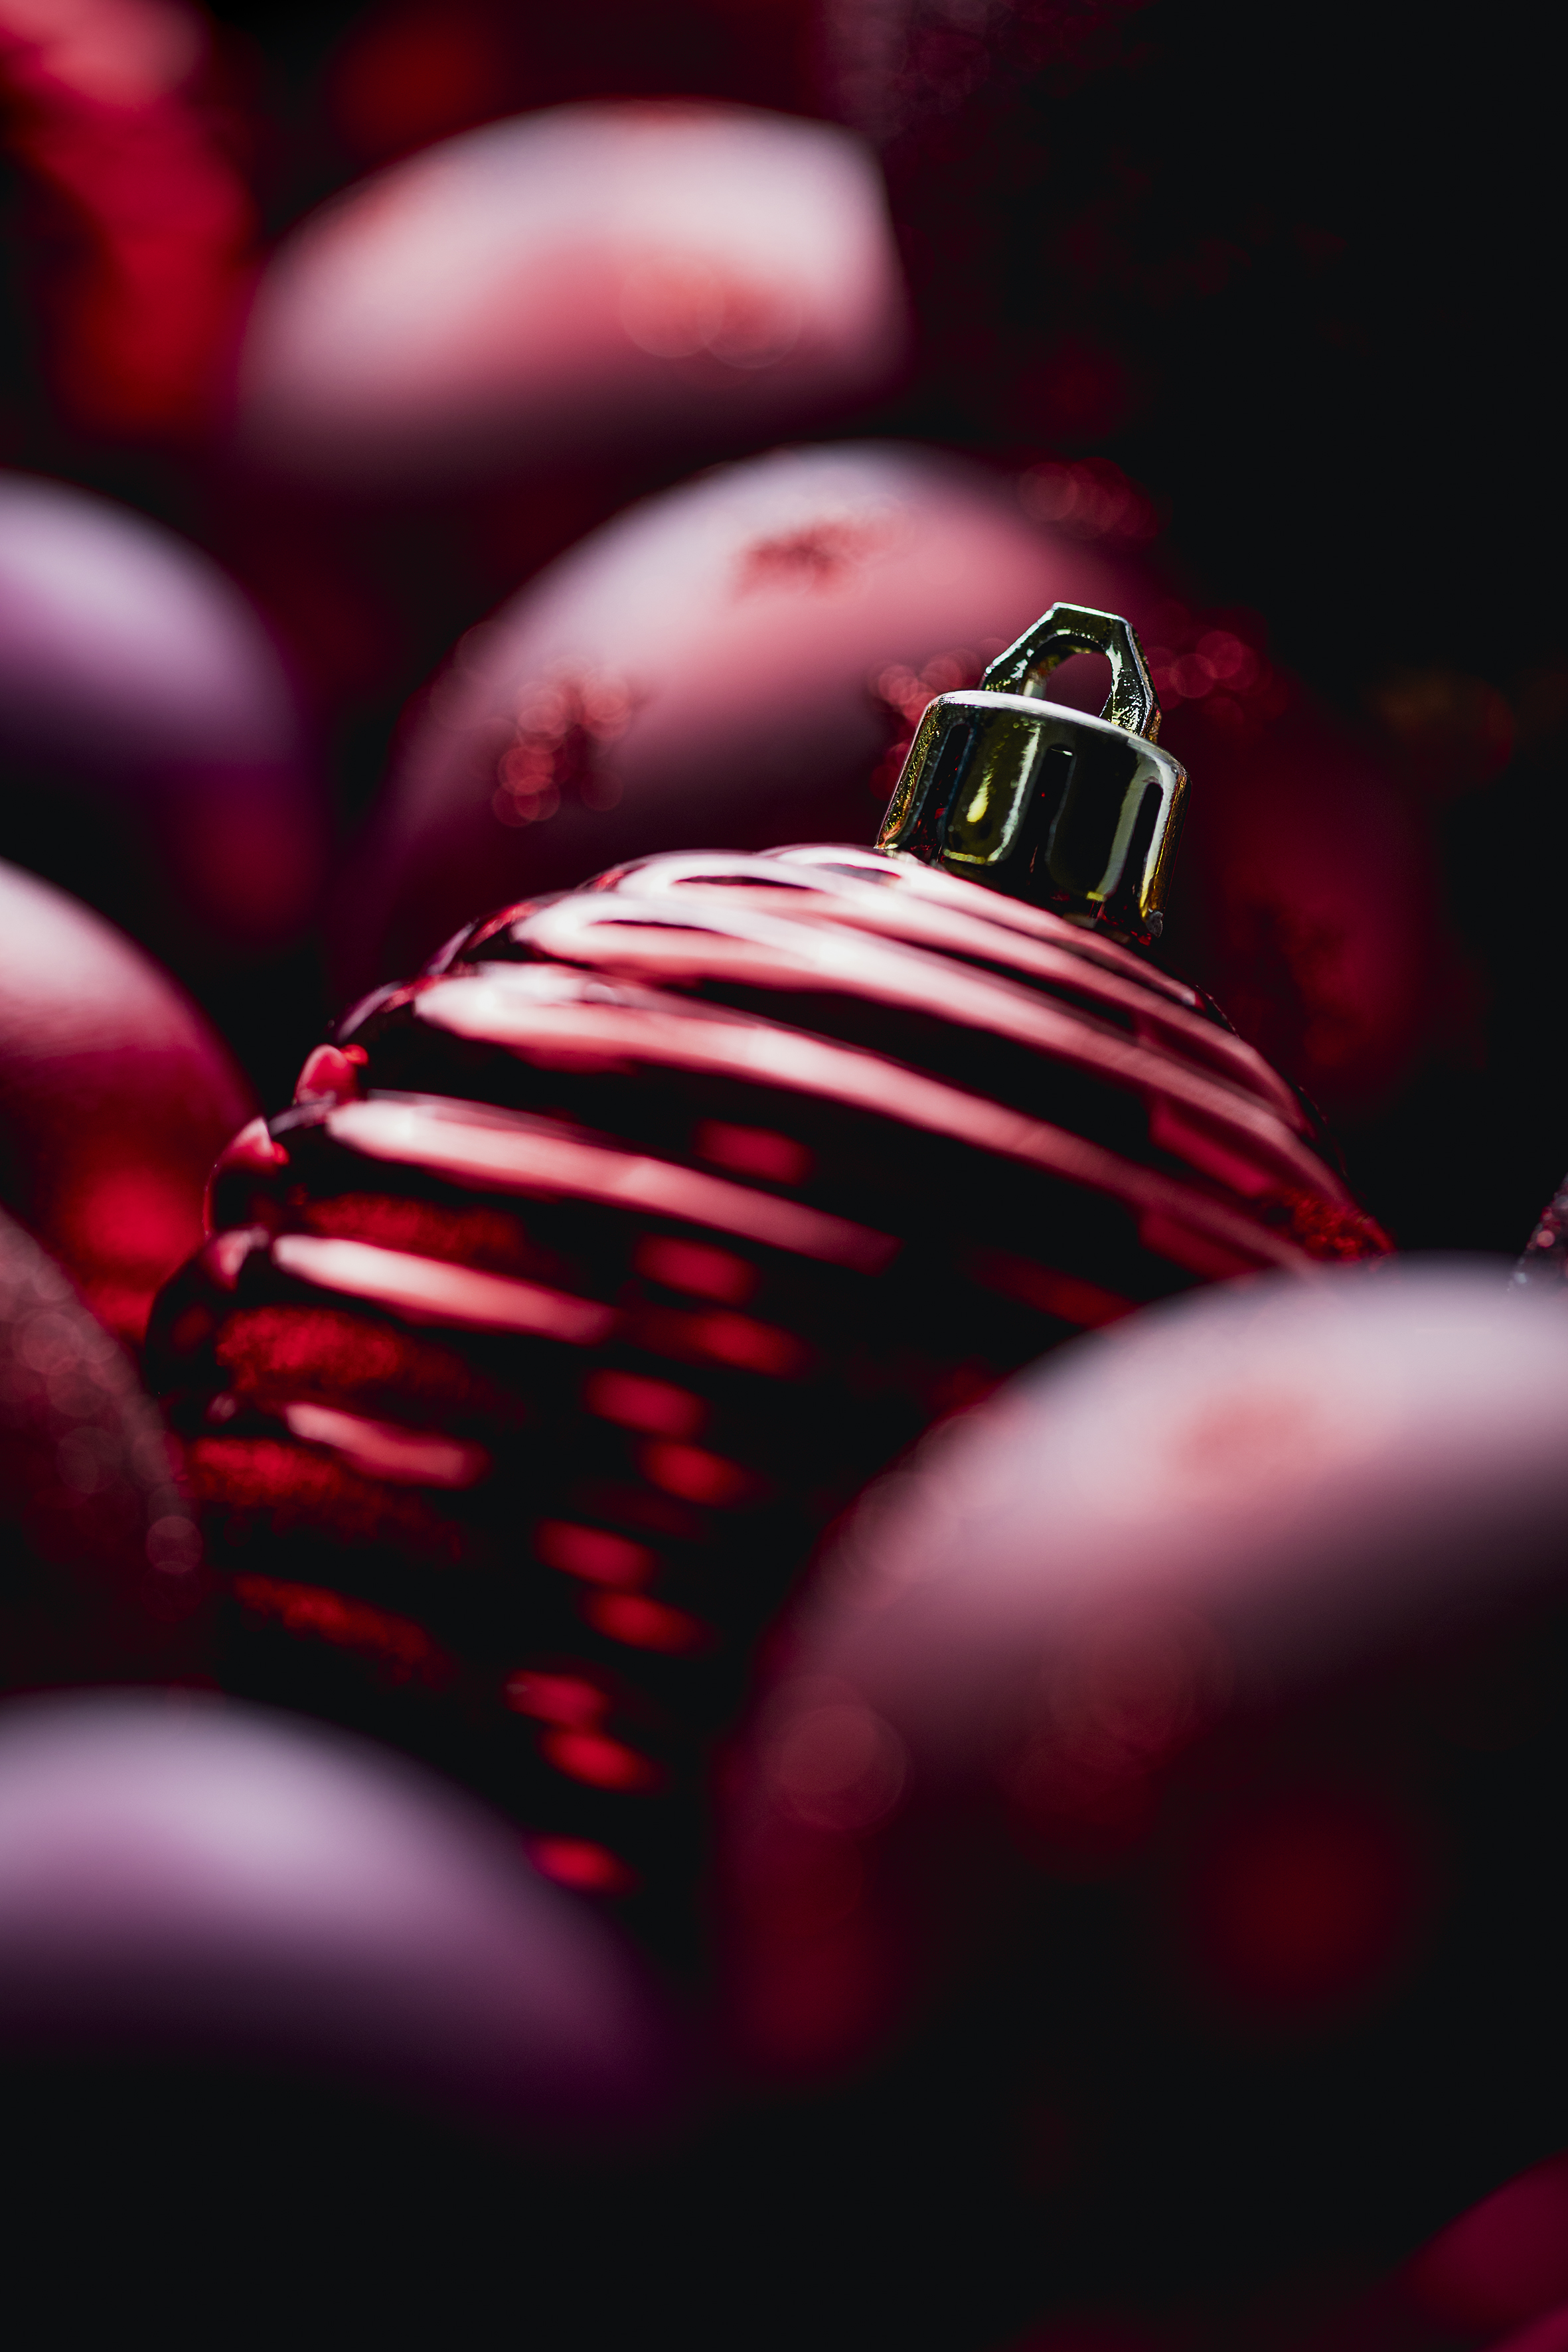
One of the great things about this month’s challenge to win a copy of Affinity Photo is that you don’t need to travel far or spend time constructing a sophisticated home studio setup. As long as you have a lens that focuses relatively close – or you’re prepared to crop images – you can create a vast range of creative images with a ‘DIY’ approach. The only rule is that your picture has to include an obvious close-up element and it needs to have a loose Christmas, seasonal or winter theme.
To enter your best image (one per reader, please), either email your entry to digitalcamera@futurenet.com, putting ‘Seasonal Close-Up Challenge’ in the subject line; or go to our Facebook page, look for the ‘Seasonal Close-Up Challenge’ post, and upload your entry into the feed. By entering your image into this competition, you confirm that you own the copyright to the image, and agree that Digital Camera magazine can publish your image in relation to this competition. You retain full copyright of your image, and will be credited if published.
The closing date is 06 January 2022. The winner will receive a copy of Affinity Photo for Windows or macOS. Good luck, and get shooting!
Get the Digital Camera World Newsletter
The best camera deals, reviews, product advice, and unmissable photography news, direct to your inbox!
Digital Camera World is one of the leading authorities on camera and photography news, reviews, techniques, tutorials, comparisons, deals and industry analysis. The site doesn't just specialize in cameras, but all aspects of photography, videography and imaging – including camera phones, gimbals, lenses, lighting, editing software, filters, tripods, laptops, printers, photo books, desks, binoculars and more.
Whether you're using, looking to buy or trying to get the most out of a compact camera, action camera, camera drone, cinema camera, beginner camera or professional camera, Digital Camera World has a roster of experts with combined experience of over 100 years when it comes to cameras, photography and imaging.

