MPB upgrades: Digital Camera readers test new gear on an epic landscape shoot
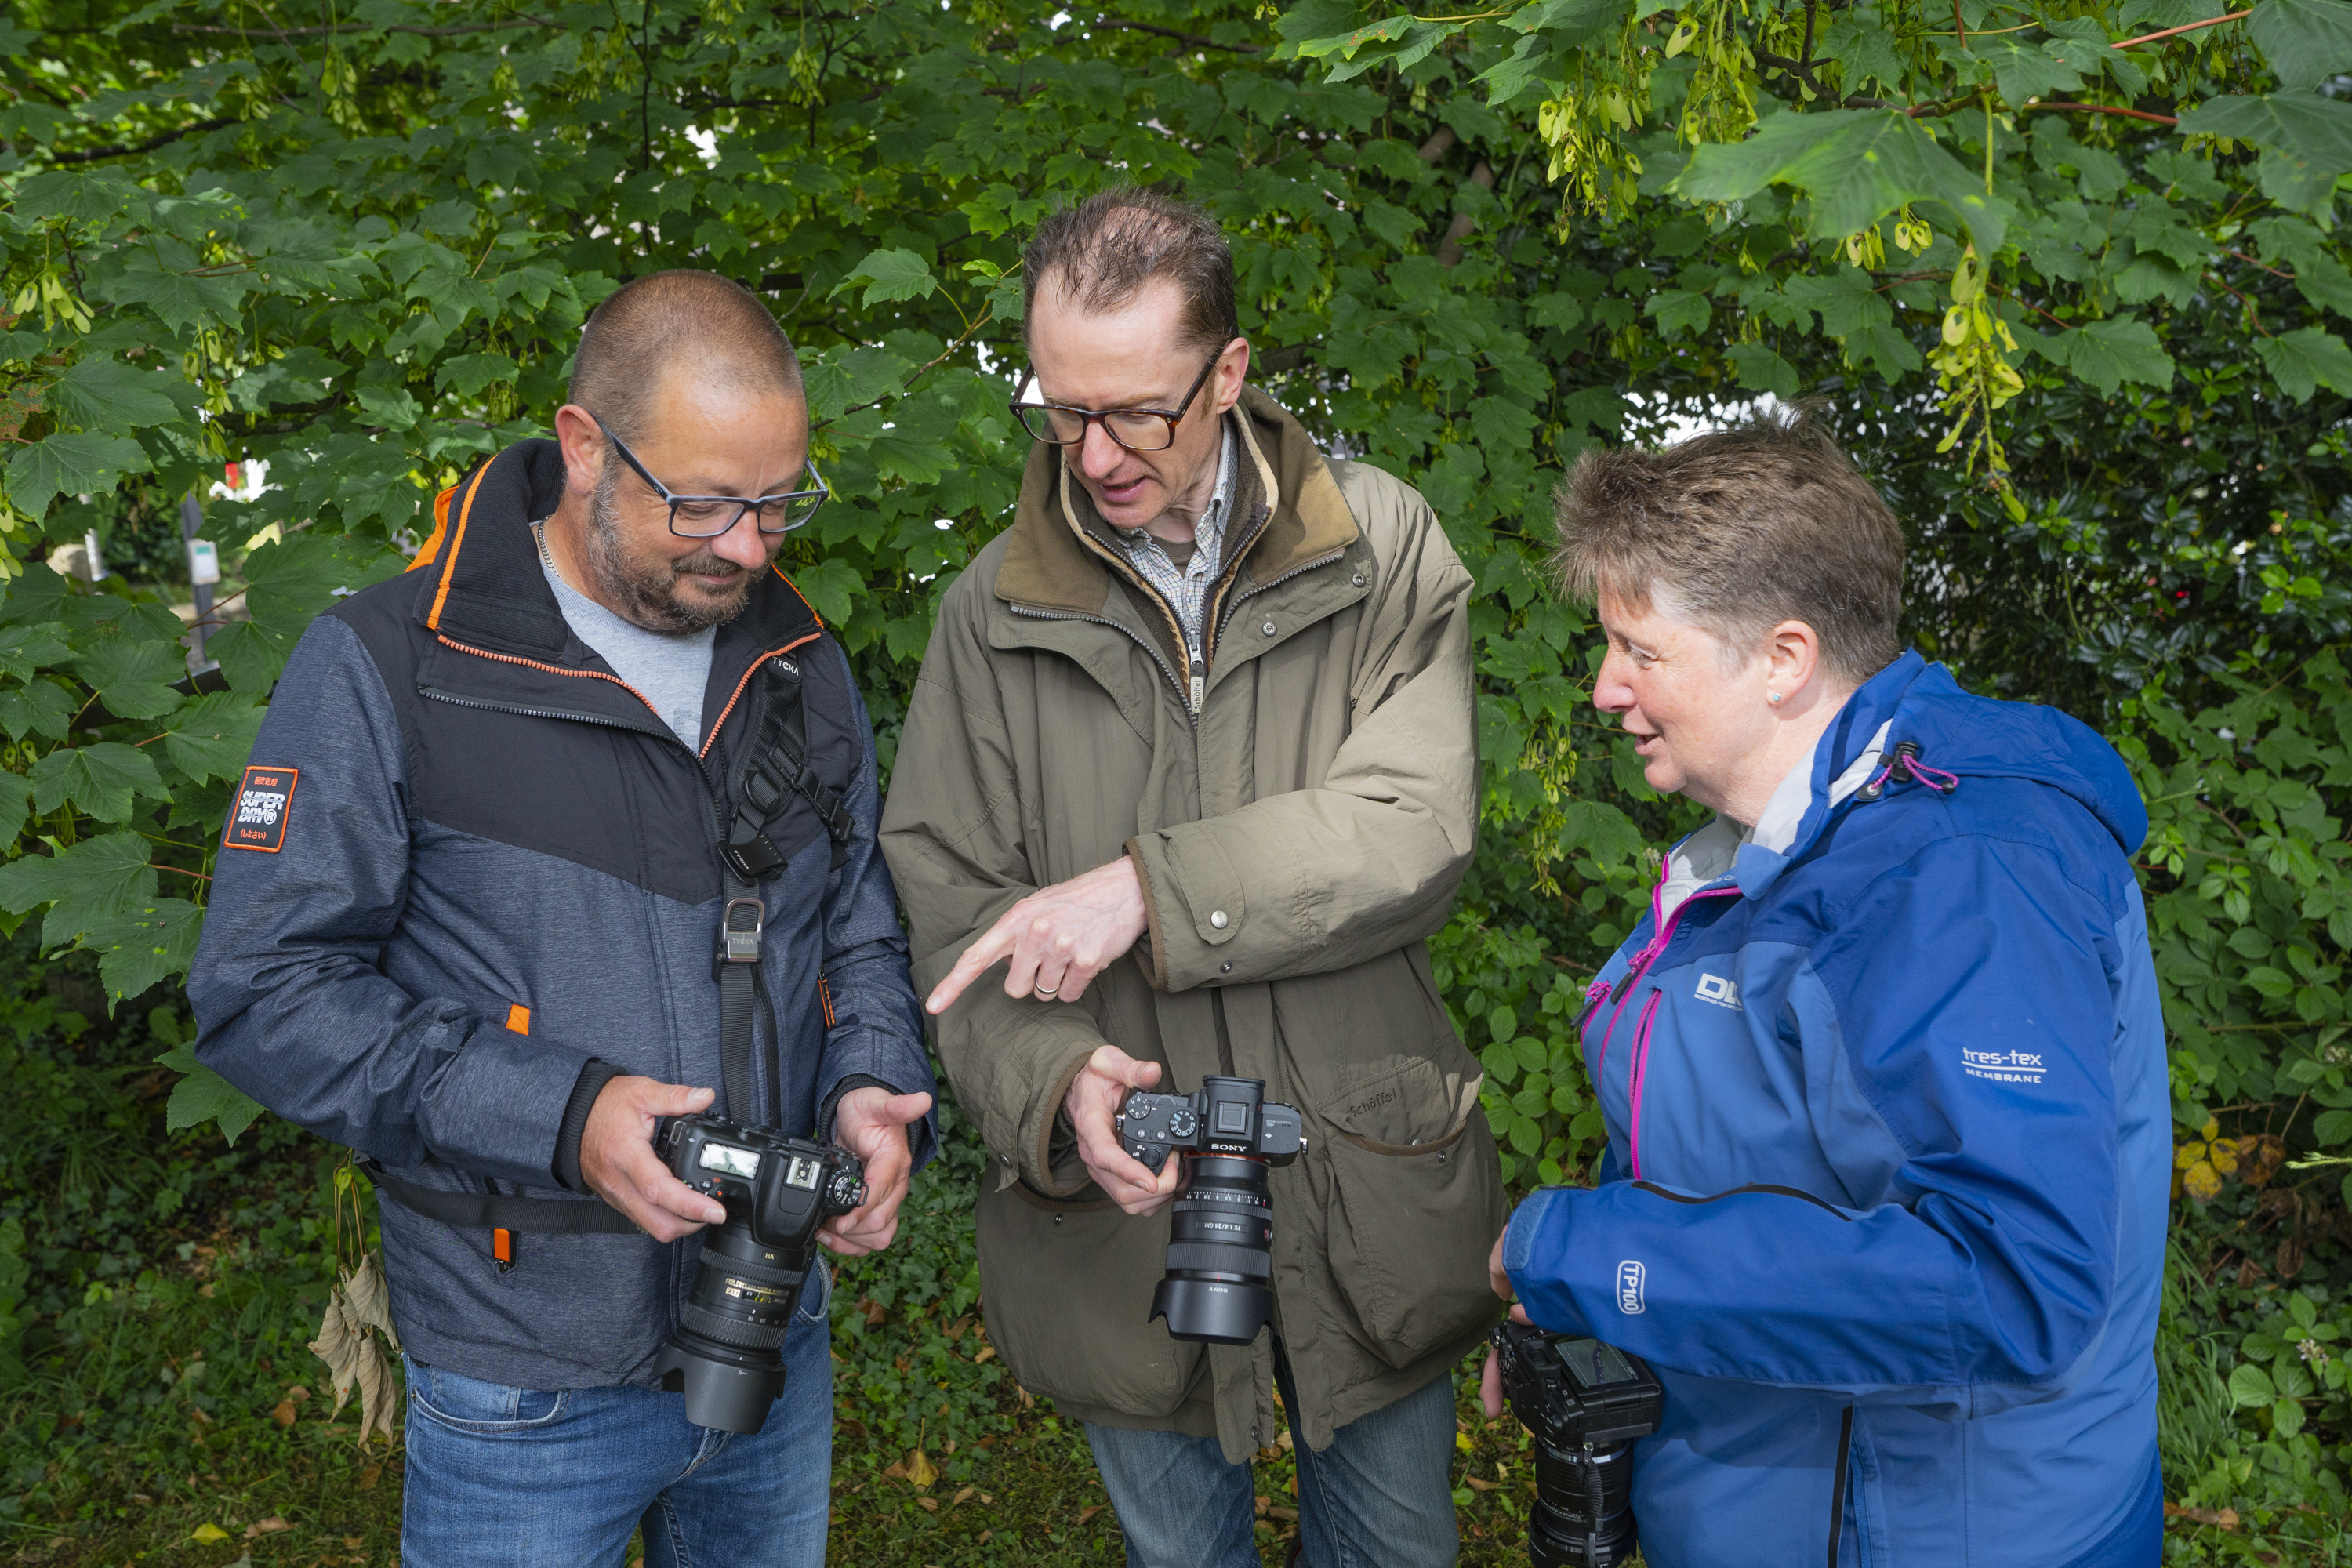
Every month, Digital Camera magazine takes two readers out on a shootout to test the latest kit, take on photography challenges and learn new techniques to help them progress their skills.
Welcome to the Peak District for a Shootout Special supported by MPB, where we challenged a pair of readers to shoot their best scenics ahead of getting to try some upgrades to their go-to kit. Editor Niall Hampton and professional landscape photographer James Abbott were on hand to help, so let's so how everyone got on...
Challenge 1: Capture the wonder of Winnats Pass
Camera: Olympus OM-D E-M1 Mark II
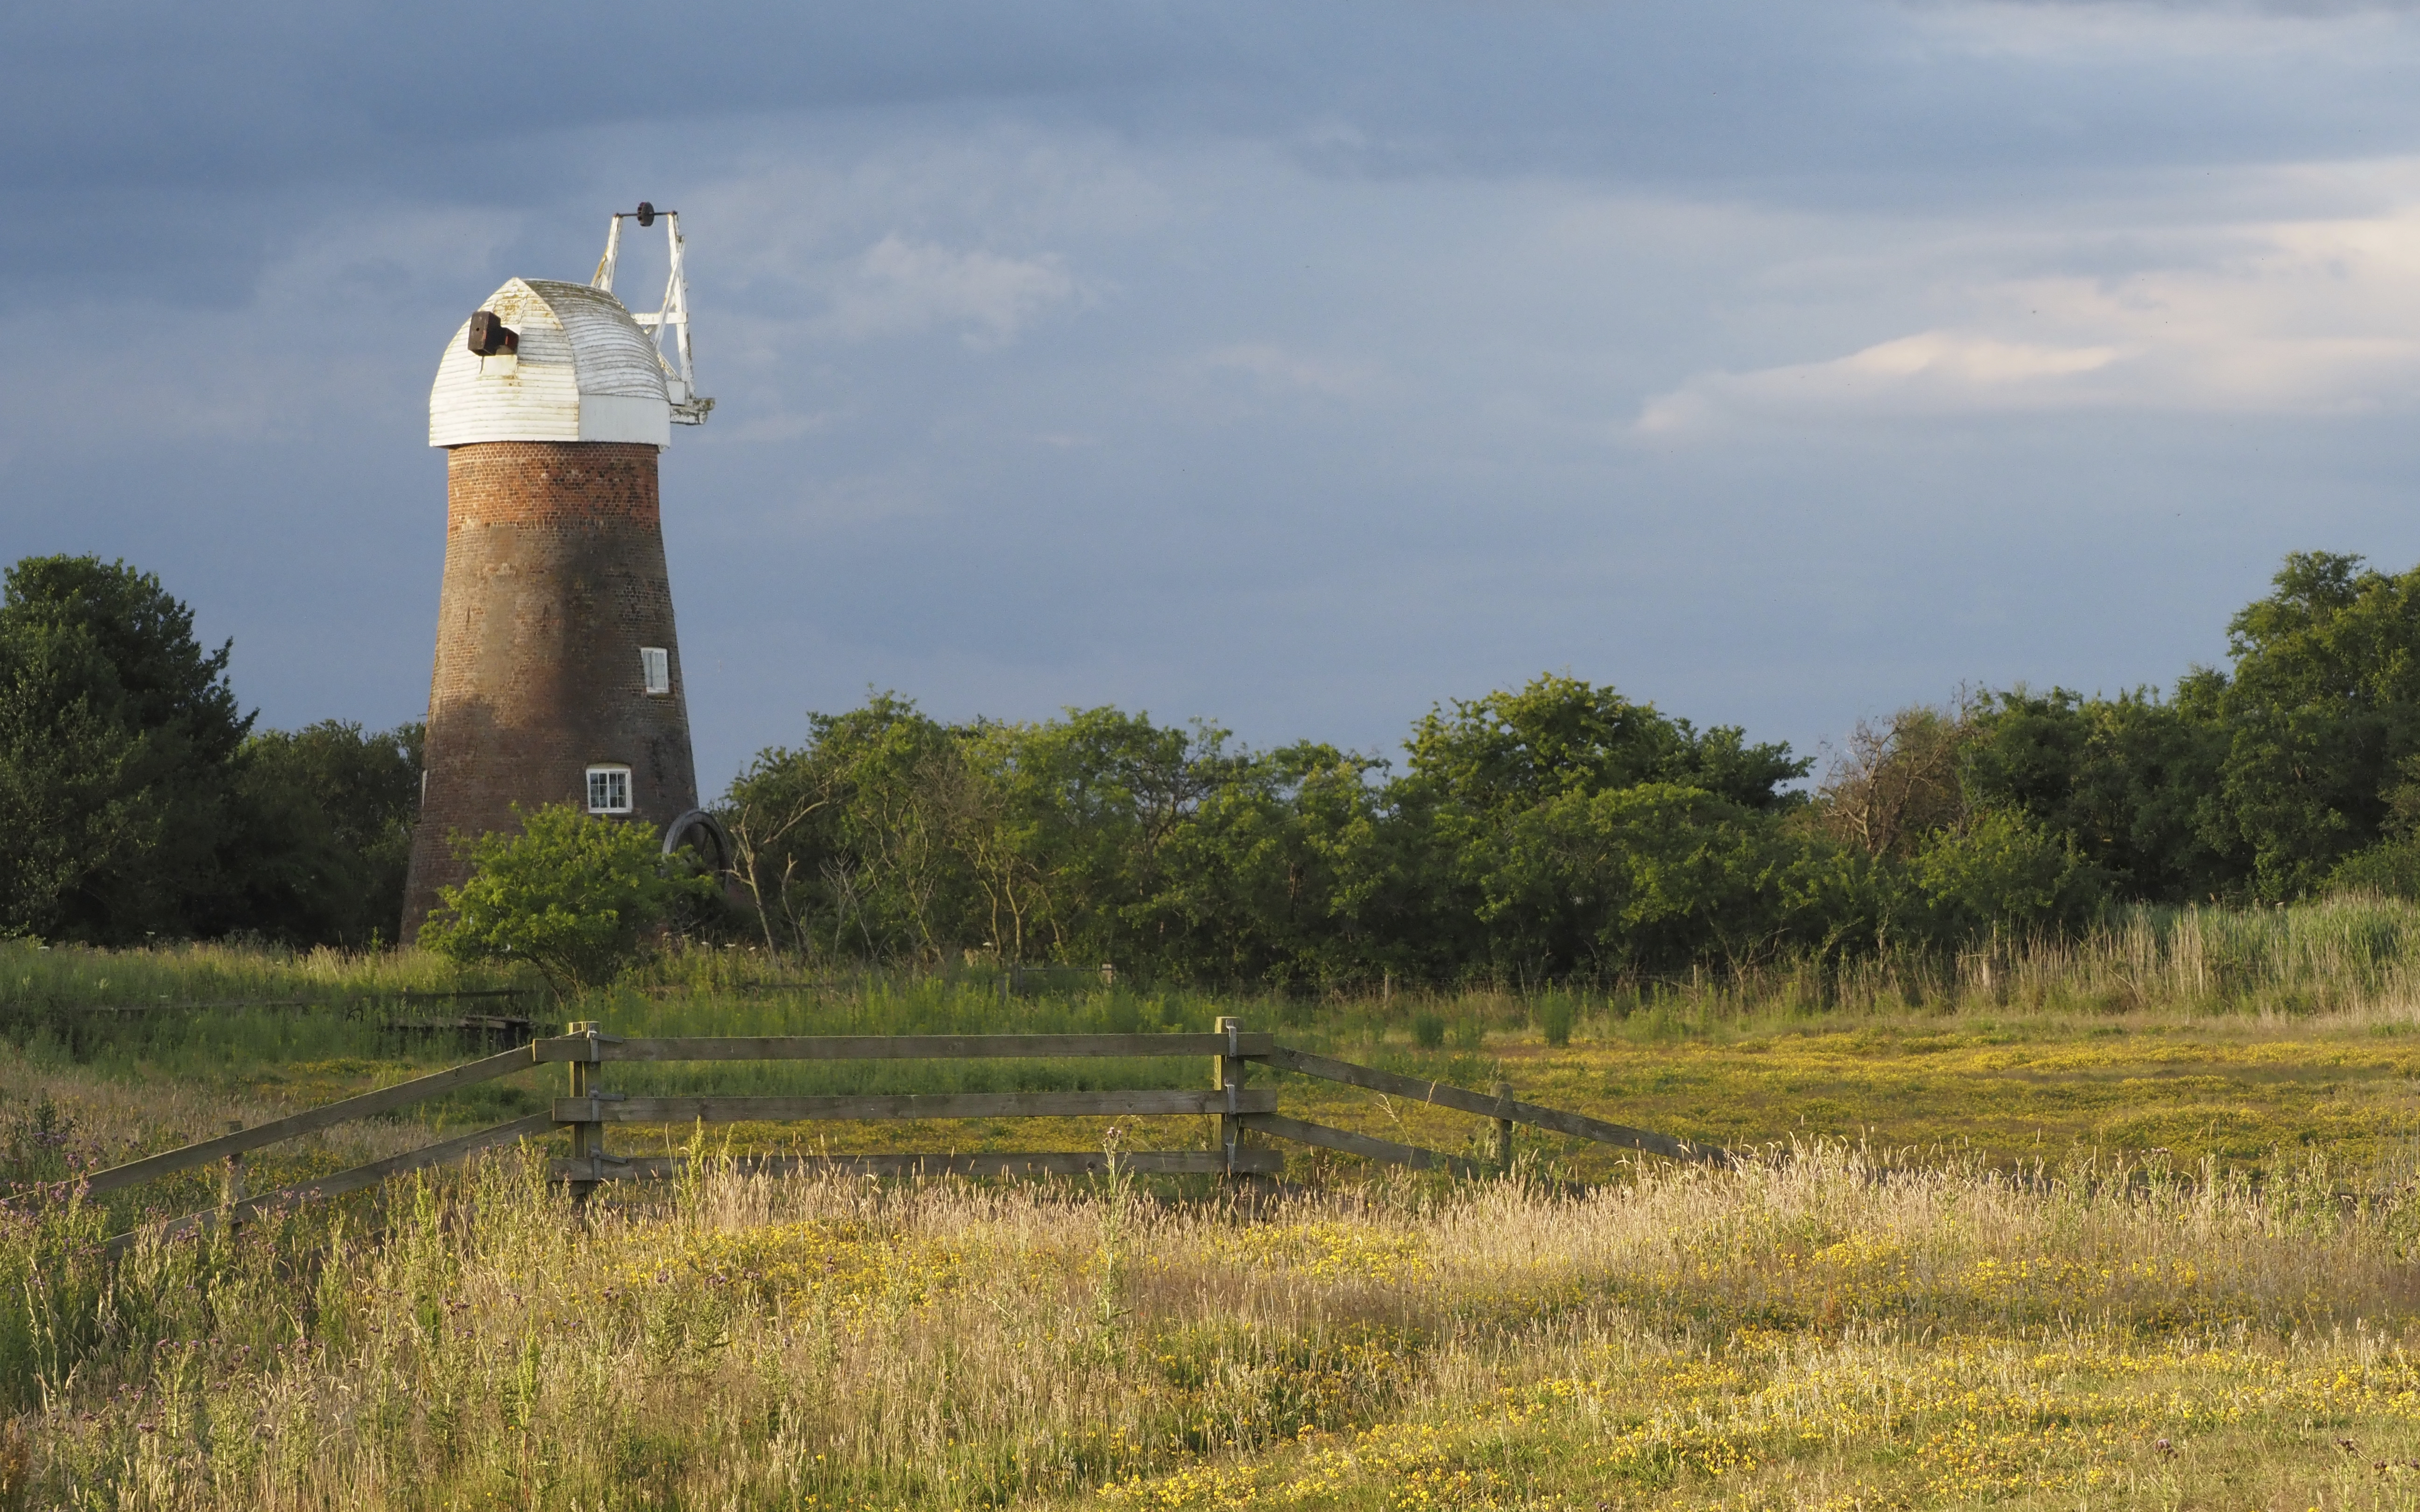
Location: Norfolk, UK
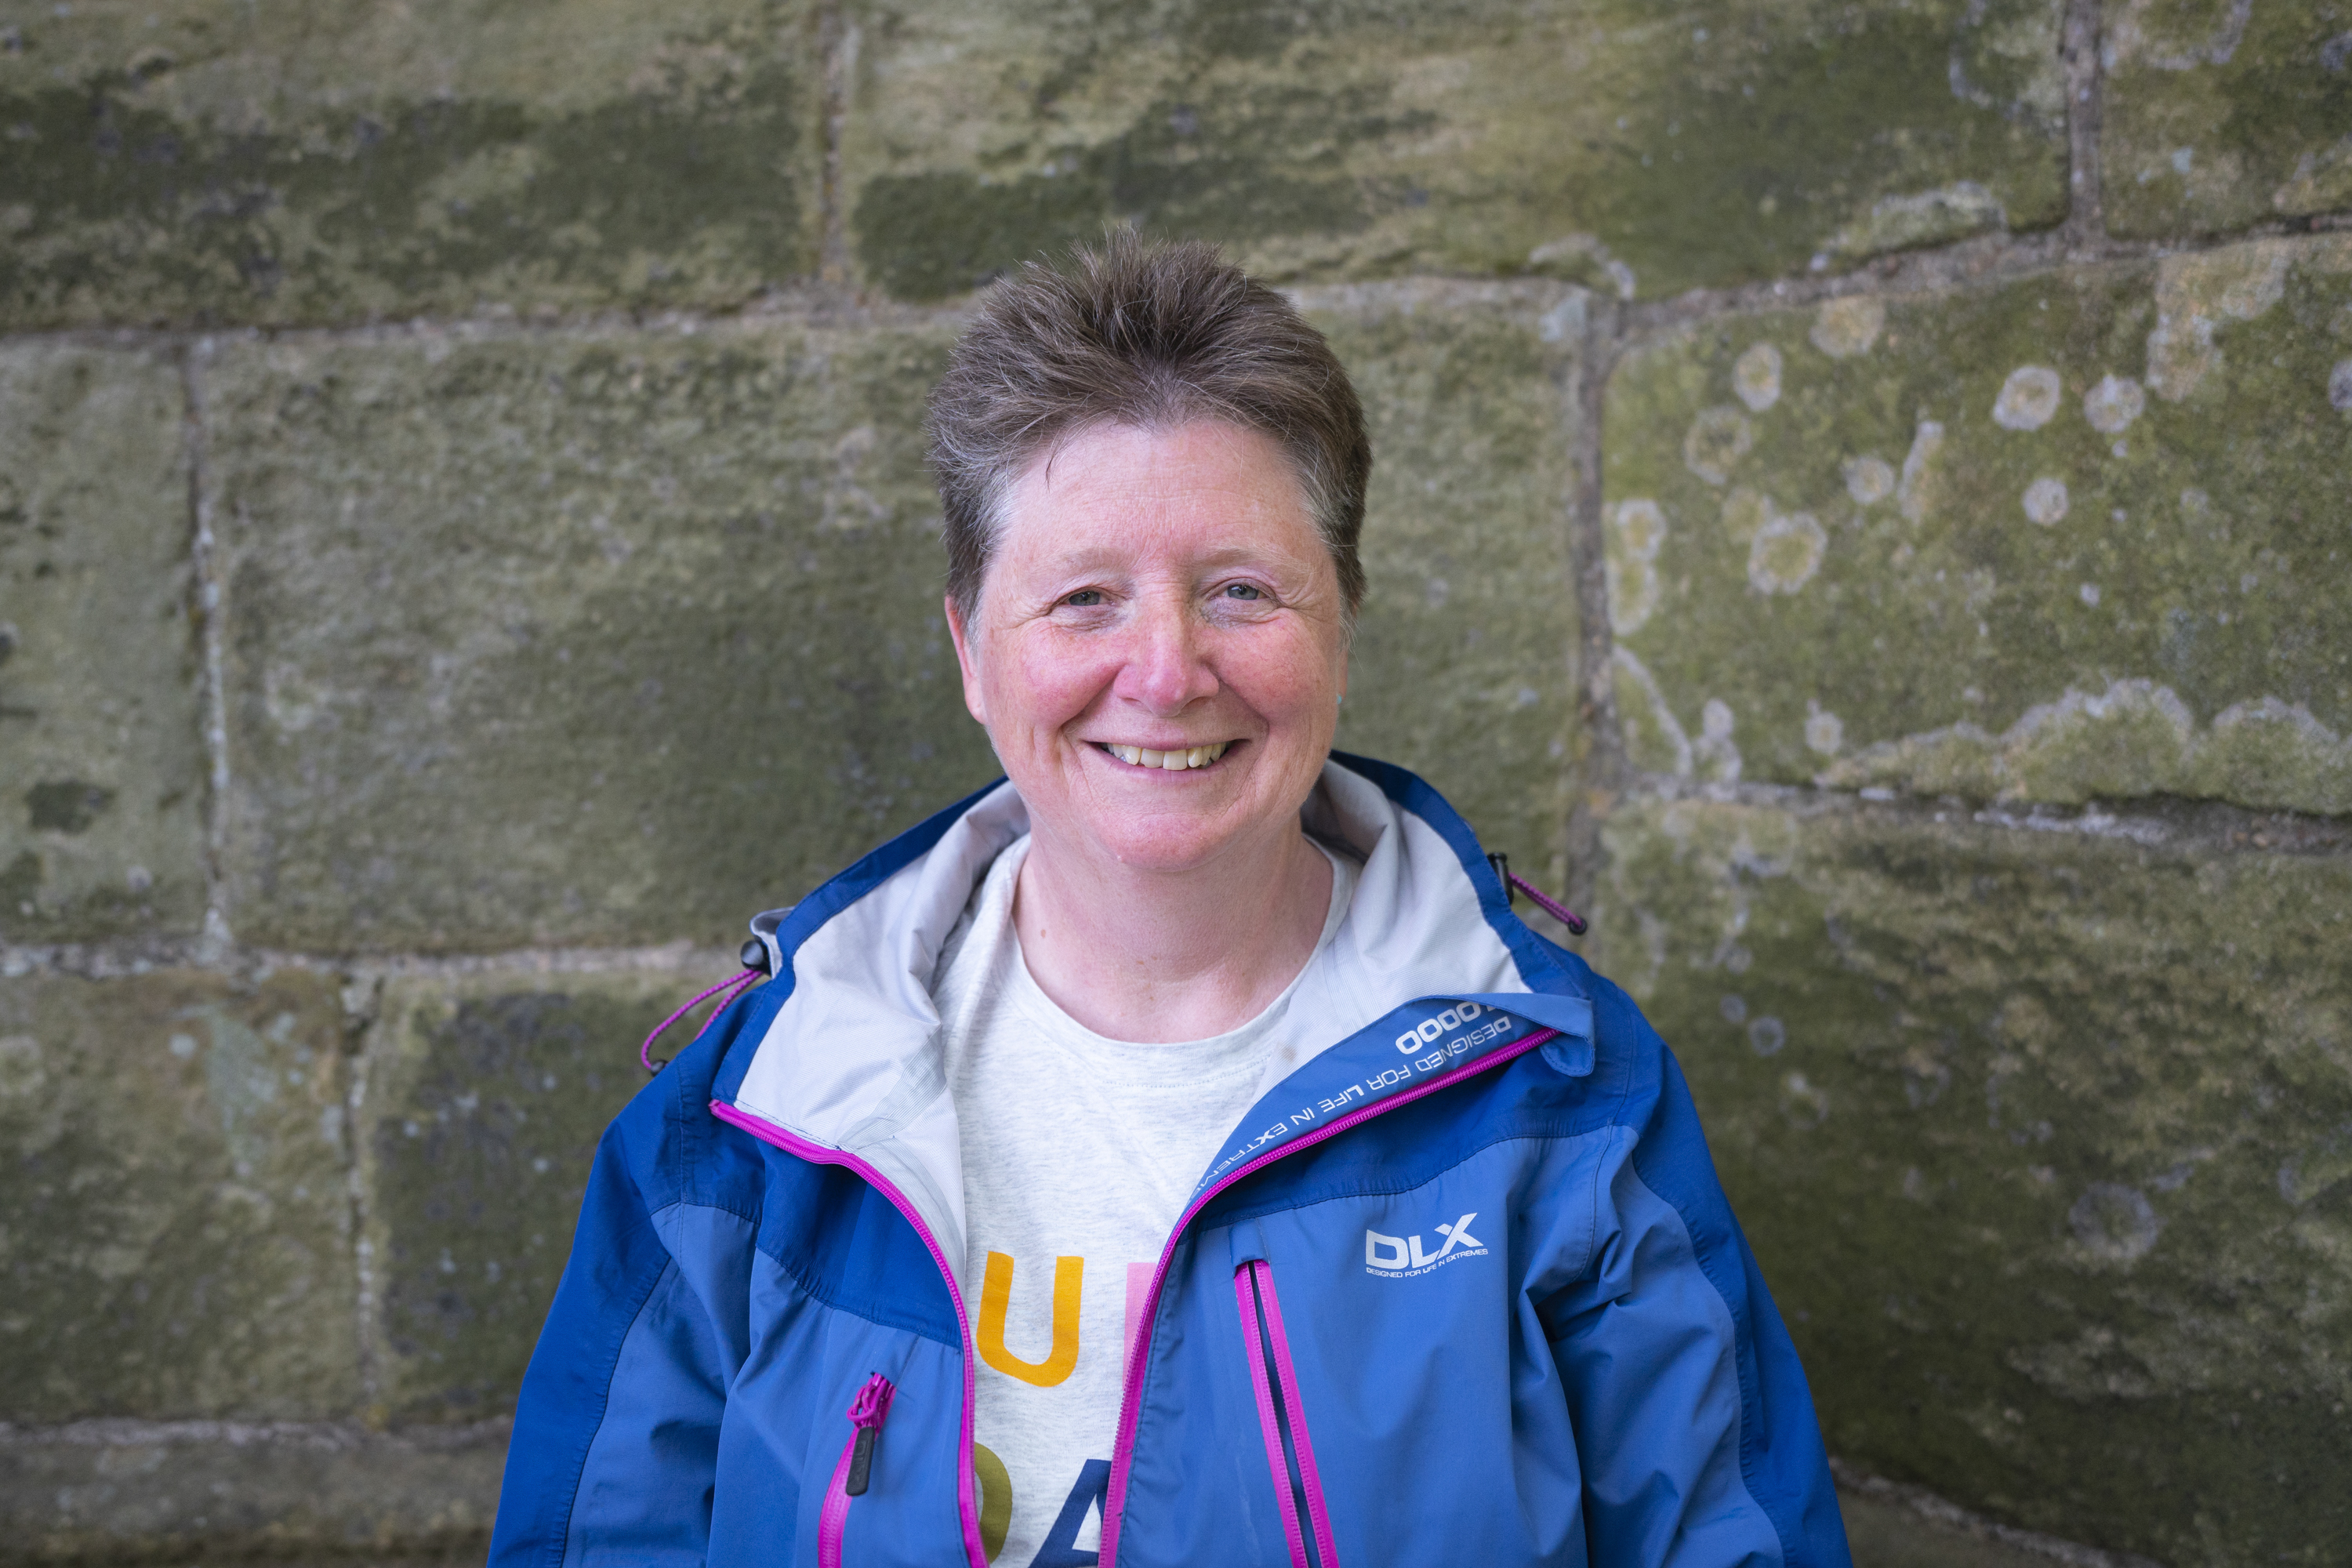
Specializing in landscape and nature photography, Helen runs small group workshops and one-to-one tuition in her home county. Helen would like to see if it’s time to upgrade her trusty E-M1 Mark II.
The Peak District is in Derbyshire, UK – a national park that's around 555 square miles in size, famous for its sweeping landscapes and popular with hikers, cyclists and photographers alike.
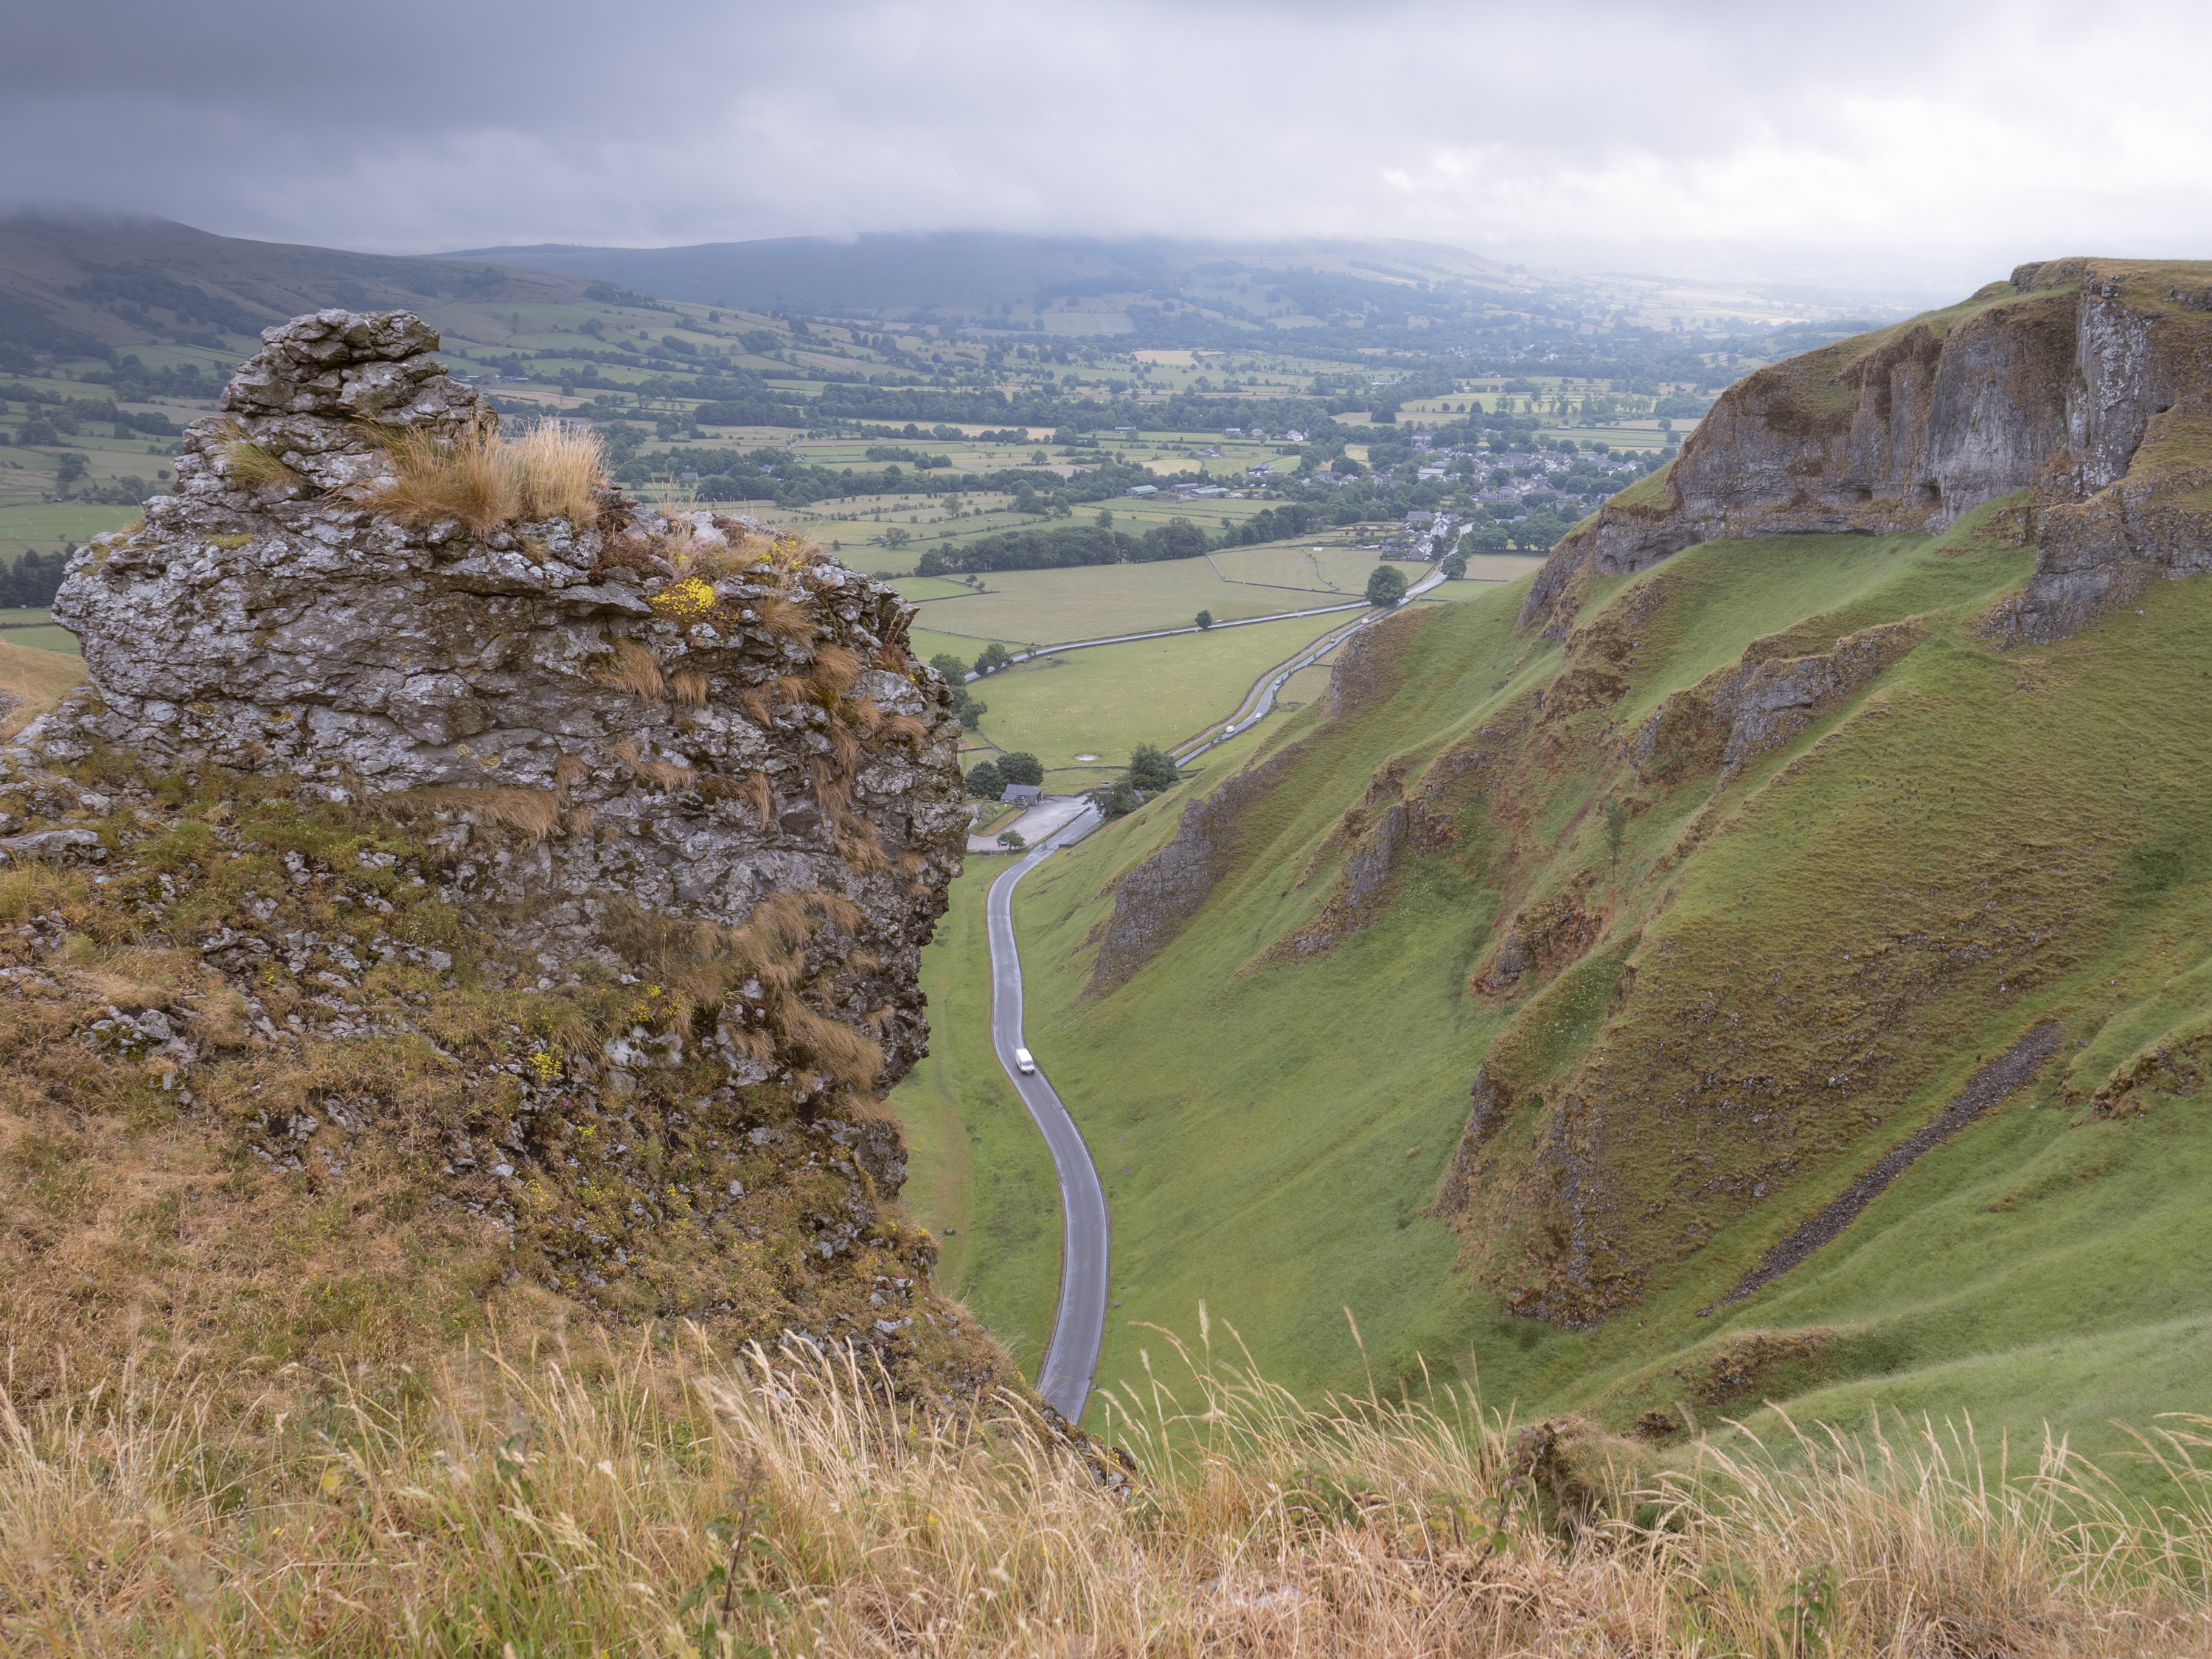
Our original plan was to be on location at 4am to capture the sunrise, but poor weather led to us delaying our start by two hours. Arriving at our position overlooking Winnats Pass, Helen found a good spot and got ready to shoot.
“Waiting for the clouds to break, I amused myself by taking some ICM images,” she says. “Then the clouds broke and I grabbed this shot without a tripod, without checking my settings, and was pleasantly surprised with the result!”
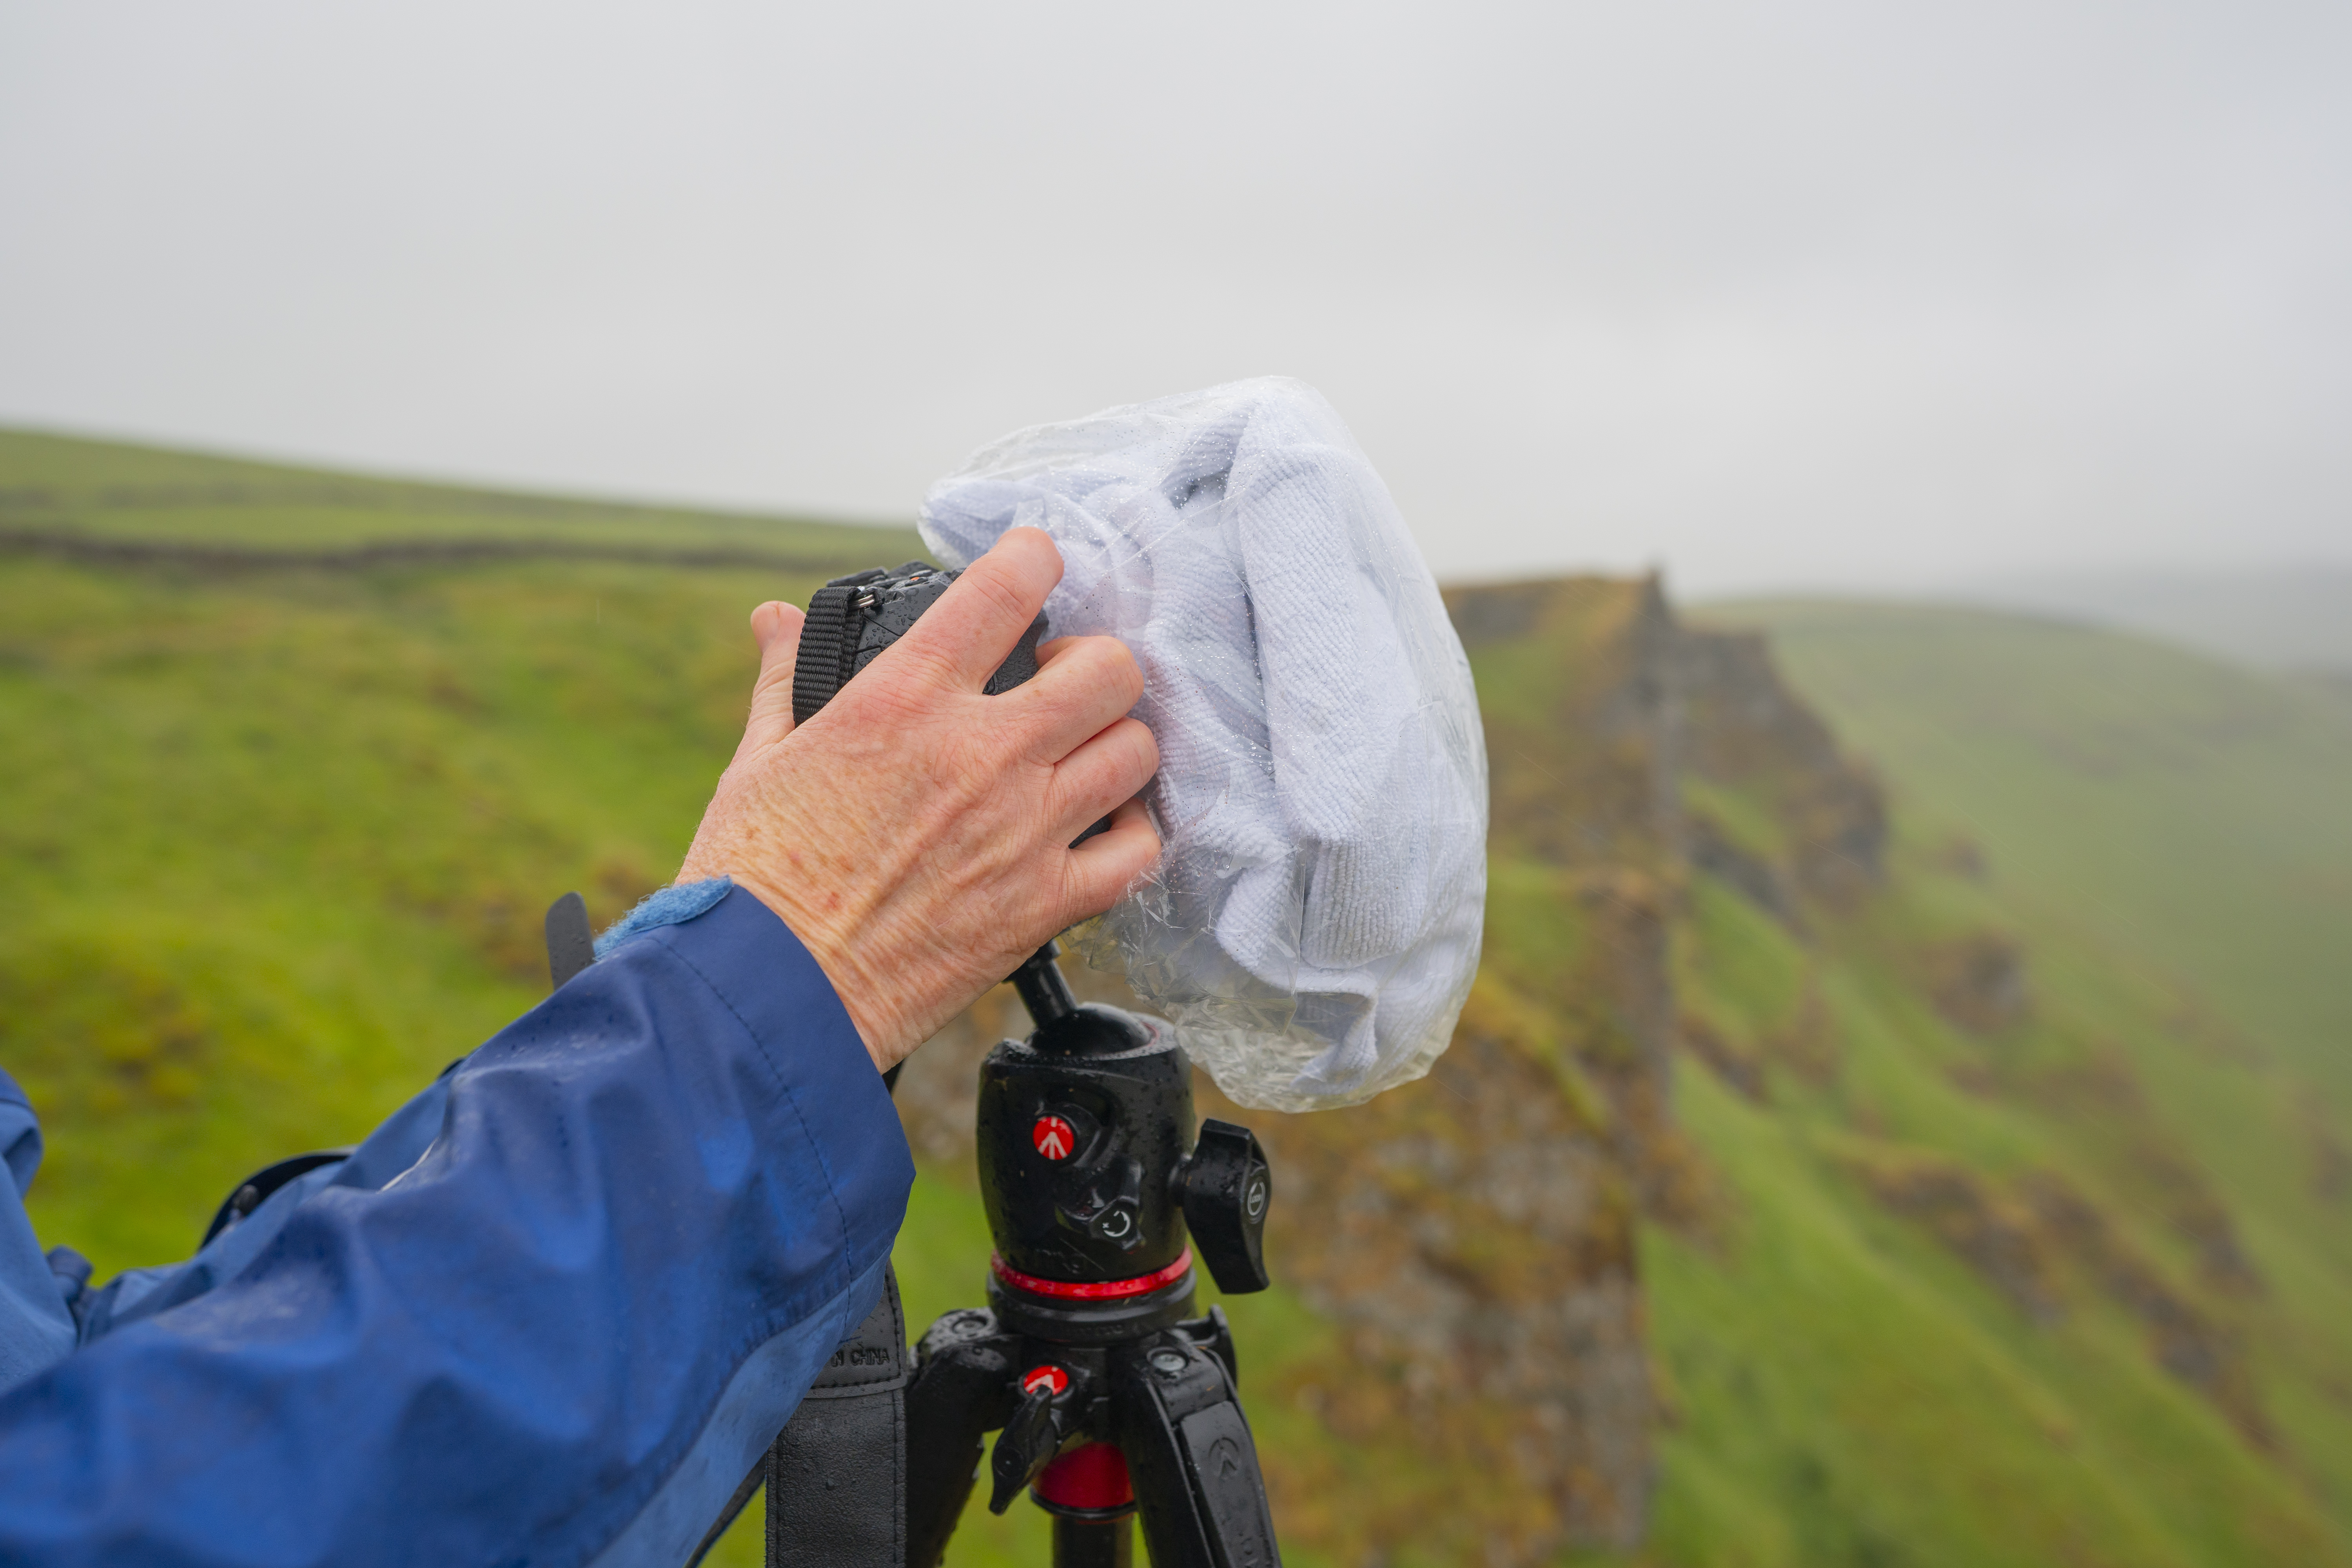
Keep your kit dry
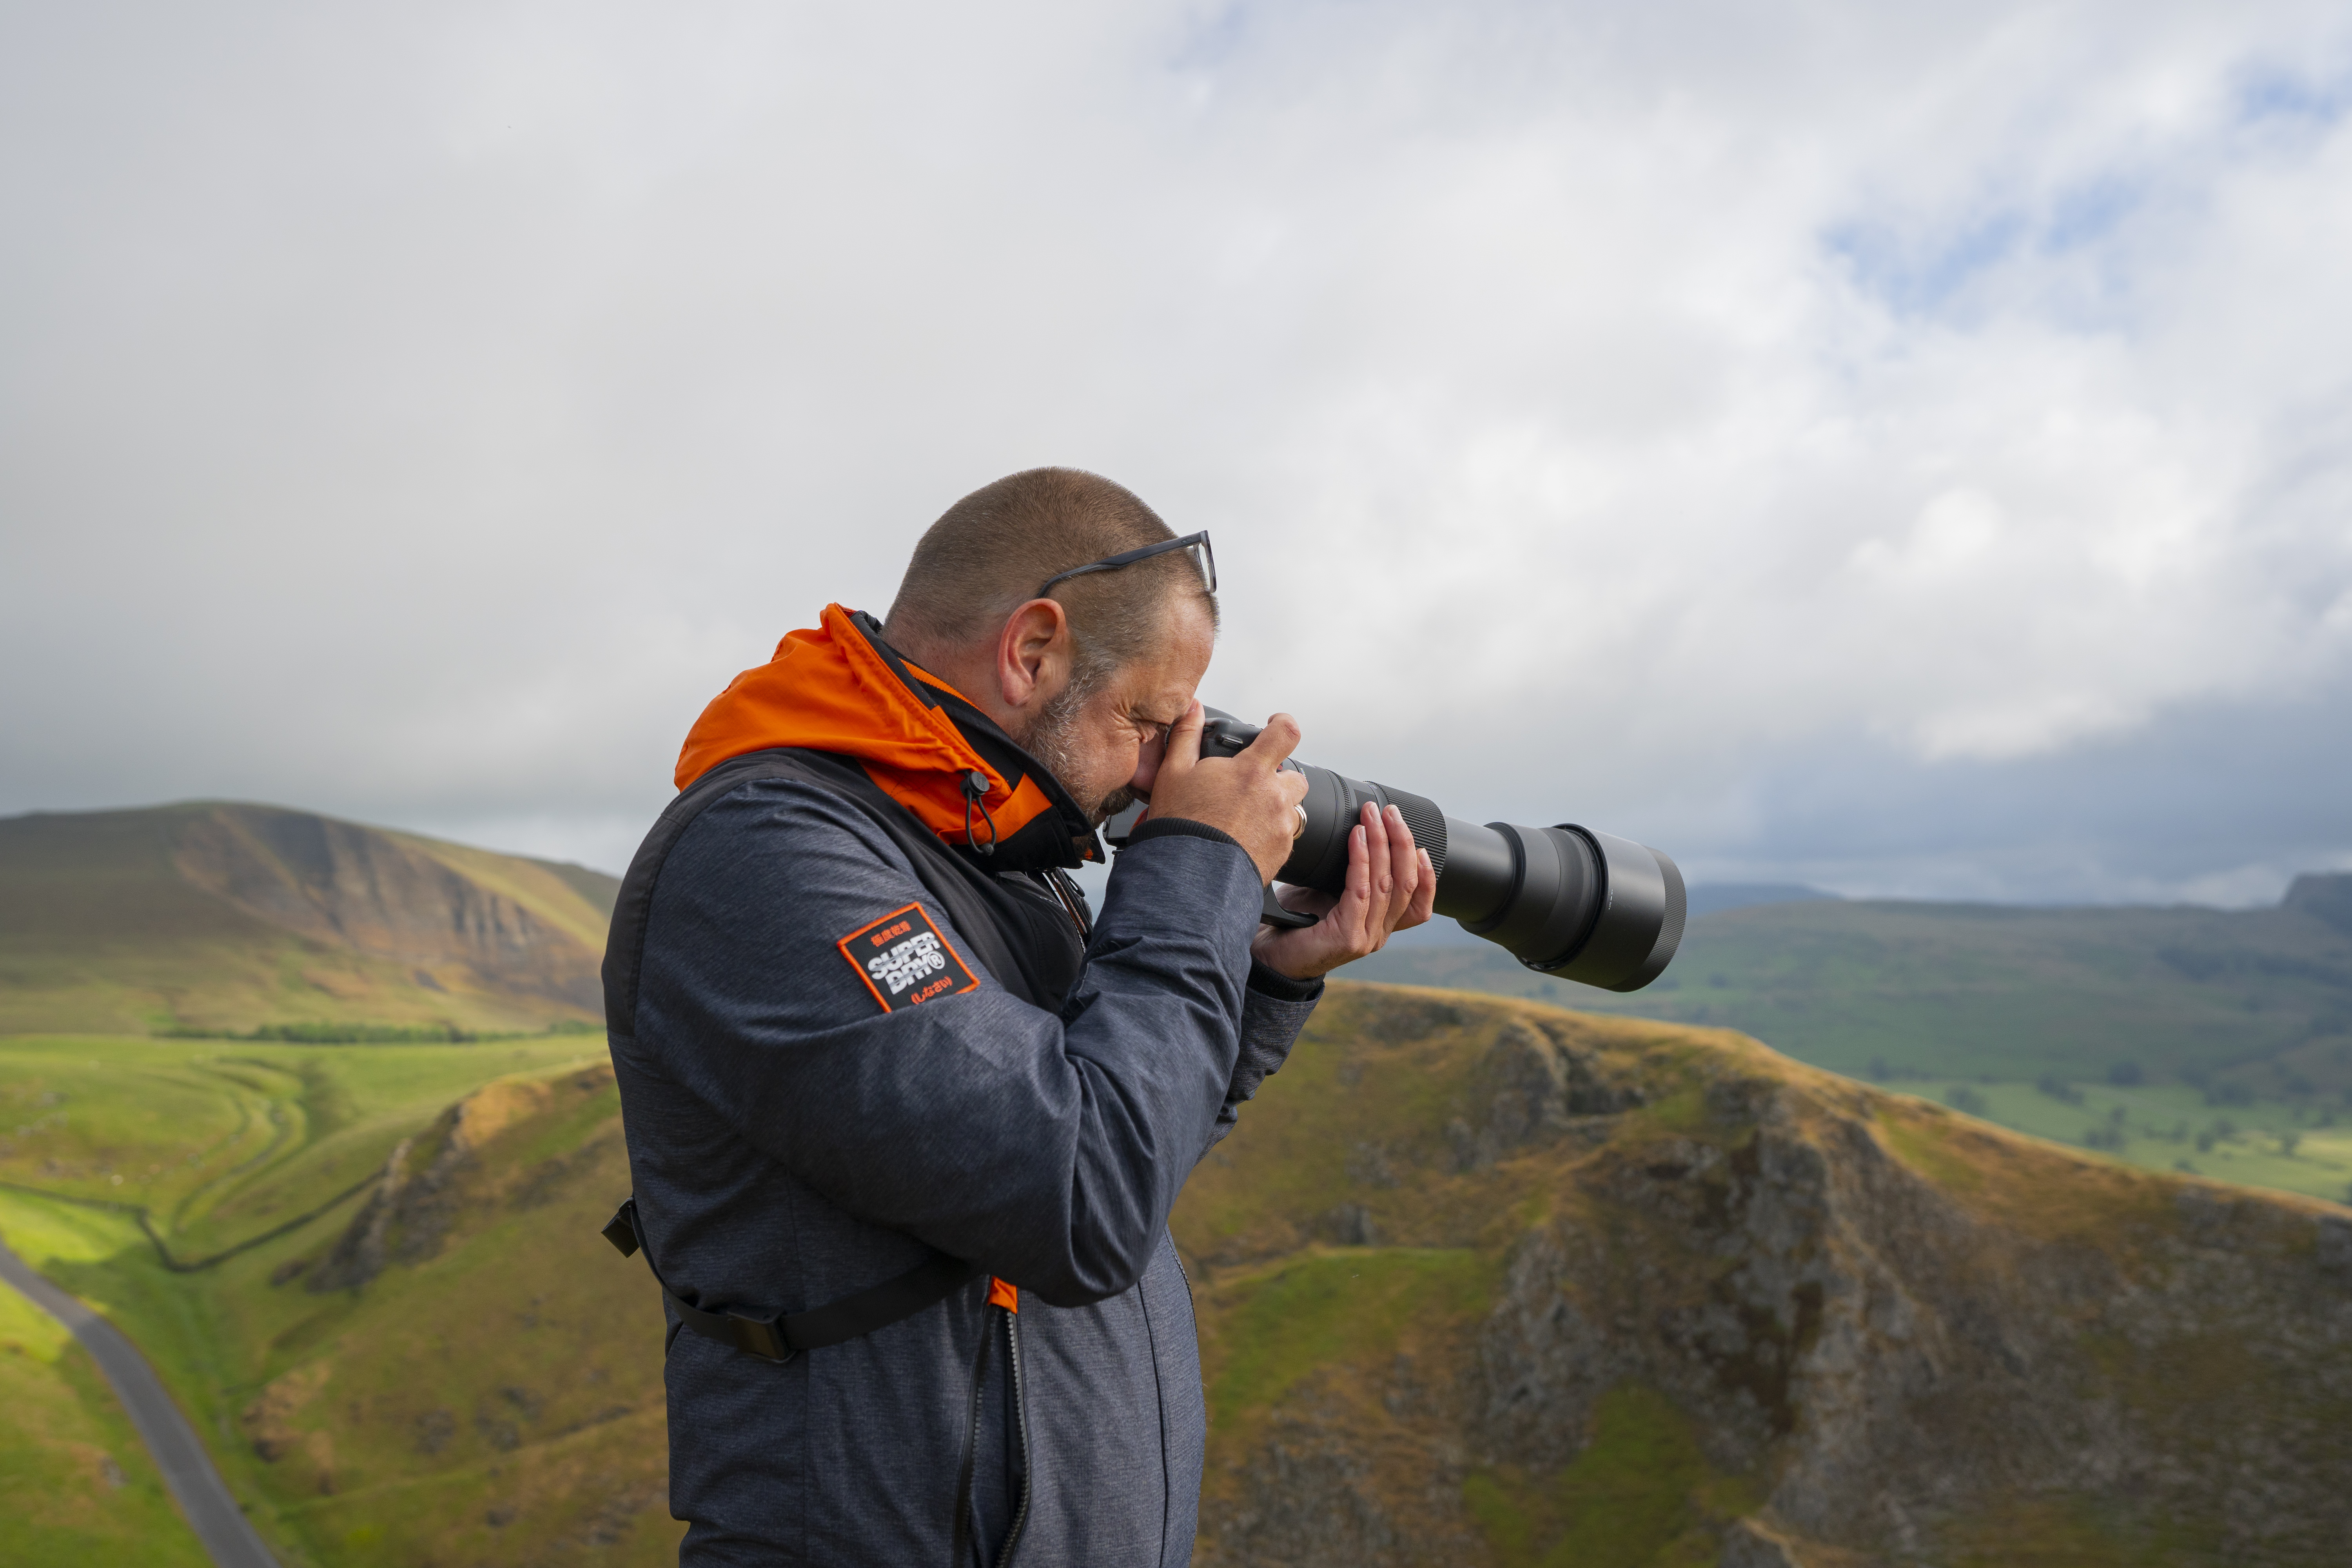
Rain had been falling throughout the small hours and it was still drizzling as we ascended to our vantage point overlooking the pass. Although her camera setup is weather-sealed, Helen preferred to keep it dry and had a novel solution for doing so – a shower hat teamed with a lens cloth.
Camera: Nikon D7500
Location: Sussex, UK
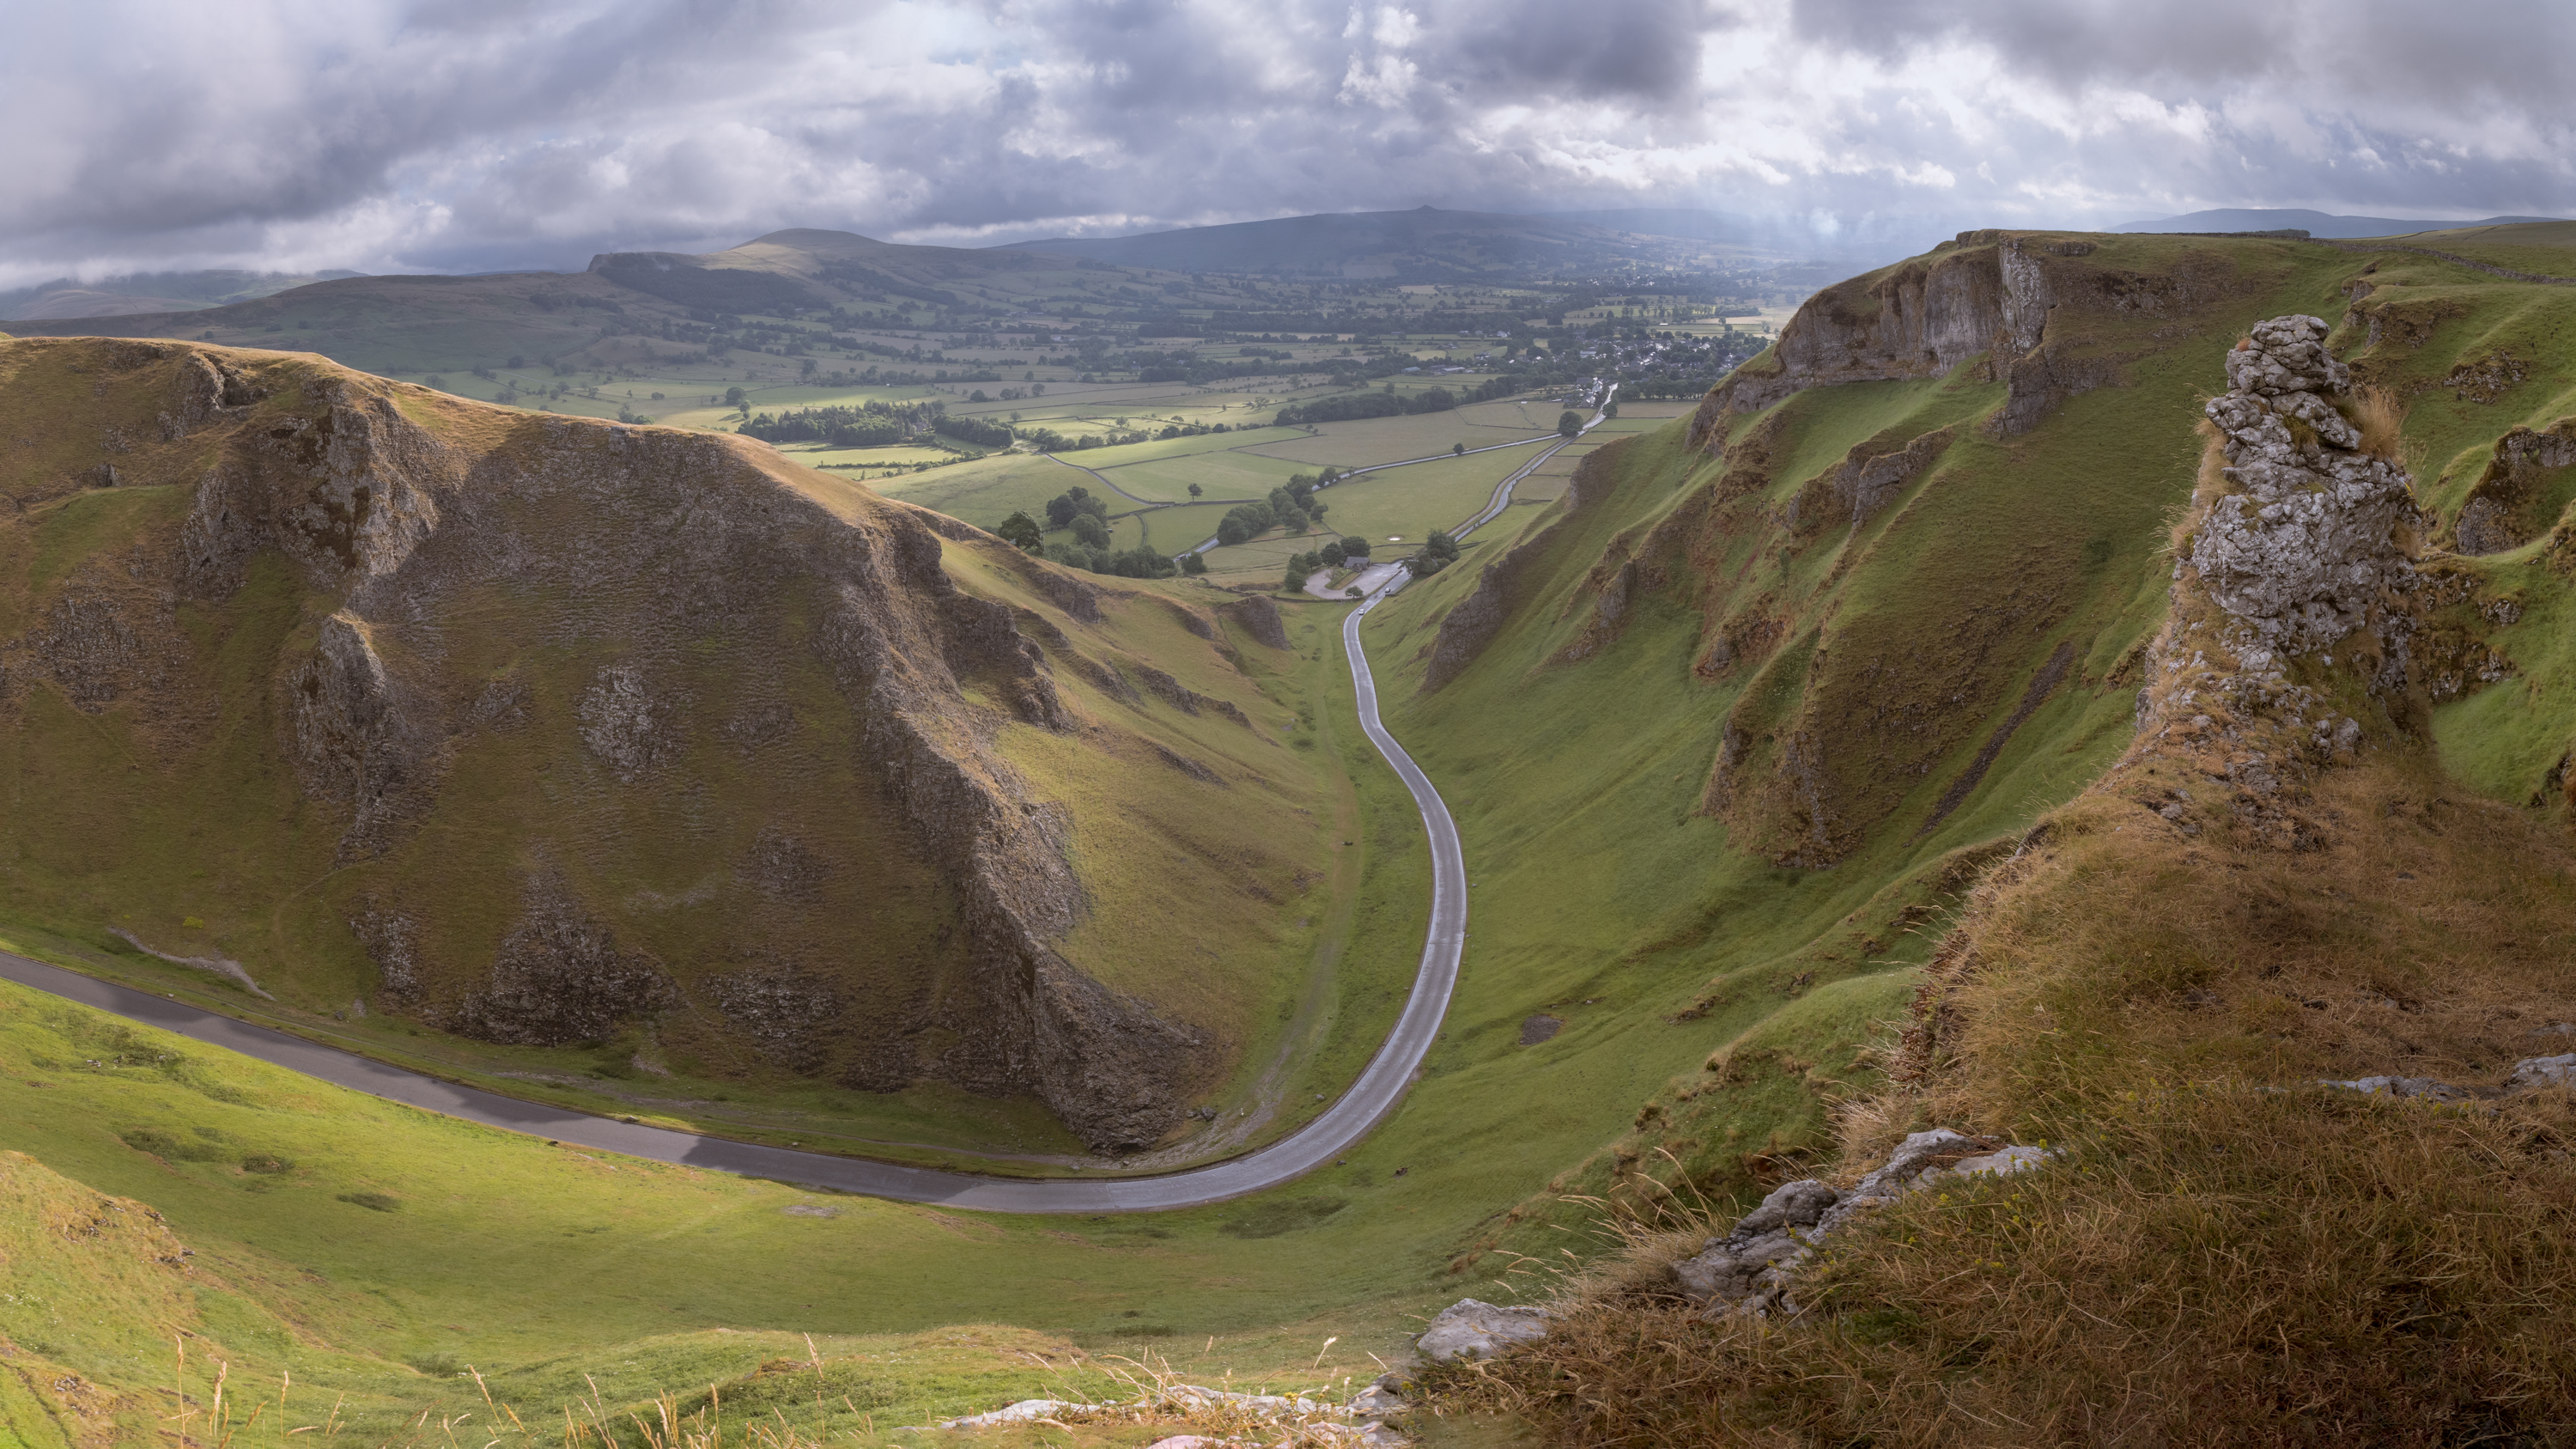
Gavin combines his love of photography and travel to visit spectacular locations around the world, including the wild landscapes of the US, Iceland and further afield. Gavin is curious to explore the benefits of Nikon’s full-frame mirrorless system.
https://gsw.photography
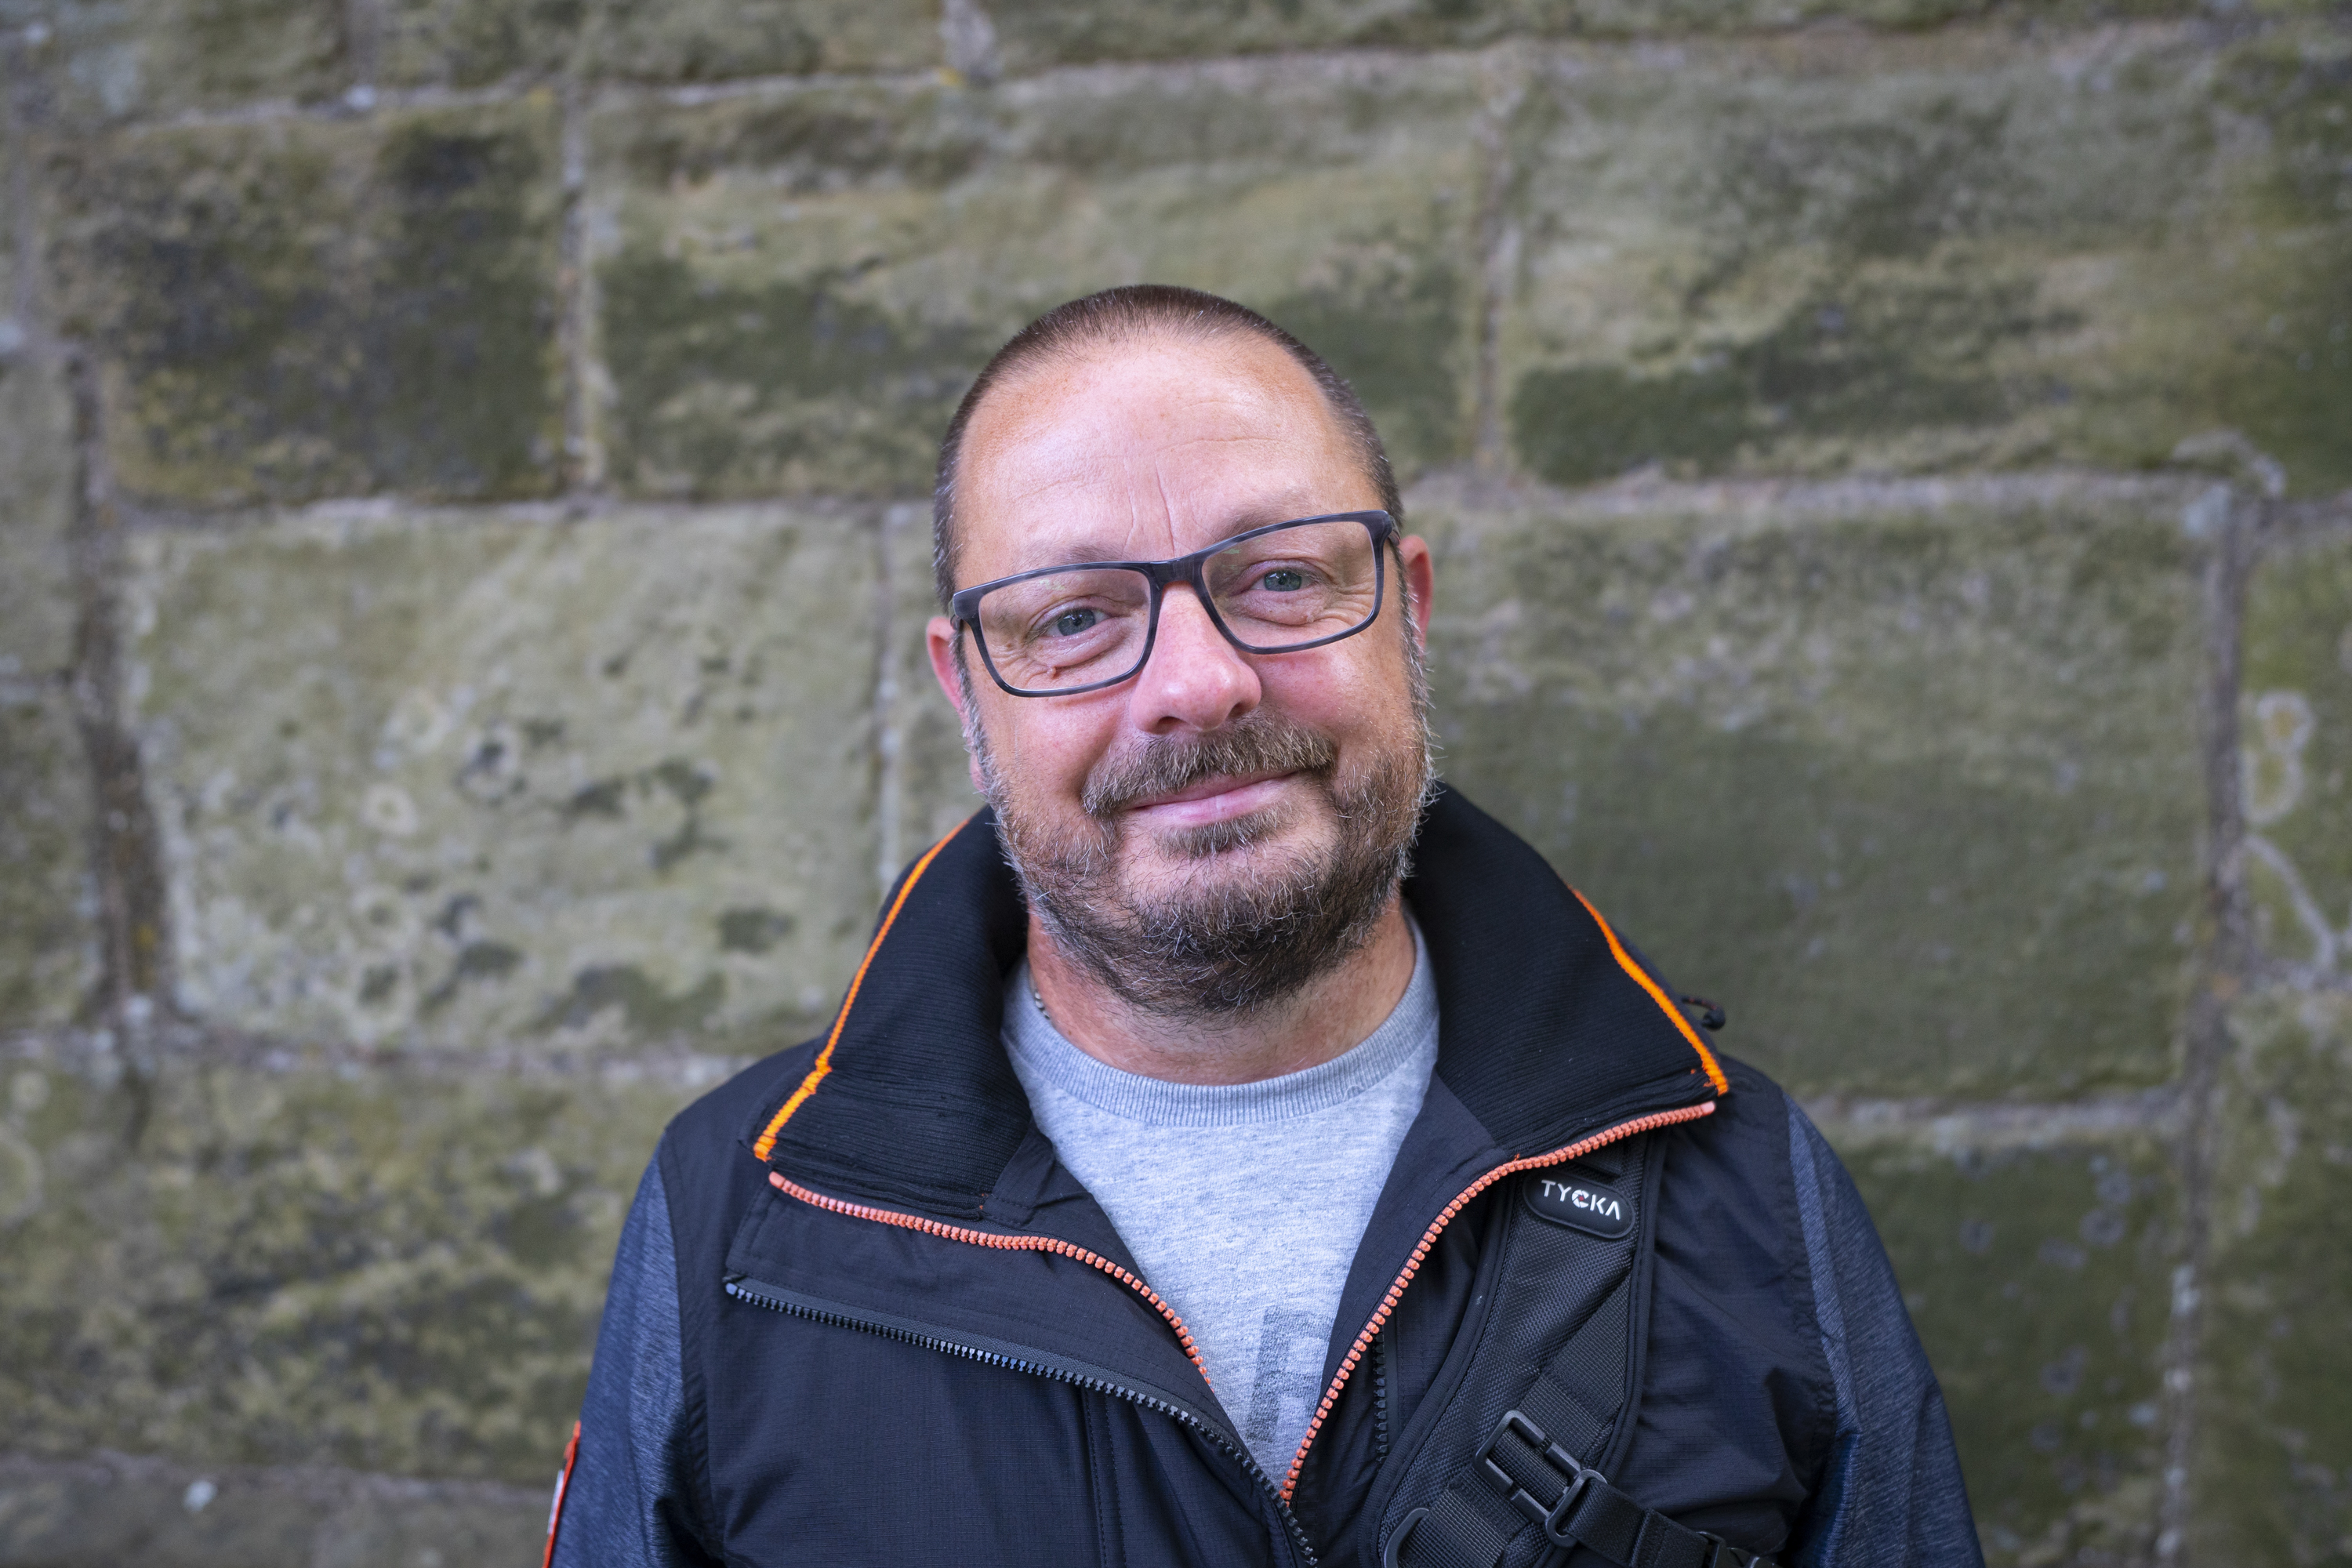
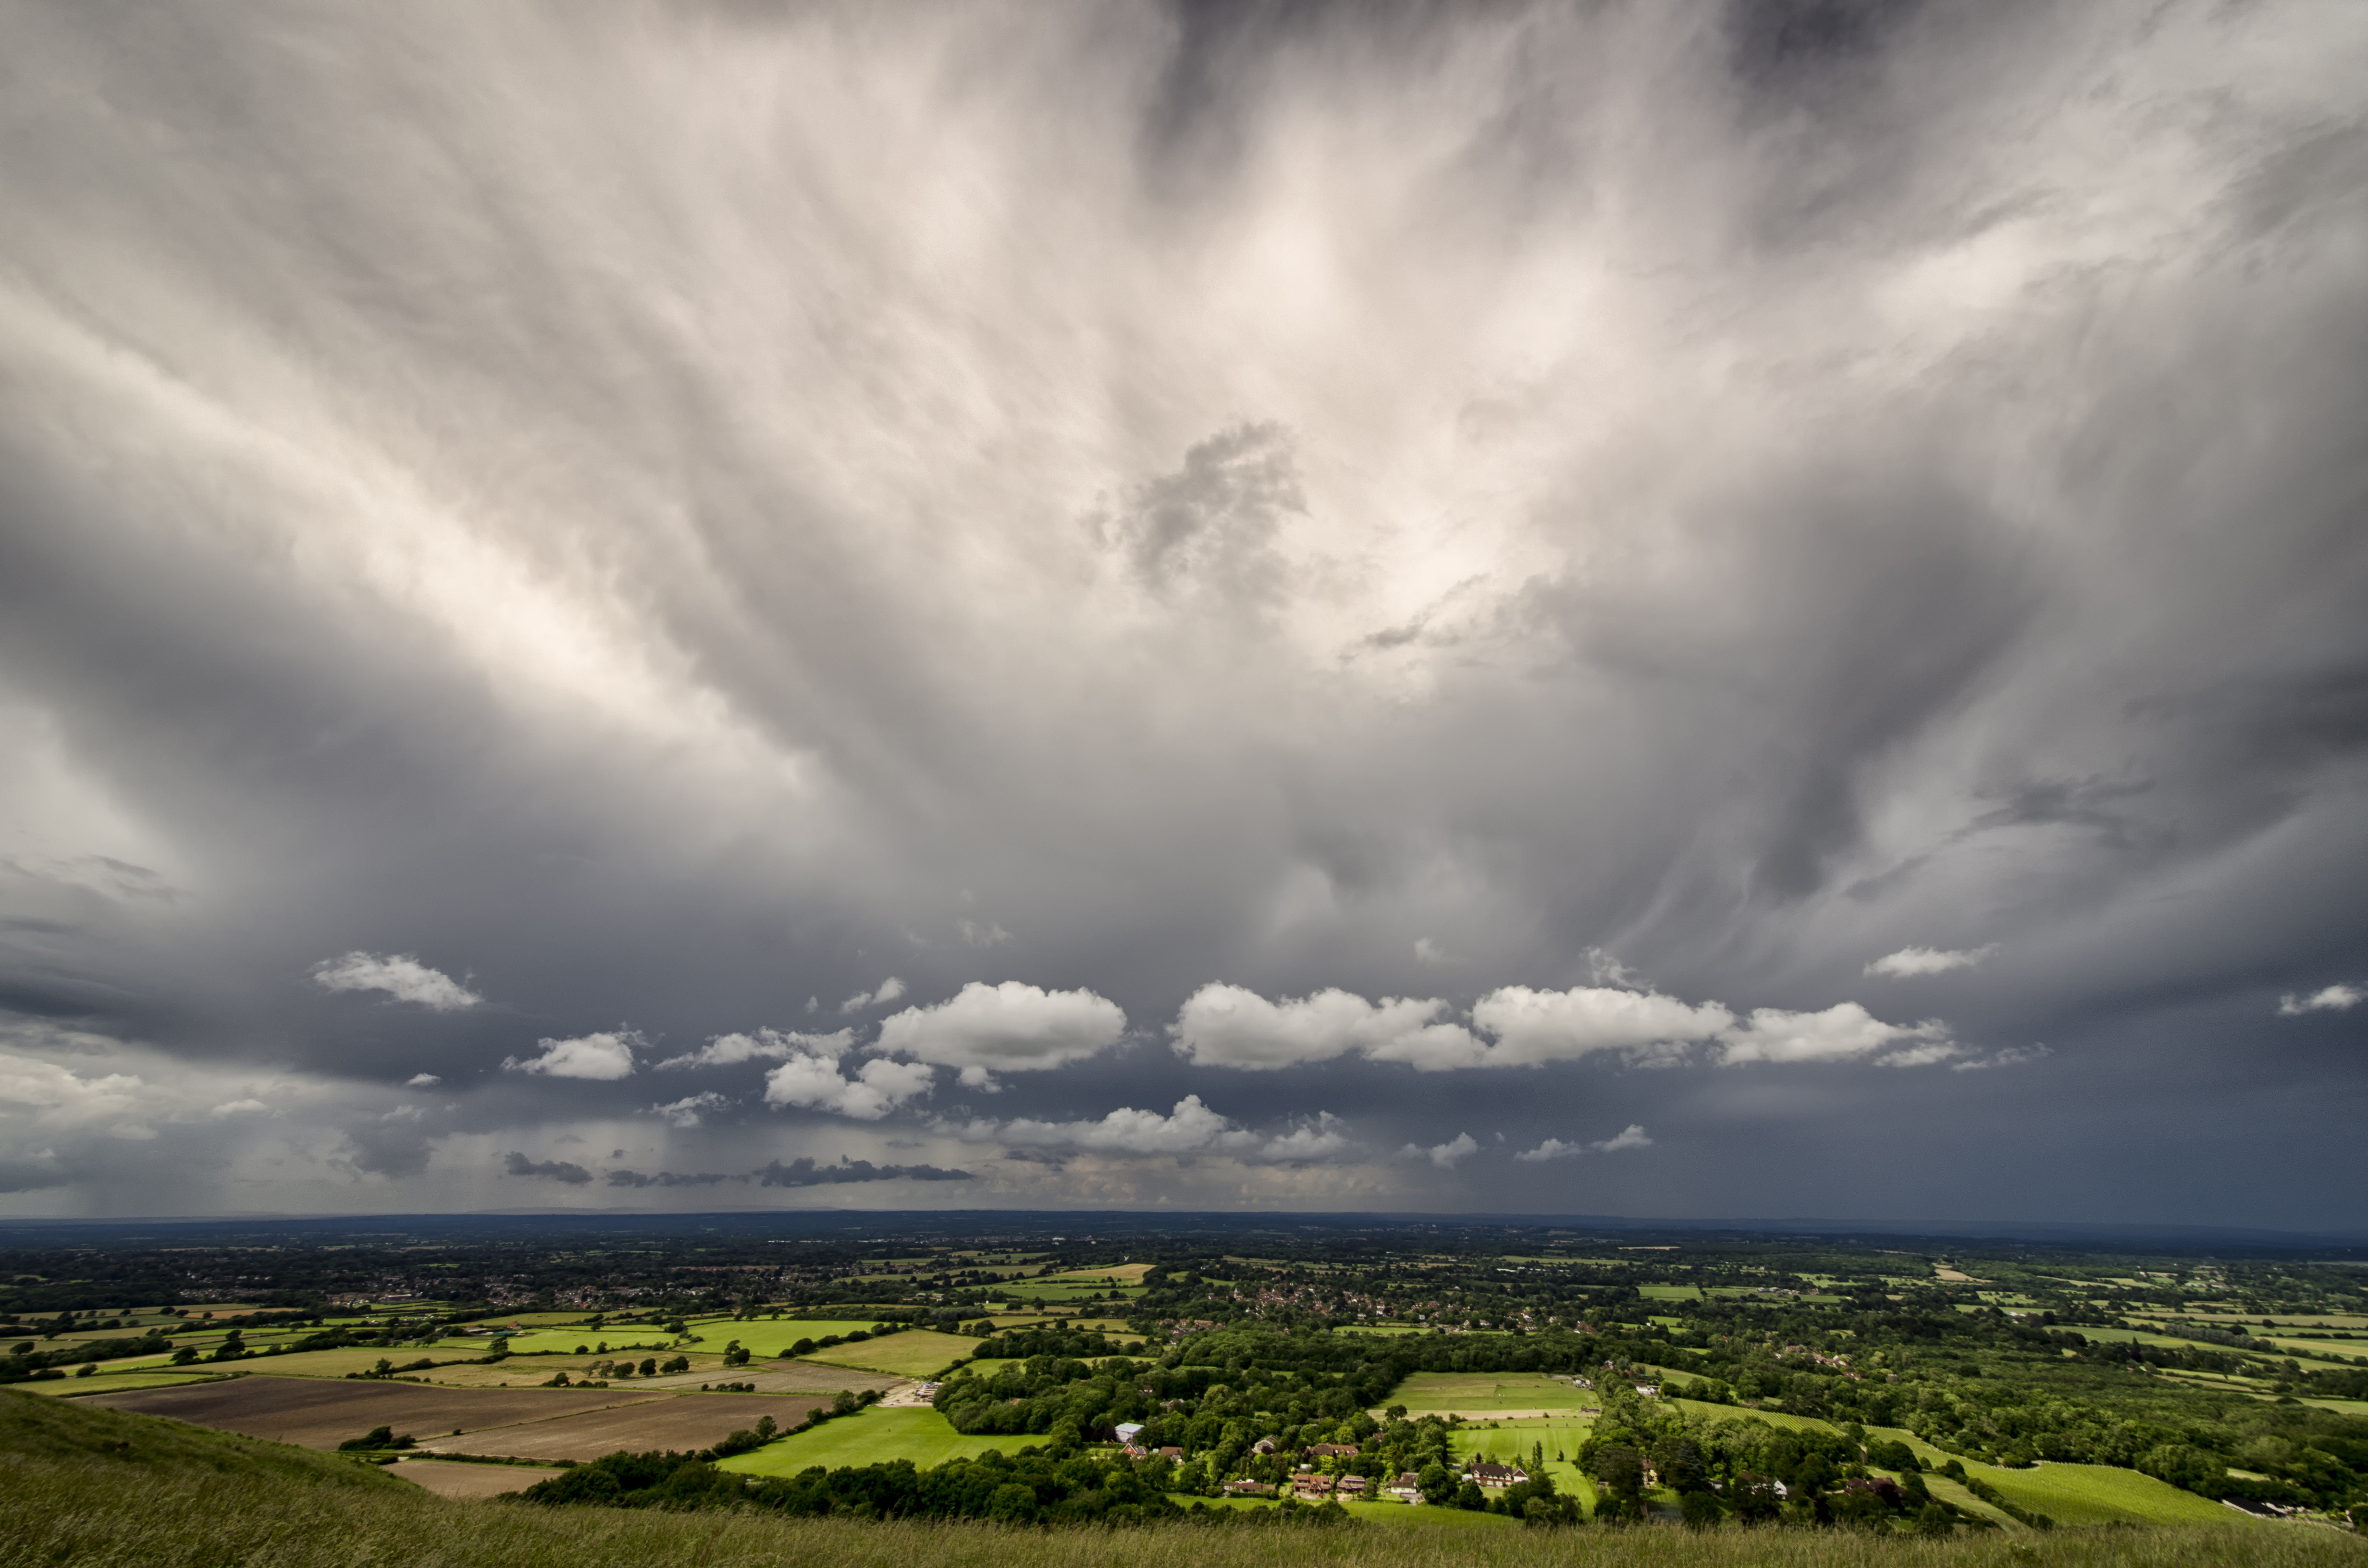
As an enthusiastic chaser of storms in the US, Gavin’s proficiency with weather software was very useful during our pre-shoot briefing. After triangulating forecasts from different apps, we decided to time our arrival for when the rain was due to ease, and for once the skies obliged.
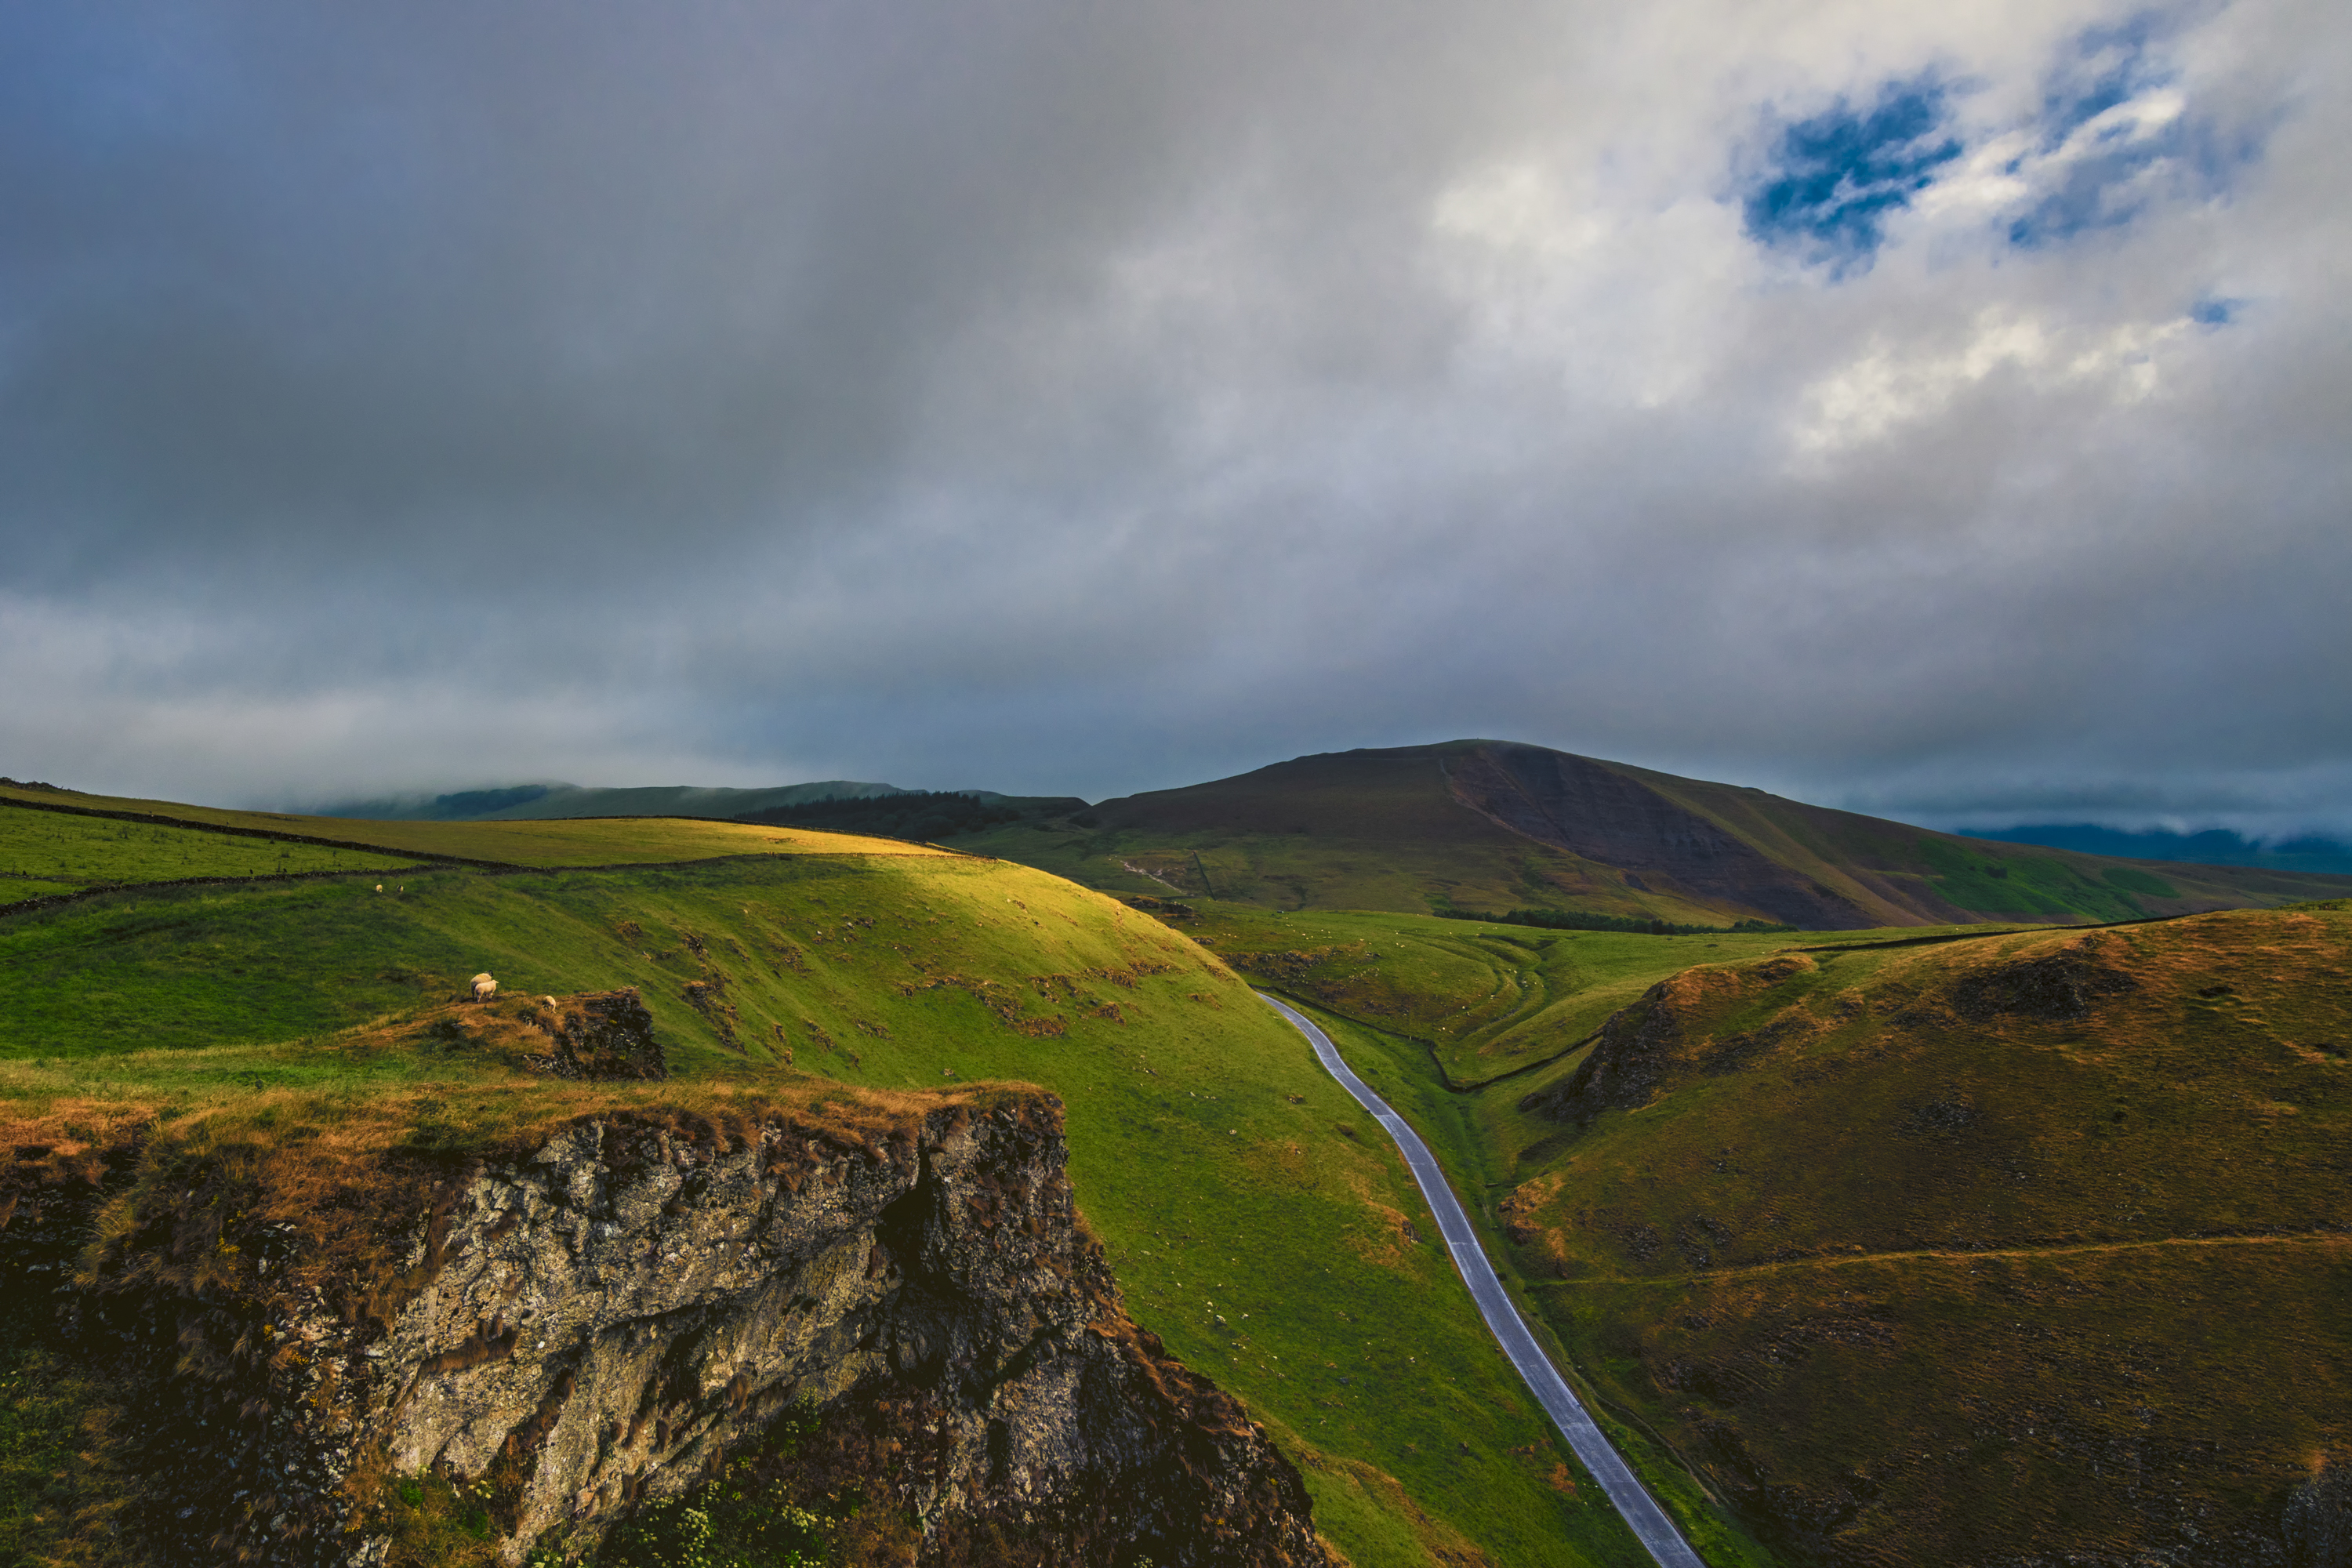
“Given the weather when we started the day, we were really excited when the sun started to break through the clouds,” Gavin recalls. “The sun was still quite low and I spotted that half of the valley was lit by it, leaving the other half in shadow. So with the leading line of the road heading into the distance with the dramatic clouds on the horizon, I thought this would make a good shot. I waited for a break in the traffic on the road, and then was lucky enough to get some lens flare from the sun, too. I am really happy with how this shot worked.”
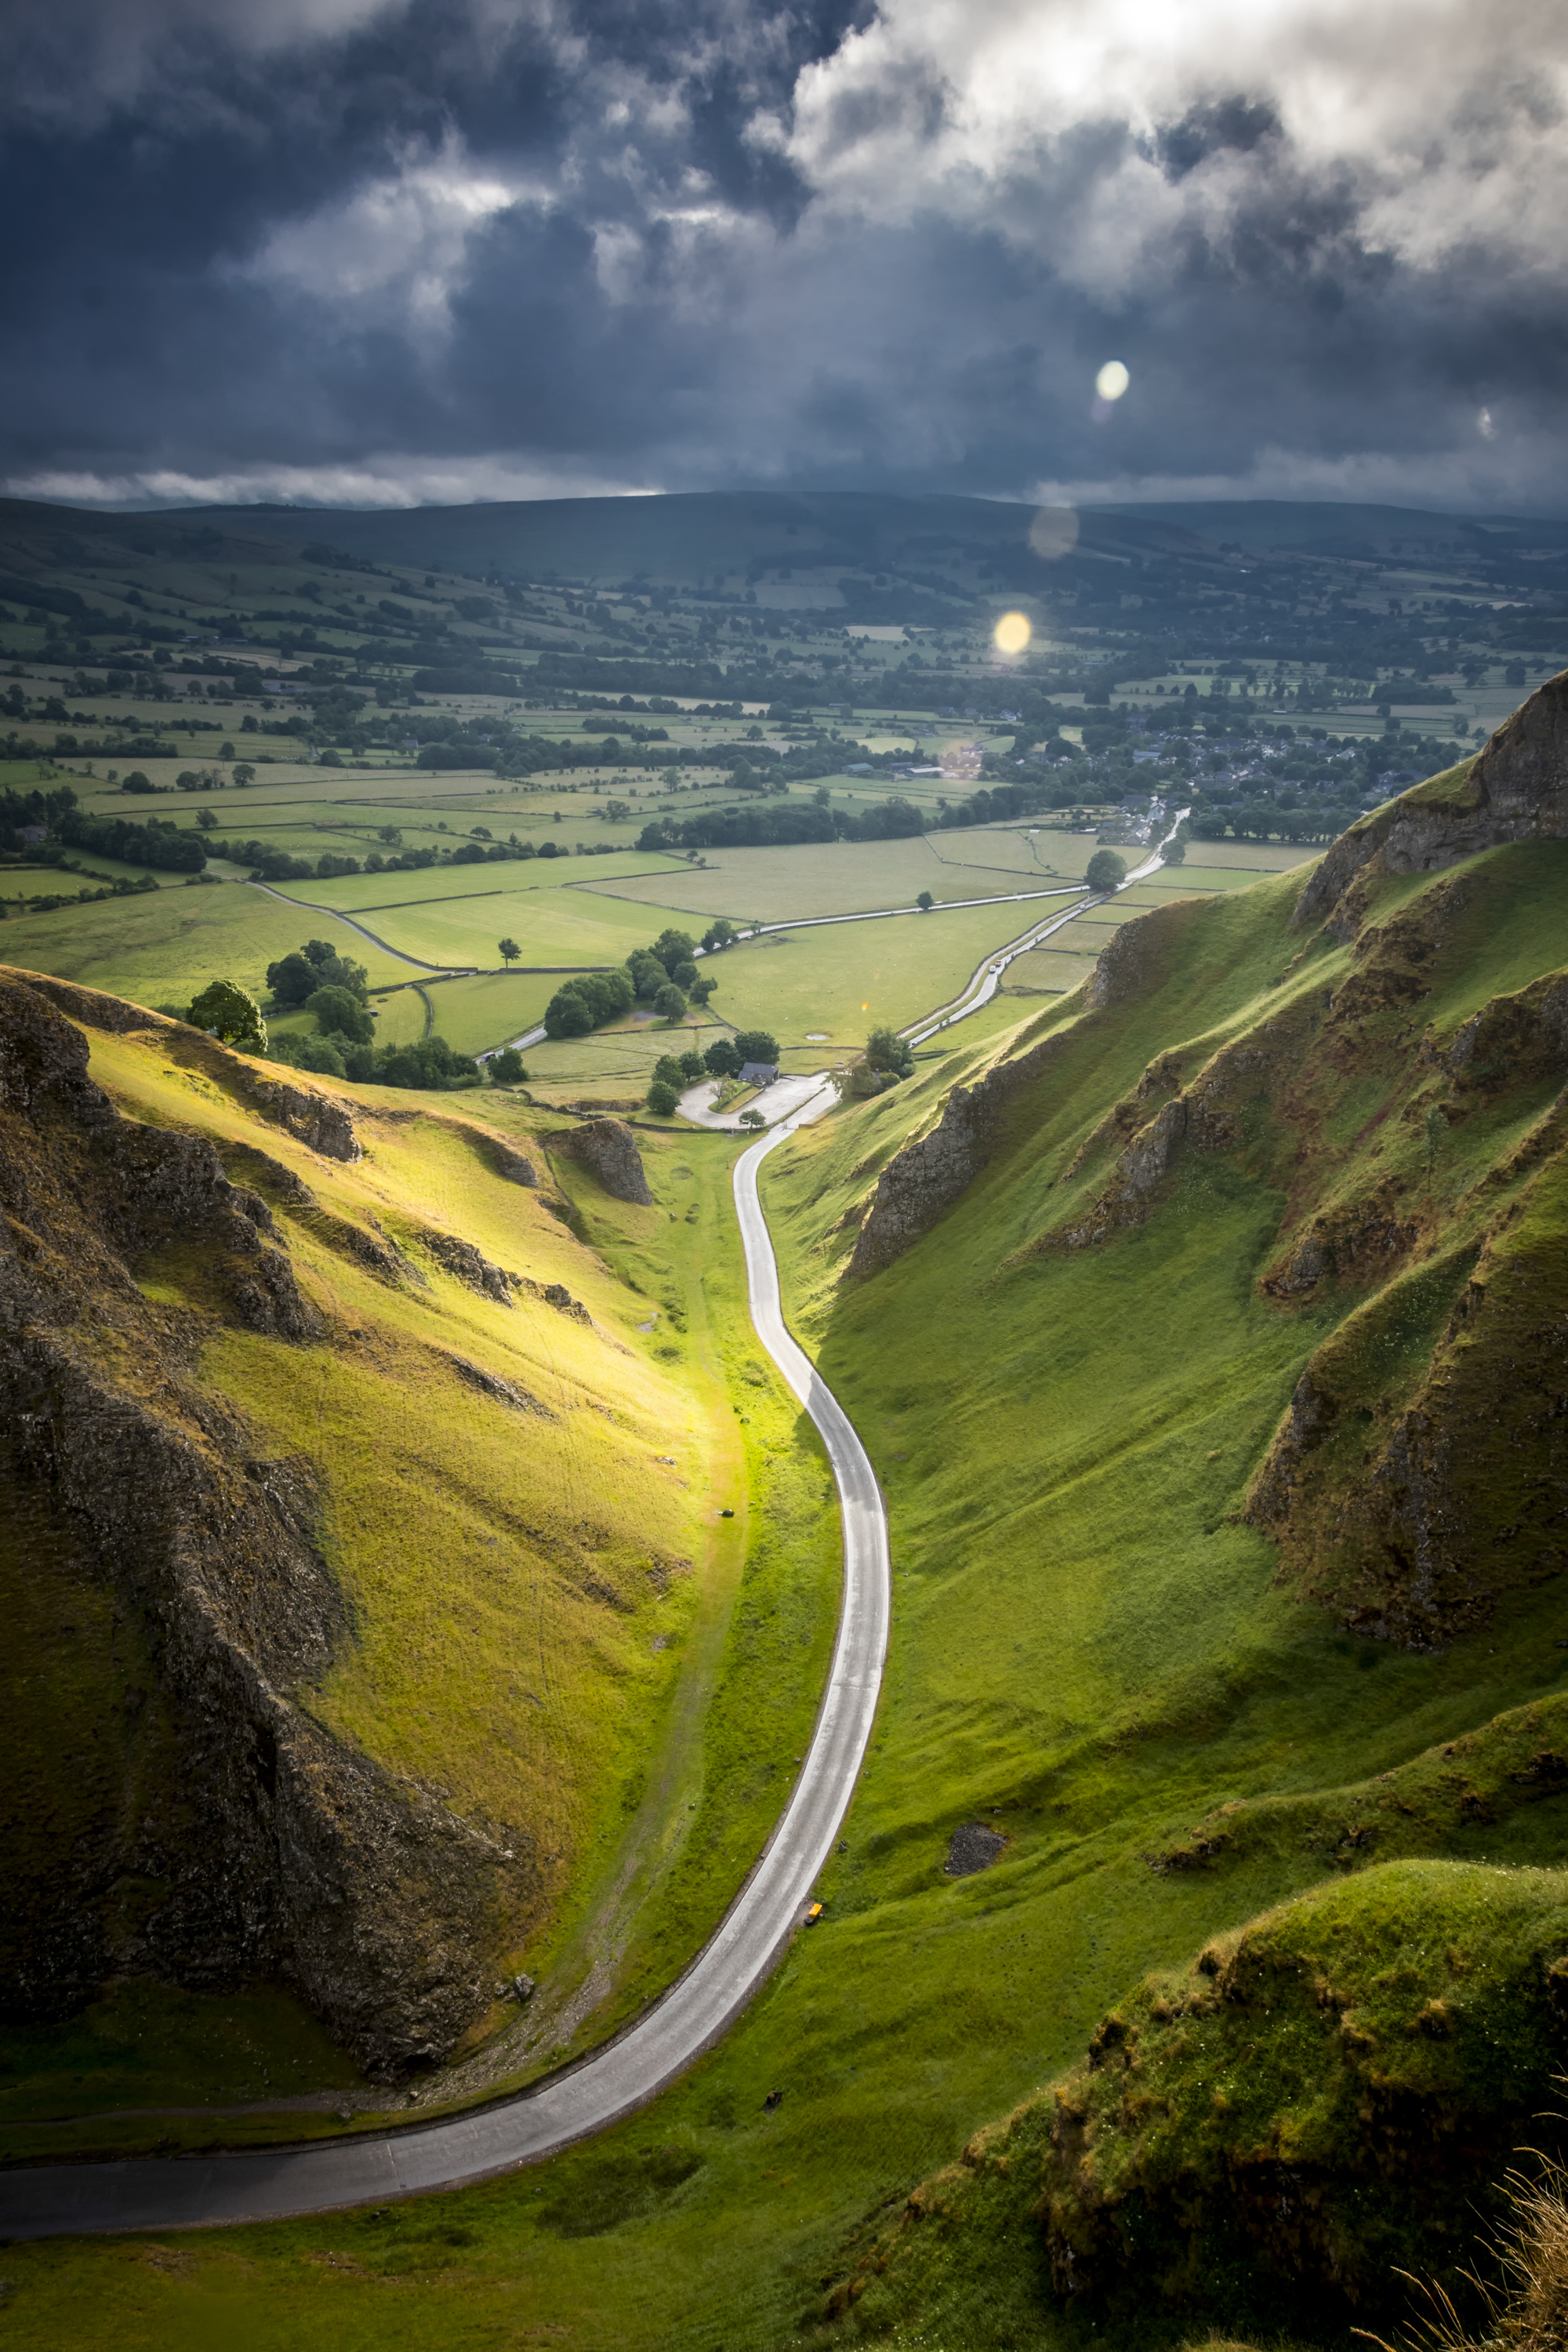
Add content by going wide
Gavin switched to his Sigma 10-20mm zoom to widen the view, changing it from his backpack to avoid the rain sputters. “I liked the effect of the sun lighting a small portion of the scene, making that part of the hill stand out with the rest of the frame in shadow. I took a number of shots to get the one I wanted.”

Challenge 2: Shoot a classic view of Mam Tor
Our second location of the day was the gate looking towards Mam Tor. It’s certainly an oft-photographed scene, so we were keen to see how our shooters would capture it. With the sun shining most of the time now, it was a pleasant walk to get into position and the morning rain seemed like a distant memory.
“Coming from Norfolk, Mam Tor is a mountain,” laughs Helen. “Wanting to do something different from the endless shots on social media, and given the high contrast when the sun broke from behind the clouds, I reached for my new Hoya infrared filter.”

Try a long exposure
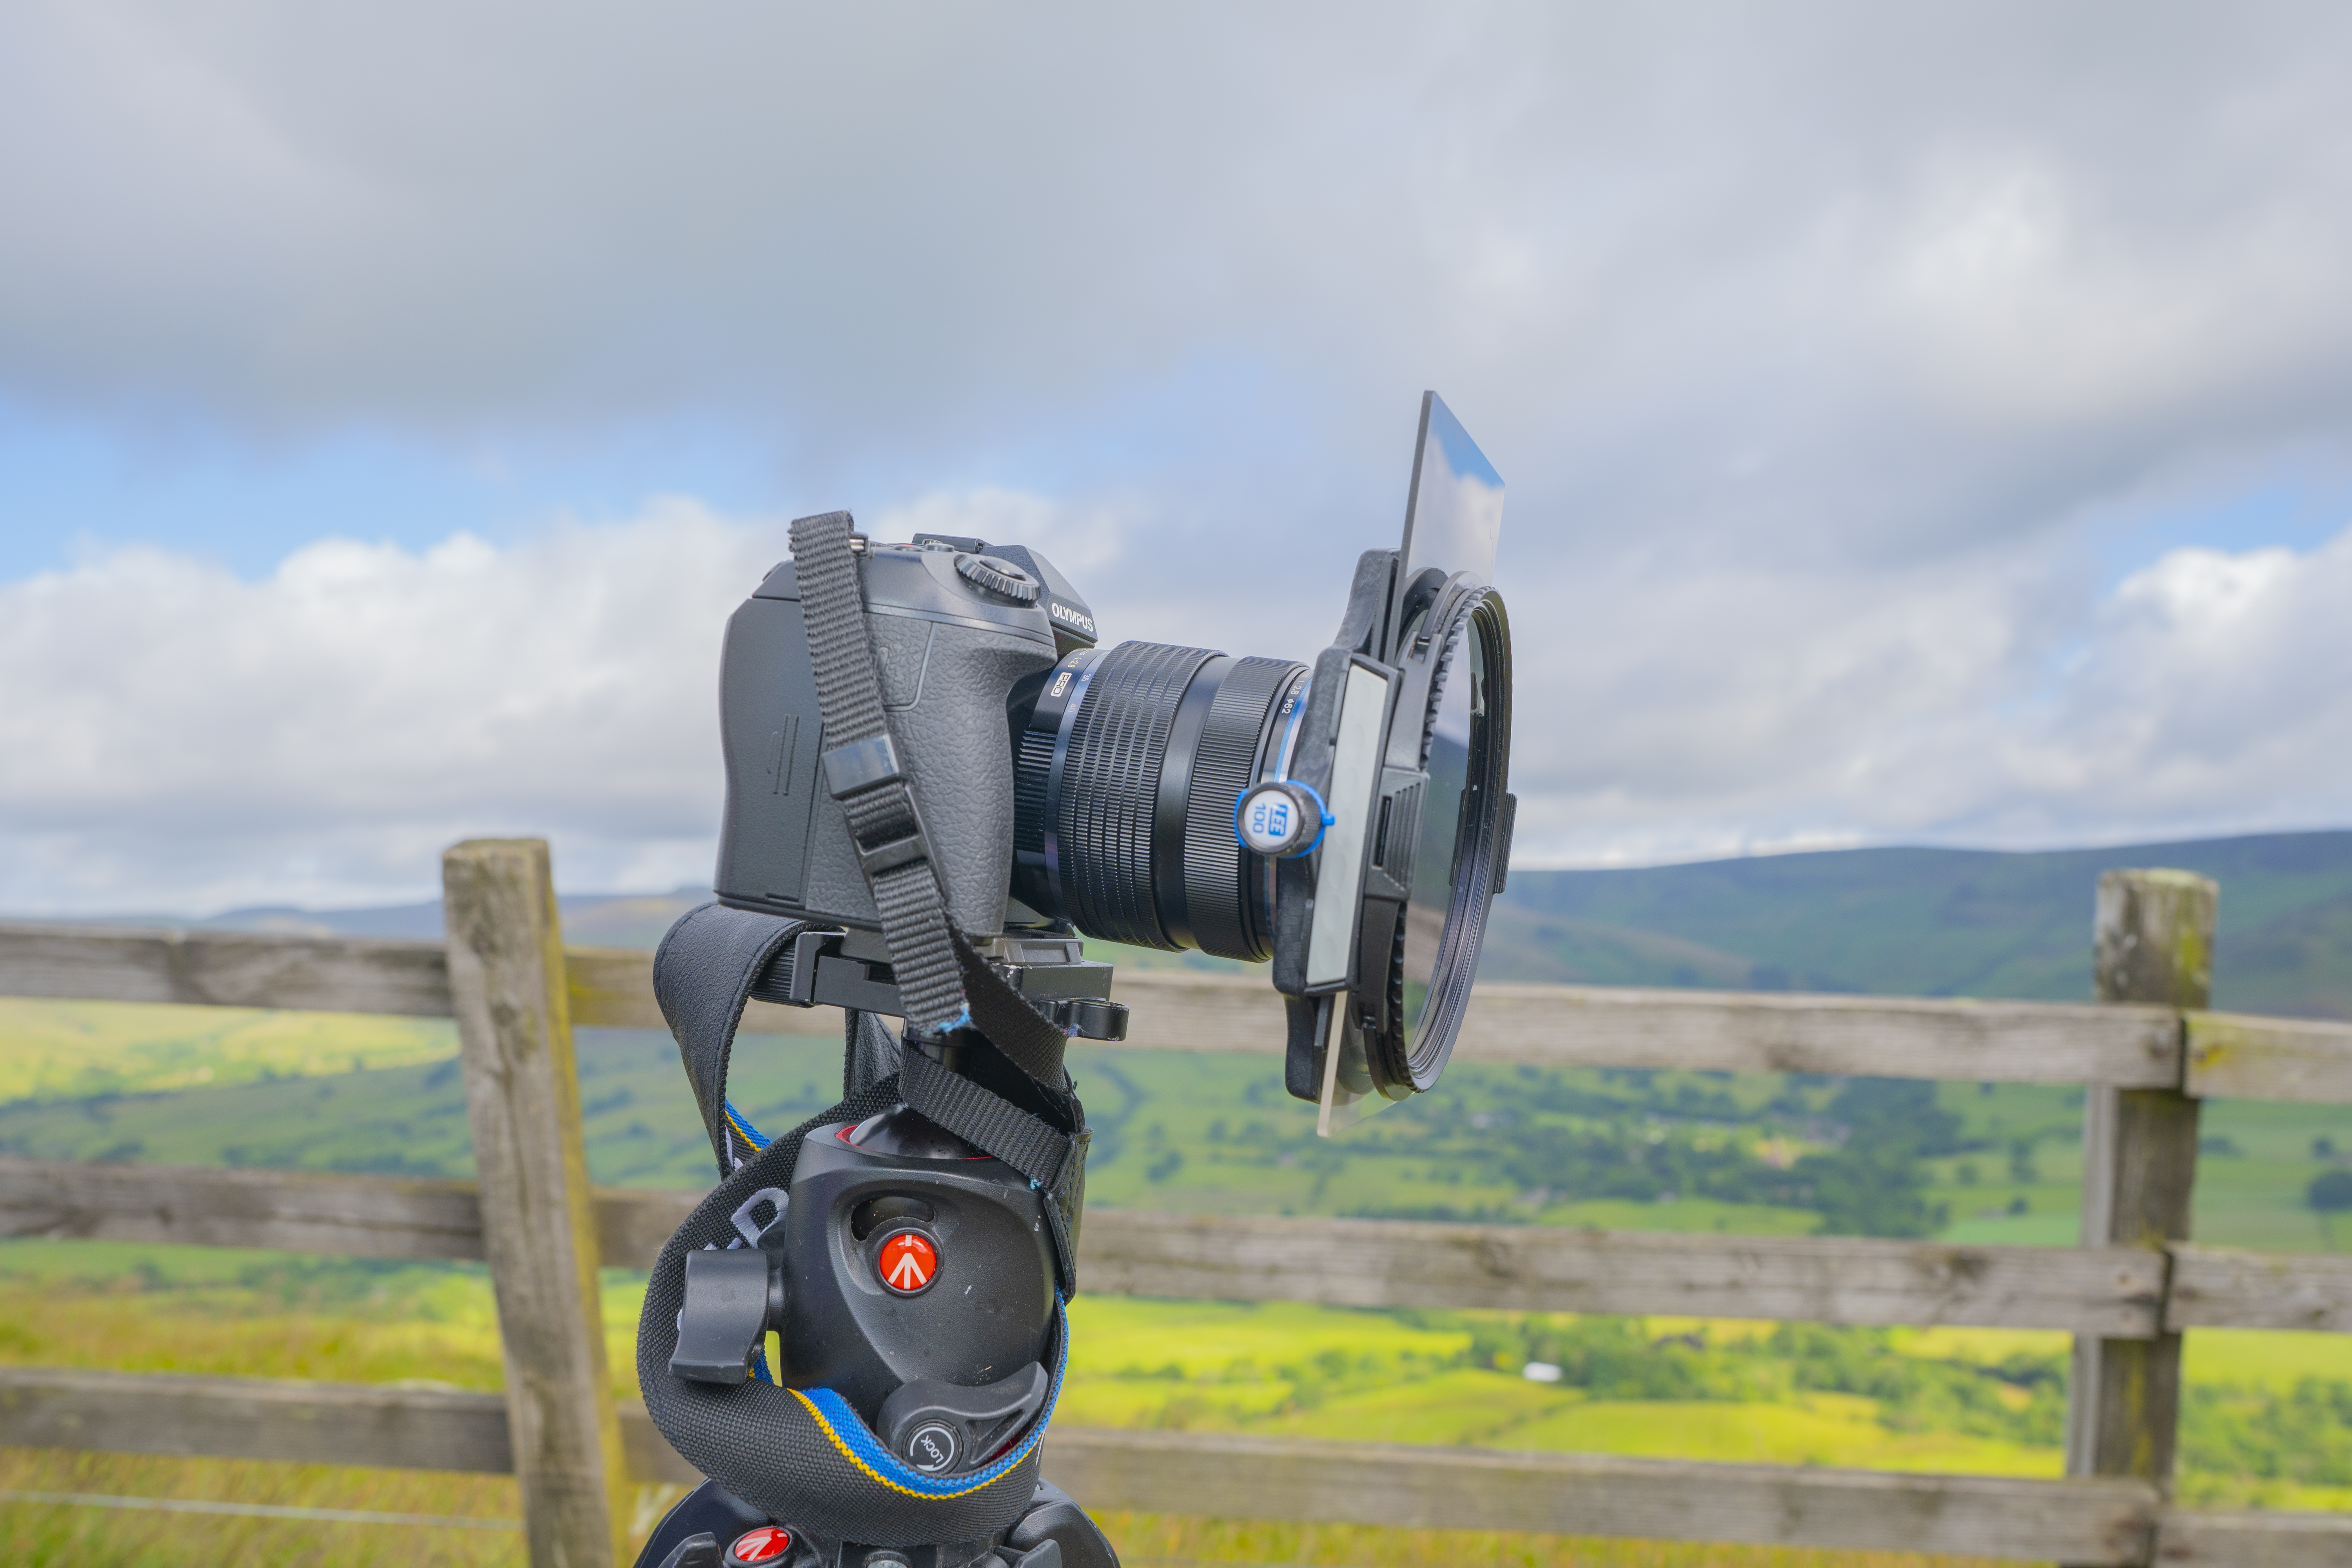
To create a dreamy floating cloud aesthetic while we were at the location, Helen popped her E-M1 Mk II on a tripod and reached for a Lee 0.9 ND Grad filter and Lee polarizer. This allowed her to bag a 50-second exposure that certainly shows this famous view in several layers of light.

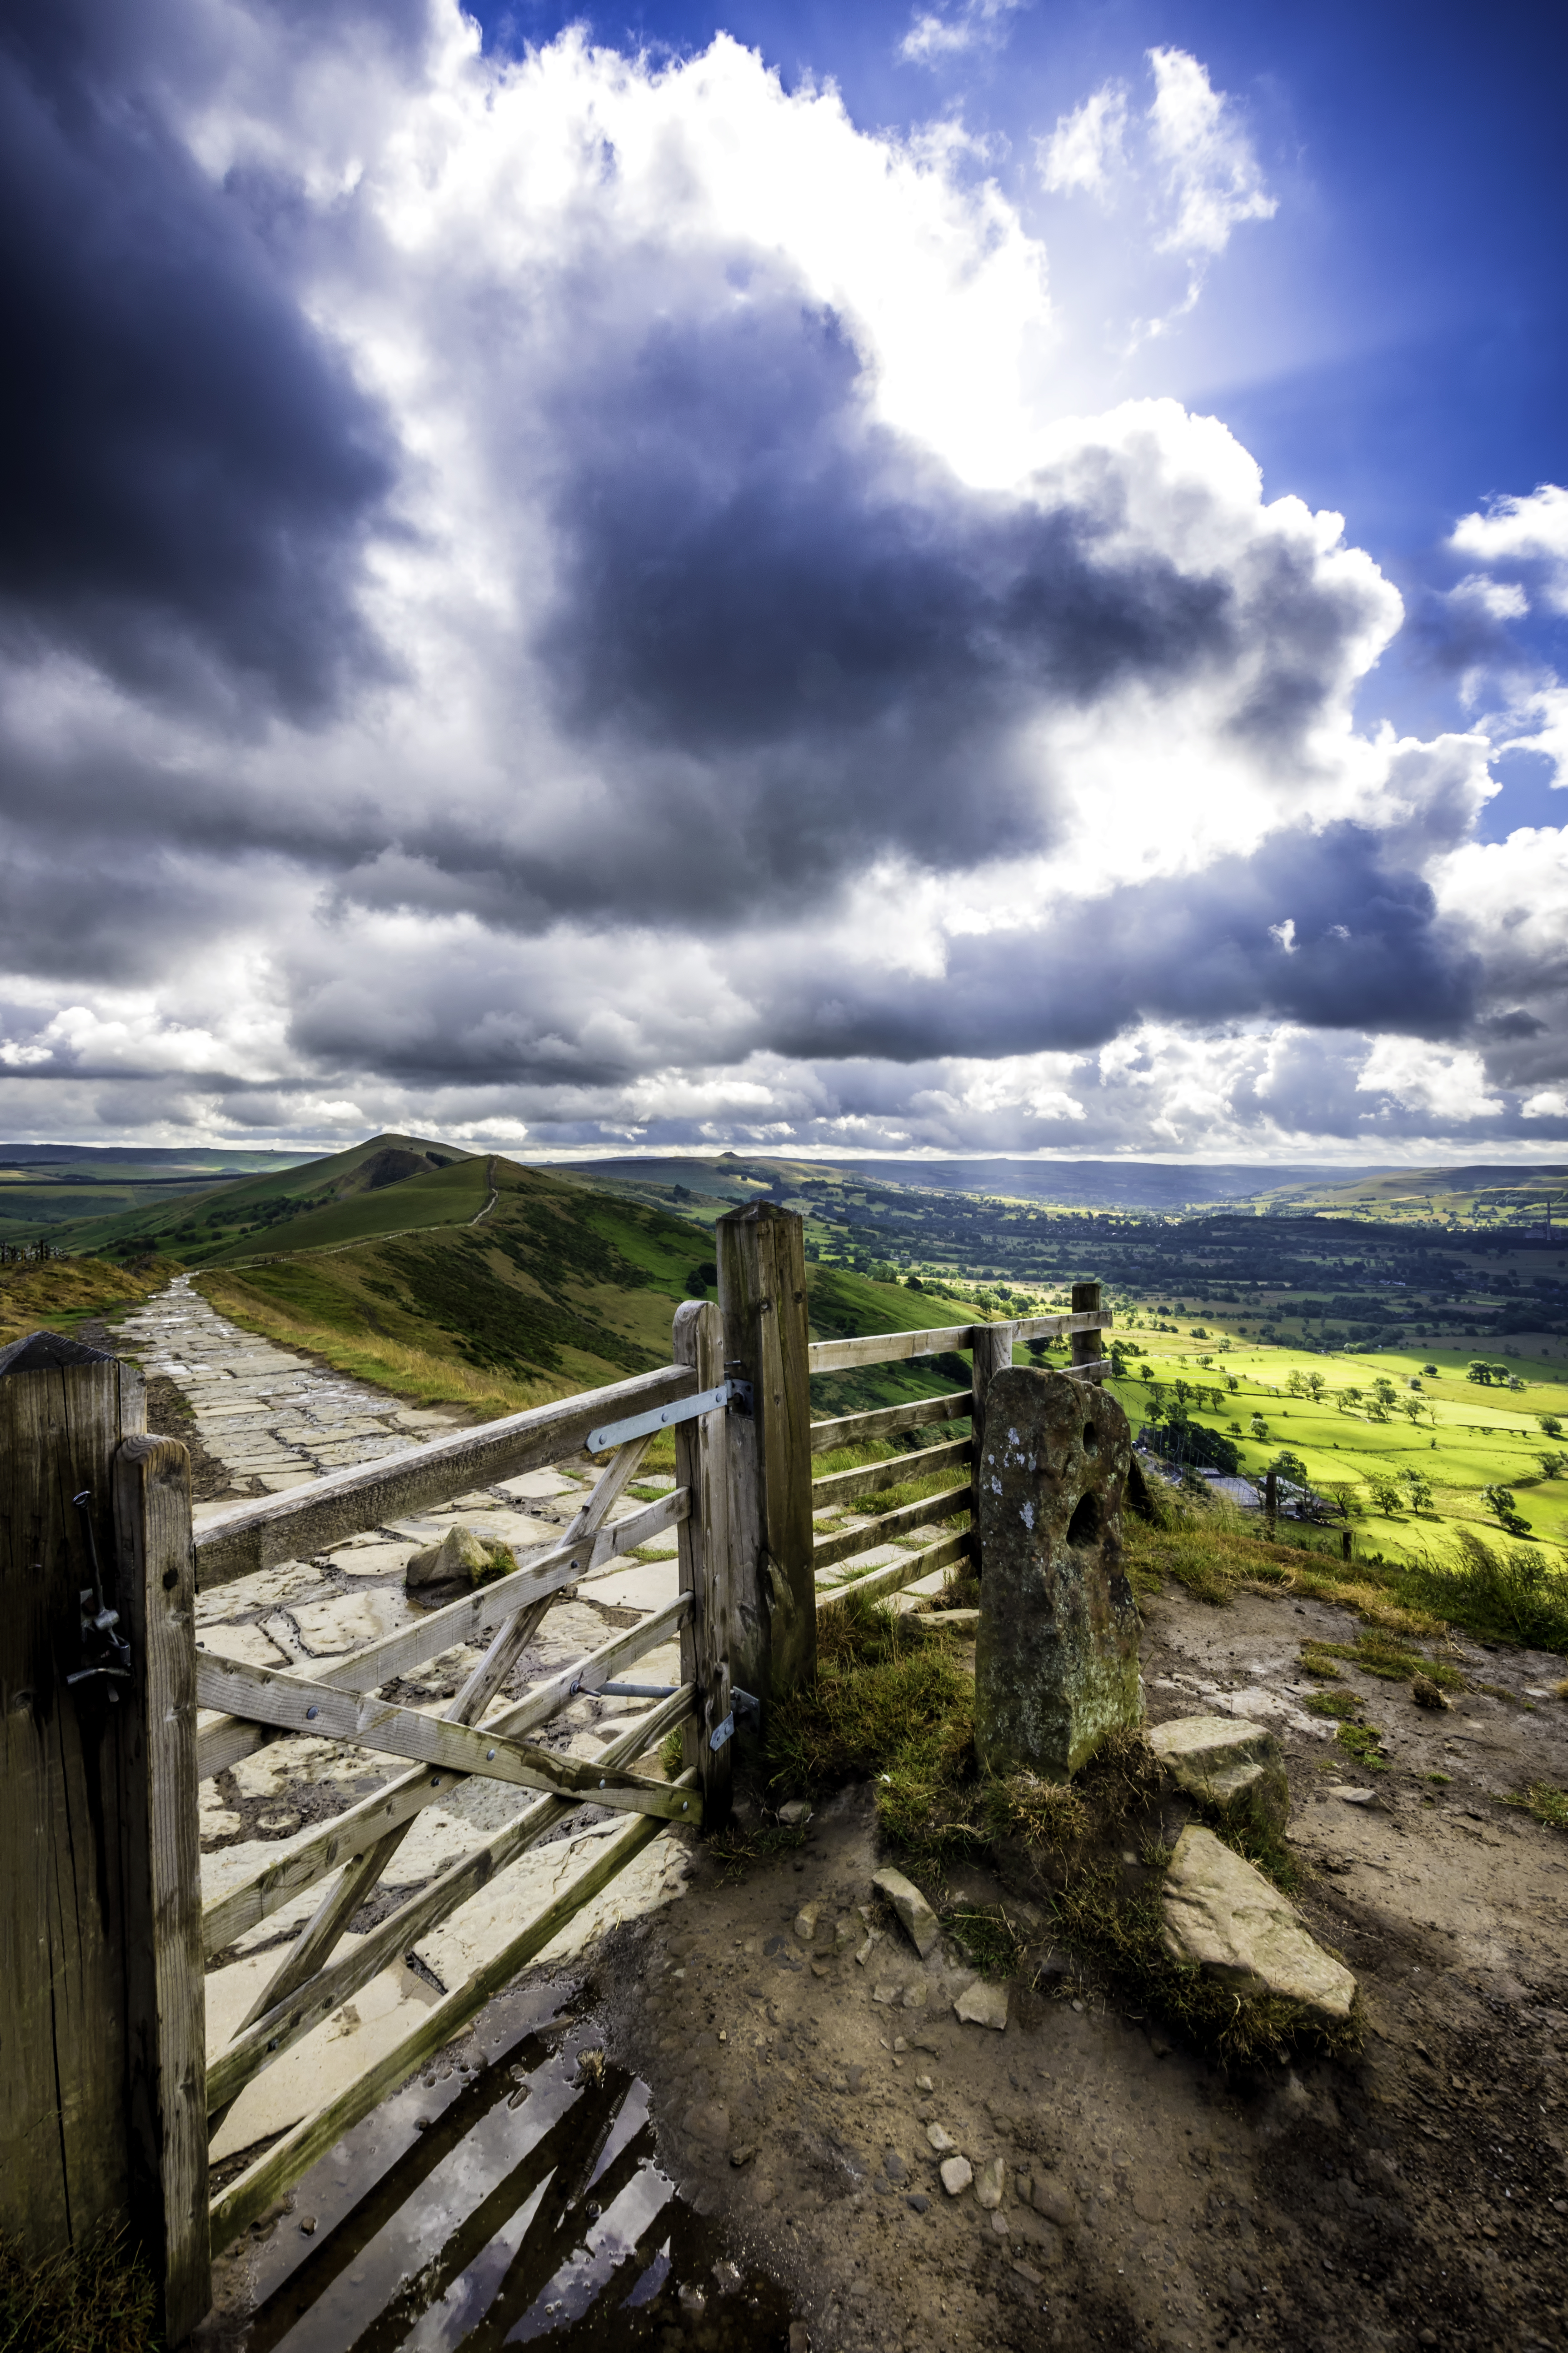
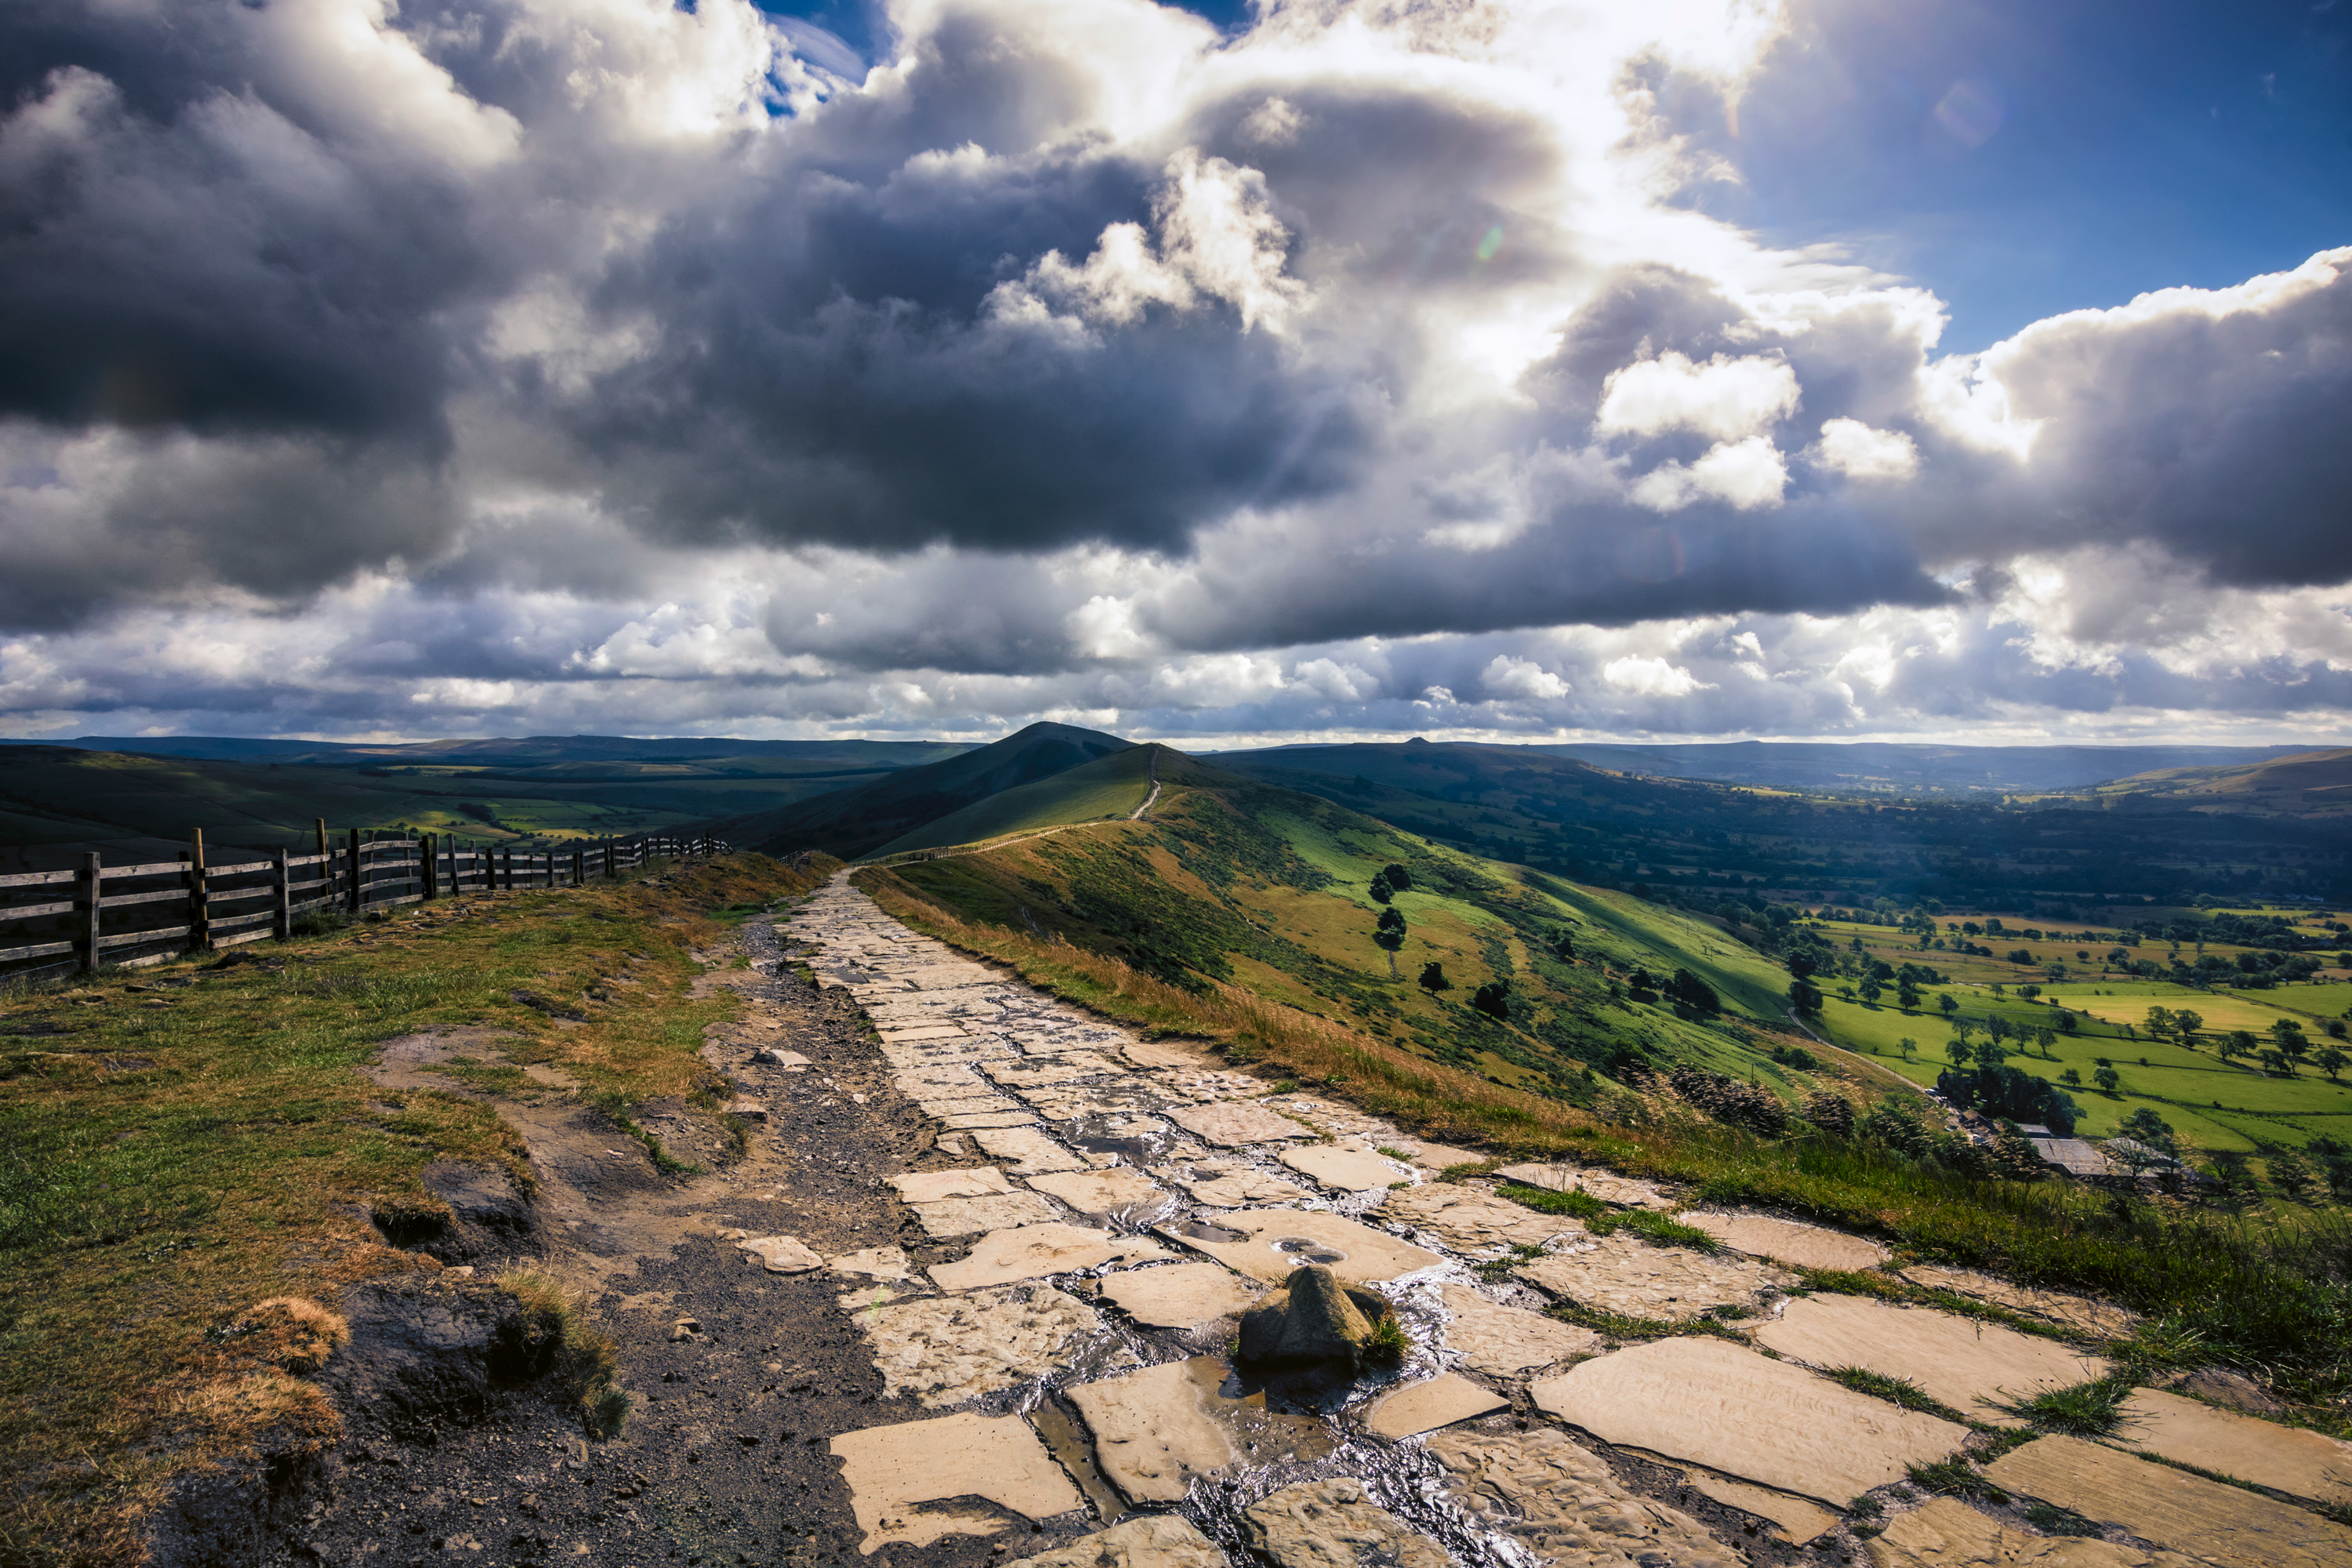
For his gate shot, Gavin opted for a different approach from Helen, favouring something less abstract. “As can be seen in my shots of Winnats Pass, leading lines are important to me, so for this photo I wanted to get the leading line of the path along the ridge, and also the sun lighting the valley through the clouds,” says Gavin.
“I decided to go tight on the gate but not straight on so I could get more of what I wanted in the frame. The path leads the eye to the hills and then on to the sun breaking out from behind the clouds, while also capturing the vibrant green of the valley floor lit by the sun. I love the contrast in this image, so was very happy with the results.”
Use exposure compensation
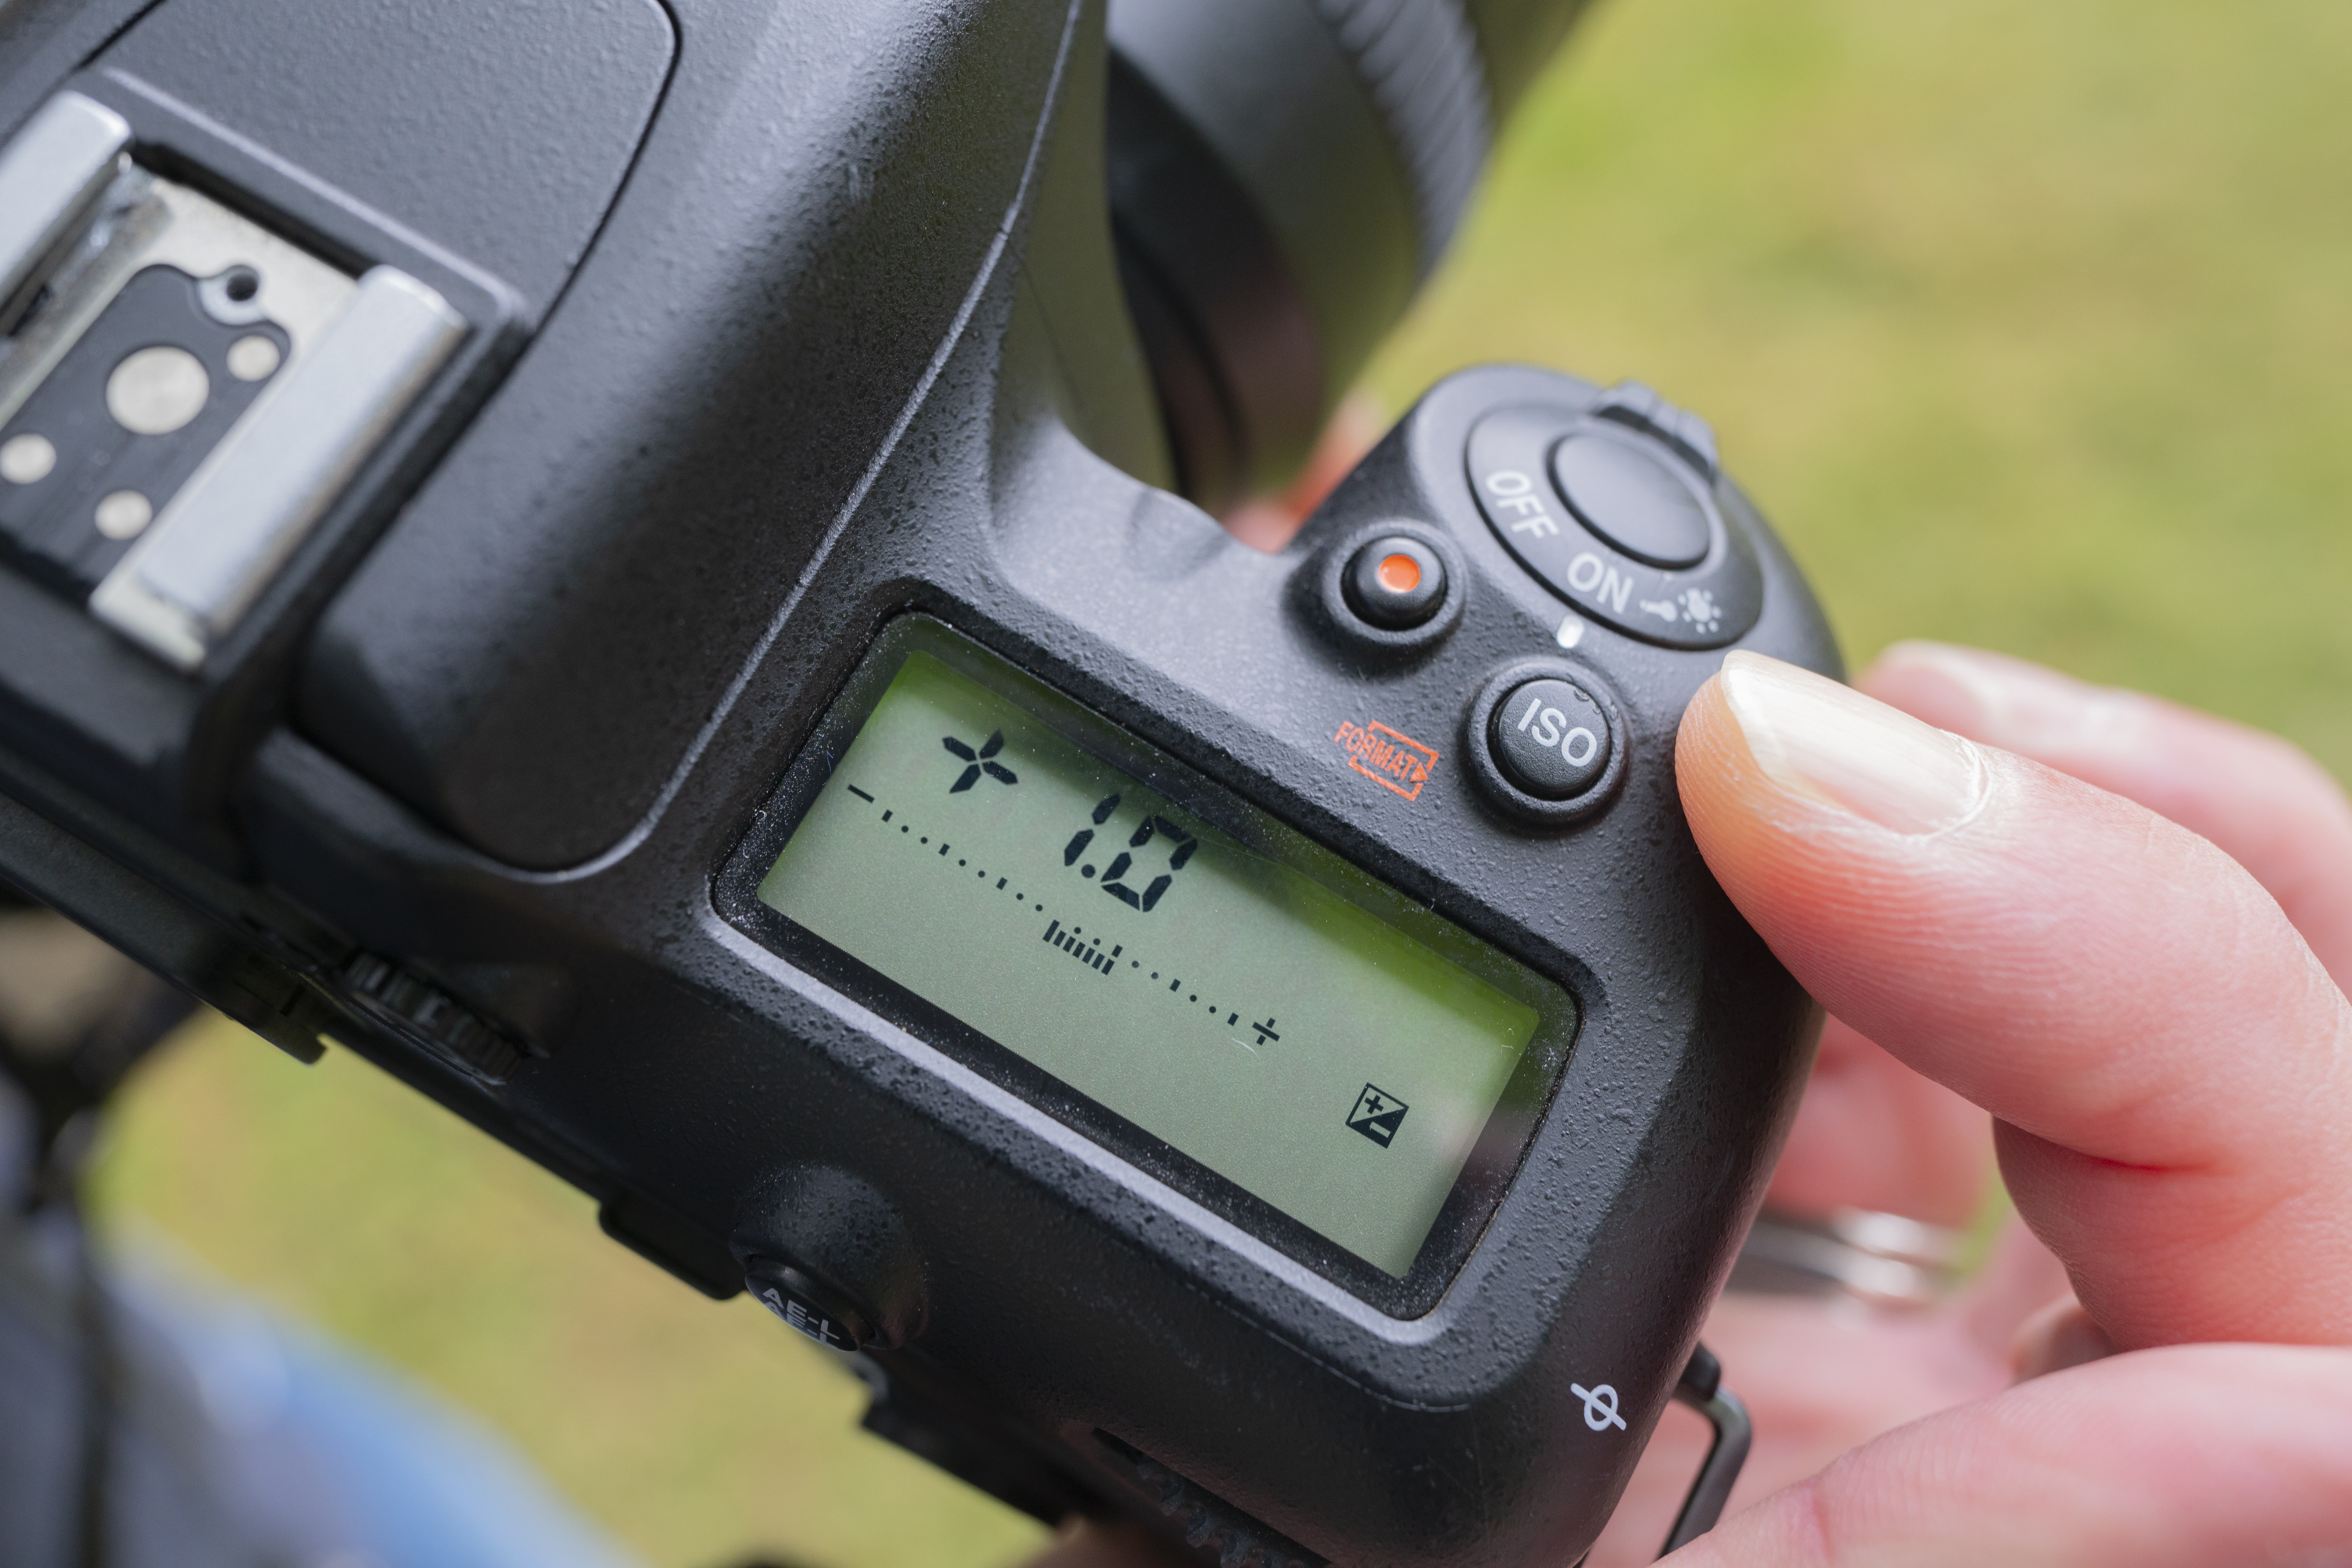
Gavin managed to capture another variationcof the classic gate shot by excluding it and shooting behind the fence instead. “I wanted to get the line of the path along the ridge together with the dappling of the sun across the landscape. As I was shooting towards the sun, I used exposure compensation and was really lucky when I got this shot – I love the ray of light appearing to put a spotlight on the path.”
Challenge 3: Pick out details with a long lens
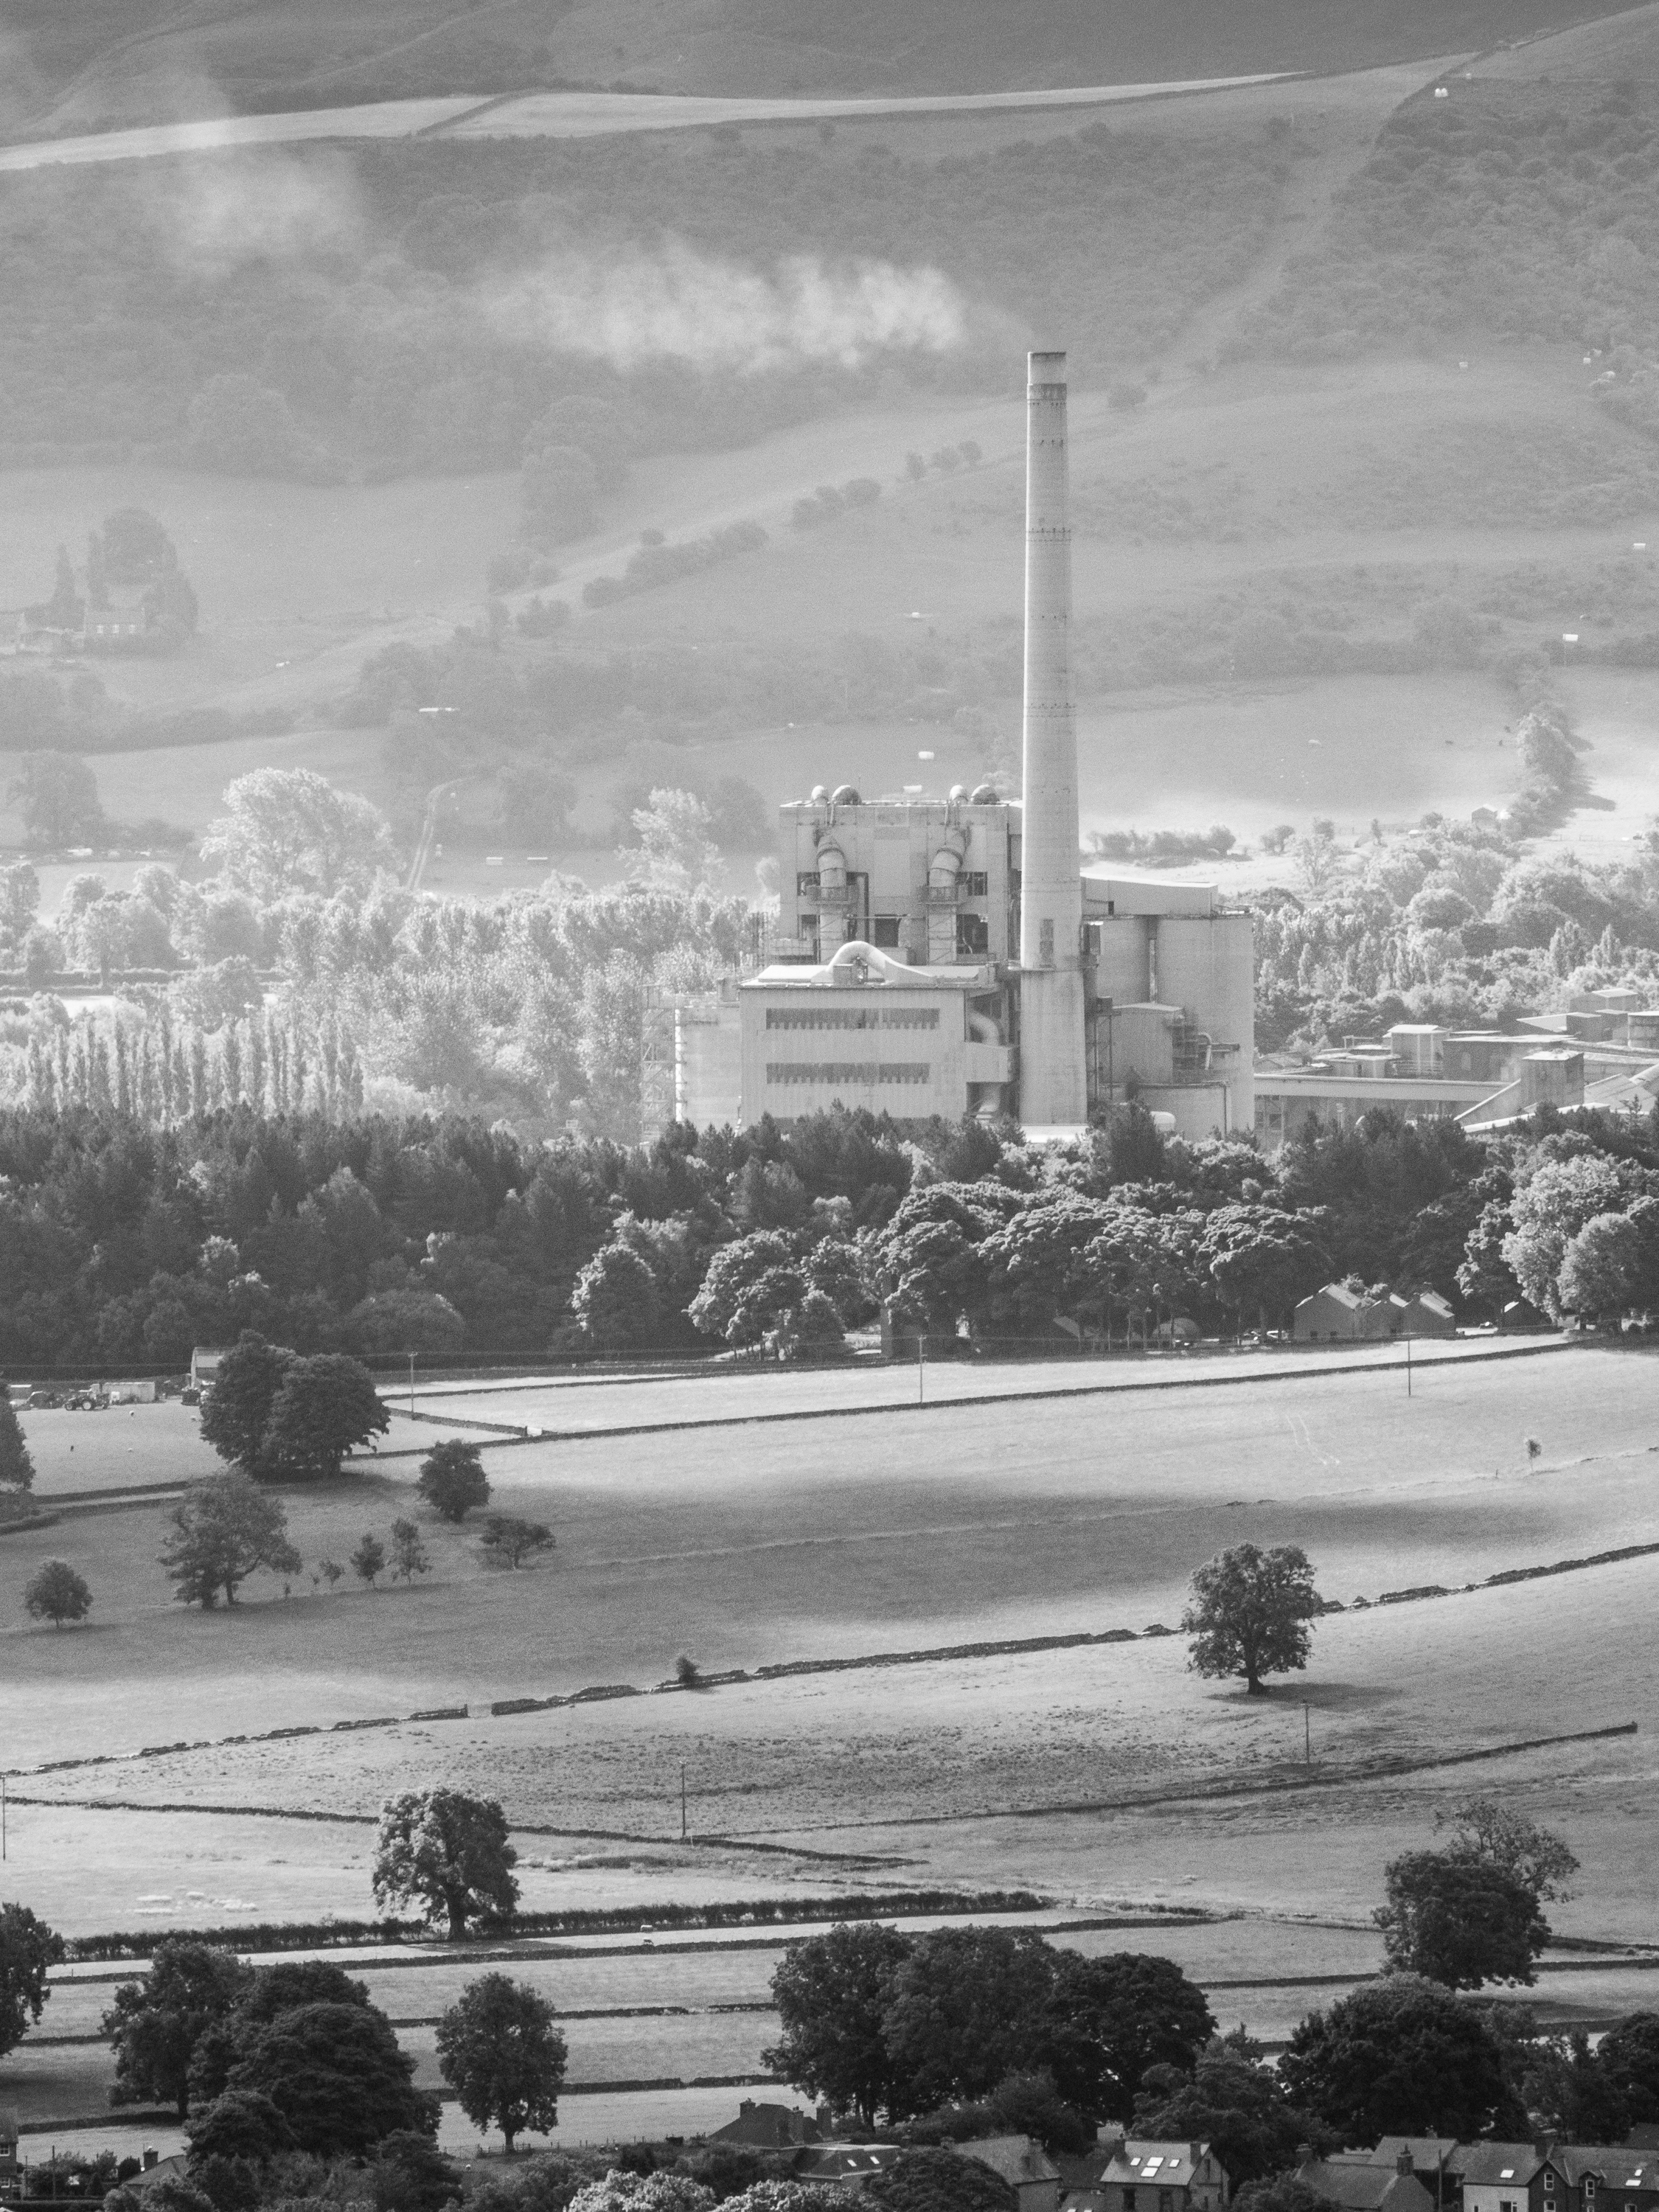
Next, it was time to train long lenses into the valley to pick out some interesting details. Helen was drawn to the Hope Cement Works, an incongruous addition to the landscape but one that invites attention.
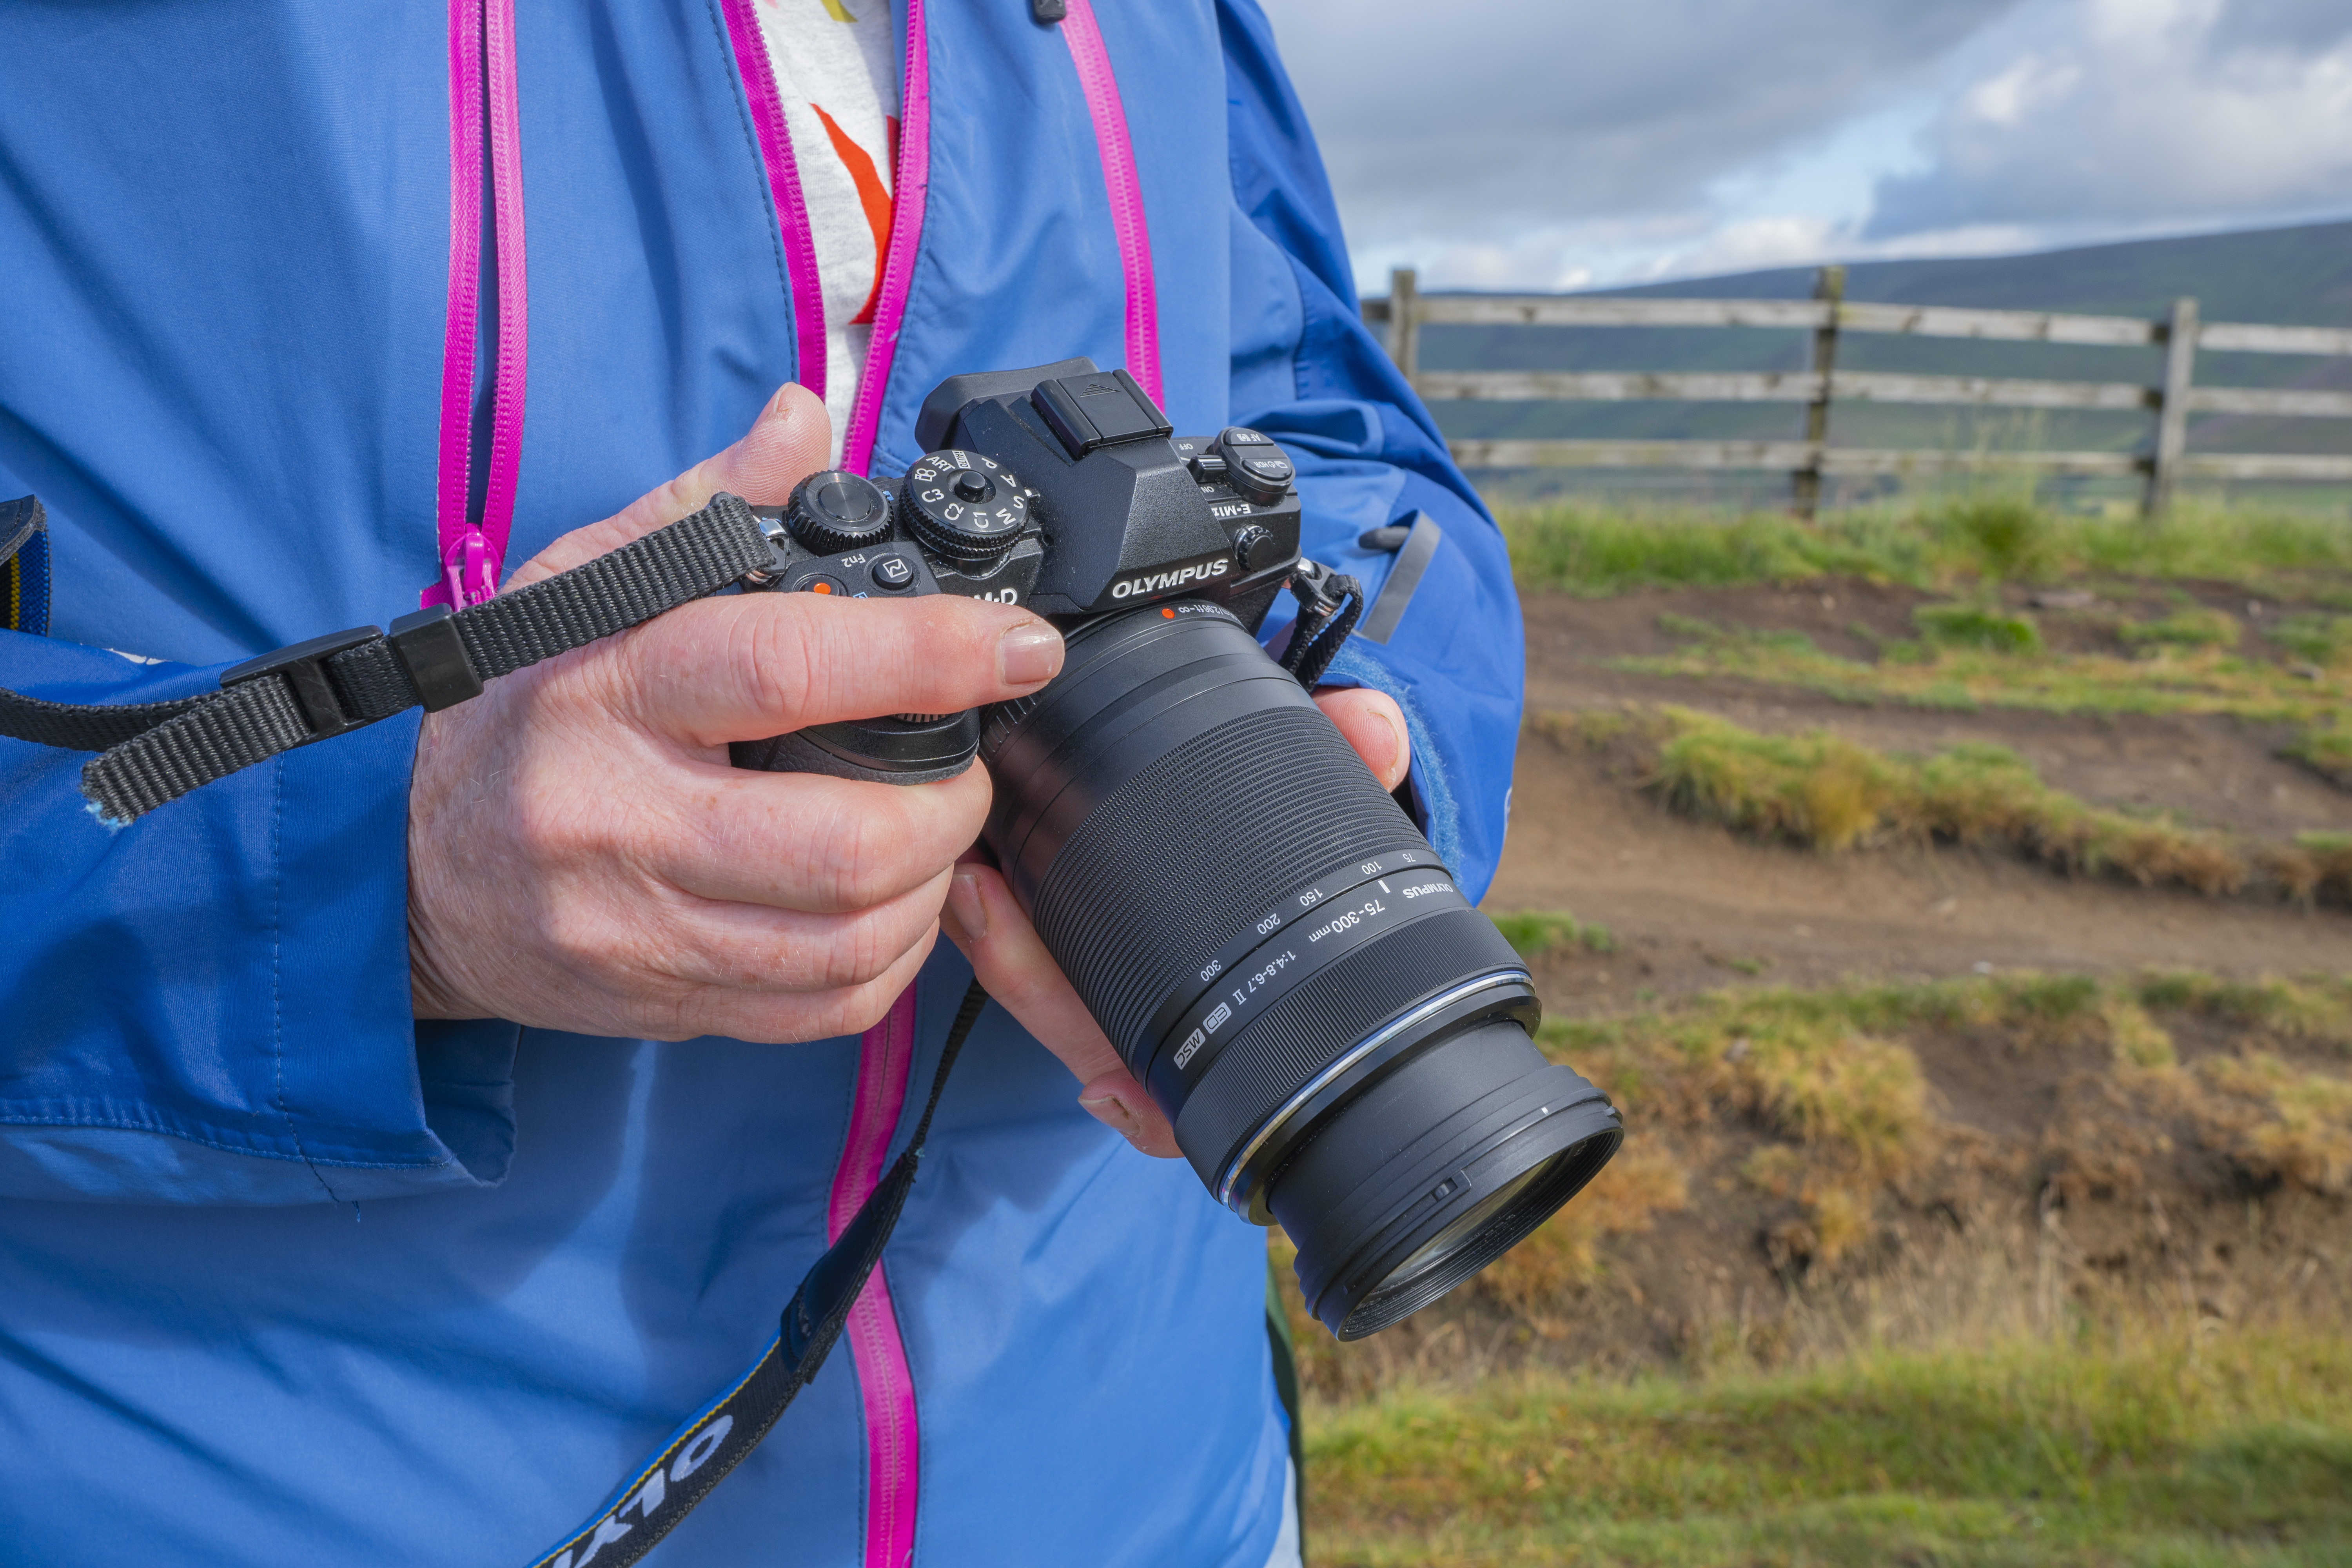
“The day was a mixture of cloud, sun and spots of rain, but every now and then the sun would light up interesting aspects of the valley,” says Helen. “This 75-300mm lens is ideal for picking out details from afar – it’s not as sharp as I would like, but as yet I can’t justify the upgrade to an F2.8 Pro lens.”
Go longer with MFT
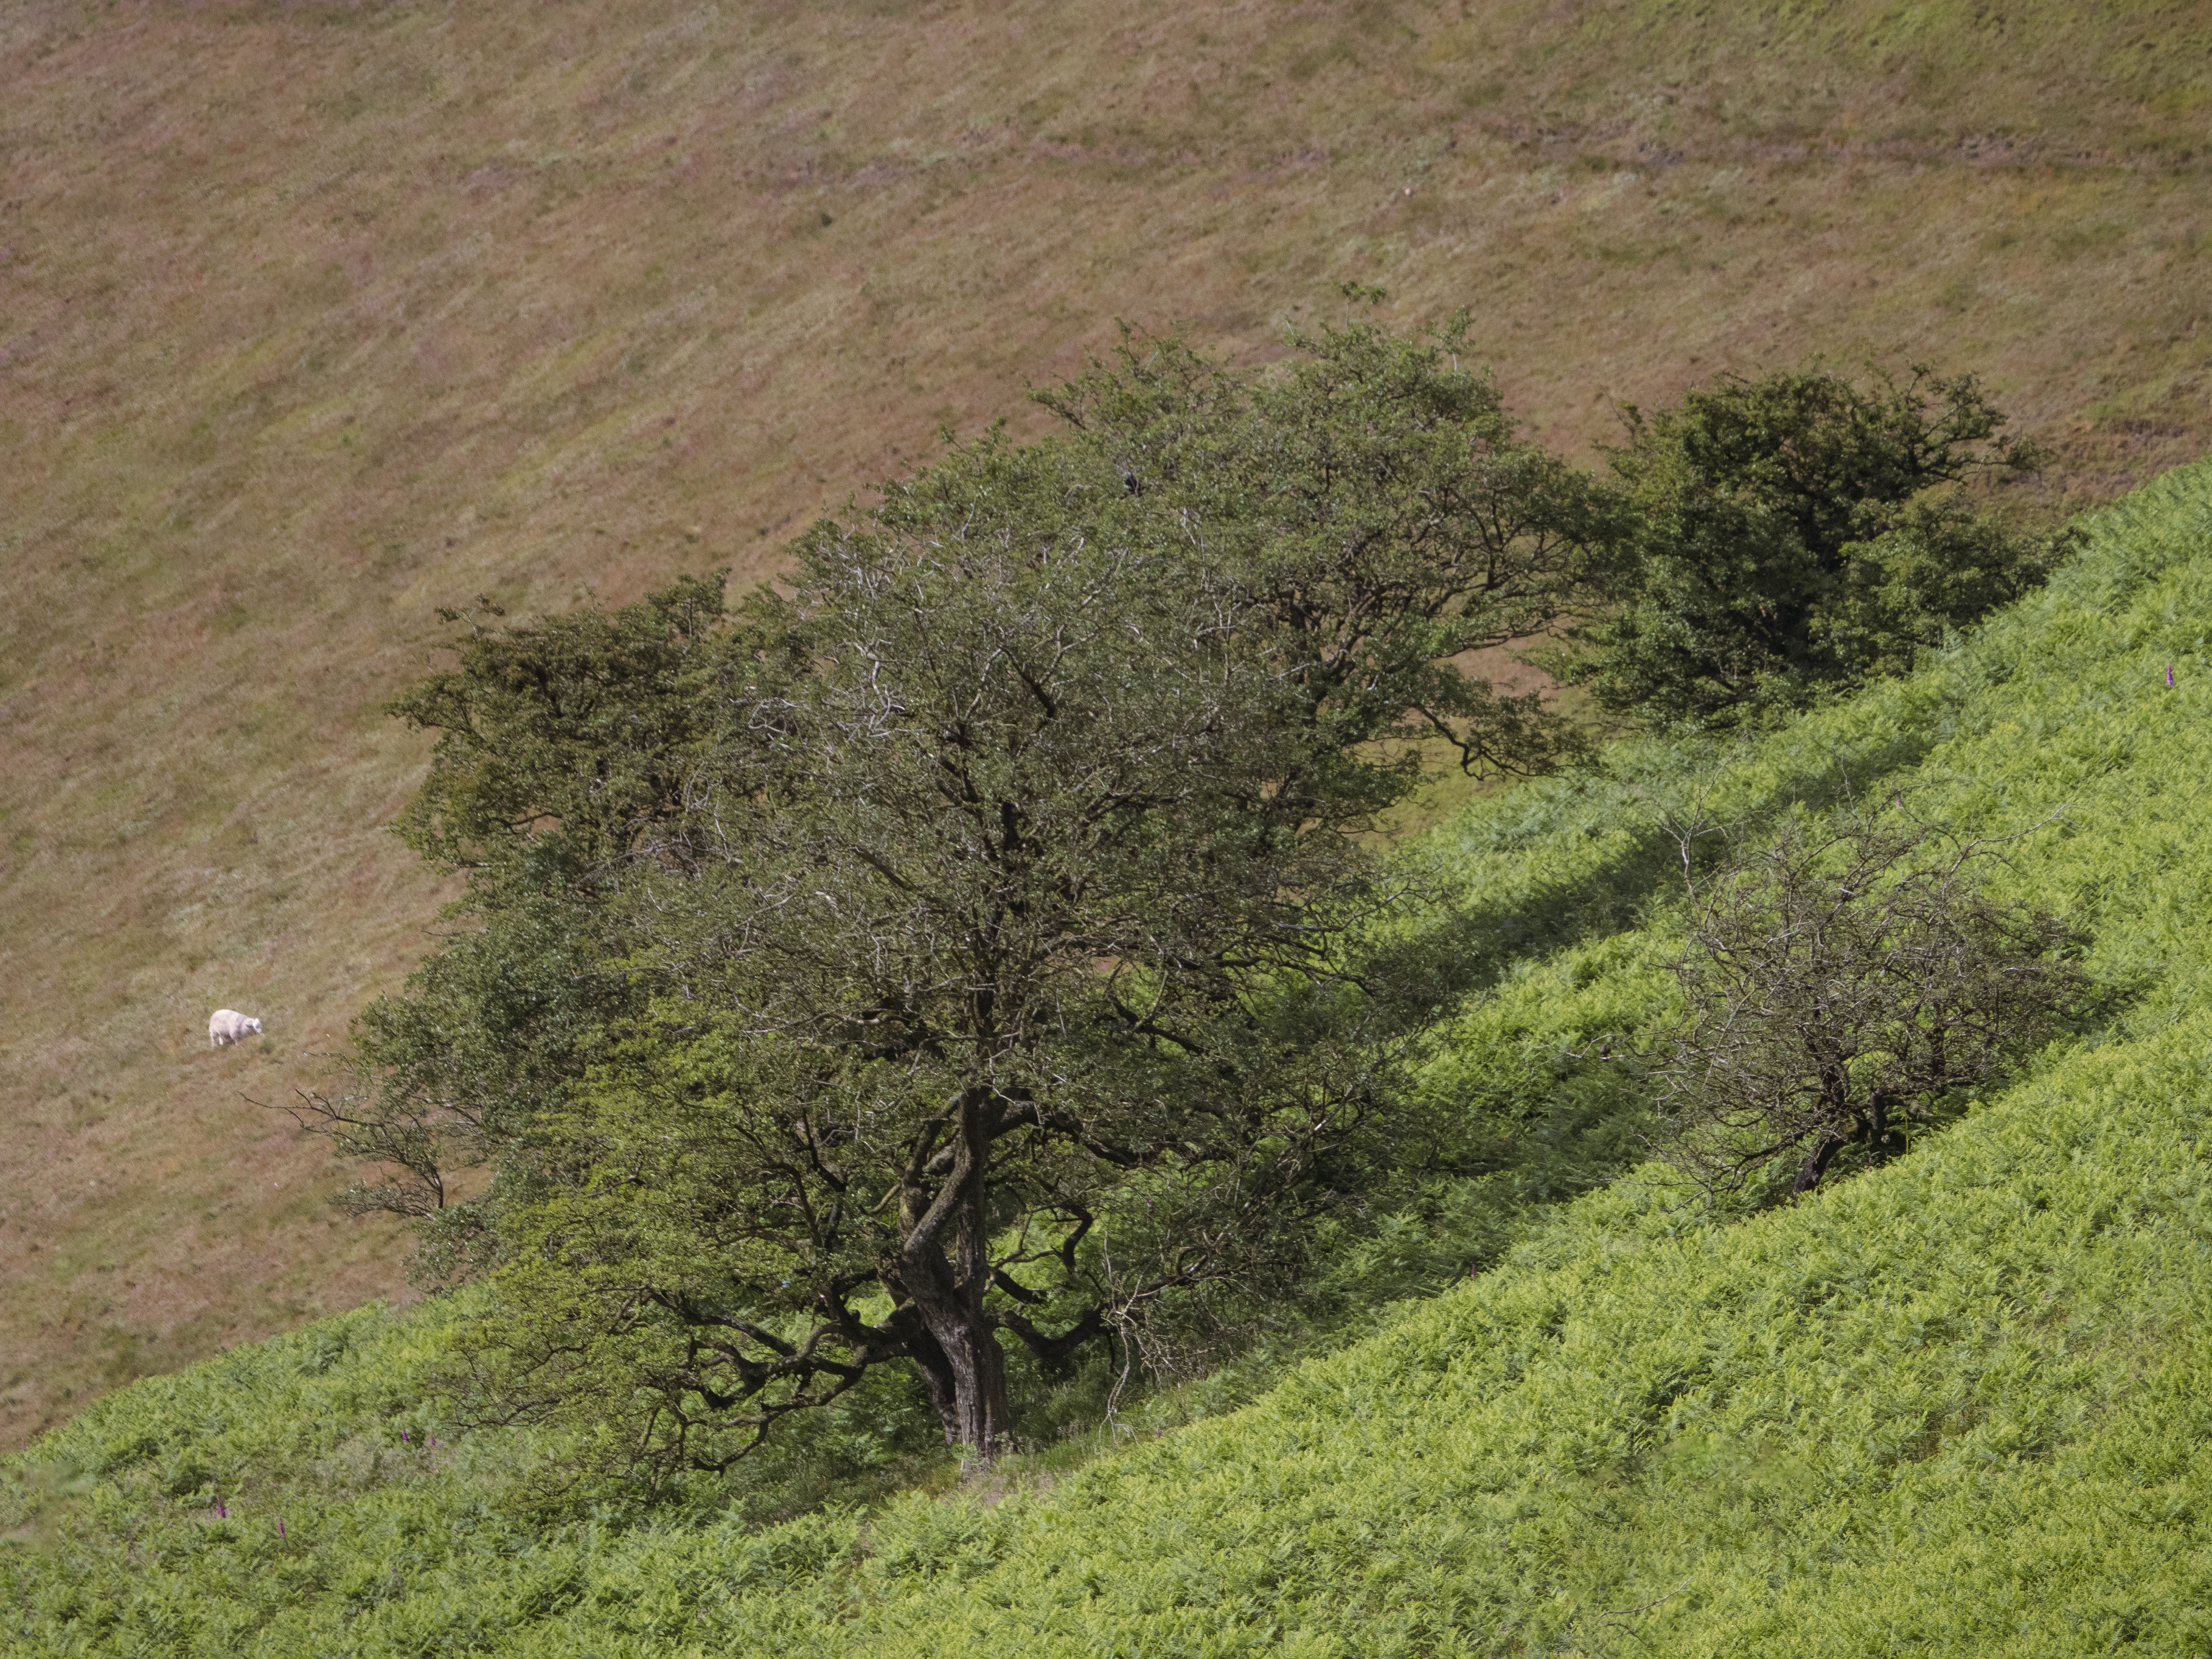
With the 2x crop factor of the Micro Four Thirds format, Helen’s 75-300mm lens had an effective focal length of 150-600mm in full-frame terms. Scanning the landscape for 15 minutes, Helen settled on this scene, where the vertical trunk of the tree contrasts well with the diagonal slope of the hill.
The money shot of the cement works – picked out in a pool of sun with its chimney smoke pleasingly side-lit – was proving elusive, so Gavin turned the reach of his 150-600mm lens (up to 900mm on his crop-sensor camera) onto more bucolic subjects.
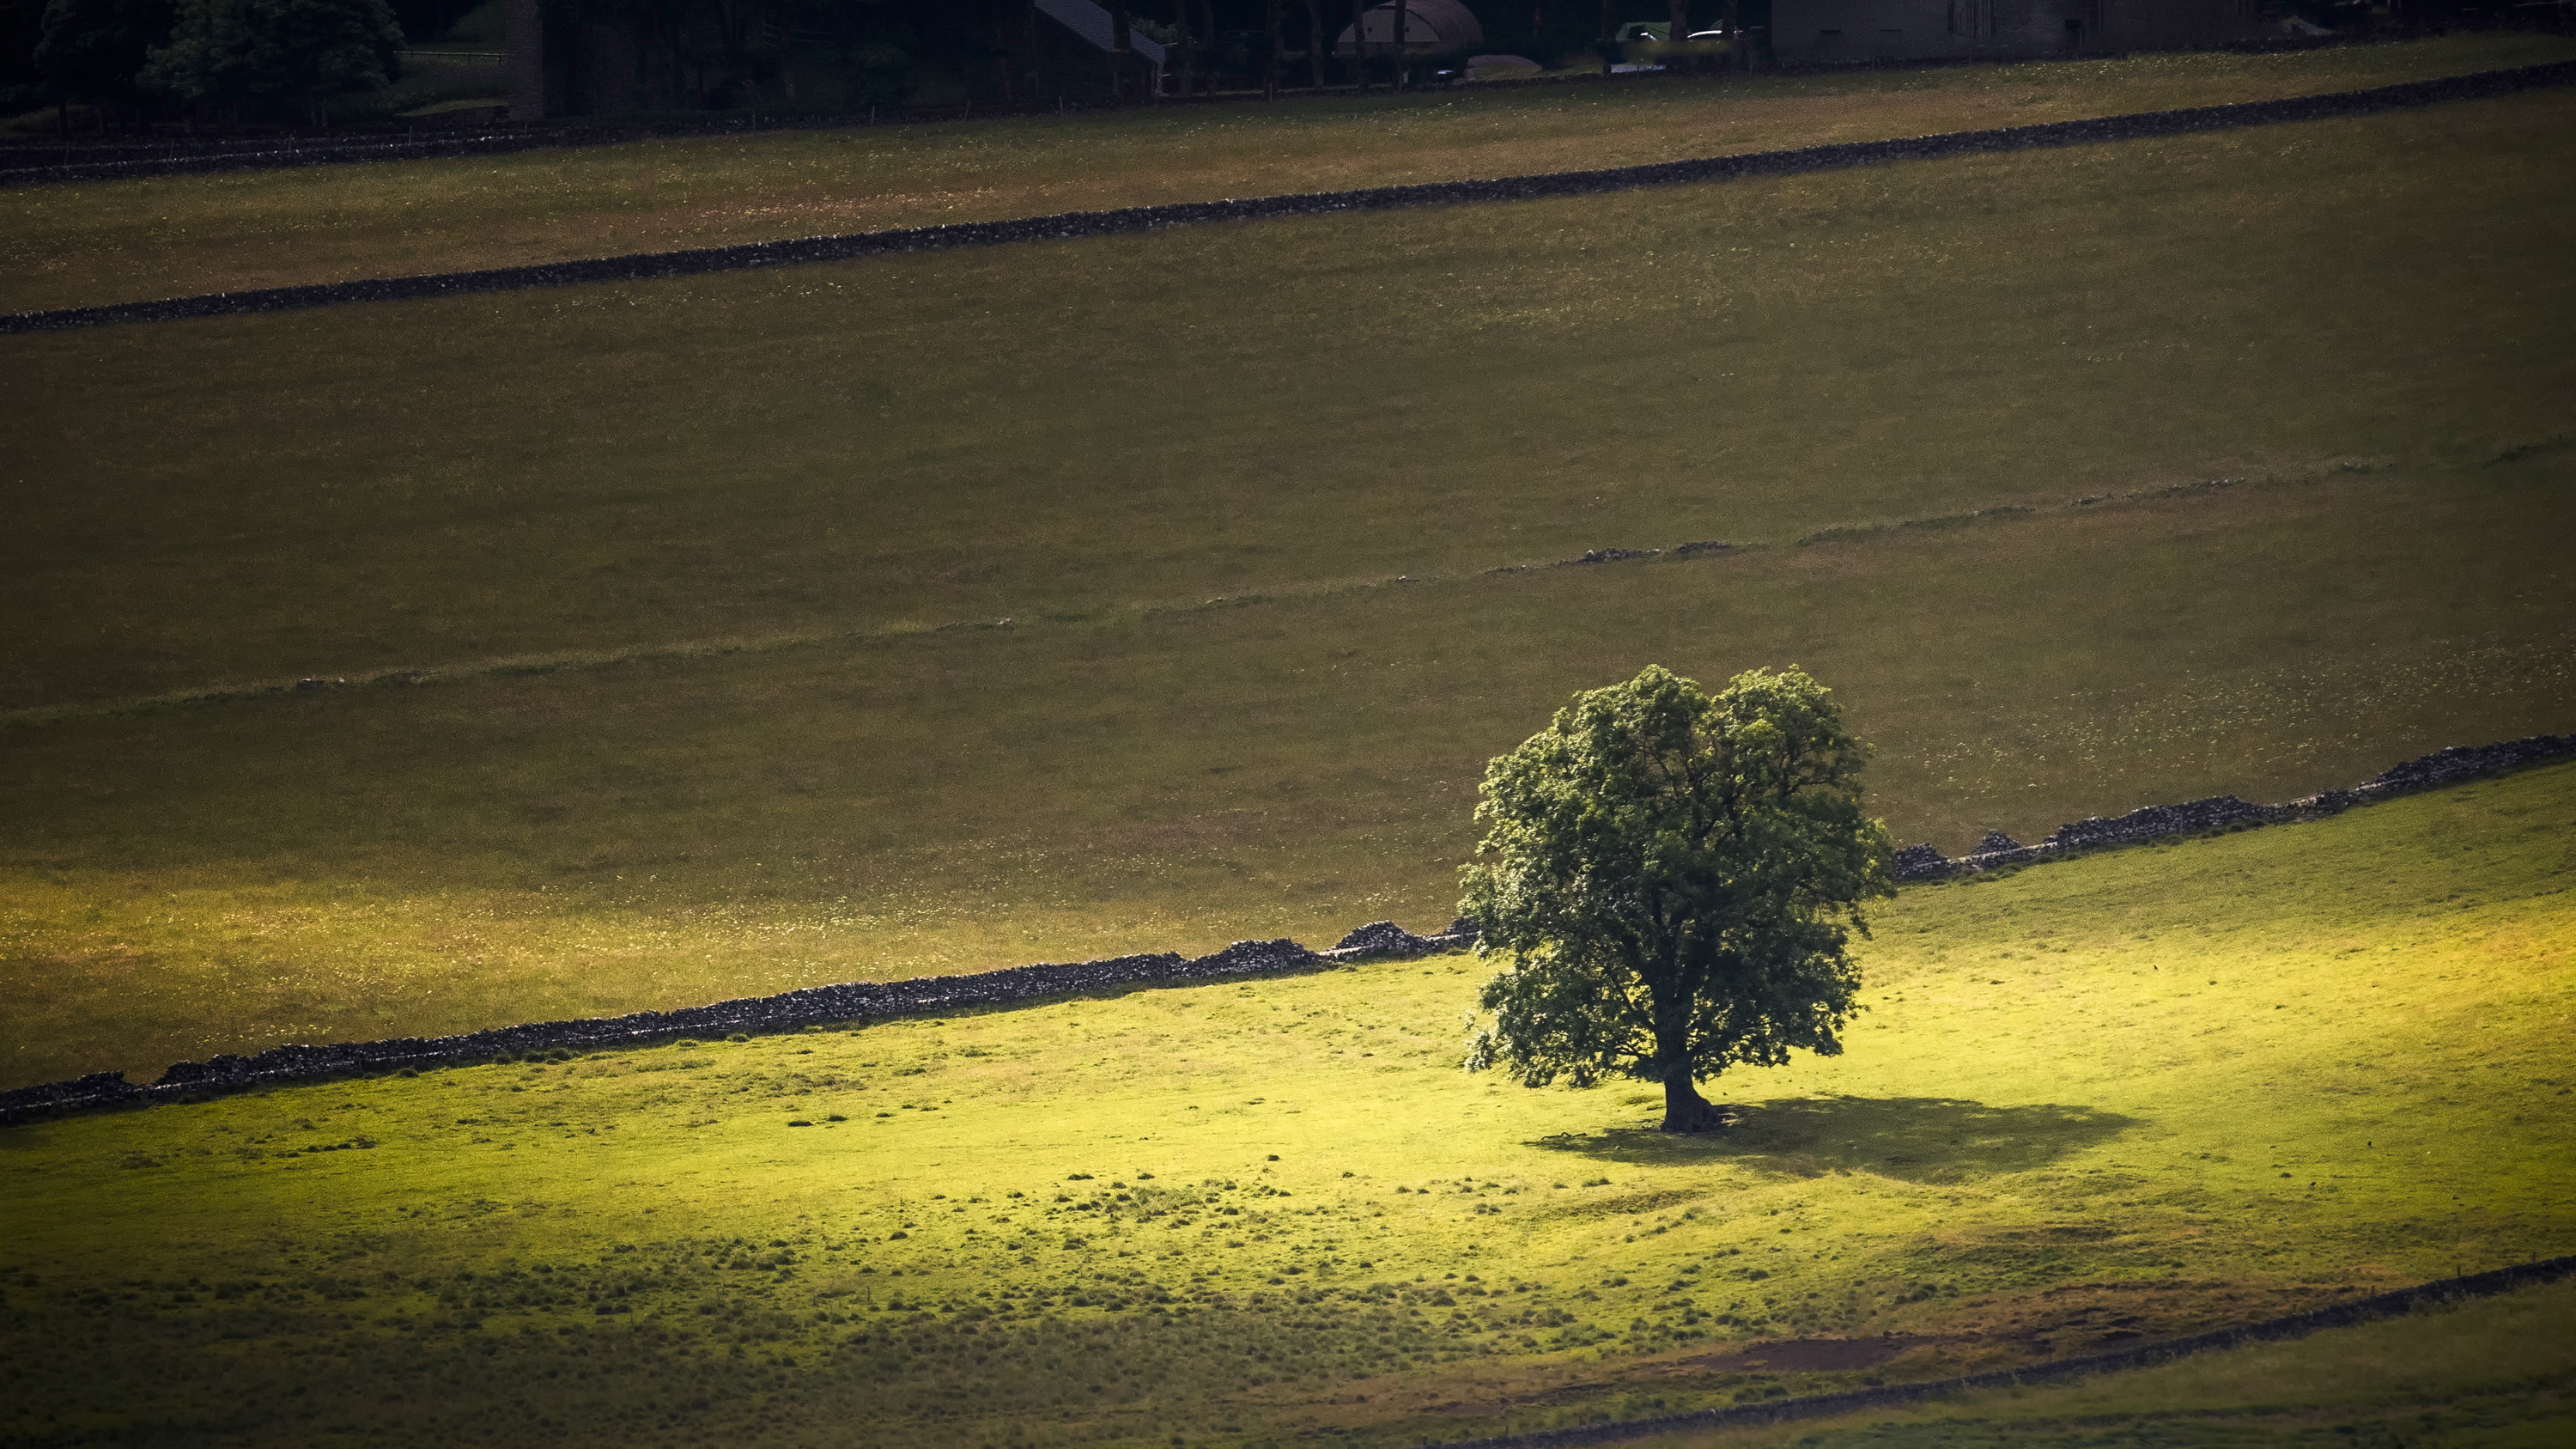
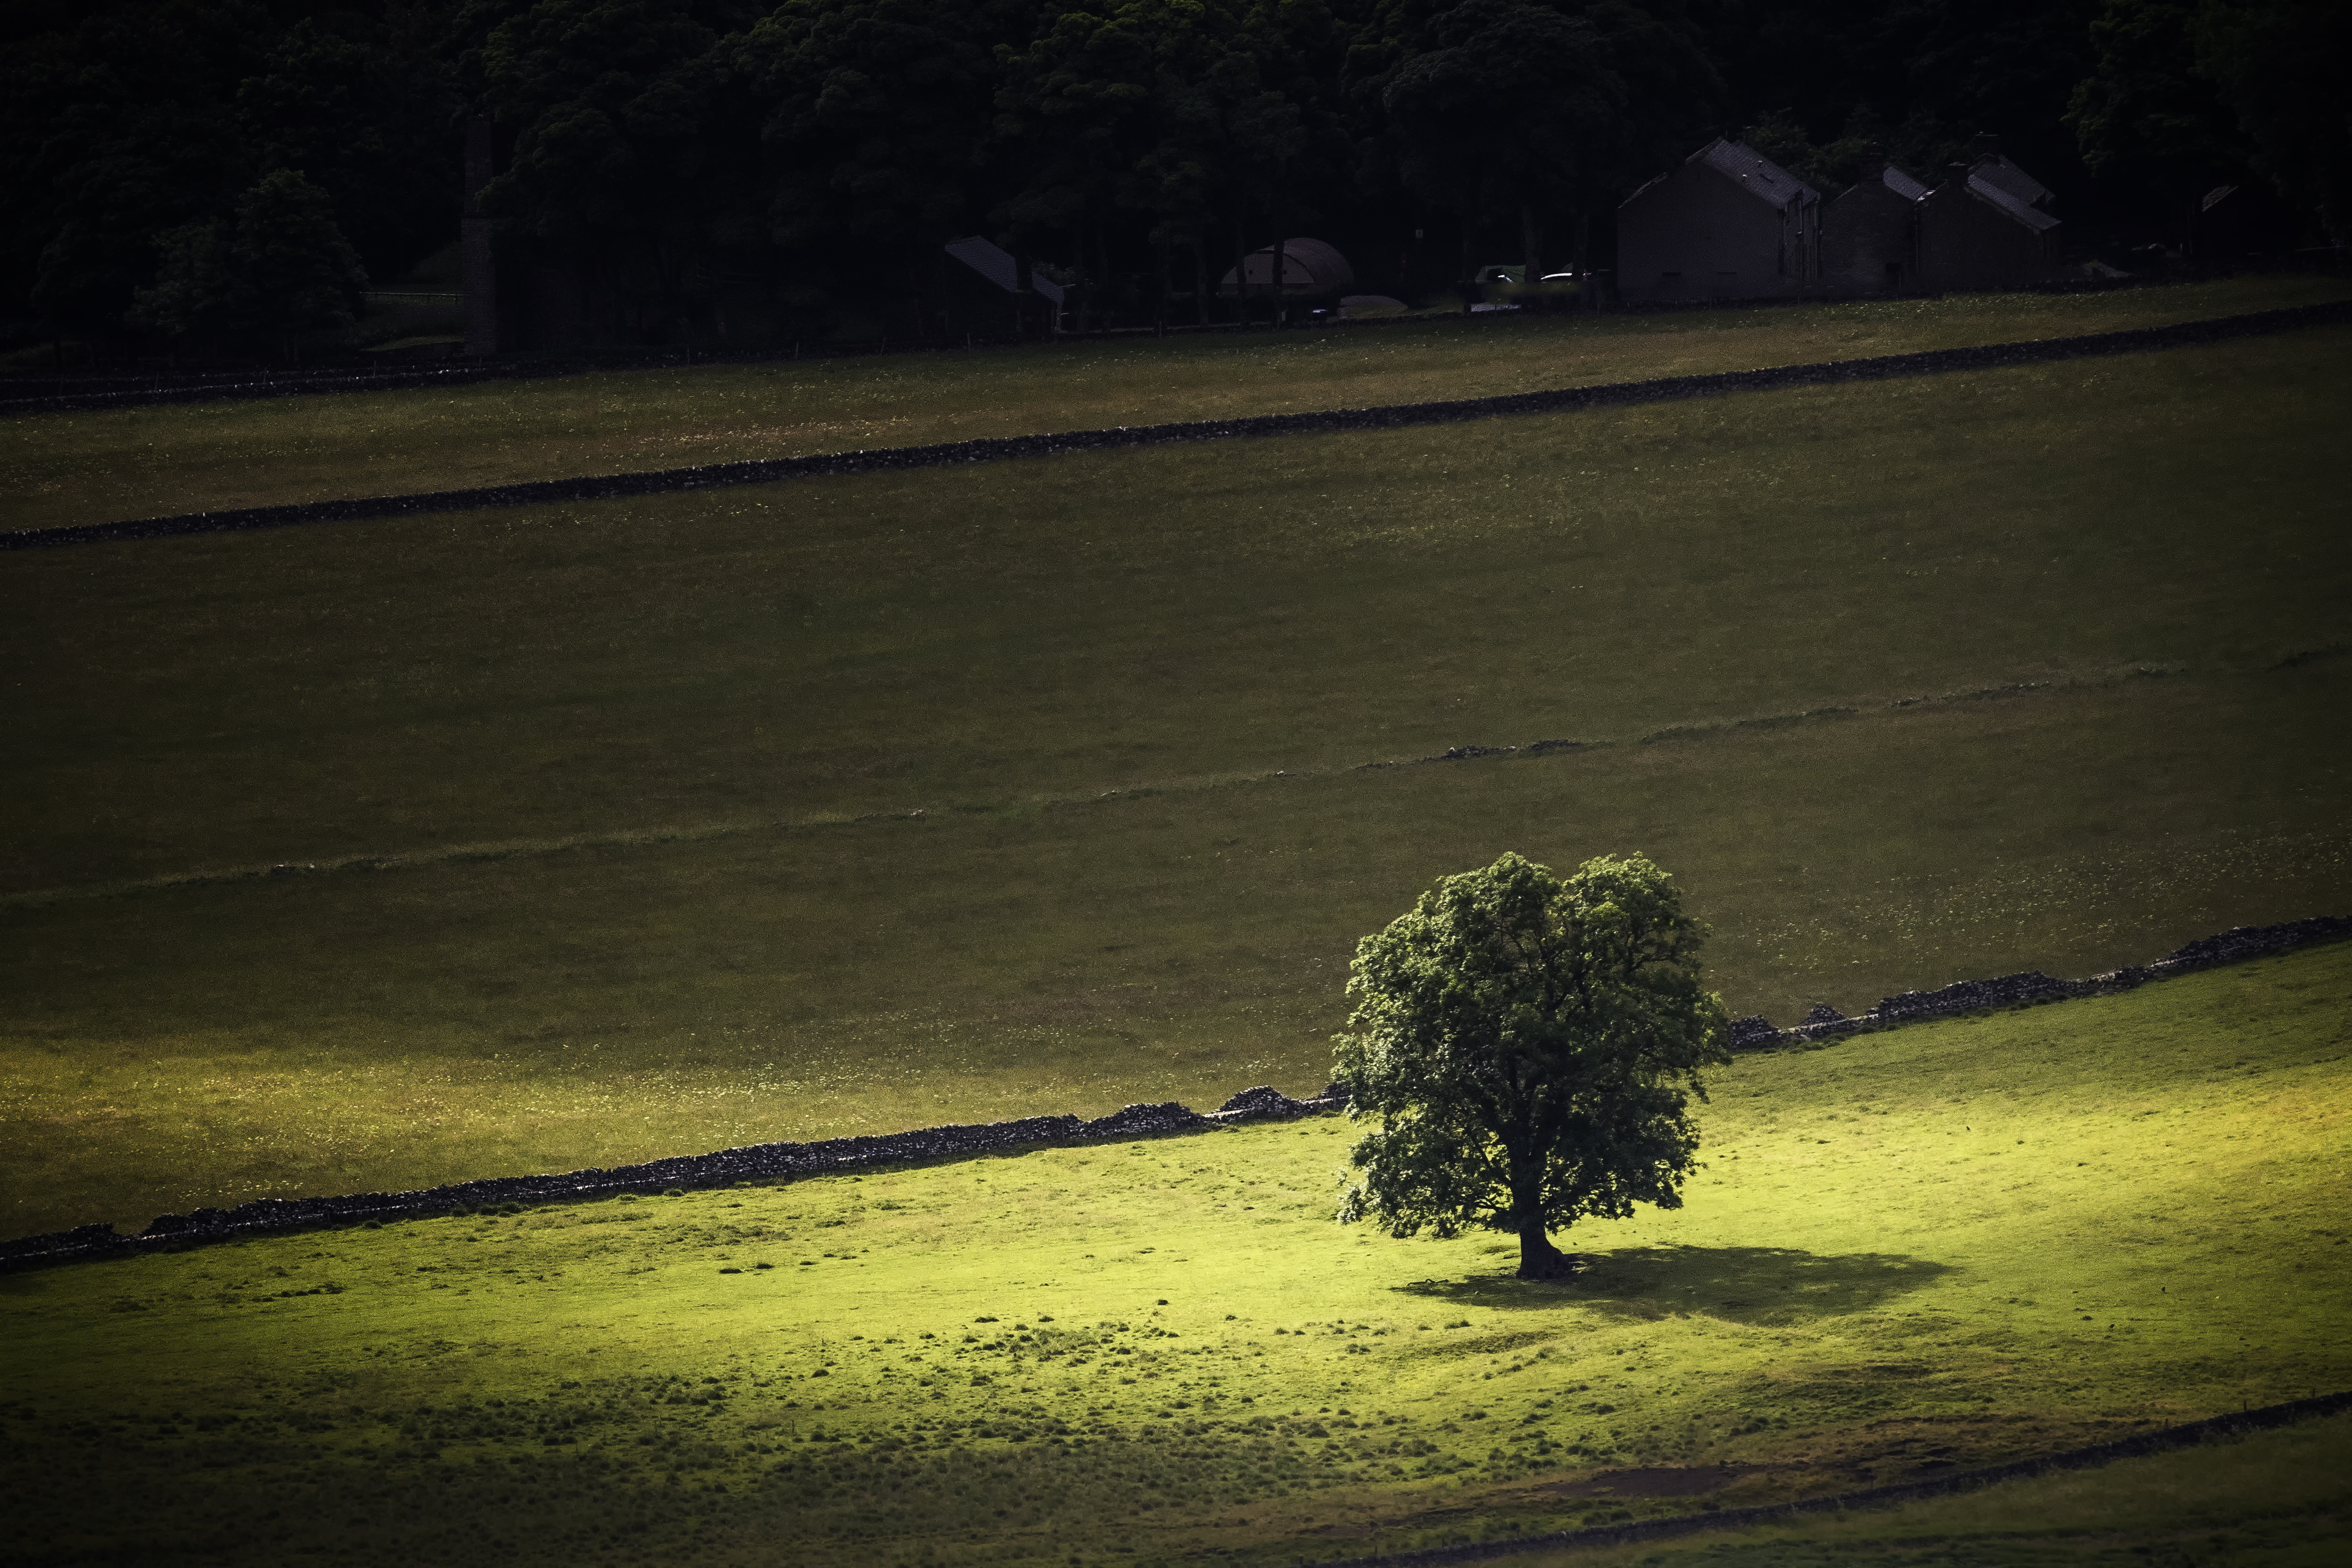
“I spent some time scanning the valley to find something that worked for me,” he recalls. “I took at least 50-60 shots, but nothing really excited me until I noticed a field with old stone walls running through it, and a single tree in the middle of it. As I fired off a few shots, I noticed how good the tree looked when lit by the sun, throwing a long shadow onto the field. Now I could see the picture I wanted – the tree lit by the sun, with the rest of the field in shade. After a long wait, I was rewarded with the shot I envisioned, and I love it.”
Use found supports
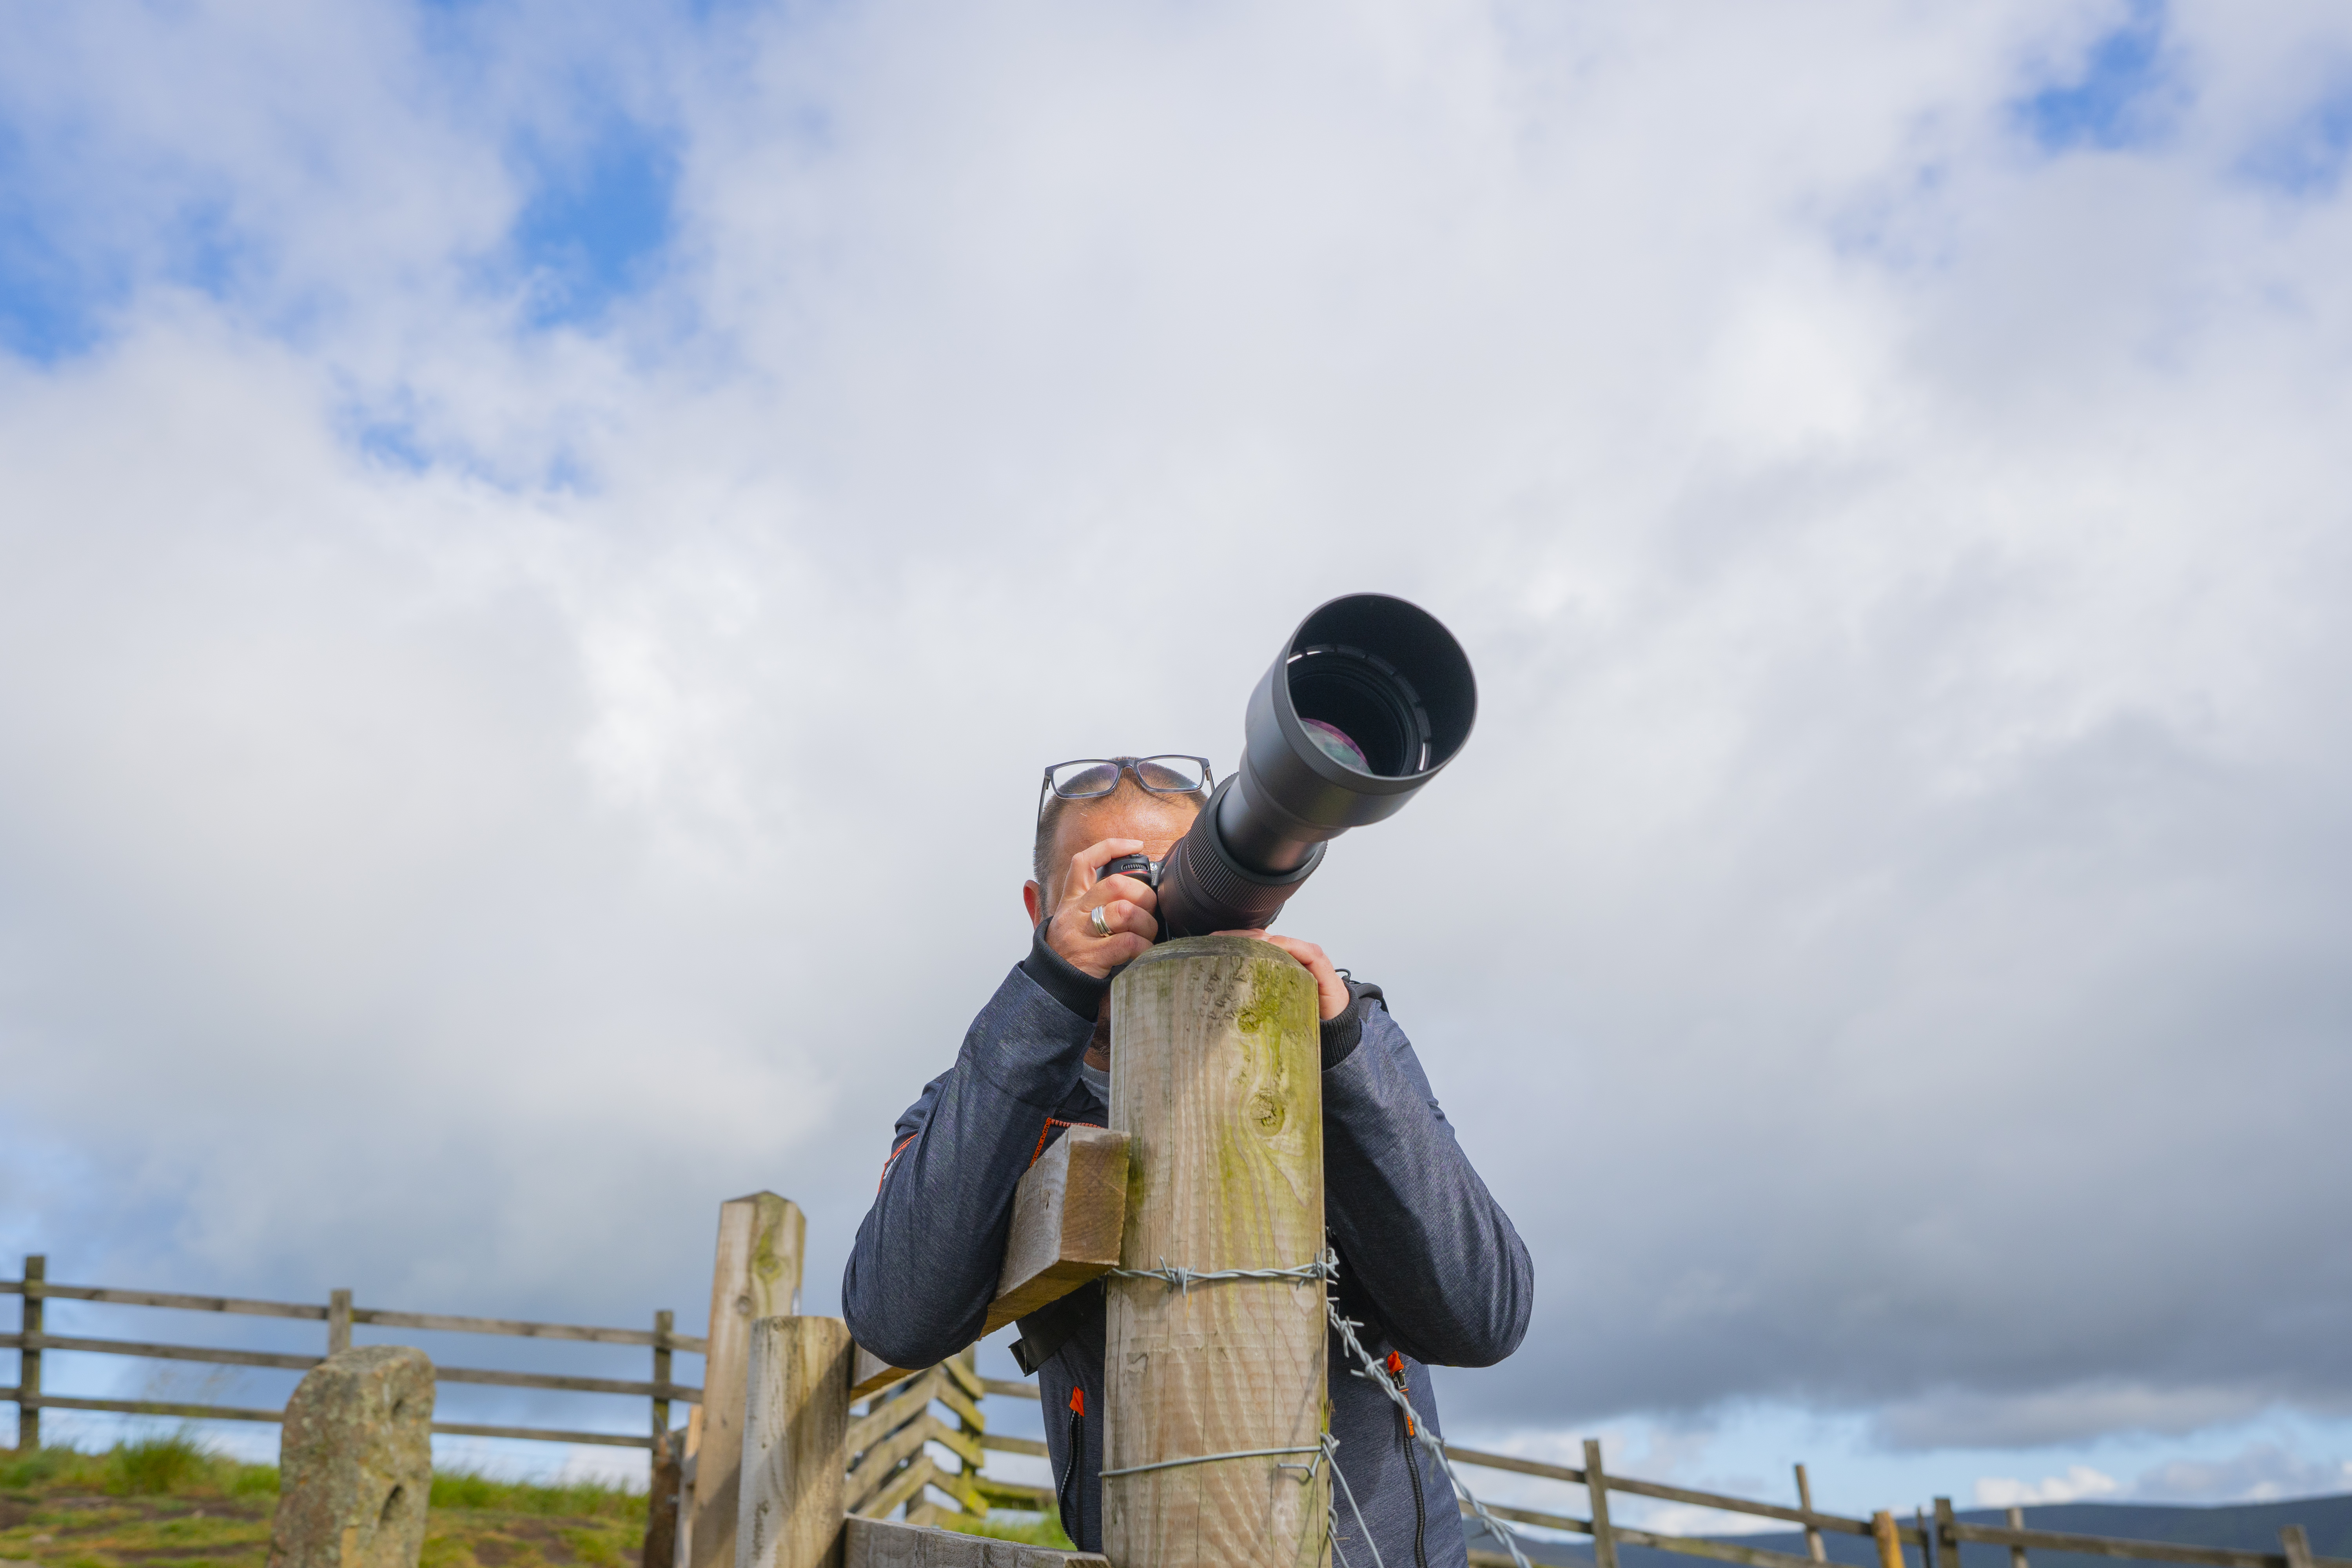
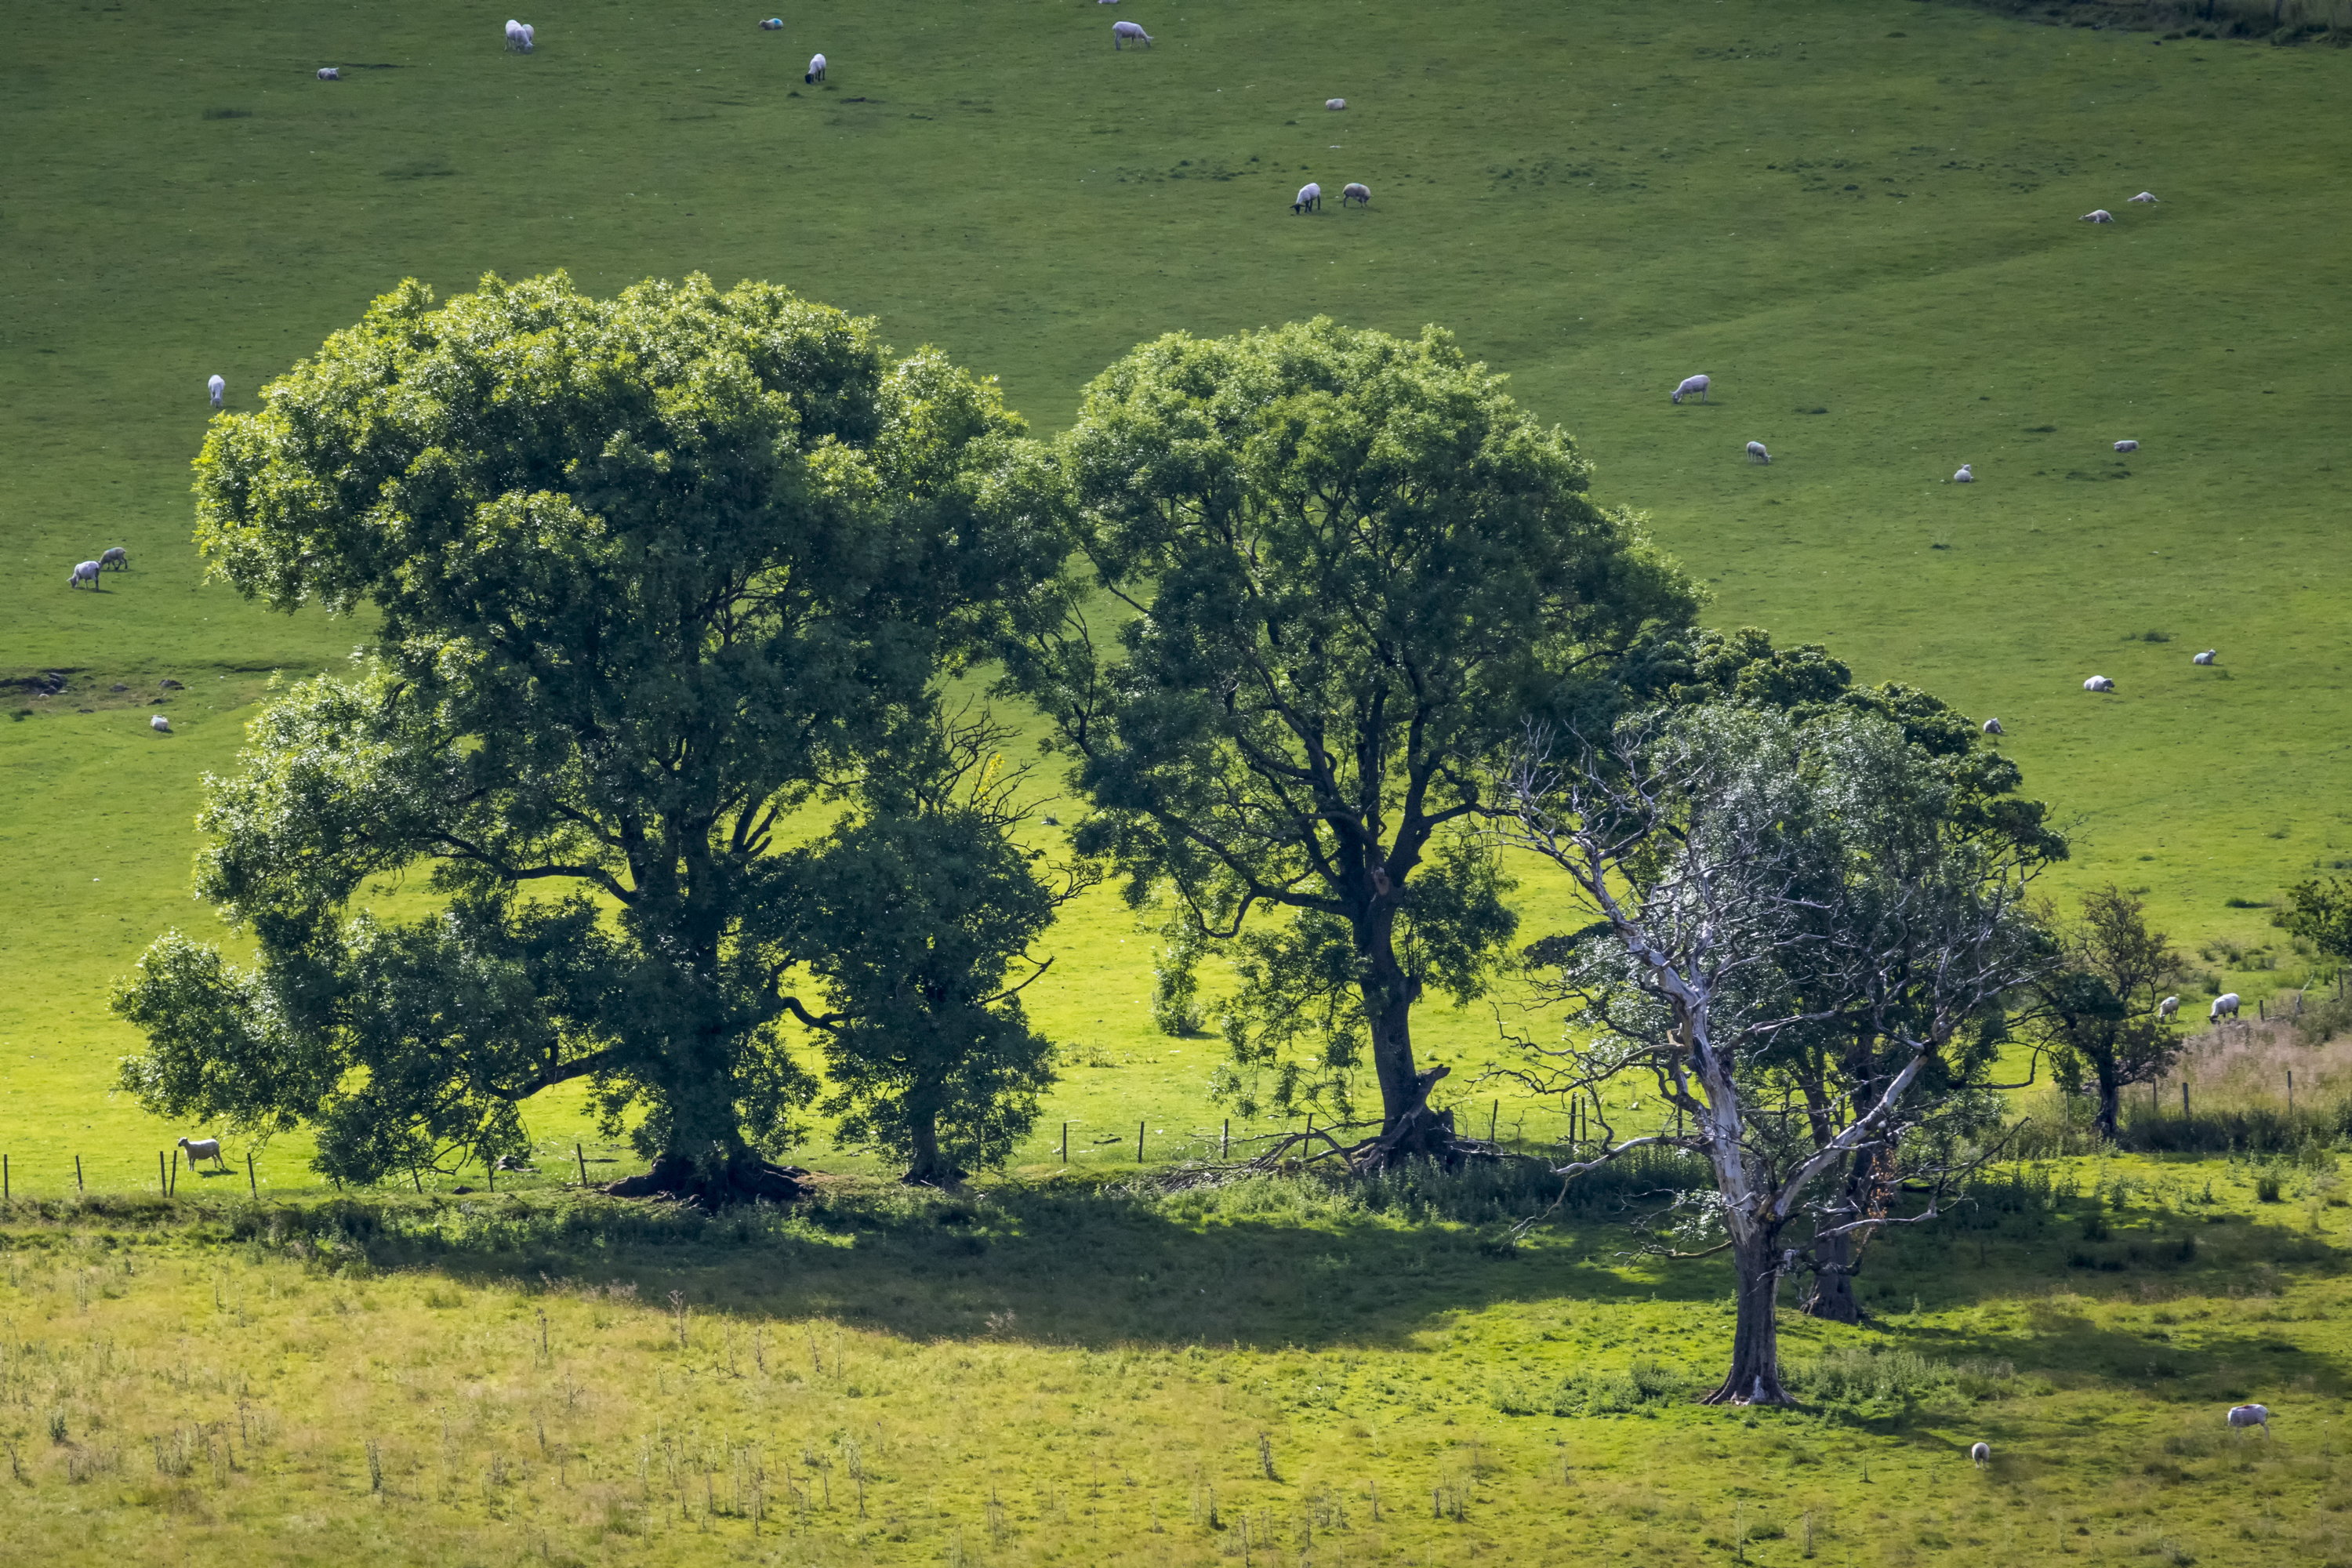
Also using a crop-sensor camera, Gavin can really home in on some details in the landscape – and trees seem to be really popular today. “Shooting handheld in a strong wind is always a challenge, so I had to use what was around me to steady myself. The wall allowed me to brace myself to keep the camera still.”
Challenge 4: Shoot with the MPB kit upgrades
With the three challenges in the Peaks completed, it was time for our readers to request kit upgrades from MPB and take them to their local haunts. Helen opted for the latest version of her camera body and an M.Zuiko Pro optic.
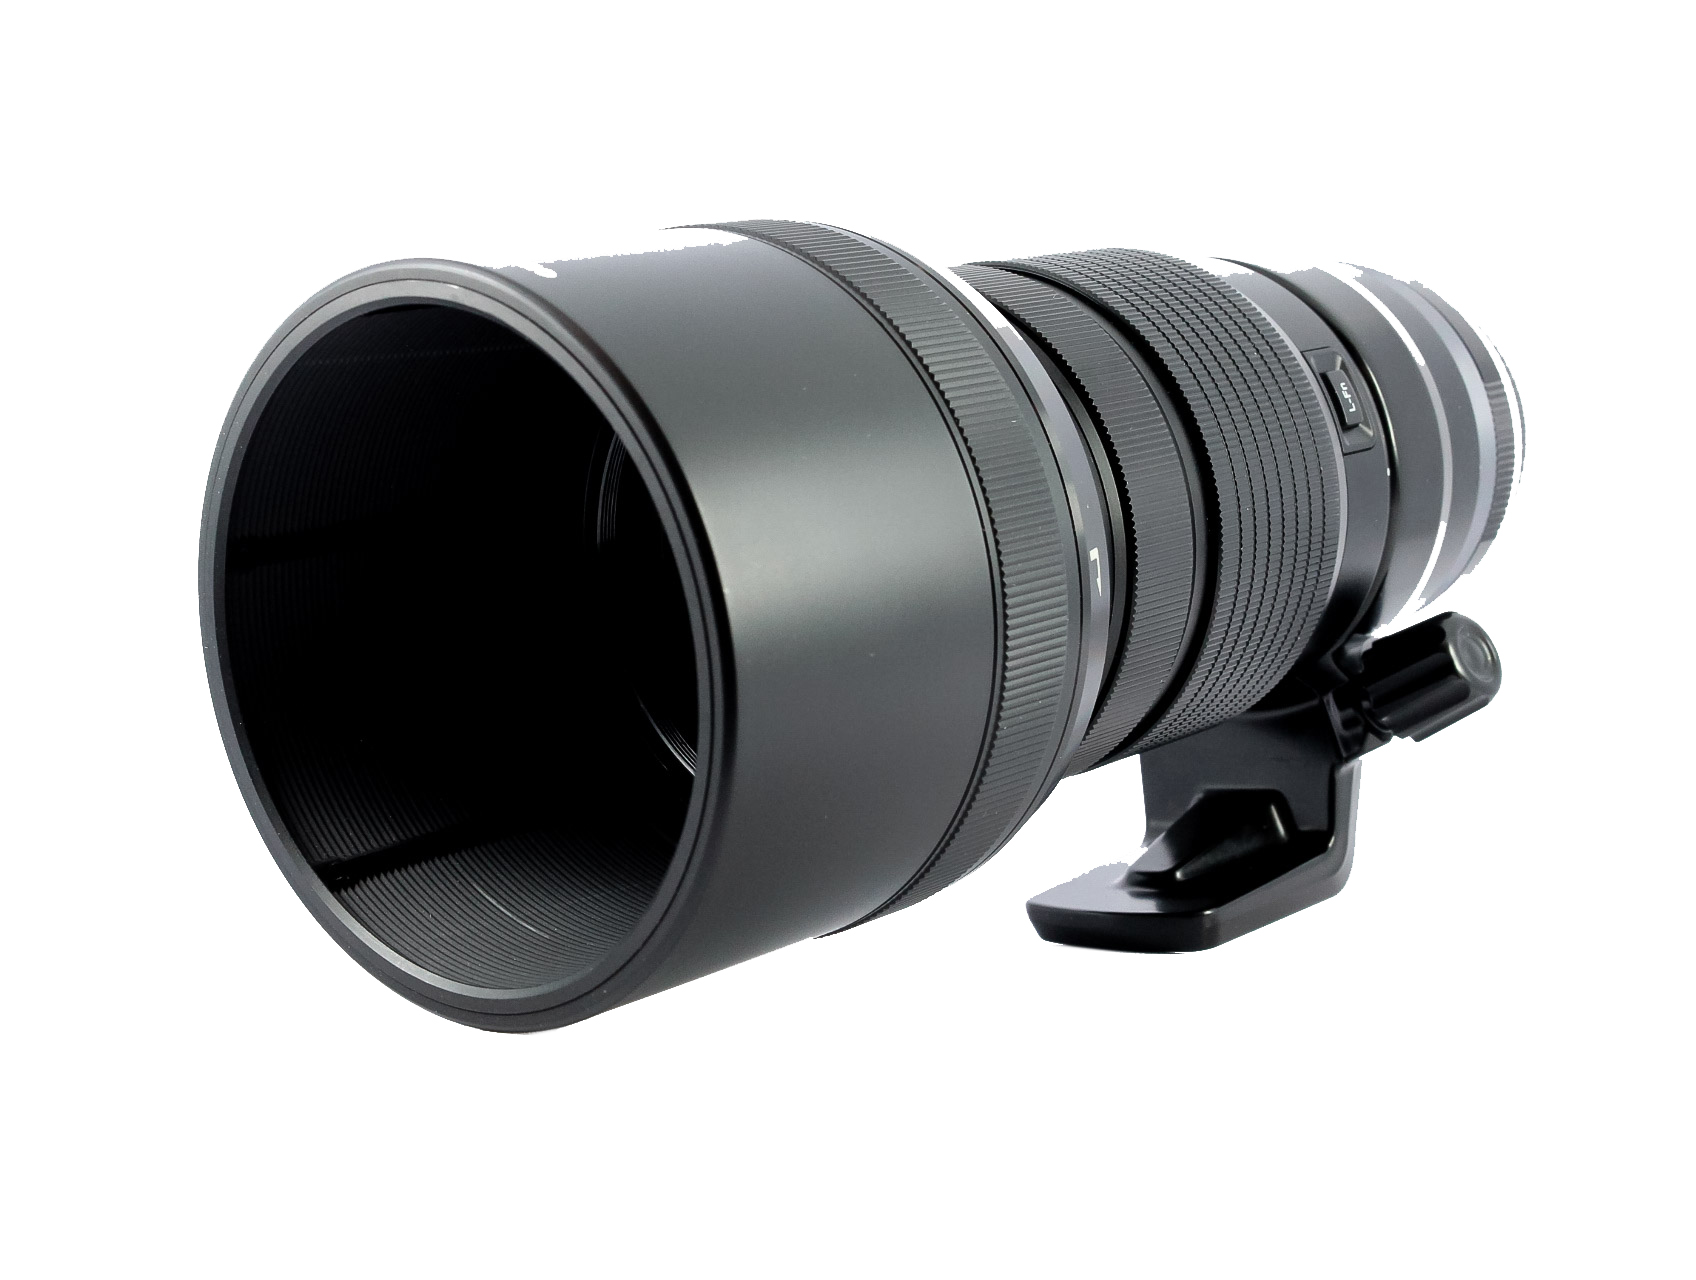
“Back at base camp in Norfolk, I had an opportunity to try the Olympus OM-D E-M1 Mark III,” she says. “Its condition was classified by MPB as ‘Excellent’ and it was spotless.
“As for the built-in ND live feature, I can see the benefits of not carrying around a Little or Big Stopper and using this in-camera feature, but I would still need my threaded Lee filters system to use a polarizer and an ND grad.
“I loved the lightweight yet robust feel of the M.Zuiko ED 40-150mm F2.8 Pro, and its high-quality images. With its constant, bright aperture at all focal lengths, it’s a winner for me and I would definitely be interested in upgrading!”
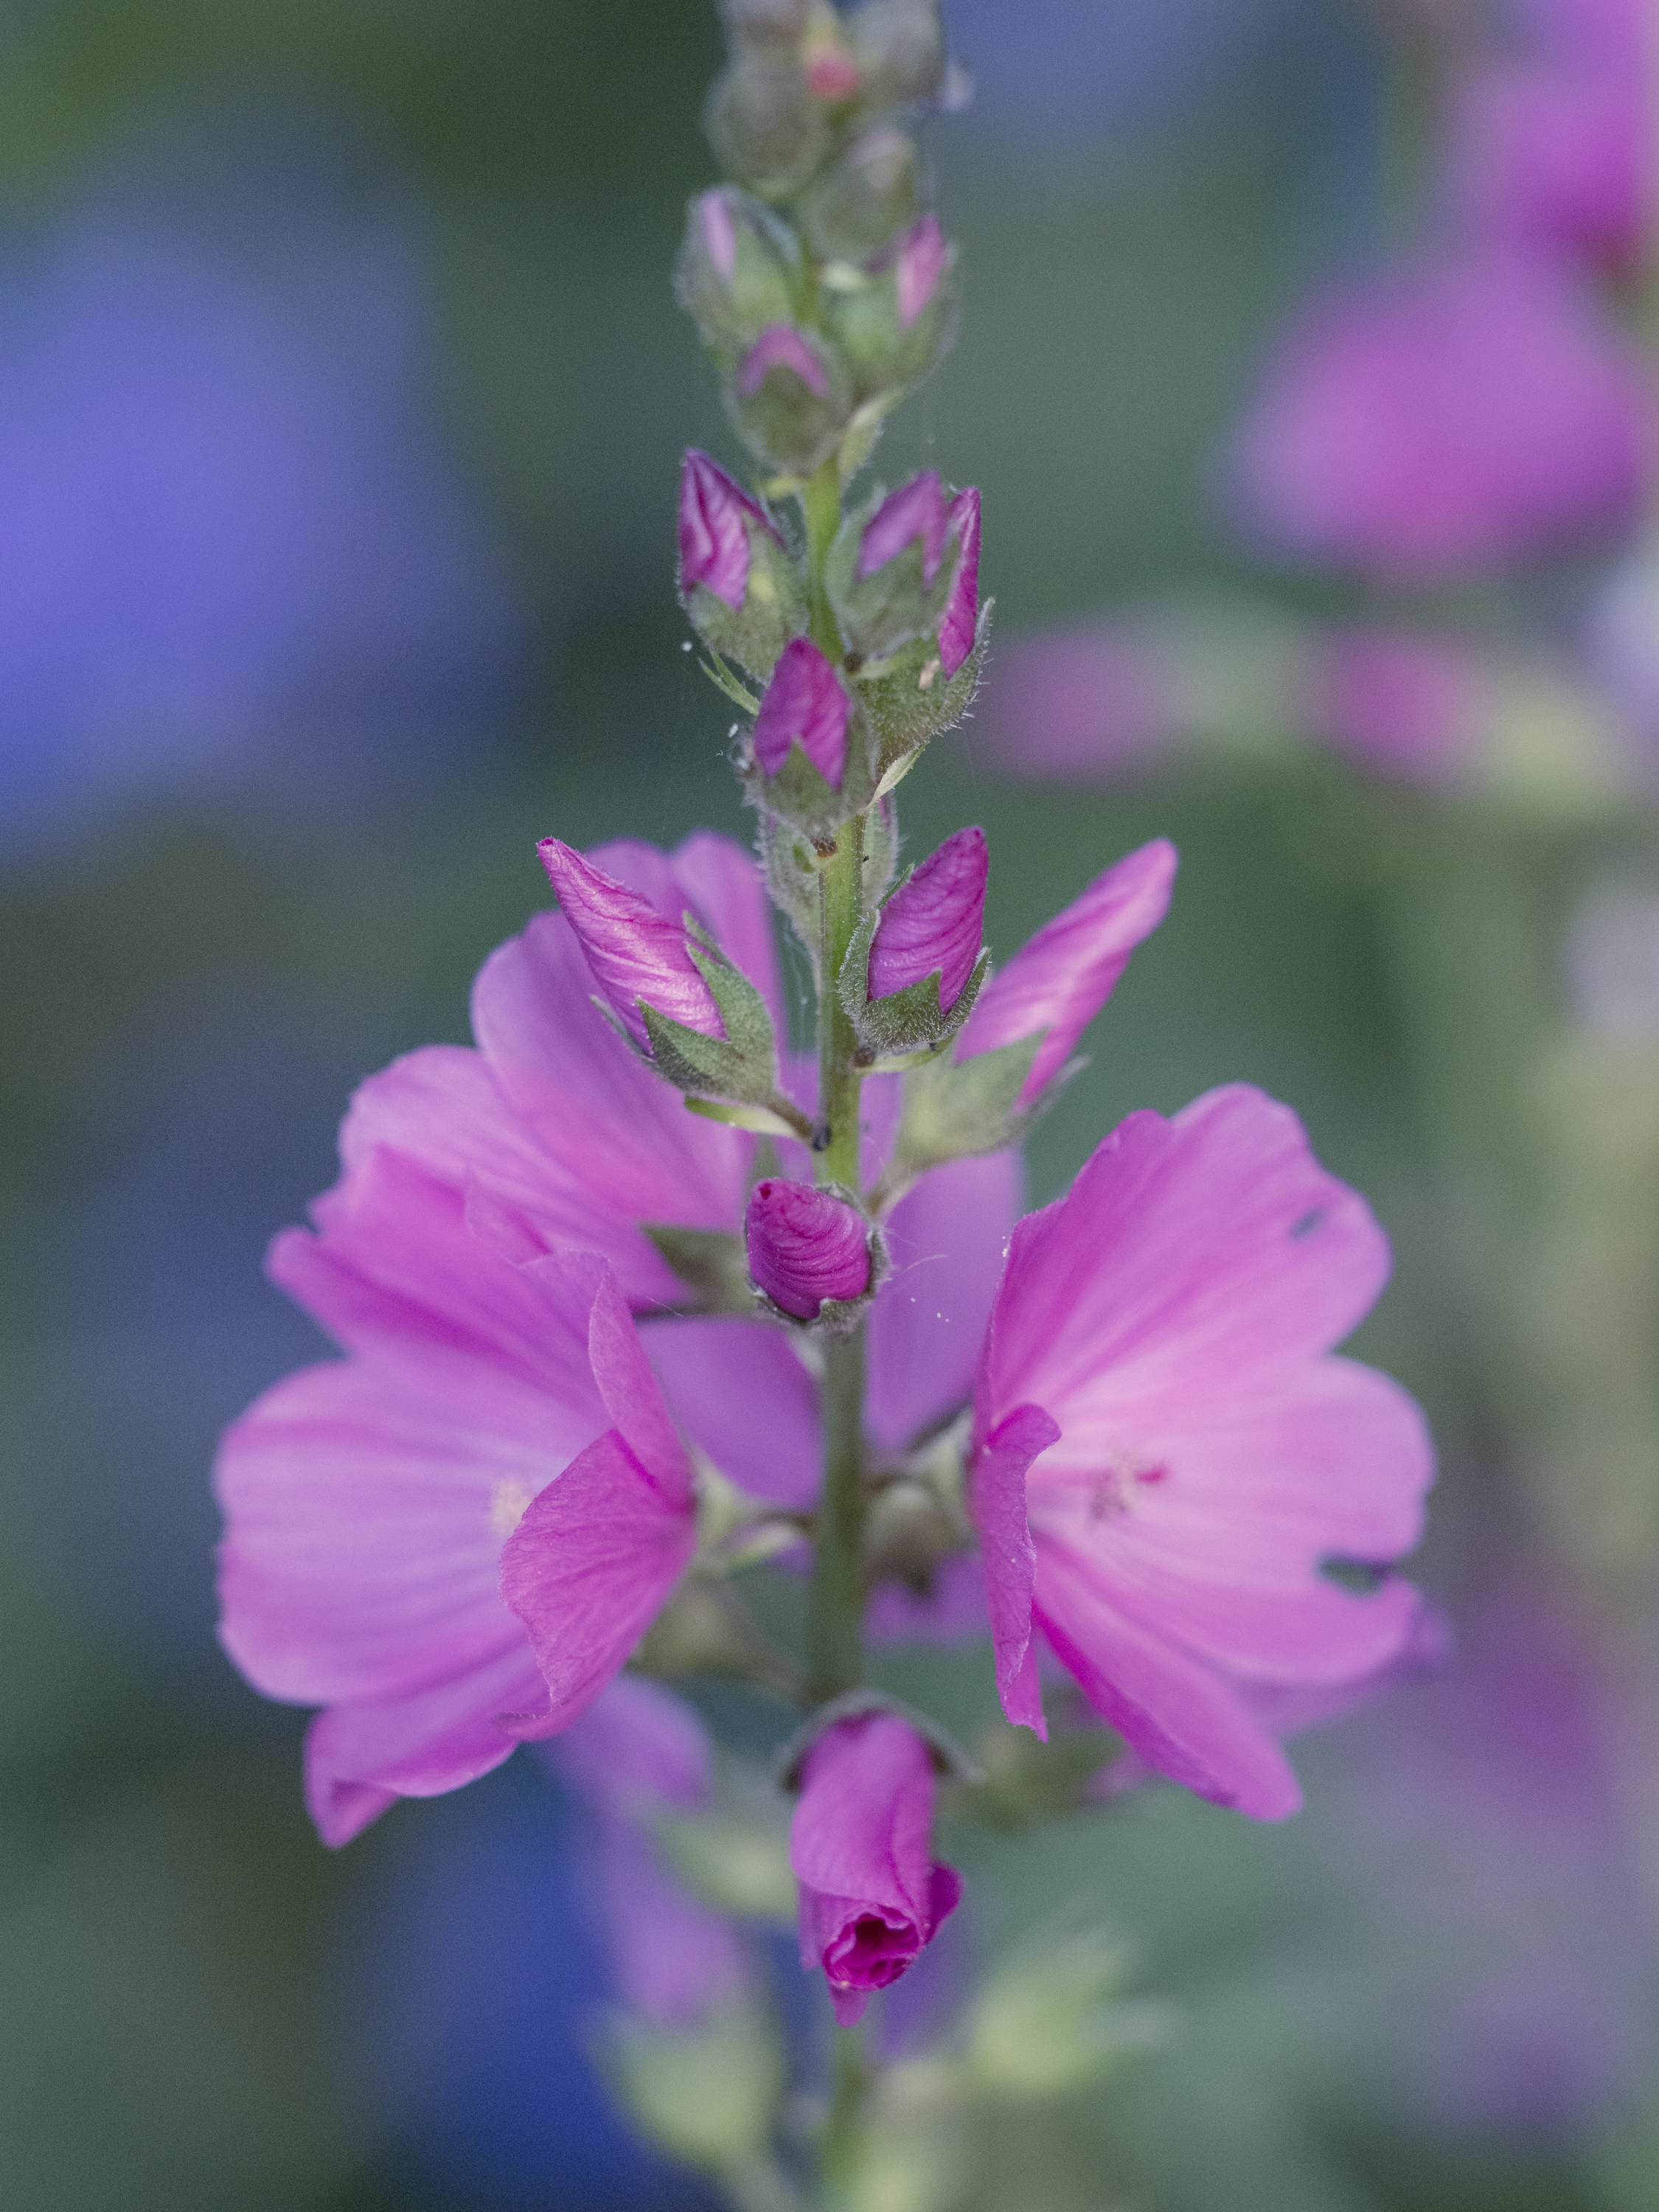

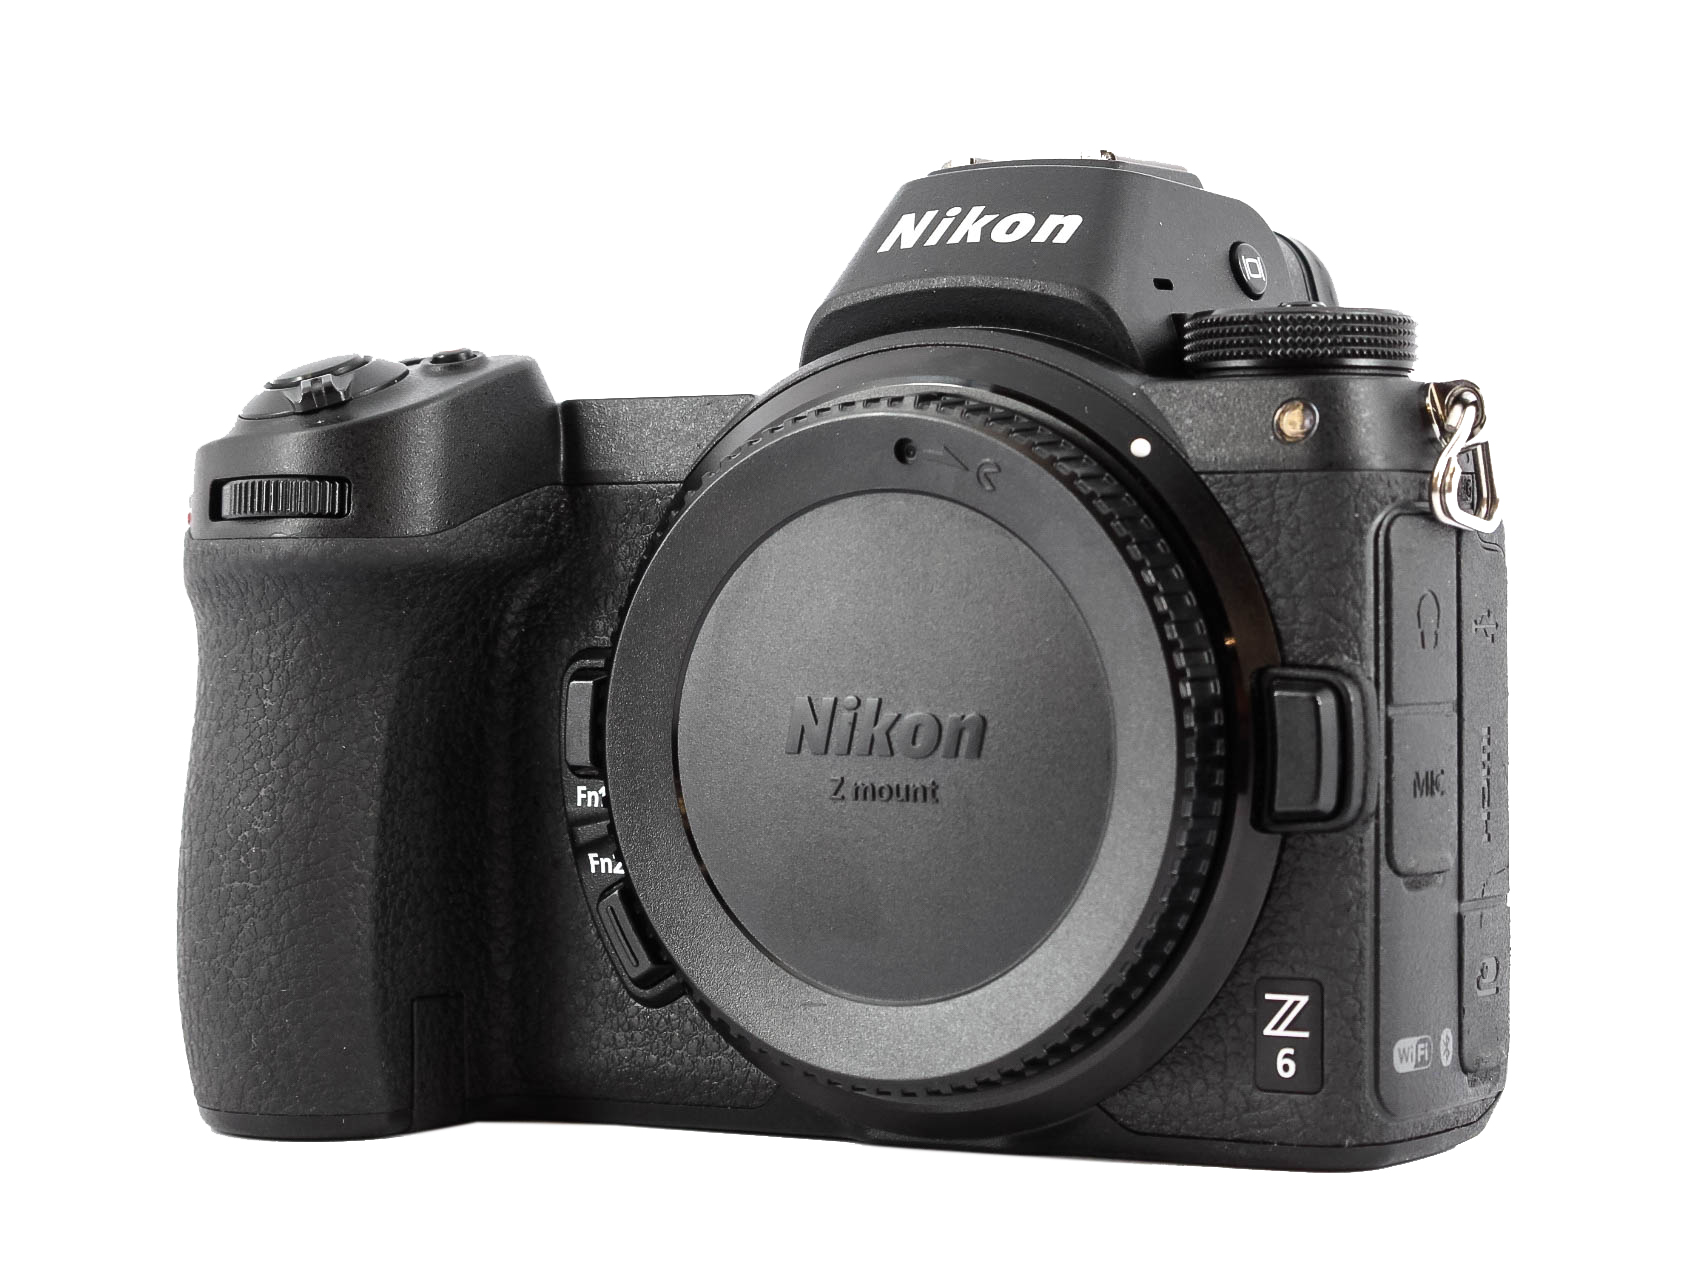
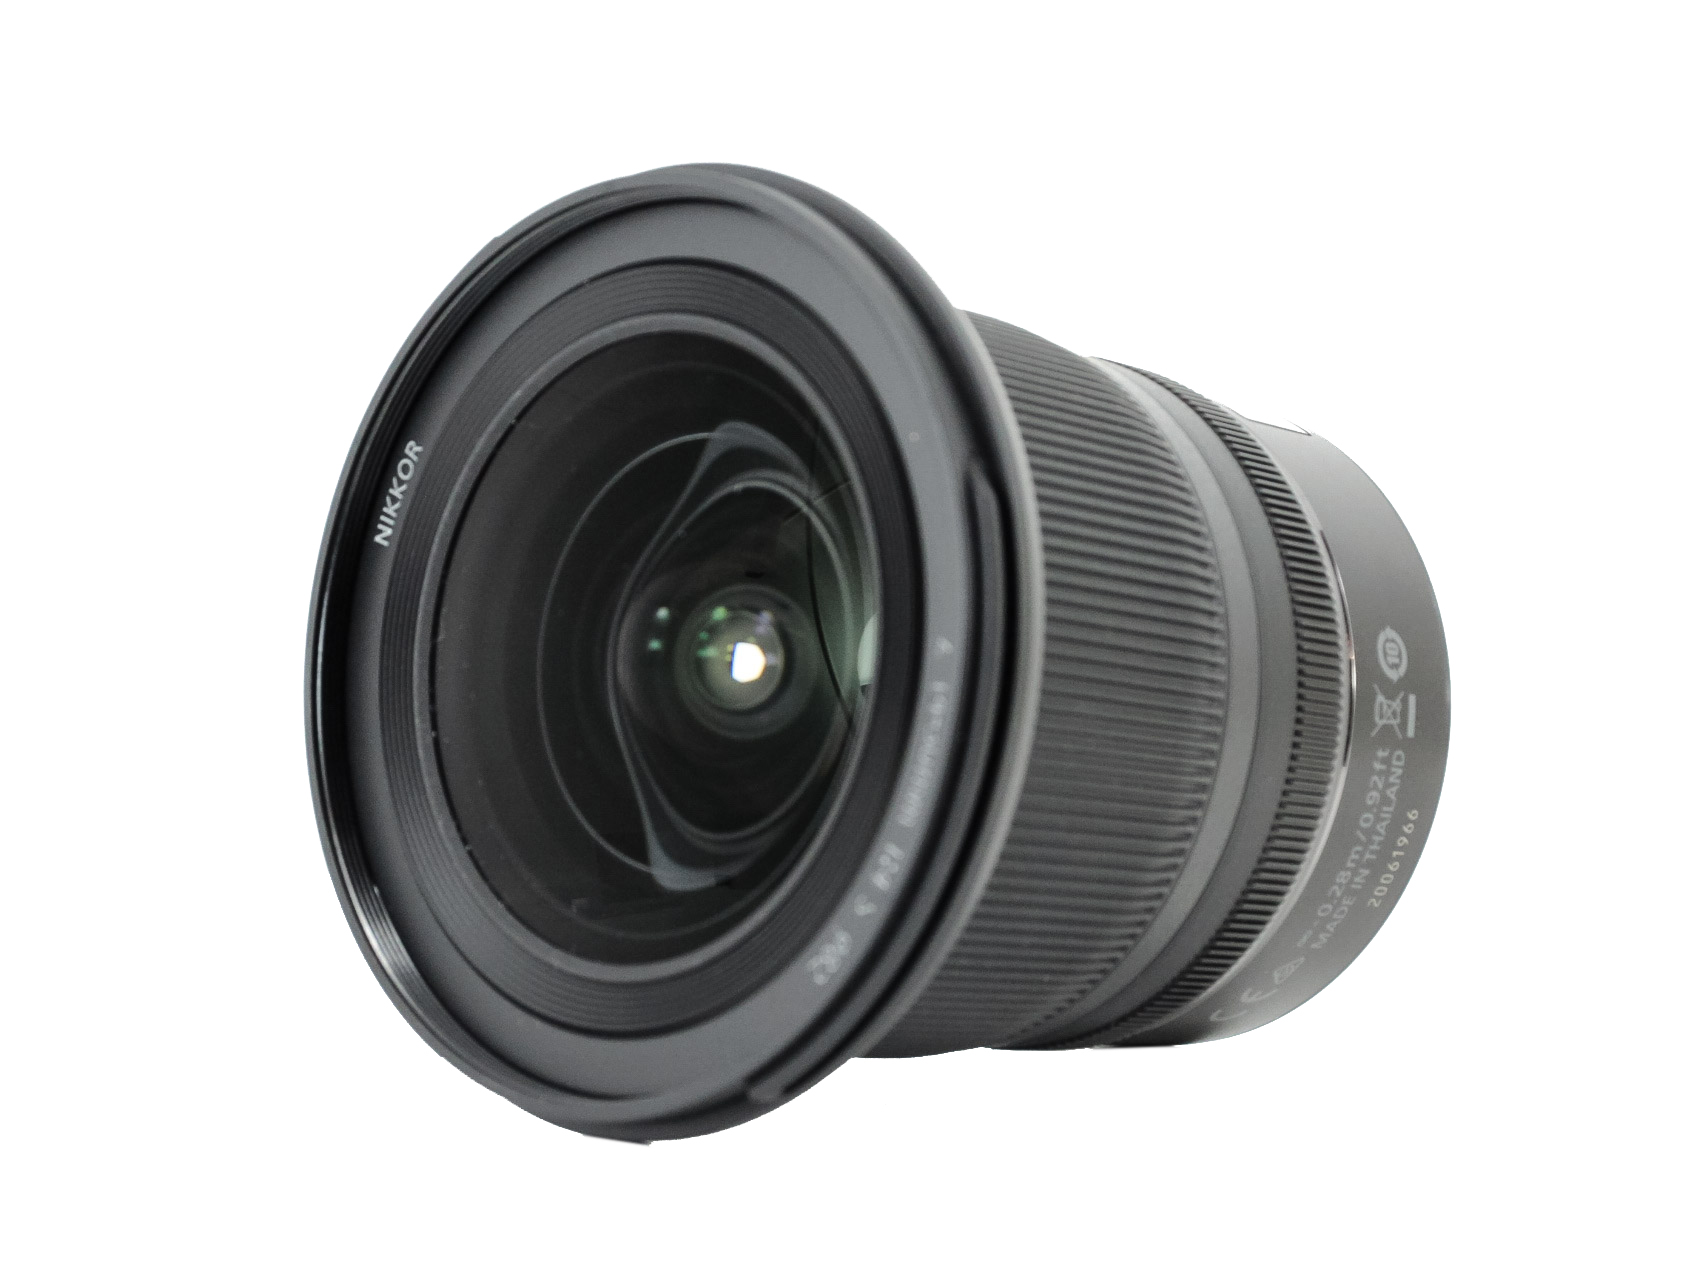
Gavin’s chosen kit upgrades from MPB were a Nikon Z 6 and a Nikkor 14-30mm f/4 S lens, plus a Nikon FTZ adapter so he could also use the Z 6 with his tried and tested DSLR glass.
In addition to the lenses Gavin used in the Peak District (a Nikkor 18-200mm f/3.5-5.6G ED VR II, a Sigma 150-600mm F5-6.3 DG OS HSM | C and a Sigma 10-20mm F4-5.6 EX DC HSM), he also owns a Nikkor 105mm f/2.8G IF-ED.
“The Z 6 has a bigger body than I first thought, especially when compared to Sony Alpha 7 cameras,” says Gavin. “Combining the Z 6 with Nikon’s FTZ adapter (MPB prices start from £199) and my existing lenses does turn it into quite a big piece of kit. I do like the little joystick on the rear, which makes it a lot easier to move the focus point, and the electronic viewfinder – you can view the last shot taken in it so you don’t have to take the camera away from your eyes.”

The four top kit upgrades from www.mpb.com

Why buy from – and sell to – MPB?
Why buy from – and sell to – MPB?


The world’s largest online platform for buying, selling and trading used photography and videography equipment, MPB partnered with Digital Camera to offer kit upgrades to readers Helen and Gavin.
MPB is the world’s largest online platform for buying, selling and trading used photography and videography equipment. It’s a much safer option than many used sellers or auction sites, as every product is individually inspected, photographed, and given a condition rating.
Selling your old gear to MPB couldn’t be easier – online valuation is both free and commitment-free, your used gear is picked up from your doorstep free of charge, and friendly support is offered every step of the way.
MPB offers a free six-month warranty on all products, packages are always insured with a signature required on delivery, and with its 5-star TrustPilot rating, you can be sure that you’re dealing with a reputable and reliable company – one that sells over 300,000 items of photo and video kit every year.
Get the Digital Camera World Newsletter
The best camera deals, reviews, product advice, and unmissable photography news, direct to your inbox!
Digital Camera World is one of the leading authorities on camera and photography news, reviews, techniques, tutorials, comparisons, deals and industry analysis. The site doesn't just specialize in cameras, but all aspects of photography, videography and imaging – including camera phones, gimbals, lenses, lighting, editing software, filters, tripods, laptops, printers, photo books, desks, binoculars and more.
Whether you're using, looking to buy or trying to get the most out of a compact camera, action camera, camera drone, cinema camera, beginner camera or professional camera, Digital Camera World has a roster of experts with combined experience of over 100 years when it comes to cameras, photography and imaging.

