Useful articles for wildlife photography
• Best binoculars
• Best camera for wildlife photography
• Best lenses for bird and wildlife photography
Back in 2013 I bought my first camera, a Nikon D3200 in red with a 18-55mm kit lens. I bought it because I wanted to take photos of my newborn daughter and teach myself a new skill. I later took that camera on a trip to Chester Zoo in England: it was incredible! I developed a love for photographing animals. However, later that year I had to sell everything due to finances surrounding my mortgage.
It wasn’t until around five years later that I bought a camera again, after being asked to shoot a family wedding, and that was the start of my career. I am now a full-time wedding photographer, who adores escaping to the outdoors in his free time. I'm currently shooting on the Sony A7R III and love to head out with my 70-200mm to shoot wildlife.
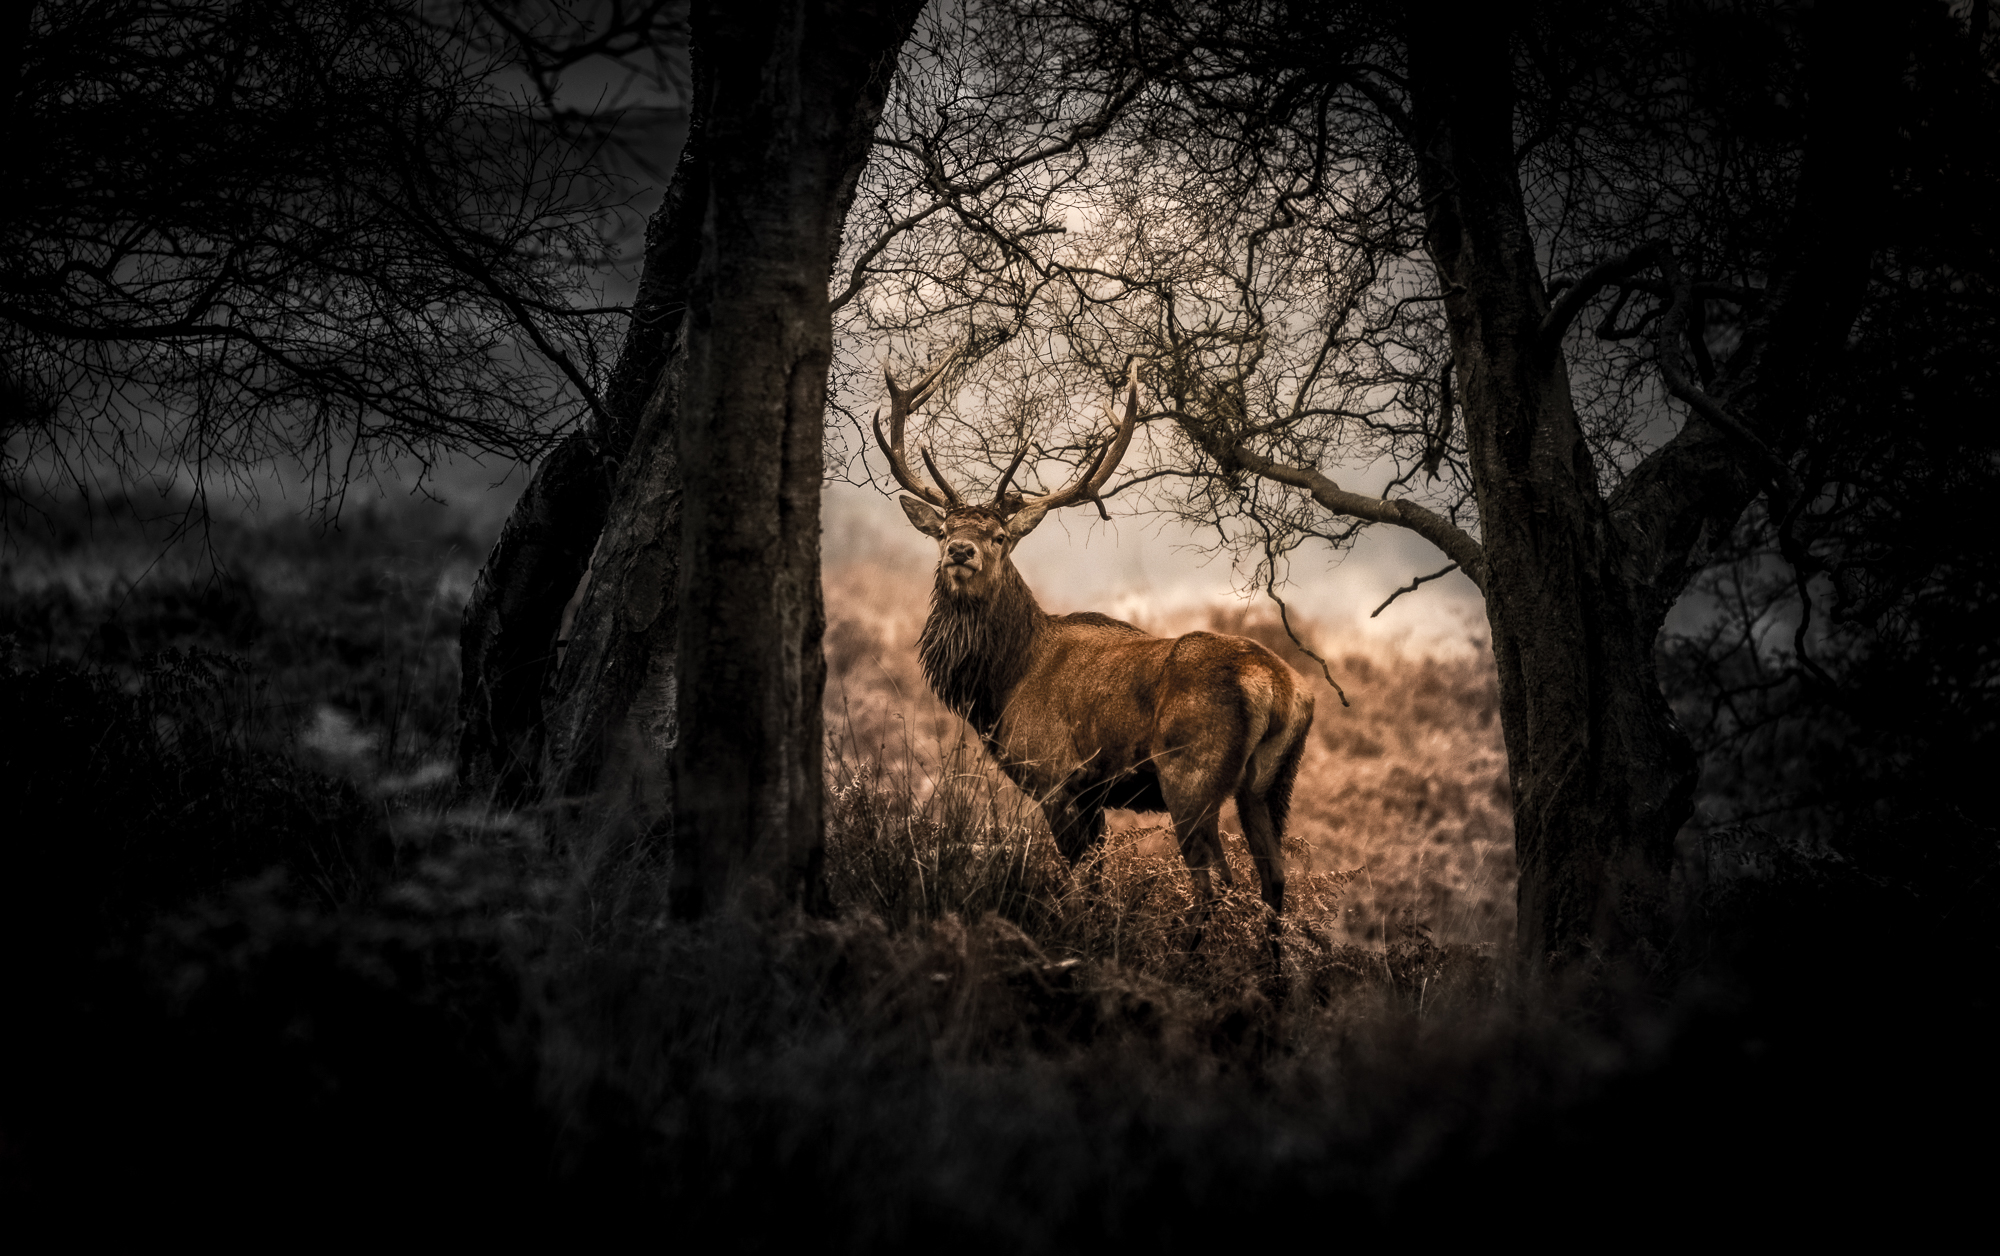
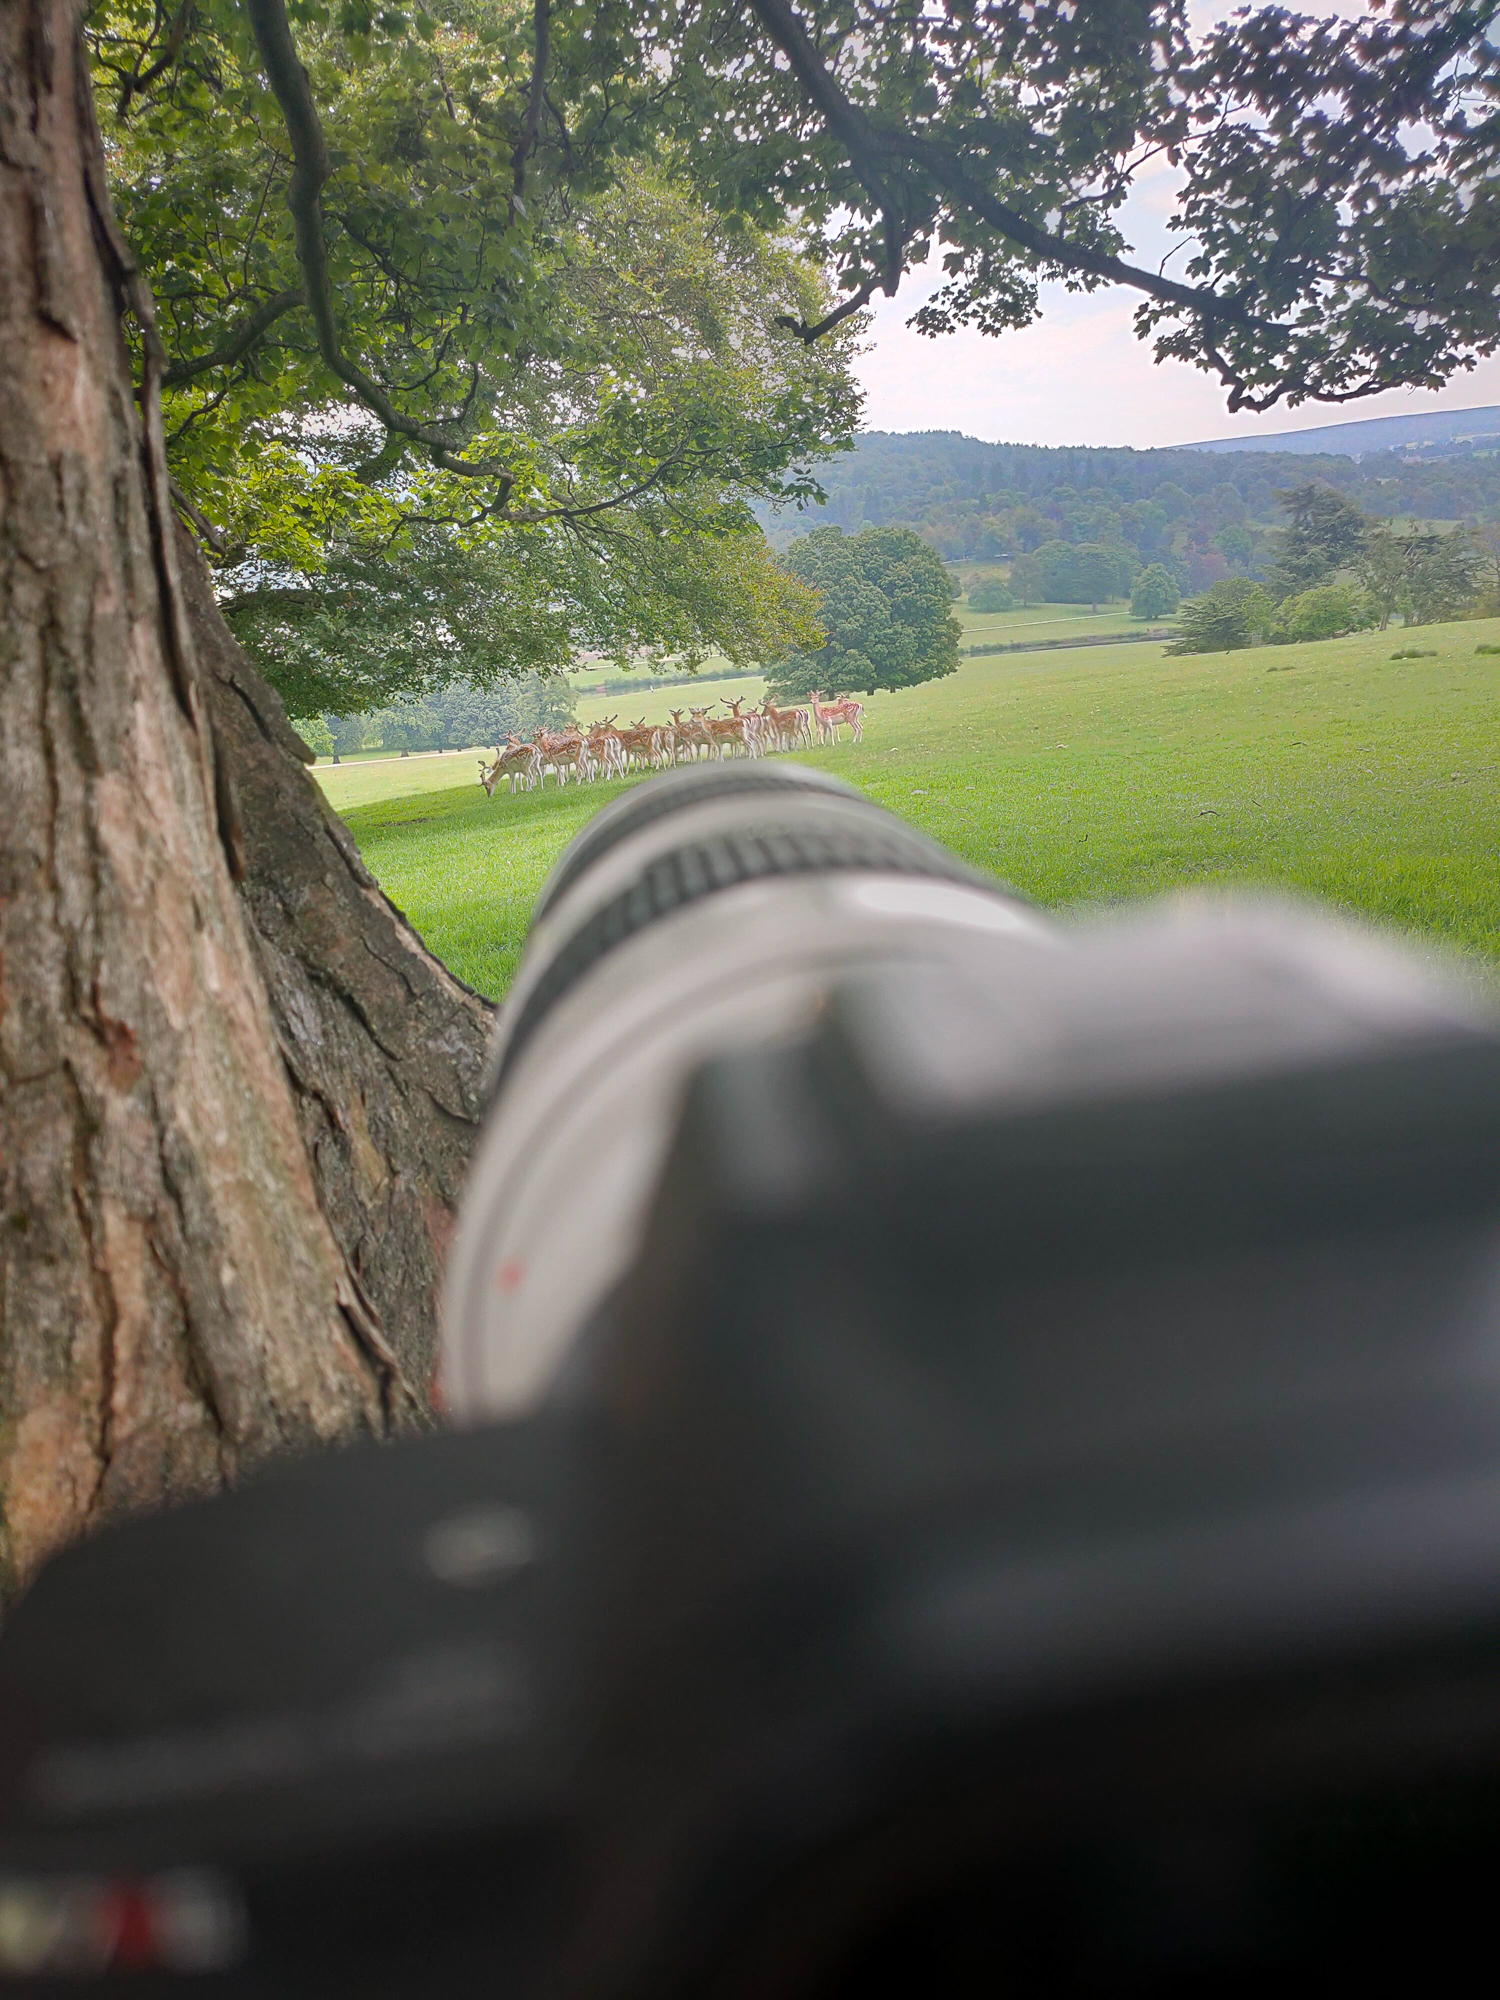
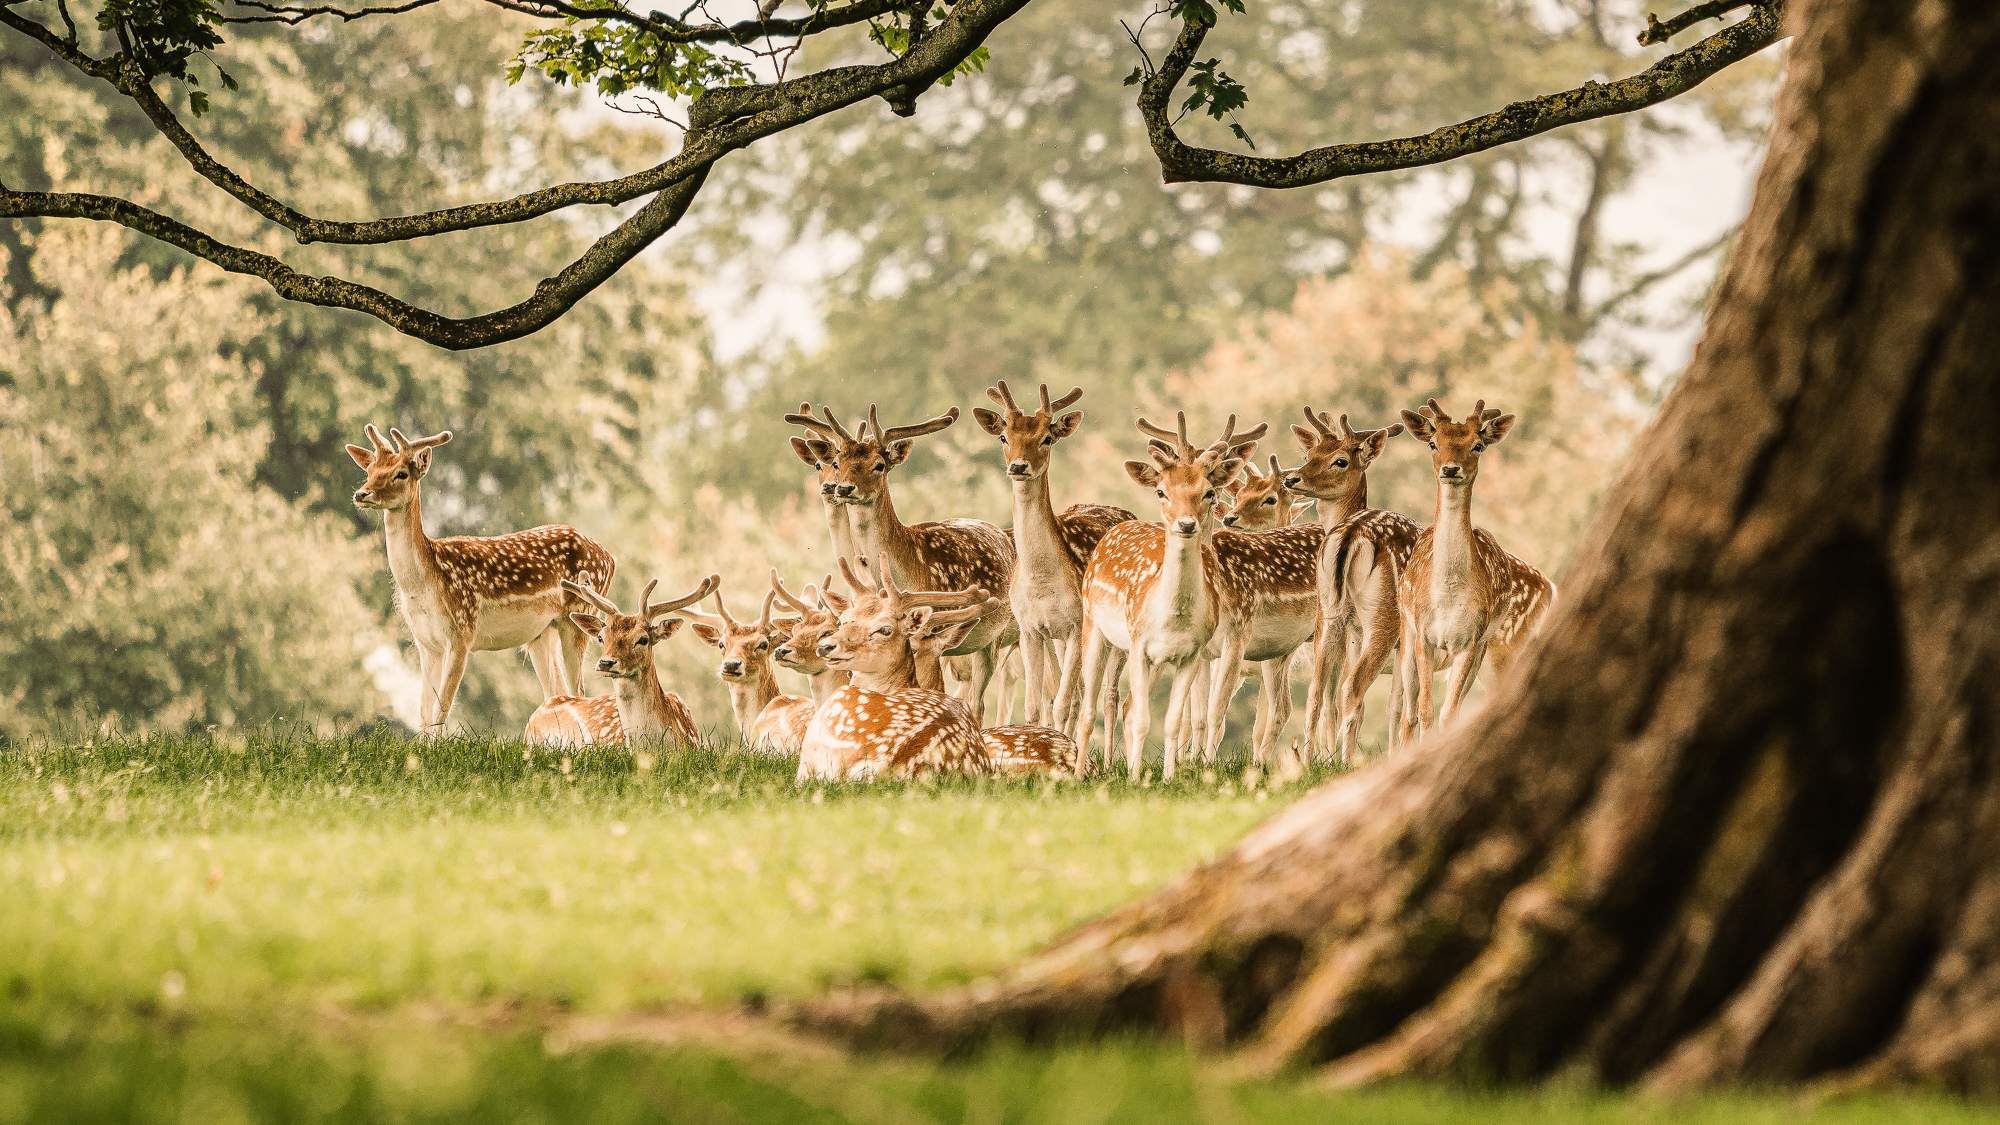
Recently I visited Chatsworth House in Derbyshire, and captured the above shot. Roe deer are fast and don’t want to be interrupted, so I decided to take the longest route towards them. I used trees to block their line of sight as I approached; eventually, after around 45 minutes, I was within a few hundred feet of them.
I decided to lay down and look as though I was resting on the ground myself. After about two hours, I was successfully in position, with the sun pleasingly lighting the deer from behind.
4 tips for photographing local deer
1) Rutting season
Deer are less concerned about you, and more involved in the events of the rut. It’s an amazing scene because you get to hear their true voice as they shout their mating calls. Respect them: be slow in your movement, avoid high winds that push your scent towards them (try to walk towards them with winds blowing towards you), keep quiet and stay low.
2) Do your research
The best camera deals, reviews, product advice, and unmissable photography news, direct to your inbox!
Visit all different animals, do web searches and watch series online. Basically, research what you’re going to shoot, so you can understand your subjects. You are heading into their home; do you know how they are going to act? The more respect you show them, the better the shots you will come out with, but ultimately they will enjoy your presence and get used to you.
3) Add some drama
Getting low doesn’t just help with shortening the distance between your camera lens and wildlife: it also helps with composition. Your shot has more drama, as opposed to if you are shooting above the animal from a hill. The perspective helps improve the stature of the animal, and helps bring some foreground into the image if you shoot through long grass or flowers.
4) Don’t be too serious
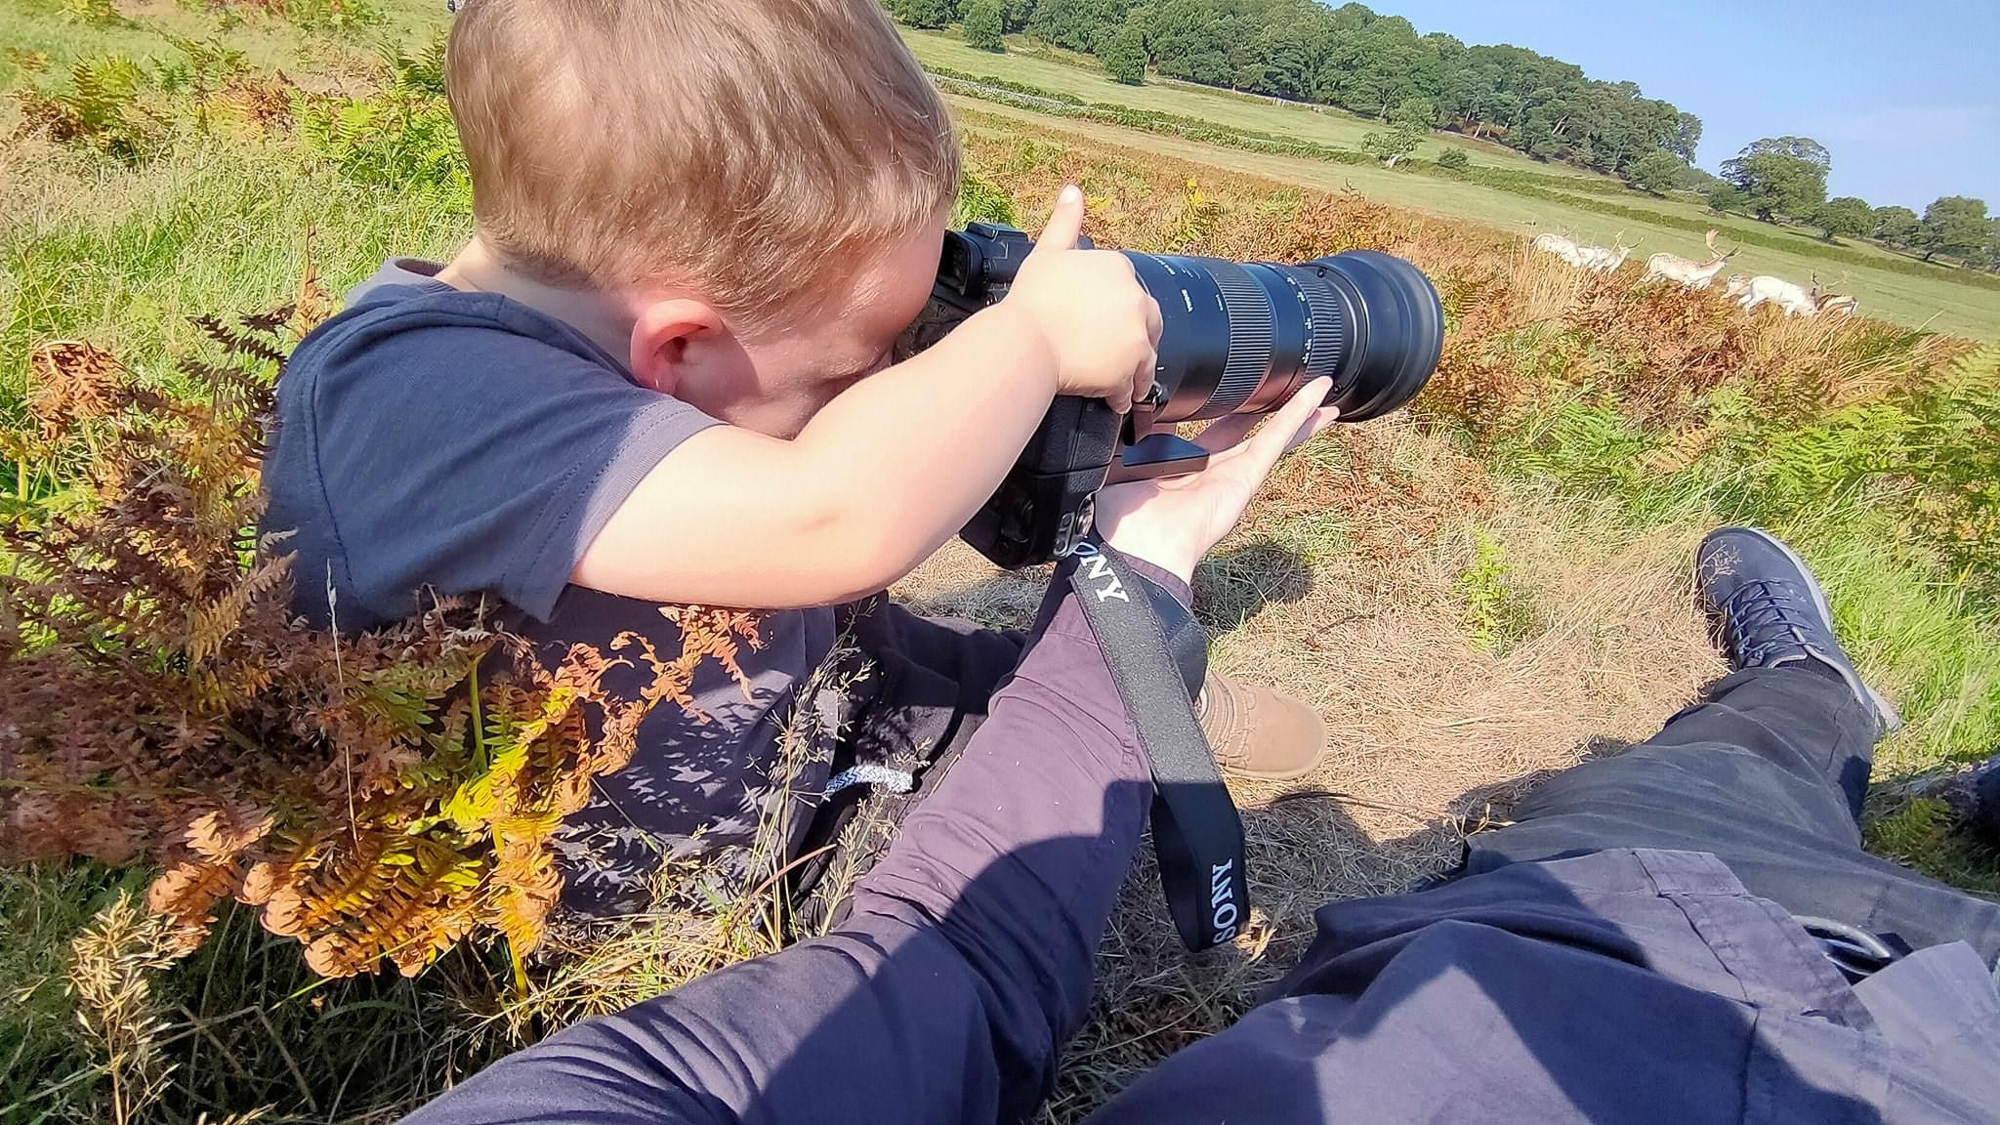
Photography with wildlife doesn’t have to be all seriousness and ghillie suits! I’ve taken my son with me from the age of one, in search of animals. It started with squirrels: I taught him how to respect their habitat by introducing the ‘bear walk’ and a ‘shh’. By the age of three, he was lying next to me watching deer graze in a deer park. In fact, he was clicking away with my Sony A7R III coupled with a Sigma 150-600mm Sport, which is a stellar lens!
I now take my son to as many places as I possibly can, to help him learn that animals and their habitats need to be respected, while also capturing some great images we can both look back on.
Jamie’s approach to photographing deer
I often use the rule that my shutter speed is at least my focal length; so at 600mm, it would be around 1/600 sec. However, if I feel that there is a light wind, I may increase it, as the smallest movement would start to introduce blur. So I may be at 1/720 or 1/800 sec if need be. During the summer this would be even higher due to the high sun, but in the autumn you’ll find more dull skies.
I typically shoot as wide as my lens will allow. The aperture will be f/6.3 at 600mm on most lenses, unless you’re really lucky – but if you have a lens that’s worth more than a car and can open it up to f/2.8 at that focal length, then go for it.
For focusing I use single-spot autofocus, which basically means I am focusing on one single spot which would be shown in my viewfinder, but I can move it to help assist in my composition. You can freely move the composition to suit, but make sure that you don’t move your camera forwards or backwards to re-compose as you will lose focus.
Read more:
Best 70-200mm lenses
Best 150-600mm lenses
Best budget telephoto lenses
Digital Camera World is one of the leading authorities on camera and photography news, reviews, techniques, tutorials, comparisons, deals and industry analysis. The site doesn't just specialize in cameras, but all aspects of photography, videography and imaging – including camera phones, gimbals, lenses, lighting, editing software, filters, tripods, laptops, printers, photo books, desks, binoculars and more.
Whether you're using, looking to buy or trying to get the most out of a compact camera, action camera, camera drone, cinema camera, beginner camera or professional camera, Digital Camera World has a roster of experts with combined experience of over 100 years when it comes to cameras, photography and imaging.
