Perfect panoramas in Affinity Photo
90-DAY FREE TRIAL:
Try Affinity Photo and get 50% off if you decide to purchase. Click here for more information!
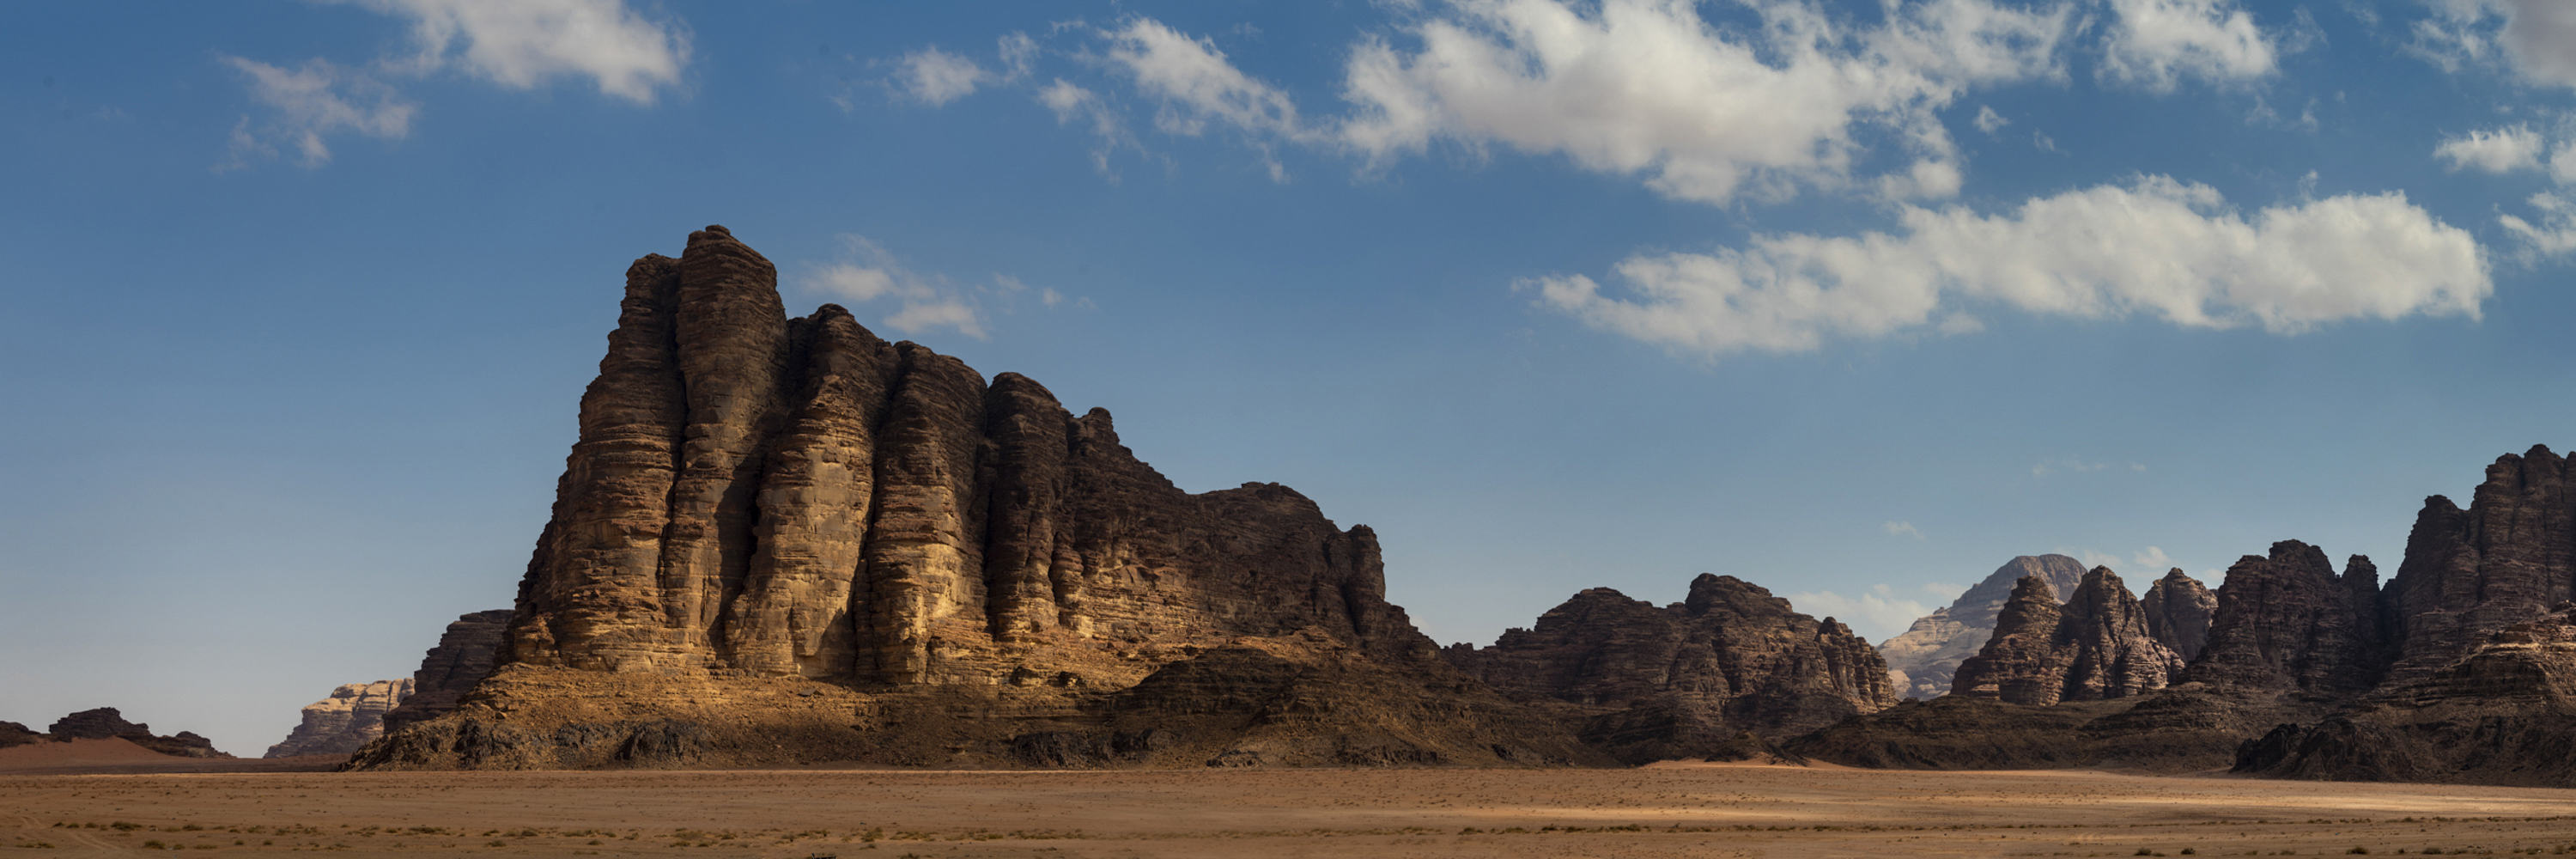
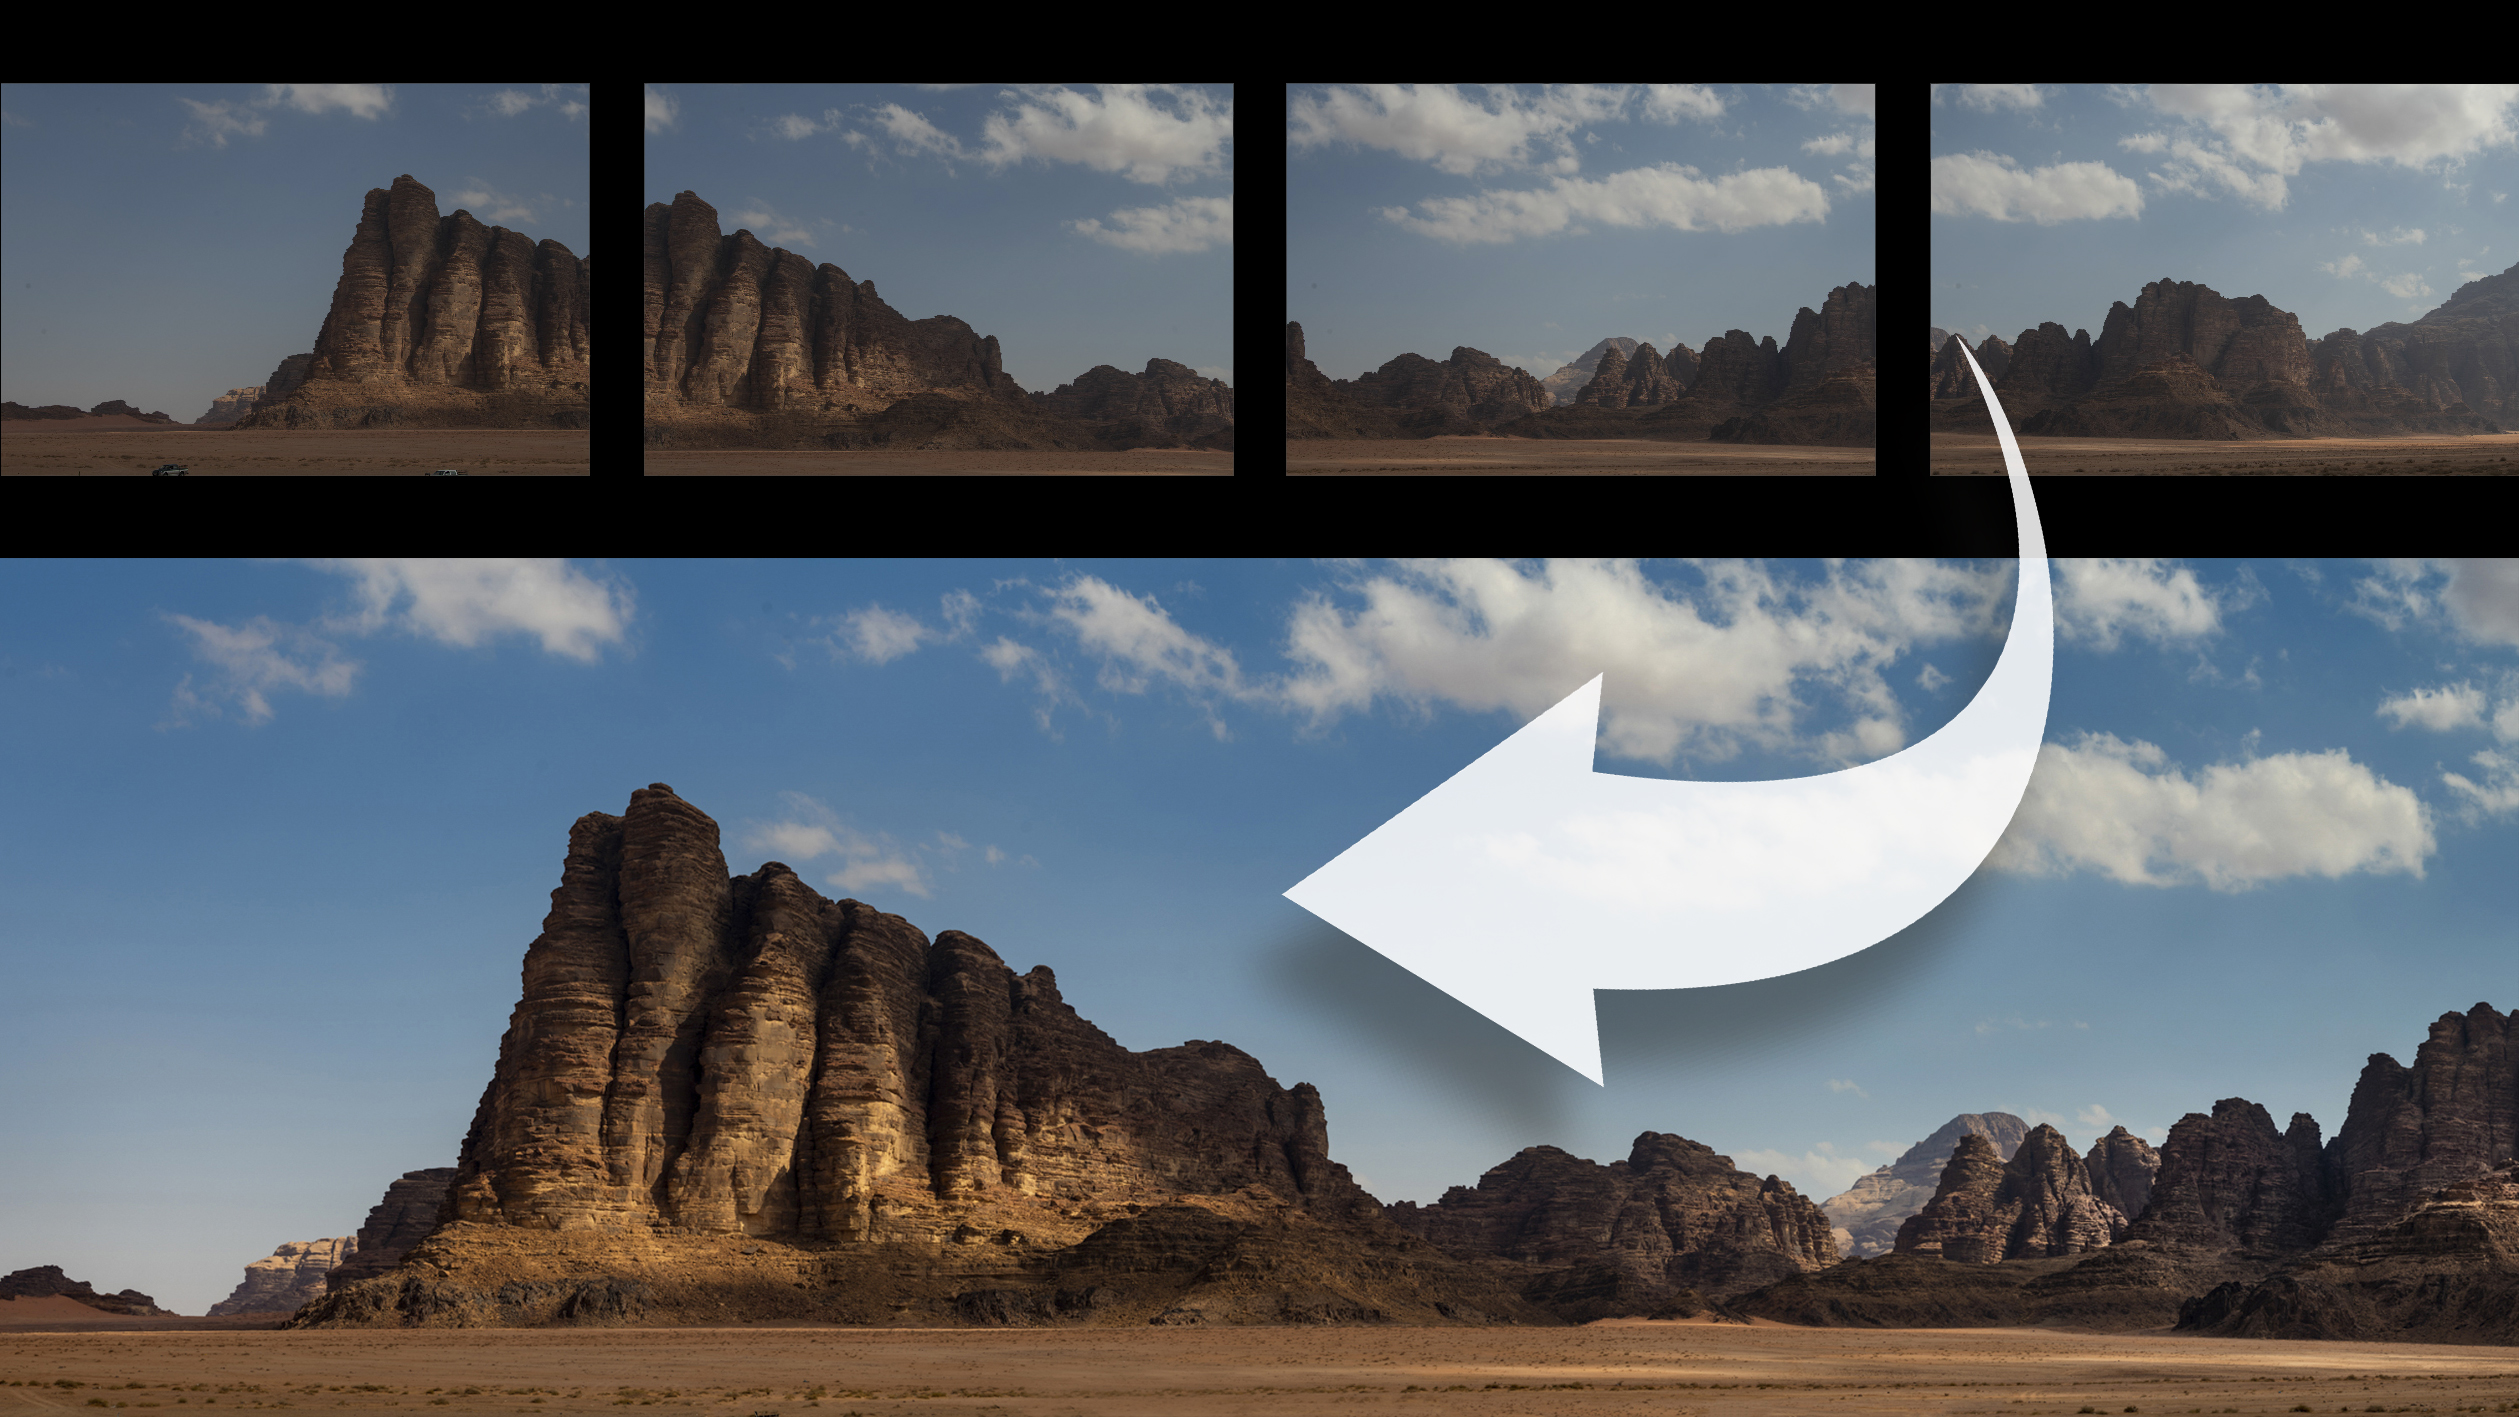
From phone apps to simple cropping tricks, panoramas are easier than ever to create. But nothing quite tops a panorama that’s been properly captured with your camera. Not only does the technique of stitching several frames together allow you to capture the wide expanse of epic landscapes, it also lets you increase your camera’s resolution four-fold or more, resulting in landscapes with immense detail – and stunning prints.
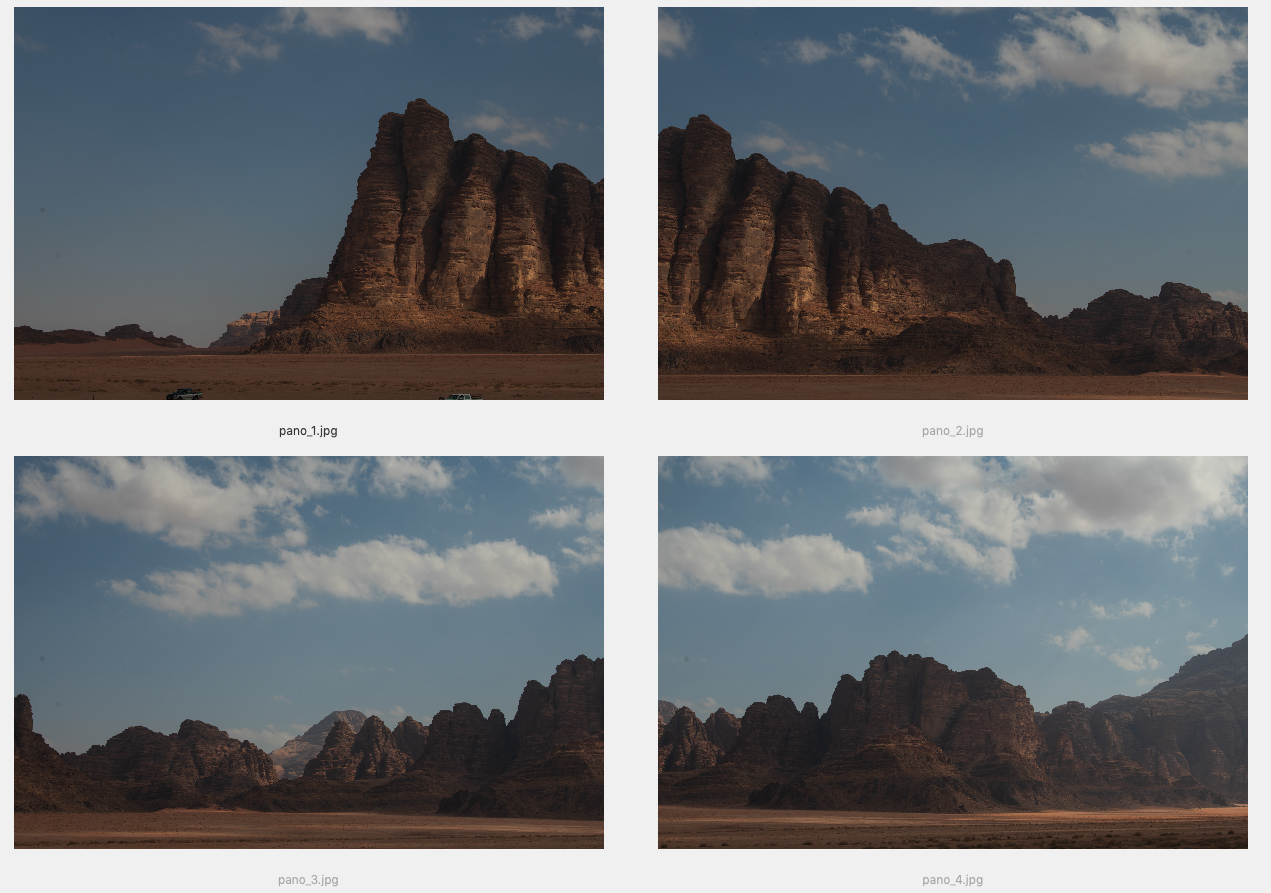
Creating panoramas in Affinity Photo is a simple task, yet there is a variety of tools available that help you fine-tune the results. To begin, you need a sequence of overlapping photos to stitch together. Simply load your images into the Panorama Persona, then let Affinity Photo do the stitching for you.
The automatic results are often flawless, but if any parts of the stitch do need improving, there is a range of dedicated tools to hand. You can control exactly which parts from each frame are included in the mix using the Add and Erase Source Mask tools, and generate new pixels to fill in any messy transparent edges with the Inpaint feature. Once done, you can take advantage of Affinity Photo editing tools to finish it off.
Shoot for a stitch
Capturing the frames for your panorama is simple, but consider a few things starting. Think about whether you want to shoot your segments horizontally or vertically. Horizontal is fine if you use longer lenses, but vertical segments may be better if you shoot with wider focal lengths, as it keeps barrel distortion in check.
Allow for a decent overlap between frames of about a quarter, which makes the stitching easier, and use your camera grid to keep the horizon in the same position throughout your sequence. A tripod is handy for this, but not essential.
Perfect panoramas in Affinity Photo
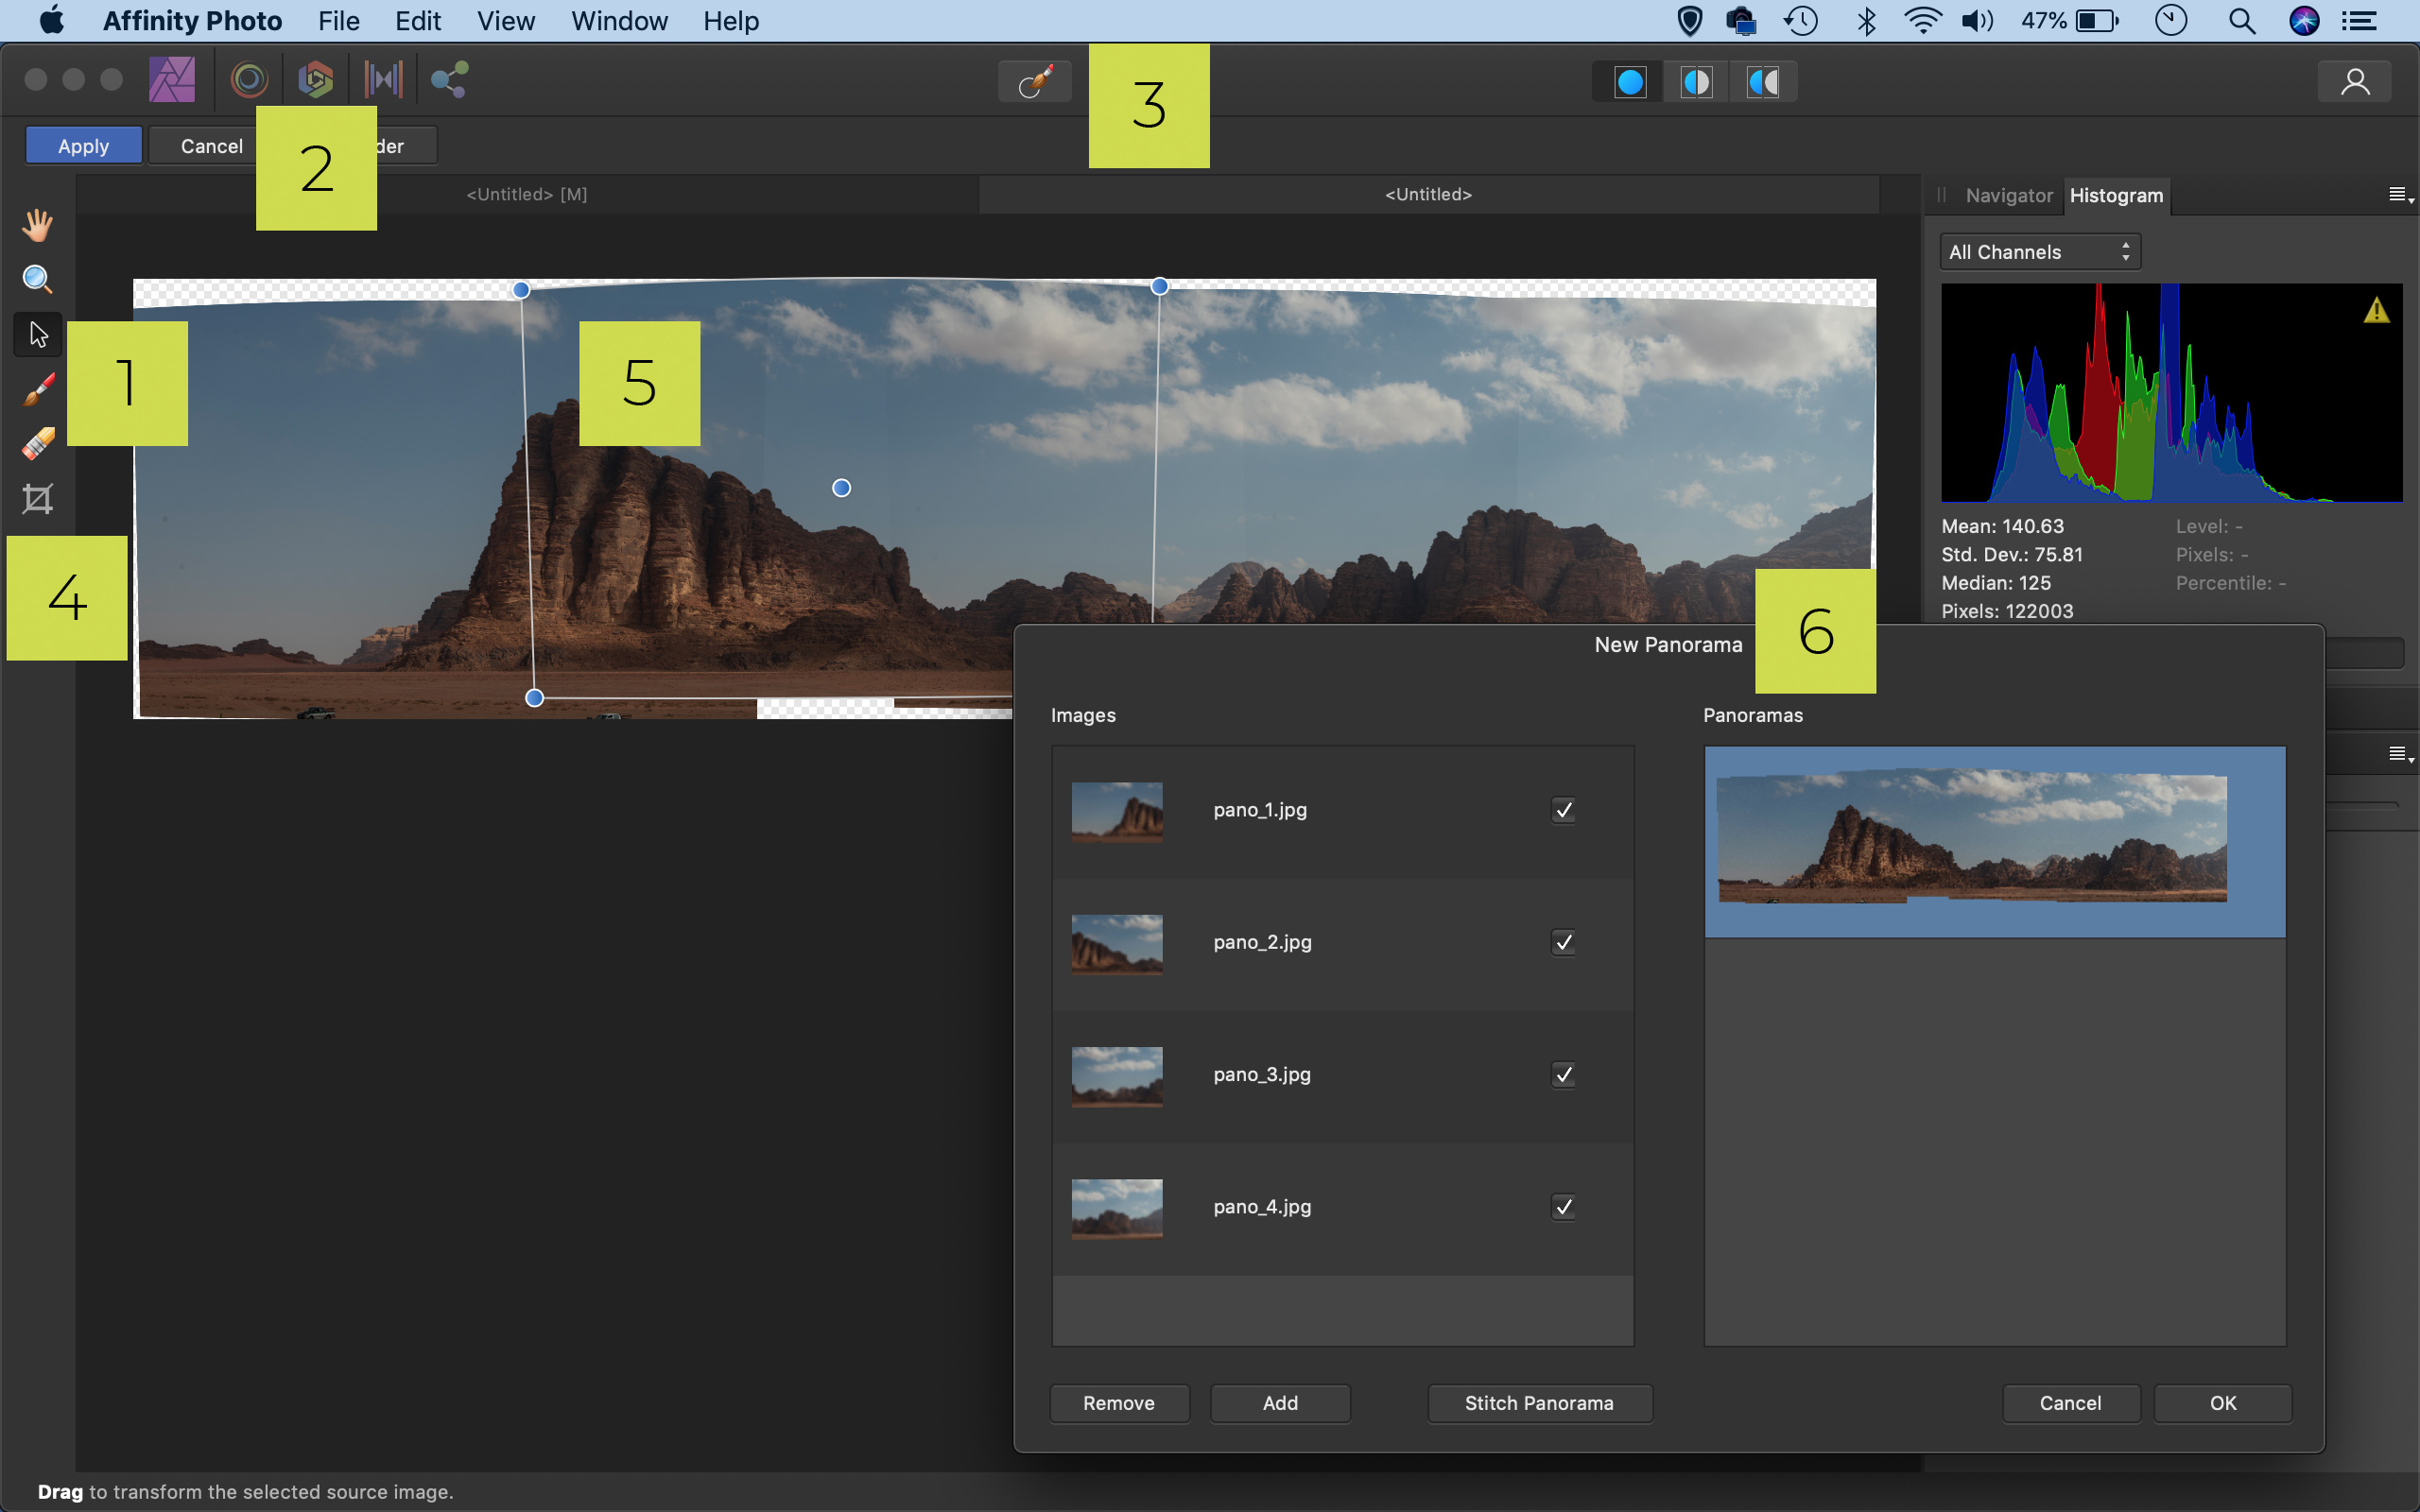
1. Add and Erase Source Image
These tools work in tandem by enabling you to either reveal or hide parts of the individual frames that make up your panorama. If the auto stitching chooses part of one frame, but you’d rather see the overlapping area on the frame underneath, you can fine-tune the blend. Grab either tool, then click part of the image to target a frame. Simply paint to add them back in or erase more parts.
2. Raw workflow
The Panorama Persona works with raws, TIFFs and JPEGs. If you intend to stitch together a series of raw photos, to enjoy the benefits of the raw file format, it makes sense to process the images in the Raw Persona first. Sync your edits across the entire set of raws to keep them consistent. Once done, export the raws as 16-bit tiff files for maximum colour depth then build the panorama using these.
3. Inpaint missing areas in the shot
Stitching panoramas can result in messy transparent edges. Inpaint automatically fills in the empty areas around the edges of the image by copying existing image content and generating new pixels. It’s very effective when filling in fairly uniform areas like skies or patches of plain ground, but may be less successful if you attempt to extend very detailed portions.
4. Crop Tool
You can crop in tighter on your image, set an aspect ratio or an output resolution (useful if you intend to print your panorama afterwards). But there are also a couple of panorama-specific settings. Crop To Opaque automatically tidies up the edges of the frame by cropping to remove messy transparent areas, while Crop To Bounds includes those areas (so you can go on to fill them with the Inpaint tool if you like).
5. Transform Source Image
This tool lets you select the different frames that make up the panorama and transform them, either by rotating or resizing. It’s useful when the segments don’t properly align with one another, as you can tweak each frame manually. Grab the tool from the toolbar, click on one of the segments in the panorama, then drag the corner points to adjust the segment. You can also set the centre of rotation.
6. The Panorama Persona
Panoramas are created using the dedicated Panorama Persona. Go to File > New Panorama, or press Ctrl / Cmd + Shift + Alt + P. Next, load in the sequence of images you want to stitch together. You can create multiple panoramas at once by adding more than one sequence of images. Once you’re ready, click Stitch Panorama and Affinity Photo will begin building your panorama (or multiple panoramas) for you.
Take your first steps in landscape photography
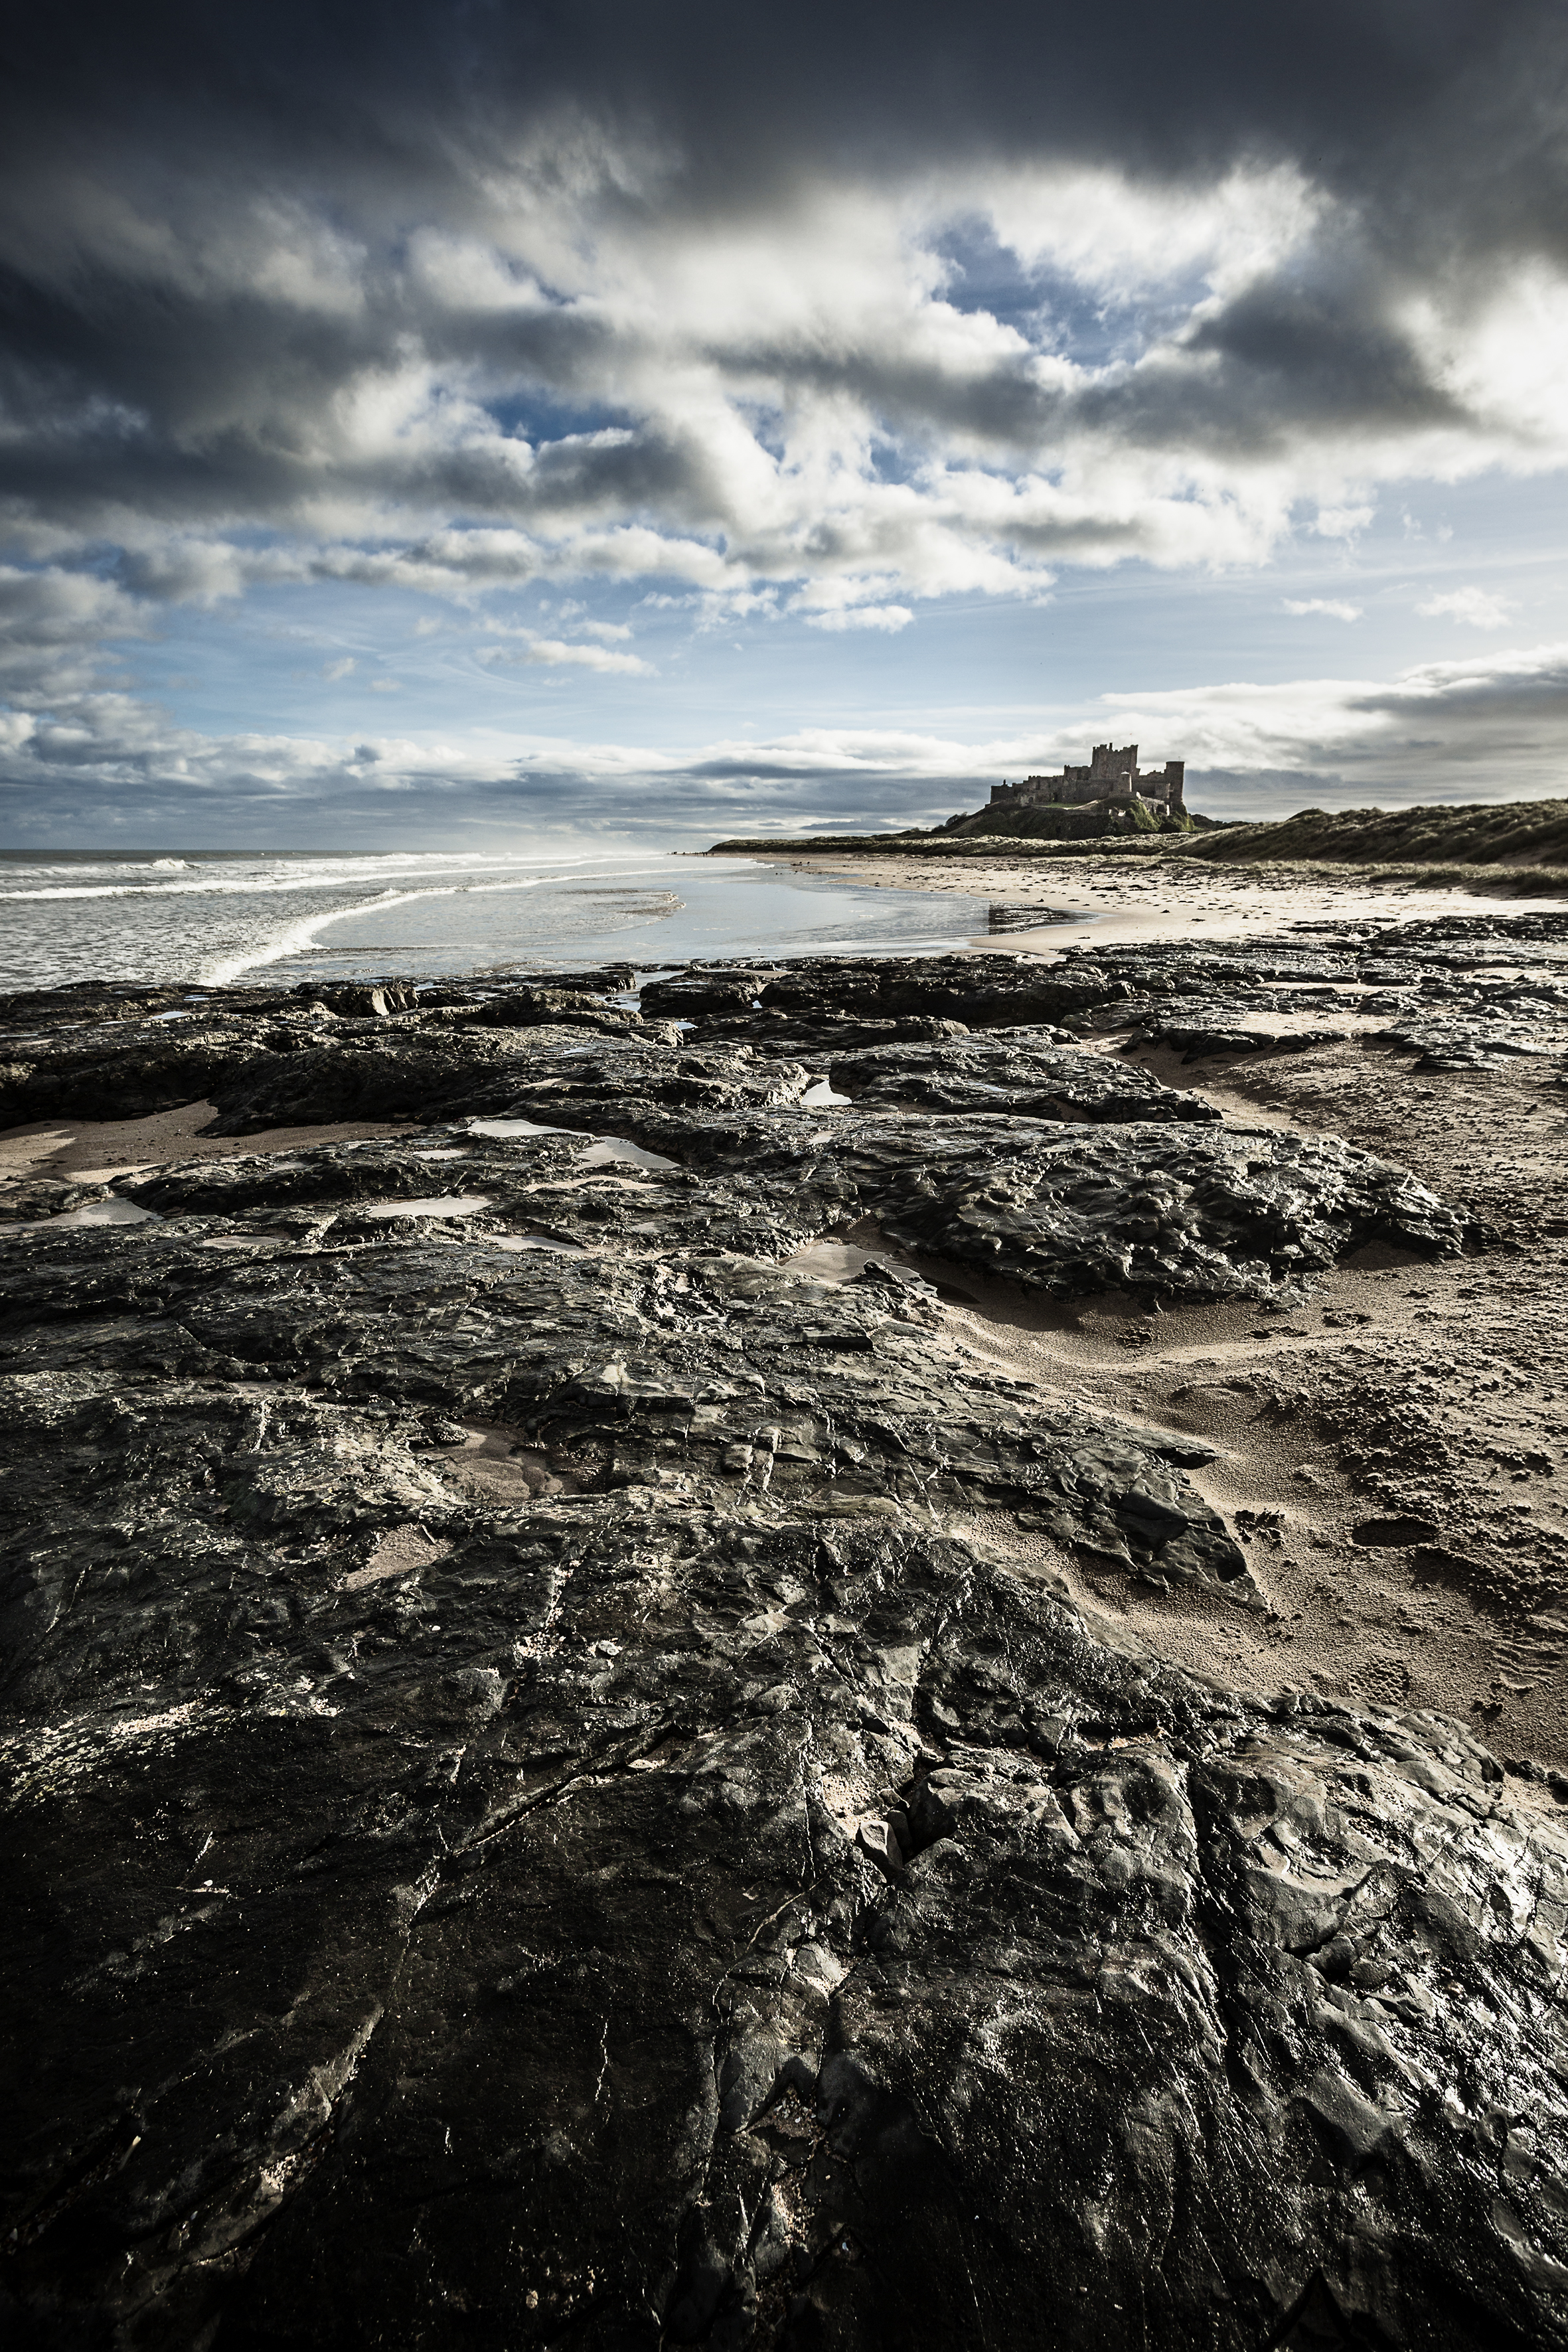
Itching to get into the great outdoors with your camera after being in lockdown for so long? Here’s how to get started in the art of landscape – an addictive mix of a few different photographic genres that's part travel, part fine art and part documentary. That being said, there are some techniques that are always useful, whatever your preferred approach is.
The first step to better landscapes is to avoid using your camera’s Landscape mode, as this gives you only limited options during the picture-taking process. For full creative control, you should switch to Aperture Priority or Manual, both of which enable you to choose the aperture setting. The aperture size is important, as it plays a crucial role in the amount of depth of field – or the depth of sharpness – you can see through the image.
Narrow apertures (represented by high f-numbers, such as f/16 and f/22) give you more depth of field than wide apertures, and increase the amount of the scene that appears sharp from the foreground to the horizon. Avoid the narrowest setting, though: despite the increased depth of field you’ll enjoy, this will give you softer shots overall (due to the effects of diffraction).
To record an image with a narrow aperture requires a longer exposure time, which is one of the reasons that a decent tripod and tripod head are standard accessories for landscape photography. This offers consistency between shots and enables you to fine-tune the framing and composition. It’s essential if you’re using a strong ND filter to extend the exposure into minutes to blur the movement of clouds and water.
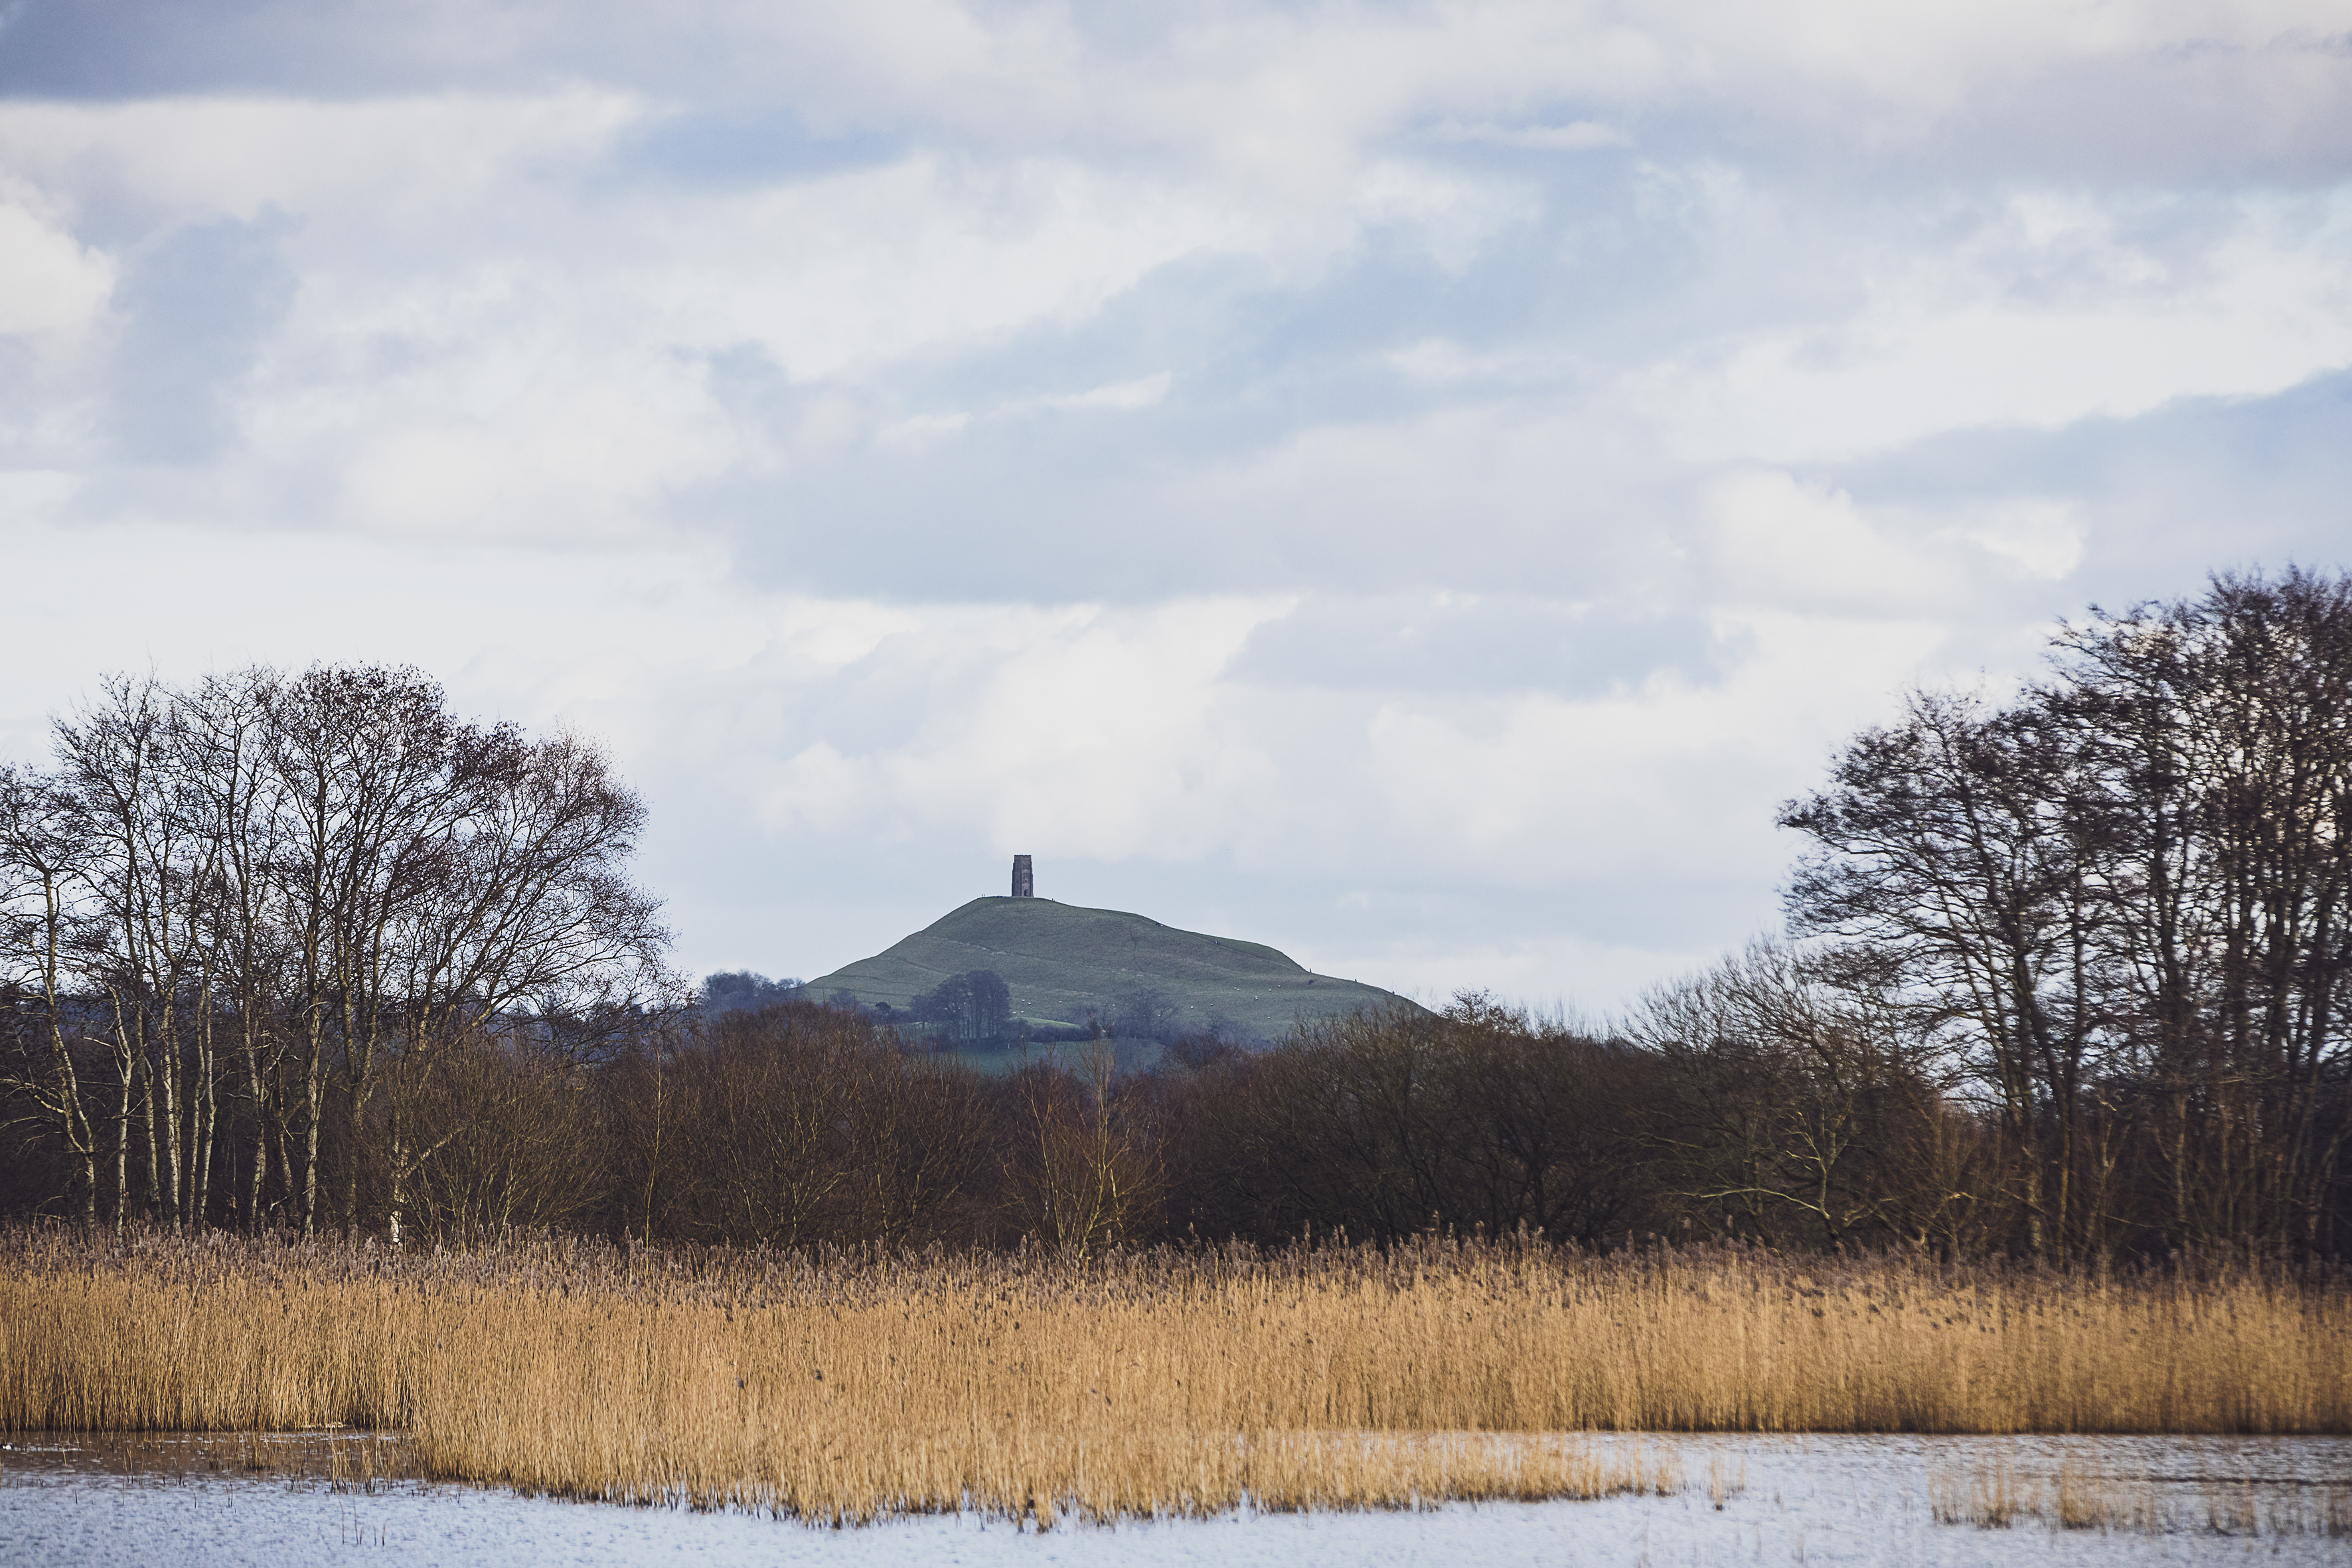
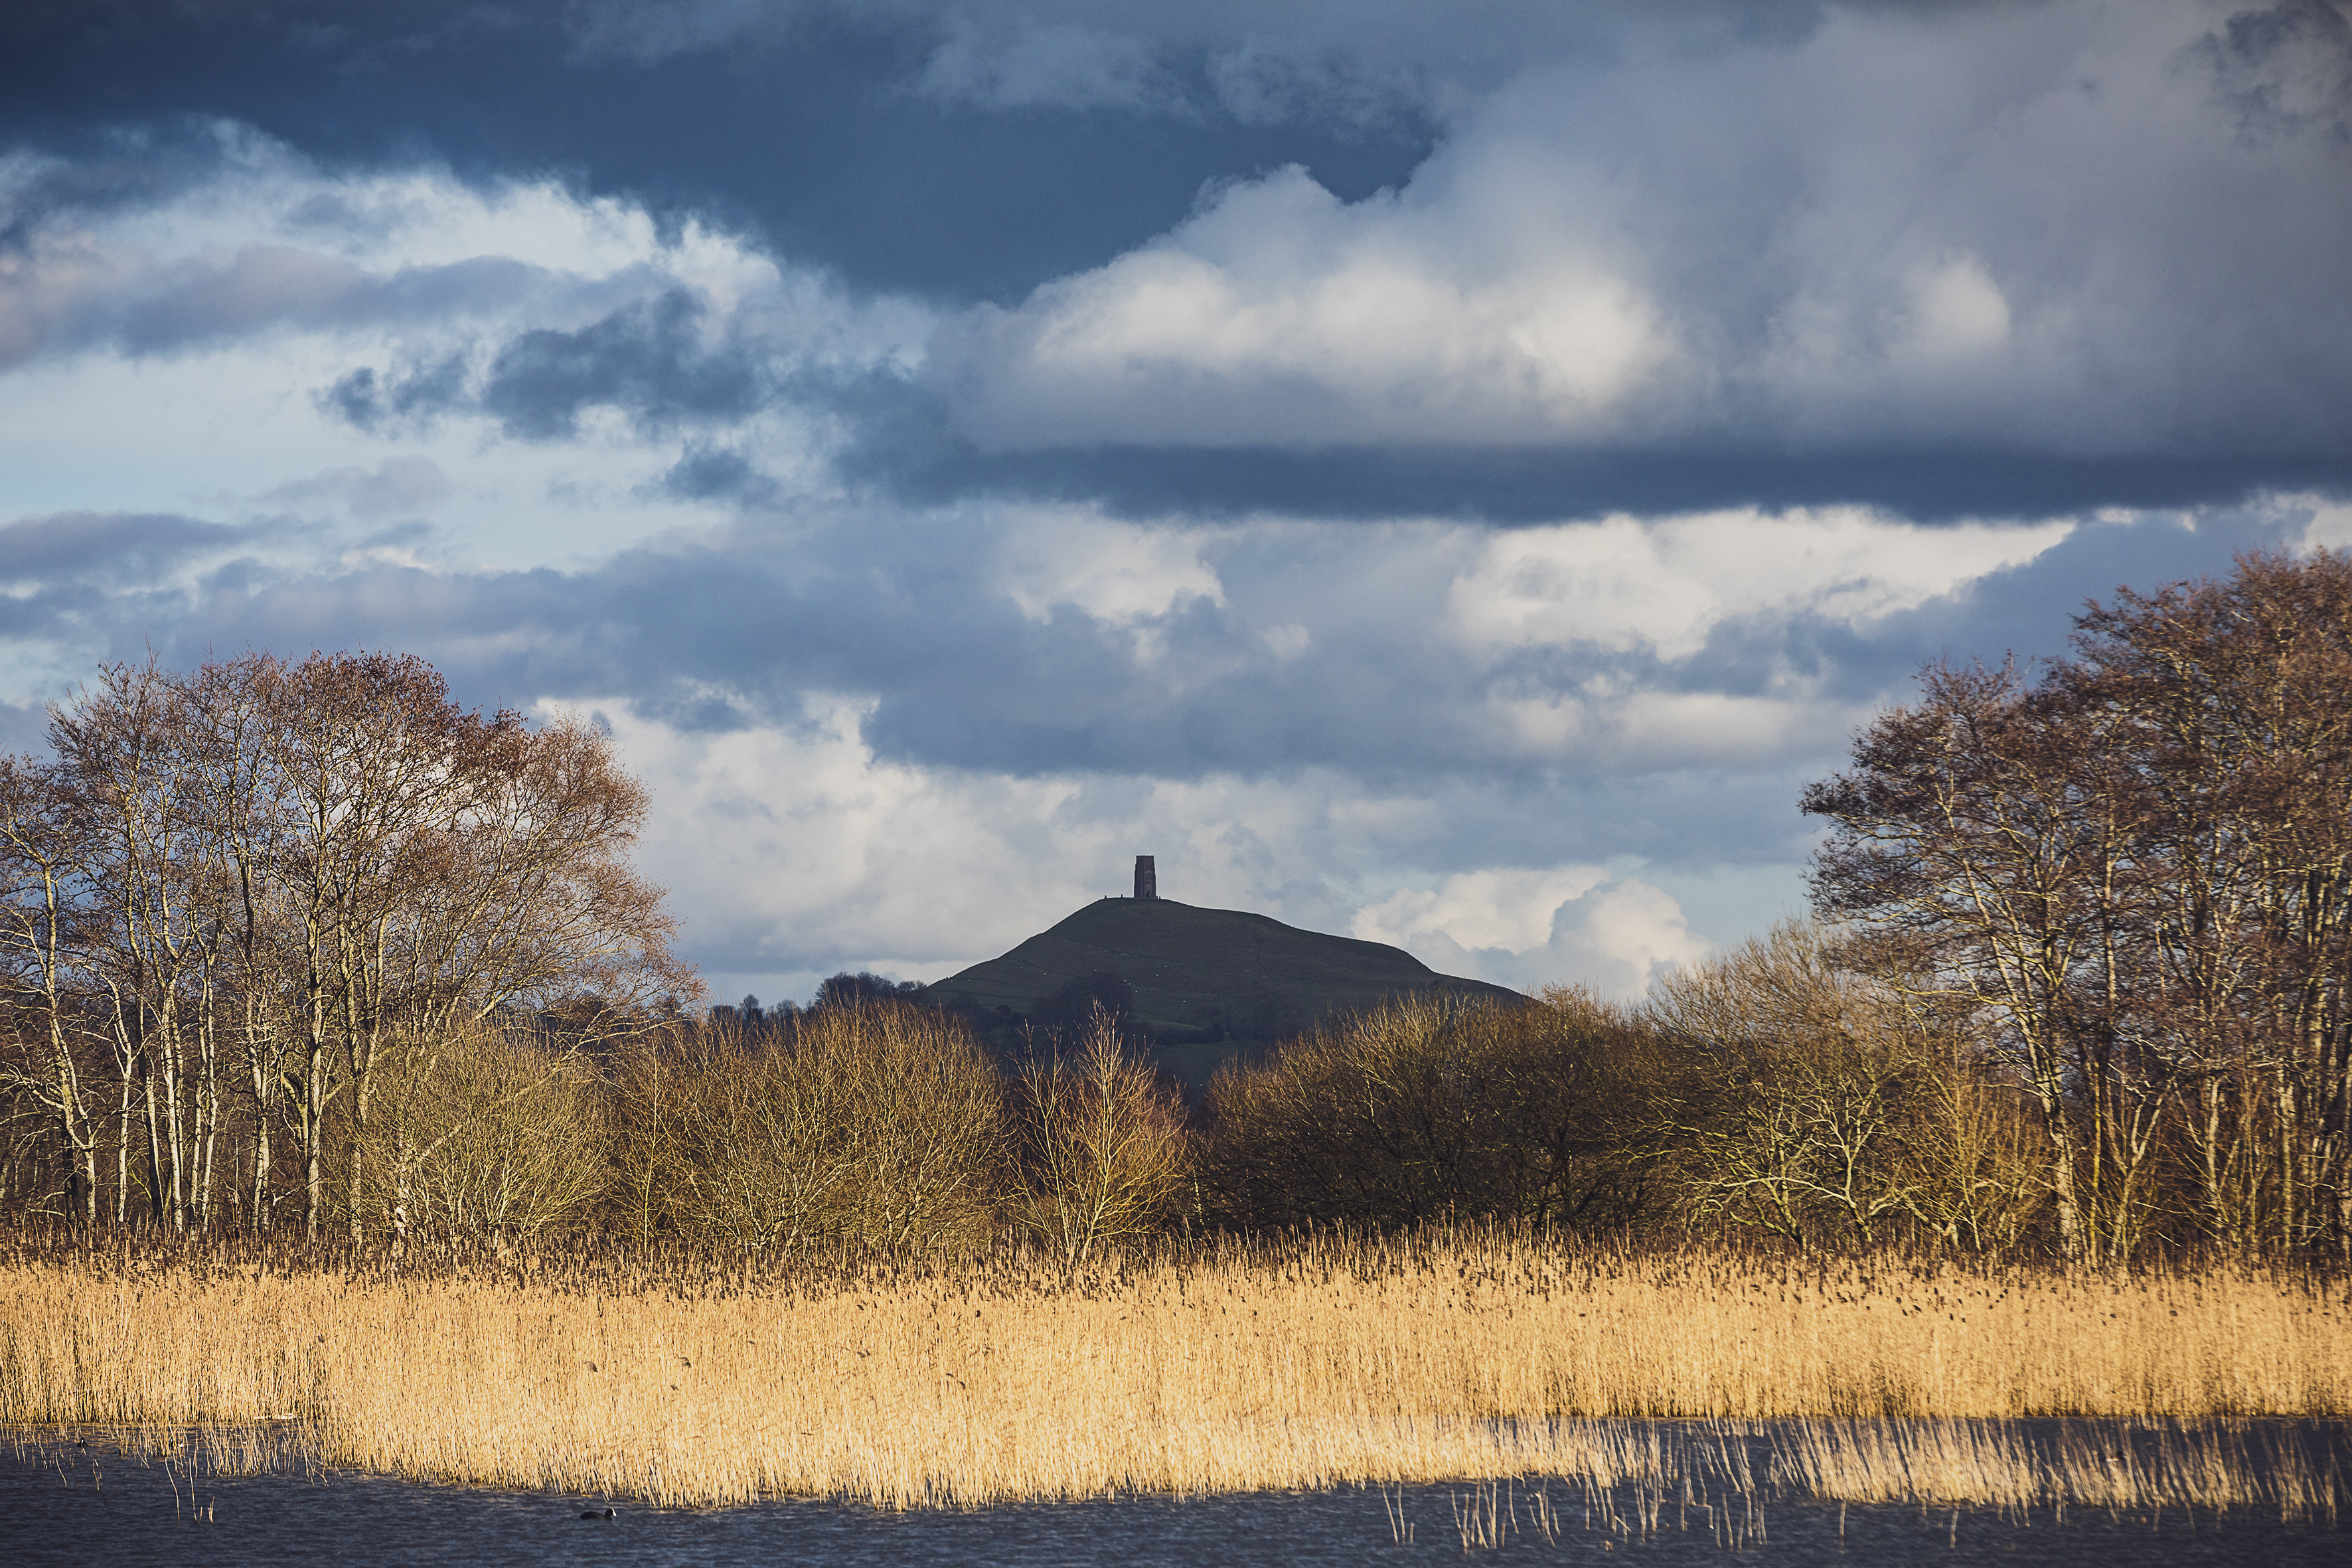
It’s worth activating the Live View display on your rear screen, as not only does it show you the full scene captured by the sensor (some viewfinders show a slightly cropped version) but you can take advantage of the live histogram to help manage the exposure, and magnify the image to focus and check for sharpness.
We typically recommend recording your images as RAW files for most types of photography, but it’s particularly relevant for landscapes. High-contrast scenes that include a bright sky and dark foreground have a dynamic range that may be too great to capture in a compressed JPEG, but a RAW file holds more detail in the highlights and shadows.
You might also benefit from a filter that attaches to the front of your lens. A strong 10-stop ND filter, for example, will give you the long exposure times that add an epic degree of blur to moving features in the landscape, and create images that are impossible to see with the naked eye. Then there’s a circular polarising filter, which can be used to remove glare, boost colours and add contrast, giving a more dynamic look to the landscape.
And of course, you can use the images you capture as the starting point of a larger landscape work – creating a panorama in software such as Affinity Photo is simple, as outlined above. Just remember that frame-to-frame consistency is key, so set as many of the controls to manual to prevent the camera making adjustments as you move it. Base your exposure on the brightest part of the scene to ensure that this area isn’t blown out, and manually focus the lens before you start.
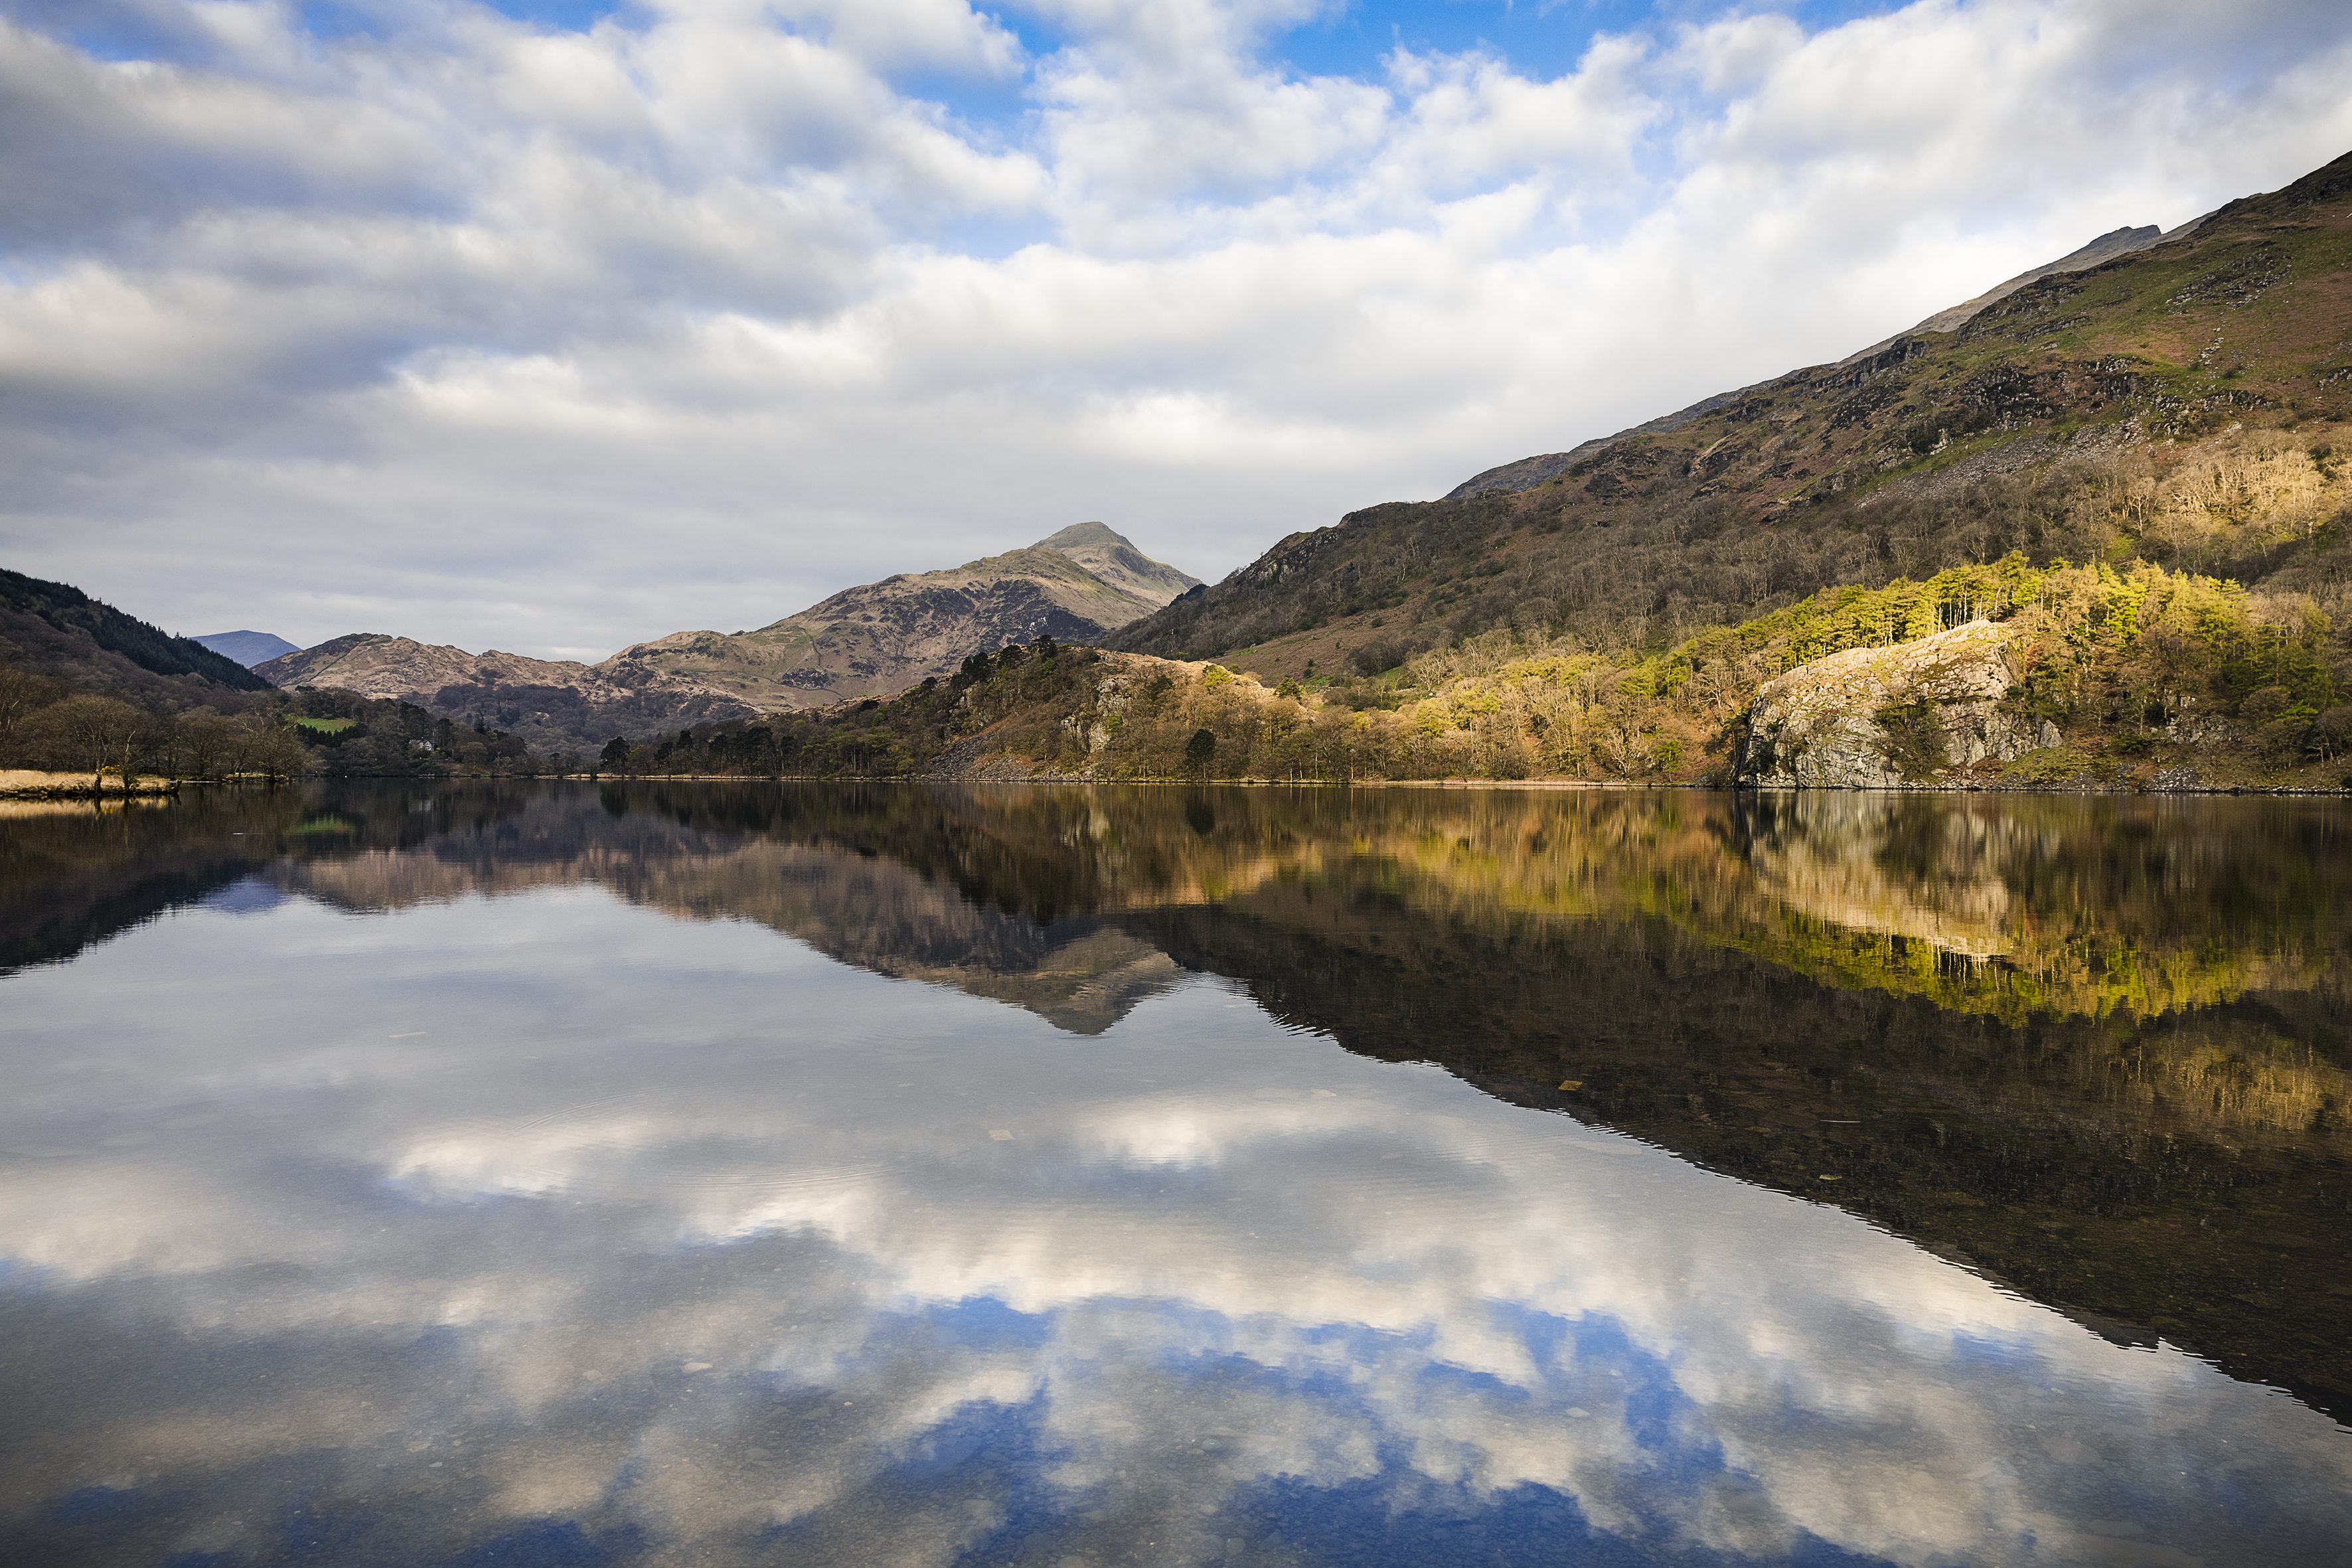
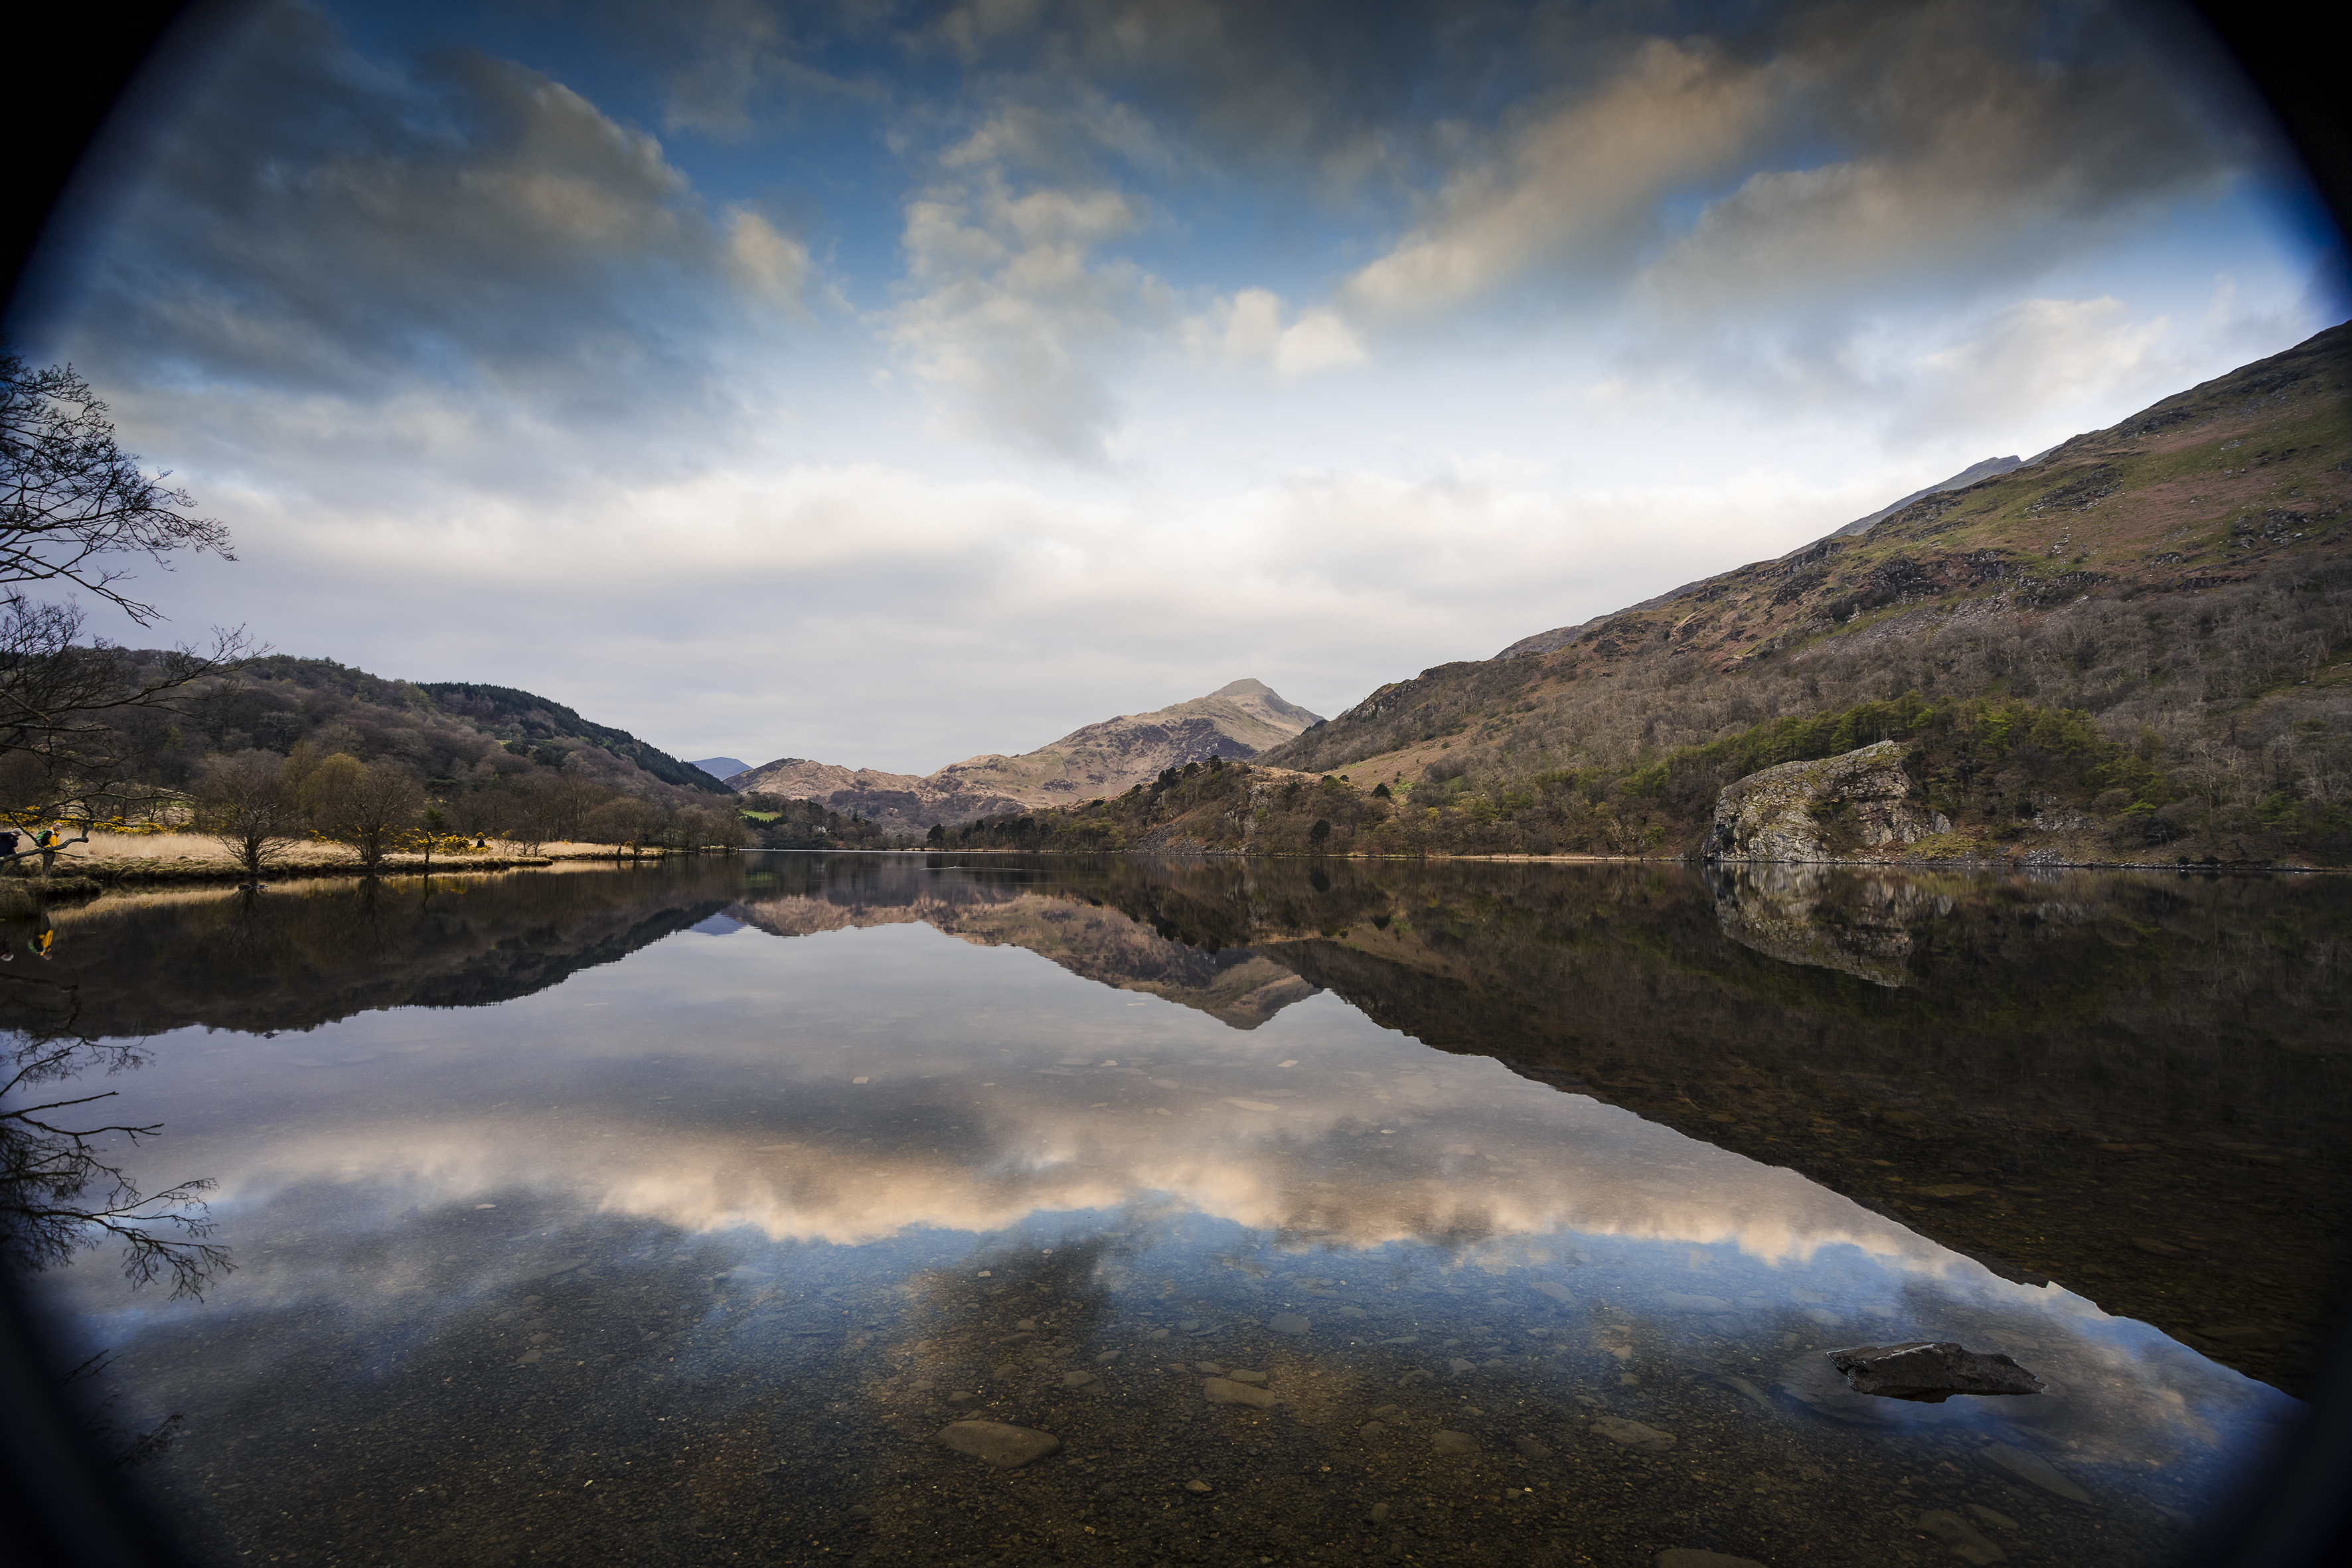
Top landscape photography tips
1. Wait for the right light
That doesn’t mean you have to restrict your shooting to the ‘golden hours’ at dawn and dusk. Some scenes look better when it’s overcast and damp, while others come to life with a lick of mist and fog. In fact, the worst time to shoot is often on a nice, clear, blue-sky day!
2. Do a digital recce
Googling your location is not only certain to turn up a host of images that you can use for reference, but you’ll also be able to use Google Maps (or similar) to suss out the terrain, access, car parks and more. Use an all-in-one app such as Photo Ephemeris or PhotoPills to plot when the sun will be in the best position.
3. Don’t rush to set up your tripod
While there may be an obvious vantage point to get the ‘classic’ view, if you lock your camera off on a tripod you may be more reluctant to look for a more original shot. If you arrive late at a popular location, you might find all the tripod spots are already taken anyway!
4. Use Live View
If you’re shooting with a DSLR, not only does Live View allow you to magnify the image so that you can check focus and depth of field, it also locks the mirror out of the way. Without that flapping up and down at the start and end of an exposure, you can potentially eke out extra sharpness.
5. Pack a shower cap!
Whether you need to protect your camera in a downpour or quickly stop sand or sea spray striking your lens’s front element between shots, a shower cap is a great makeshift cover.
Reader challenge: Creative landscapes
Enter our latest photo challenge and win a copy of Affinity Photo! This month we’re looking for your best landscape shots. The world is your oyster with this one: you can use any creative treatment, whether it’s been achieved in-camera while the picture was being shot, or applied in software.
To enter your creative landscapes shot, either email your entry to digitalcamera@futurenet.com, putting ‘Landscape’ in the subject line; or go to www.facebook.com/digitalcameraworld and find the ‘Landscape’ post, and upload your entry to the feed.
By entering your image, you confirm that you own the copyright to the image, and agree that Digital Camera can publish it in relation to the competition. You retain full copyright of your image, and will be credited if published. The closing date is 29 April 2021. The winner will receive a copy of Affinity Photo for Windows or macOS. Good luck!
The best camera deals, reviews, product advice, and unmissable photography news, direct to your inbox!
Digital Camera World is one of the leading authorities on camera and photography news, reviews, techniques, tutorials, comparisons, deals and industry analysis. The site doesn't just specialize in cameras, but all aspects of photography, videography and imaging – including camera phones, gimbals, lenses, lighting, editing software, filters, tripods, laptops, printers, photo books, desks, binoculars and more.
Whether you're using, looking to buy or trying to get the most out of a compact camera, action camera, camera drone, cinema camera, beginner camera or professional camera, Digital Camera World has a roster of experts with combined experience of over 100 years when it comes to cameras, photography and imaging.
