Retouch like a pro in Affinity Photo
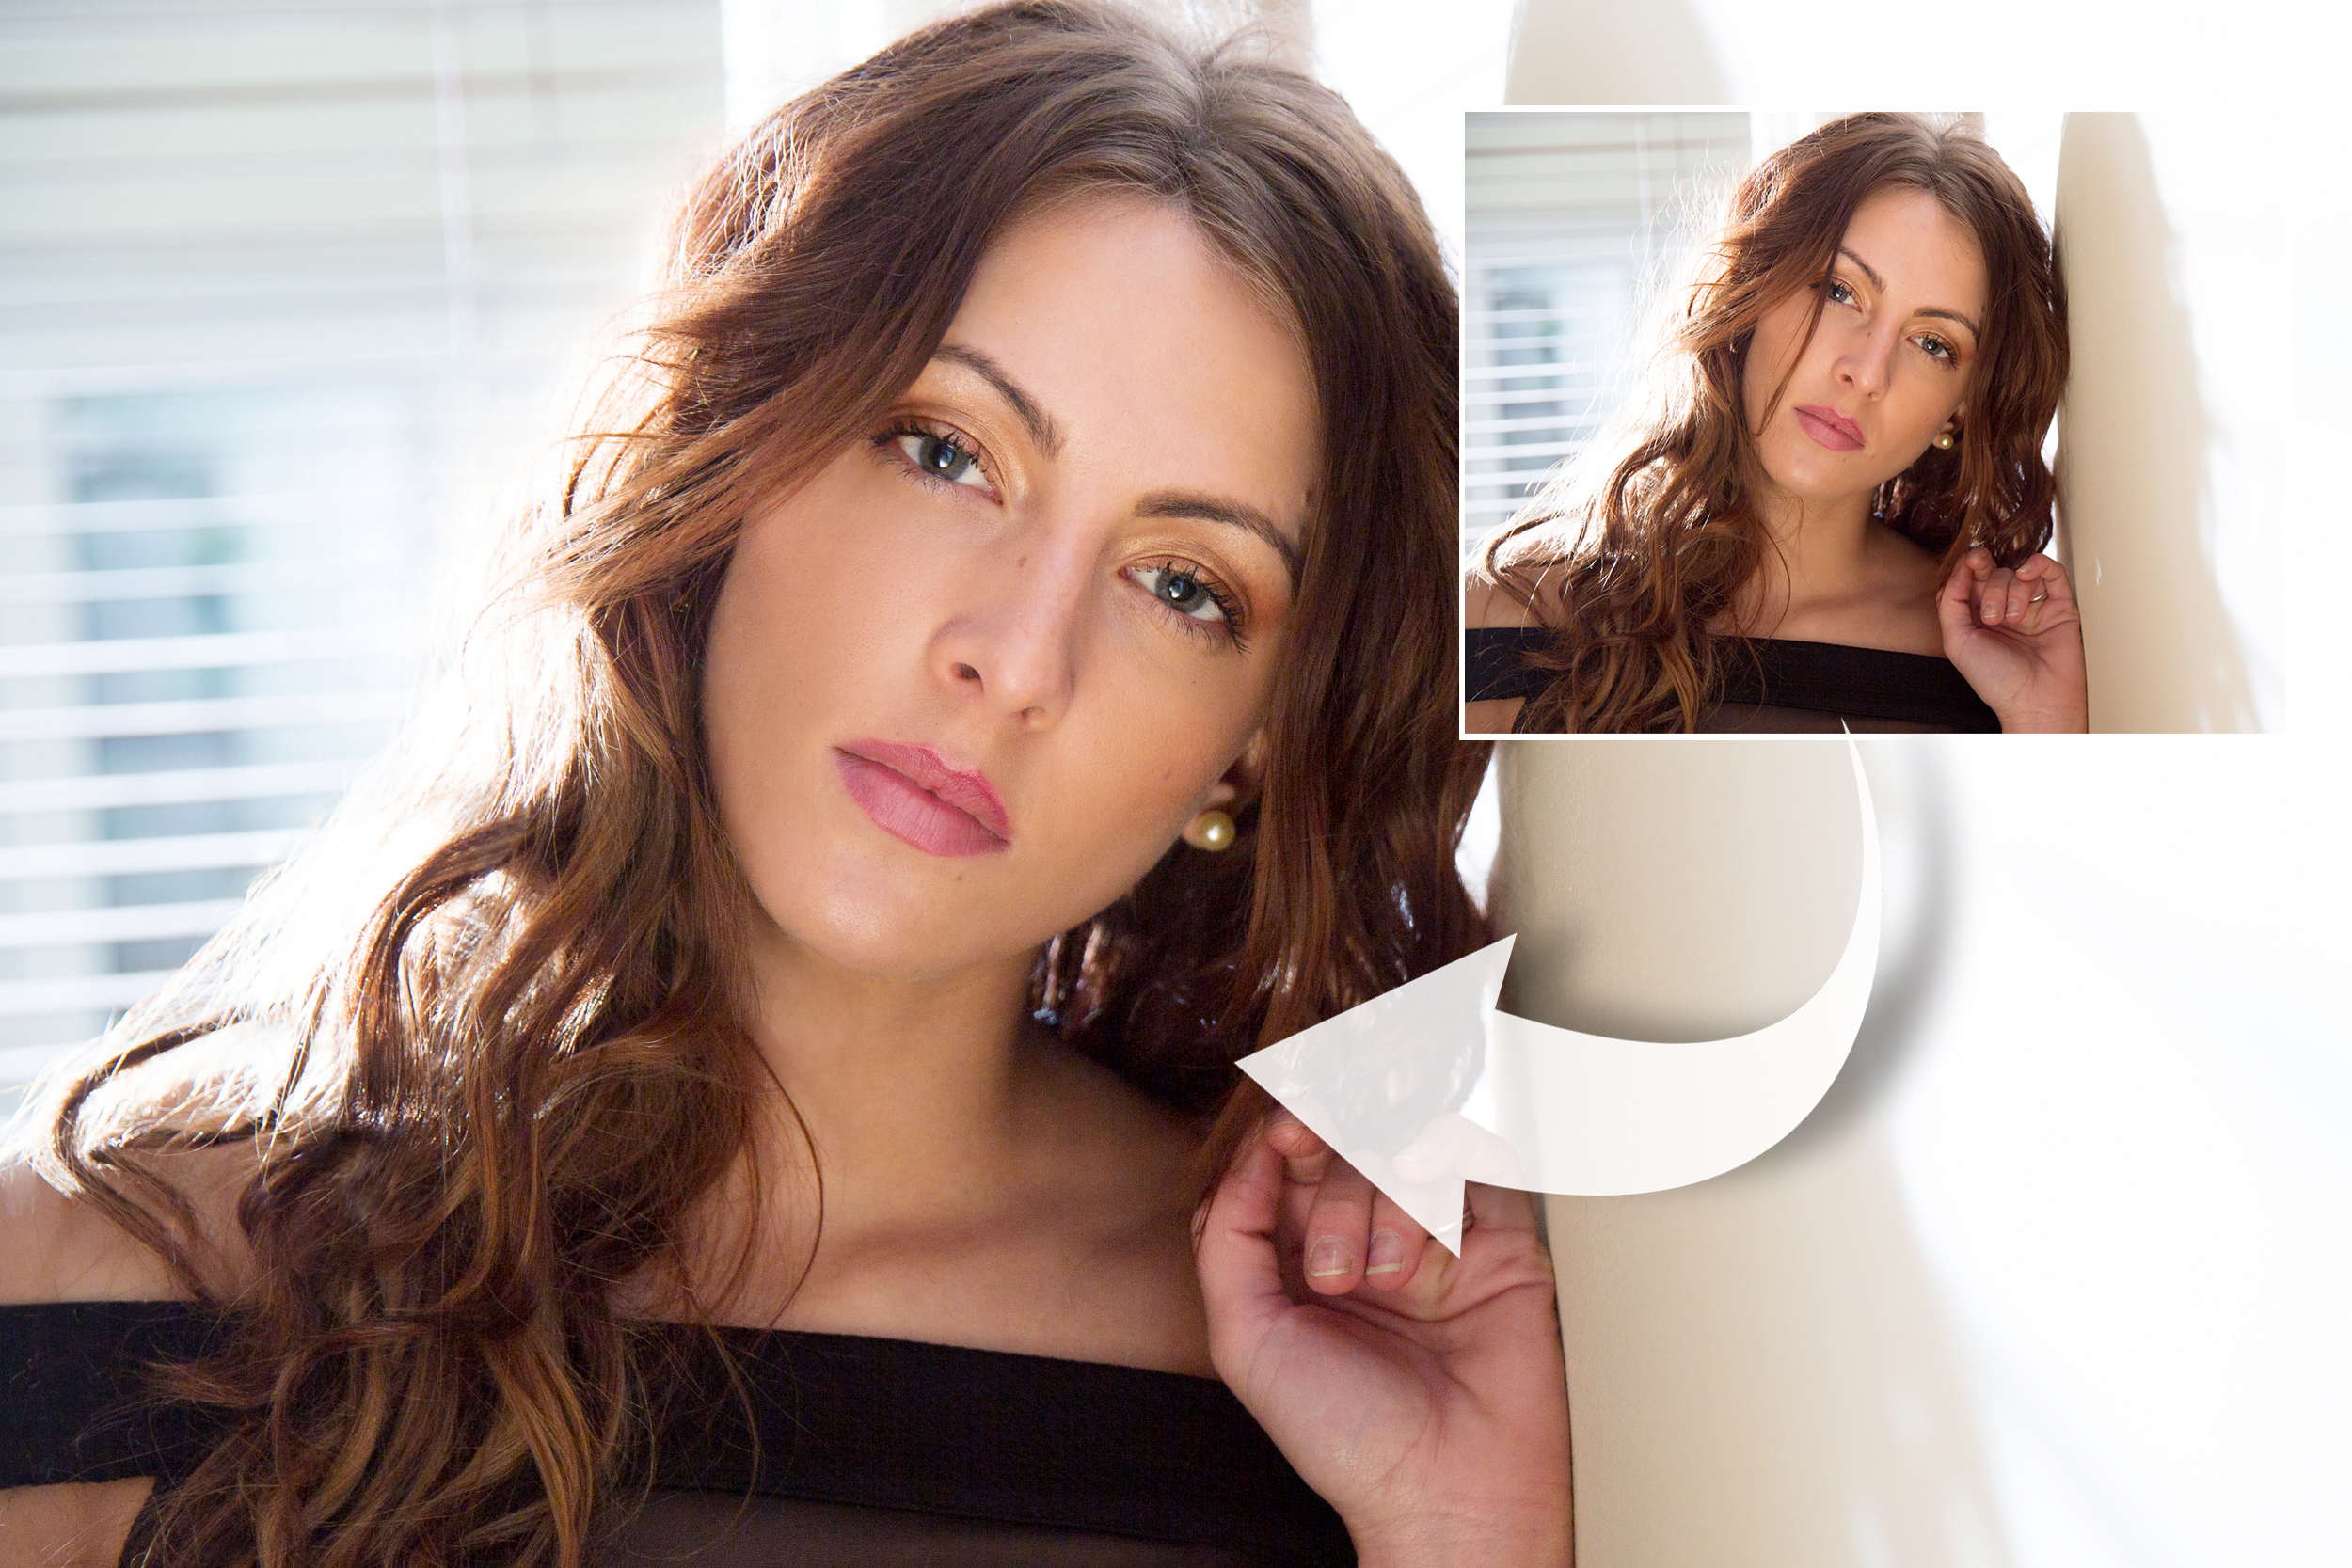
Retouching is the next step up from basic image correction: with correction, you adjust the overall look of the image, adjusting the exposure or contrast, for example. Retouching is when you edit the details, perhaps removing blemishes from skin or erasing stray hairs.
Affinity Photo has much to offer the modern retoucher. Powerful tools like the Healing Brush and the Inpainting Brush let you remove unwanted details with ease, while fantastic commands
like Frequency Separation make advanced retouching techniques accessible to everyone.
Here we’ll explore an array of retouching techniques you can use to boost your portraits, from fixing small imperfections to larger problems like the hair over the eye in our original image here. For this we can’t simply clone or heal: we have to take things further and copy over the other eye to replace the details that are hidden.
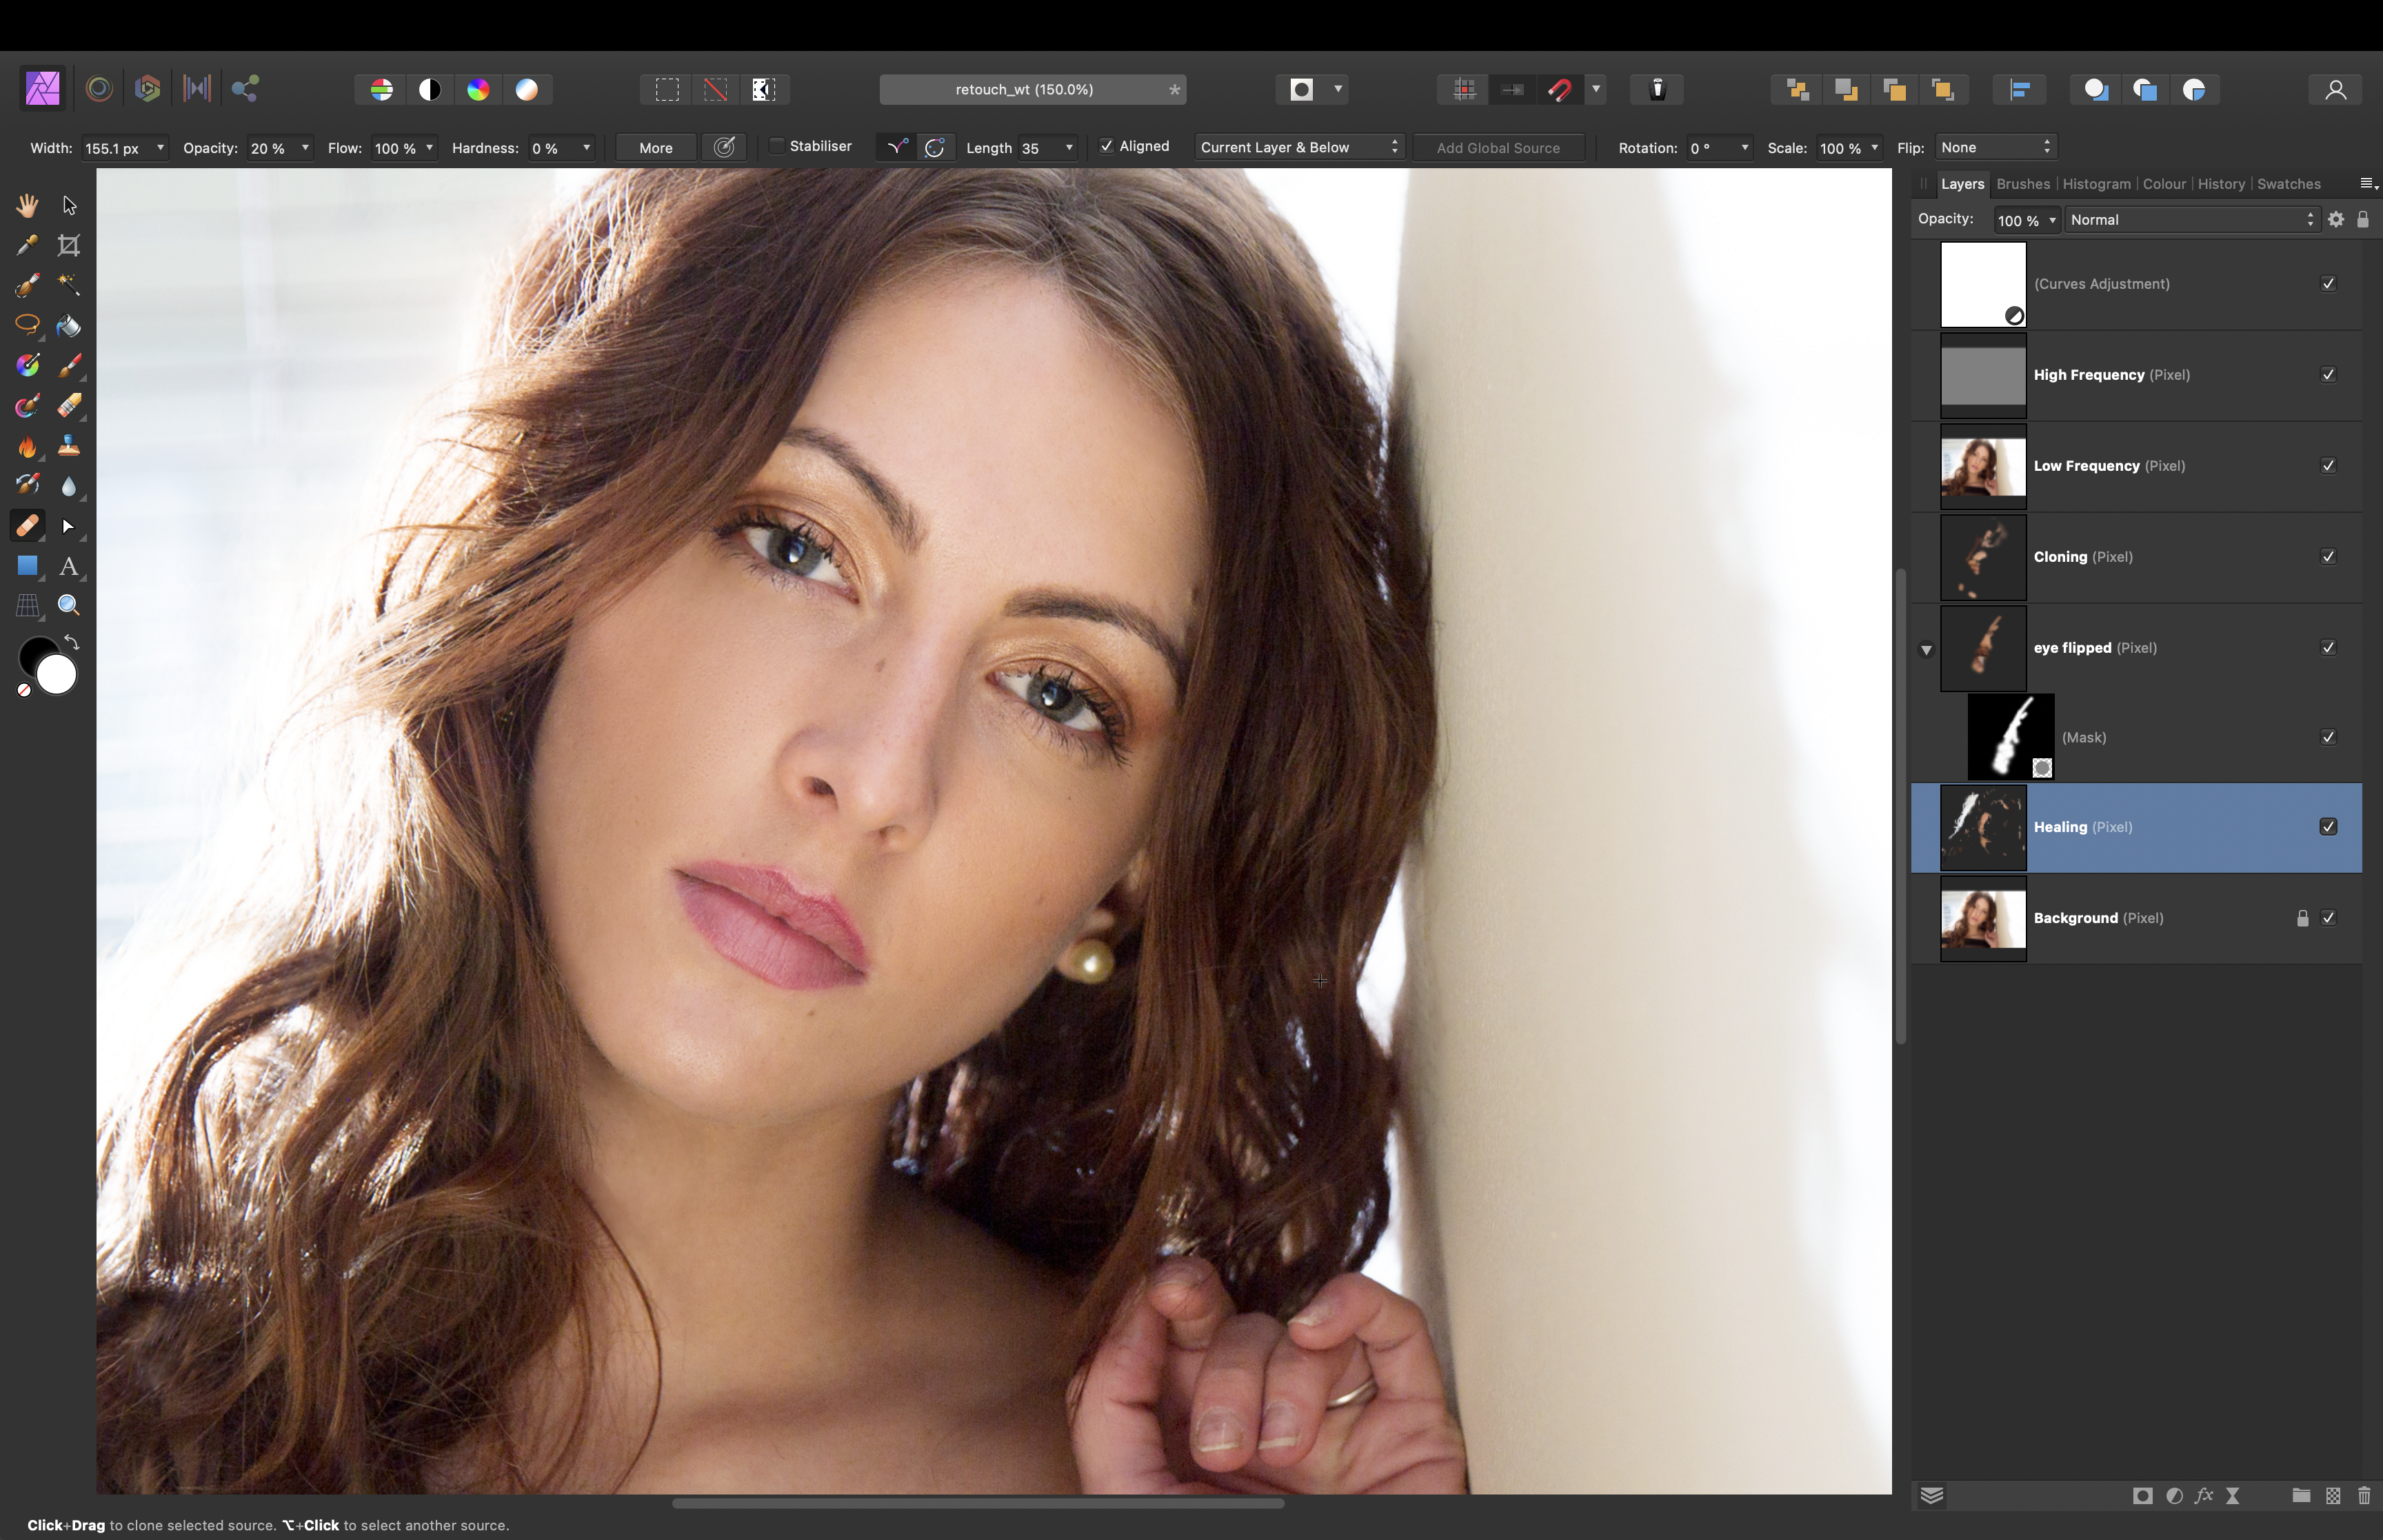
Each of our edits makes use of a different layer, so everything remains editable. This is important for retouching: editing on separate layers means that we can tone things down or retrace our steps.
1) Non-destructive retouching
We can use the Healing Tool to remove small distractions like stray hairs and spots. Add an empty layer, to preserve the original image on the layer below, then grab the Healing Brush from the toolbar. At the top is a dropdown that lets you set the tool to Current Layer and Below, so we can heal on the empty layer while sampling from the image layer underneath.
2) Healing tricks
While using the Healing Tool, hold Alt to sample a clean area that is similar to the areas you want to fix. With faces, this usually means Alt-clicking on a patch of skin next to the problem area. For stray hair removal, it’s usually best to tick Aligned in the options at the top so that the sample point moves with our heal point as we paint. Use the ] and [ keys to change the size of the brush tip.
3) Copy and flip features
As with the partially covered left eye in the original image, sometimes we need to re-use other parts of the image to fix issues. You can make a selection of the intact right eye here with the Lasso Tool, then copy it to a new layer (Ctrl/Cmd+J). Next, flip it and move it over to the other eye to rebuild the details lost behind the hair. Add a Layer Mask and paint with black to blend the edges.
4) Low-opacity cloning
The Clone Tool is ideal for blending uneven tones and tidying up the edges where two layers meet, like the eye here. The key is to set a low opacity of around 20%, then clone from the surrounding areas to tidy rough patches. (Alt-click to sample a source.) It can be useful to set the brush Blending Mode to Lighten: this enables you to clone dark patches like eye bags without affecting the lighter details.
5) Frequency Separation
This command enables you to improve skin by editing tones without damaging delicate textures. Merge a copy of all layers with Ctrl/Cmd+Shift+Alt+E, then go to Filters > Frequency Separation. Choose an amount that blurs out the skin, then click OK. Now highlight the low-frequency layer, grab the Clone Tool (set Sample to Current Layer), and clone to smooth out areas of blotchy skin.
6) Shift colours with Curves
To give your portraits a bit of extra impact, highlight the top layer then click the Adjustment icon in the Layers Panel and choose Curves. Drag up on the top-right part of the diagonal line, then drag down on the bottom-left part to pin it back in place. This boosts the highlights and deepens the shadows. Experiment with colour channels in Curves, too.

What is Frequency Separation?
Frequency Separation is a technique that has long been used by retouchers to make natural-looking edits to faces. The command splits the image into two versions: high frequency (textures like fine hairs and skin pores) and low frequency (colours and skin tones). This means you can edit fine details or broader tones independently of one another. It’s brilliant for retouching, as it lets us smooth out blotchy skin without obliterating the fine detail elsewhere.
Take your first steps in flash photography
It’s somewhat ironic that, as a lighting technique, flash can leave many photographers shooting the dark. The world of flash photography can be confusing when you’re just starting out. With a new set of initialisms to wrap your head around (TTL, HSS, GN…) and the challenge of negotiating two exposures for every shot (one for the background and one for the flash-lit subject), it’s no wonder that a lot of people would rather stick with natural light, or reach for an LED panel instead.
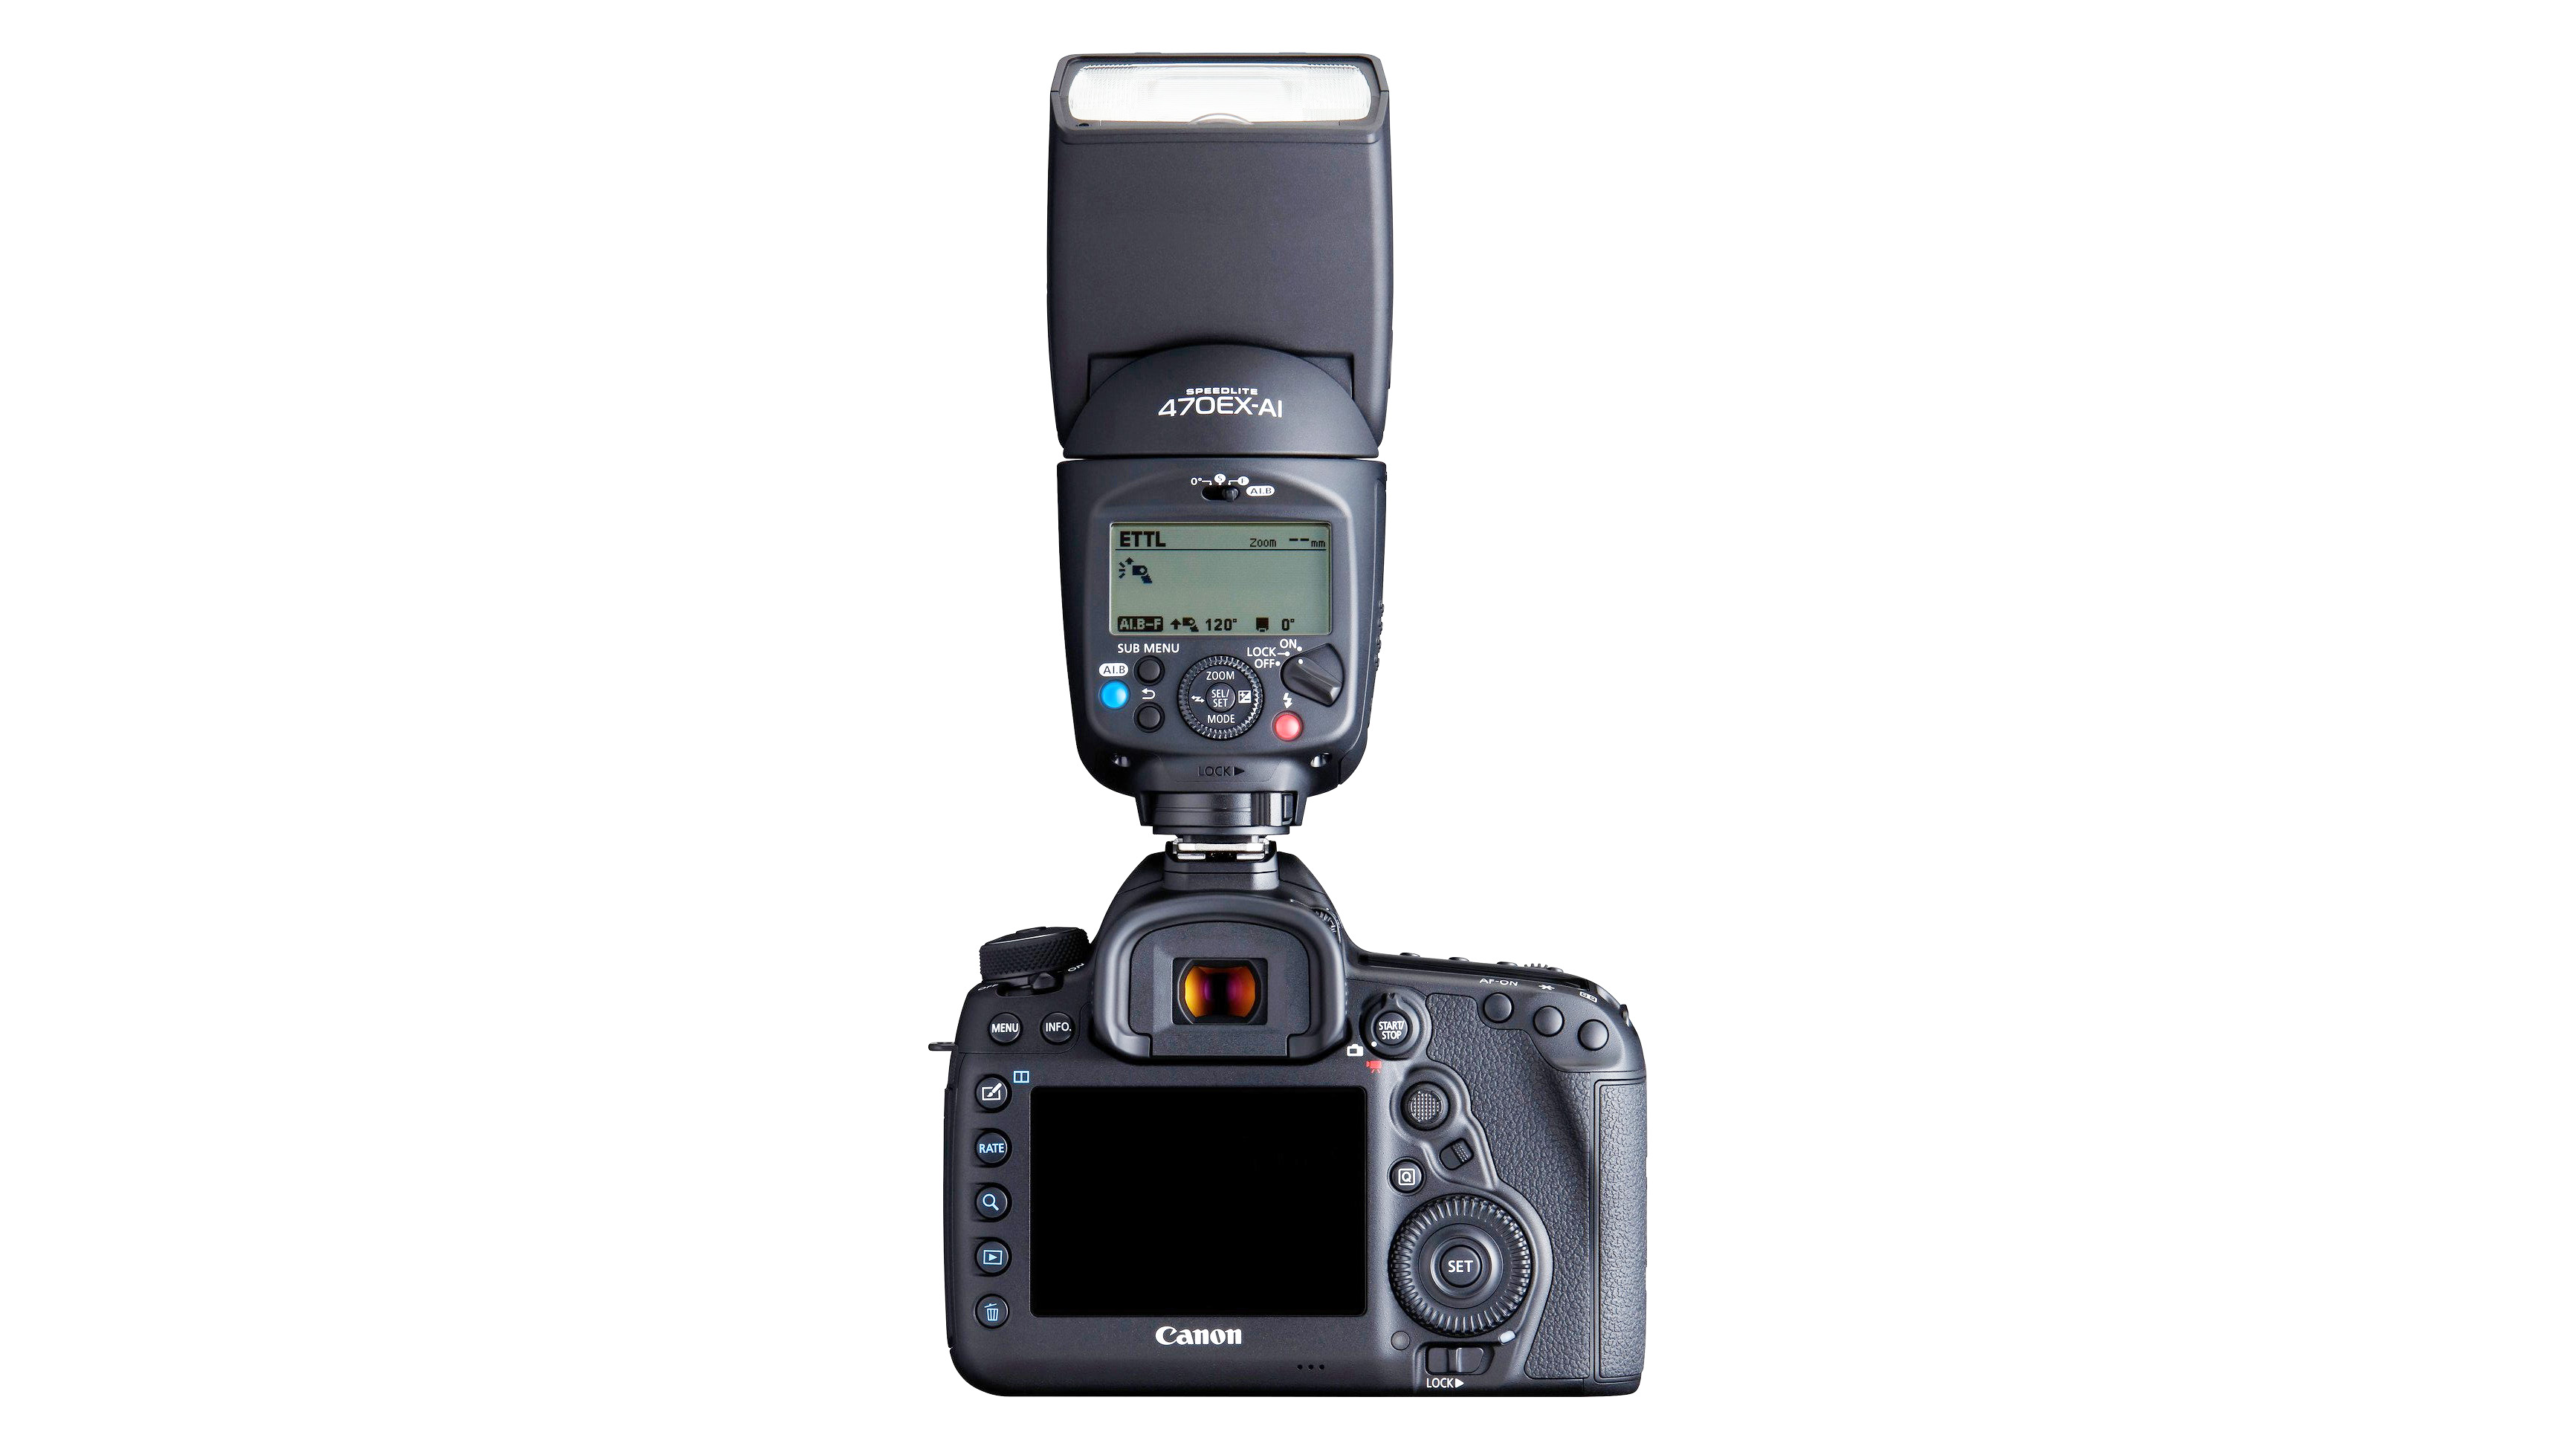
But flash can be a wonderful creative tool. While a pop-up flash unit is limited in terms of position and power, a flashgun enables you to position the light so that it strikes the subject from a more interesting angle, as well as experiment with a raft of light modifiers and coloured gels. LED panels don’t offer the same level of versatility or the raw power of flash.
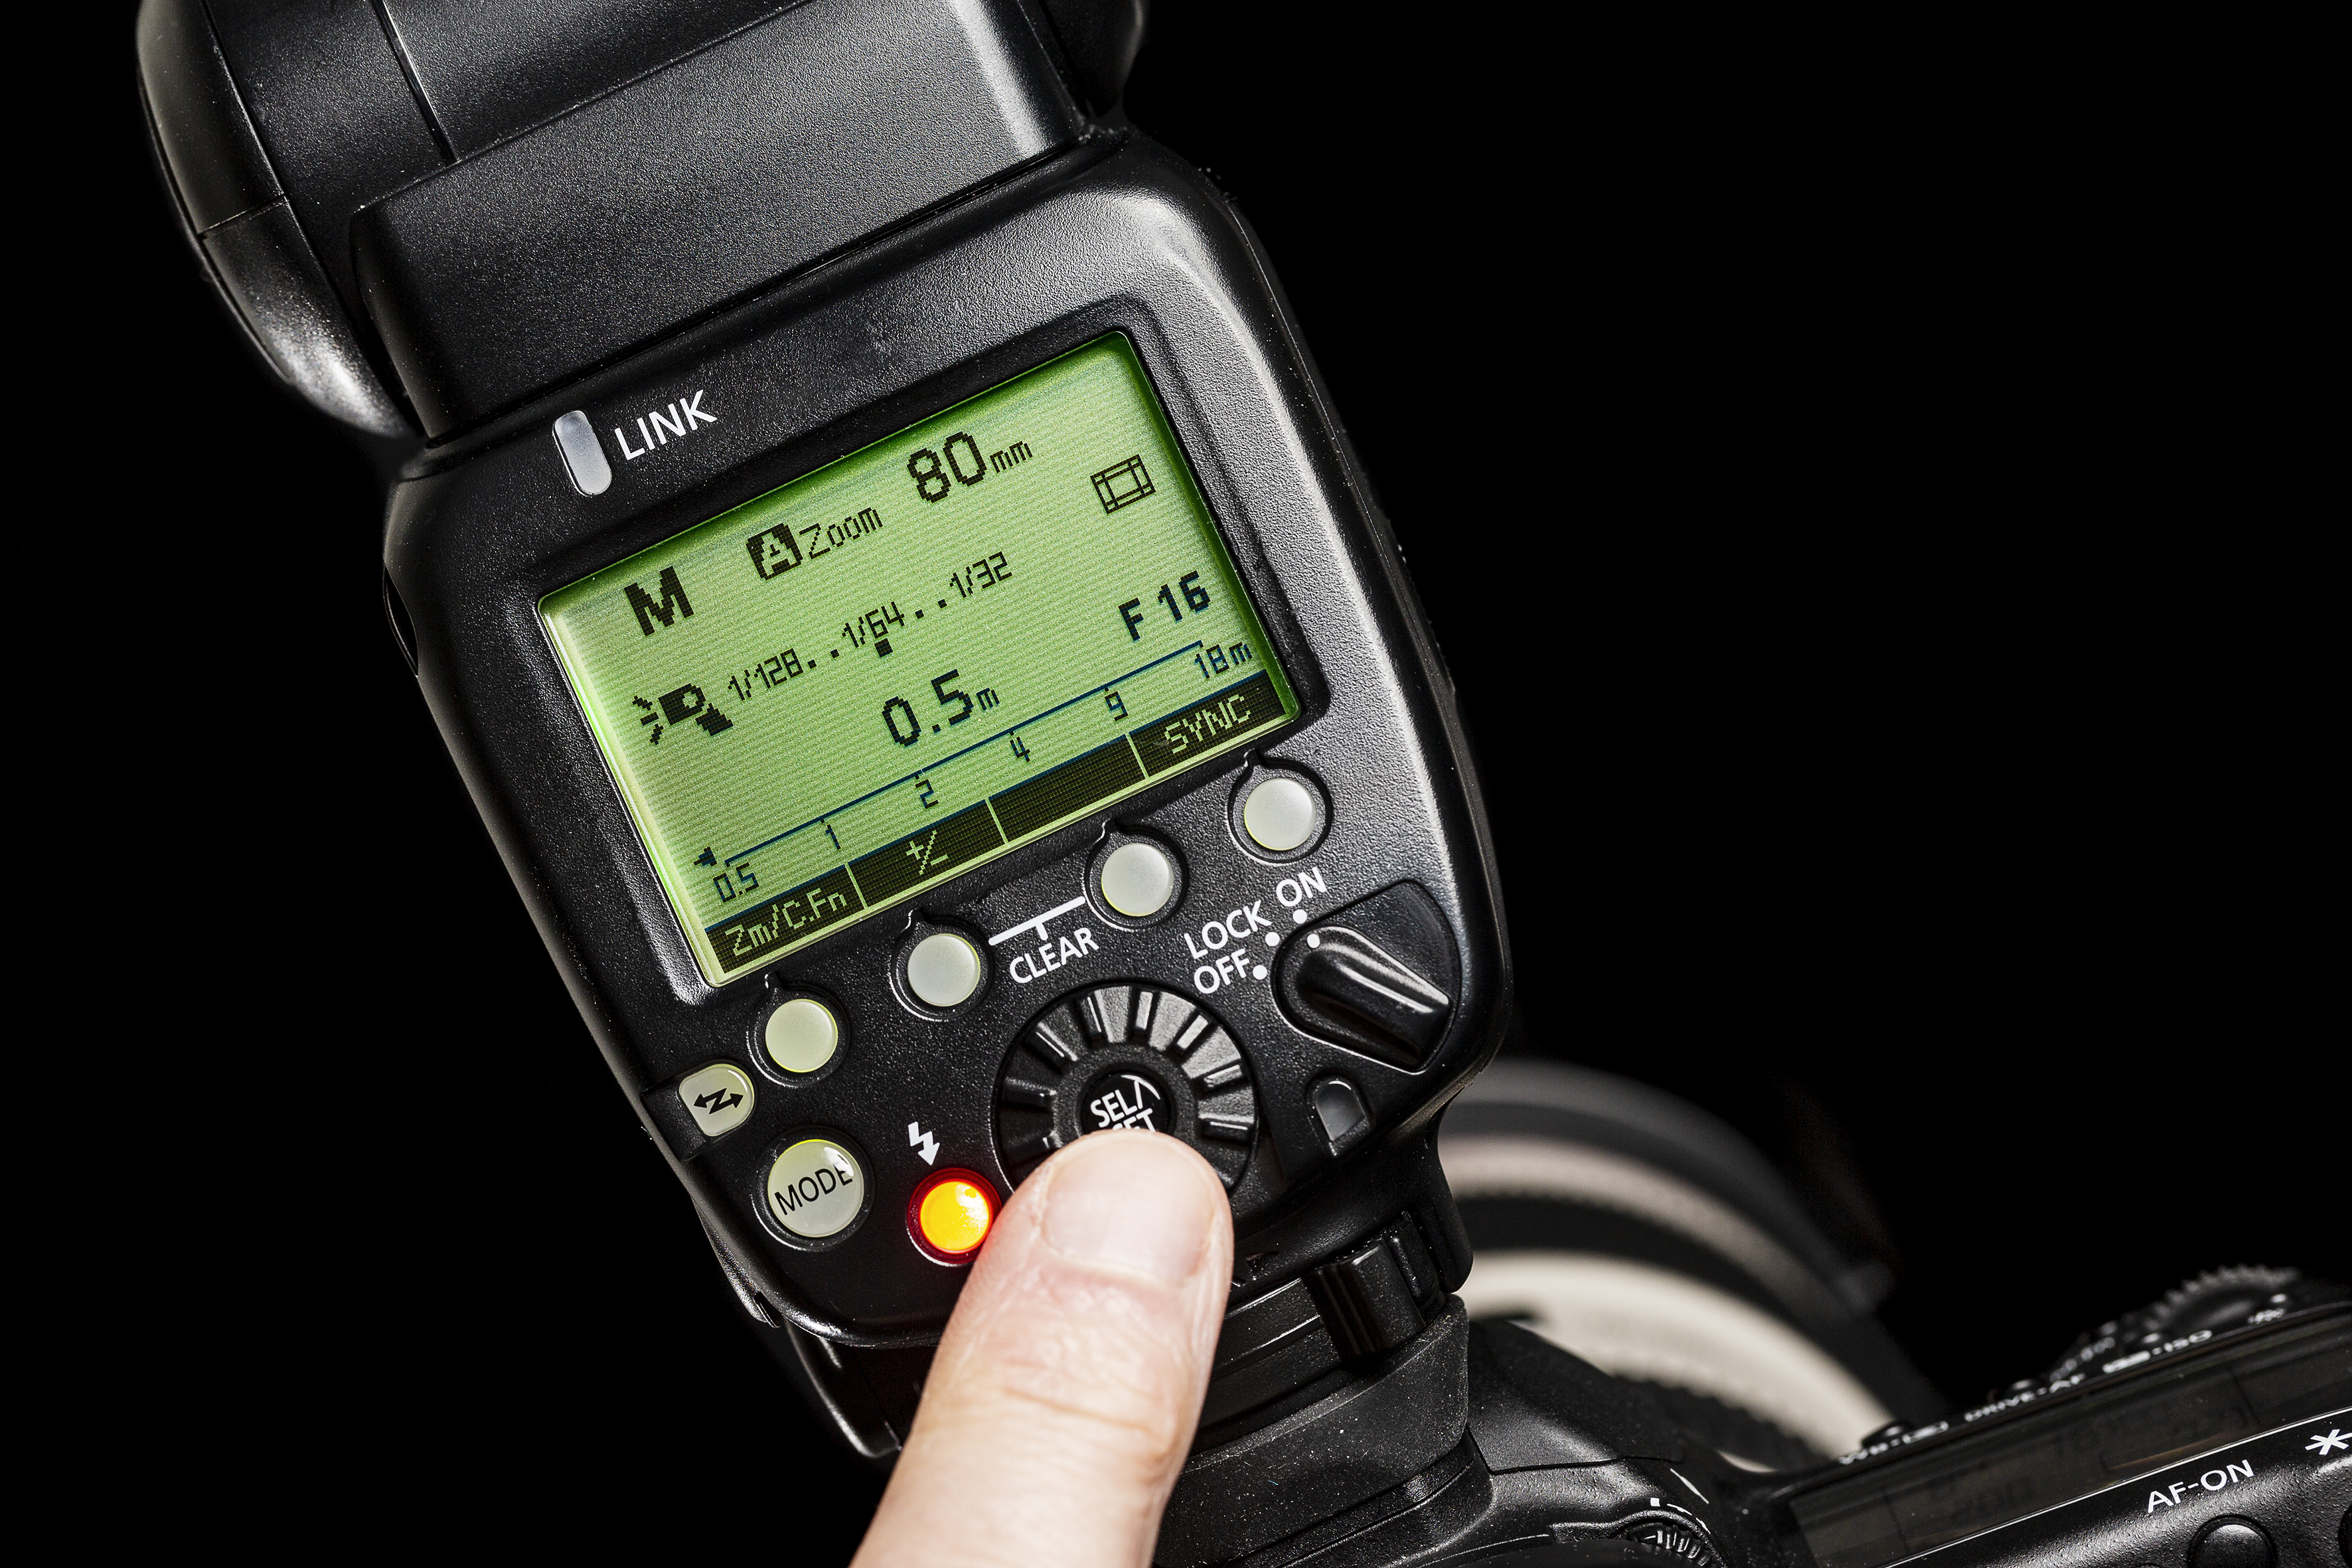
One of the first decisions to make is whether you’re going to work with the flash set to TTL mode or manual mode. TTL (Through The Lens) is an automated form of flash exposure, in which the camera does most of the heavy lifting for you. Before making the main flash exposure, your digital camera fires a brief pulse of flash. This pre-flash is reflected by the subject back through the lens, where the camera measures the brightness of the flash and the ambient light before setting the intensity of the flash exposure for the photo. This all happens so quickly that most of the time the pre-flash is imperceptible.

So if TTL can automatically work out a tricky exposure in the blink of an eye, why would you ever need to use manual flash? Well, for one thing, manual gives you a predictable and consistent blast of light. If the subject is in front of a white background for one shot, and then a black background for the next shot, that won’t affect a manual flash exposure.
Once you’ve dialled in the power level that you want to use, the flash unit will output that from one shot to the next – as long as it’s had time to recycle between shots, that is. The higher the power level, the fewer shots that you’ll be able to take in quick succession. Higher power settings also drain the batteries faster. However, if you turn down the flash power and move the flash unit closer to the subject, you’ll be able to achieve the same level of flash exposure that you get by turning the flash power up and positioning the flash unit further away.
When you’re using flash in the dark, then you only really have one exposure to worry about – that of the flash. When there is ambient light present, though, you’ll need to factor that in if you want to preserve some of the atmosphere. Using flash in daylight compounds the problem. You can of course leave it up to the camera to work out the exposure and the balance, but if you have time then it’s worth trying some manual adjustments to see if you can improve things.
It’s easiest to treat the ambient and flash exposures as separate elements. First, without the flash switched on, set an exposure for the background. Setting the camera to manual gives you the most control. You won’t be able to set a shutter speed faster than the flash sync speed, so set that first.
Then adjust the aperture and ISO to give you the correct exposure. Now switch on the flash and set it to TTL. Take a test shot and use flash exposure compensation to fine-tune the brightness. You may prefer to work in aperture shutter priority instead of manual, but you might need to use exposure compensation to change the background brightness, followed by flash exposure compensation to adjust the flash brightness.
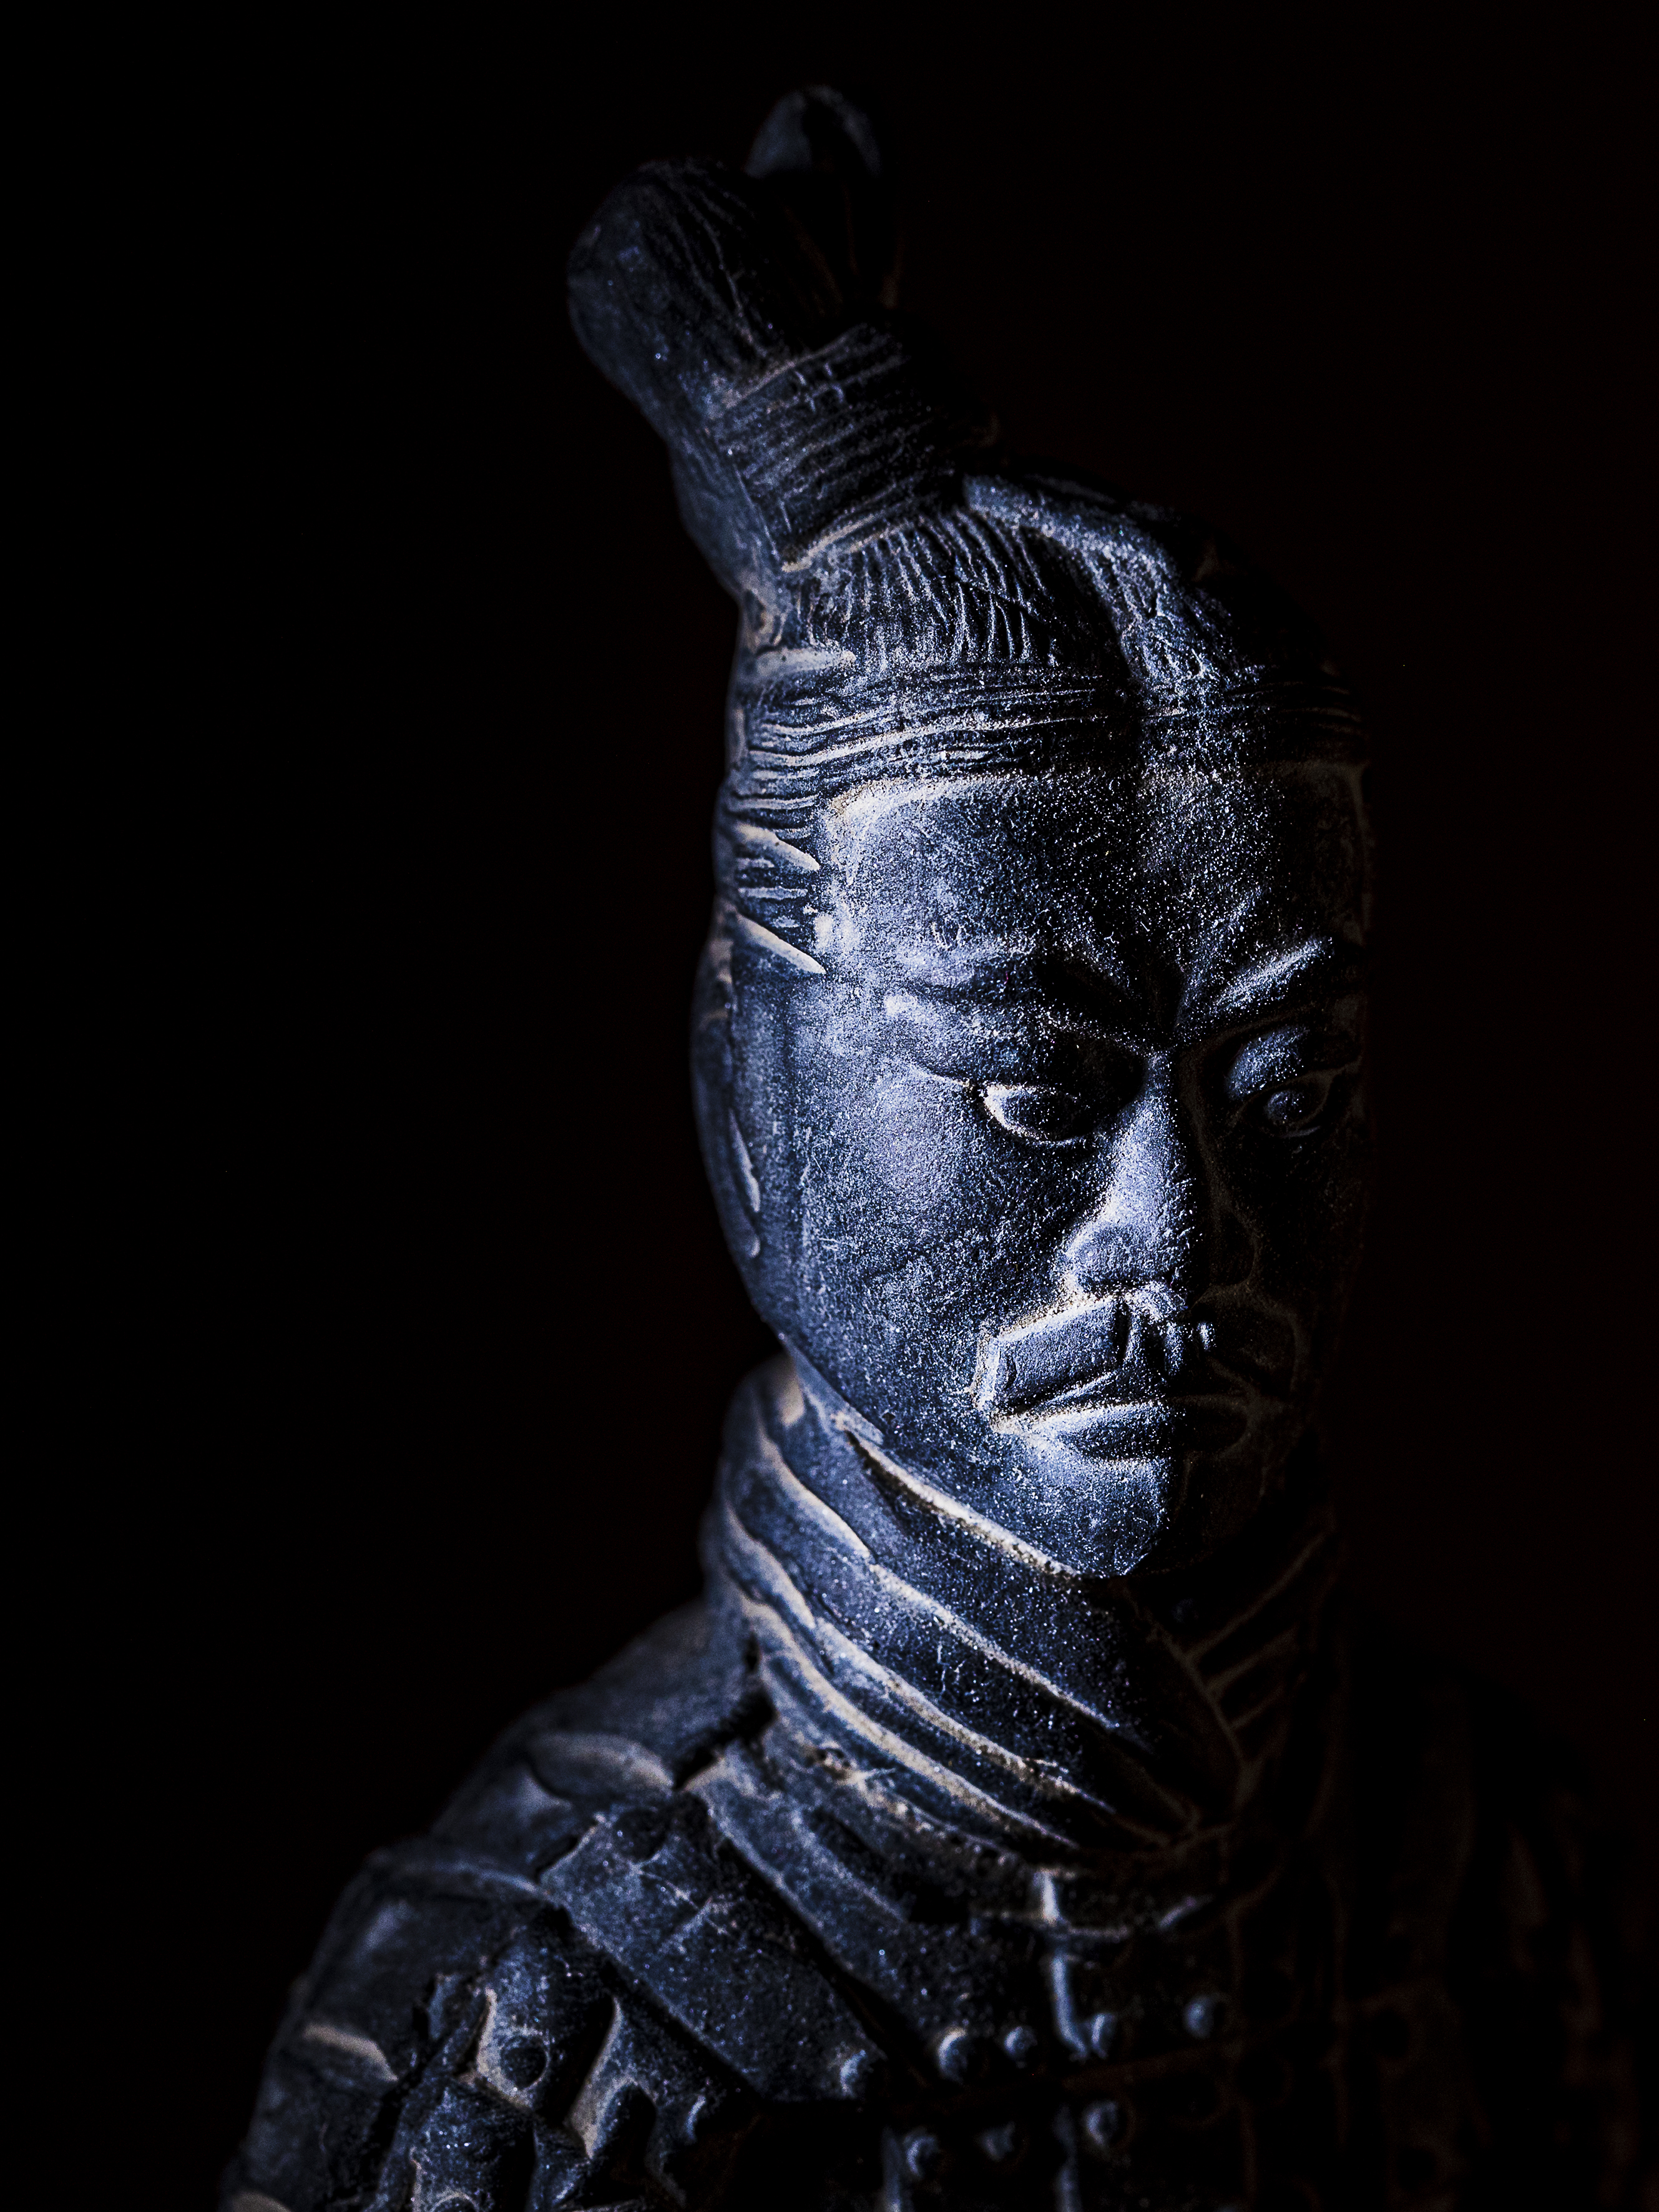
Of course, even after making adjustments, it can still leave you with an obviously ‘flashed’ shot. To eliminate the hard shadows, take the flashgun off the camera, position it closer to the subject and use a softbox, umbrella or diffusion material to soften and spread the light. Even if you’re working with a naked flashgun, you can achieve a more flattering quality of light by bouncing it off a nearby wall or ceiling – as long as they’re not painted in a strong colour, otherwise you’ll end up with a colour cast on the subject!
5 flash photography tips
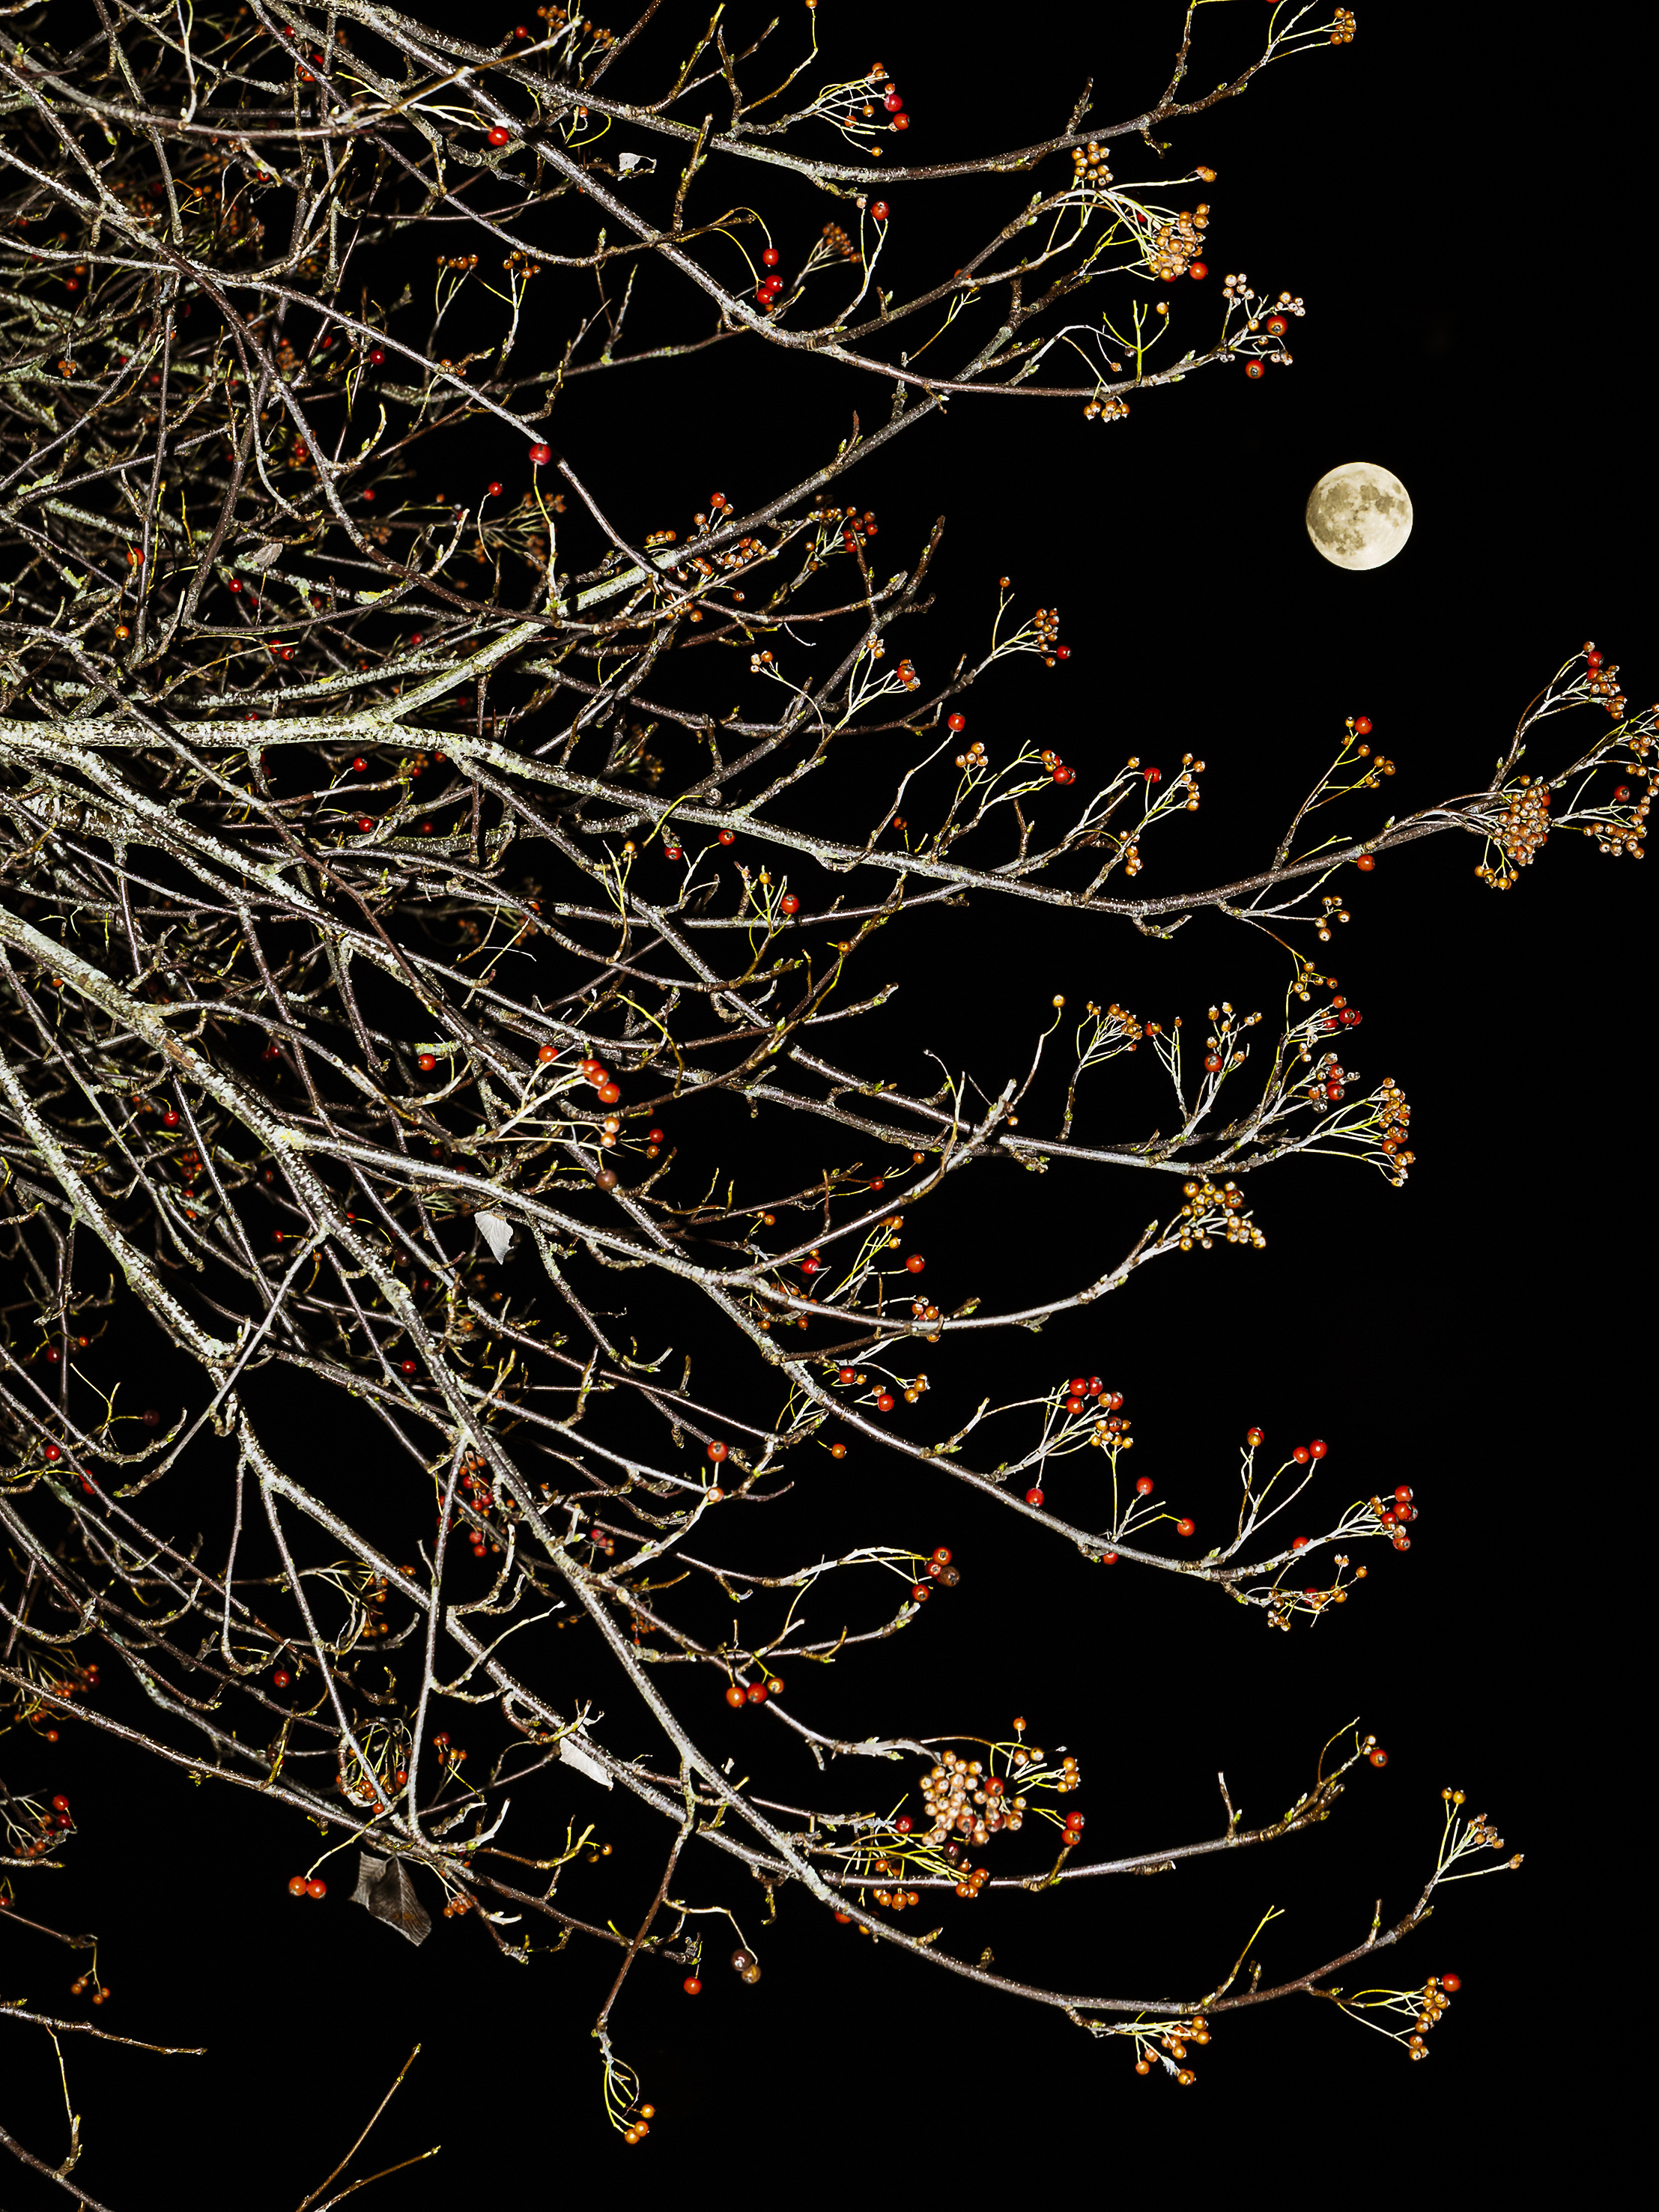
1) Take it off camera
Using a flashgun remotely opens up a whole world of creative options, particularly if you’re able to work wirelessly. When you position the flashgun, consider where the shadows will fall and whether they will obscure other parts of the subject.
2) Soften the light
Some shots benefit from hard, edgy lighting, but many look at their best when the light is soft and diffuse. Try bouncing the light from the flash off a large piece of white card, a white wall or a ceiling, or use a softbox or umbrella to spread the light. TTL flash will compensate for these techniques, but you may need to increase a Manual flash output.
3) Know your sync speed
Avoid exposure errors when you’re shooting in daylight by ensuring that the shutter speed isn’t faster than your camera’s flash sync speed.
4) Add drama to daylight shots
Position a subject against a bright sky and purposely underexpose the sky so that the sky is dark and the subject in silhouette. Add a burst of fill-flash to illuminate the subject, and you will effectively turn day into night.
5) Use a slower exposure: Combine a slow shutter speed with flash to capture a blend of sharpness and blur when photographing subjects that are in motion. Alternatively, use the same technique, but move the camera instead.
Reader challenge: creative flash
Whether you’re a wildlife photographer or a landscape enthusiast, a still-life specialist or a portrait shooter, you’re sure to find a creative way to use flash in your picture-taking. And you don’t have to have an elaborate multi-flash arrangement in order to achieve something interesting – a single flash unit can subtly lift a shot. All forms of flash are acceptable for this challenge – from fill-flash outdoors to the sole light source in a home studio setup. You can get creative in editing, too.
To enter your best image (one per reader, please), either email your entry to digitalcamera@futurenet.com, putting ‘Creative flash challenge’ in the subject line; or upload your entry to our Facebook page – search for the ‘Creative flash’ post.
By entering your image into this competition, you confirm that you own the copyright to the image, and agree that Digital Camera can publish your image in relation to this competition. You retain full copyright of your image, and will be fully credited if it is published.
The closing date is 01 April 2022 and the winner will receive a copy of Affinity Photo for Windows or macOS. Good luck!
Get the Digital Camera World Newsletter
The best camera deals, reviews, product advice, and unmissable photography news, direct to your inbox!
Digital Camera World is one of the leading authorities on camera and photography news, reviews, techniques, tutorials, comparisons, deals and industry analysis. The site doesn't just specialize in cameras, but all aspects of photography, videography and imaging – including camera phones, gimbals, lenses, lighting, editing software, filters, tripods, laptops, printers, photo books, desks, binoculars and more.
Whether you're using, looking to buy or trying to get the most out of a compact camera, action camera, camera drone, cinema camera, beginner camera or professional camera, Digital Camera World has a roster of experts with combined experience of over 100 years when it comes to cameras, photography and imaging.

