- Download project files to your computer from here
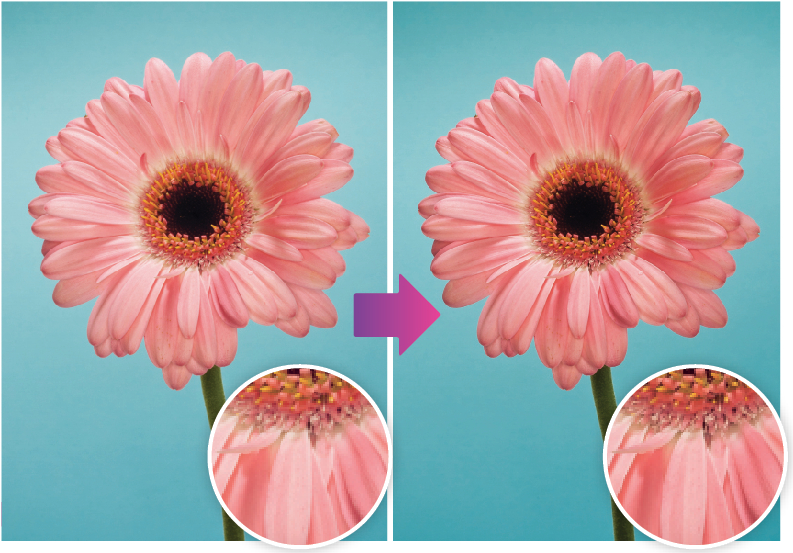
Every photographer knows that a sharp image is more pleasing than a soft one. Getting photos pin-sharp, however, can be a challenge for a variety of reasons.
Most cameras have a built-in filter that blurs the image a little to avoid producing moiré patterns, and this optical low-pass (or anti-aliasing) filter can also soften details, such as a flower’s fine stigmas.
By placing the camera close to a small subject, such as a flower, you risk getting a shallow depth of field. This leaves only a narrow band of detail in focus, and features in front of and behind this zone will look blurred. An image that appears sharp on your camera’s LCD may also look disappointingly soft on your computer’s larger screen.
Fortunately, Lightroom’s aptly named Detail panel is packed full of tools designed to tease out the fine details in a soft-looking photo, and that’s what we’ll be looking at more closely here. The Detail panel is very similar to Photoshop’s Unsharp Mask tool, but it gives you even more control over how you sharpen your images. These post-production sharpening tools work their magic by increasing the contrast around the edges of details in the image to give them more impact.
When you digitally sharpen using Lightroom’s sliders, you still need to take care and preview the image as you edit. There’s a risk of exaggerating picture noise in smooth areas (such as the clear blue background in our image here). if that wasn’t enough to be thinking about, you can also accidentally introduce artefacts, such as blown-out highlights, clipped shadows and distracting haloes to the sharpened areas. In this tutorial we’ll examine ways to sharpen key areas of your photos while keeping artefacts at bay.
Step-by-step guide: Sharpen up your images
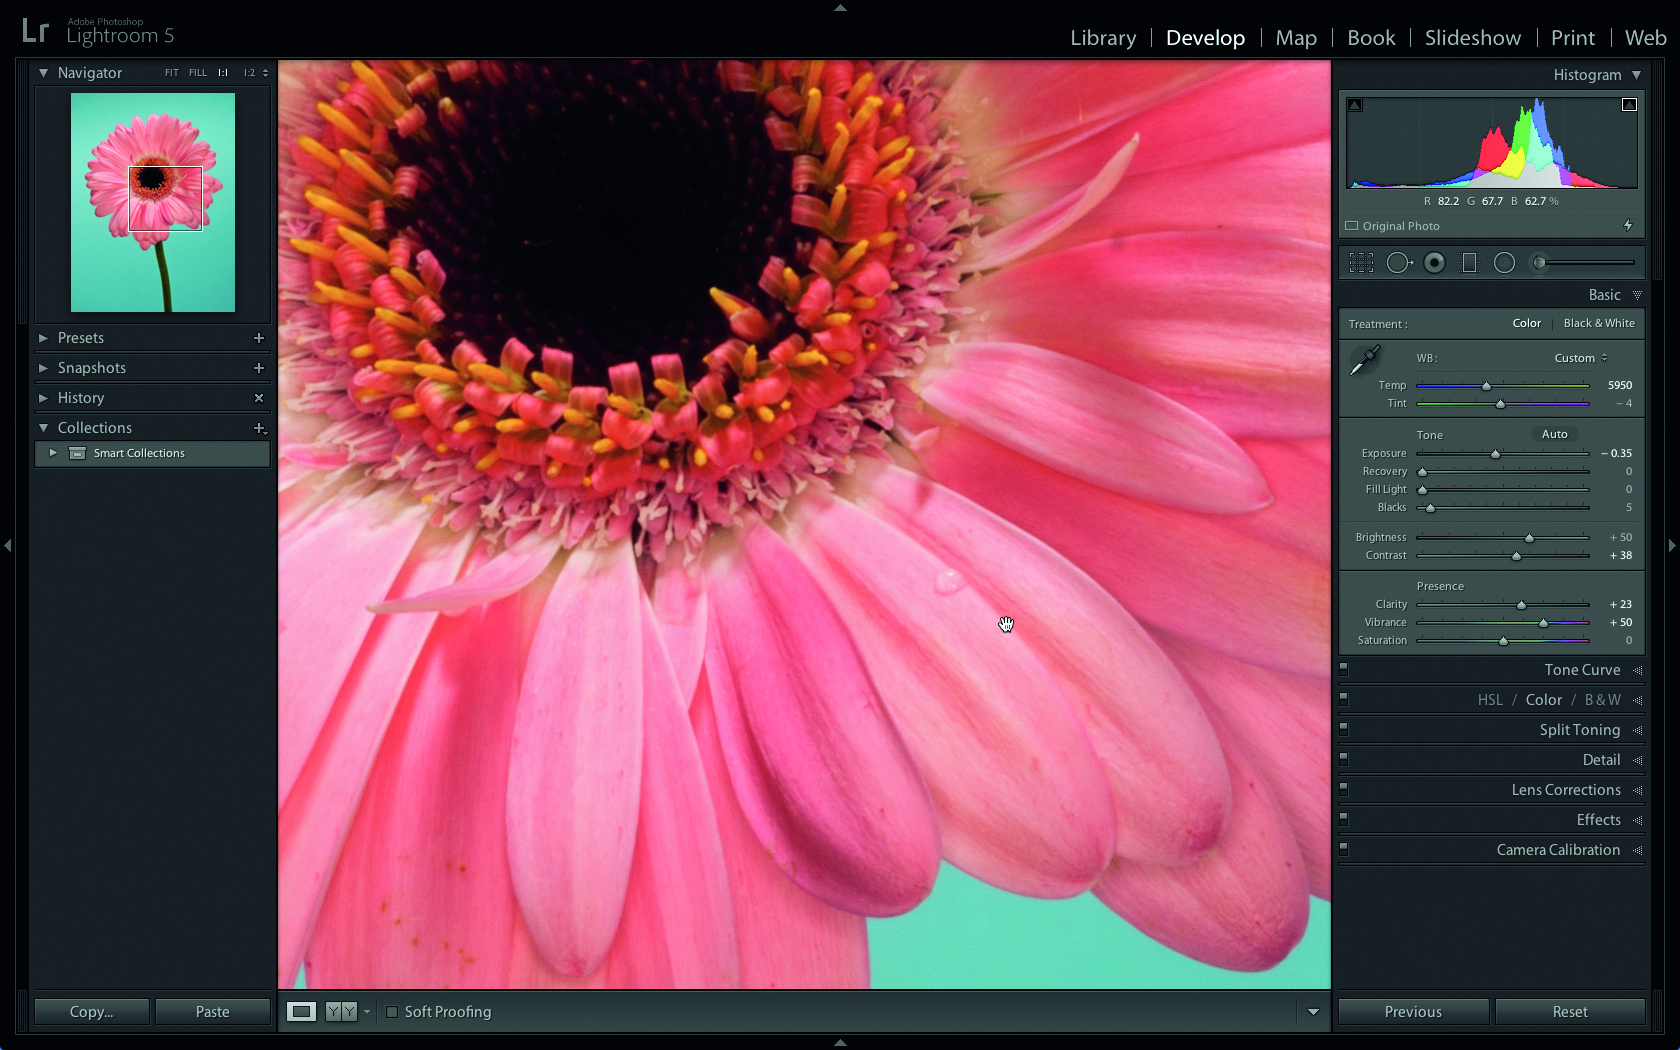
1. Zoom in
Open ‘TYLR36.dng’ in Lightroom’s Develop module. To accurately assess how in-focus a photo is, look at it at 100% by clicking the 1:1 option in the Navigator panel. Then drag the Navigator’s preview box around to closely examine the focus in sections of the photo.
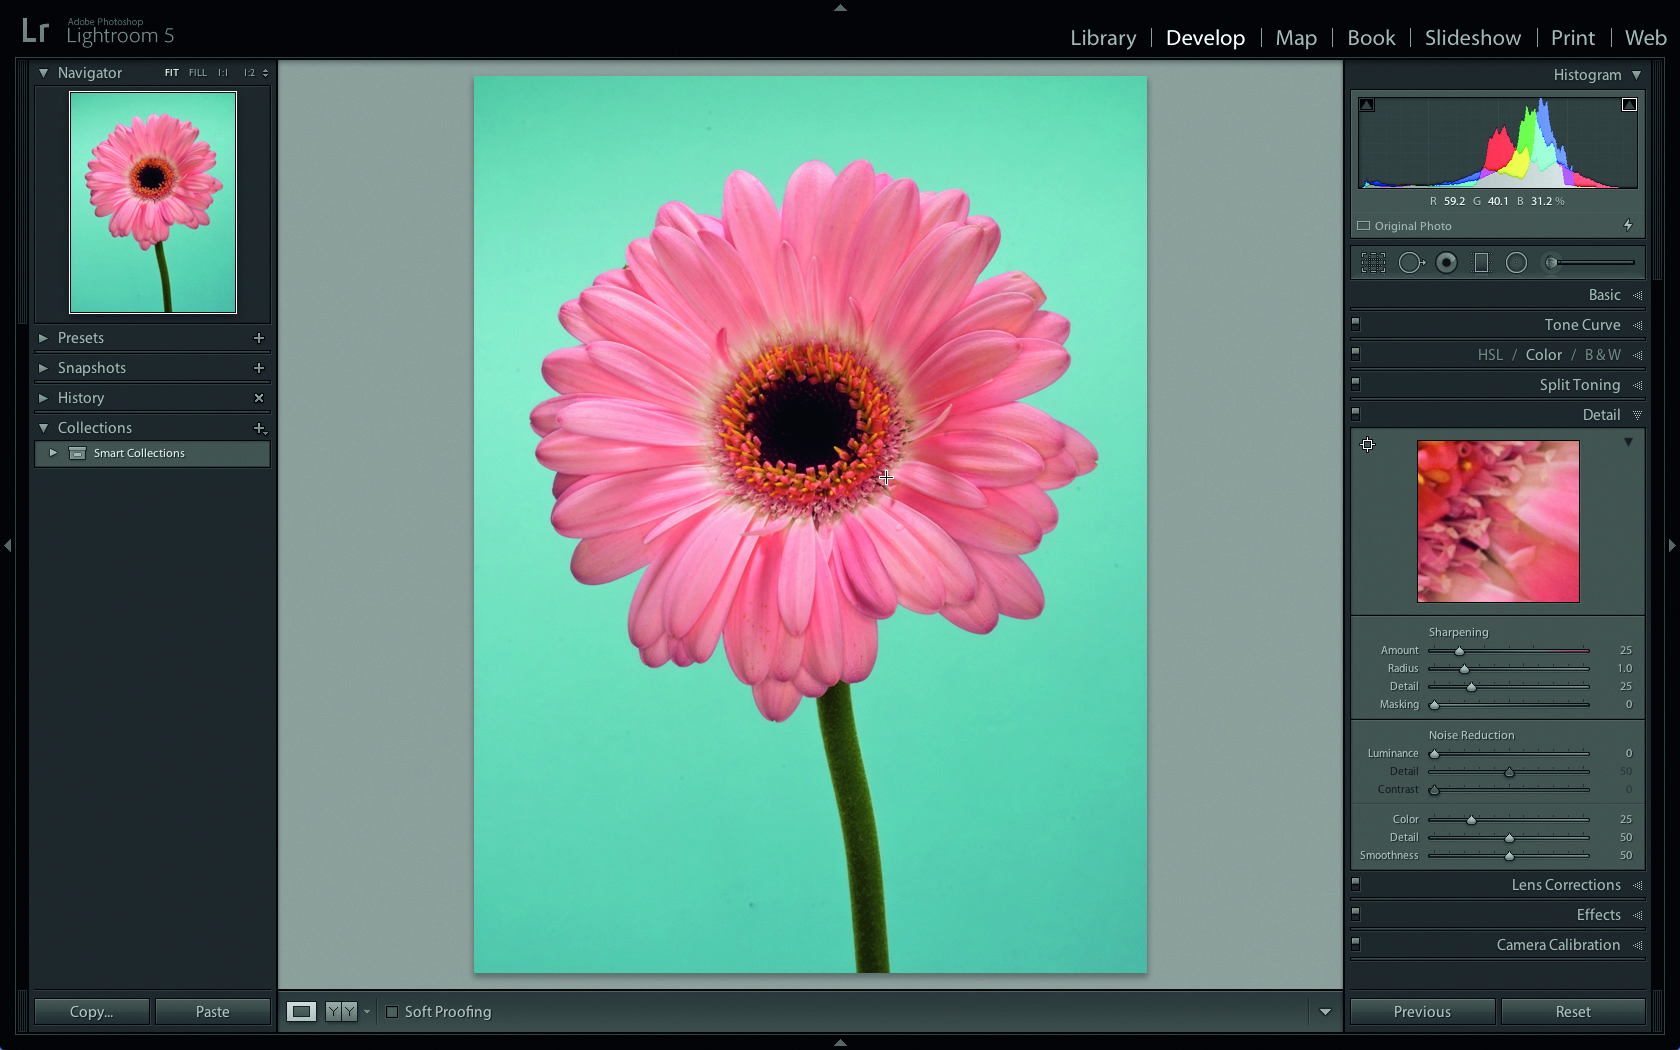
2. Check the detail
Toggle open the Detail panel and click on the crosshair icon at the top-left, then move the cursor over the image in the main window. Click to render a 100% size view in the Detail zoom window. You can use this tool to check the sharpness of small details in the photo.
3. Set the amount
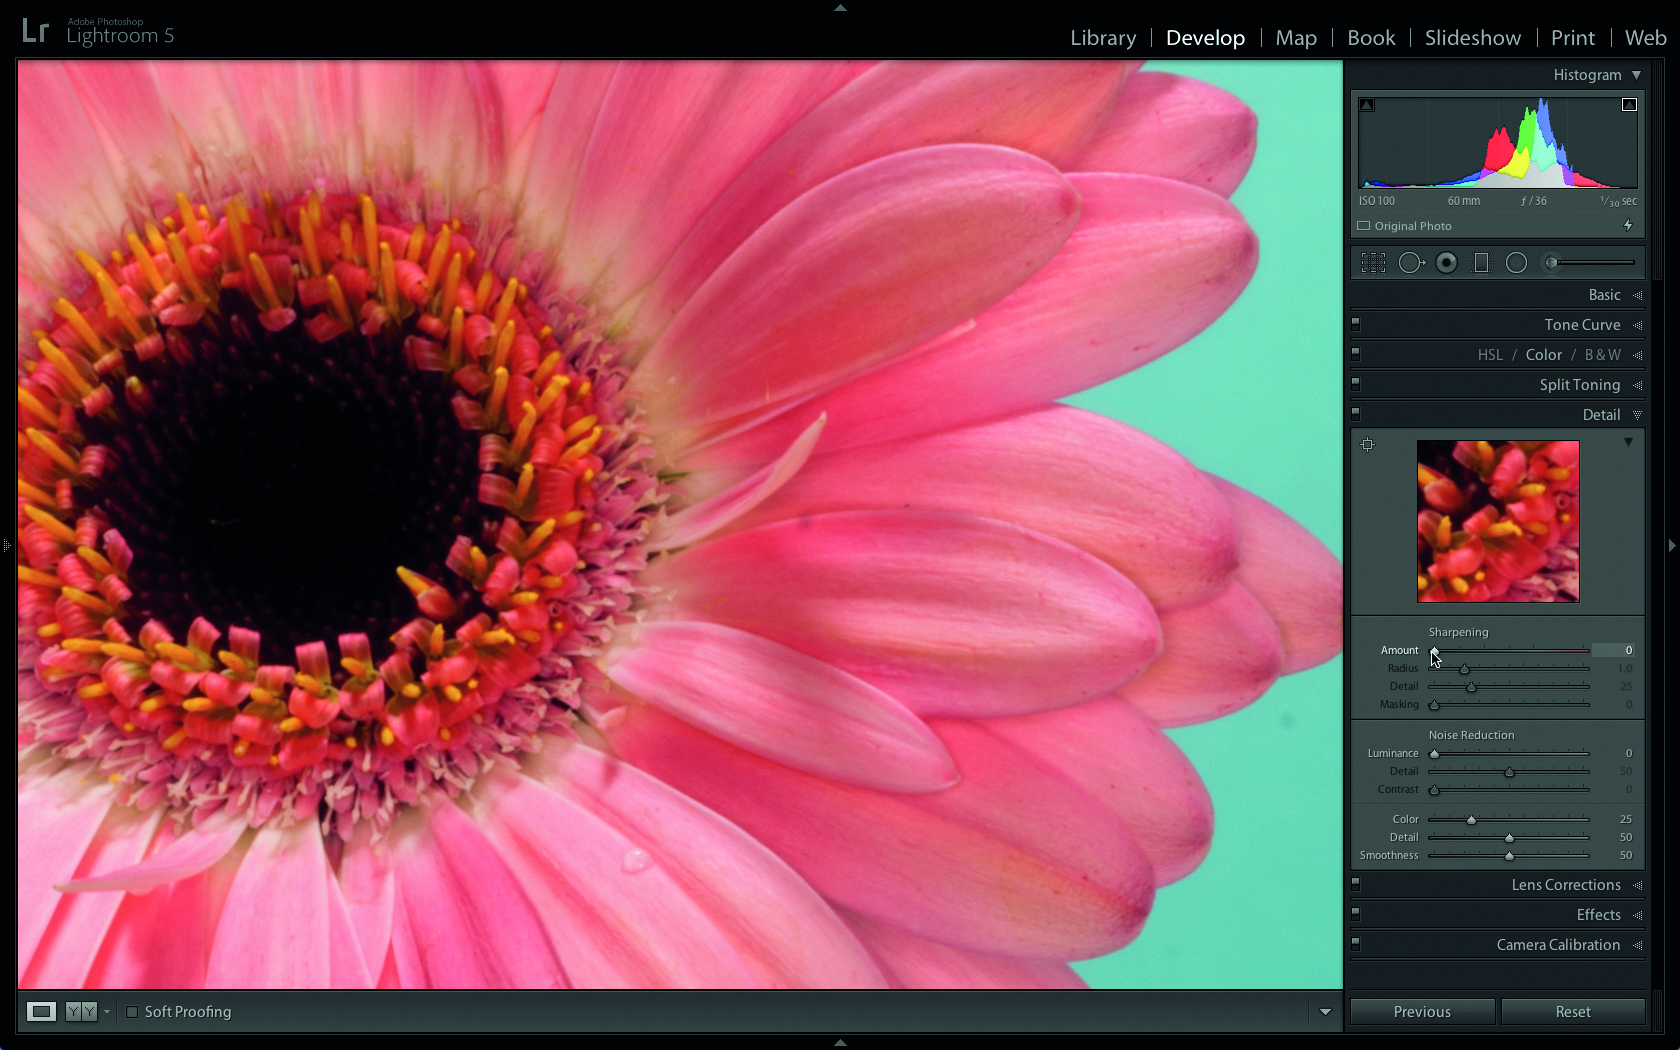
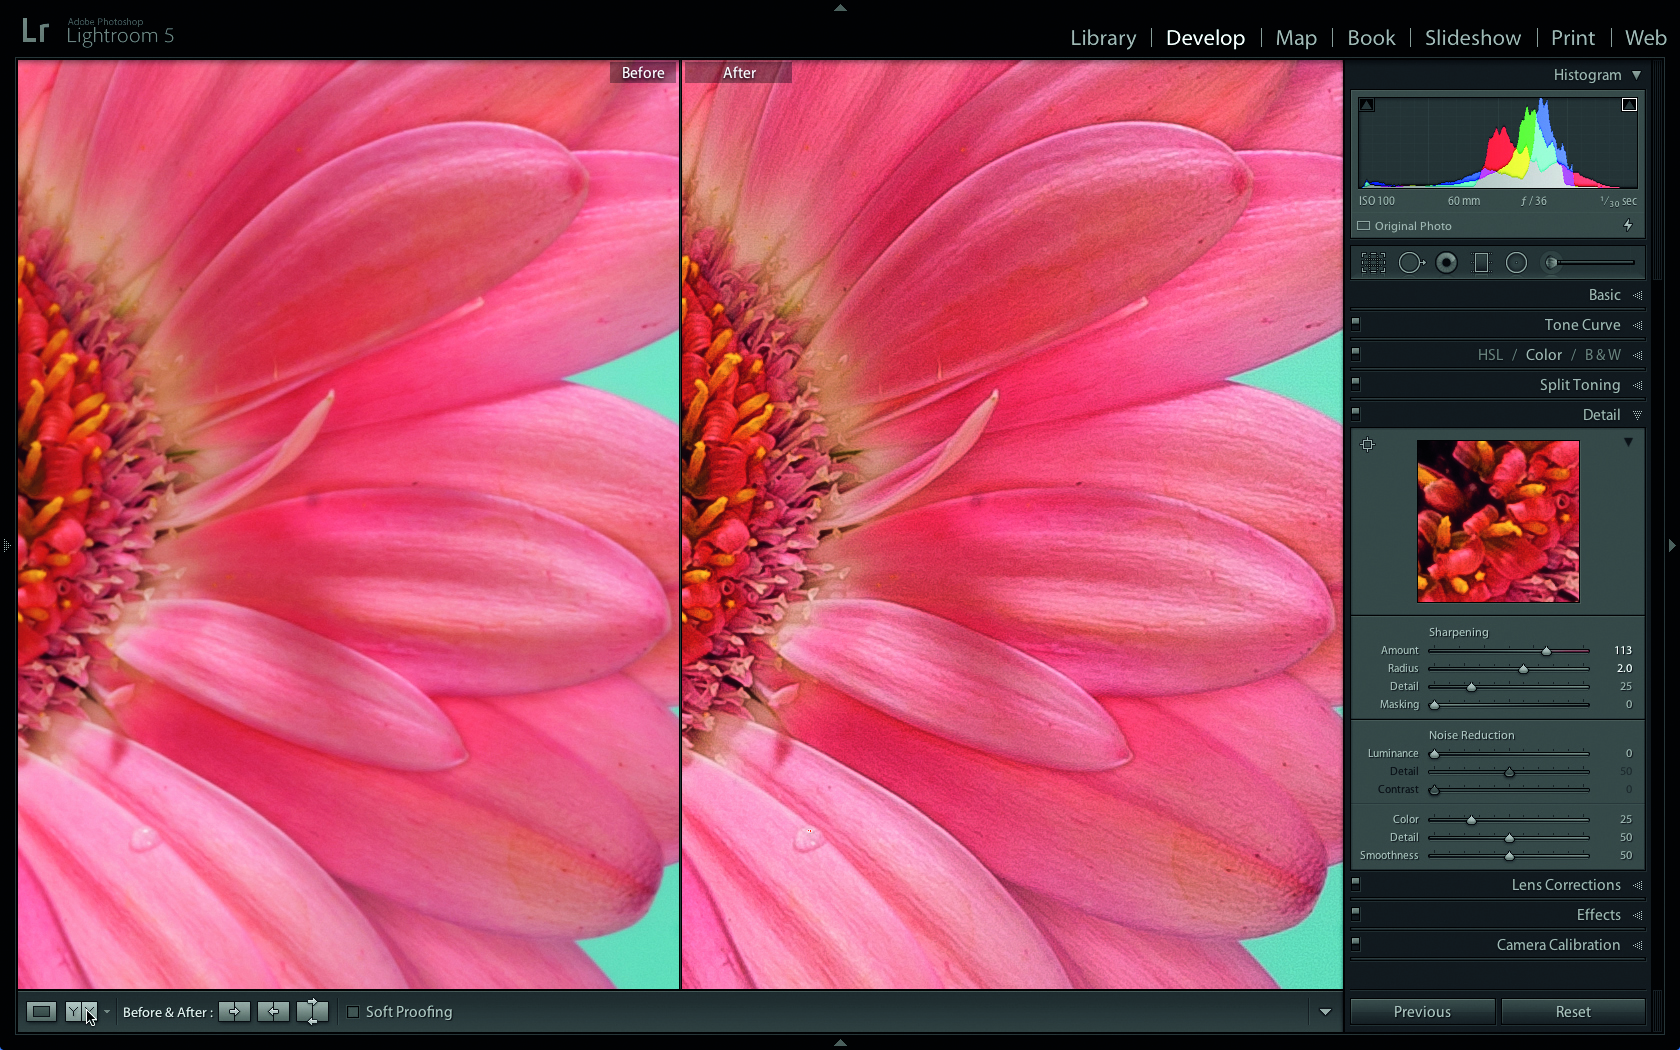
In the Detail panel, set the Sharpening Amount slider to a subtle value of 113 and Radius to 2.0 to avoid too many visible ugly haloes. To see how your sharpened version compares with the original, click the Before and After icon at the bottom-left of the workspace.
4. Balance it out
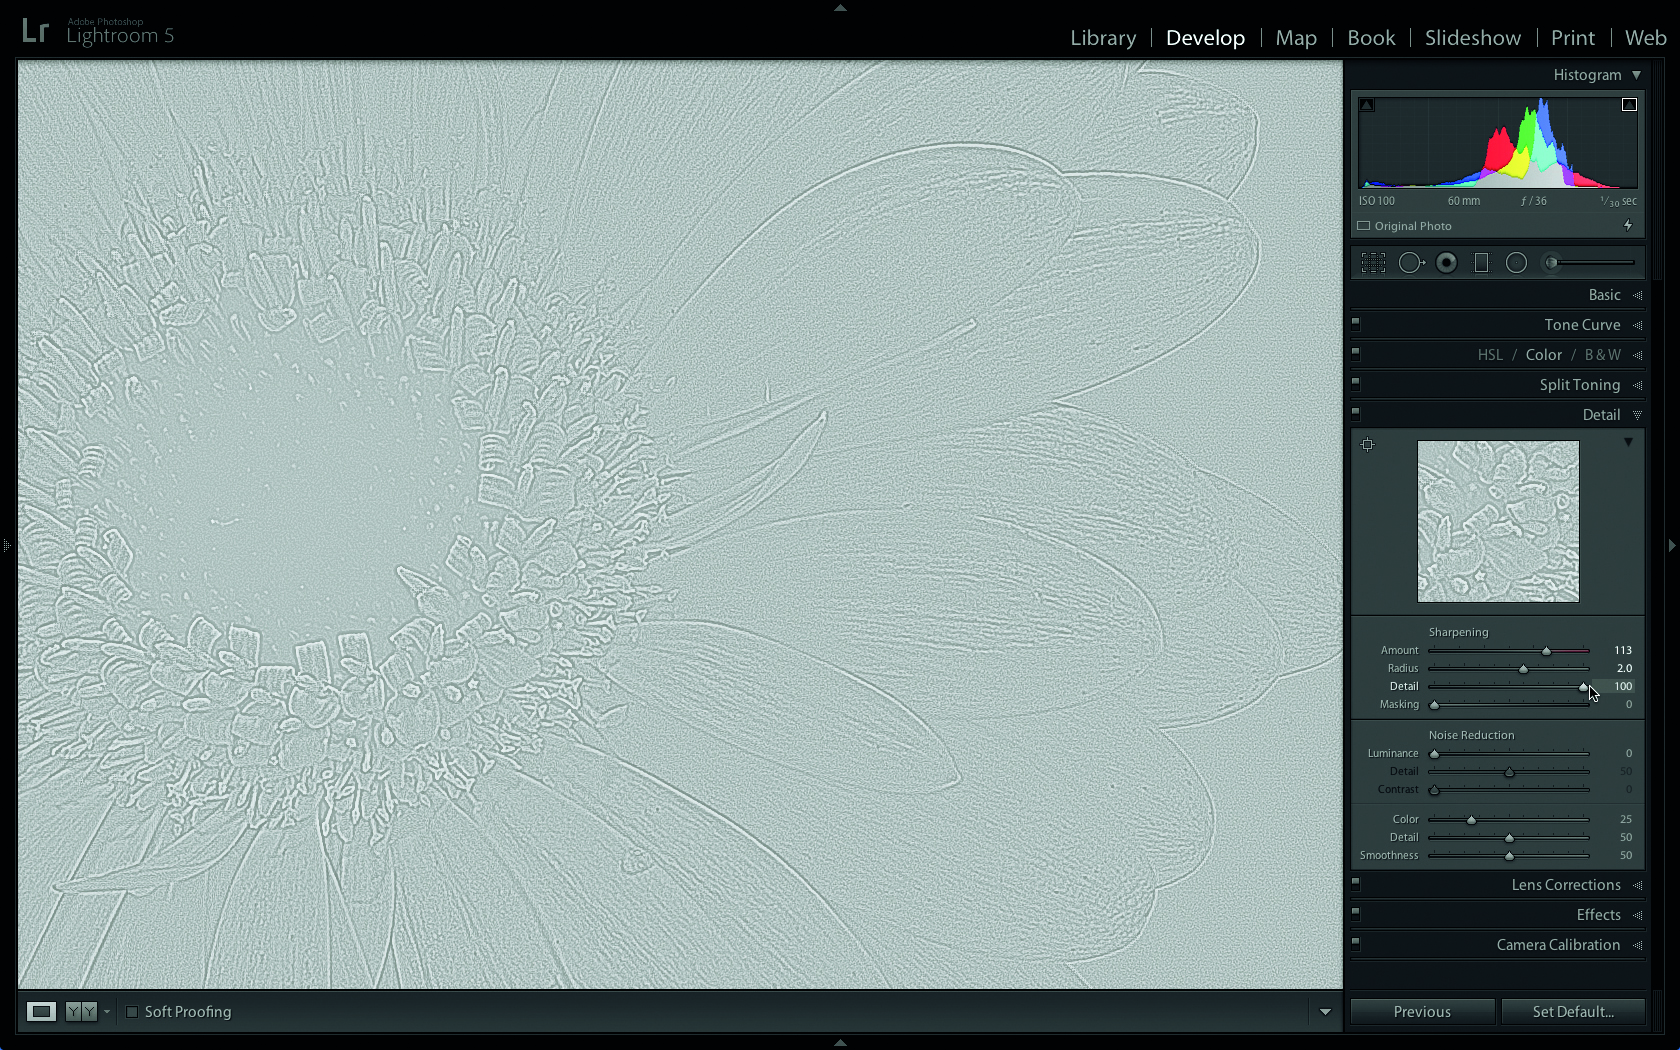
Details in the image have more impact, but there’s also more picture noise. The Detail slider helps you get a balance between sharpening details and keeping noise at bay. Alt-drag Detail to 100. A greyscale preview shows you sharp detail plus noticeable noise.
5. Reduce the noise
Alt-drag Detail to 23 to reduce the noise in sharpened areas, but still see definition in important details, such as the petal edges. The Masking slider, below, works with the Detail slider to restrict the sharpening to important areas only, while keeping noise at bay.
6. Add a mask
Alt-drag the Masking slider. At 0, the screen will turn white to show no masking. As you Alt-drag the slider right, the masked areas appear in black. These masks protect parts of the photo from being sharpened, so you can keep some areas (such as the petals) smooth.
Change the amount
It’s worth experimenting with the amount of sharpening you use, but remember that each photo will require a different approach and treatment.
The Radius slider increases the spread of contrast from the Amount slider. Don’t make it too big or ugly artefacts appear
Lightroom actually applies a Sharpening Amount of 25 to all photos to counteract the blurring effect of the camera’s low-pass filter. If you reduce the Amount slider to 0, you’ll see that the unedited photo looks softer.
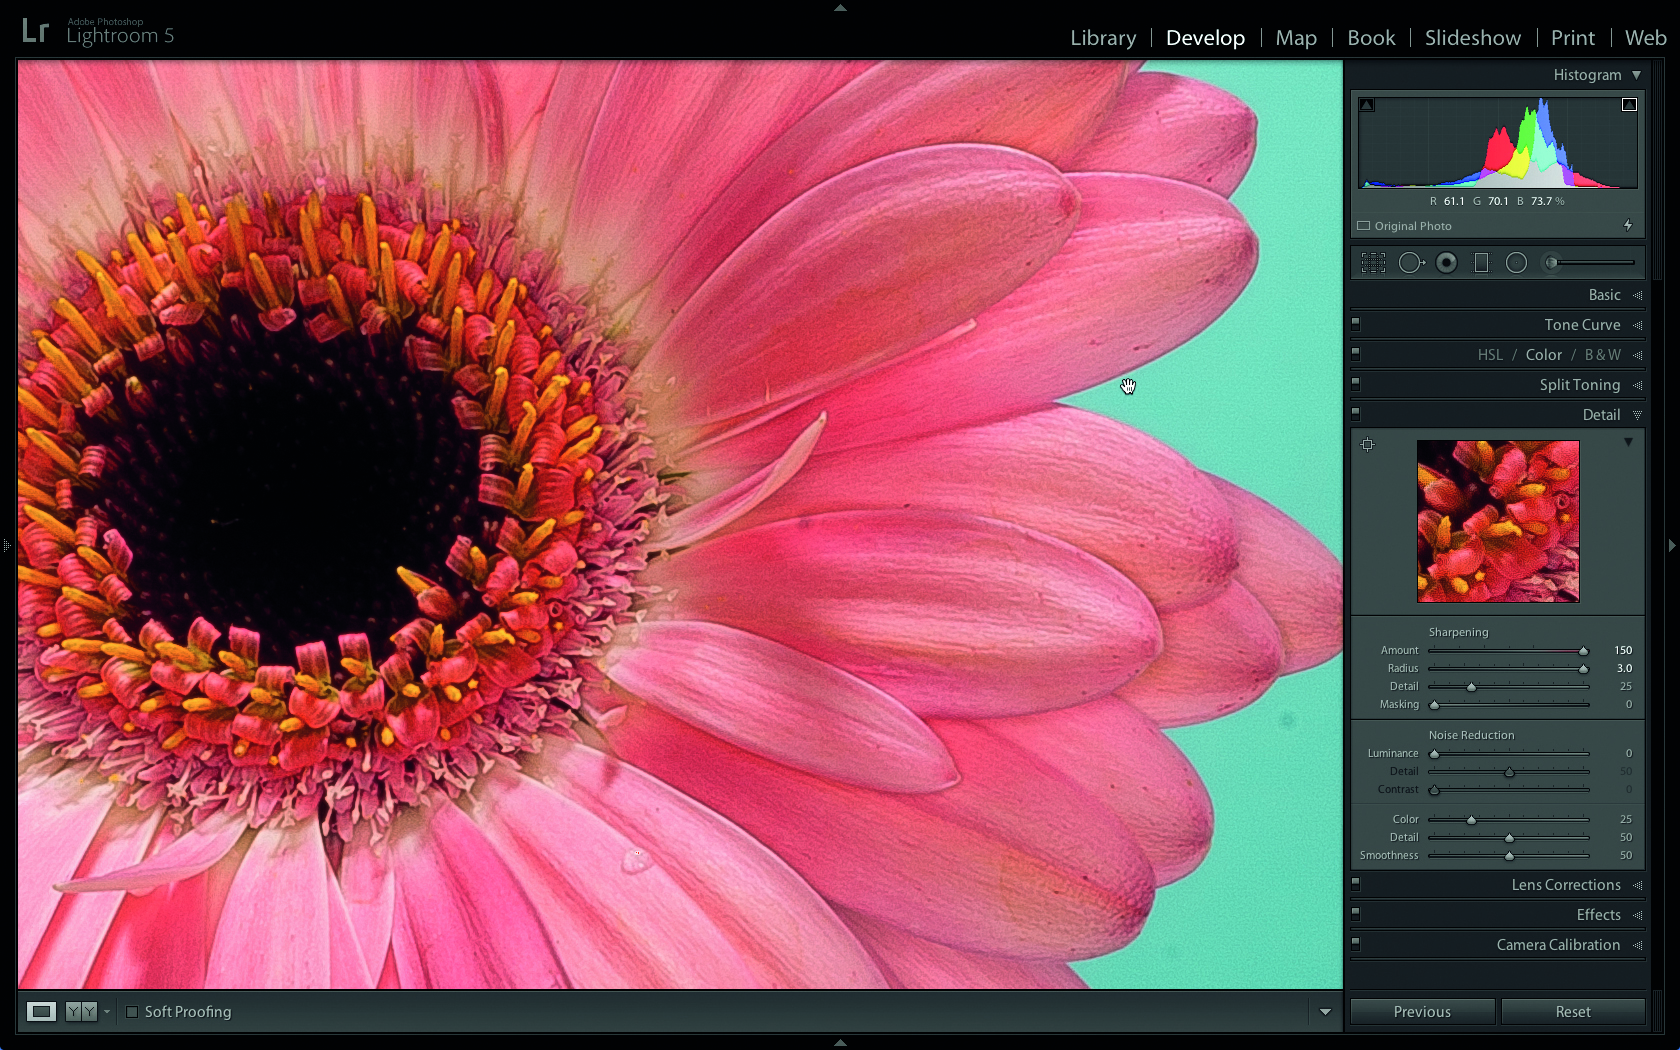
Turning up the sharpness to maximum isn’t ideal either – dragging the slider to 150 makes the photo look sharper, but also exaggerates the amount of picture noise.
Read more: Crash course – The beginner's guide to Adobe Lightroom
Get the Digital Camera World Newsletter
The best camera deals, reviews, product advice, and unmissable photography news, direct to your inbox!
PhotoPlus: The Canon Magazine is the world’s only 100% Canon-focused title on the newsstand. Launched in 2007, for 14 years it has delivered news, reviews, buying guides, features, inspirational projects and tutorials on cameras, lenses, tripods, gimbals, filters, lighting and all manner of photography equipment.
Aimed squarely at enthusiast photographers who use the Canon DSLR or mirrorless camera systems, all content is tailored to Canon users – so everything from techniques to product tests are tailored to those using the EOS camera system.
Editor Peter Travers brings 14 years of experience as both a journalist and professional photographer, with Technique Editor Dan Mold shoring up the magazine with his 6 years of expertise.


