Sicily in your kitchen! Shoot and edit amazing product shots at home
Capture a pro level advertising shot with only one speedlight and minimal space to work
One of the difficult aspects of working from home as a photographer is that the household environment is rarely the optimal location for the majority of subjects and image styles. If you are used to using a studio, whether it is your own or a space you share or rent, then the lighting found in the average house can seem impossible to manage.
Most halogen lights are far too warm for most images and cannot be adjusted in terms of colour balance. The yellowish tint they emit can pollute your carefully arranged lighting setup and spoil the theme you were hoping for. Unfortunately with social distancing rules in place, many studios are either closed or can only admit one person at a time. Therefore it is essential that we learn to cope without large studio lights and to overpower strongly coloured home lighting, with only speedlights to work with.
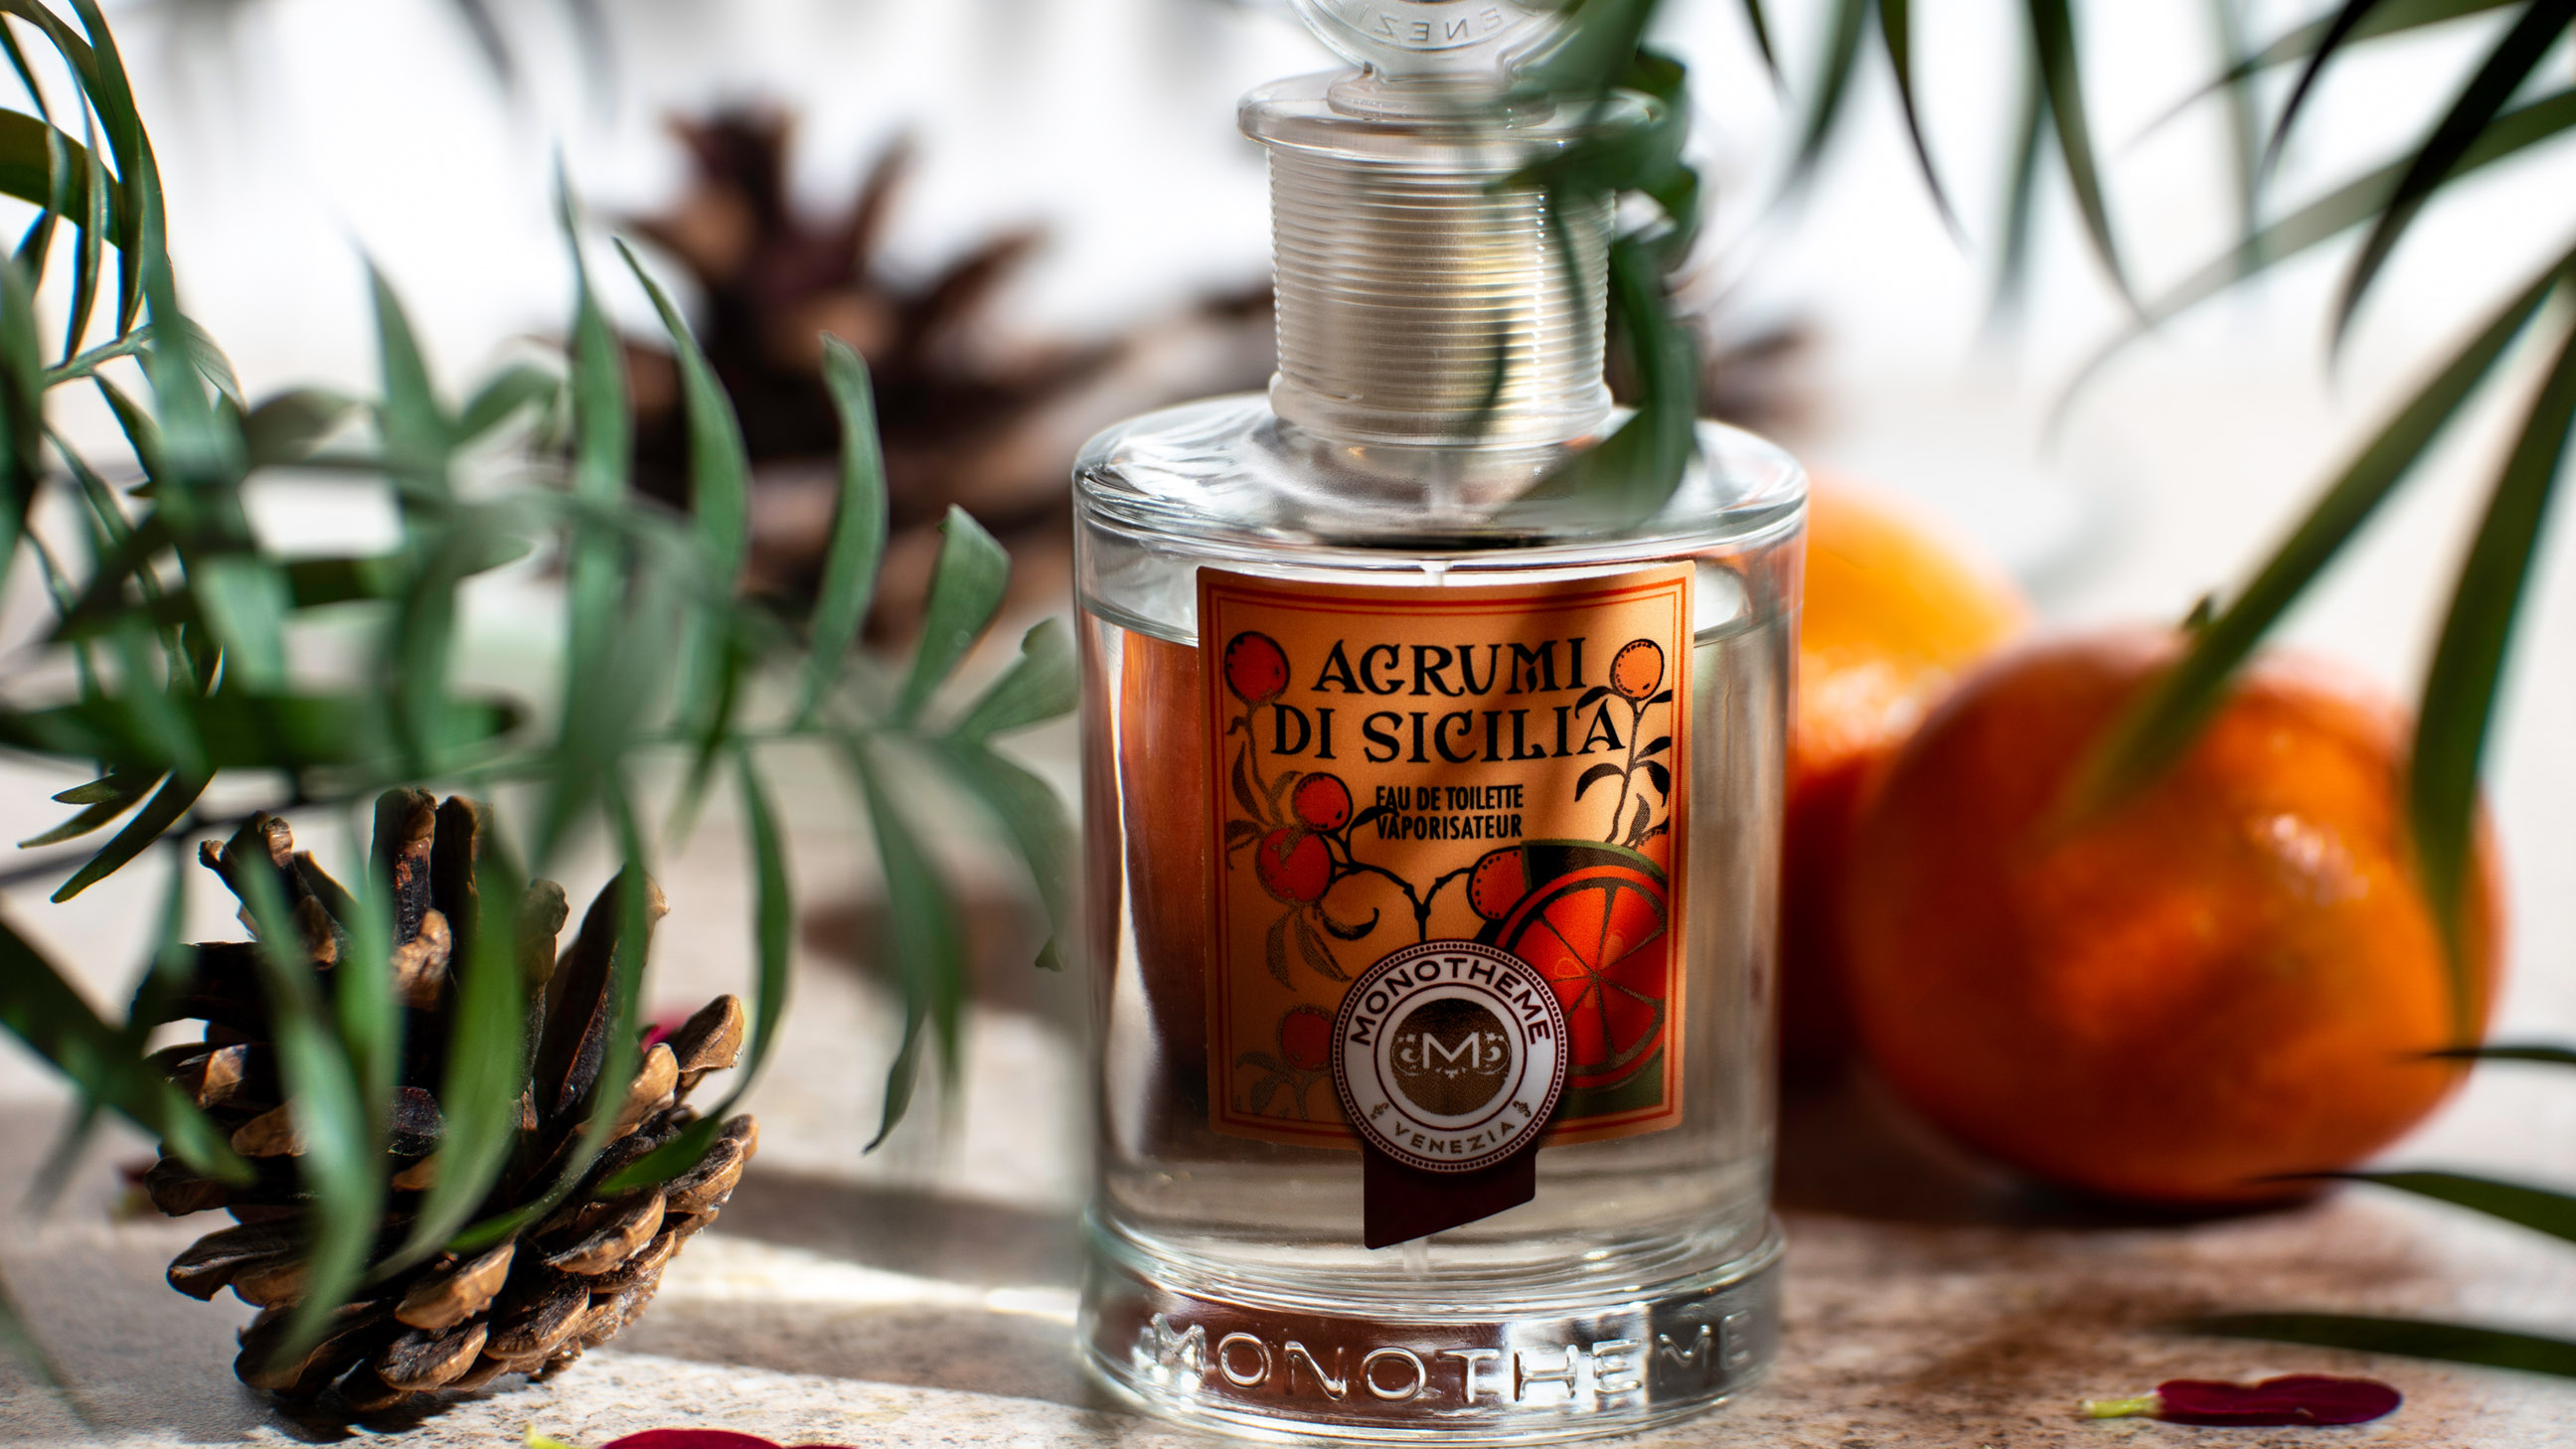
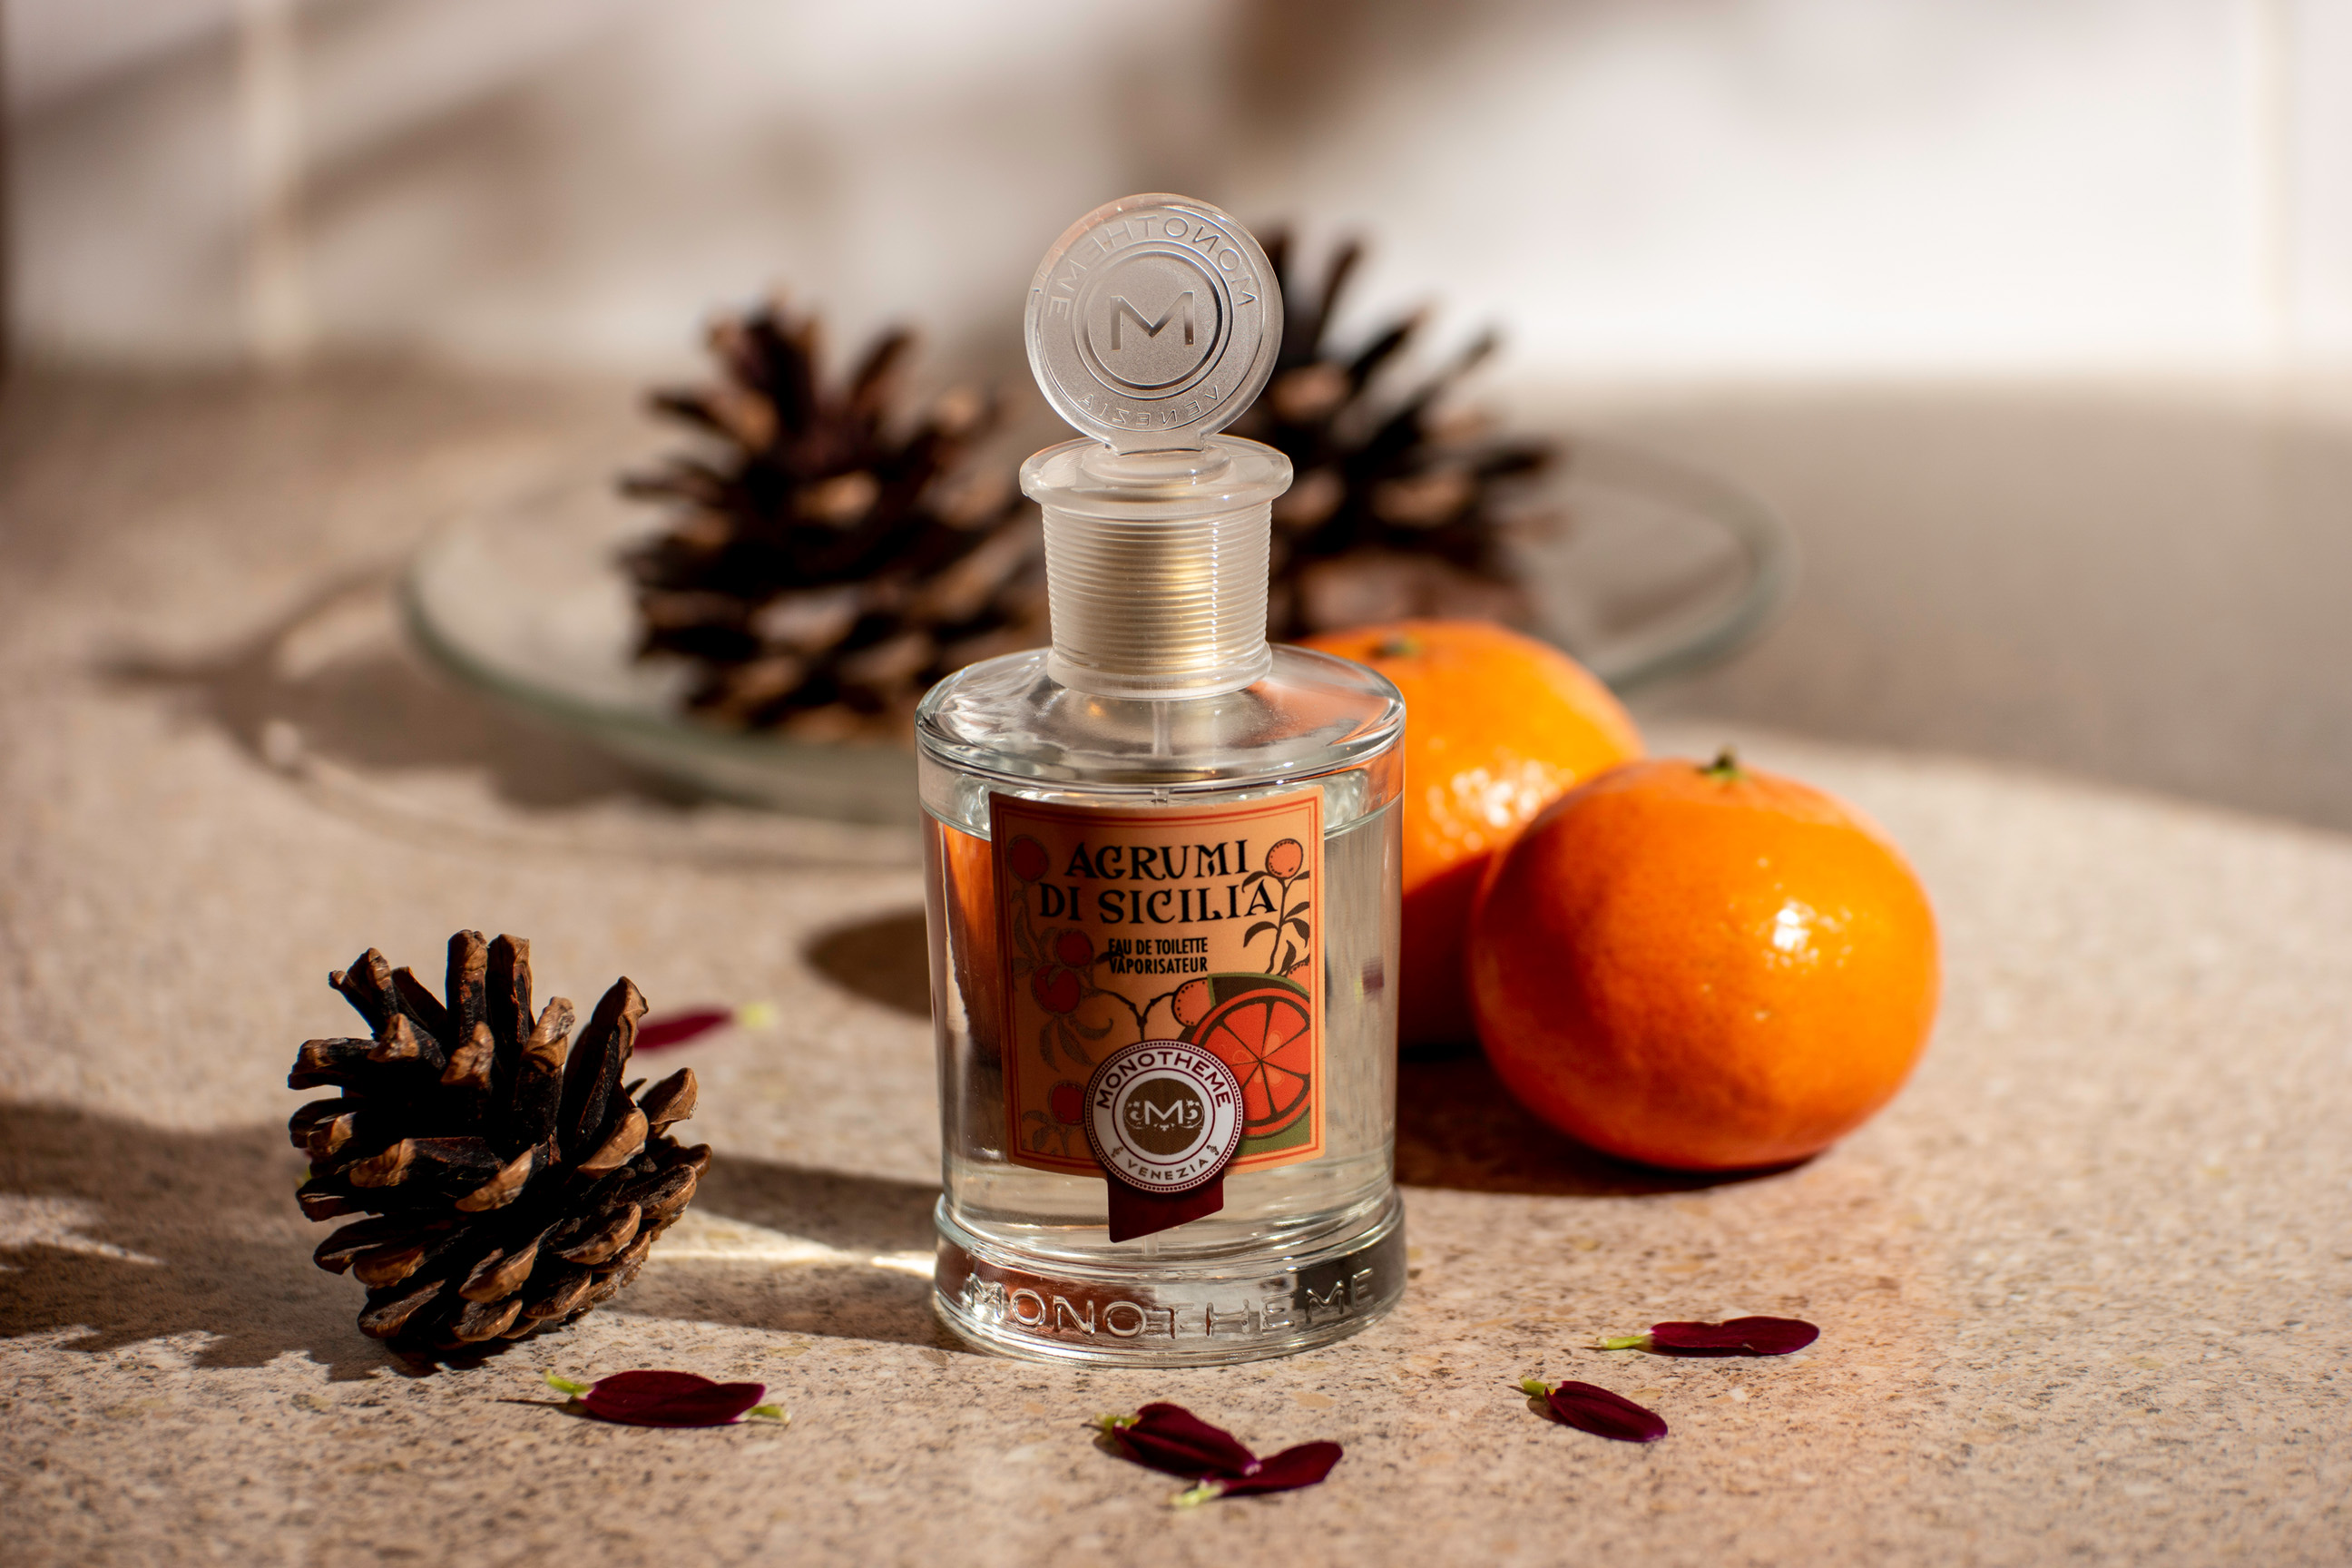
For this product photography - an area which can strongly show the pitfalls of being without a full studio - the idea was to create a summery feel, in line with the Sicilian branding of the fragrance. However we had very little space to work and ambient light was in short supply. The challenge was to figure out a way to put together a set on a single kitchen worktop and control the lighting with a single speedlight.
What you'll need
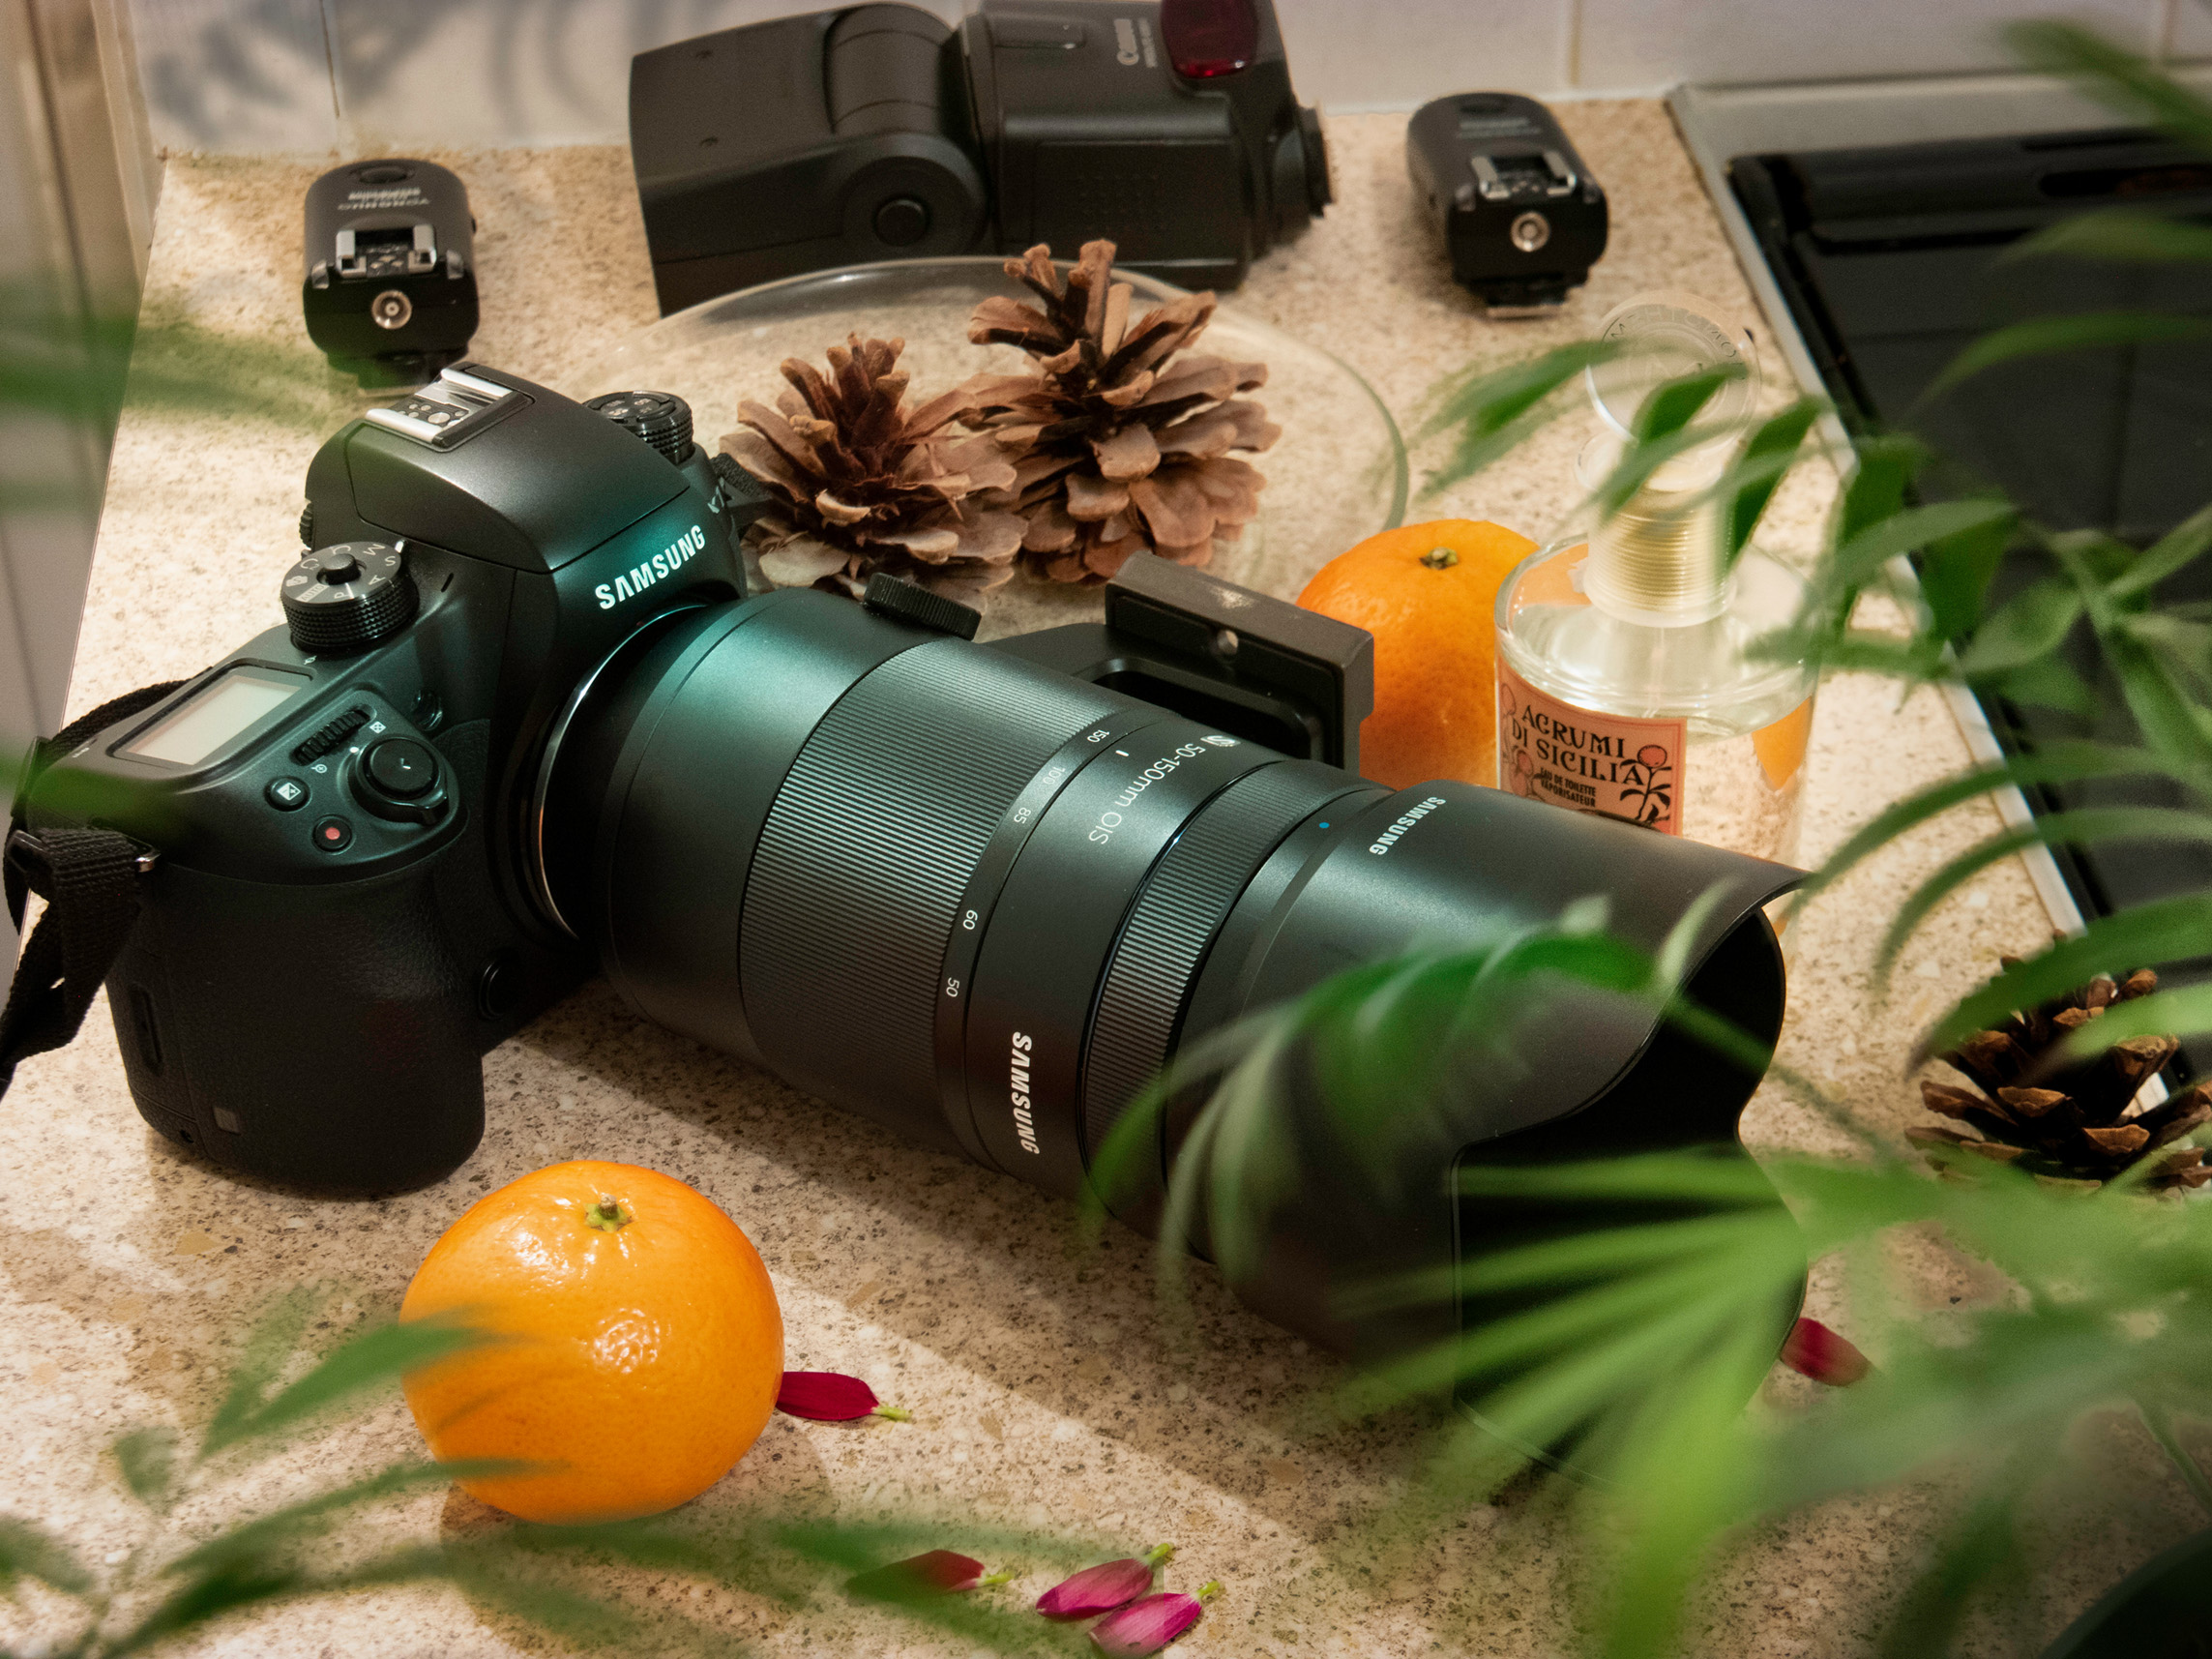
- Short telephoto lens
- Tripod
- Props
- Speedlight
- Radio triggers
- Photoshop or similar
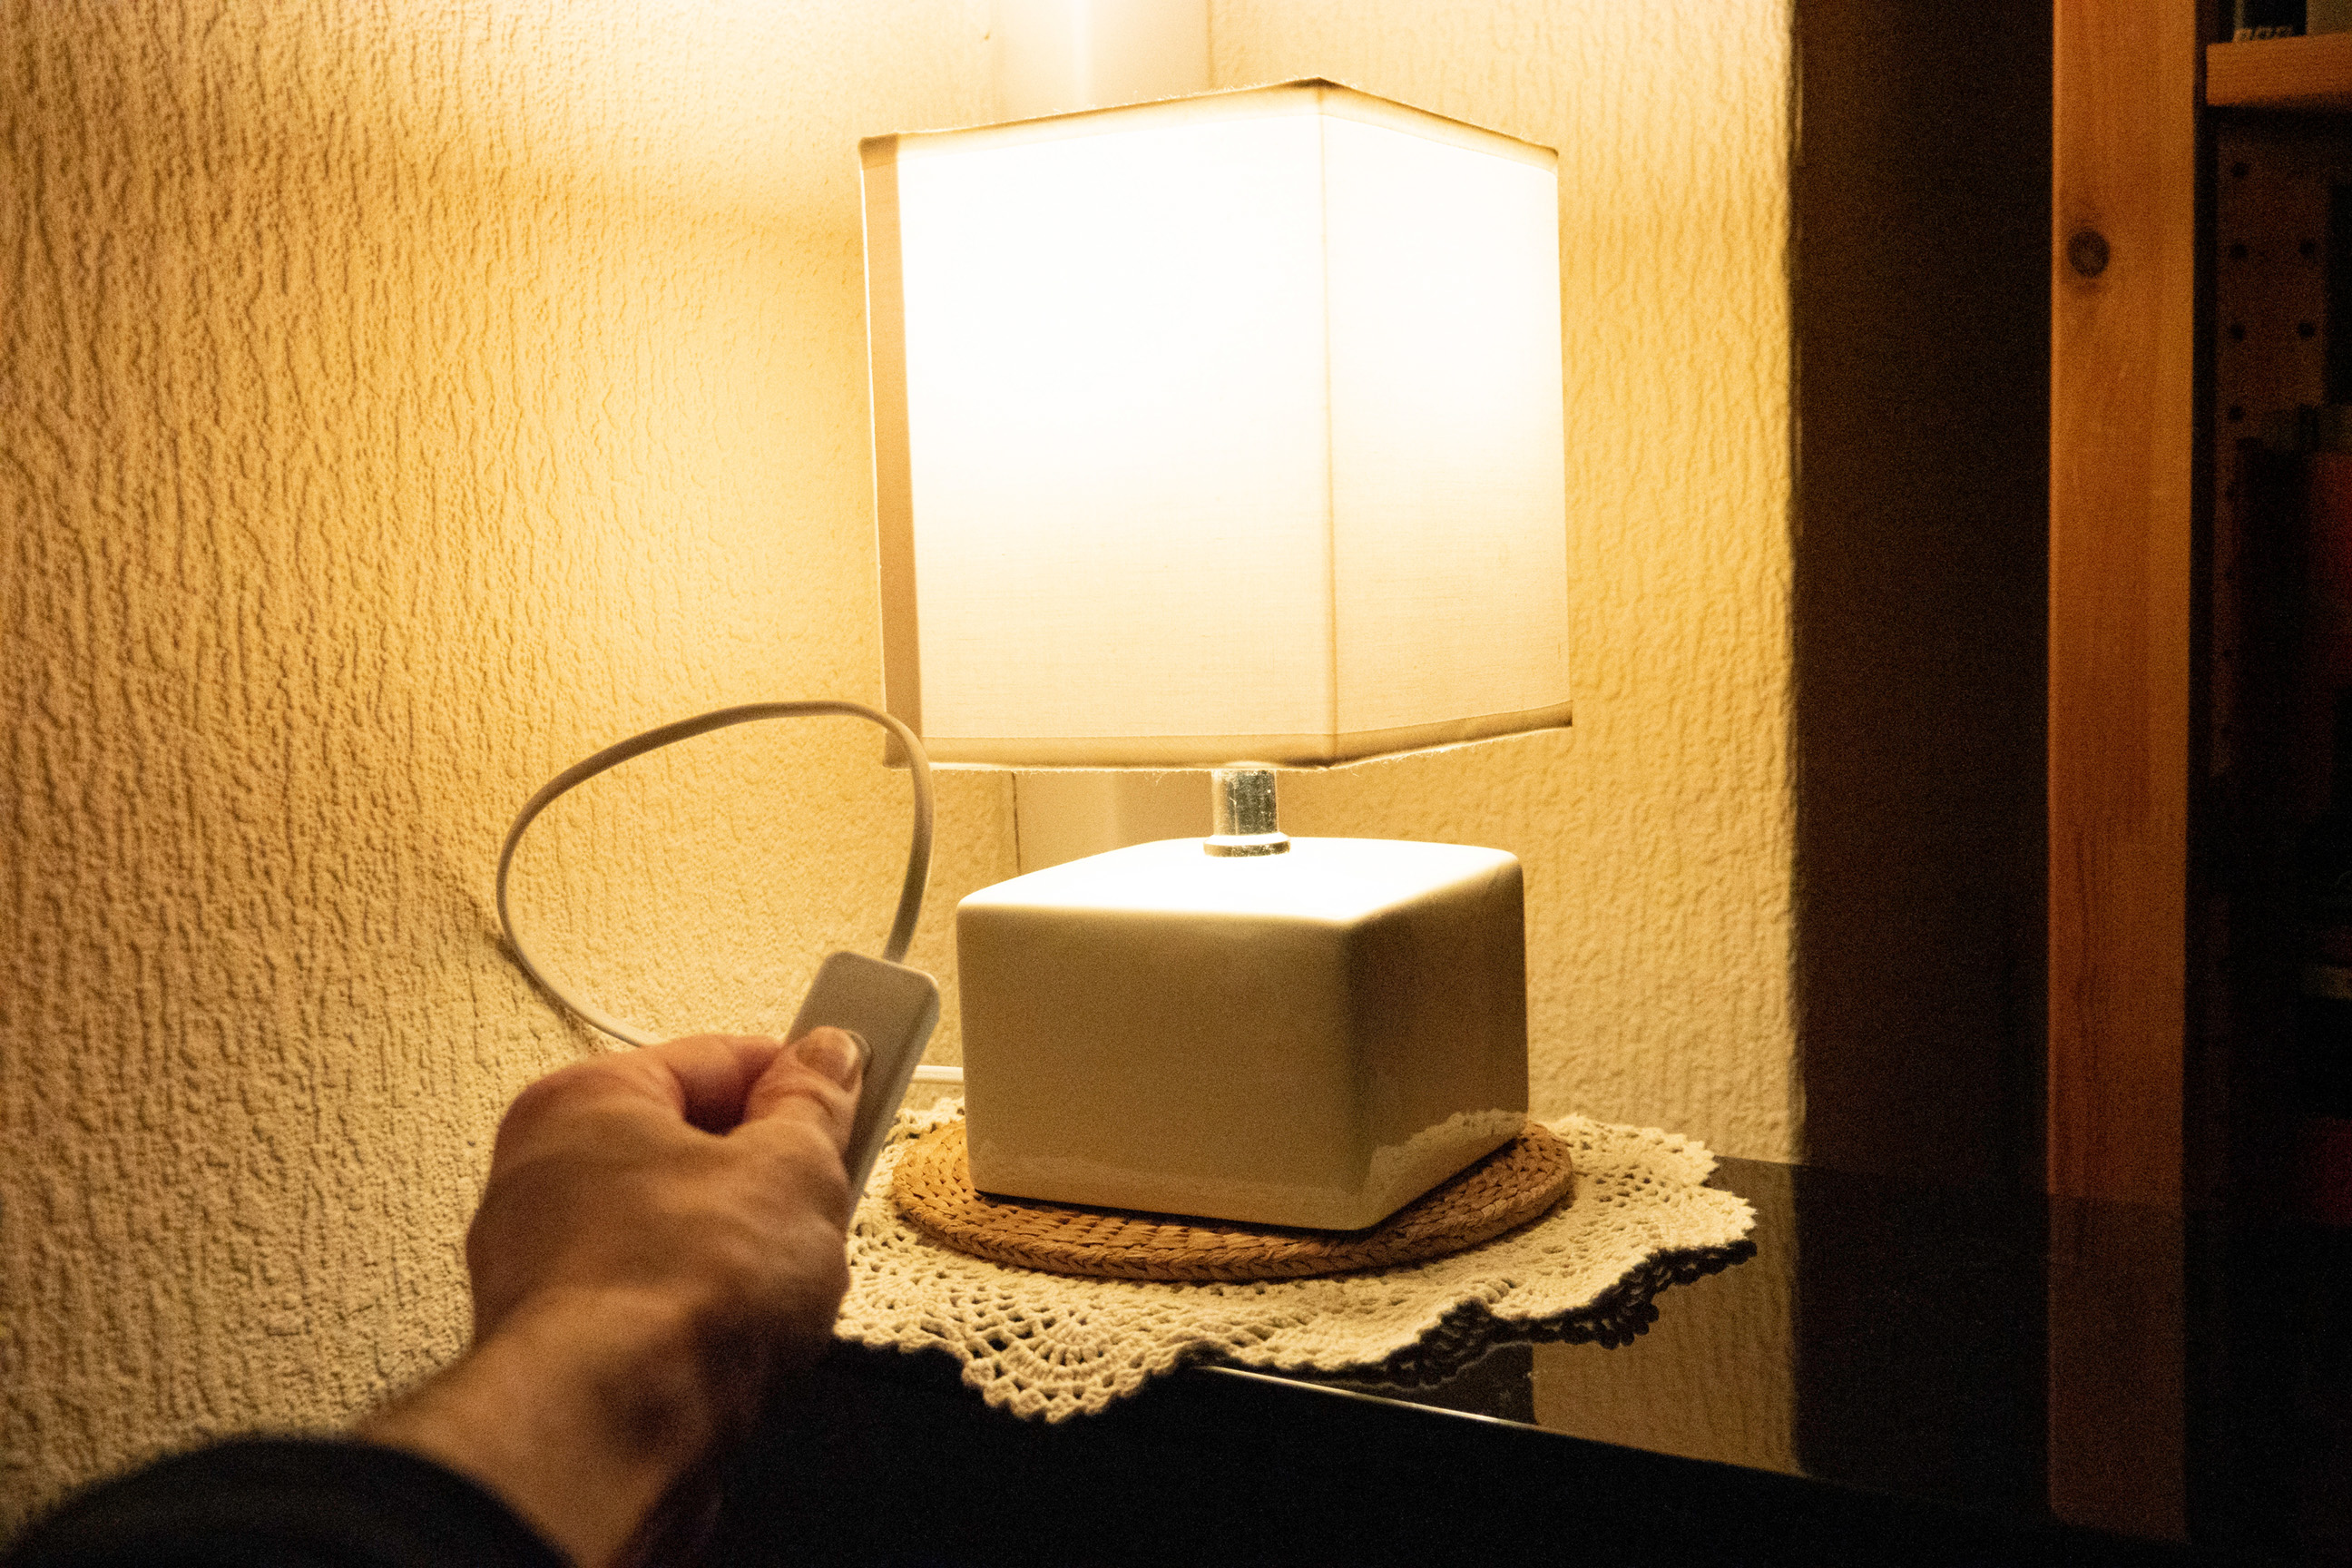
Since the biggest challenge of shooting in uncontrollable household lighting is colour bias, we need to reduce the presence of this as much as possible. One solution is turn out all lights in the room before you take each shot and make 100% of the scene lighting introduced (from a flash or continuous, daylight balanced bulb). It may take longer to find the correct exposure and more blended frames to light the whole scene, but you can fully reconstruct the lighting as required later in software.
Shooting steps
1- Lay out your props
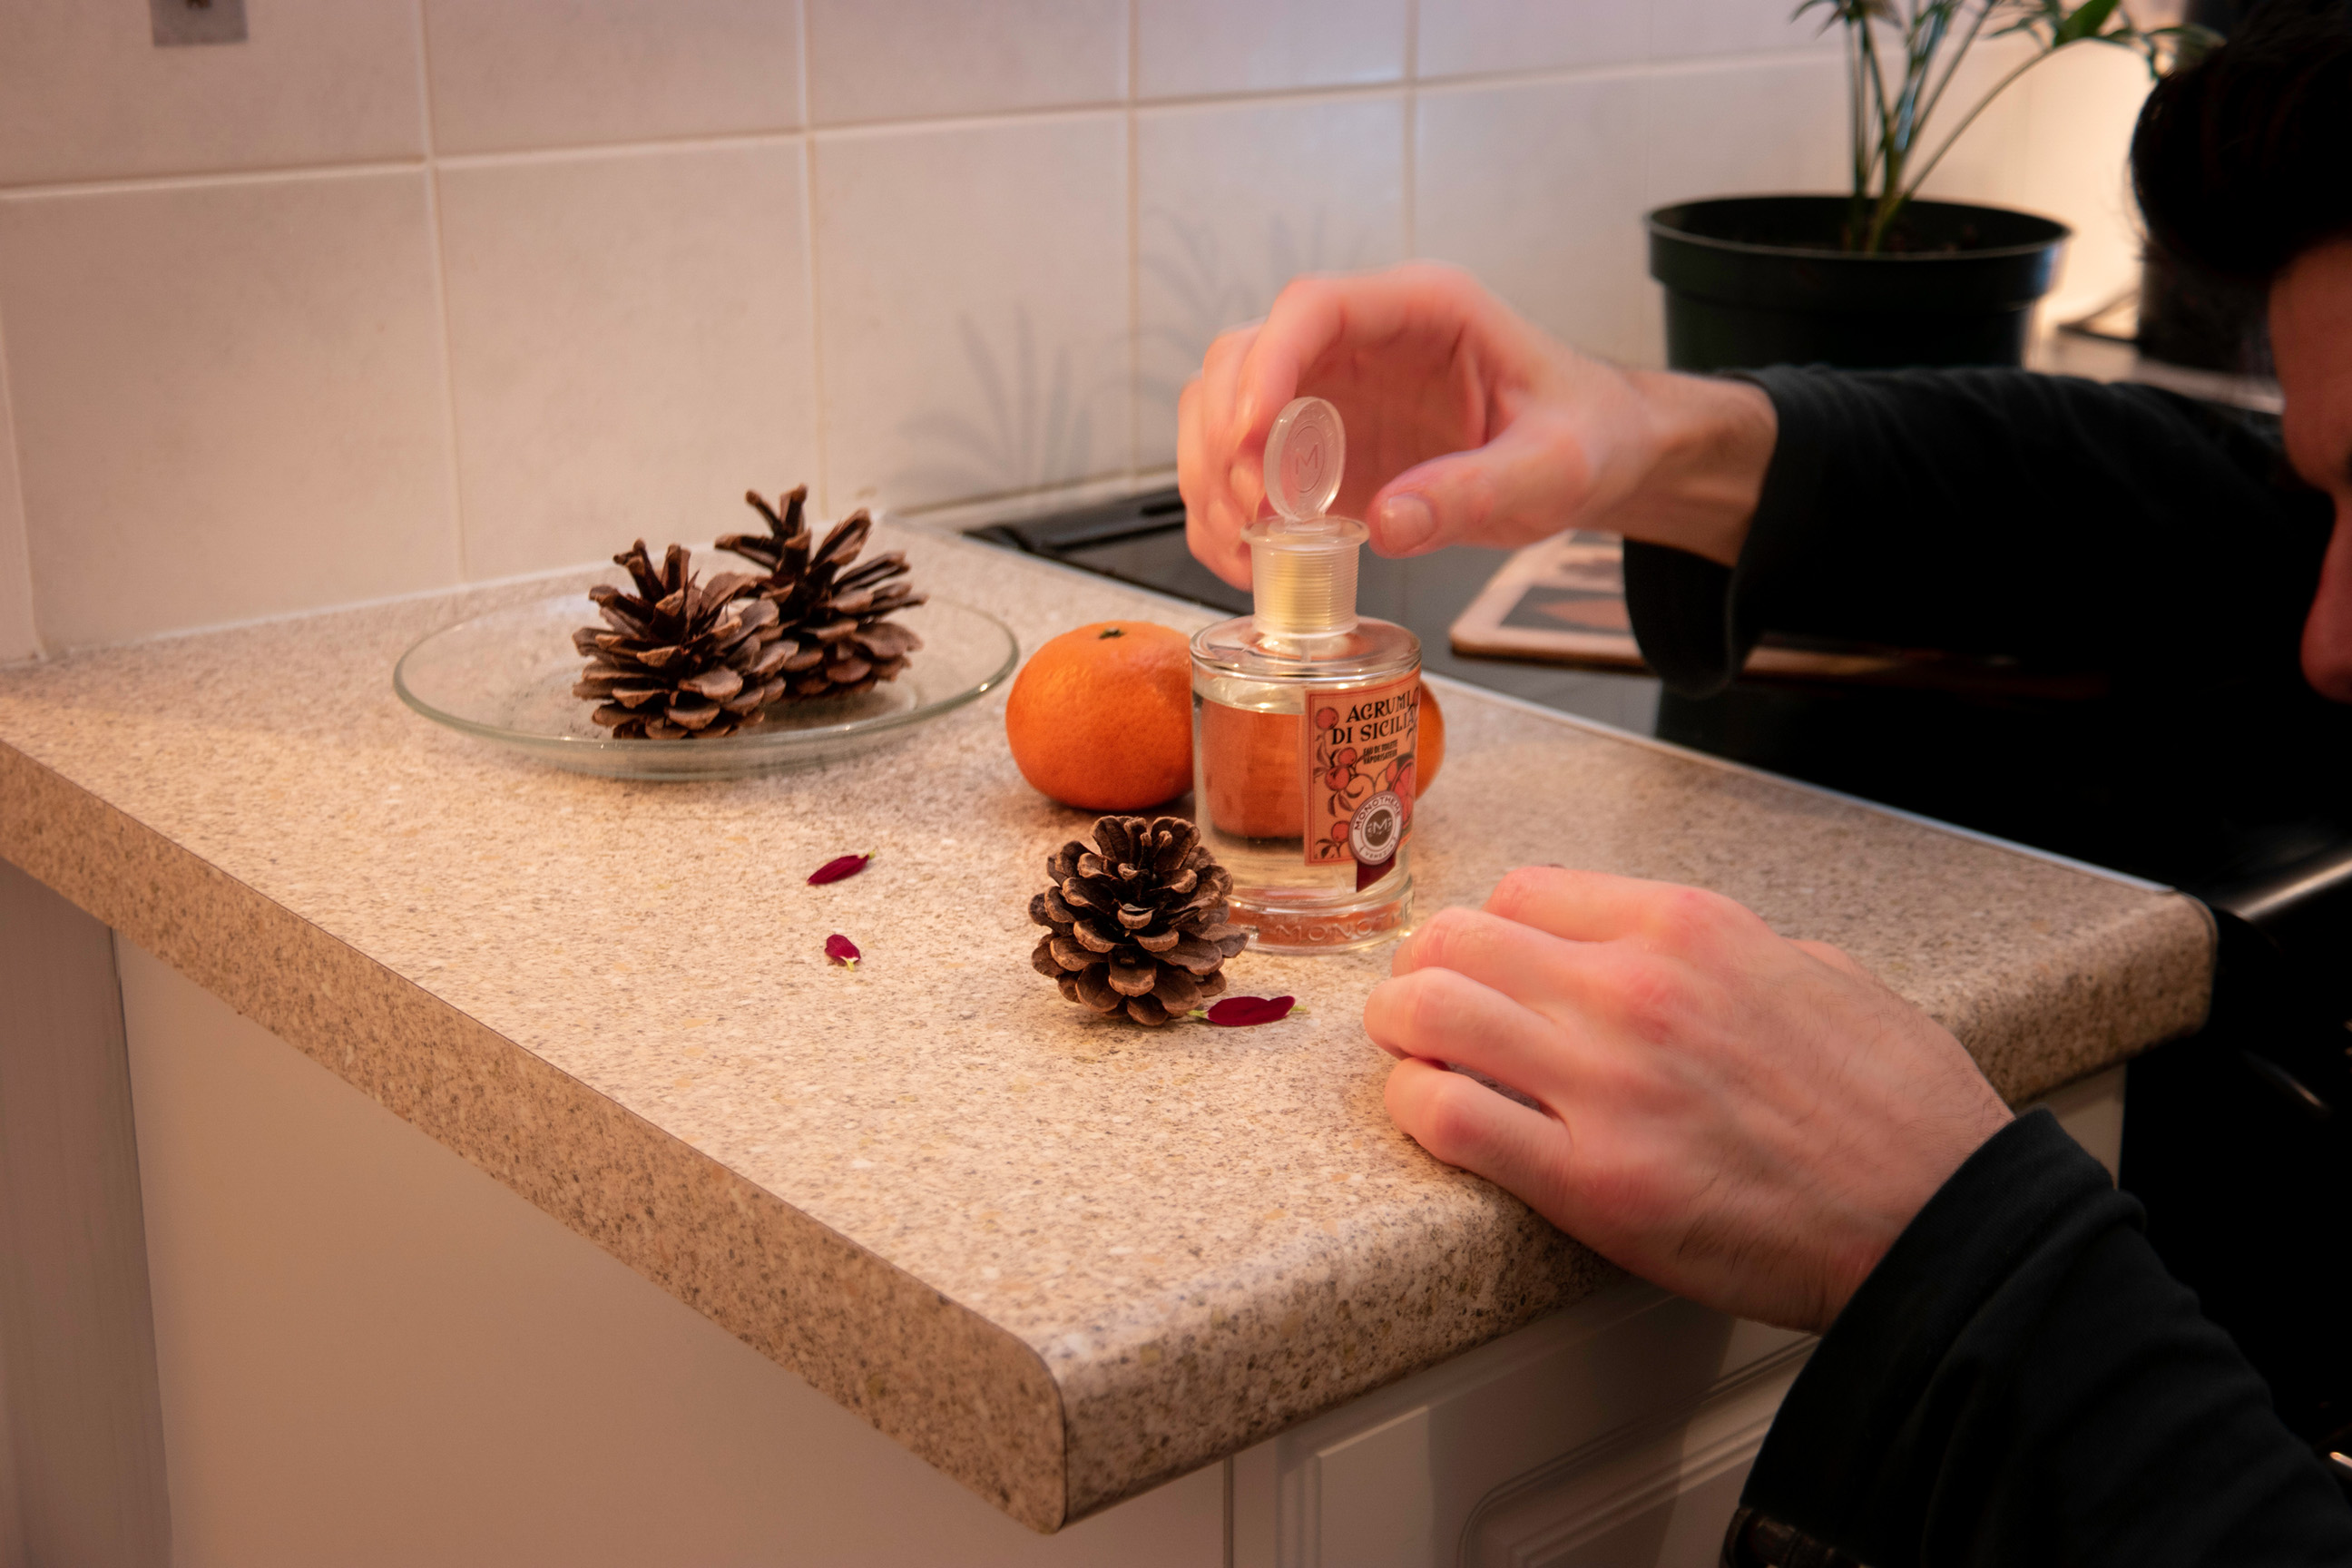
Find a surface on which to shoot your items which has neutral qualities and a plain background. Where possible create depth by arranging props at different distances from the camera, to suggest an environment larger than your kitchen! Avoid regimented layouts - introduce some randomness.
2- Set camera height
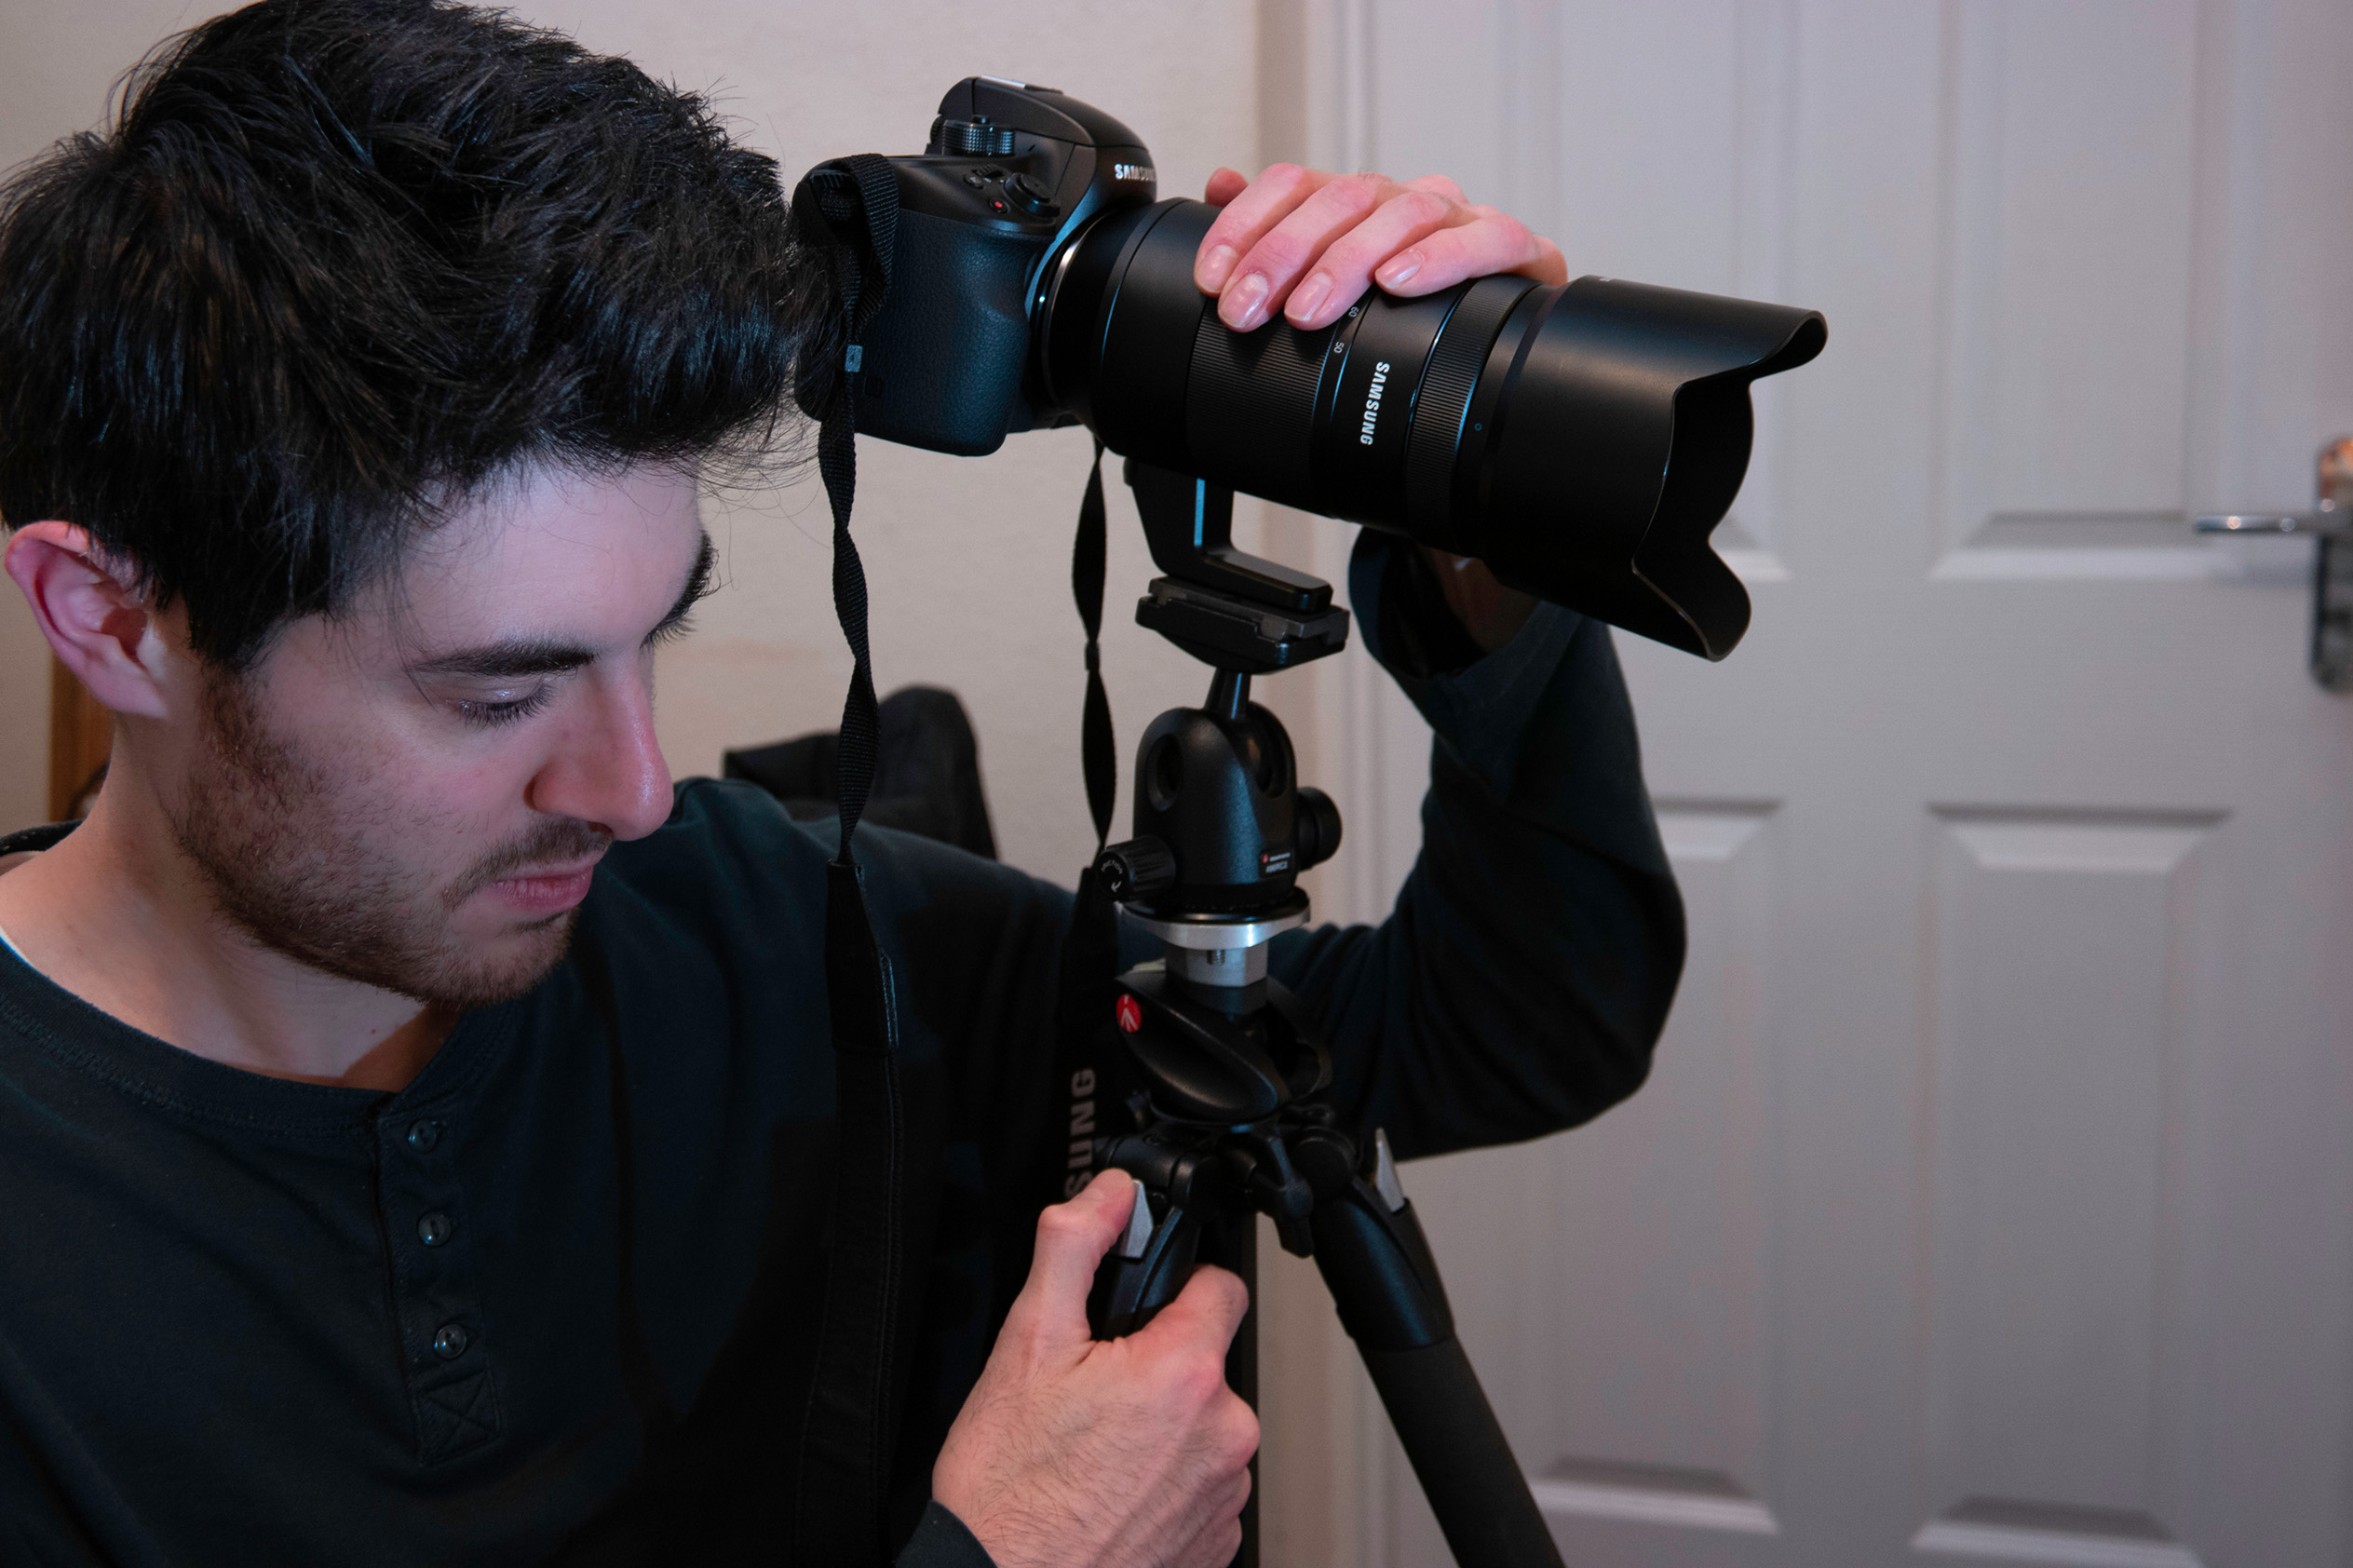
The level of your camera is important as it controls depth-of-field and how much background is visible in the shot. Here we wanted to see a focus fall-off behind the subject but shot slightly down to include the shimmer of light shining through the bottle.
3- Crop tightly
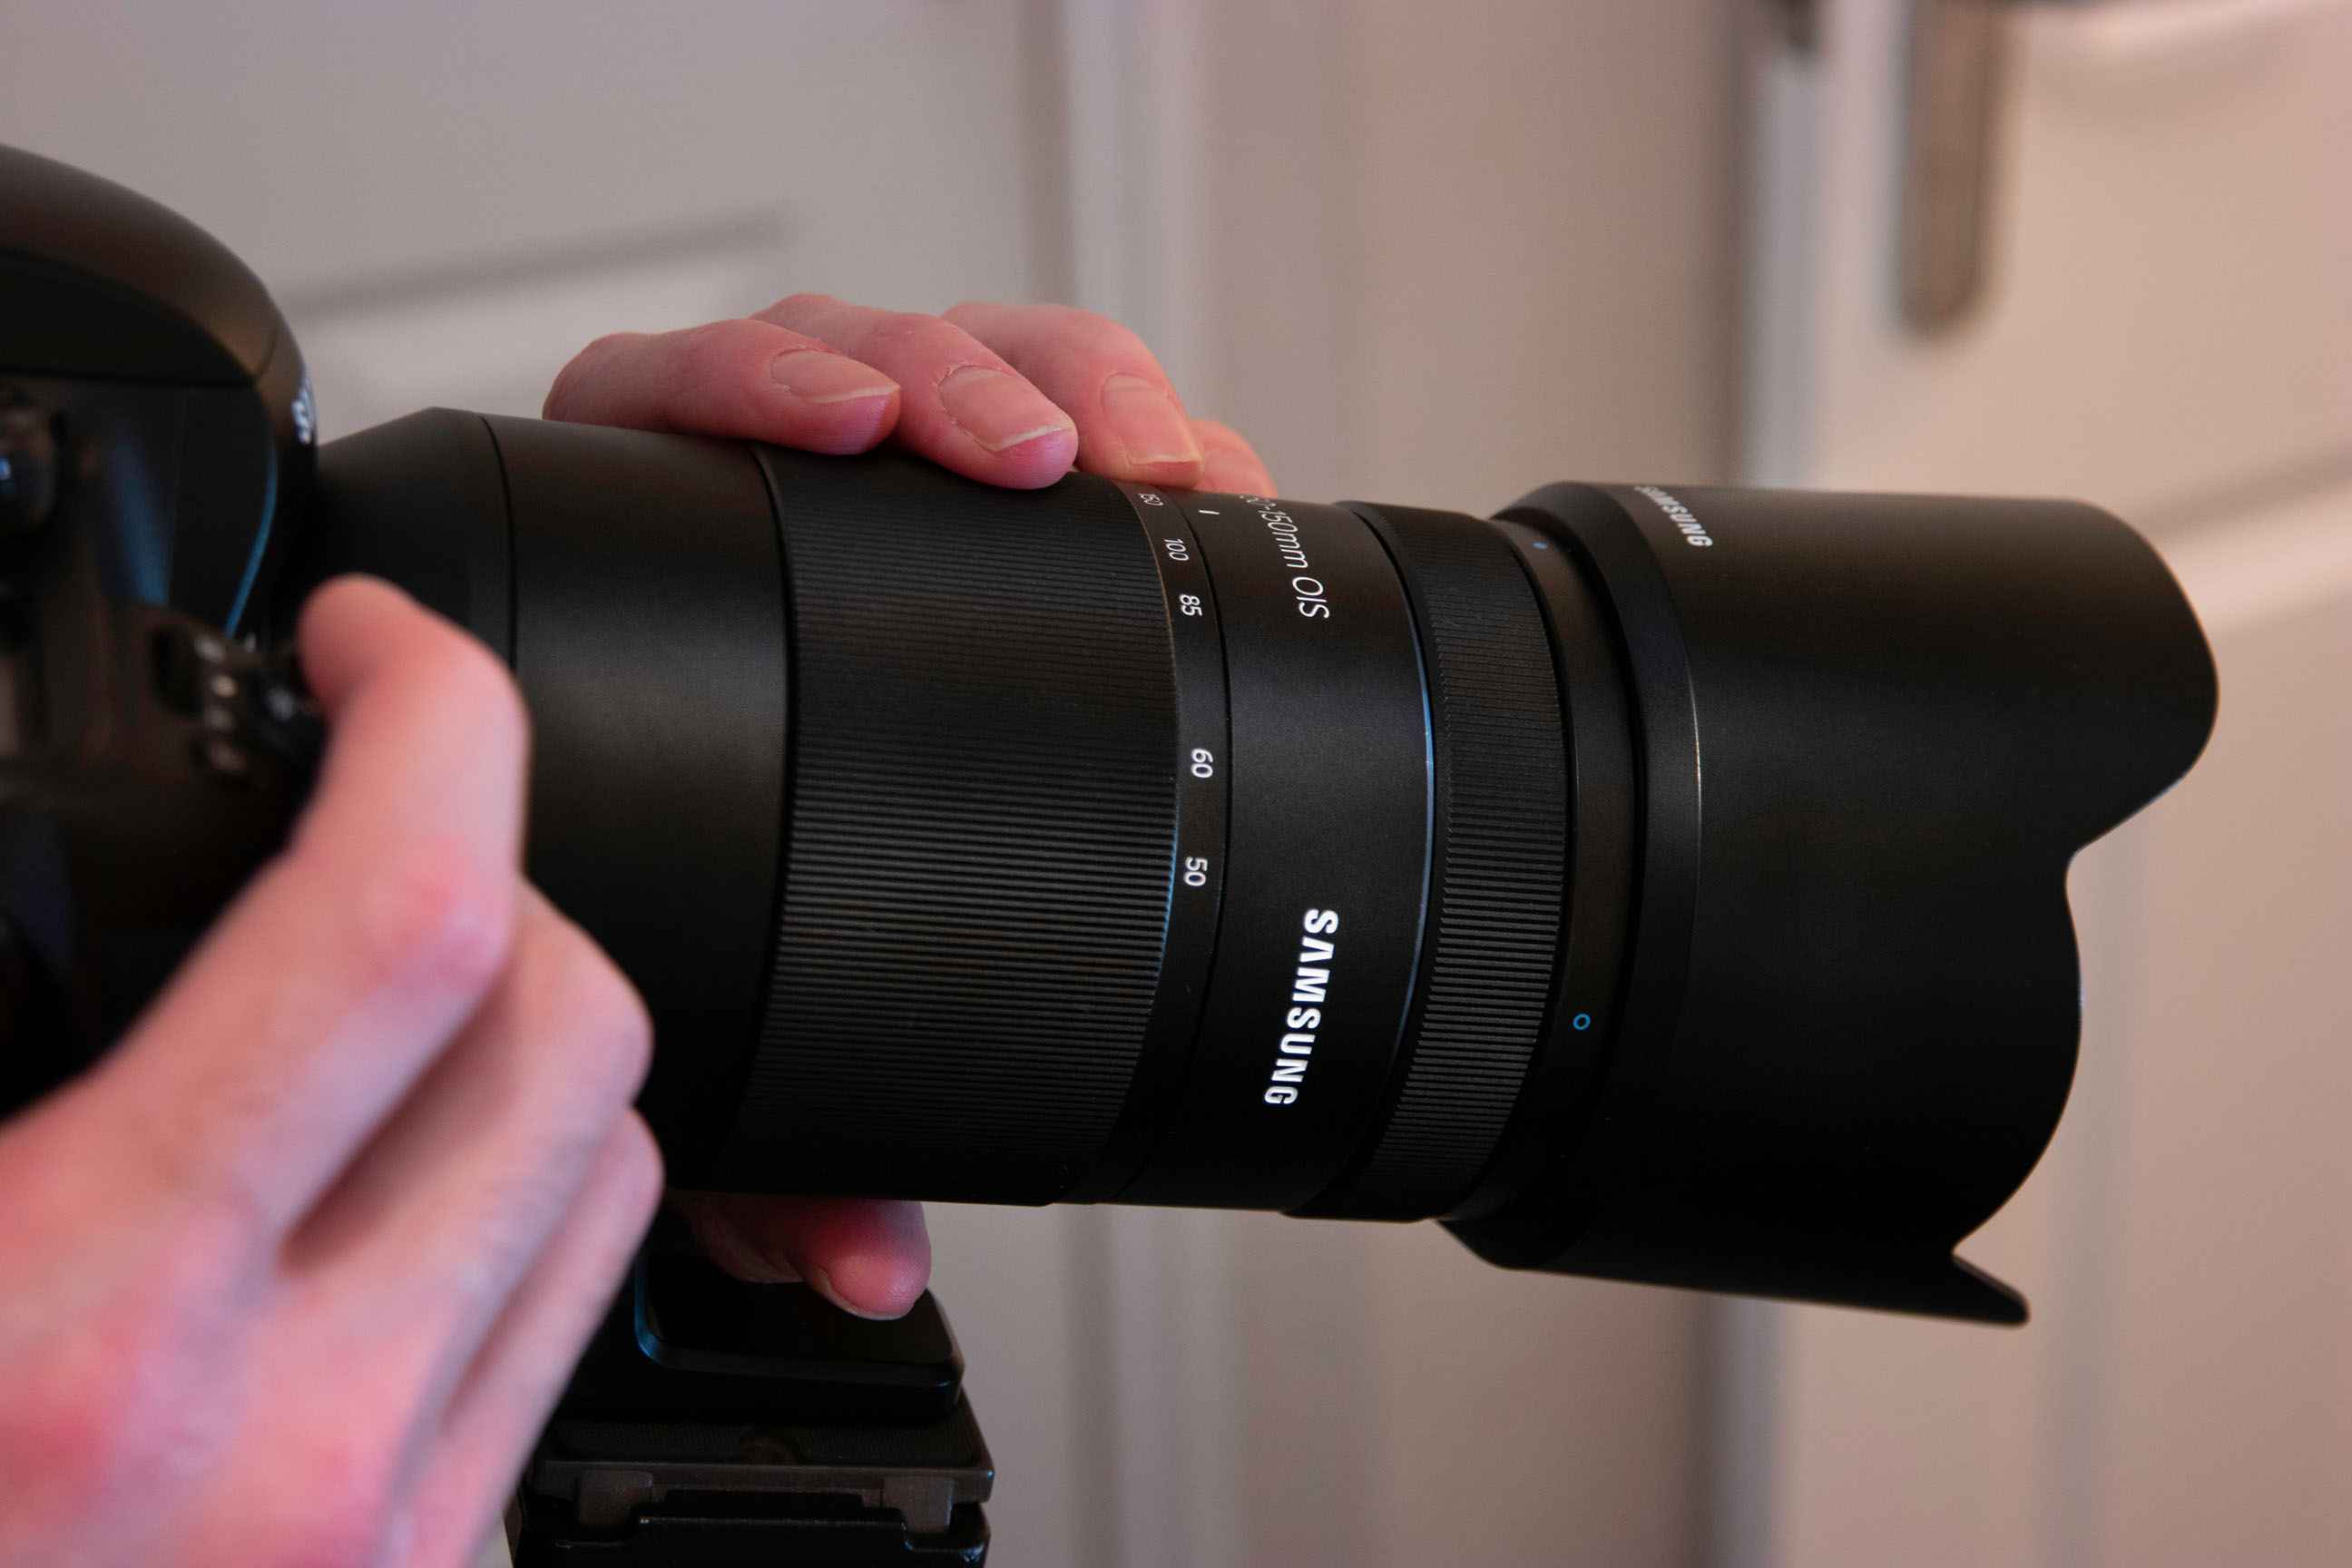
Zoom in to exclude all of the extraneous details of your home. The aim is to create a new context for your subject so control this with the frame boundaries. Shooting at f/2.8-3.5 also limited focus while the focal length compressed the scene.
4- Set lighting
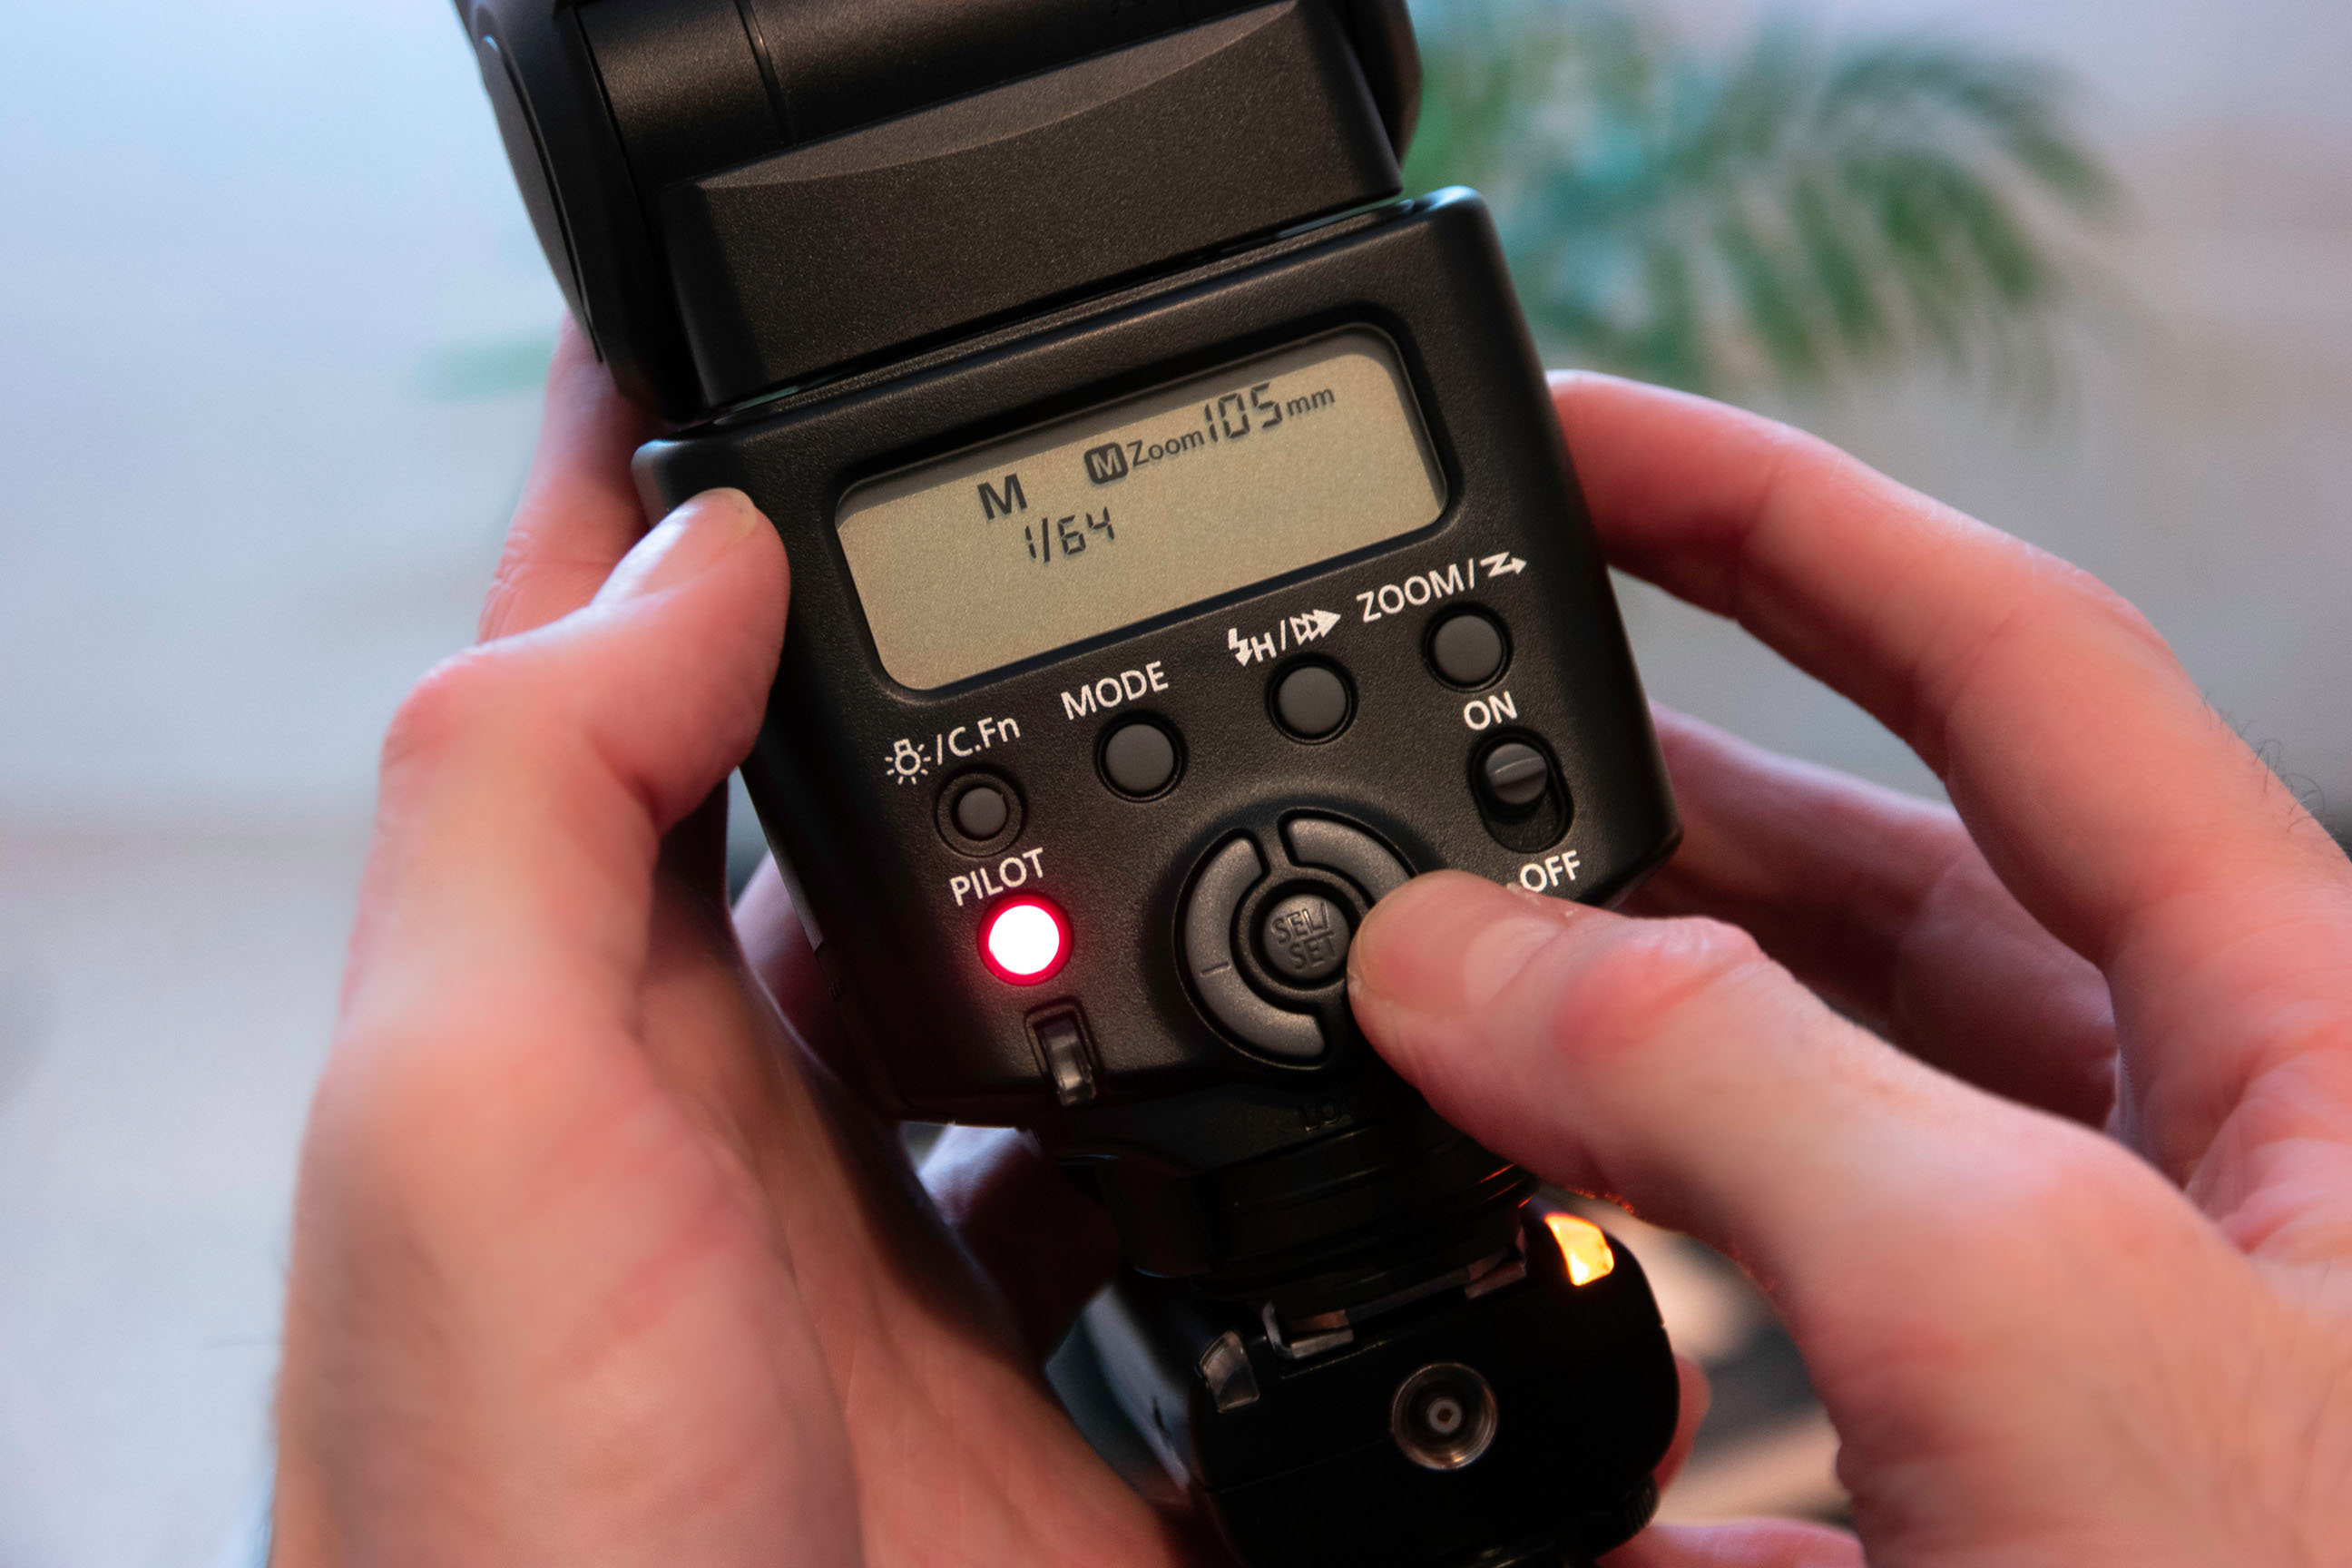
Since we’re working in a confined area the flash power does not have to be set too high, or this will flood the scene and overexpose highlights, especially in glass items such as this. Here 1/64 power was enough to overpower warm ambient light.
Get the Digital Camera World Newsletter
The best camera deals, reviews, product advice, and unmissable photography news, direct to your inbox!
5- Cut ambient light
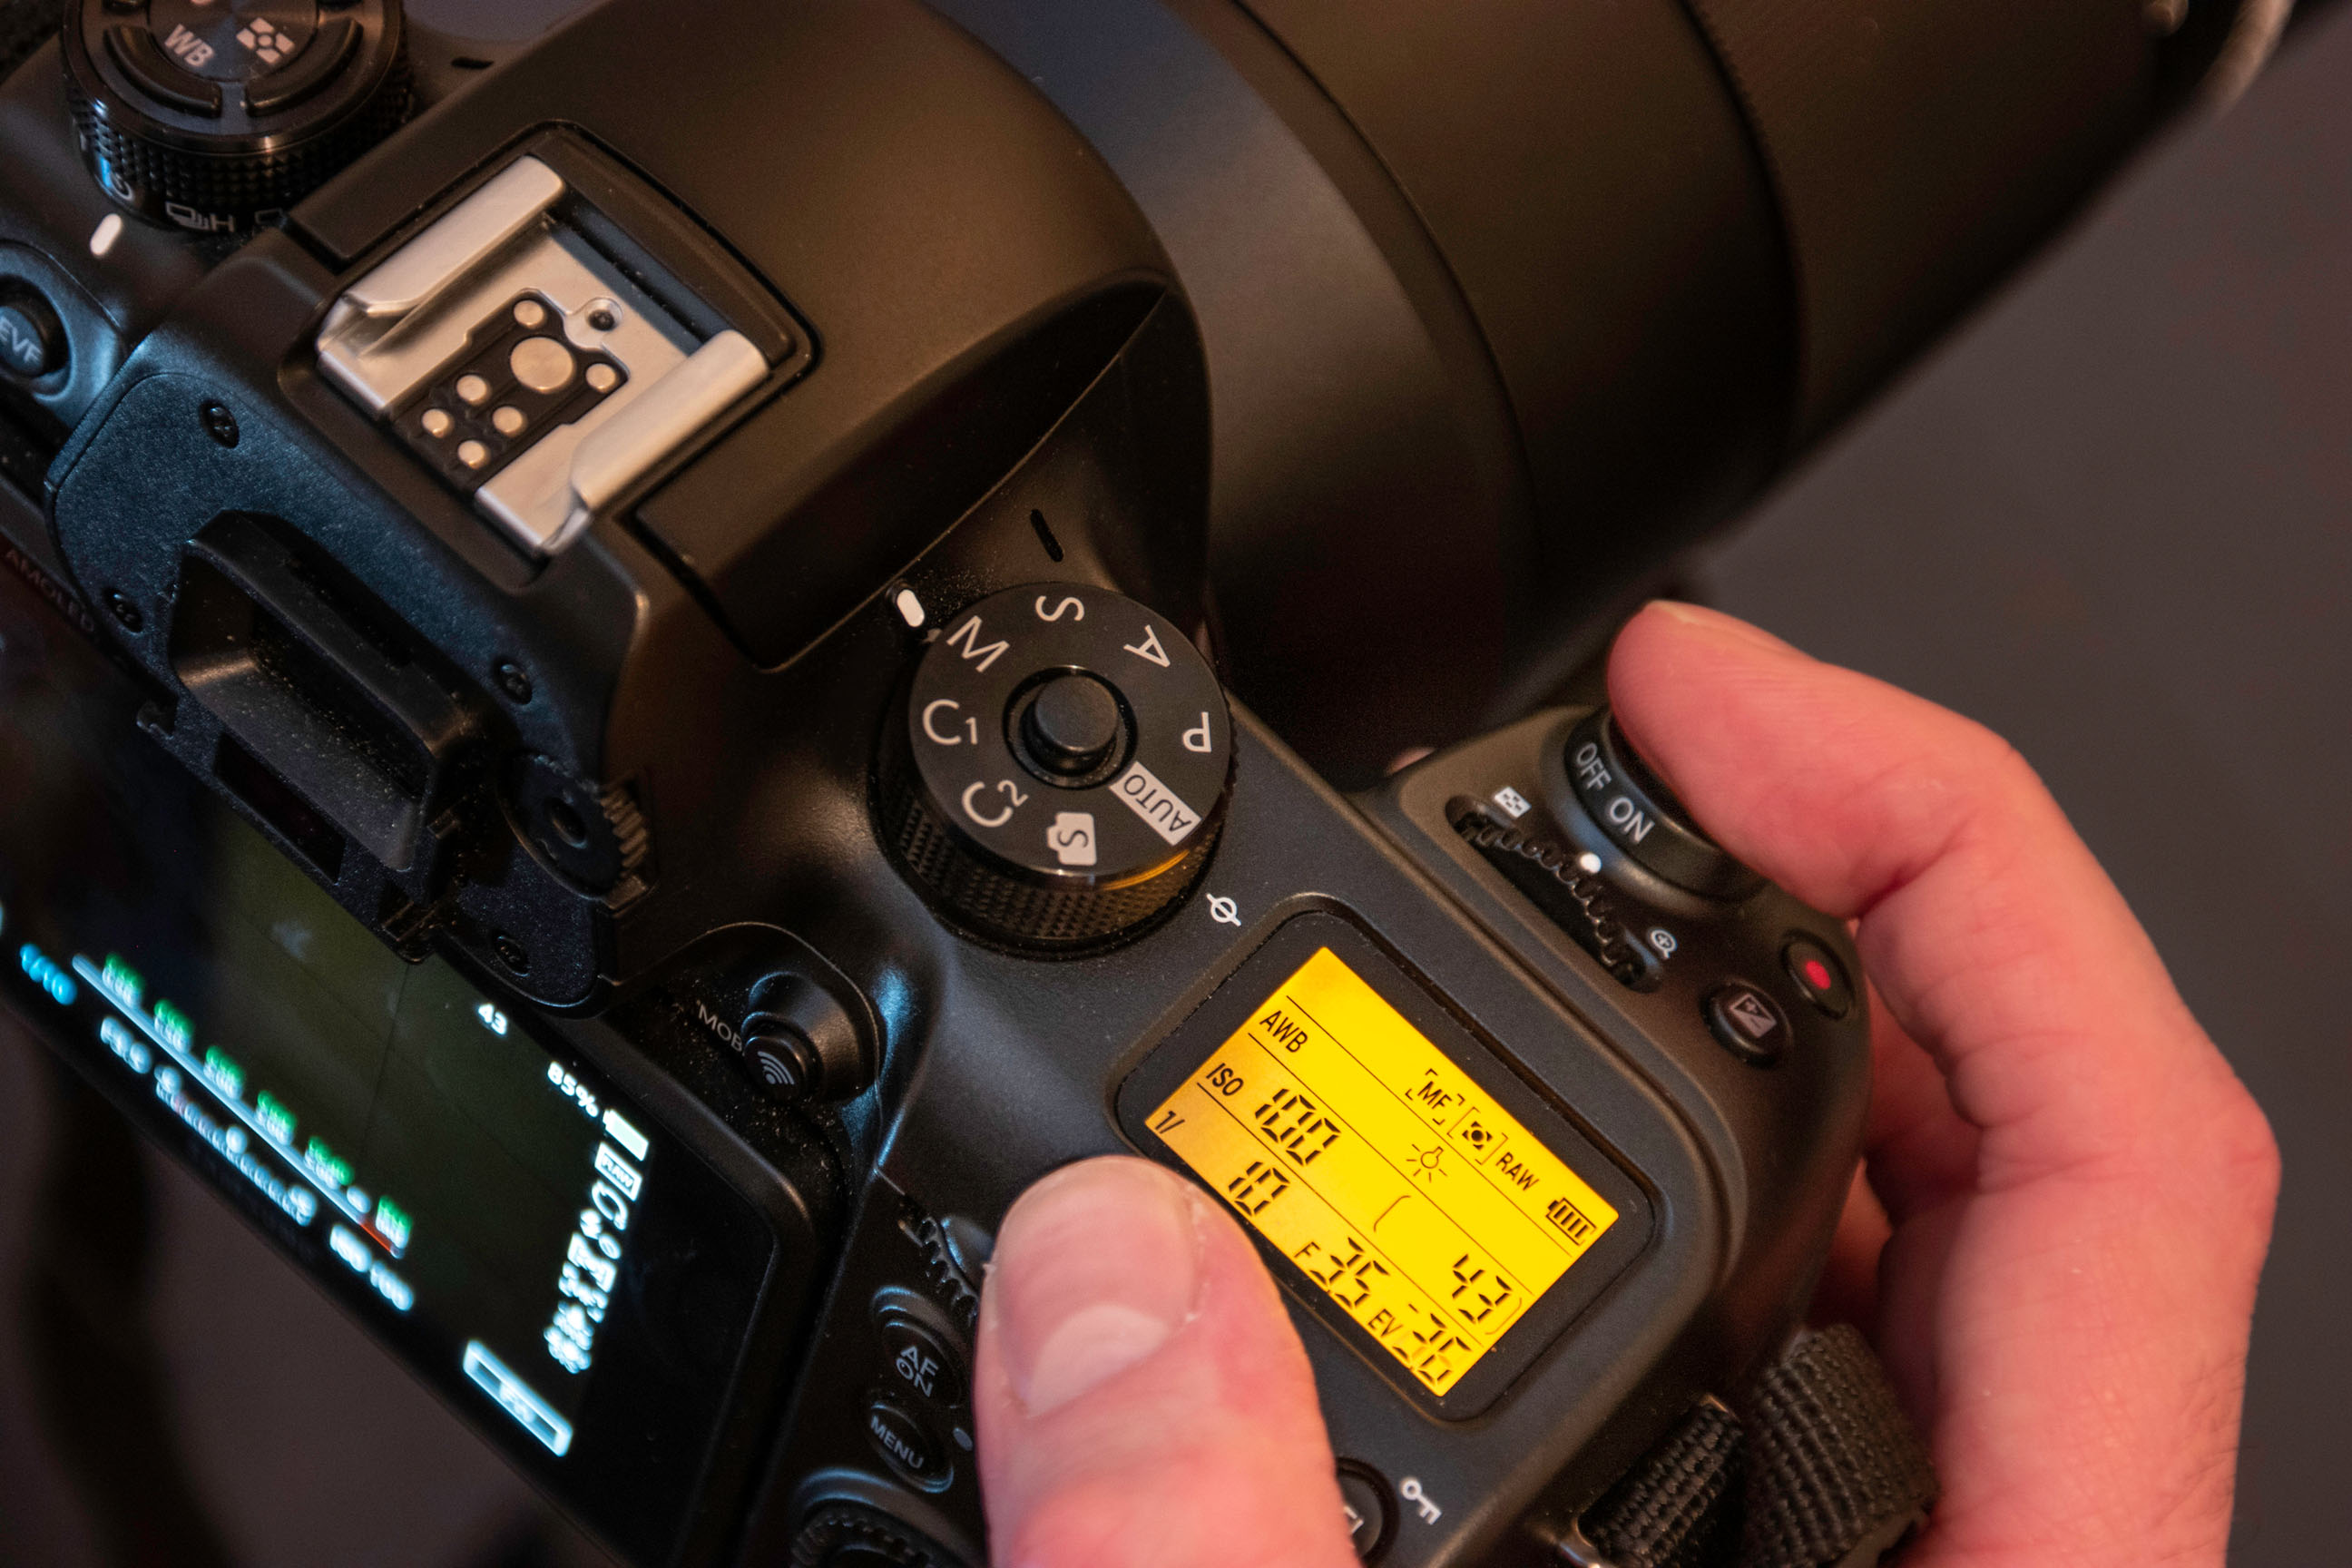
Lower the ISO and increase shutter speed to give the flash illumination more dominance. This doesn’t mean the scene will get darker necessarily, just that you have more control over global lighting. Ambient light is barely visible so you can adjust all areas of the scene.
6- Shoot multiple variations
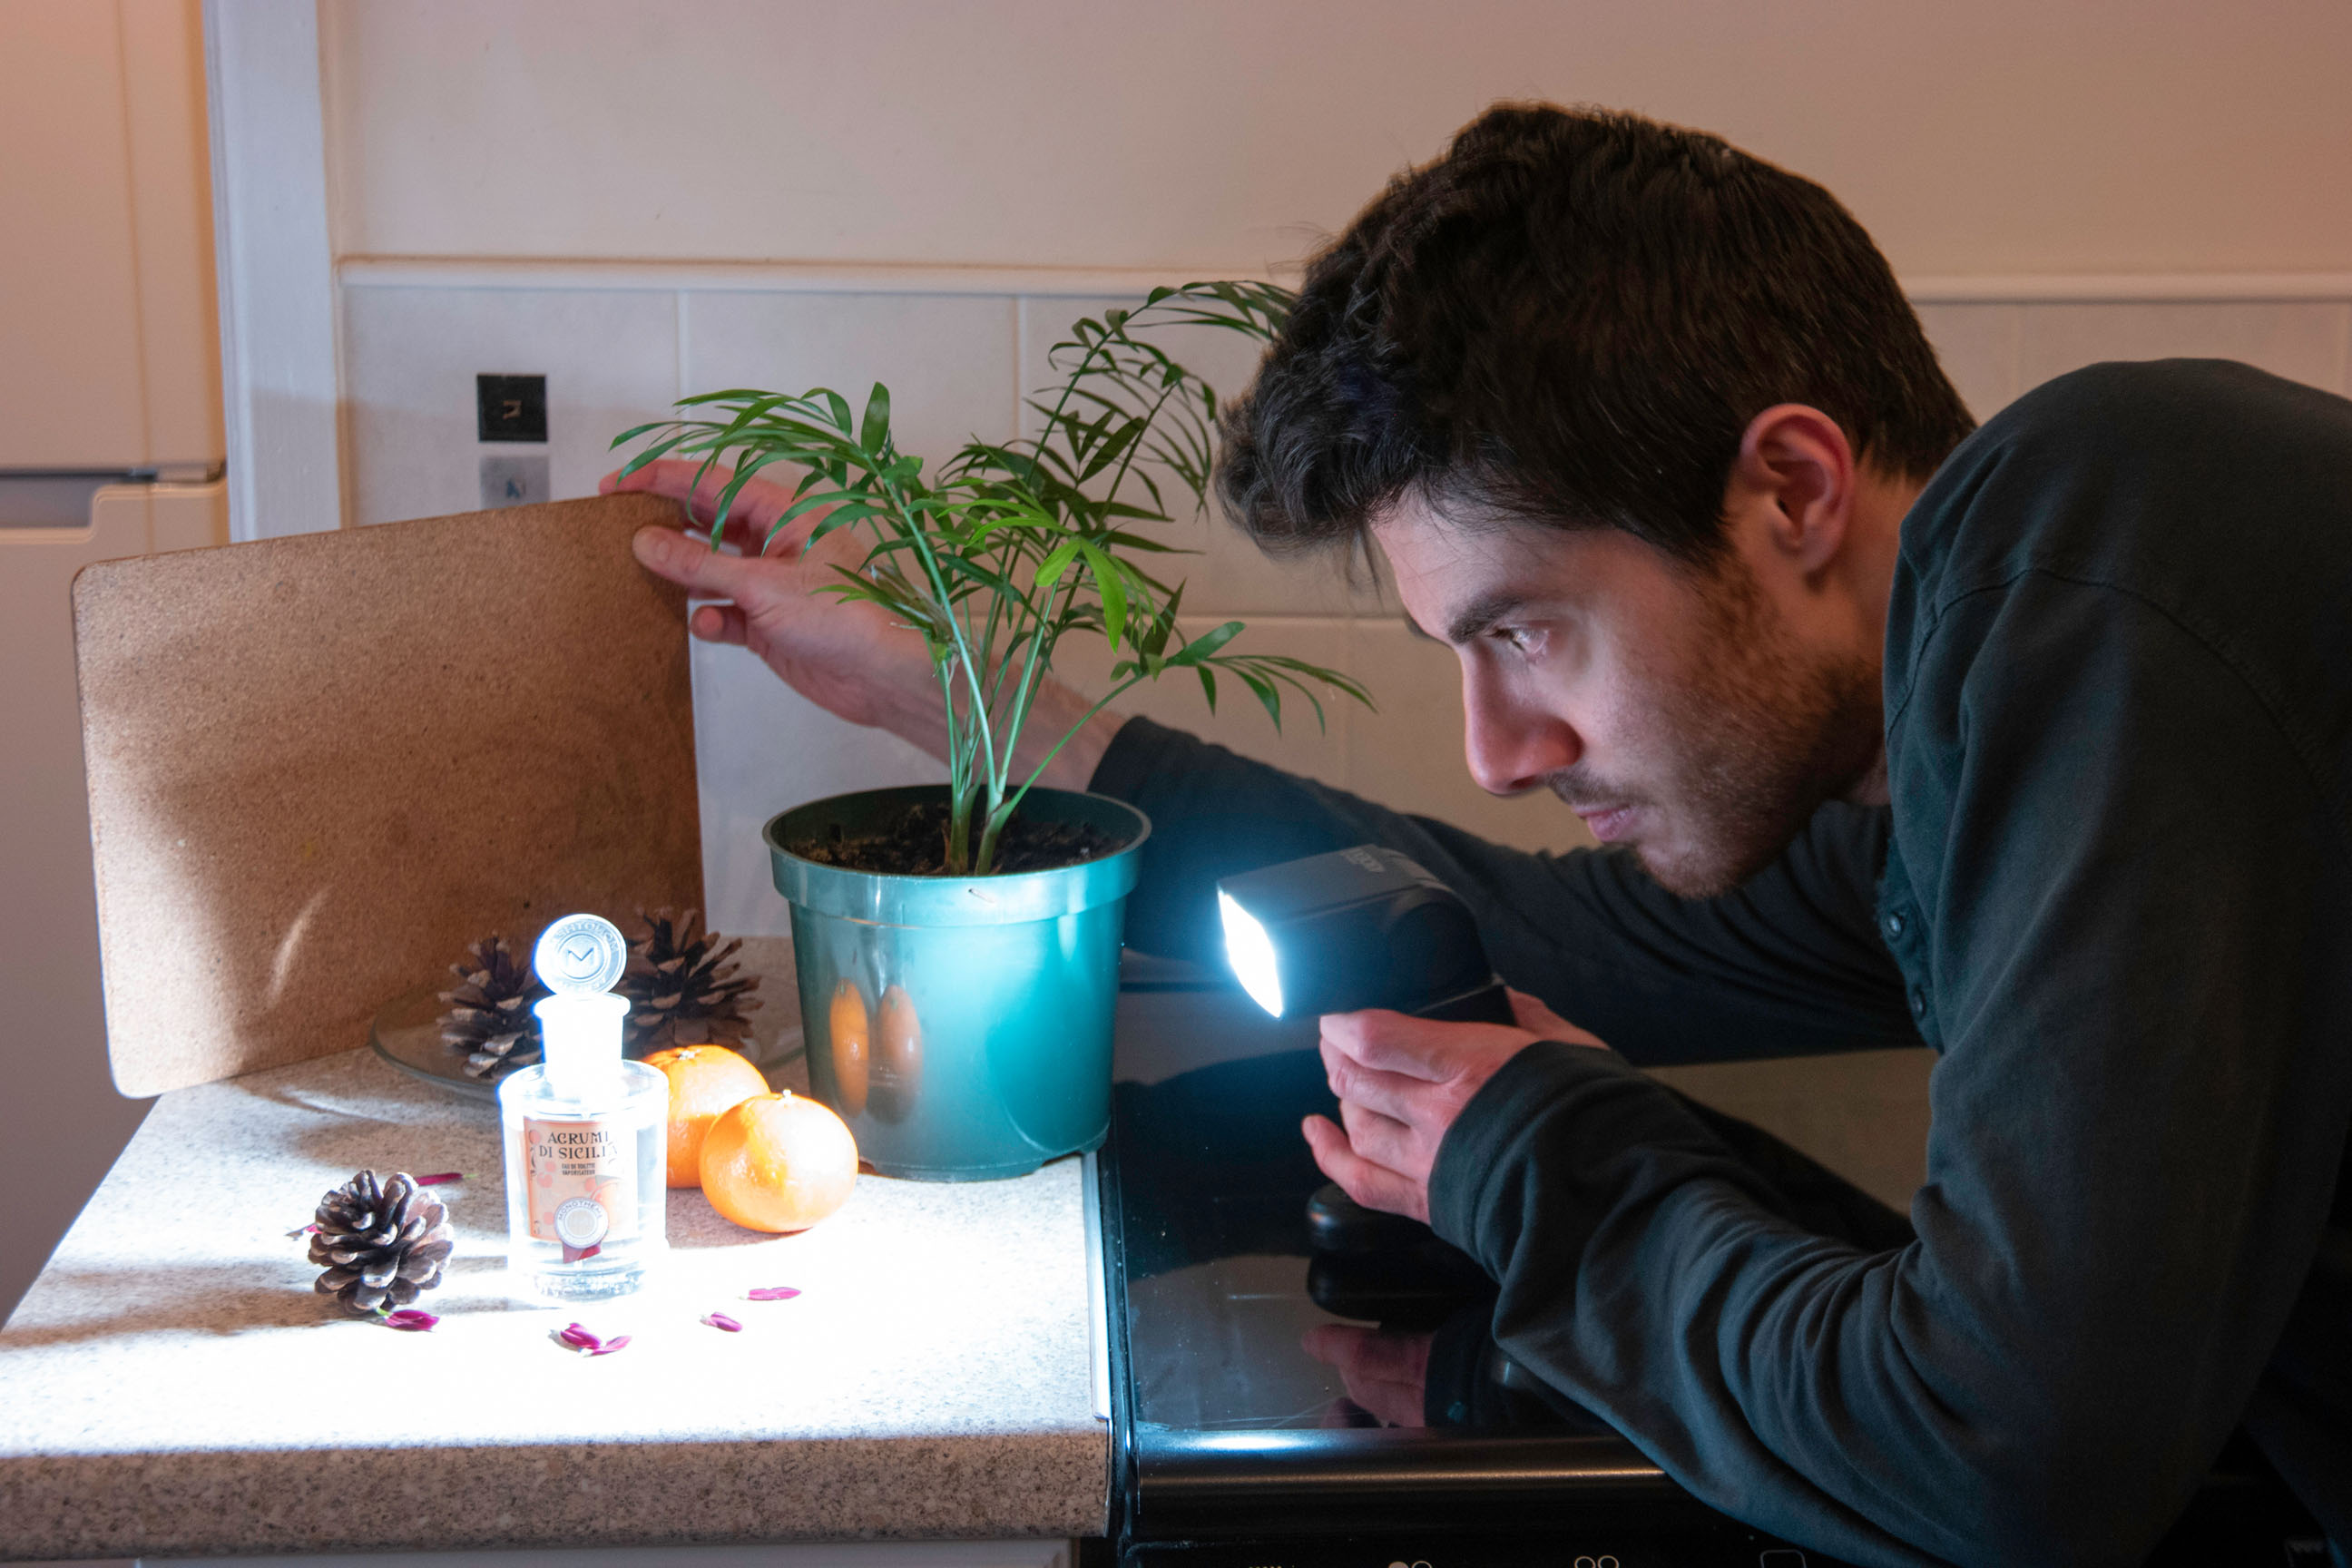
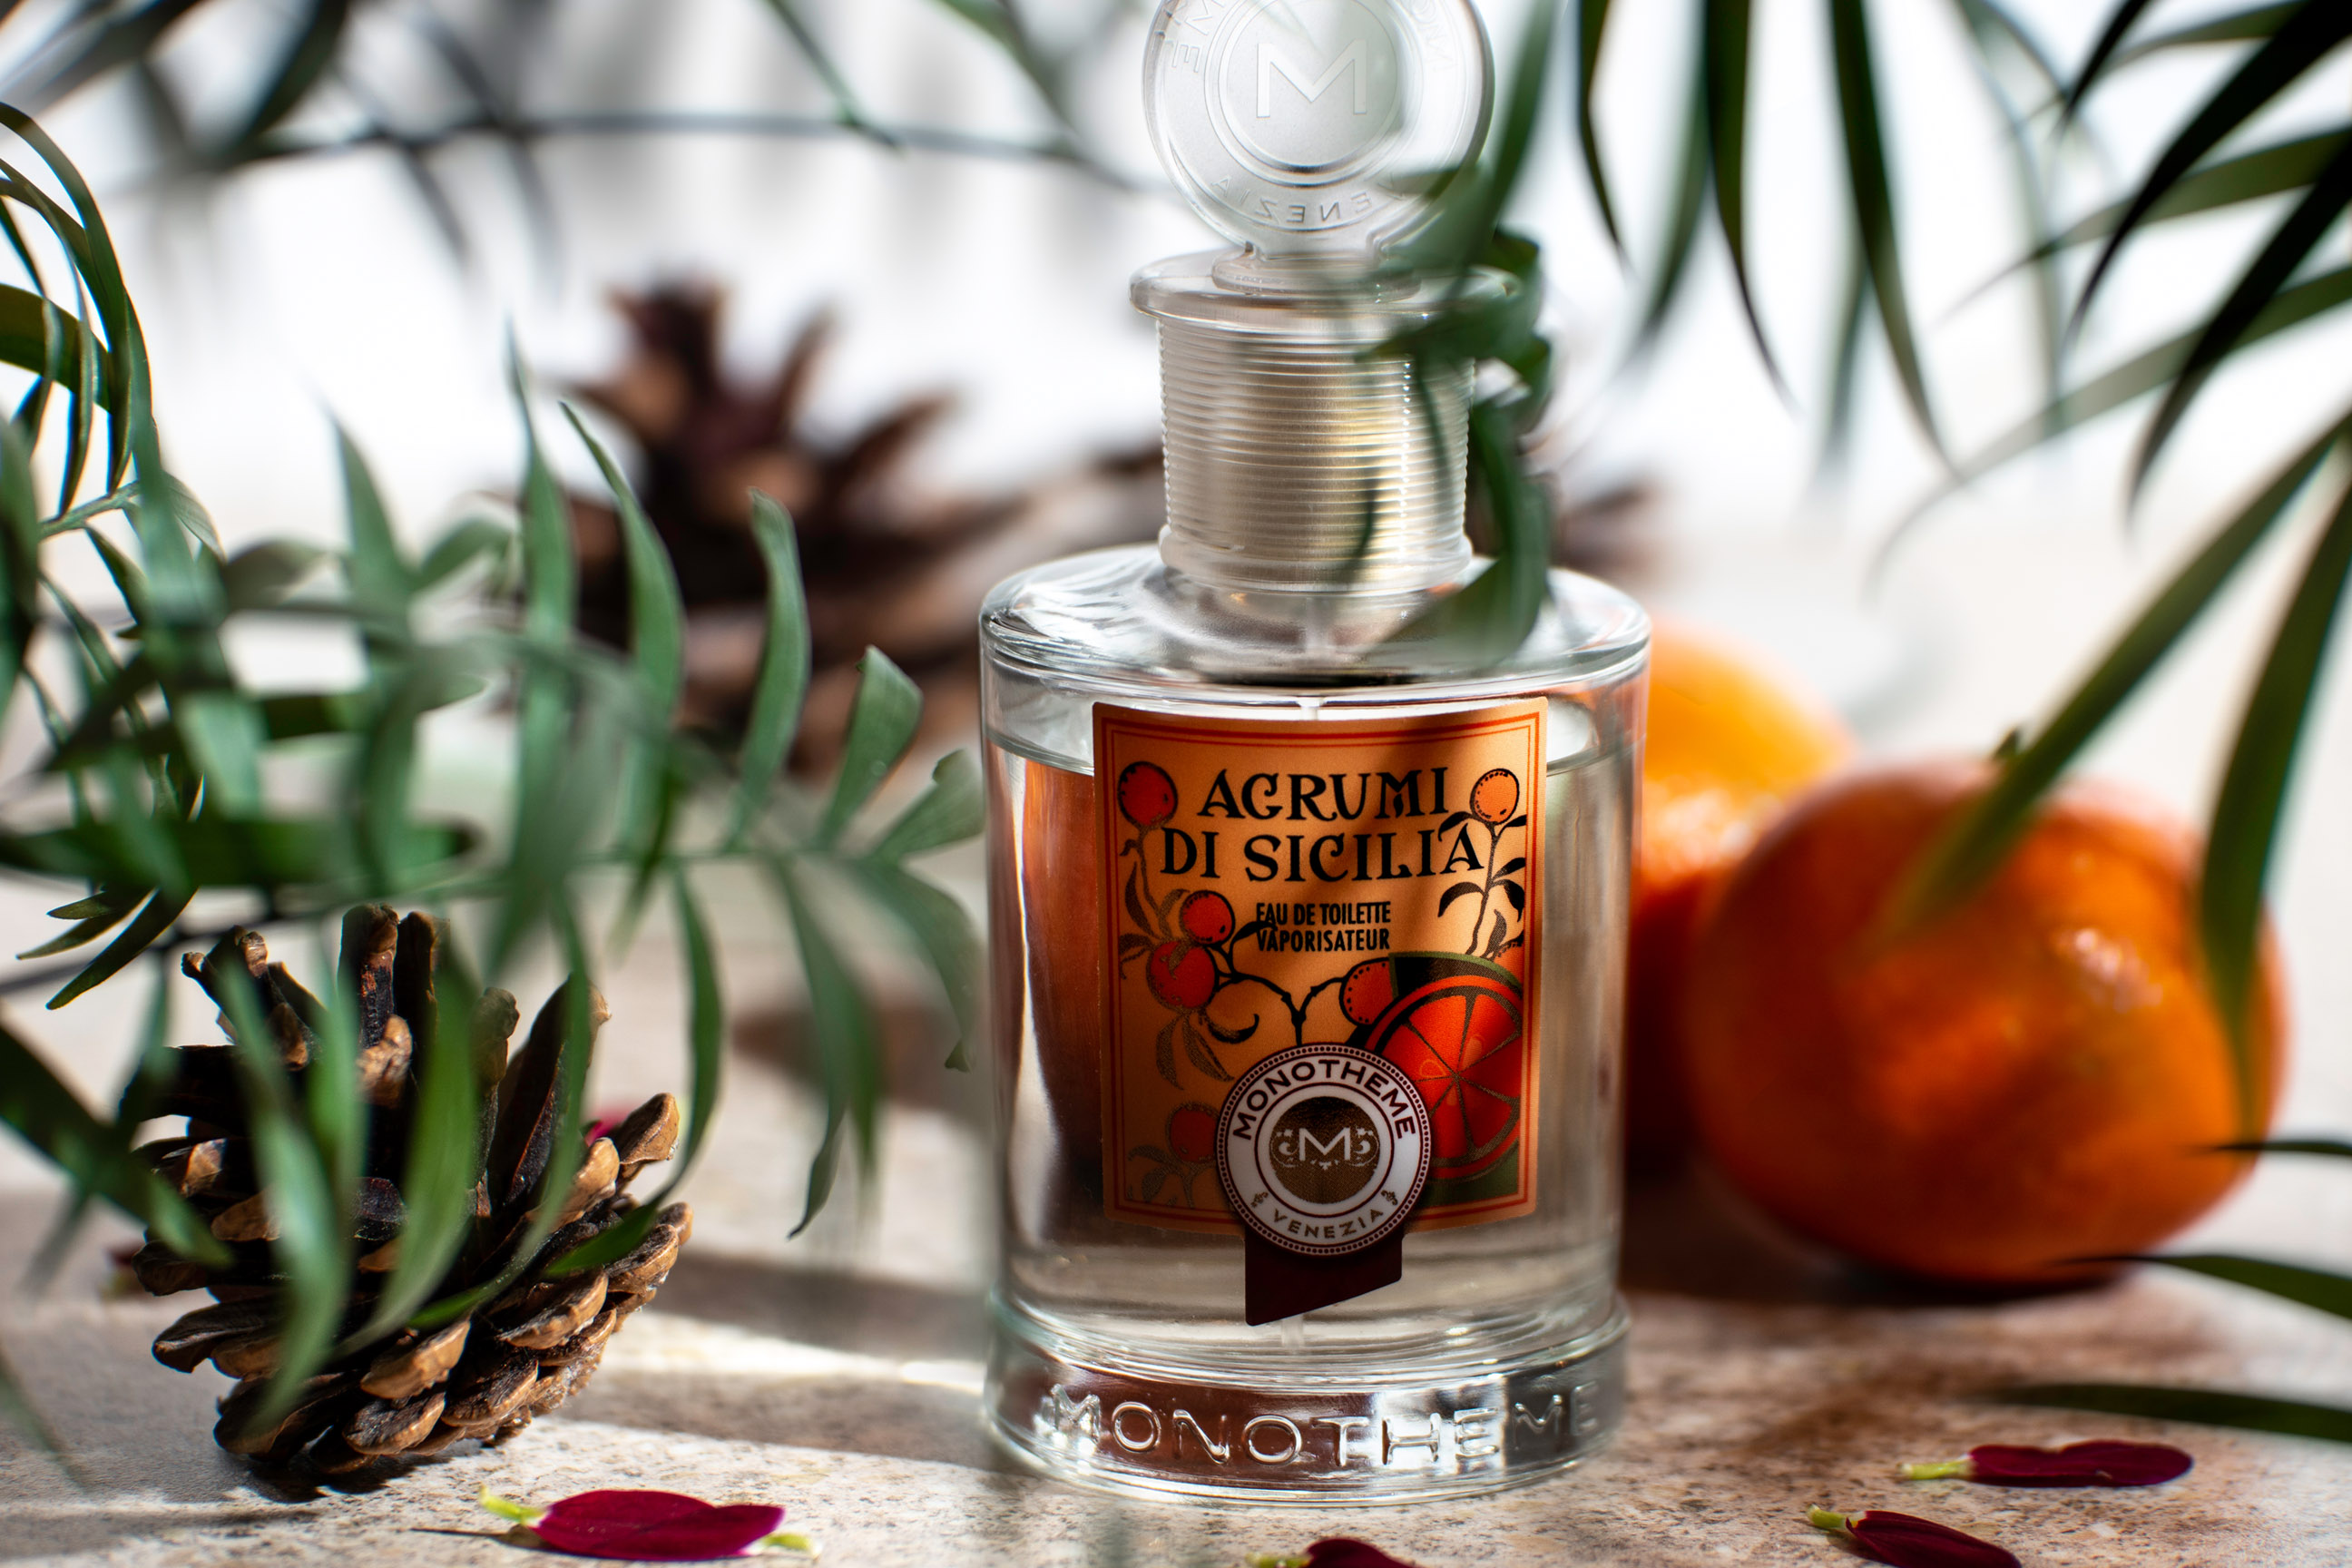
Since we only have one flash we can’t light multiple areas simultaneously. With the camera stationary on a tripod, take multiple frames with a new flash position in each, for different effects. We also moved the foreground foliage between shots for later blending in software.
Edit your shot
1- Edit for area
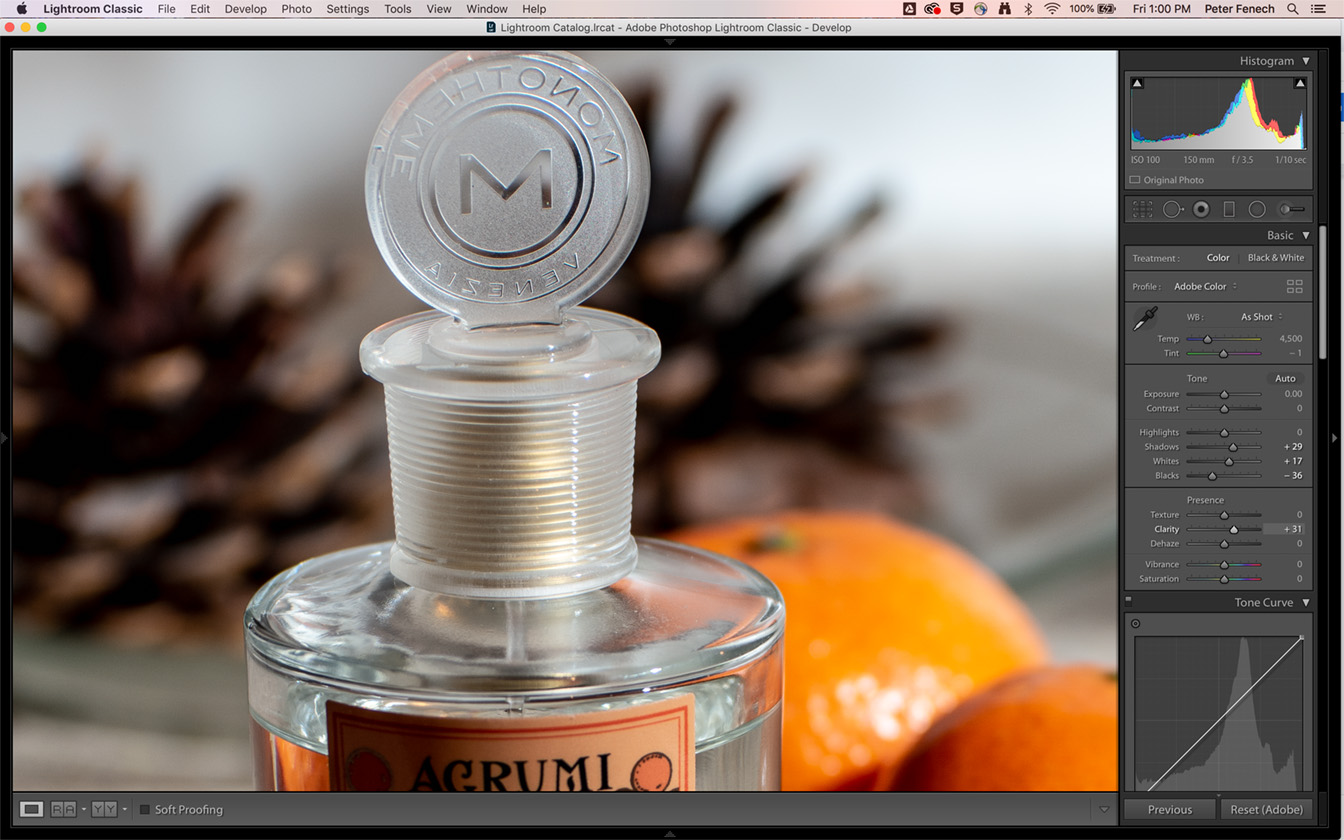
Load all of your RAW files from the shoot in your main editor - here we’re using Lightroom CC. Find images for each area of the shot which have the ideal lighting balance and edit each of these for optimal sharpness, colour and contrast..
2- Lens corrections
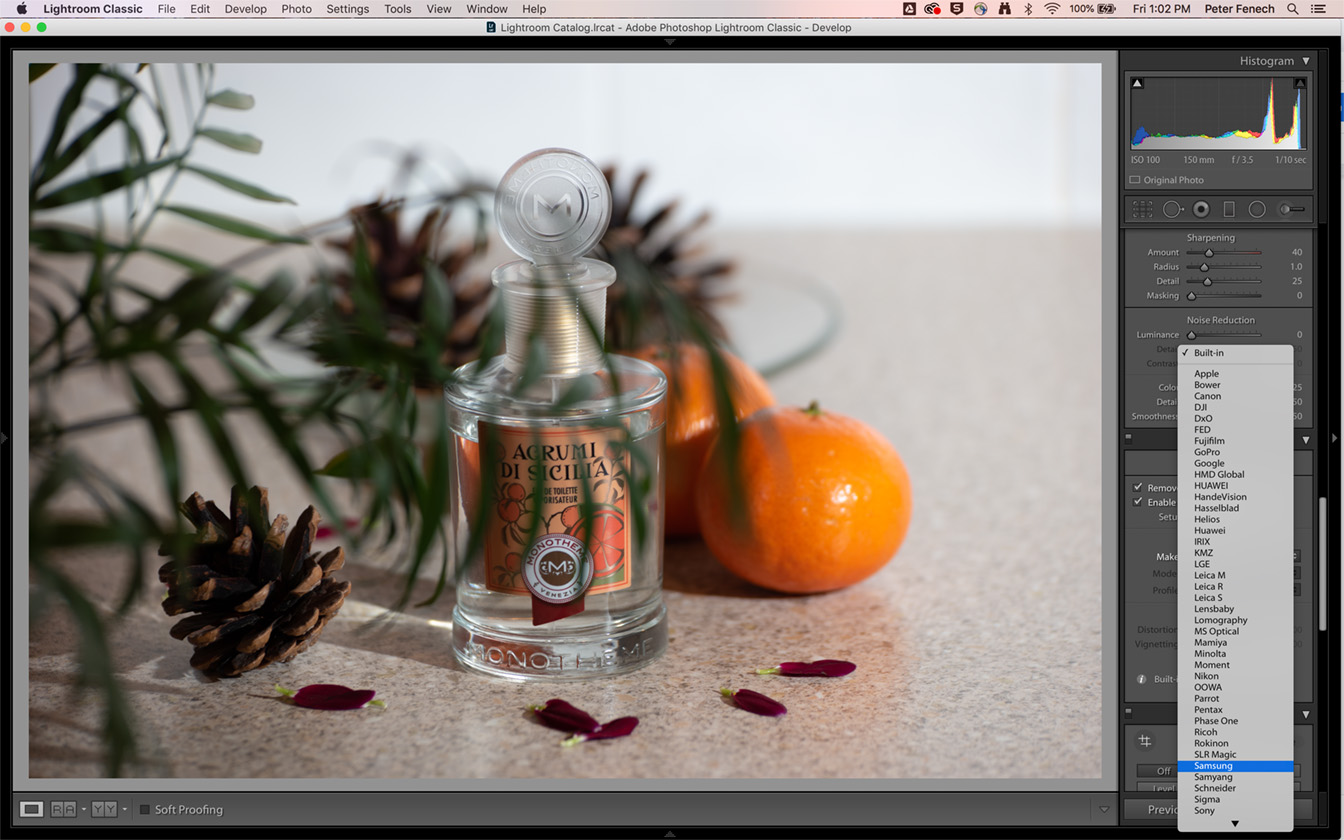
Perform standard lens corrections on all of your segments now, to remove distortion and chromatic aberration if present. Doing this now avoids any accidental mismatch between frames, which can mean they no longer align perfectly. Also apply any noise or moire reduction now if necessary.
3- Open all segments
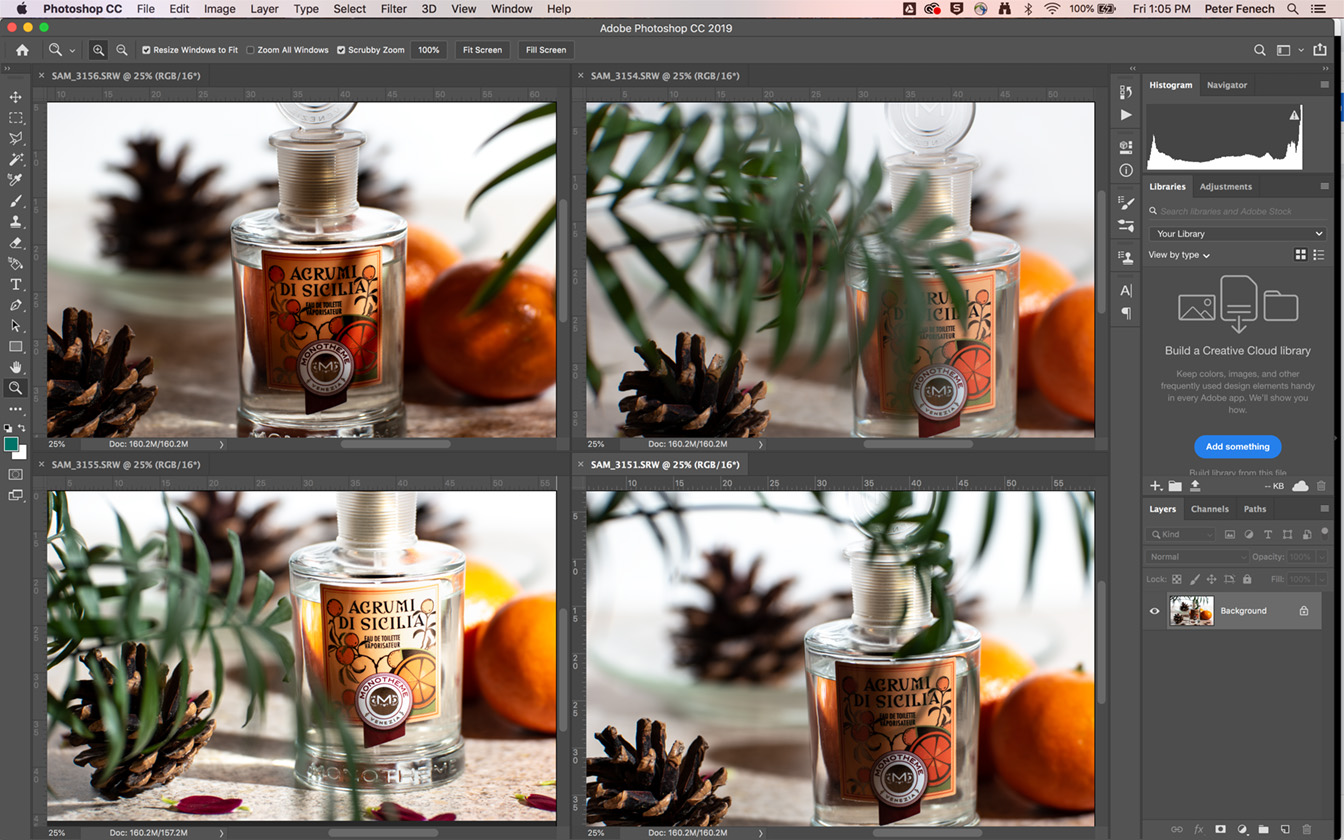
Flag all of the selected segments if you need to take a break, so you know which ones you have chosen for the final blend. When ready, open all of these in Photoshop arranging the tabs in the same order as the elements they contain.
4- Quick stacking
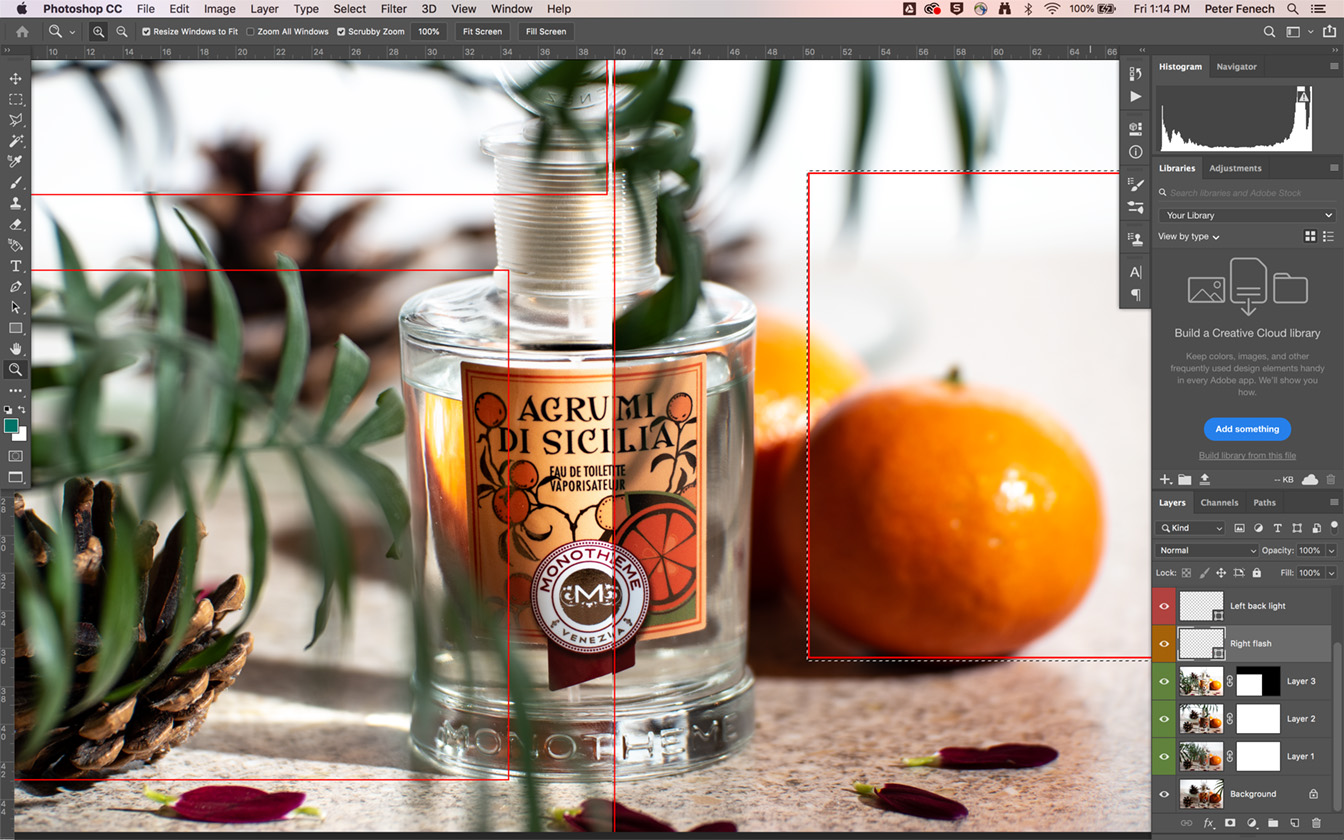
Drag all of your segments into a layer stack, with the ‘back’ elements at the bottom of this. Add layer masks to each layer and create a rough collage using a mix of Marquee Tools and Selection Tools, filling areas with black to reveal the layers below.
5- Refined blending
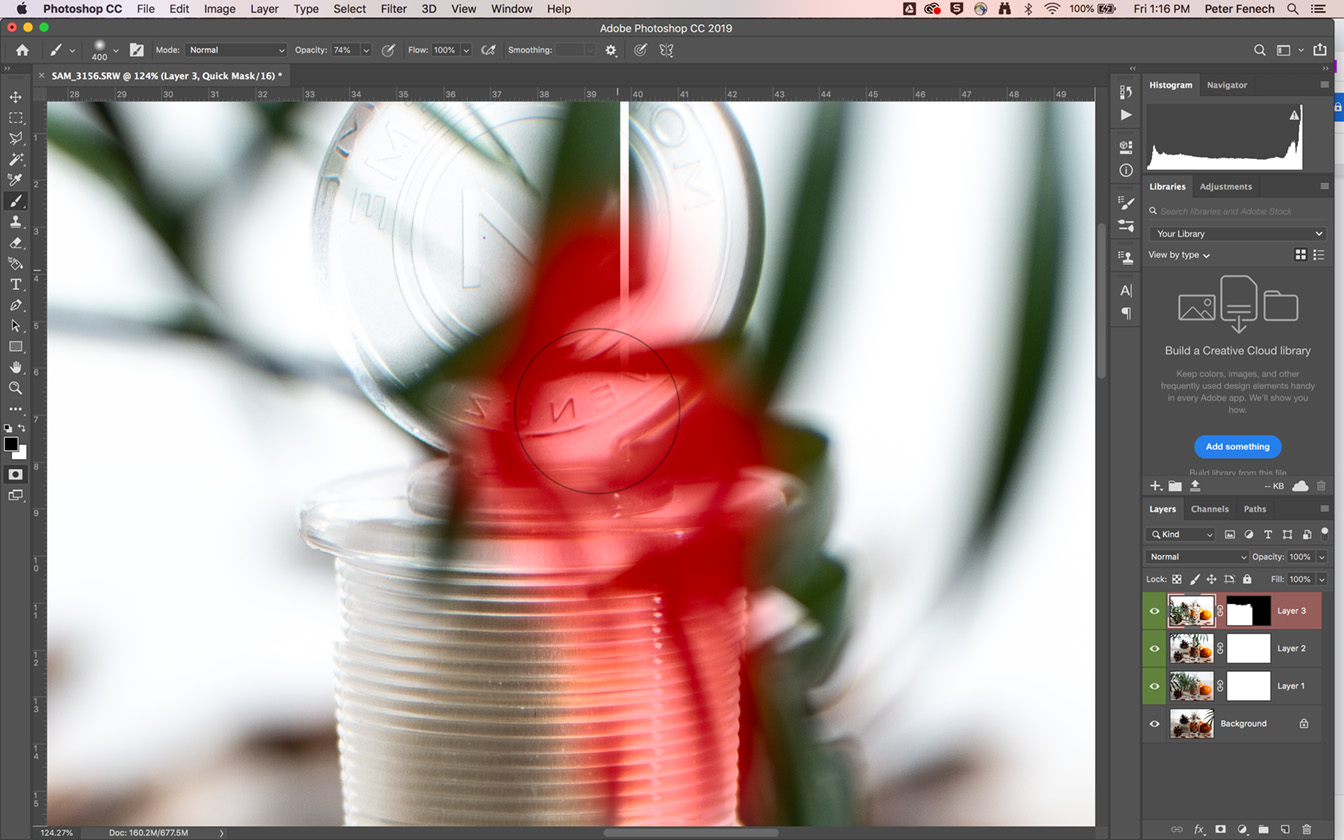
With all of the segments arranged you can now make refined masks, using the Brush Tool to gradually reveal and hide elements and lighting zones. To reveal shadows use a large, soft brush, while ‘hard’ elements benefit from precise masking, using Lasso or Pen Tool Selections
6- Precise retouch
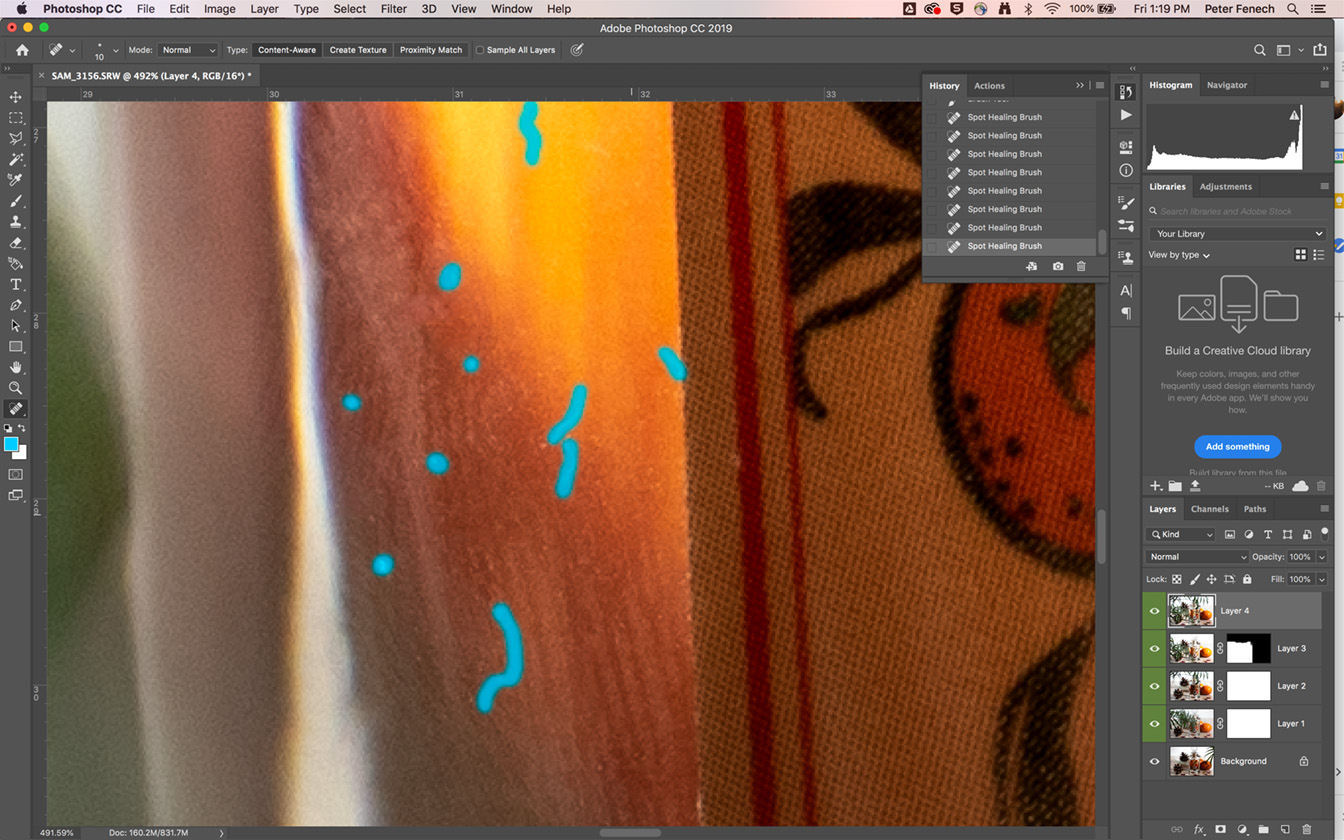
With the image components stacked and blended, perform local dodging and burning, sharpening and cosmetic retouching. We used the Spot Healing Brush Tool (J) to remove dust and blemishes on the product, leaving the environment more naturally imperfect. This pushes the outdoor feel of the shot.
Read more
Home photography ideas: Shoot product photography with a single strobe
Canon patents "exotic super ultra wide" RF mount zoom lenses
Adapt and conquer! Learn to use lens adaptors the right way
The best Canon lenses in 2021: go longer, wider and closer with your Canon camera
As the Editor for Digital Photographer magazine, Peter is a specialist in camera tutorials and creative projects to help you get the most out of your camera, lens, tripod, filters, gimbal, lighting and other imaging equipment.
After cutting his teeth working in retail for camera specialists like Jessops, he has spent 11 years as a photography journalist and freelance writer – and he is a Getty Images-registered photographer, to boot.
No matter what you want to shoot, Peter can help you sharpen your skills and elevate your ability, whether it’s taking portraits, capturing landscapes, shooting architecture, creating macro and still life, photographing action… he can help you learn and improve.
