Learn to use high-speed photography to freeze movement
An easy way to capture liquid motion
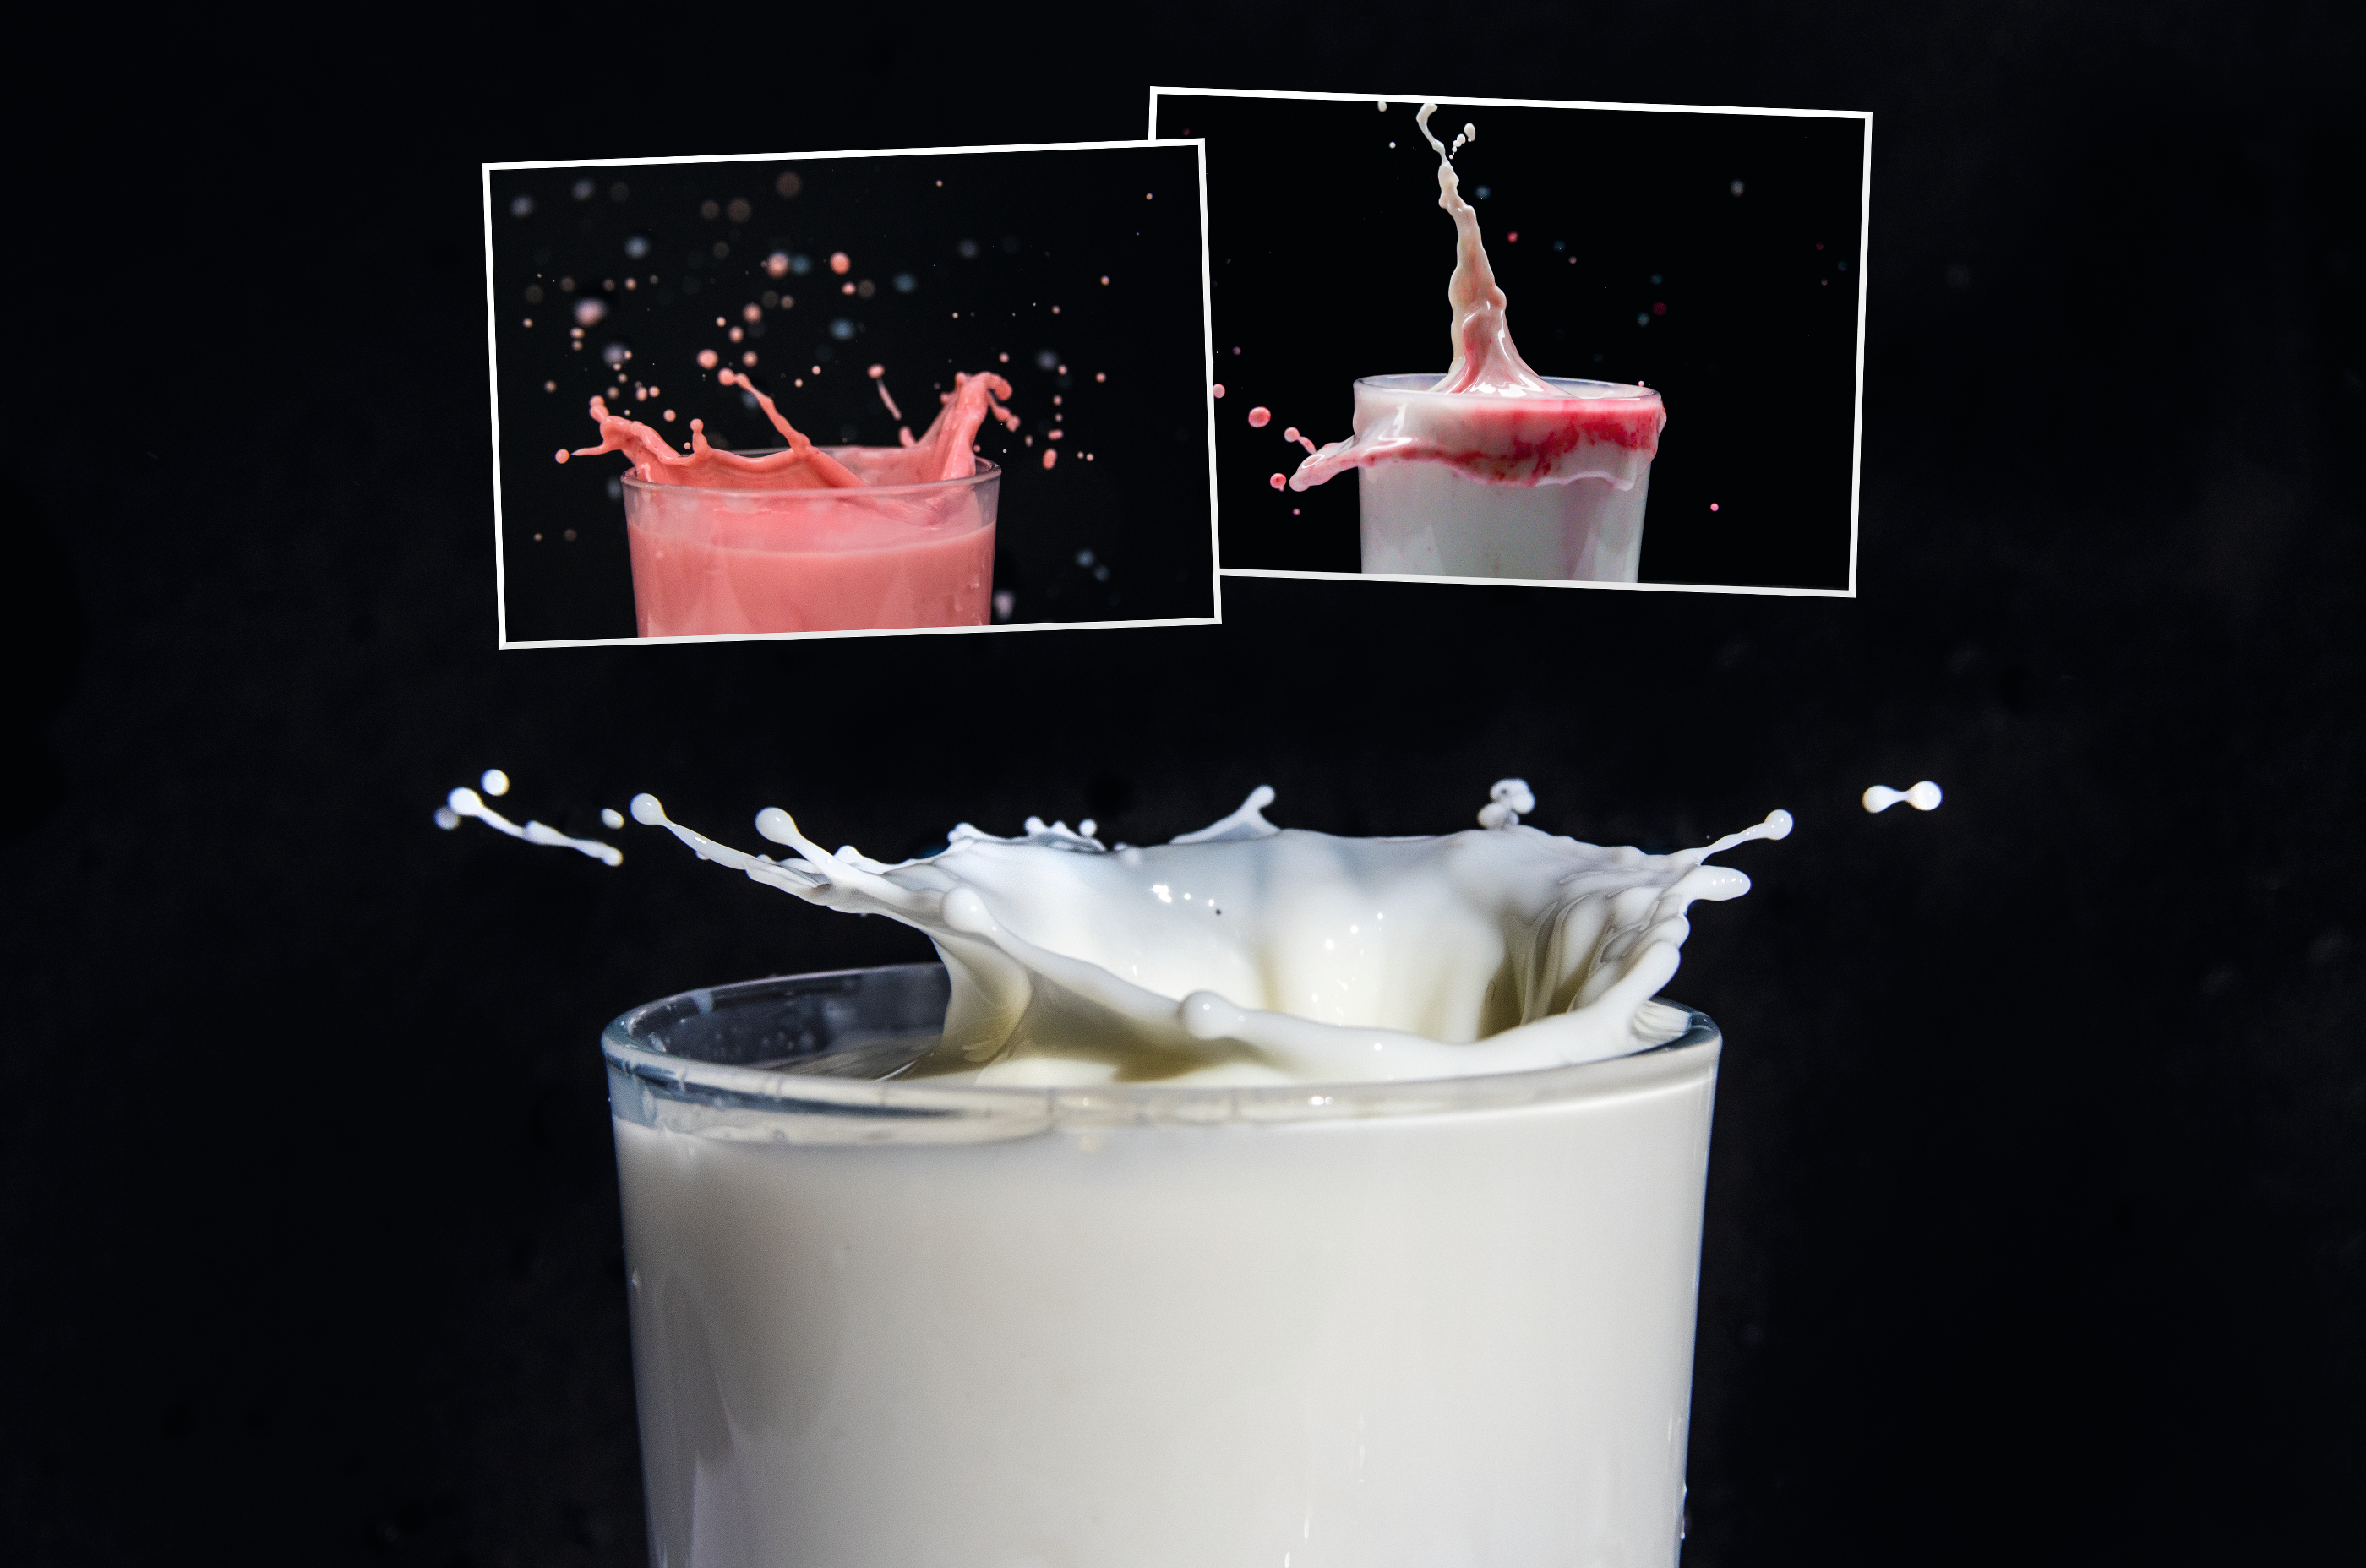
Capture splashes with high-speed photography
Time needed: 1 hour
Skill level: Intermediate
Kit needed: Close-focusing lens, Tripod, Liquid, Container, Objects to drop, Poster boards, Food colouring
Taking photos of splashes and spills might not be anything new, but it’s always fun to try. Freezing motion using high-speed photography feels like magic, because it gives you a glimpse into everyday moments that usually happen too fast for our eyes to process. Many splash photographers make use of softboxes, Speedlites and a maze of triggers, but we’re here to show you how it can be done using just your DSLR and a fast shutter speed. When you attempt anything new there’s a learning curve involved, and this project is no different. Once you’ve set up, focusing is the first tricky element. By setting the lens to manual focus, you might need to adopt a slight trial-and-error approach and take plenty of test shots as you tweak the focus point.
The shutter also needs to be fired at the perfect time, at exactly the moment when the object first hits the liquid. Don’t get frustrated if you can’t initially fire the shutter at the same time as the splashes appear. Simply review your shots and work out whether you need to fire earlier or later next time. By dropping objects from the same height each time, you’ll find it easier to figure this variable out.
Intricate splash shots like this can be a challenge for your patience, but they’re also a real chance to conjure up super-dynamic still lifes. Shake things up by adding food colouring, try different objects, then give the final images a Photoshop boost.
THE SETUP: Don't splash out on kit
It’s simpler than you’d think to capture freeze-frame drops
Use a wireless remote release to fire off your camera in one hand and drop an object with the other hand
The setup for this technique isn’t an overly complicated one, but like any still life shoot there are a few basic things to bear in mind. Because we’re using a completely flash-free technique to freeze movement, it does mean that you’re reliant on having enough ambient light in your chosen environment. You need to reach shutter speeds that are fast enough to capture the splashes in mid-air, so ideally you should try to stay around 1/1000 sec or higher.
Set up outside, where you can harness daylight. This also means you’ll have more space to work with, and will be able to keep any mess away from a home environment. Shoot on days where there’s little wind and plenty of light!
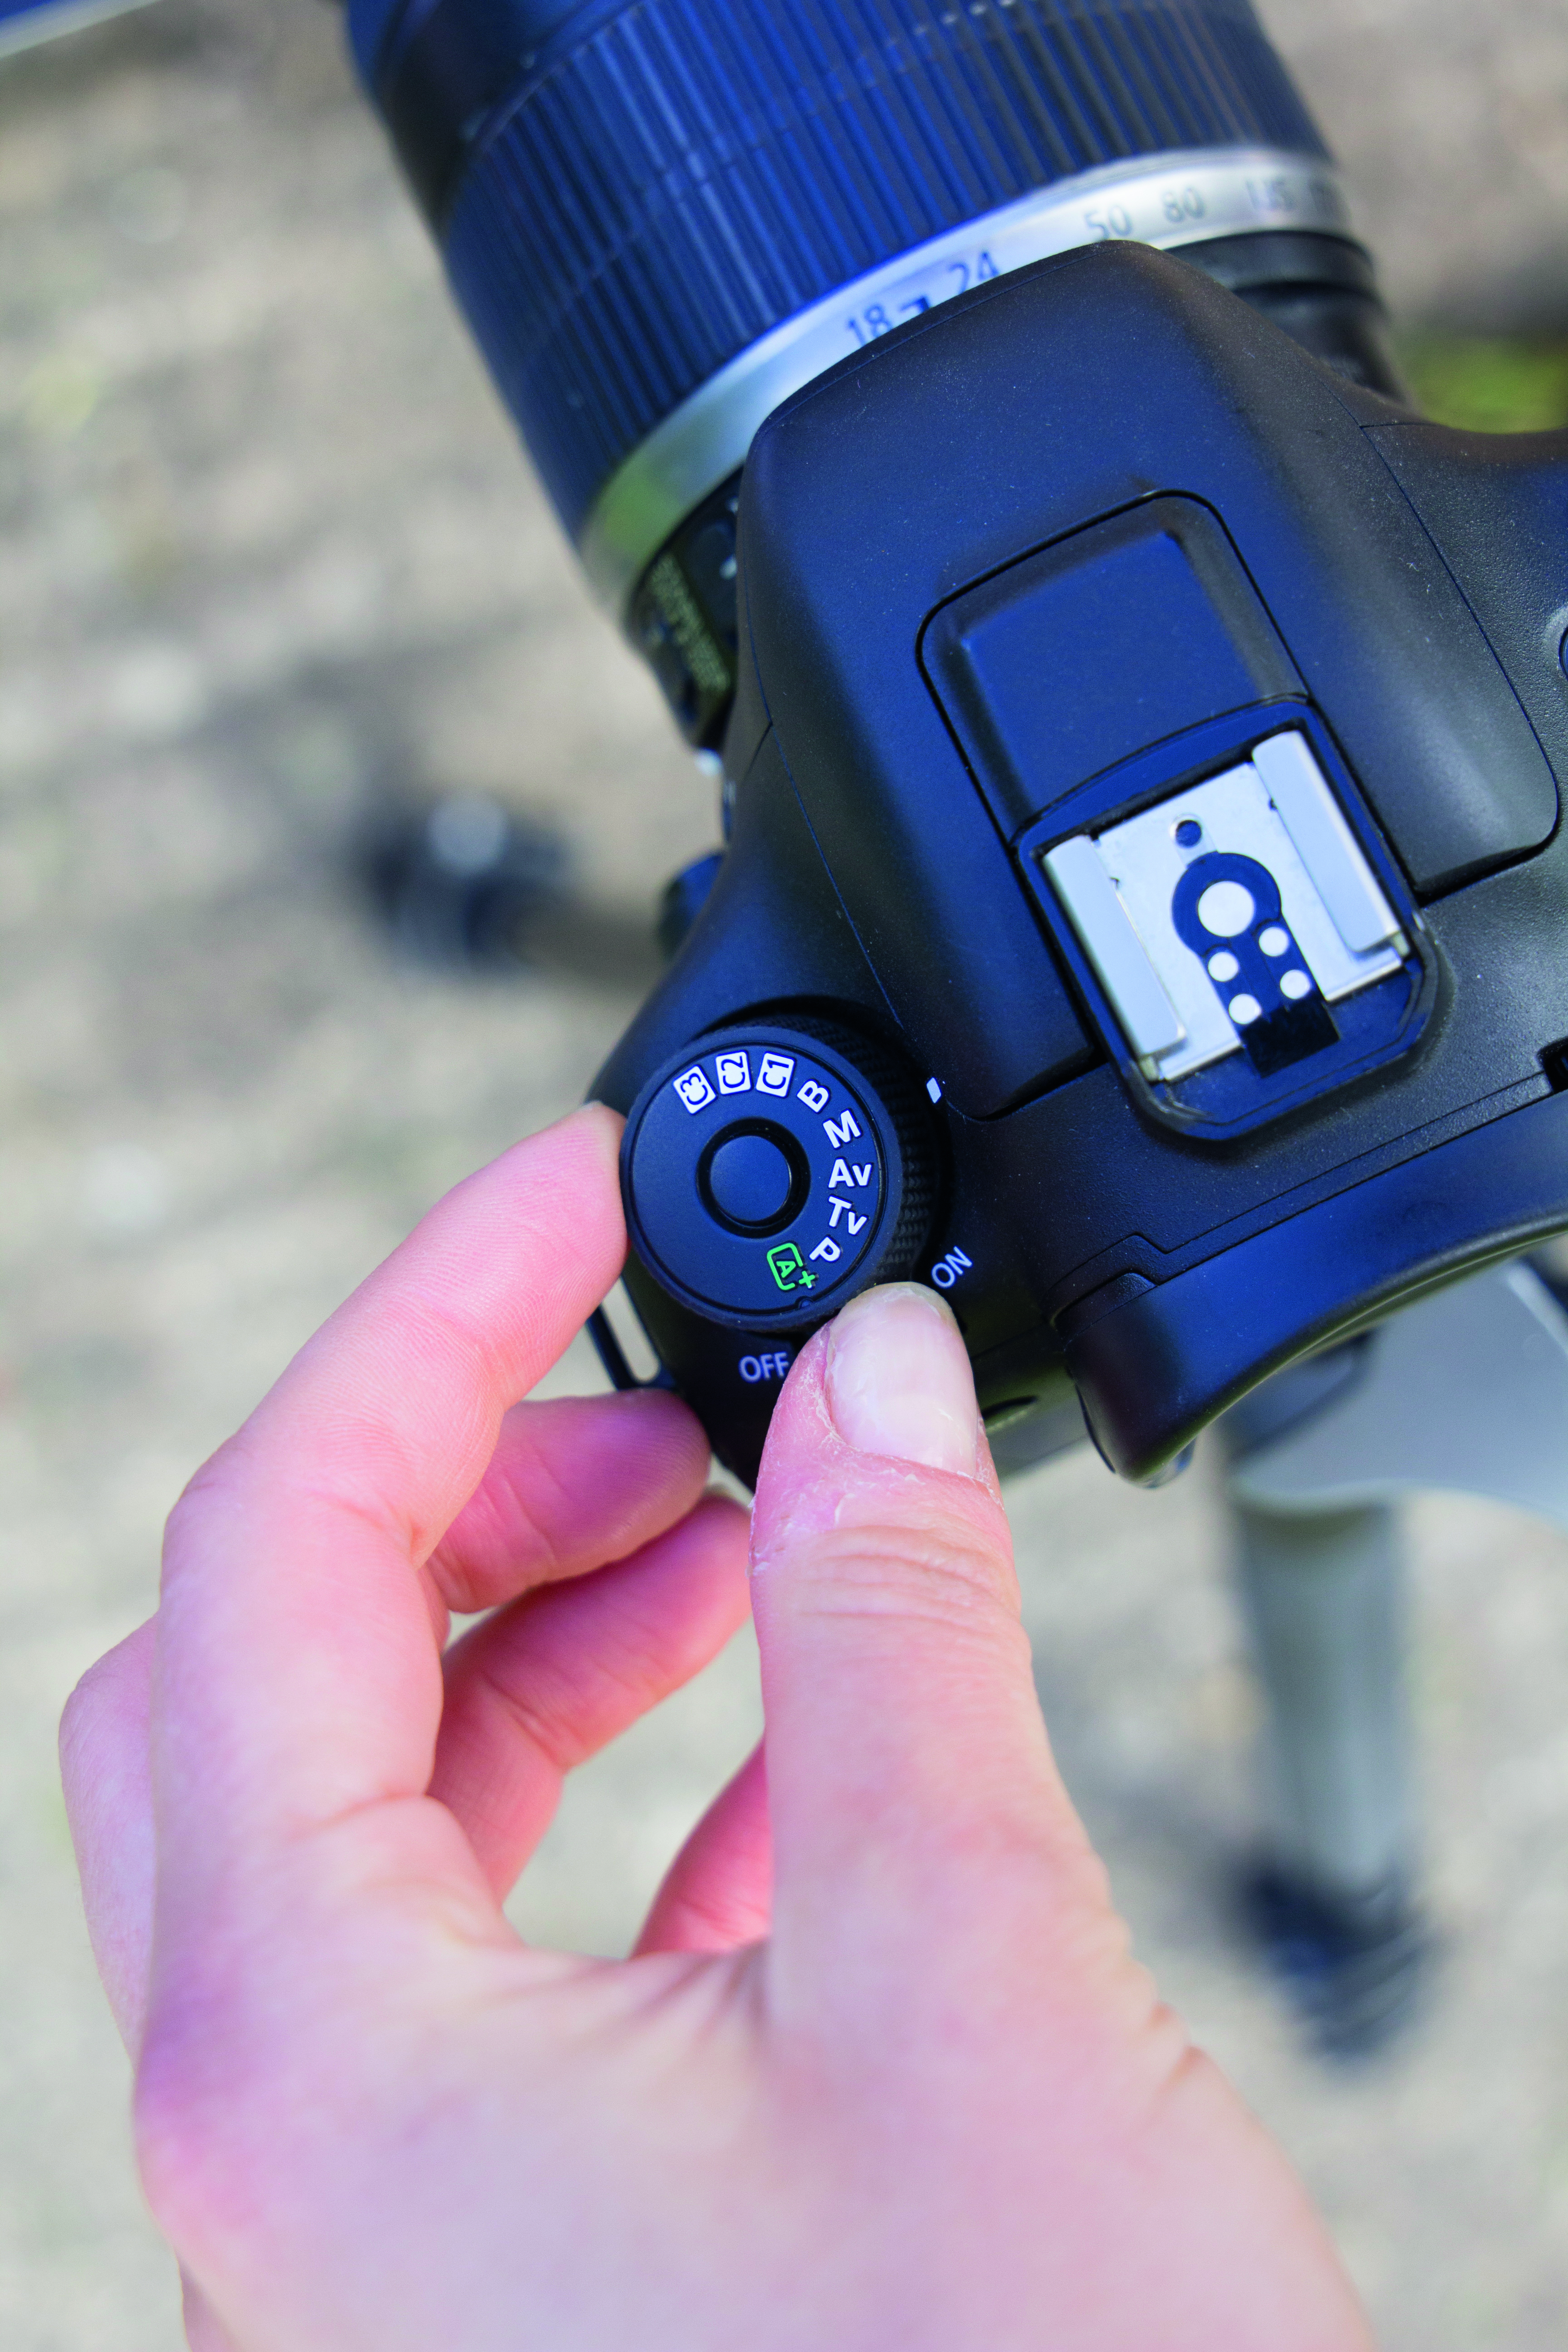
01 MANUAL MODE
To freeze the motion of splashes, you’ll need to use a DSLR and set it to a very fast shutter speed in Manual or TV mode.
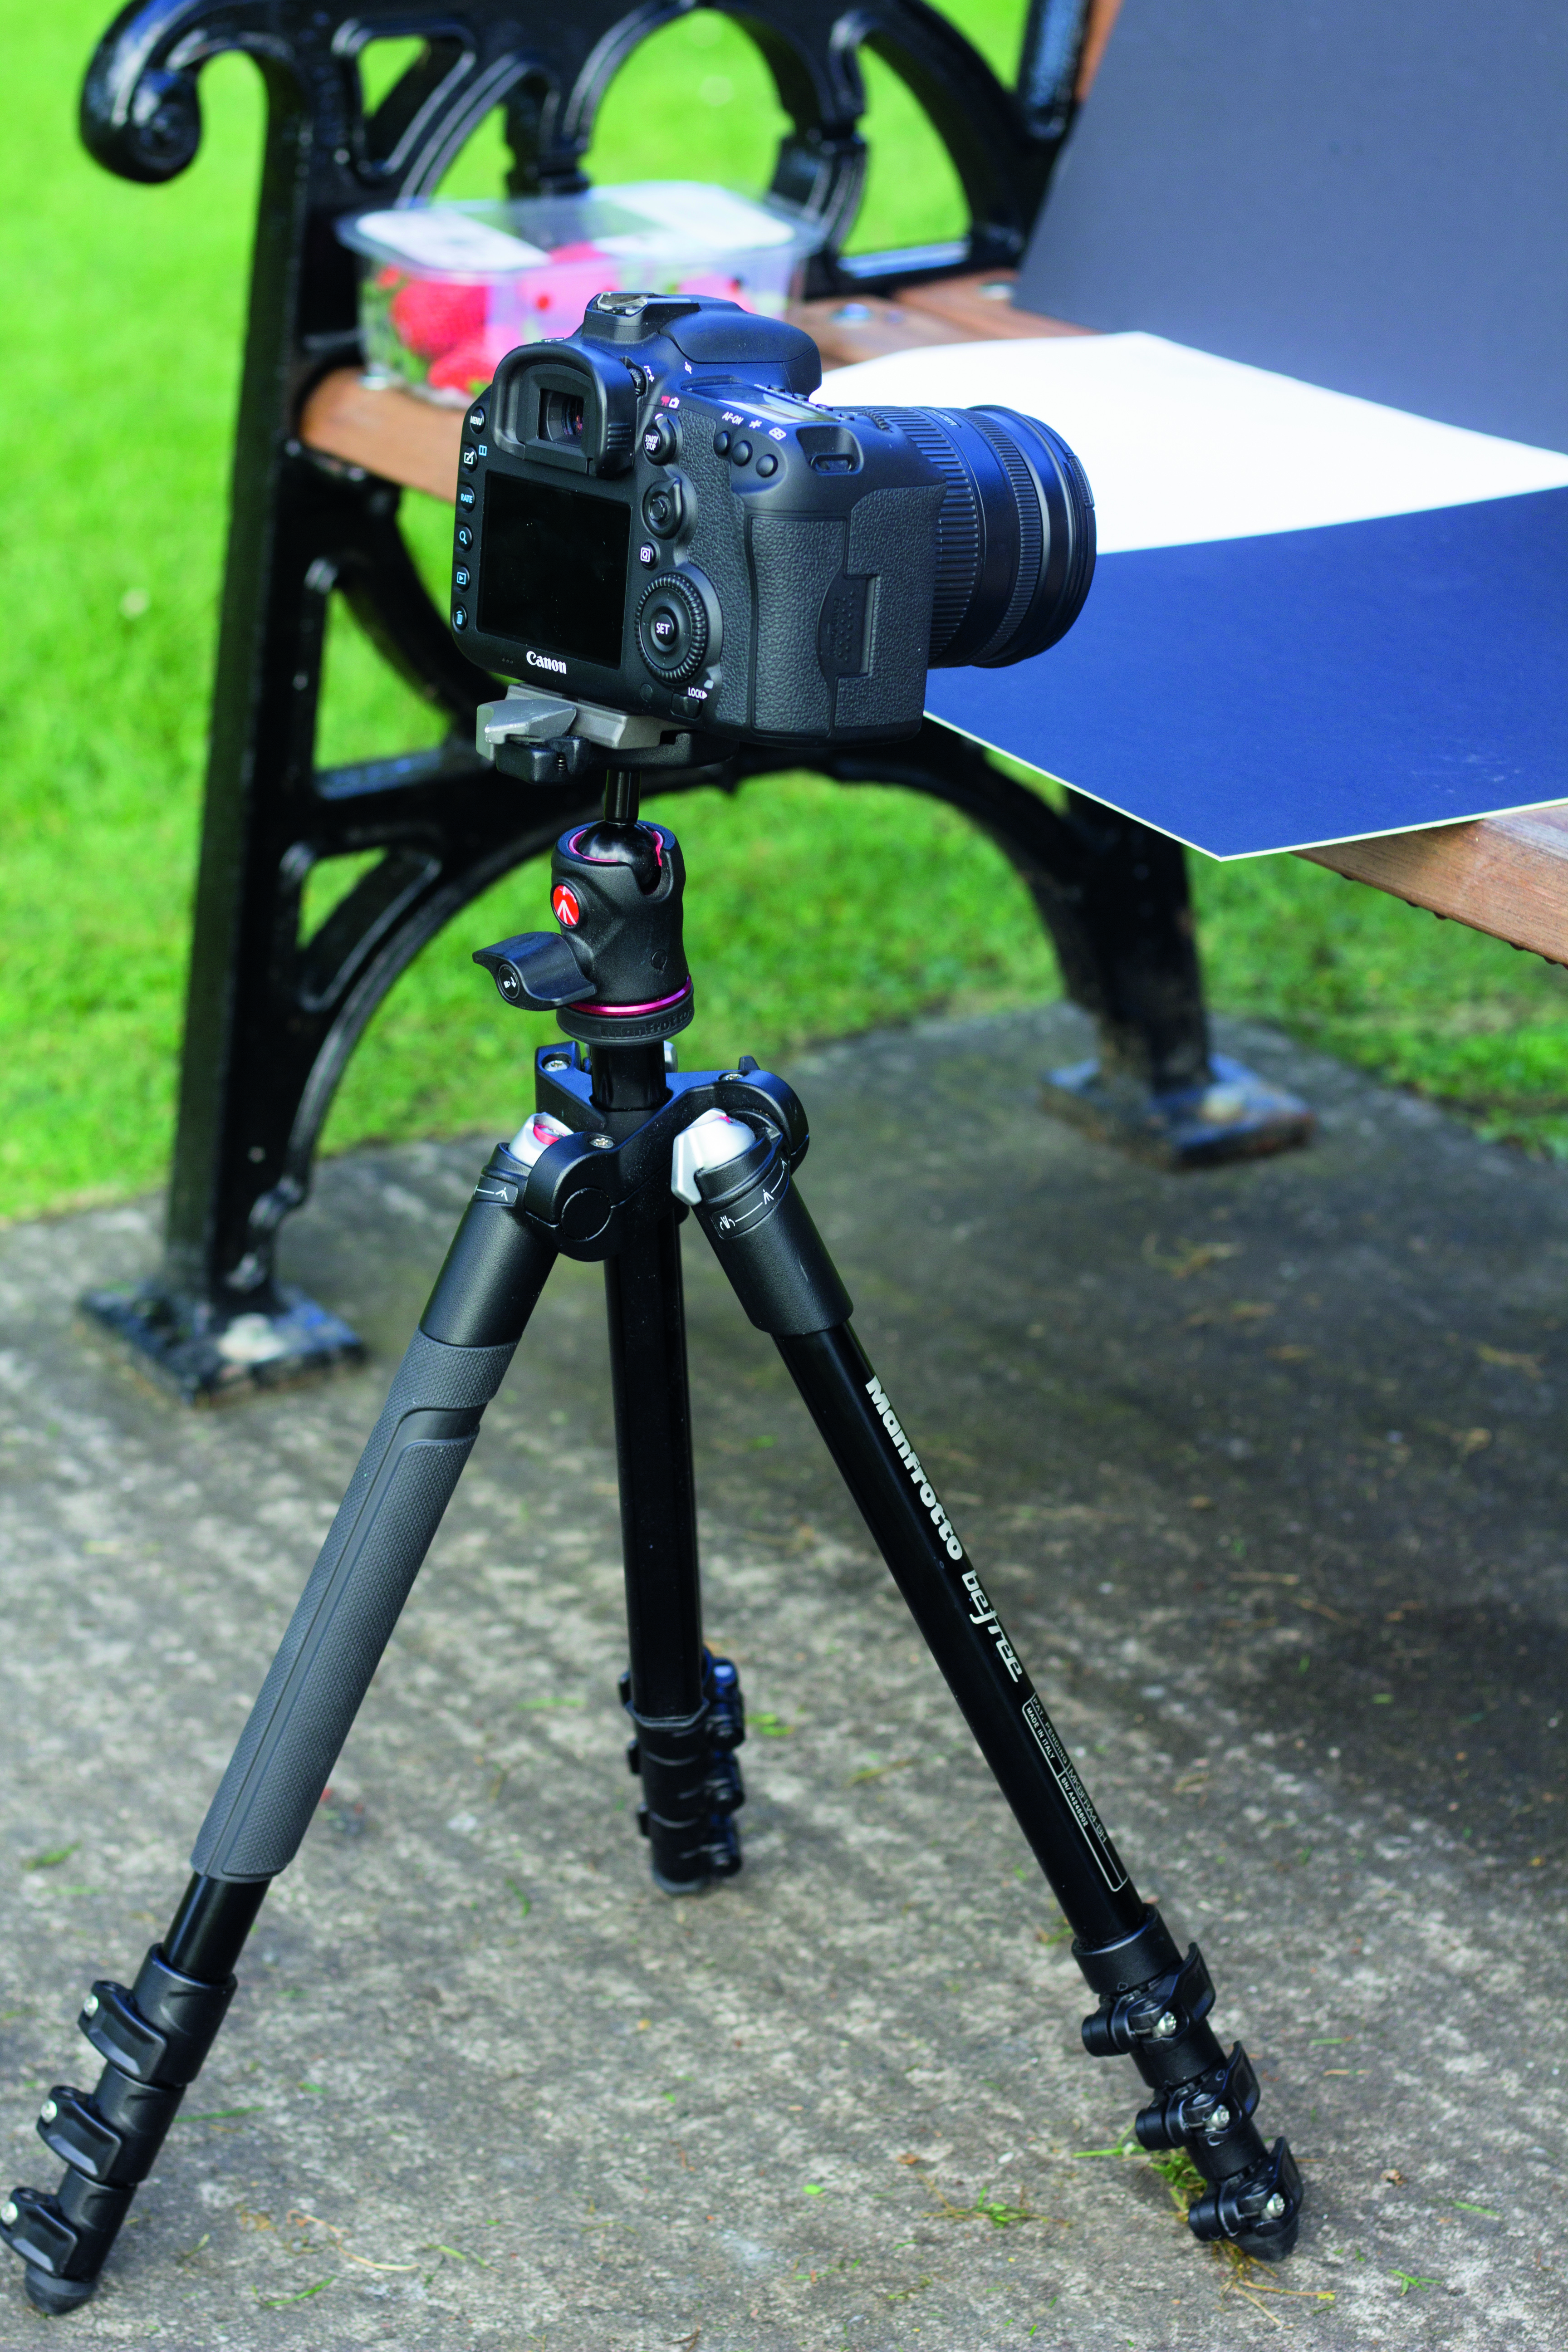
02 STURDY TRIPOD
Although you could handhold the camera for this project, it’s much simpler to mount it on a tripod and compose the scene.
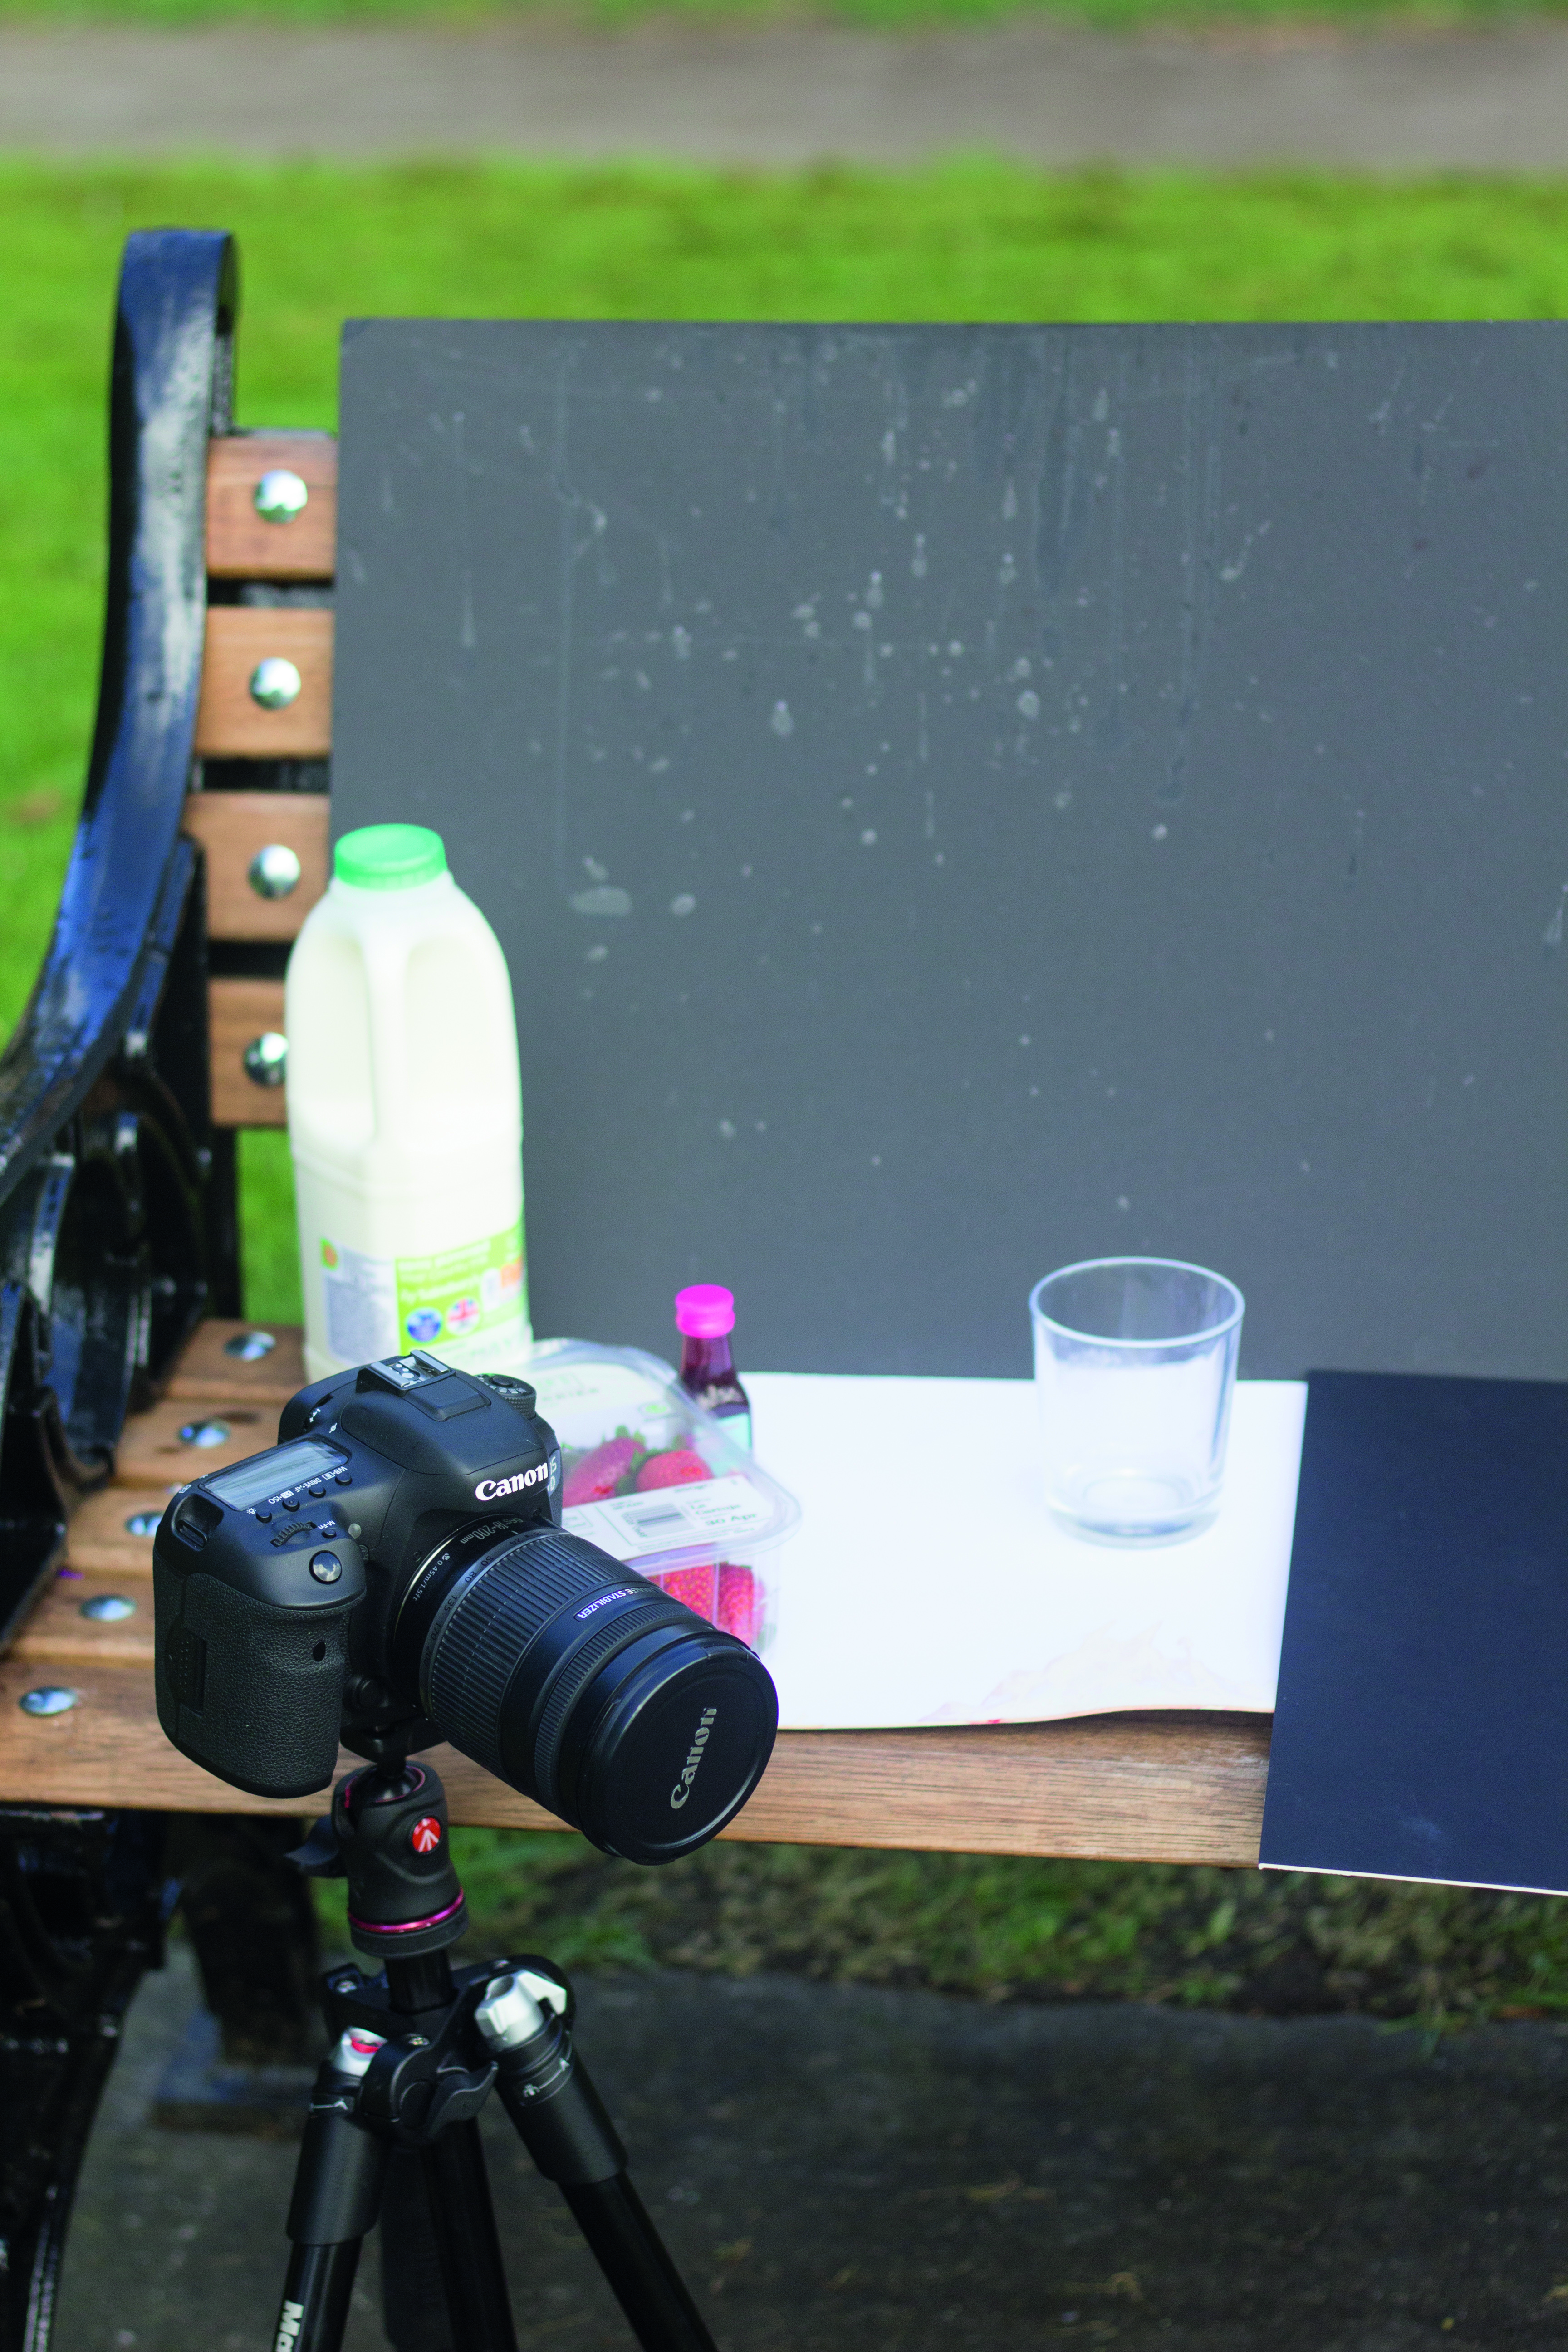
03 WORK SURFACE
Work in a garden or outdoor spot, to avoid splash explosions coating your house. Use a flat area such as a bench, chair or table.
ESSENTIAL INGREDIENTS: What you'll need
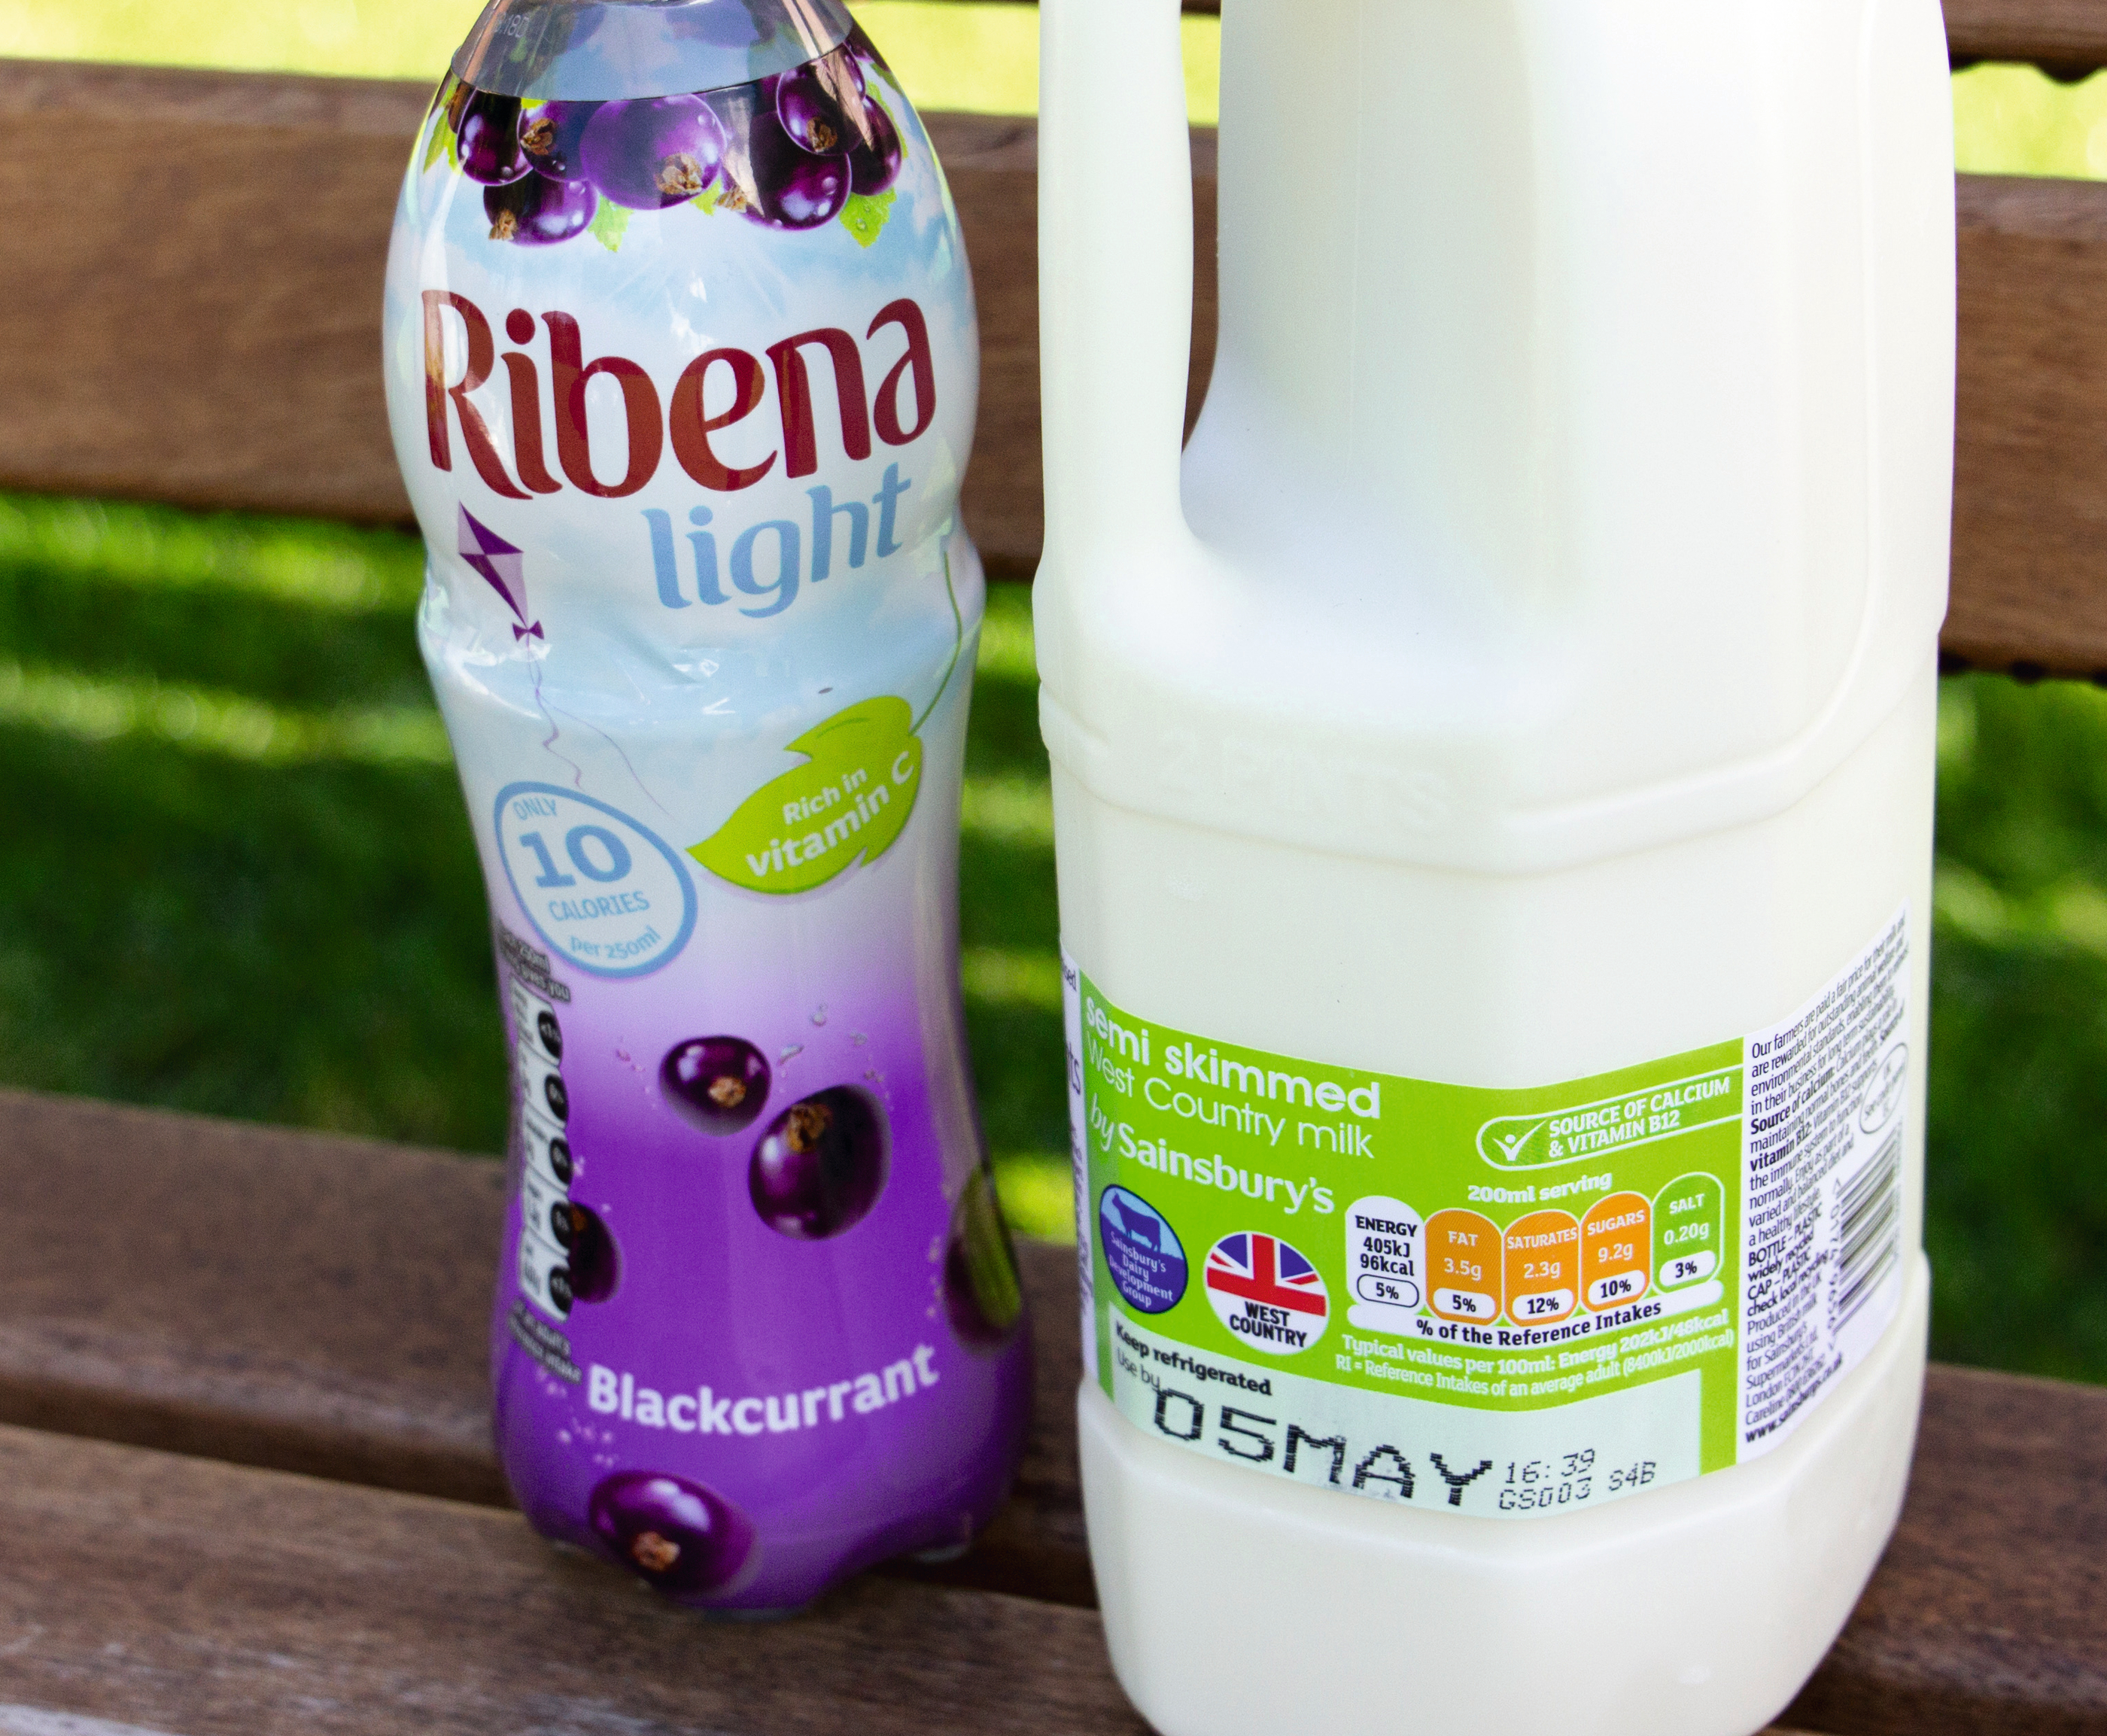
01 LIQUID
You can use water, milk, coffee, tea – or any other liquid that takes your fancy. Think carefully about the viscosity of the liquid – the thicker it is, the less dynamic the splash will be.
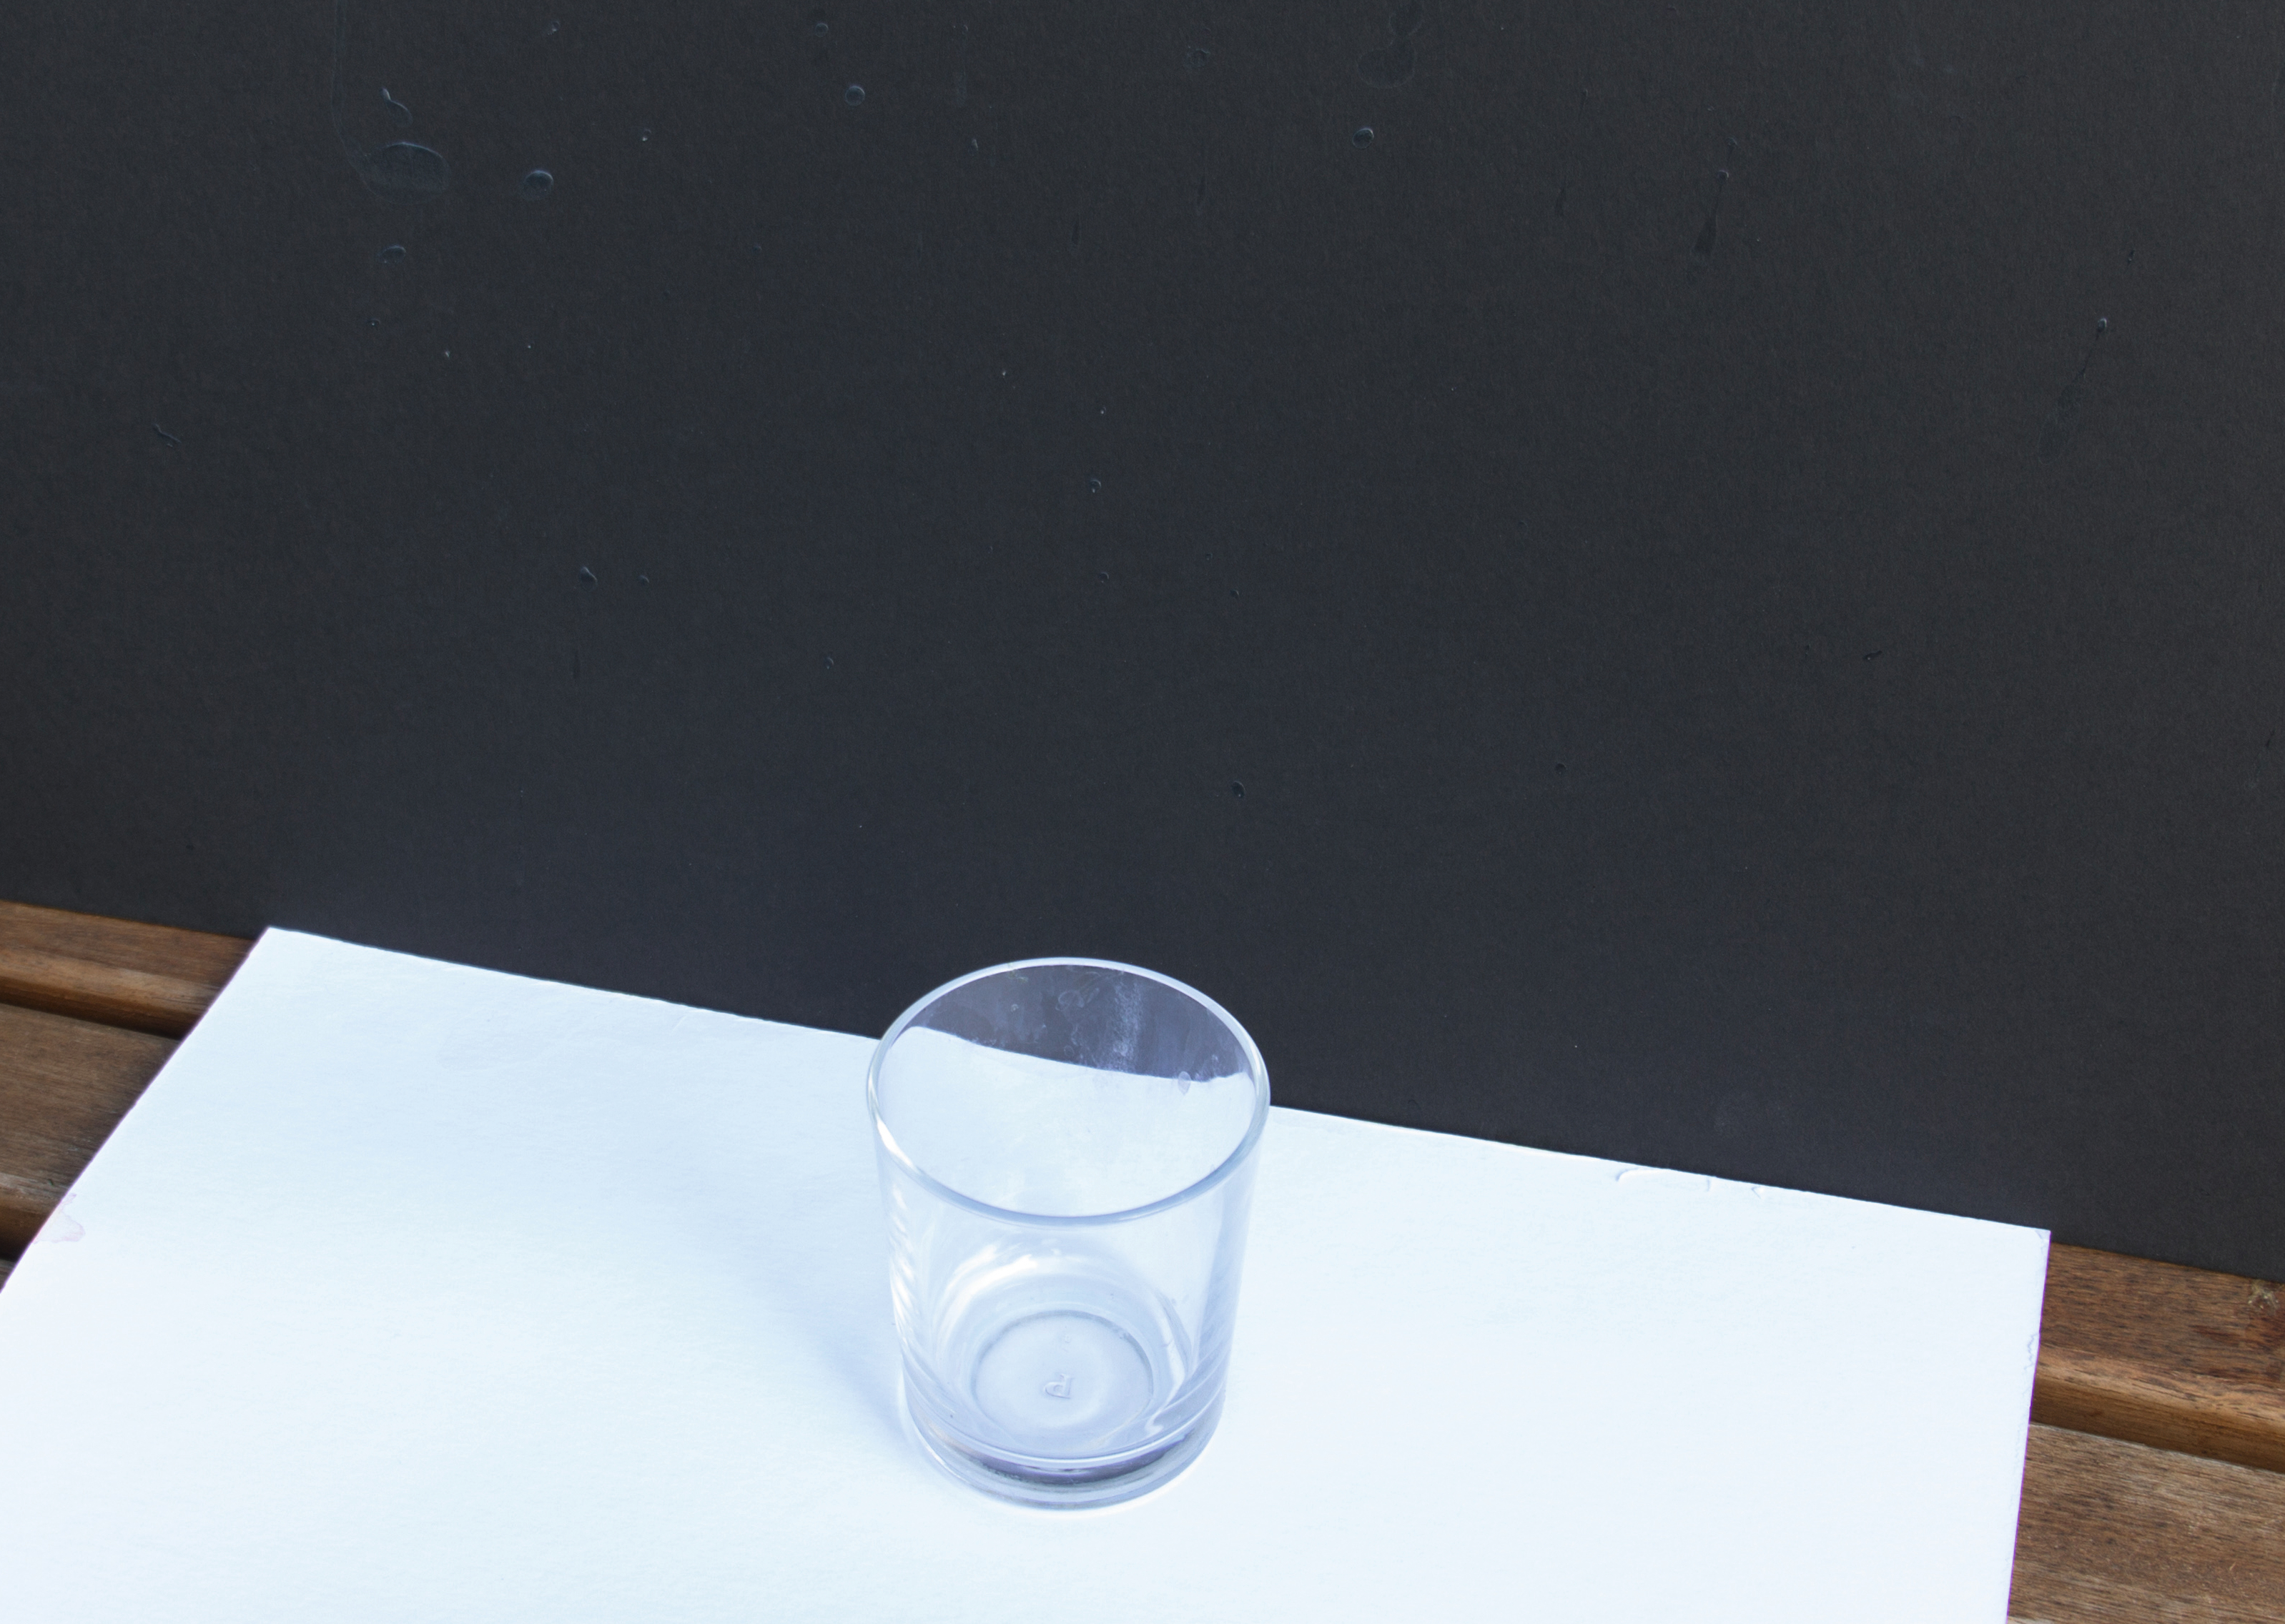
02 POSTER BOARDS
White or black boards are an essential prop. One can be positioned underneath the container, and the other can be used as a plain backdrop. Alternate between the two colours, depending on the subject.
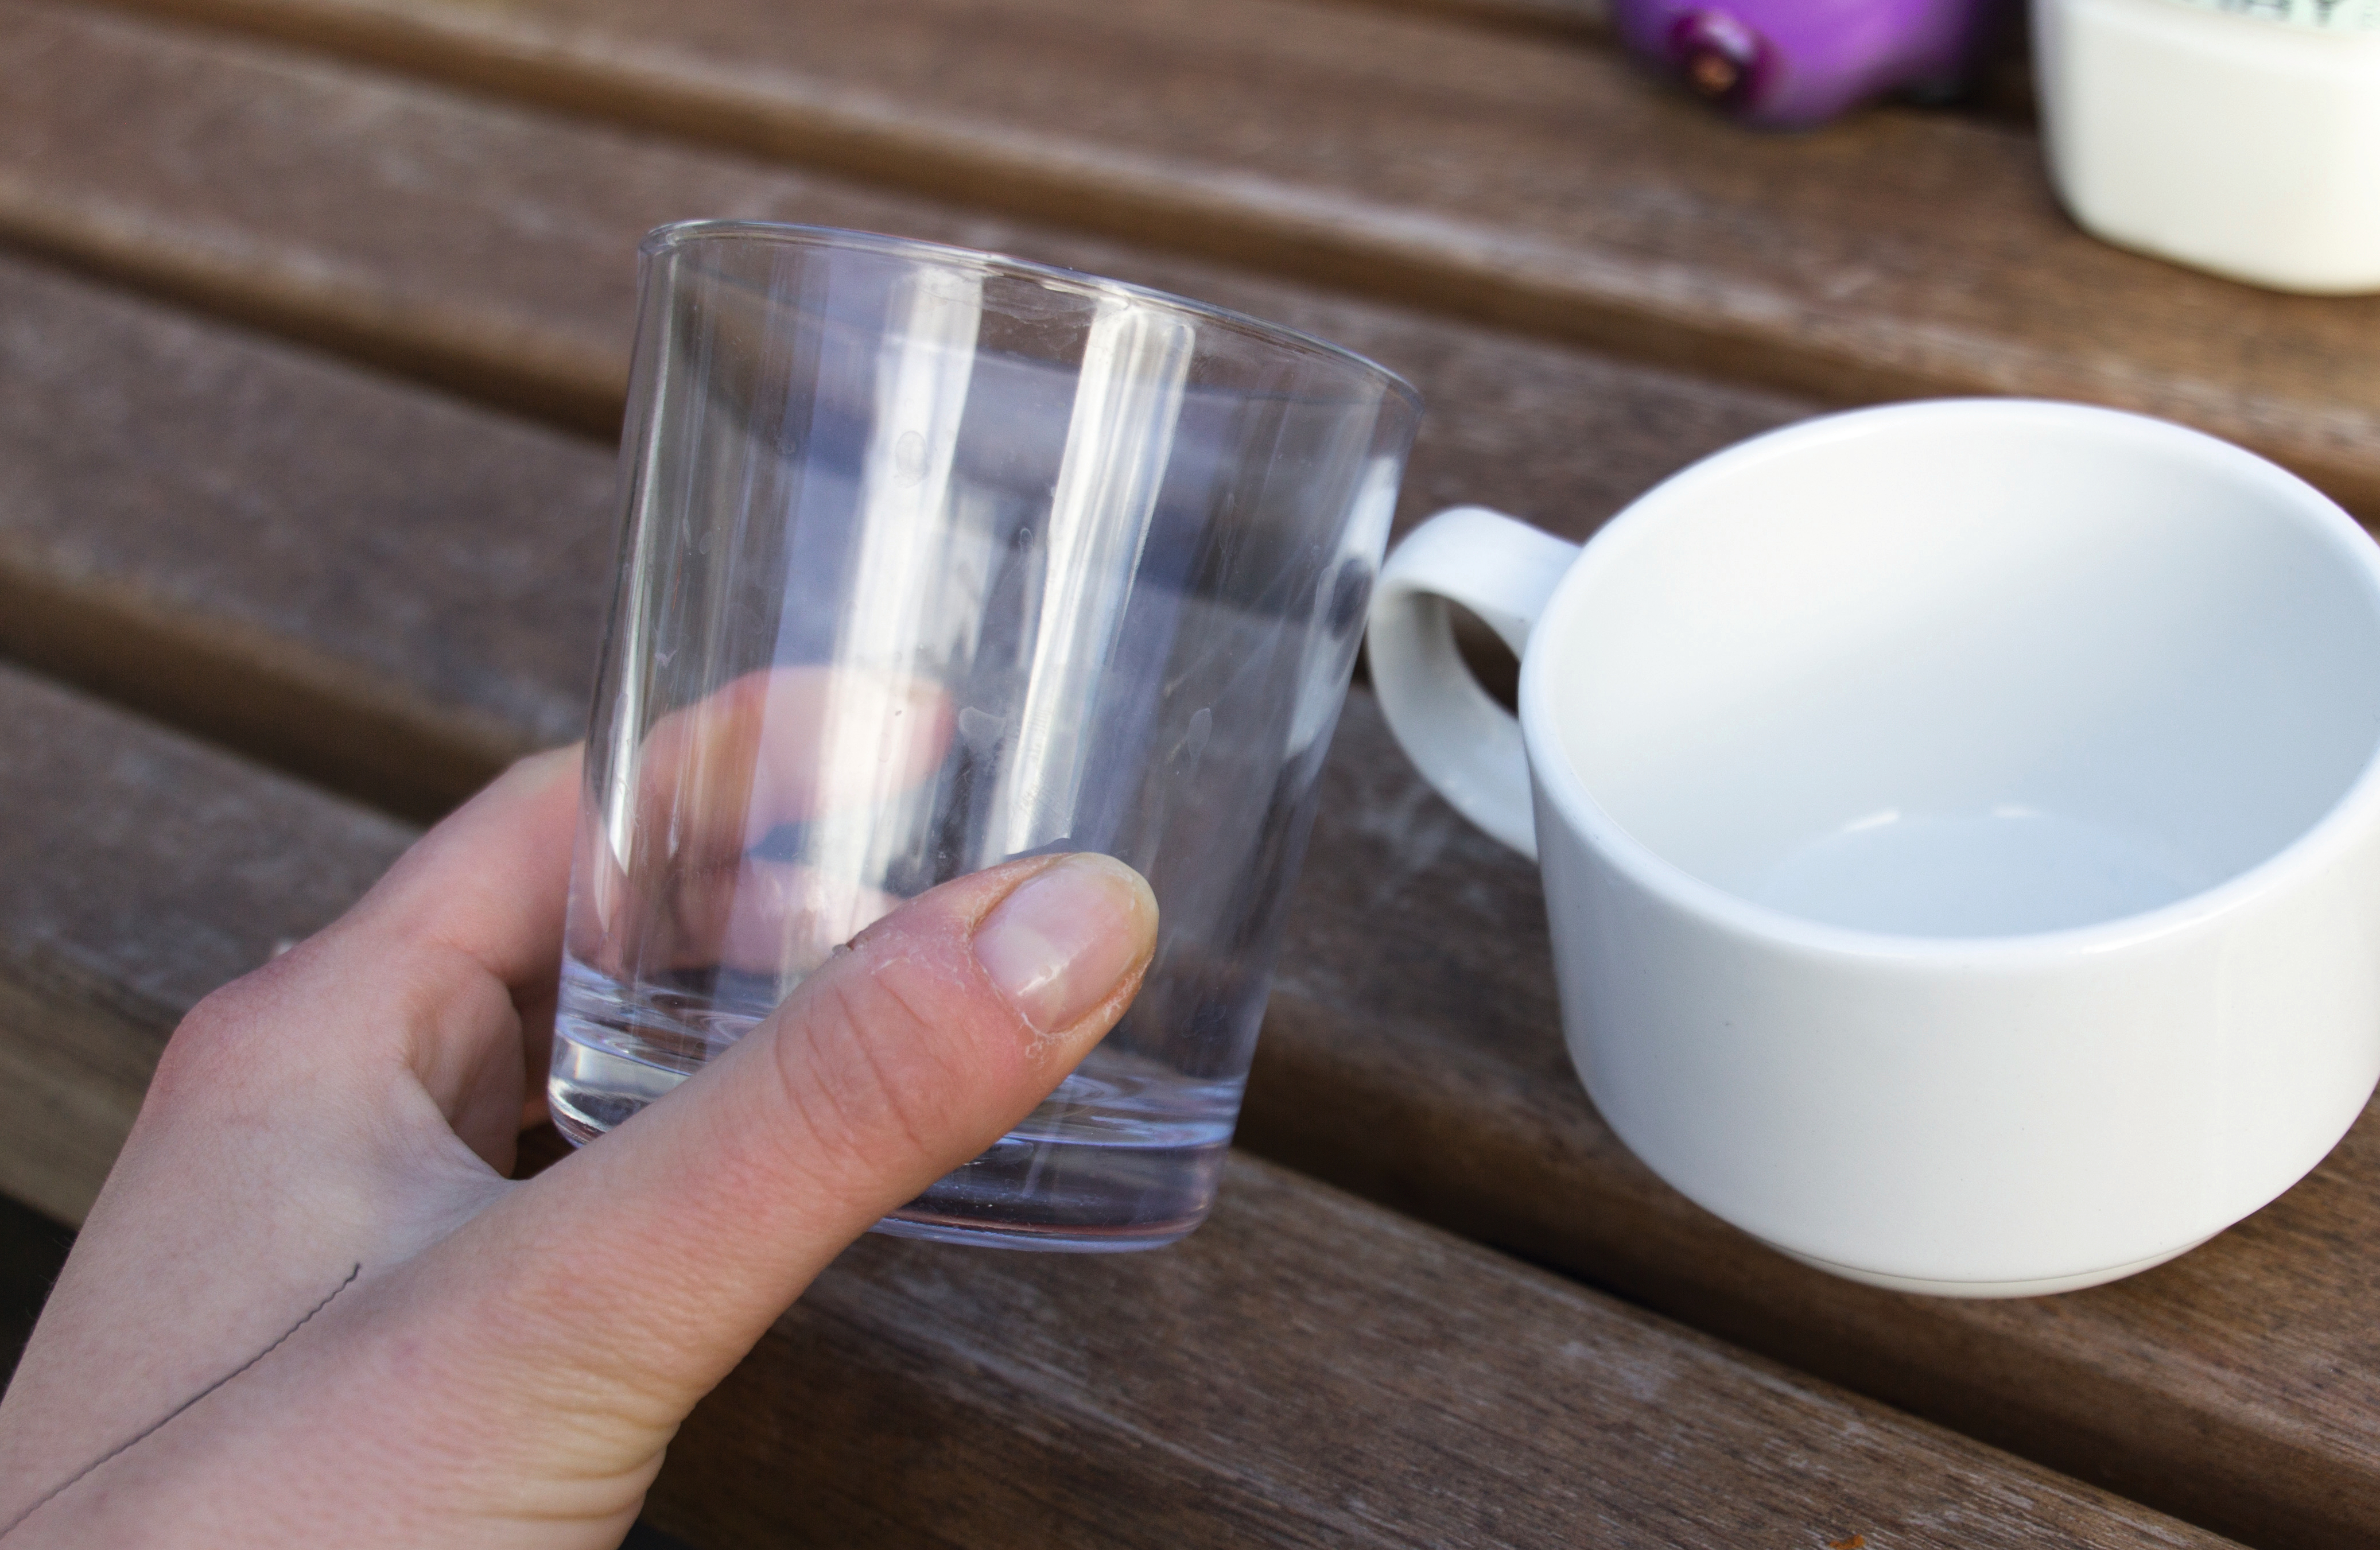
03 CONTAINER
You can use anything to hold the liquids, such as cups, mugs or trays. You might want to start with a big glass or plastic bowl until you’ve perfected the technique, so you have a bigger area to shoot.

04 OBJECTS TO DROP
For some reason, edible objects are the most fun to drop – and eat when no one is looking. Try out items in different sizes and shapes, such as fruits (berries work well), cereal or even mini-doughnuts.

05 FOOD COLOURING
Adding drops of colour to the liquids brings another level of interest and experimentation to this project. Invest in a few different hues and then swirl them around to get some great effects.
STEP BY STEP: Drop it like it's hot
Get ready and set to fire the shutter when your objects hit the liquid
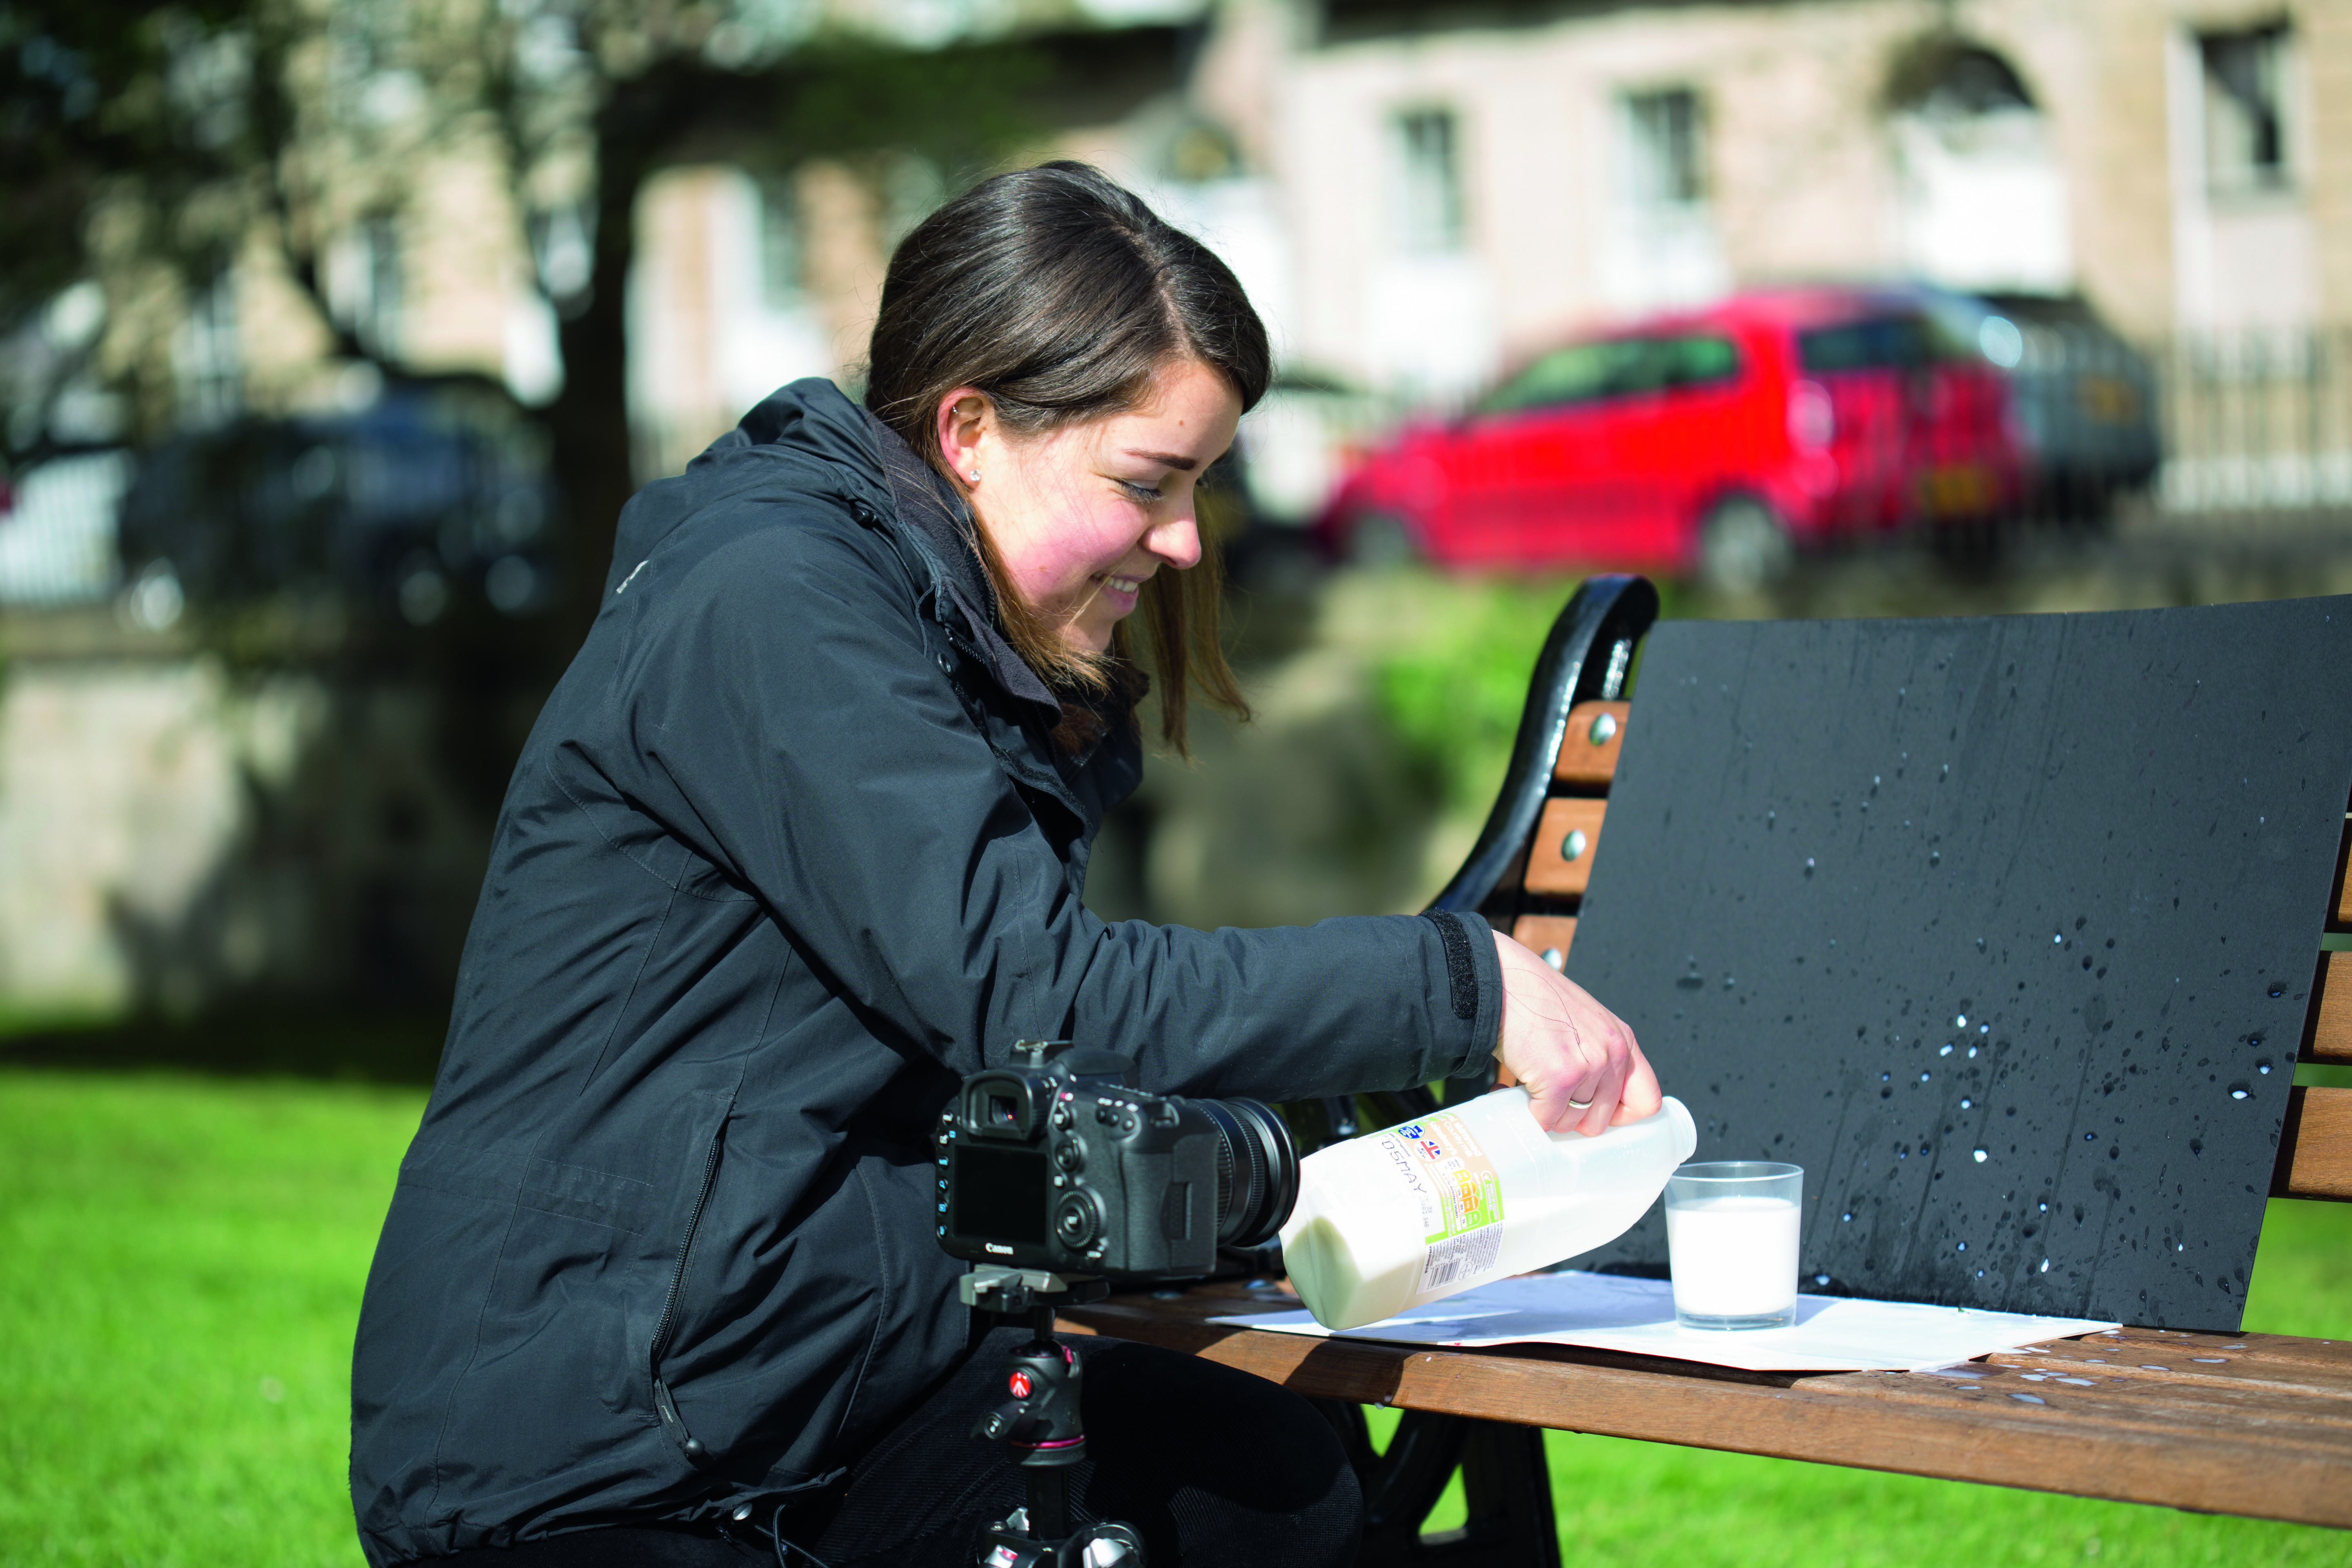
01 THE BIG SETUP
Place one poster board underneath a container and one directly behind it. Fill the container all the way to the top with your chosen liquid, along with any food colourings. Tripod-mount a DSLR at container height.
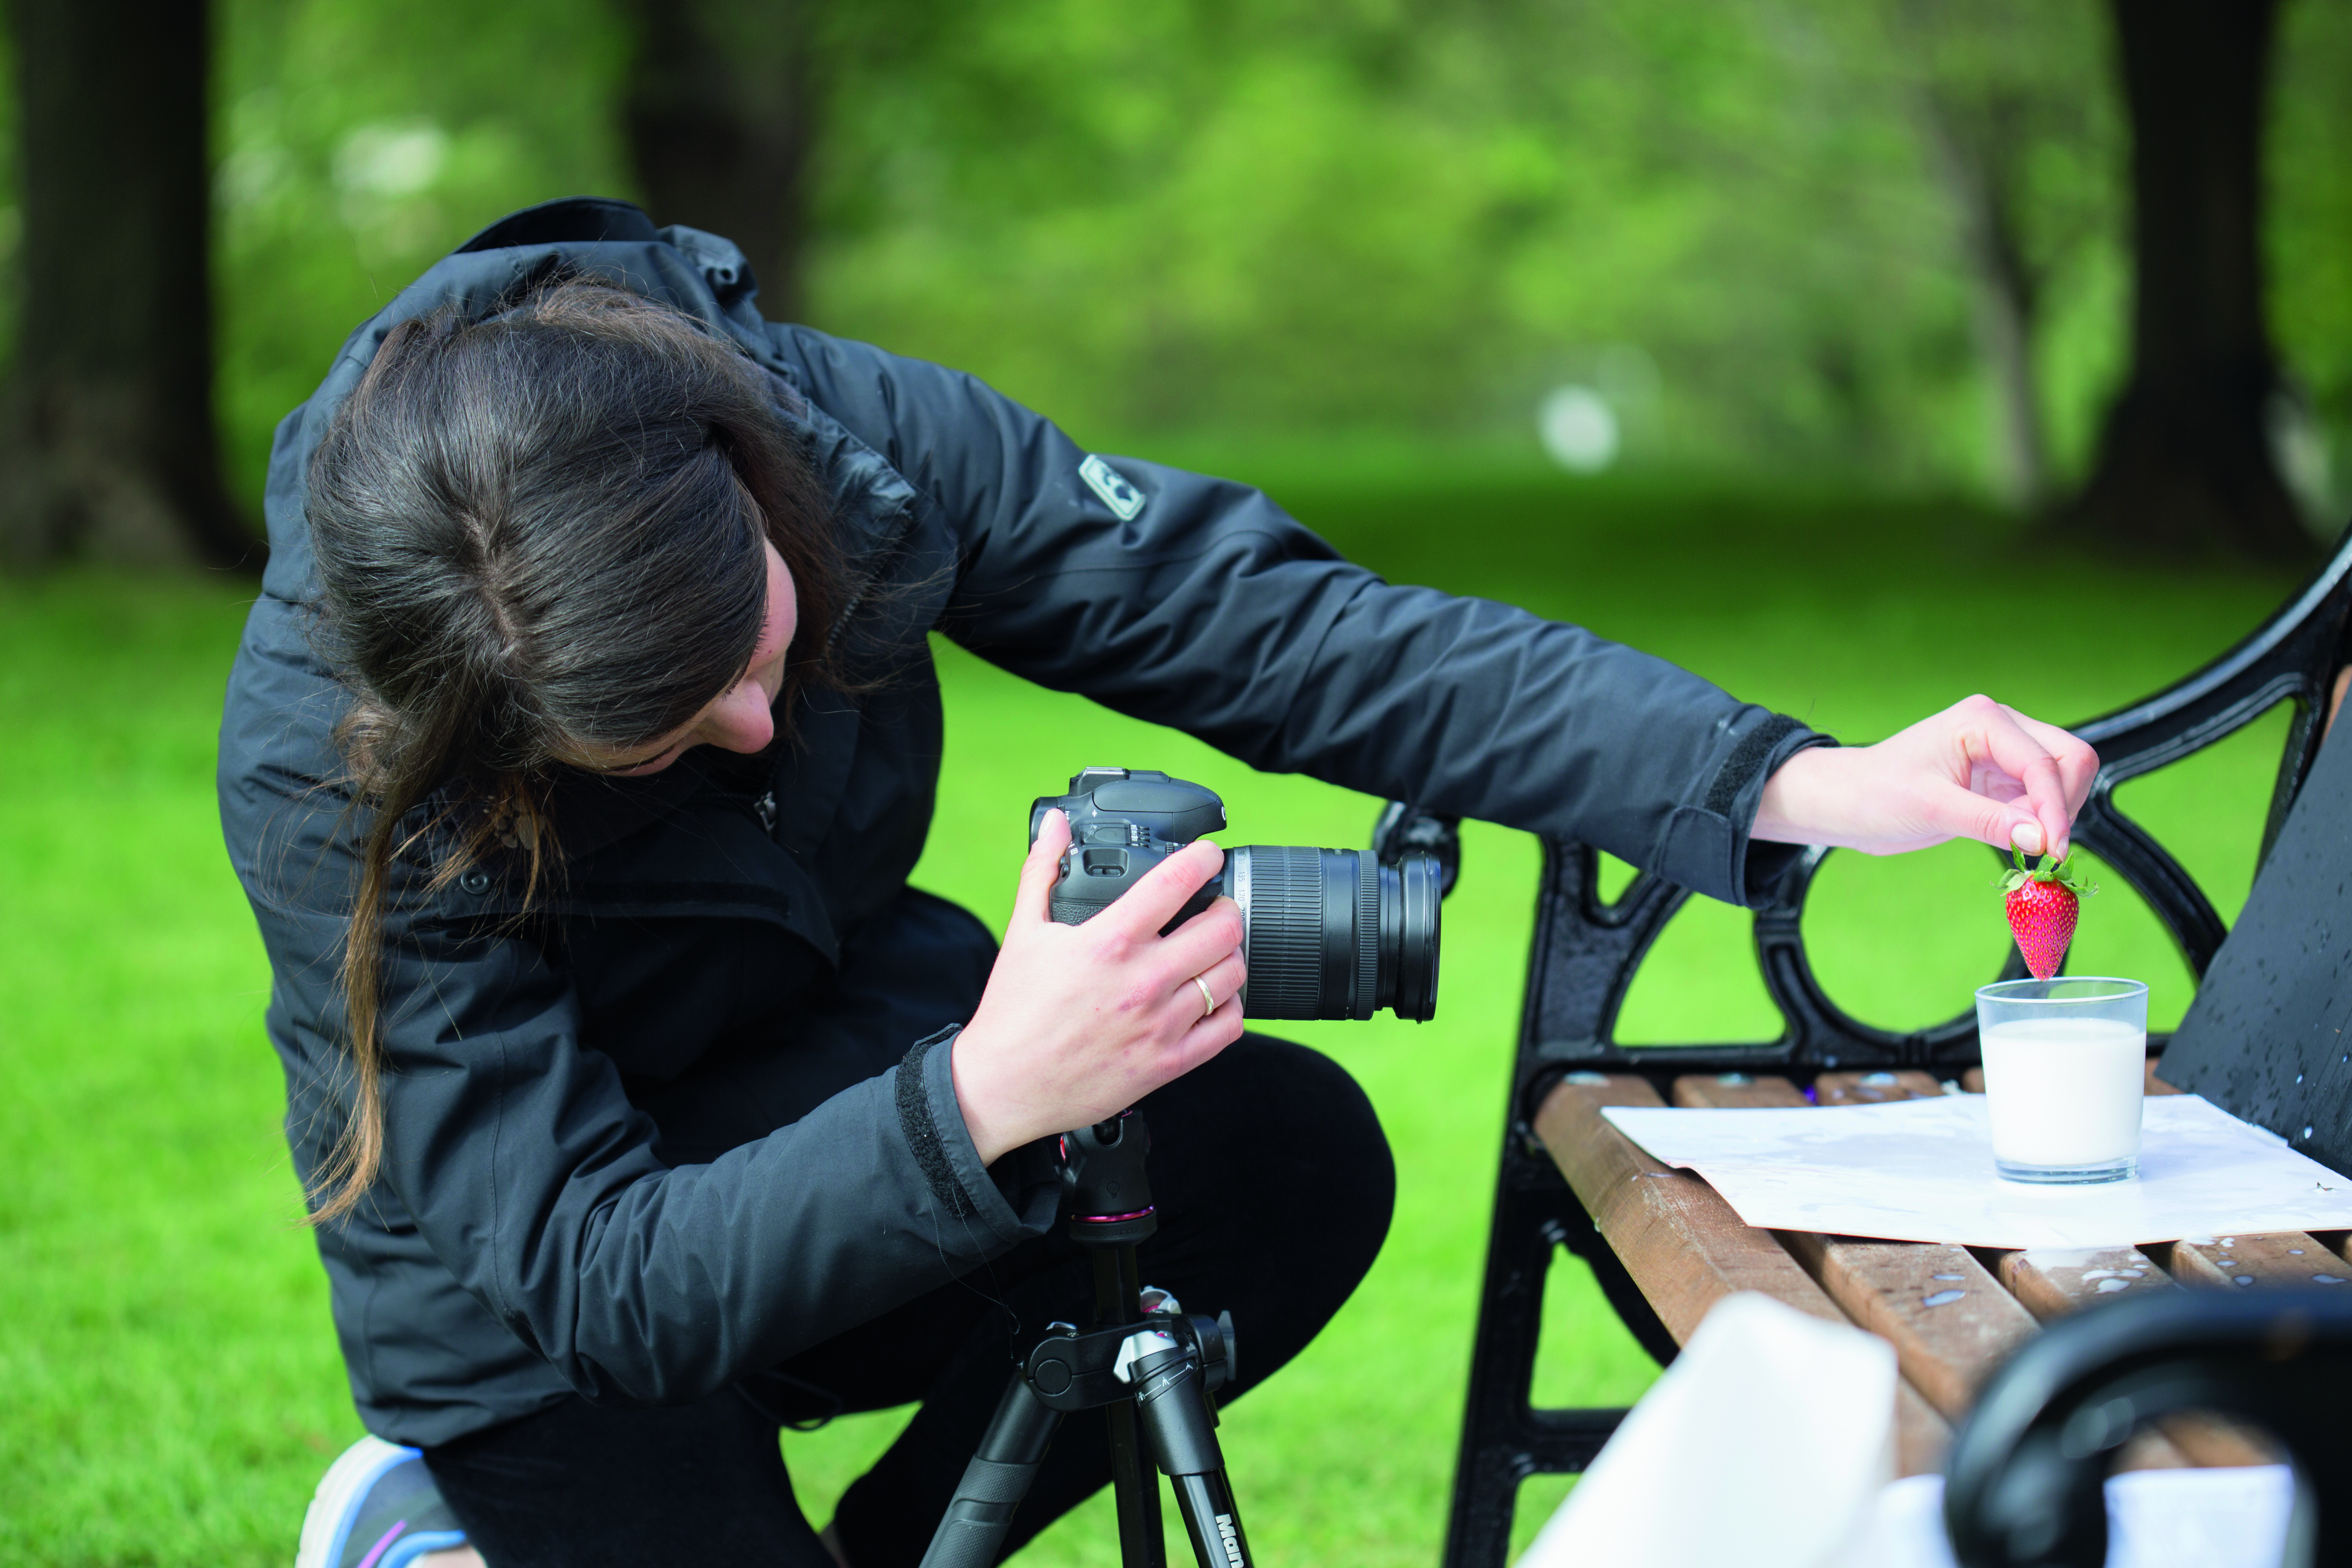
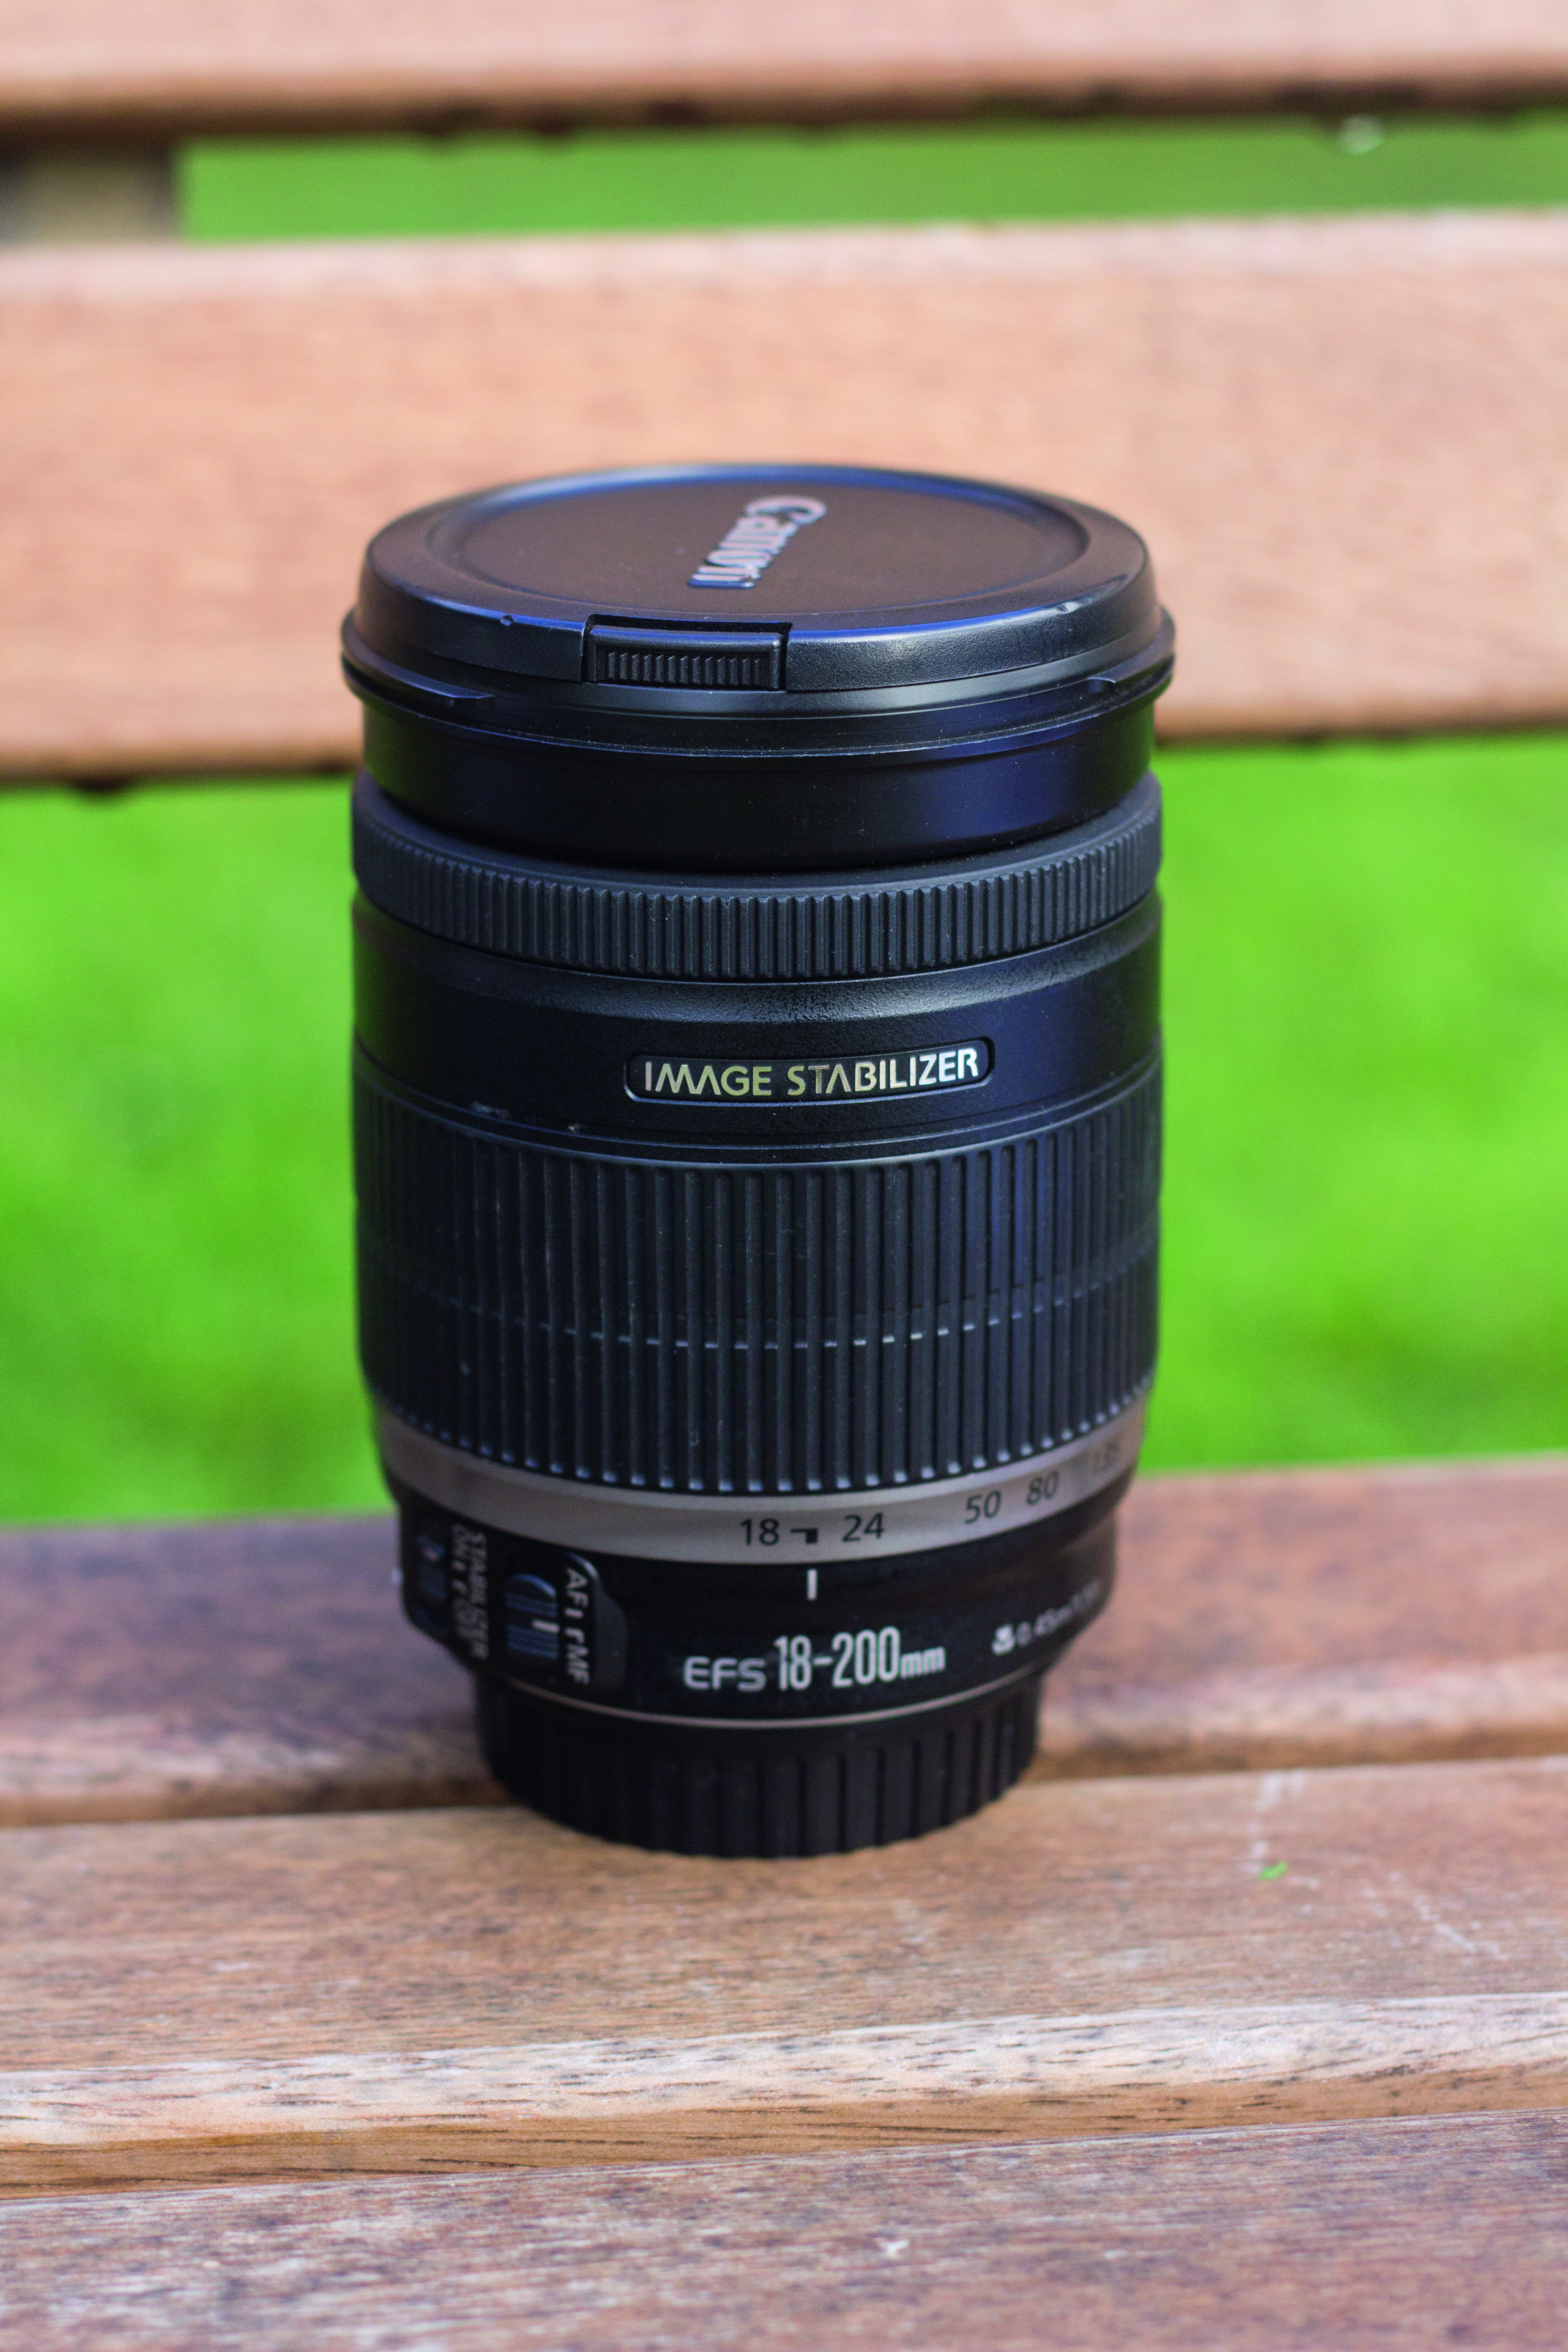
The lens we used here was an 18-200mm f/3.5-5.6 IS, which has a minimum focusing distance of 0.45m. We were able to zoom in to the container and photograph the splashes, but because we were using a longer focal length the camera remained splash-free…
02 FOCUS YOUR FRAME
Choose a lens and arrange the composition, making sure your splash will fill the frame. Switch the lens to manual focus. Hold the object or a finger in the spot where the object will hit the liquid, and focus here.

03 CAMERA SETTINGS
Start with a shutter of 1/1000 sec and an ISO of 400. If it’s overcast, bump up the ISO. We set our camera to high-speed burst mode, which gave us 10fps. Shoot Raw so you can fine-tune images later.
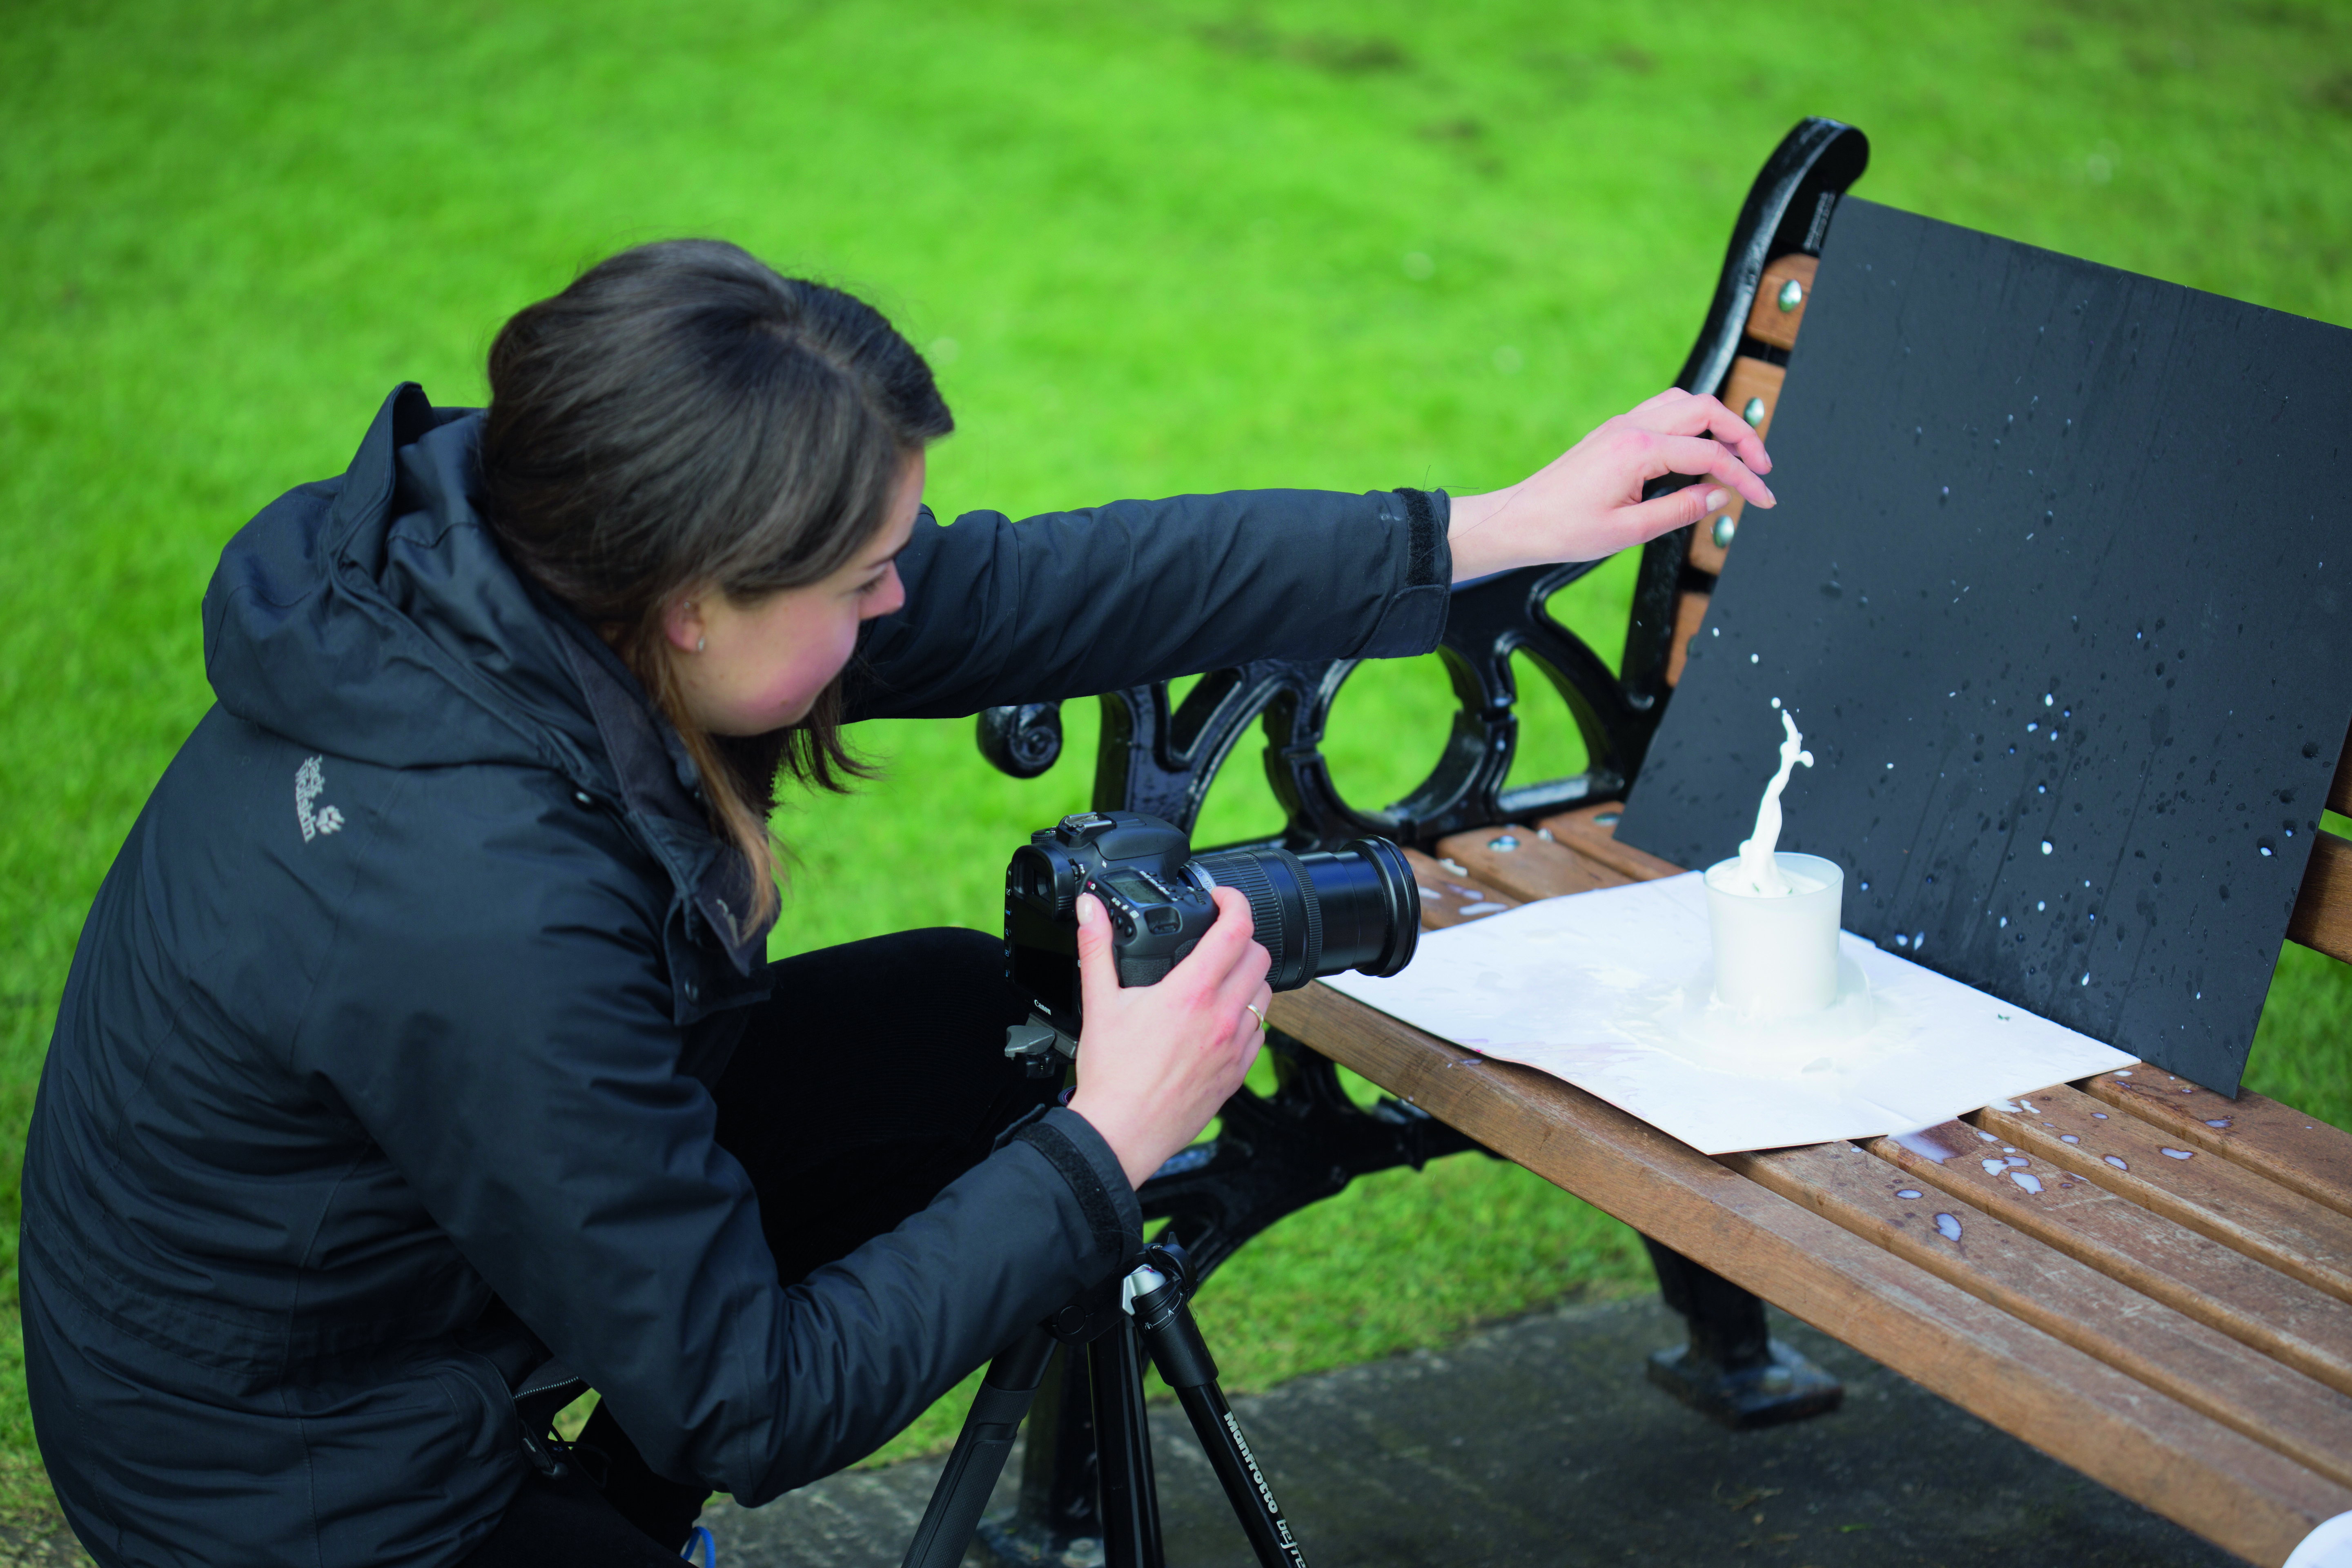
04 LET IT DROP
Now for the fun part! Hold the object over the container, drop it, and fire the shutter simultaneously. If you can reach, fire the camera using a high-speed burst mode instead of using a remote control.
05 TWEAK AND REPEAT
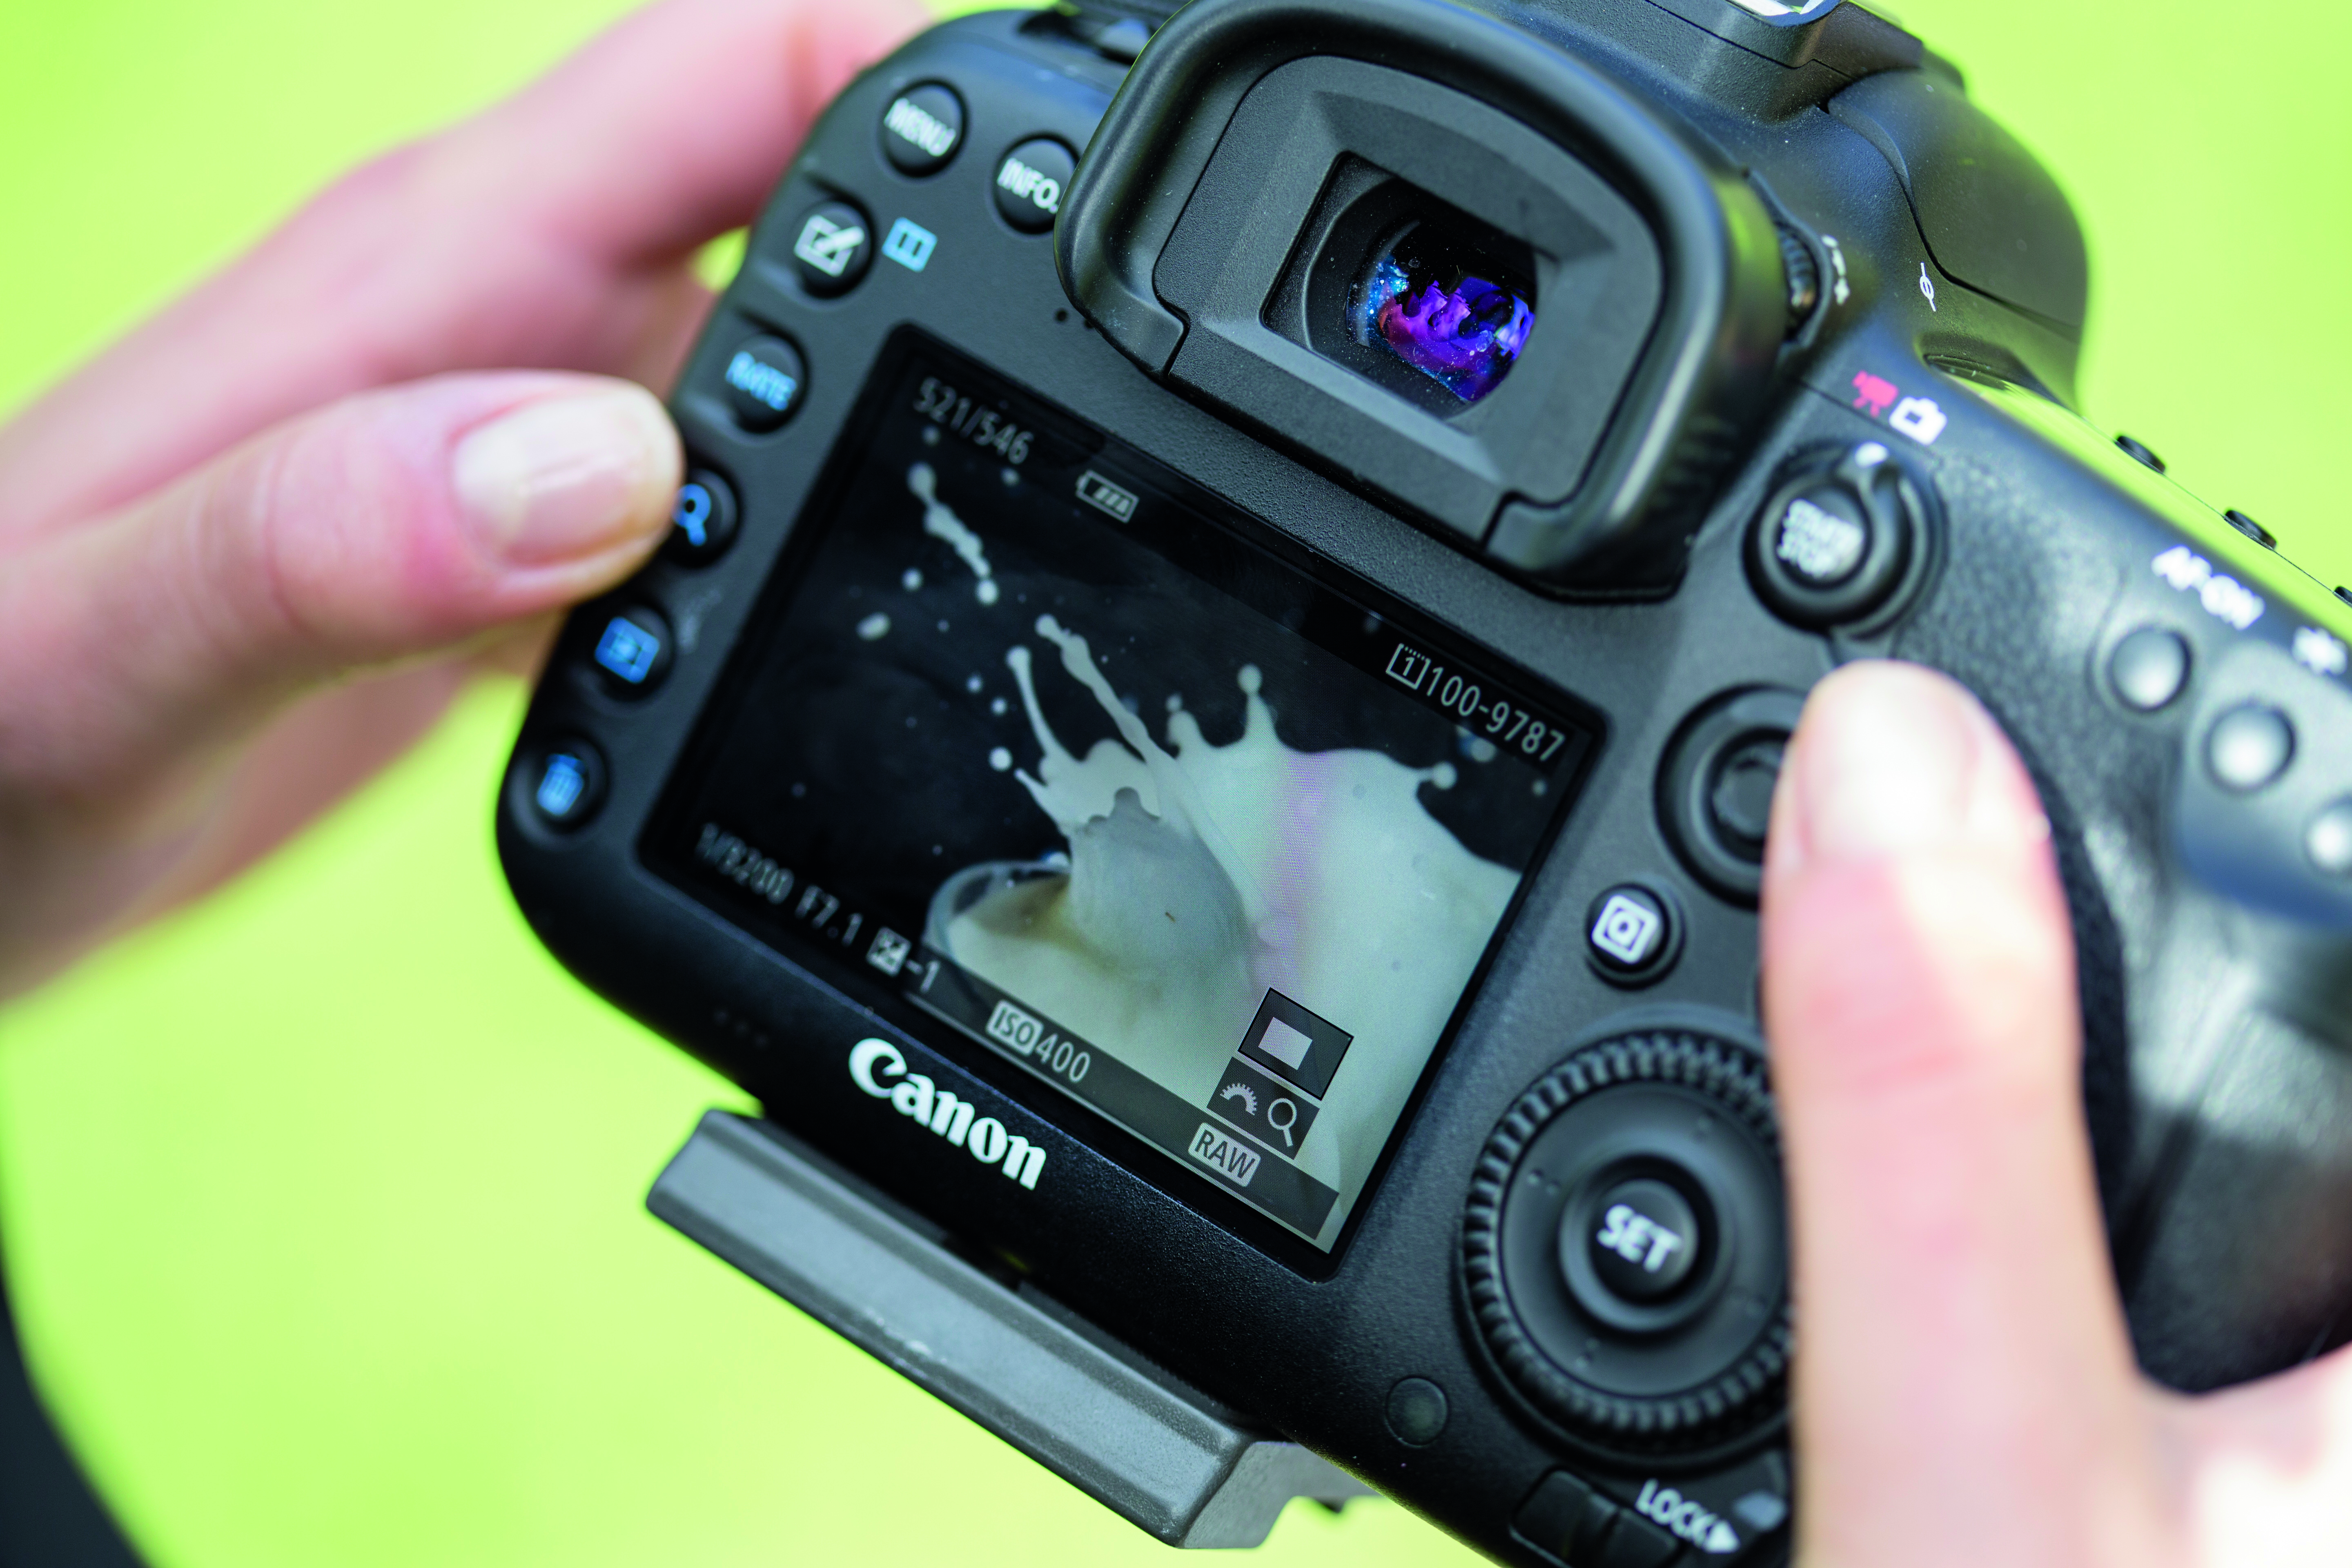
Review your shots, and increase the shutter speed if necessary. Zoom in, check the focus, and ensure the aperture you’re getting renders enough of the frame sharp. If it’s overcast outside, bump up the ISO again.
06 HAVE SOME FUN
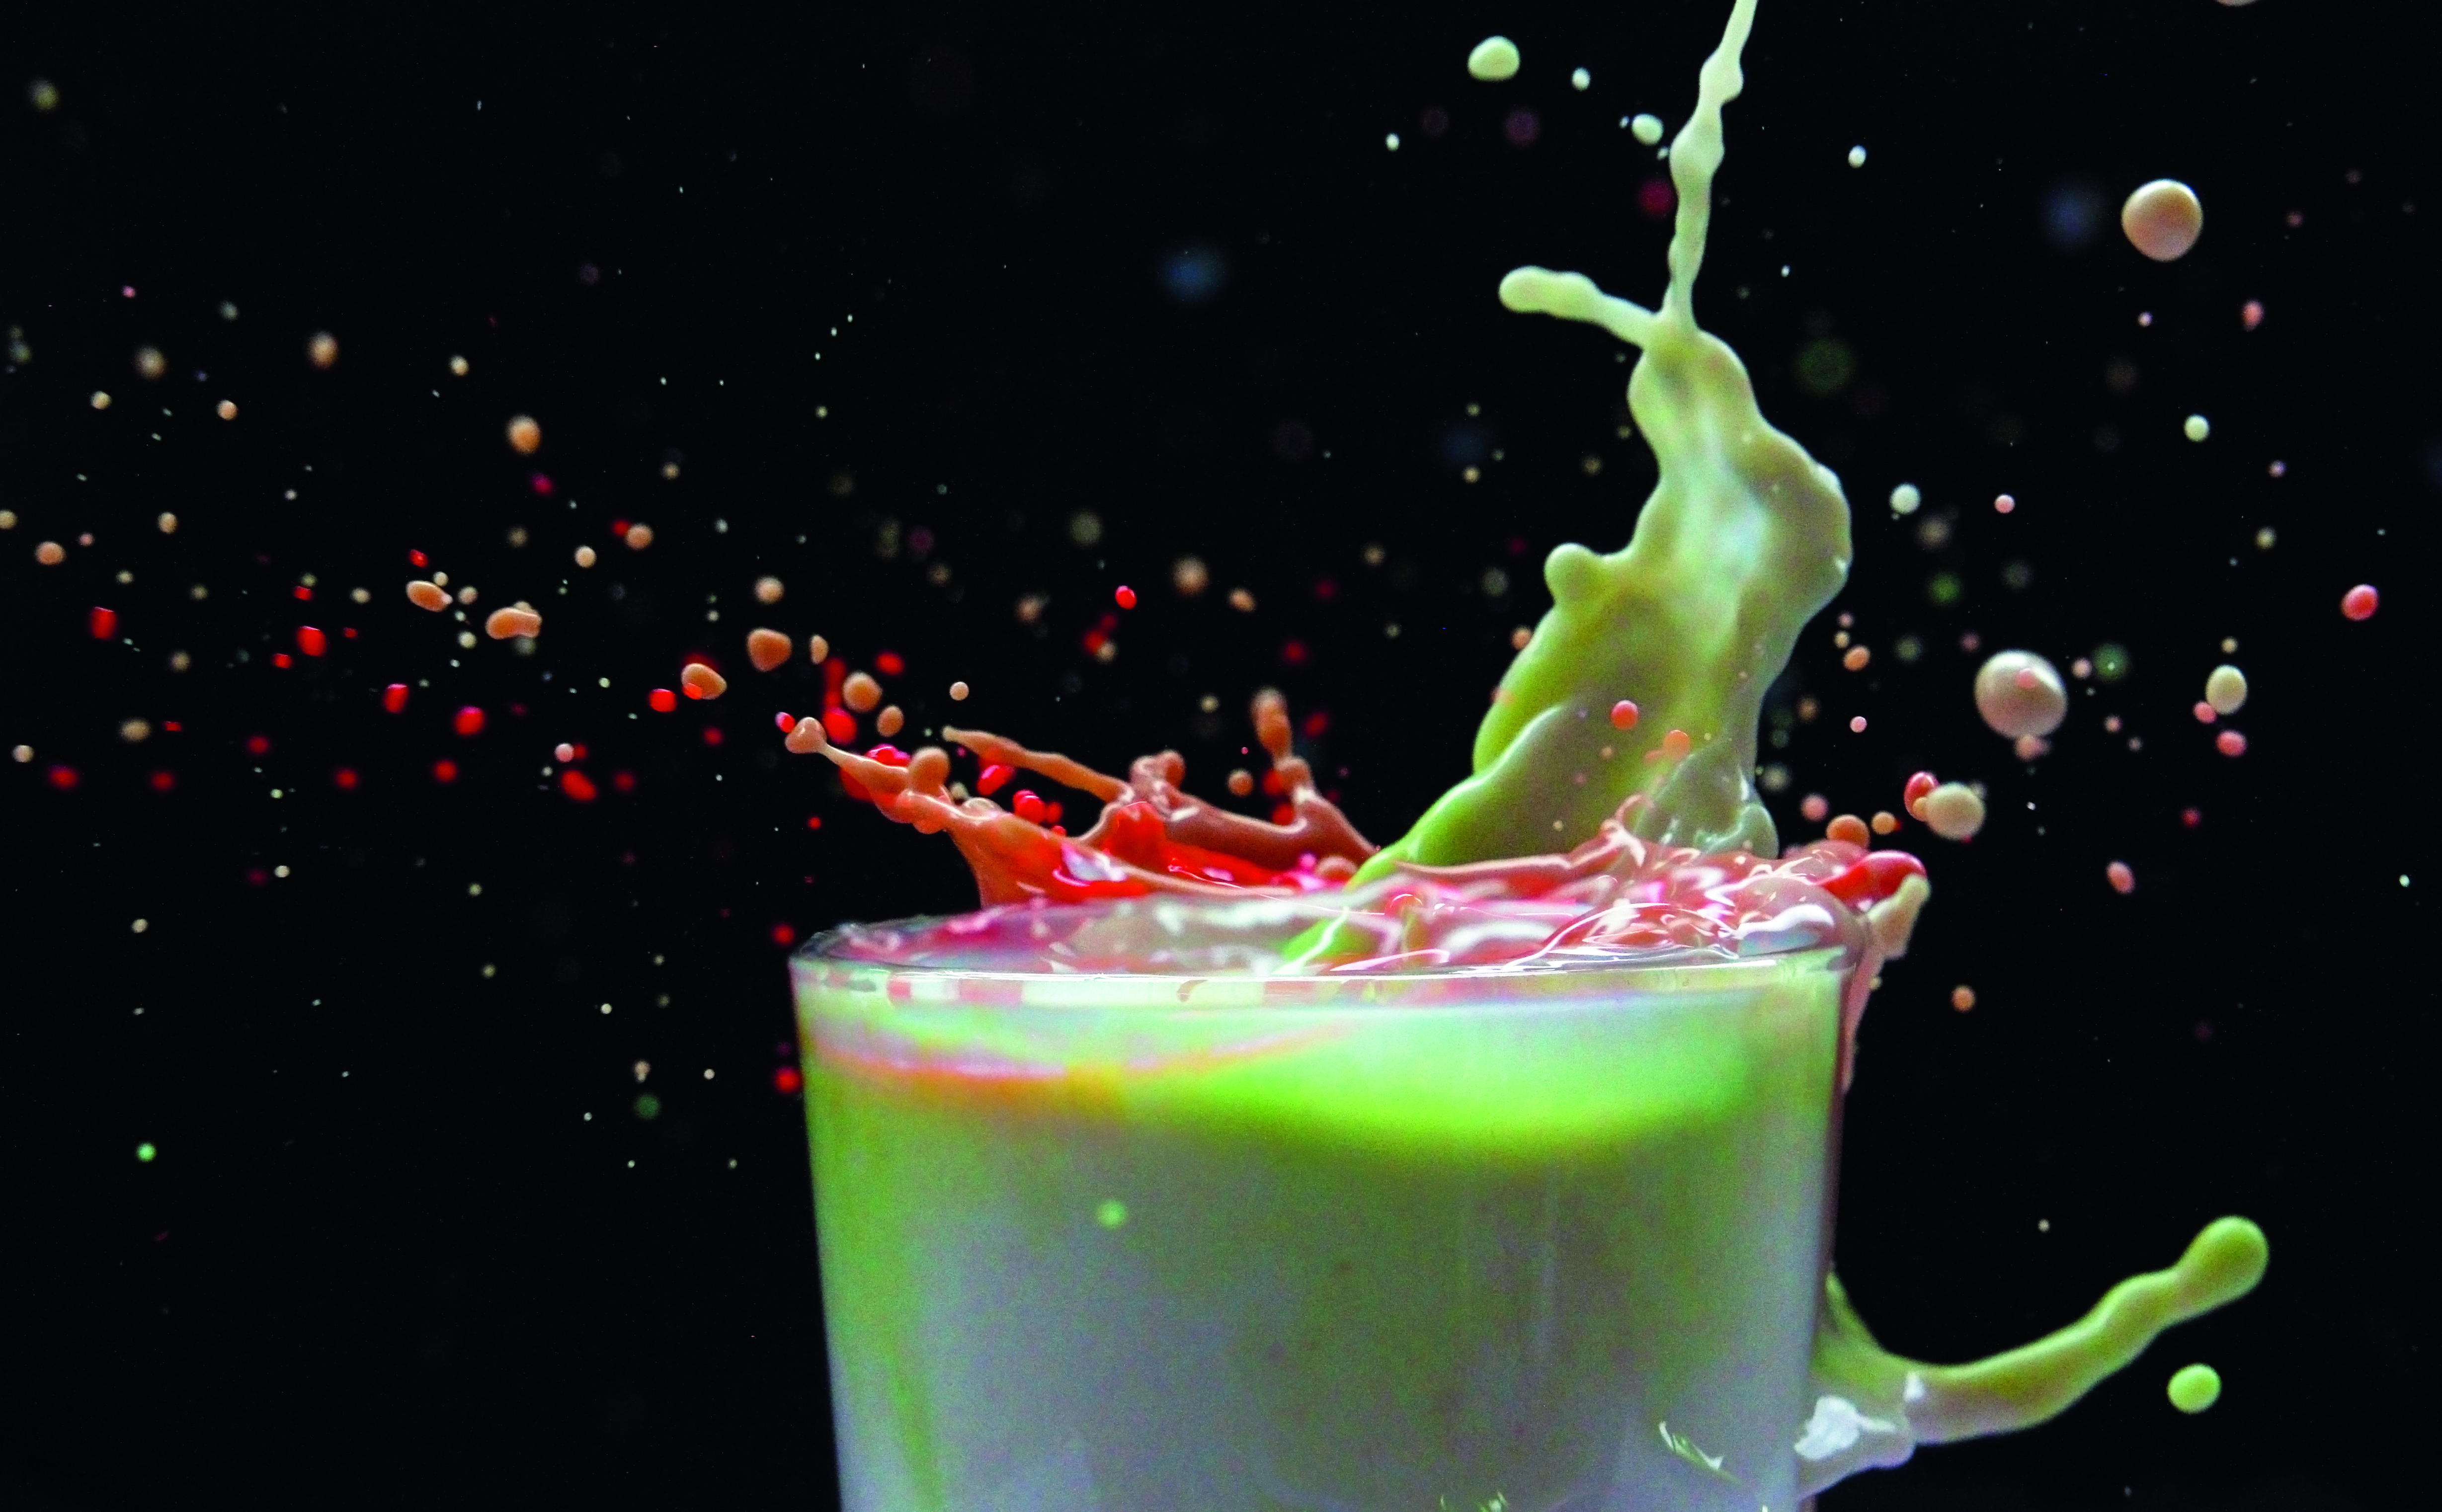
When you’ve got a few shots in the bag, experiment! Use different colours, containers and objects for a whole host of varied results. The bigger the object, the bigger the splash! Don’t be afraid to get really messy.
EDITING TIPS: For dynamic results
Enhance the splashy effect with these quick Adobe Camera Raw fixes
01 GENERAL TWEAKING
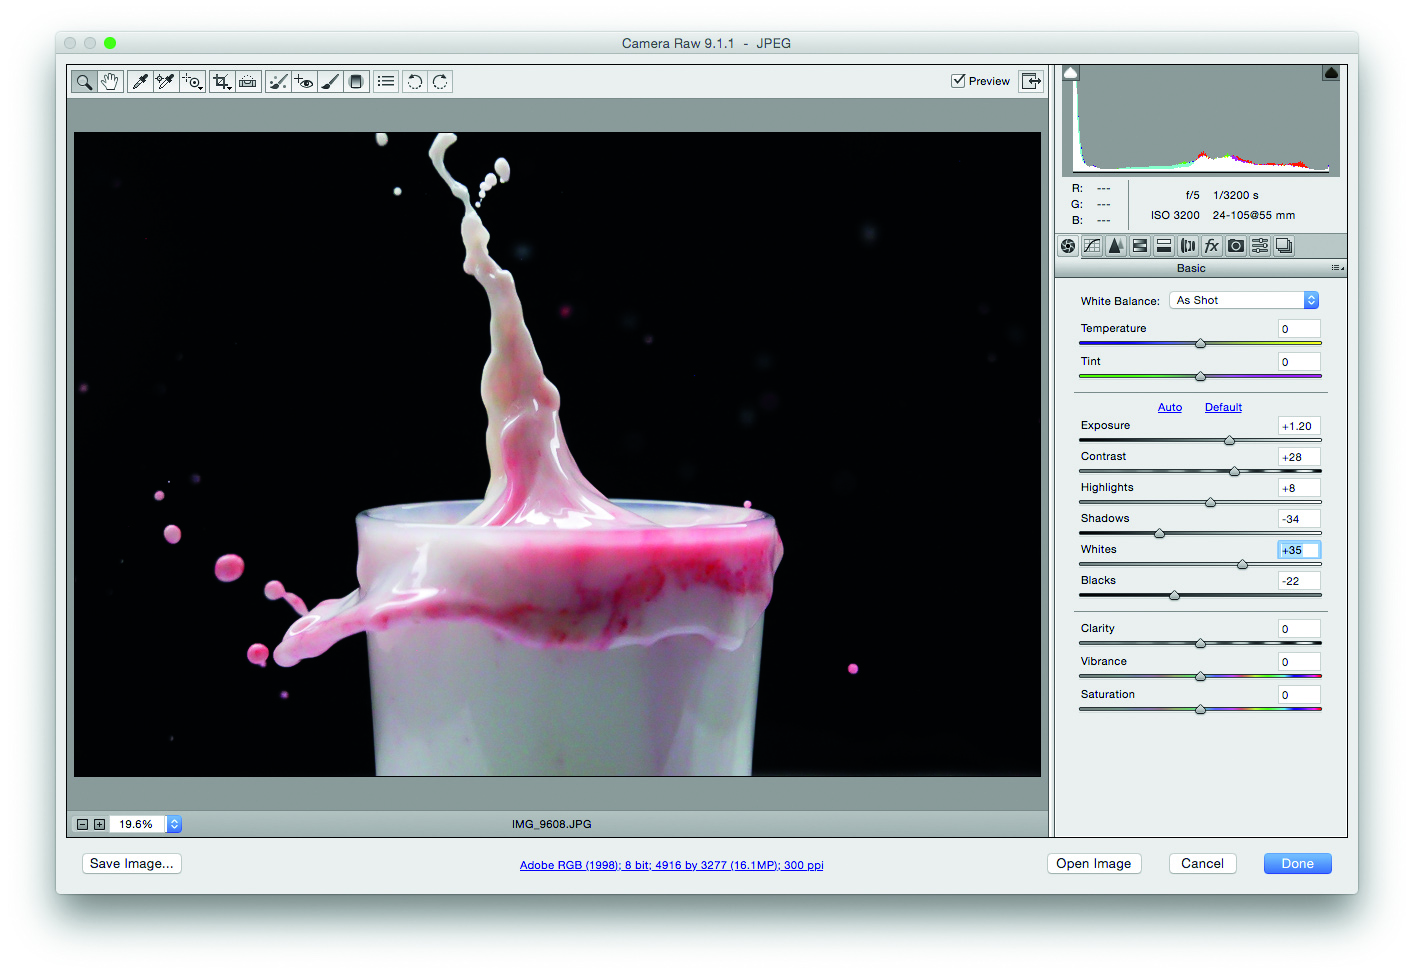
Splash images can be dull straight from the camera, so our main aim is to add punch. Boost the Exposure, Contrast and Whites levels. Lower the Shadows and Blacks, as this will bring the black poster board to a deeper, uniform tone.
02 SHARPEN IT UP
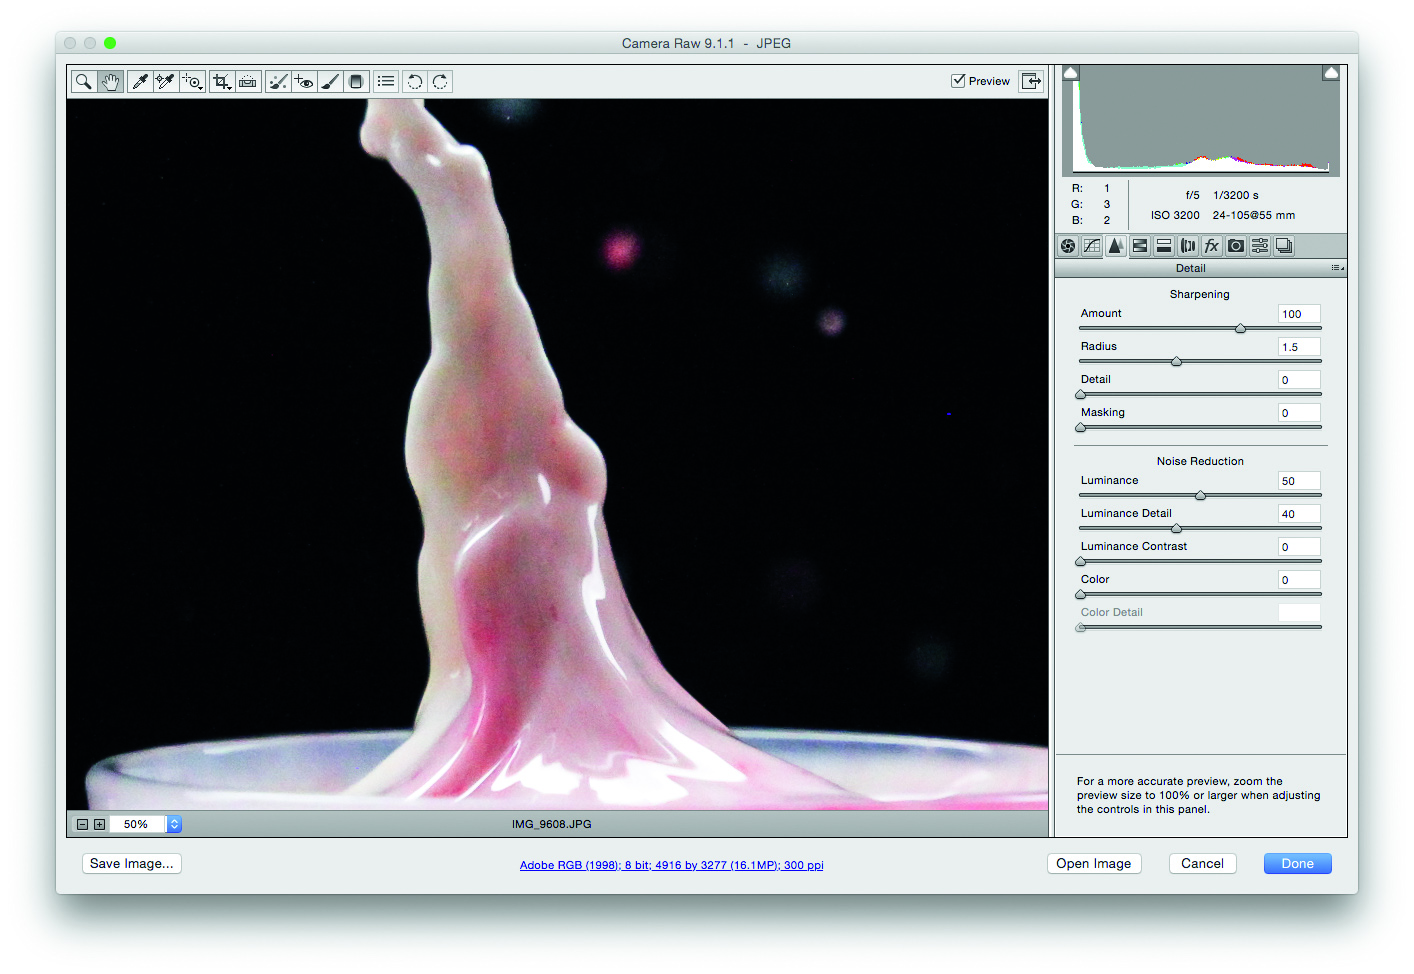
These liquid shots require a high ISO to reach fast shutter speeds, and so the final images can appear a bit noisy. Go to the Detail panel and use the Noise Reduction slider, zooming in to see the effect. Then, add definition using the Sharpening slider.
03 REMOVE THE MESS
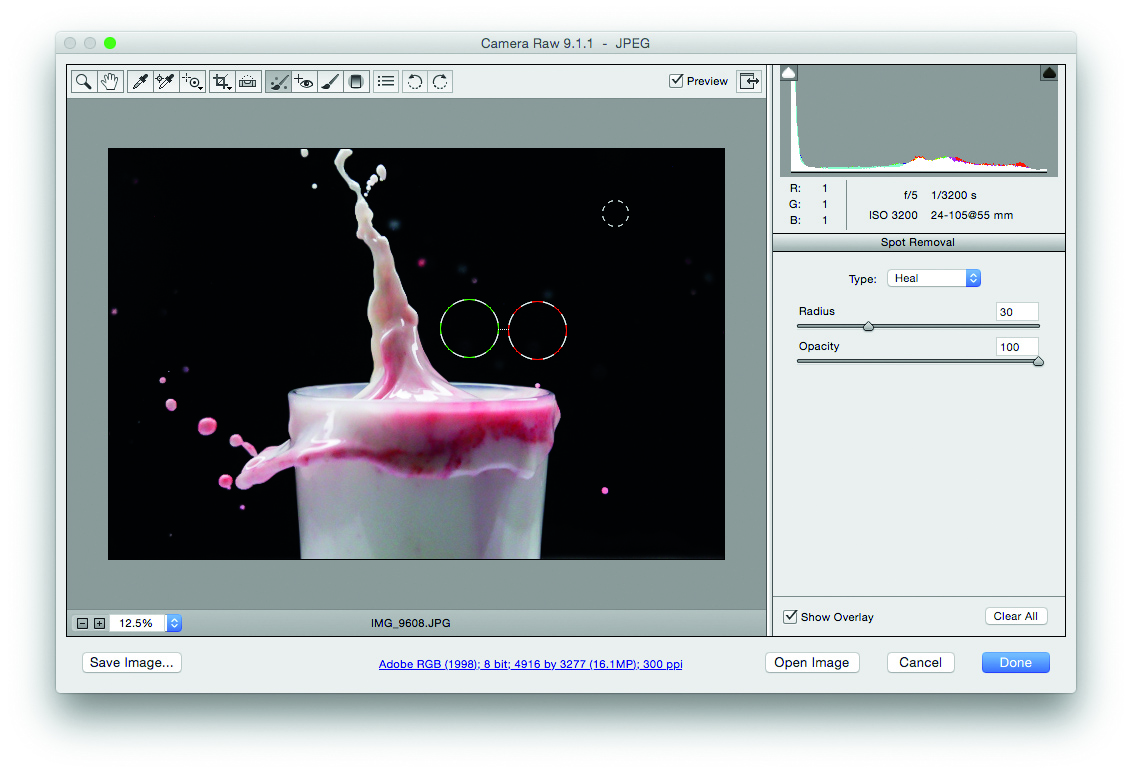
Because the liquid splashes onto the black backdrop, you’ll get drops of moisture appearing as blurry spots in the background. Use the Spot Removal tool to clear up any distracting elements, making sure to change the brush radius to suit.
CHEAT EFFECT: Merge several shots together
Combine a few of your shots in Photoshop for the ultimate splash magic result
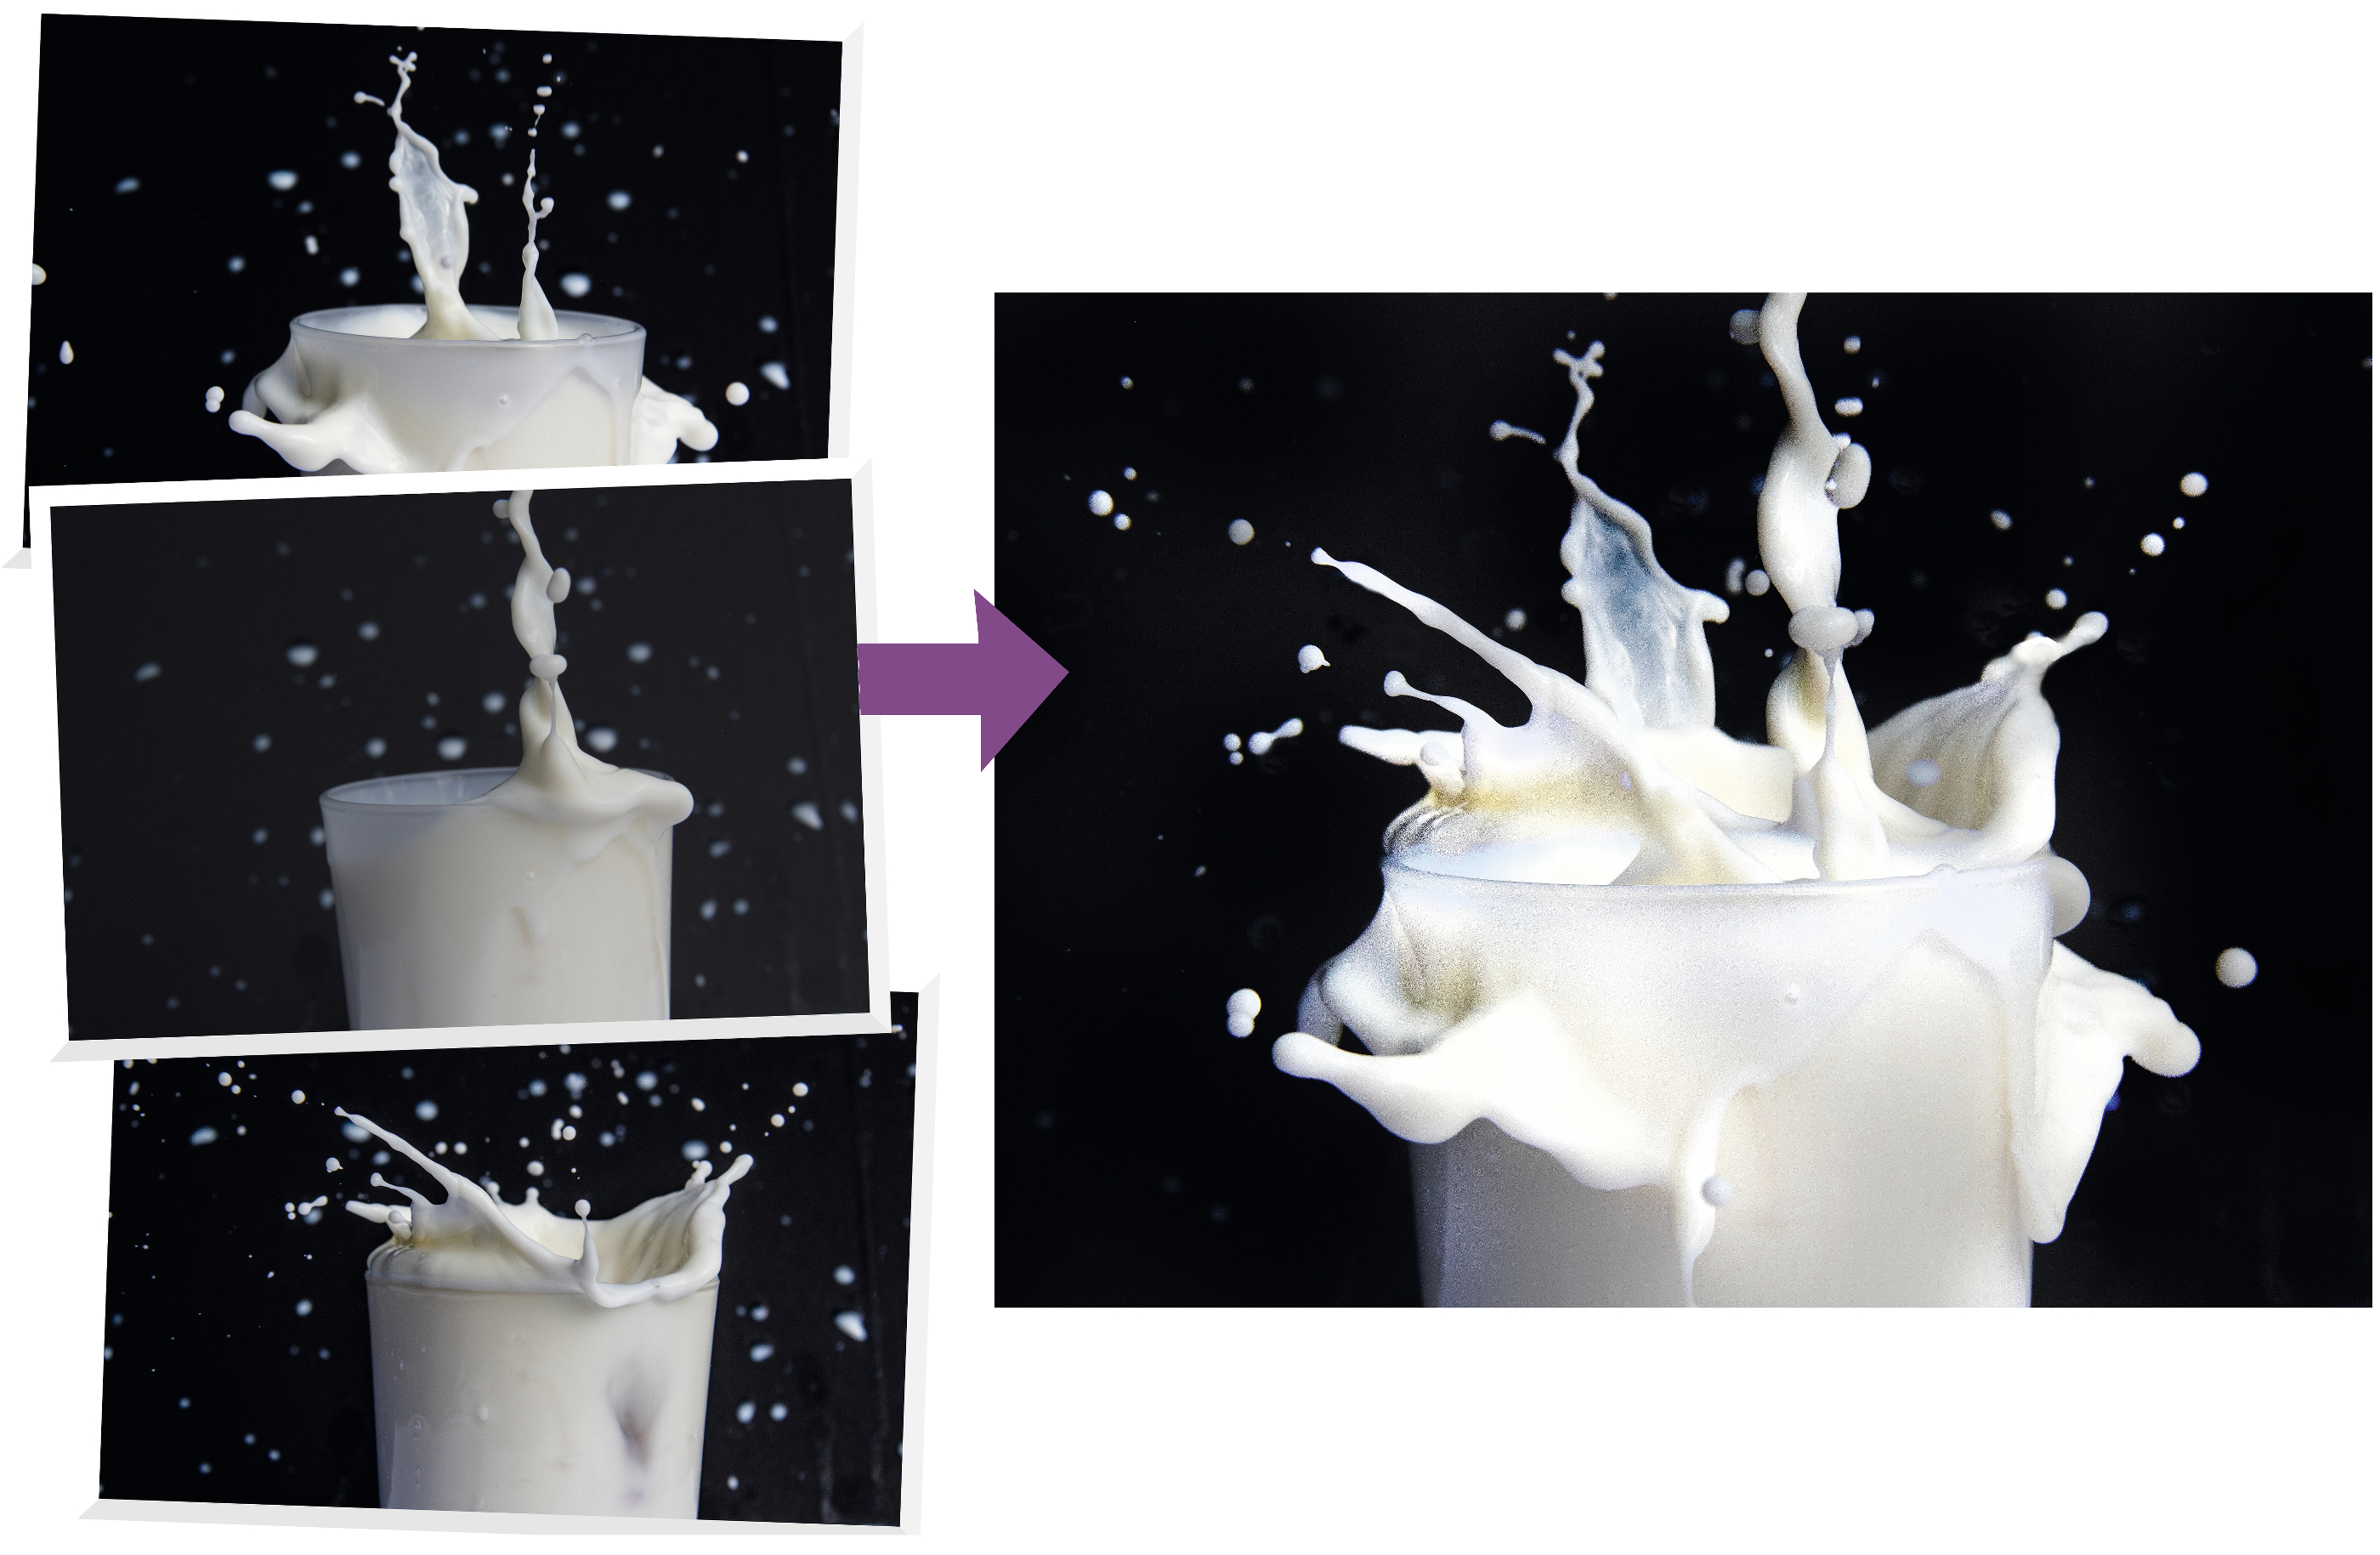
You might notice that you often get a few great individual splashes in each shot, but not any frame-filling examples. Fortunately, it’s easy to combine a few splashes from different images into one dynamic frame (provided you use a tripod and don’t change the composition).
Open your images as separate Photoshop layers, then change the blending mode to Lighten. Darken the Shadows, up the Contrast and use the Dodge tool selectively to brighten up ‘strands’ of liquid. You might well find yourself spending hours editing these intriguing composites…
Get the Digital Camera World Newsletter
The best camera deals, reviews, product advice, and unmissable photography news, direct to your inbox!
Lauren is a writer, reviewer, and photographer with ten years of experience in the camera industry. She's the former Managing Editor of Digital Camera World, and previously served as Editor of Digital Photographer magazine, Technique editor for PhotoPlus: The Canon Magazine, and Deputy Editor of our sister publication, Digital Camera Magazine. An experienced journalist and freelance photographer, Lauren also has bylines at Tech Radar, Space.com, Canon Europe, PCGamesN, T3, Stuff, and British Airways' in-flight magazine. When she's not testing gear for DCW, she's probably in the kitchen testing yet another new curry recipe or walking in the Cotswolds with her Flat-coated Retriever.

