The best camera settings for video: what the settings mean and why they matter
Some of the camera settings for video will be familiar to stills photographers, some will not, so we explain the basics
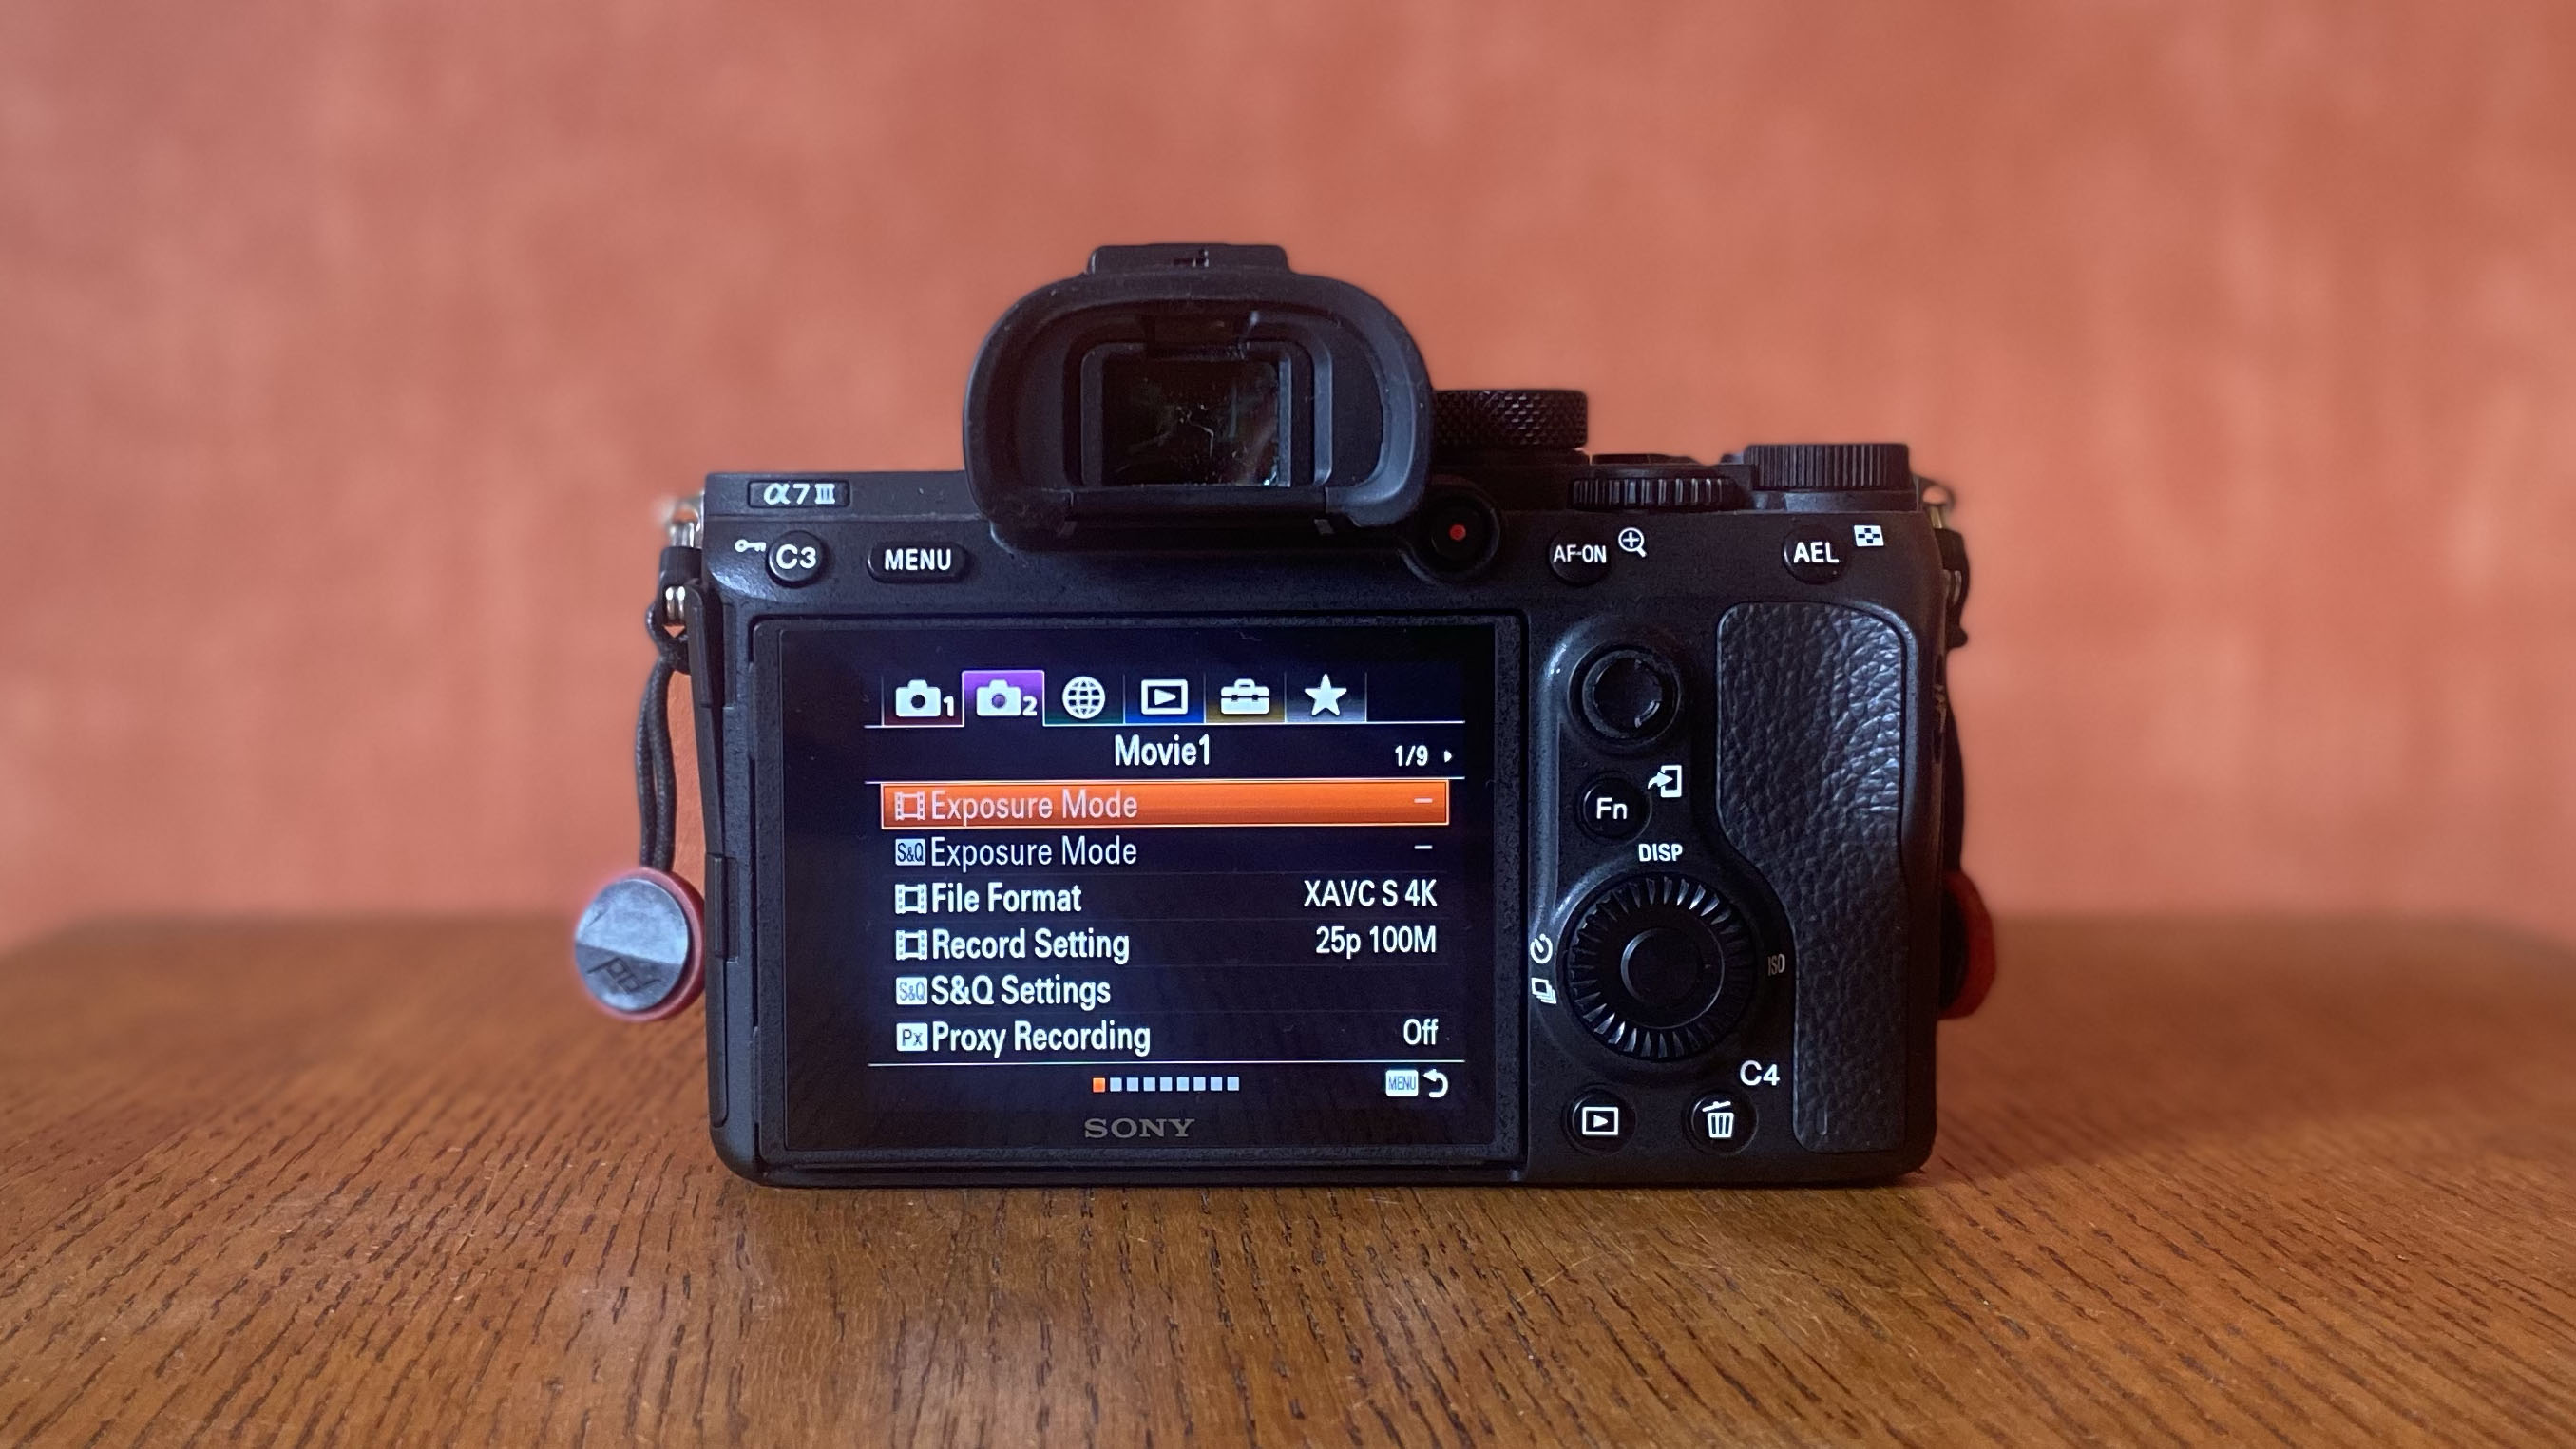
If you’re a stills photographer and thinking about giving video a go, the video settings menu can seem pretty overwhelming. There are so many different options and all the numbers and letters can be a bit confusing but once you know what it all means it gets a whole lot easier.
There are three main things to think about – frames per second, shutter speed (known as shutter angle in the cinema world) and ISO. The frames per second dictate how many individual frames are in each second of footage, shutter speed is the amount of time each individual frame is exposed for and ISO is how bright or noisy your image is. There's a lot of video jargon that won't make sense at first so it's worth familiarising yourself with some of the terms.
Once you've got to grips with the settings you need you can start shooting. After you've filmed your content, you can start thinking about editing using the best video editing software available but we will delve more into the world of video editing in future posts.
• Read more: Best cameras for video
1. Frame rate (frames per second)
You'll probably want to shoot at 30fps in the US and 25fps in the UK to match the local broadcast standard. Either is fine when you want the footage to look like it would "in real life". If you know you want to have slow-motion sections, you'll need to shoot at a higher frame rate such as 50fps or 100fps.
The higher the frame rate, the more information is contained within each second so the slower you can make it in post. If you don't end up slowing the footage down when editing, it'll play back at normal speed, only the file size will be much bigger.
It's worth remembering that if you do choose to shoot in 50fps or 100fps, you will have to manually slow the footage down in post-processing. There are different ways to do it depending on what video editing software you use and how you want it to appear in the final edit.
Get the Digital Camera World Newsletter
The best camera deals, reviews, product advice, and unmissable photography news, direct to your inbox!
2. Shutter speed ('shutter angle')

As a rule of thumb, your shutter speed should be double your frames per second. So if you want to shoot at 25fps you’ll need a shutter speed of 1/50th. Shutter speed can also be thought of as shutter angle which is how the cinema buffs refer to it and it’s tied to how much motion blur is in your image.
I won't go into shutter angles too much now, it's just good to have some idea that shutter angles and shutter speed are related. If you want to get smooth movement, when shooting at 25fps with a shutter speed of 1/50, your equivalent shutter angle would be 180 degrees. The smaller the shutter angle the more staccato your image will look – the scene in Saving Private Ryan where the beach is getting bombed is a good example of this. The bigger your shutter angle, the more motion blur your image will have.
3. Video resolution
If you go into your camera's video options menu, you’ll see there are lots of different options to choose from in terms of fps and Mbps depending on what resolution you choose to shoot in.
Resolution refers to detail in the image and you’ve no doubt heard of it as 4K and HD (or Full HD). Most projects will be fine shot in Full HD, as lots of TVs and monitors aren’t 4K ready – so with 4K you’ll be recording bigger files but not actually getting to view them in all their glory.
4. ISO setting
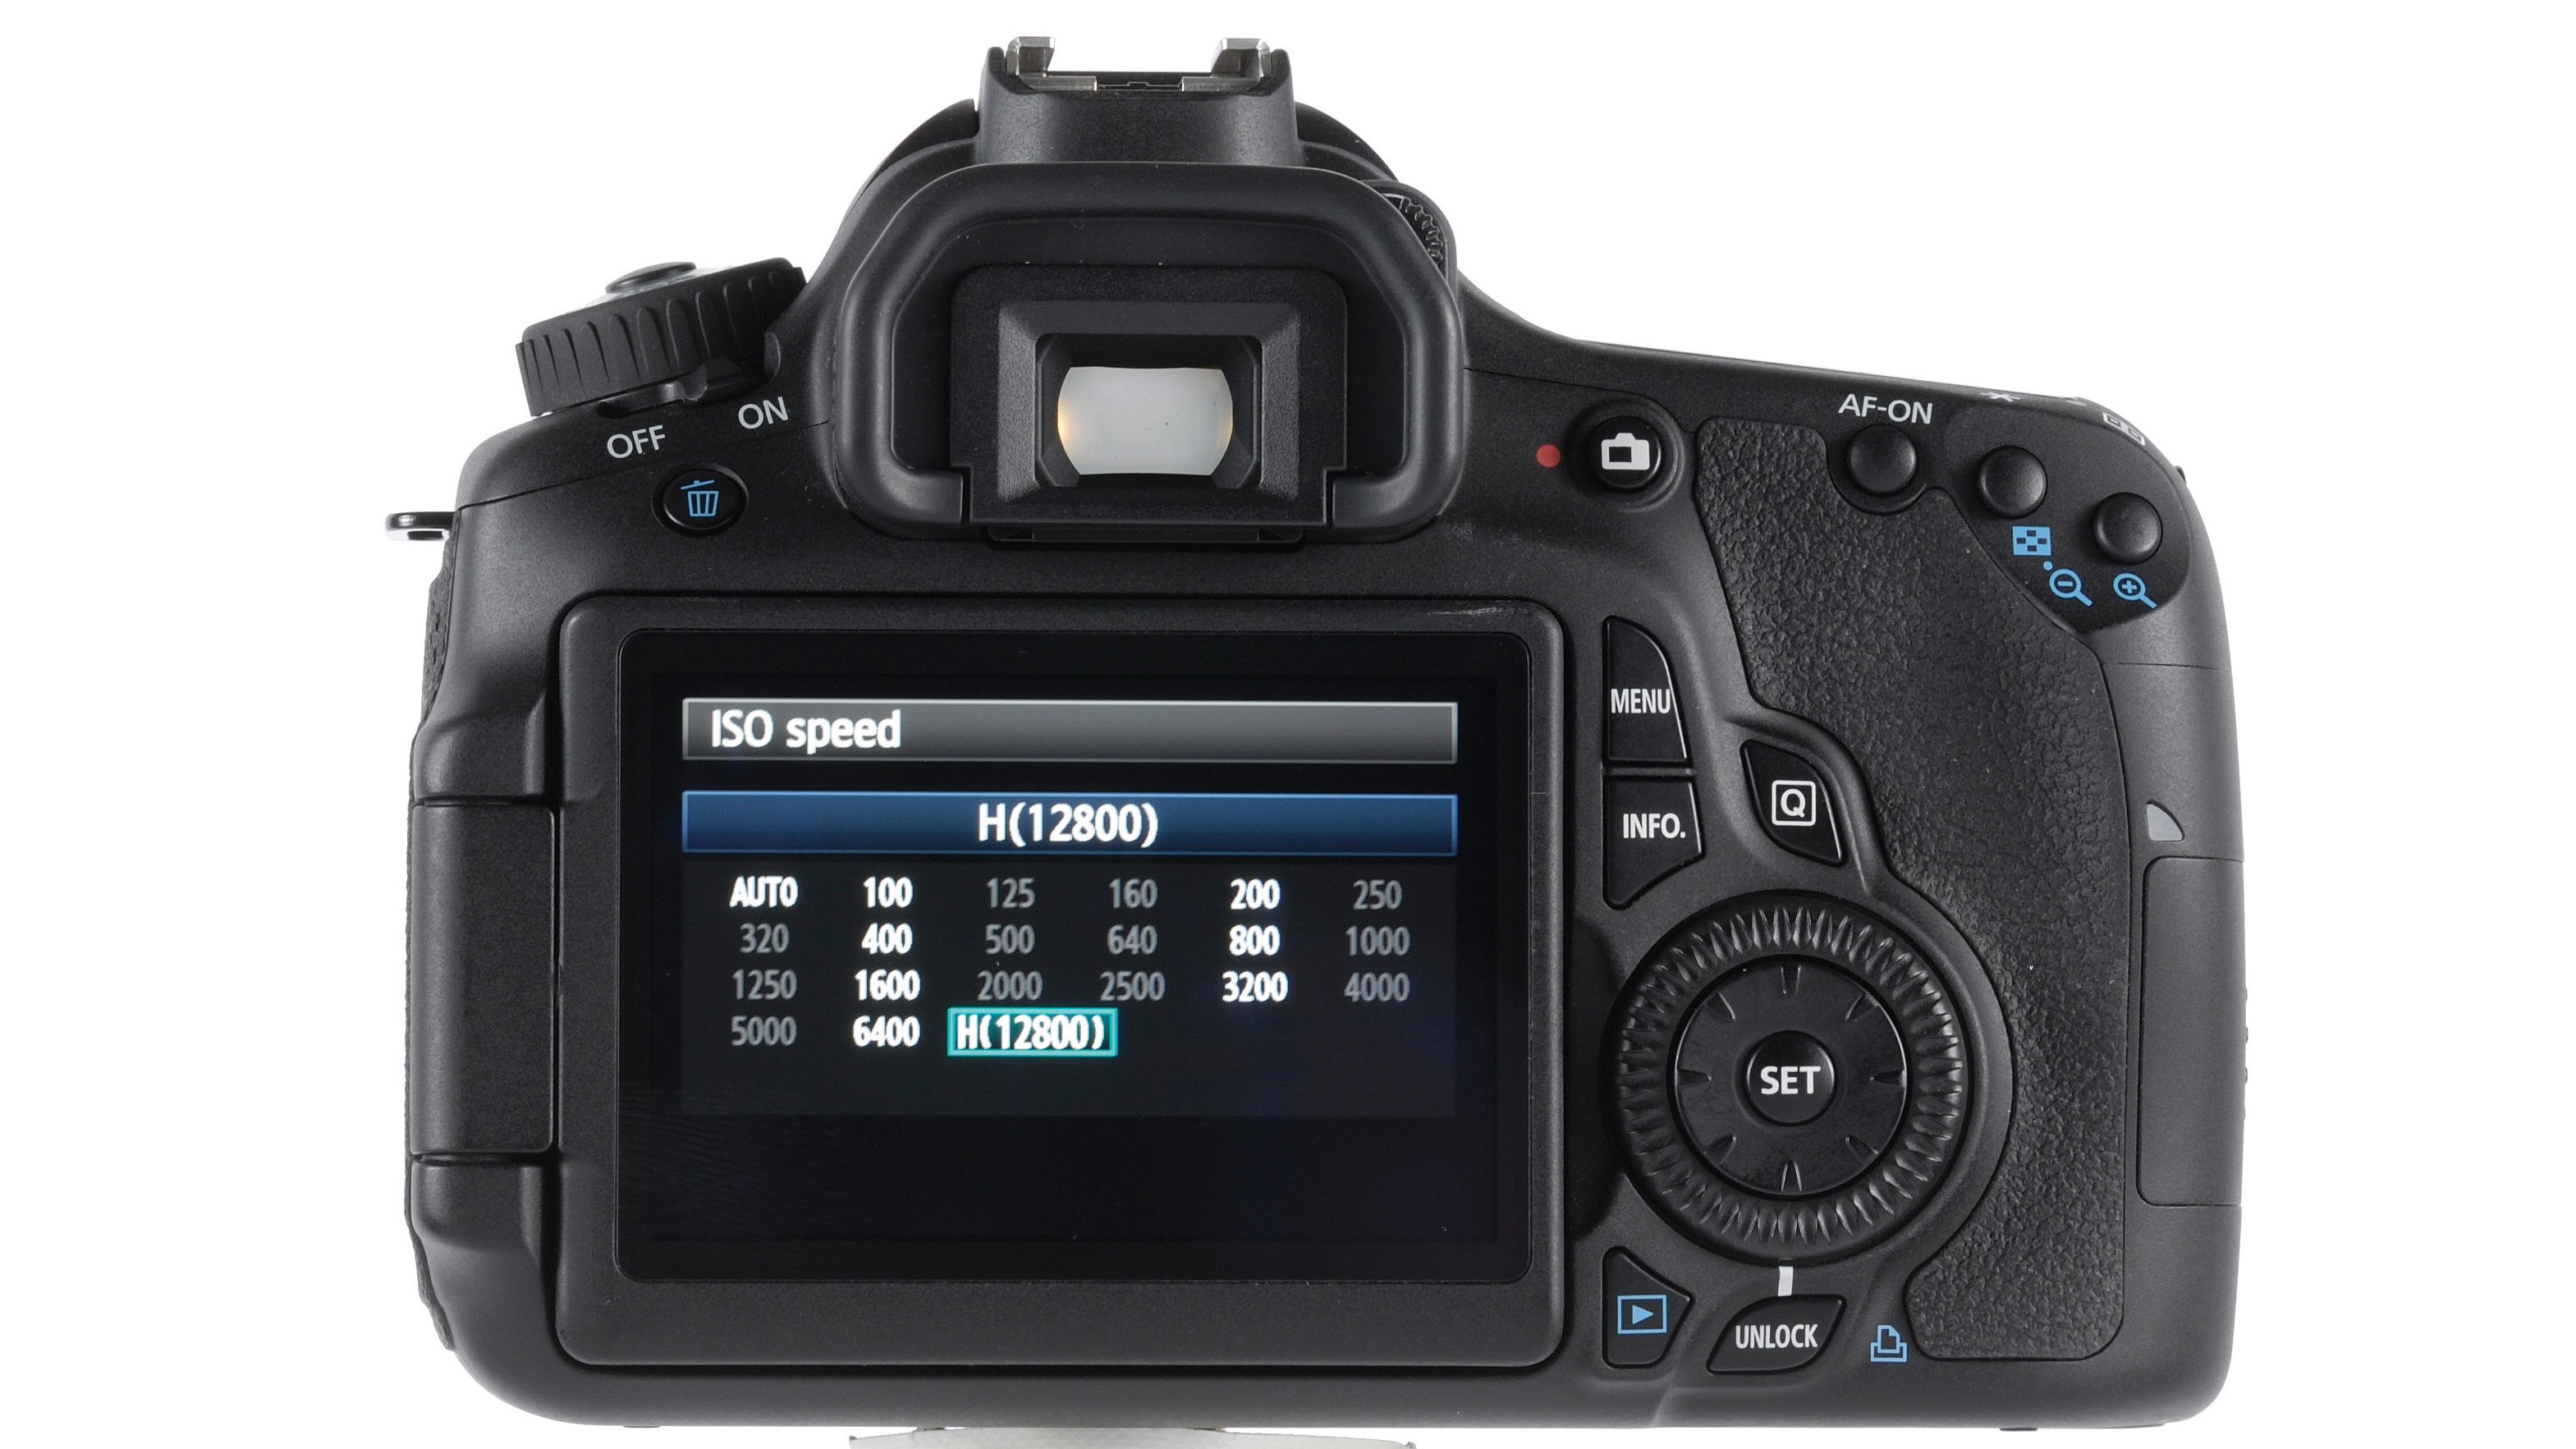
In exactly the same way as ISO measures light sensitivity in photography, it plays the same role in videography, only you normally can’t work within the same parameters. Some cameras when shooting video will have a base (sometimes to refereed to native) ISO of around 600-800 which you won't be able to shoot below. Always try and keep your ISO as low as possible when shooting video.
5. White balance
Most of the time when shooting stills you can get away with sticking the white balance to auto and firing away. A few images might be slightly off but it’s nothing you can’t change in post. When shooting a video, it’s a good idea to set your white balance before you start shooting to a set value so that the camera won't change color temperatures while you are recording.
Setting the white balance ensures that when you come to editing footage, you don’t have clips that look vastly different from each other. If you’re shooting outdoors you’ll want to set your white balance to around 5600K but just remember, the warmer the light the lower the Kelvin value.
6. Aperture (or 'iris')
The aperture you use will be dependent on how much light you have available or how blurred you want the background of what you're shooting to be. It works exactly the same as in photography only you'll have to find ways around over exposing (such as using the best neutral density filters) if you want to shoot wide open in bright sunlight as you can't just change shutter speed or ISO in the same way.
7. Shooting in Log
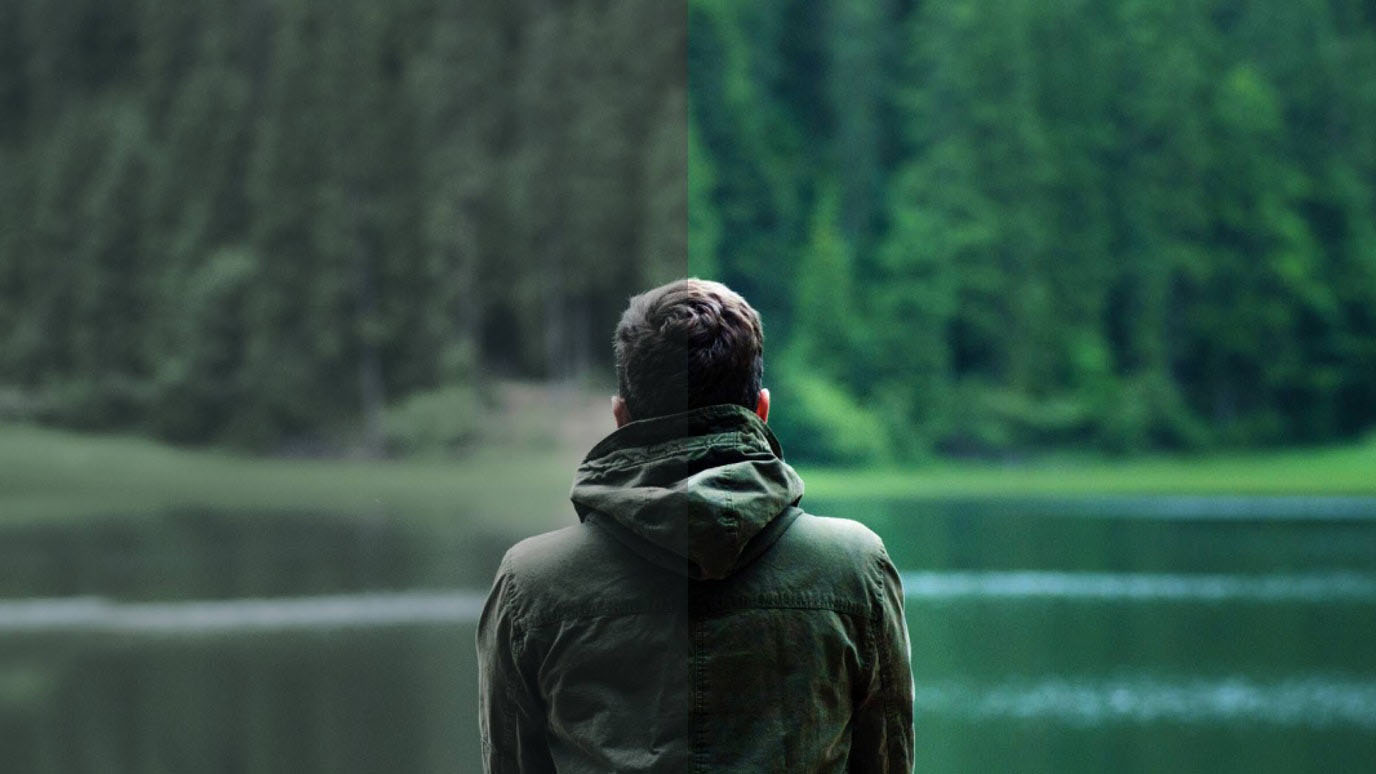
If you want to color grade your footage in post-processing you will want to shoot in Log. Shooting in Log means you using a logarithmic curve rather than a linear one, Log footage gives you more dynamic range and means you don't lose information in your shadows and highlights. Before the footage has been color graded, it will look flat with little contrast but this can be added back in after. It might seem superfluous to shoot this way but it gives you better quality video overall and more creative control.
You'll have to apply a LUT (Look Up Table) to your Log footage in post to get the color back. This is when you can decide if you want it to look as your eyes see to give it a cinematic effect.
Read more:
Best video editing monitors
5 bits of essential filmmaking kit
Best cinema cameras
Having studied Journalism and Public Relations at the University of the West of England Hannah developed a love for photography through a module on photojournalism. She specializes in Portrait, Fashion and lifestyle photography but has more recently branched out in the world of stylized product photography. Hannah spent three years working at Wex Photo Video as a Senior Sales Assistant, using her experience and knowledge of cameras to help people buy the equipment that is right for them. With eight years experience working with studio lighting, Hannah has run many successful workshops teaching people how to use different lighting setups.
