32 tips and tricks to make a basic camera more powerful
From being able to shoot faster through to saving battery life, there's plenty you can do to make even cheaper cameras shine
14. Enable your electronic level
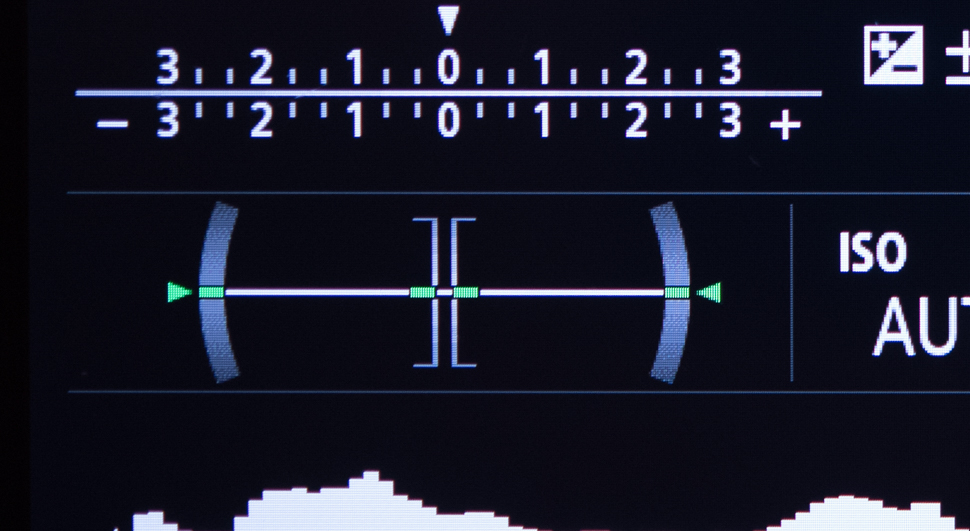
Your camera may be equipped with an electronic levelling function, particularly if it’s a mirrorless model or a compact. These help to keep you shooting straight and level, so check to see this is possible and turn it on whenever you need it.
15. Enable touch controls
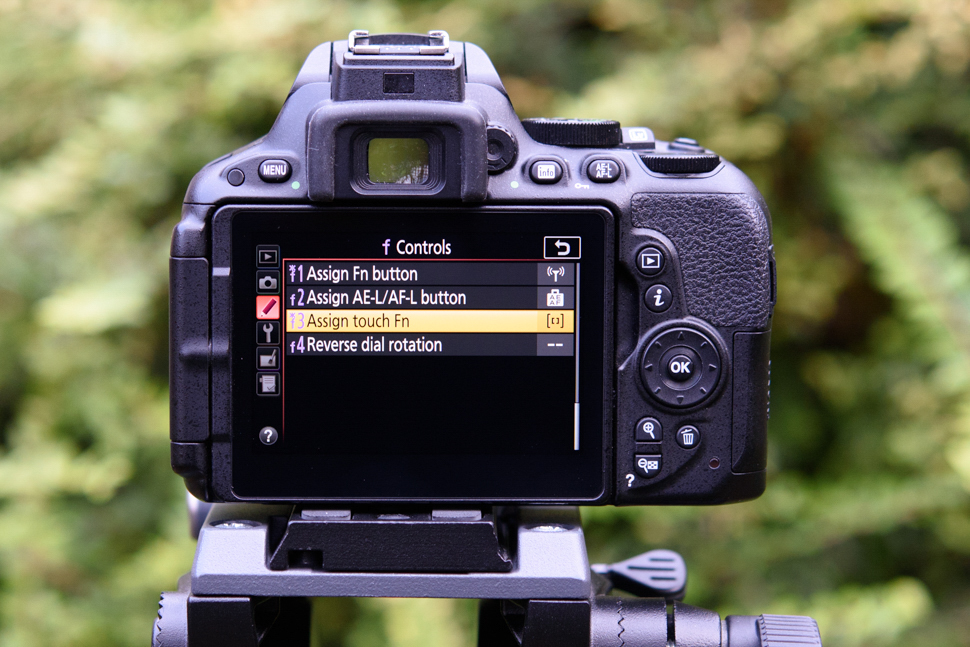
If your camera offers a touchscreen – and most models now do – consider enabling the touch controls. These are one of those things that you end up finding more useful that you may first think.
From setting the focus point while you're using a tripod, choosing menu options and letting you tap into images to see their details more clearly, you may find it quickly changes the way you shoot and control your camera.
16. Check for face detection
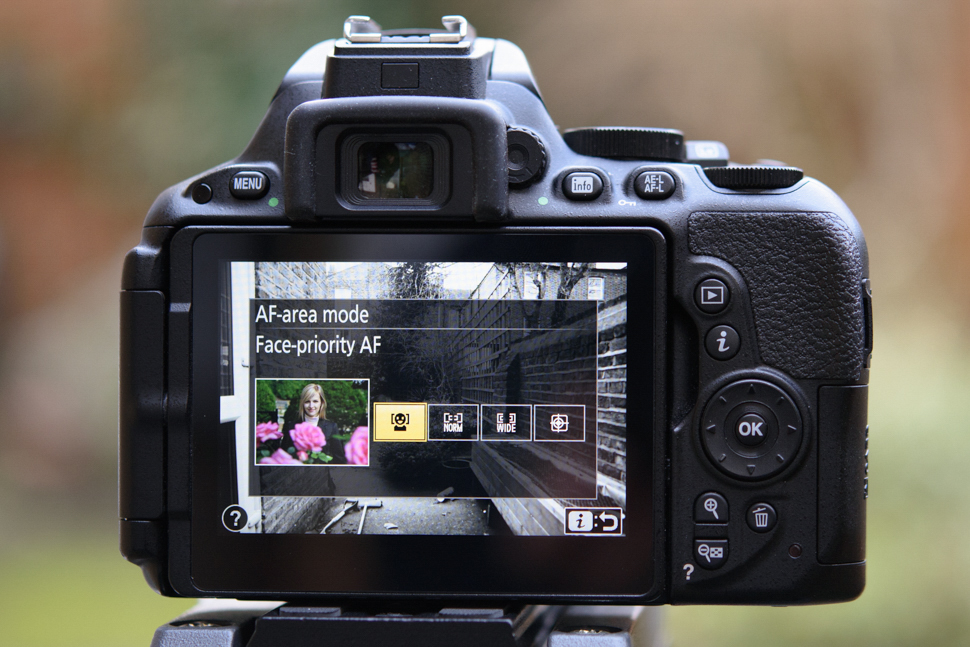
If you ever use live view or video, you may want to think about making sure face detection is turned on. This won’t be effective when you're using the viewfinder, but it can make light work of ensuring people are correctly focused otherwise.
17. Shoot Raw files
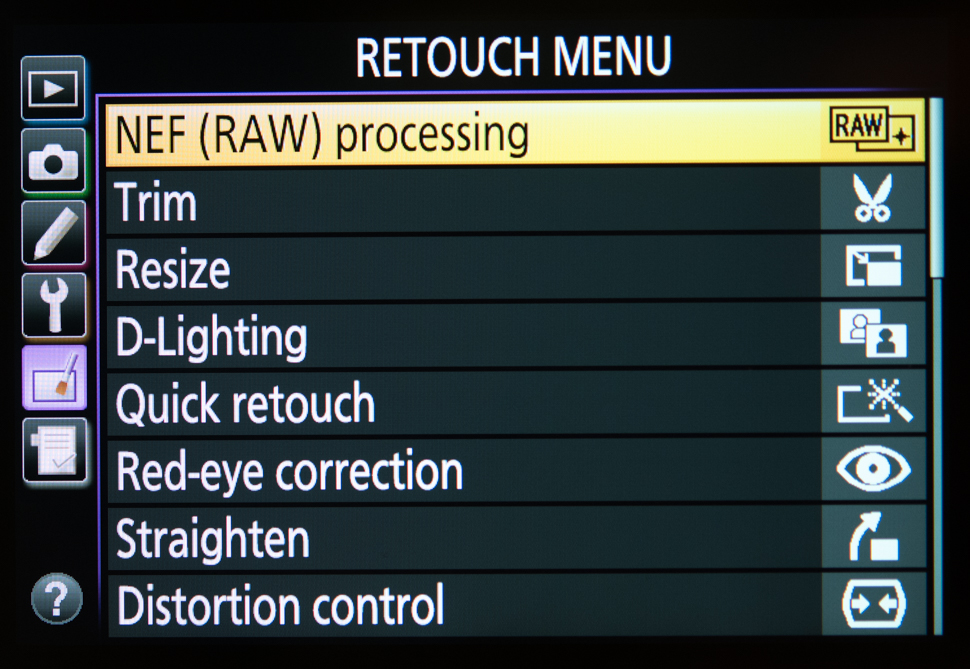
If you've just started to use your camera you may be happy shooting JPEG images on their own, but Raw files will give you a better starting point for anything you may need to process later on.
Images in tricky or high-contrast lighting conditions, as well as those with strange colours casts and anything captured in low light, is worth shooting in Raw.
Not confident processing Raw files? Your camera may offer a Raw processing option that will let you make basic adjustments to your files. As this processing does not affect the original file, it's great from the perspective of quality.
18. Bring up your histogram
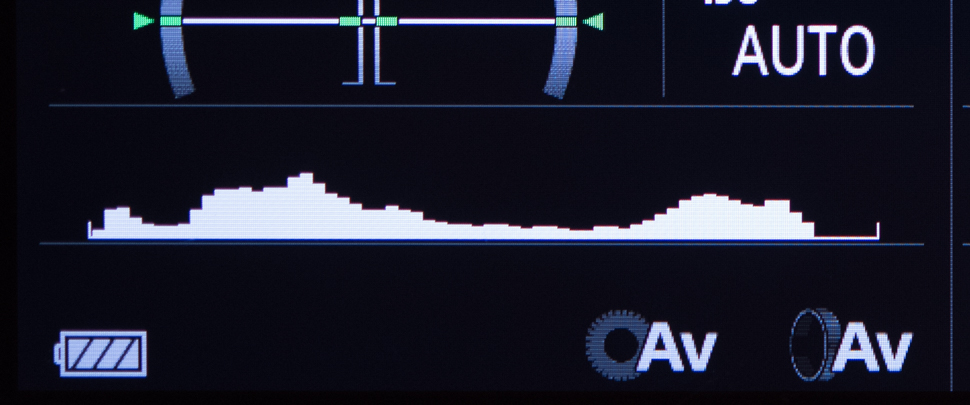
Histograms display the spread of tones in a scene and they are one of the easiest ways to check whether your exposure is as appropriate as it can be.
In high-contrast conditions, you may find that there’s lots of information at one end of the other of the scale, and if this starts to drop off on either end it could mean you’re losing detail in either shadows or highlights.
Press the Display or Info buttons when you’re using live view and you should see this come up. If not, consult your camera’s manual to see how to activate it.
19. Change the number of AF points
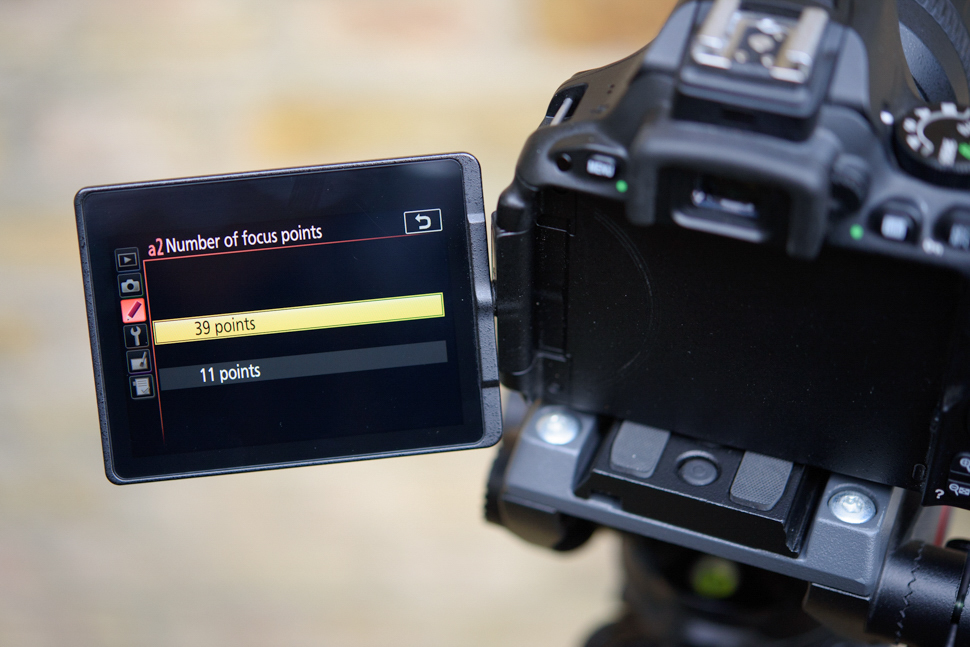
It’s great having lots of AF points to choose from but it can be a hassle if you constantly have to click your way through lots of points to get to the one you want.
Changing the number of addressable AF points, which is now possible on many cameras, will strip this selection down to just the key points to help speed things up.
20. Use a faster lens
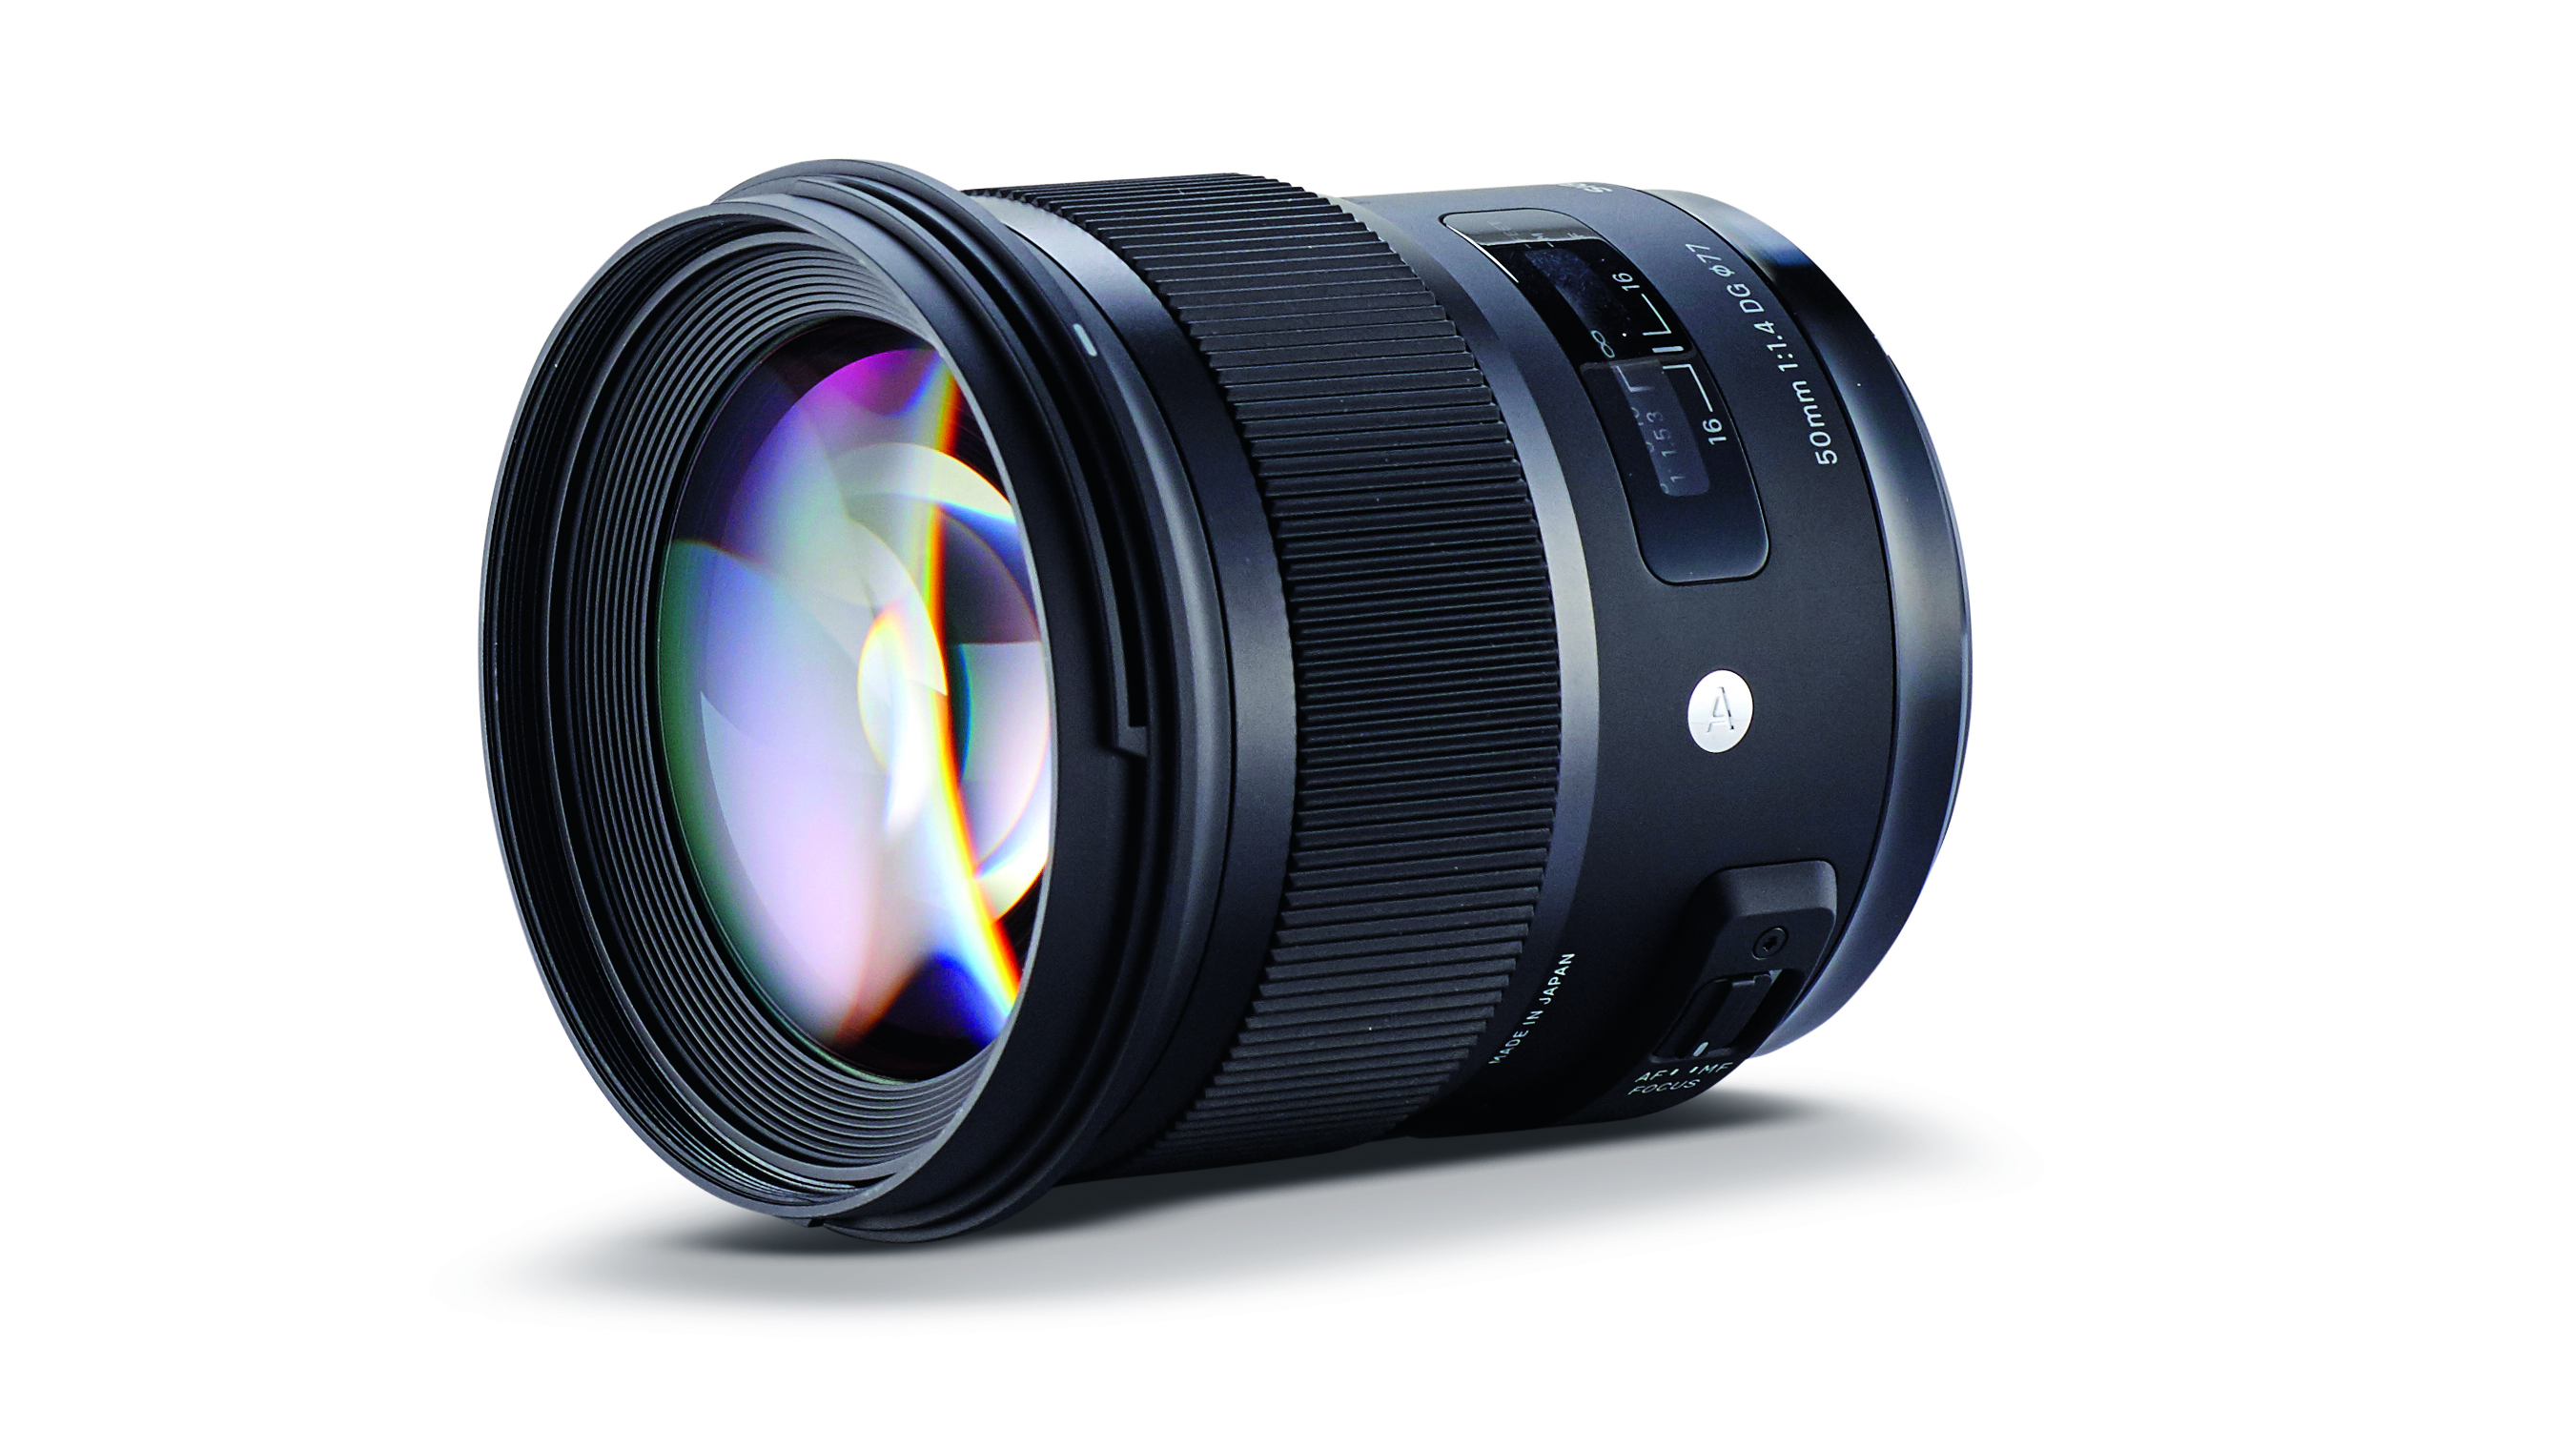
Basic cameras don’t tend to control the grainy texture known as image noise as well as more advanced ones, but you can help yourself out here by using a lens with a wide aperture.
Doing so will allow you to let more light into the camera, which will mean you can use a lower ISO settings, which in turn will help to keep image noise to a minimum.
You don’t even need to spend lots either. A 50mm f/1.8 lens is one of the cheapest you can buy, and third-party lenses are always worth a look as they can also be great value for money next to those offered by your camera's manufacturer.
21. Check your self-timer options
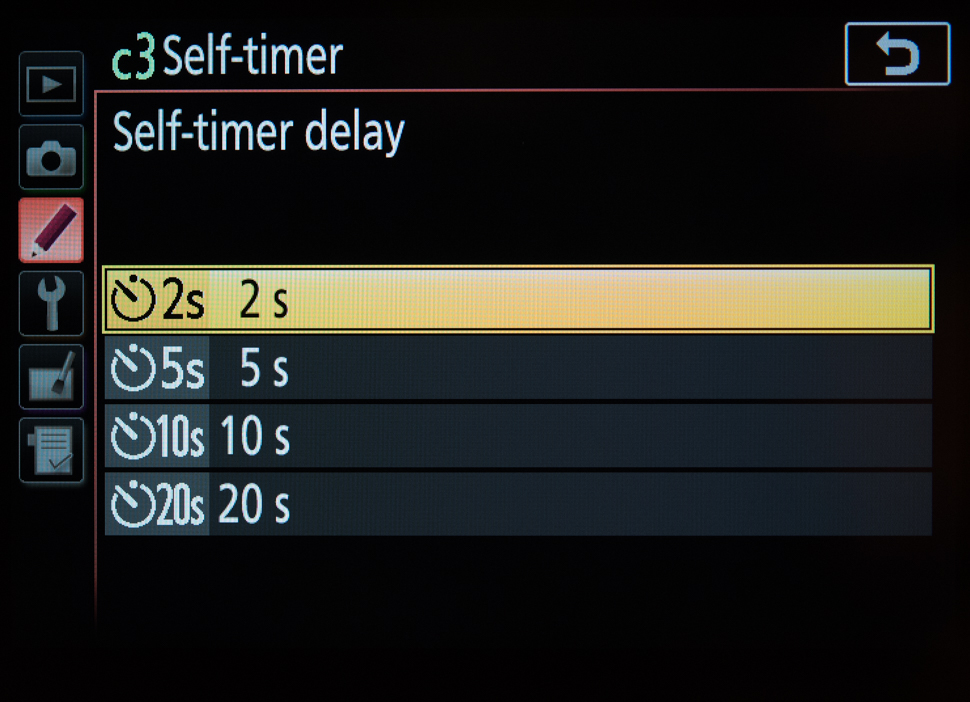
You don’t necessarily have to put up with the default time period for your camera’s self timer.
You may be able to change this between 2, 5 10 and even 20 seconds, which makes your camera more suitable for a wider range of shots. A shorter duration is great for macro work when you don't have a cable release, while a long one is great for groups shots and even selfies when you need to get a fair distance away from the camera.
22. Use your framing grids
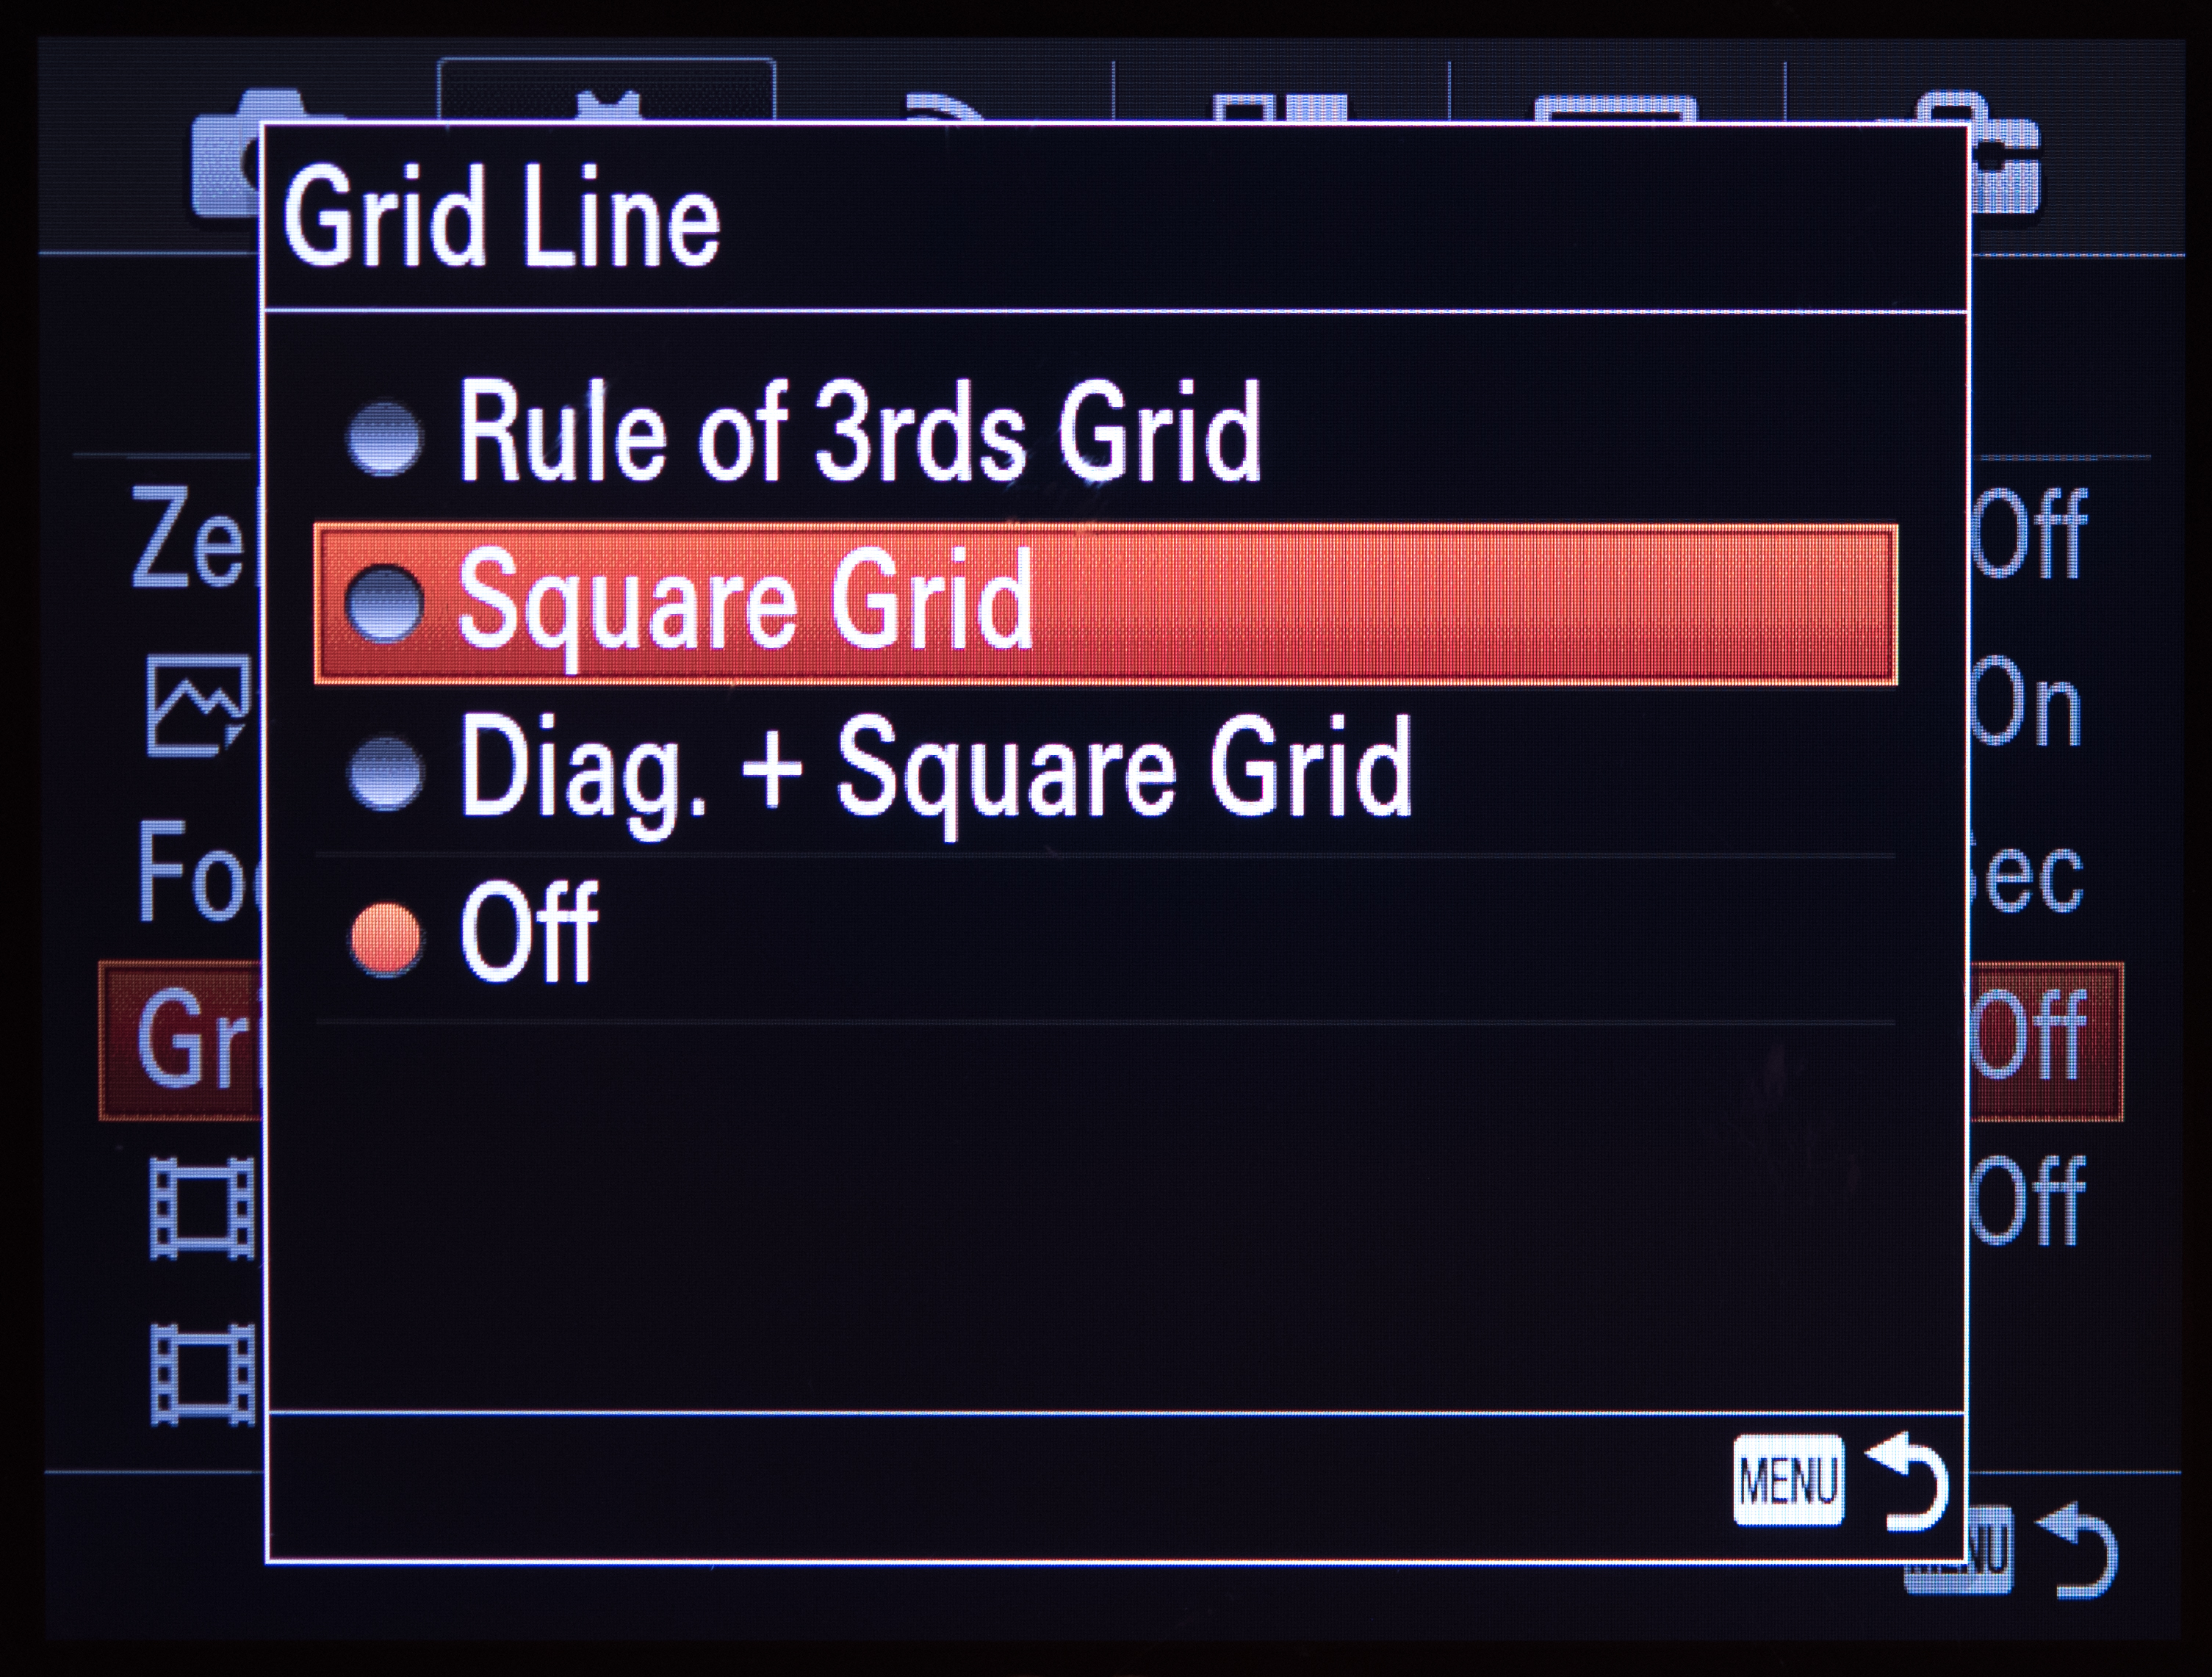
If your camera doesn’t have an electronic level, the framing grids can be a good alternative for keeping things straight. Just line up any straight edges with the grid lines and you should get a more accurate image.
These are also very useful as an aid to composition, in that you can place subjects on intersecting points and along lines for better balance.
23. Change your bit depth when you need to
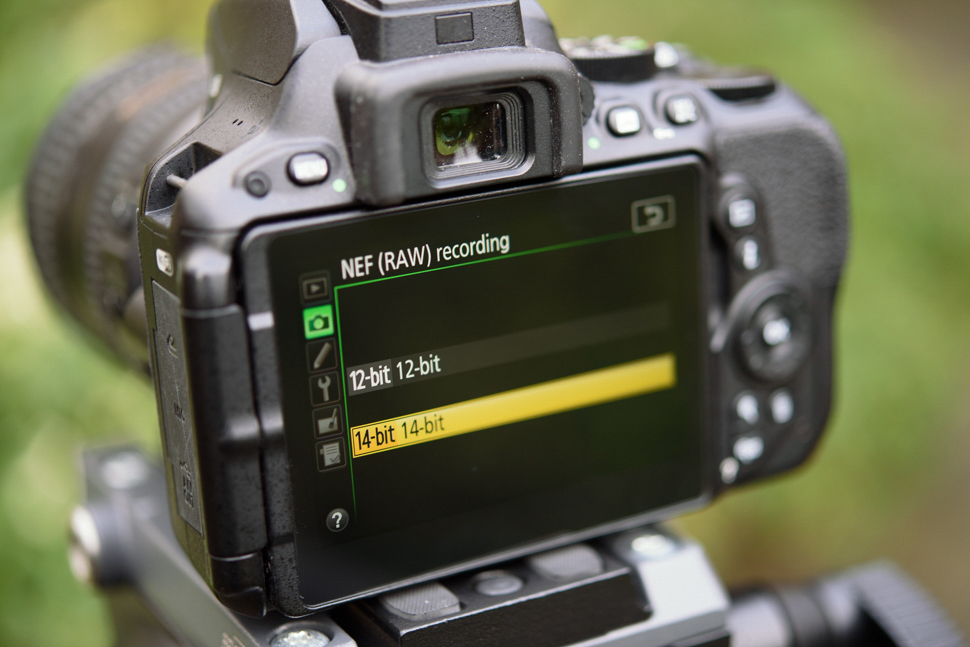
If you shoot Raw files, you may have spotted the option of recording in 14bit and 12bit settings.
If you tend to stick to the lowest end of the ISO range and capture scenes with a wide range of brighter and darker tones (a landscape, for example), the 14bit option may help you to get most out of your camera's sensor. Otherwise, its unlikely it will present any benefit over using the 12bit option. And while we're on the subject ...
24. Change to 12bit Raw files when shooting continuously
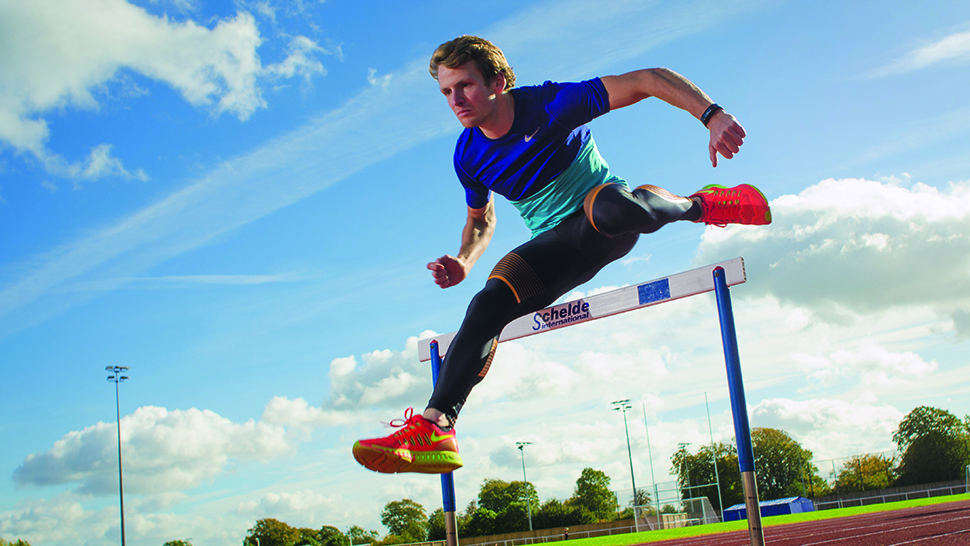
If you ever shoot bursts of images, you will probably find that your camera slows down sooner, or doesn;t capture images as quickly, when using the 14bit Raw mode than when using the 12bit Raw mode.
Give it a boost by selecting 12bit option when you know you need to shoot bursts of images.
25. Set a minimum shutter speed
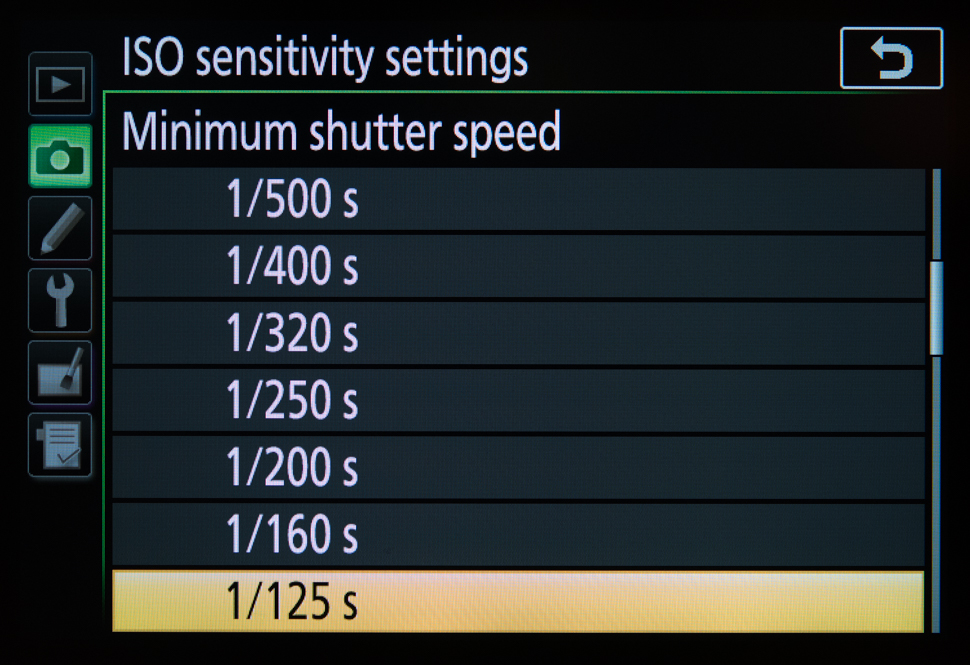
Ever captured an image at the critical moment only to find the subject was a little blurred when you fully zoomed into it?
Unless you’re shooting in Manual or Shutter Priority modes, the camera can easily select a shutter speed that’s too slow for your subject. Fortunately, many cameras allow you to set a minimum shutter speed to prevent them from dropping this too low.
26. Bracket your shots
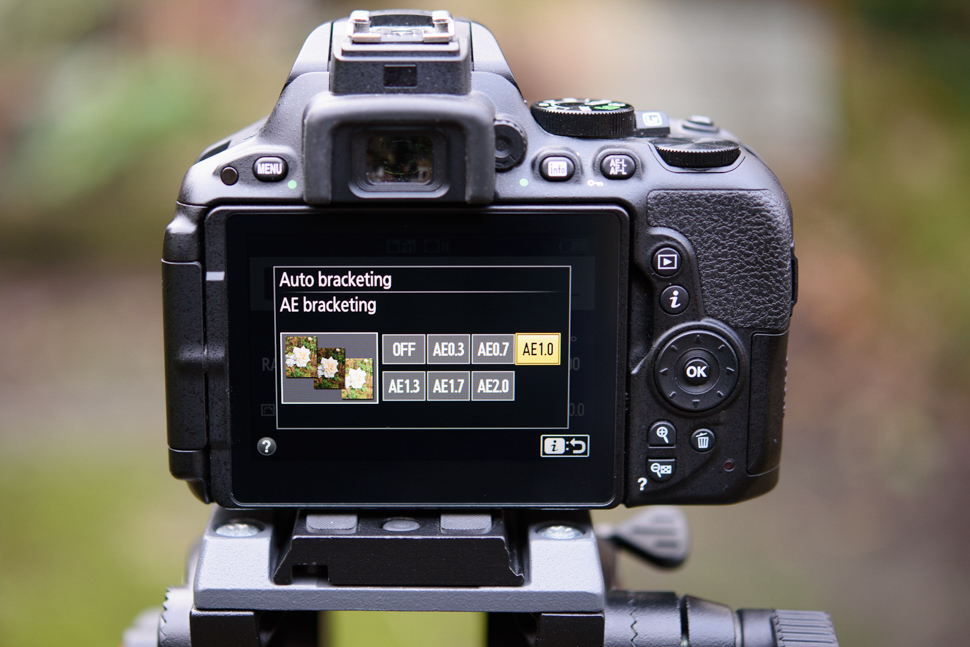
Bracketing lets you take a number of consecutive images with slight changes of some kind between frames. This could be a shift in exposure, white balance or something else.
Even basic cameras offer bracketing of some kind and using it can help you to end up with the image you want with far less hassle than if you were to process these yourself later on.
27. Expand your ISO range
It's possible your camera isn't using its full sensitivity range, and this might make getting shows in particularly tricky conditions difficult.
Normally, cameras have a standard ISO range – say ISO 100-25,600 – and then extension settings, which might give you settings that are higher and lower than these two figures. Check to see whether your expanded, or extended, ISO range are enabled, as its default option might be to have these disabled.
It's a good idea to only use these when you absolutely need to, as image quality will be better within the standard ISO range. Even so, often, being able to get a potentially noisy image is preferable to not being able to get one at all.
Get the Digital Camera World Newsletter
The best camera deals, reviews, product advice, and unmissable photography news, direct to your inbox!
The former editor of Digital Camera World, "Matt G" has spent the bulk of his career working in or reporting on the photographic industry. For two and a half years he worked in the trade side of the business with Jessops and Wex, serving as content marketing manager for the latter.
Switching streams he also spent five years as a journalist, where he served as technical writer and technical editor for What Digital Camera before joining DCW, taking on assignments as a freelance writer and photographer in his own right. He currently works for SmartFrame, a specialist in image-streaming technology and protection.

