What are converging verticals, and how can you fix them?
Discover the reasons why tall subjects can look like they're leaning inward, and learn an easy cure in Photoshop

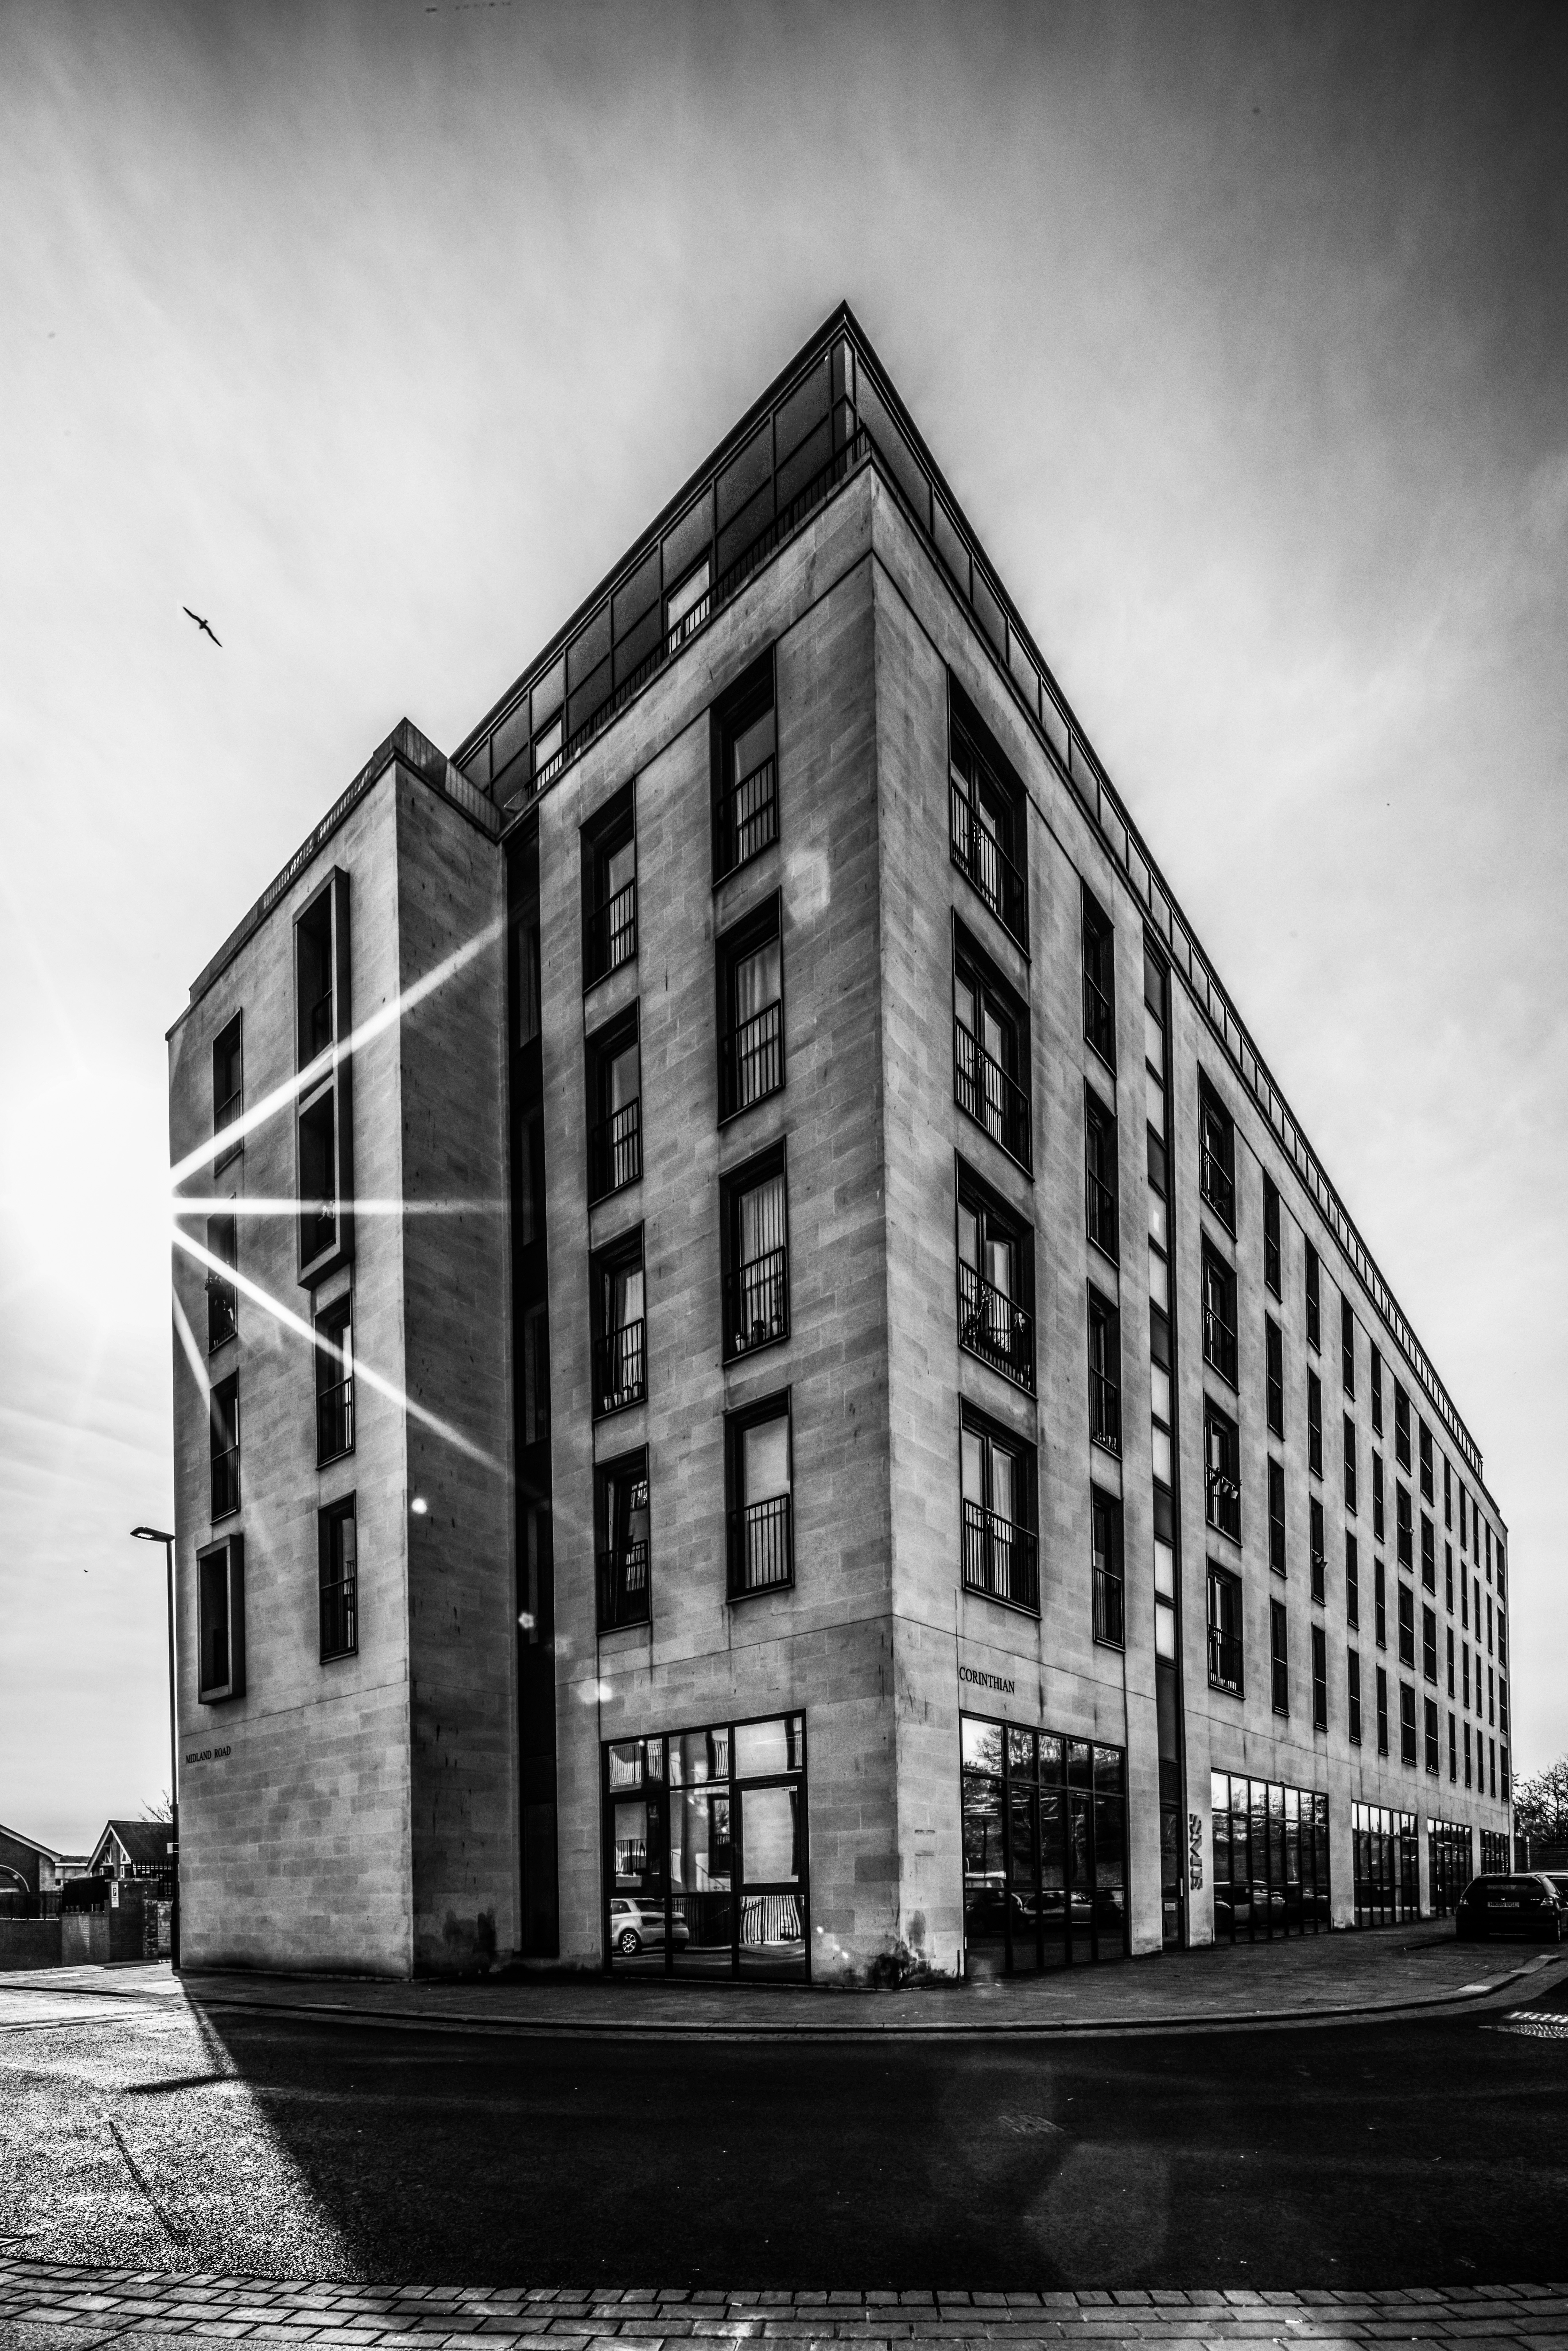
Imagine a tall, elegant building. You frame up on an architectural shot, but when you check the shot on screen, the building looks like it’s toppling over backwards and the building’s sides converge towards the top of the frame! This is the phenomenon known as ‘converging verticals’, and it is at its most dramatic when wide angle lenses are used – exactly the type of lens you’d use when trying to squeeze a big building into the frame from the street outside it.
Converging verticals occur whenever you tilt a lens up (or down – if you’re shooting from a high angle, like the top of the tower block). They can be fixed in-camera by getting back far enough from the subject and keeping the lens perpendicular to the road or pavement, but most of the time, this isn’t possible owing to obstructions (like other buildings) being in the way, or because a level lens doesn’t give the composition you want.
Perspective control lenses

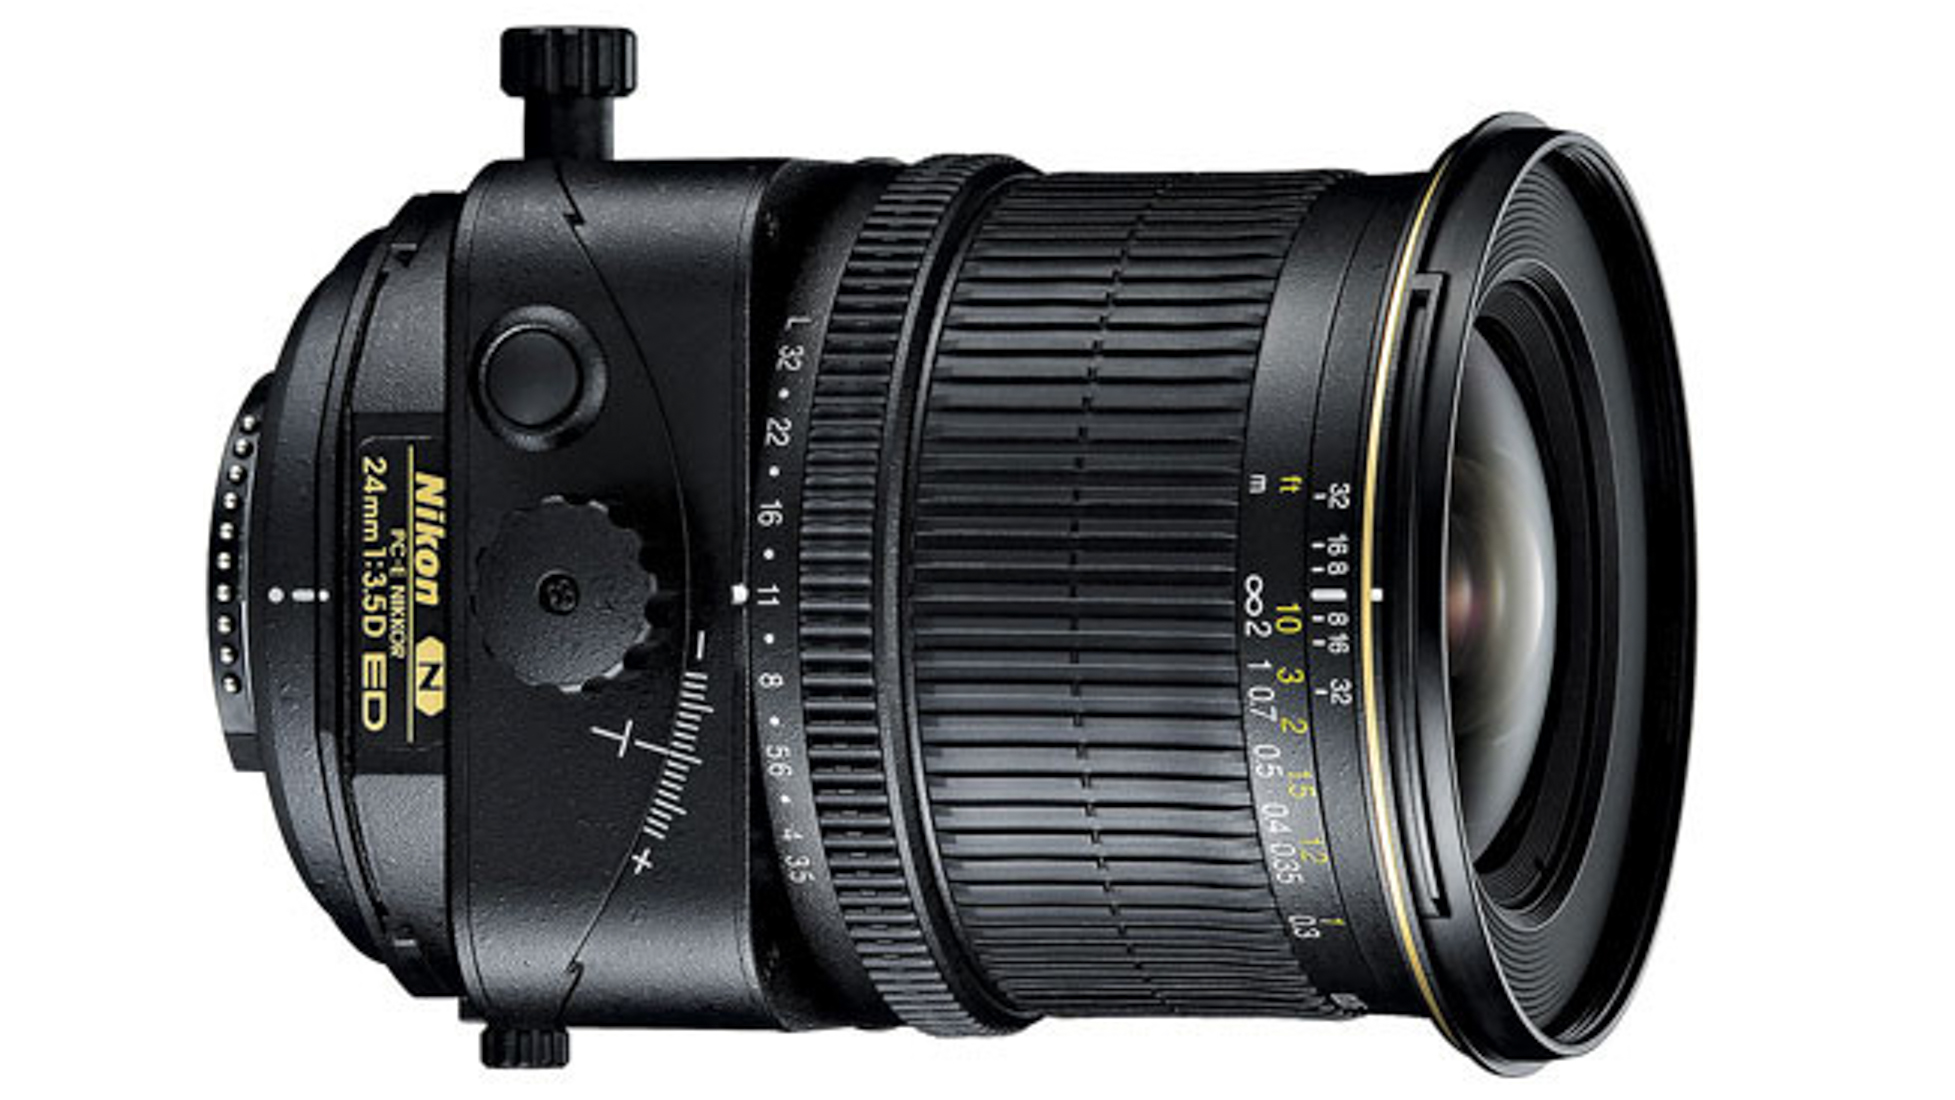
One in-camera solution is a perspective-control, or tilt-shift lens. This allows you to shift the lens upwards relative to the camera so that you can get a tall building into the frame without tilting the camera.
However, PC-shift lenses are highly-specialised and very expensive, and they are also quite fiddly to use, so anyone other than a professional architectural photographer would tend to take a software-based route to fix the problem.
Choose your viewpoint

To get your verticals vertical – and for that matter – your horizontals horizontal, the first thing you need to do is leave LOTS of room around your subject when you take the shot.
If you can get back far enough to keep the camera level and not tilt it upwards at all, you won't get converging verticals, though you may have to crop out unwanted foreground areas later.
More likely you'll need to correct the converging verticals in software, but even here you need to leave plenty of room around your subject. You’ll be stretching the top of the frame outwards and upwards to get a good-looking result, so compose with loads of space around the base of the subject to capture enough width, and also leave loads of space at the top of the frame too.
Get the Digital Camera World Newsletter
The best camera deals, reviews, product advice, and unmissable photography news, direct to your inbox!
You need more than you’d think, so frame up much wider and leave more headroom than normal – and take extra shots that are even wider and longer – just in case.
Correcting converging verticals in software

Lots of photo-editing programs can carry out this kind of perspective correction, but here's how to do it in Photoshop.
Open the image in Photoshop, and then copy the shot onto a new layer by hitting Ctrl/Cmd+J. Now go into Free Transform mode (Ctrl/Cmd+T) and you’ll see a bounding box with control handles appear around your picture. Hold down the Ctrl/Cmd key and drag the top-right corner outwards until the converging vertical on the right is parallel with the frame edge. Still holding Ctrl/Cmd, do the same on with the top-left corner.
You’ll need to fine-tune both sides as pulling out one will affect the other. Your verticals will now be parallel, but the building will look squat and squashed. To stretch it upwards, hold Shift and drag the top-centre handle upwards (this is why you need loads of room at the top).
If your horizontals are not parallel to the frame edges, then you can use exactly the same technique to true them up. Once you’re done, hit Return to confirm the Transform changes, and your converging verticals will be cured.
Read more:
• Best tilt shift lenses
• Fix converging verticals in Lightroom
• Best wide-angle lenses
Jon started out as a film-maker, working as a cameraman and video editor before becoming a writer/director. He made corporate & broadcast programmes in the UK and Middle East, and also composed music, writing for TV, radio and cinema. Jon worked as a photographer and journalist alongside this, and took his video skills into magazine publishing, where he edited the Digital Photo magazine for over 15 years. He is an expert in photo editing, video making and camera techniques.

