What are lens aberrations? Lens defects explained
Distortion, chromatic aberration and vignetting can affect all lenses to some degree. Here's what to look for

You may think that spending hundreds or even thousands of your hard-earned cash on a new lens would guarantee you a unit free from defects, but optical defects are part and parcel of the physics of a lens’s make-up. All lenses have them, and some lens types – like zooms – are more prone to them than others – like primes.
However manufacturers use sophisticated design and production practices to minimise these problems, and make them as unnoticeable as possible – given the constraints of size, weight and price-point.
Lens distortion

The first optical defect – and probably the most obvious – is distortion. This is revealed by the bending of lines on the image that are straight in reality. It comes in two main forms: barrel distortion – where the lines bulge at the centre and bow outwards in a convex shape, and pincushion distortion – where the lines bow inwards in a concave shape.
Barrel distortion is commonly seen in zoom lenses at the wide-angle end of the focal length range, but it may also be seen in prime lenses – for example when the lens is close to its minimum focusing distance. Pincushion distortion is often seen on longer focal length lenses like telephotos, and on ‘superzooms‘ which cover a huge range of different focal lengths from wide to long telephoto, and it’s quite possible to see both types in the same lens, depending on how far you’re zoomed in (or out).
Vignetting, or 'corner shading'

The next most obvious defect is corner shading, where the image produced by the lens is darker towards the corners of the frame. This is called vignetting, and is a result of the light captured by the lens falling off towards the edge of the image circle it creates.
This occurs in all lenses, and is the result of the peripheral light being blocked by the lens barrel, and the fact that peripheral light waves have to travel further than those at the centre of the lens.
For good measure, there’s also a third reason with digital cameras, as the sensors within them have an array of photosites facing forward. This means that light coming from an extreme angle (like at the edges of the frame) will be more acute and less intense than light at the centre.
The best camera deals, reviews, product advice, and unmissable photography news, direct to your inbox!
Vignetting tends to be at its most extreme when using the maximum focal length on zooms, or when using large apertures (small f-numbers). In the latter case, it can be improved by stopping down to a smaller aperture.
Chromatic aberration, or 'fringing'

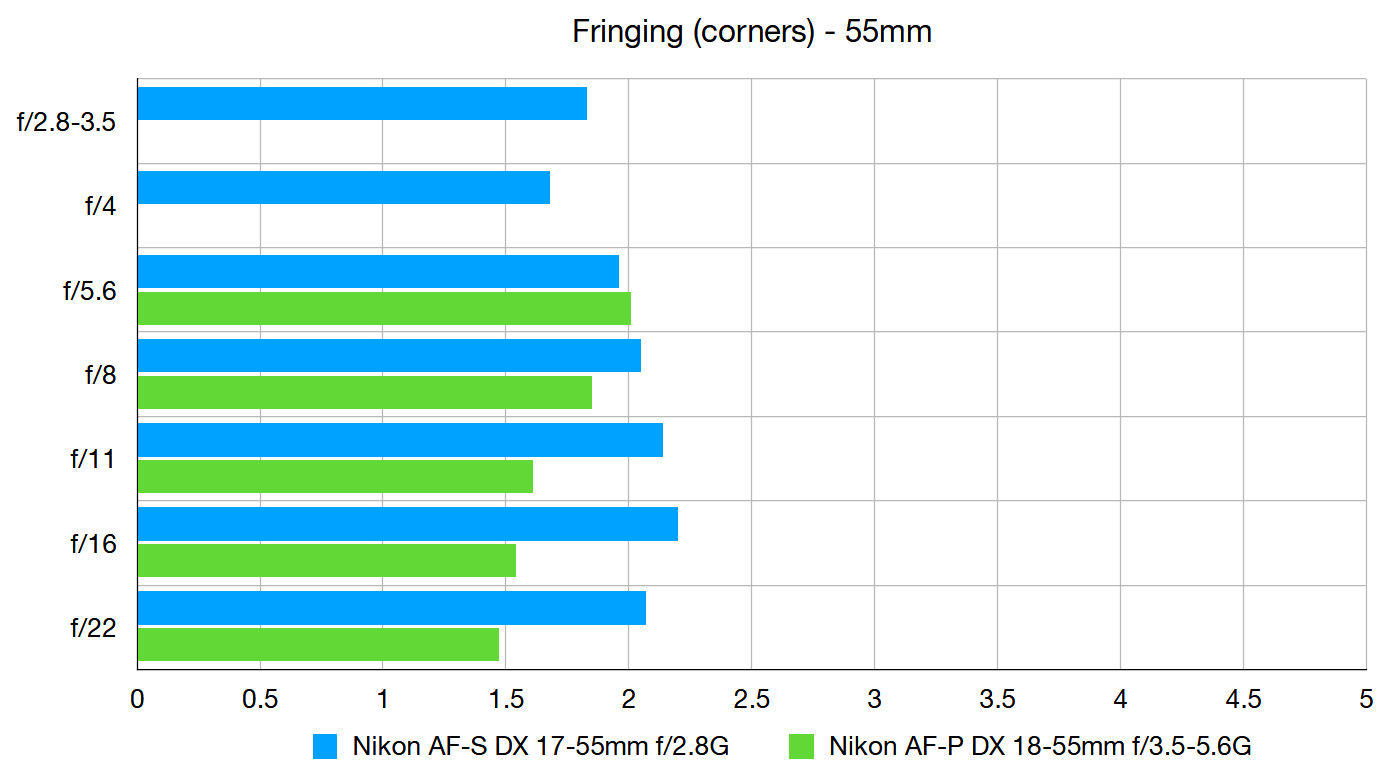
The third main type of optical defect is chromatic aberration, which sounds awfully technical, but is usually described as “coloured fringing”. Because the red, green and blue light we can see have different wavelengths, a lens has the unenviable challenge of trying to making then all meet at a specific focal distance across the entire field of view.
In high contrast areas with defined edges (like where the crisp edge of a subject meets a bright sky) you will often see coloured fringing towards the edges of the picture where a second edge is ‘ghosted’ beyond the actual edge. Multiple elements of expensive, corrected glass are used in high-end professional lenses to combat this, but this leads to two unpopular by-products – weight and price!
Lens profiles and lens corrections

Regarding optical defects in general, the good news is that most can be easily cured – or at least minimised – if you shoot in raw format. In the Optics panel of popular raw converters like Lightroom and Adobe Camera Raw, there are two boxes you can tick to apply lens corrections. These access a database within the software and apply corrections based on the performance of the lens in use. ‘Remove Chromatic Aberration’ will minimise fringing, and ‘Use Profile Corrections’ will correct distortion and vignetting. It’s a brilliant tool that’s dead quick to use, and unless you’ve taken a shot where the optical defects add to the creative appeal of the image, these boxes are worth ticking every time you process a picture, no matter how much your lens cost!
Read more:
• Best camera lenses
• Best wide-angle lenses
• Best photo editing software
• DxO PhotoLab 4 review
Jon started out as a film-maker, working as a cameraman and video editor before becoming a writer/director. He made corporate & broadcast programmes in the UK and Middle East, and also composed music, writing for TV, radio and cinema. Jon worked as a photographer and journalist alongside this, and took his video skills into magazine publishing, where he edited the Digital Photo magazine for over 15 years. He is an expert in photo editing, video making and camera techniques.

