What is bracketing and when would you use it?
How to use bracketing to get the best possible exposure, and when to use other kinds of bracketing

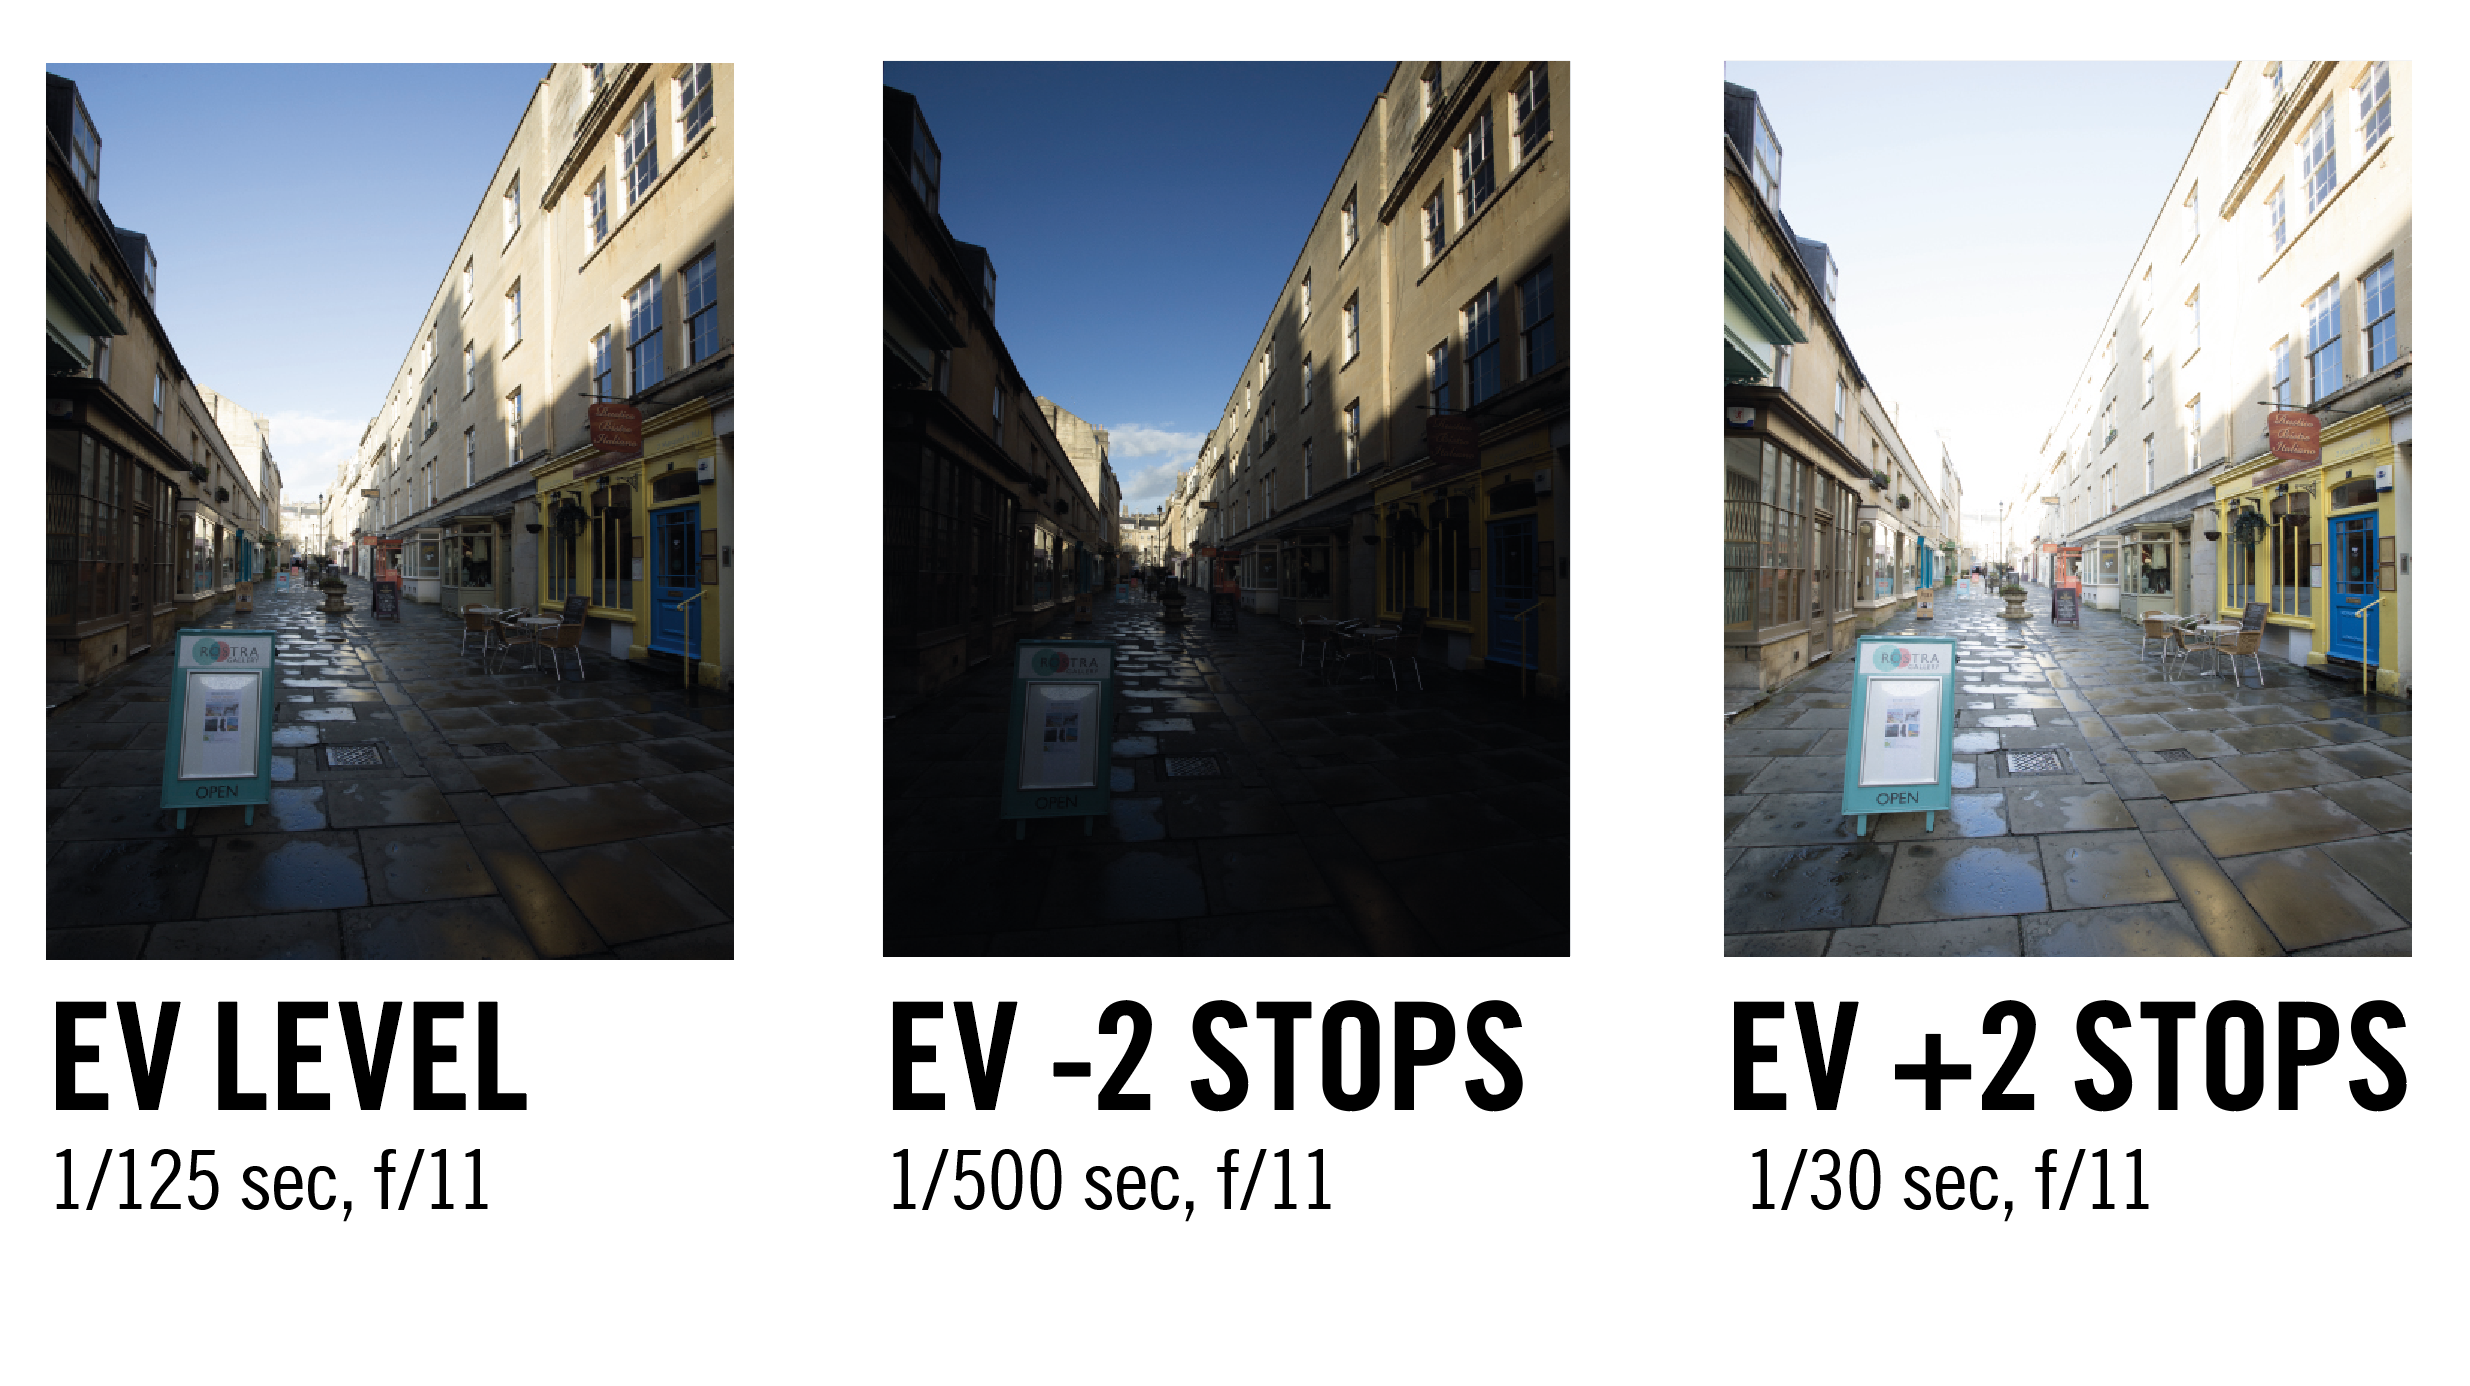
At its most simple, the term ‘bracketing’ refers to a technique where you capture a number of frames of the same scene, but each image has an intentional technical variance. The most often used and popular thing to bracket is exposure. When you bracket the exposure, you capture shots that are both overexposed and underexposed, as well ‘correctly’ exposed.
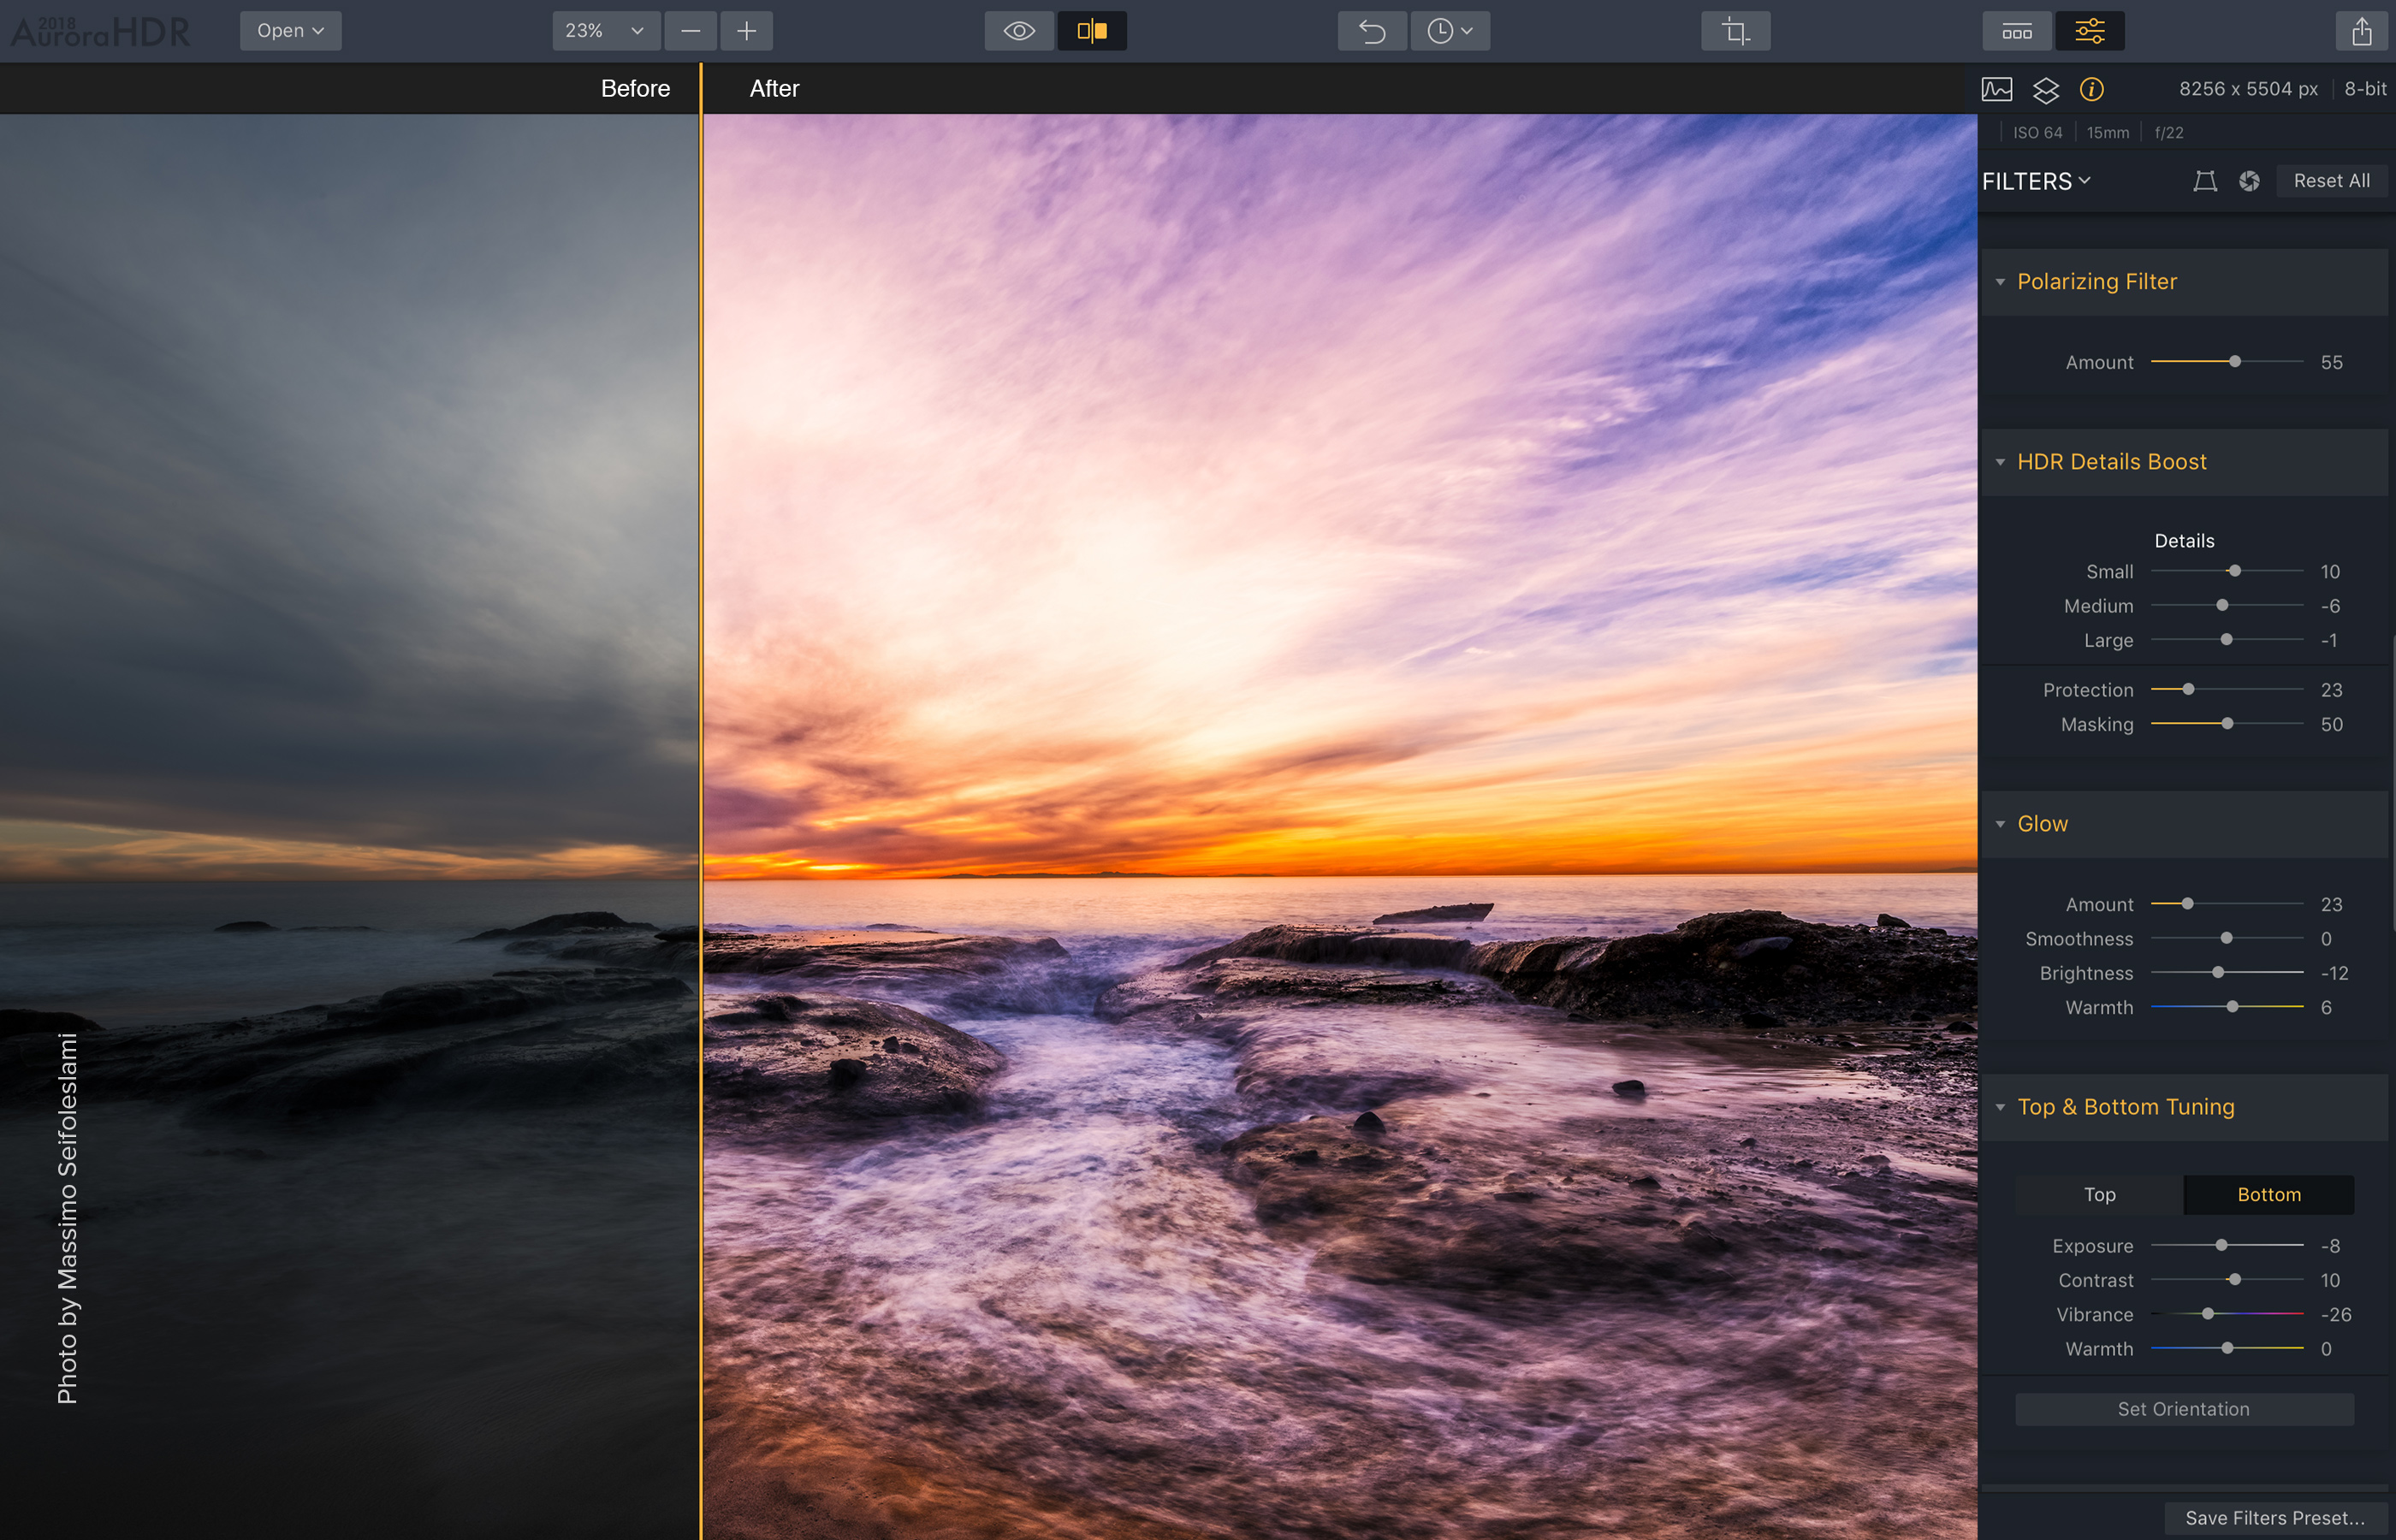
This is sometimes done so that you can simply choose the best exposure later, or to merge these different exposures for scenes with a very high brightness range.
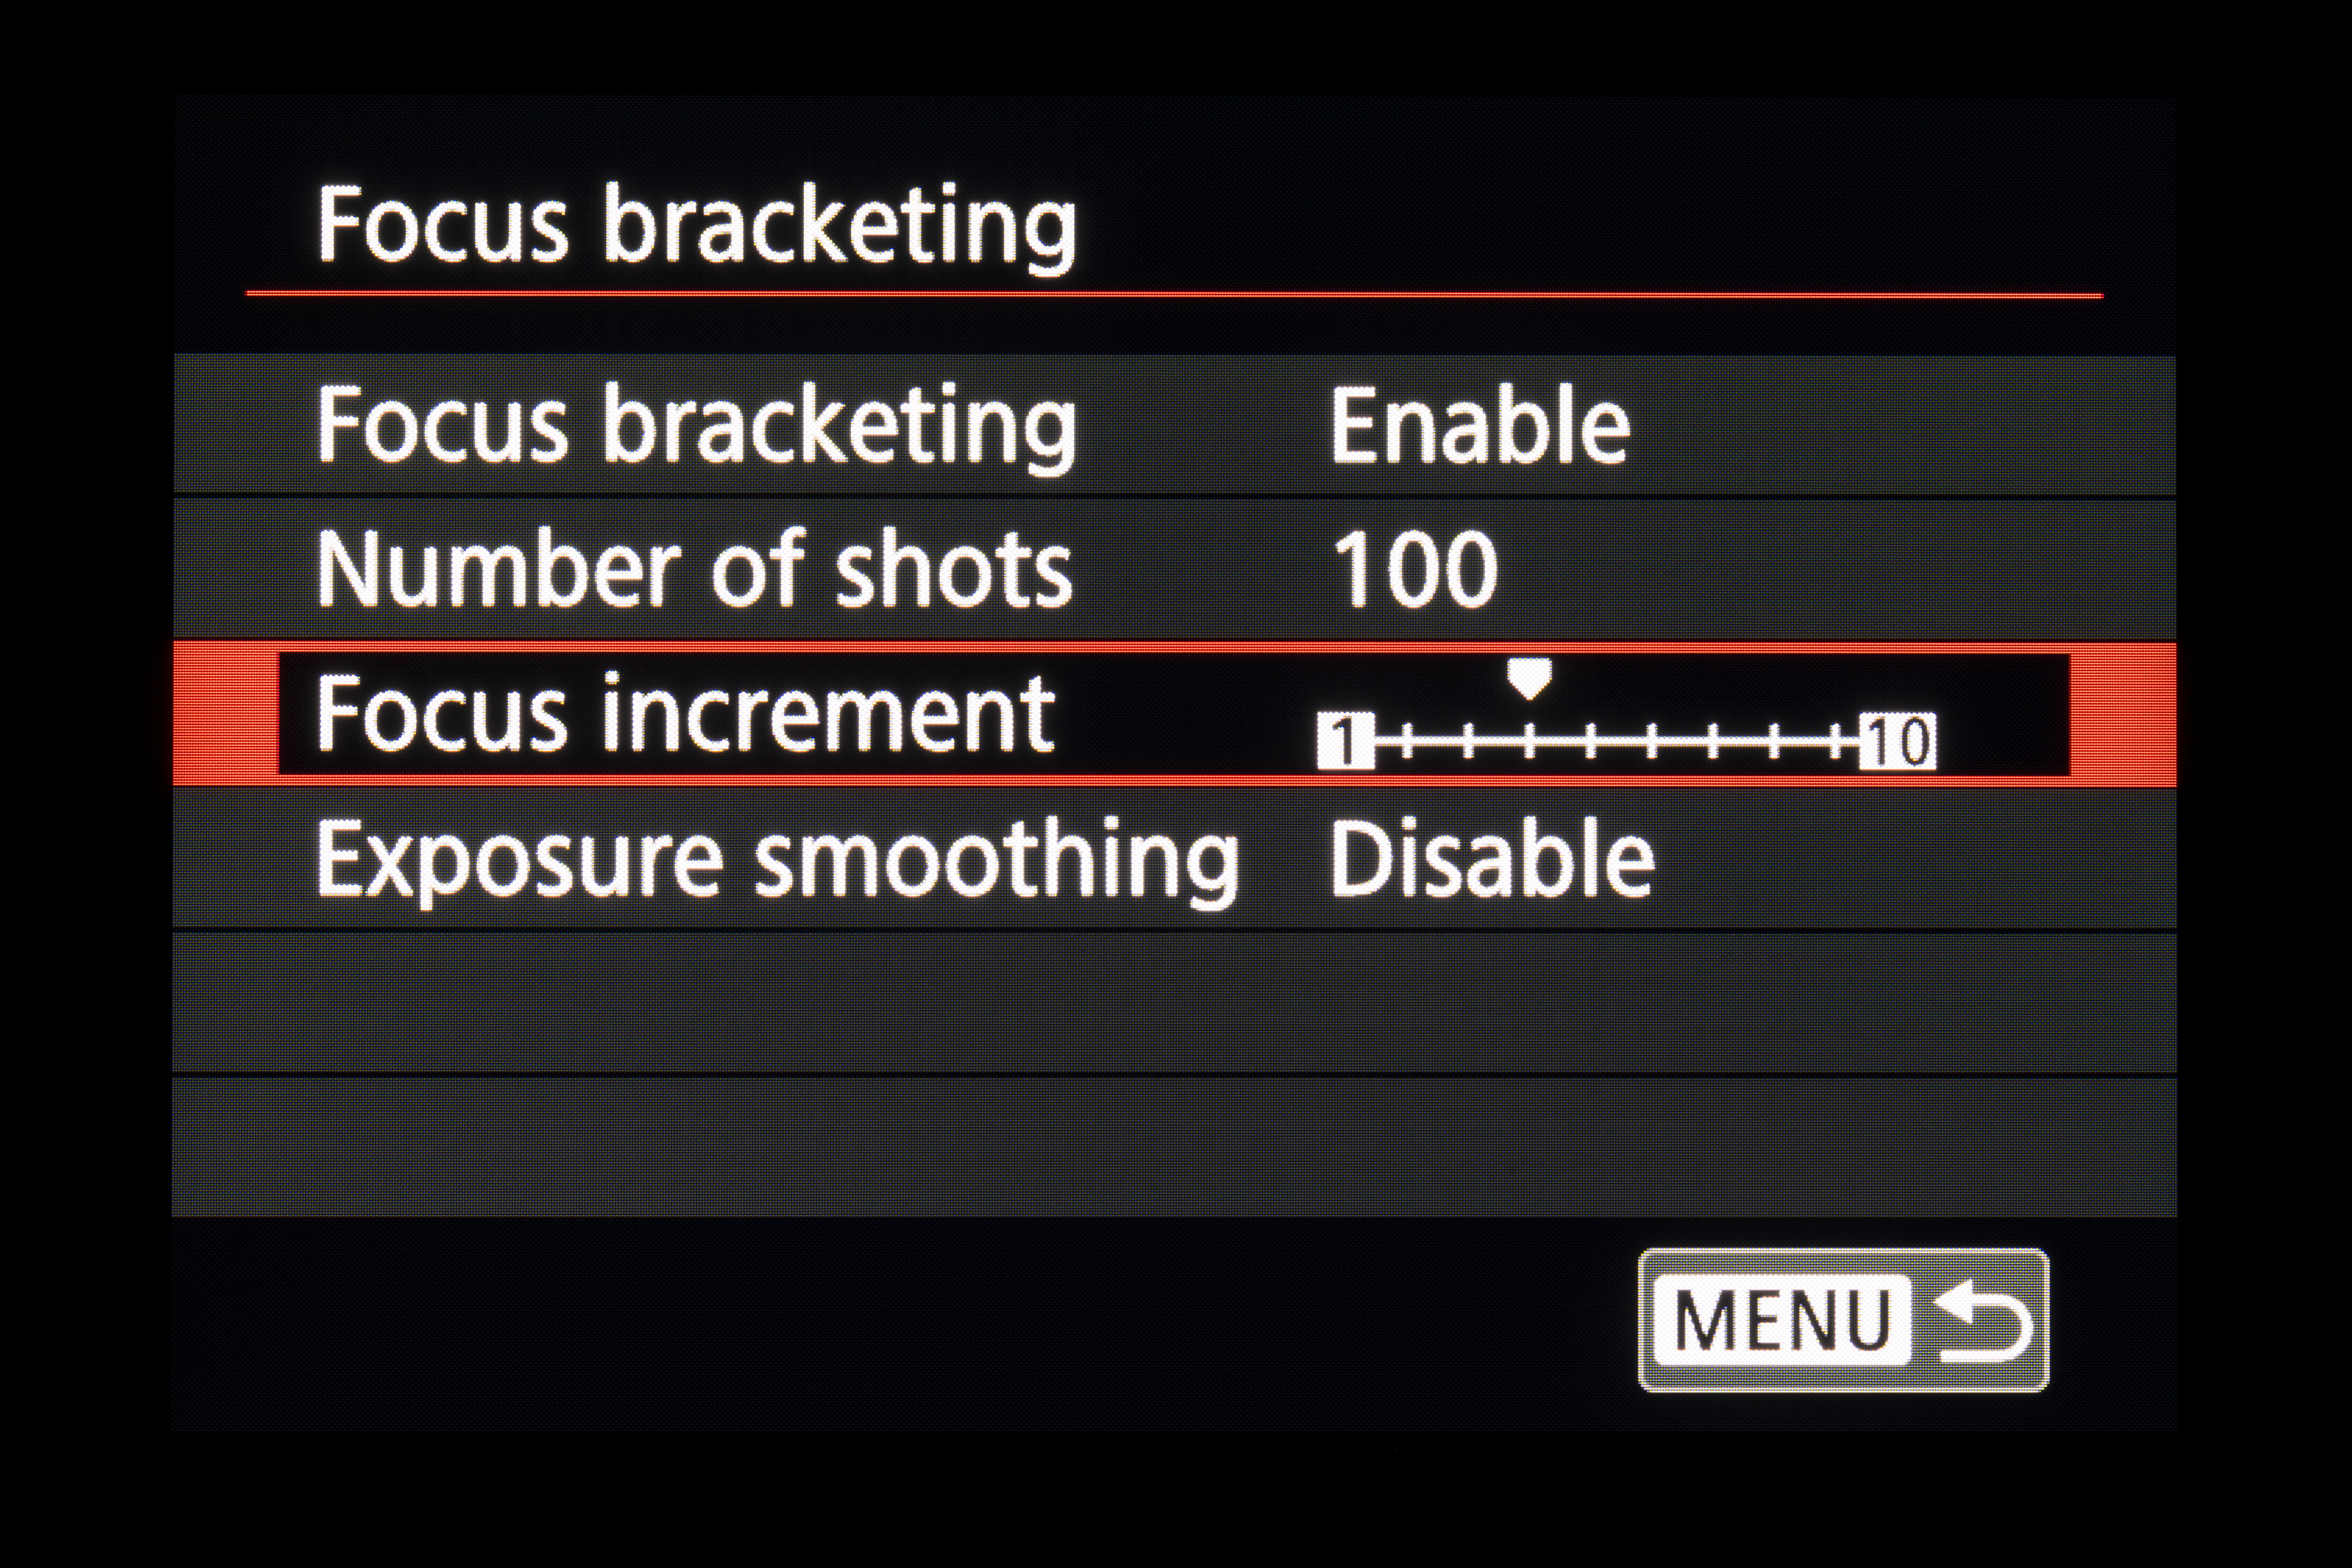
You can also bracket your focusing – a technique that gives you the frames to blend several images together to create an image with a large depth of field. This focus-stacking method is sometimes used in landscape photography, so your image’s sharpness extends from the immediate foreground to the far distance. It’s also possible to bracket other technical variances, such as white balance and ISO.
Exposure bracketing

The term ‘bracket’ in photography is probably derived from its military use, where it is known as the distance between two shots fired either side of the target to establish range. In many respects, this is exactly what you are doing when using exposure bracketing – simply hedging your bets as to which of the exposures in a bracketed sequence will give you the best results. You might assume, if you are taking a sequence of three bracketed shots at one stop underexposed (-1), the metered exposure (0) and one stop overexposed (+1), that the metered exposure would always be the best one. However, this isn’t always the case, especially in tricky lighting situations, such as shooting directly into the sun.
There is more to bracketing your shots than just wanting to experiment with your exposure range as widely as possible. Since High Dynamic Range (HDR) images have been popular, exposure bracketing has been a way to capture all the dynamic range within a scene from the brightest to the darkest points. The different exposures are then merged to create one HDR photograph.
How to bracket exposures

To capture a series of bracketed exposures, you can either work manually, altering the shutter speed for each shot in the sequence, or better still set up Auto Exposure Bracketing (AEB) on your camera, so for each shot that’s taken in the sequence, the camera adjusts the shutter speed by the amount you’ve set. You can dial in the exposure variance in third or half stops, as well as whole stop increments. You can also change the number of images that are taken in a sequence. Typically, this will range from 2 to 7 frames.
Once AEB is active you will have to fire each shot one at a time, unless you have selected continuous shooting drive mode, where it will fire each bracketed shot one after the other, as long as you keep the shutter button pressed down.
Get the Digital Camera World Newsletter
The best camera deals, reviews, product advice, and unmissable photography news, direct to your inbox!
There is no point always using bracketing or you will finish up with a large number of unwanted frames or, worse still, mess up an action shot with a wrong exposure on the right frame! Instead, use bracketing to help you get the best exposure when the light is tricky, or simply to a capture dynamic range that is beyond the camera’s capabilities in a single frame.
Read more:
• Best beginner cameras
• Best photo editing software
• Best tripods
Andrew makes his living as a photographer, videographer and journalist. For 26 years he was a specialist magazine editor, the last 13 of which were on Practical Photography magazine. A long-time expert in photographic techniques across many disciplines, he's a self-confessed photo generalist, and a font of creative knowledge to capturing just about any subject, although he has a strong leaning to wildlife and travel photography. Andrew's wide-ranging photography experience means he authors the long-running Photo Answers section for Digital Camera Magazine. His work as a journalist, guide and educator dovetails neatly into his commitment to Foto-Buzz - an online subscription community he founded, where Andrew writes articles, films tutorials and records blogs on all manner of photo-related subjects and techniques for enthusiast photographers.

