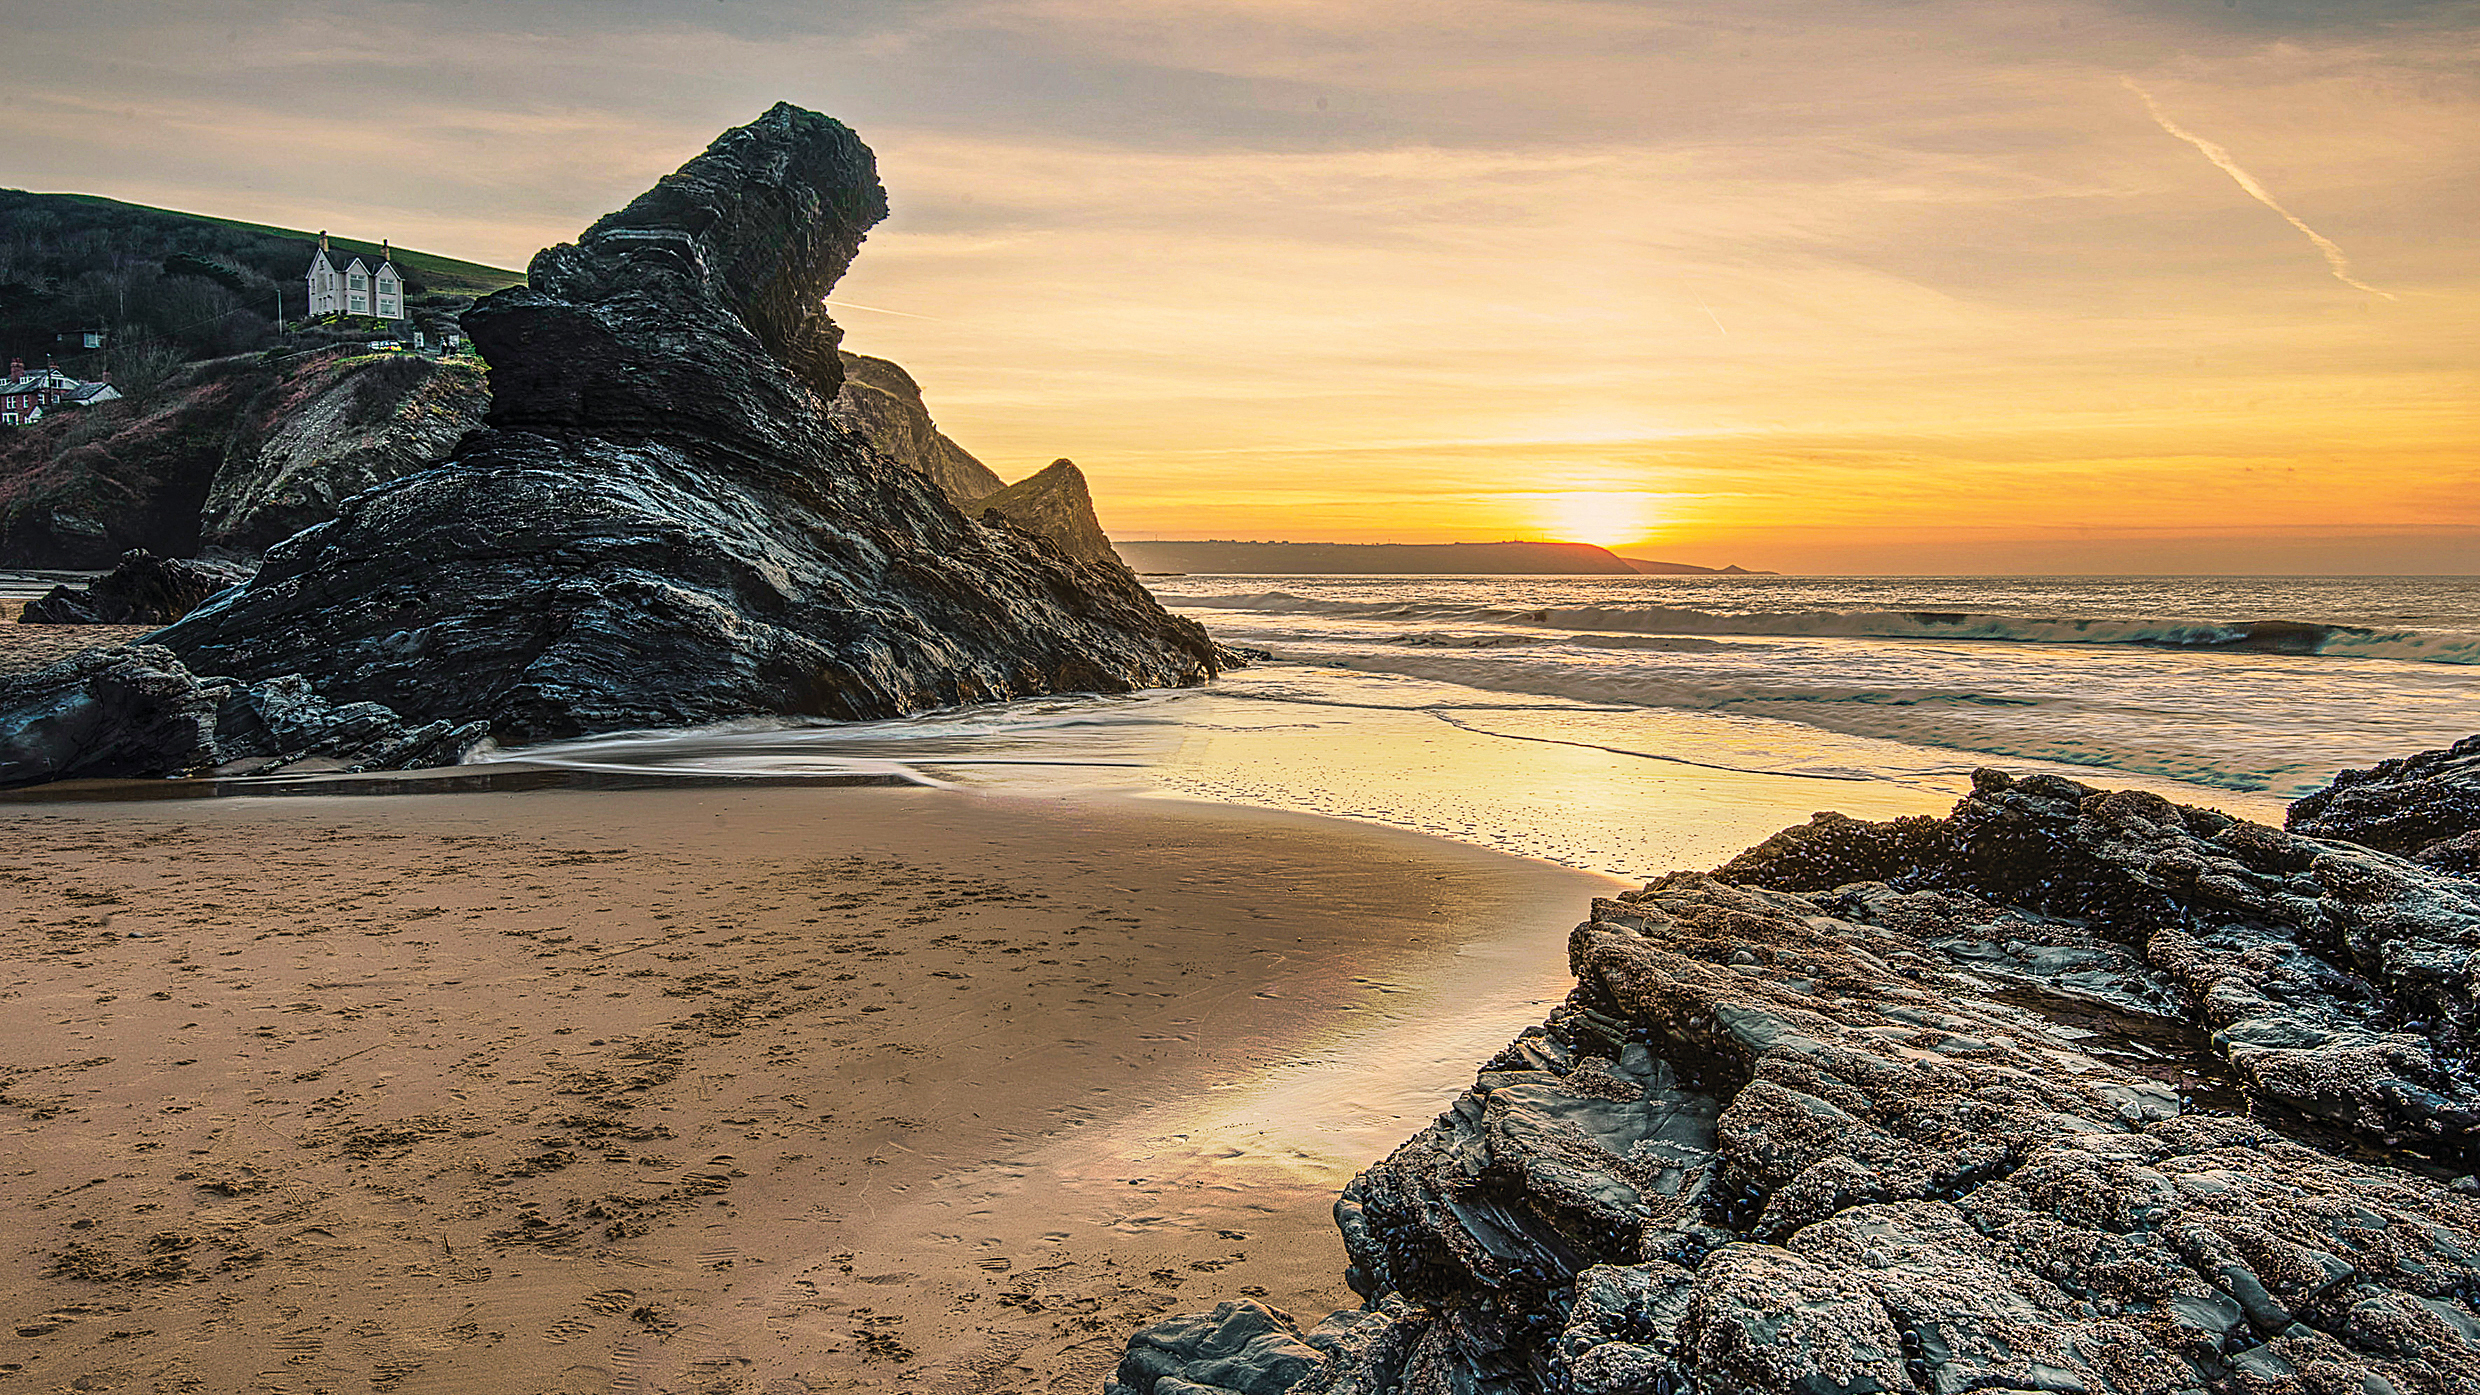
What is dynamic range? How to tackle big brightness differences in your pictures
Make sure you capture deep shadows and bright highlights the way you want them without 'clipping' or detail loss

Getting to grips with the concept of Dynamic Range will help you understand the practical limitations in the way your camera records a scene, and how you can extend these to get more satisfying pictures.
In practical terms, Dynamic Range is the range of dark-to-bright tones that can be recorded by a camera in one exposure. In a typical scene, there will be very dark areas in the shadows, and very bright areas in the highlights, and the camera’s ability to discern detail at both ends of the scale – before it ‘blocks out’ to pure black or pure white – is the Dynamic Range on offer.
If the brightness range in the scene is extreme, then no camera can capture detail at both ends of the scale simultaneously. Something has to go, so we make choices with exposure settings, and decide whether we want to record the detail in the shadows (and blow out the highlights), or record the detail in the highlights (and turn the shadows to pure black, with no detail).
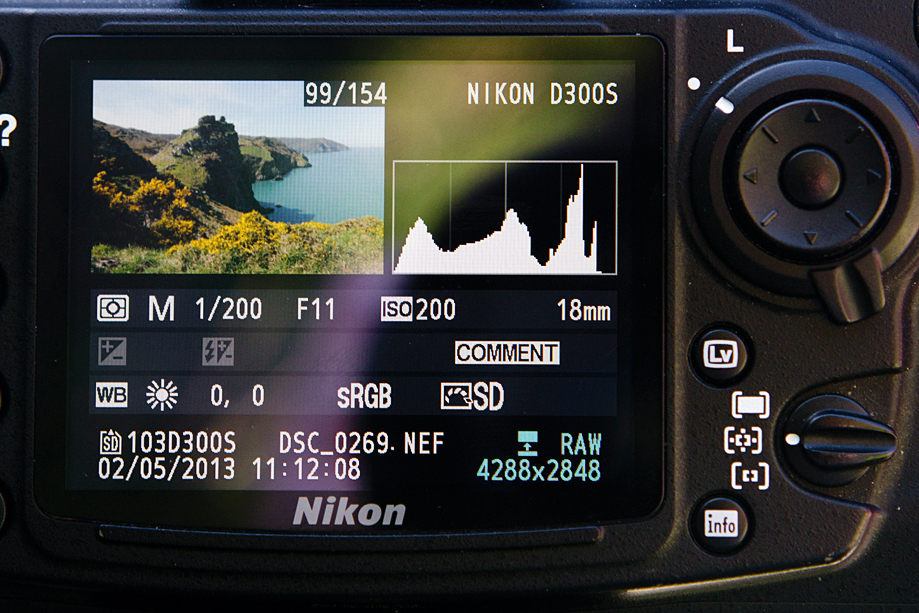
In most cases, you’ll opt to preserve the highlights, and a useful trick is to switch on your camera’s Highlight Warning Indicator which will show on screen the bright areas that may be blown out after you’ve taken the shot.
Extending dynamic range with raw files

A camera’s sensor records extra data at both ends of the Dynamic Range spectrum, and you can access and reveal this in the resultant picture if you shoot in raw format and process the file in a raw convertor like Lightroom or Adobe Camera Raw (built into Photoshop).
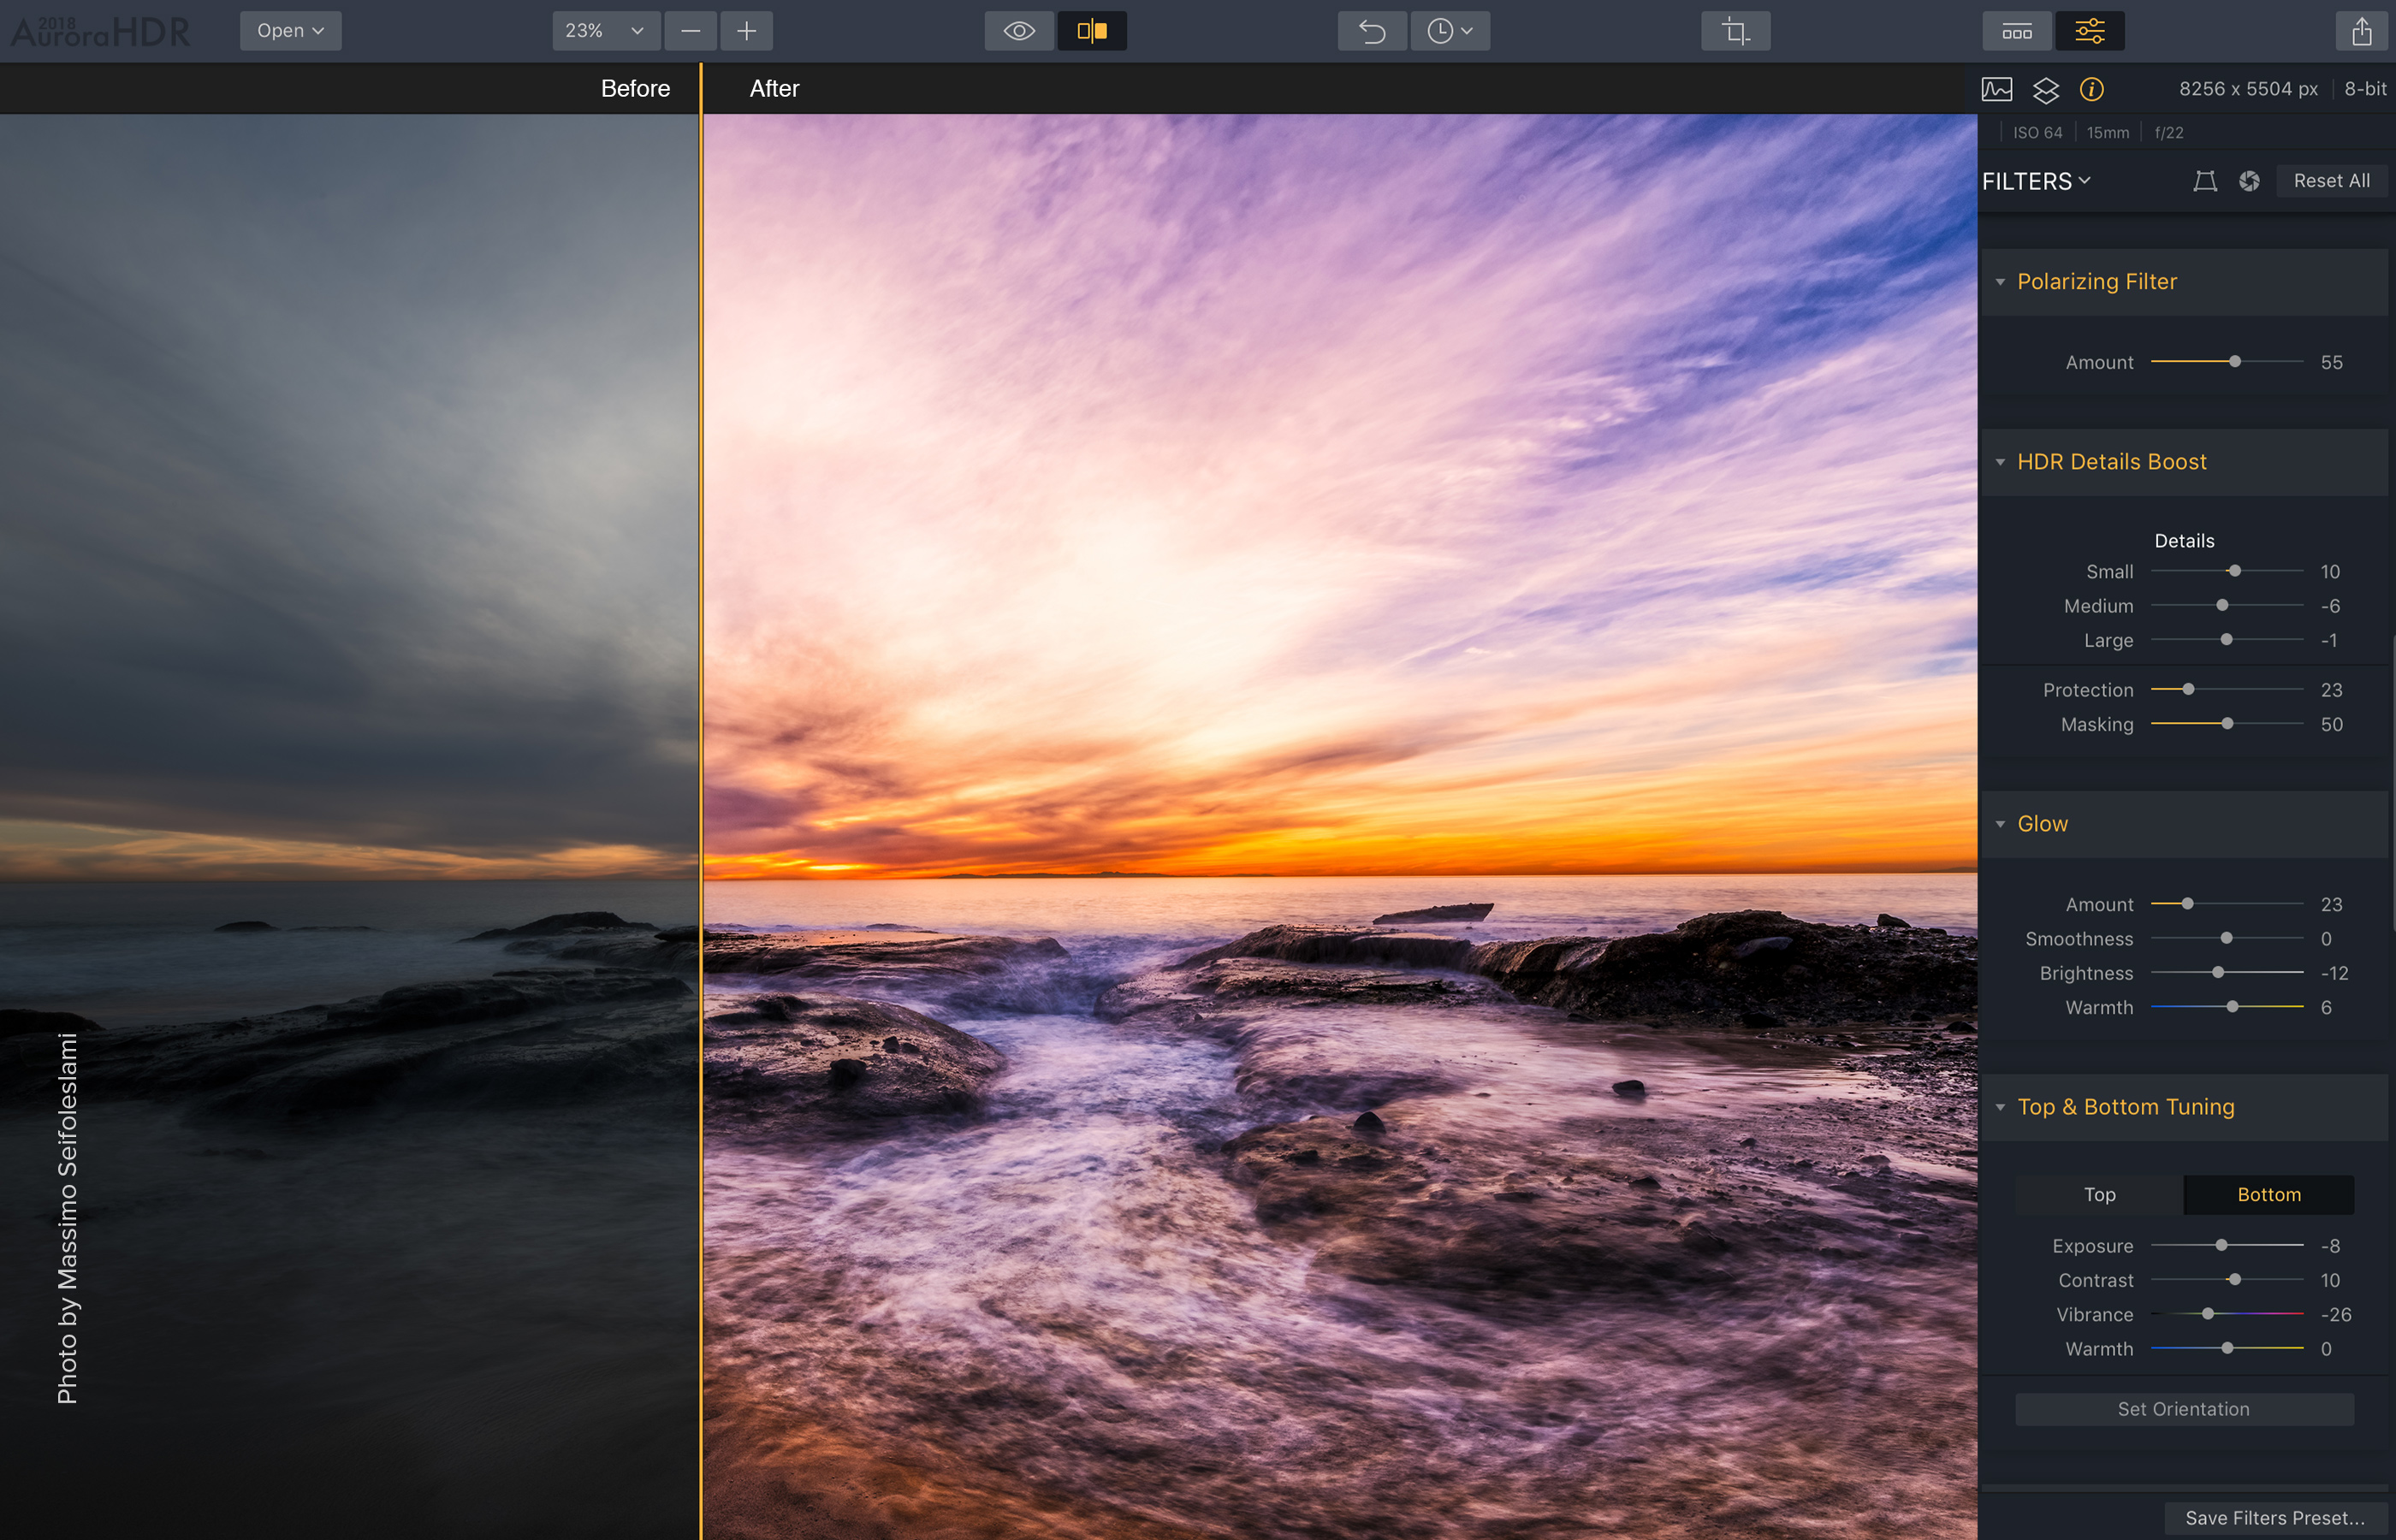
A set of sliders allows you to boost the shadows or compress the highlights to reveal this ‘unseen’ detail recorded by the sensor, so in effect, you can get more Dynamic Range into the picture and show the detail that was initially out-of-range. This is a common practice nowadays, and lets you get extra tonality into your shots, bringing them more into line with what the eye might have seen.
Going full HDR

The raw method outlined above will make a difference, but it doesn’t offer the scope served up by HDR imaging, The 'H' stands for 'High', and for this technique, you cover the full Dynamic Range present in the scene by shooting multiple exposures at different exposure values: one shot to expose for the darkest shadows, one to cover the brightest highlights, as many as you need in-between.
Get the Digital Camera World Newsletter
The best camera deals, reviews, product advice, and unmissable photography news, direct to your inbox!
In practice, this amounts to an exposure 'bracket', and most find that 3 shots, with the ‘normal’ exposure, one at 2 stops under, and one at 2 stops over will suffice.
The 3 shots are then blended together to form a new HDR image, where the shadow and highlight detail is used from the extreme pictures, and the midtones are used from the normal exposure. This gives a shot with extra detail thanks to the vastly-increased dynamic range, but it can still look as natural as a regular photo with careful processing of the blend between the shots.
Read more:
• Photography definitions A-Z
• Best photo-editing software
• How to shoot HDR
Andrew makes his living as a photographer, videographer and journalist. For 26 years he was a specialist magazine editor, the last 13 of which were on Practical Photography magazine. A long-time expert in photographic techniques across many disciplines, he's a self-confessed photo generalist, and a font of creative knowledge to capturing just about any subject, although he has a strong leaning to wildlife and travel photography. Andrew's wide-ranging photography experience means he authors the long-running Photo Answers section for Digital Camera Magazine. His work as a journalist, guide and educator dovetails neatly into his commitment to Foto-Buzz - an online subscription community he founded, where Andrew writes articles, films tutorials and records blogs on all manner of photo-related subjects and techniques for enthusiast photographers.

