What is exposure compensation, and when would you use it on your camera?
Learn what your camera's exposure compensation control does, and how you can use it to improve your pictures

While modern camera metering systems are very sophisticated and make an excellent job of accurately exposing most scenes, they can be fooled into either underexposing (darkening) or overexposing (brightening) a photo.
While the ‘correct’ exposure is something of an arbitrary decision – as a general rule you don’t want the overall look of your photo to be too dark or bright, and you definitely don’t want to burn out highlight detail in most cases.
When cameras get the exposure wrong

A good example where a meter might give you the wrong exposure is where a lot of the scene is made up mainly of lighter tones, such as a snowy landscape or a sandy beach.
The camera’s meter reads the light being reflected and concludes there is more of it than there really is and exposes accordingly. The result is, your image looks darker than it should and the crisp white snow or clean bright sand appears drab and dull.
Exactly the same thing but in reverse can happen if you shoot a predominantly dark-toned subject. The meter reads less light being reflected so attempts to brighten the scene, and the result is a washed-out image.
The key thing to remember is you know a light-toned subject should look light, but the camera doesn't. The same thing happens when your subject is intrinsically dark – the camera will try to 'fix' something that doesn't need fixing.
To help prevent this from happening, you can use exposure compensation.
Get the Digital Camera World Newsletter
The best camera deals, reviews, product advice, and unmissable photography news, direct to your inbox!
How to use EV compensation

What EV compensation does is take the camera's automatic exposure setting and then let you dial in extra exposure or less exposure to make your subject come out as you intended.
The actual way to dial in exposure compensation varies from camera to camera but normally you need to be in one of the semi-automatic exposure modes, such as Aperture Priority (A), Shutter Priority (S), or Program (P). In Aperture Priority, exposure compensation alters the shutter speed, while in Shutter Priority it changes the aperture, and in Program it might change both!
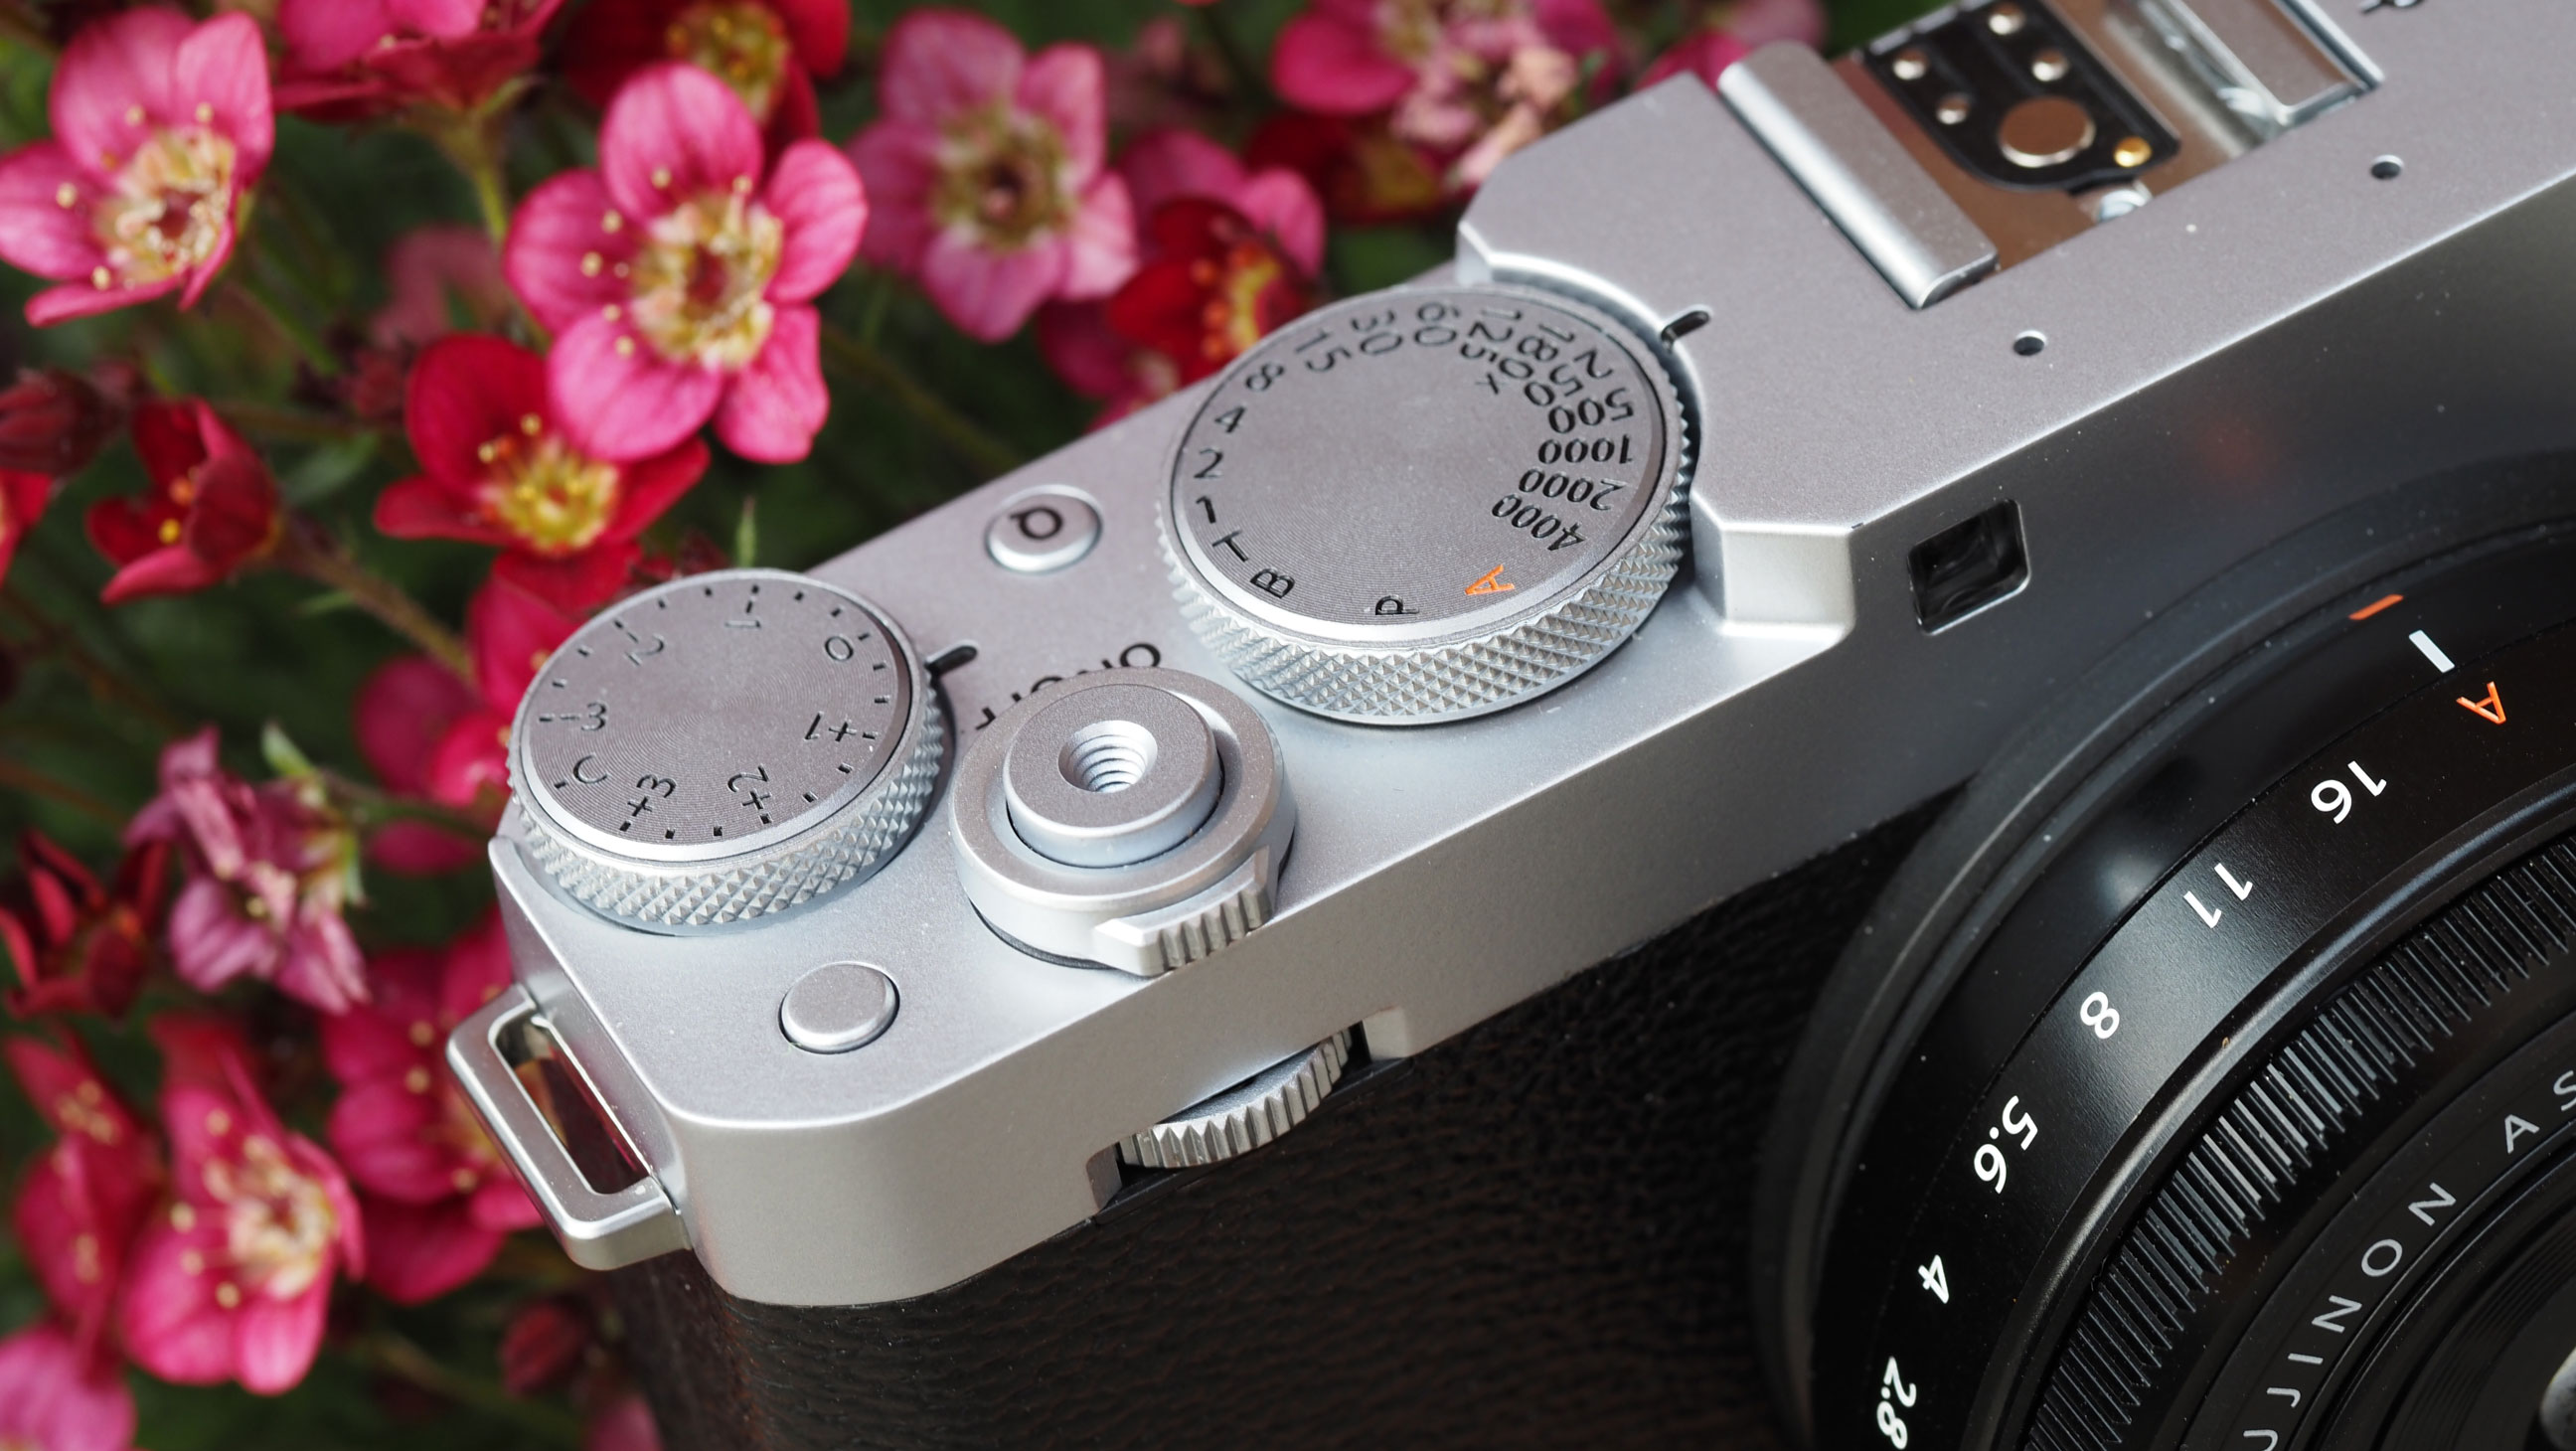
Some cameras have a dedicated EV compensation button marked with a +/- symbol, while others will have a large dial. Some don’t have a dedicated exposure compensation dial or wheel at all, in which case exposure compensation is usually dialled in from control wheel.
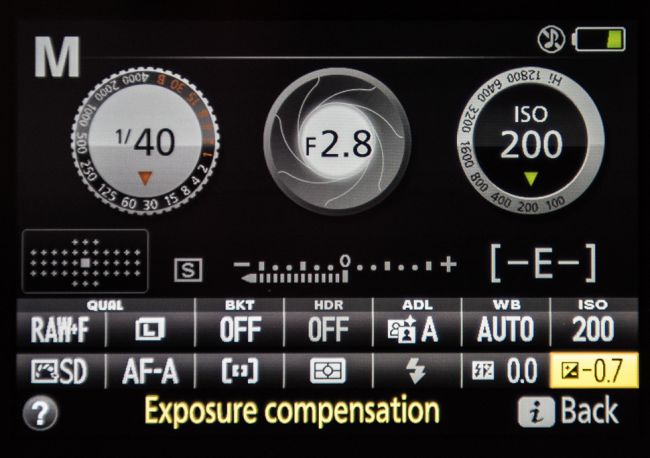
It is normally applied in one-third stop increments by default, although on most cameras you can change this to a half-stop if you wish. Generally, it’s best to stick with one-third stop increments so you can make fine adjustments of under or overexposure as you see fit. On most cameras it’s possible to dial in as much as 3 stops of negative or positive exposure compensation, although some models allow even more.
The amount of exposure compensation for a scene is impossible to predict with absolute accuracy. If you are using a mirrorless camera, the view through the electronic viewfinder or LCD panel is very much ‘what you see is what you get’, so as you dial in any exposure compensation you can see its effect working.
With a DSLR, you won’t get the same visual guide when looking through an optical viewfinder, although you will be able to see the exposure indicator either positioned to the left or right of 0 to show the amount of exposure compensation you’ve used. However, if using Live View, you will see the darkening or lightening of the image, as you dial in either + or - exposure compensation.
If your camera has a histogram display, this can often be useful in working out what exposure compensation is needed to bring a bright sky back into range, for example.
Read more:
• Dictionary of photography terms
• Best cameras for beginners
• Best light meters
• DCW Dictionary of photography
Andrew makes his living as a photographer, videographer and journalist. For 26 years he was a specialist magazine editor, the last 13 of which were on Practical Photography magazine. A long-time expert in photographic techniques across many disciplines, he's a self-confessed photo generalist, and a font of creative knowledge to capturing just about any subject, although he has a strong leaning to wildlife and travel photography. Andrew's wide-ranging photography experience means he authors the long-running Photo Answers section for Digital Camera Magazine. His work as a journalist, guide and educator dovetails neatly into his commitment to Foto-Buzz - an online subscription community he founded, where Andrew writes articles, films tutorials and records blogs on all manner of photo-related subjects and techniques for enthusiast photographers.

