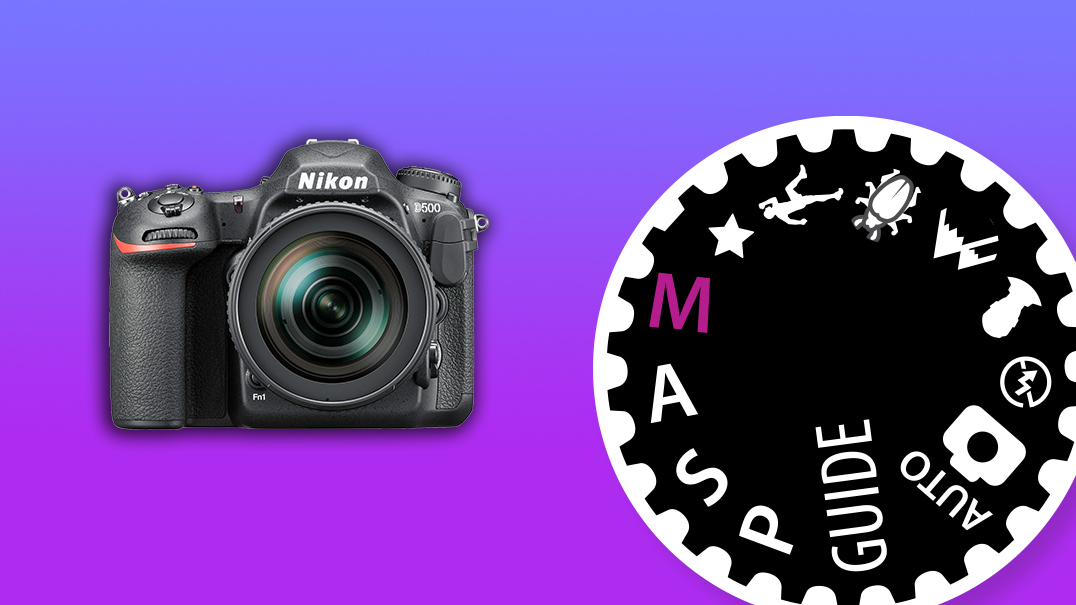
Manual exposure mode – use it for consistency!
Take control of your exposures manually for more consistent and creative results

If you’re new to photography, you might be wondering, "What is the point of Manual mode? It’s a useful tool for learning about the relationship between aperture, shutter speed, and ISO, but beyond that?"
You’ve paid all of this money for one of the best cameras for photography with advanced evaluative metering and intelligent exposure, and now you’re expected to do a lot of the legwork yourself?
• Want to know how to use manual exposure mode
What’s the point of Manual? In a word: consistency. As long as the lighting remains the same, you’ll be able to take a series of shots which all have the same exposure. If you’re shooting a portrait, you can set the exposure for the person’s face and then, pretty much, forget about it.
When using manual exposure mode, you can photograph the person against a black background, or a white background, and their face will remain consistently exposed (this is down to metering modes). If you did the same using one of the other semi-automatic Creative Zone modes, like Aperture Priority or Program, the camera would adjust the exposure to take account of the backgrounds, leading to a, potentially, underexposed portrait (against the white backdrop) and an overexposed portrait (against the black backdrop).
• Read more: camera metering modes at a glance
If the lighting changes, that’s different. If it suddenly gets darker or brighter, so will the image, and you’ll need to make adjustments to the aperture, shutter speed and ISO to restore the balance. If you’re shooting with a mirrorless Canon EOS R camera, any problems with the exposure will be clear in the electronic viewfinder. The image won’t change in the optical viewfinder of a DSLR, so you need to be on top of things.
Get the Digital Camera World Newsletter
The best camera deals, reviews, product advice, and unmissable photography news, direct to your inbox!
Metering in Manual mode
The brightness of the area you meter from makes a big difference. Basing the exposure on a reading from the mid-tone should result in a standard exposure.
Key tip
You’re not left to fly blind when shooting in Manual mode, as the camera will continue to meter the light reflected from the subject and tell you if it thinks the image is exposed correctly or not.
On a DSLR, you’ll have limited feedback in the viewfinder; keep an eye on the exposure level indicator. The exposure level mark will move along the scale to show whether the area being metered will be exposed as a mid-tone (in the middle of the scale), or darker or brighter than this ‘standard’ exposure.
You can also use the Live View display of a DSLR to see a live histogram and activate exposure simulation, giving you a rough and ready guide to how bright, or dark, the image will look. Mirrorless cameras, such as the EOS RP and EOS R6, have the advantage of an electronic viewfinder (EVF), which lets you see the histogram and exposure simulation with the camera pressed to your eye.

Marcus has been passionate about photography for more than 25 years. A former editor of our sister publication Digital Camera magazine, he has written about photography and cameras for a wide range of clients, including Canon and Jessops. Last time we checked, Marcus was using a Canon EOD 5D Mark IV.
