Common tripod mistakes photographers make (and how to avoid them)
Three legs good - but tripods are better if used right way
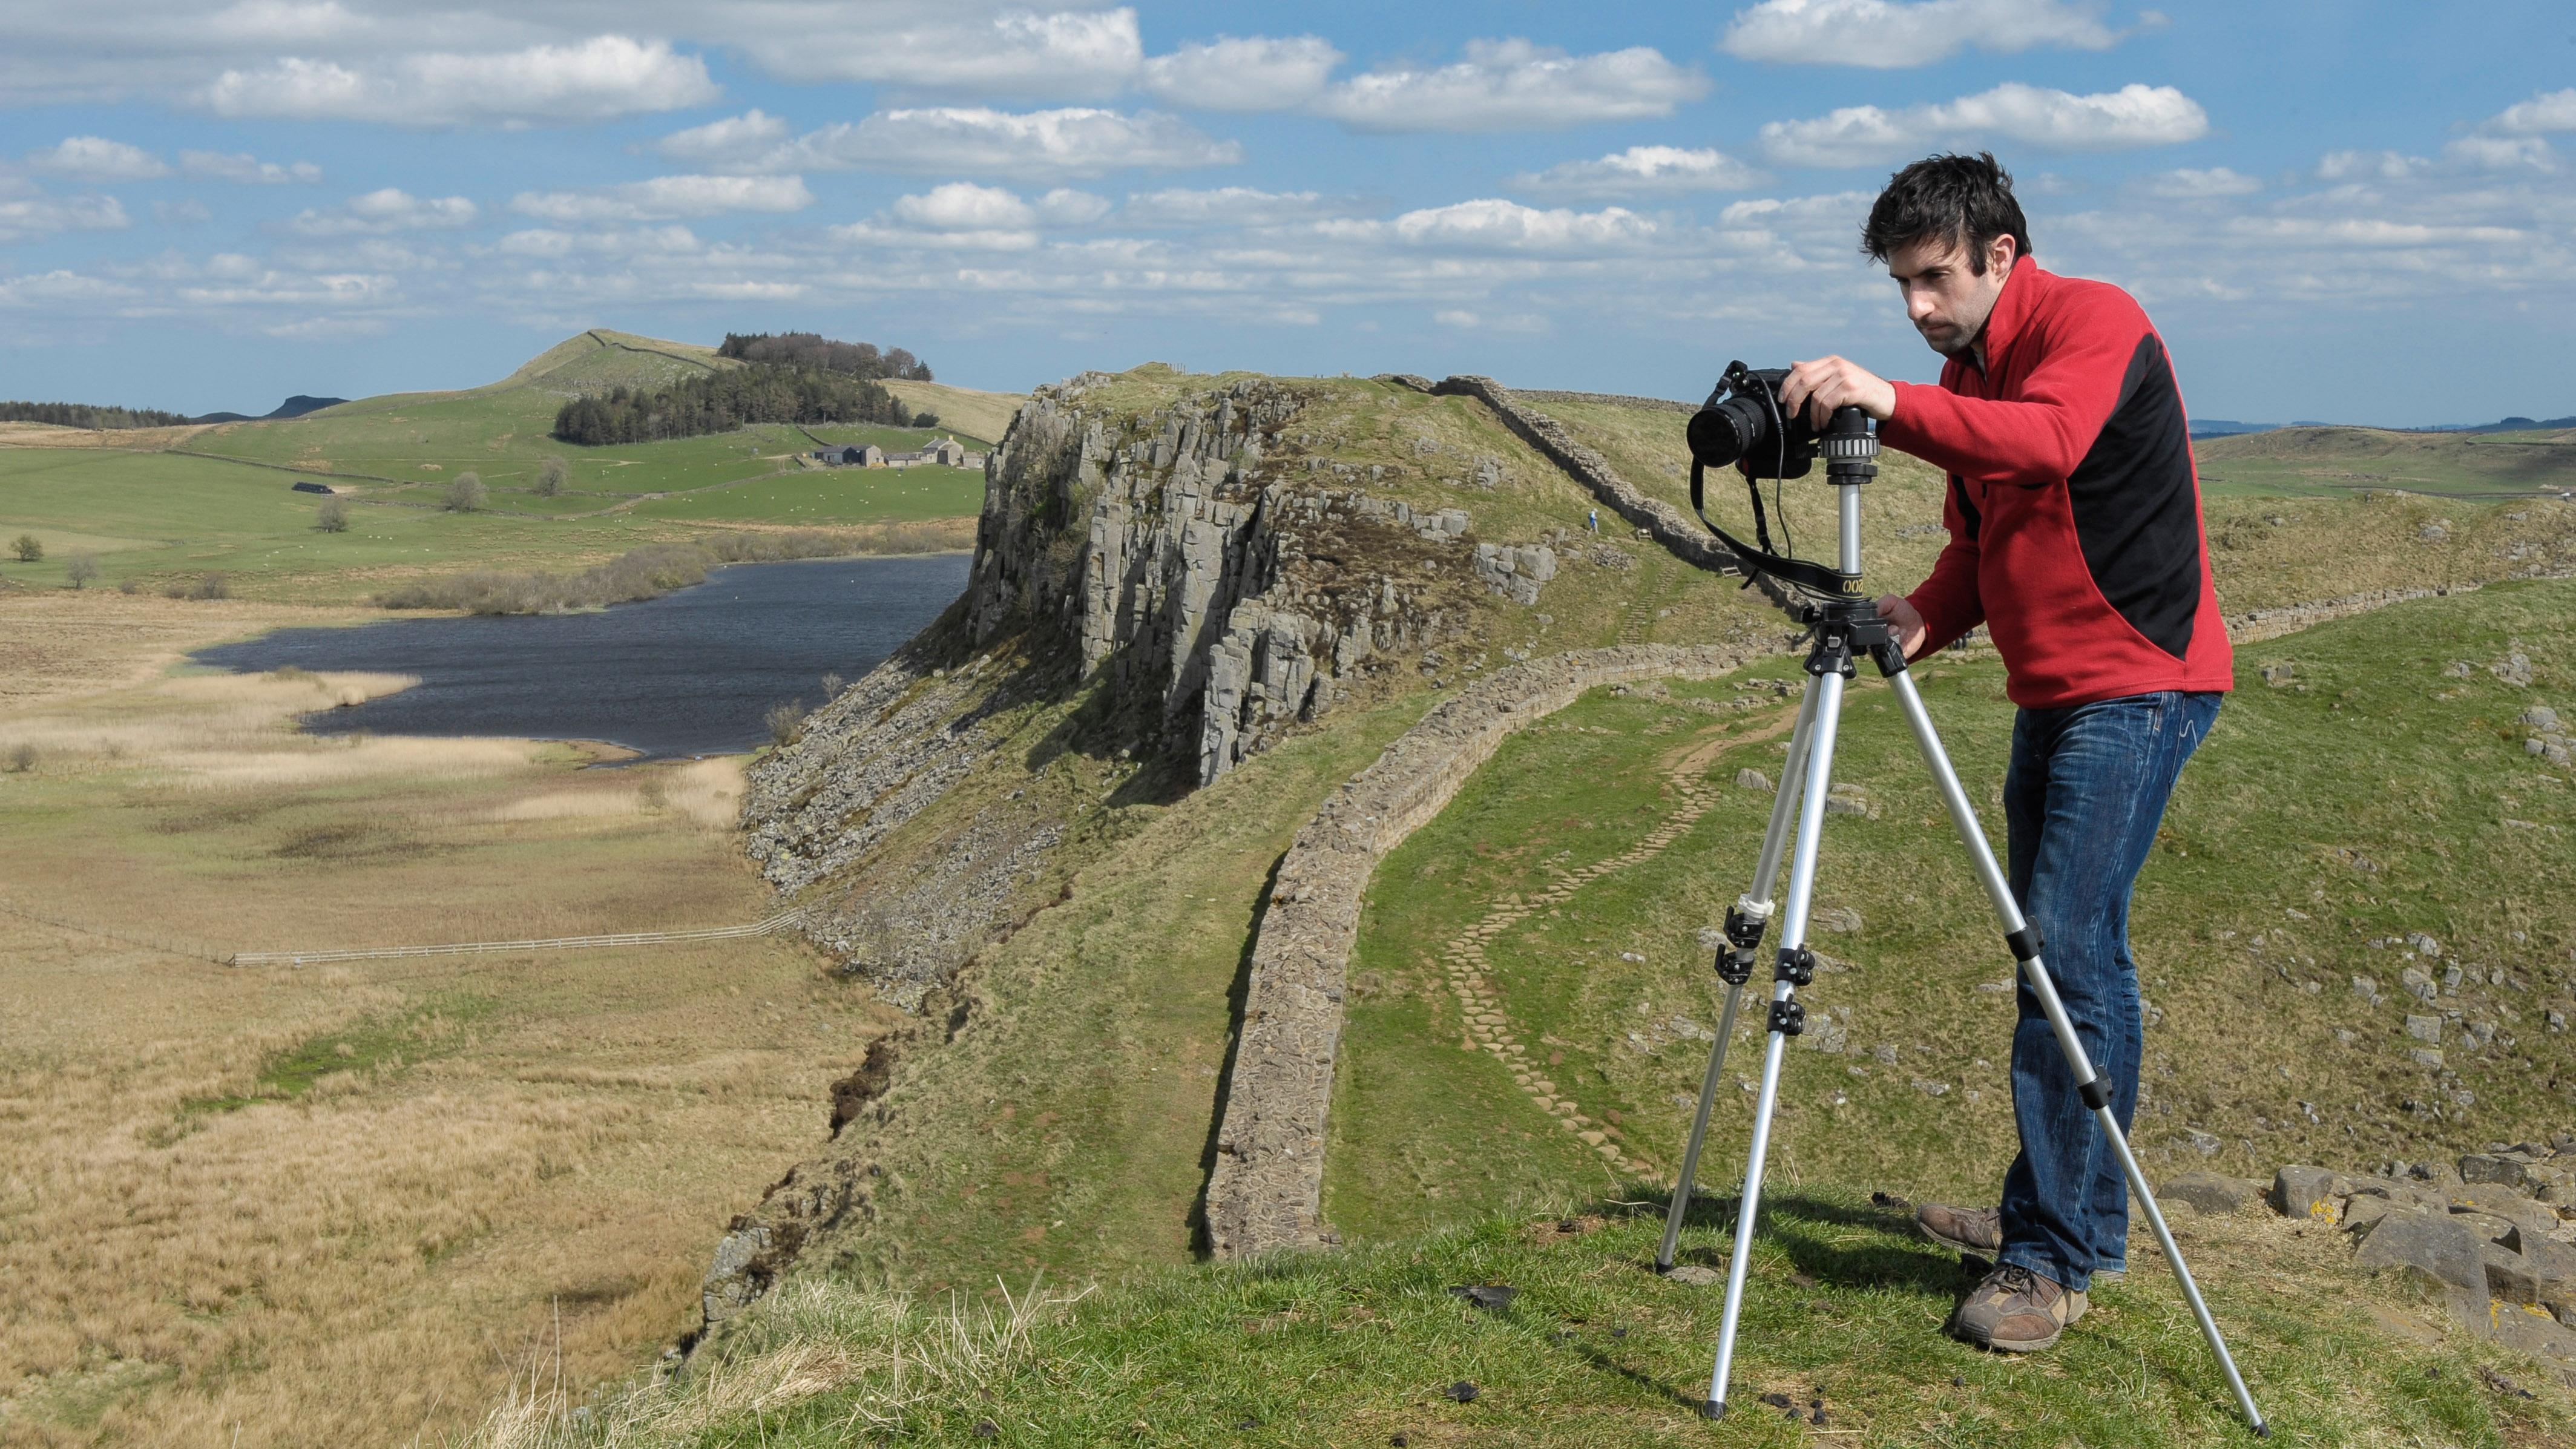
They’re not sexy and they’re typically big and cumbersome, but the tripod is a staple of every photographer’s kit. It’s the most used accessory you’ll ever purchase for your camera (check out our best tripod guide). As simple as they may be, though, there are still proper ways to use a tripod to get the best results from it.
Some people think a tripod requires no skill to set up, but while it may not be rocket science, there is a process. Below are some of the most common mistakes photographers make when using a tripod and how they can be avoided.
1: Extending the center column
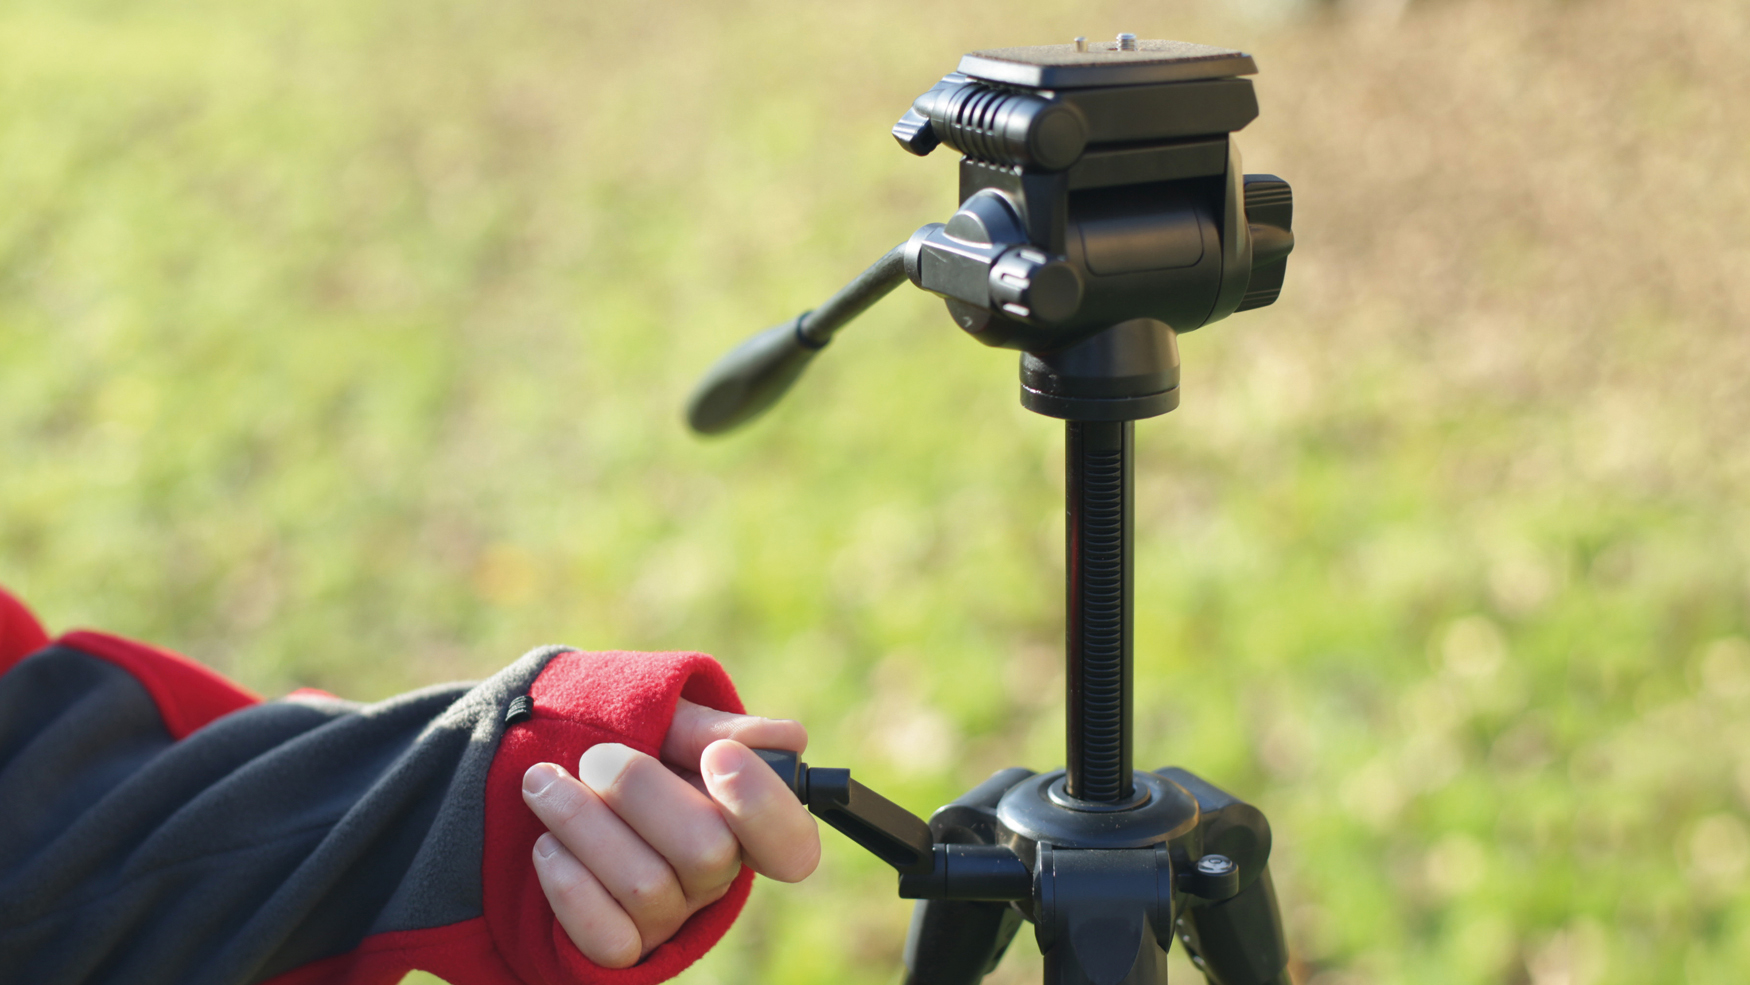
Most tripods have a center column that extends to allow higher-level shooting than just using the legs alone. However, this provides a much less stable platform when it’s extended than when it’s dropped down and should be used with caution.
Where possible, the legs should be used to get the camera to the correct height and any height adjustment should be made via the legs. The column should only be used once the legs are at maximum extension and even when it’s fully retracted it’s important to ensure that is locked tight to reduce wobble.
2: Extending the bottom sections first
Because the lower sections of a collapsible tripod’s legs need to slip inside the upper sections when the tripod is packed away, they are thinner. This means that they are a little less stable, so when the full height of the tripod isn’t required it’s best to extend the thicker, upper leg sections rather than the lower ones.
3: Not leveling the shoulder
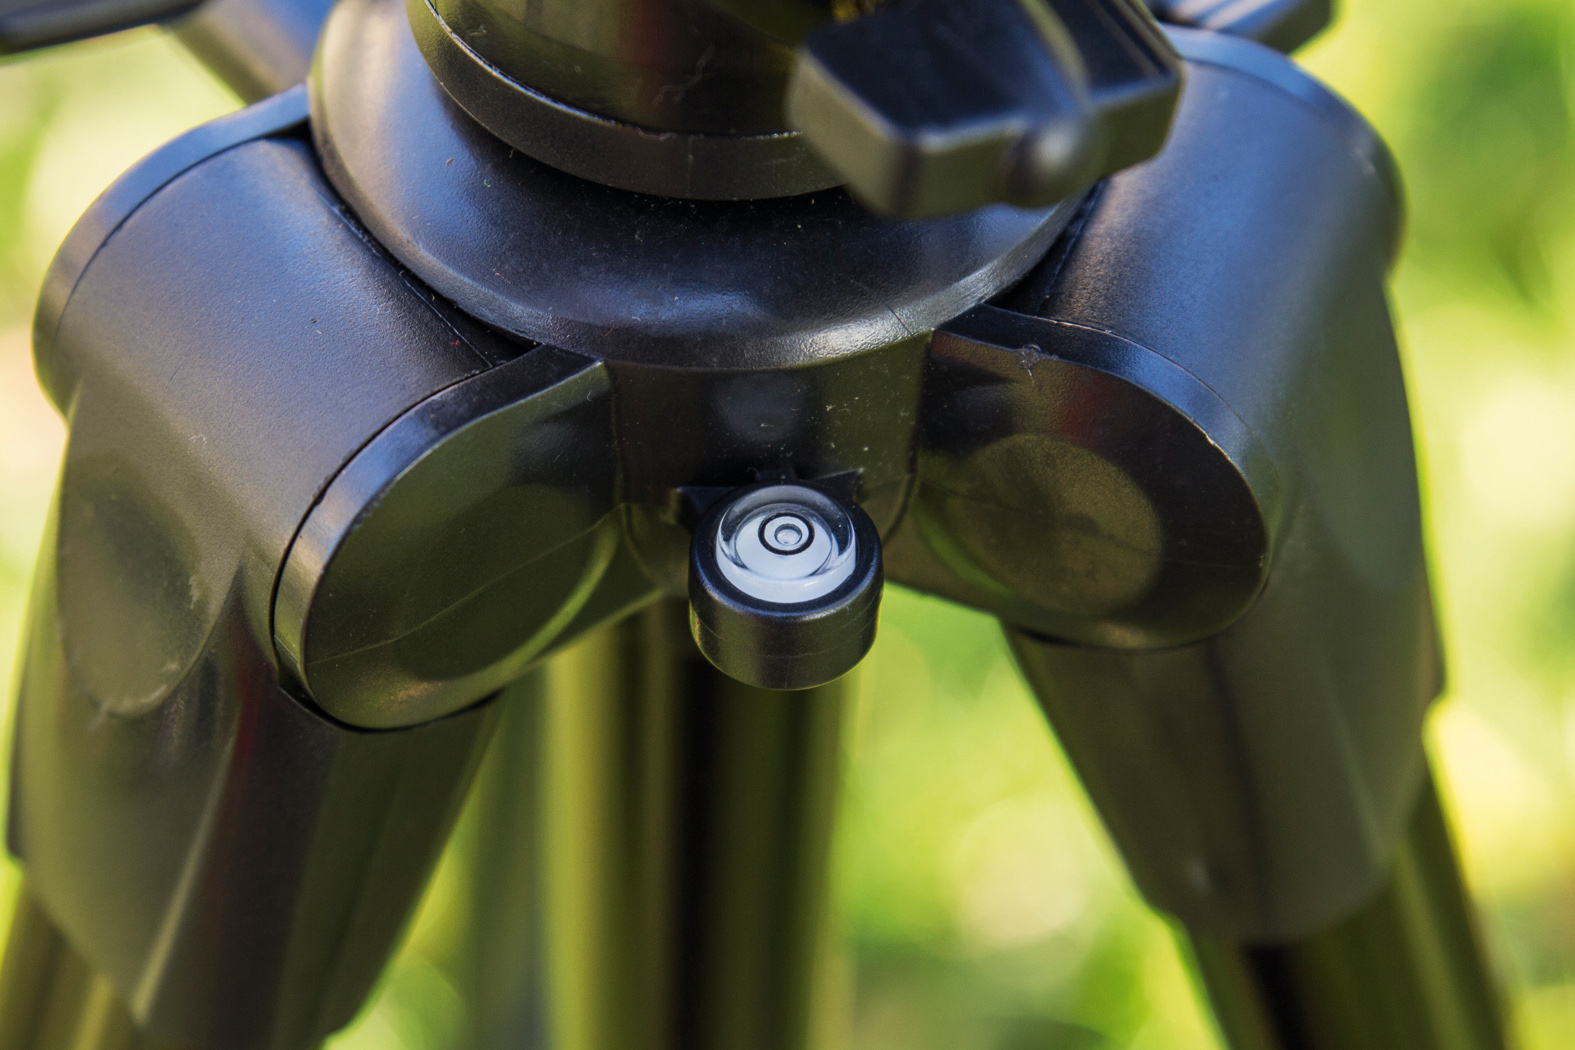
Many tripods have a spirit level built into the shoulders which enables you to see whether the legs are creating a level platform for the head. Although many tripod heads also have a spirit level, it’s generally best practice to use the legs to get the shoulders level.
The most important reason for this is to ensure that the tripod is properly balanced. If it isn’t, it may not take much - just a change of lens angle or a gust of wind - for it to tip over and your camera to come crashing down.
Get the Digital Camera World Newsletter
The best camera deals, reviews, product advice, and unmissable photography news, direct to your inbox!
Another problem with leveling the camera via the head rather than the legs is that the camera may not be level when you move it. This is a particular problem when panning to follow a moving subject.
4: Not locking the tripod legs securely
Another mistake photographers make is not locking the tripod legs securely. This can lead to the tripod collapsing or moving during a shot, ruining the image. Some tripods have clips to lock the legs in place, while others have knobs that you tighten. While the clip locks are hard to get wrong, the knob locks have a little more nuance. Sometimes if you don’t tighten them enough, the weight of your camera can loosen the lock and cause the tripod to tip over.
• 8 composition mistakes (and how to avoid them)
5: Using the wrong tripod for the job
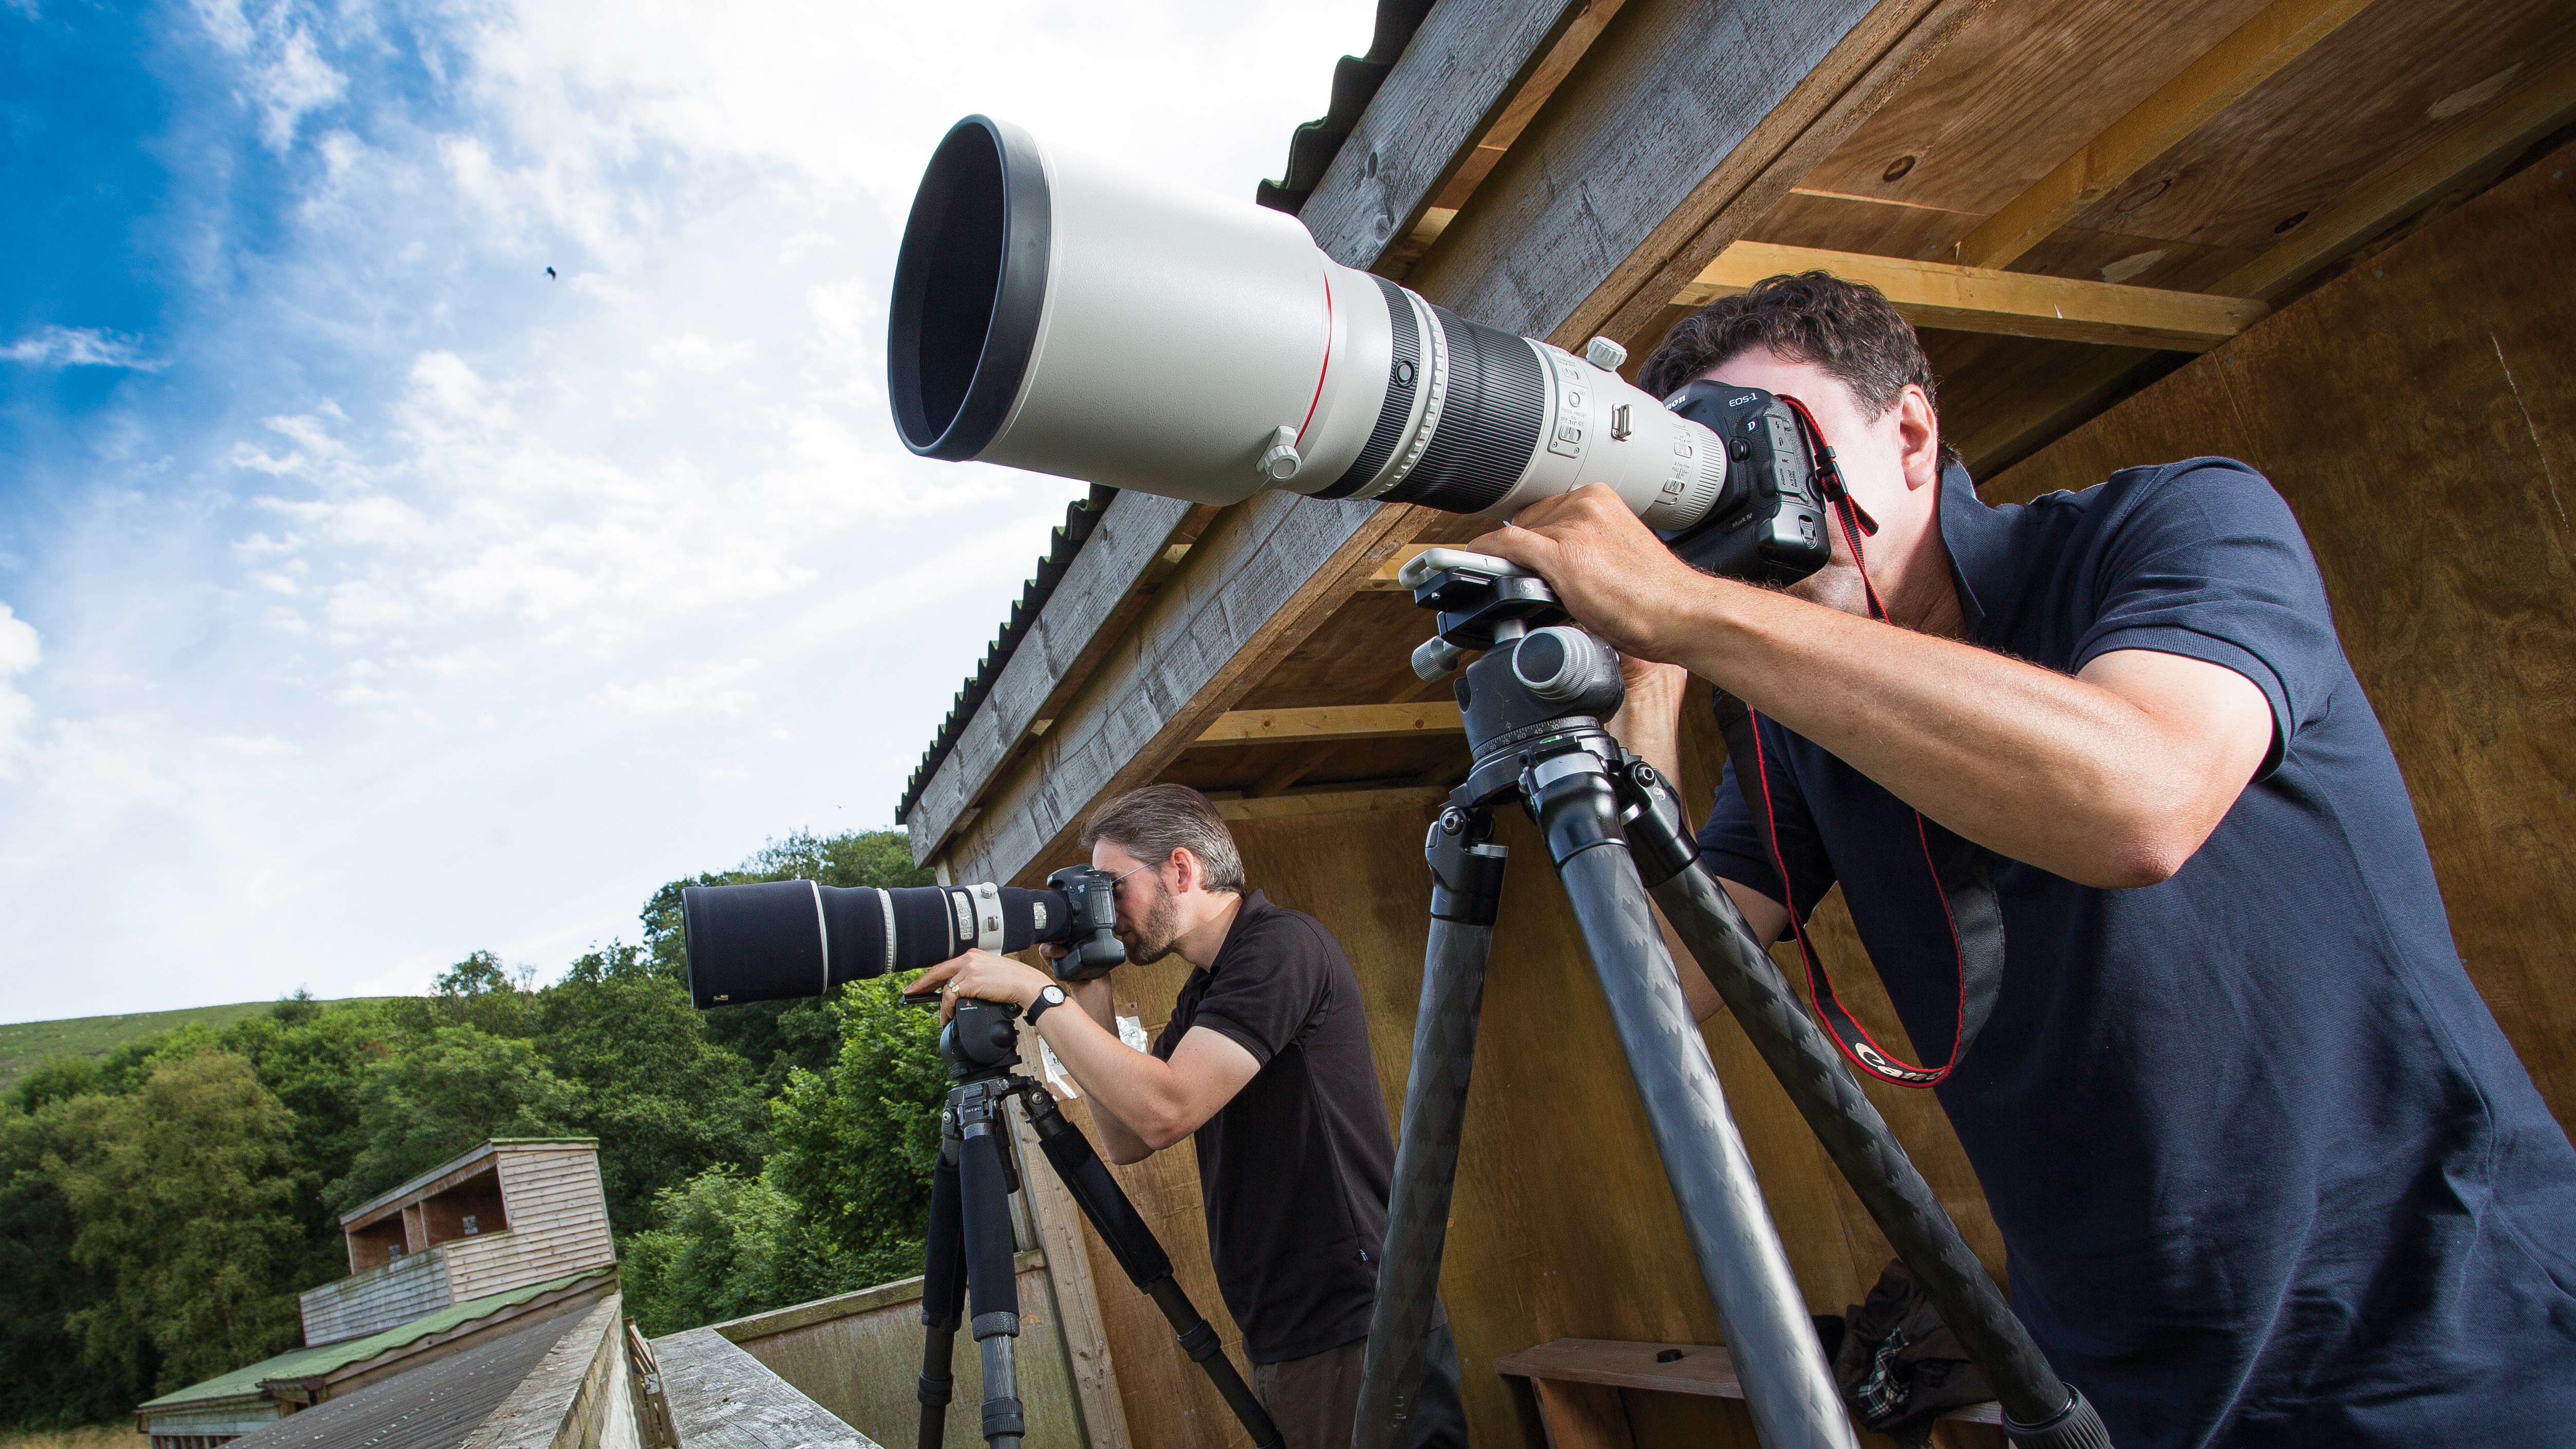
Let’s face it: no one likes carrying a tripod around. It’s extra weight and space you could be giving to more lenses. So too often photographers will use a tripod that is too small for their camera and lens combination, or for the job at hand. This can result in a shaky image, as the tripod may not be able to support the weight of the camera and lens. This is also a problem if you’re using a small or flimsy tripod during a longer exposure. Eventually, something is going to make it move.
6: Carrying the camera on the tripod
You often see photographers walking with their extended tripod over their shoulder with the camera still mounted, but it’s a pretty risky thing to do. The change in angle can cause what seemed like a locked head to come loose, for example, and if it tilts down just as you’re walking past a wall, it could be the end of your camera! And there are always slapstick moments when you misjudge the length of the tripod and bash your camera on a nearby tree, wall or fellow photographer.
As most tripod heads have a quick-release plate, not removing the camera from a tripod only saves you a few seconds time.
7: Not using a remote shutter release or self-timer
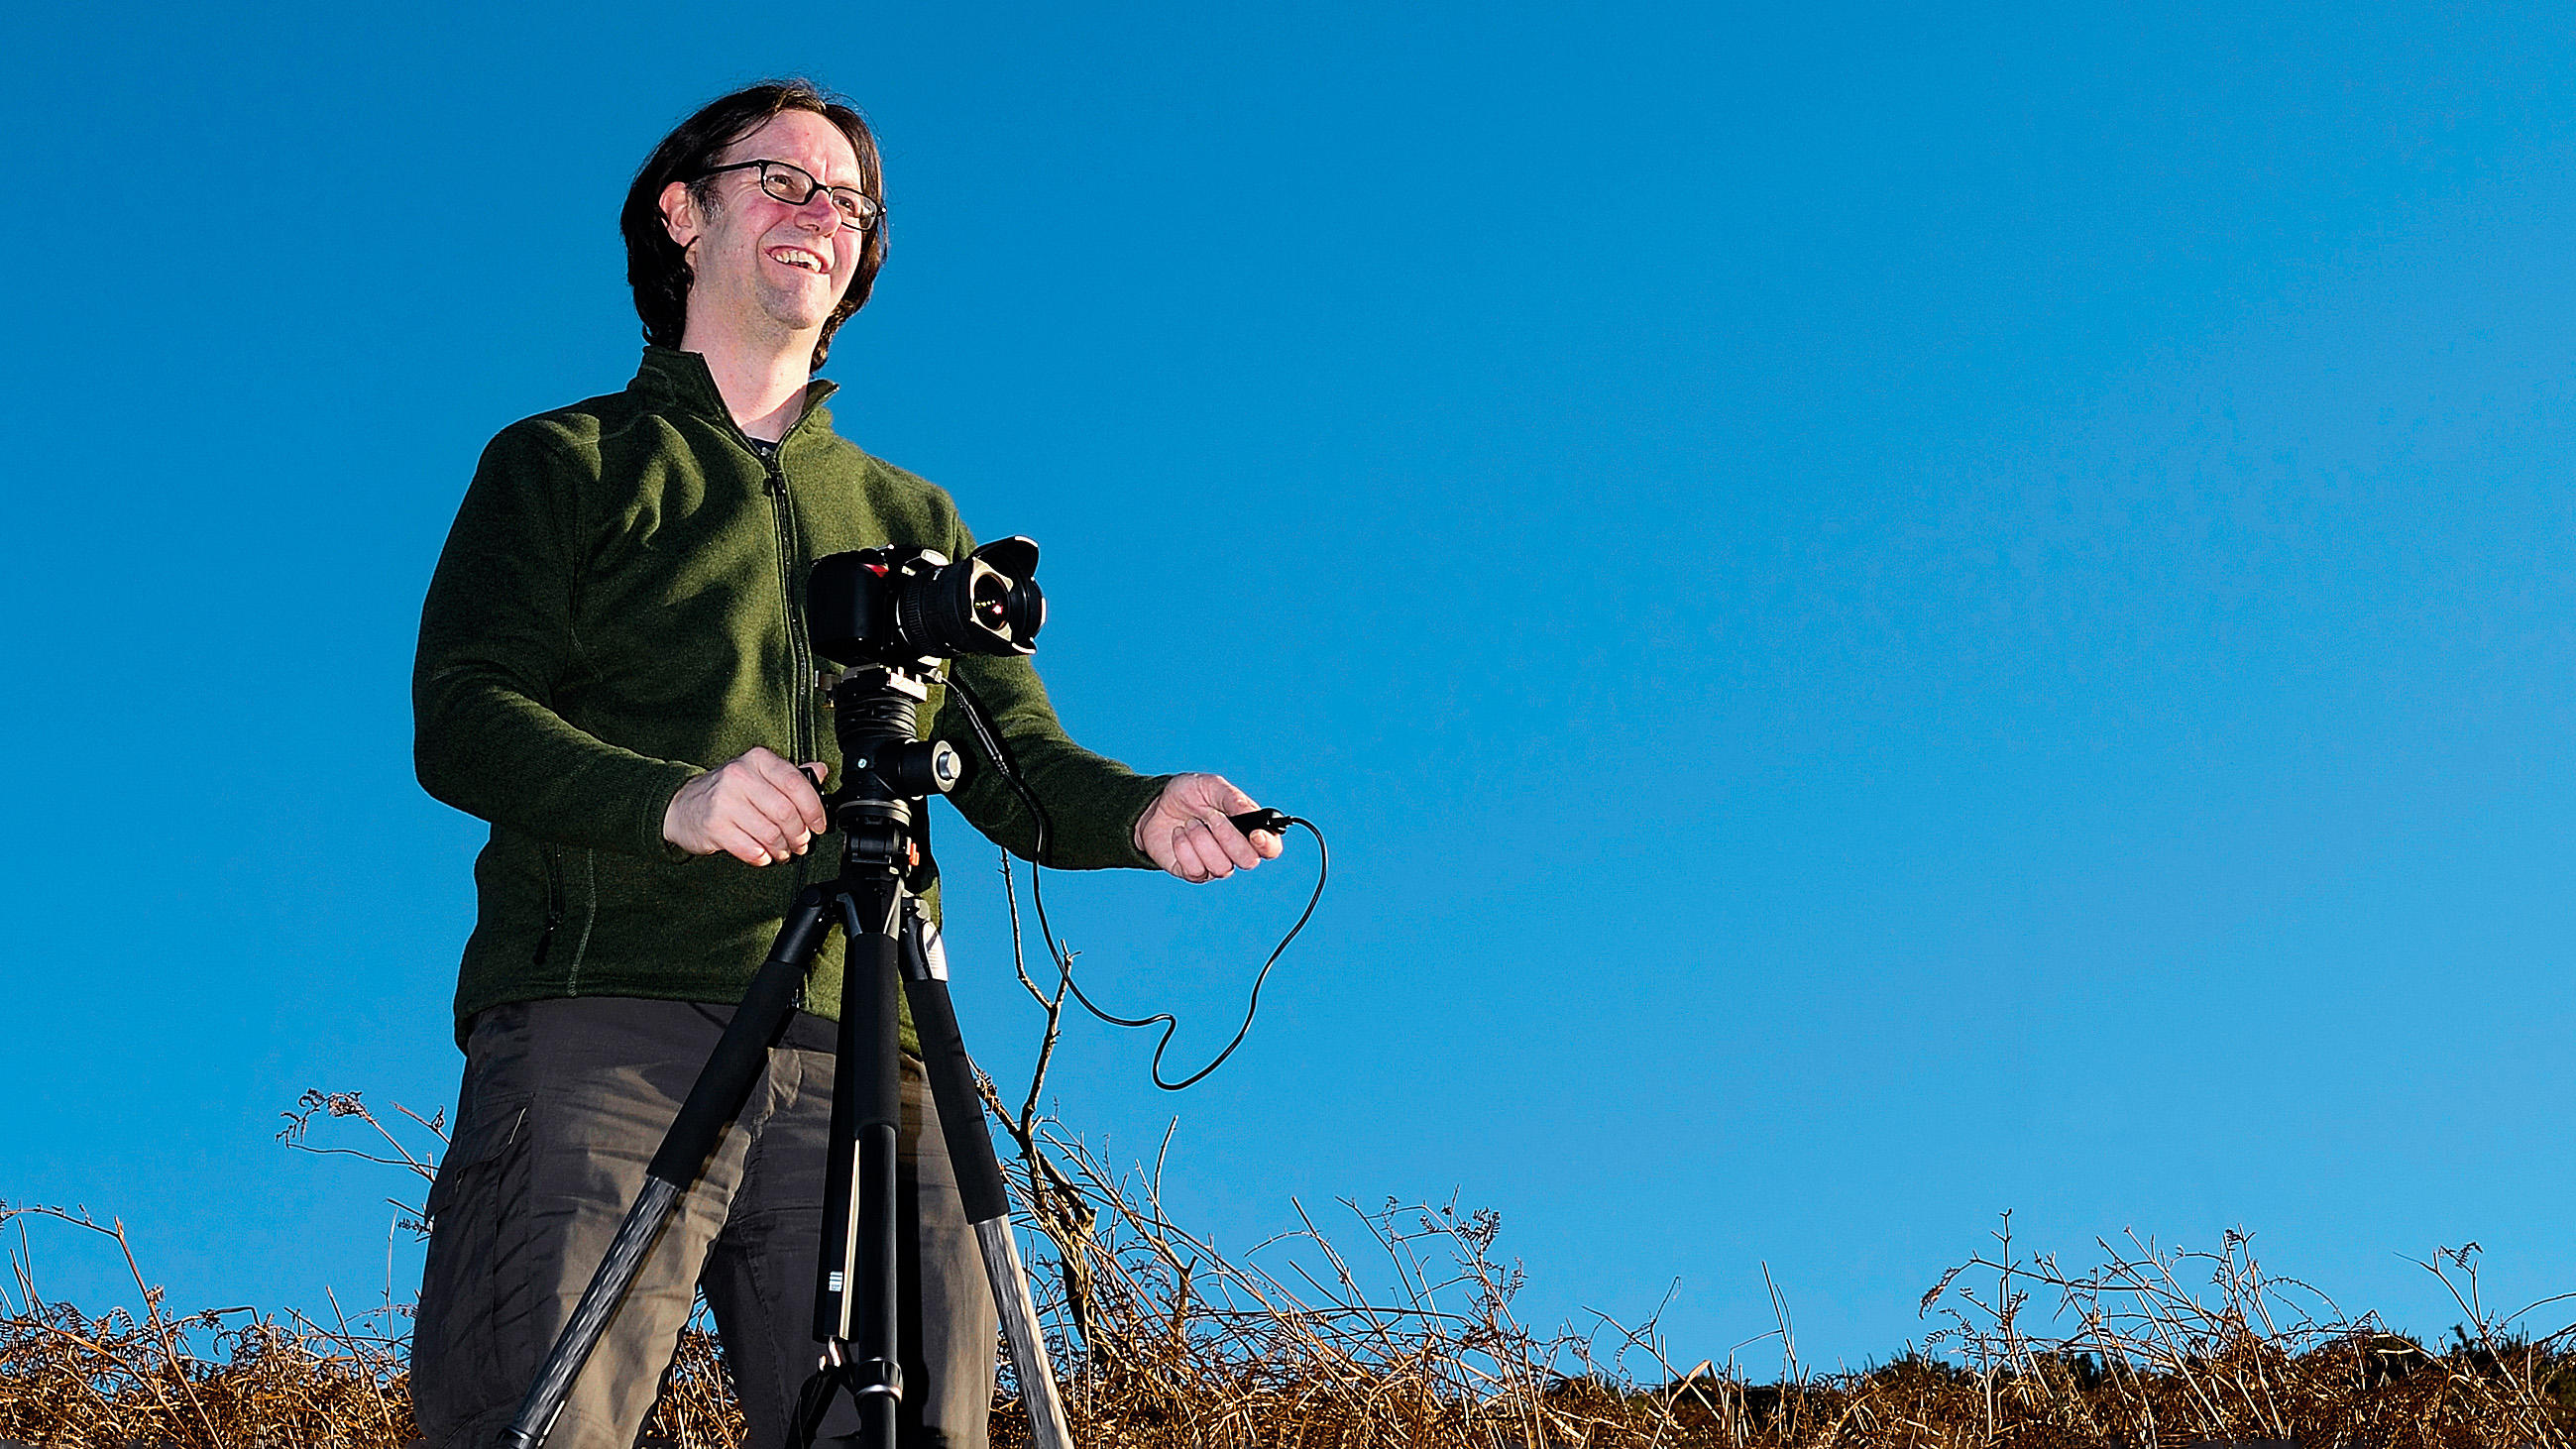
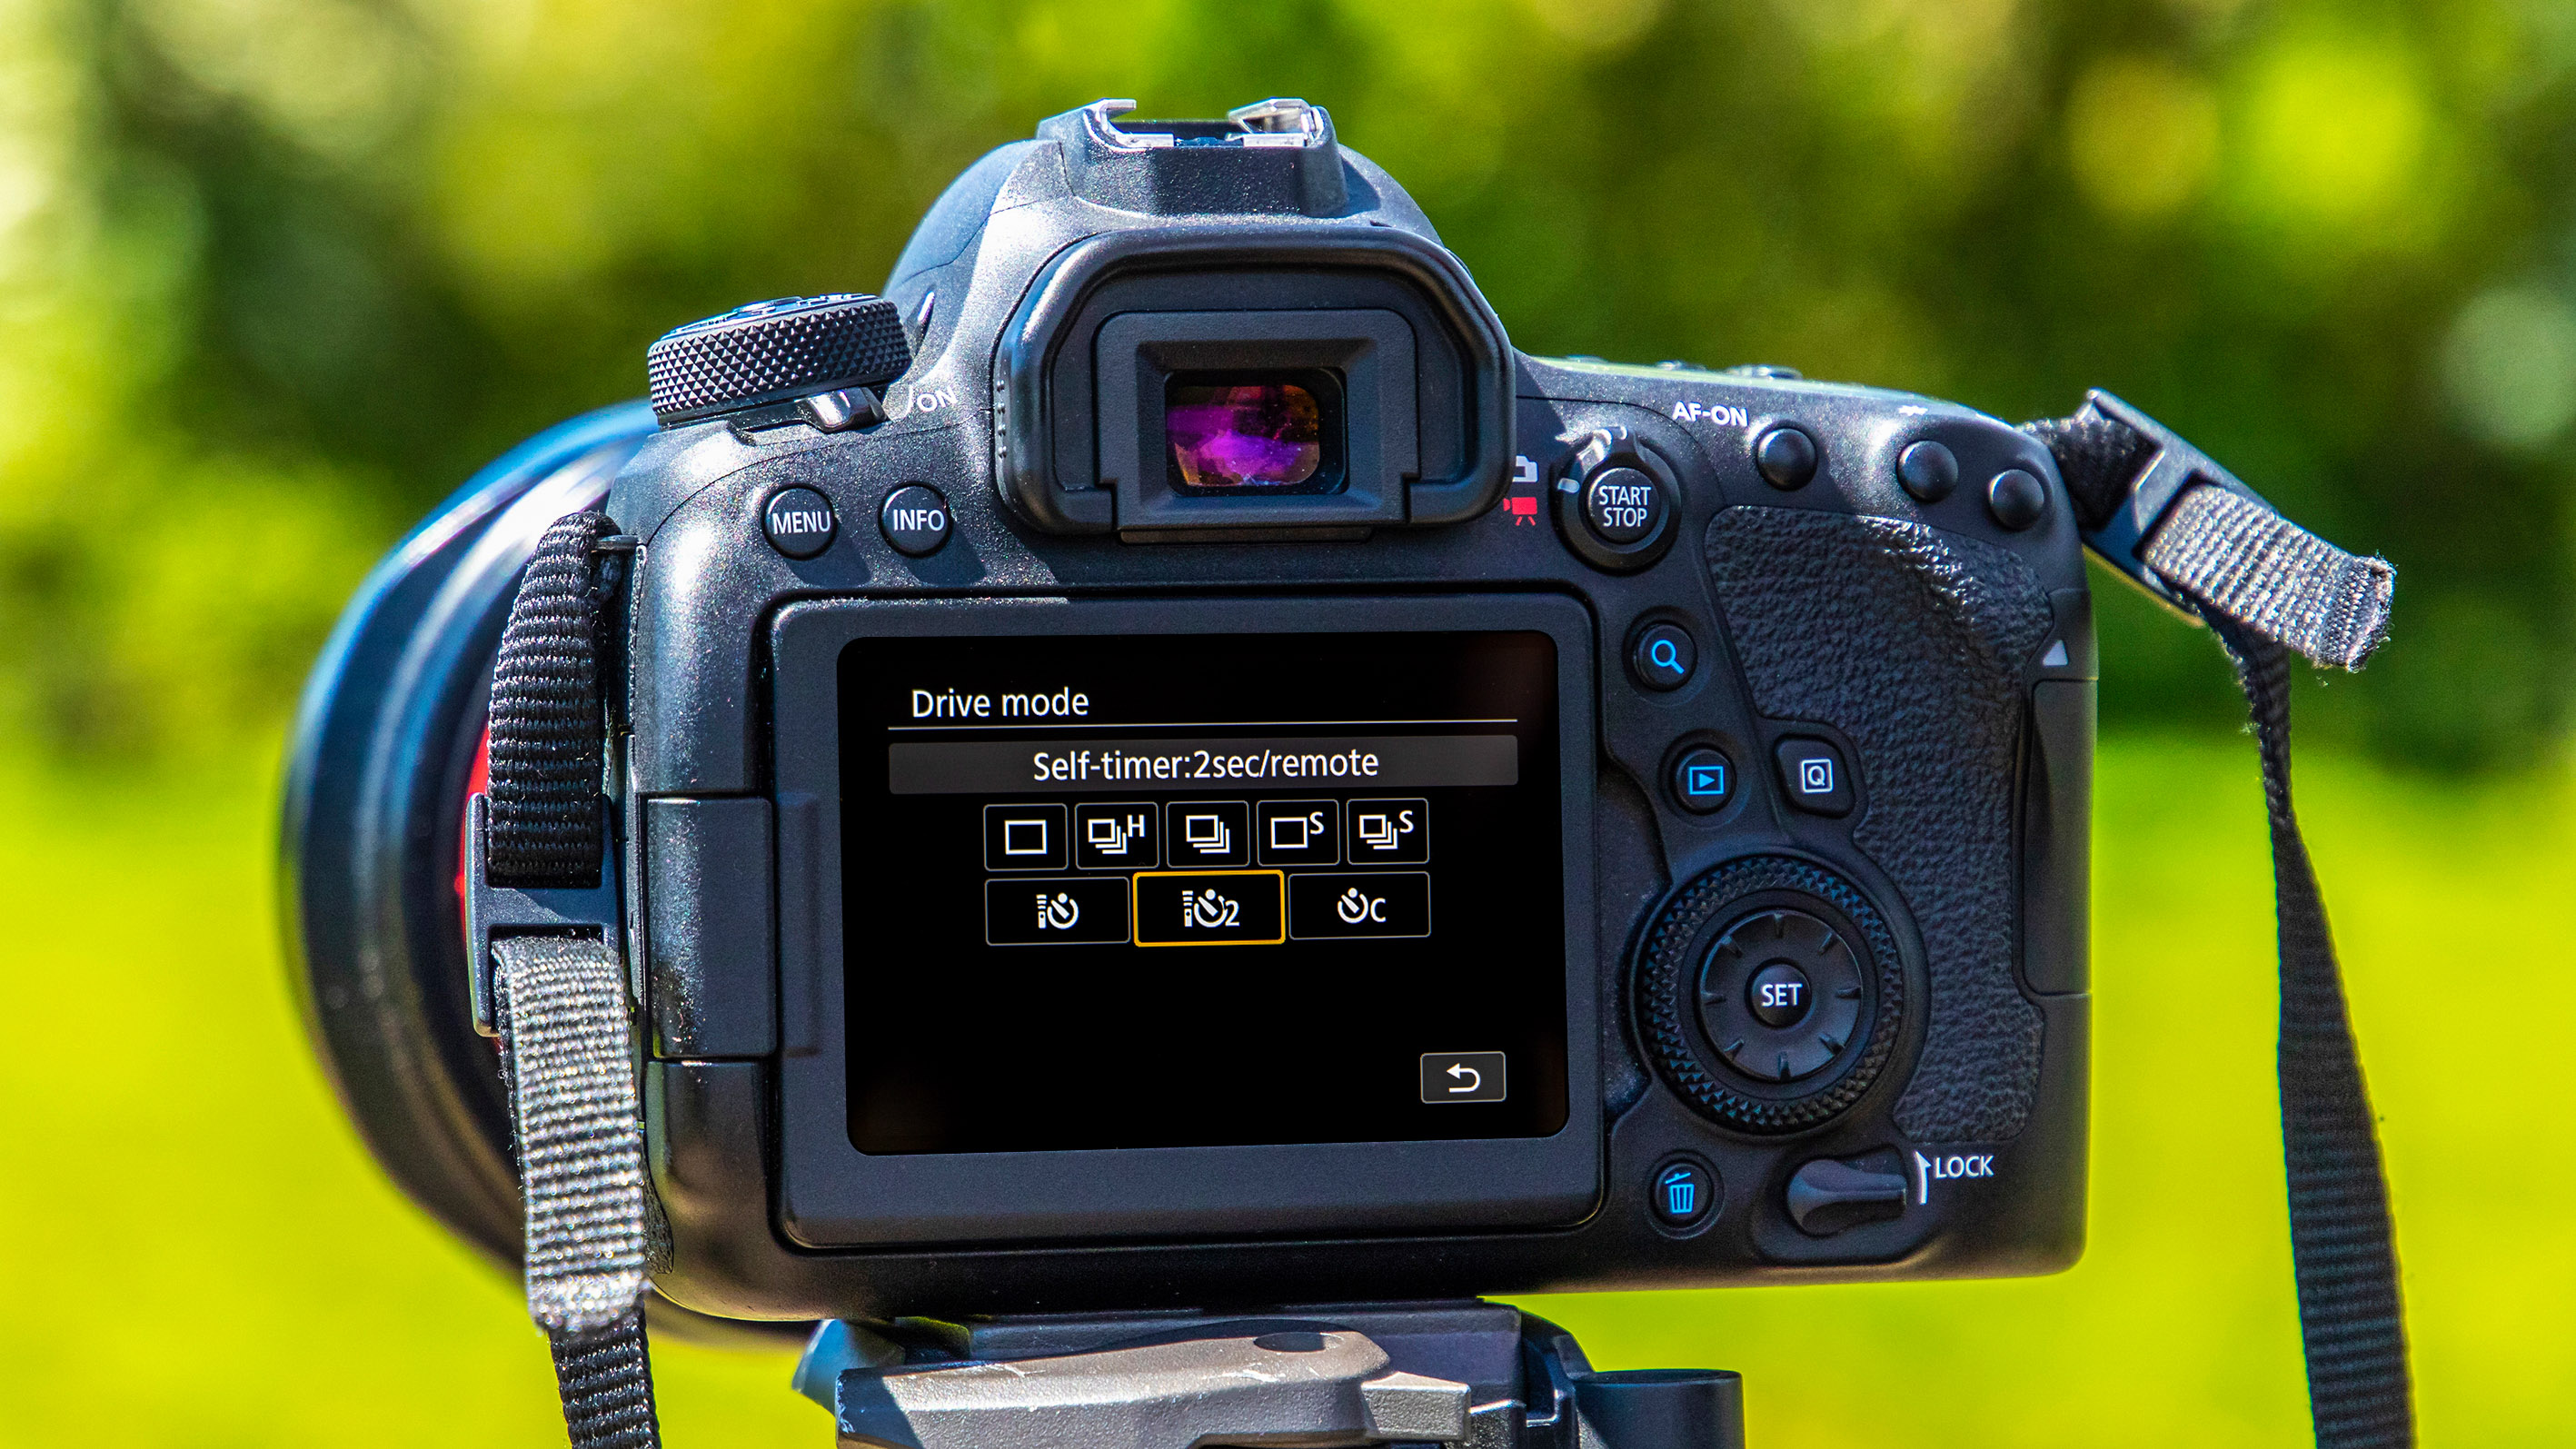
Just the simple act of pressing your camera's shutter button to take a photo can result in camera shake. Every little micro movement within a camera over the course of a long exposure will rear its ugly head in the form of blur, ruining your image. Make sure to keep a remote shutter release in your bag just for these occasions. Or at the very least, ensure you’re using the self-timer function on your camera to take the photo.
8: Erecting a tripod on wet sand
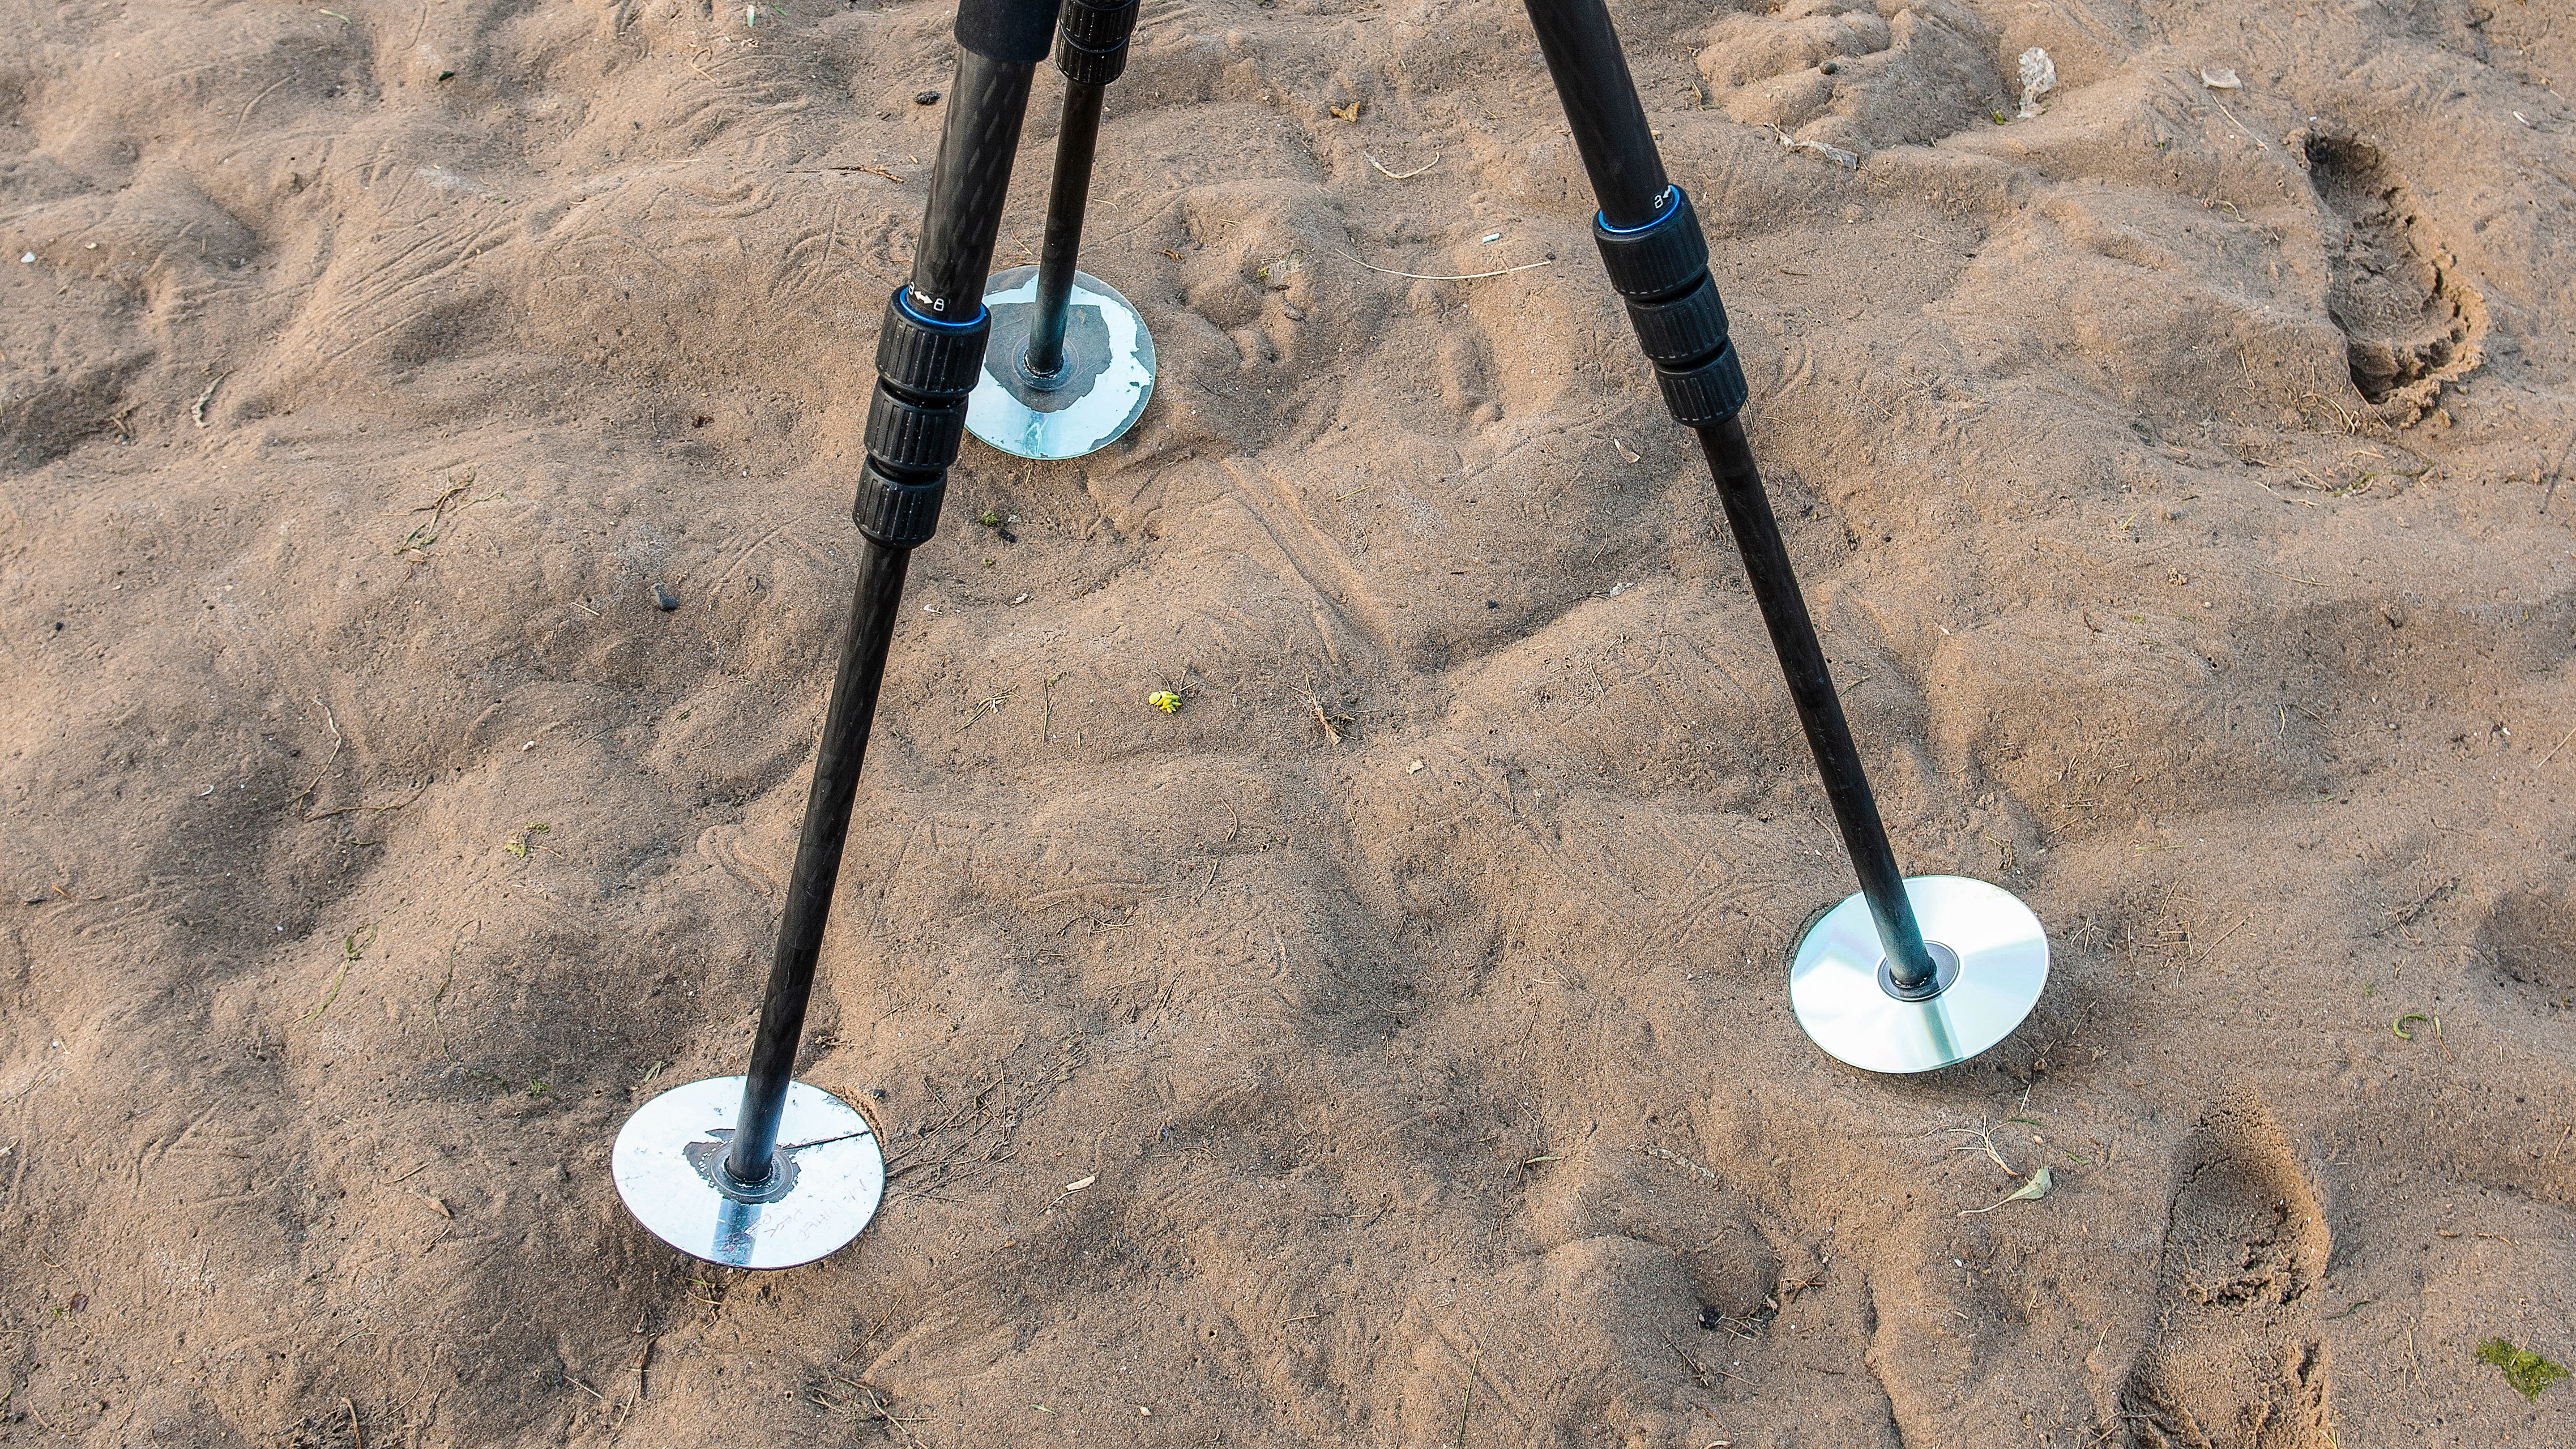
For the best results, a tripod should be sited on firm ground so that it doesn’t sink during the exposure. This can be tricky on beaches, especially if the tide is coming in as it can be difficult to gauge how far the waves will encroach up the sand during a long exposure. At best this will lead to a blurred image and at worst a camera that needs a trip to the service centre.
If possible, try to shoot from rocks as they don’t tend to shift, and use a longer lens if necessary. Many photographers find that pushing their tripod legs deep into the sand before they start shooting creates a solid base. In addition, some manufacturers make snow shoes for their tripods to help distribute their load in soft ground. Alternatively, it may be possible to find three large flat stones that you can move to your shooting location to give your tripod a stable platform. Dedicated photographers could consider carrying their only alternative, three roof slates, old DVDs, or squares of carpet.
9: Not maintaining the tripod
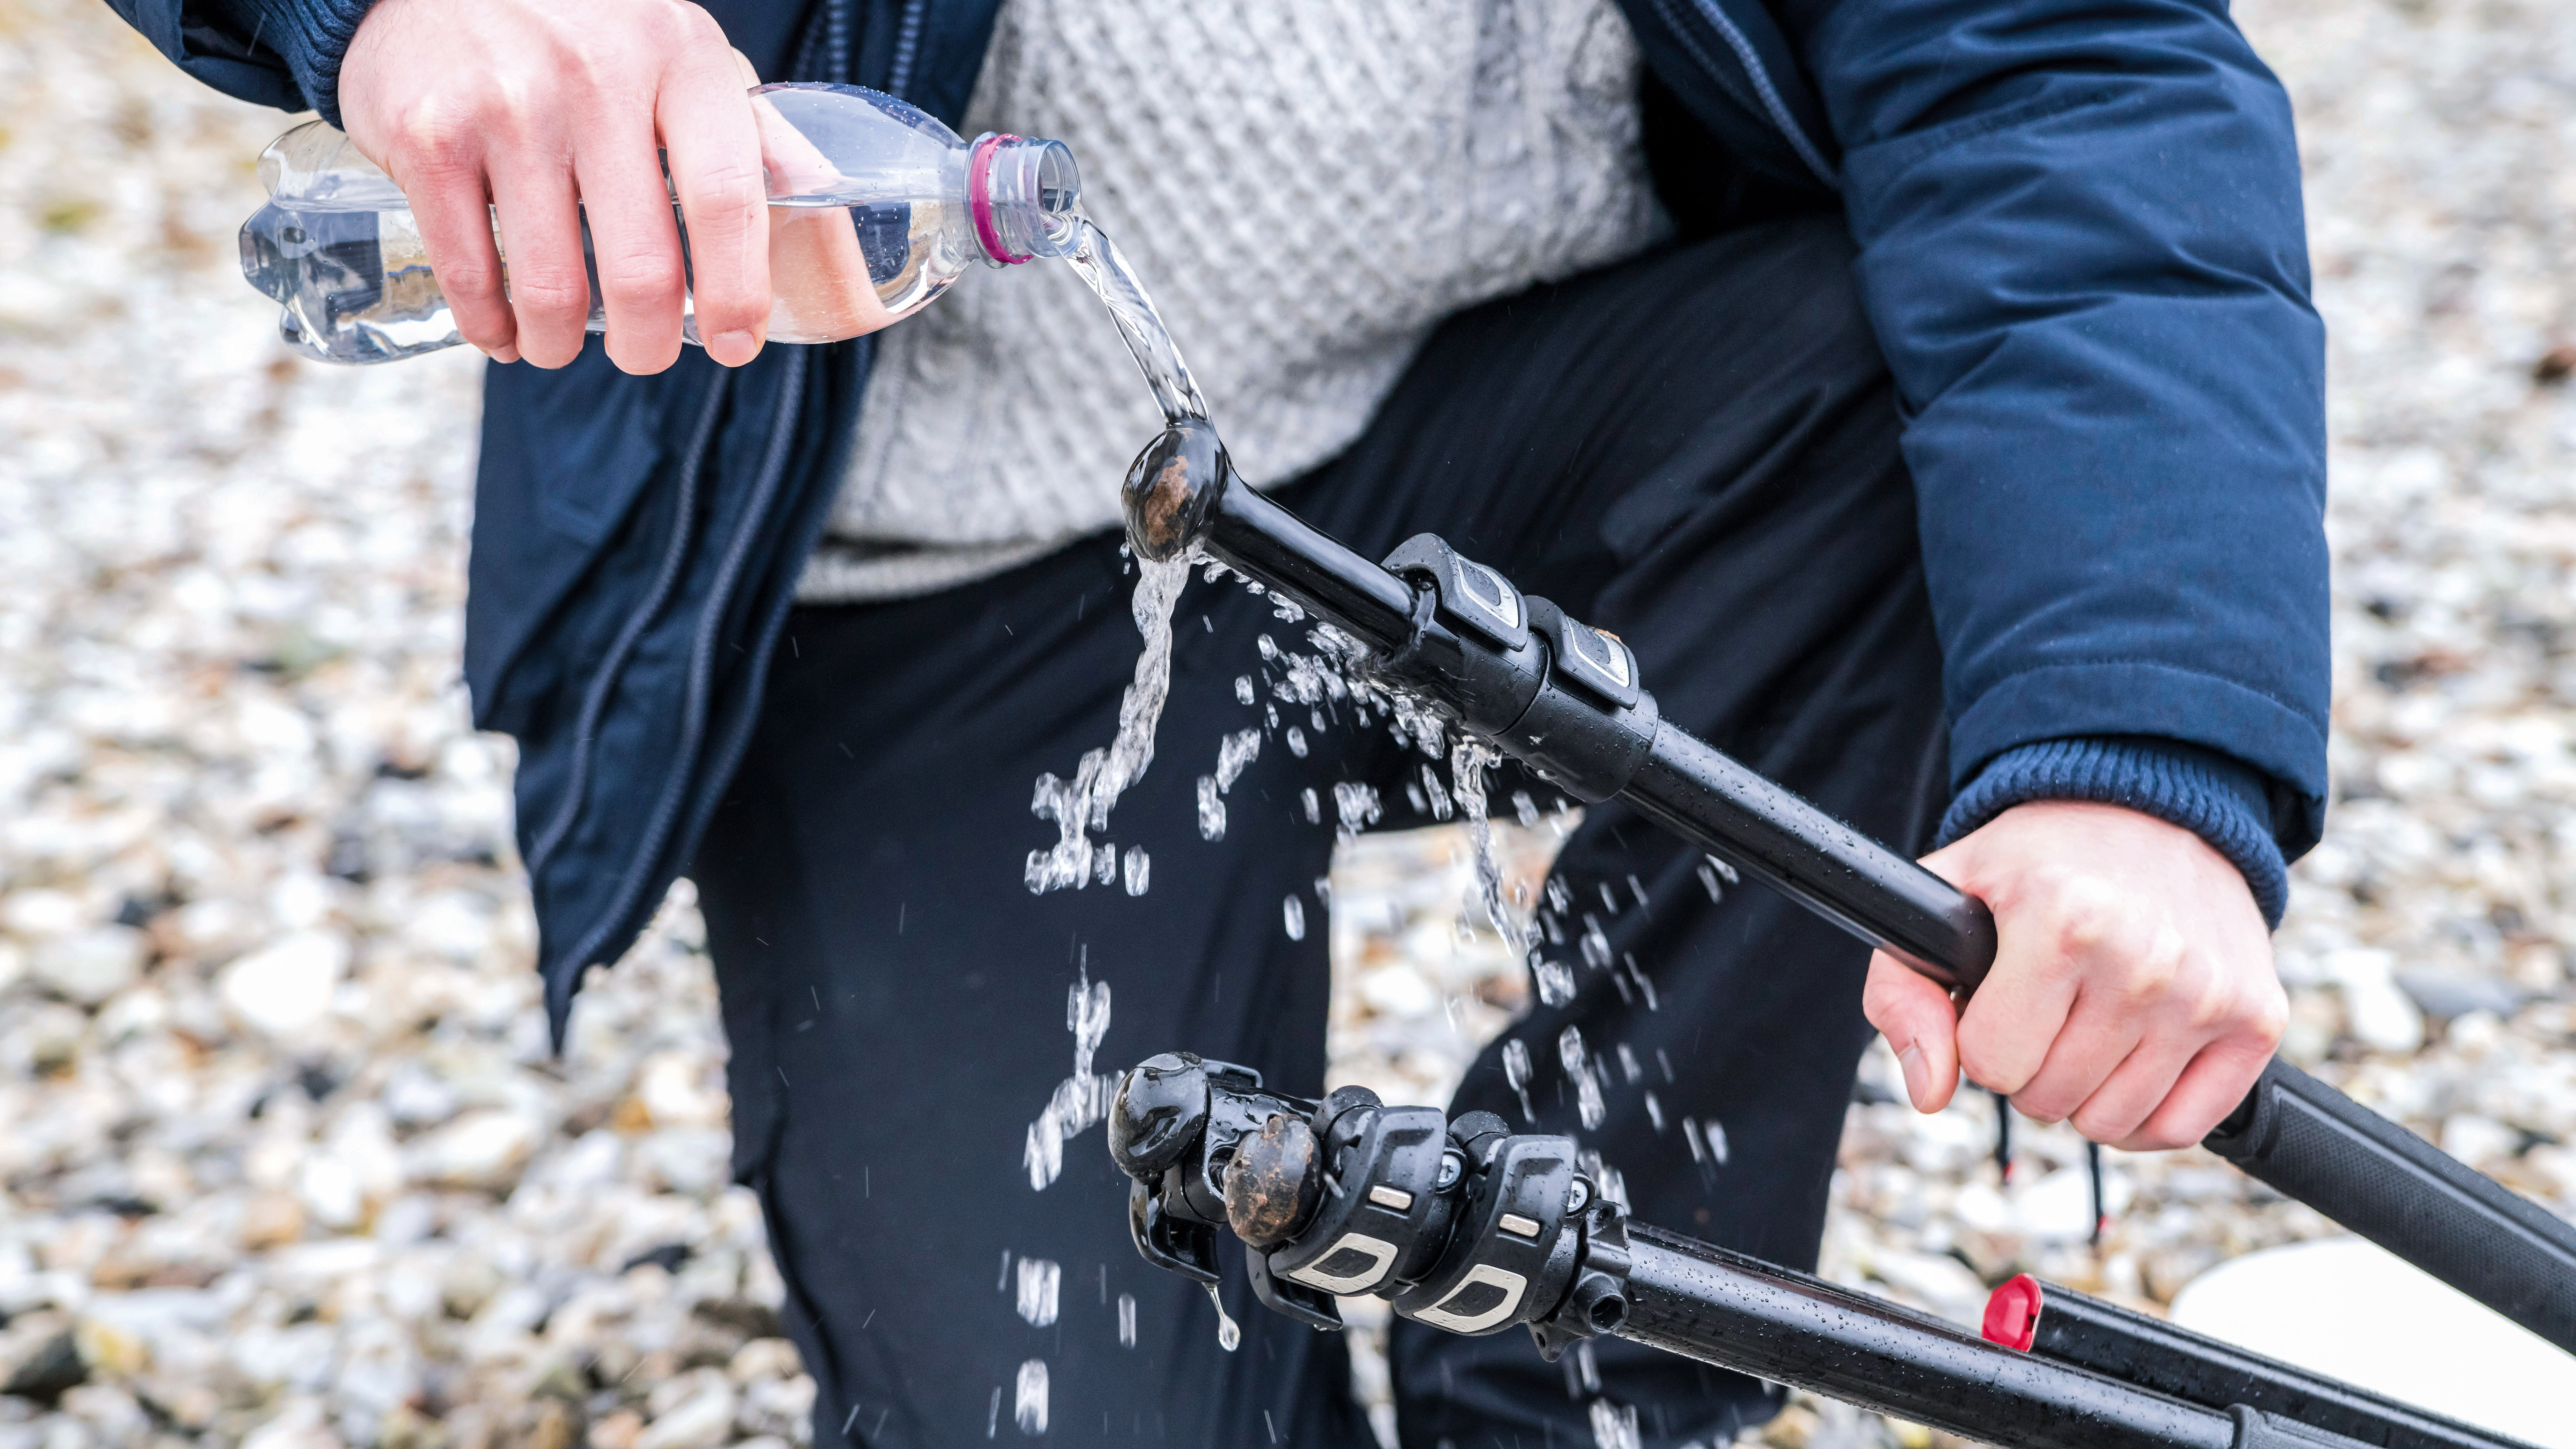
It may seem like a simple machine, and robust though it may be, tripods do require some regular TLC. Failing to maintain your tripod can result in legs that don’t fully extend, weak joints and all number of problems. All of which can cause camera shake or, at worst, damage to your camera or lens if it falls over. Make sure to regularly clean and tighten you tripod legs and head to ensure it's in good working condition, and if you ever use it at the seaside, make sure you give it a good wash when you get home.
Also read • The best travel tripods • The best video tripods • The best monopods • Best spotting scope tripod • Best ball heads for tripods • Best pan and tilt heads • Best gimbal heads • Best geared tripod heads • Best binocular tripod adapter
