How to shoot the Northern Lights TONIGHT using just your iPhone
The aurora borealis is set to dazzle our skies again tonight – here's how to capture the spectacle on your smartphone

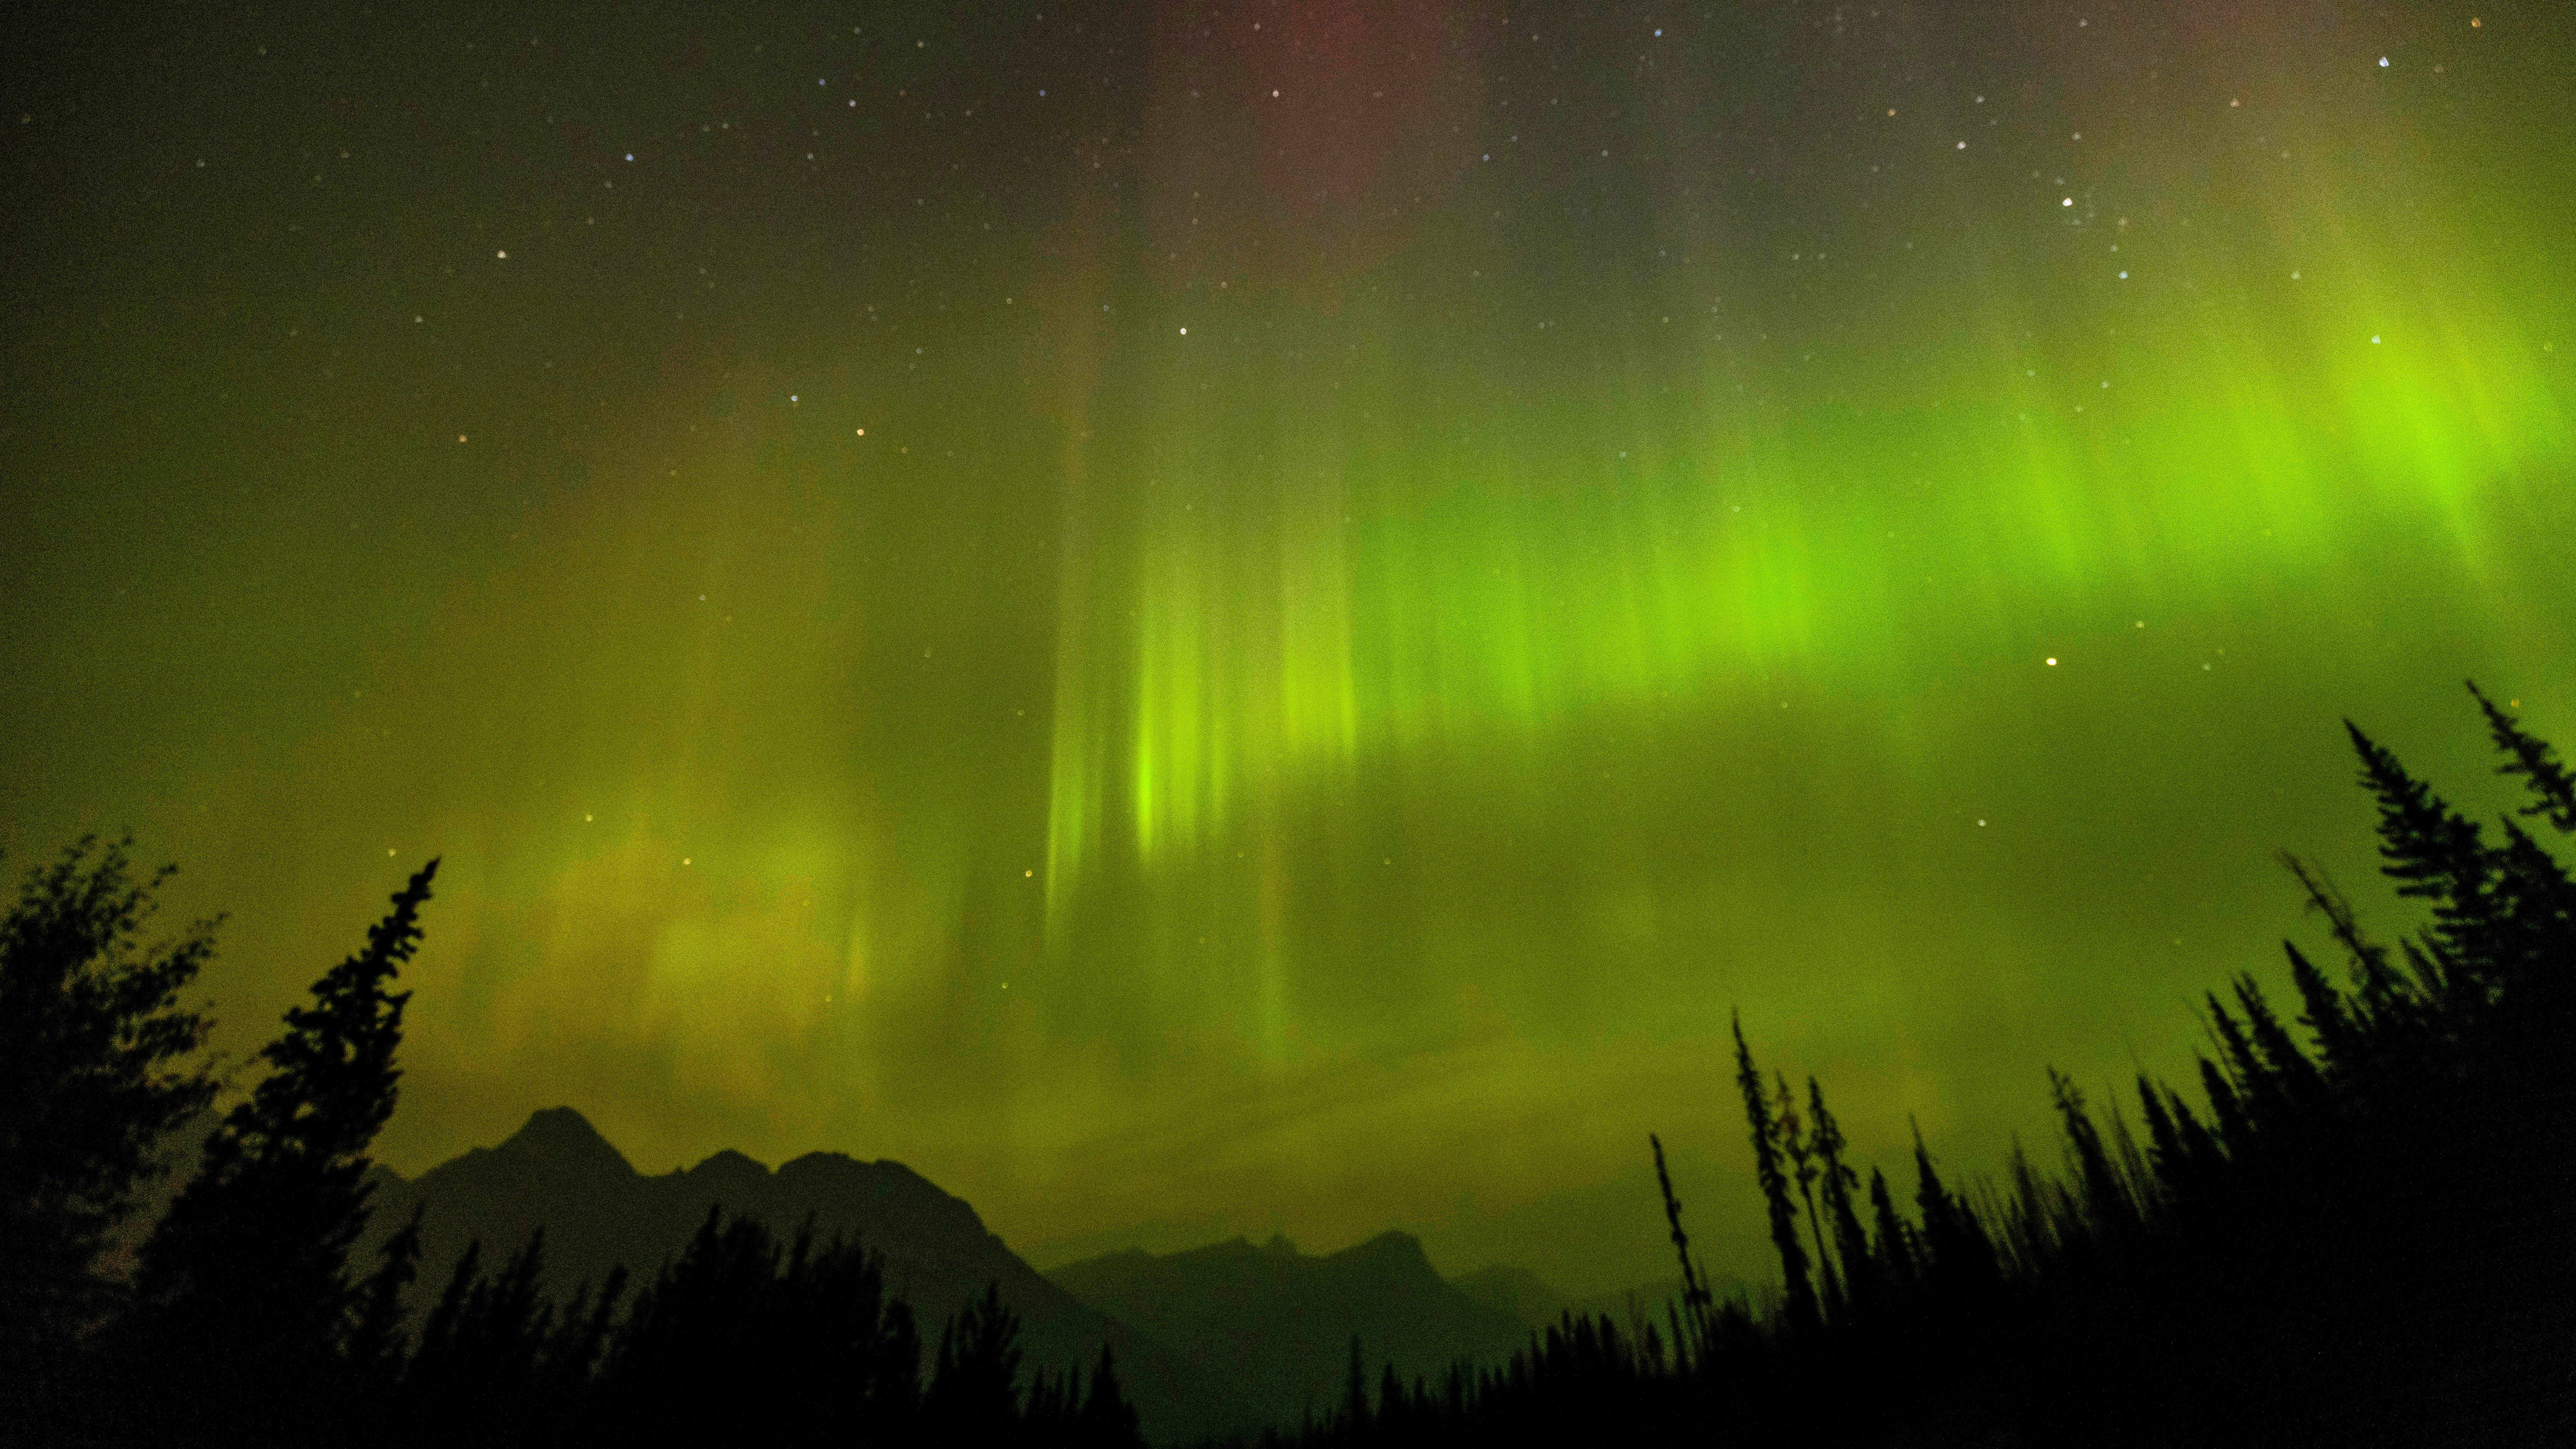
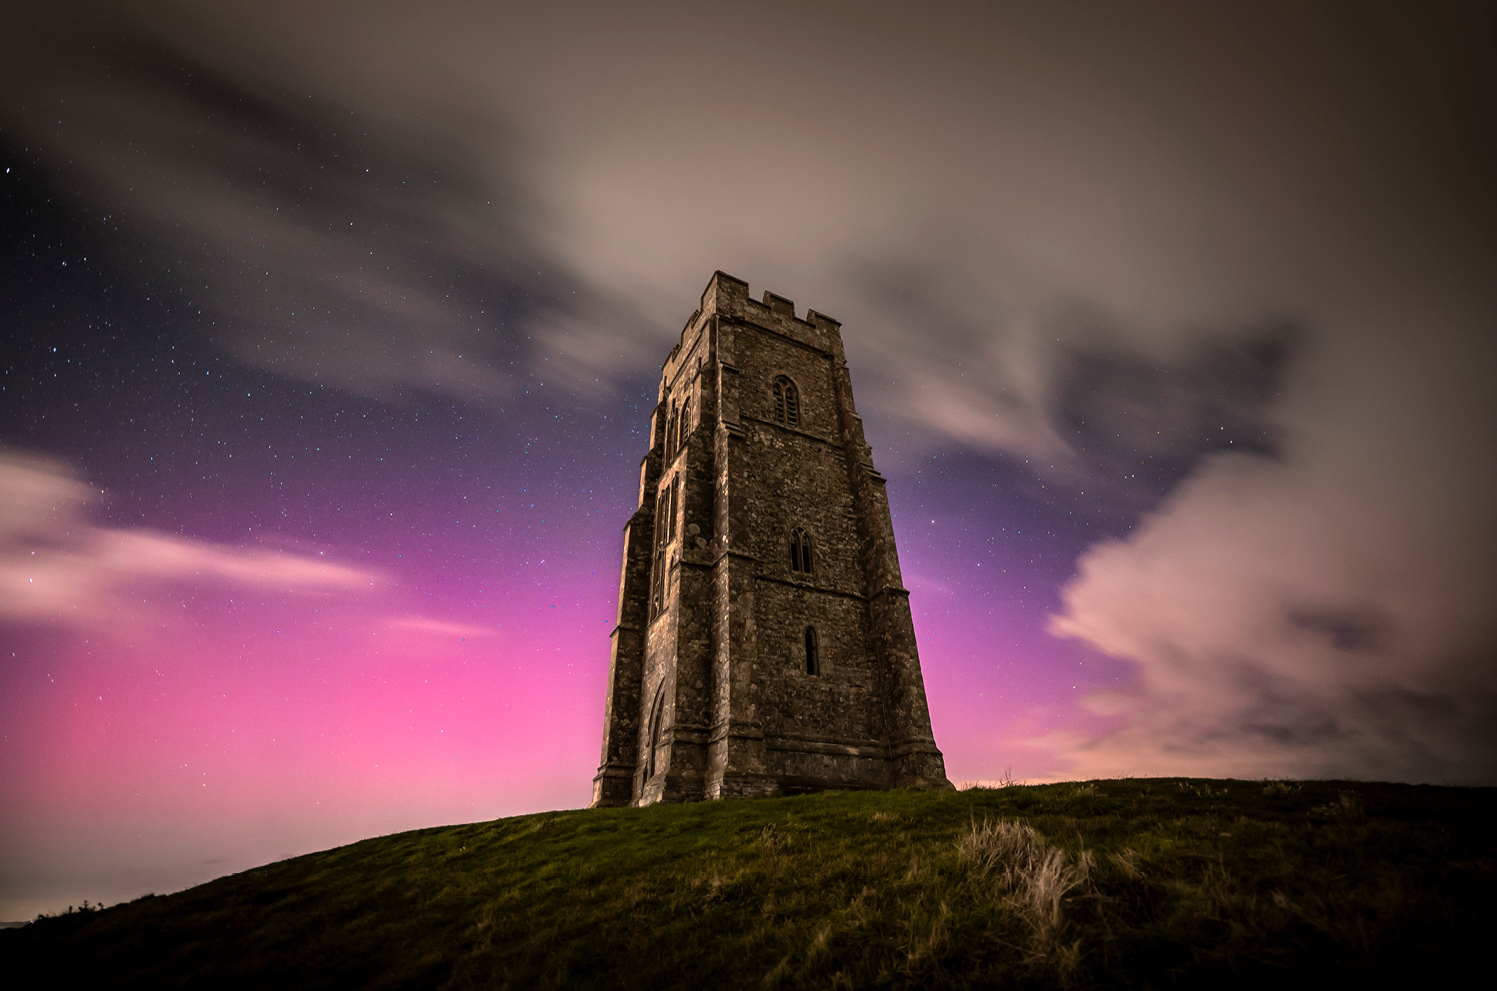
With clear skies and increased solar activity, the aurora borealis could be set to light up the skies across the United Kingdom, Northern Europe and much of North America this evening (and these pointers are just as valid for capturing the aurora australis down under).
You can capture this heavenly light show with nothing more than an iPhone – and these tips from Antony Willets, resident photography expert at photo printing service Max Spielmann. All you need to maximize your chances of capturing the Northern (or Southern) Lights are four key iPhone settings…
Shoot in RAW
If your iPhone allows it, shoot your photos in RAW format instead of JPEG (you'll need a Pro or Pro Max from iPhone 12 to 15, or any model of iPhone 16). RAW photos preserve more details and provide greater flexibility for editing your photos later on.
To show in RAW, head to Settings > Camera > Formats, then click Apple ProRAW & Resolution Control under Photo Camera. When you’re ready to take the picture, tap RAW in the camera app.
Go into Night Mode
If you’re shooting in low-light, Night Mode will automatically turn on for most phones – you’ll notice the Night Mode icon in the top corner of your screen. This keeps your camera sensor open for longer so that more light can be let in and capture more detail – also known as long exposure.
The iPhone’s Night Mode is usually between one and three seconds, but for the Northern Lights you want this to be as long as possible. Here’s how to do it…
- Open the iPhone camera’s hidden menu using the top arrow
- Find the Night Mode icon and tap it
- You’ll find a slider that lets you adjust the exposure time
- Slide it all the way to the max
- Oh, and don’t forget to turn your flash OFF

Keep it steady
If your iPhone detects trembles or shakes – such as if you’re trying to hold it still for a long time – your maximum exposure will be about 10 seconds.
Get the Digital Camera World Newsletter
The best camera deals, reviews, product advice, and unmissable photography news, direct to your inbox!
But to capture the Northern Lights in all their glory, you’ll want to keep things steady. We recommend using one of the best iPhone tripods – you’ll want to place it on an even and steady surface – and your long exposure time should extend to between 25 and 30 seconds.
Light exposure
Chances are, you’re not probably not going to be photographing the aurora on the sweeping plains of Iceland this week – unless you’re incredibly lucky – so having maximum light is something you’ll want to take advantage of.
Enter: exposure adjustment. This is different from long exposure – where the camera is exposed to the light for longer to capture details in the dark – the exposure adjustment stops the photo from being overexposed and details lost.
Here’s how to change the exposure adjustment:
- Open the hidden menu again
- Look for a tiny + and - inside a circle
- Click on this icon and lower the exposure to a negative value
- Alternatively, on new iPhone models, you can tap the screen, hold, and drag up or down to increase or decrease the exposure
The perfect exposure adjustment depends on your surroundings, so you may need to play around with different ones.
- Adam WaringGuides Editor
