How to use the iPhone 11 Pro portrait mode for amazing photos
How realistic is the background blur on the iPhone 11 Pro portrait mode? And can you ditch the DSLR?

Portrait mode is far from being new - we’ve seen it on several generations of iPhone now. However, with every new iteration, it seems to get better - and more convincing. In this piece, we’ll be looking at the iPhone 11 Pro portrait mode, to both see just how impressive it is and share some mobile photography tips for how you can get the most from it.
Just as we’ve seen on previous generations of the iPhone, the iPhone 11 Pro uses two lenses to create a shallow depth-of-field effect. The iPhone 11 Pro has three lenses, so you have a choice over whether to shoot at “1x” or “2x”. It would appear that if you shoot at 1x, the wide-angle lens combines with the standard lens, while if you shoot at 2x, the standard lens combines with the telephoto lens.
Read more: Best camera phone
On a similar note, Portrait mode is also available on the cheaper iPhone 11. Here there are just two lenses, a standard and an ultra wide angle lens, so you just have the “1x” option to work with.

How to use the iPhone 11 Pro Portrait mode
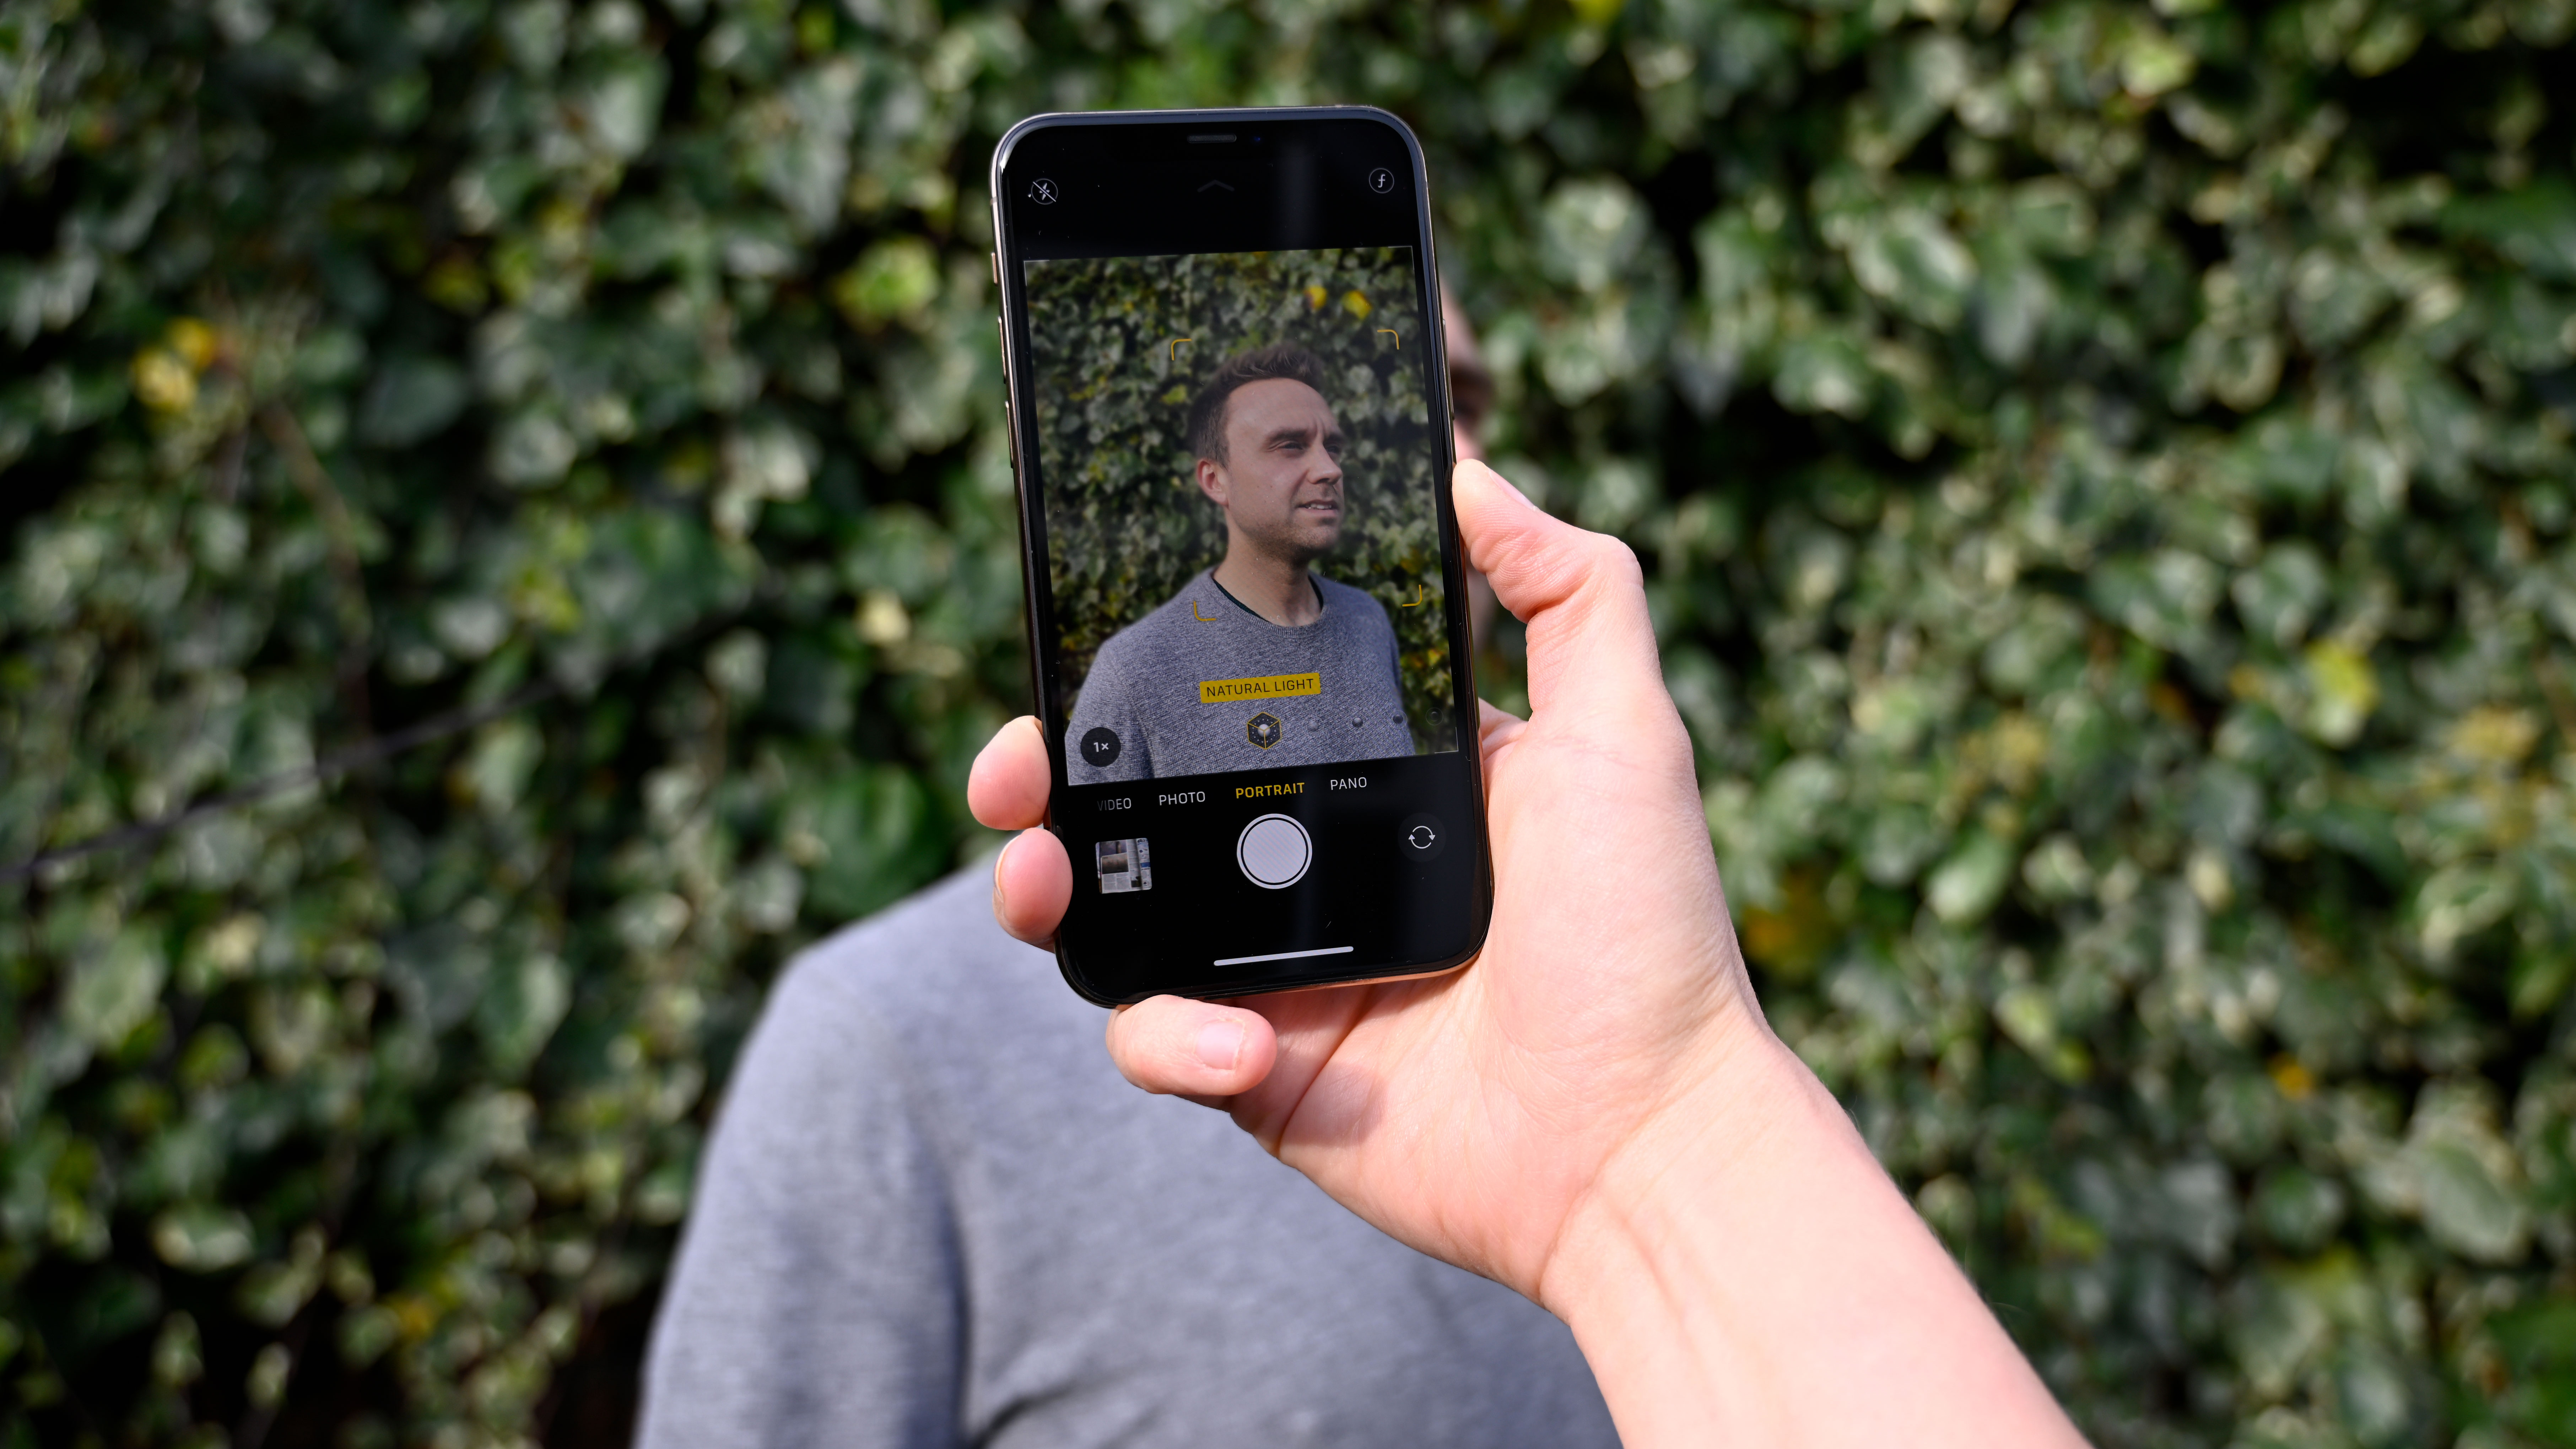
It’s simple to activate portrait mode - nothing has changed from previous models here either. Simply swipe to the Portrait mode from the main camera screen.
Once activated, you’ll notice tips might appear on screen. For example, it might tell you to get closer to your subject - if you’re too far away it simply won’t work.
When Portrait mode is ready, the selected “lighting effect” will turn yellow to let you know you’re good to go. There are lots of different Lighting Effects to choose from, but by default this will be set to “Natural Light”. This is the one we’d recommend for most ordinary use, and as the name suggests it’s designed to give a simple, natural appearance.
It’s worth experimenting with the different lighting effects here - you’ve got options such as Studio Light, Stage Light, and a new one for 2019, High-Key Light Mono.

There are some other settings which you can change too, but these are a little hidden away. To reveal them, either swipe upwards from the composition window, or tap the up arrow just above it. Now you’ll see you can activate flash, switch on a timer, employ a digital filter (such as monochrome options), and arguably most interestingly, you can alter the aperture effect by tapping an “f” icon.
You’ll find that the camera has chosen what it thinks is the most appropriate aperture (f stop) for you, but you can either open it wider, or close it down to suit your own tastes. Selecting a larger number (such as f/8) will see more of the background in focus, while the lower numbers (such as f/2) will mean the background is more blurred.
When to use the iPhone 11 Pro Portrait Mode

With a name like Portrait mode, you might think it’s plainly obvious when to use it.
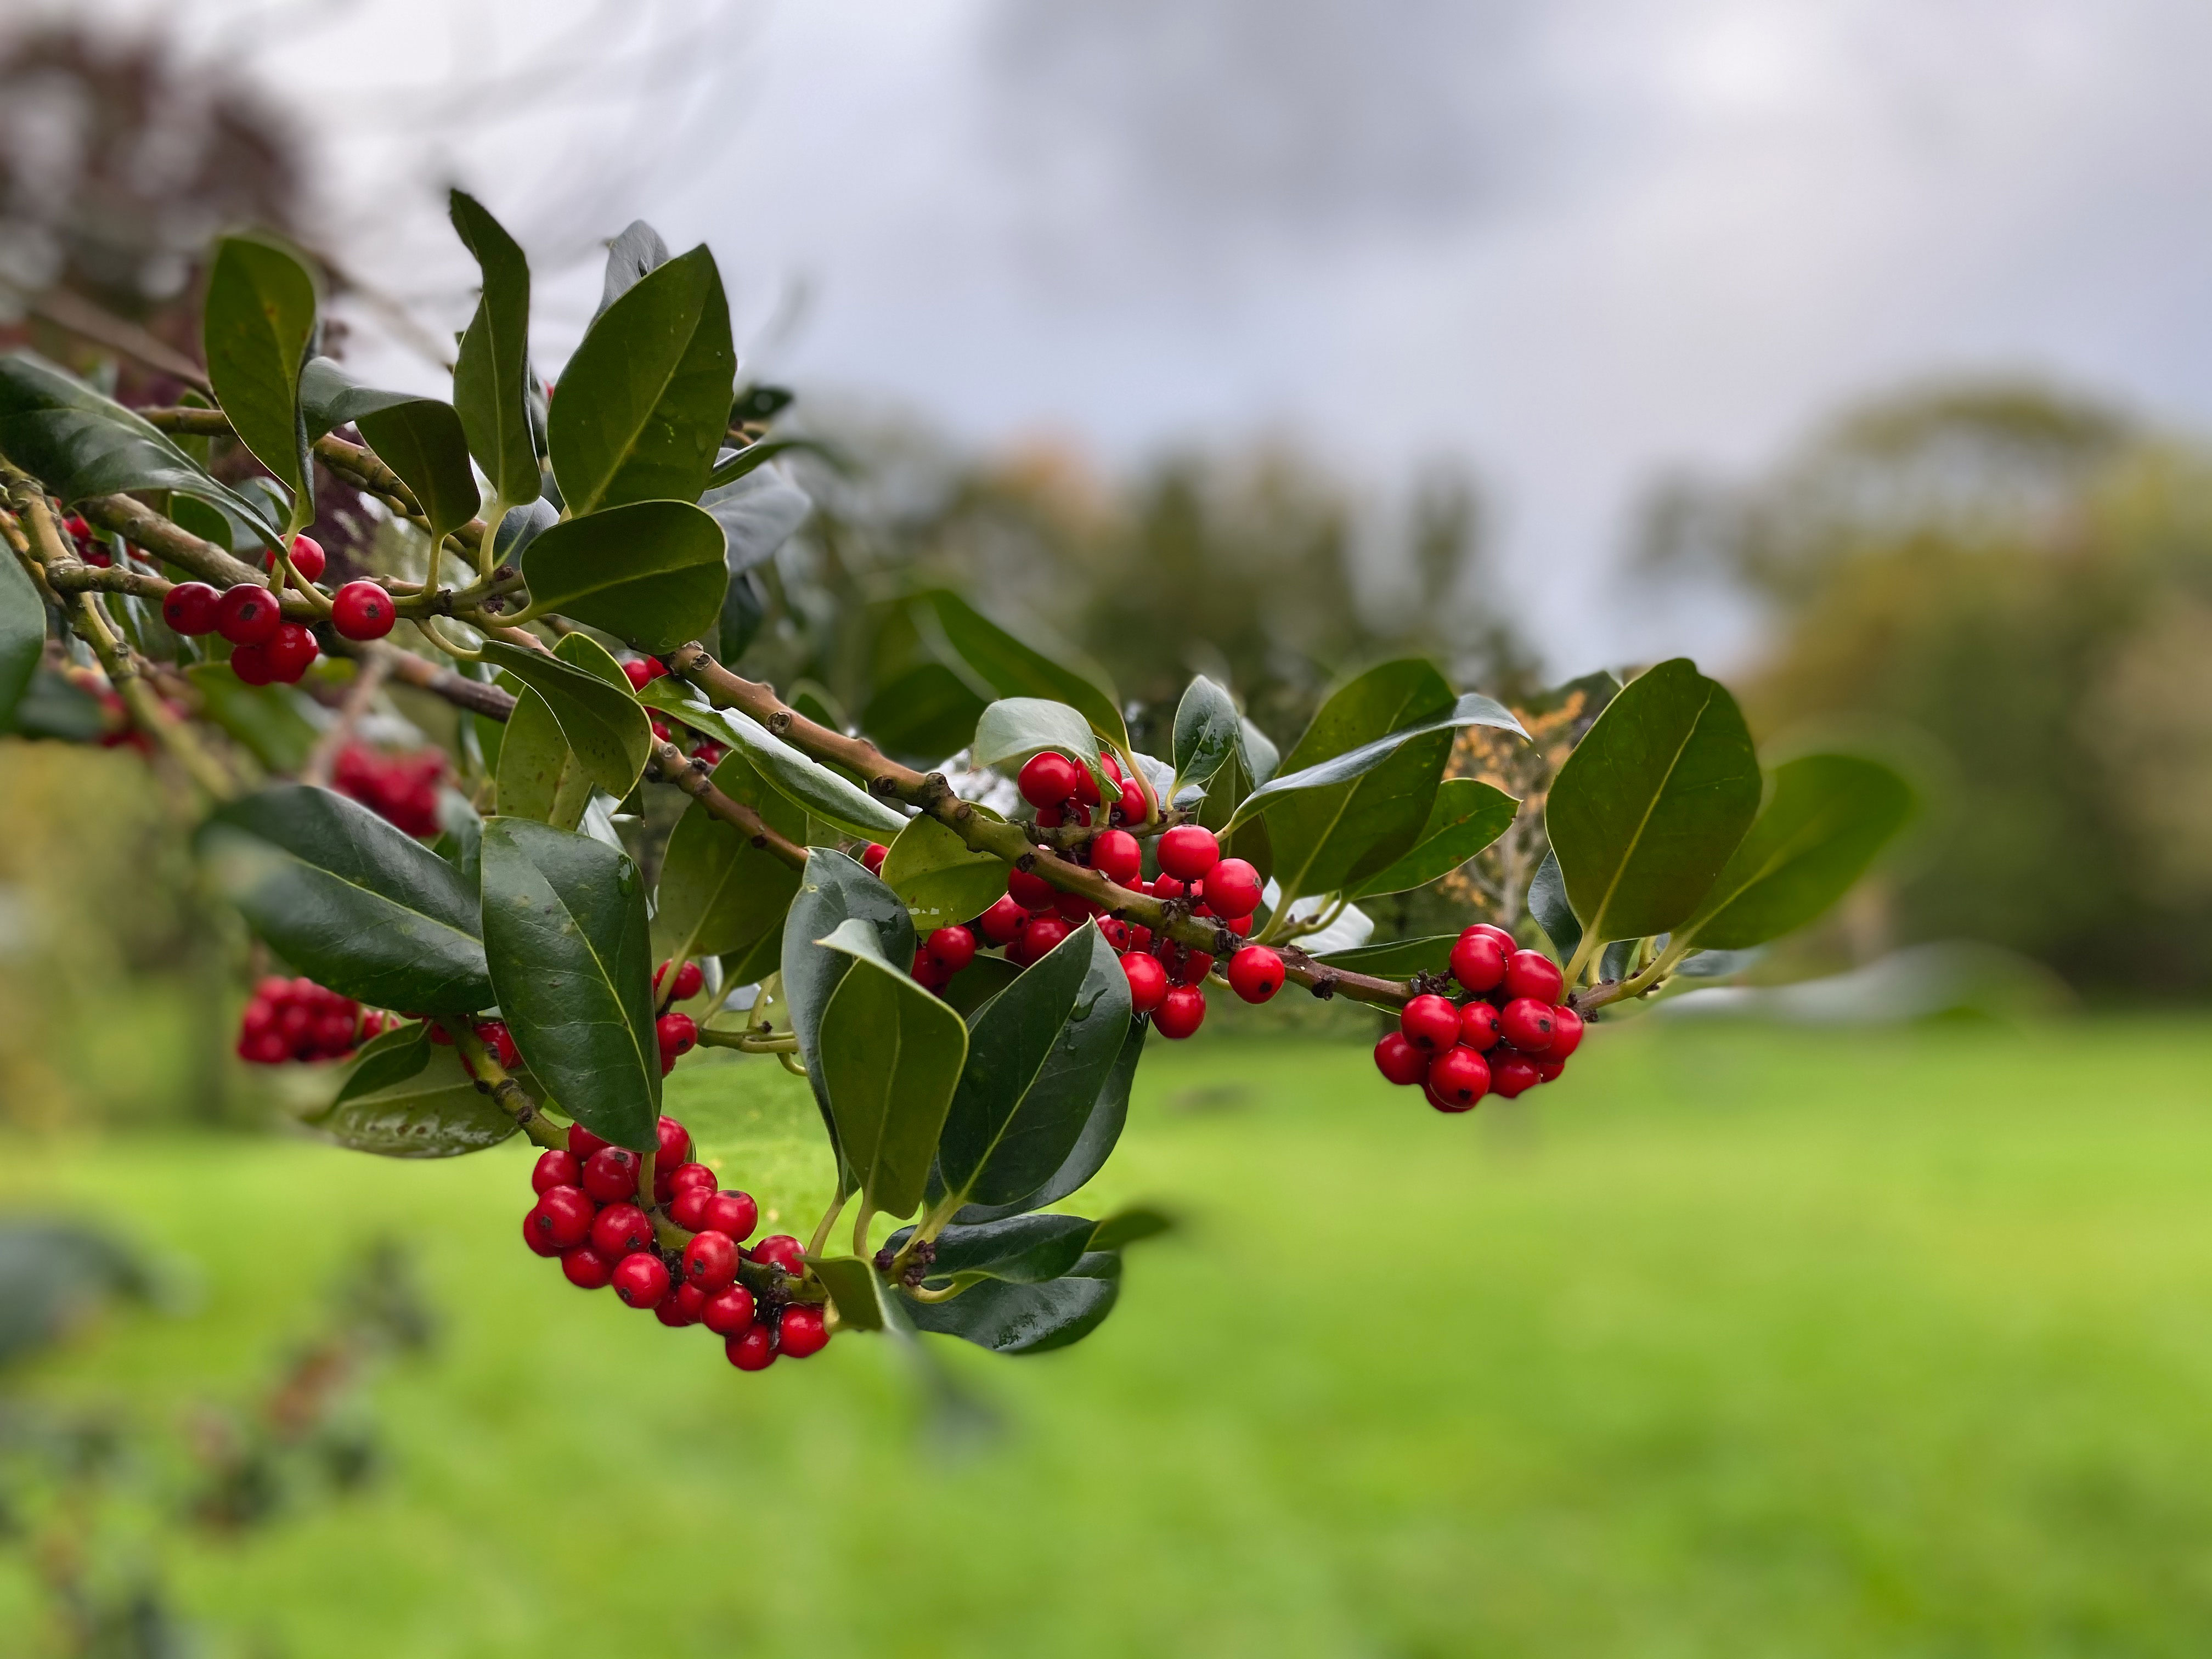
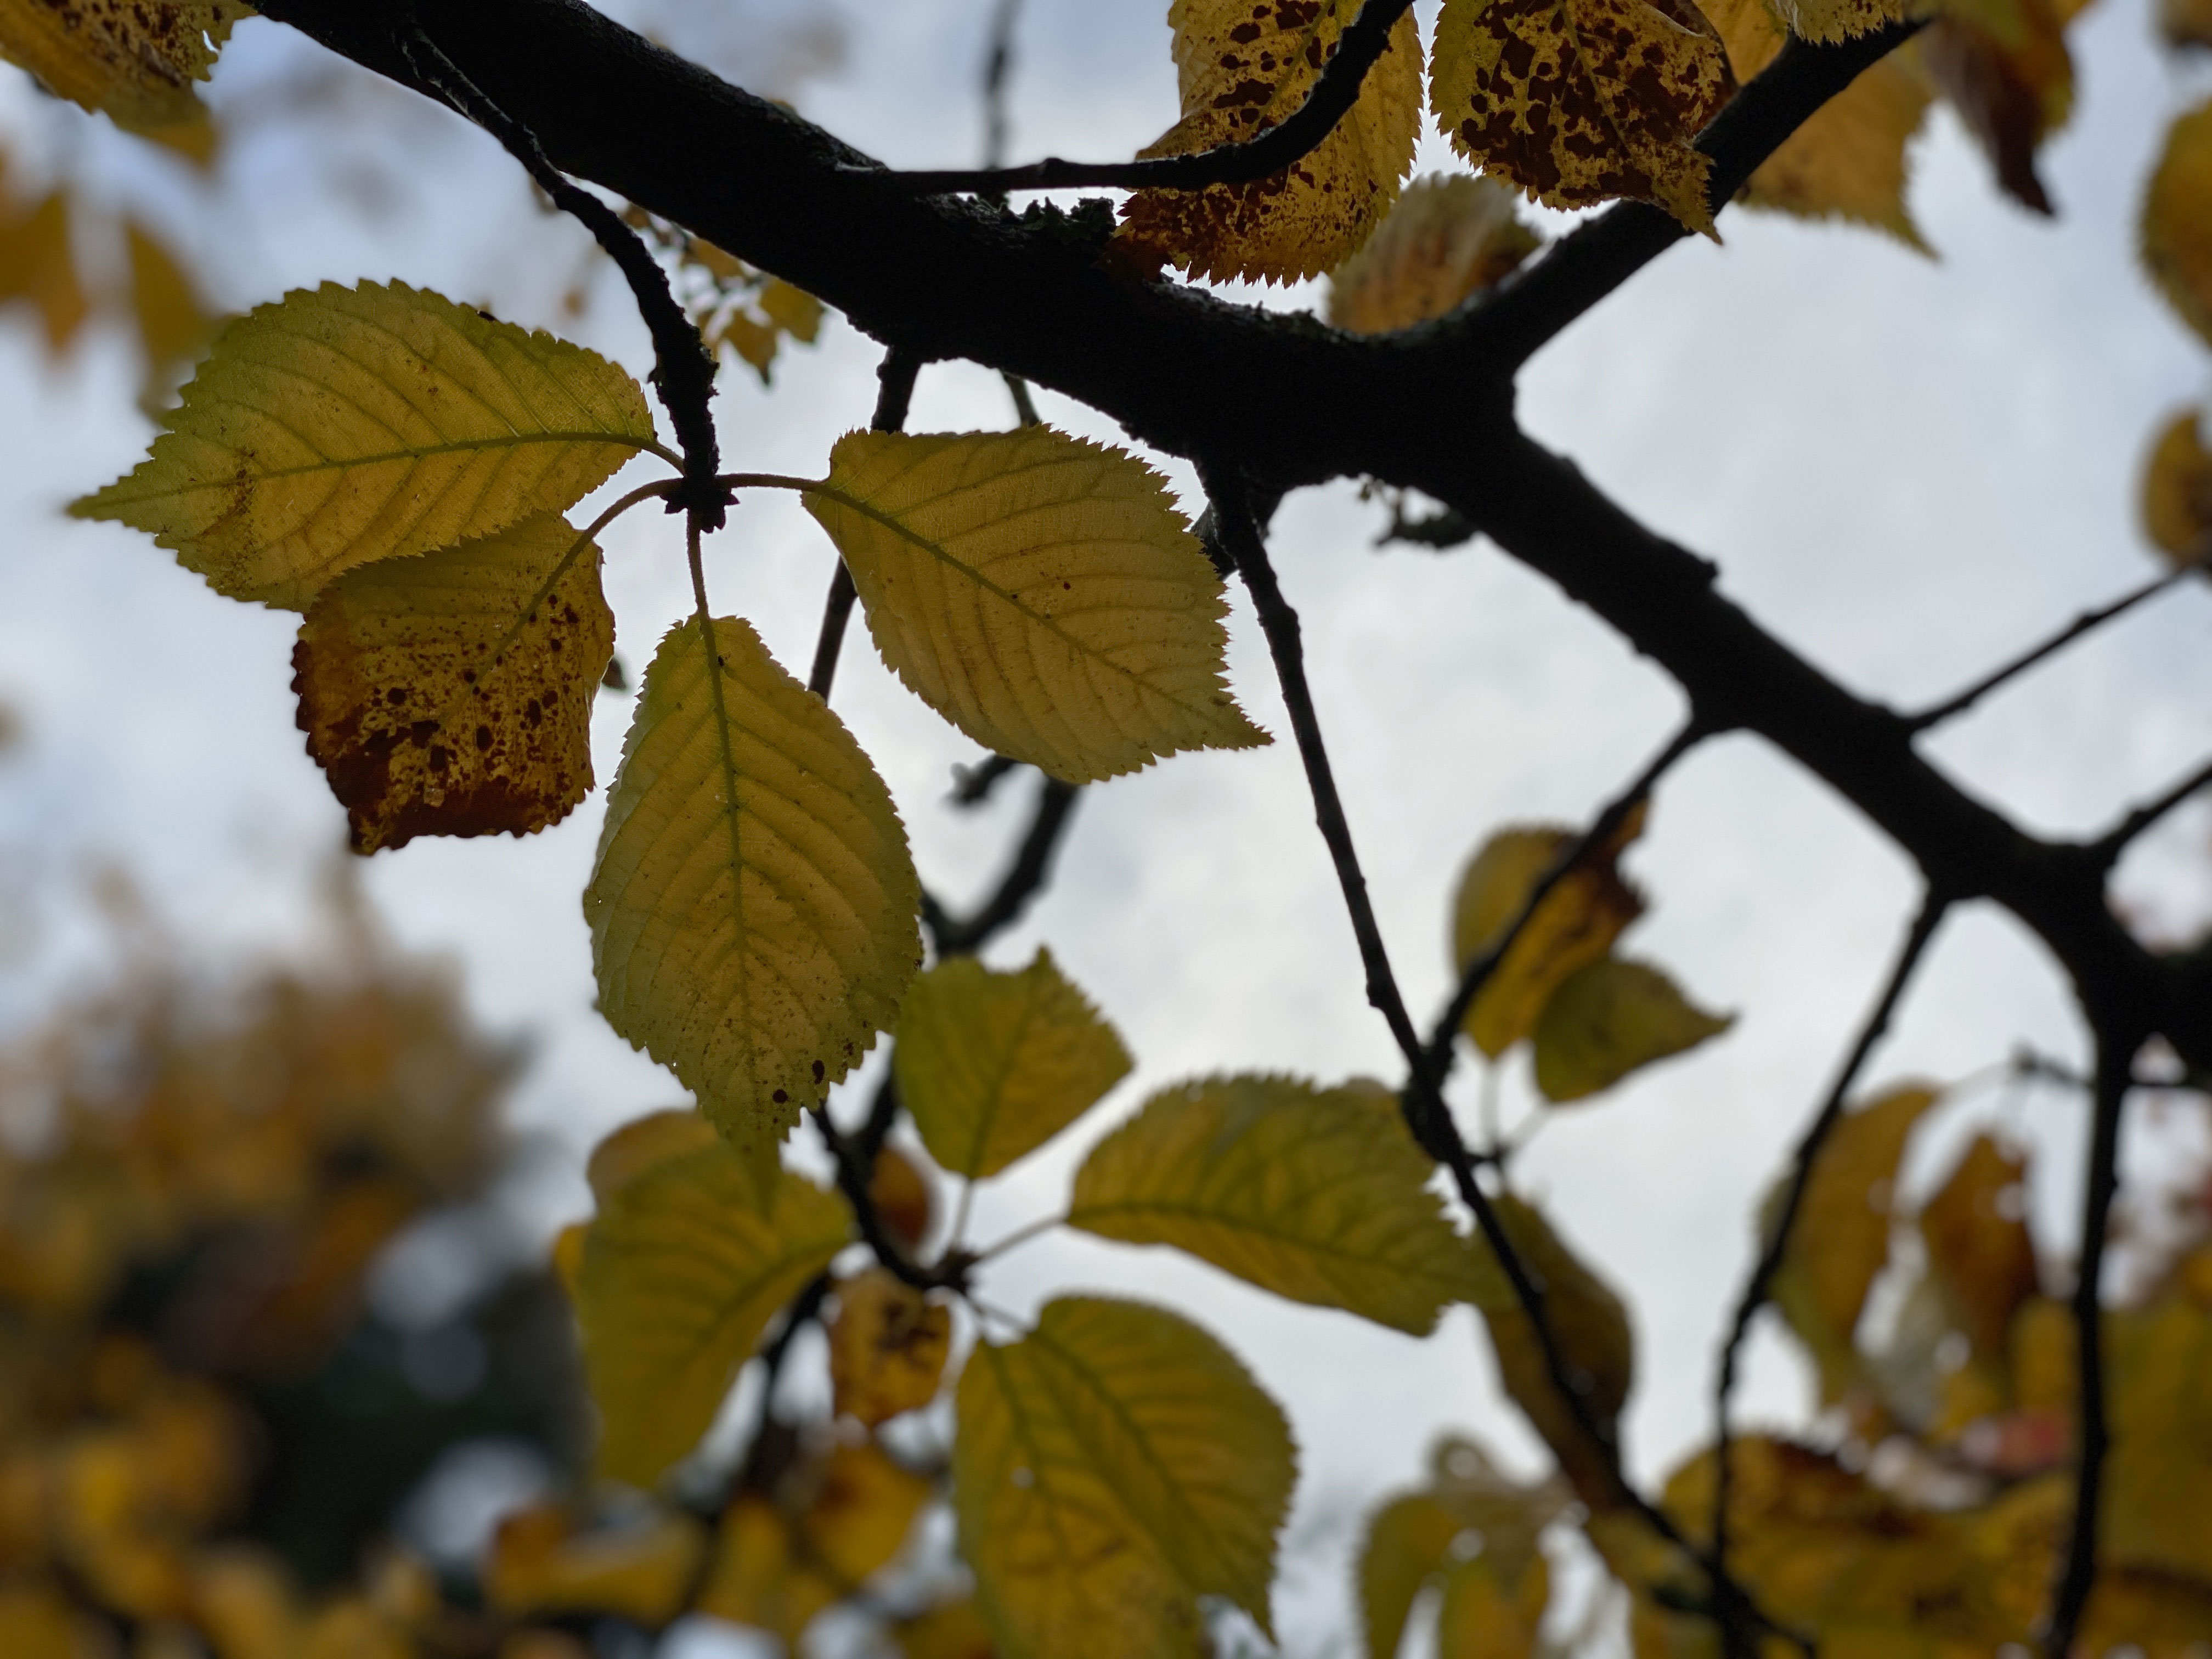
However, the mode is not just suitable for portraits of human. One of the upgrades announced with the iPhone 11 series was a better ability to recognize and accurately render non-human subjects, with particular attention paid to popular subjects such as pets.
No matter what you’re photographing - human or otherwise - the mode works in exactly the same way, you’ll be instructed to get closer to the subject if you’re too far away for example.
We find it to be particularly handy for pets, really bringing out their character, but it also works well for certain still life subjects, such as food, too.
How good is the iPhone 11 Pro Portrait mode?

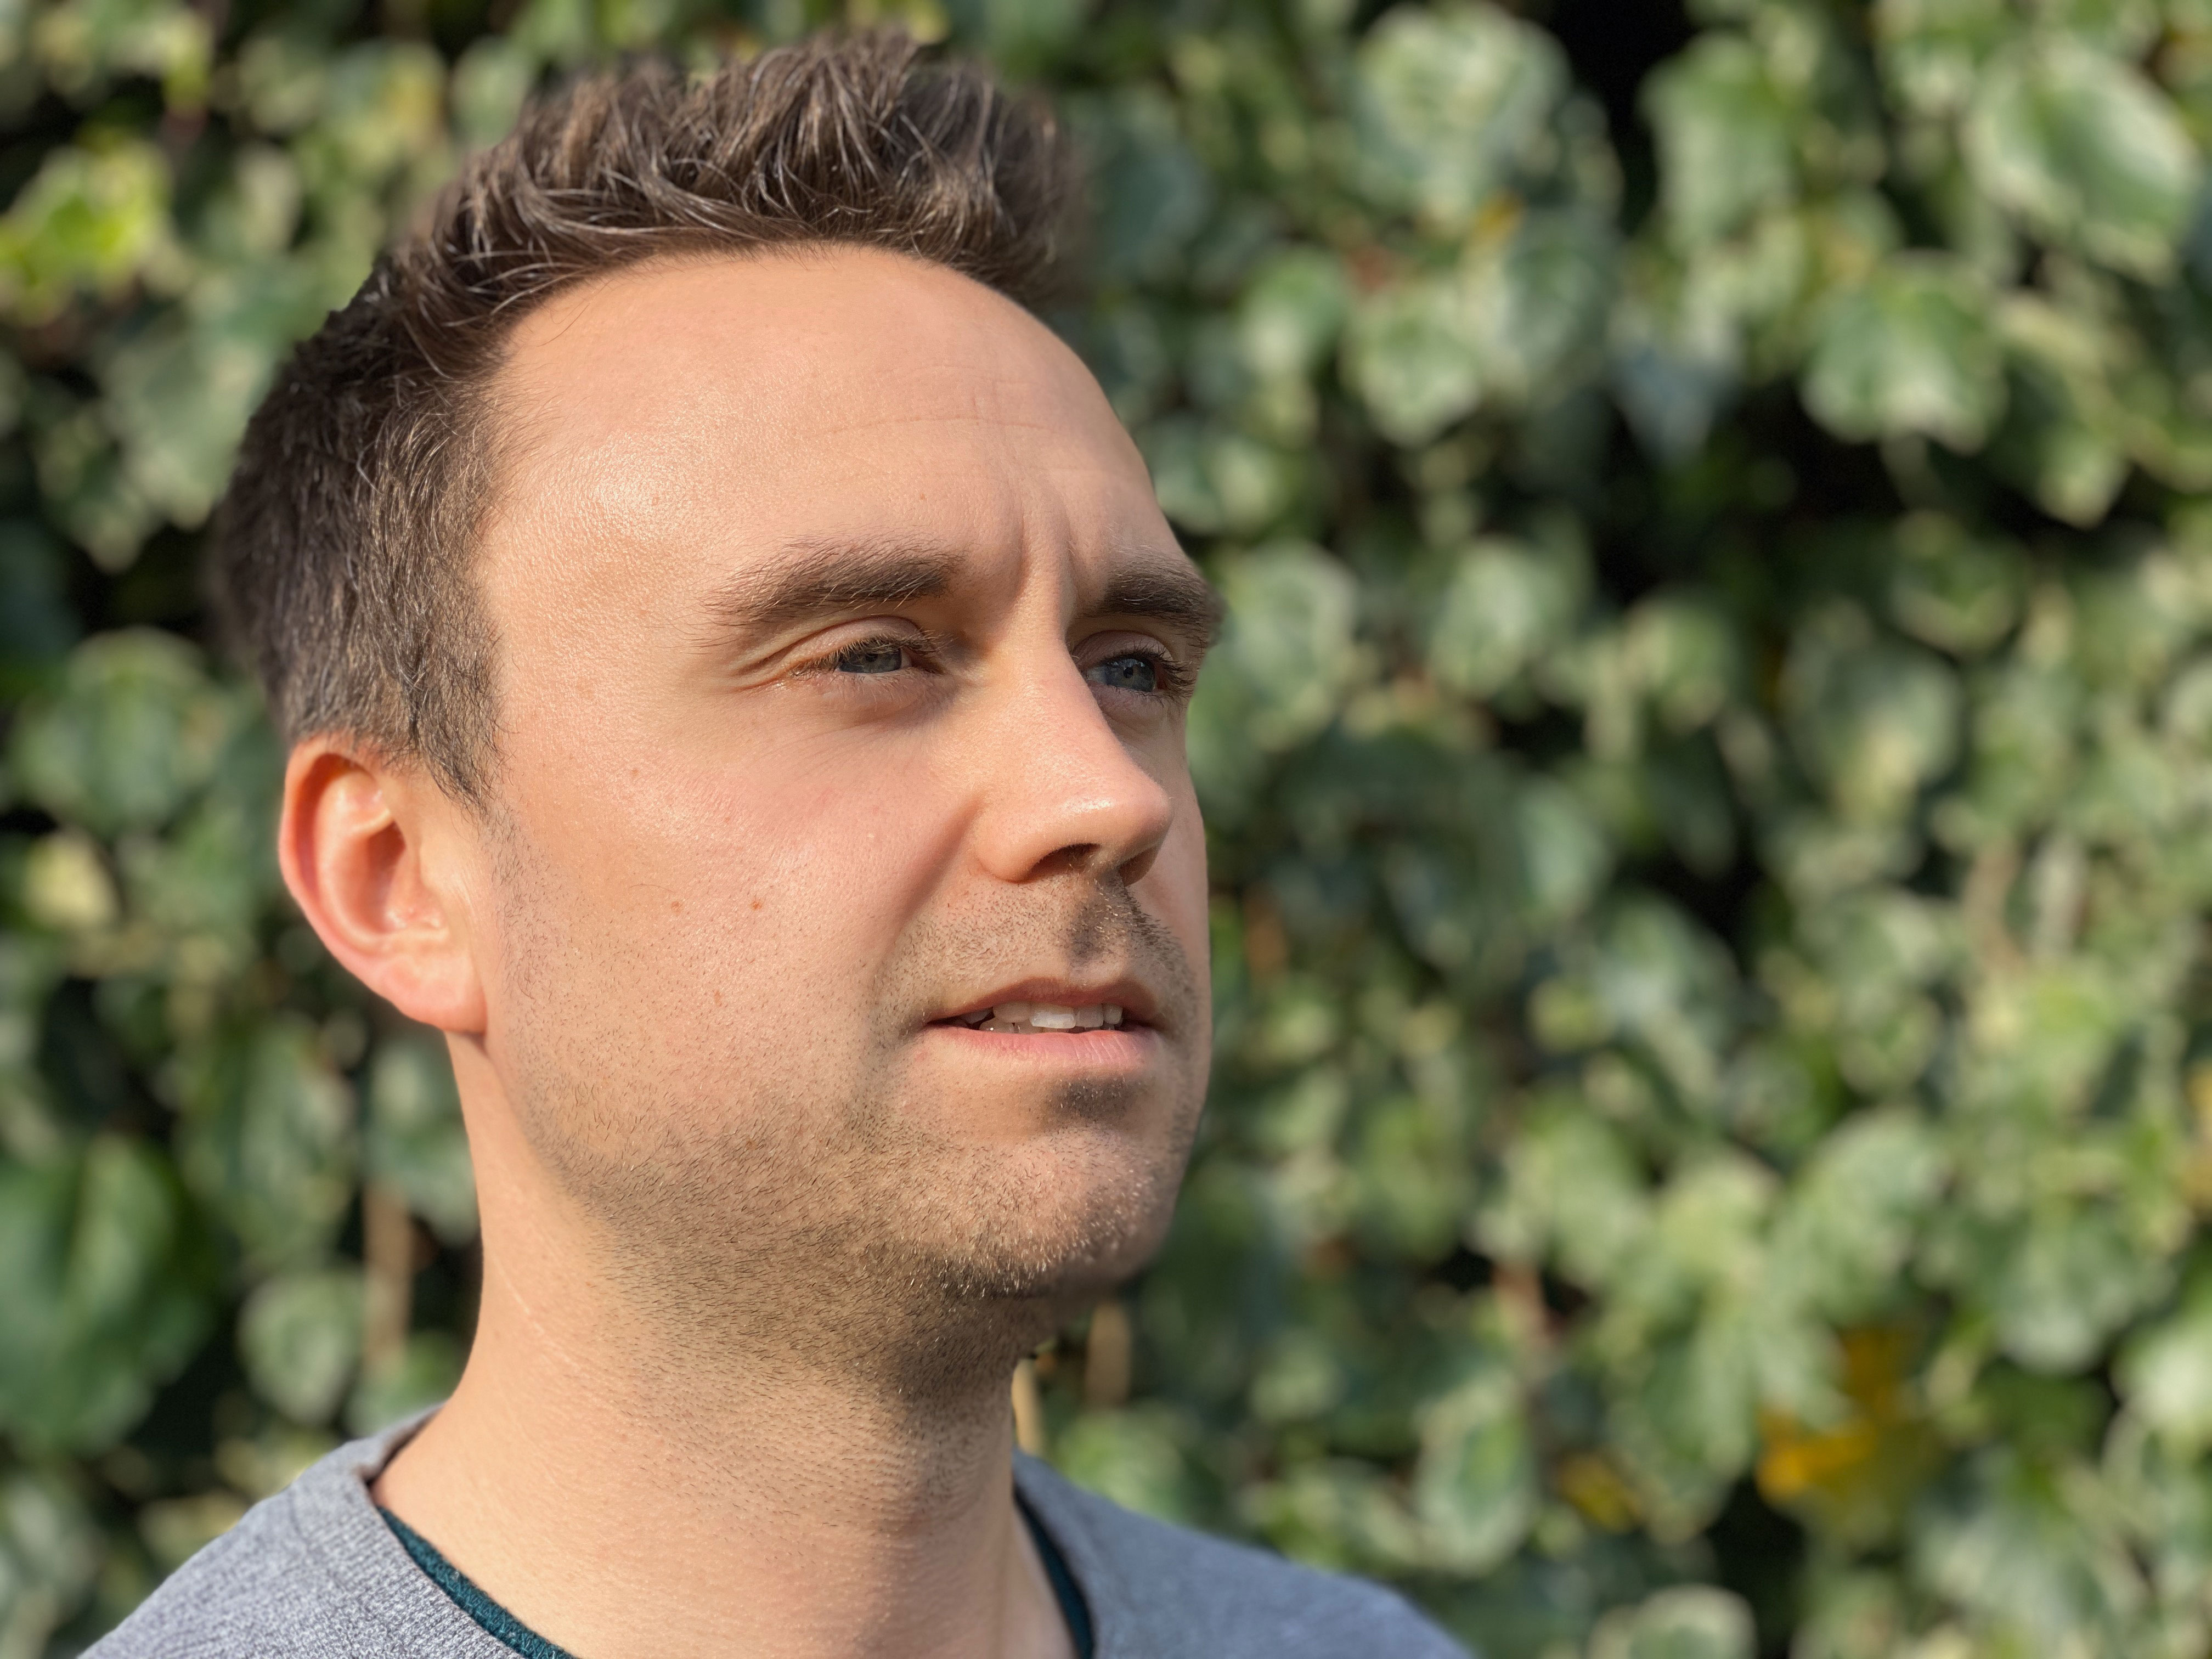
While there’s no need to chuck your DSLR or mirrorless camera (if you have one) in the bin just yet, the results are pretty impressive. That’s especially true if all you intend to do with the images is share them at small sizes online, via platforms like Instagram for instance.
Depending on how complicated the outline of your subject is, you might see some strange artifacts at the edge of your subject if you examine your shots closely, but machine learning combined with the dual lenses does a pretty good job on the whole.
Being able to choose between shooting at “1x” or “2x” is also great - the former coming in handy for environmental type shots to show more of the sitter’s context, too.
Read more
How to use portrait lighting effects with the iPhone 11 Pro
Best iPhone camera for photography: from the iPhone 7 Plus to 11 Pro
Best budget camera phone: these are the best cheap camera phones right now
Get the Digital Camera World Newsletter
The best camera deals, reviews, product advice, and unmissable photography news, direct to your inbox!
Amy Davies has been writing about photography since 2009, and used to be a colleague on Digital Camera magazine and Techradar.com. She now works as a freelance journalist writing for nclude Amateur Photographer, Stuff, Wired, T3, Digital Photographer, Digital Camera World, TechRadar, Trusted Reviews, ePhotozine and Photography Blog. She has an undergraduate degree in journalism and a postgraduate diploma in magazine journalism, both from Cardiff Journalism School.

