Live through a lens: night photo exhibition to celebrate whiskey launch in London
New Irish whiskey The Sexton is hosting a live stream of night photography from pros in cities across the UK

Most photography exhibitions feature a carefully curated set of images to be admired by visitors at their leisure. But a photo show opening in London’s Soho this week will turn this notion completely on its head – by being completely live.
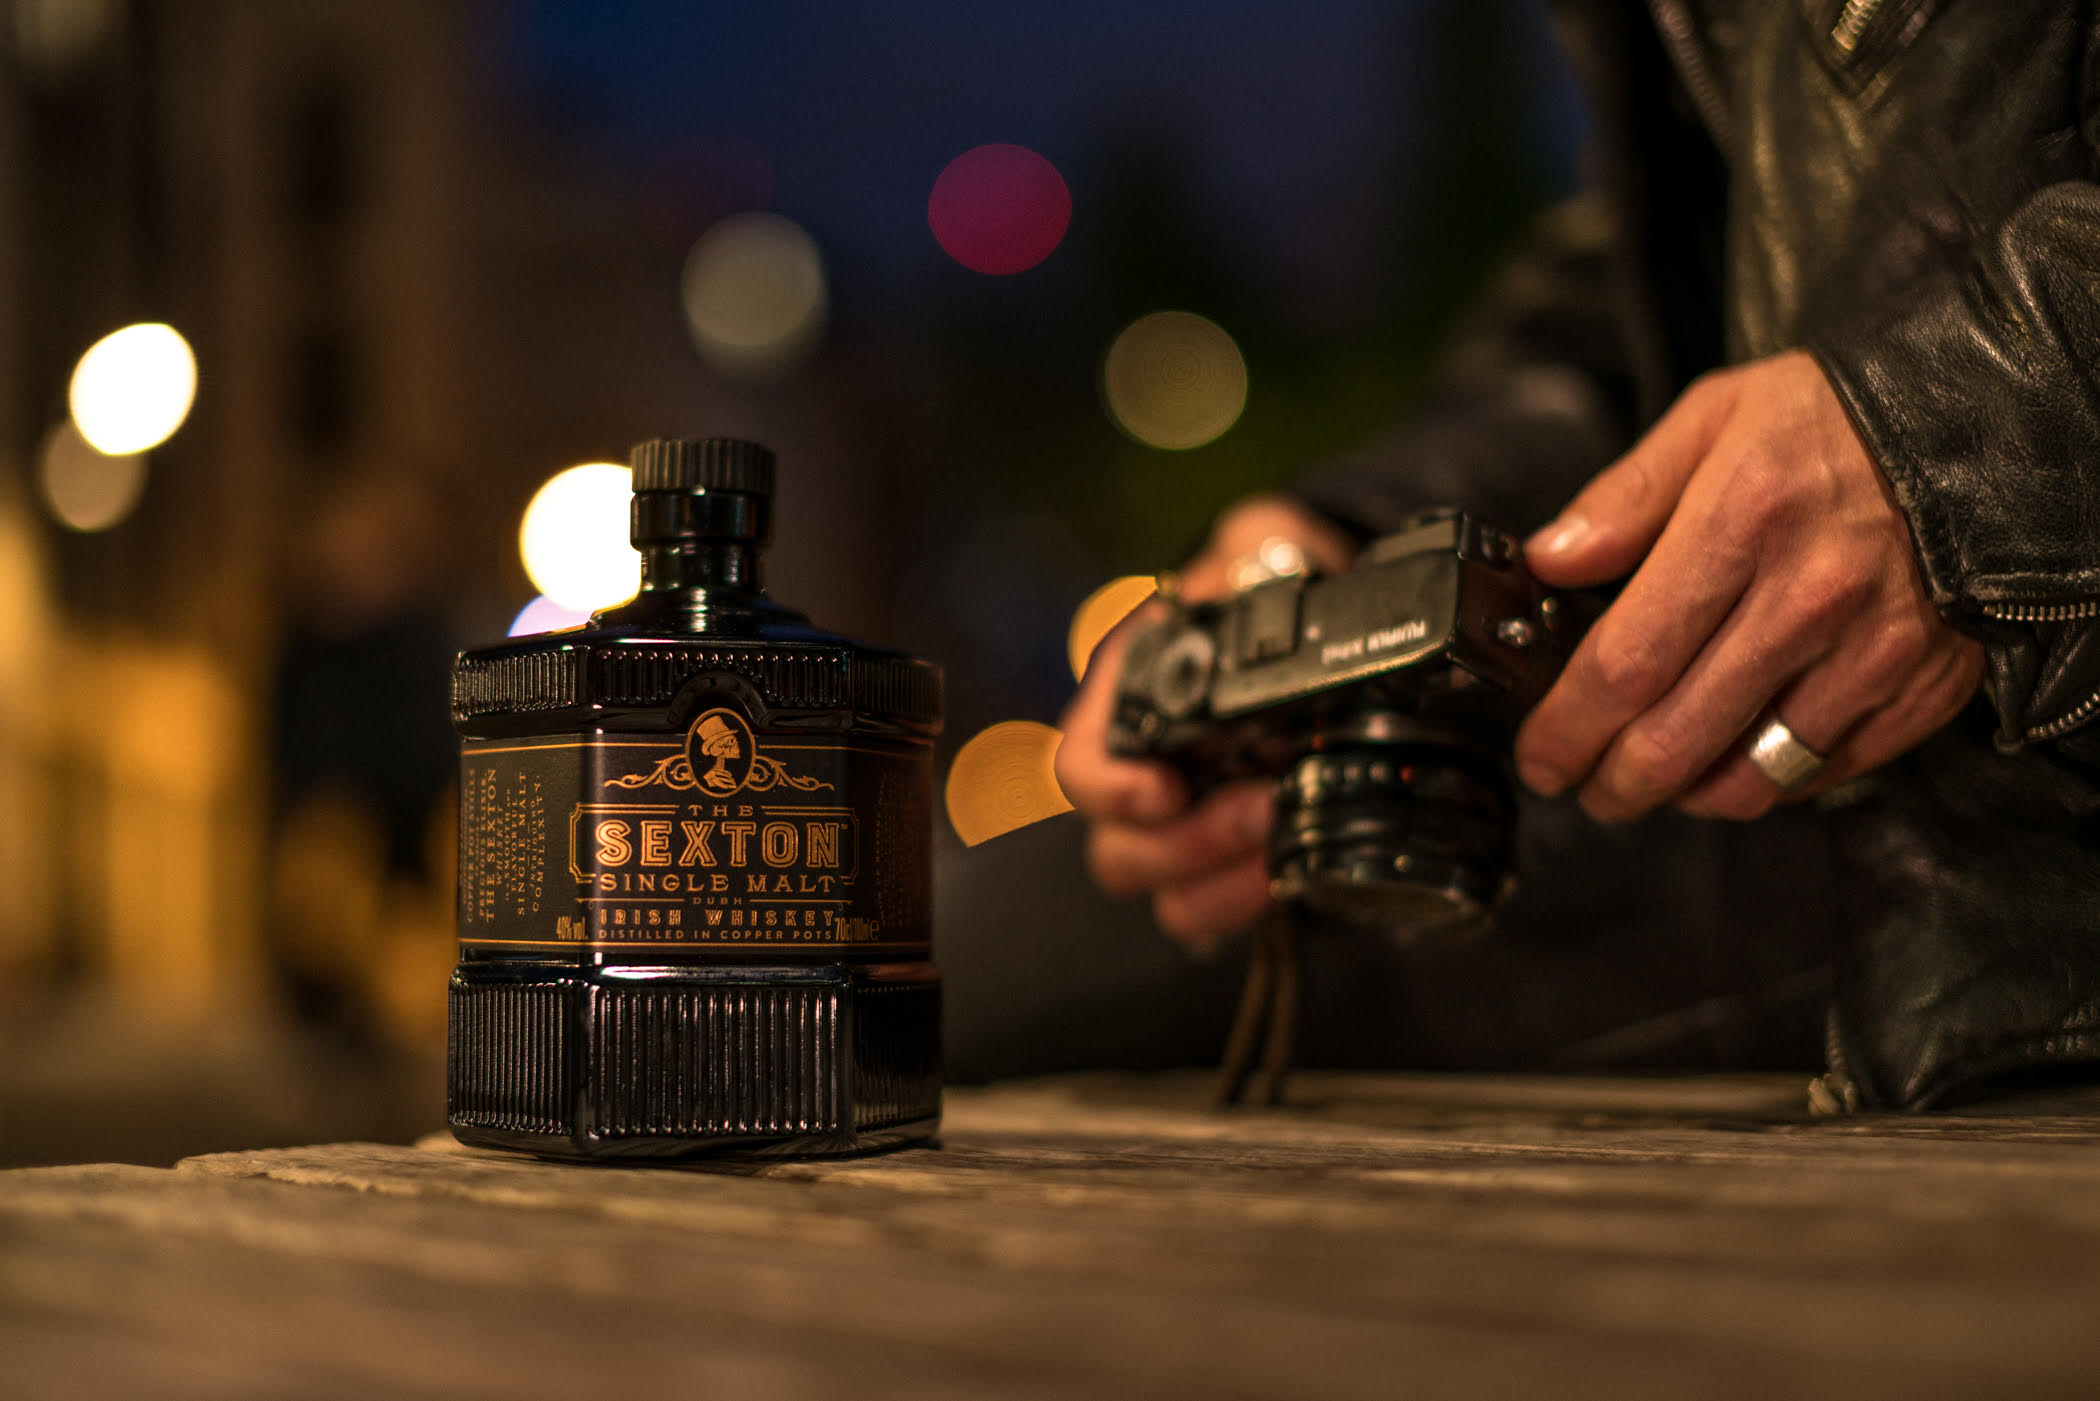
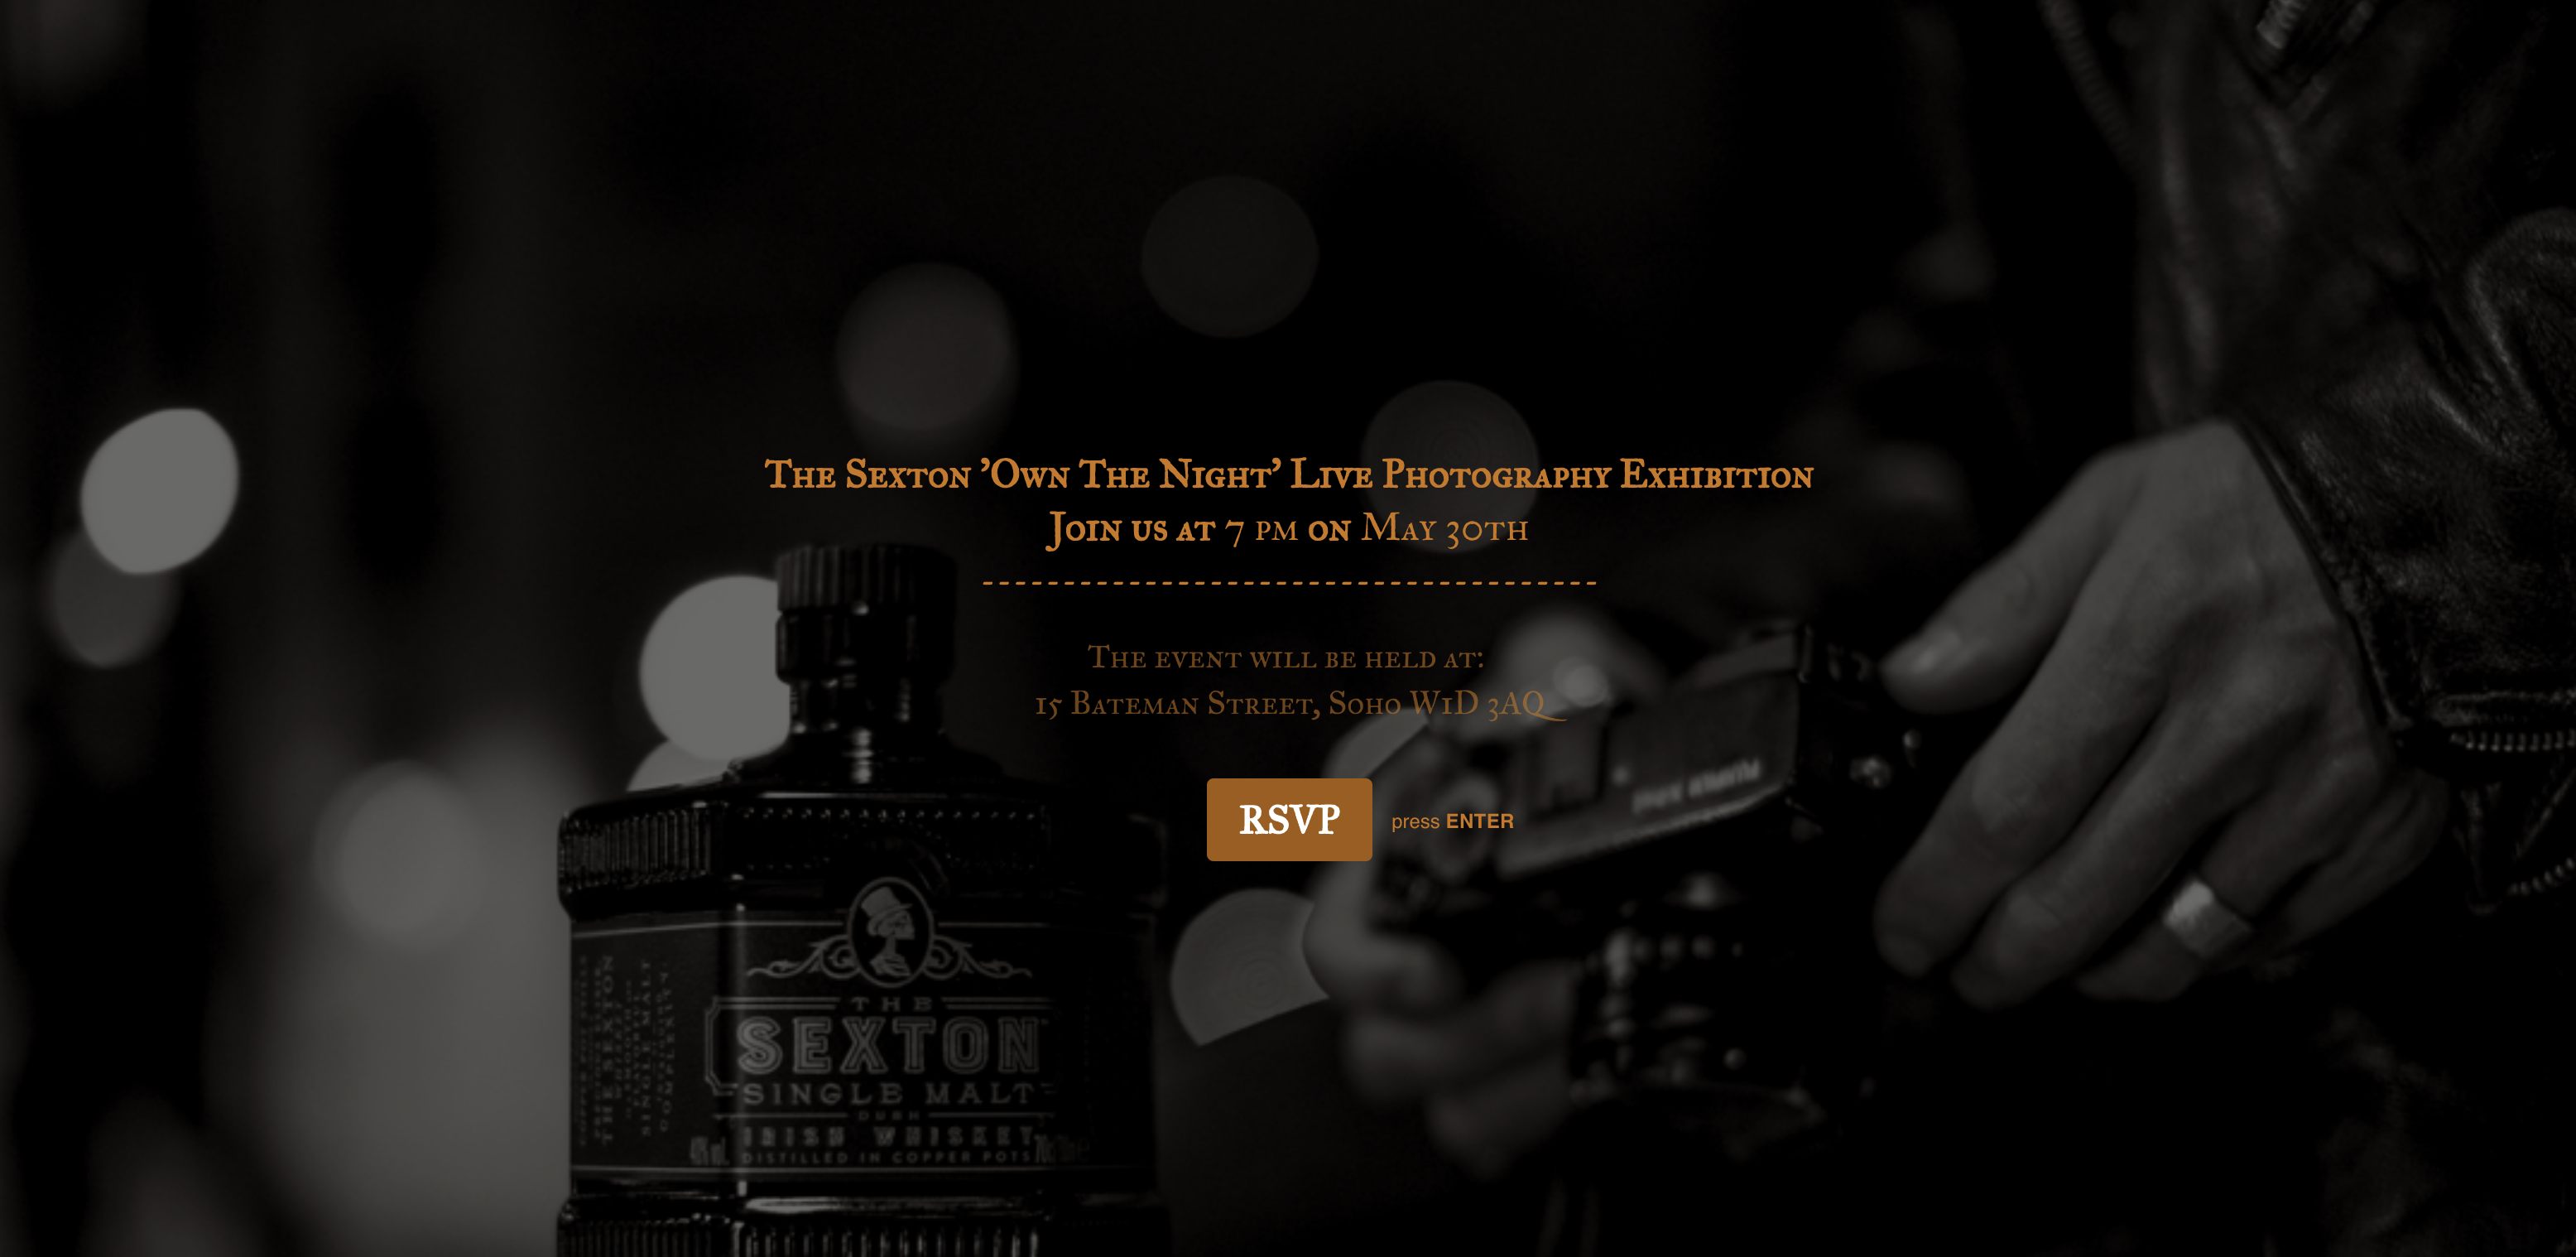
On Thursday 30 May, new Irish whiskey The Sexton will be holding a live photo exhibition called 'Own the Night.'
Seven photographers – including Nick Turpin, Liam Bailey and Simon Buckley – will be roaming the streets in various locations around the UK, taking pictures throughout the evening before sending them to be displayed on digital screens in the London gallery moments later.
The ephemeral exhibition has been commissioned by The Sexton Single Malt Whiskey. In its mission to 'Own the Night', The Sexton Whiskey is setting out to bring the nocturnal creatively restless spirit to life through all the senses.
What will be displayed at the live exhibition?
Visitors can expect to see a rolling exhibition of images from the photographers as they shoot them, from their locations of London, Dublin, Edinburgh and Manchester.
The Sexton's photographers will explore their cities as the sun begins to set, documenting the world as shadows lengthen, offices close and the city comes alive.
Because of the constantly evolving nature of the exhibition, with images changing every few minutes, visitors at one point in the evening will receive a completely different experience to visitors at another time.
Get the Digital Camera World Newsletter
The best camera deals, reviews, product advice, and unmissable photography news, direct to your inbox!
Night photography tips
We gleamed a few nighttime photography tips from the exhibition's organisers. "It’s worth noting that there’s no right or wrong way of shooting a photo, if it looks good then it probably is good," says a spokesman for The Sexton.
1. Try different shutter speeds
If you’re trying to get an artsy shot with moving objects in such as people or cars, switch your camera to shutter priority and use a long shutter speed. This way you’ll be able to capture light streaks in your pictures and colourful trails. To get longer streaks, set your camera to lower shutter speeds (the slower the shutter speed, the longer the light trails).
2. Use a good tripod
A tripod is a ‘must’ when shooting night photography as low light conditions require long exposures, which in turn means your camera needs to be steady at all times. You can purchase a range of tripods all at different cost points but it’s worth spending a little more on something that will hold a heavy camera and last longer (if you can).
3. Manual focus
We’re all tempted to use autofocus these days, and although it’s useful when taking regular pictures during the day, at night it’s not so effective. Using manual focus ensures your camera doesn’t struggle to adjust and focus on the wrong part of what you’re trying to capture. Also make sure you use live view mode on your camera rather than viewing on the optical view finder so you know what your photographing is an accurate representation of what you see.
4. Use low ISO
To get sharp images you need to use high ISO settings which although can mean you end up with ‘noise’ in your images, the newest high-end cameras’ sensors will reduce the amount of noise you see automatically. However, if you’re using a more basic camera, you’ll need to use a lower ISO to get clean photographs. It’s also worth taking some test shots with different ISO levels so you can test the boundaries of your camera, although this will hard to see on the camera screen.
Don’t just use the highest ISO levels on your camera for the sake of it. It’s sometimes better to use slower shutter speeds and wider apertures instead of raising your ISO.
5. Aperture Priority Mode for still objects
If you don’t feel comfortable using Manual Mode then try using Aperture Priority which will let you choose the aperture you want but automatically select the shutter speed – one less thing to worry about.
It’s useful for shooting buildings and landscapes, however, be warned as it doesn’t let you change the shutter speed manually, it’s tricky to know how any moving subjects will come out in the shot.
6. Control the color
Shooting at night means you normally capture a high range of color contrasts which means you need to shoot in RAW file format. This will allow you to have greater control of contrast and white balance when editing them.
To control the colour before you shoot, manually set your camera’s white balance to a specific Kelvin temperature. If you’re looking to achieve photos with a bluey tinge, for example, then choose 3200k. Alternatively if you’re trying to capture a sunset, you’re better off using a 6000k+ setting.

Where, when and how to attend 'Own the Night'
The Sexton ‘Own The Night’ Live Photography Exhibition, celebrating the launch of the new whiskey, is free to attend.
It will be taking place between 7pm-11pm, Thursday 30 May at 15 Bateman Street London, W1D 3AQ. Soho, Central London.
To reserve a space, register at bitly.com/SextonLaunch and also receive up to four free whiskey cocktails.
• 147 photography techniques, tips and tricks for taking pictures of anything

Lauren is a writer, reviewer, and photographer with ten years of experience in the camera industry. She's the former Managing Editor of Digital Camera World, and previously served as Editor of Digital Photographer magazine, Technique editor for PhotoPlus: The Canon Magazine, and Deputy Editor of our sister publication, Digital Camera Magazine. An experienced journalist and freelance photographer, Lauren also has bylines at Tech Radar, Space.com, Canon Europe, PCGamesN, T3, Stuff, and British Airways' in-flight magazine. When she's not testing gear for DCW, she's probably in the kitchen testing yet another new curry recipe or walking in the Cotswolds with her Flat-coated Retriever.
