Use your camera as a USB webcam on Zoom with this epic camera hack
If your camera can tether, you can use it on your Mac as a Zoom webcam – no capture card required!

Want to use your DSLR or mirrorless cameras as a webcam for your Zoom chats? Don't have a capture card, or an HDMI out on your camera? No problem! This great camera hack enables you to connect your camera via USB to your Mac.
Obviously, the best webcams are in short supply right now – as are the capture cards that enable you to use cameras and GoPros as webcams. And while Canon has released beta webcam software, it only works for certain models – and only on PCs. As it stands, the Sigma fp is the only native USB webcam system.
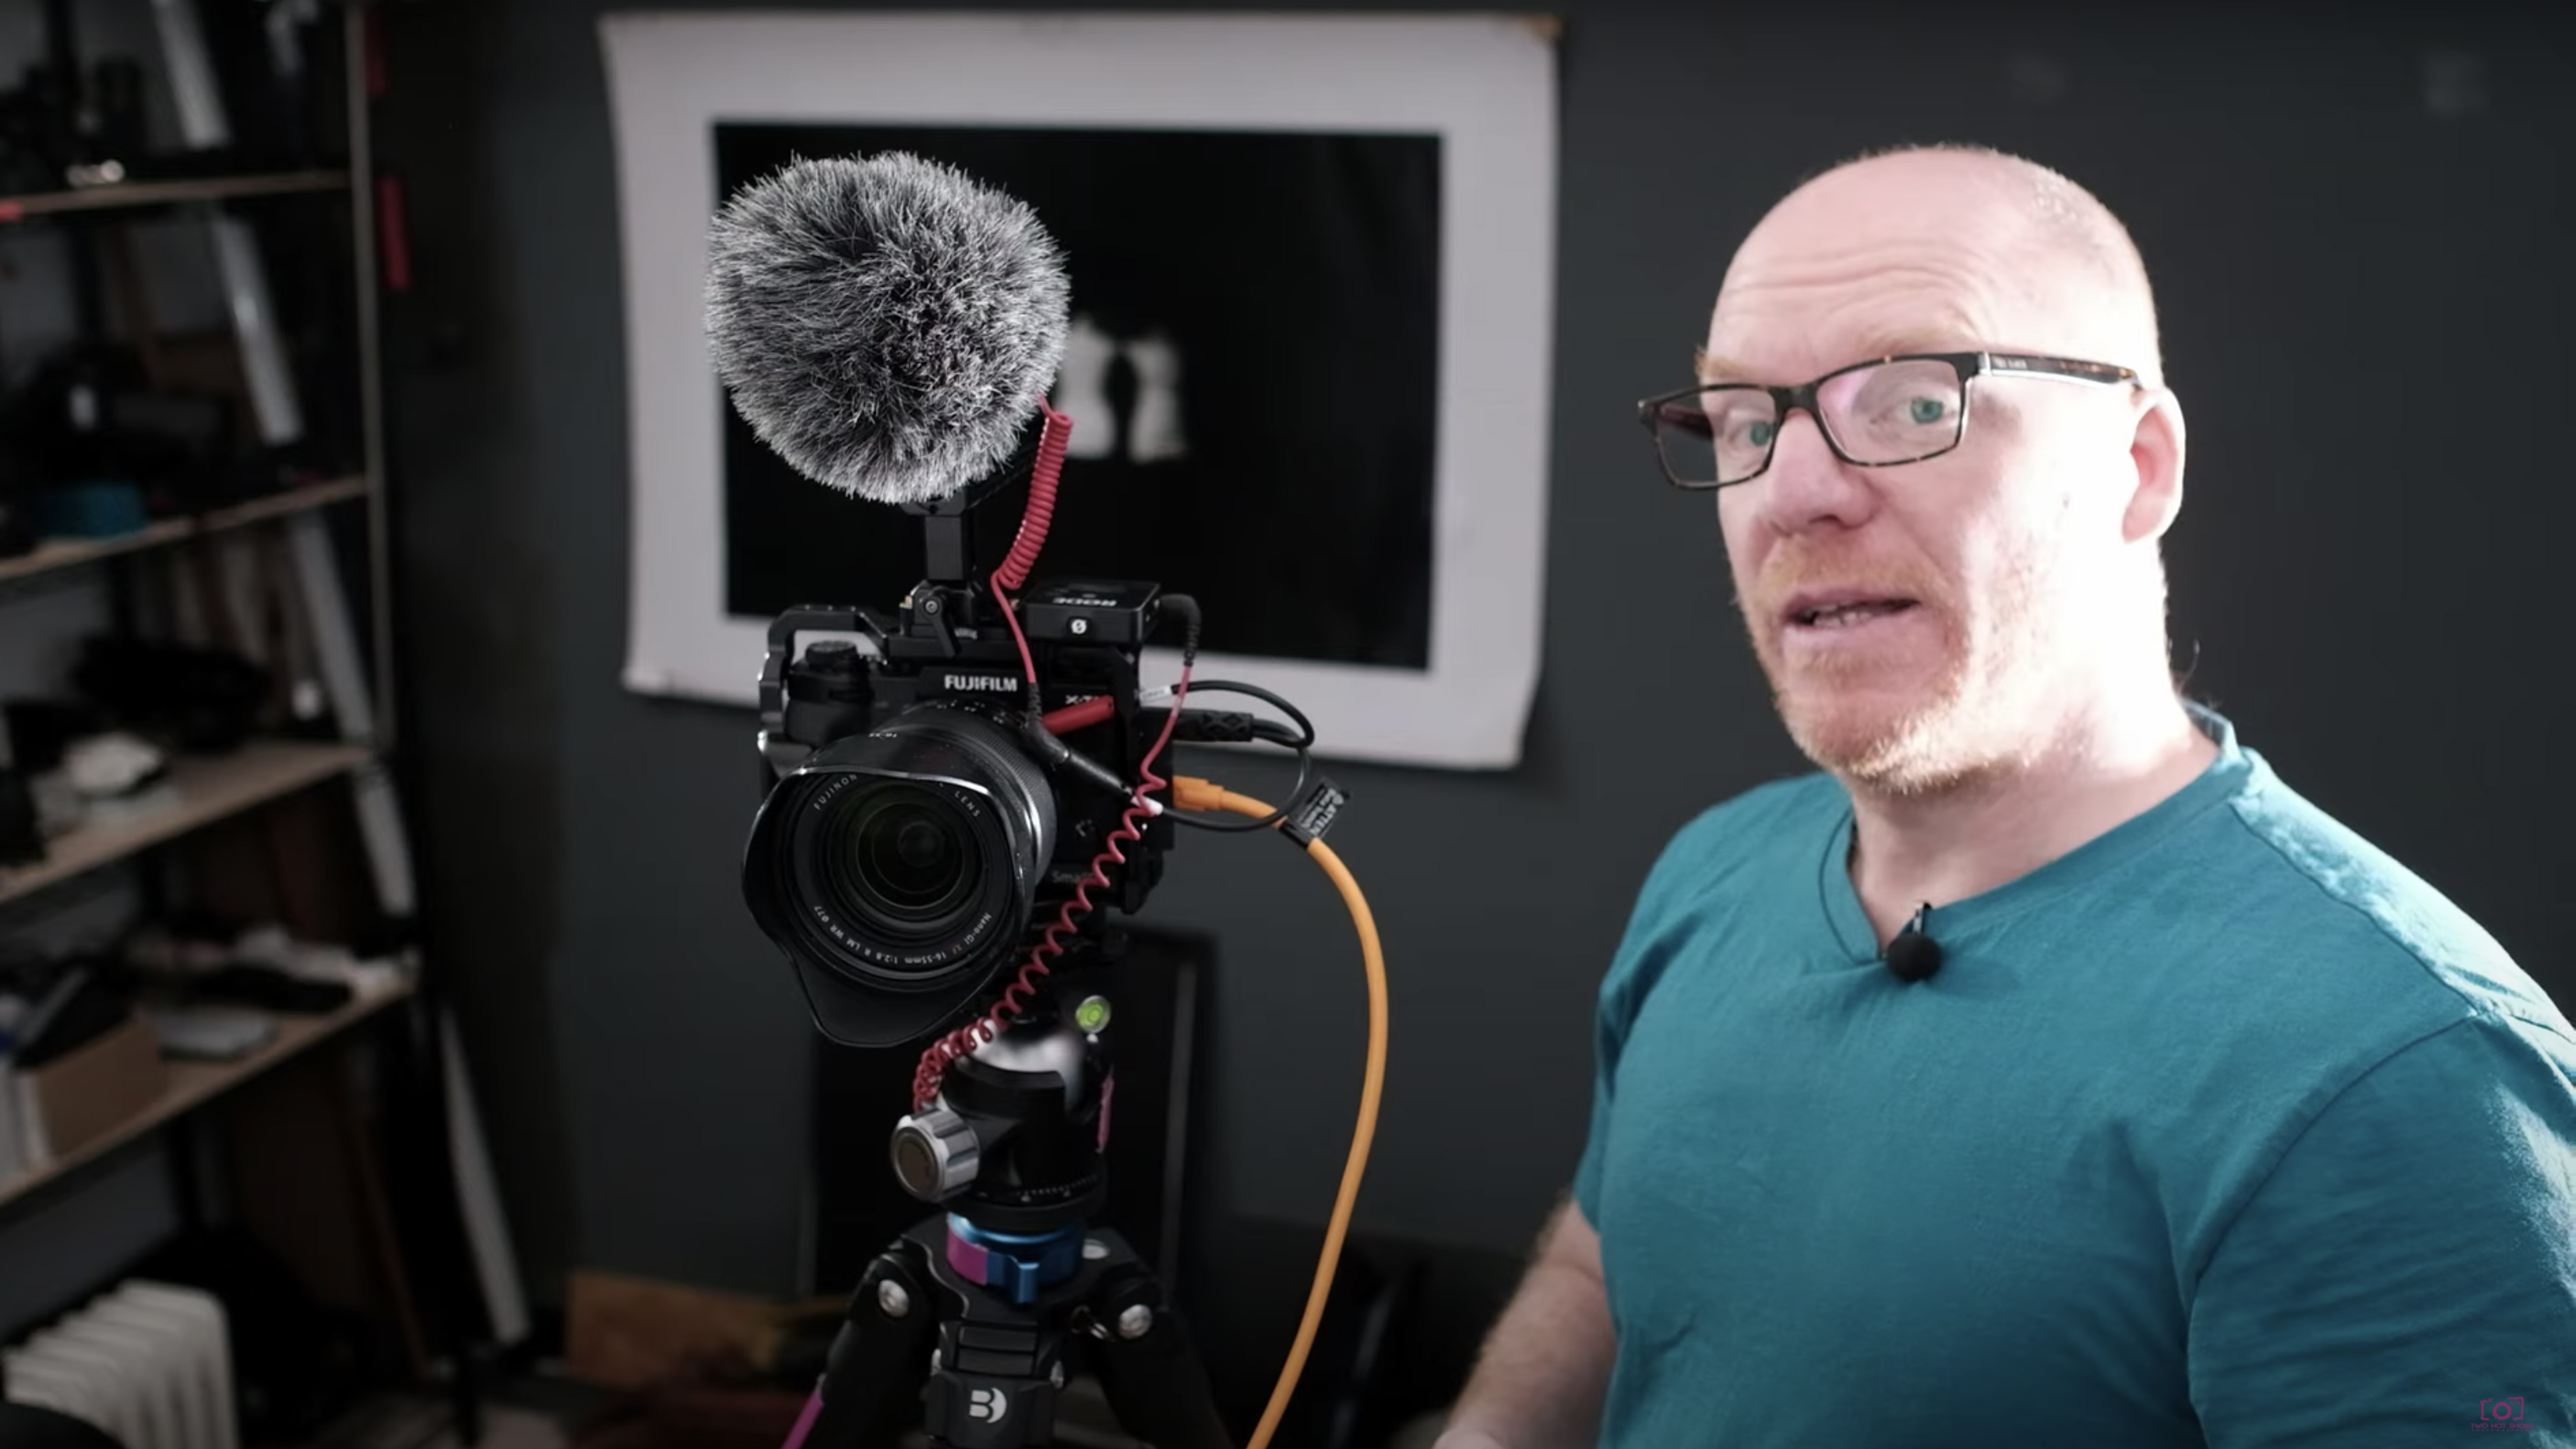
So what if you want to use a Fujifilm, a Nikon, a Canon or any other camera as a Zoom webcam on a Mac? Thankfully, industrious YouTuber Kim Farrelly has hit upon an ingenious way to do just that with any camera – well, almost any camera.
The proviso is that your camera has to support tethering. Thankfully, Capture One has a very handy page that will tell you whether your camera does. While Farrelly used the below process with his Fujifilm X-T3, it's also been successfully tested on everything from a Canon EOS 6D Mark II to the Nikon D600.
The other proviso is that you can't simply plug in your camera and have things magically work; you'll need to download a couple of bits of software and do a (very straightforward) bit of fiddling in Terminal, which might seem scary if you've never done it before.
And of course, it should be reiterated that this is a hack – you are making technology do something that it was not designed to do, so there's no guarantee of success. However, the hit rate has been pretty good among those who've tried it… and if nothing else, it's a way to kill a bit of time during the lockdown!
Farrelly's video will walk you through the process, but the basic steps are:
Get the Digital Camera World Newsletter
The best camera deals, reviews, product advice, and unmissable photography news, direct to your inbox!
1. Check your camera
Use this Capture One support page to establish whether your camera is capable of tethering and live view.
2. Get hacking!
Unlike most camera hacks, this one actually requires you to do an actual bit of hacking on your computer! Open Terminal on your Mac by pressing Cmd+Space and then typing "terminal".
3. Download XCODE
In the Terminal window, type "xcode-select --install" to download XCODE from Apple, which you will need to install.
4. Remove webcam restriction
Once installed, return to Terminal and type "sudo codesign --remove-signature /Applications/zoom.us.app/" which enables you to use an external webcam with Zoom (ensure that the path is the same as where Zoom is installed).
5. Download Camera Live and CamTwist
Some users (Canon EOS 6d Mark II in specific) have reported that they didn't need this step. However, per Farrelly's method, download and install these two apps:
Camera Live version 13
CamTwist
6. Tether your camera
Now tether your camera with a USB cable and turn on your Mac, ensuring that it's in photo mode (not video). Select your camera in Camera Live select, which should now say active, then in CamTwist double-click on syphon and choose CameraLive from the dropdown. Now start Zoom and set your camera as CameraLive. You should be good to go!
Read more:
The best camera for streaming on Twitch, Mixer and Facebook Live
The best headset: Headphones with a mic
How to set up a virtual hangout: the easy way to get people together on Zoom
The best webcam for home working

James has 22 years experience as a journalist, serving as editor of Digital Camera World for 6 of them. He started working in the photography industry in 2014, product testing and shooting ad campaigns for Olympus, as well as clients like Aston Martin Racing, Elinchrom and L'Oréal. An Olympus / OM System, Canon and Hasselblad shooter, he has a wealth of knowledge on cameras of all makes – and he loves instant cameras, too.

