I love to shoot long exposures in the rain – here’s why I head to the woods!
Ample rainfall in spring can prove frustrating, but I use the running water as an excuse to head into the woods and capture some glorious long exposures
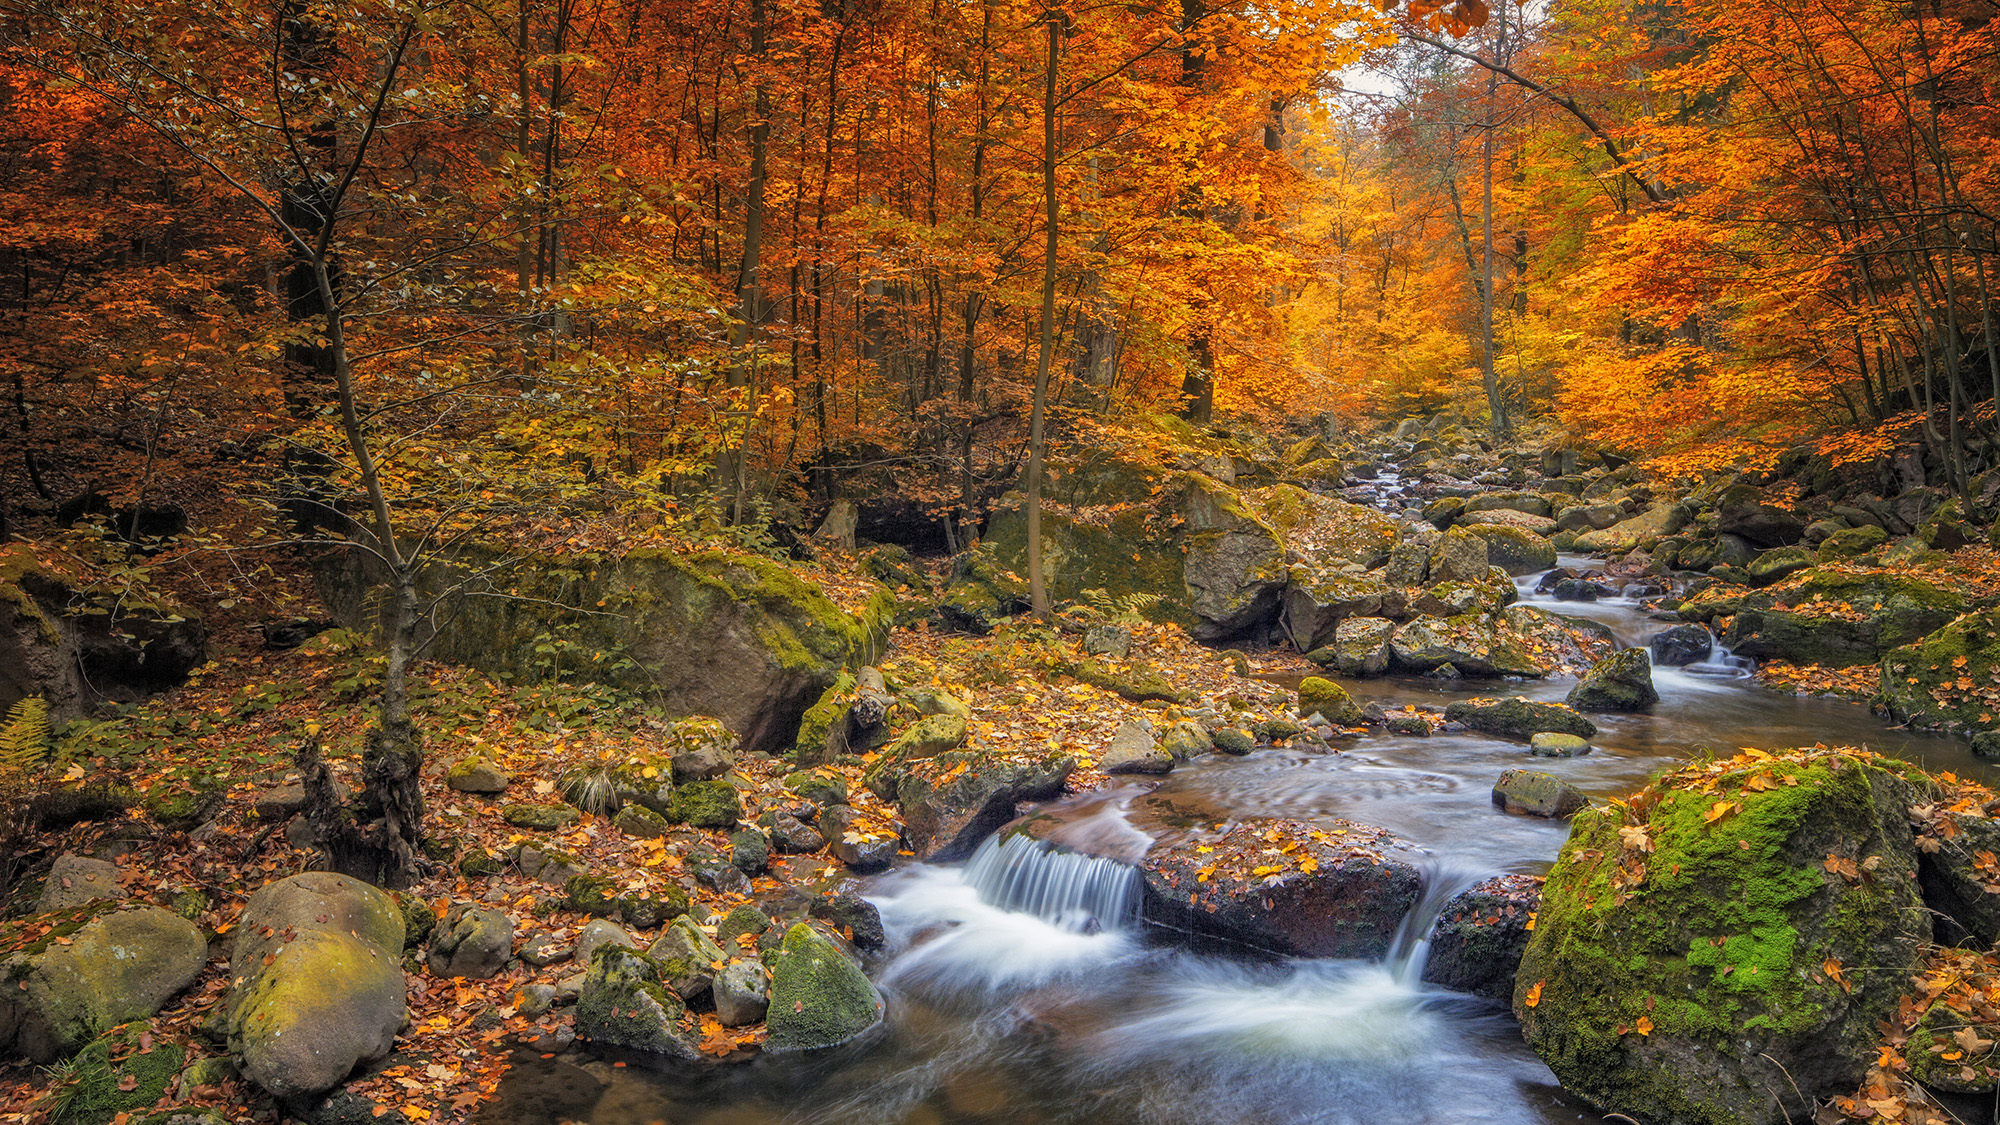
Welcome to the rainy season as we move from dreadful winter to volatile spring. Aside from getting on an airplane somewhere, a more affordable landscape to capture when it rains involves woods and specifically, woods with streams. The key thing here is that they are streams, not great big rivers, as you want an overhead canopy of trees to help keep the rain off.
You’ll still need to bring a waterproof coat, possibly the best rain cover for your camera, and failing that an umbrella. It’s really best to get your lens choice sorted out before you get out of the car, though, as you don’t want to try to change lenses while fending off drips from overhead.
How to compose woodland images
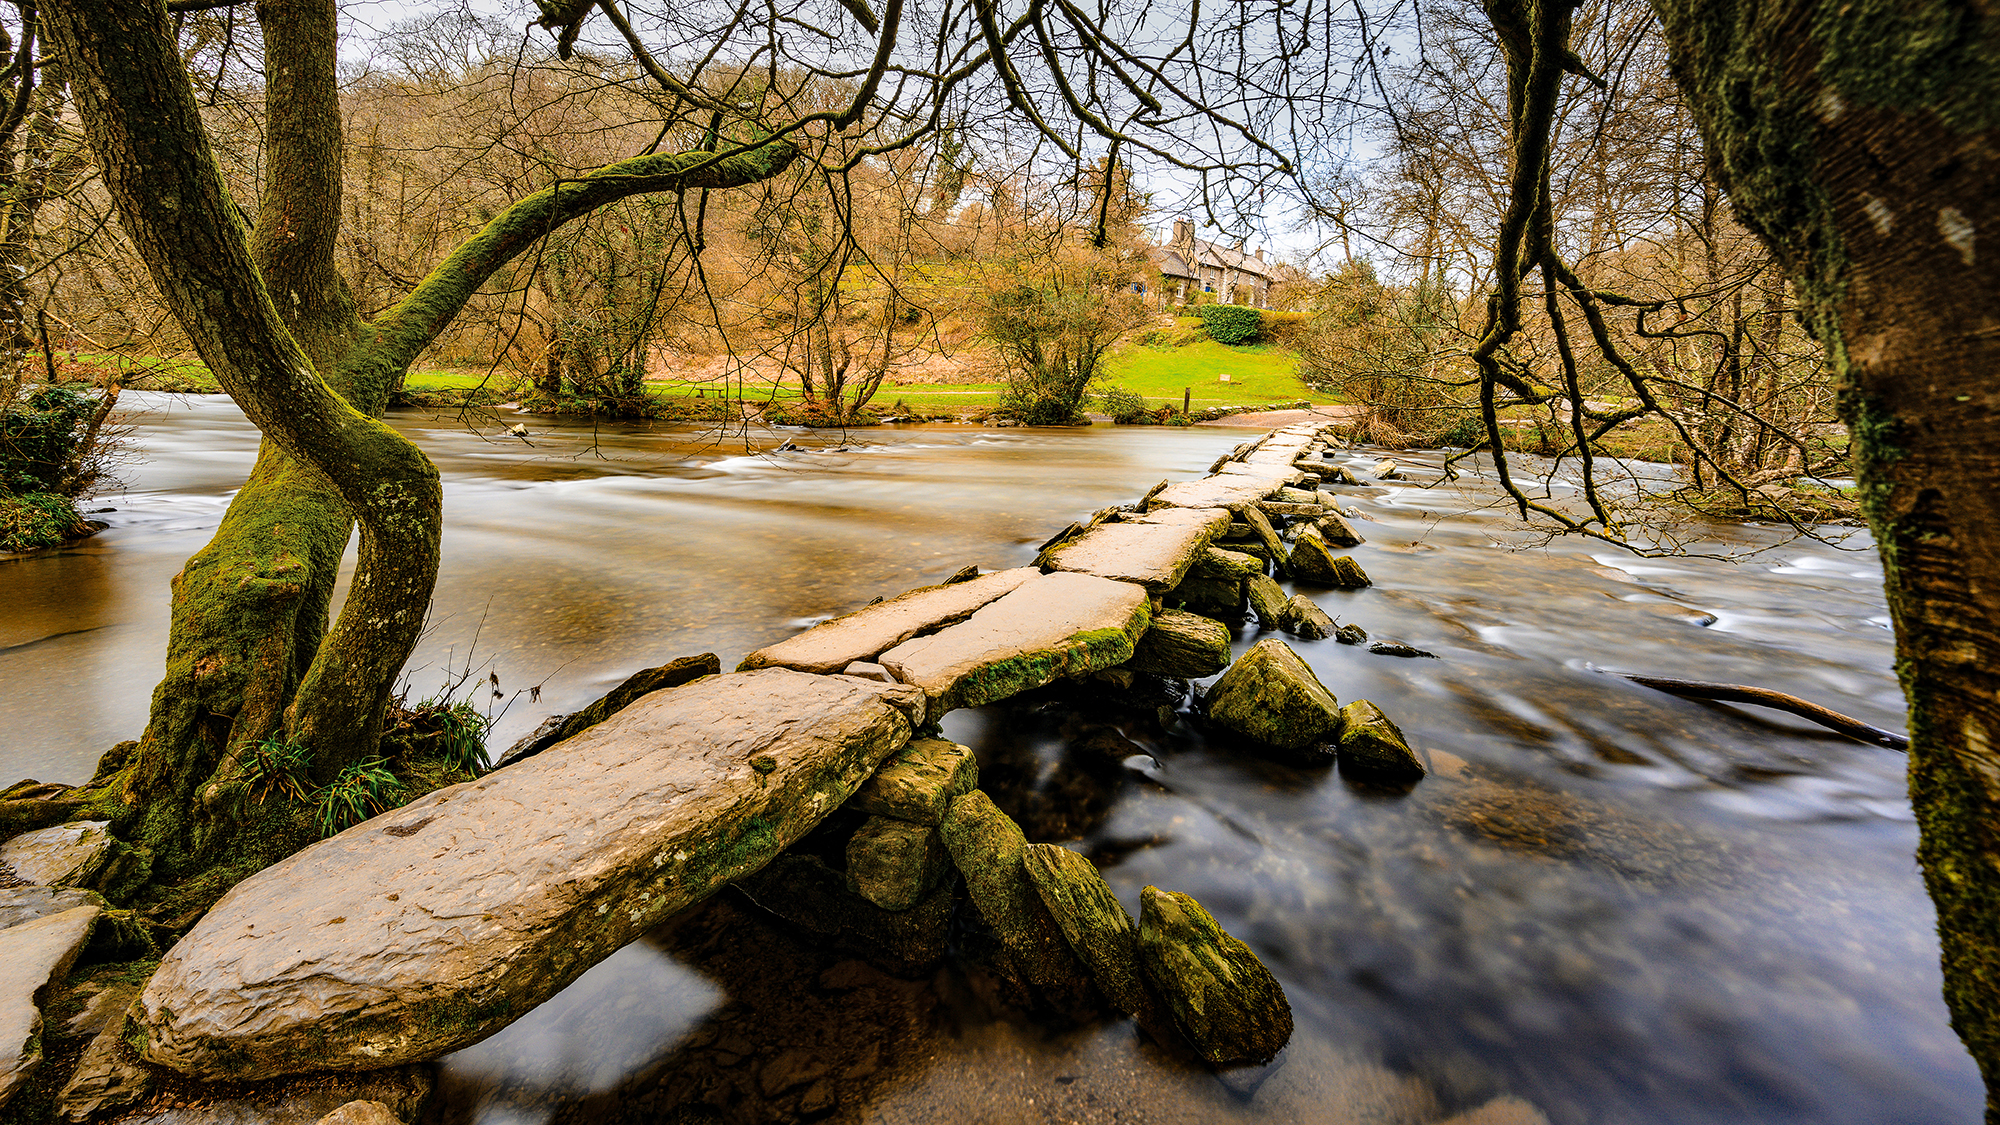
The great thing about shooting woodland streams on a gloomy day is that you don’t need to include much of the sky, and hopefully what sky there is will be coated in trees anyway.
Normal landscape rules apply when it comes to composition – such as the rule of thirds – but that’s tempered by how close you can get and how much water is there. In most cases, you’ll want to put the horizon on the top horizontal third as most of the interest in the image is the stream and surrounding woods.
If you’re feeling brave and the water is relatively shallow, you can get some interesting perspectives by wading into the middle of the stream. Failing that, look for a curve in the stream, sharp drops into basins or pools, or, best of all, rapids and waterfalls.
Aim to have the flow of the water create a leading line to lead the eye up through the photo, and if the stream is relatively straight then shoot it from an angle to make the composition more dynamic. Another thing to look out for are bridges over the stream, whether they're relatively new constructions, made from metal or better, wood or go back in time and are made from stones.
For metering, you could go with zone / evaluative, especially if the lighting is relatively flat. The other option is center-weighted, which might be a better bet if the water looks quite reflective. Given that the conditions are likely to be overcast at this time of year, there shouldn’t be any challenges here.
If, however, it’s one of those cold but sunny days, with bright light from the sky leaving the rest of the scene relatively dark, then think about using one of the best ND grad filters to lower the light level from the sky and balance the exposure.
A wide-angle lens with short telephoto reach is a good option for the choice of lens because, while you might be able to get right to the edge of the water and thus be able to go wide, sometimes you might be on a path on the side of a ravine and need to zoom in a little.
The choice of lens focal length plays into where you focus, because that 18mm focal length on a full-frame camera has an awful lot of depth of field – no matter what aperture you’re using.
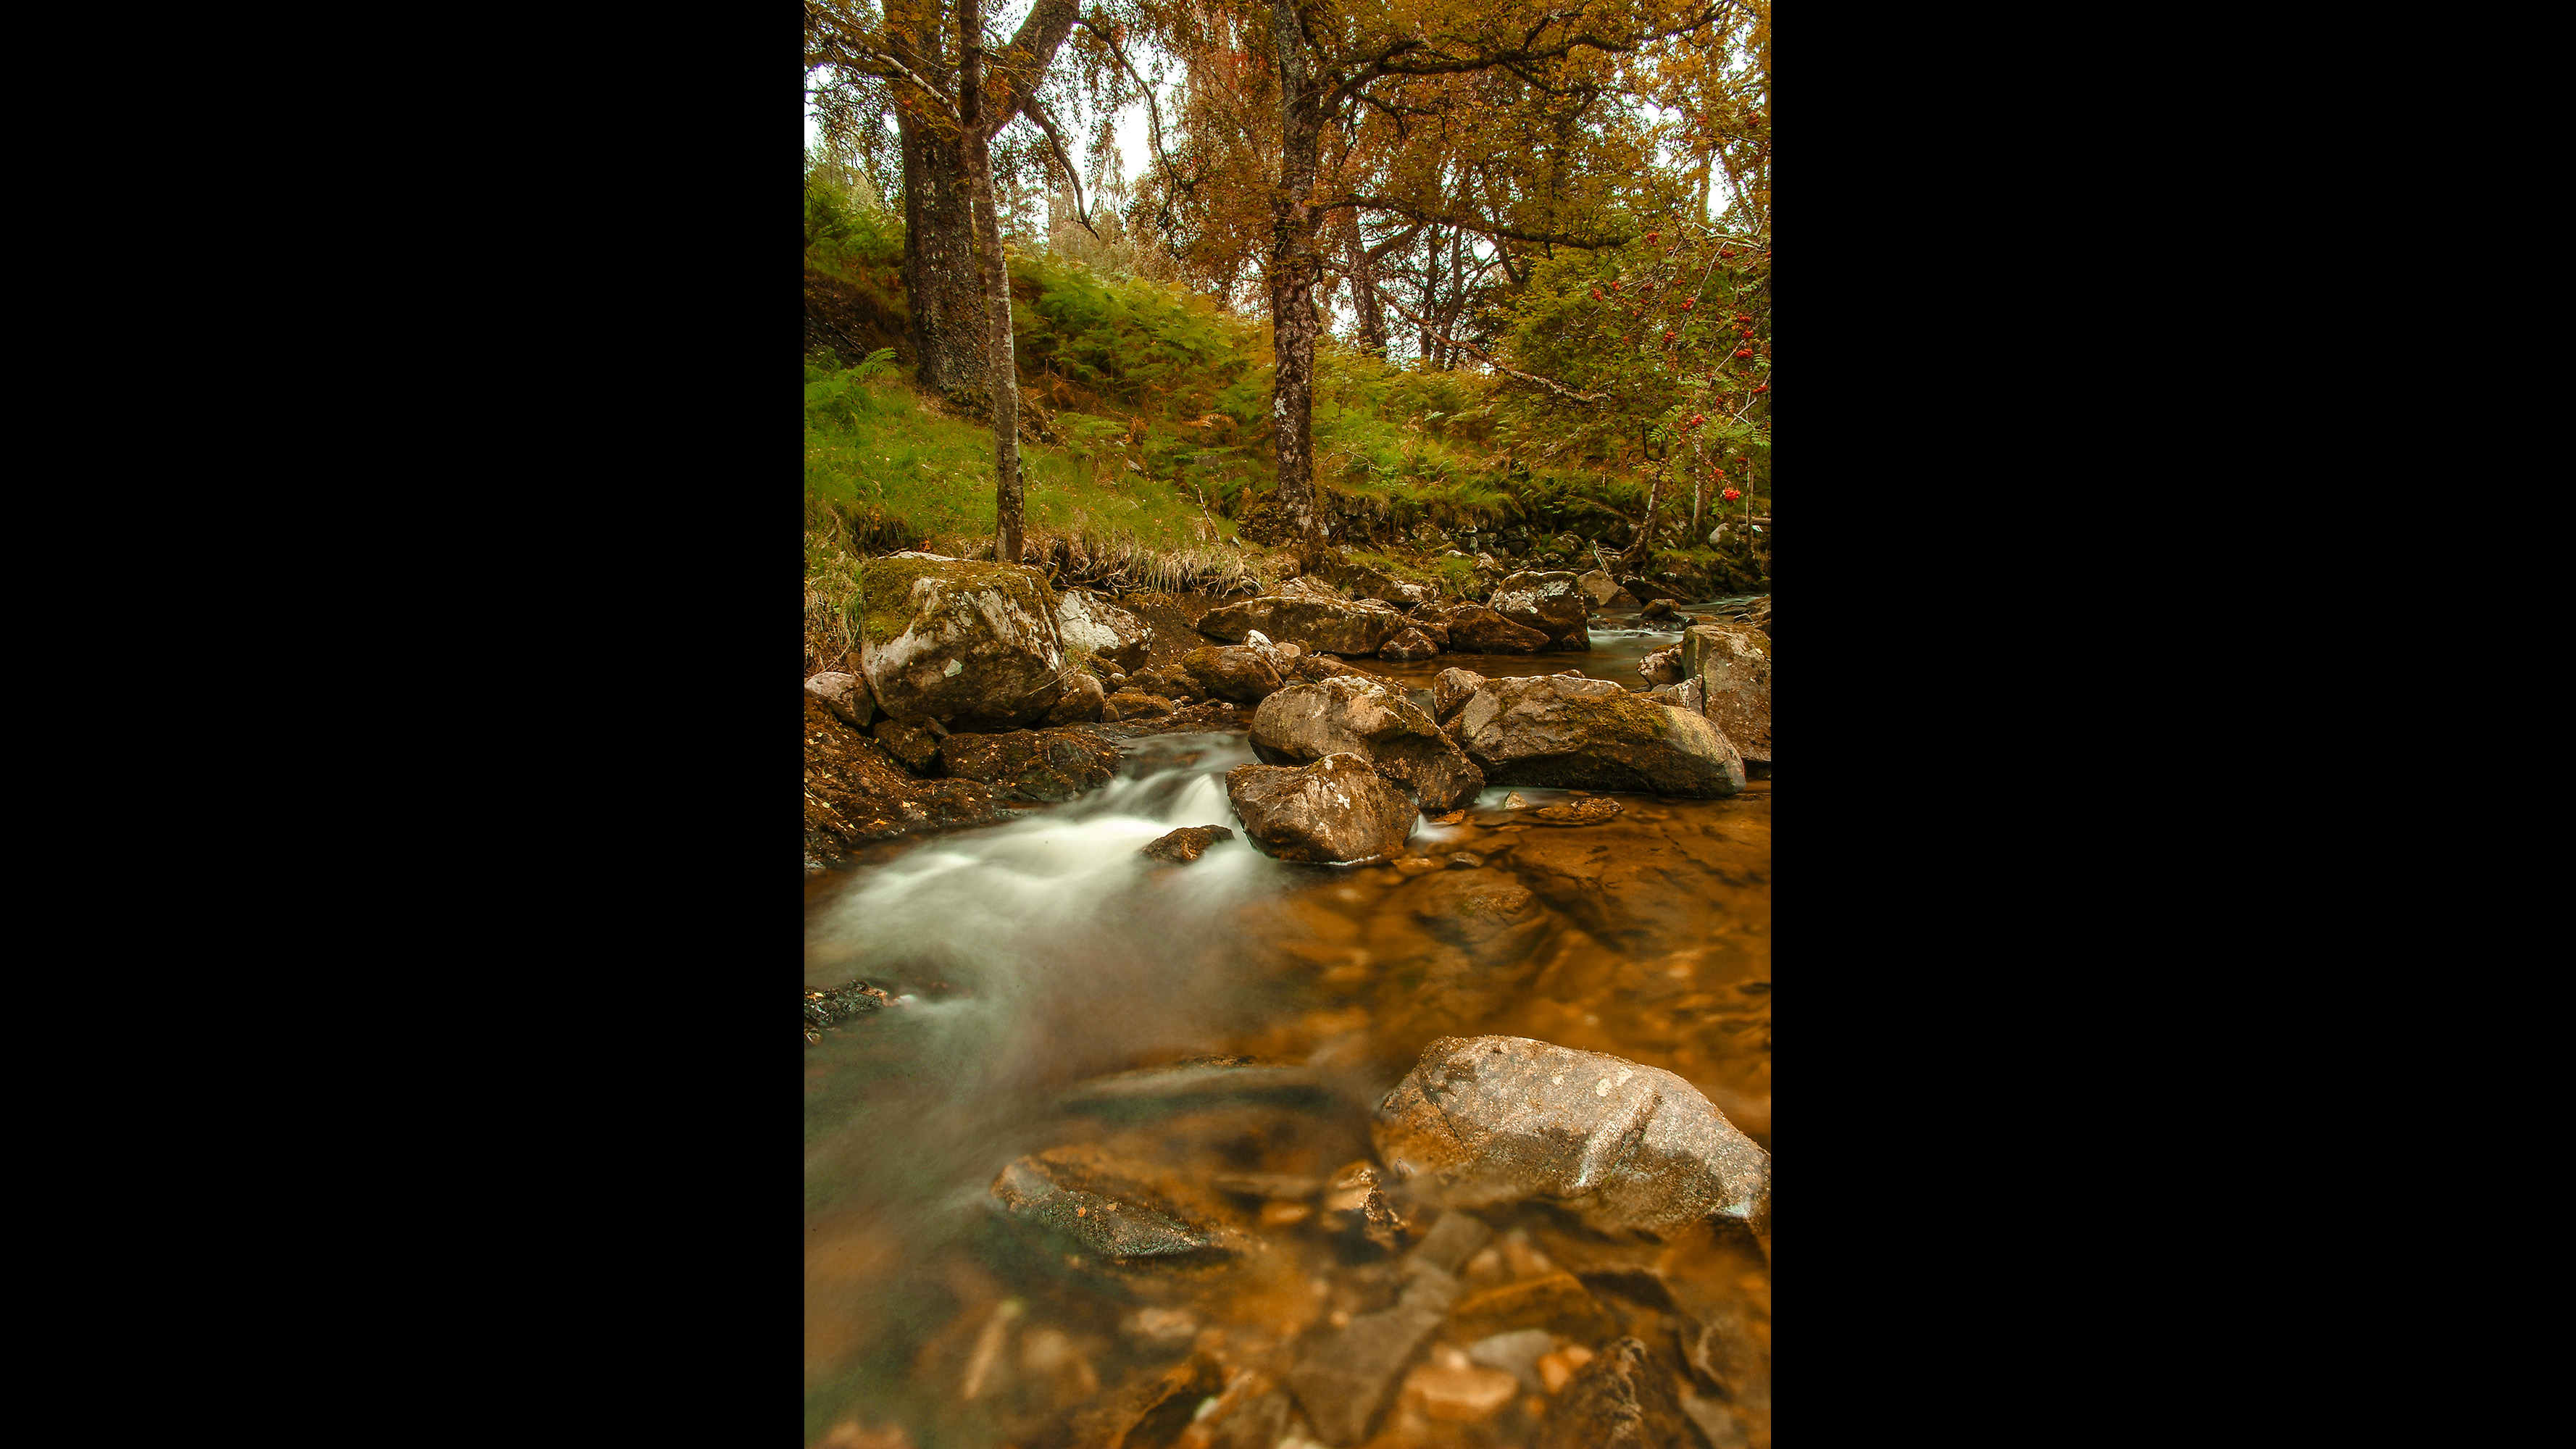
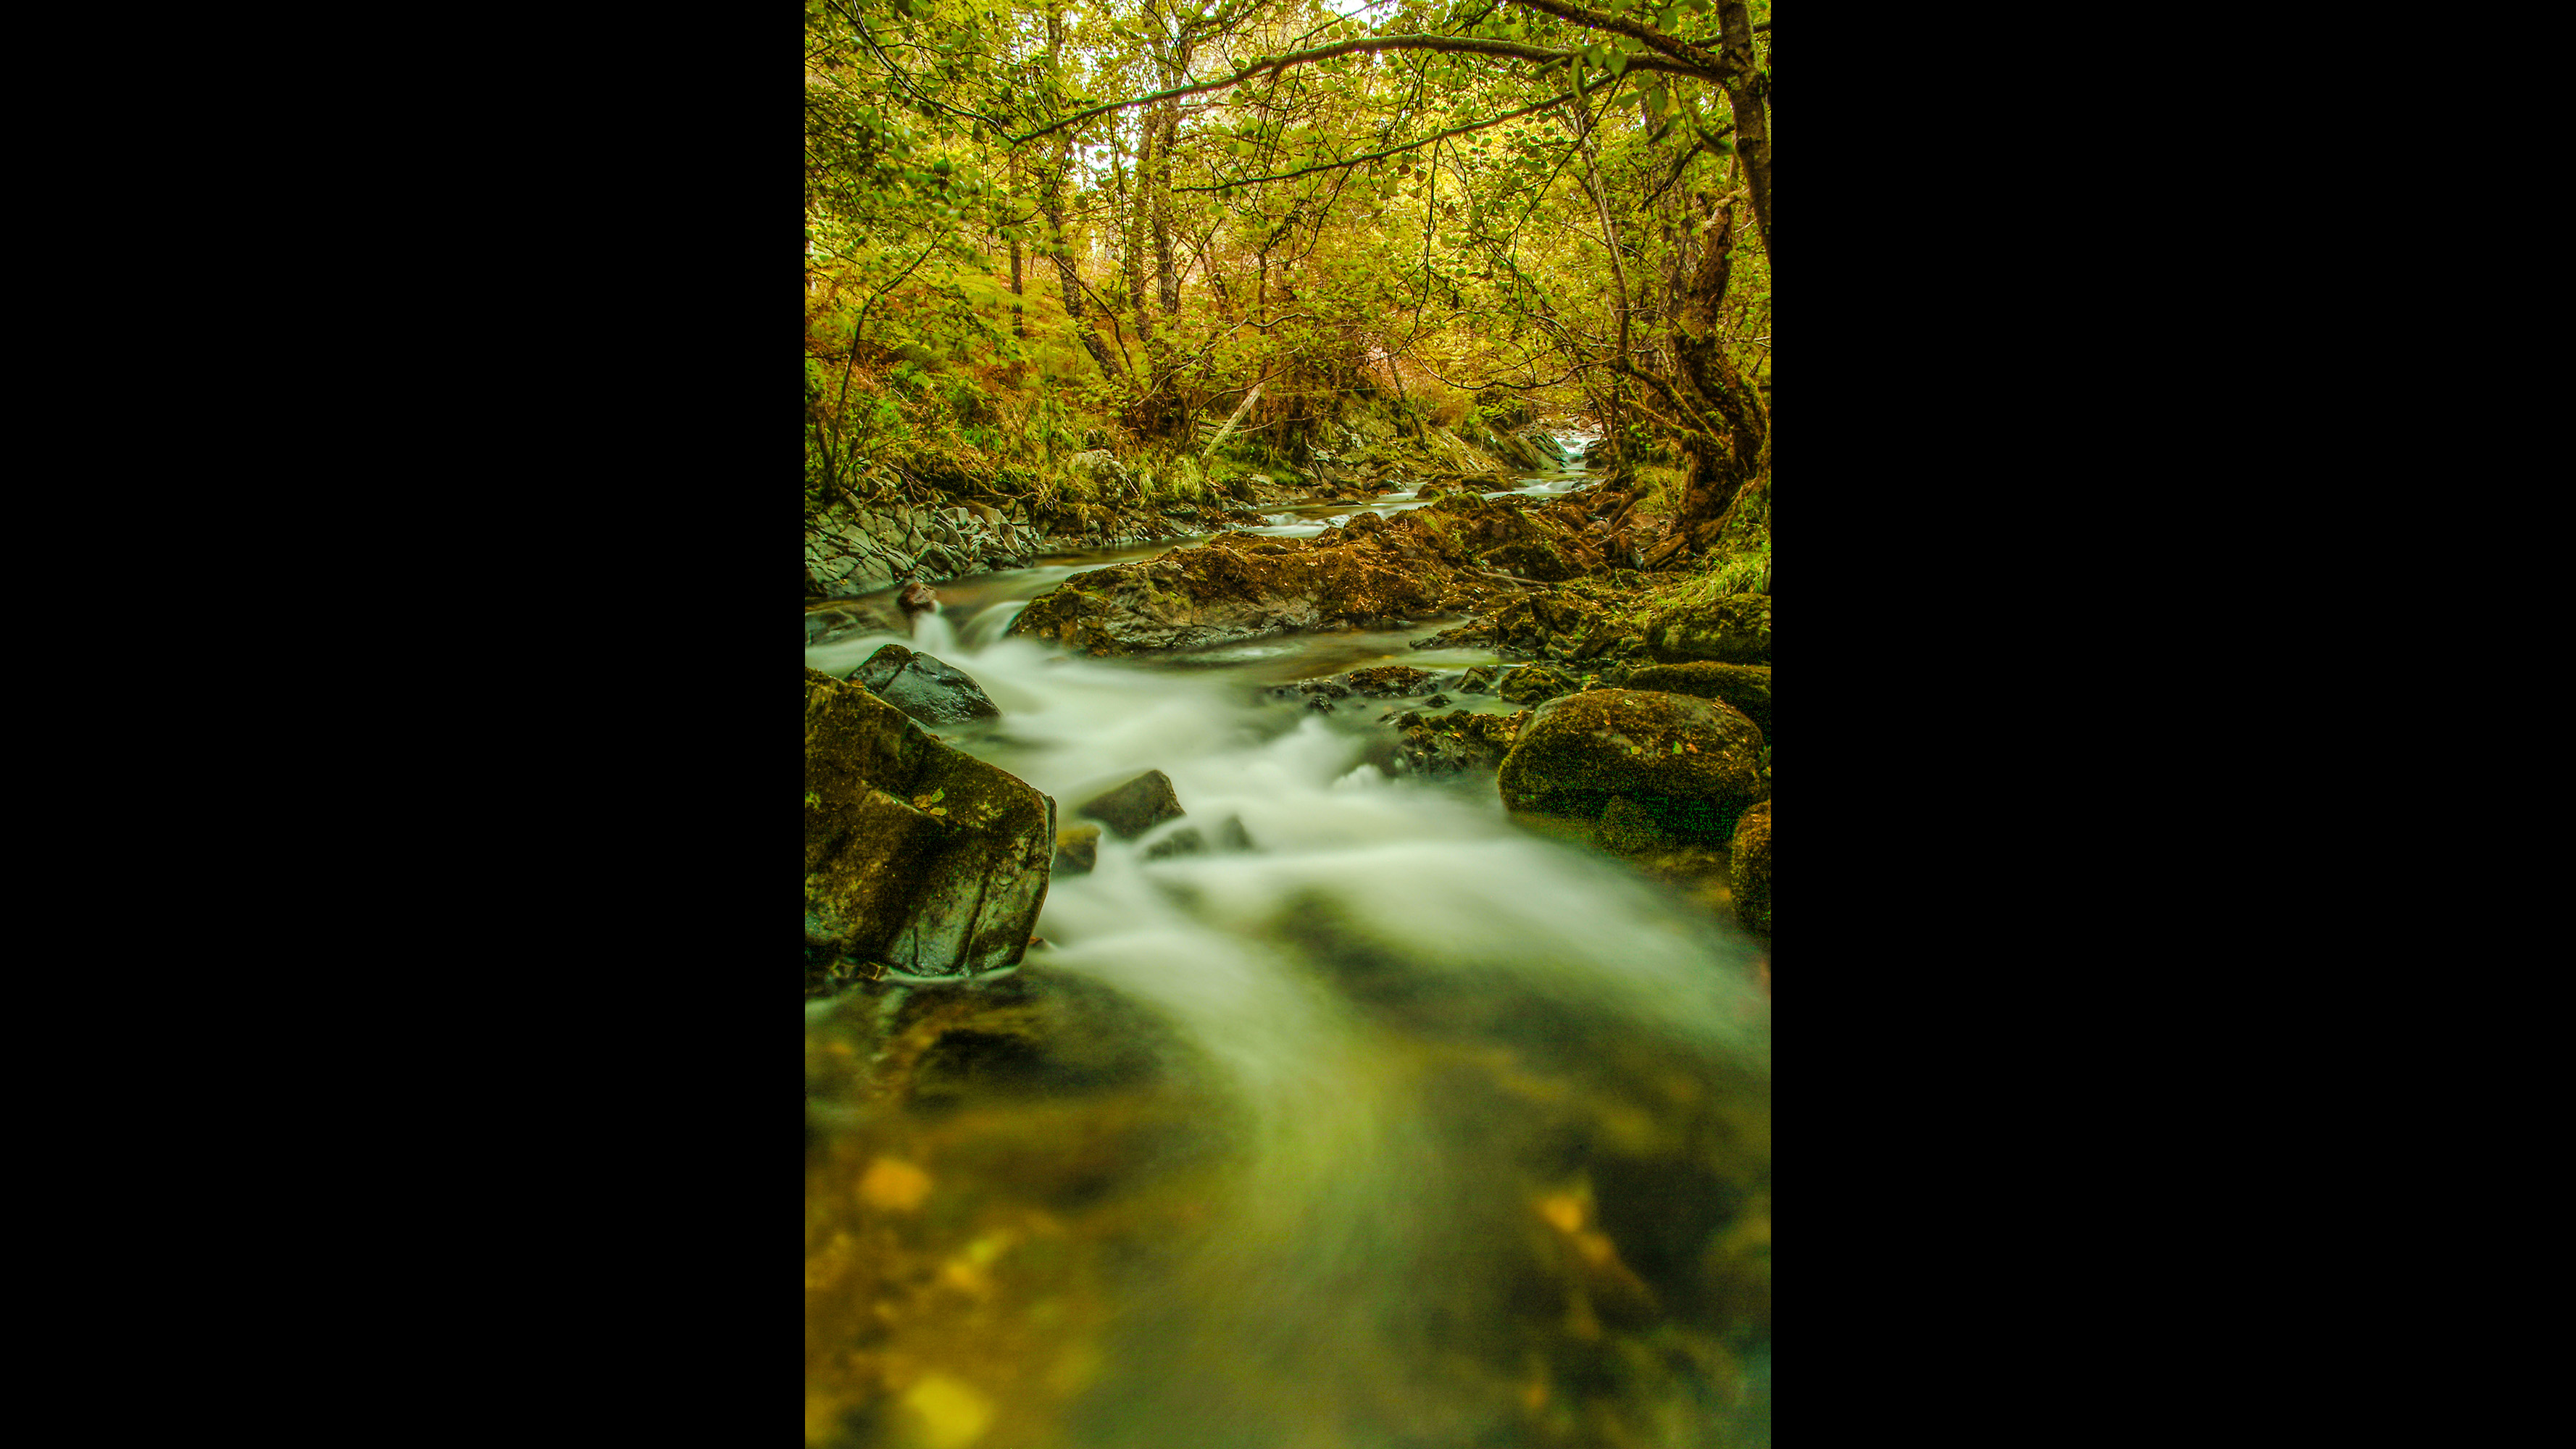
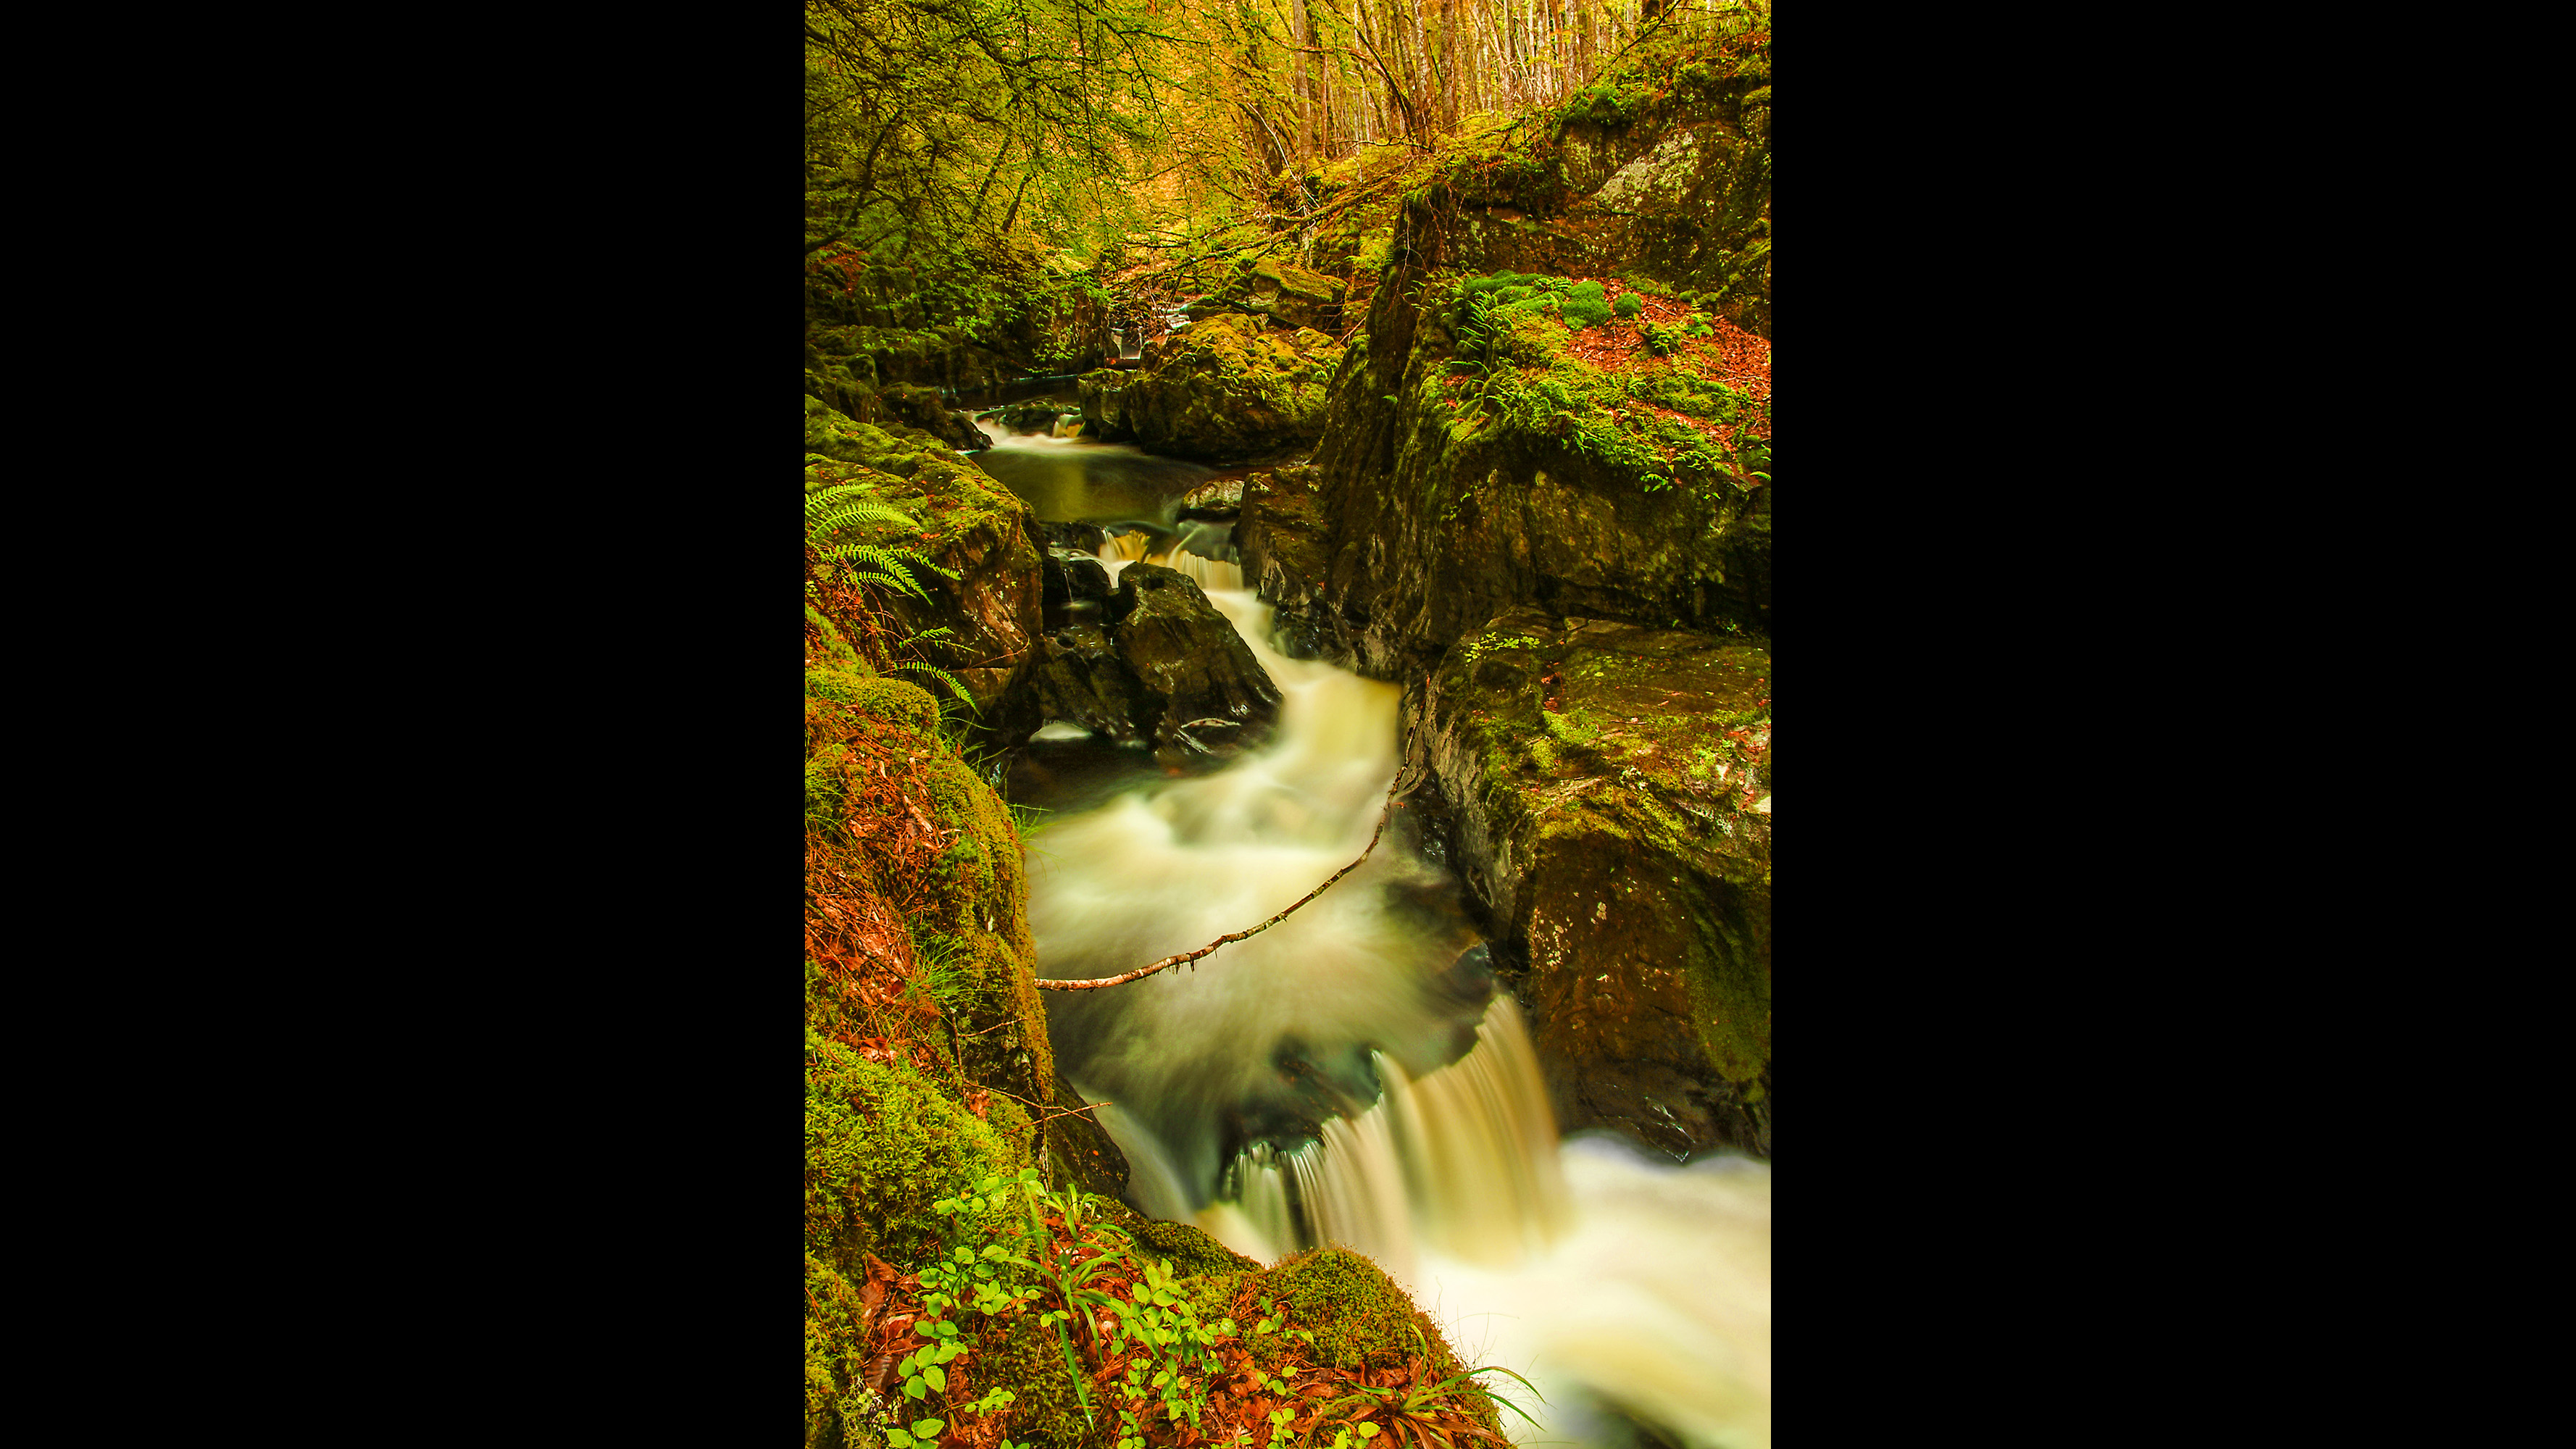
If there’s a particular feature that you want to be the sharpest element in the shot then focus on that, unless it’s in the mid to far distance. If it’s, say, 5m away, at f/8 the depth of field acceptable sharpness starts from around 1.07m. Unless your camera is at ground level, there’s a good chance that everything in the scene is now in focus. If you do have foreground interest that is closer than a meter and is in the shot, then move the focus point nearer.
The hyperfocal distance (the point at which you get maximum depth of field and everything from the point of focus to infinity is acceptably sharp) is just 1.37m, making everything from 0.68m to infinity sharp enough. If you are shooting at f/22 (see further on), then focussing 5m into the scene means that everything from 0.44m away from the camera is in the depth of field range.
It gets a little harder in the situation where you can’t get as close to the water and have to use a short zoom. Let’s say you needed to increase the focal length to 35mm to frame everything you want. Now you’re further away you’ll be focussing on features that are at a greater distance, let’s say 8m.
At f/8 the depth of field now starts at 3.12m, so you need to be aware of what is actually in the shot right in front of you, and how far away it is. If it’s just water then don’t worry about it, but if it’s a significant feature you need a narrower aperture and / or to focus closer.
The problem with focusing closer, at 35mm, is that the depth of field doesn’t extend as far back. Say you’re focussing 4m into the scene, now the start of the depth of field is 2.25m but the back end of the acceptable focus is 17.92m. If you’re having to shoot at a 35mm focal length, then you are better off using the hyperfocal distance of 5.14m, which means everything from 2.57m to infinity is in acceptable focus.
The alternative to this is to stop down the aperture, let’s say right down to f/22. At this aperture, focussing 8m in, the start of the depth of field focus range is just 1.48m and stretches to infinity, which is much better. However, lenses aren’t as sharp at f/22 as they are at f/4-8. It’s your choice, based on the scene you’re shooting.
How to capture a long exposure
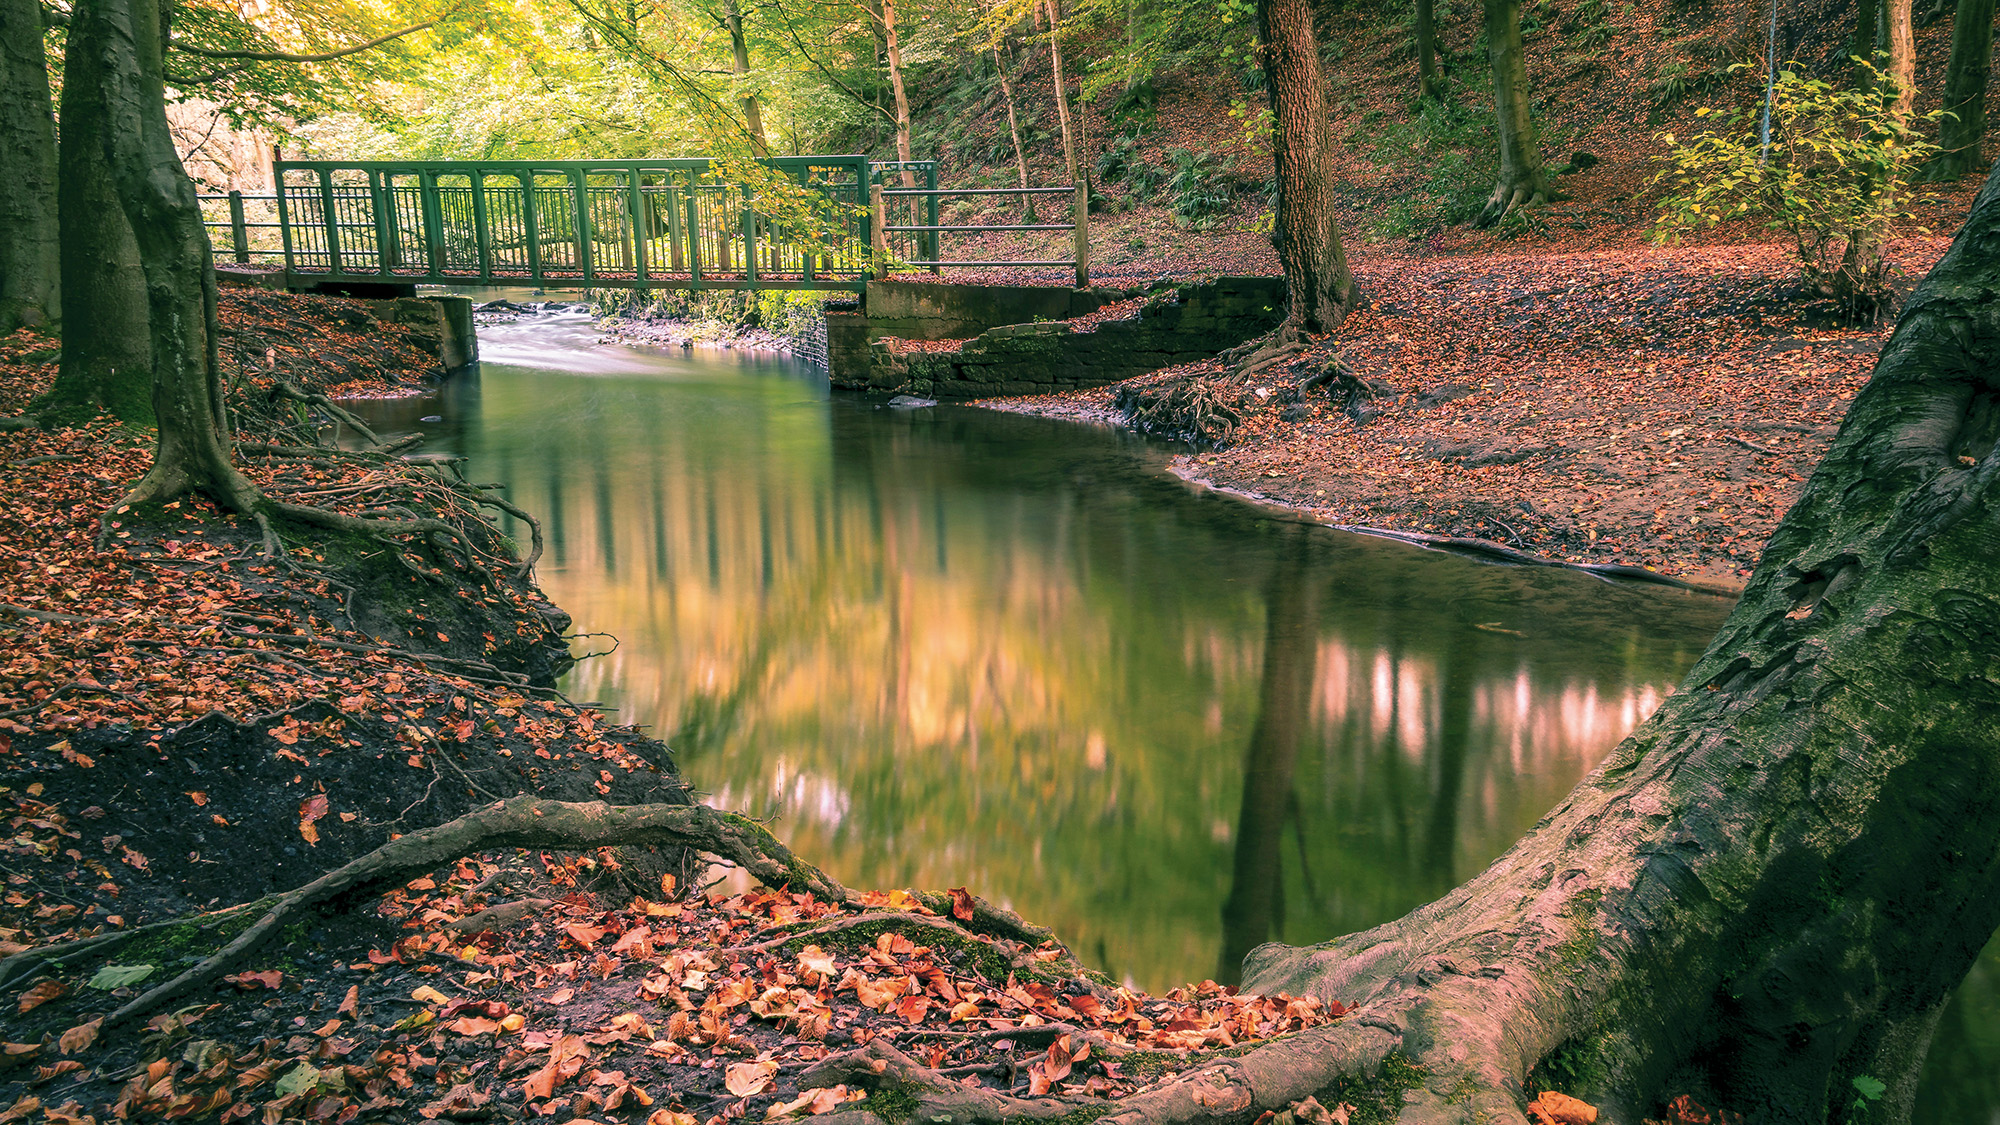
Remember I said, ‘see further on’? This is the further on part, because now we’re talking about shutter speeds and what you want to do with the flow of water. If it’s a stream then a modest exposure time of 1 sec - 1/10 sec will introduce some blur, but retain some texture, showing that the water is moving. You can go long here and really blur the water, but the trouble with streams is that they don’t have much of a drop – so it makes them look flat and lifeless.
There are two ways of getting that longer exposure: one is using filters, the other is stopping down the aperture. The best ND filter will reduce the light coming in by however many stops it’s rated for. If you need less light after that, then it’s time to change the aperture, which has knock-on effects for image sharpness and depth of field, as described above.
One thing that is worth trying out is a circular polarizer so that you can cut out the reflections and light bouncing off the water and see through to the bed underneath. This is more desirable if the terrain has a rocky base rather than a muddy one. The flip side of this is when the stream is more languid and barely moves, so there are great reflections in the water. In this case, rotate it to maximize the reflections and minimize seeing through the water.
The final element in your trek through the woods is finding a waterfall. Here you will want to generate a long exposure to really blur the movement. Look at anything from 8-30 secs to get that dreamy effect. Unless you have a very strong ND filter, you’ll probably be heading towards f/16 and f/22 apertures to get there.
Avoid hot spots

Aside from falling in or getting soaked in a downpour, the other thing to watch out for is a sudden break in the weather and the sun coming out. If it’s late or early in the day and the sun is low in the sky, it should just be a bright light source, but if it’s the middle of the day, the sun will be overhead.
In this case, patches of bright light may filter through the trees and hit the water. Note that we’re not talking about reflections of light here, these are hot spots of sunlight that make for distracting elements on the surface.
Relative shutter speed settings
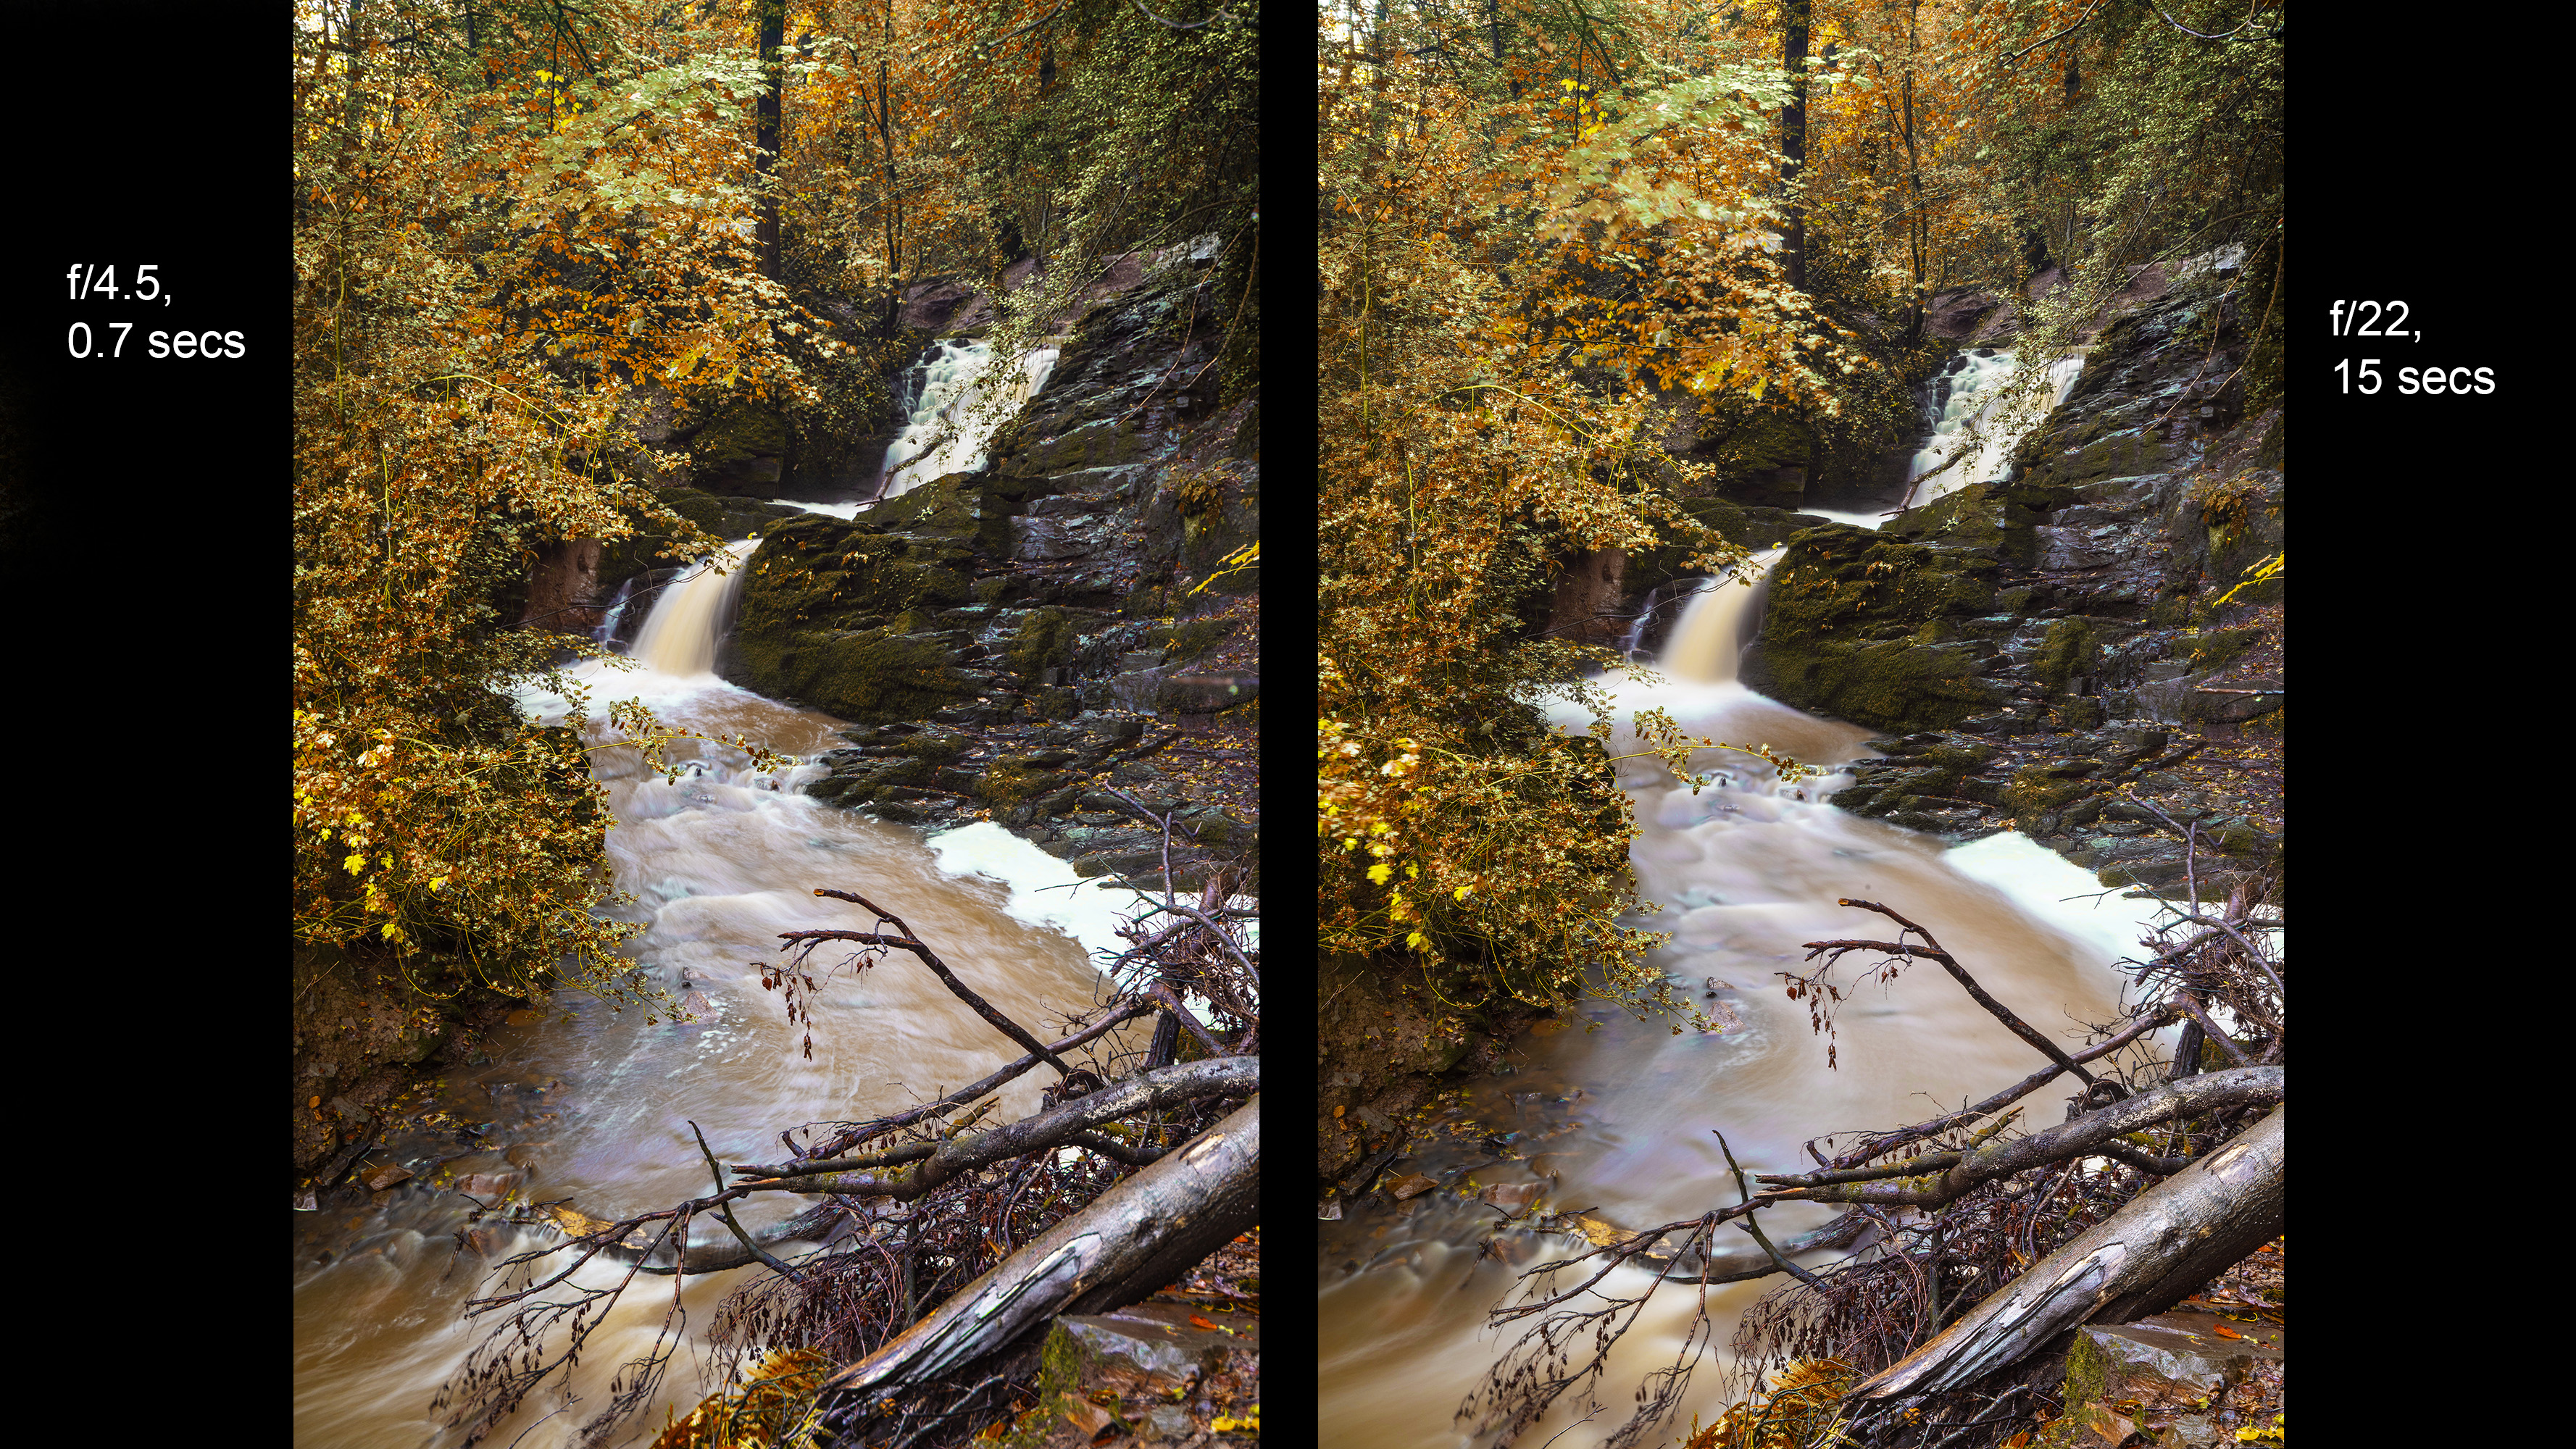
A speed of 0.7 secs means there is movement in the water as well as some blurring in the image on the left. Stopping down to f/22 for the image on the right, results in a 15 secs shutter speed and much smoother water flow.
Digital Camera World is the world’s favorite photography magazine and is packed with the latest news, reviews, tutorials, expert buying advice, tips and inspiring images. Plus, every issue comes with a selection of bonus gifts of interest to photographers of all abilities.
You may also be interested in...
The best tripods are essential when capturing long exposures. Ever wondered what makes beautiful landscape photography? And find out what happened when a sheep photobombed my landscape photo.
The best camera deals, reviews, product advice, and unmissable photography news, direct to your inbox!

Wendy was the Editor of Digital Photo User for nearly five years, charting the rise of digital cameras and photography from expensive fad to mass market technology. She is a member of the Royal Photographic Society (LRPS) and while originally a Canon film user in the '80s and '90s, went over to the dark side and Nikon with the digital revolution. A second stint in the photography market was at ePHOTOzine, the online photography magazine, and now she's back again as Technique Editor of Digital Camera magazine, the UK's best-selling photography title. She is the author of 13 photography/CGI/Photoshop books, across a range of genres.
You must confirm your public display name before commenting
Please logout and then login again, you will then be prompted to enter your display name.

