Harness the WB settings on your camera to get ‘pure’ whites or get creative by giving your photo an unnatural hue
Learn how to control White Balance settings, whether you are following a 'true-to-reality' approach or want to bring your creative vision to life - here's how
When it comes to capturing images, either still or moving, white balance is crucial. This setting helps to regulate the color temperature of an image, ensuring the most accurate representation of color, which can vary depending on the light source used and whether it’s artificial or natural.
When the white balance is set to the optimum, any white areas in the scene are rendered as ‘pure’ white and any color casts that may affect the overall quality of the image are eliminated. Most modern cameras feature an automatic white balance setting, which can adjust the camera’s color temperature between a range of approximately 3,000 and 7,000 Kelvin. This feature is particularly useful when taking photographs under changing light conditions or varying light sources. For instance, the color temperature during sunrise is around 2,000K (warm spectrum), while it rises to about 10,000K (cold spectrum) when capturing a subject under a clear blue sky.
However, adjusting the white balance manually gives you control over the image and often leads to better results. There are a few tricks you can use to achieve an accurate white balance. It’s important to note that white balance settings only work to their optimum if they were specifically calculated for the scene. Also, bear in mind that when light sources change, you will have to adjust the settings again to achieve the best results.
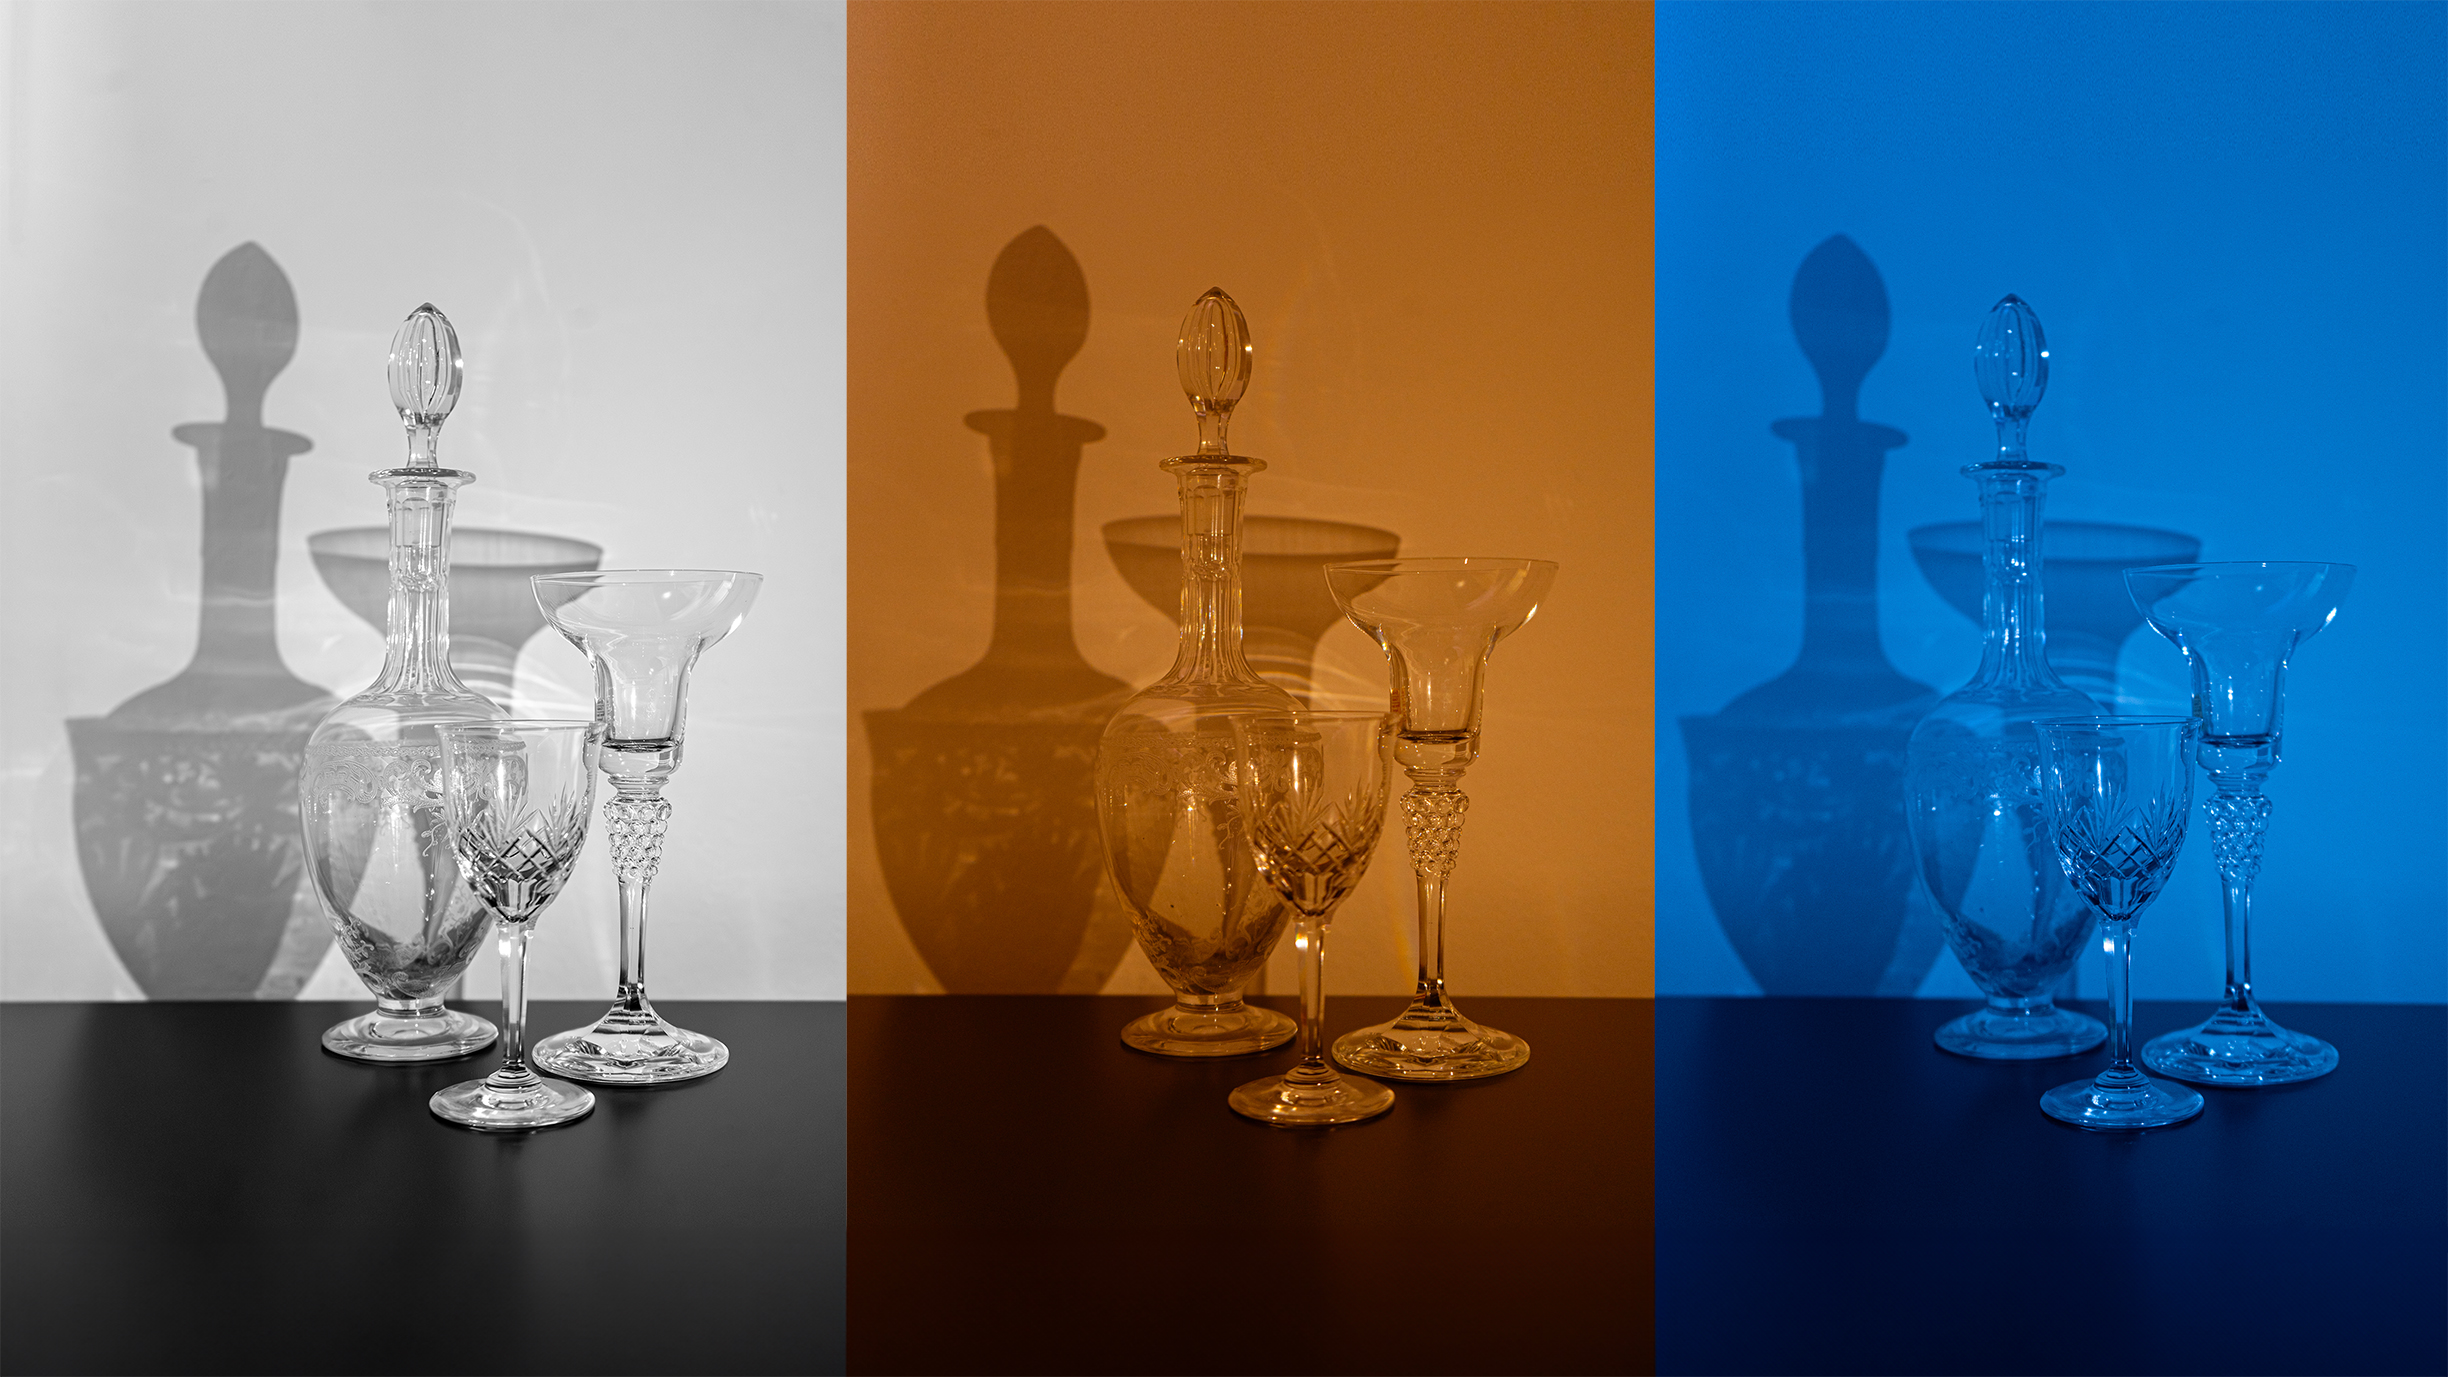
However, there is also the possibility of experimenting with different white balance settings. Here the aim is not to achieve the ‘pure’ whites, but to modify the colors of the scene in an unnatural way to bring your creative visions to life.
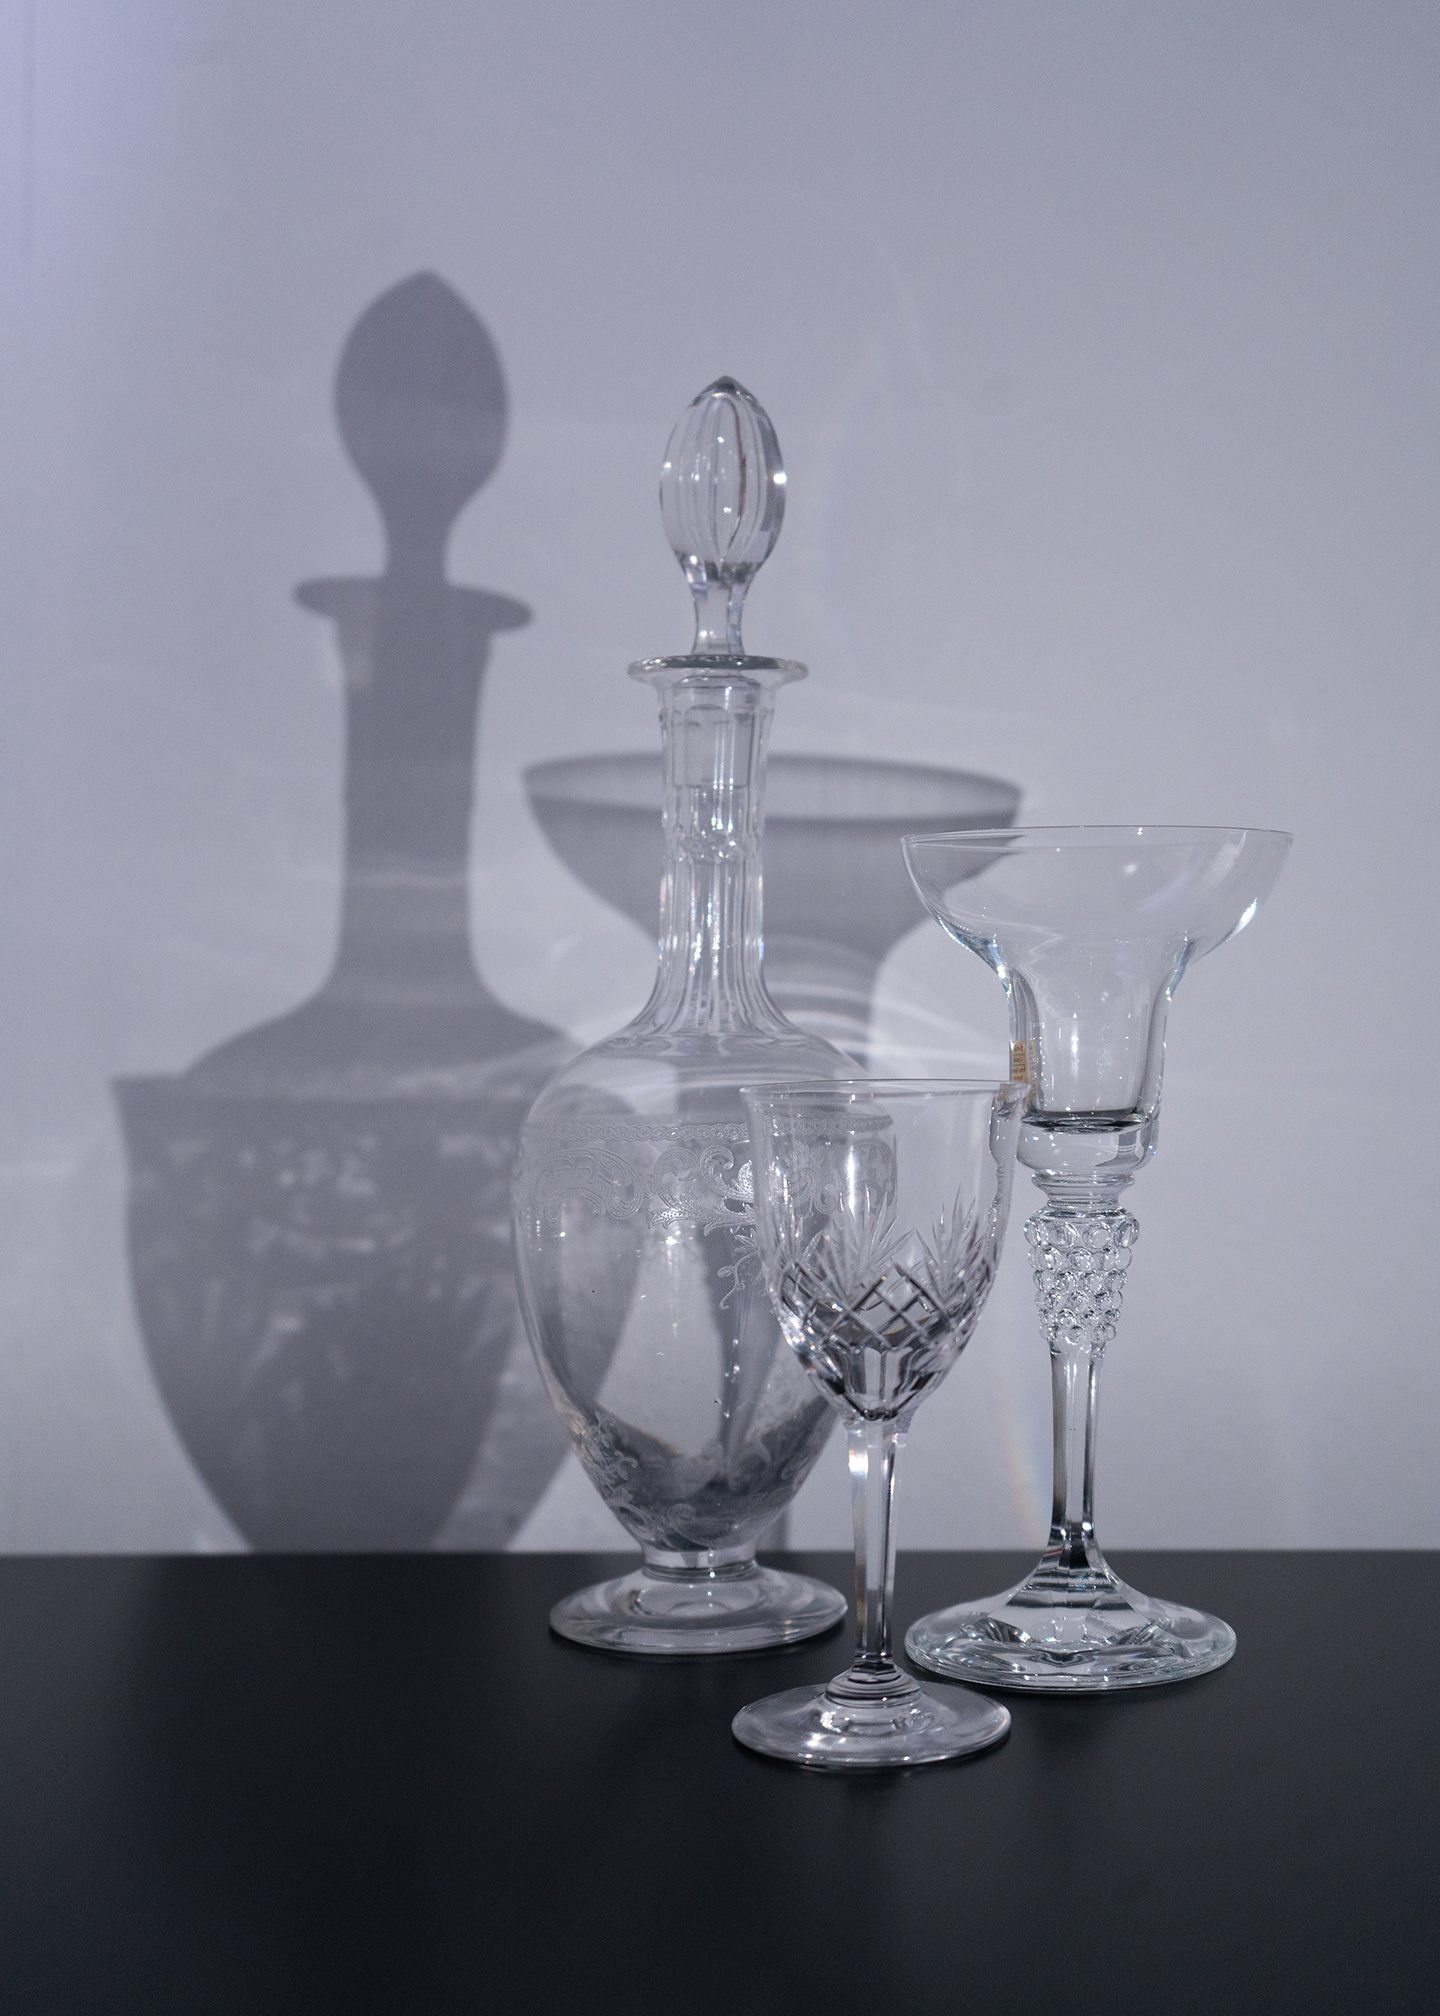
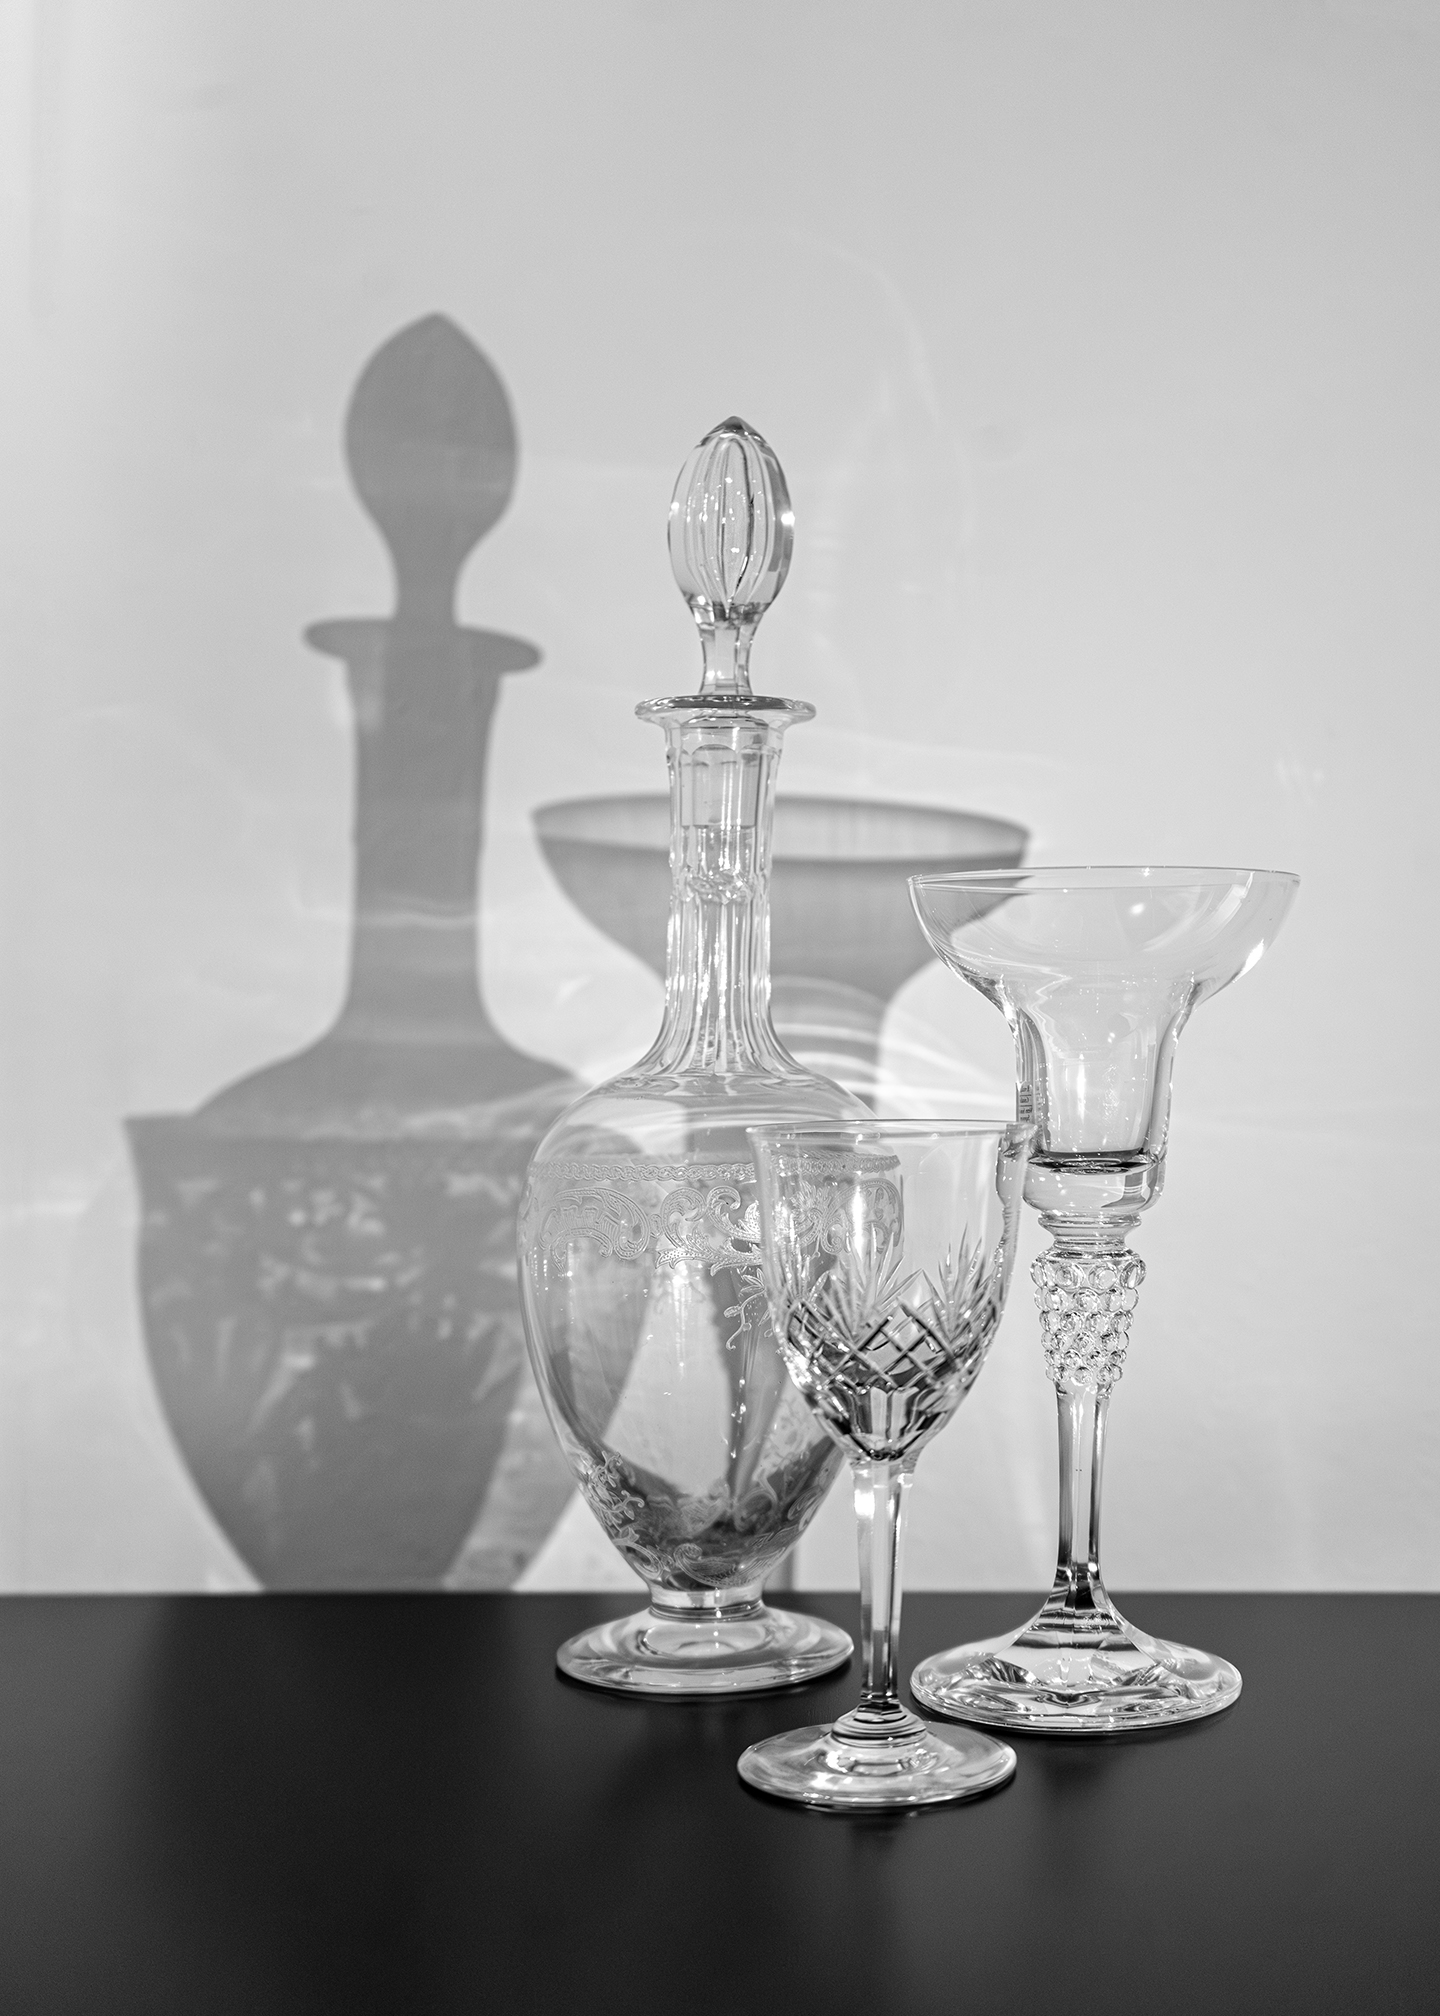
Before and after
Shooting steps
1. Get started
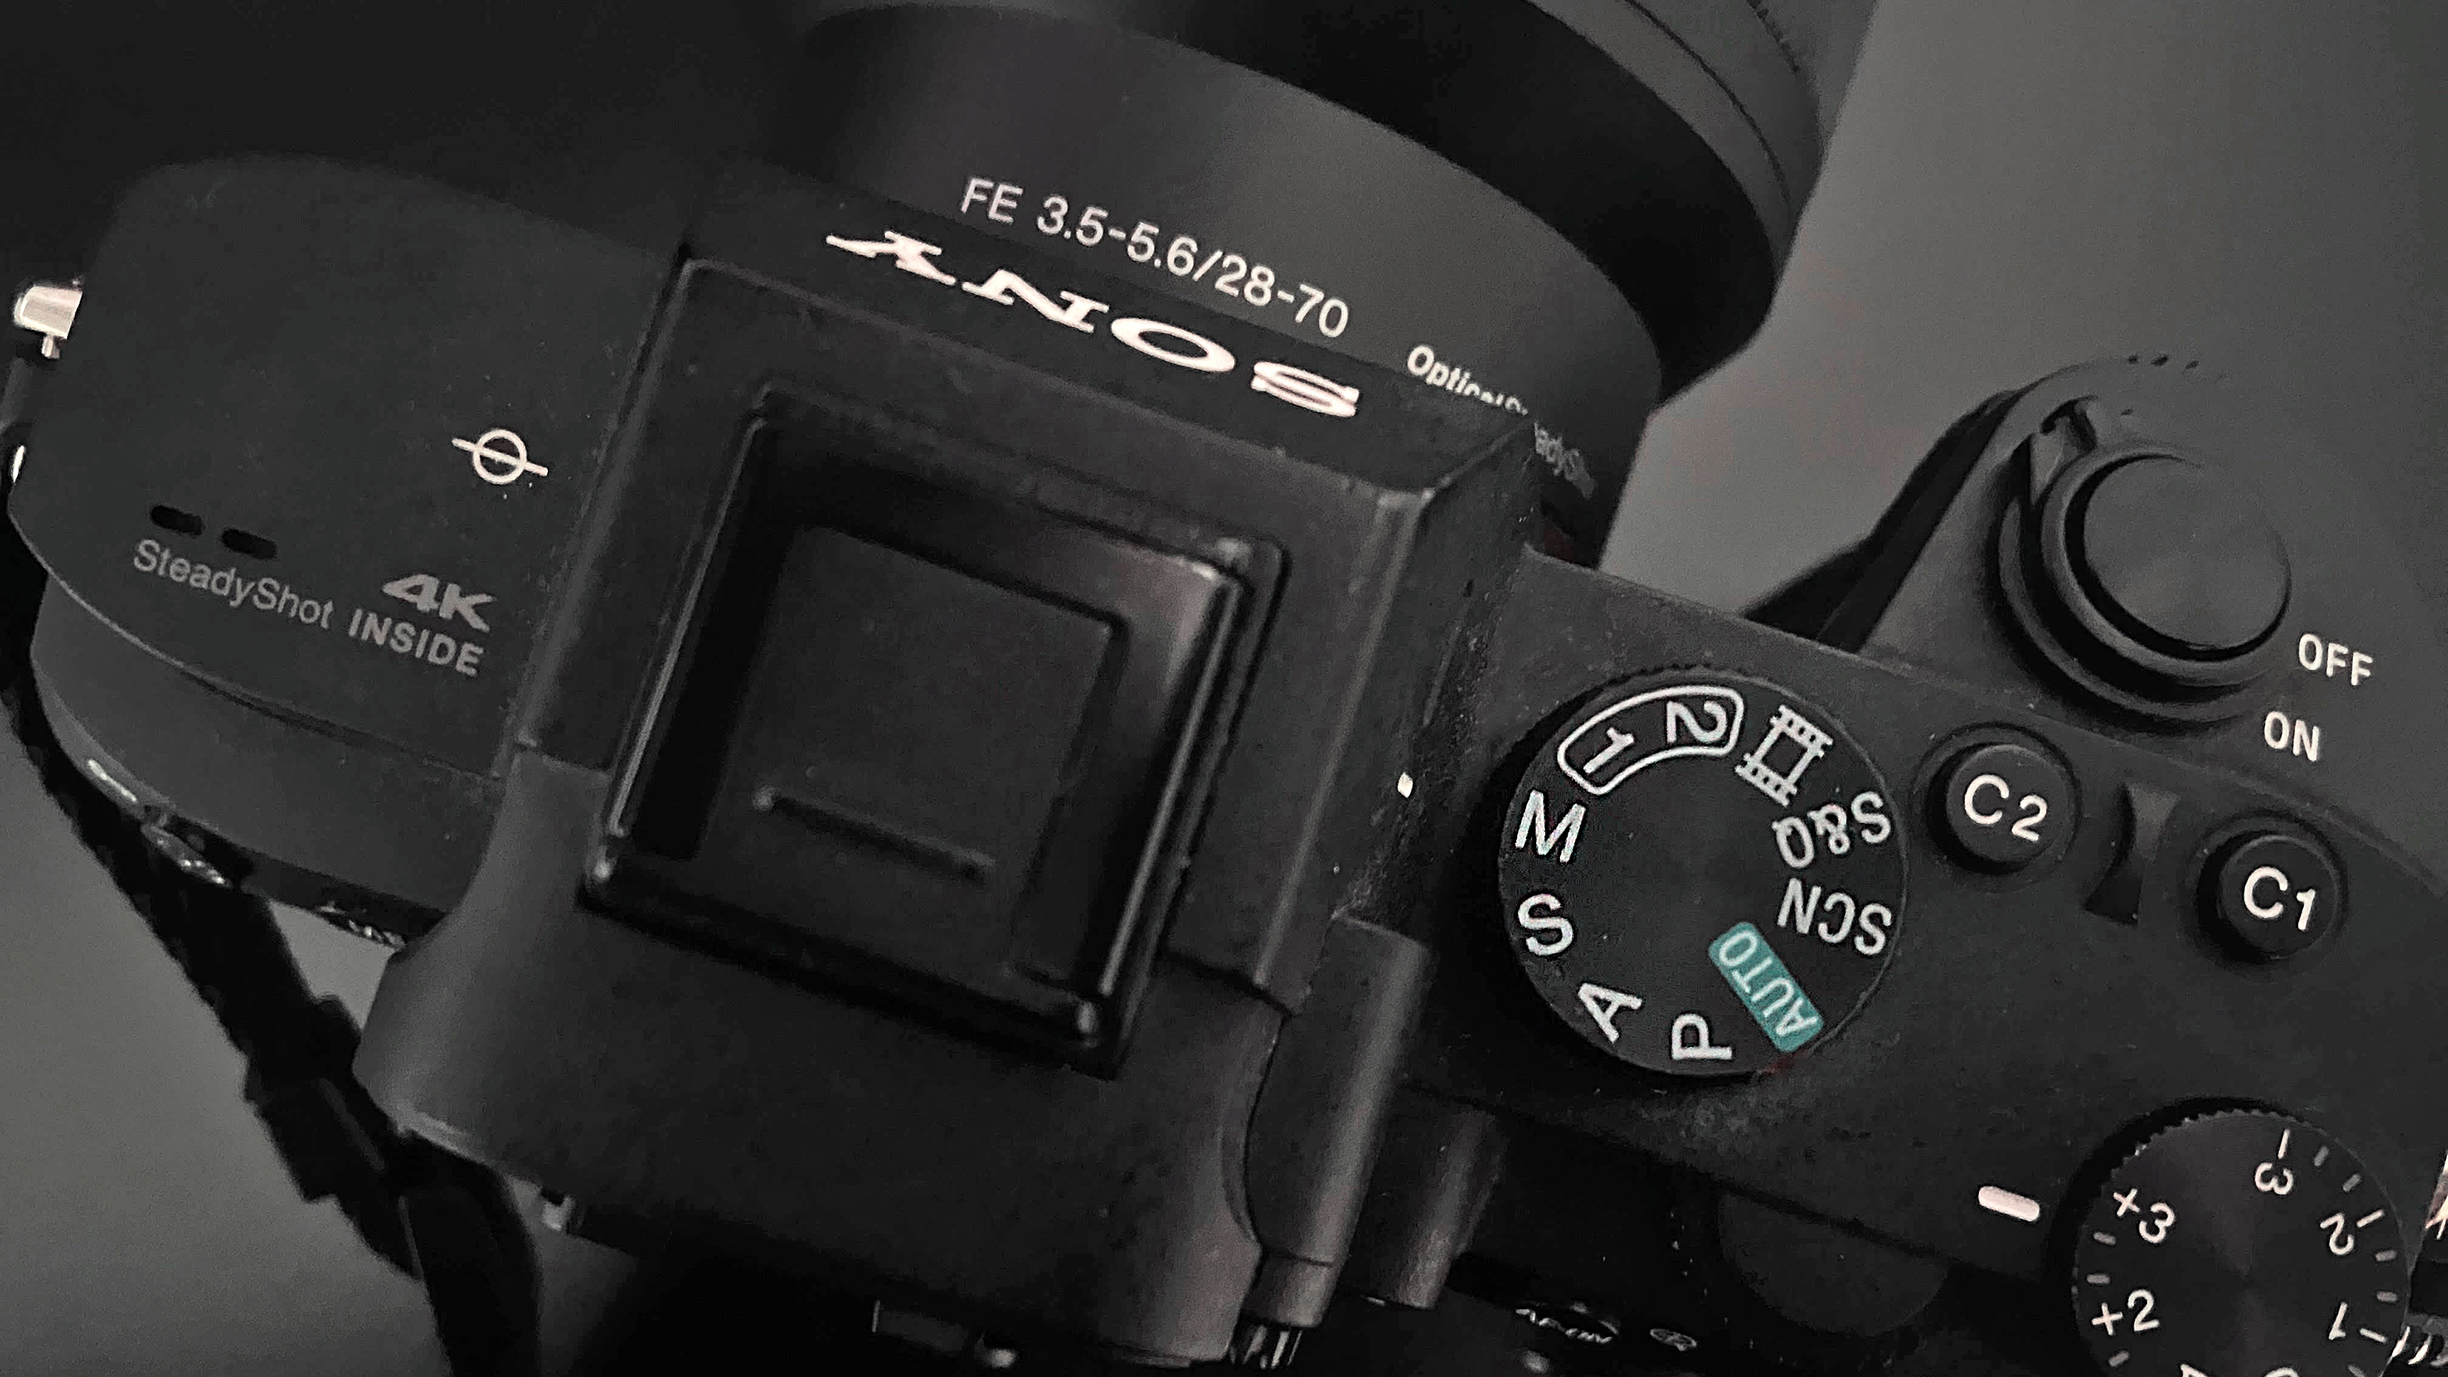
Shoot in M mode for greater control over settings. Select the aperture and adjust the shutter speed and ISO to your scene’s lighting conditions until a balanced exposure is created. Consider mounting the camera on a tripod to leave both hands free.
2. Set the scene

To demonstrate the power of white balance settings, having a white object or background in your set is ideal. This way, the impact of those settings becomes clearer when experimenting with different white balance presets on your camera.
3. Experiment with presets
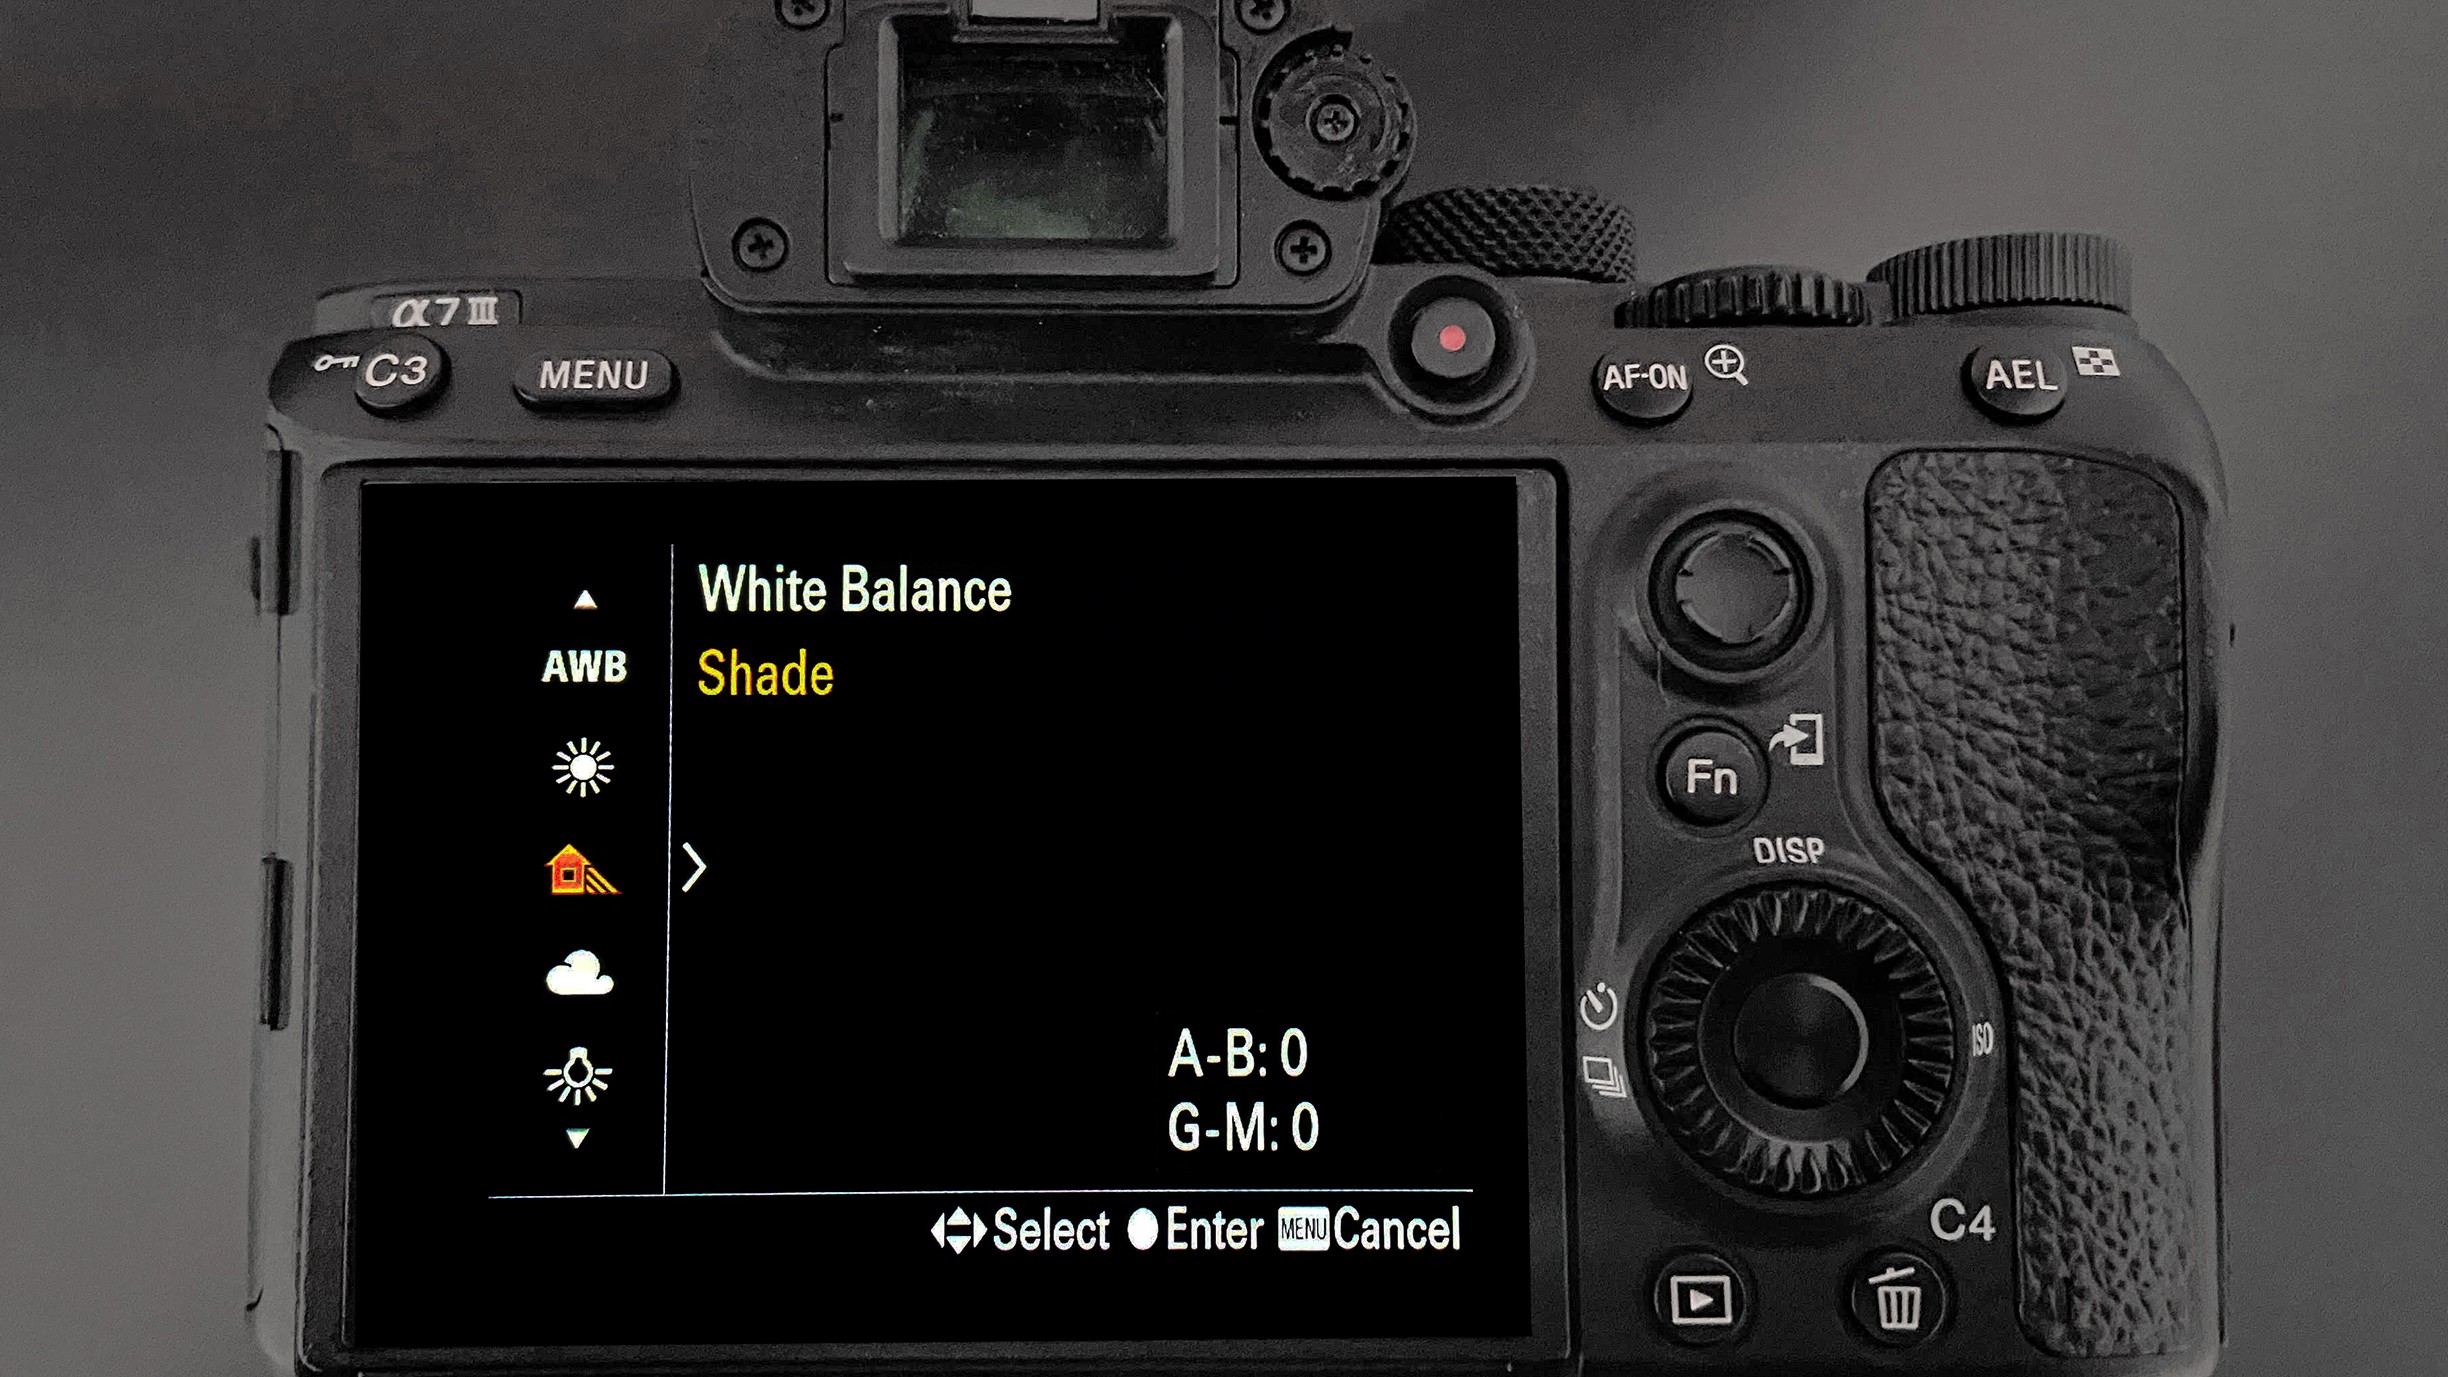
Now it is time to dial in your white balance settings. On most cameras, this adjustment can be found under Exposure > Colors. Select this and you will have access to different presets created for various lighting scenarios.
4. Select and compare
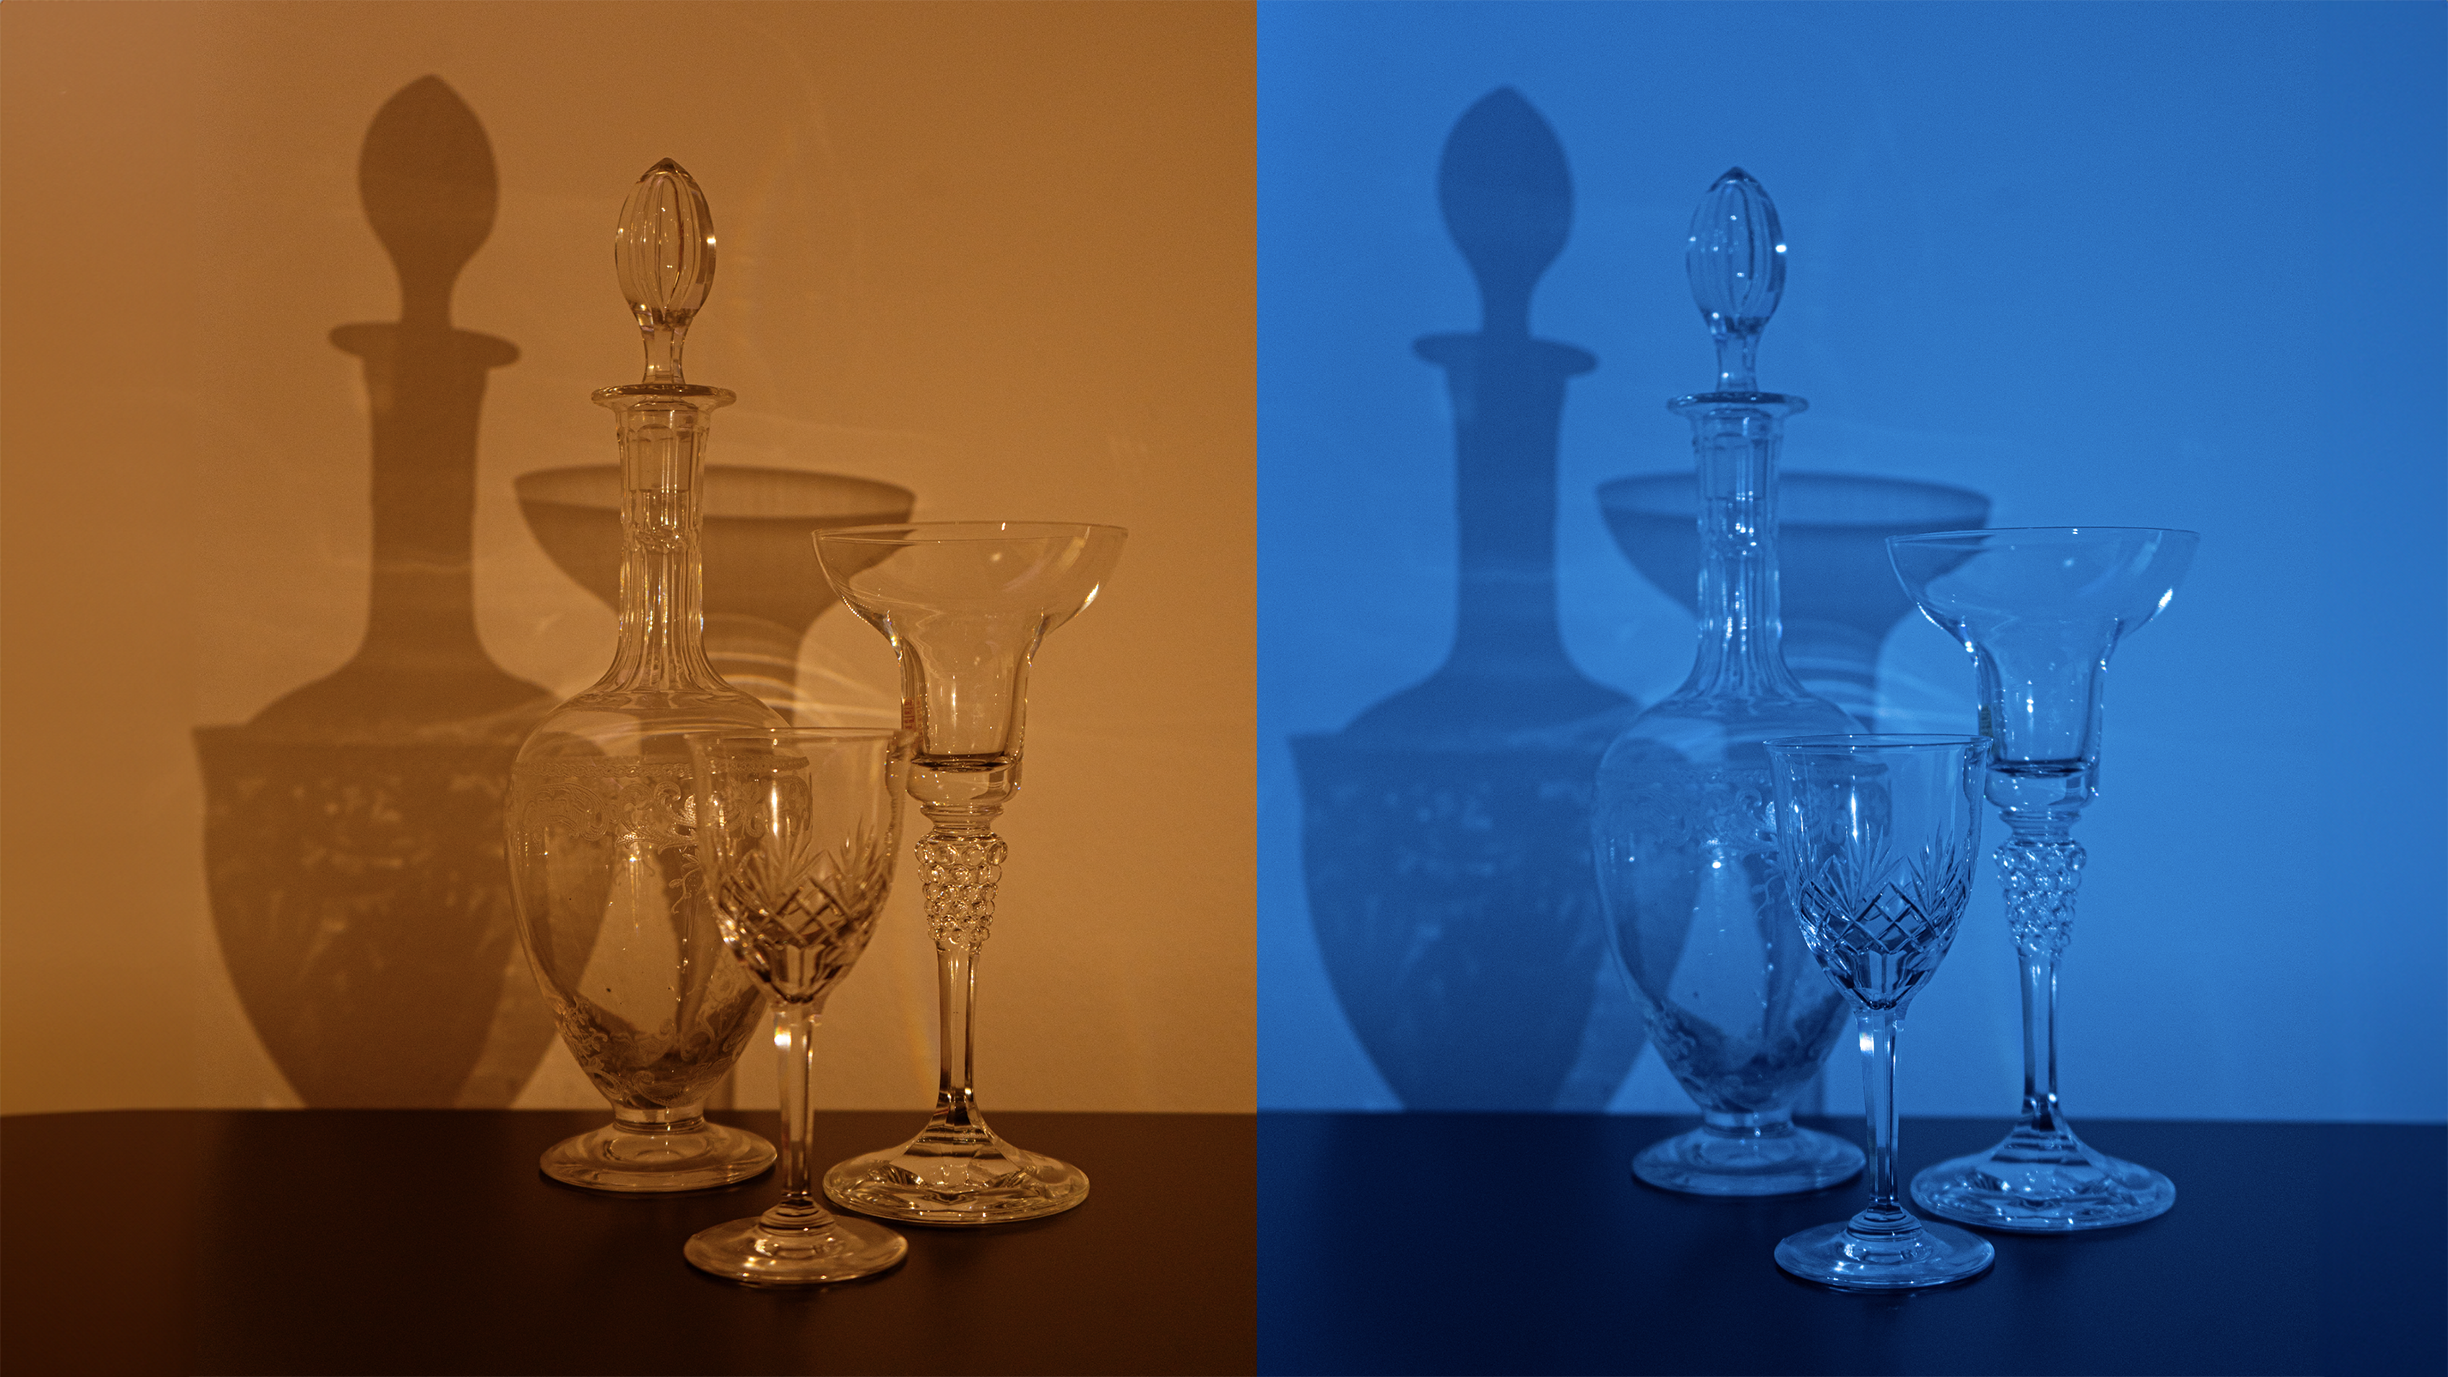
Select and compare Select the different white balance options and try out each mode. It should be clear how the settings influence the colors. Here, we chose ‘Daylight’ to add warmth (left) and ‘Incandescent’ (right), which introduces a cool color cast.
5. Include grey tool
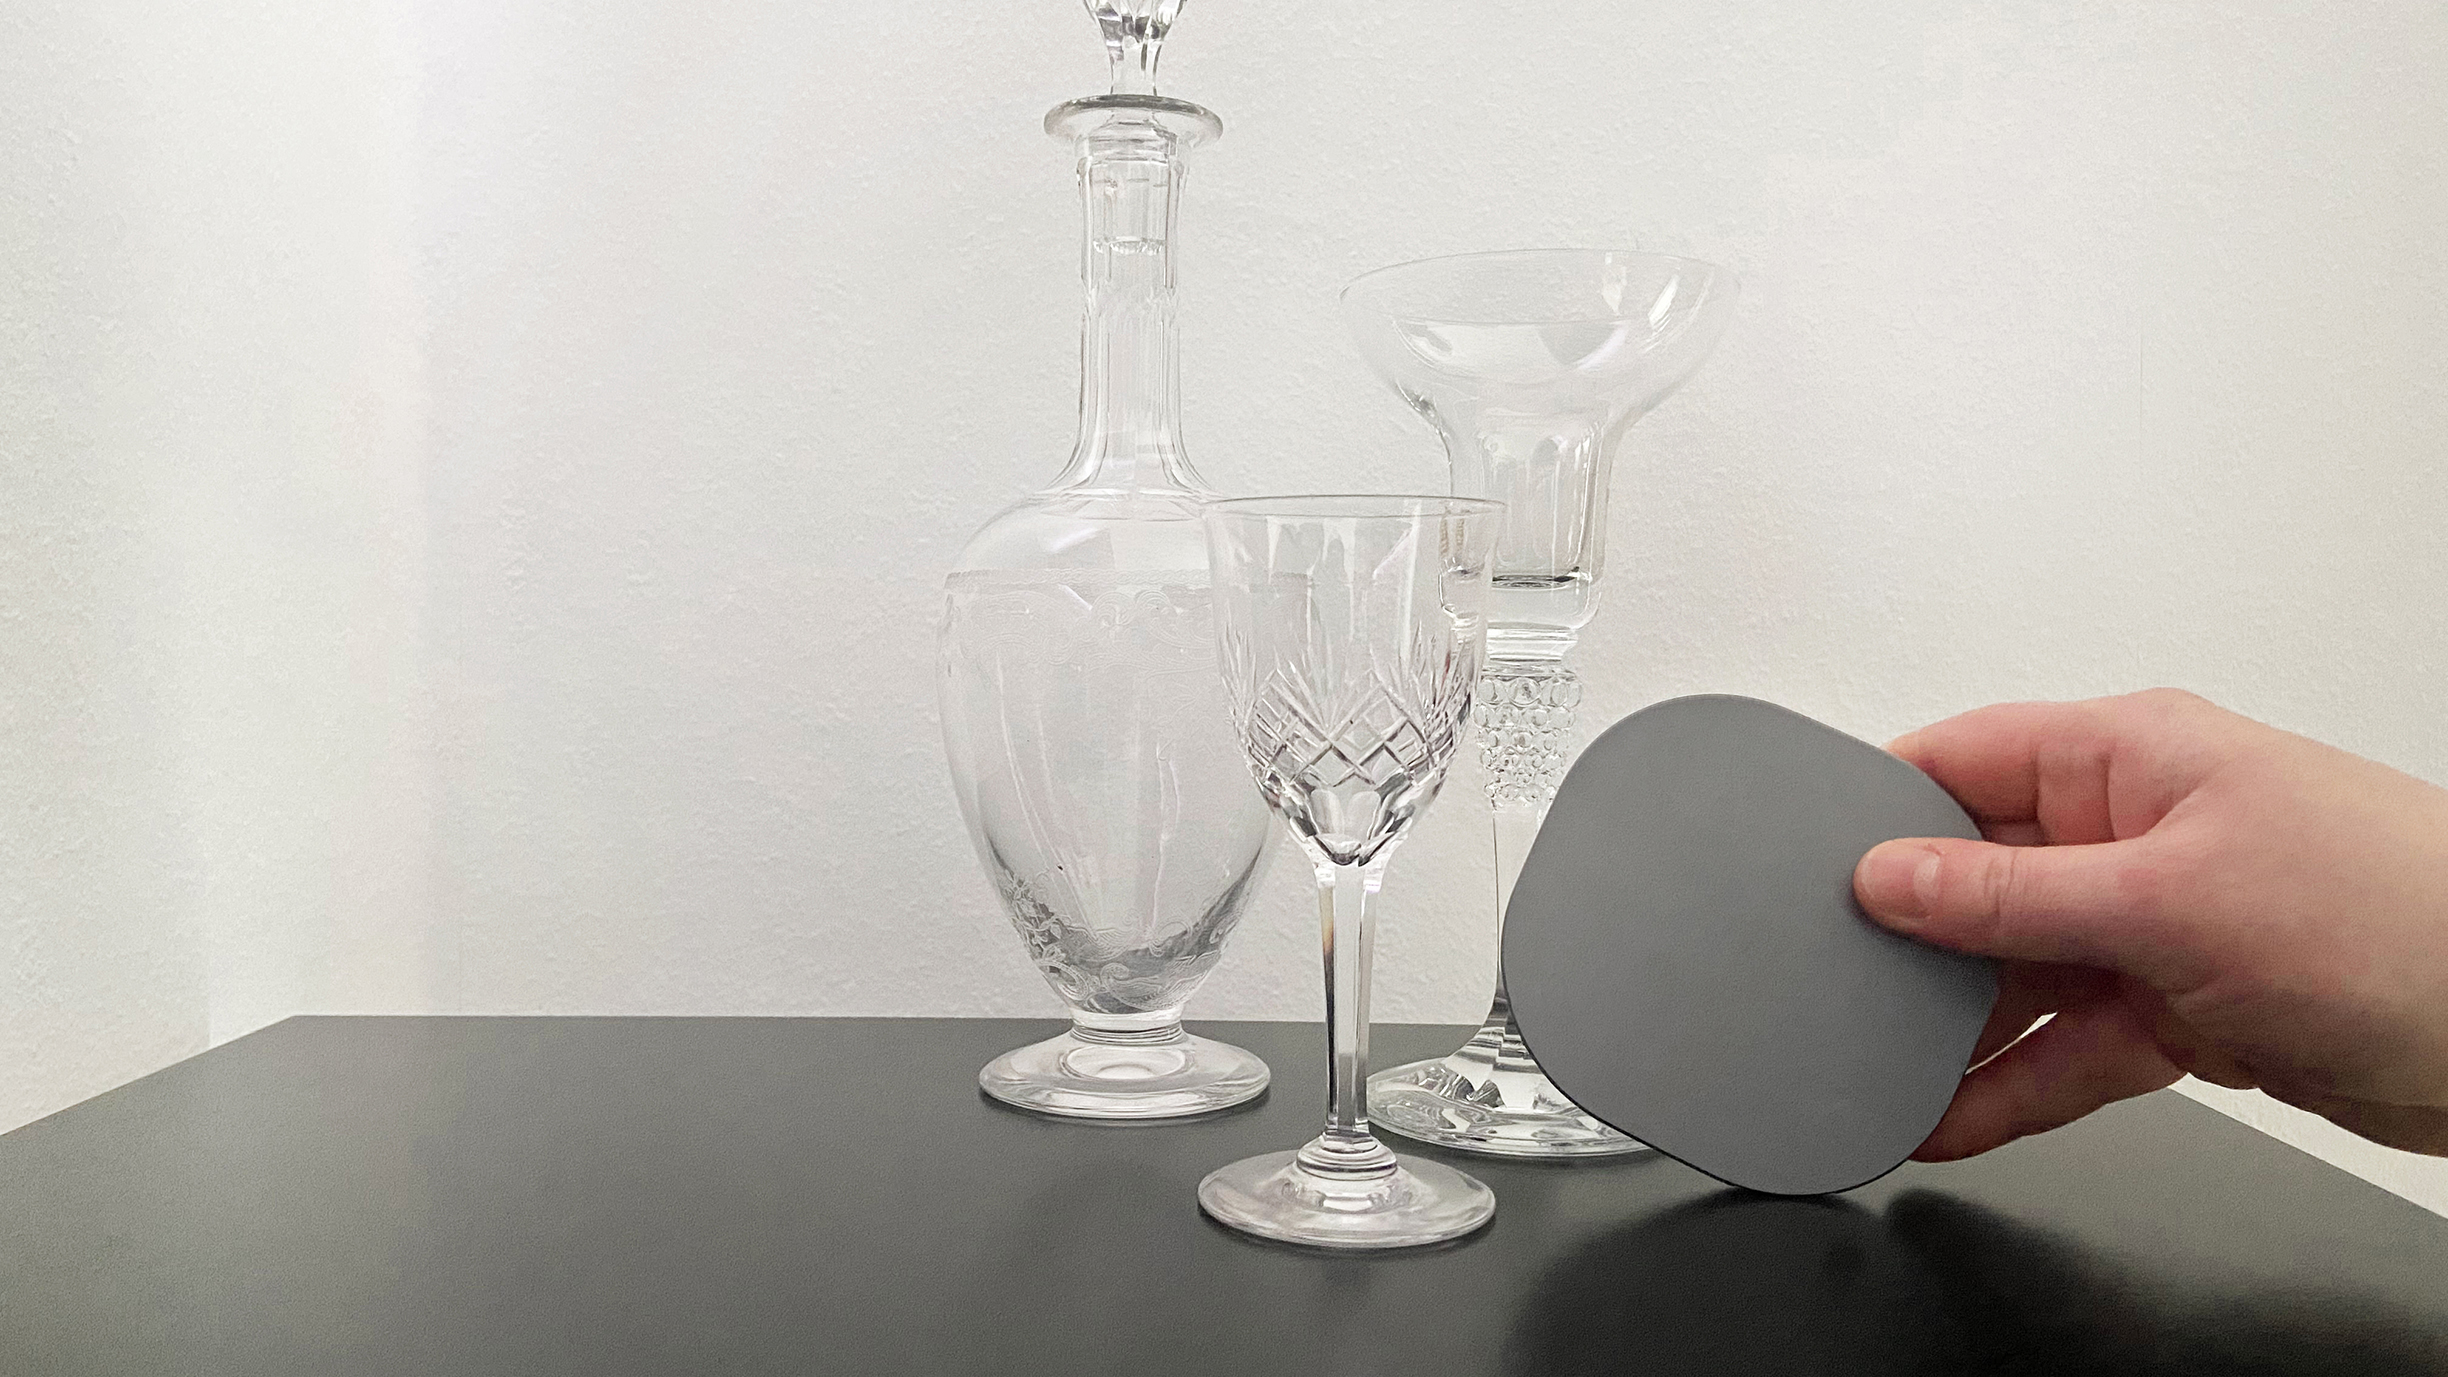
If your goal is to create natural colors and ‘pure’ white elements, you need a supporting tool, such as a grey card. These have an 18 per cent gray tone and come in handy credit card sizes. You can also use Sony lens caps, which are pure grey.
6. Start WB reading
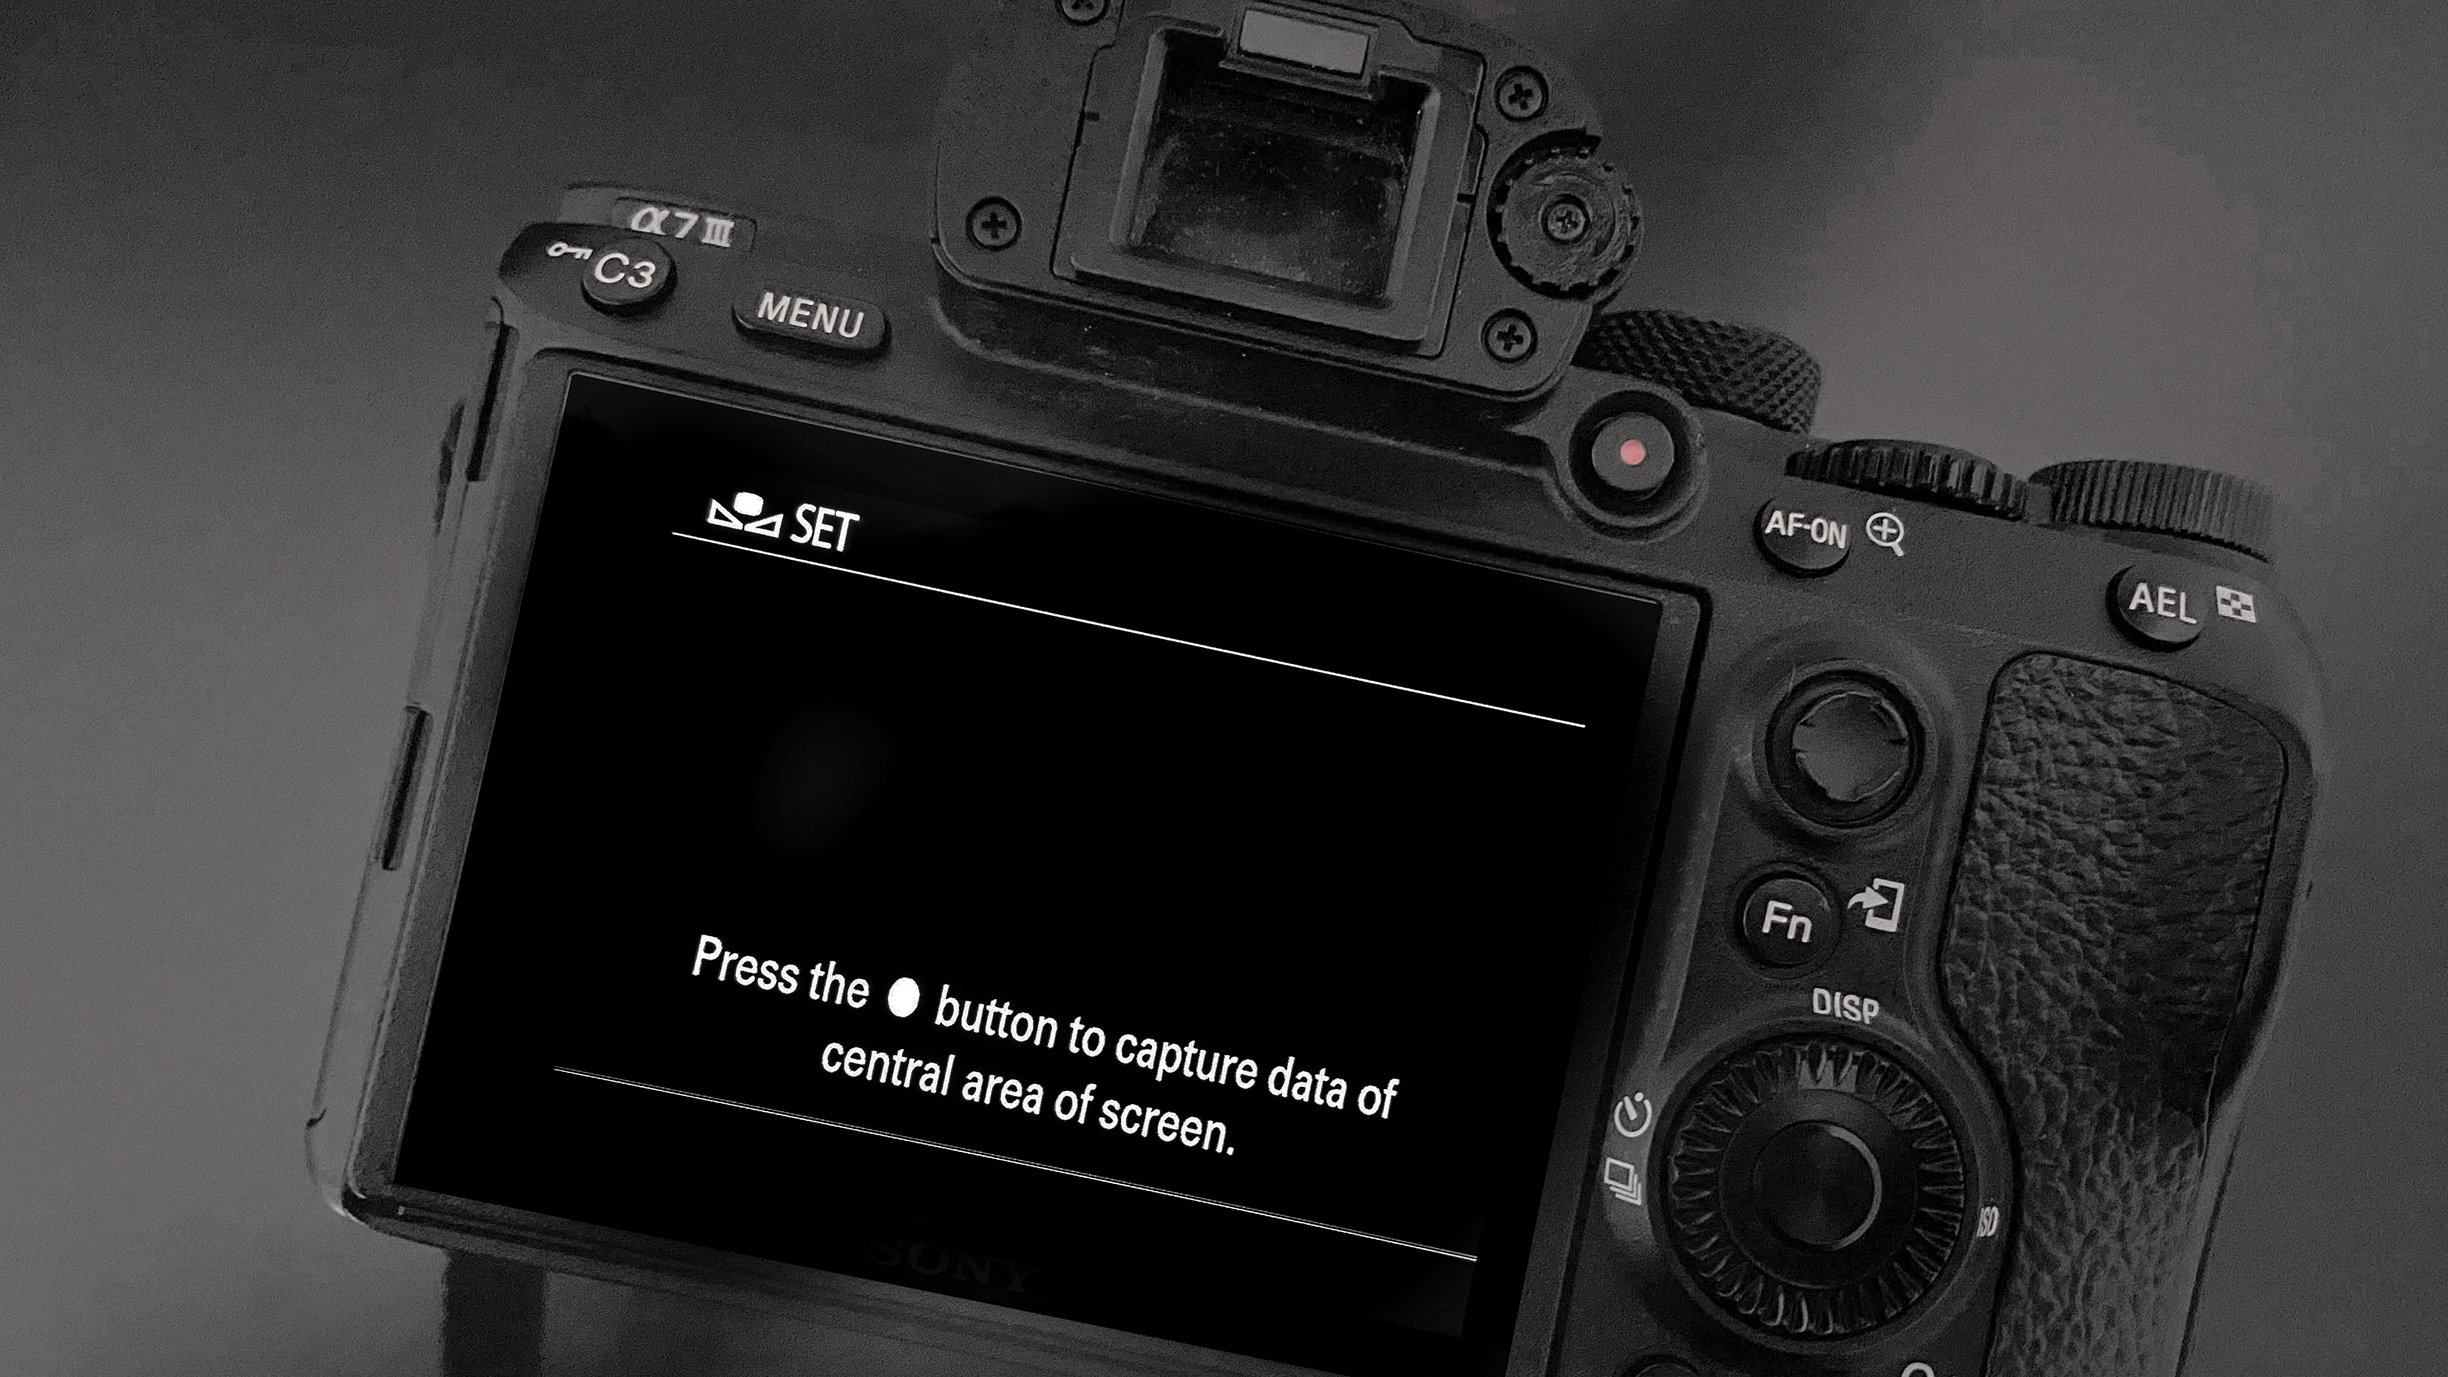
Place the grey card or lens cap into the scene and zoom into it. Find the Custom White Balance function in the presets. Push the centre button to start an individual white balance reading. This process may differ depending on your camera brand.
More tutorials
Get the Digital Camera World Newsletter
The best camera deals, reviews, product advice, and unmissable photography news, direct to your inbox!

Kim is the Staff Writer on Digital Camera World, and formerly Technique Editor at Digital Photographer, focusing on the art and science of photography. With a Master’s degree in Photography and Media, she is driven to educate through an analytical approach, visually and technically. With her guides and tutorials, Kim seeks to uncover new facets of this time-honoured medium and foster a deeper understanding of its profound role in culture. Kim highlights topics that resonate with modern society, including women in photography and critical issues such as environmental conservation. She also discusses and reviews camera gear, giving you an overview to find the best fit for your photography journey.
You must confirm your public display name before commenting
Please logout and then login again, you will then be prompted to enter your display name.
