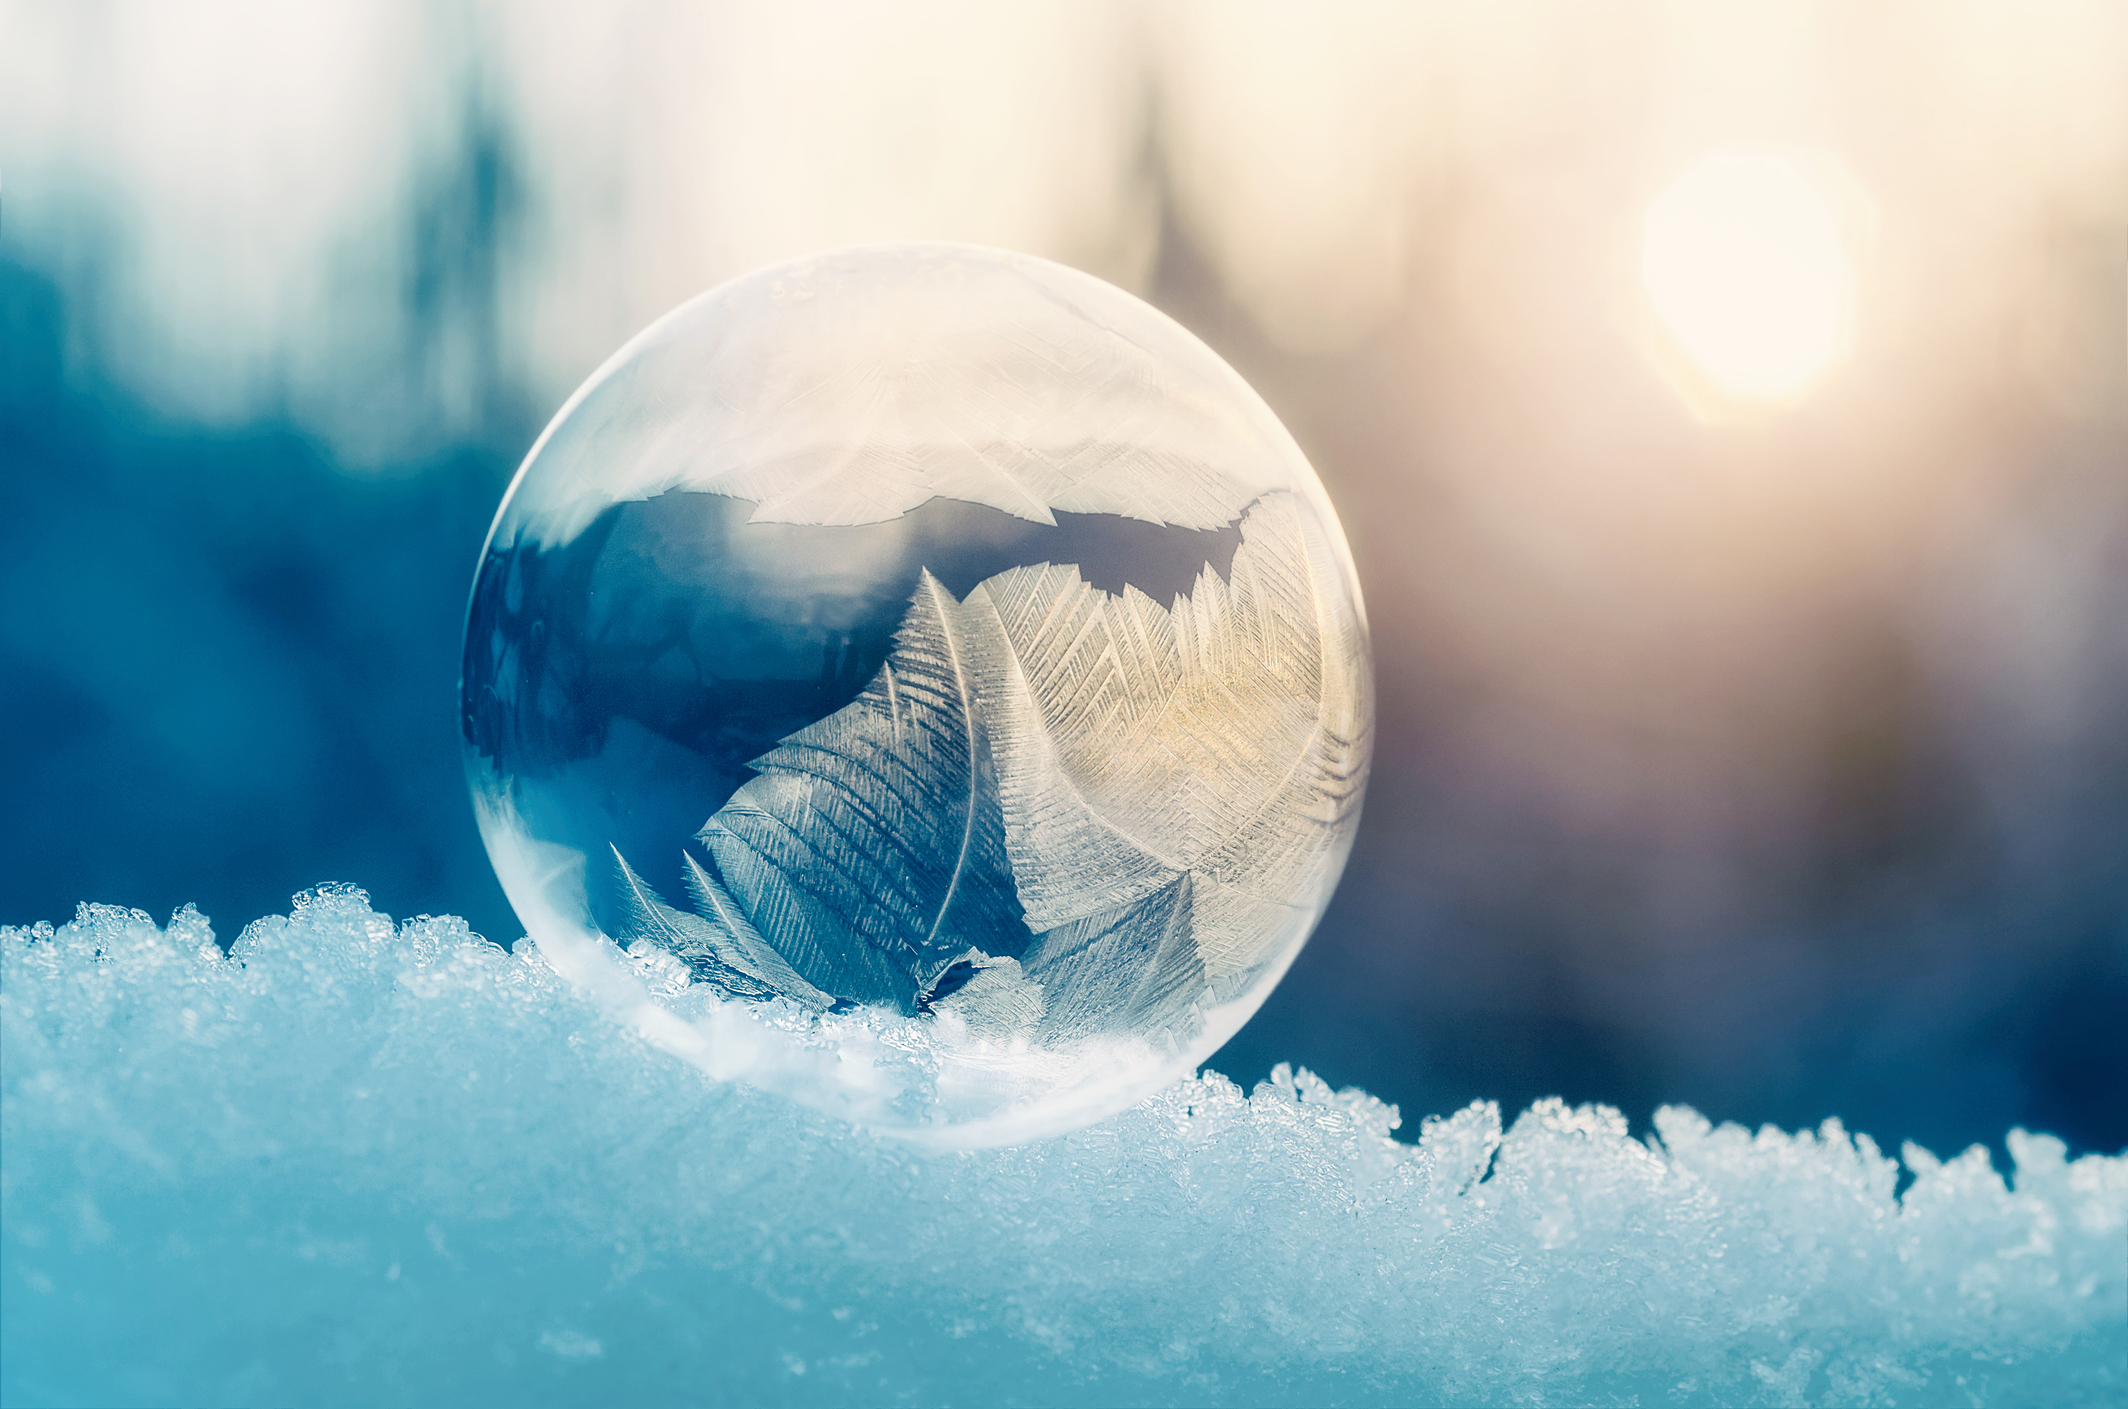
I captured a frozen bubble on my window sill at the first sign of snow – here’s how you can too!
Make the most of a snow day this holiday season and capture a close-up of a frozen bubble – every one’s unique!
I always find the perfect snow-covered photo is very often hard to come by. Crowds of people, footprint-riddled landscapes, and few discernible subjects can make snow photography very challenging indeed. So here’s a project where you have much more control over your subject.
Although using one of the best macro lenses is preferable, you'll find that many kit lenses have decent close-focusing properties in a pinch. Depending on the available light, you may also wish to use an LED light panel and a mini tripod to hold your light in place.
Perhaps the most challenging aspect is shooting in the right conditions. You’ll need to work in sub-zero temperatures, and the colder it is, the higher your chances of success. There are several ways to create the homemade solution required to form sturdy bubbles that won’t pop before they’re frozen, but the core ingredient is always dish soap. Once you’ve concocted the perfect mix, you can use a straw to blow a bubble and settle it somewhere that’s suitably cold, but free from wind.
It’s then a case of readying your camera and waiting for those frozen patterns to form. Get this project right and you’ll be rewarded with some truly awe-inspiring macro images of frozen bubbles!
How to capture frozen bubbles
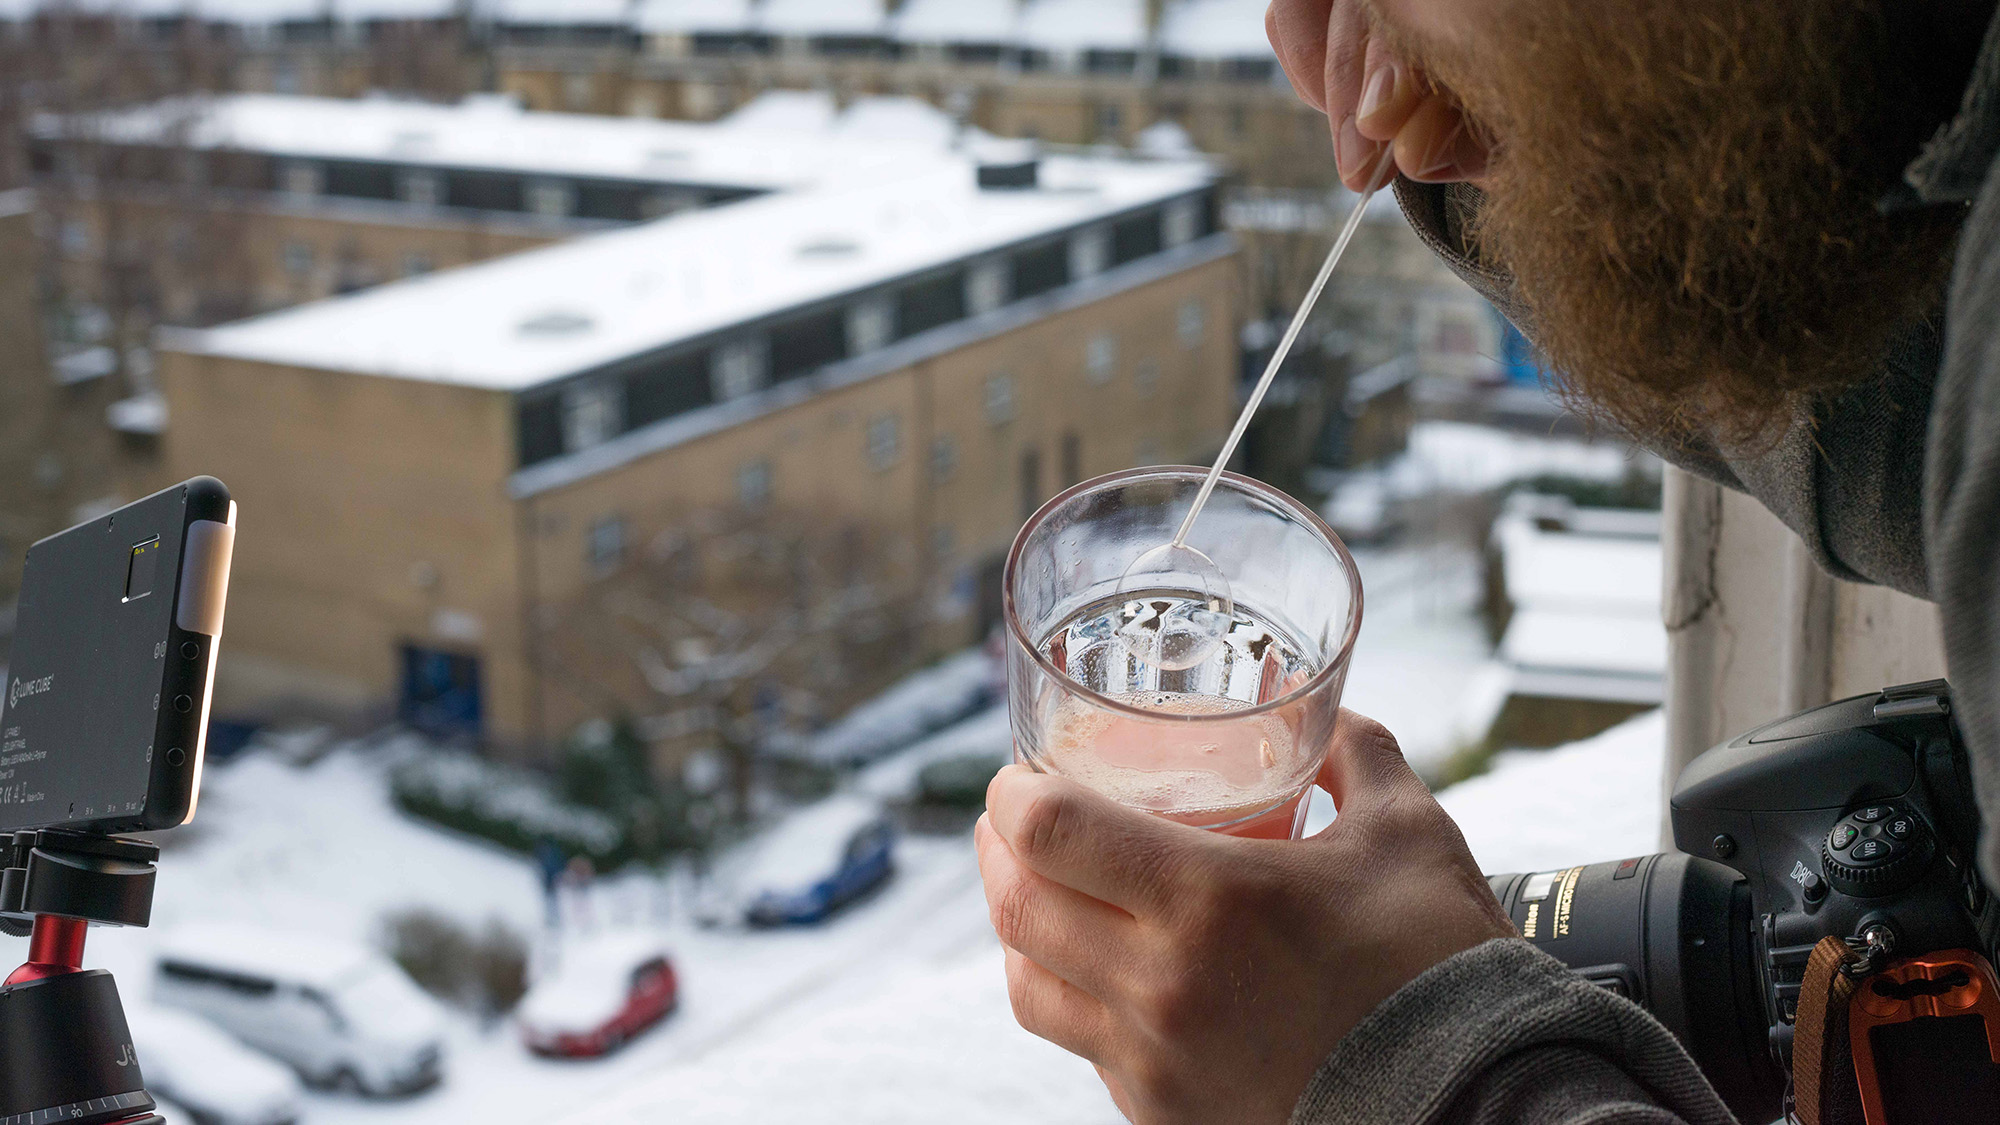
1. Mix your snow-bubble solution
Popular ingredients for a sturdy bubble solution are dish soap, water, glycerin and a sprinkle of sugar. I recommend experimenting with various ratios, but one part dish soap, three parts water and a teaspoon of glycerin is a good place to start.
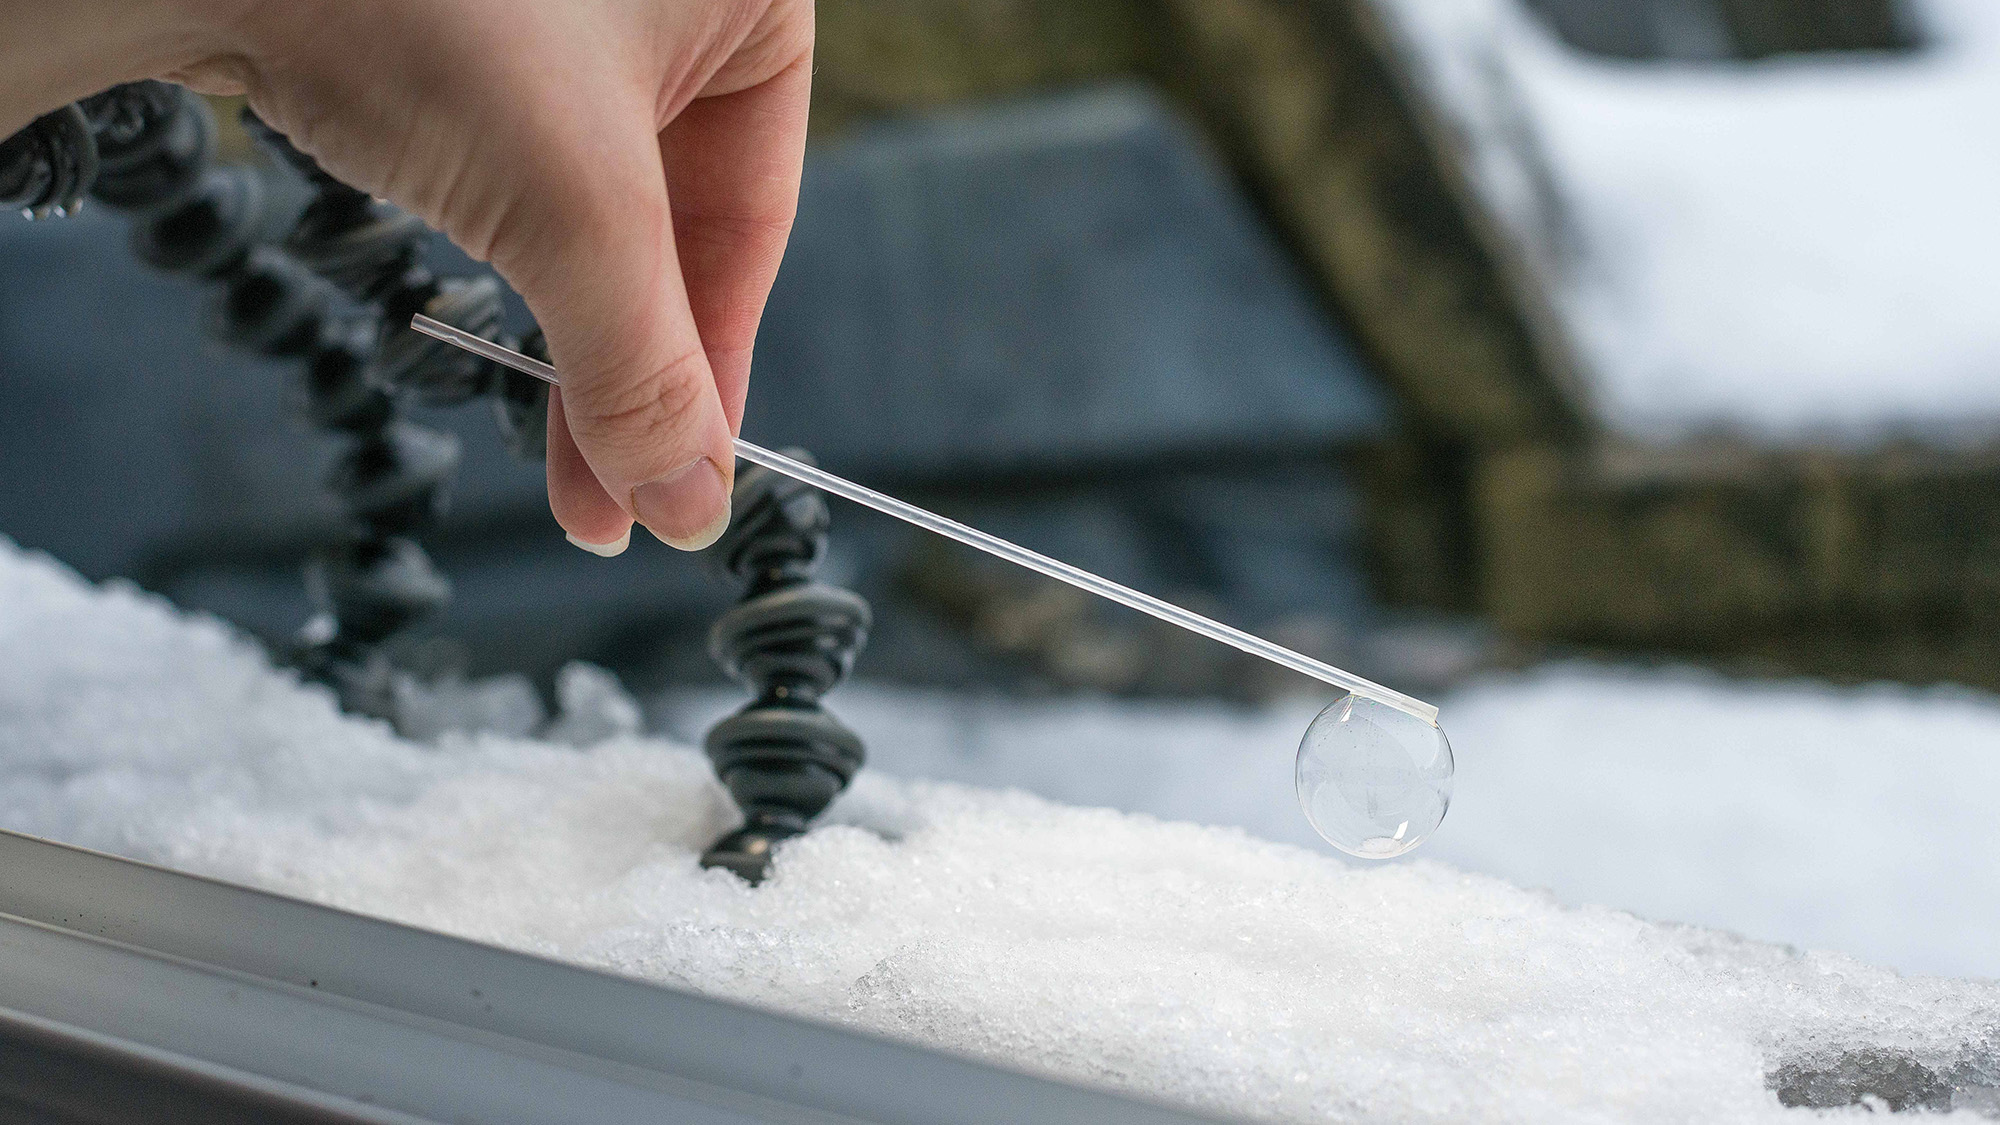
2. Blow some bubbles
Dip a straw into the solution and blow a bubble – the larger the bubble, the more fragile it will be. Once the bubble has formed, carefully place it on a suitable patch of snow. Hold it in place for a moment, and then gently twist the straw as you pull it free.
3. Backlight your subject
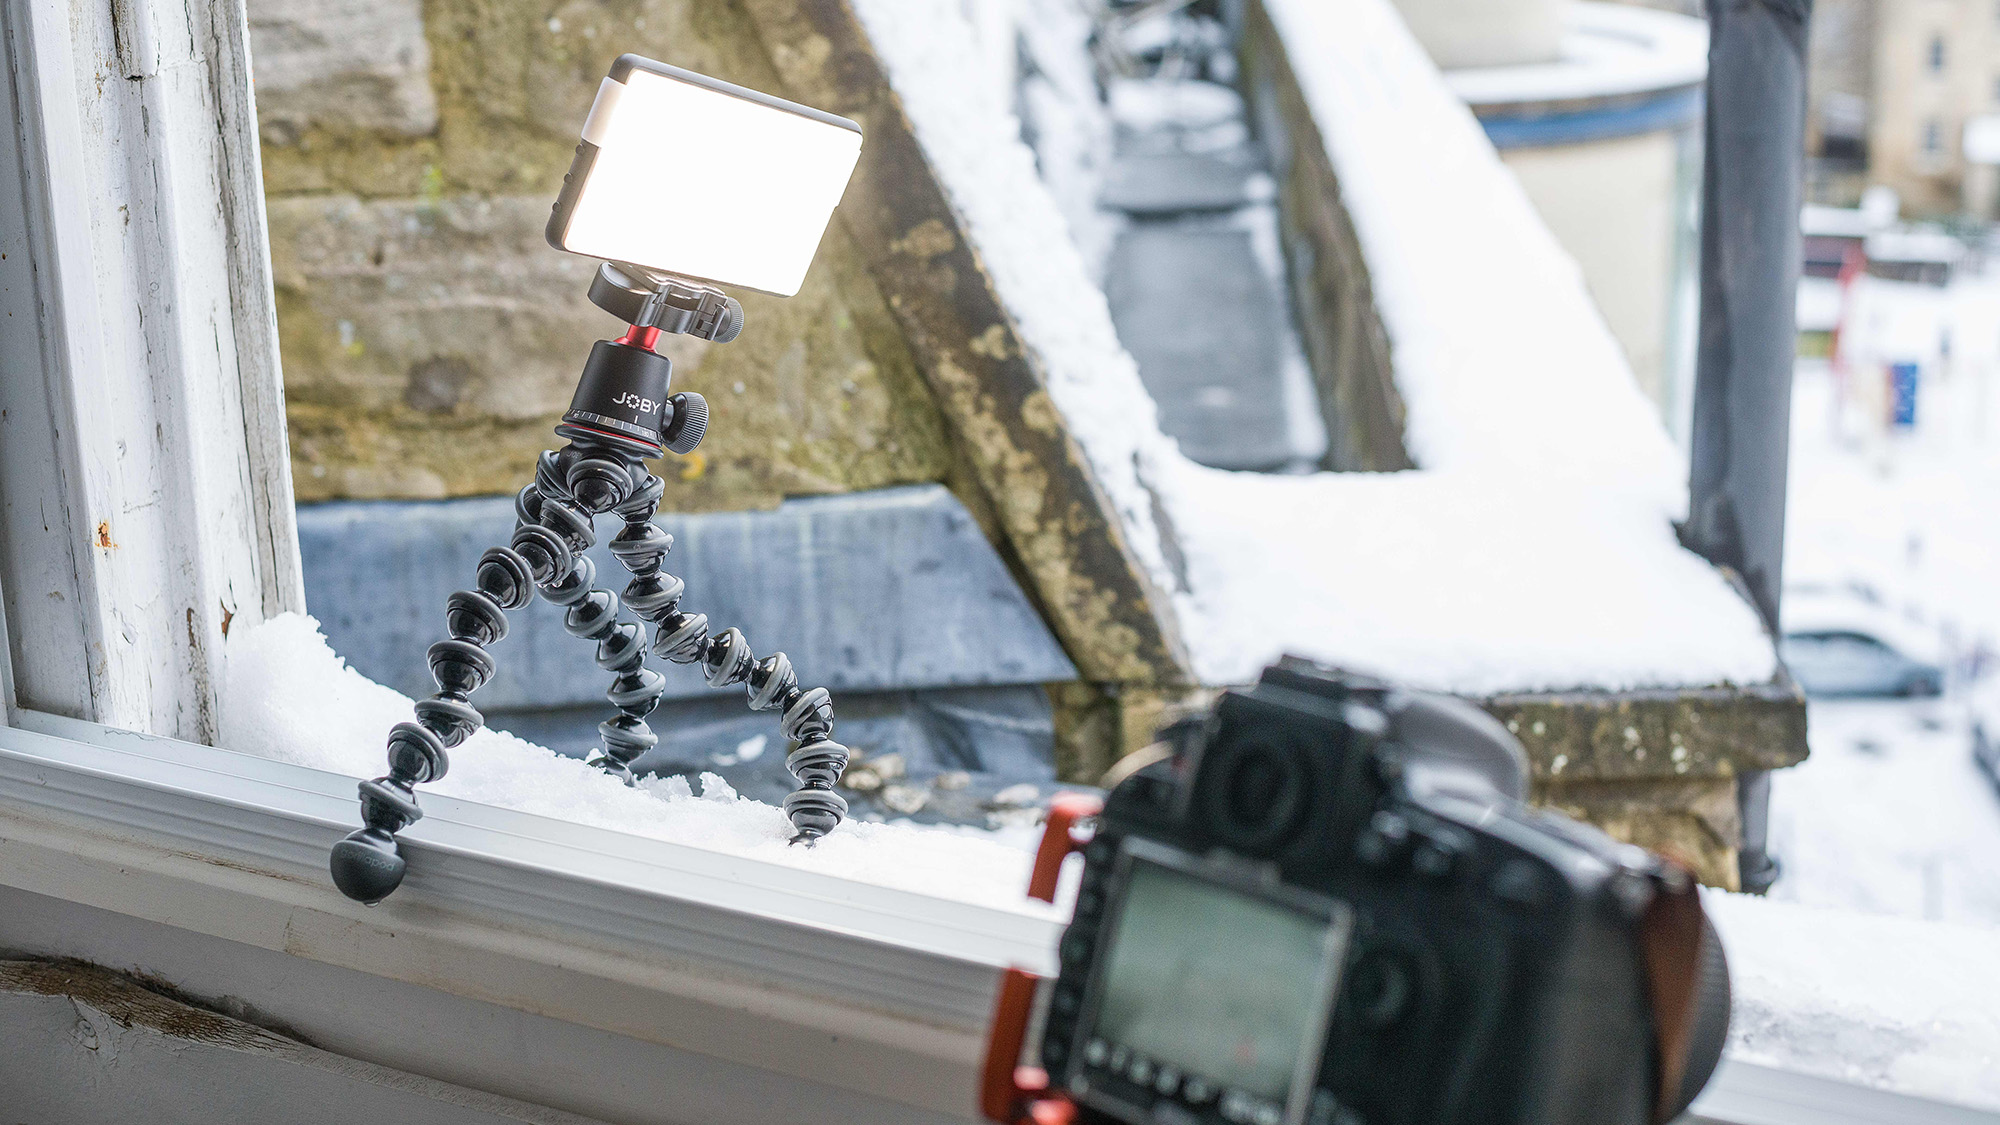
You need to separate your translucent bubble from the background. I used a Joby GorillaPod to position my Lume Cube Panel so that it backlit the subject. If you’re shooting in the right position and at the right time of day, you could backlight your subject with golden sunlight instead.
4. Use a close-up lens
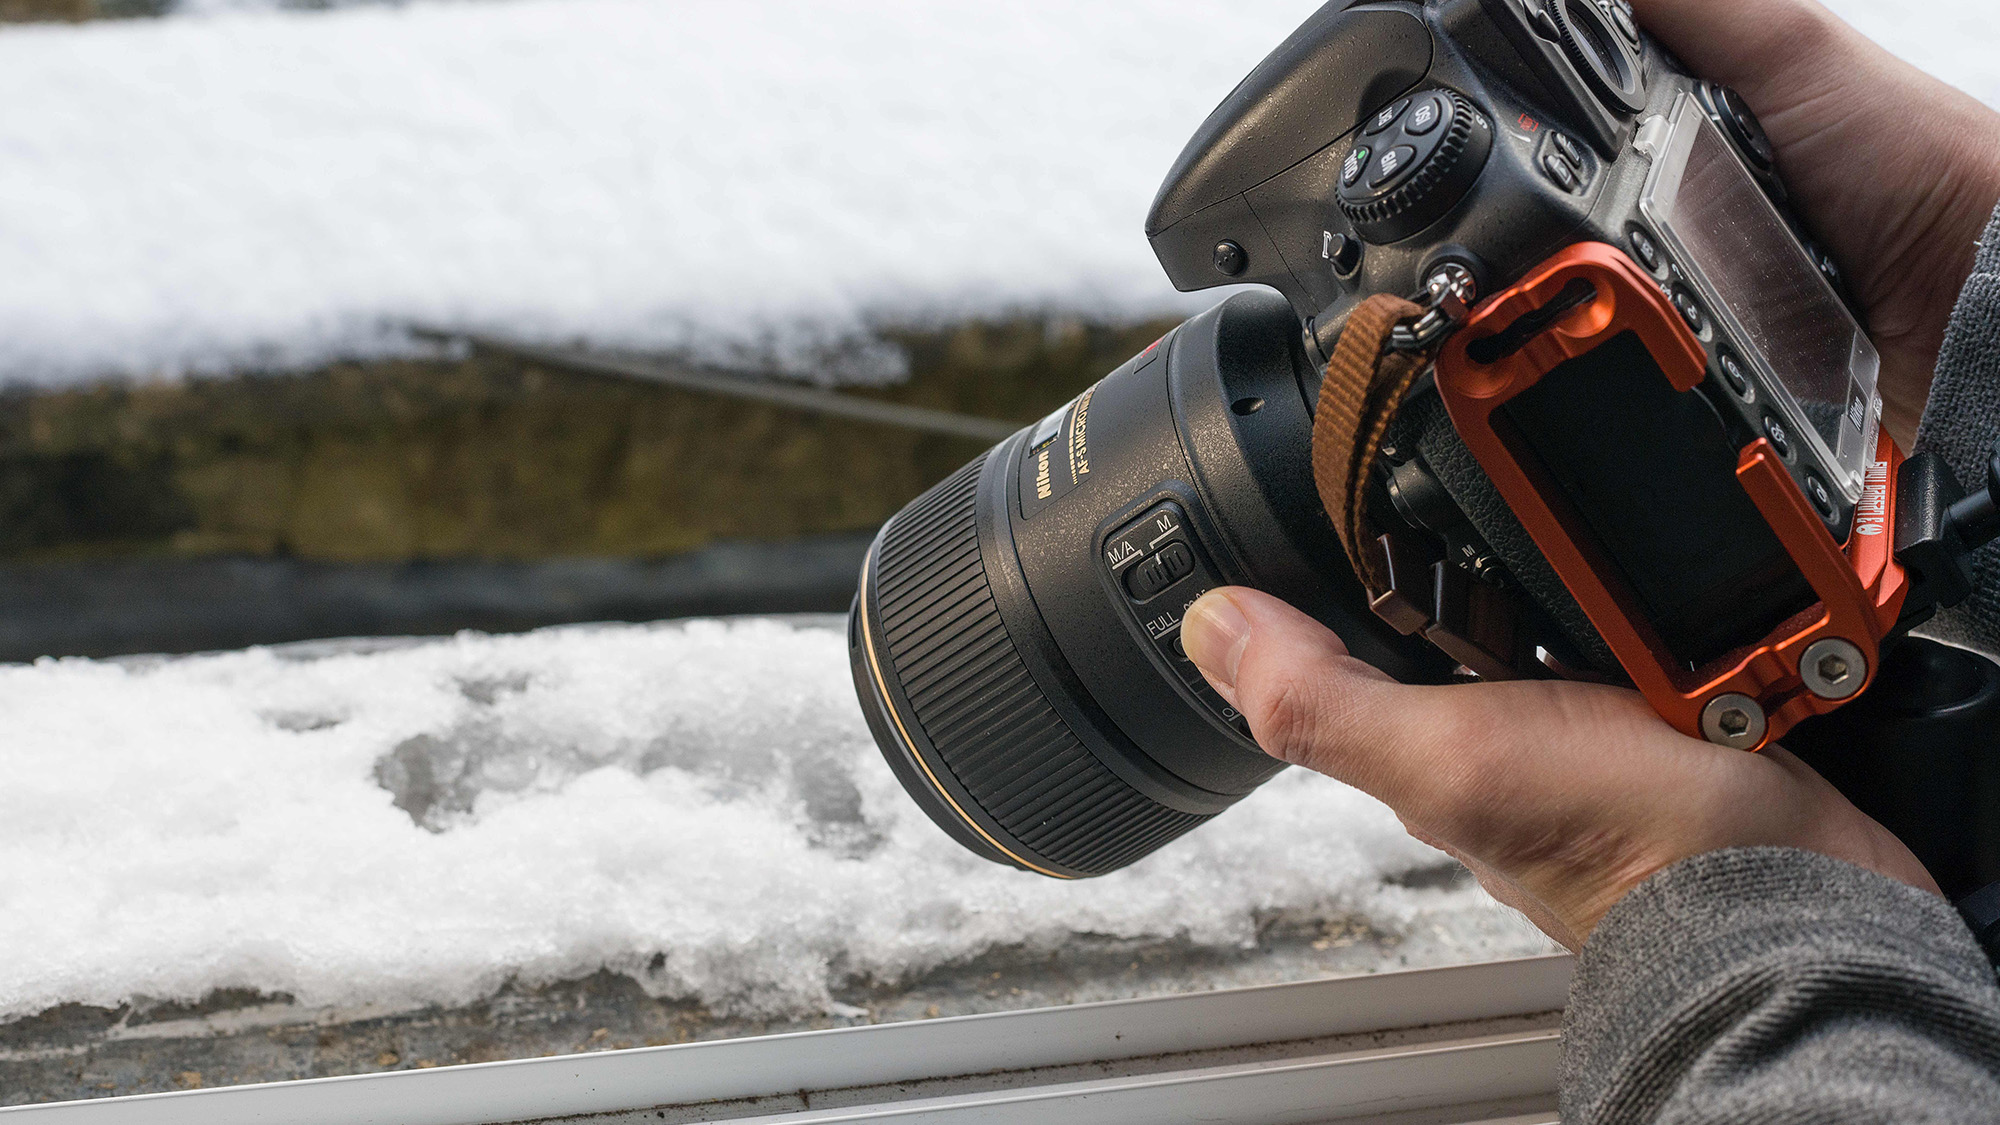
A macro lens, like my Nikon AF-S VR 105mm f/2.8G IF-ED, is ideal for shooting frozen bubble close-ups. However, if you don’t have a macro lens, kit lenses often have decent close-focusing capabilities. If you’re having trouble focusing using autofocus, try switching to manual focus.
5. Switch to live view
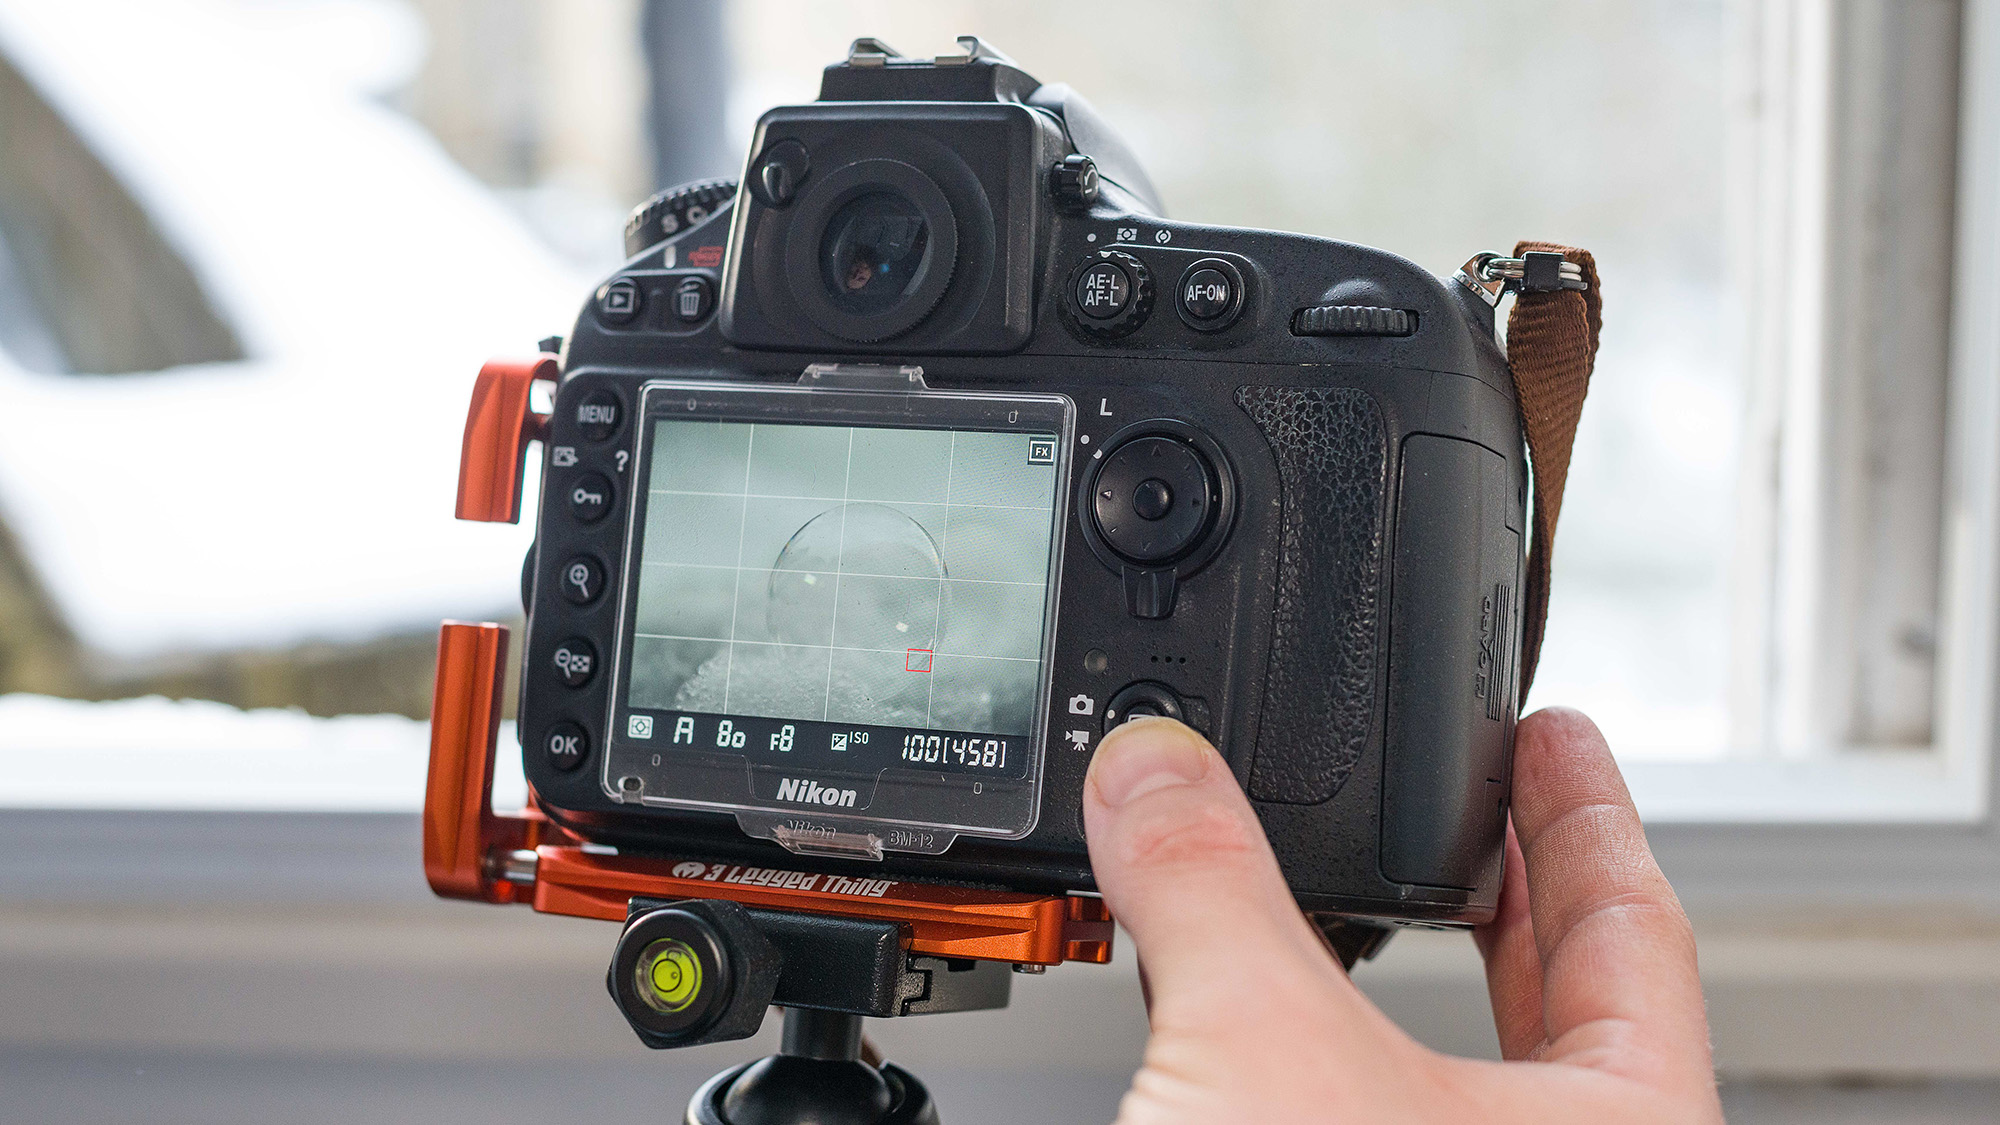
Use Live View to refine your composition and zoom in to ensure that your focus is tack-sharp. If you’re shooting on a tripod you can use ISO100, but the aperture will depend on the depth of field you’re trying to achieve. I suggest starting at f/8 and widening or narrowing the aperture as desired.
6. Every snow bubble is unique
The frozen pattern on your bubble will gradually change as it freezes – so start shooting as soon as the icy surface begins to appear, and don’t let up. Even when it bursts, a half-formed bubble can still make a compelling subject. Part of what makes this project so interesting is that no two bubbles look the same, so you’ll have a unique subject every time.
Quick tip!
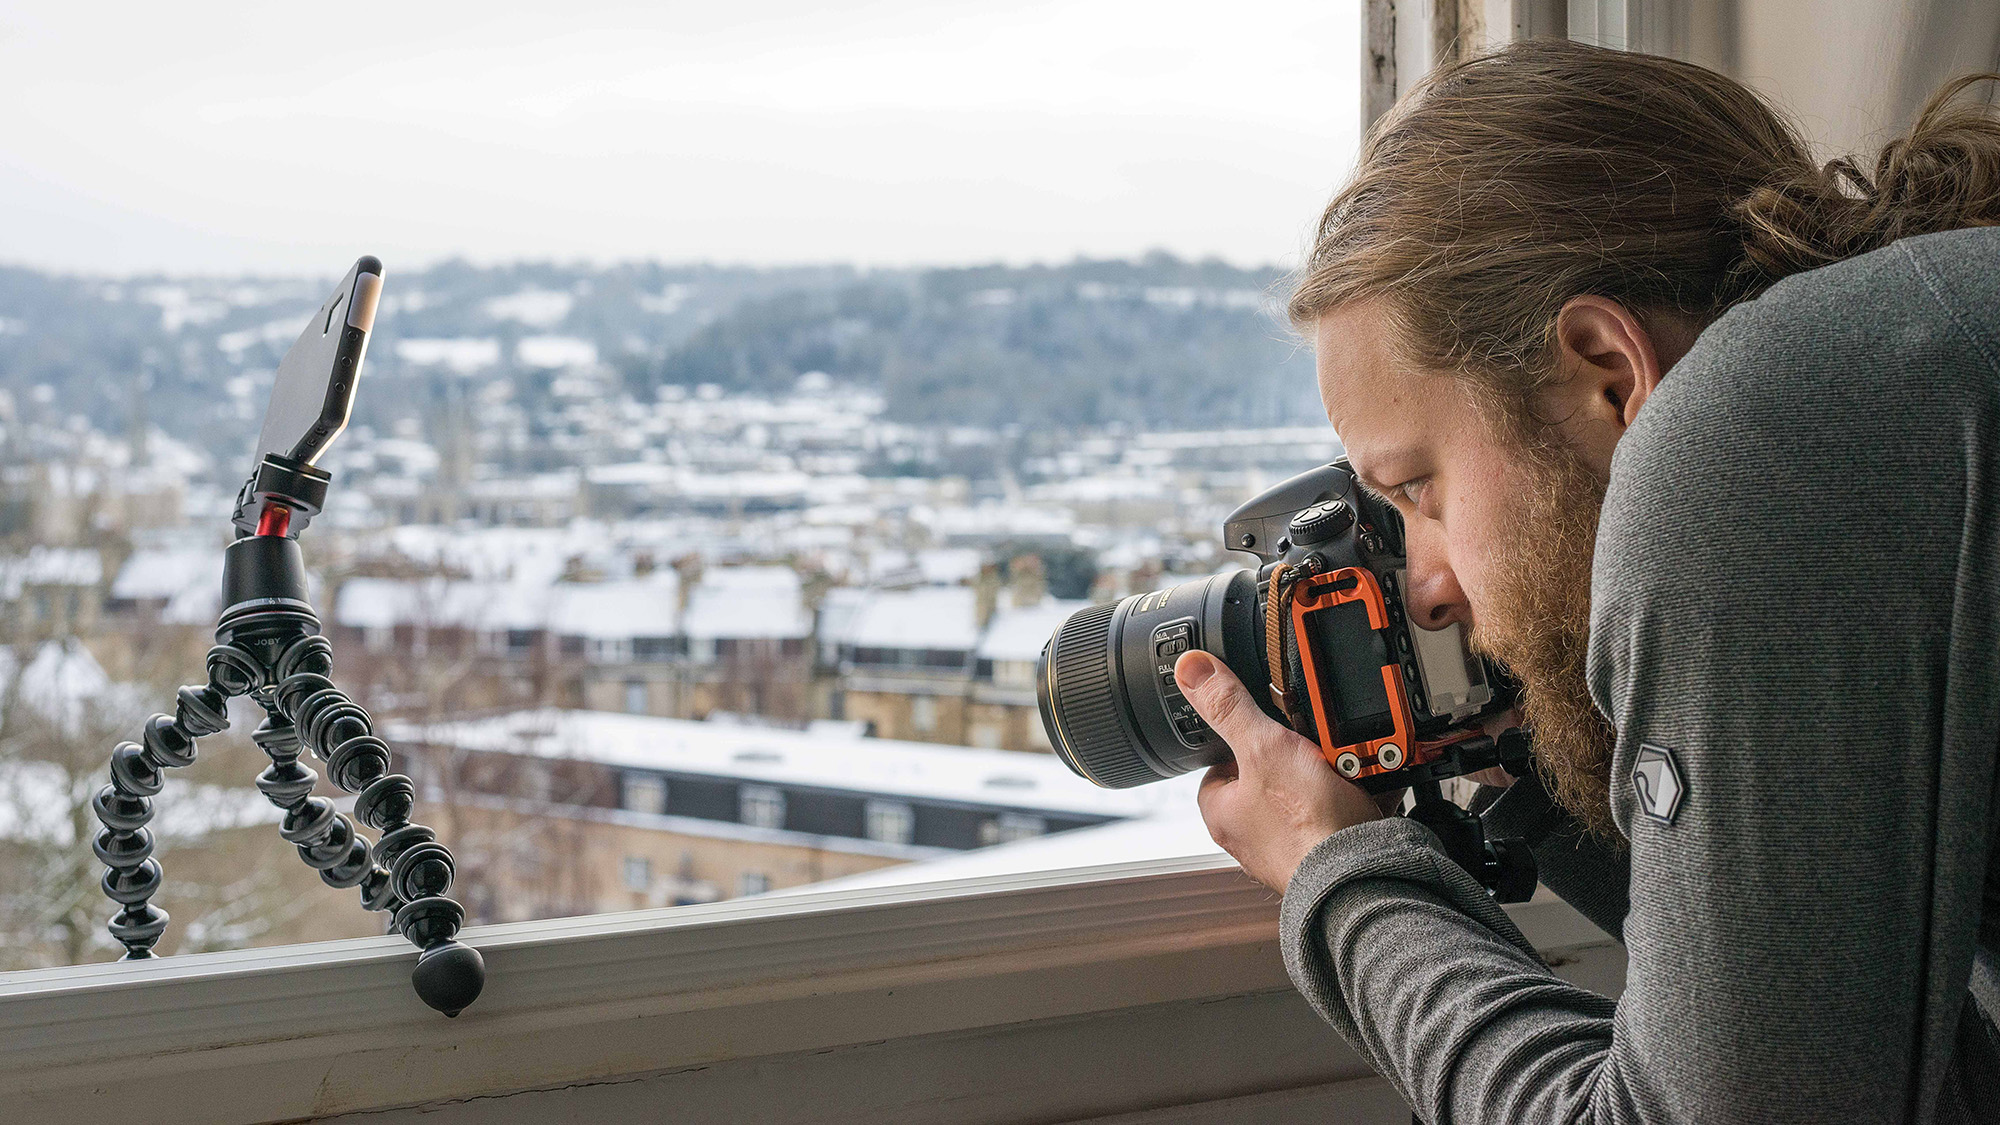
Even a slight breeze can be enough to burst your bubble. Try to shoot during calm conditions and, if that’s not possible, find somewhere that’s sheltered. I set up on a window sill, which provided at least some protection from the elements.
You might also like...
It's cold outside! Want to stay indoors where it's warm, but still capture snowy images? Try creating a fun snow globe composite in Photoshop this Christmas, instead.
Perhaps you're looking to get even closer to your subjects. If so, check out the Novoflex Auto Bellows.
Get the Digital Camera World Newsletter
The best camera deals, reviews, product advice, and unmissable photography news, direct to your inbox!

Mike is Digital Camera World's How To Editor. He has over a decade of experience, writing for some of the biggest specialist publications including Digital Camera, Digital Photographer and PhotoPlus: The Canon Magazine. Prior to DCW, Mike was Deputy Editor of N-Photo: The Nikon Magazine and Production Editor at Wex Photo Video, where he sharpened his skills in both the stills and videography spheres. While he's an avid motorsport photographer, his skills extend to every genre of photography – making him one of Digital Camera World's top tutors for techniques on cameras, lenses, tripods, filters and other imaging equipment – as well as sharing his expertise on shooting everything from portraits and landscapes to abstracts and architecture to wildlife and, yes, fast things going around race tracks...
