I created these psychedlic silhouettes using this amazing in-camera photo technique
Capture incredible light-painted silhouettes in-camera with a flash and a colorful torch. James Paterson shows you how...
Watch video: Light painting in the living room
Light painting lets us capture beautiful streaks of colored light with our cameras. To understand how it works, it can be helpful to think of our frame as a pure black canvas. Like a painter with a brush, we can wave a torch or other light source around to make our painting on the black canvas.
To take it further, here we can add a flash into the mix to capture silhouettes. This is like asking our subjects to stand in front of our black canvas, then throwing a full tin of white paint at it.
By using a flash during a long exposure, we’re effectively making two exposures in one. Our flash is placed behind the subjects and directed at a white wall, so when it pops at the start of our exposure, it lights up the wall and captures the kids in silhouette. Stage two is the long exposure: where we take colorful torches and paint with light by waving them around in the dark.
The light parts of the wall effectively constrain our light painting to the shapes of the people. It sounds complex, but it’s not, and a great way to combine light painting and portraiture.
The light painting is the fun part. Essentially, it boils down to waving a light around in the dark, but there are all sorts of different light shapes and colors you can try. There are lots of light painting tools and devices out there, but you don’t necessarily need to go out and buy lots of things. A torch and a bit of colored see-through plastic can work well with a little creative thinking.
1. Set the exposure
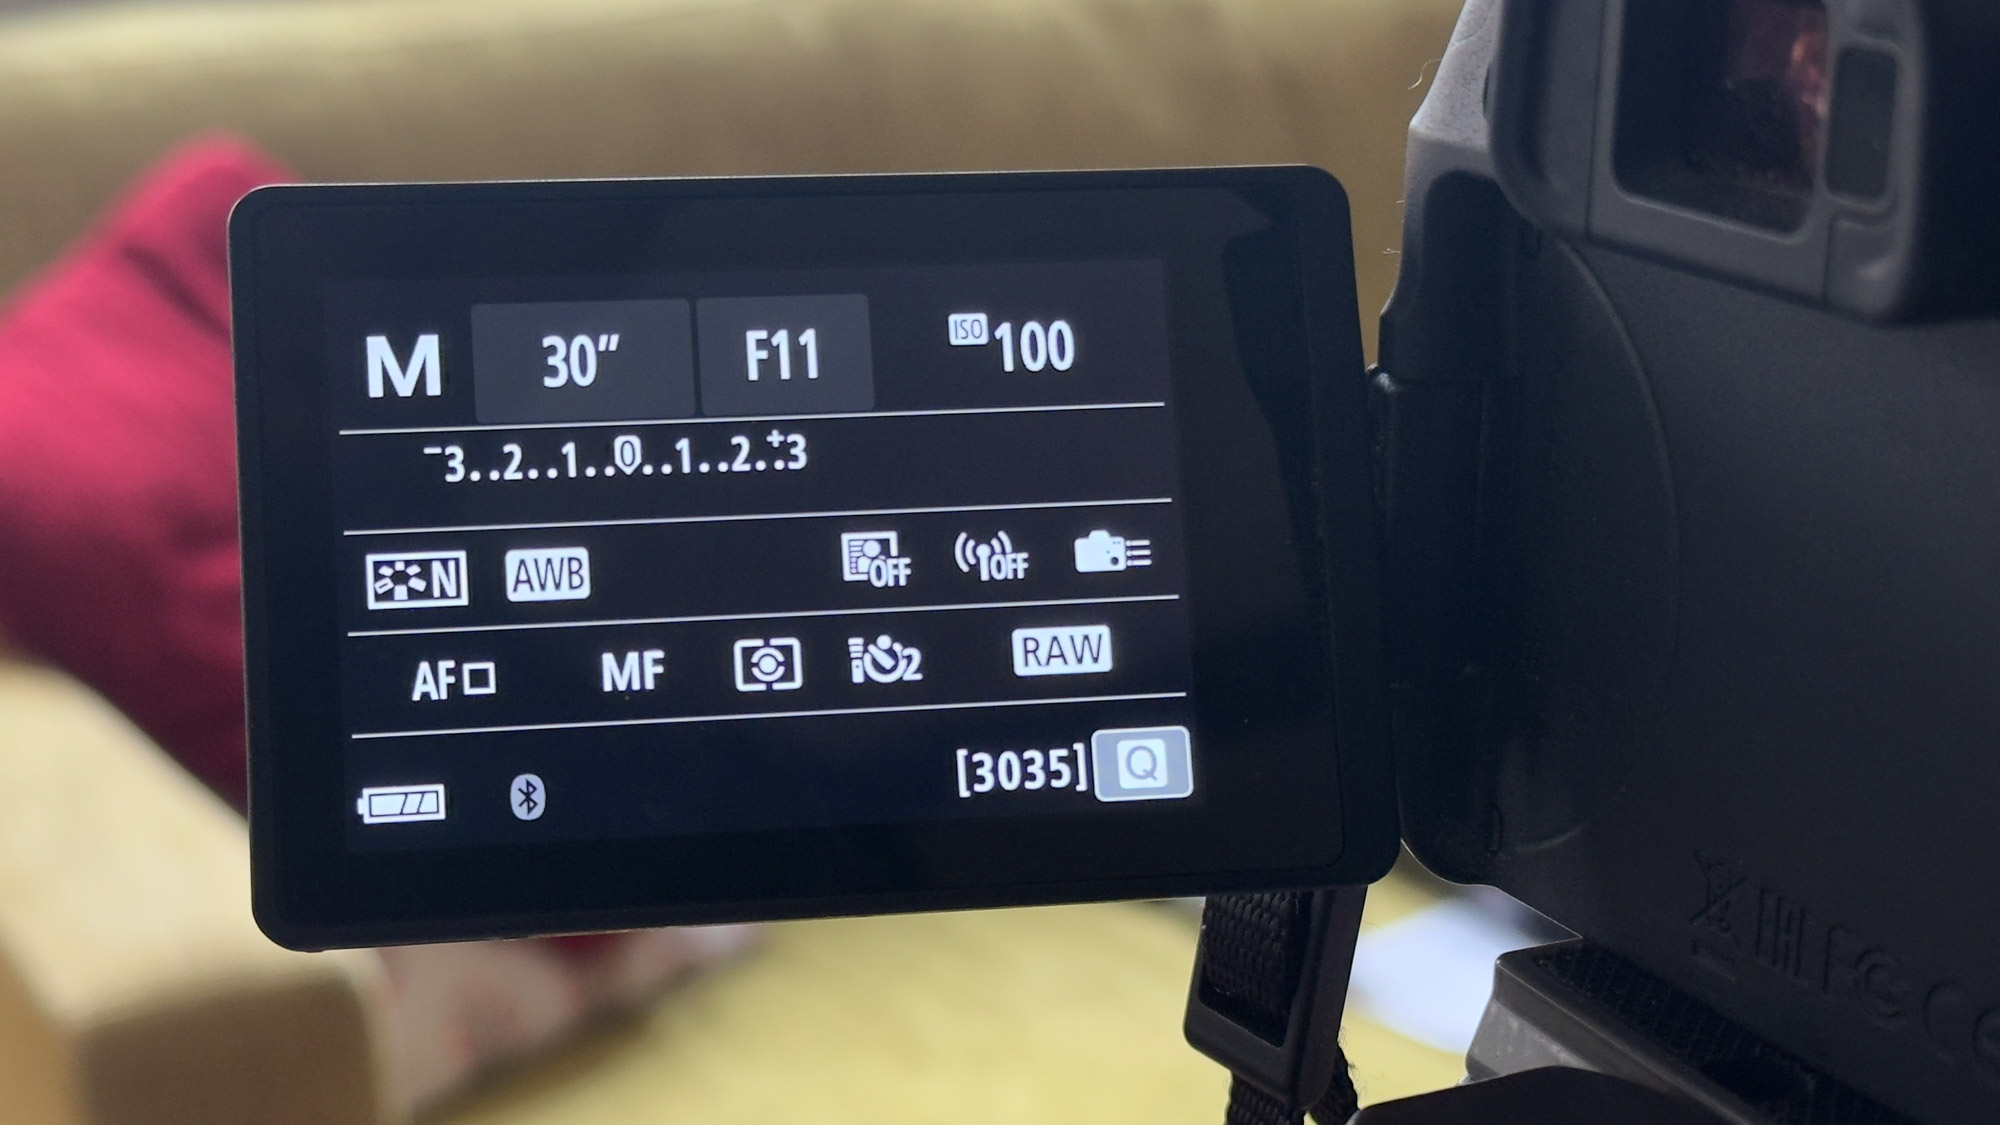
Here’s a good stock setting for light painting in the dark. Set Manual exposure with aperture f/11, ISO100, shutter speed 30 secs. If you need longer than that, set Bulb mode and use a remote shutter release to lock the shutter open however long suits.
2. Set the flash power
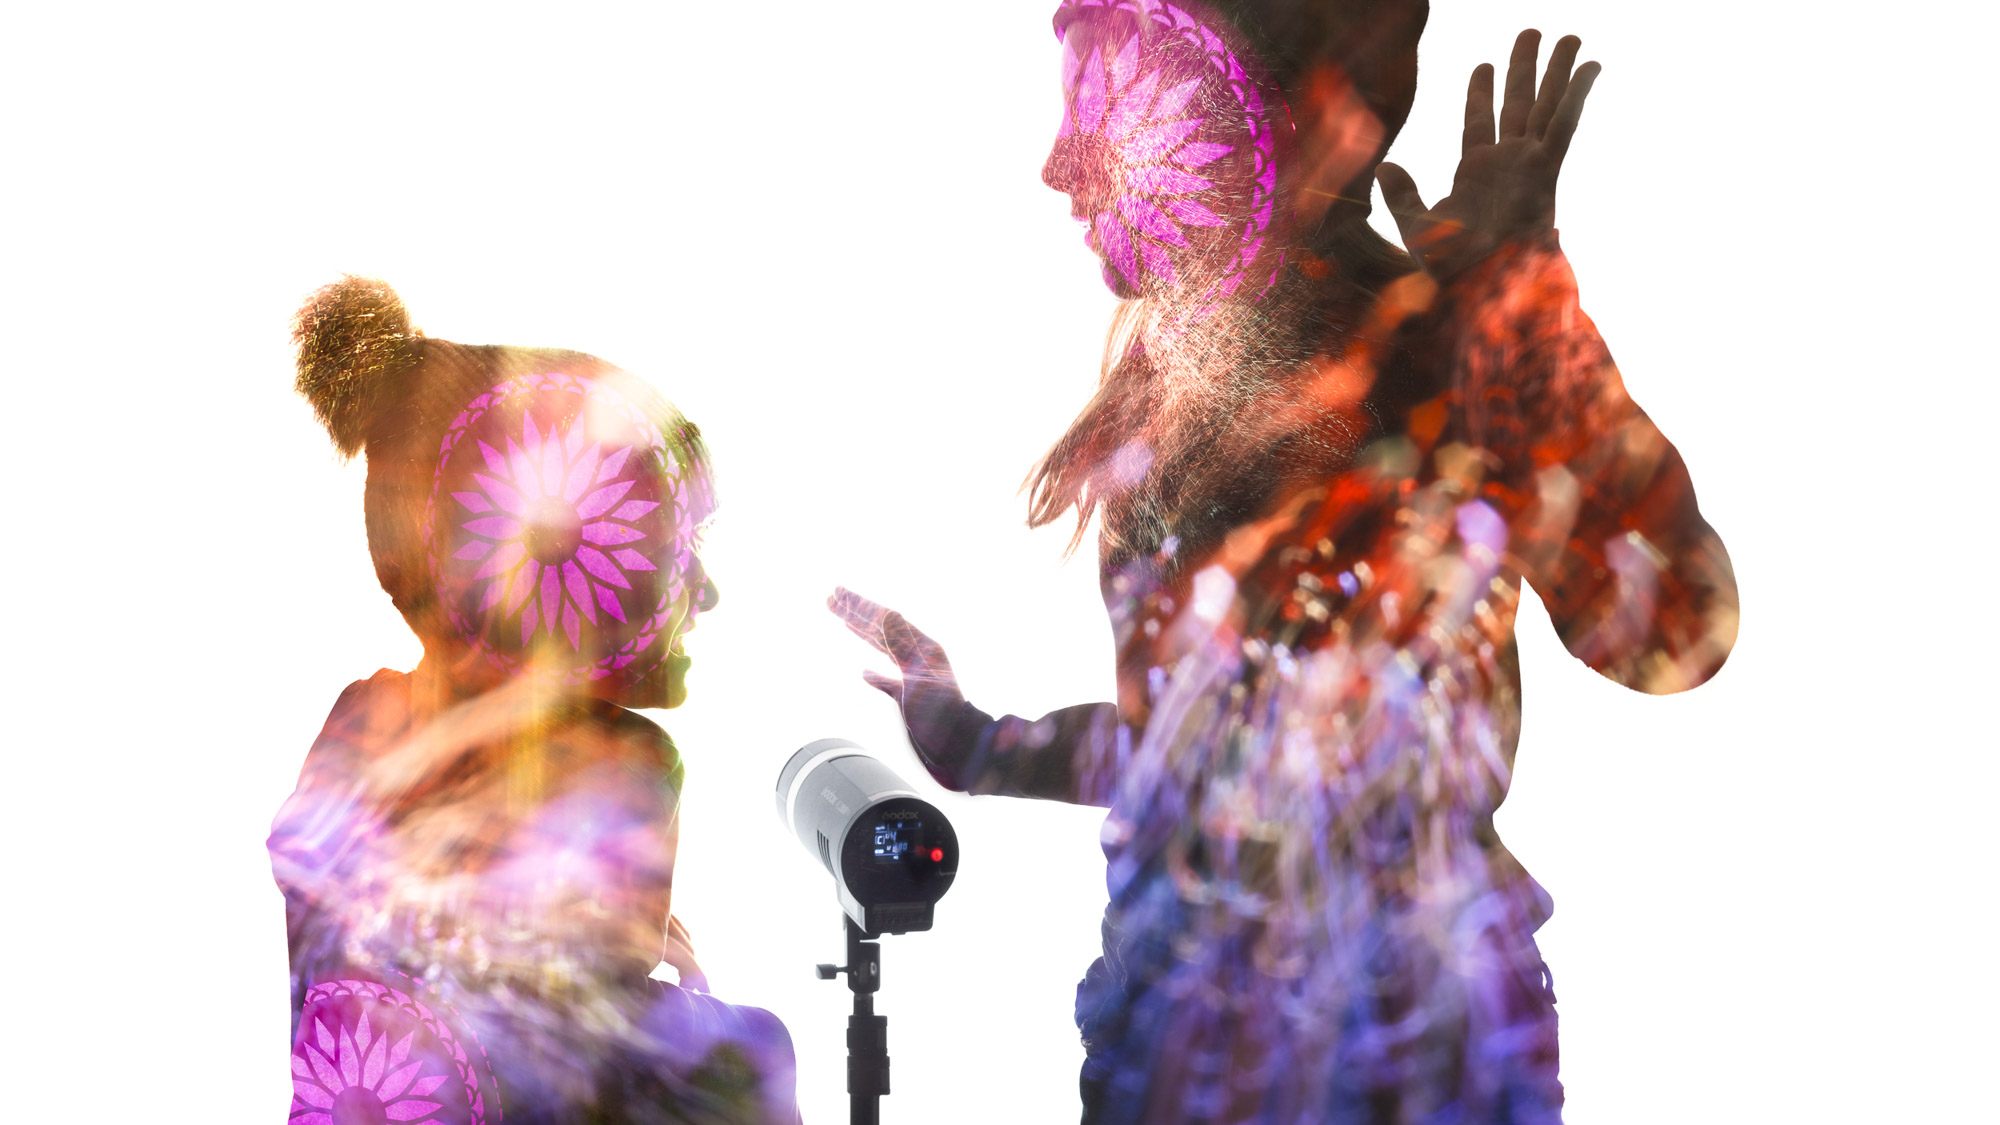
Set the flash to manual power and take a couple of test shots to work out a power that blows out the backdrop. Here it’s at 1/4 power. One flash is enough but if you have two flashes even better, as you can place them either side of the backdrop.
3. Strike a pose
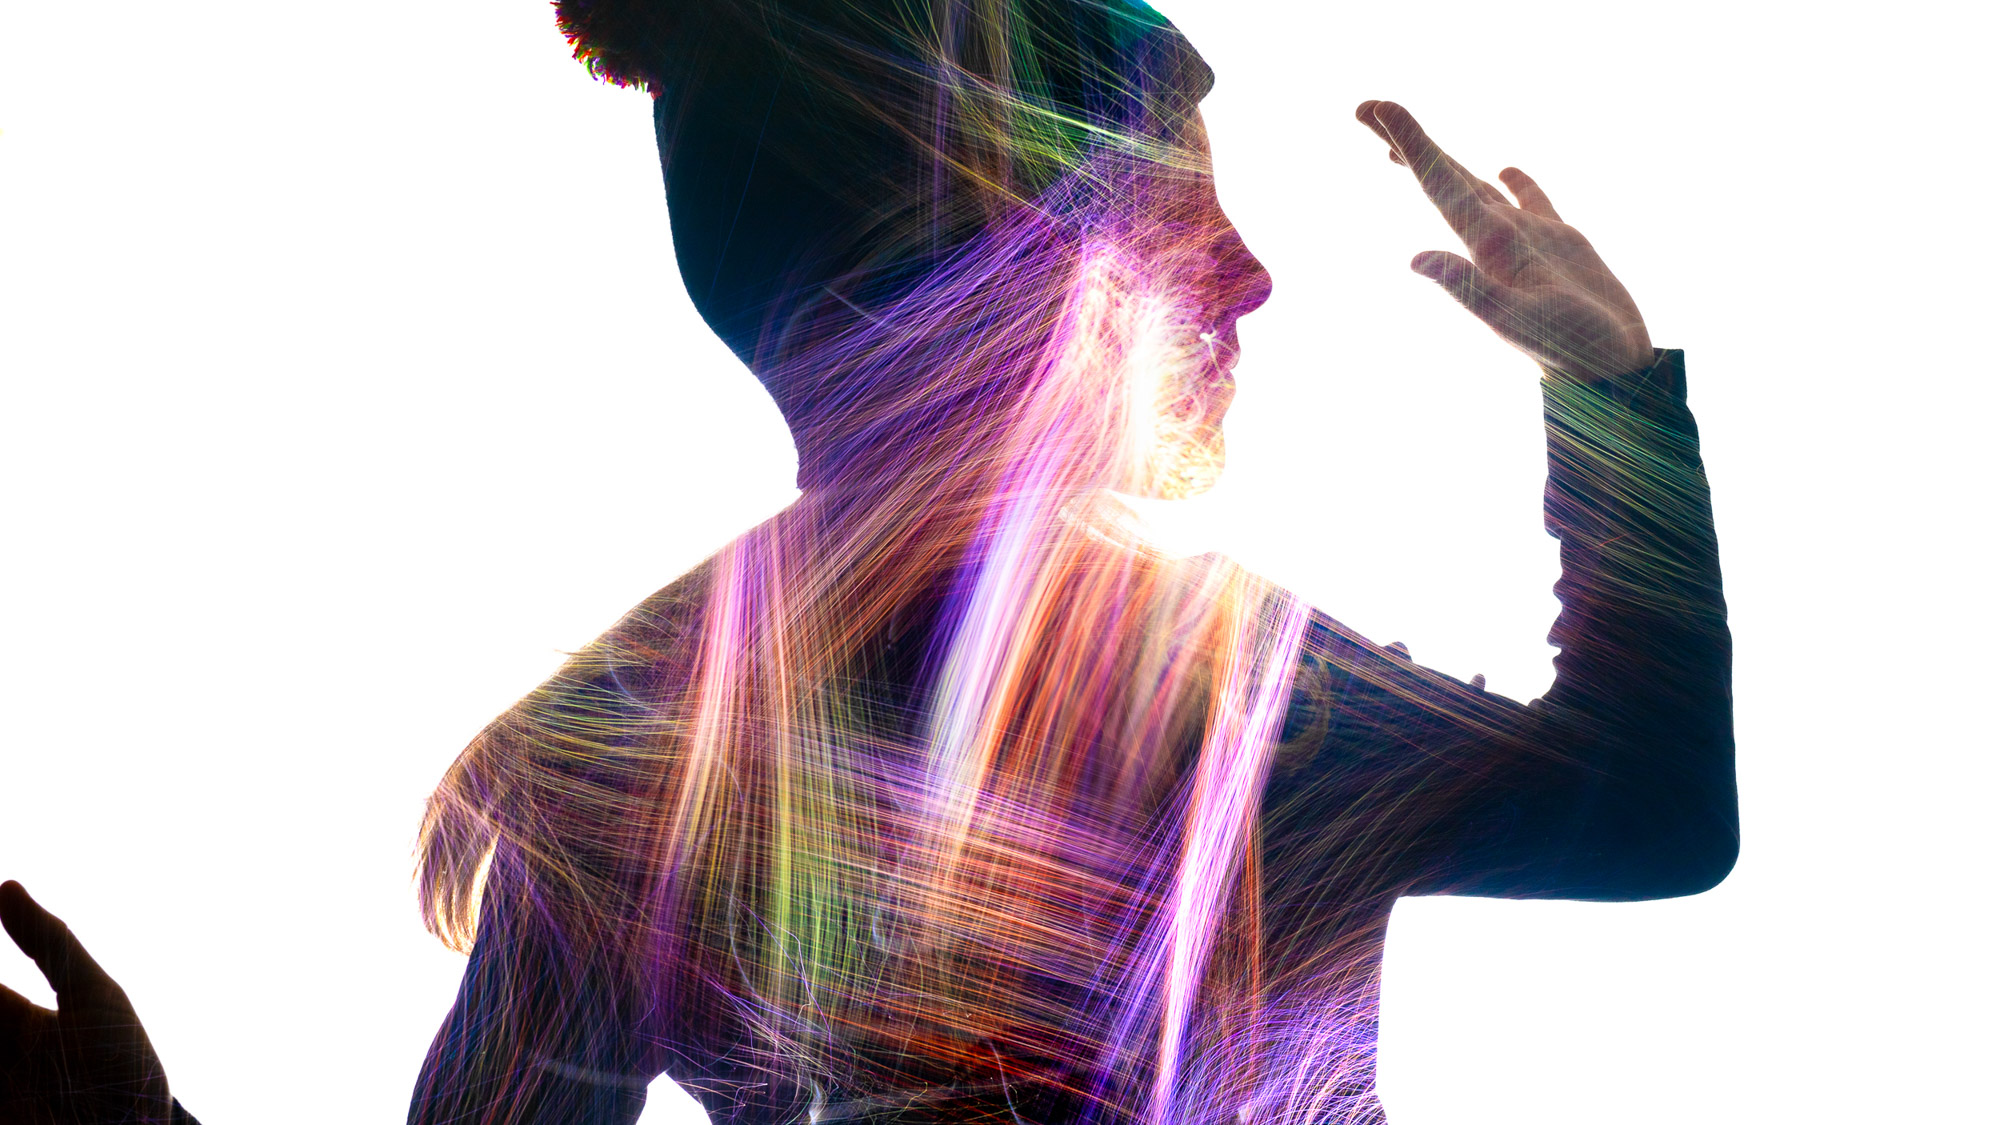
With the flash and camera set up, get your subjects into position and turn out the lights, then start the exposure. Ask them to make an interesting shape for the silhouette, then bring in your torches and get light painting (the kids might want to join in painting too).
4. Try a fibre-optic brush
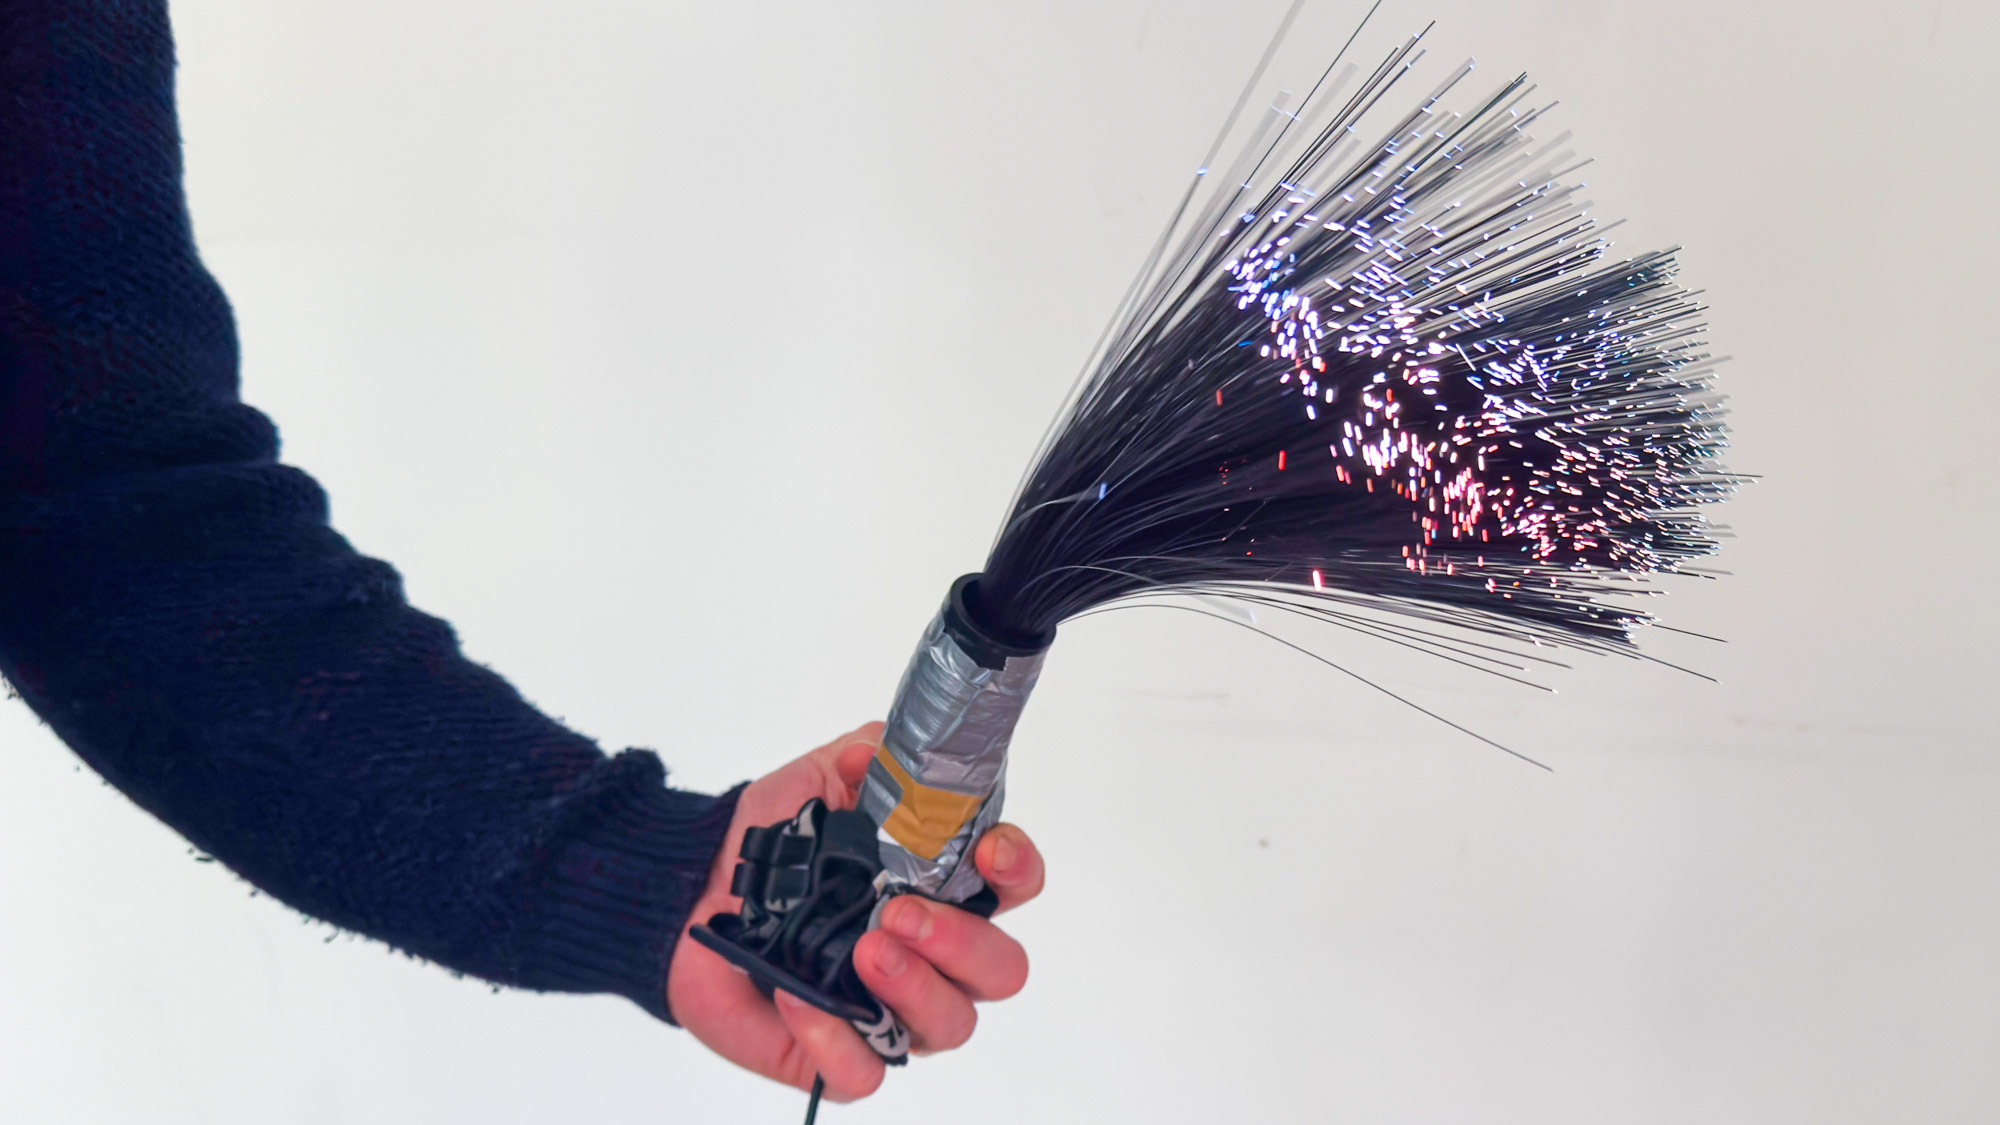
This fiber-optic brush creates the brush-like streaks of light seen in Tip 3. These can be picked up for around $30 online. Fixed on a torch, it splits the light into hundreds of tiny dots. We can add in a colored gel between the torch and brush to color the dots.
5. Paint close and far
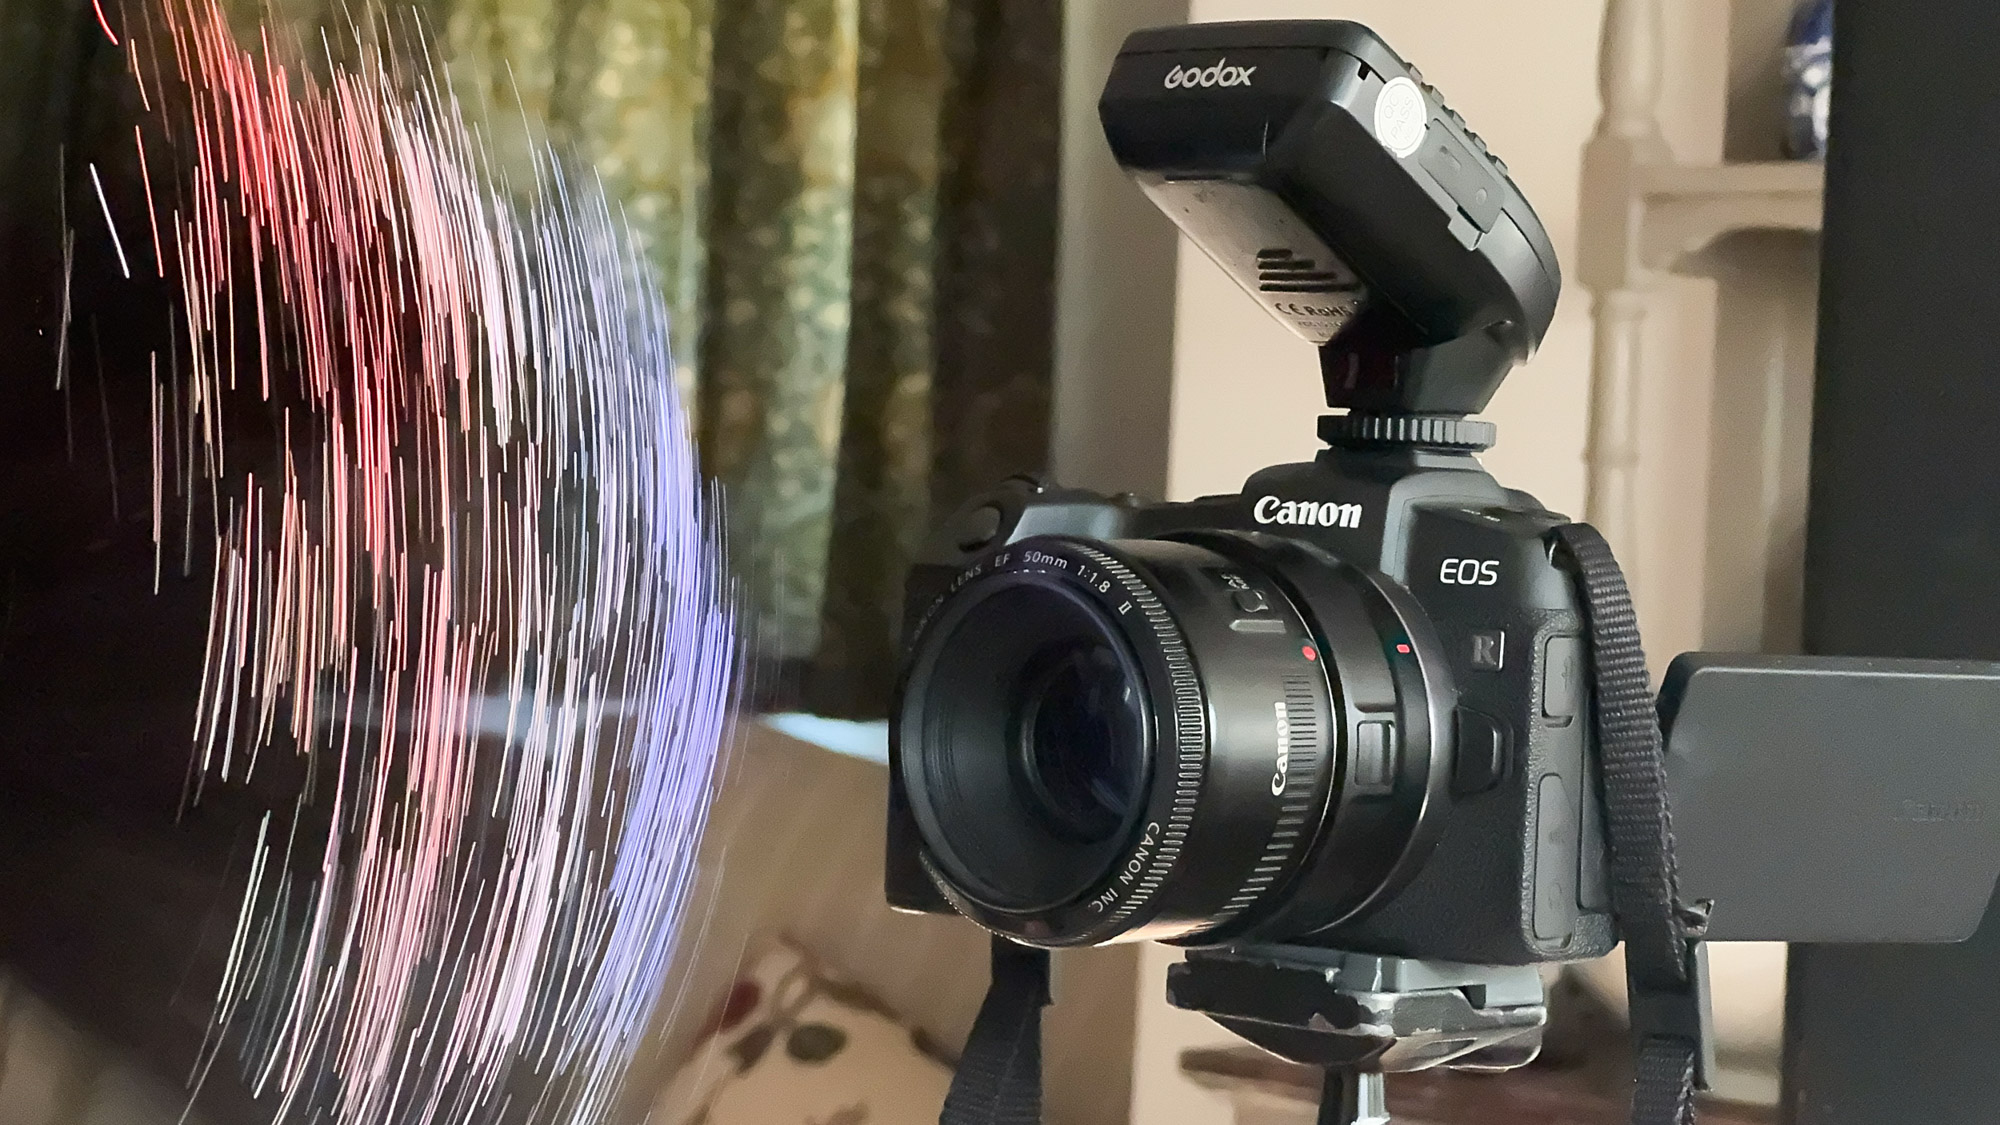
You can add depth to the light painting by varying the distance of your torch from the camera. By painting close up to the lens like this, you can create blobs of out-of-focus colors that add to the overall effect. You could also try filling in different parts of the silhouette with different colors.
6. Check the results
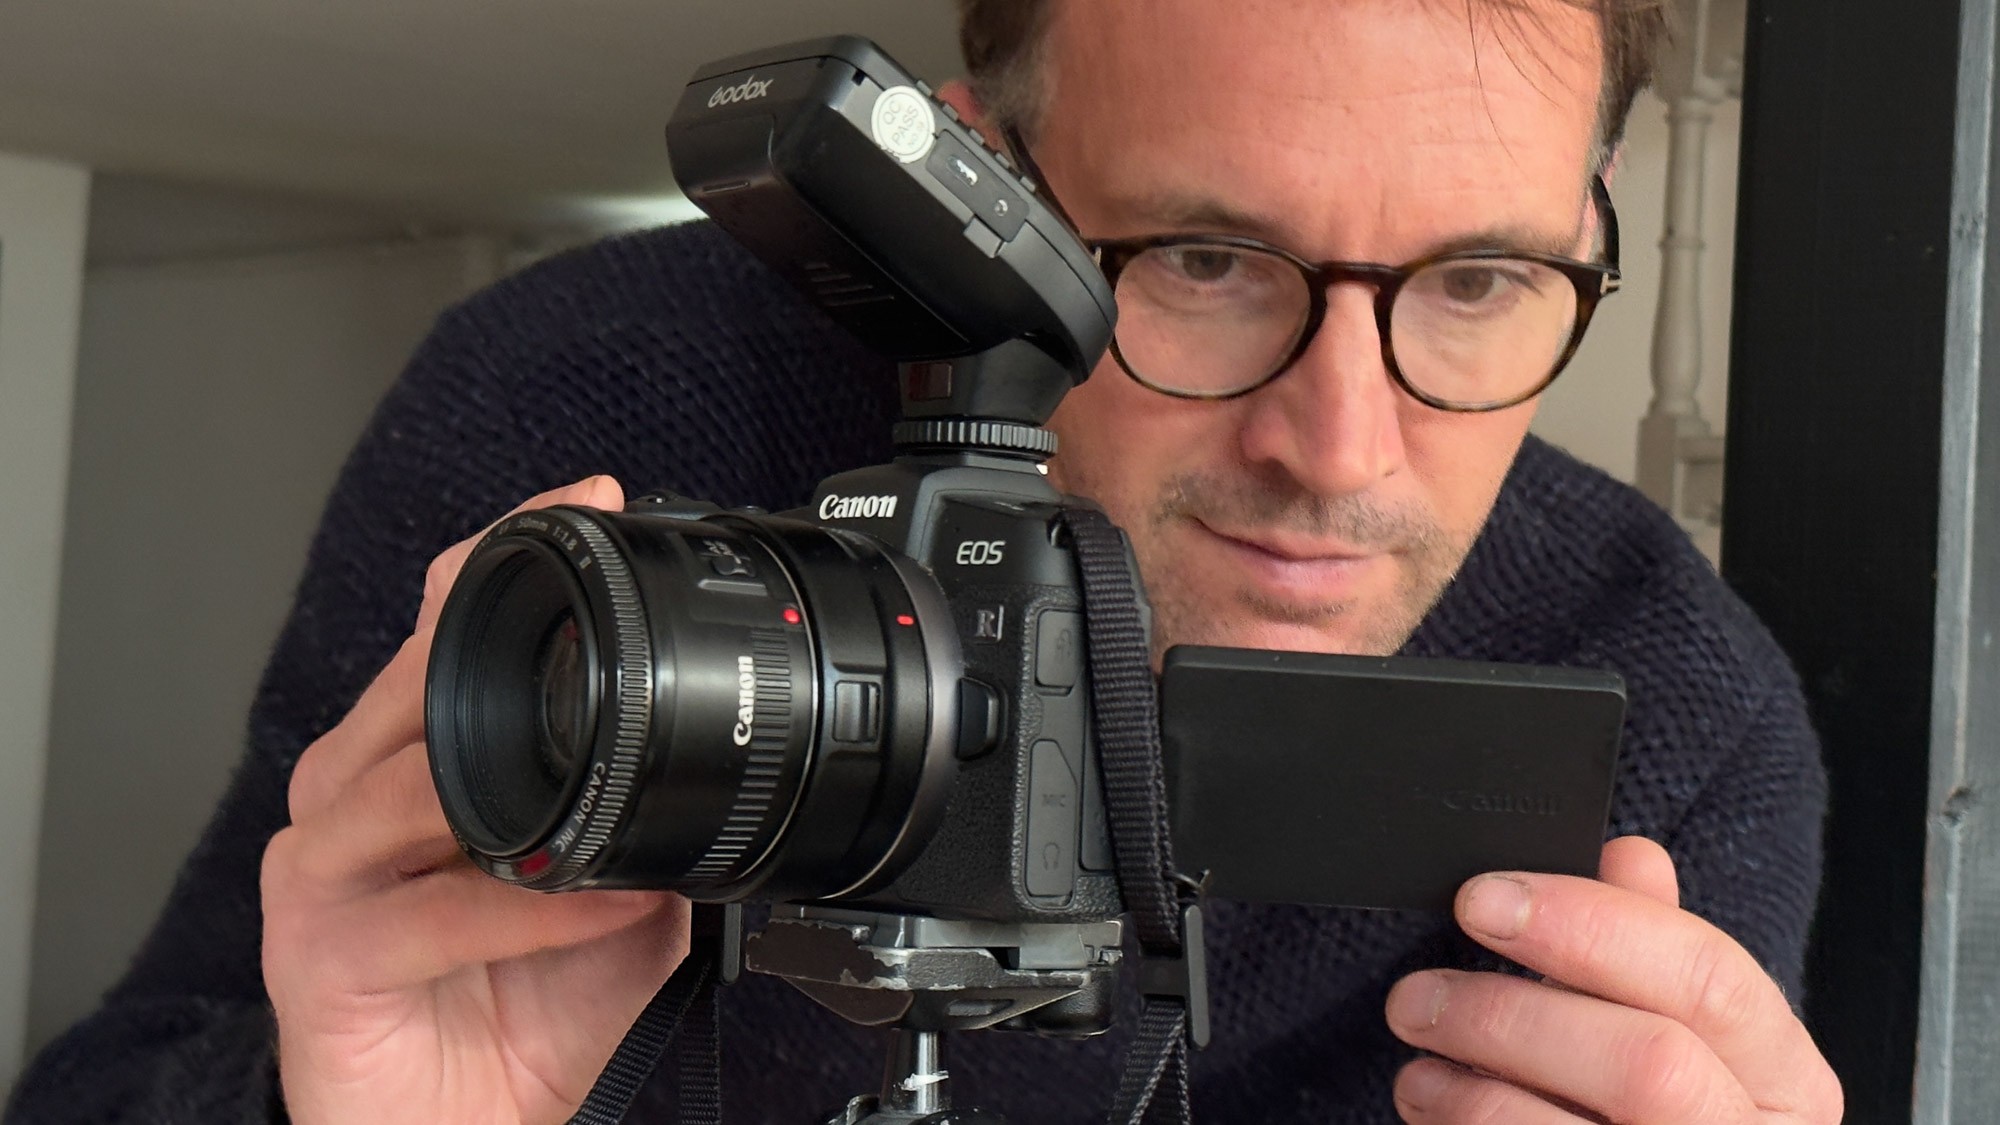
You never know quite what you’ll get. There’s an element of trial and error to light painting: some areas may come out too bright, dark, overly messy or – if you’re lucky – absolutely perfect. After each attempt, analyse the results and work out what you need to make the painting better in the next shot.
7. Blend the best bits
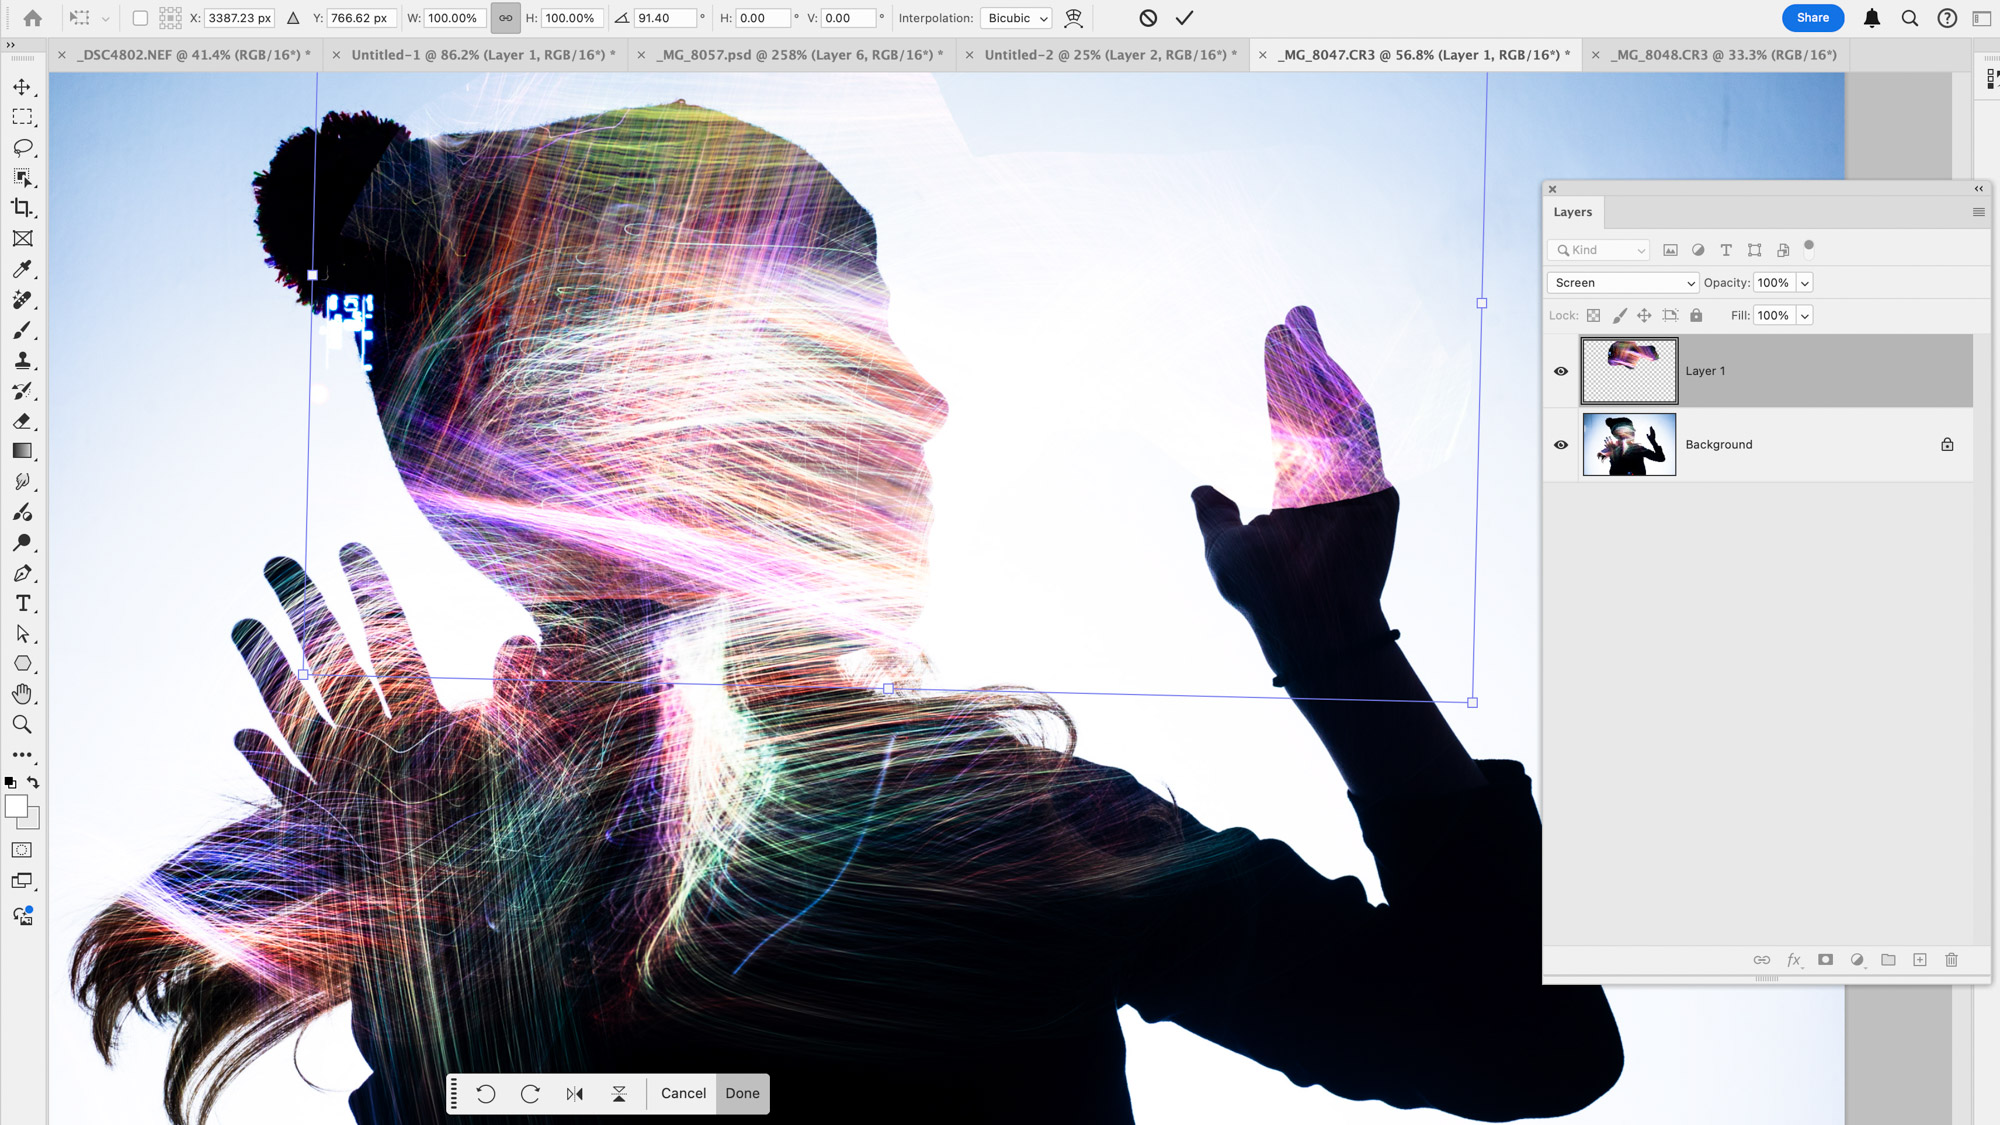
The real fun in light painting is in creating the effect in-camera, but if you like you can supplement the look with a few editing tricks. For instance, it’s easy to copy light trails or shapes from one image to another. Make a loose selection of the area, copy and paste into another image then set the layer Blend Mode to Screen.
8. Alter the colors

Add variety to your shots with a simple color adjustment. Click the Adjustment icon in the Layers Panel and choose Hue/Saturation to adjust the Hue slider. If you like, you can confine the color change to one area: hit Cmd/Ctrl+I to invert the layer mask to black, then paint white to reveal it wherever you like.
9. Check the backdrop
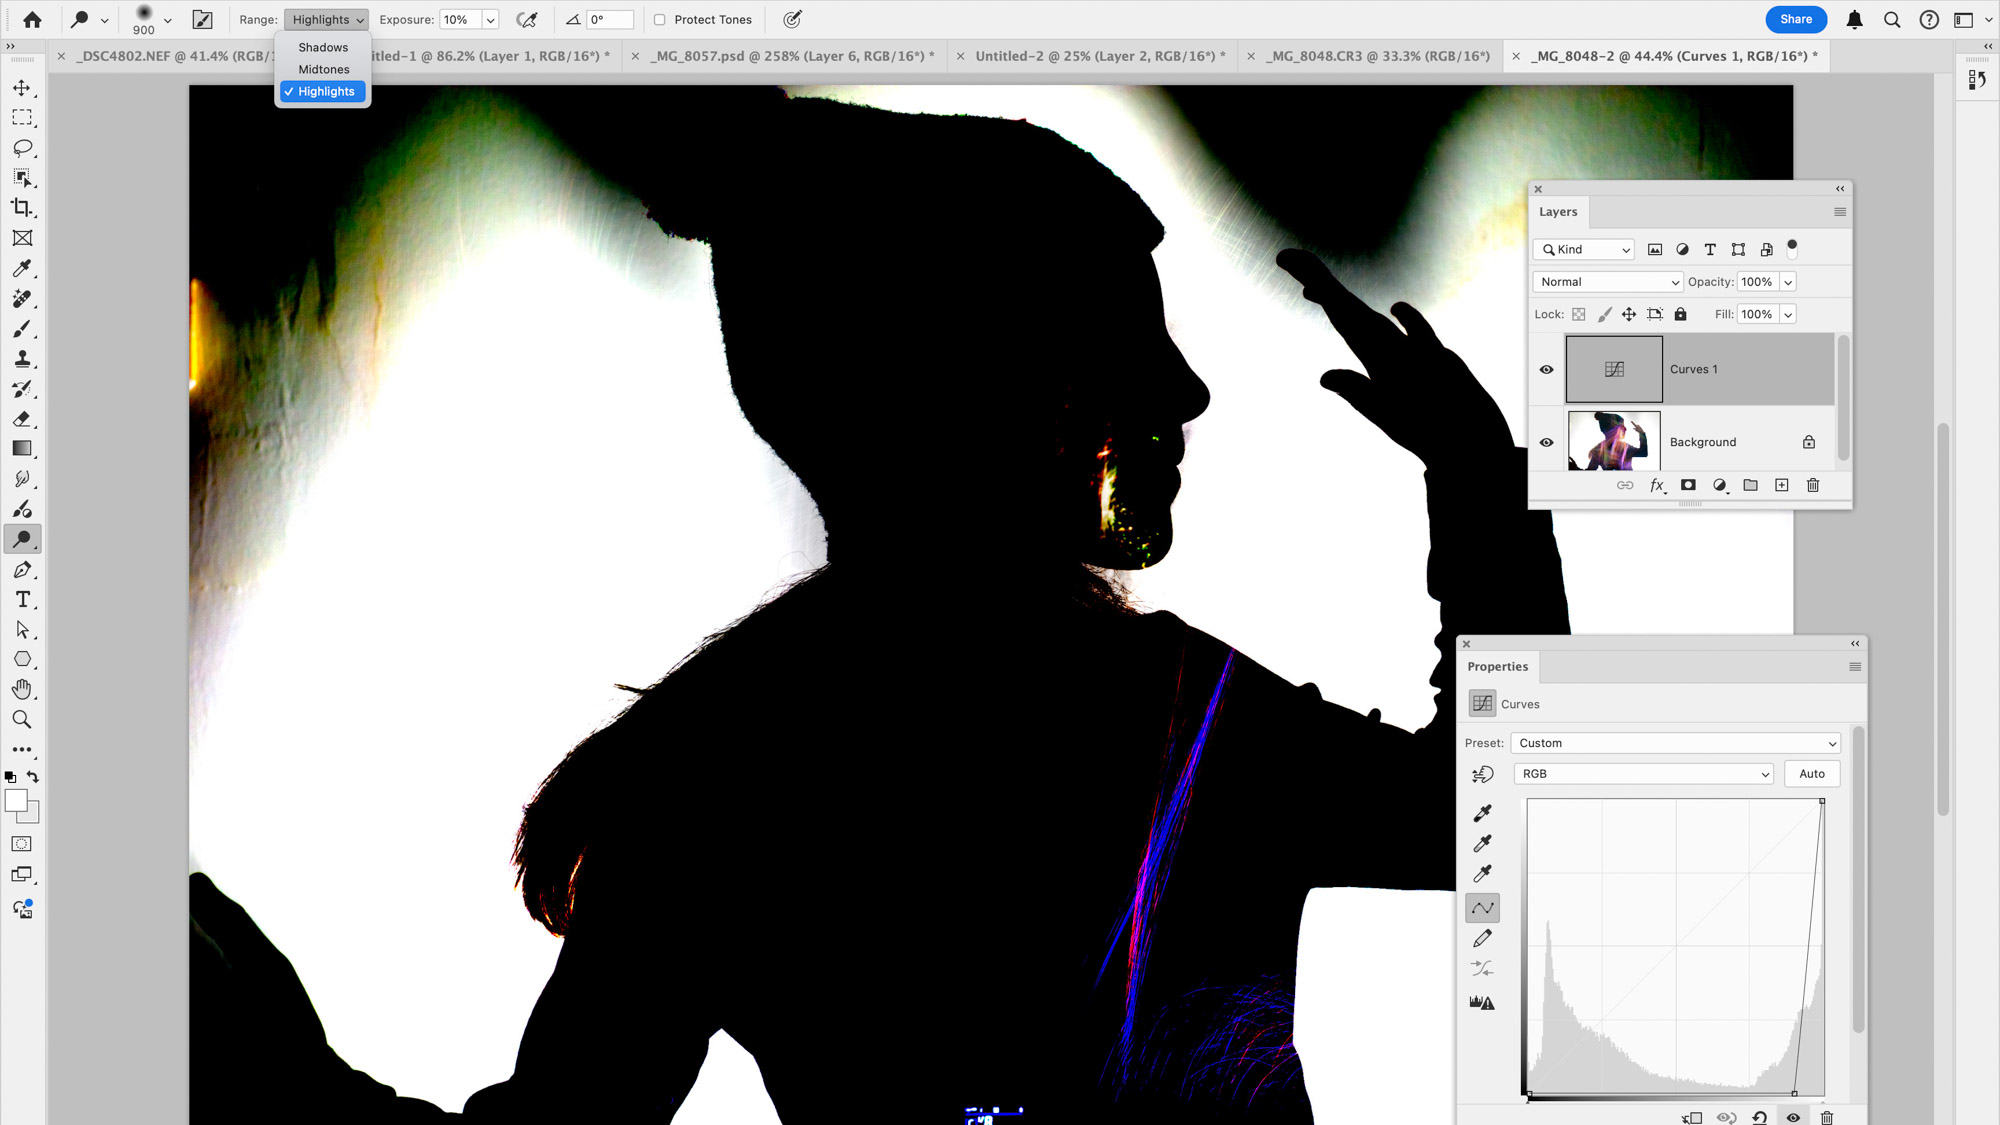
You might find that parts of the backdrop aren’t completely white. To clean it up, first add a Curves layer and drag the curve right down to darken everything. Highlight the image layer below, grab the Dodge tool, set range to Highlights and paint to lighten muddy areas. Once done, delete the Curves layer.
PhotoPlus: The Canon Magazine is the world's only monthly newsstand title that's 100% devoted to Canon, so you can be sure the magazine is completely relevant to your system. Every issue comes with downloadable video tutorials too.
If you're serious about landscapes, take a look at the best lenses for landscapes along with the best cameras for low light.
Get the Digital Camera World Newsletter
The best camera deals, reviews, product advice, and unmissable photography news, direct to your inbox!
The lead technique writer on Digital Camera Magazine, PhotoPlus: The Canon Magazine and N-Photo: The Nikon Magazine, James is a fantastic general practice photographer with an enviable array of skills across every genre of photography.
Whether it's flash photography techniques like stroboscopic portraits, astrophotography projects like photographing the Northern Lights, or turning sound into art by making paint dance on a set of speakers, James' tutorials and projects are as creative as they are enjoyable.
He's also a wizard at the dark arts of Photoshop, Lightroom and Affinity Photo, and is capable of some genuine black magic in the digital darkroom, making him one of the leading authorities on photo editing software and techniques.
You must confirm your public display name before commenting
Please logout and then login again, you will then be prompted to enter your display name.
