My 7 top tips for planning the perfect photography trip to Easter Island
Advice for capturing the magical moai, dramatic coastlines and stunning night skies above the world’s most remote island
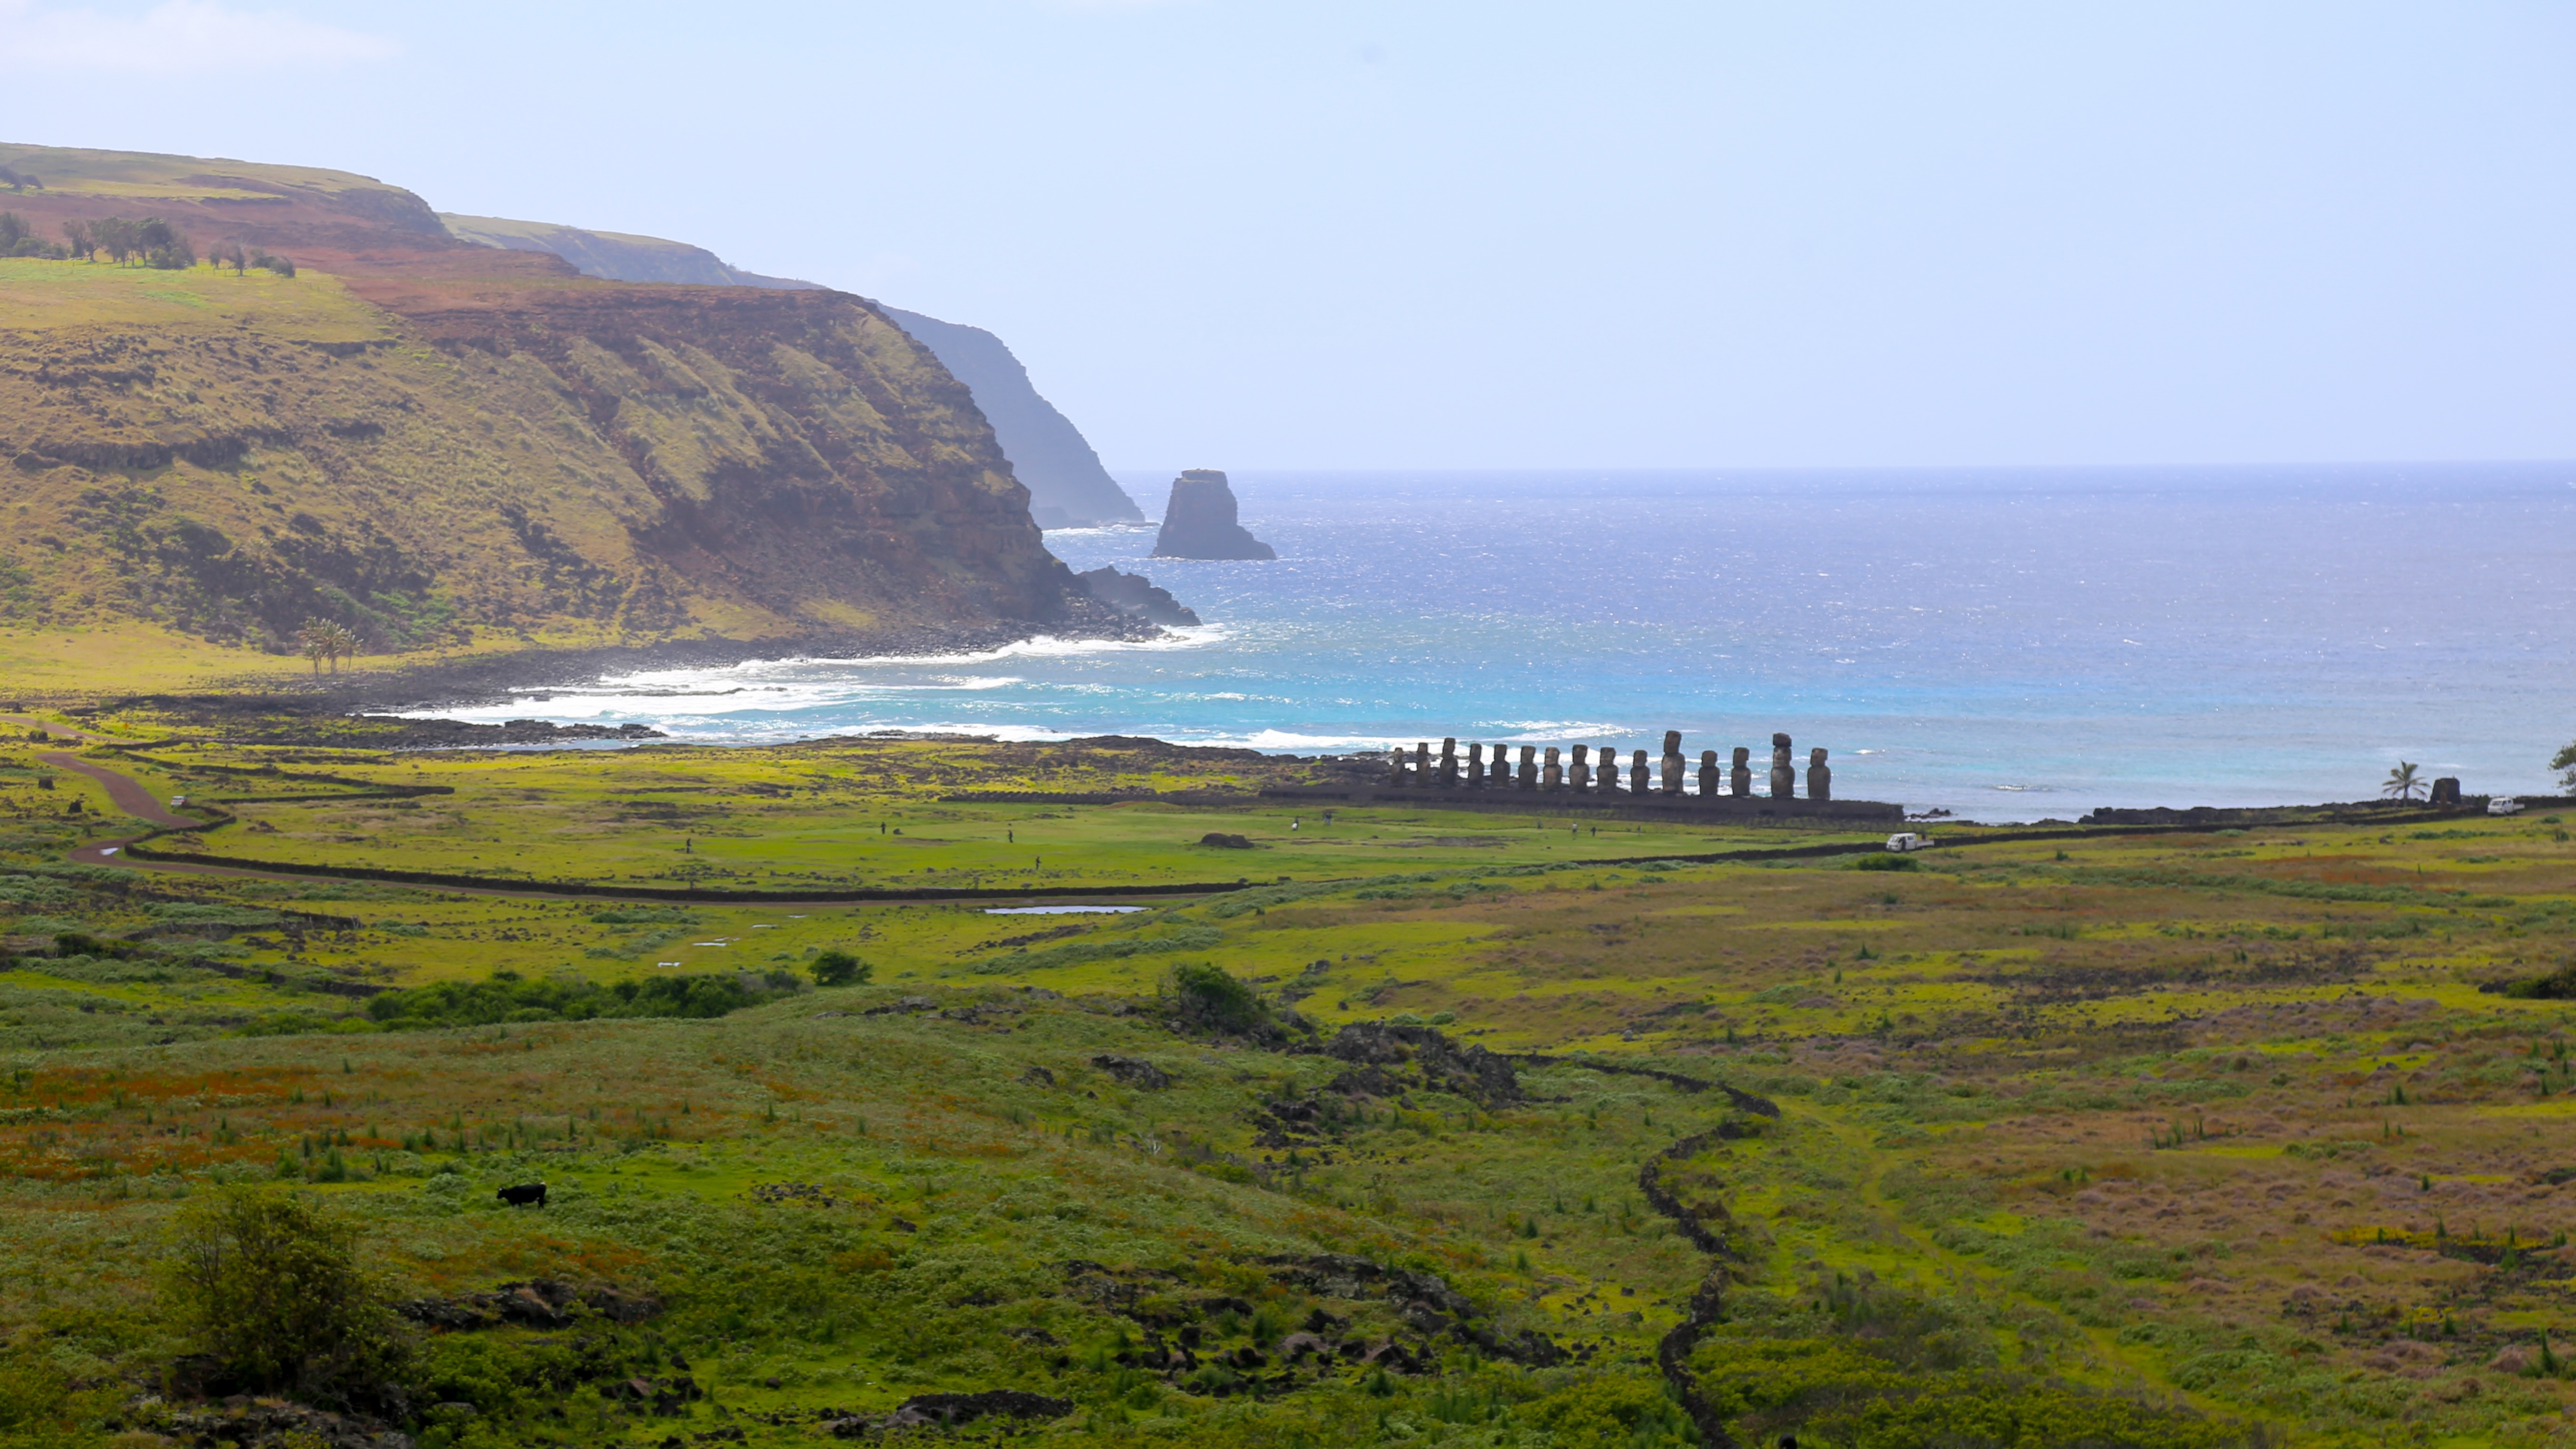
What’s 63 square miles in size, 1,200 miles from the nearest landmass and home to over 900 monoliths that line its coast? Easter Island — also called Isla de Pascua and Rapa Nui — is famed worldwide for its moai, giant stone monoliths carved in the 12th and 13th centuries that (mostly) gaze inwards from its rocky coast. Capturing the moai is what photographers flock here for, of course, but there are a few things you need to know if you’re to get anything special. Plus, with a fabulous coastline, plenty of petroglyphs and dark skies, there are many other reasons to spend a week here on a photographic safari like no other.
Here’s everything you need to know about photographing Easter Island…
1. Understand Easter Island
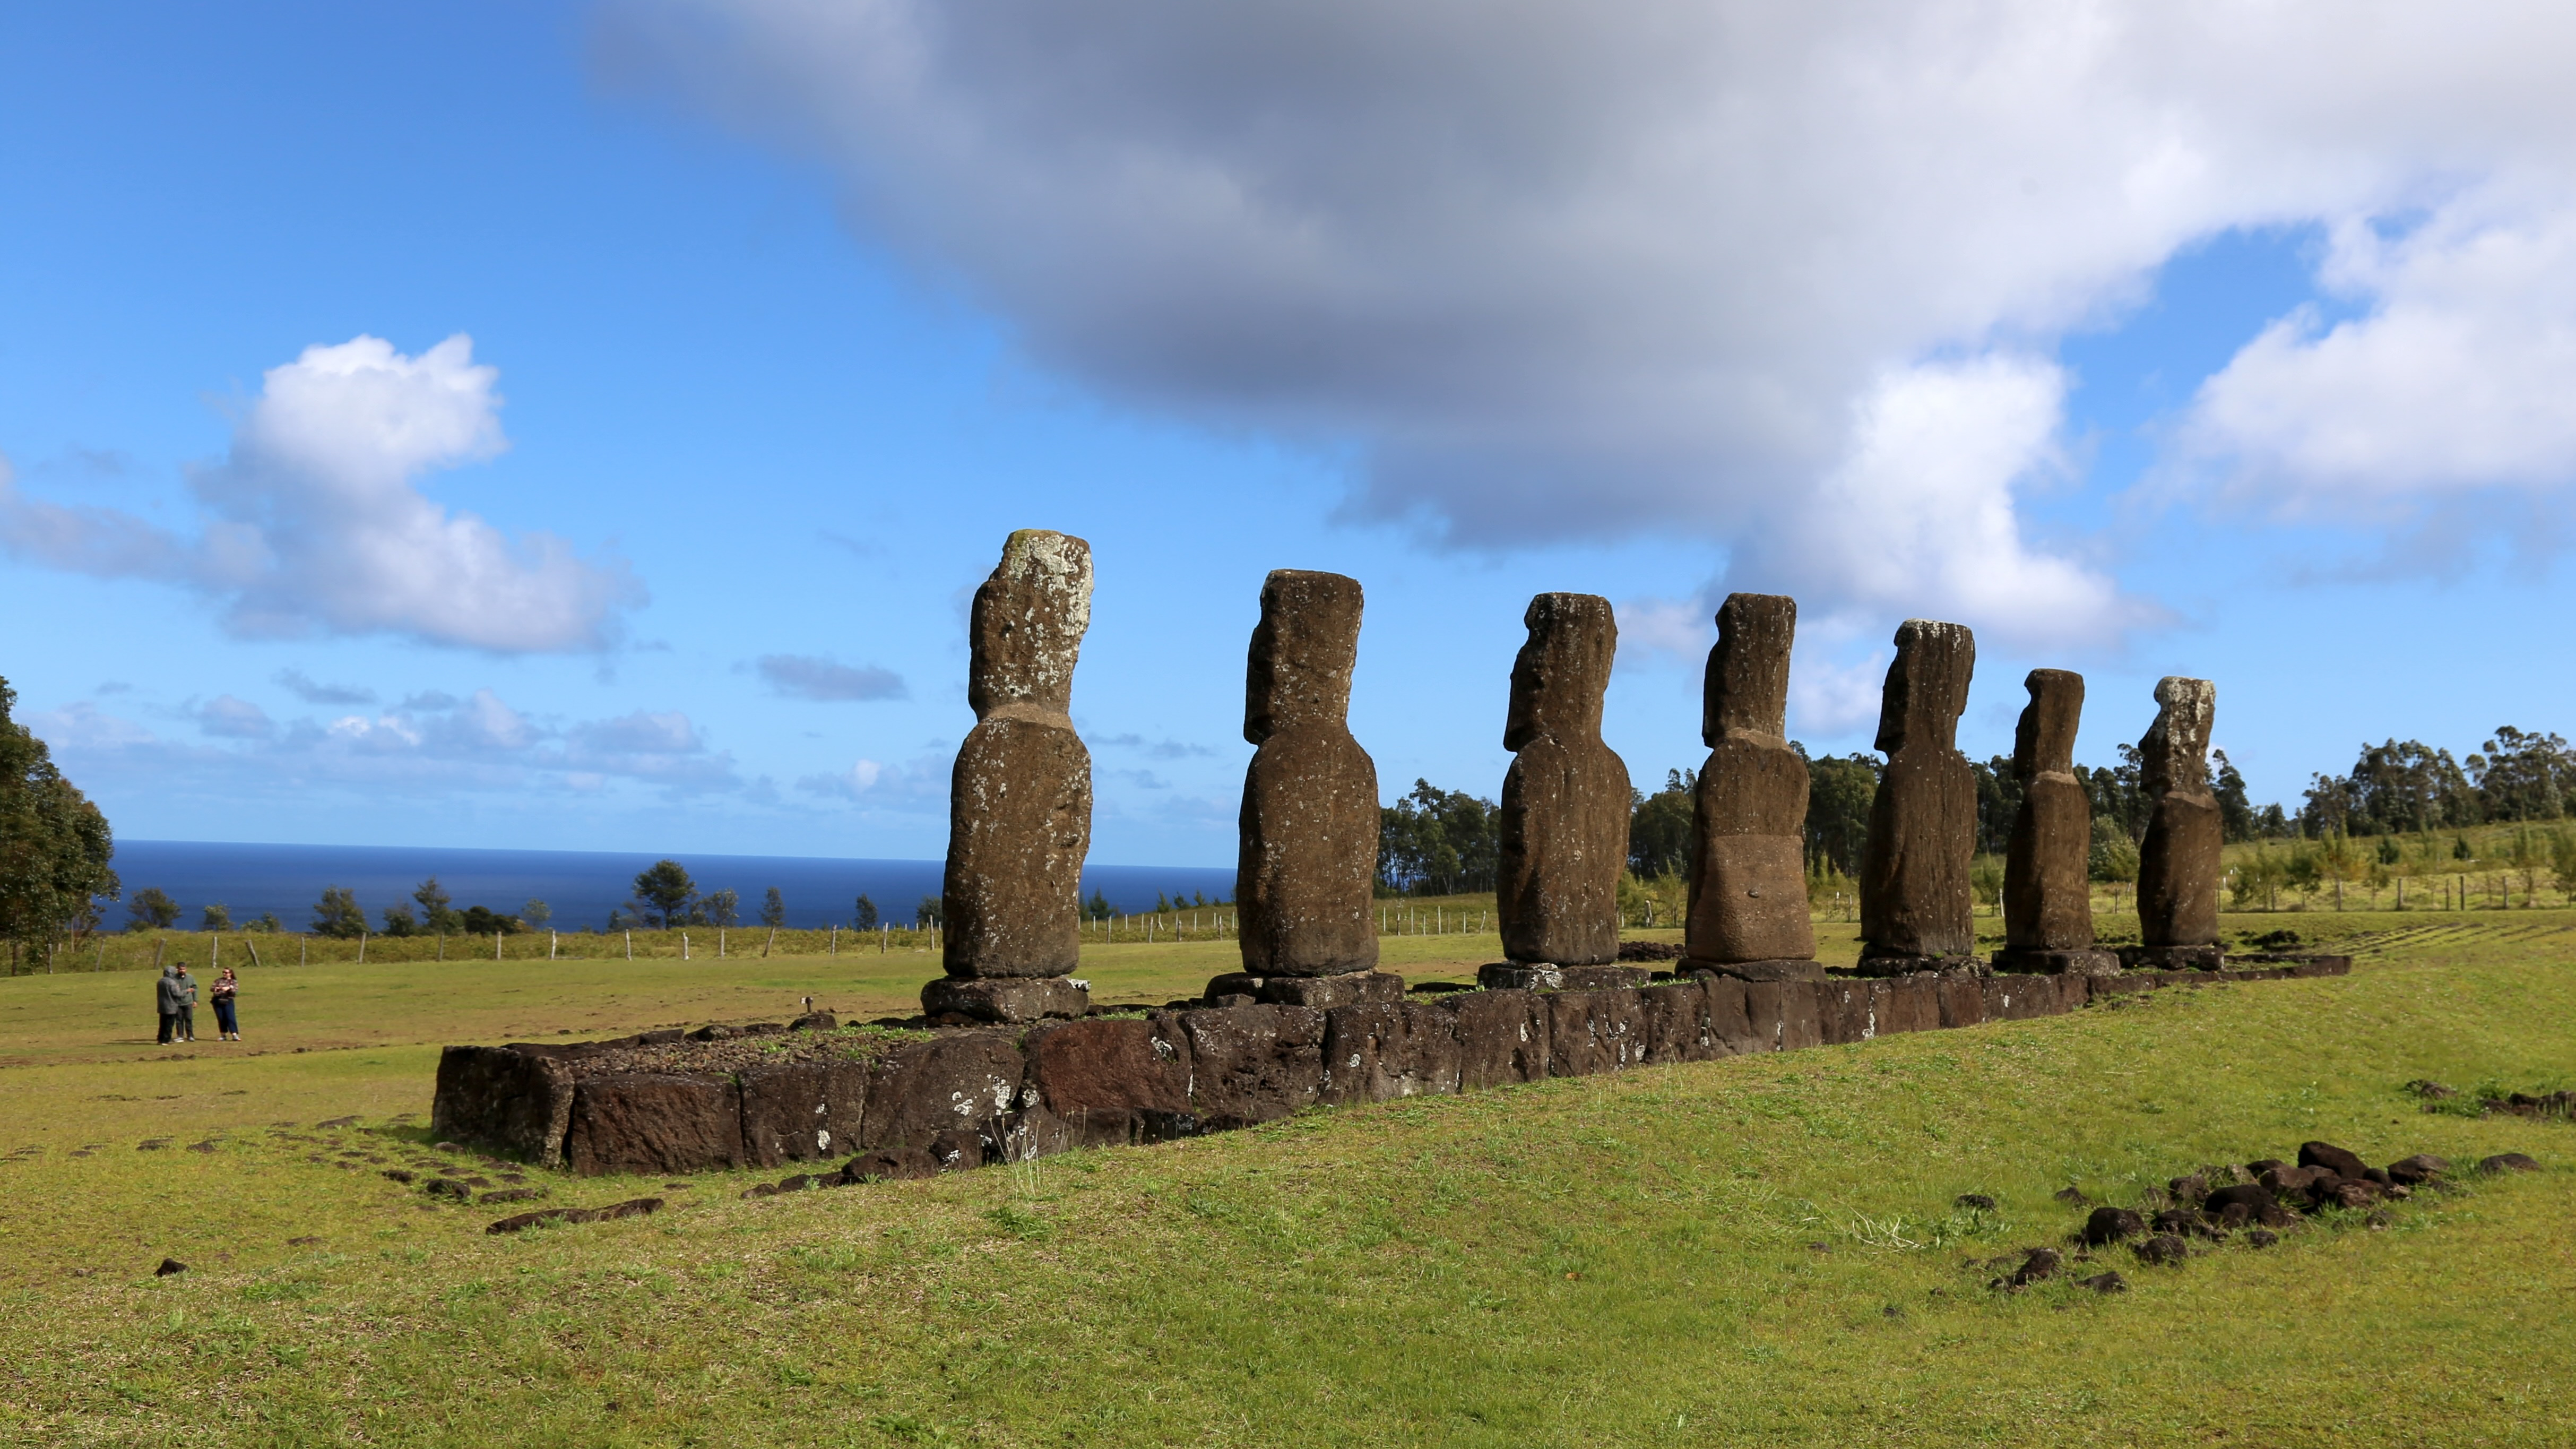
The moai of Easter Island comes in three parts: ahu-moai-topknot (platform-monolith-headress). They represent ancestors and are found on the coast, with the remains of villages surrounding them. There are canoe-shaped boat houses, the remains of buildings, caves and petroglyphs near to them. By the 17th century, all of the moai had been toppled during a civil war between seven clans, and that’s how almost all of them remained. The ahu platforms were used to make buildings.
So the iconic ahu and moai you see in photographs have all been refurbished, mostly in the 1970s and 1980s. They are:
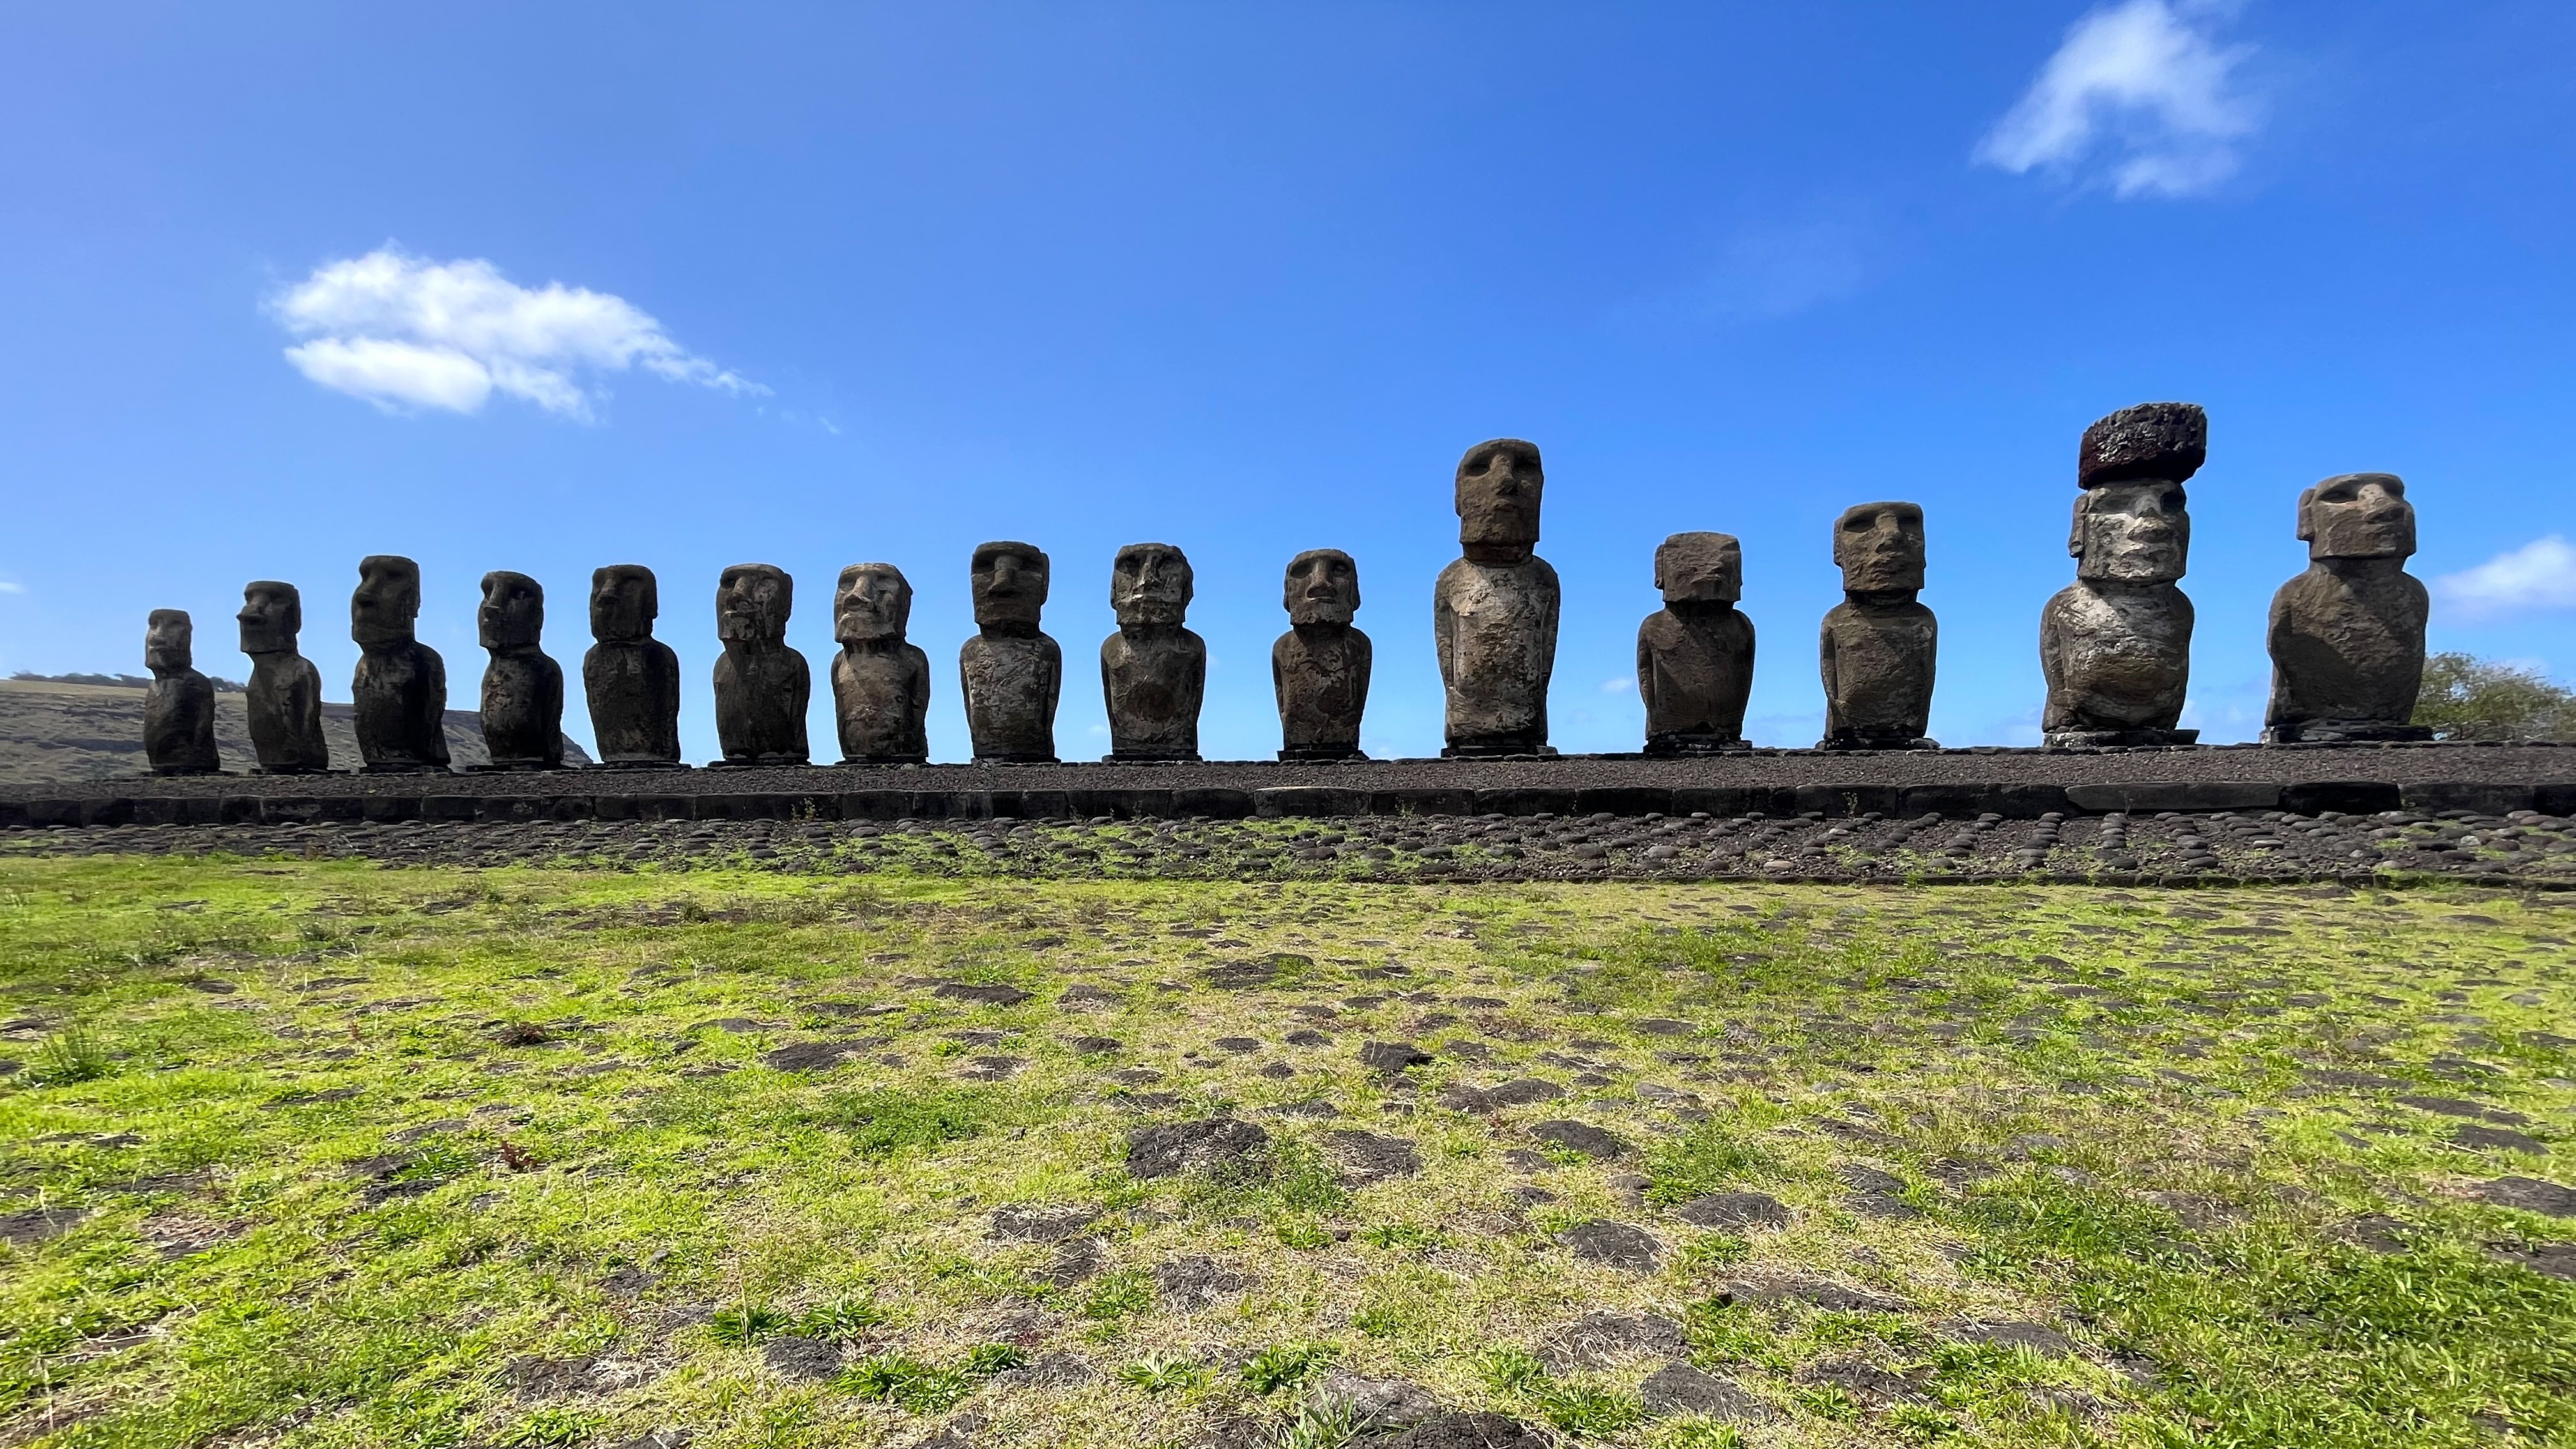
Tongariki — 15 moai on the east coast.
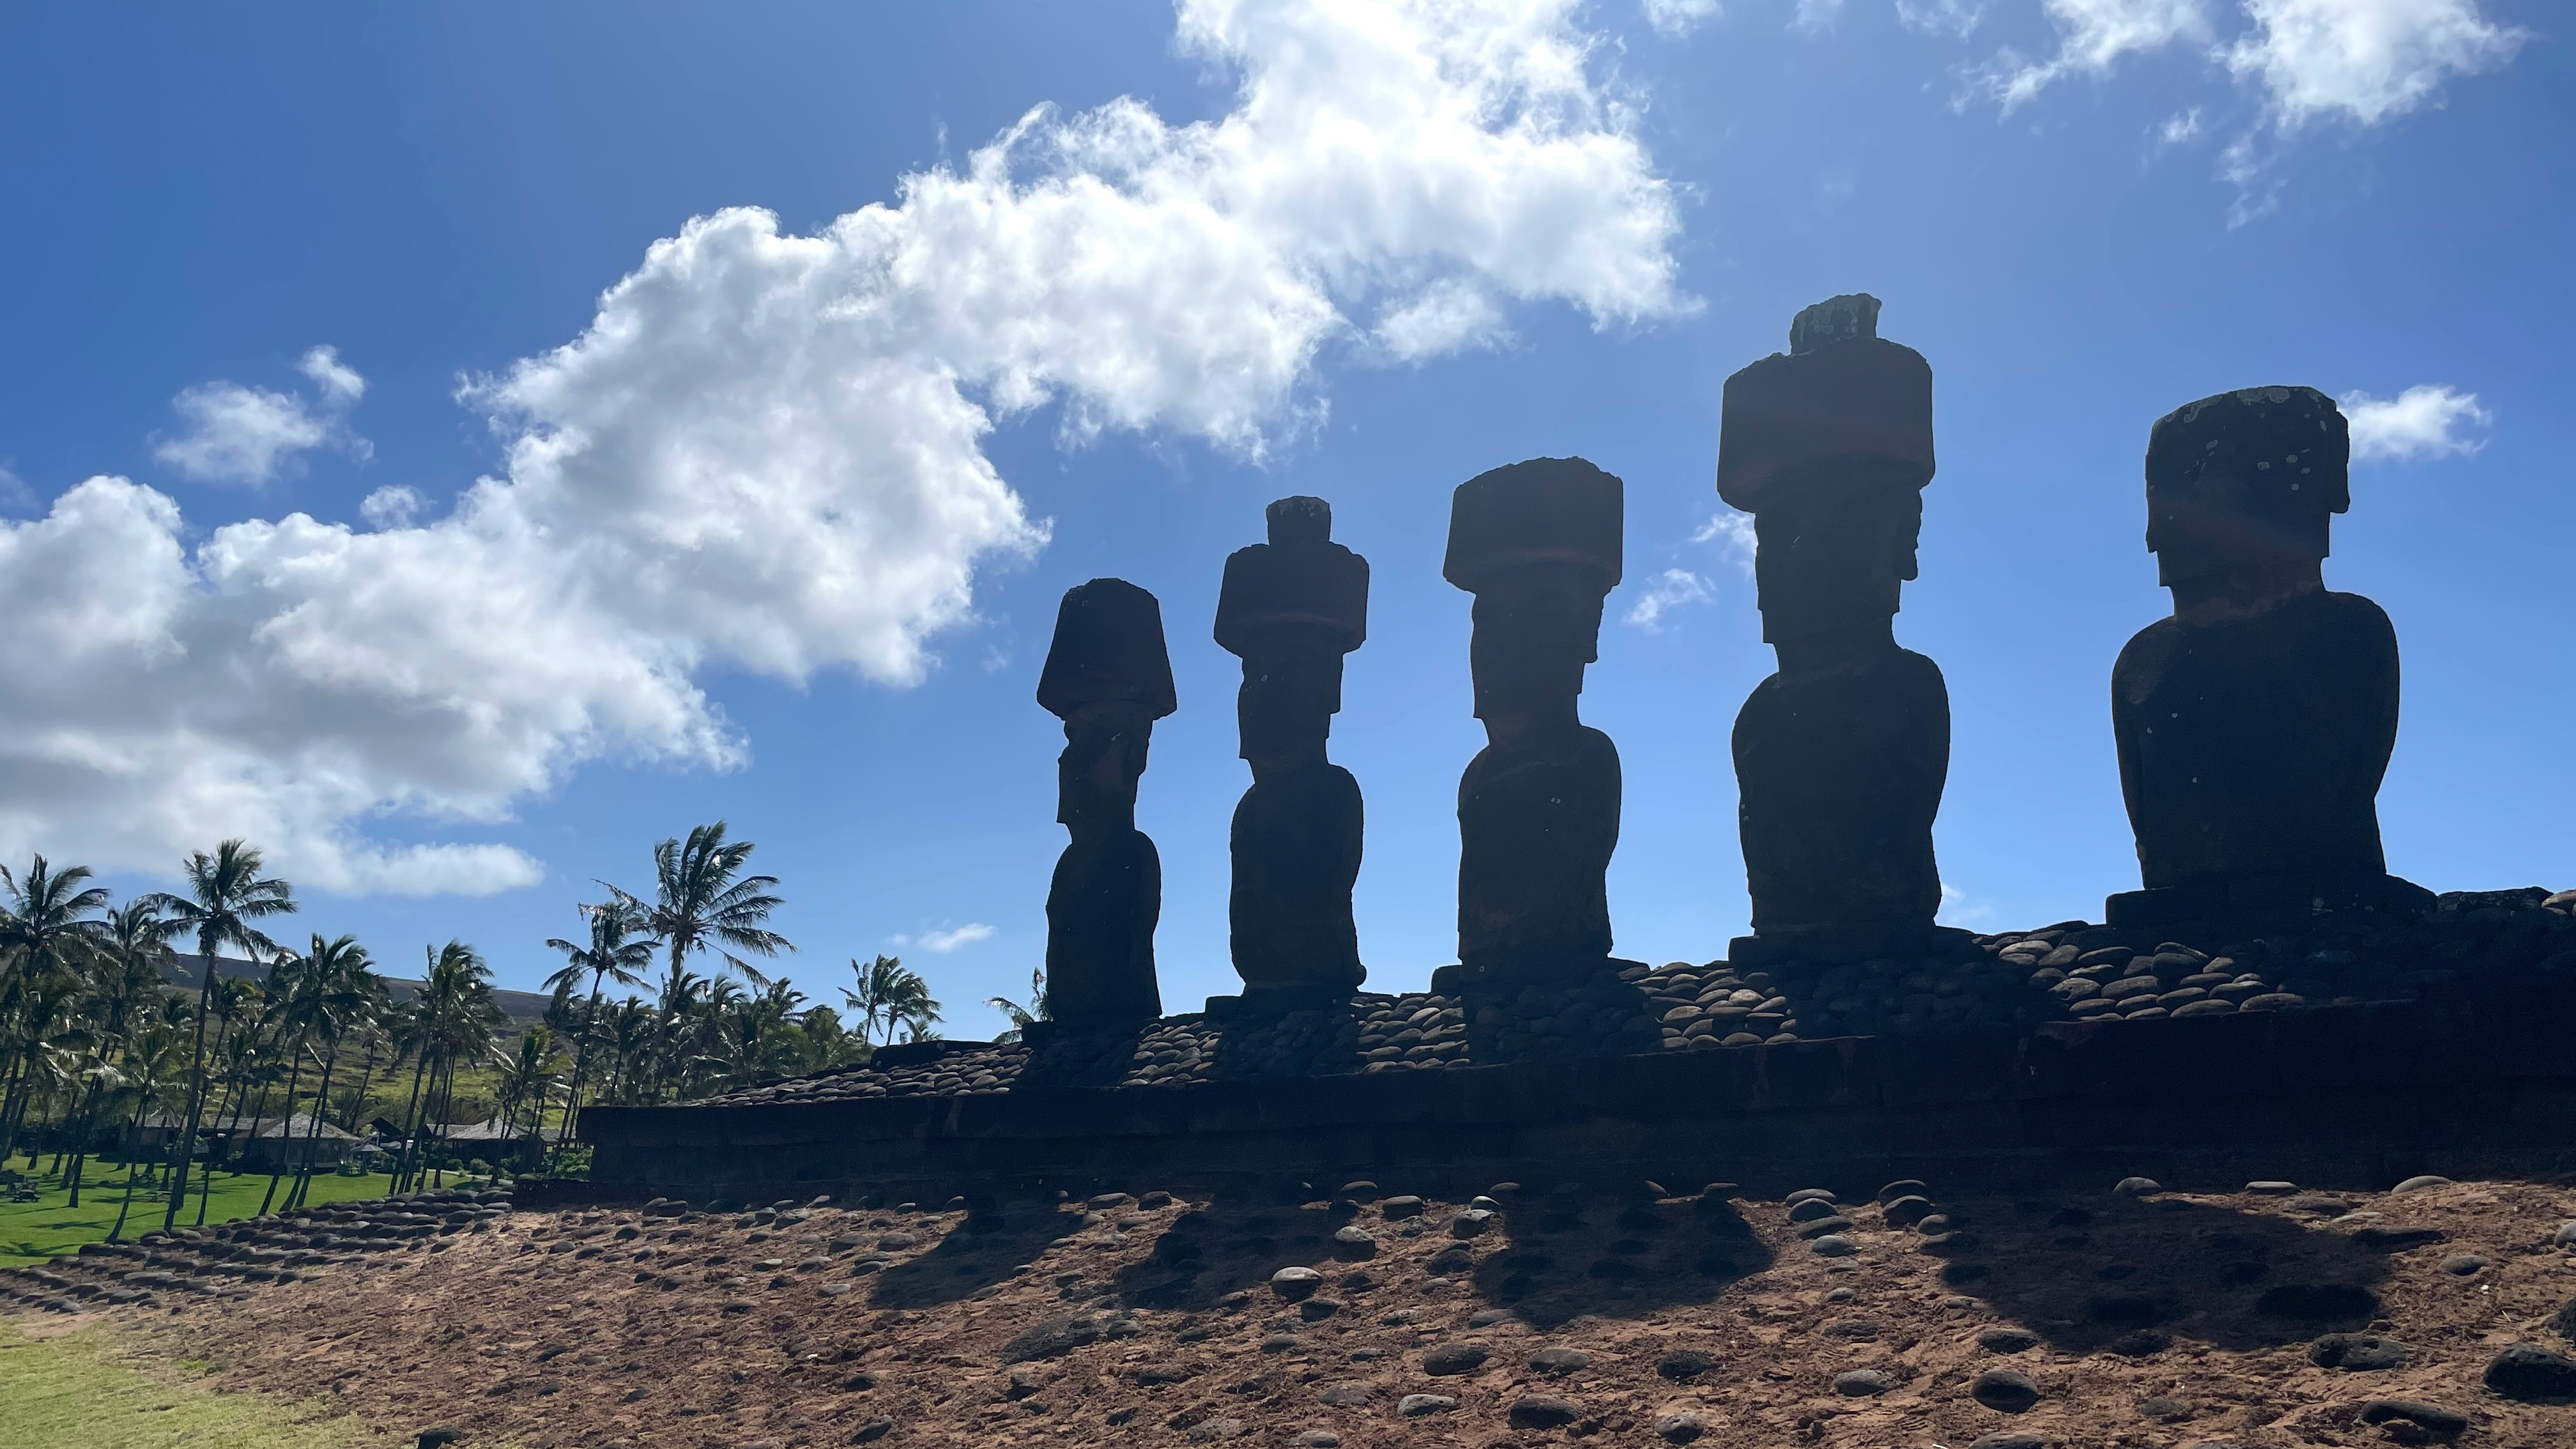
Anakena Beach — two ahus with eight moai statues on the north coast.
Get the Digital Camera World Newsletter
The best camera deals, reviews, product advice, and unmissable photography news, direct to your inbox!
Ahu Akivi — seven moai facing the sea just north of Hanga Roa.
2. Time it right at Rano Raraku
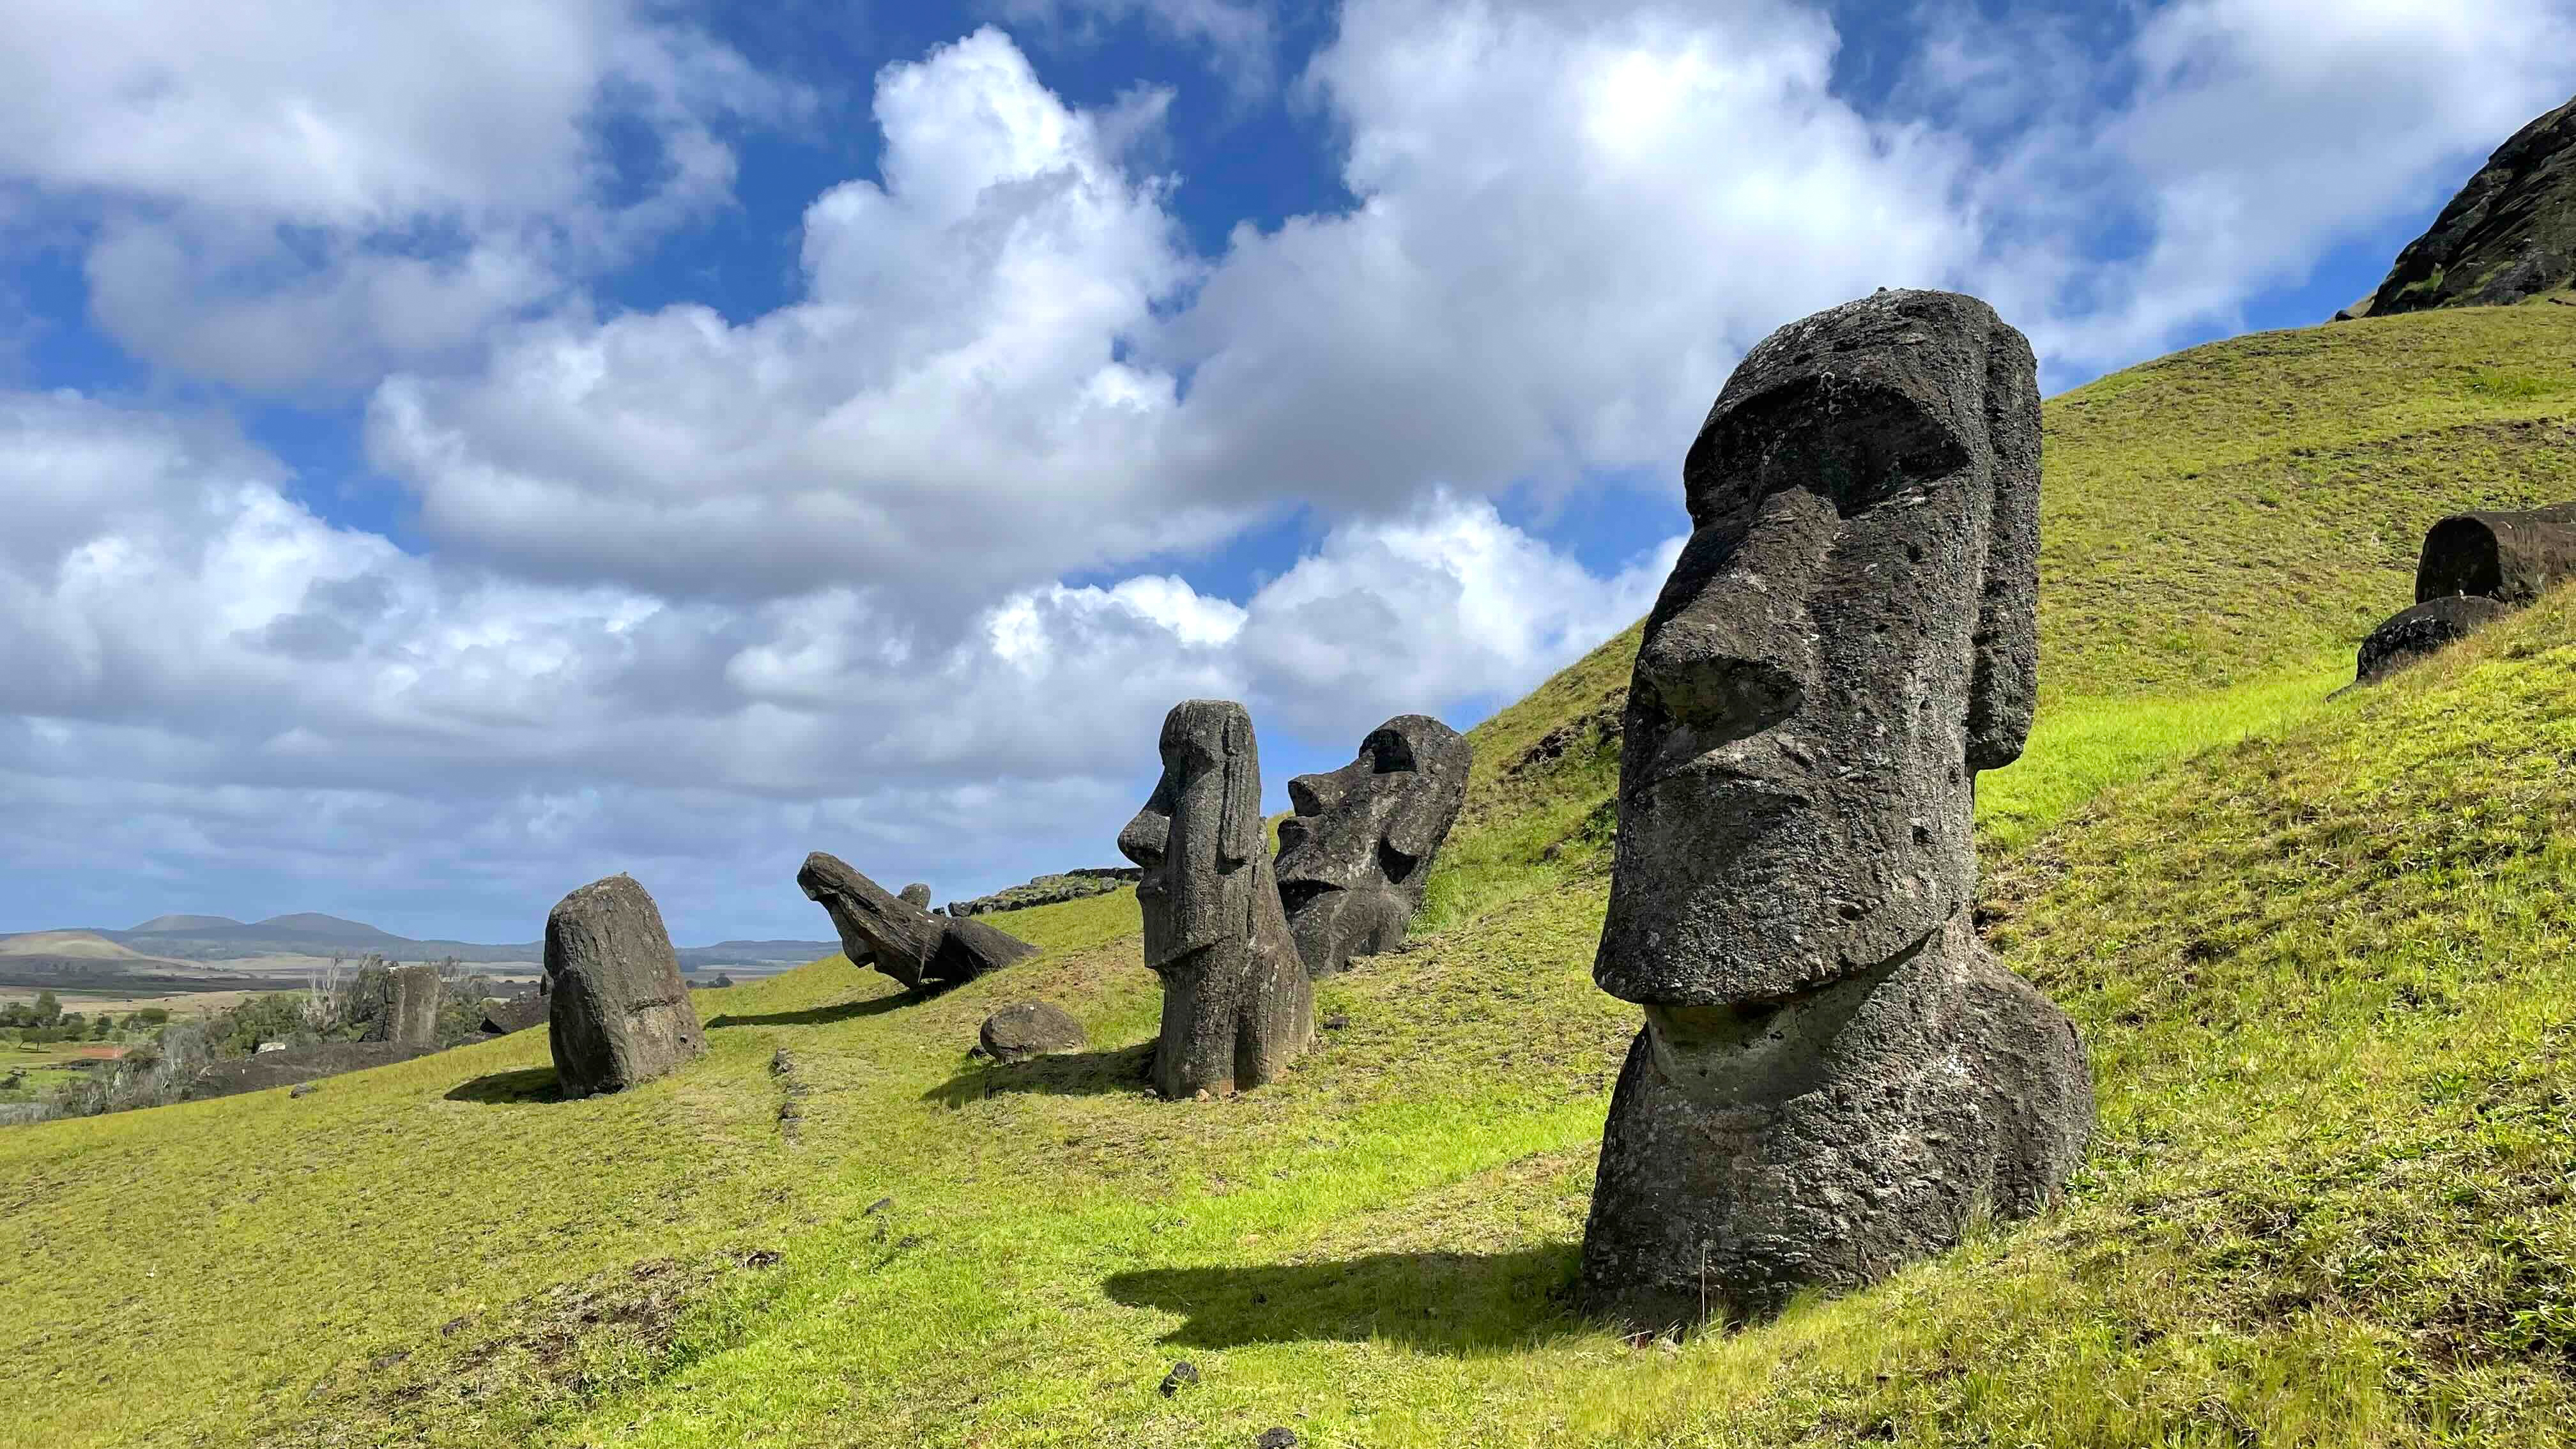
Easter Island is famous for its ahu and moai, but the images you see most are of the “sunken heads” at Rano Raraku. However, there are 900 moai on the island, and only about 200 ever made it to Ahu at the coast. The vast majority appear to have been broken and/or abandoned in or near Rano Raraku, where the monoliths were carved from the basalt of a dormant volcano. However, almost all of the moai on the slopes — through which a path winds — face south. That makes it a poor choice at lunchtime when the sun is in the northern sky and behind the moai. Unless you mainly want silhouettes, either come early in the day or late in the afternoon.
Don’t forget to get close-ups of the moai’s tattoos, arms, ears, and other peculiar features that tend to be overshadowed in photographs by the vast rectangular faces.
3. Plan it in advance
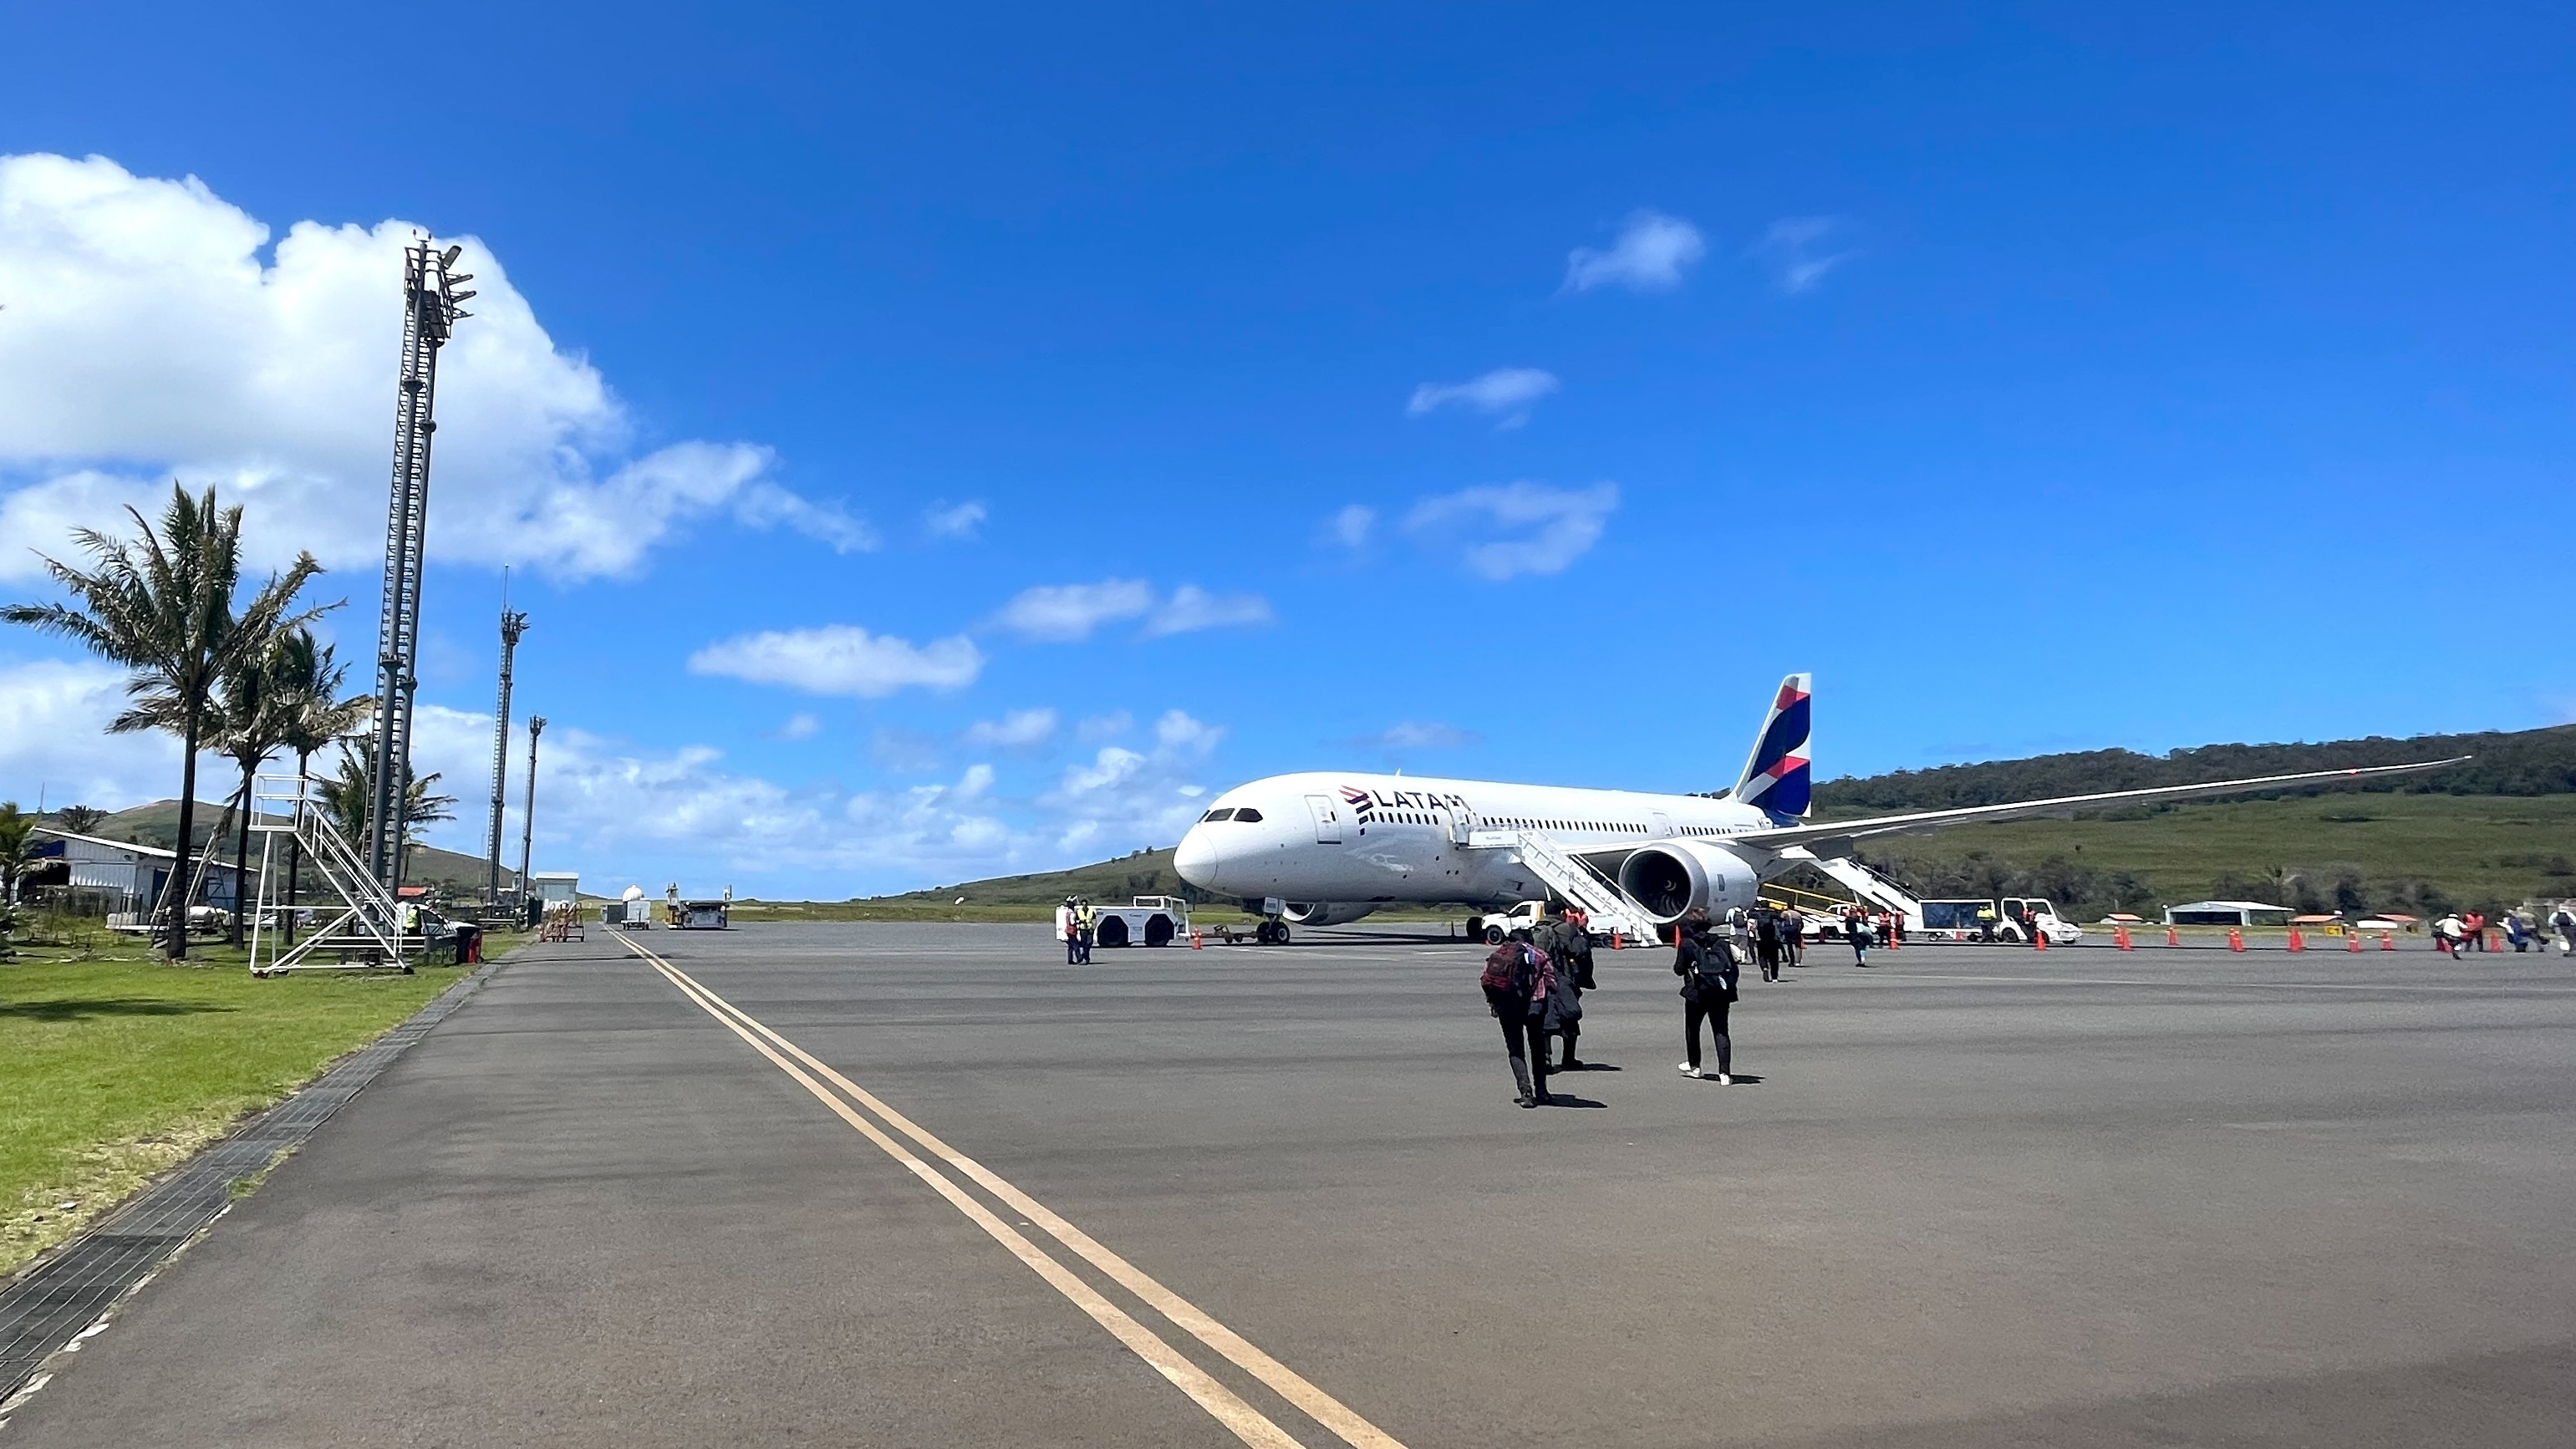
There are four things you need to visit Easter Island: funds, planning, an understanding of risk, and an appreciation of “island life.” With everything shipped in, everyday items are expensive, and even basic rooms go for a few hundred dollars a night. We’re talking basic rooms, nothing high-end, with accommodation only available in low-rise Hanga Roa and split between low-key resorts, hostels and Airbnbs. The key factor, however, is the LATAM flight from Santiago, Chile, which is presently the only way of reaching the island. Book it a year in advance and expect to pay somewhere in the region of $460/£350 for a return flight. There’s typically only one flight a day, and bad weather can frequently cause delays and cancellations, so have contingency plans … and expensive travel insurance.
4. Sunrise at Tongariki
The classic photography experience for most visitors to Easter Island is sunrise at Tongariki, an ahu refurbished with help from the Japanese government. Here, 15 moai of varying heights are lined up with a rocky coastline and cliffs to the north. It’s a beautiful place, and since it’s on an east-facing coast, the sun rises behind the moai each morning. You can book a tour but arrive only minutes before sunrise. You’ll miss the colors beforehand, and you’ll also have a lot of other people to compete with. It’s, therefore, better to come here alone, about an hour before sunrise, to get the full impact. You won’t be able to enter the monument's grounds, but it makes no difference if you have a 100mm or larger lens. Find a place beside the perimeter stone wall – only a few feet tall – and stand well clear of the cars passing behind you.
5. There are lots of restrictions
A decade ago, Easter Island was free and easy. You could walk up to the ahu and touch the moai if you wished, but that’s no longer true. Now, you must have a Rapa Nui National Park pass to enter any of the 13 official protected archaeological sites. You also have to visit these sites with a guide, though it can be a private guide and not necessarily a large bus tour (there are no coaches here, just a fleet of minibusses). No ticket and no guide, no entry.
That said, Easter Island is perfect for renting a car to explore on your own but don’t do it straight away. Since you must visit the 13 archaeological sites with a guide, first take a tour with a guide — preferably a private excursion — and ask for advice on the best places to visit in the following days. The roads are dirt and pot-holed, but they’re relatively easy to drive on, partly because they’re quiet.
6. Night photography at Tongariki
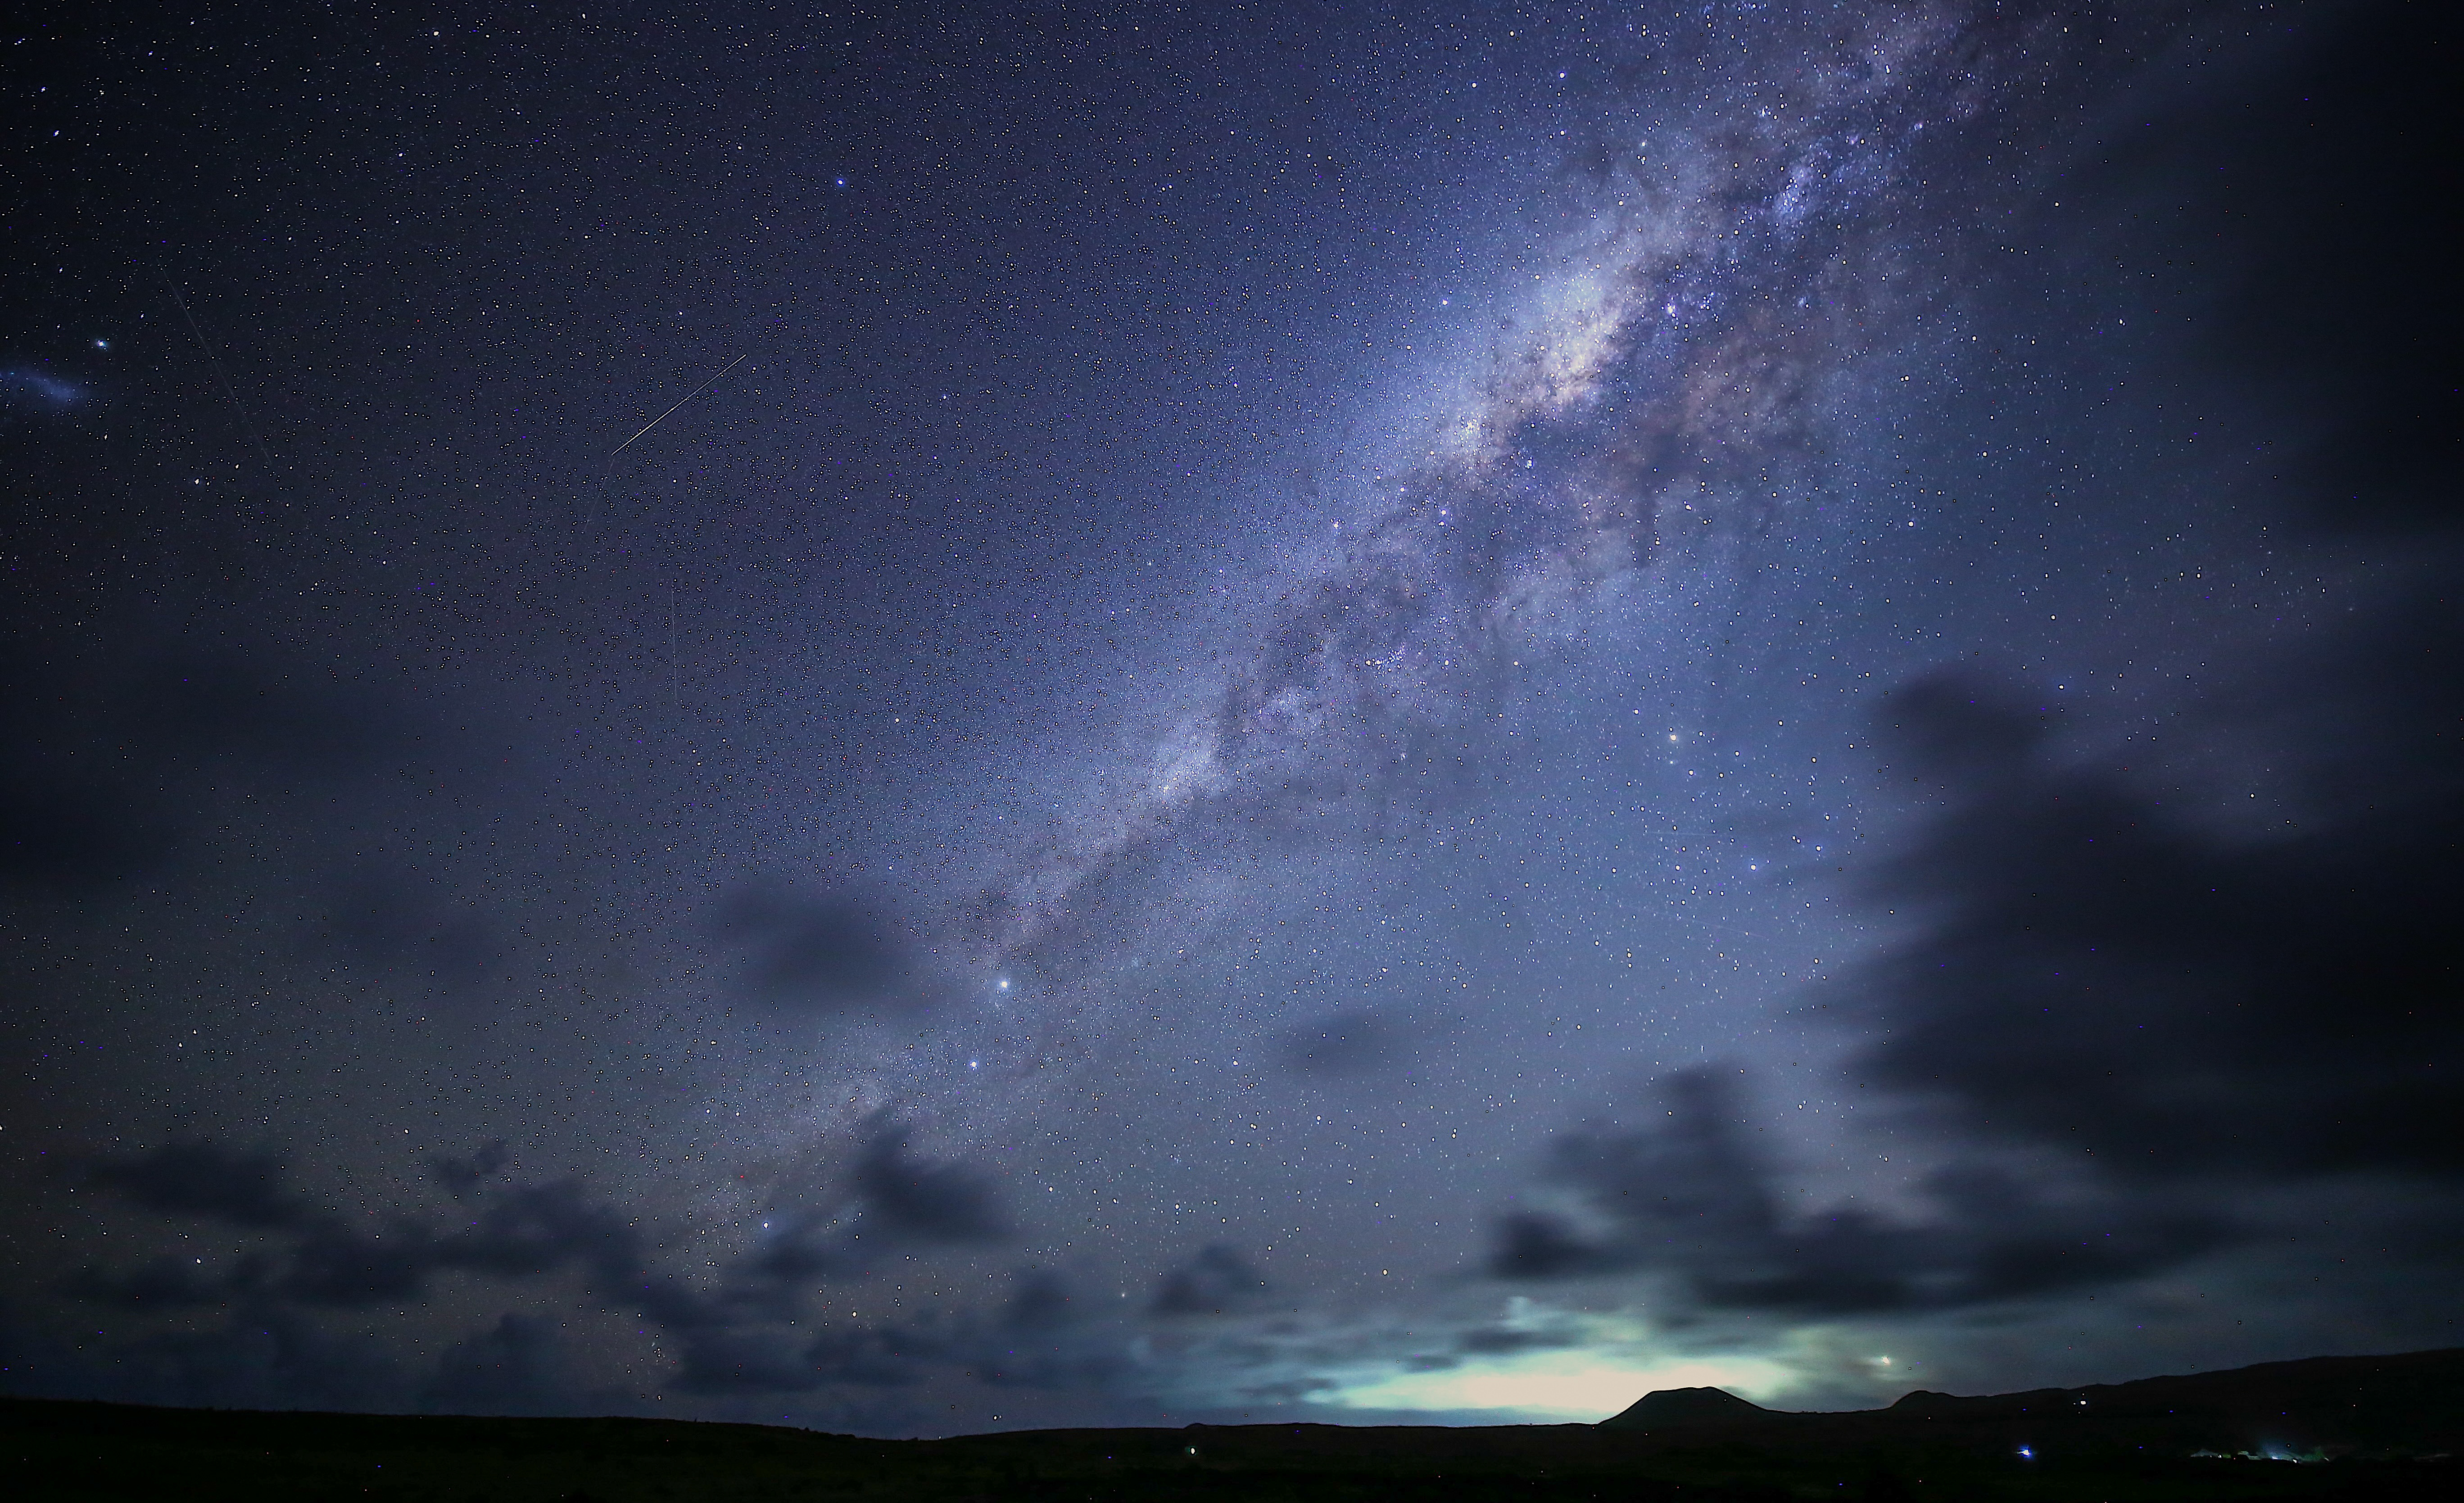
The Southern Hemisphere night sky is spectacular, largely because it’s possible to see the galaxy’s bright core. On Easter Island, a vast and bright Milky Way arcs across the night sky between April and November.
Although it is possible to do stargazing evenings by minibus, they don’t include astrophotography nor tend to take place in particularly picturesque locations where moai are on display. As well as being a great place to photograph the sunrise, Tongariki is an excellent location for night photography, not only because you can get the ahu and moai in the shot but also because it has a good view of the Ranu Raraku volcano to the west. The only issue with Tongariki at night is a harbor light behind it that flashes on and off every few seconds. Find a position outside the wall where a distant tree partially blocks the harbor light (you’ll find it eventually!), and it’s a far less serious issue.
7. Don’t forget Ranu Kau
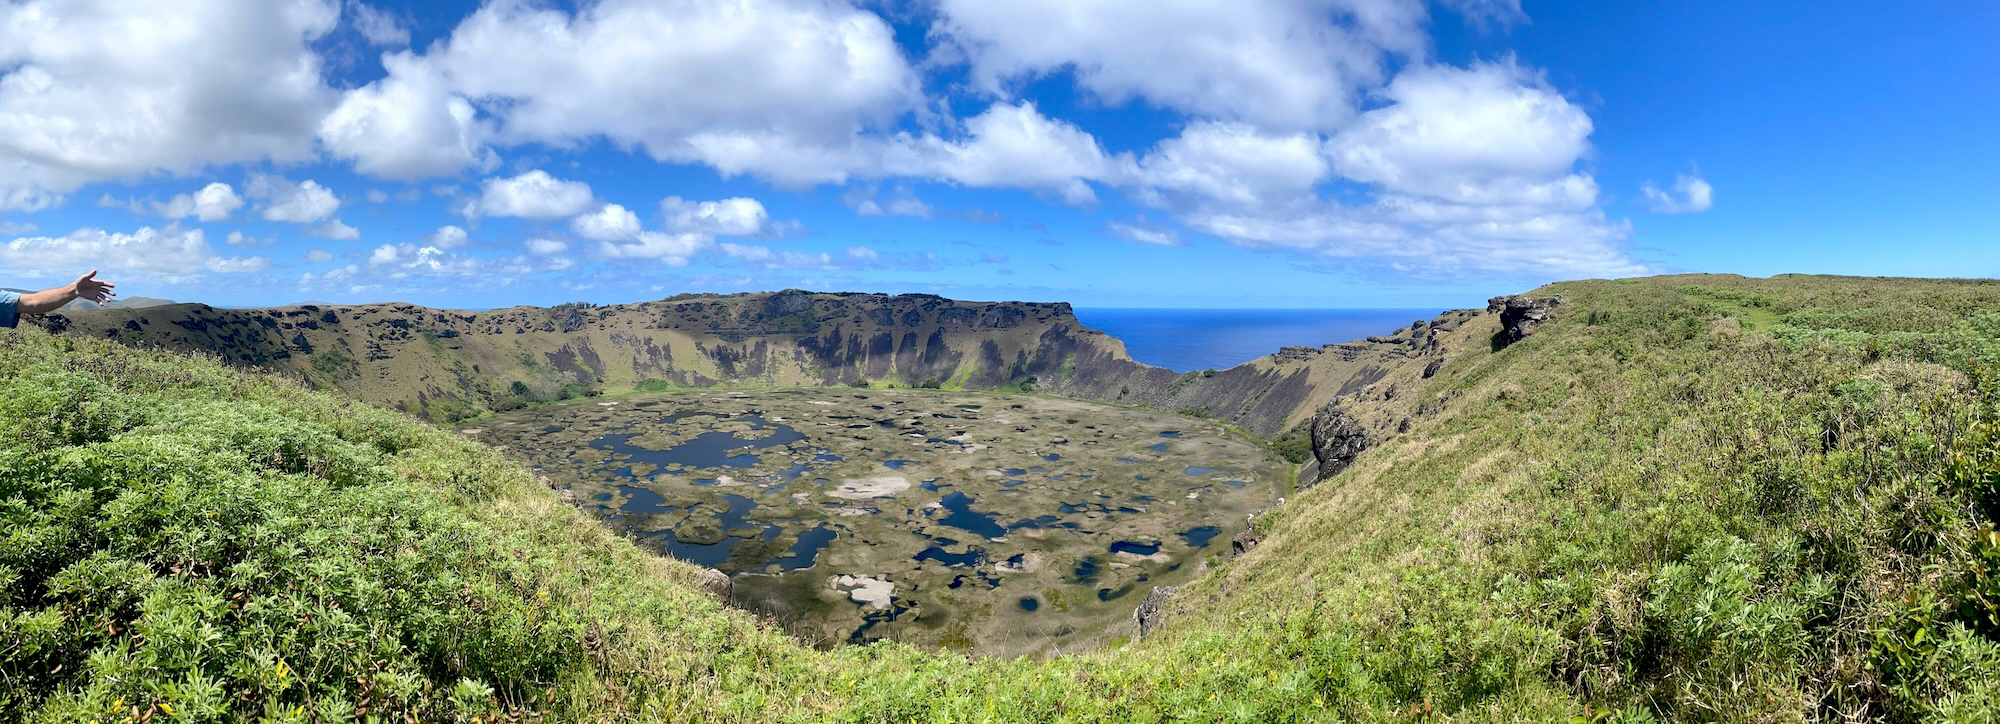
It’s oddly not on many tours of the island, but one of the most dramatic locations from a landscape photography point of view is Ranu Kau, a lagoon in a volcanic caldera. It’s a short drive from Hanga Roa in the island's southwest. There are a couple of pullouts: Mirador Hanga Roa overlooks the entire island to the north, and Mirador Rano Kao gives a view of the caldera, part of a steep and precarious cliff. Up here, there are interesting possibilities for landscape photography, and with the island's landmass blocking the prevailing wind, there are good prospects of a clear sky. A wide-angle lens is a must.
At the end of the road to Rano Kao is the stone village of Orongo, an interesting place in itself and also home to the “birdman cult,” during which Rapa Nui men had to swim out to one of the three tiny islands offshore to fetch an egg from the sooty tern, and return them unscathed, to become king.
A dramatic photo with a dramatic story behind it is what Easter Island is all about; there's much more here than moai.
Read more:
Astrophotography: How-to guides, tips and videos
Locations for photographers: best locations for photography around the world:

Jamie has been writing about photography, astronomy, astro-tourism and astrophotography for over 15 years, producing content for Forbes, Space.com, Live Science, Techradar, T3, BBC Wildlife, Science Focus, Sky & Telescope, BBC Sky At Night, South China Morning Post, The Guardian, The Telegraph and Travel+Leisure.
As the editor for When Is The Next Eclipse, he has a wealth of experience, expertise and enthusiasm for astrophotography, from capturing the moon and meteor showers to solar and lunar eclipses.
He also brings a great deal of knowledge on action cameras, 360 cameras, AI cameras, camera backpacks, telescopes, gimbals, tripods and all manner of photography equipment.