Digital Camera World Verdict
Adobe Photoshop Elements is a great software package for beginners, but more experienced photographers will want greater control over monochrome conversions and more understated templates for the auto creations.
Pros
- +
No subscription
- +
Great value if bought with Premiere Elements 2020
Cons
- -
Advanced features are hidden away
Why you can trust Digital Camera World
Note that this software has now been updated with Adobe Photoshop Elements 2021 - which offers extra features for this budget-priced photo editing software.
Photoshop Elements 2020 is the baby brother to the full-blooded Photoshop CC, the program that has become the industry standard for image editing. The advantage of Elements is that you don't have to pay a subscription – and can buy the software outright. And it is particularly good value if you buy it with its film-editing cousin Adobe Premiere Elements 2020.
In recent years, Adobe has concentrated on making Elements as easy to use for beginners as possible - and its power is now somewhat hidden from sight. Adobe introduced the Home Screen with Photoshop Elements 2019. It’s designed to give you quick access to the key features and help you see some of what’s made possible by the software.
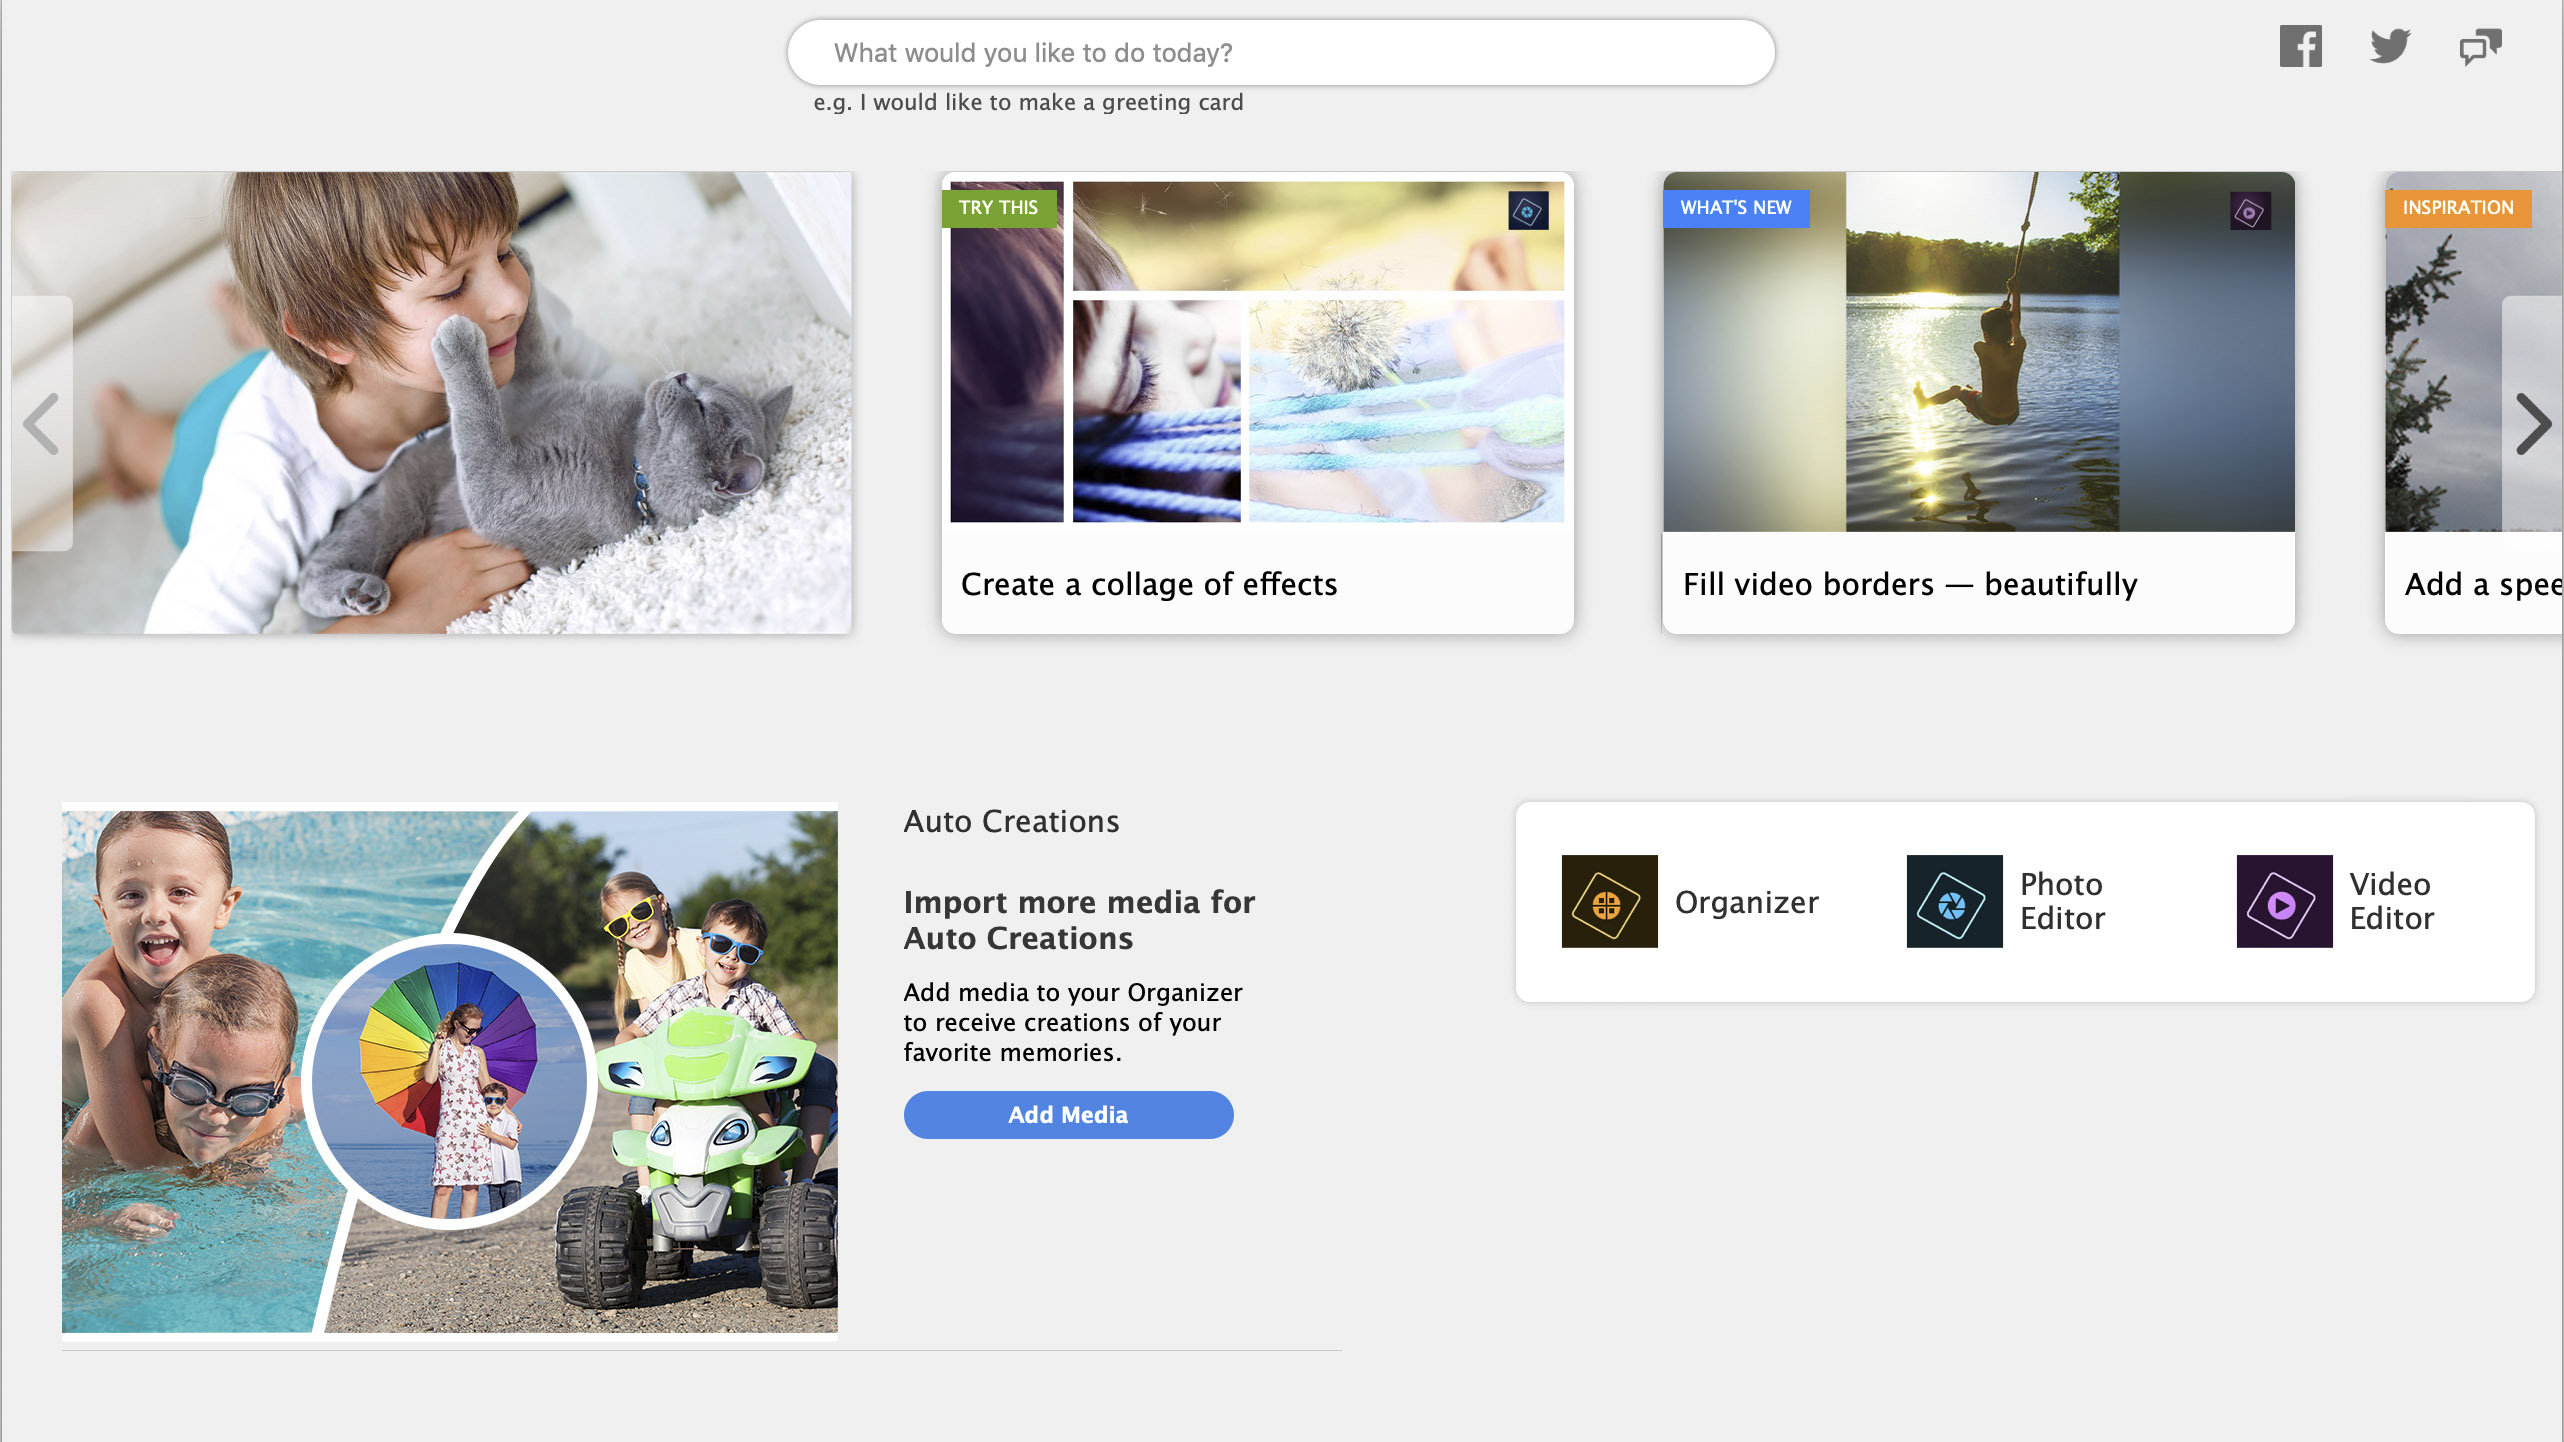
There’s a helpful search bar at the top of the Home Screen that invites you to type in what you want to do. Just beneath this is a carousel that highlights some of the new features of the latest version of the software.
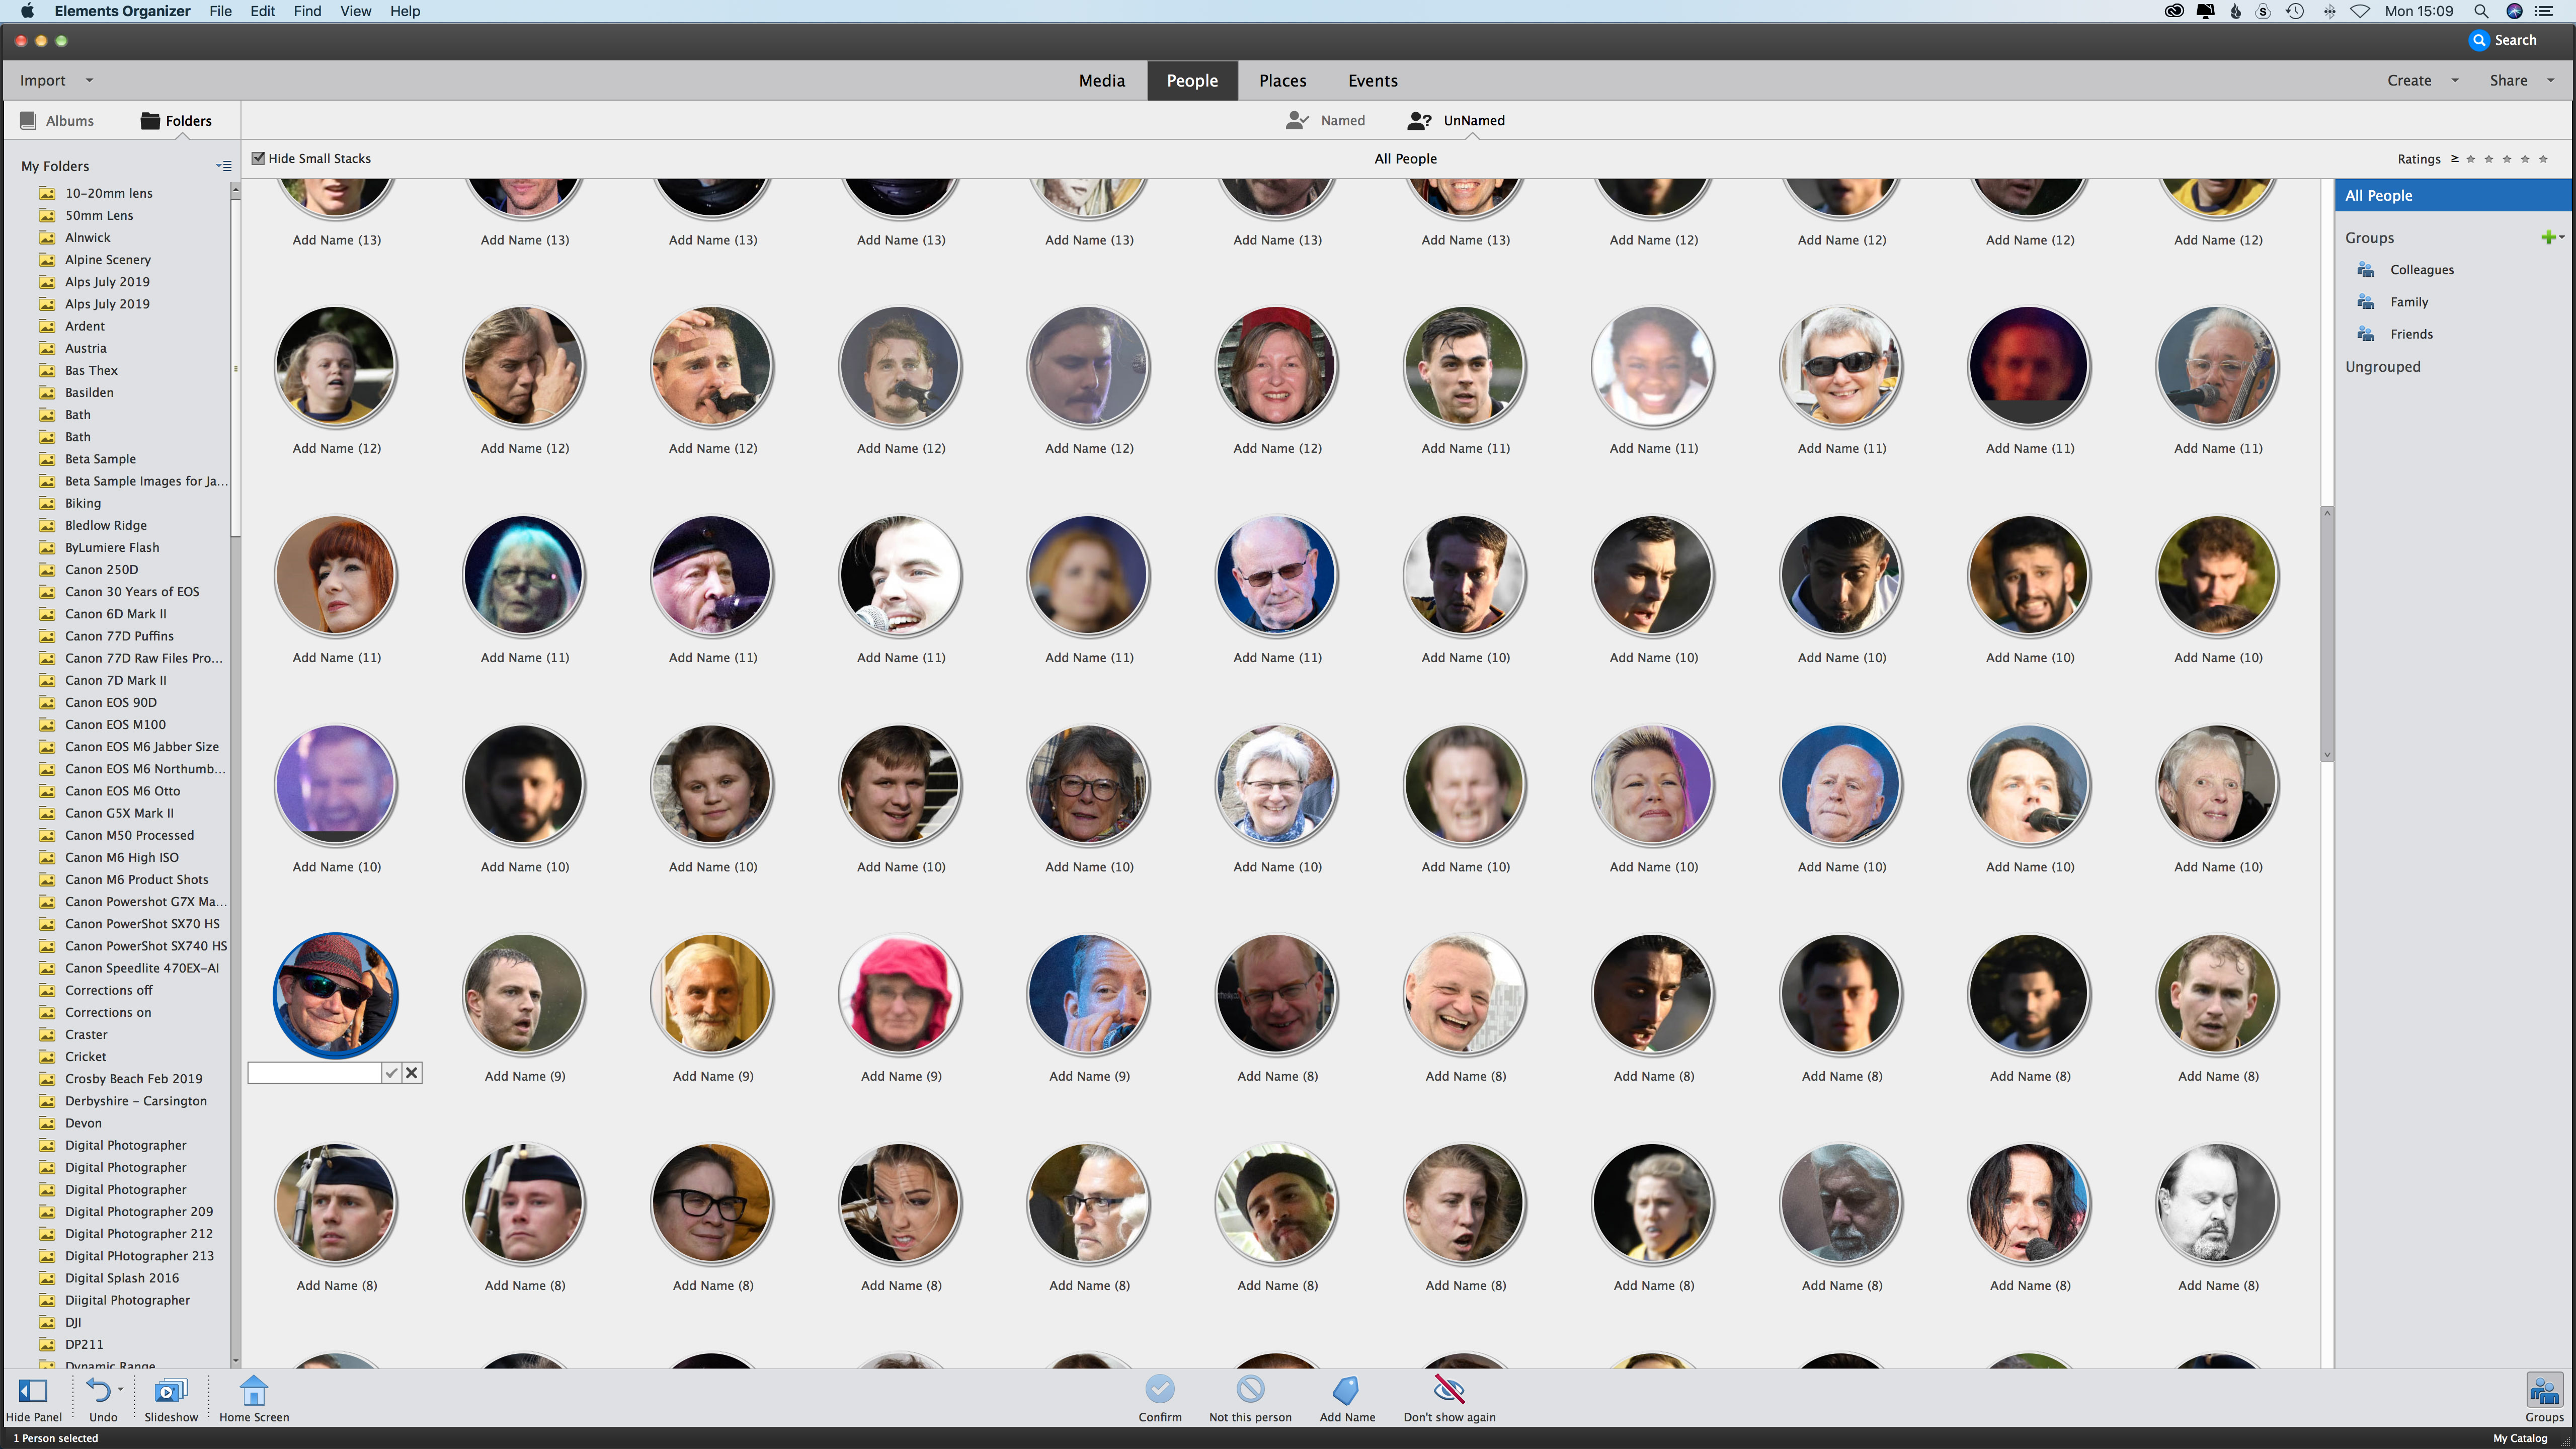
However, for many photographers the Organizer is the real hub of Adobe Photoshop Elements and Premiere Elements. This has tools to let you import and organize your images using tags, keywords and albums to make them easier to find.
Unlike Adobe Lightroom, you don’t have to import images into the Organizer to edit them, but doing so makes it easier to browse and find the image you want to work on. For example, the software can automatically detect faces in your images, and it’s worth spending a few minutes adding names to the faces as it makes finding specific people much quicker at a later date.
If you have a large collection of images, we recommend importing them in batches. That’s because the software doesn’t simply import the file location information, it also analyses the images to enable you to create stacks of similar shots, which takes quite a bit of time.
After importing some images to the Organizer, tapping ‘Create’ reveals a selection of items that you can make. These include slide shows, collages, prints, photo books, greetings cards, calendars and CD jackets.
With the exception of the photo prints, the templates that Elements offers for printed products have rather fussy backgrounds. Even the Monochrome theme for photo books alternates between black and white backgrounds on pages. It would be nice to have a clean, white option. There’s also very little control over the slide show; you can’t change transitions or make one of your own images the title slide, for example.
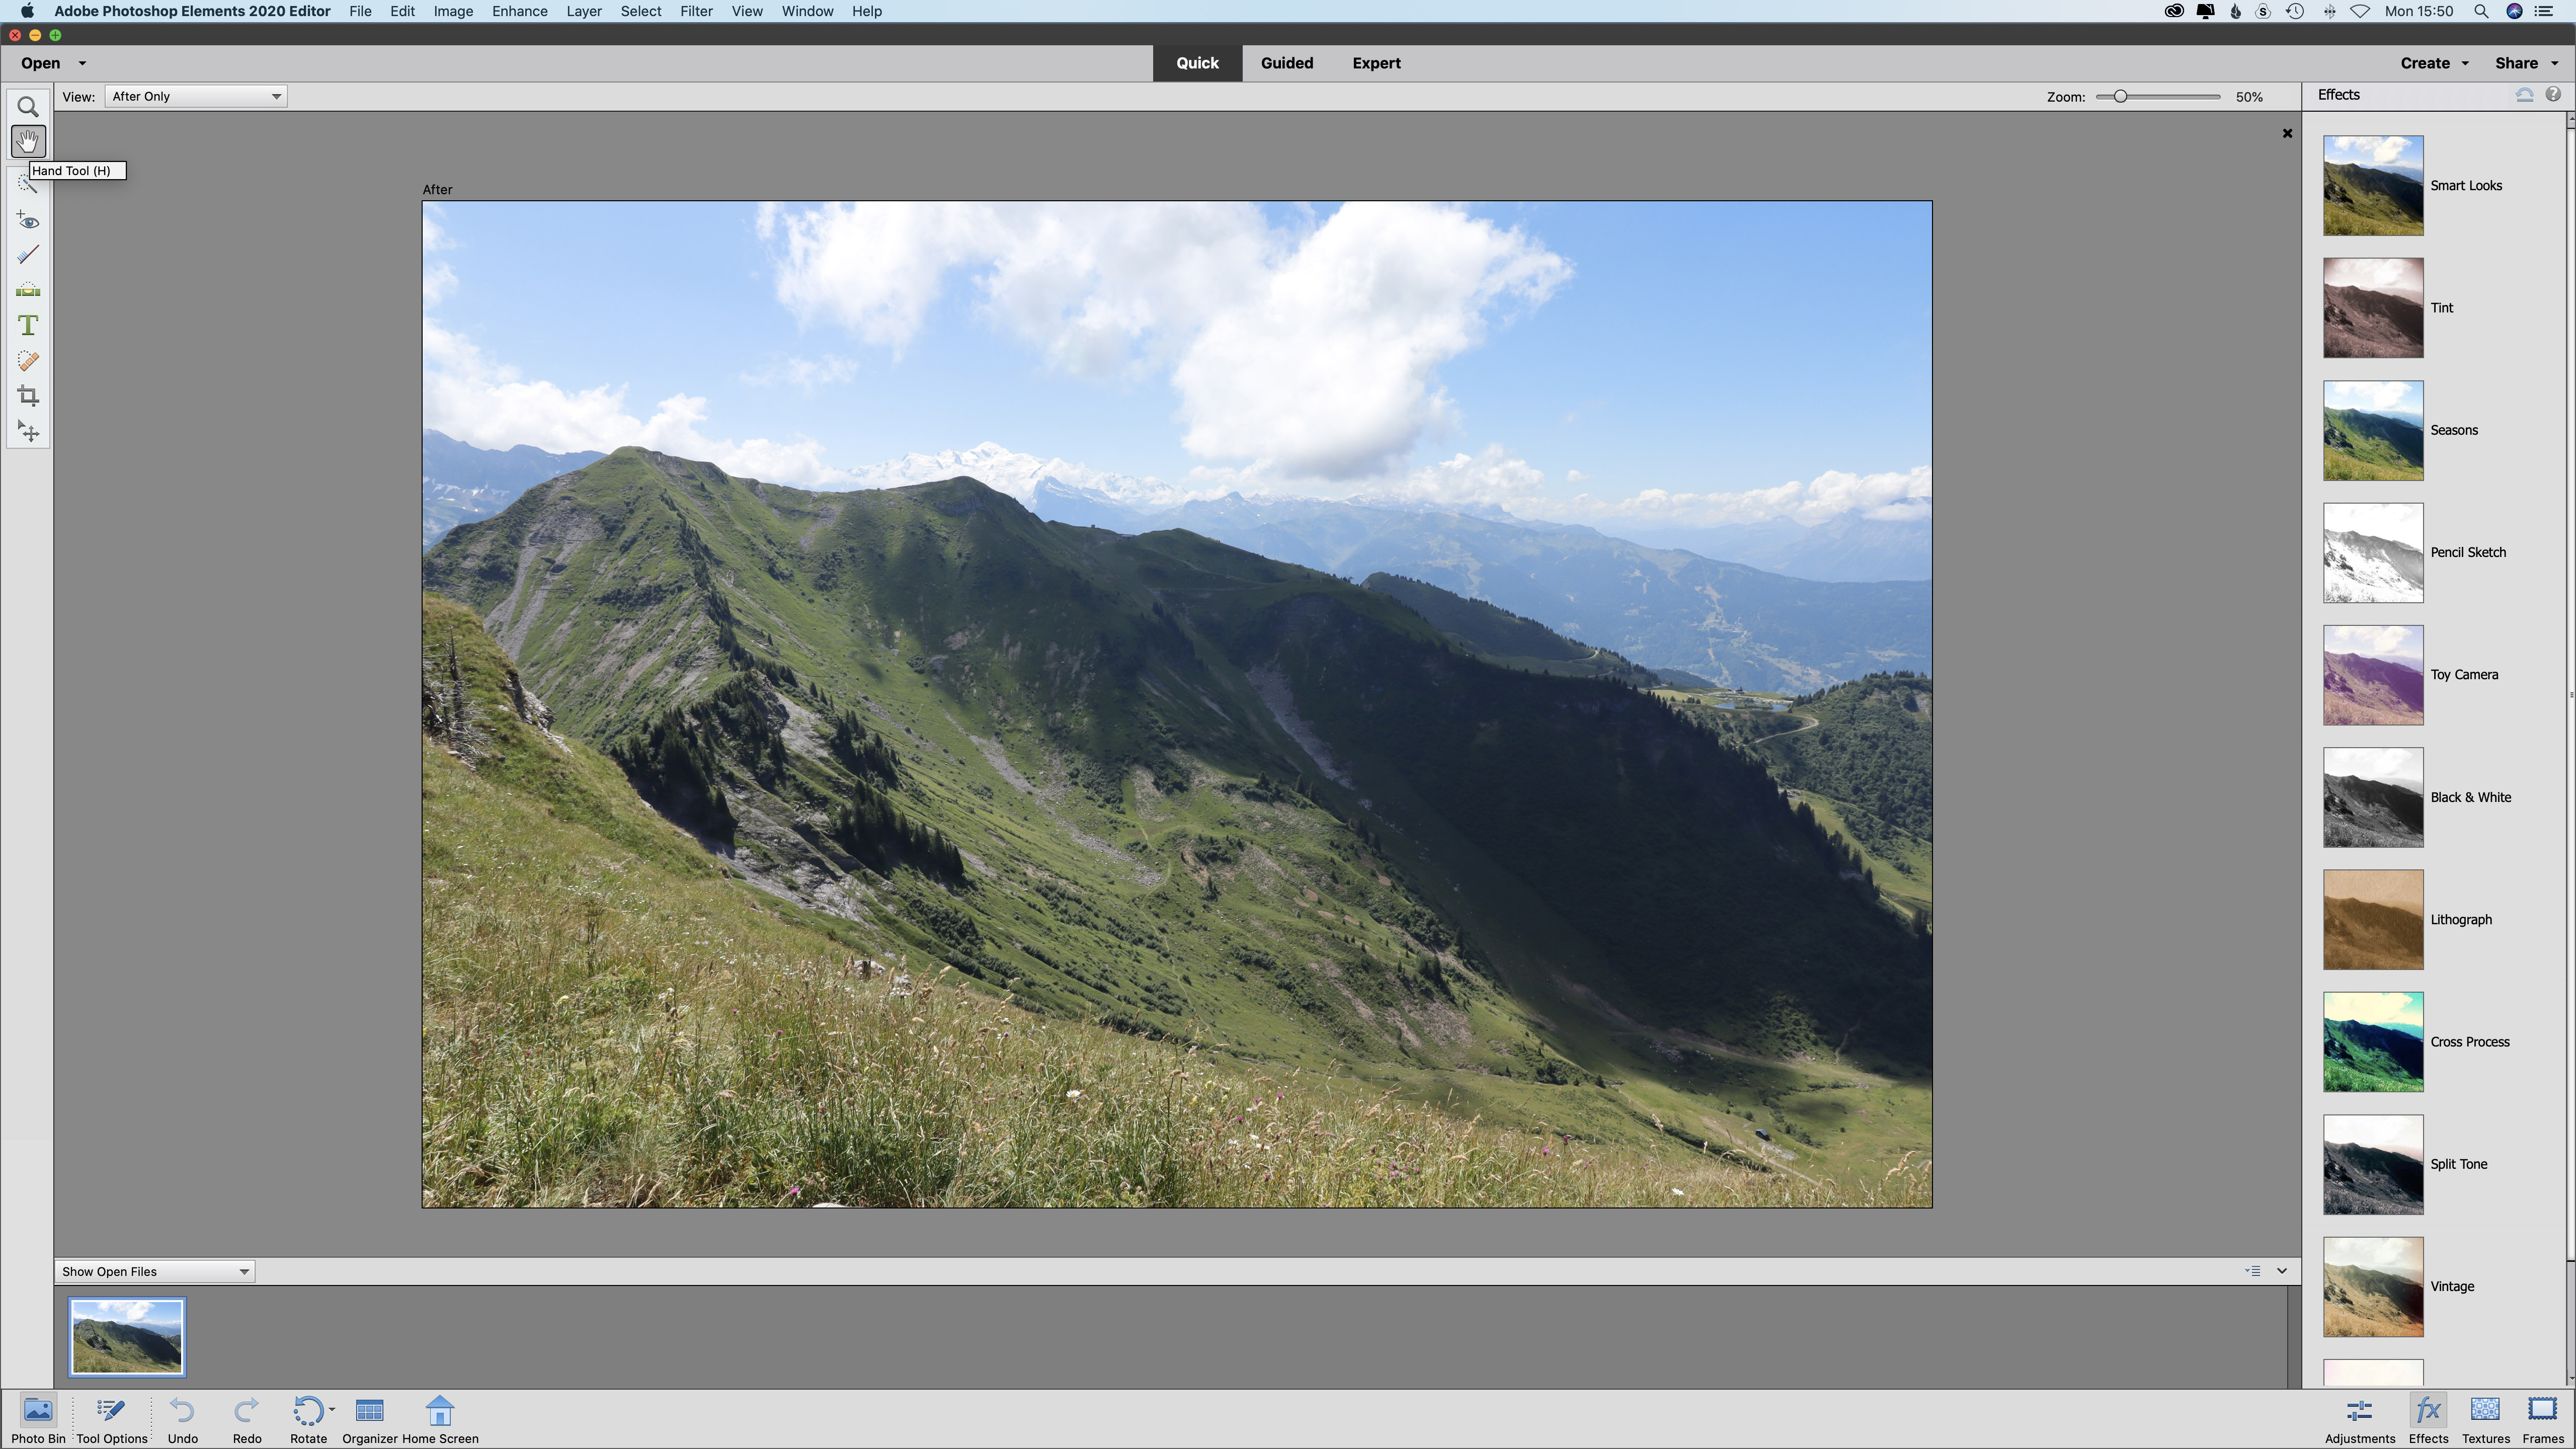
If you’re more interested in perfecting your images than creating things with them, you need to open the Photo Editor. This has three modes – Quick, Guided and Expert – each with a different level of control. You switch between them by clicking on the options at the top of the screen.
As you’d expect, the Quick controls are the simplest and they’re reasonably basic. You can apply different filter effects and use a limited collection of tools to make selections, enhance eyes, whiten teeth, straighten images, add text, clone out unwanted objects or spots, crop images or move selected elements.
The Guided section gives you access to a total of 78 processes using step-by-step wizards to take you through things like resizing, adjusting the exposure, creating monochrome images, cloning out unwanted objects and merging multiple shots of a group of people. Some of the edits are a bit cheesy, but others, especially those in the Basics, Color and Photomerge section, are very useful, and everything is explained clearly.
Raw files
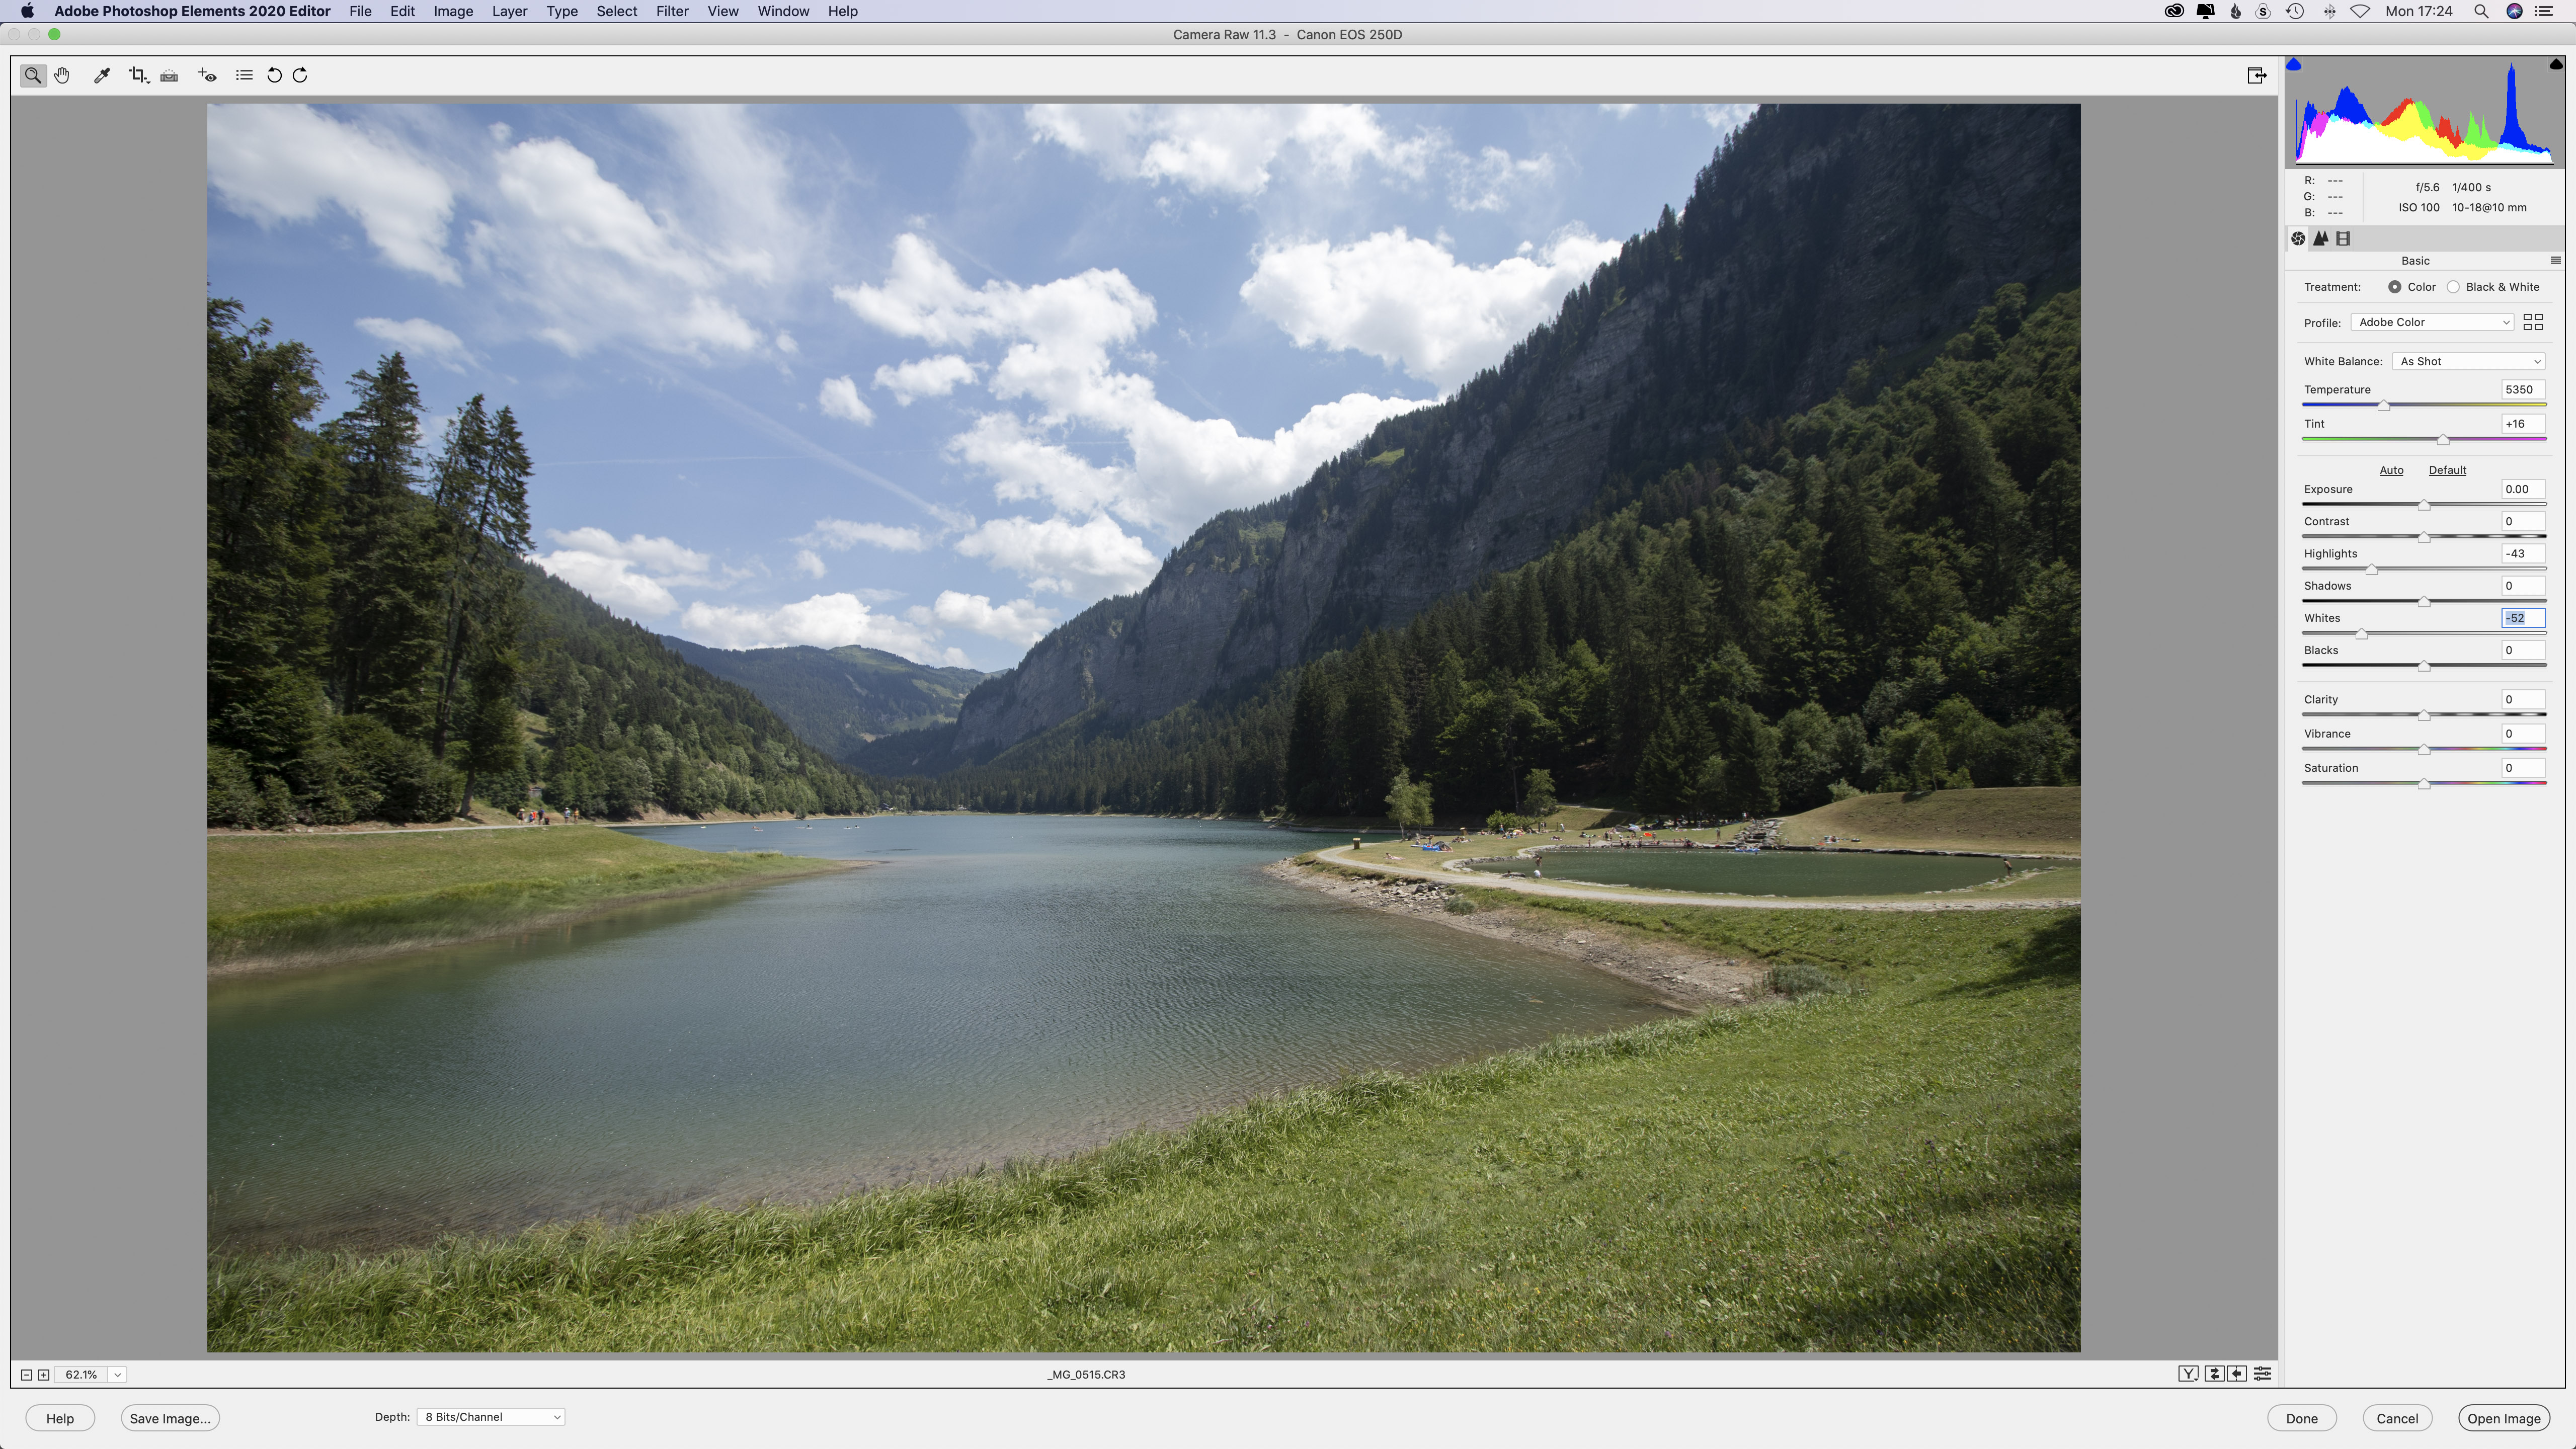
As with the full version of Adobe Photoshop, if you try to open a RAW file in Photoshop Elements, it opens Camera Raw automatically. The range of controls is more limited than Photoshop’s and Lightroom’s, but the most important controls are there, so you can adjust the exposure, white balance, contrast, highlights, shadows, whites, blacks and clarity, vibrance and saturation.
It is also possible to convert an image to black and white, but you don’t get control over all the colour channels, which is somewhat disappointing. Instead, you can select from a range of presets and then adjust the degree of effect that’s applied. There are also no local adjustments available in Photoshop Elements’ version of Camera Raw.
Generally the auto-selection tools work well, but they can’t always be relied upon and you may need to use the refining tools to get the best results. However, that helps you to learn how to use some of the tools in the Expert area.
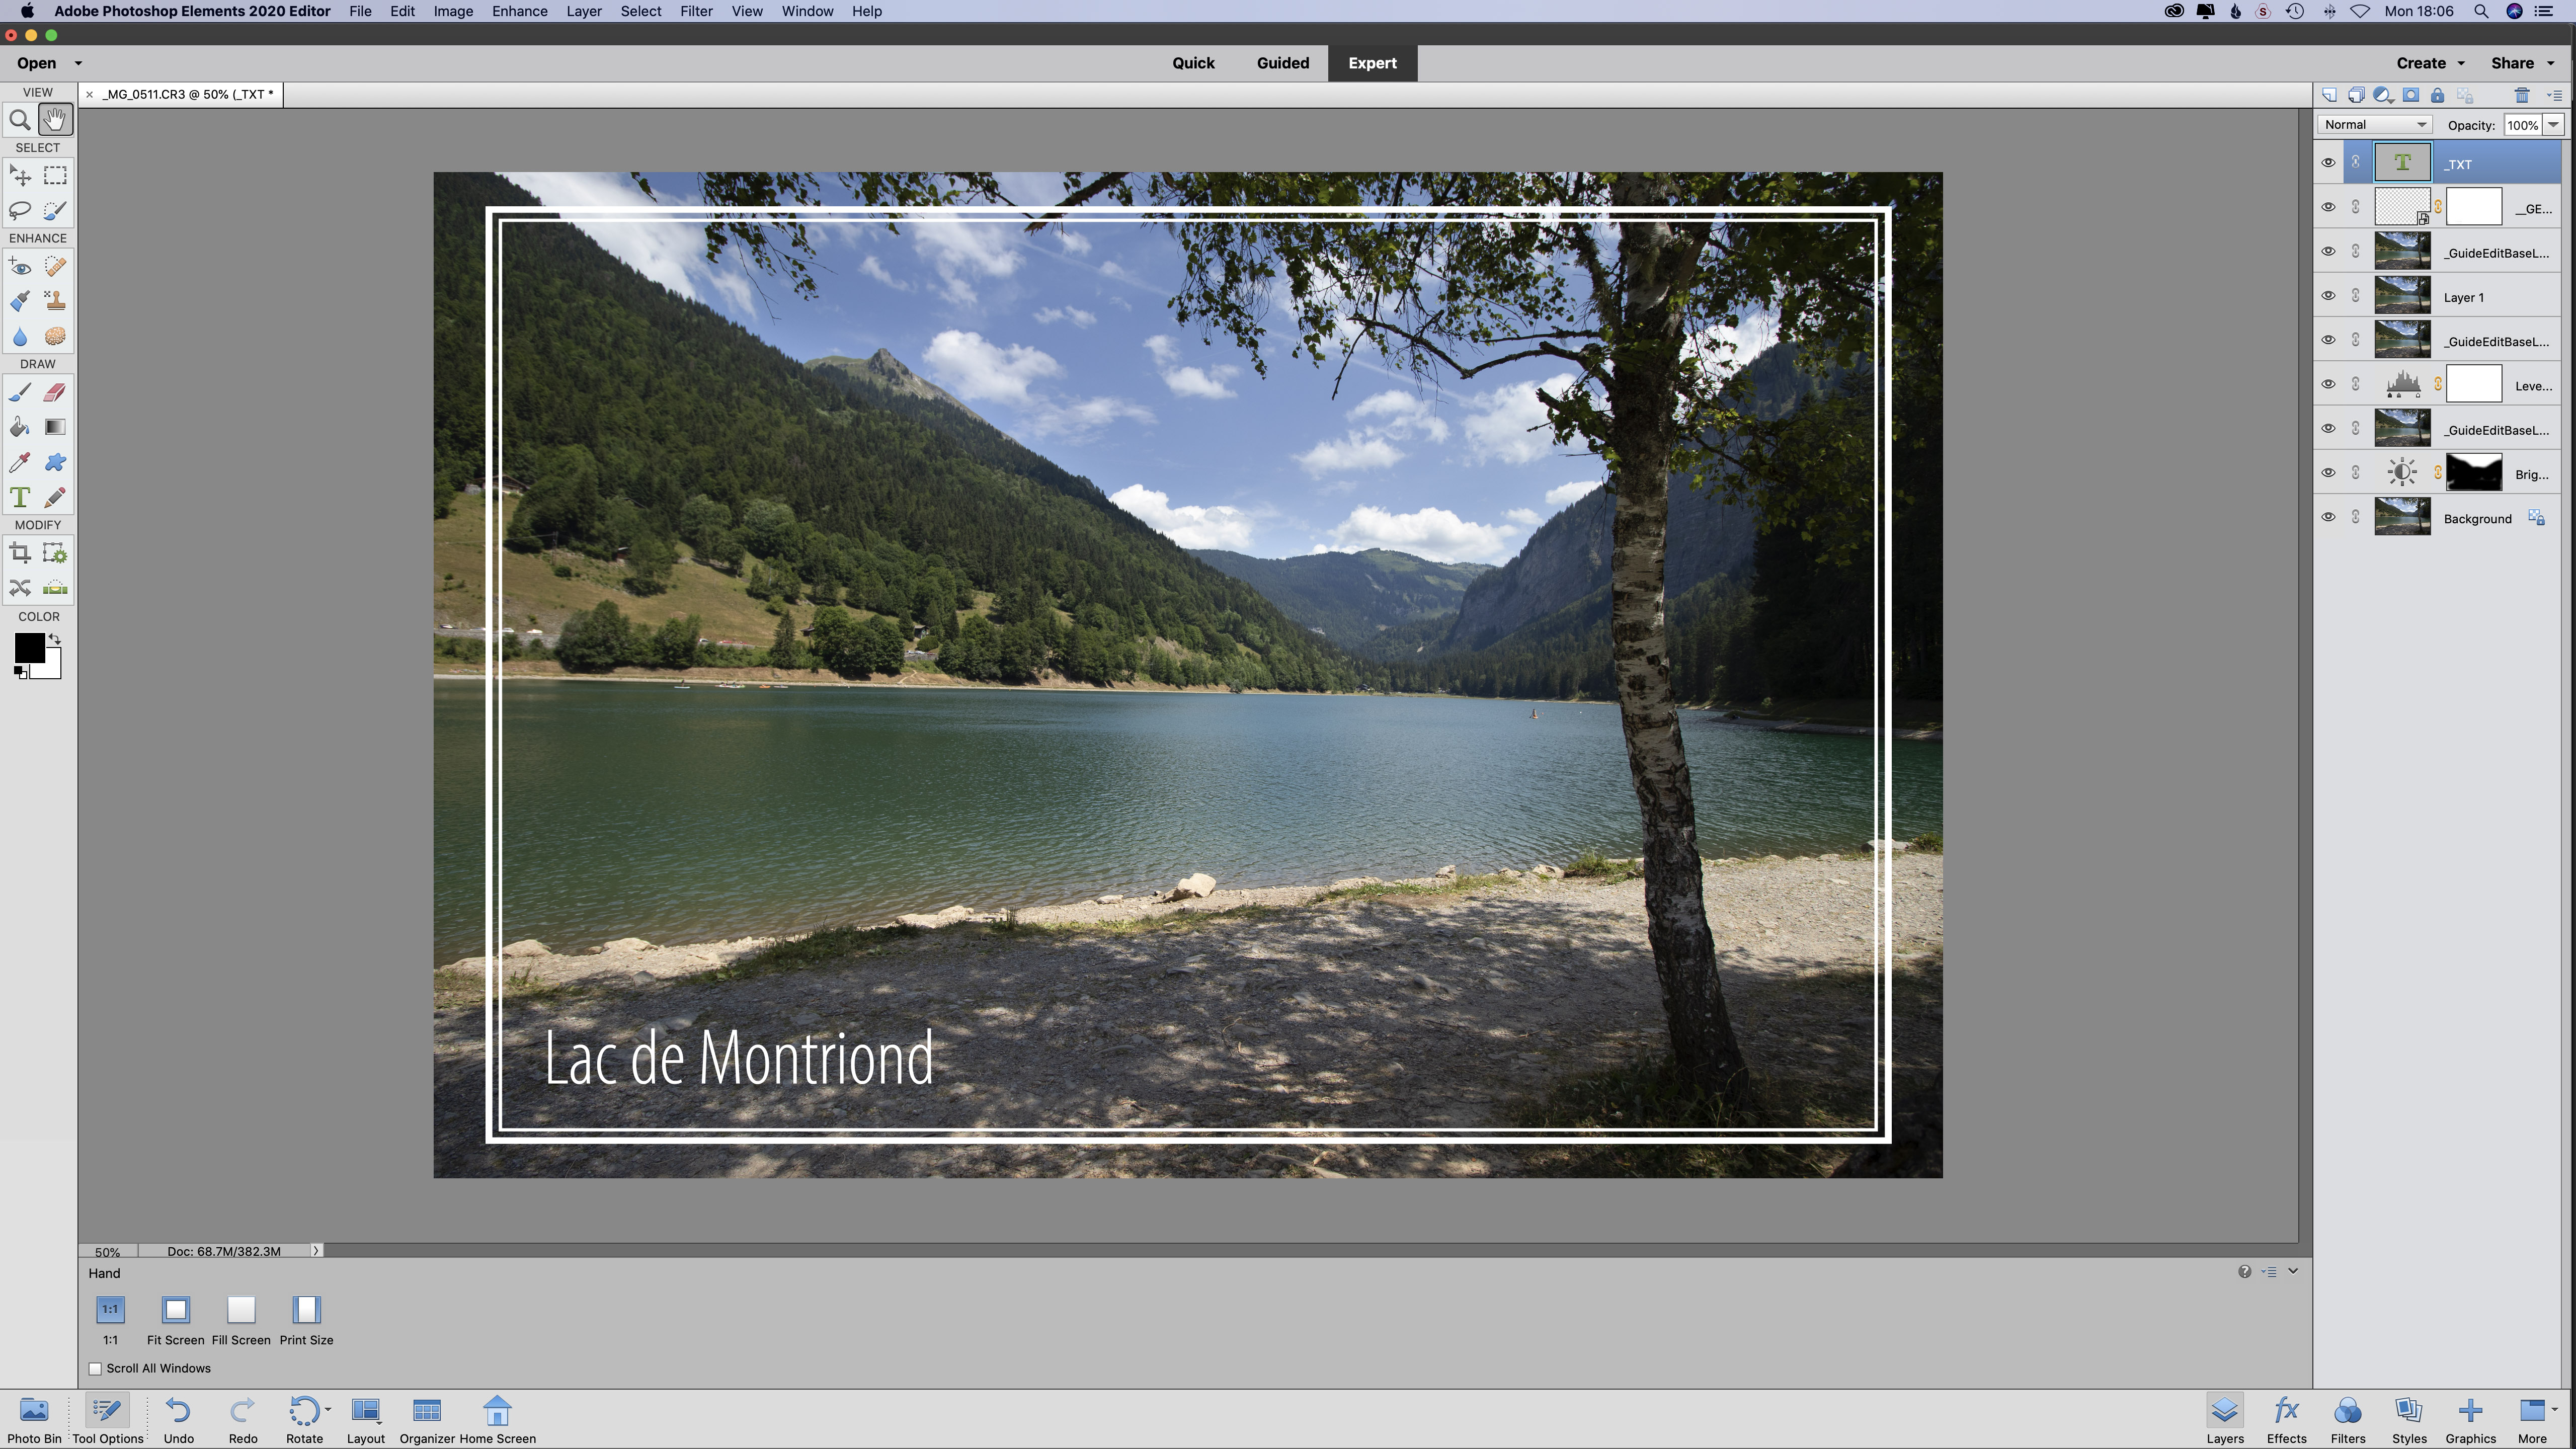
As you’d expect, the Expert section has a more comprehensive collection of tools in the column on the left of the screen than the Quick area. Also, when you select a tool, its controls appear at the bottom of the screen, which is helpful.
A major bonus of working in the Expert section is that you can create Levels, Brightness/Contrast, Hue/Saturation, Gradient Map, Photo Filter, Invert, Threshold and Posterize adjustment layers. What’s more, it’s possible to create layer masks, which opens up advanced editing opportunities.
If you need to at any point, clicking on the Guided tab allows you to use the Guided edits before returning to the Expert area to make further edits. Helpfully, the Guided edits are applied as new layers, which gives you control over their appearance and opacity in the Expert area – plus you can add layer masks if you want. Switching between the Guided and Expert modes makes the Guided mode much more powerful, because you can make quite complex edits quickly and then adjust them to your taste.
Verdict
Adobe Photoshop Elements is a great software package for beginners, but more experienced photographers will want greater control over monochrome conversions and more understated templates for the auto creations.
Read more
• The best photo editing software in 2019
• Best free photo editors
• The best photo-editing laptops
• The best photo editing tools and accessories
Angela has been testing camera gear from all the major manufacturers since January 2004 and has been Amateur Photographer’s Technical Editor and Head of Testing for Future Publishing’s photography portfolio (Digital Camera Magazine, PhotoPlus: The Canon Magazine, N-Photo, Practical Photoshop, Photography Week and Professional Photography magazines, as well as the Digital Camera World and TechRadar websites). She is the founder of SheClicks - a community group that encourages and supports female photographers.
