Digital Camera World Verdict
It’s odd that an 18% grey target wasn’t included in the original so it’s a good addition, increasing the ColorChecker’s usefulness. The ColorChecker Passport Photo 2 has become an essential professional tool for studio and portrait work.
Pros
- +
Portable color calibration tool
- +
Color test chart and gray card
- +
Props itself open for easy shooting
Cons
- -
An expensive add-on unless you really need fuss-free color calibration
Why you can trust Digital Camera World
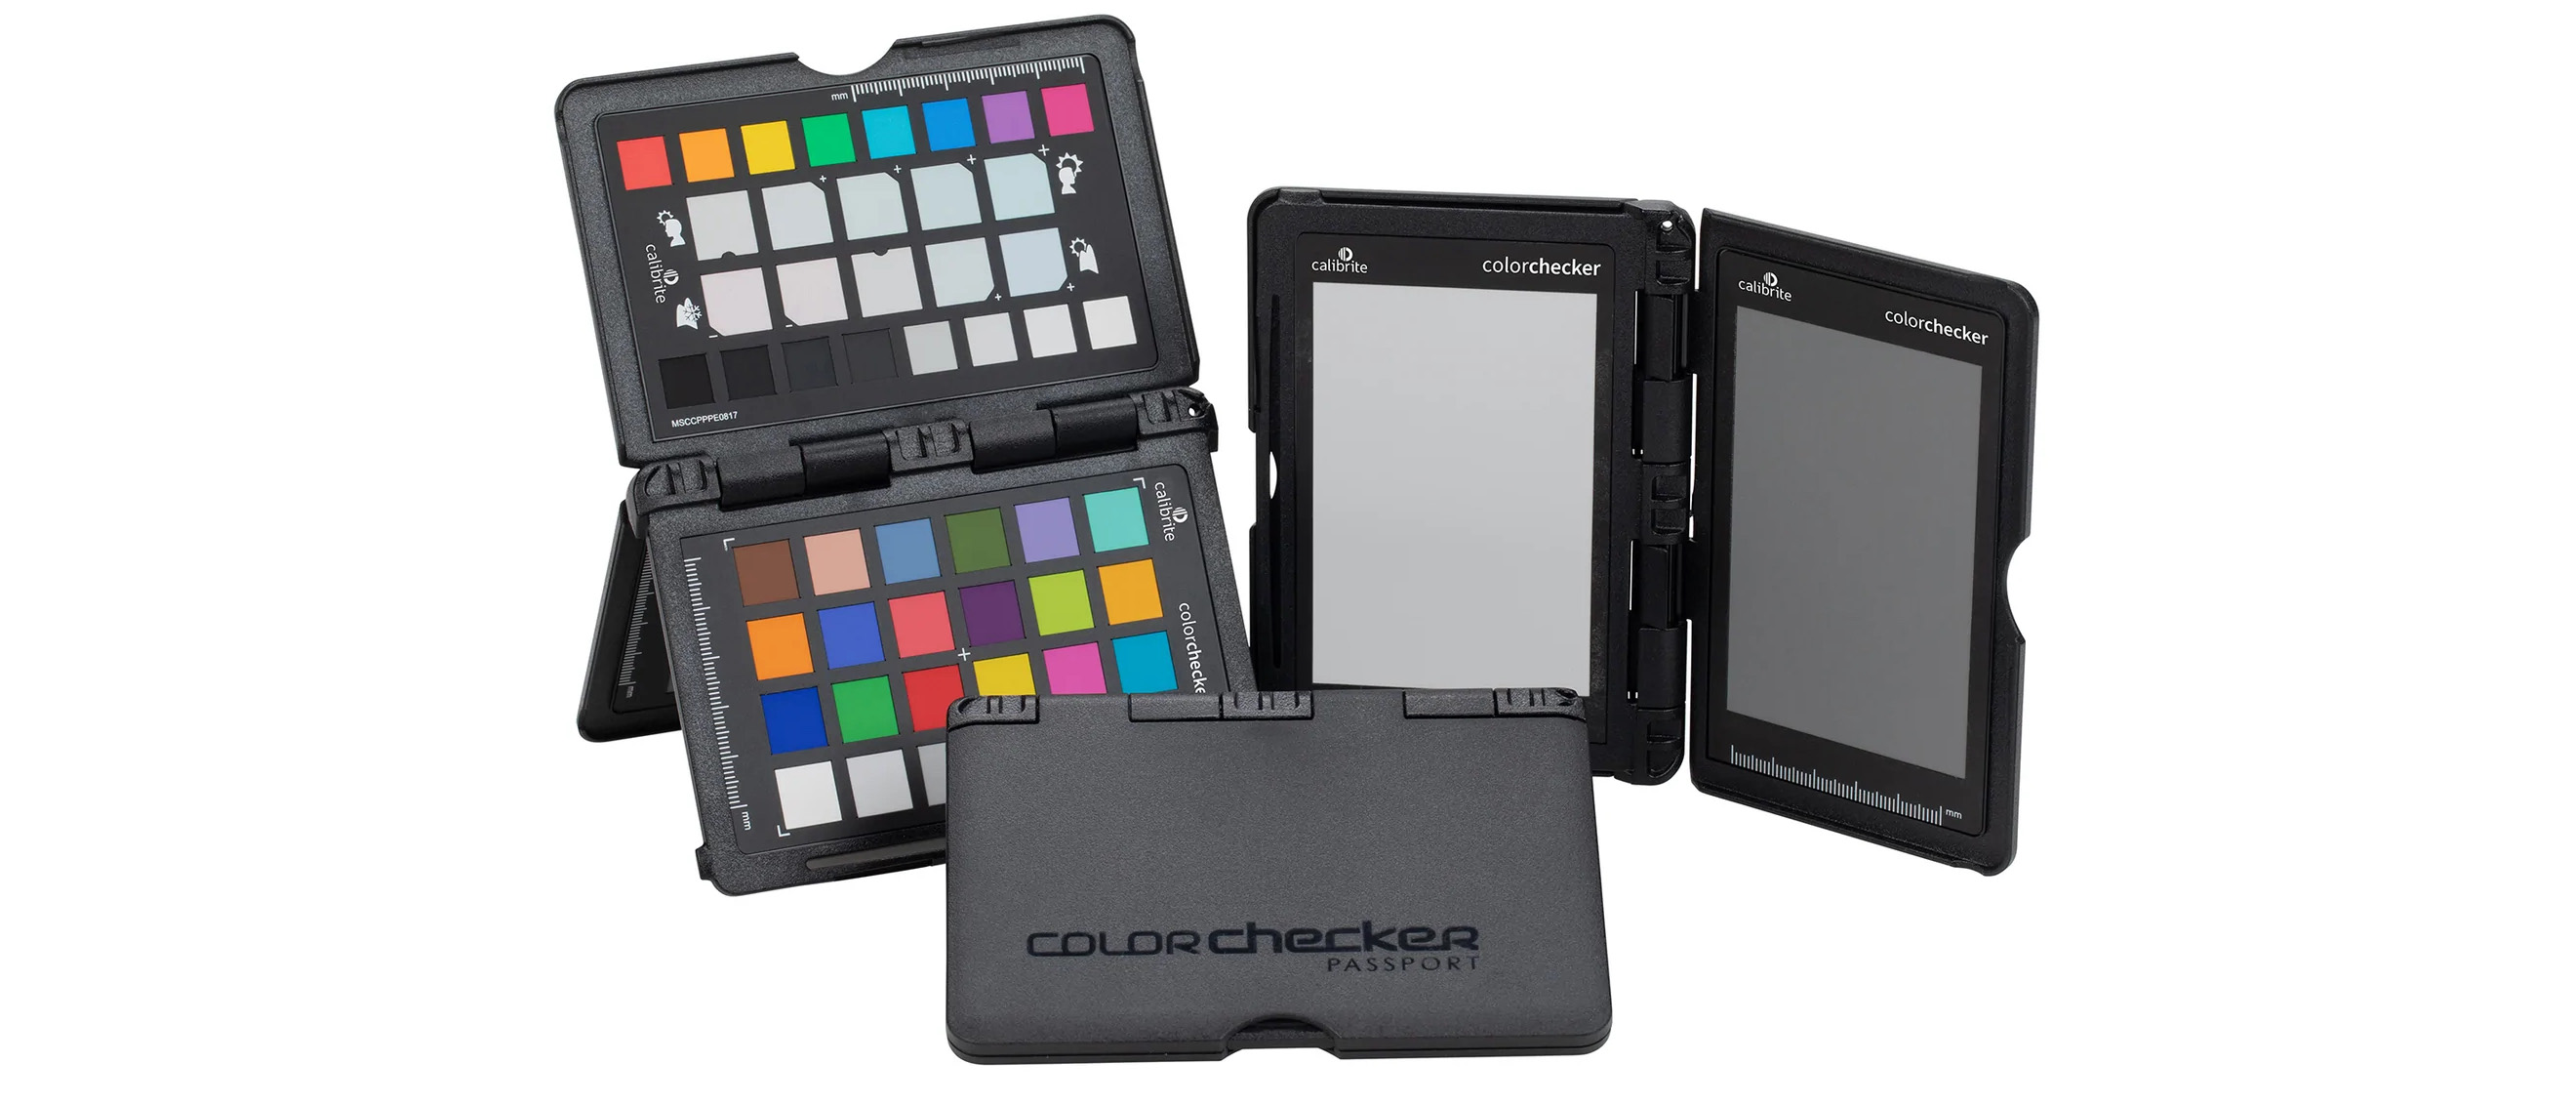
Ten years after the introduction of the first ColorChecker Passport Photo, X-Rite has introduced a new version. Now rebranded as the the Calibrite ColorChecker Passport Photo 2, it adds an 18% grey target and updated software for creating custom ICC camera profiles for Capture One Pro as well as Adobe Lightroom and Photoshop.
Handling
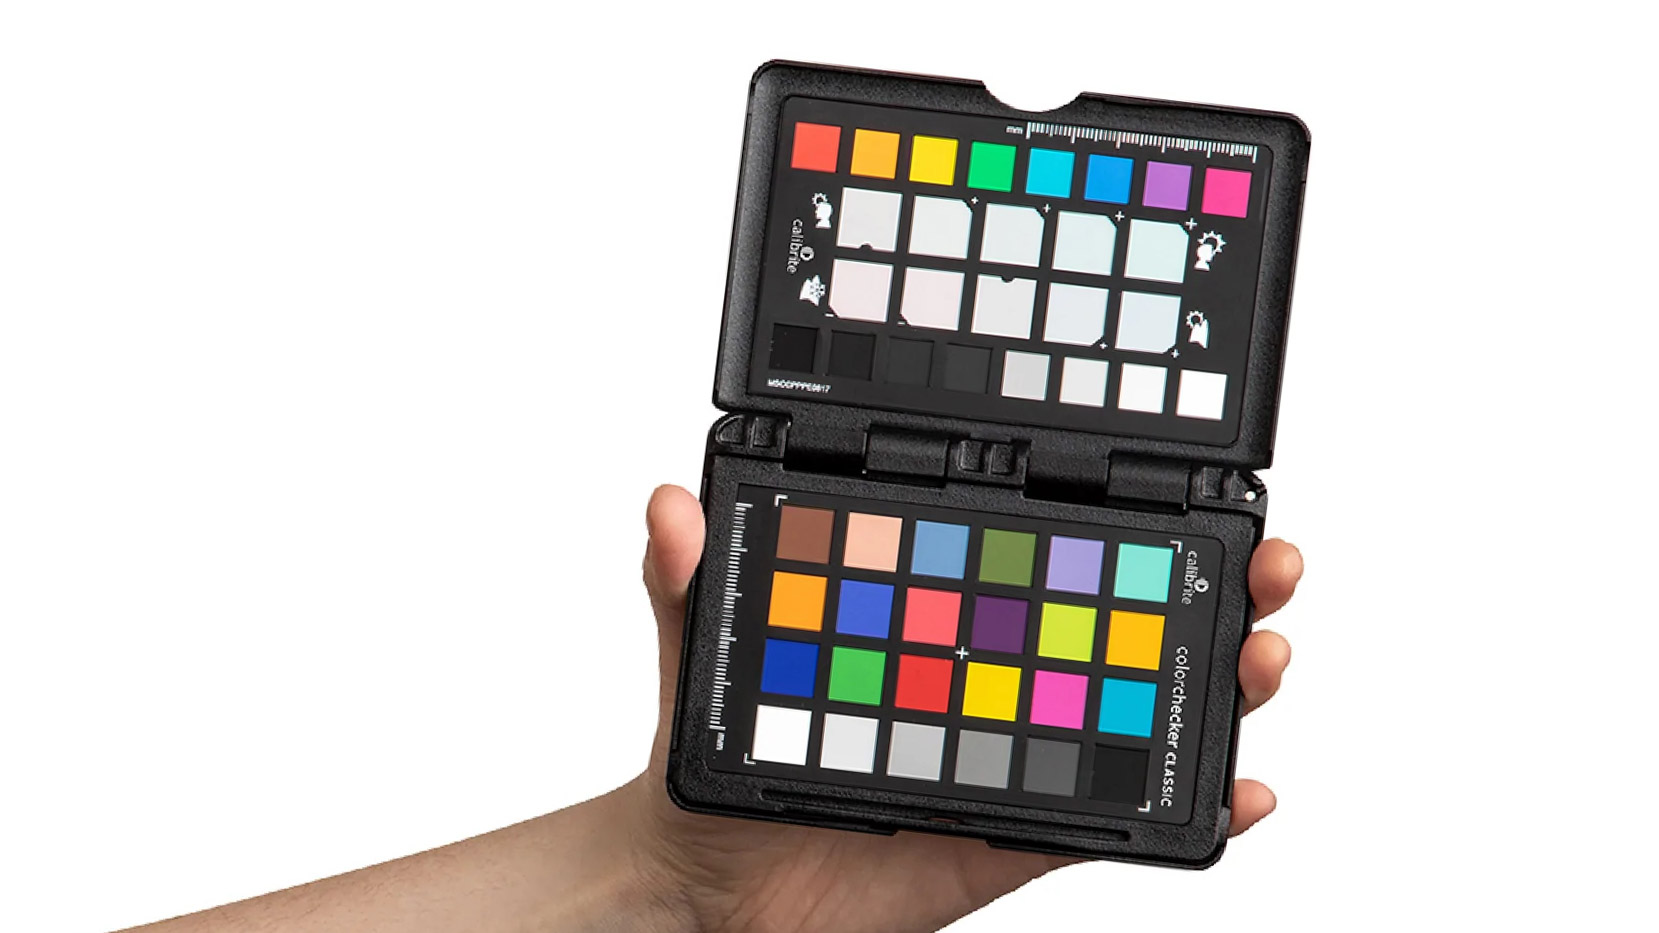
Like the original version, the ColorChecker Passport Photo 2 has a rigid plastic case that opens like a book to reveal the ‘pages’ with the targets. At less than A6 size, it’s perfectly suited for slipping in your camera bag to take everywhere. It is especially useful when you’re shooting in artificial or mixed lighting.
The ColorChecker Passport Photo 2’s new mid-grey target is paired with a spectrally neutral White Balance target, and together these enable you to set the ideal exposure and white balance in-camera. They are also useful for checking the lighting balance across a scene.
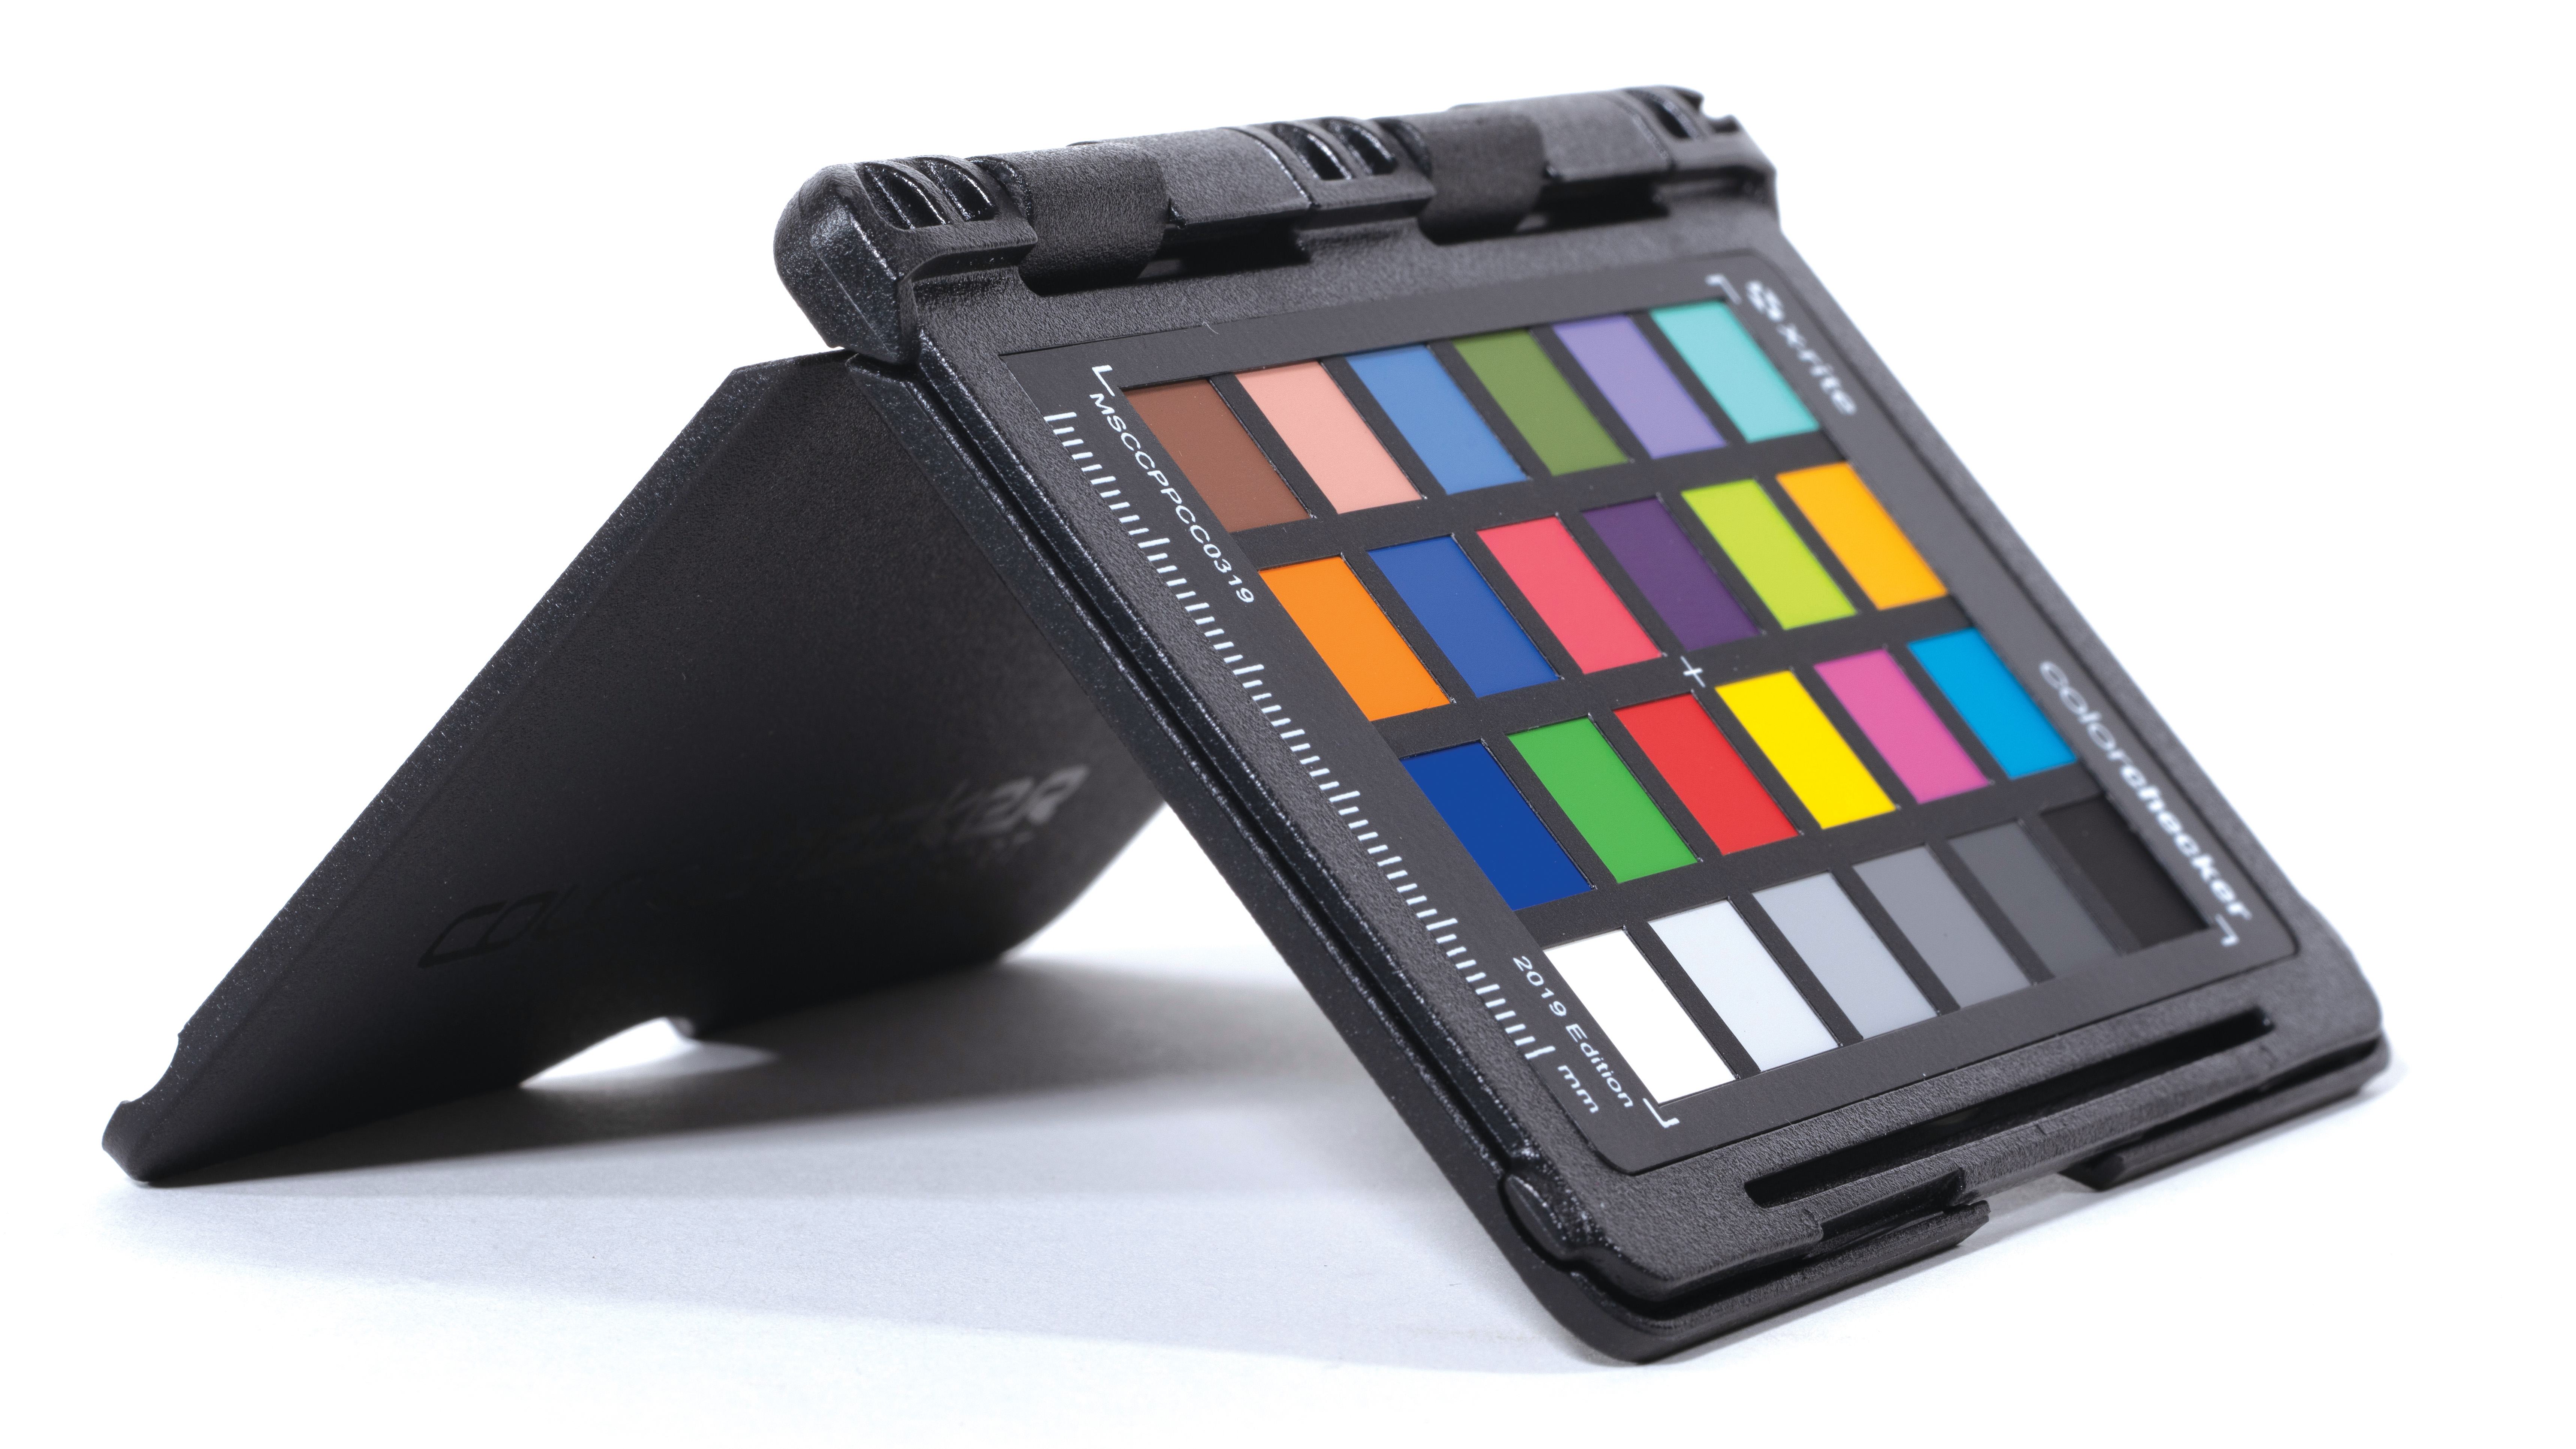
Over the page, there’s the Classic target and the Creative Enhancement target. The Classic target has 24 patches that have been used as the industry-standard color reference for 40 years.
Meanwhile the Creative Enhancement target has a series of light and dark grey patches to help assess exposure and ensure that the camera’s dynamic range is used to best effect. In addition, it has two rows of five warming and cooling patches that help tailor the white balance to suit your subject.
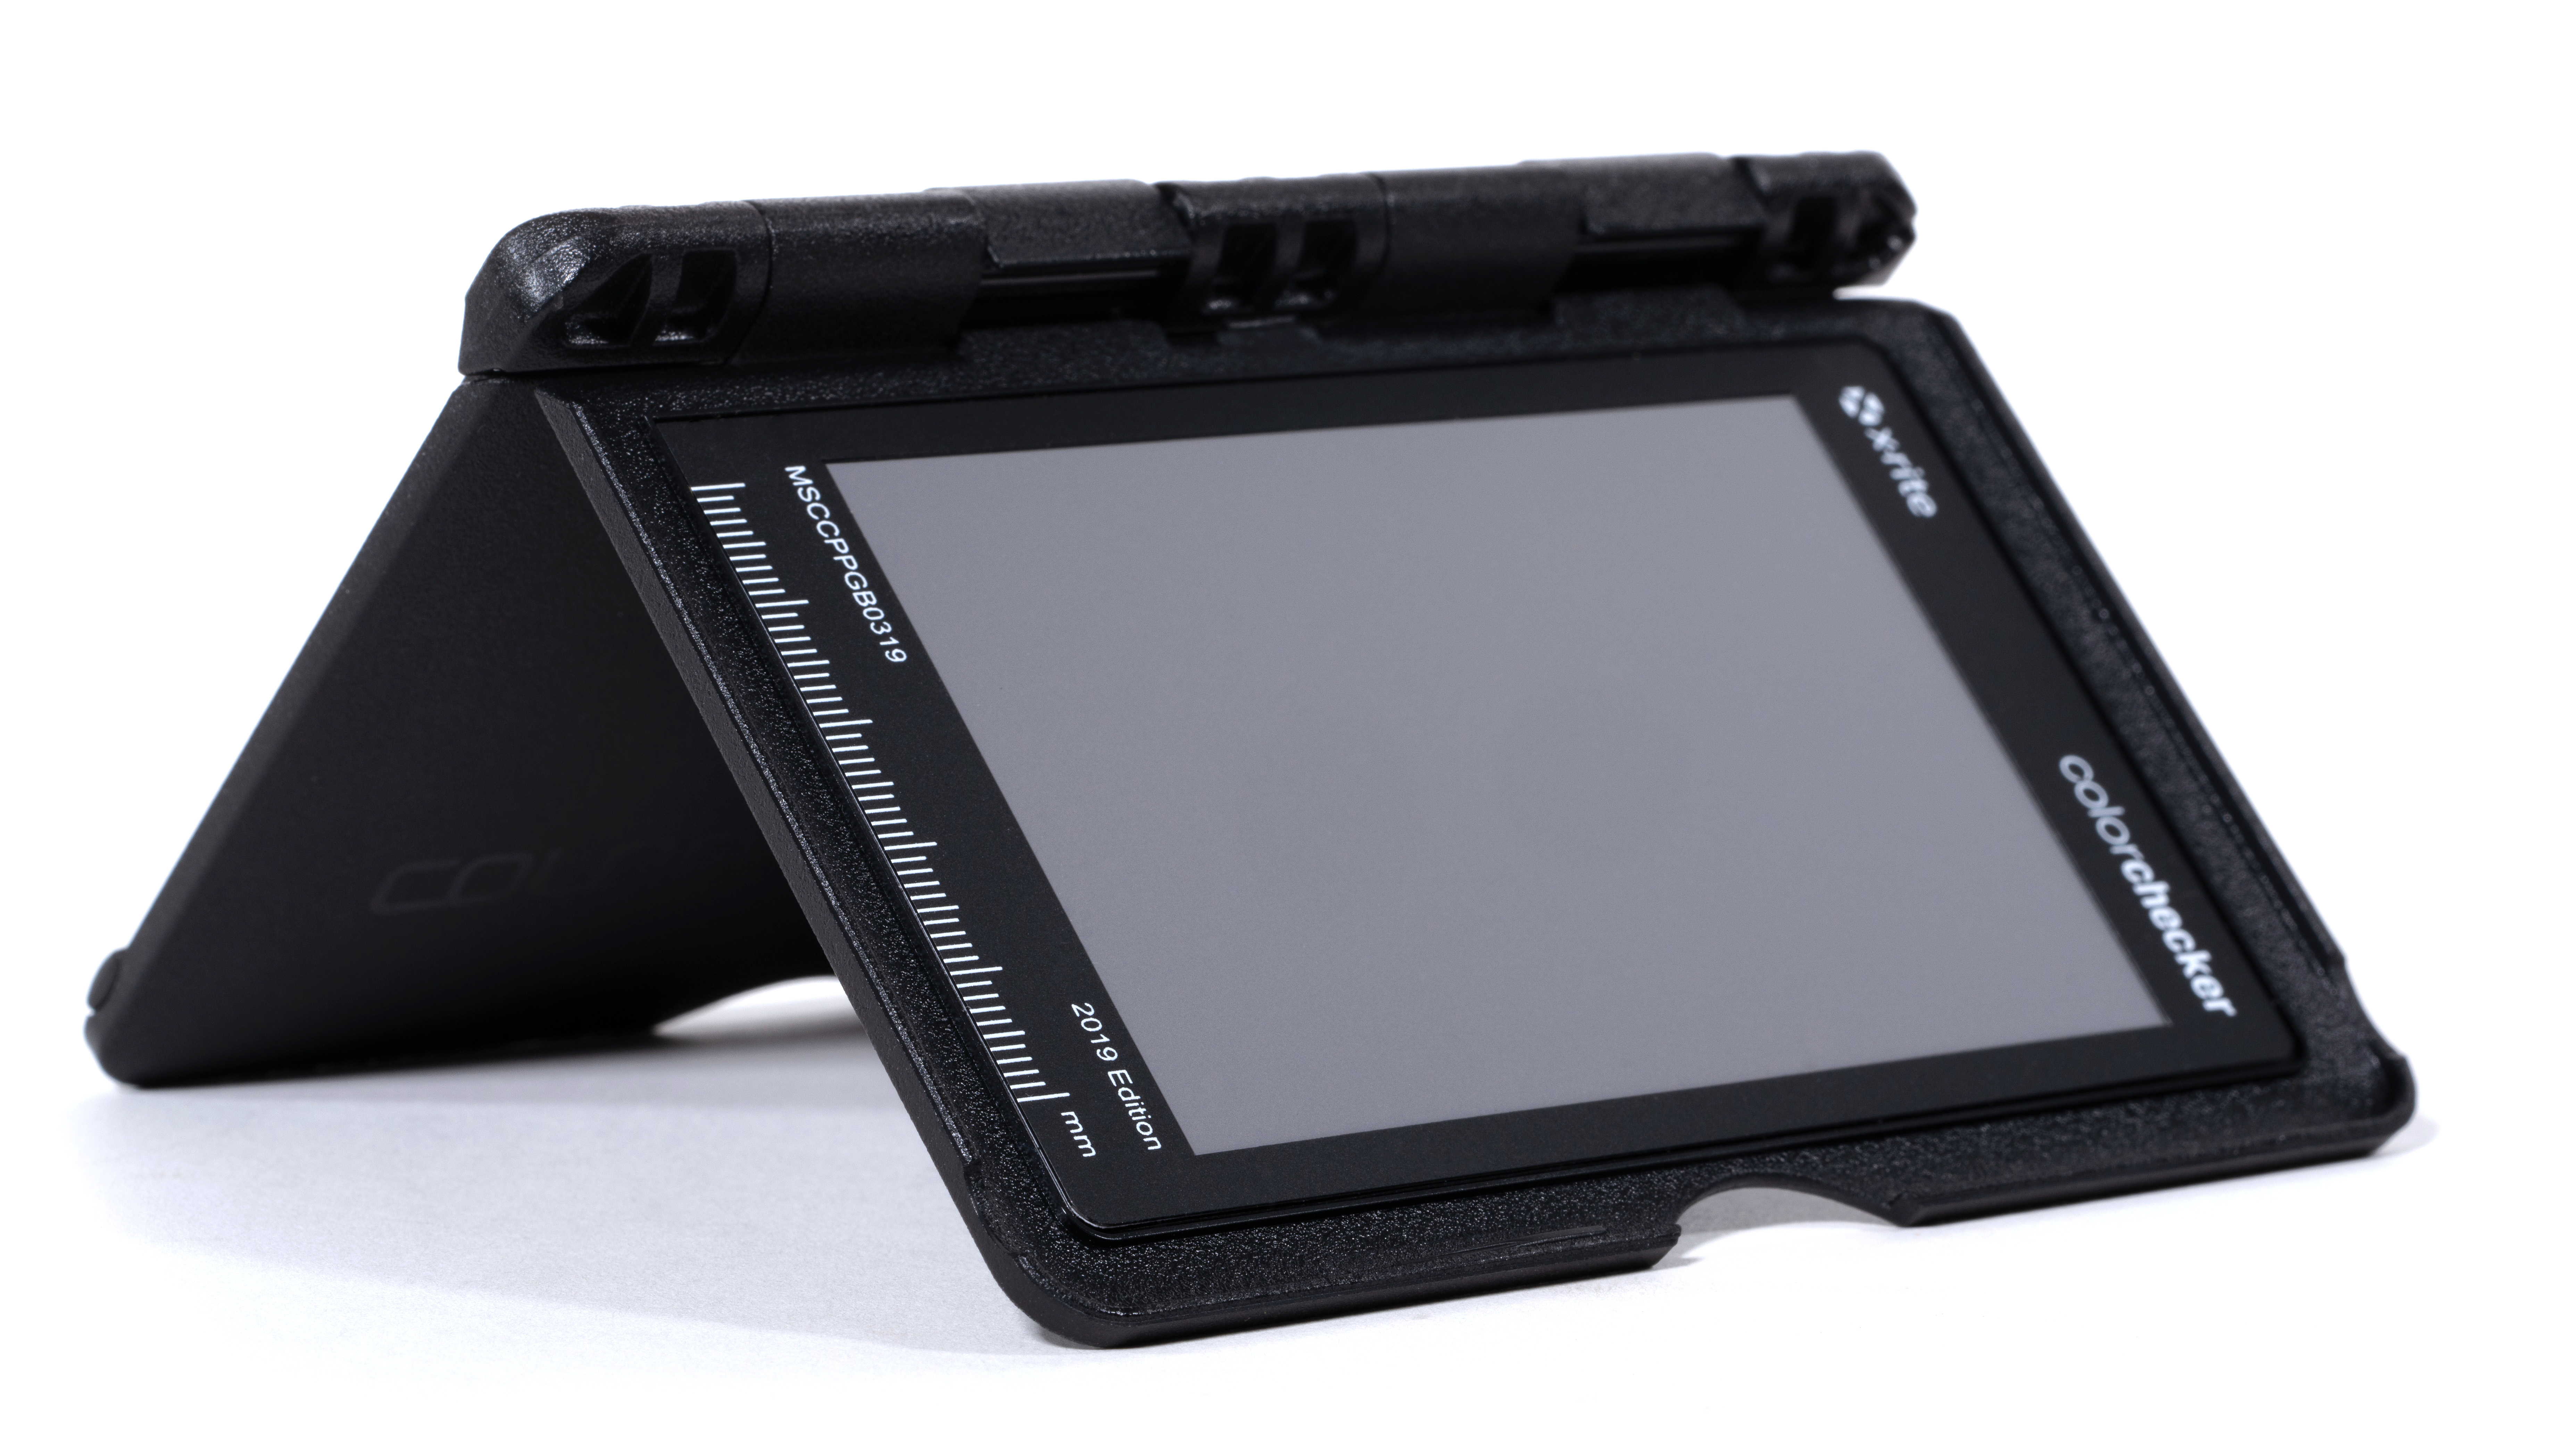
It’s easy to use the Passport Photo 2 to get the color and white balance right post-capture. The first way is to just include the Creative Enhancement or White Balance target in a test shot. Then when you’re processing your images you can click on a white patch to adjust white balance.
Alternatively, use the ColorChecker Camera Calibration software to create a profile for your camera that you can apply in Capture One and Adobe software. This involves photographing the Classic target, converting the file to a DNG or TIFF and then importing it into the calibration software. The software then compares your camera’s colors with the standard to create a color-correction profile that you can use in Capture One or Adobe Lightroom and Photoshop.
Angela has been testing camera gear from all the major manufacturers since January 2004 and has been Amateur Photographer’s Technical Editor and Head of Testing for Future Publishing’s photography portfolio (Digital Camera Magazine, PhotoPlus: The Canon Magazine, N-Photo, Practical Photoshop, Photography Week and Professional Photography magazines, as well as the Digital Camera World and TechRadar websites). She is the founder of SheClicks - a community group that encourages and supports female photographers.
