Digital Camera World Verdict
The Spyder Checkr Photo is a simple tool that does quite a sophisticated job. You can put in the scene you’re photographing, then use its precisely calibrated swatches and the Spyder utility to correct your colors. The effects are often subtle, but definitely worthwhile for anyone who depends upon repeatable, accurate color rendition – but although the process is straightforward, there is a small amount of work involved in setting up the profiles.
Pros
- +
Quite straightforward to use
- +
Sidesteps complex color management
- +
Inexpensive
- +
Portable
Cons
- -
Uses HSL adjustments rather than profiles
- -
Improvements are usually subtle
- -
Lightroom restart needed to show profiles
Why you can trust Digital Camera World
The Spyder Checkr Photo is designed to fix the variations in camera sensors and lenses that can shift colors and tones in unwanted directions. It’s a simple and very portable color swatch tool in a folding plastic case that works alongside Spyder Checkr software to deliver accurate color corrections in Lightroom Classic, Adobe Camera Raw and the Hasselblad Phocus software.
You place the Checkr in the scene you’re photographing and in the same lighting as your subject, take a photo and then use this to carry out a pretty straightforward calibration and colour correction process.
It can in principle be used with third party tools to create custom profiles, but we tested it using its key workflow – as a Lightroom calibration tool.
Specifications
Hardware
Swatches: 24-patch color, 24-patch grayscale (plus large 18% and 50% gray targets), 6 portrait color swatches, 6 black and white adjustment swatches.
Dimensions: 116 x 90mm, 110g
SpyderCheckr utility
Windows: Win 7 32/64, Win 8 32/64, Win 10 32/64
Mac: Mac OS X 10.10, 10.11, 10.12, 10.13, 10.14
Monitor: 1280×768 or greater, 16-bit video card (24-bit recommended)
RAM: 1GB
Hard disk space: 500MB
The best camera deals, reviews, product advice, and unmissable photography news, direct to your inbox!
Key features
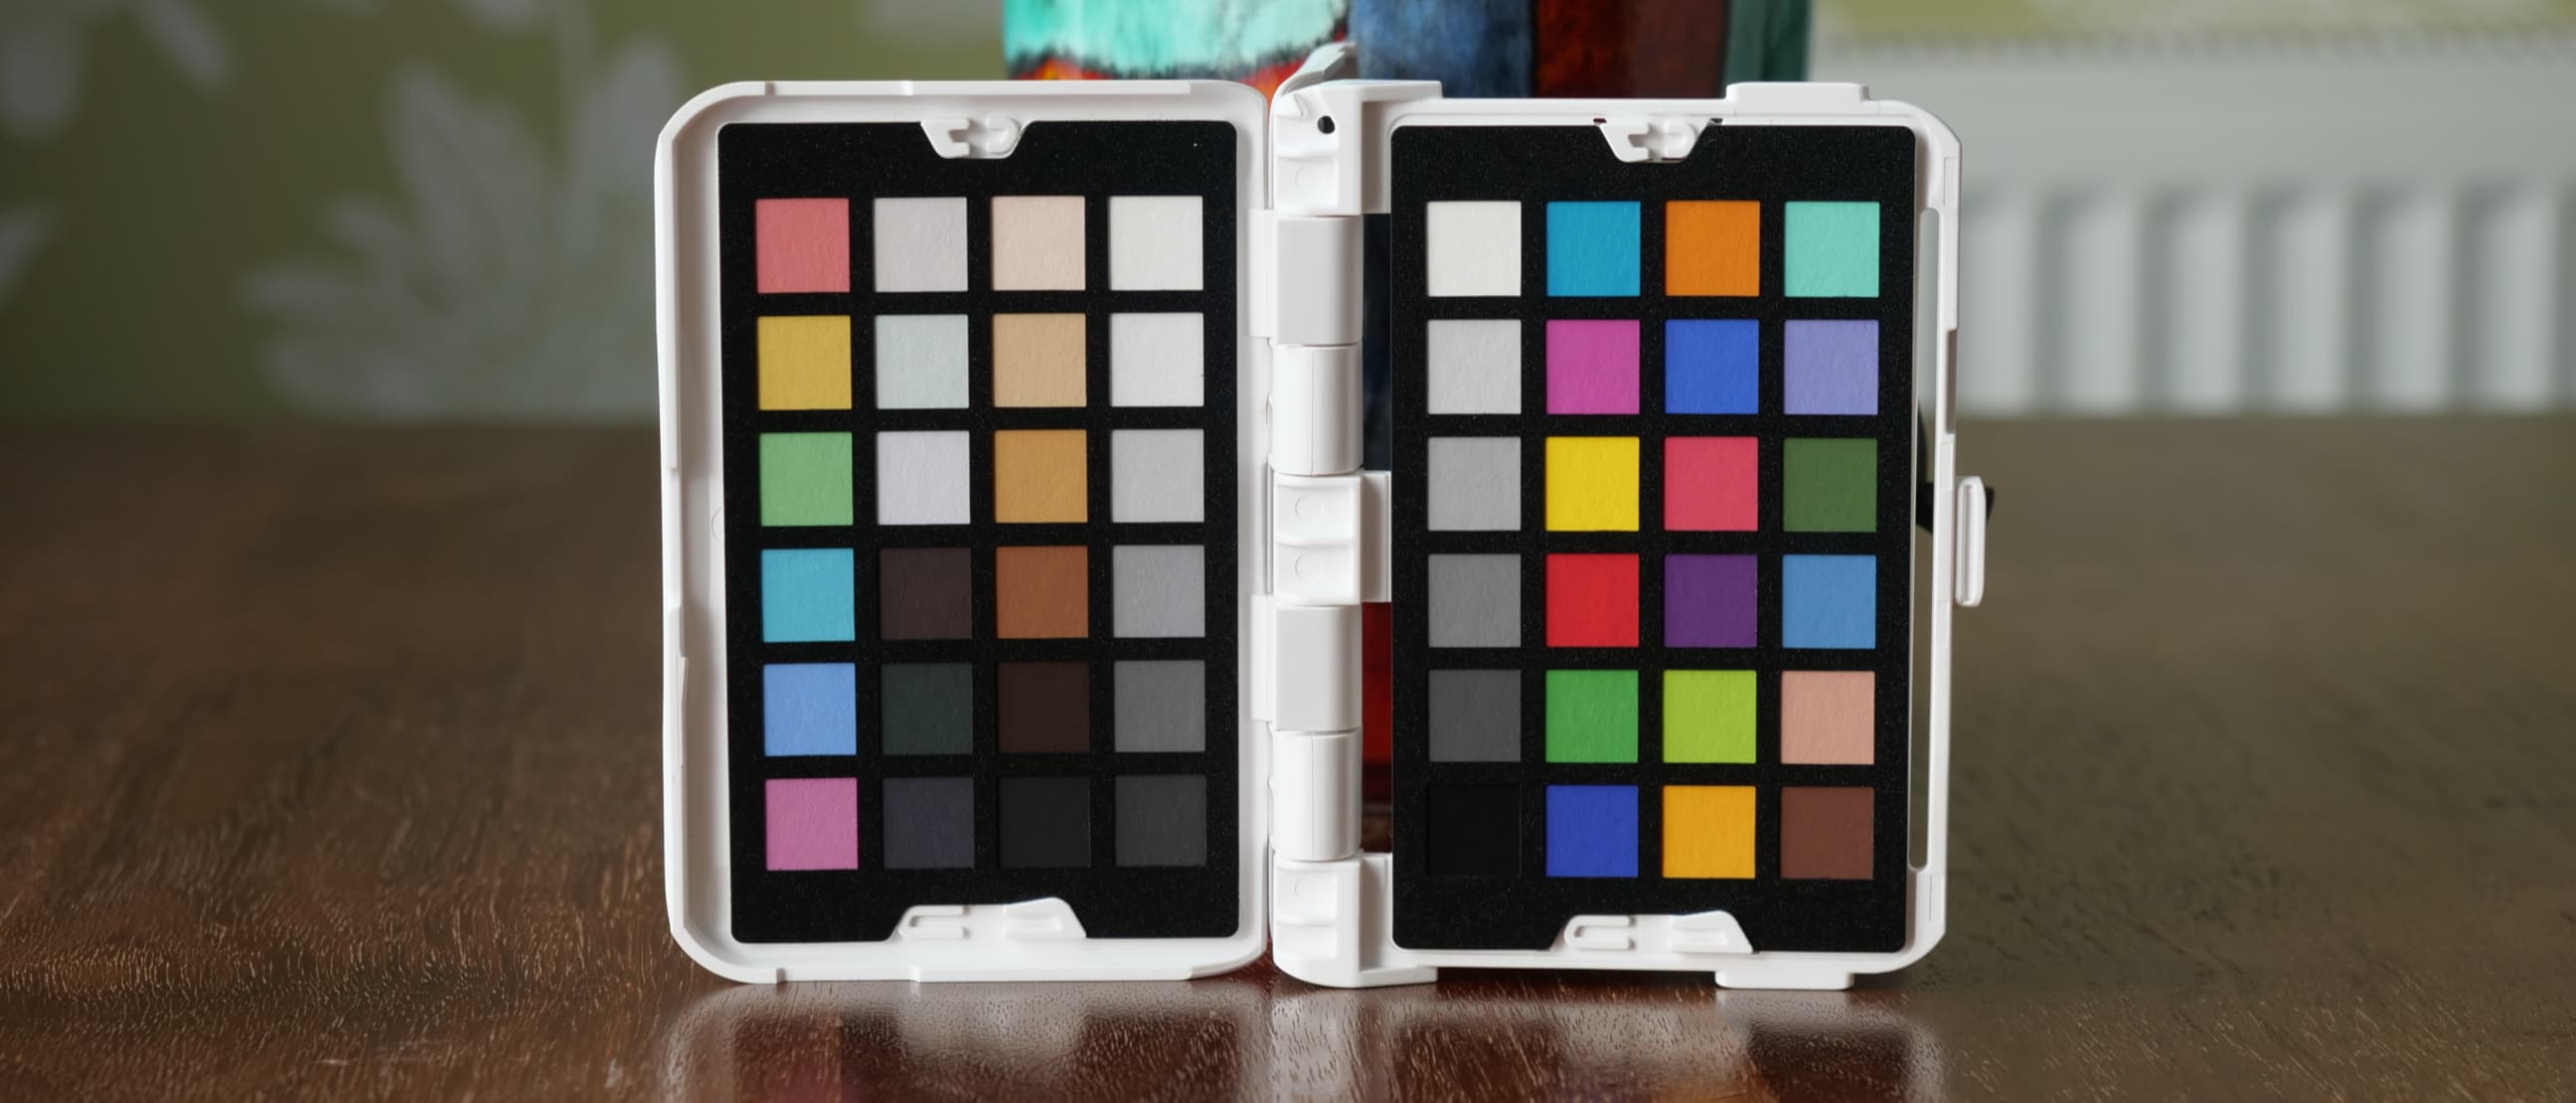
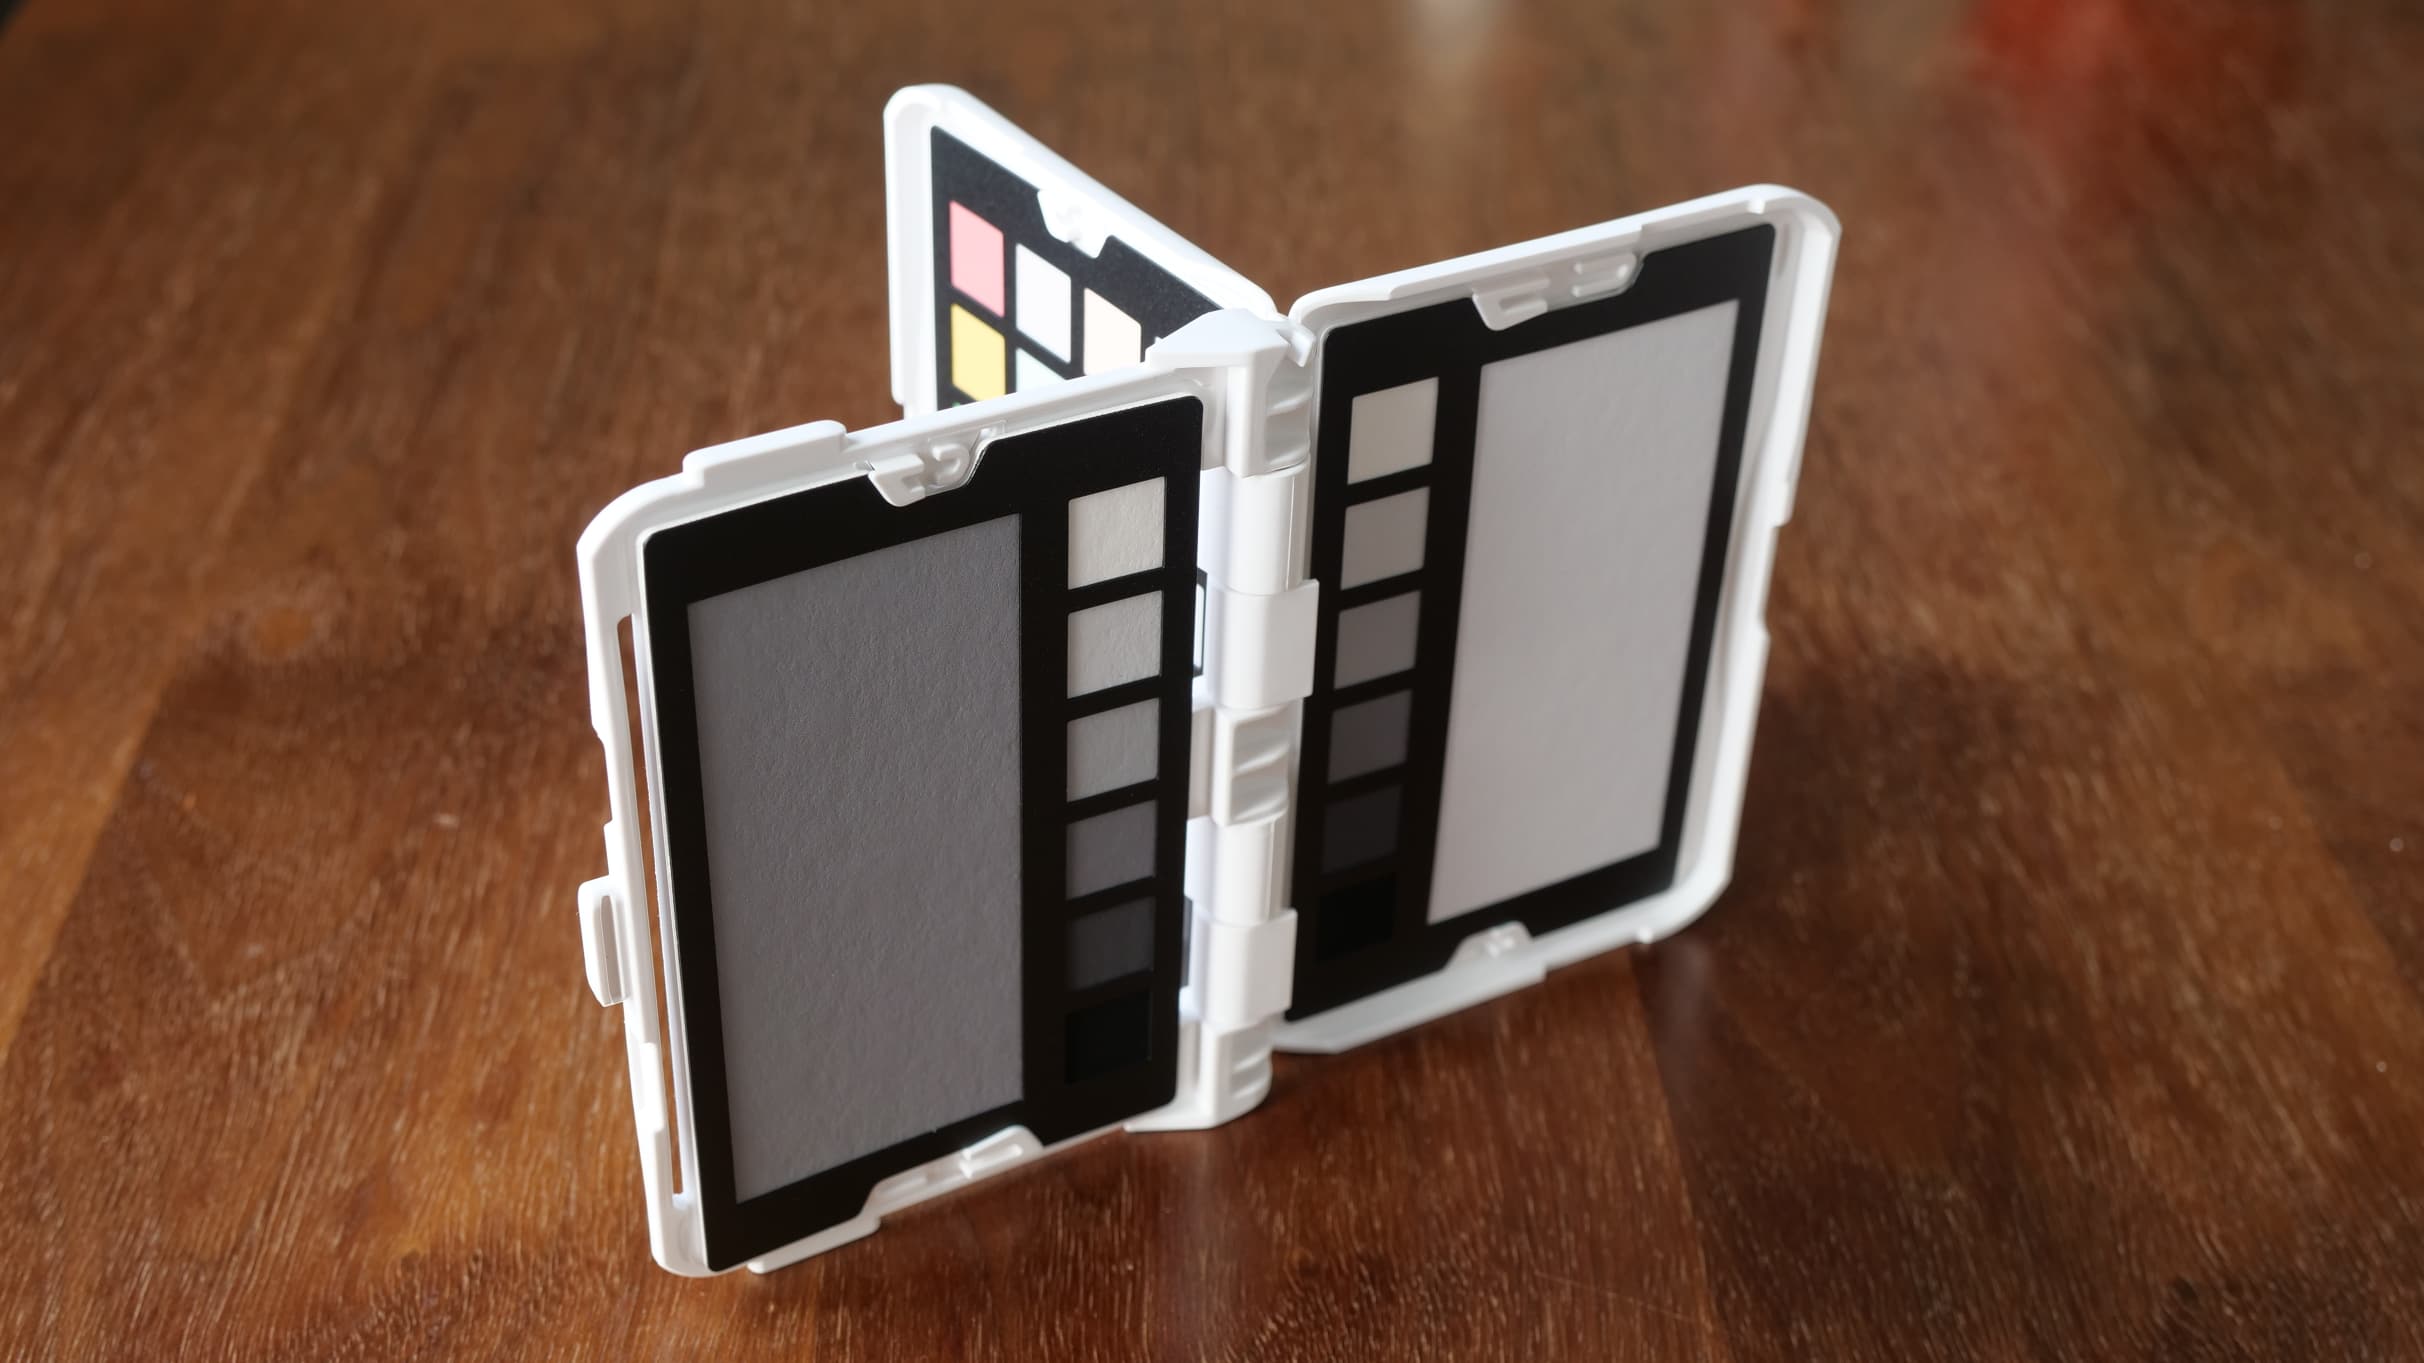
The Spyder Checkr Photo opens out two ways to display a regular color checker swatch set used by the Spyder utility, and a set of black and white swatches with 18% and 50% gray swatches for ad hoc white balance and exposure adjustments – with the Spyder Checkr Photo you won’t need a separate gray card, and you can also simulate incident light value readings.
It works alongside a SpyderCheckr software utility that takes a TIFF file generated from your test photo and uses it to create a set of HSL (Hue Saturation Lightness) adjustment that can be applied in Lightroom as a preset. There are other potential workflows and ways of using the Spyder Checkr Photo, but this is what it’s designed for.
Build and handling
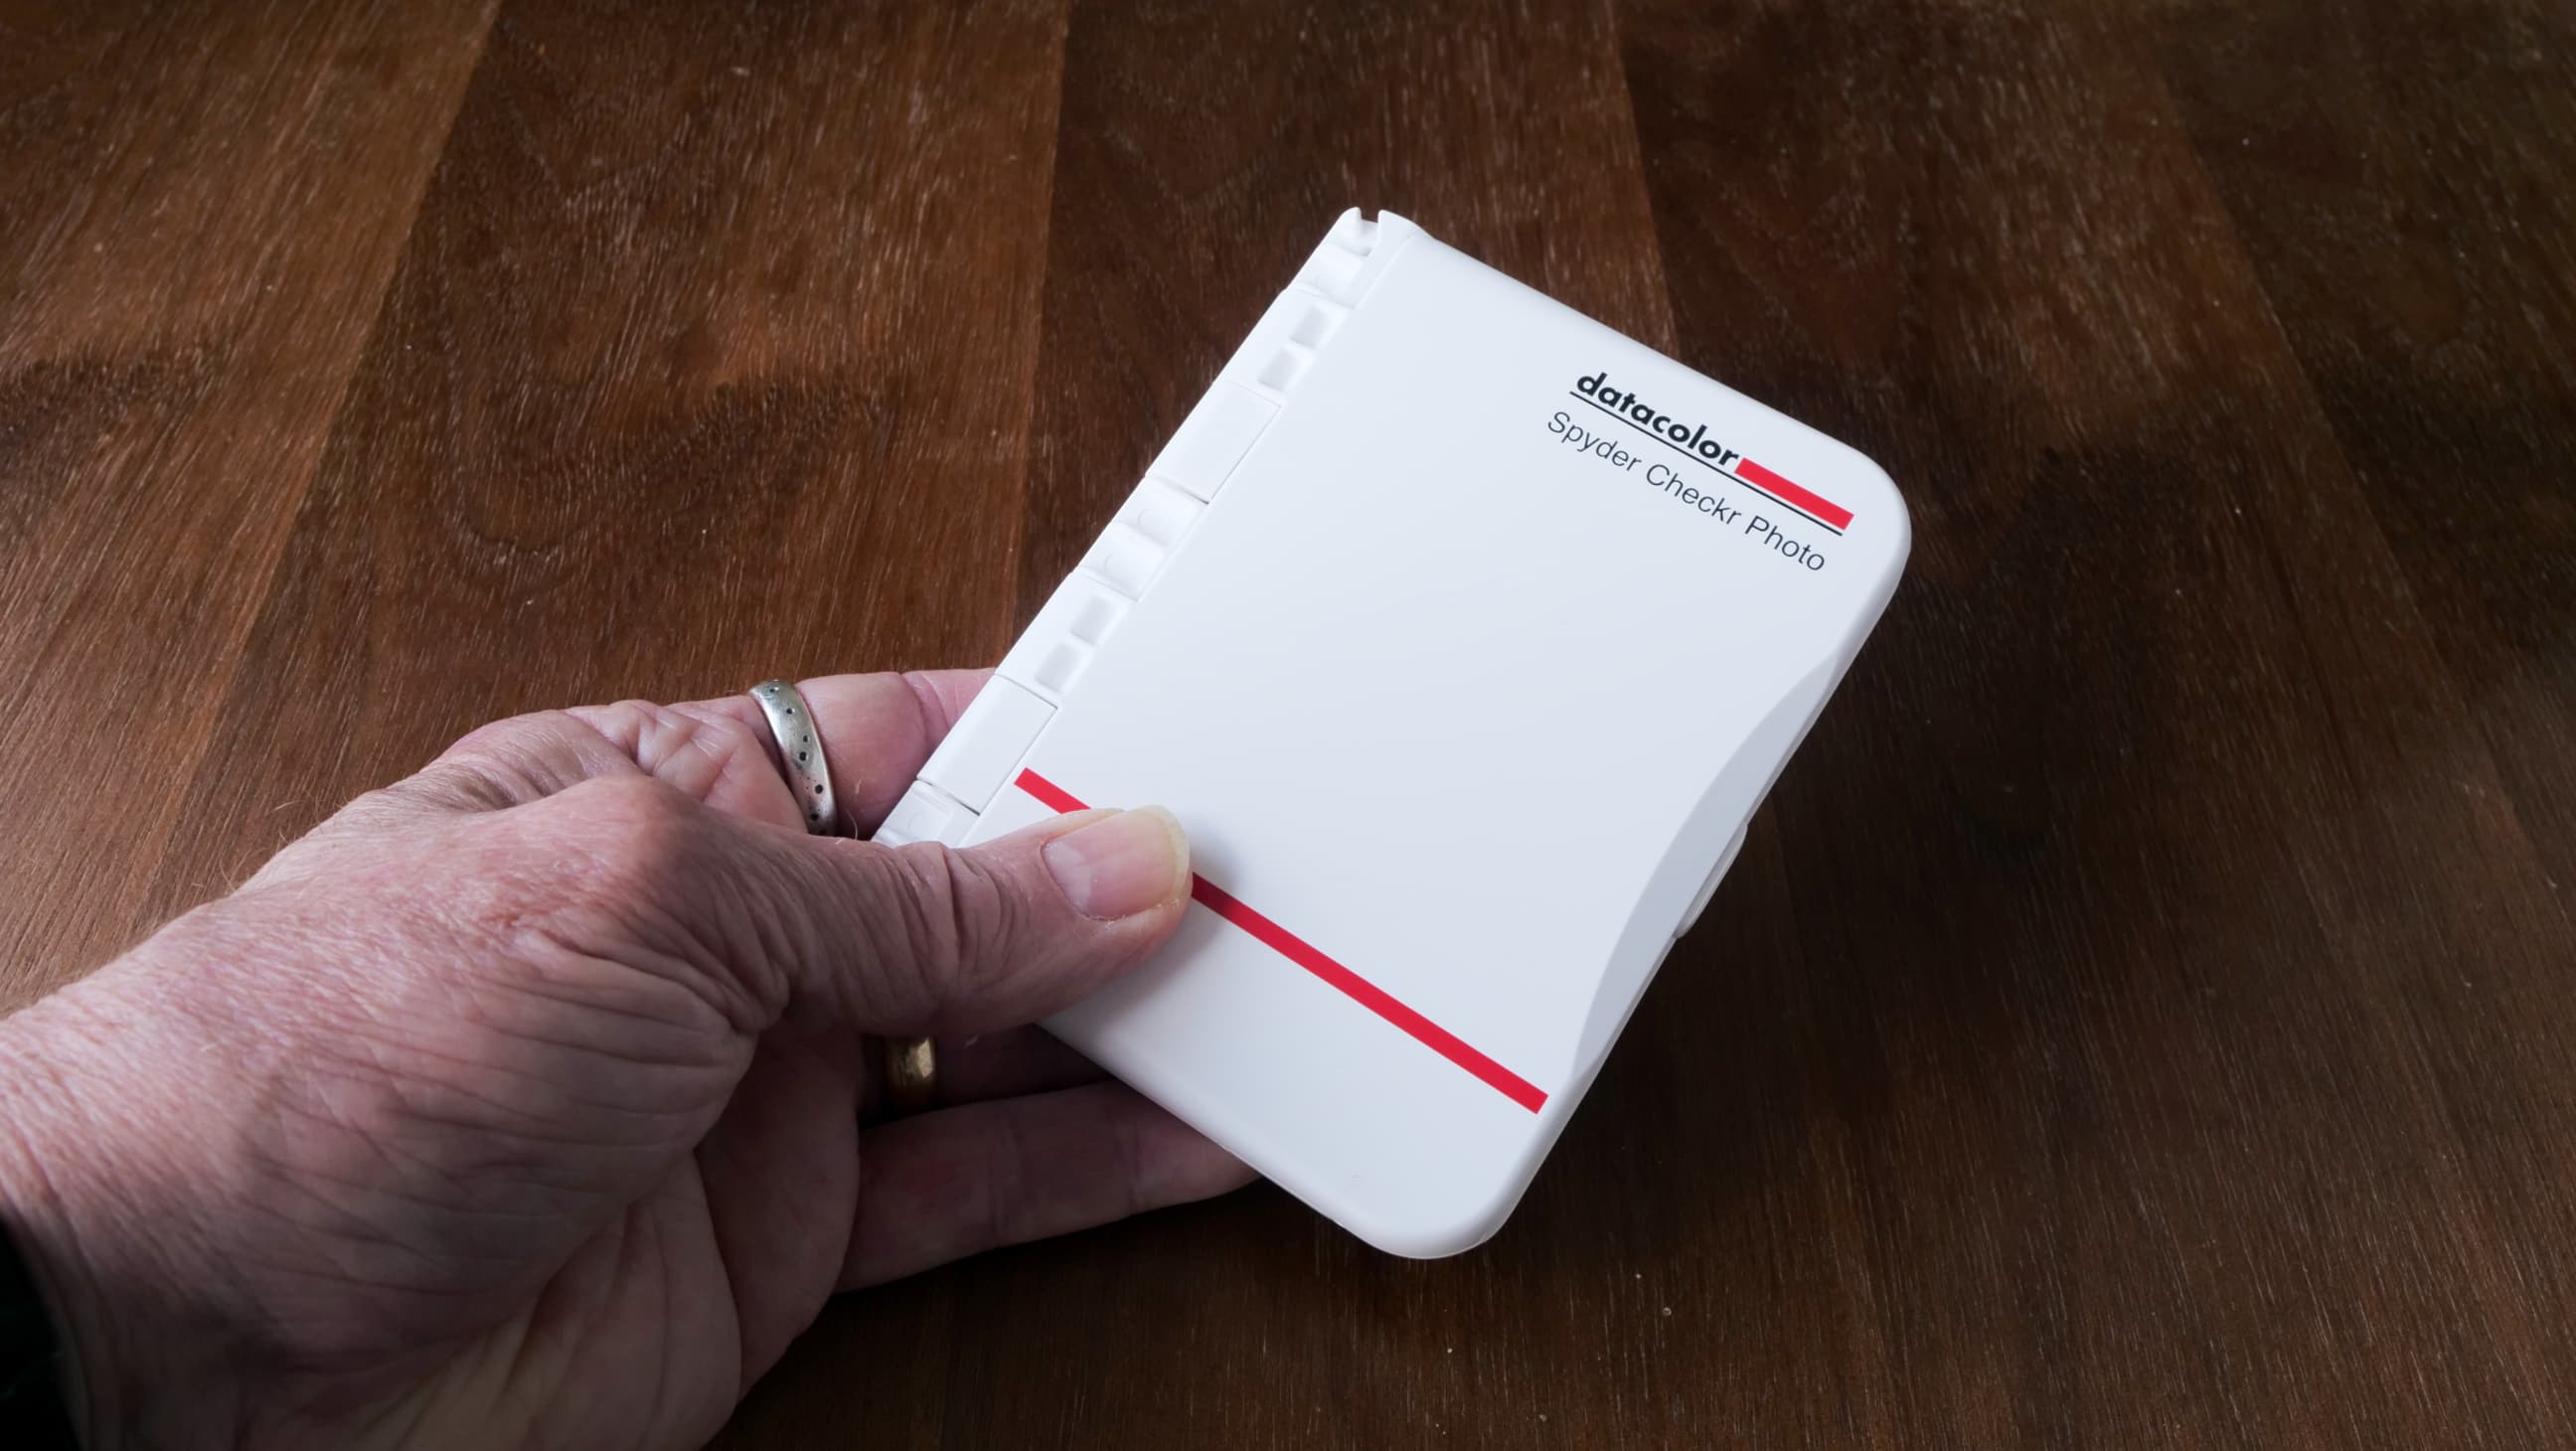
The Spyder Checkr Photo is physically like a small plastic book where you press a central catch to open either the regular color swatches (front) or the grayscale targets (back). If you open both it makes a ’T’ shape that can be stood vertically to display either swatch set to the camera.
It’s best to position the Spyder Checkr Photo perpendicular to the camera to minimize the need for perspective adjustments later, but it doesn’t have to fill the frame.
Once you’ve take a shot with the Spyder Checkr Photo in the scene, you can remove it and shoot as normal – the correction comes later.
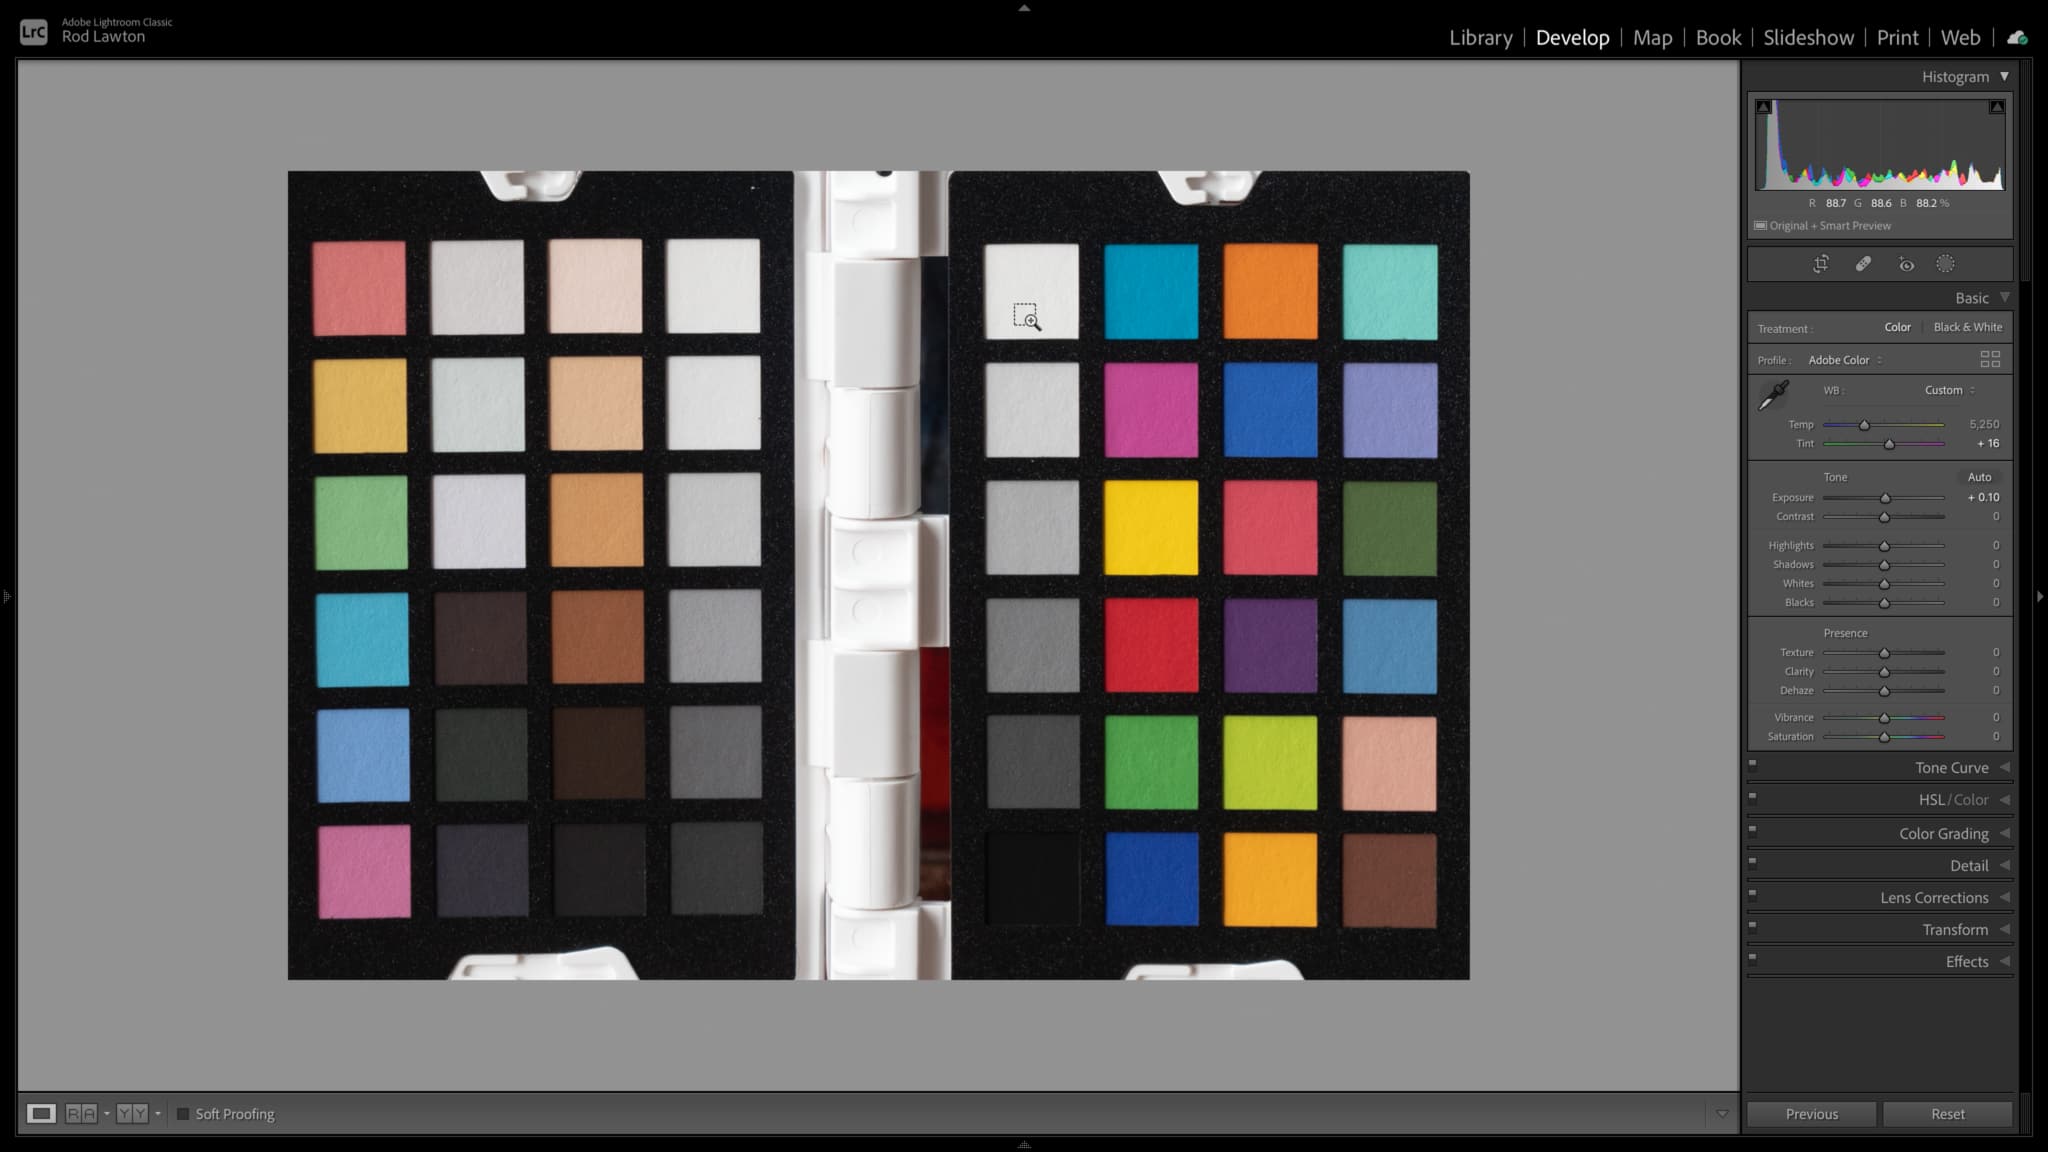
To apply corrections, you open your test image in Lightroom (this works best with raw files), crop into the target itself, correct the white balance with they eydropper on a neutral patch, then make a simple exposure adjustment to get the 90% white and 4% patches at the right level. Now you can export a TIFF file to the SpyderCheckr app, which is installed as a Lightroom plug-in.
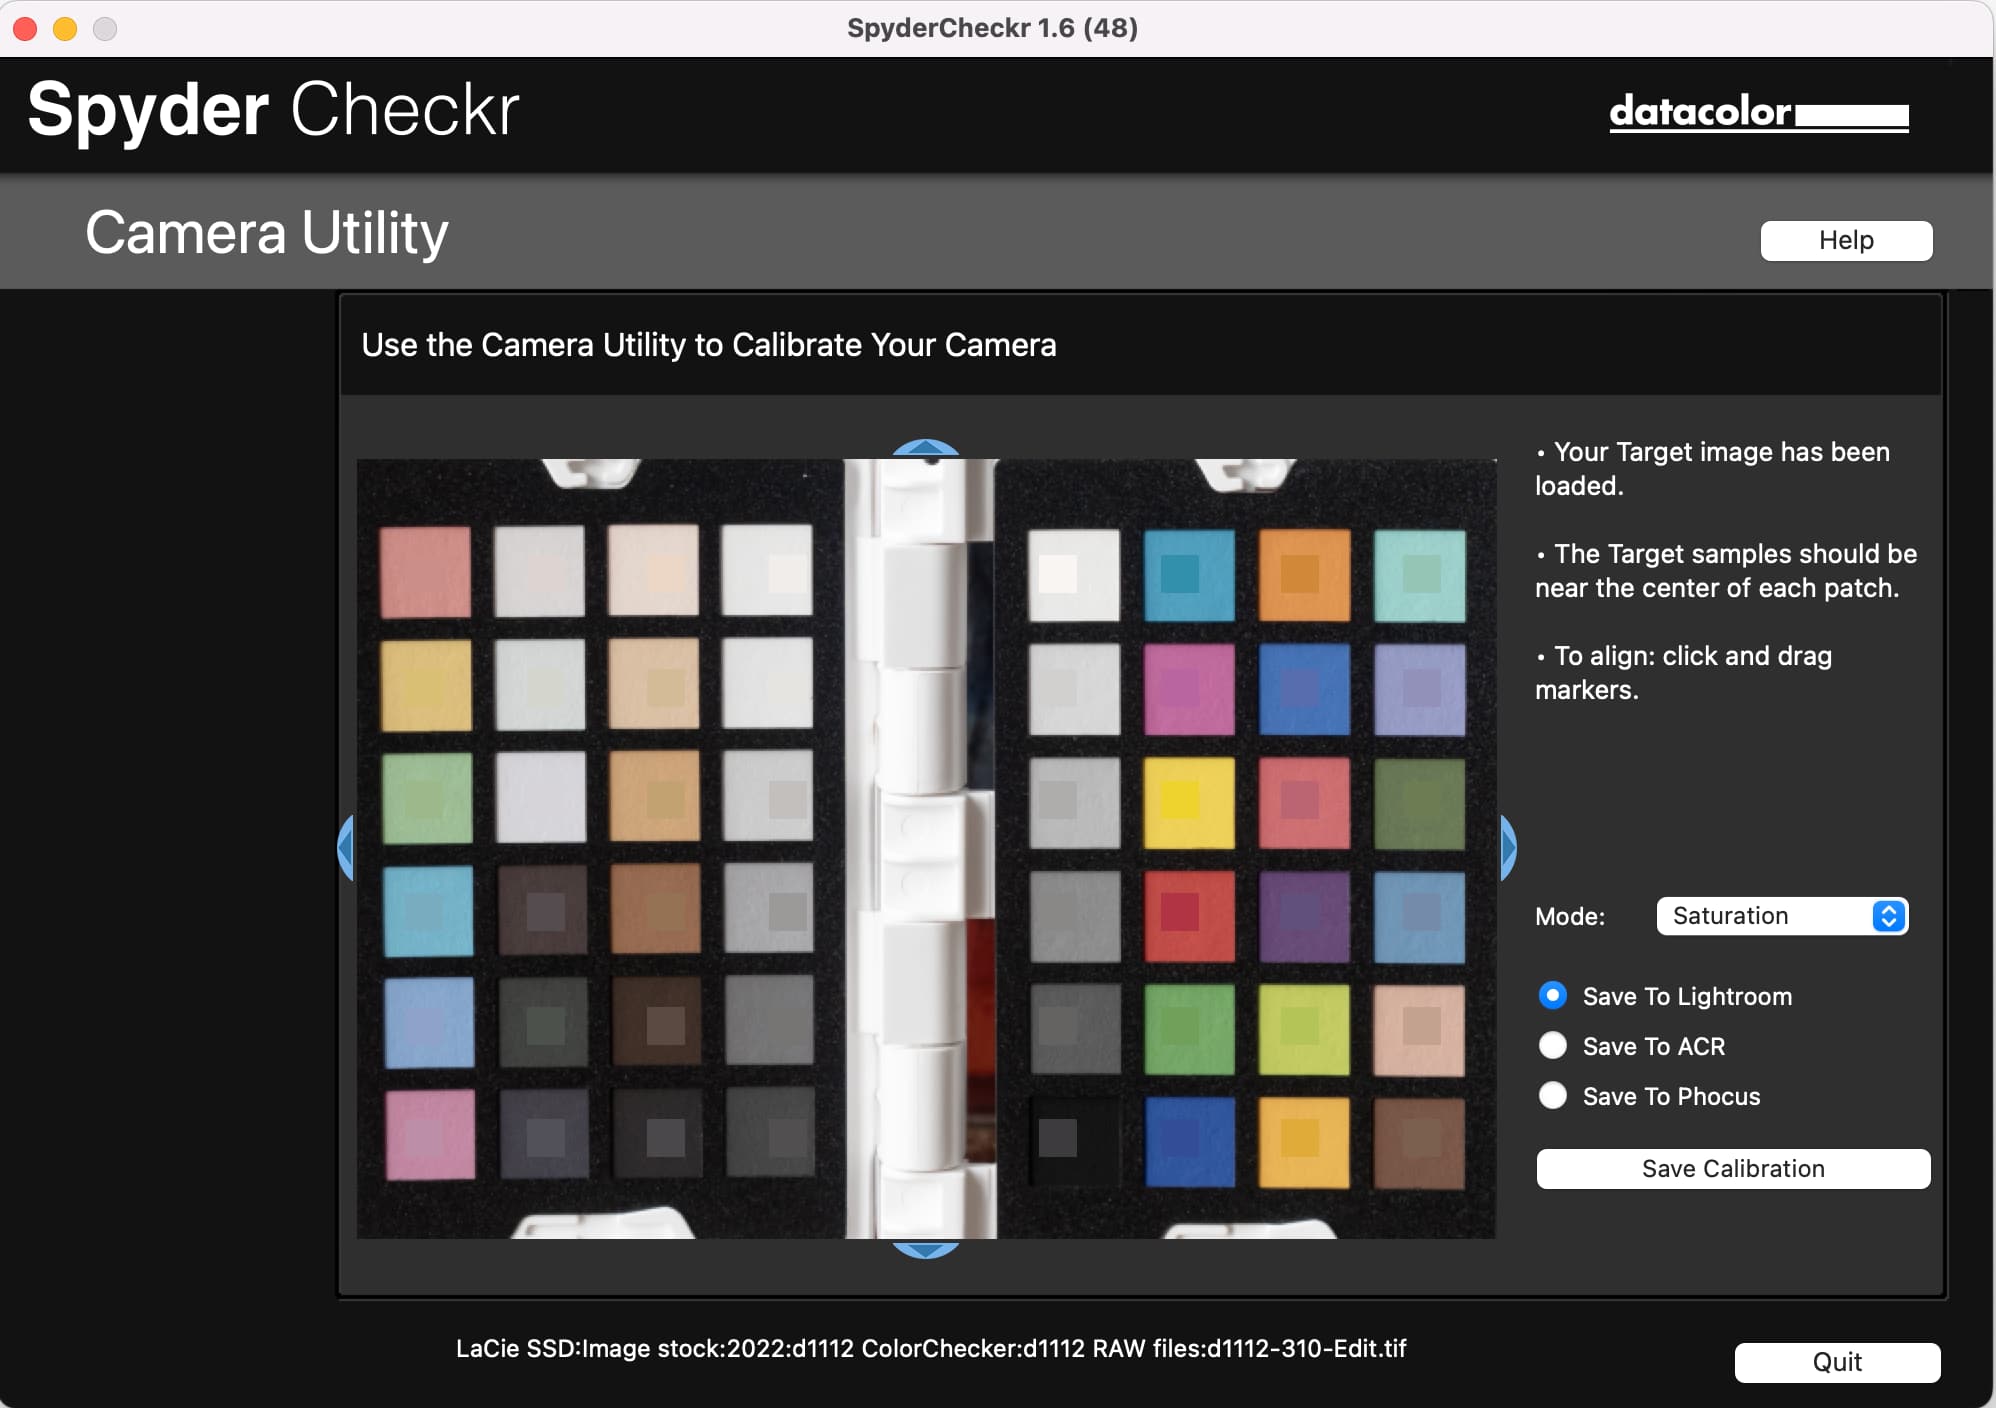
In the app you simply need to line up an overlay showing the swatch colors with the patches themselves, then export a preset for Lightroom, Adobe Camera Raw or Phocus.
You have a choice of rendering modes:
• Colorimetric Mode for the most literal results
• Saturation Mode provides a generally more pleasing boost in Saturation
• Portrait Mode reduces the skin tone saturation for easier portrait processing
It is a little annoying to have to restart Lightroom to show new profiles you've just added, but that's probably more to do with Lightroom than the Color Checkr Photo.
Performance
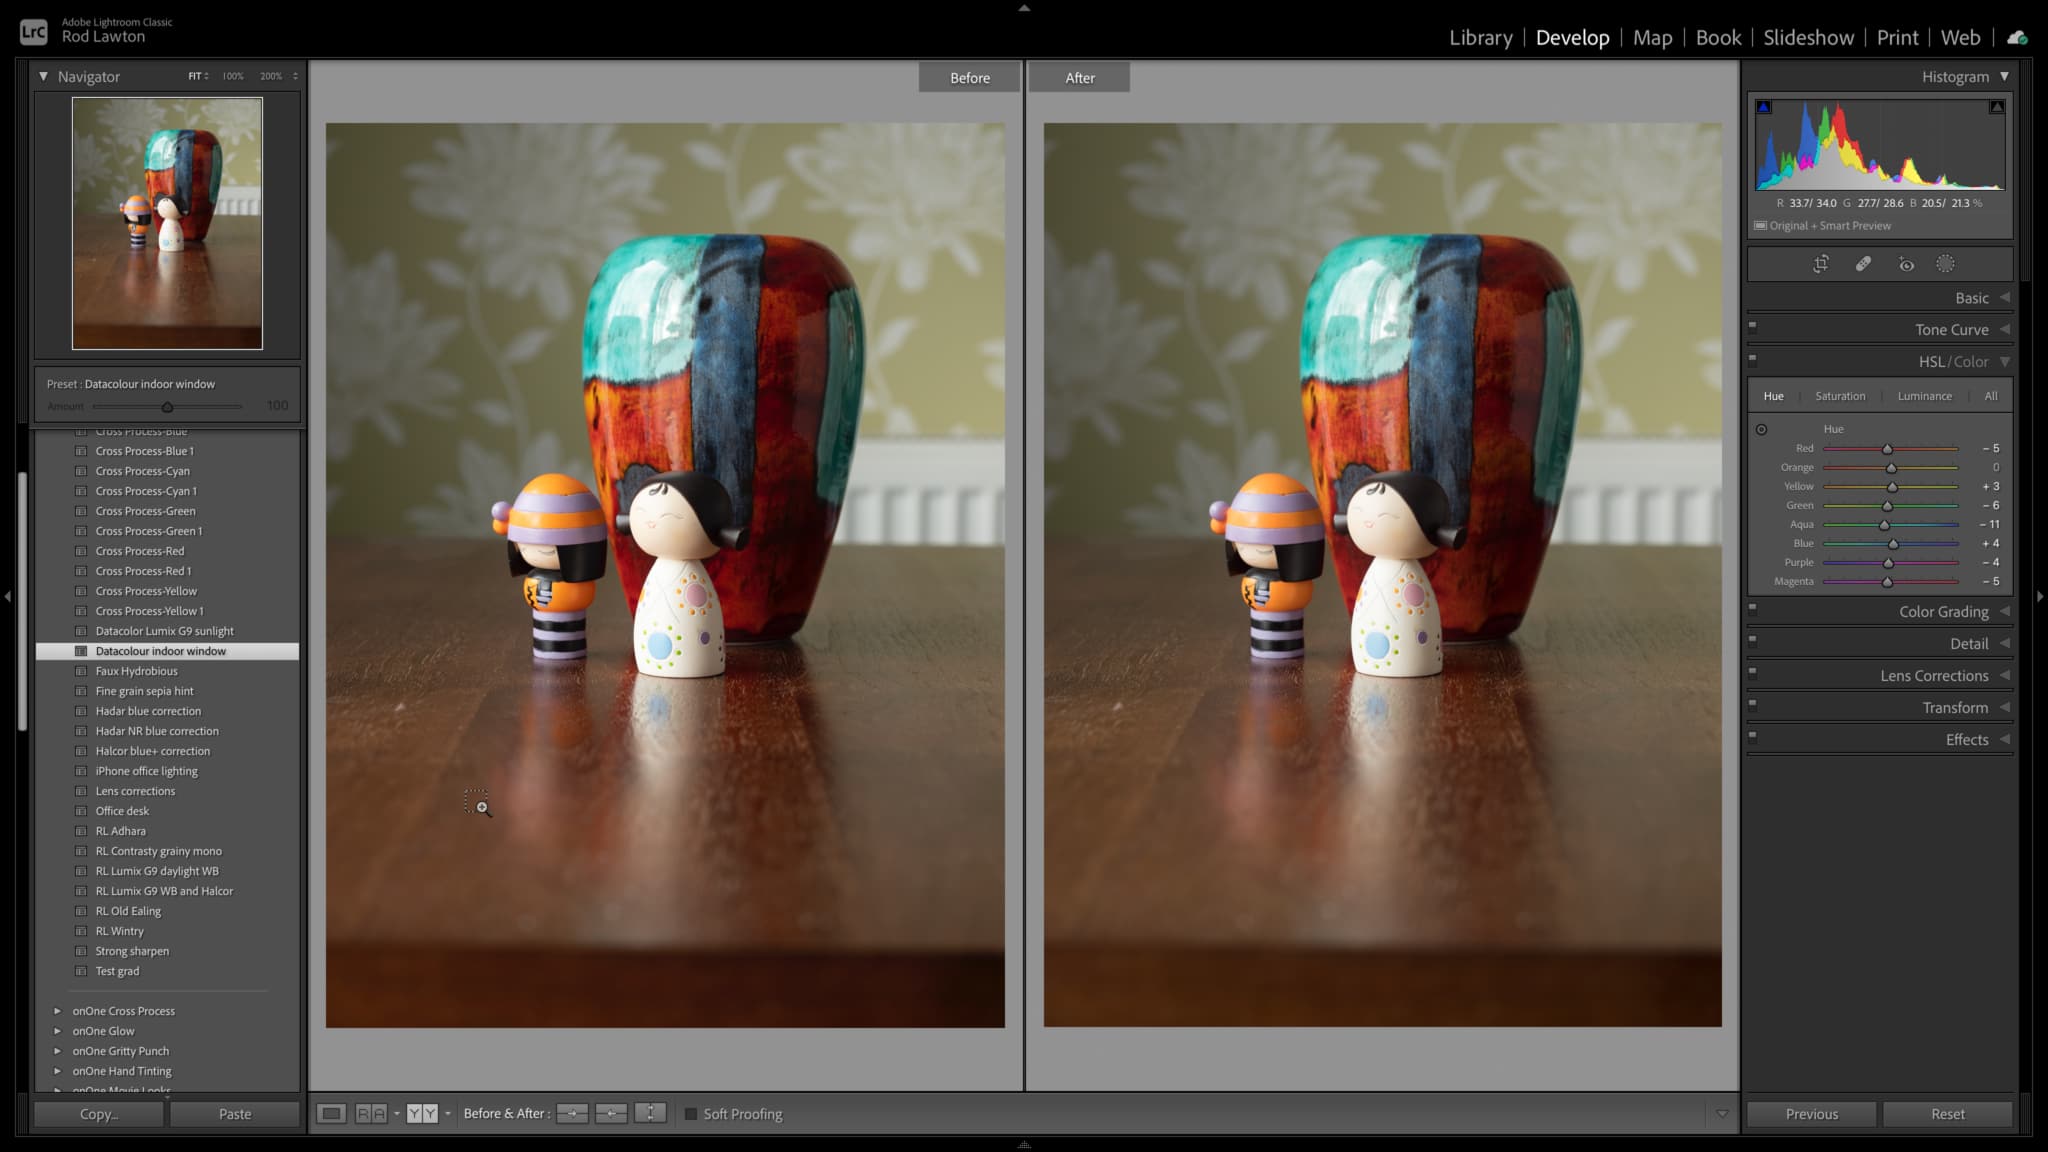
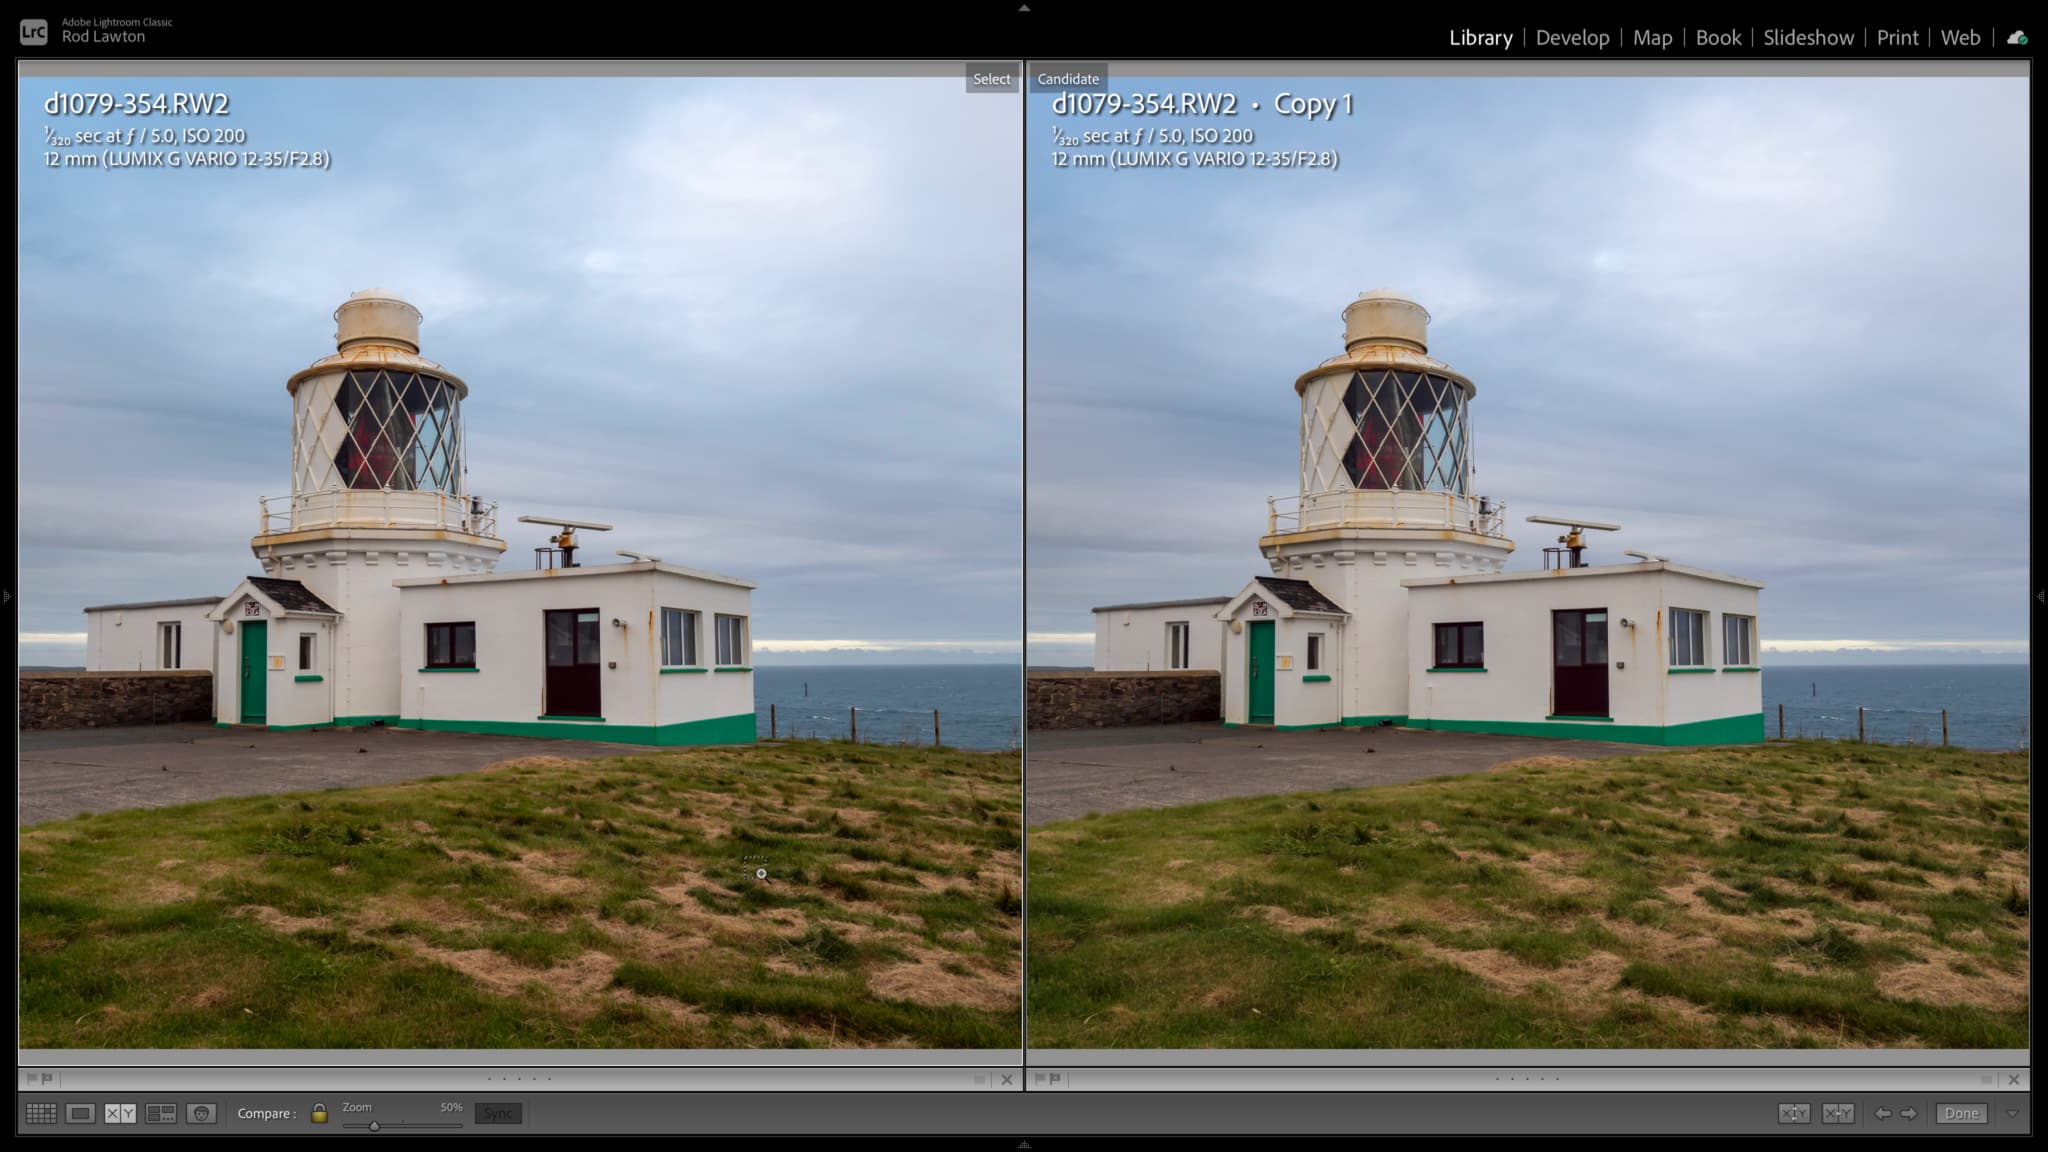
Spyder Checkr Photo is designed for accuracy and repeatability, not dramatic tonal shifts. In our tests using an indoor scene, it had perhaps a larger effect on shadow density (an improvement) than any color hues. We also tried it outside using our Panasonic Lumix G9, which has a tendency to reproduce darker yellow tones, such as coarse, dry grass, with a red tinge – and it fixed that perfectly.
Where Spyder Checkr Photo is really likely to score is ensuring consistency when using different cameras or lenses for the same subject.
Verdict
Spyder Checkr Photo is fairly straightforward to use, but you may have to create multiple profiles for a host of different camera and lens combinations and lighting conditions. It’s effective, but it could also prove quite time consuming if you use it across your photography. It might be best reserved for critical commercial work in controlled lighting.
Having said that, it could prove really useful to have the Spyder Checkr Photo’s 18% and 50% gray swatches in a scene for quick and simple custom white balance and exposure settings you can apply there and then.
Read more:
• Best monitor calibration tools
• Best monitors for photographers
• Best photo editing laptops
Rod is an independent photography journalist and editor, and a long-standing Digital Camera World contributor, having previously worked as DCW's Group Reviews editor. Before that he has been technique editor on N-Photo, Head of Testing for the photography division and Camera Channel editor on TechRadar, as well as contributing to many other publications. He has been writing about photography technique, photo editing and digital cameras since they first appeared, and before that began his career writing about film photography. He has used and reviewed practically every interchangeable lens camera launched in the past 20 years, from entry-level DSLRs to medium format cameras, together with lenses, tripods, gimbals, light meters, camera bags and more. Rod has his own camera gear blog at fotovolo.com but also writes about photo-editing applications and techniques at lifeafterphotoshop.com
