Digital Camera World Verdict
Fundy Designer is a great tool for wedding photographers as it takes the pain out of creating albums, wall art, and cards. With a little guidance, the software can create them all automatically without adding a load of extra work and it can slip easily into your workflow.
Pros
- +
Quick and easy to use
- +
Powerful design tools
- +
Automated album, wall art and card creation
Cons
- -
Only a few labs are fully integrated
- -
No template marketplace or option to share templates between users
Why you can trust Digital Camera World
Launched in January this year, Fundy Designer V11 is the latest iteration of the Fundy album design (and more) software that first saw the light of day in 2008. It’s aimed at wedding, portrait, and social photographers seeking to expand their product offerings with minimal additional workload or complication.
The software simplifies the creation of high-quality albums, wall art, and cards, and in some cases enables photographers to design and order products directly from their chosen labs. The inclusion of an online proofer within the Pro Enhancements package ensures that clients can swiftly approve designs, facilitating a seamless transition from approval to order placement.
Fundy Designer: Specifications
| Price | $290/year, ($29/month annual lease) |
| Integration | Works with over 150 labs worldwide |
| Create | Albums, wall art, cards, magazines, slideshows |
| Pro enhancements includes | Online Proofing, Design Library, Skin Retouching, Social Design App |
Fundy Designer: Key Features
Fundy Designer V11 integrates into a photographer’s existing workflow, accepting rated images from popular software like Photo Mechanic, Adobe Bridge and Lightroom. Photographers can export their edited images as JPGs to a folder, then import them into Fundy Designer.
The significant addition to V11 in comparison with V10 is the arrival of the new all-in-one ‘Design Wizard’. Where V10 has an ‘Auto Design’ feature that creates an album with a single click, V11 can now extend this to include wall art and card creation as well.
Fundy Designer: Interface
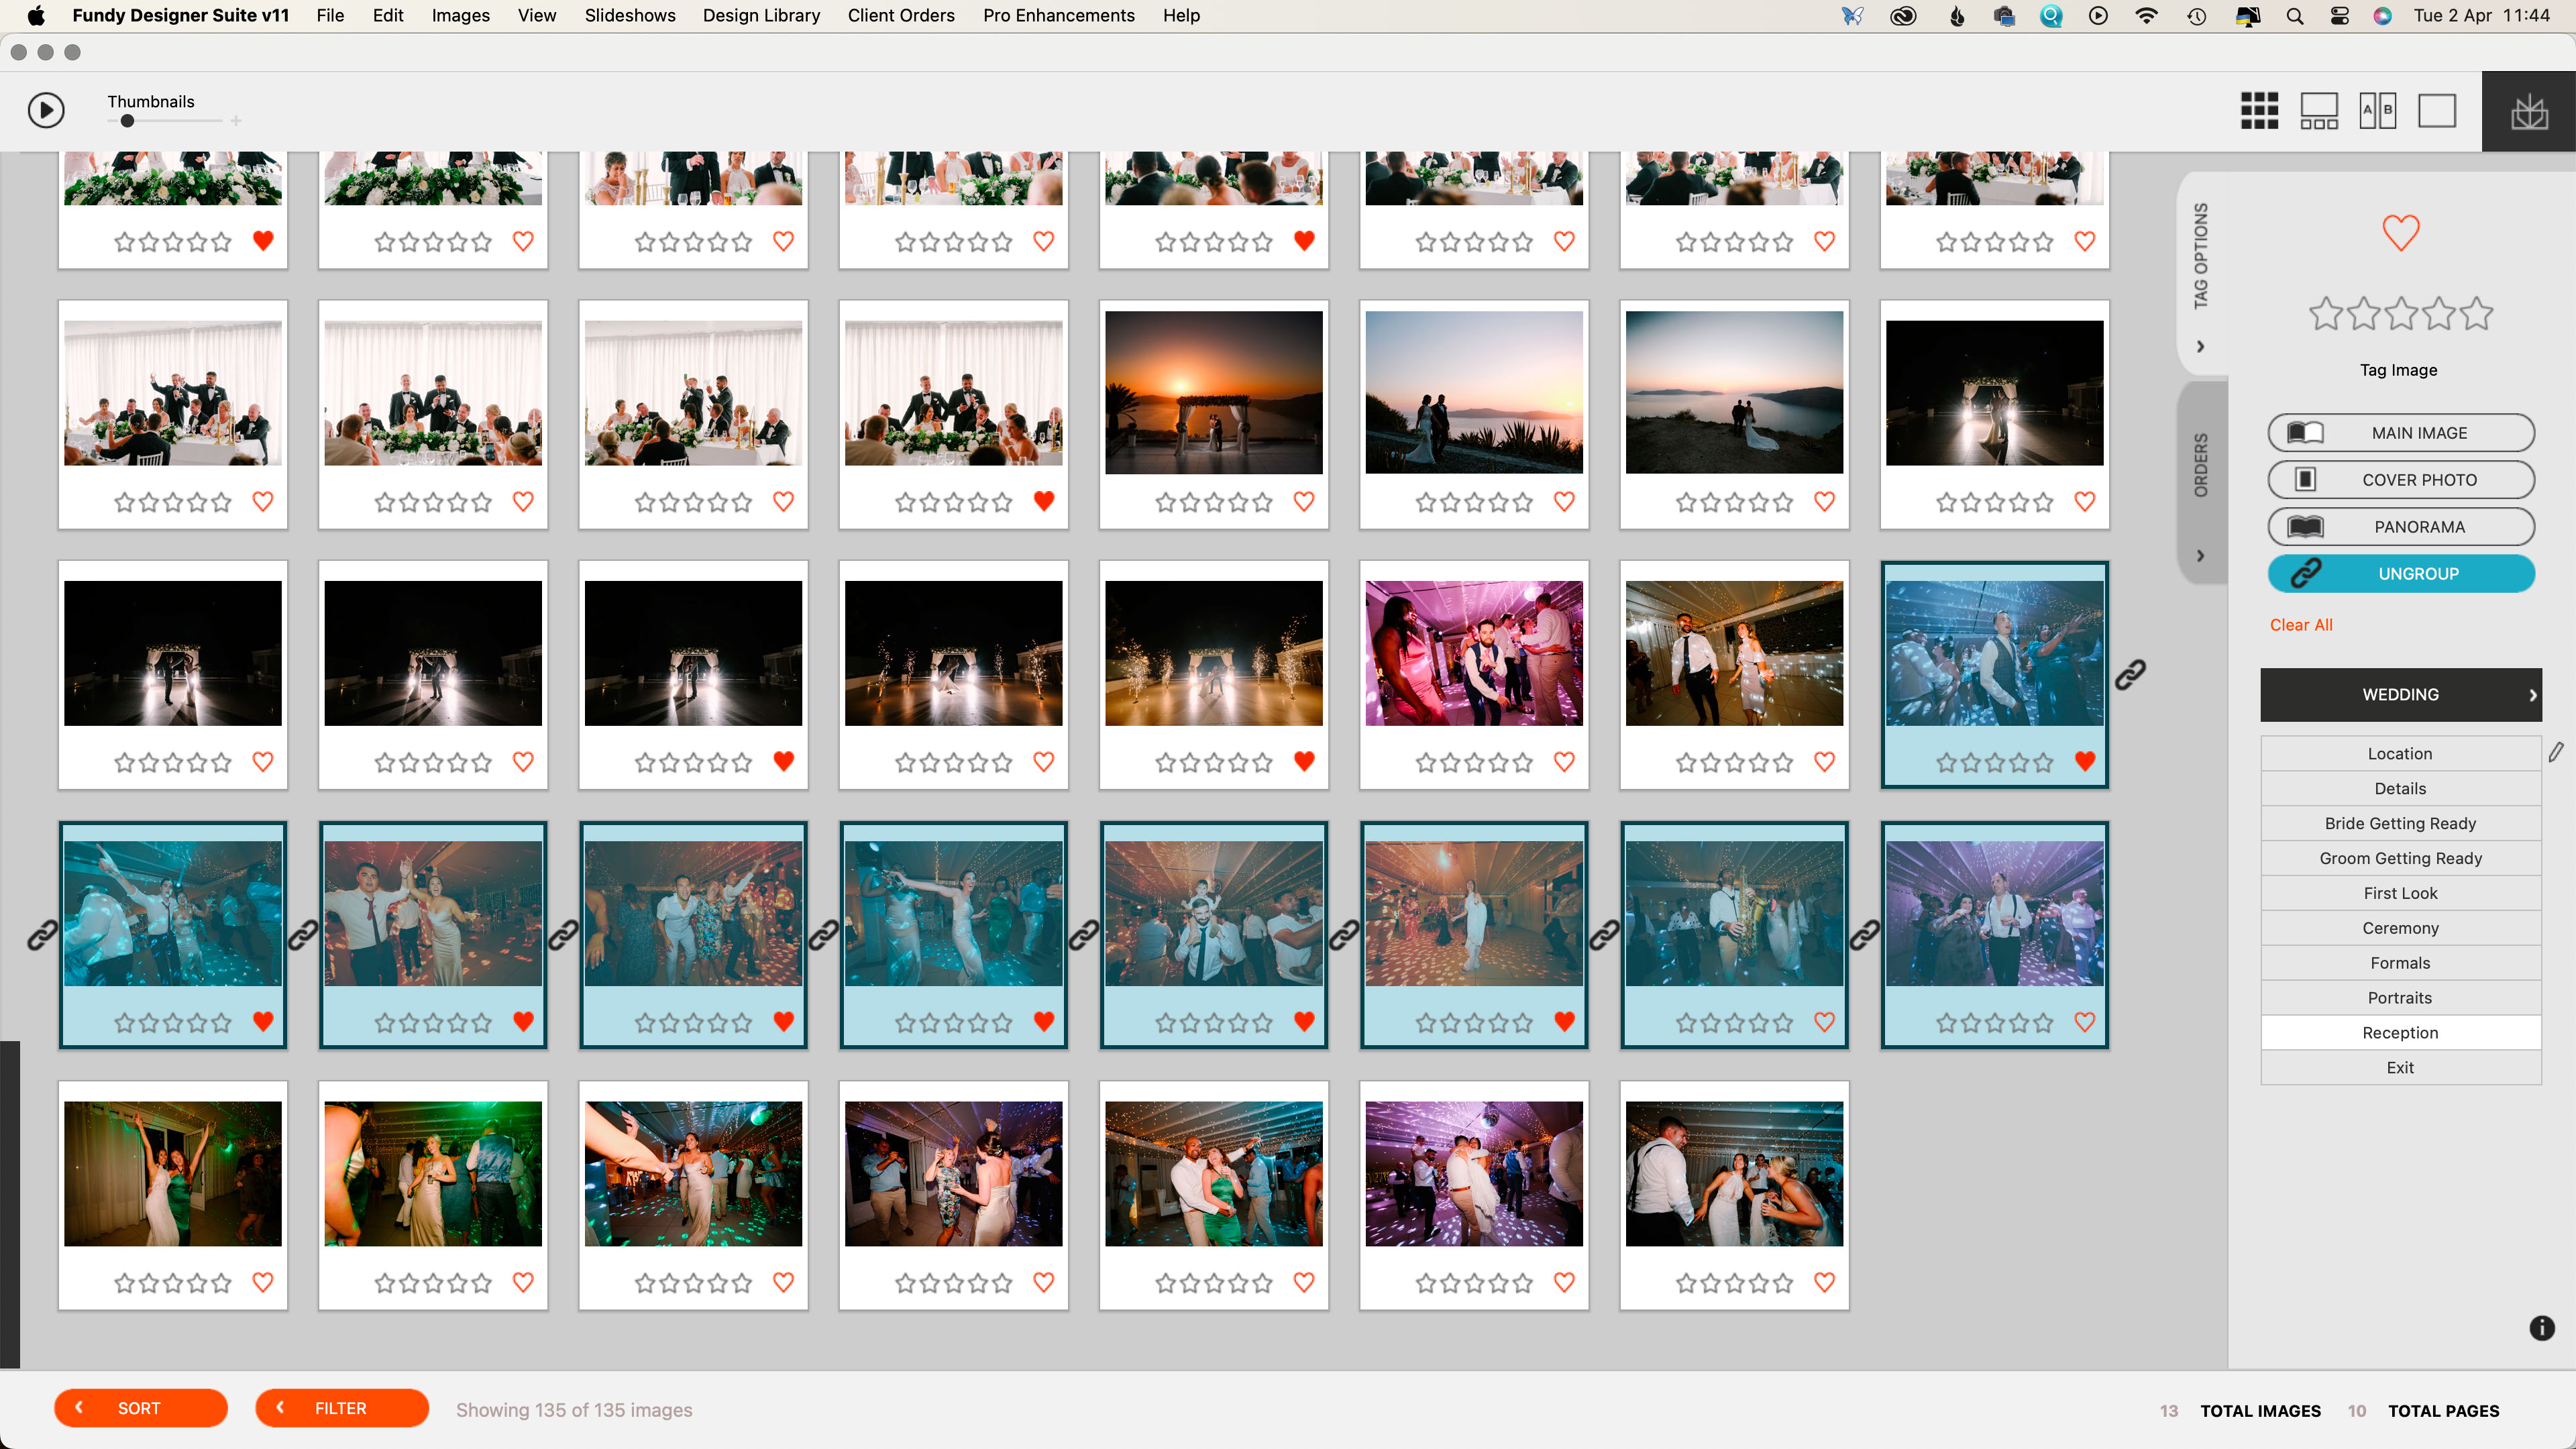
The interface of Fundy Designer V11 is logical and intuitive. The first step after launching the software is to import photos by tapping the ‘Add Photo’ button. I found it took just over 90 seconds to import 135 images (1.98GB).
With some images imported, you’ll see thumbnails along the bottom of the screen and you have the option to make selections and ratings or hit the Design Wizard button straight away..
While Fundy Designer can work with the ratings that are applied in other software, you can also add them quickly within the software itself. Simply double-click on any of the thumbnails to open the image browser and start clicking on the stars and hearts as you like.
If you wish, you can also select a few images as ‘main’ images to occupy a whole page in an album, select the cover photo, mark images to be shown as panoramas across two pages and group images to be shown together on a page. There’s also the option to tag images to indicate what they depict. When the shoot type is set to Wedding, for instance, there are options such as Location, Details, Bride Getting Ready, Groom Getting Ready, etc. Other shoot types include Portrait, Seniors, Event, Boudoir, and two custom options.
Once you’ve finished tagging and grouping images, clicking on the album icon returns you to the main page with the thumbnails along the bottom and the Design Wizard button. Hitting that button opens a new window to select settings for the album, wall art, and card creation. By default those three creation options are set to ‘on’, but they can be turned off if you prefer to just create one or two of the product types.
If you haven’t tagged or ‘favorited’ the images you’re working on within your editing software, it’s worth doing so in Fundy Designer. It’s also useful to have given some thought to which images would work best by themselves, with other, and as panoramas and tag them accordingly.
Fundy Designer: Performance
Fundy Designer selects some default settings for each of the products you want to design, but there are dropdown options available to change the format, cover style, and design style of the album, and the format and design style of the wall art and cards. Clicking on the ‘Advanced Options’ link gives you further control, including the ability to select the lab with which you wish to print your work.
GraphiStudio, Millers, and Renaissance Albums are listed as ‘Direct Labs’ for album creation, which means you can order the product with them from within Fundy Designer. There’s also an extensive list of other labs including Bay Photo Lab, Bobs Books, Digitalab, Loxley Colour, nPhoto, and many more, which aren’t fully integrated but have products listed for selection so their dimensions are imported. However, if the lab you wish to use isn’t available, use the Custom Size option in the Album Company window and then set the dimensions of the album you plan to create.
This is also where you have the ability to set the number of images you want to include across your preferred number of pages.
The list of labs available to make wall art is shorter than the album list, and there are none listed for the card creation, but again, it’s possible to set the size you want to print.
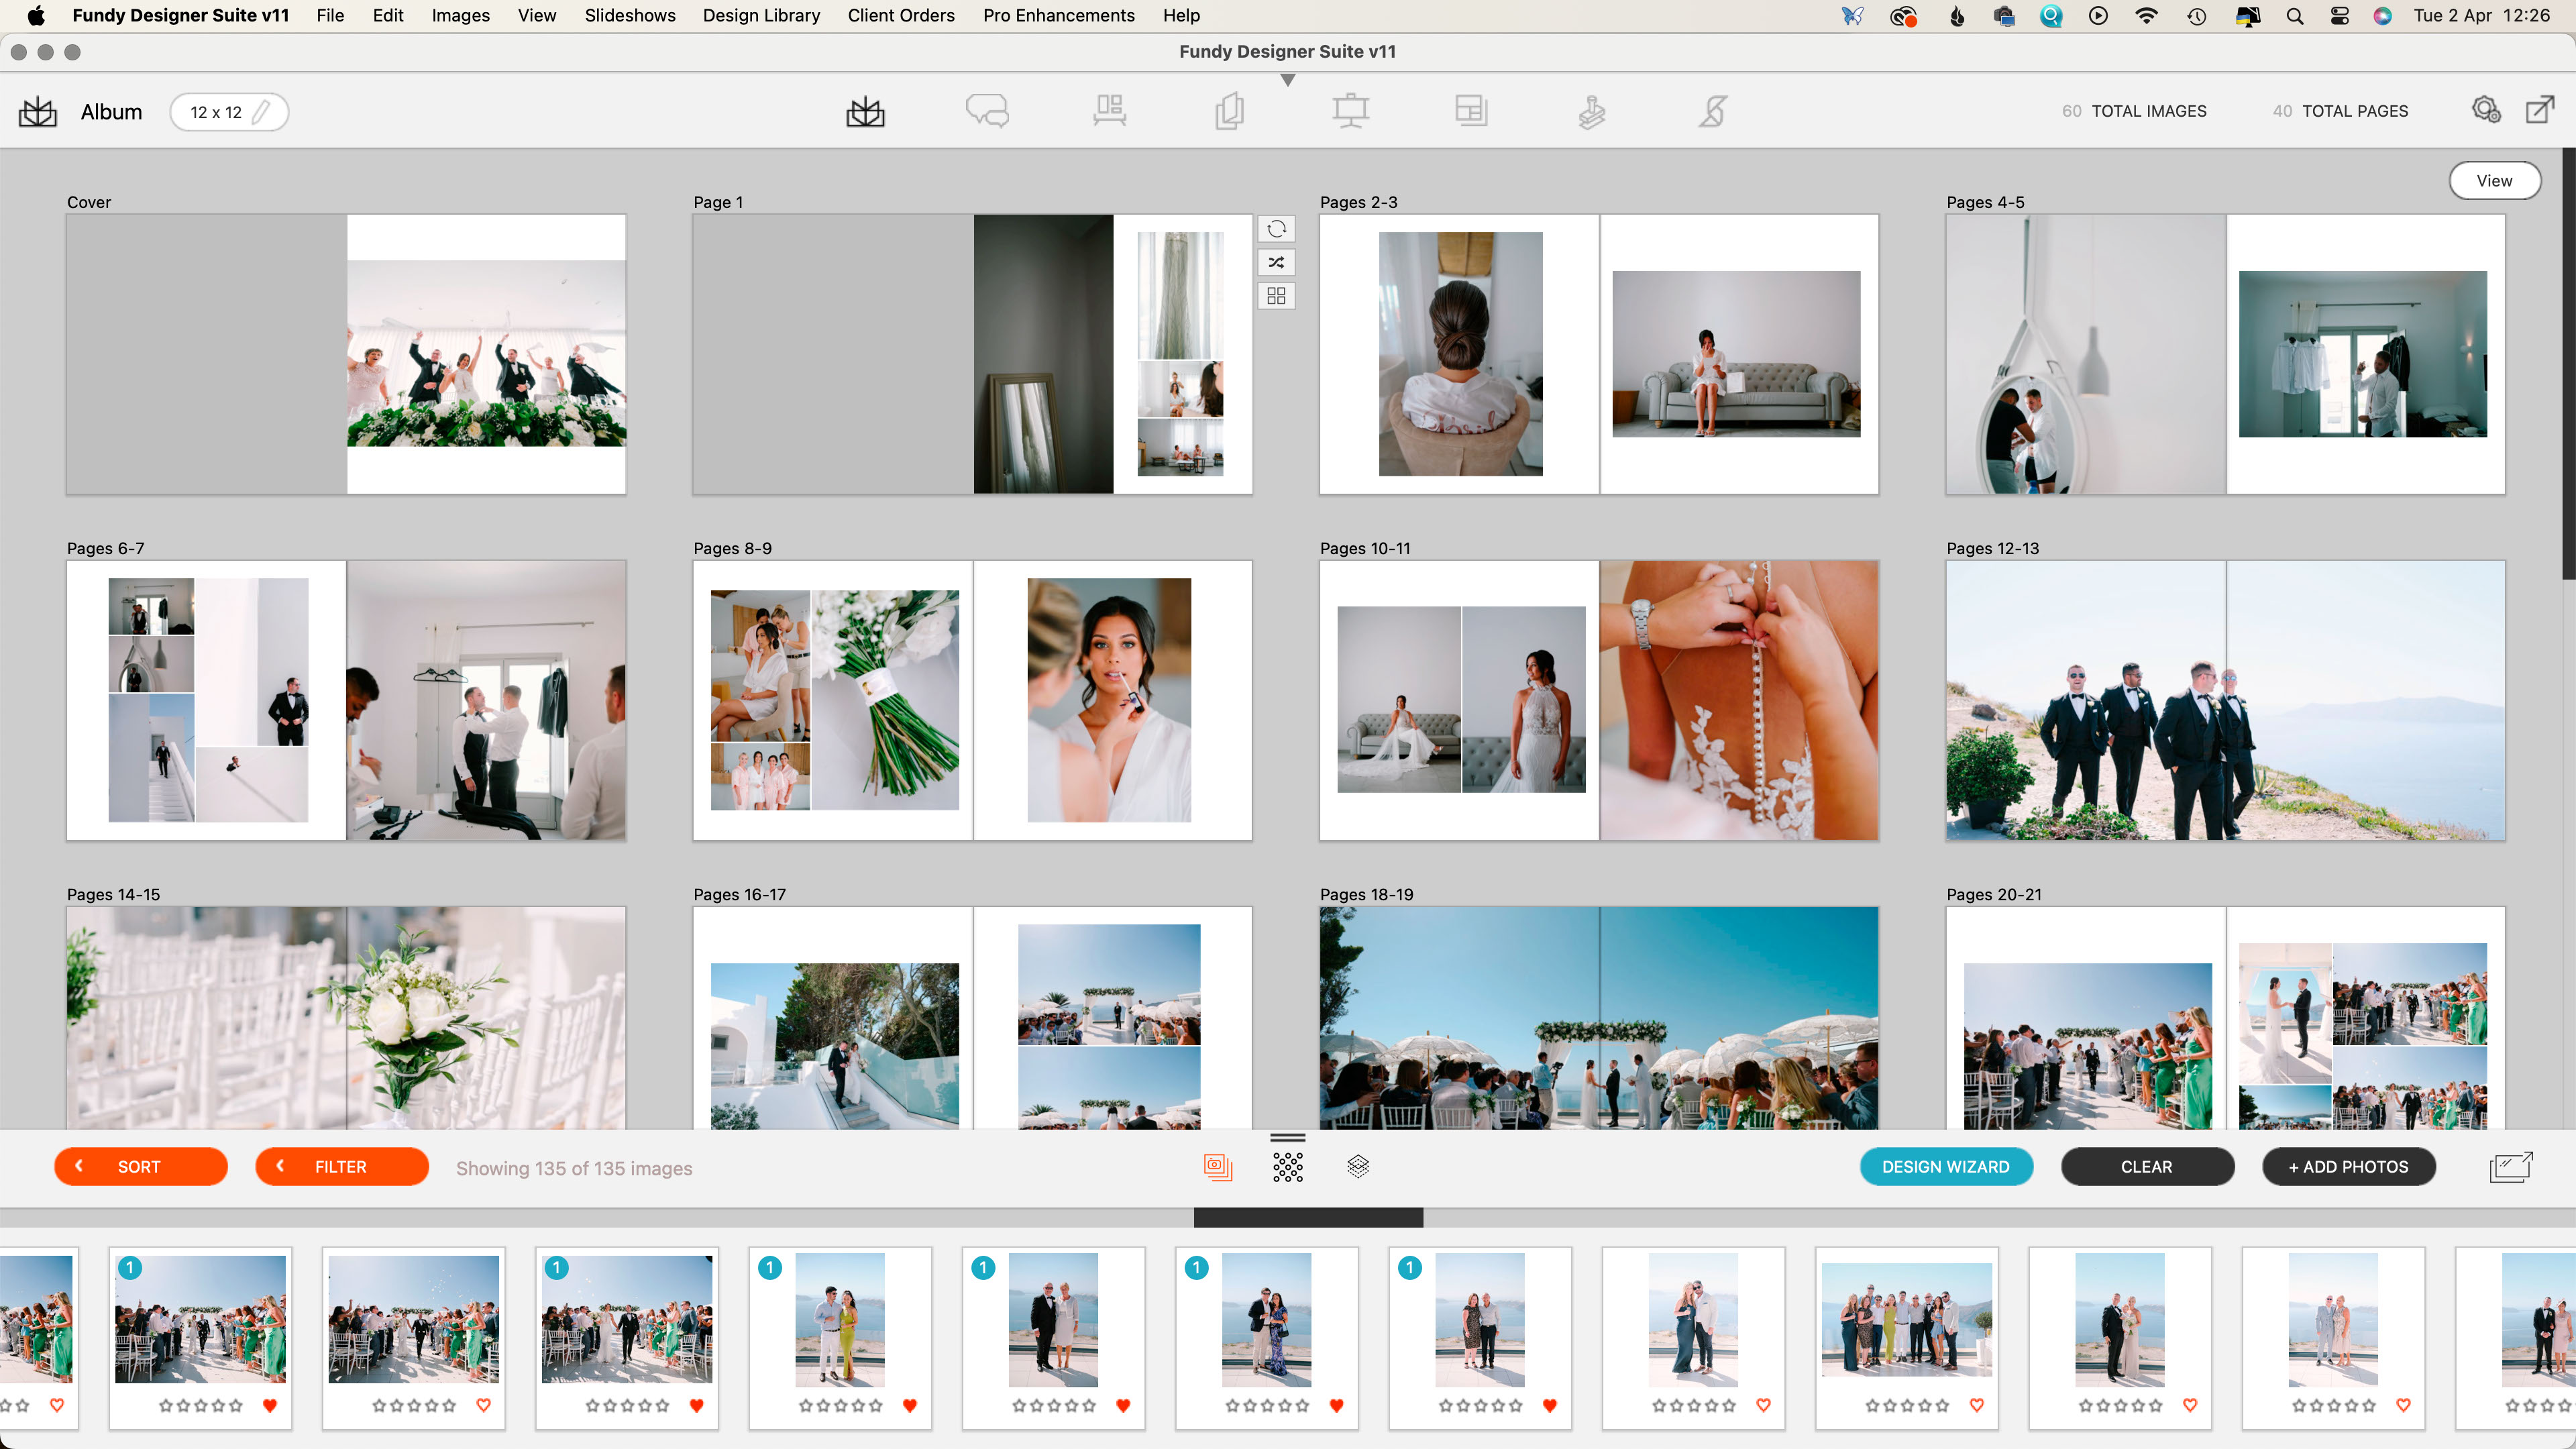
After you’ve finished selecting the settings for the album, wall art, and cards, click on ‘Design Project’ and then the icon for the product you want to see. I created a square album with 40 pages and 60 images from 135 supplied by Scott Johnson of The Edge Photography and the preview was visible as soon as I clicked to see it.
The album design isn’t set in stone, it can be tweaked until you get exactly what you or your clients want. Clicking on any of the spreads in the album puts a yellow box around it and reveals a few icons that allow you to make quick changes like shuffling the images around or moving the spread to a different location in the album. You can also drag images from the thumbnail bar onto a spread and the software adapts so that everything fits nicely automatically.
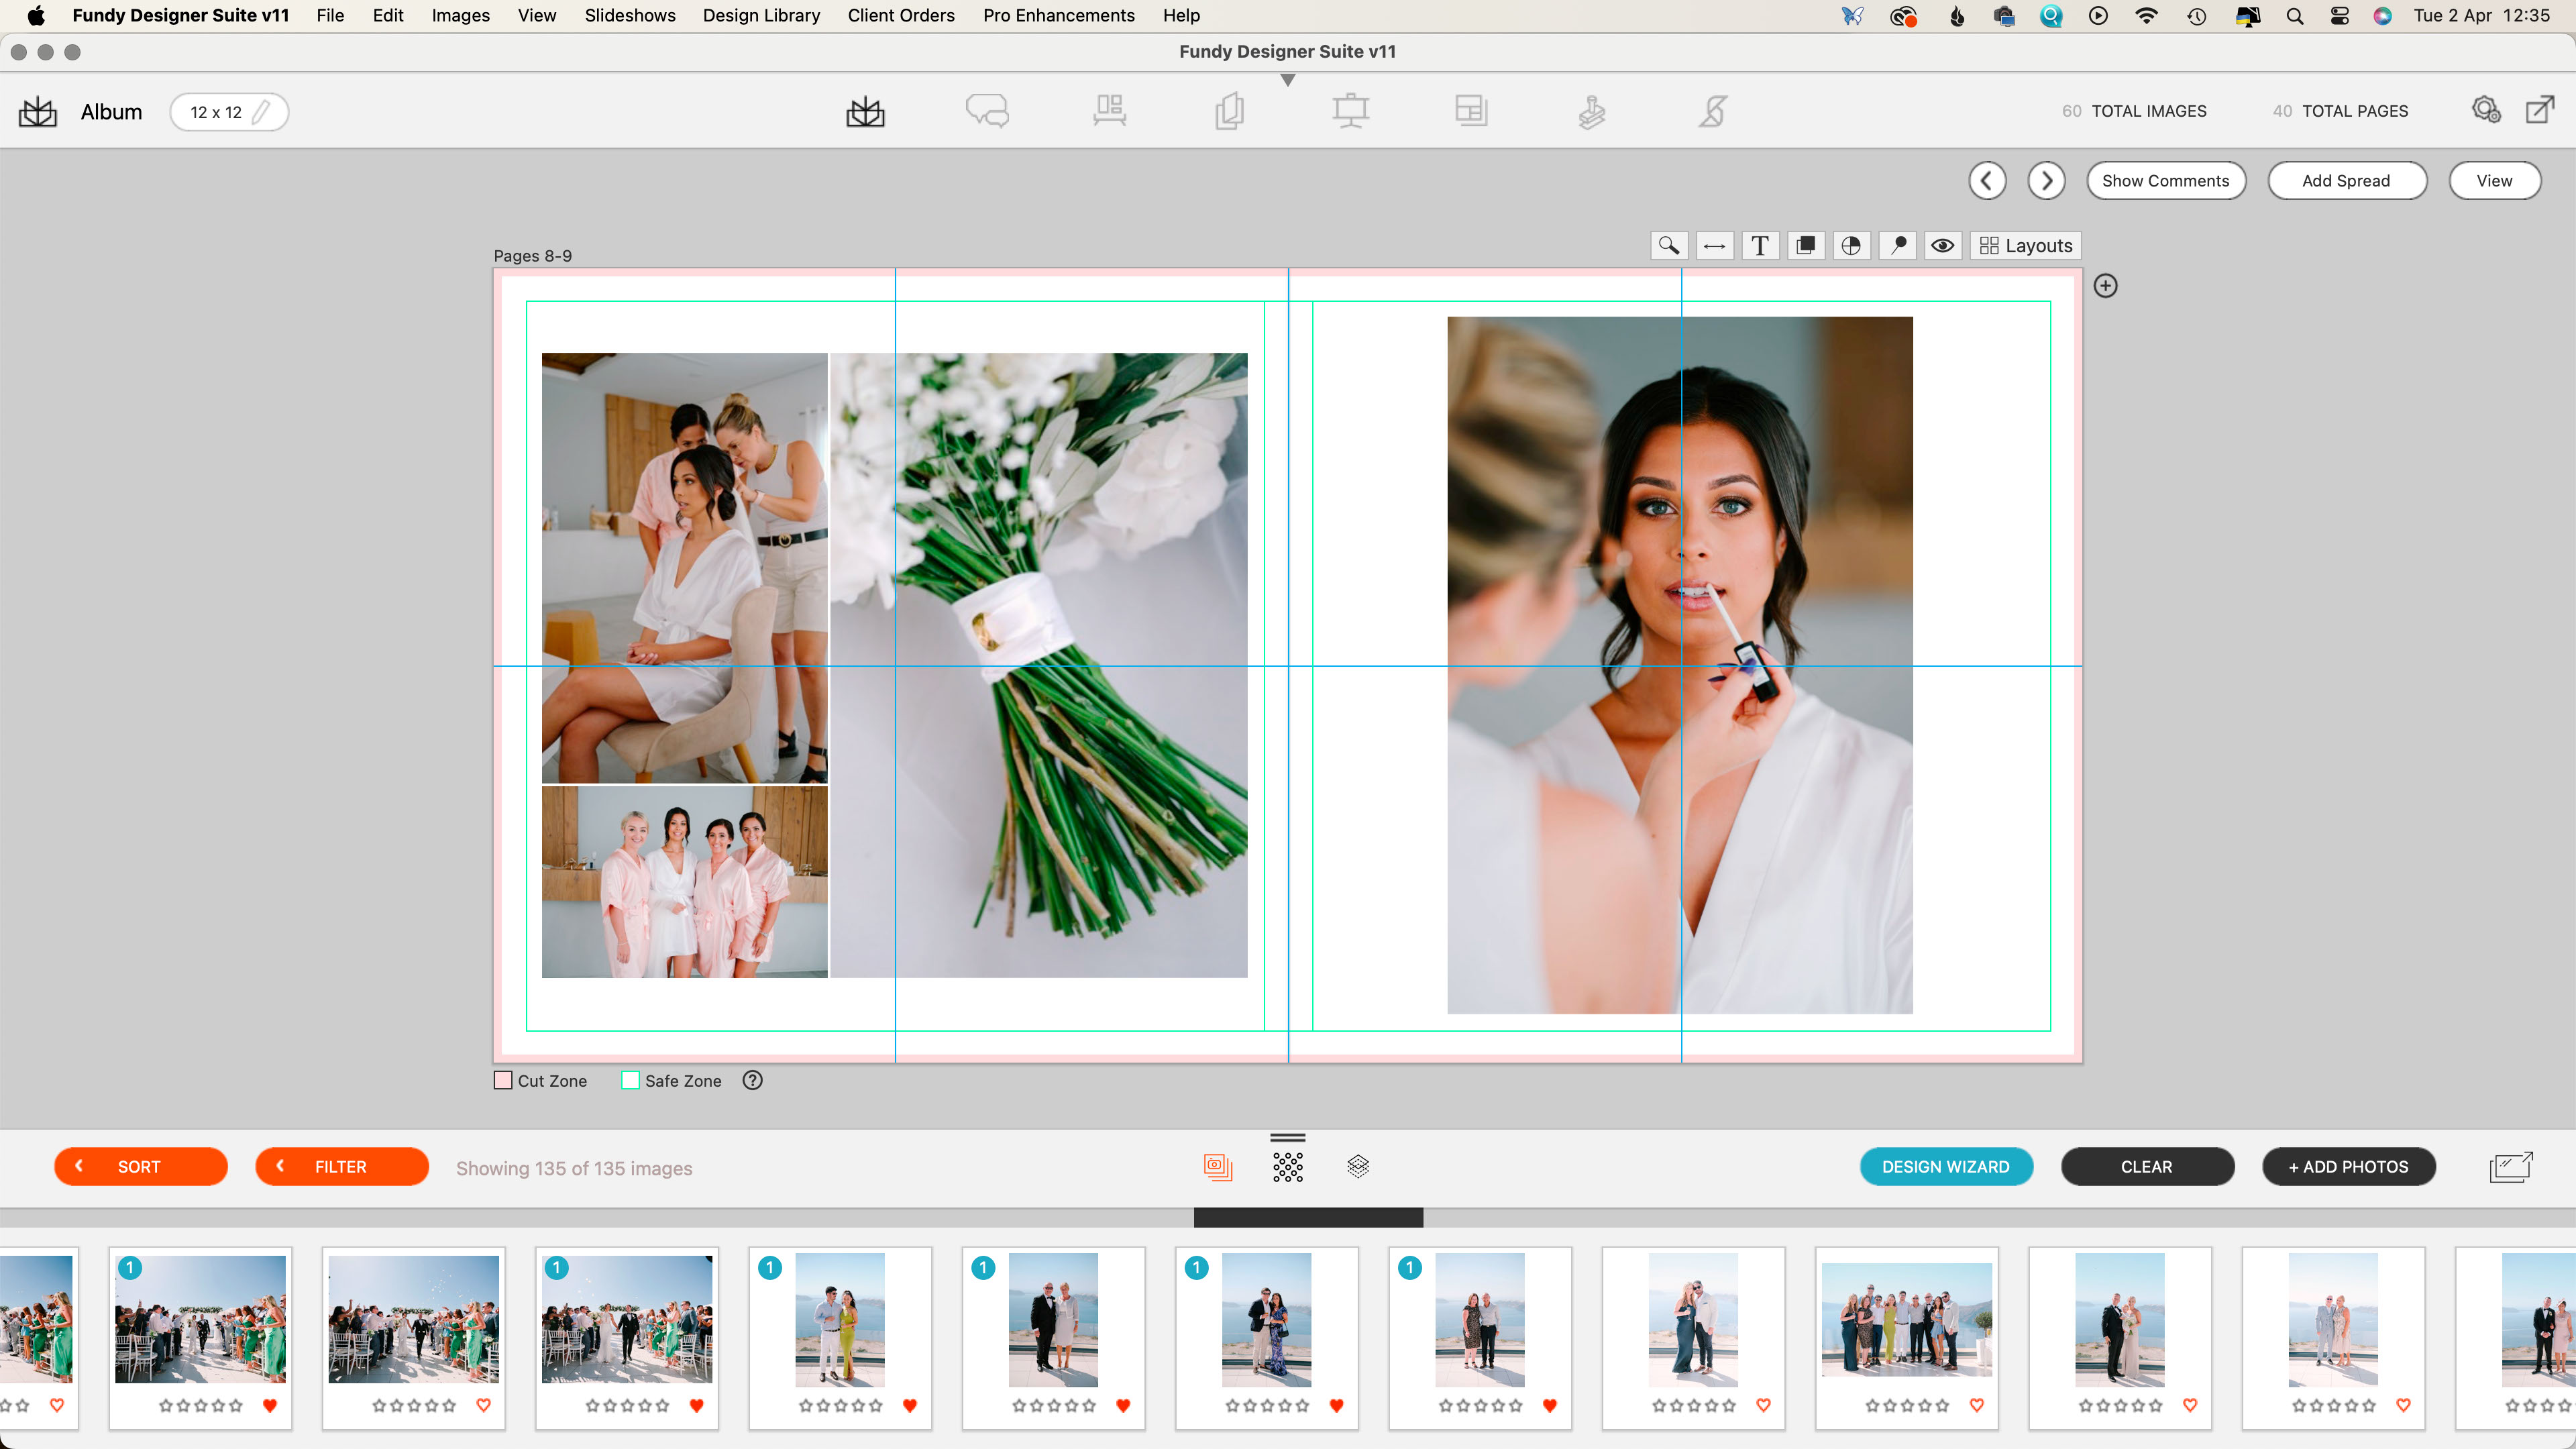
Double-clicking on a spread opens its preview and allows further changes such as changing an image’s aspect ratio or alignment.
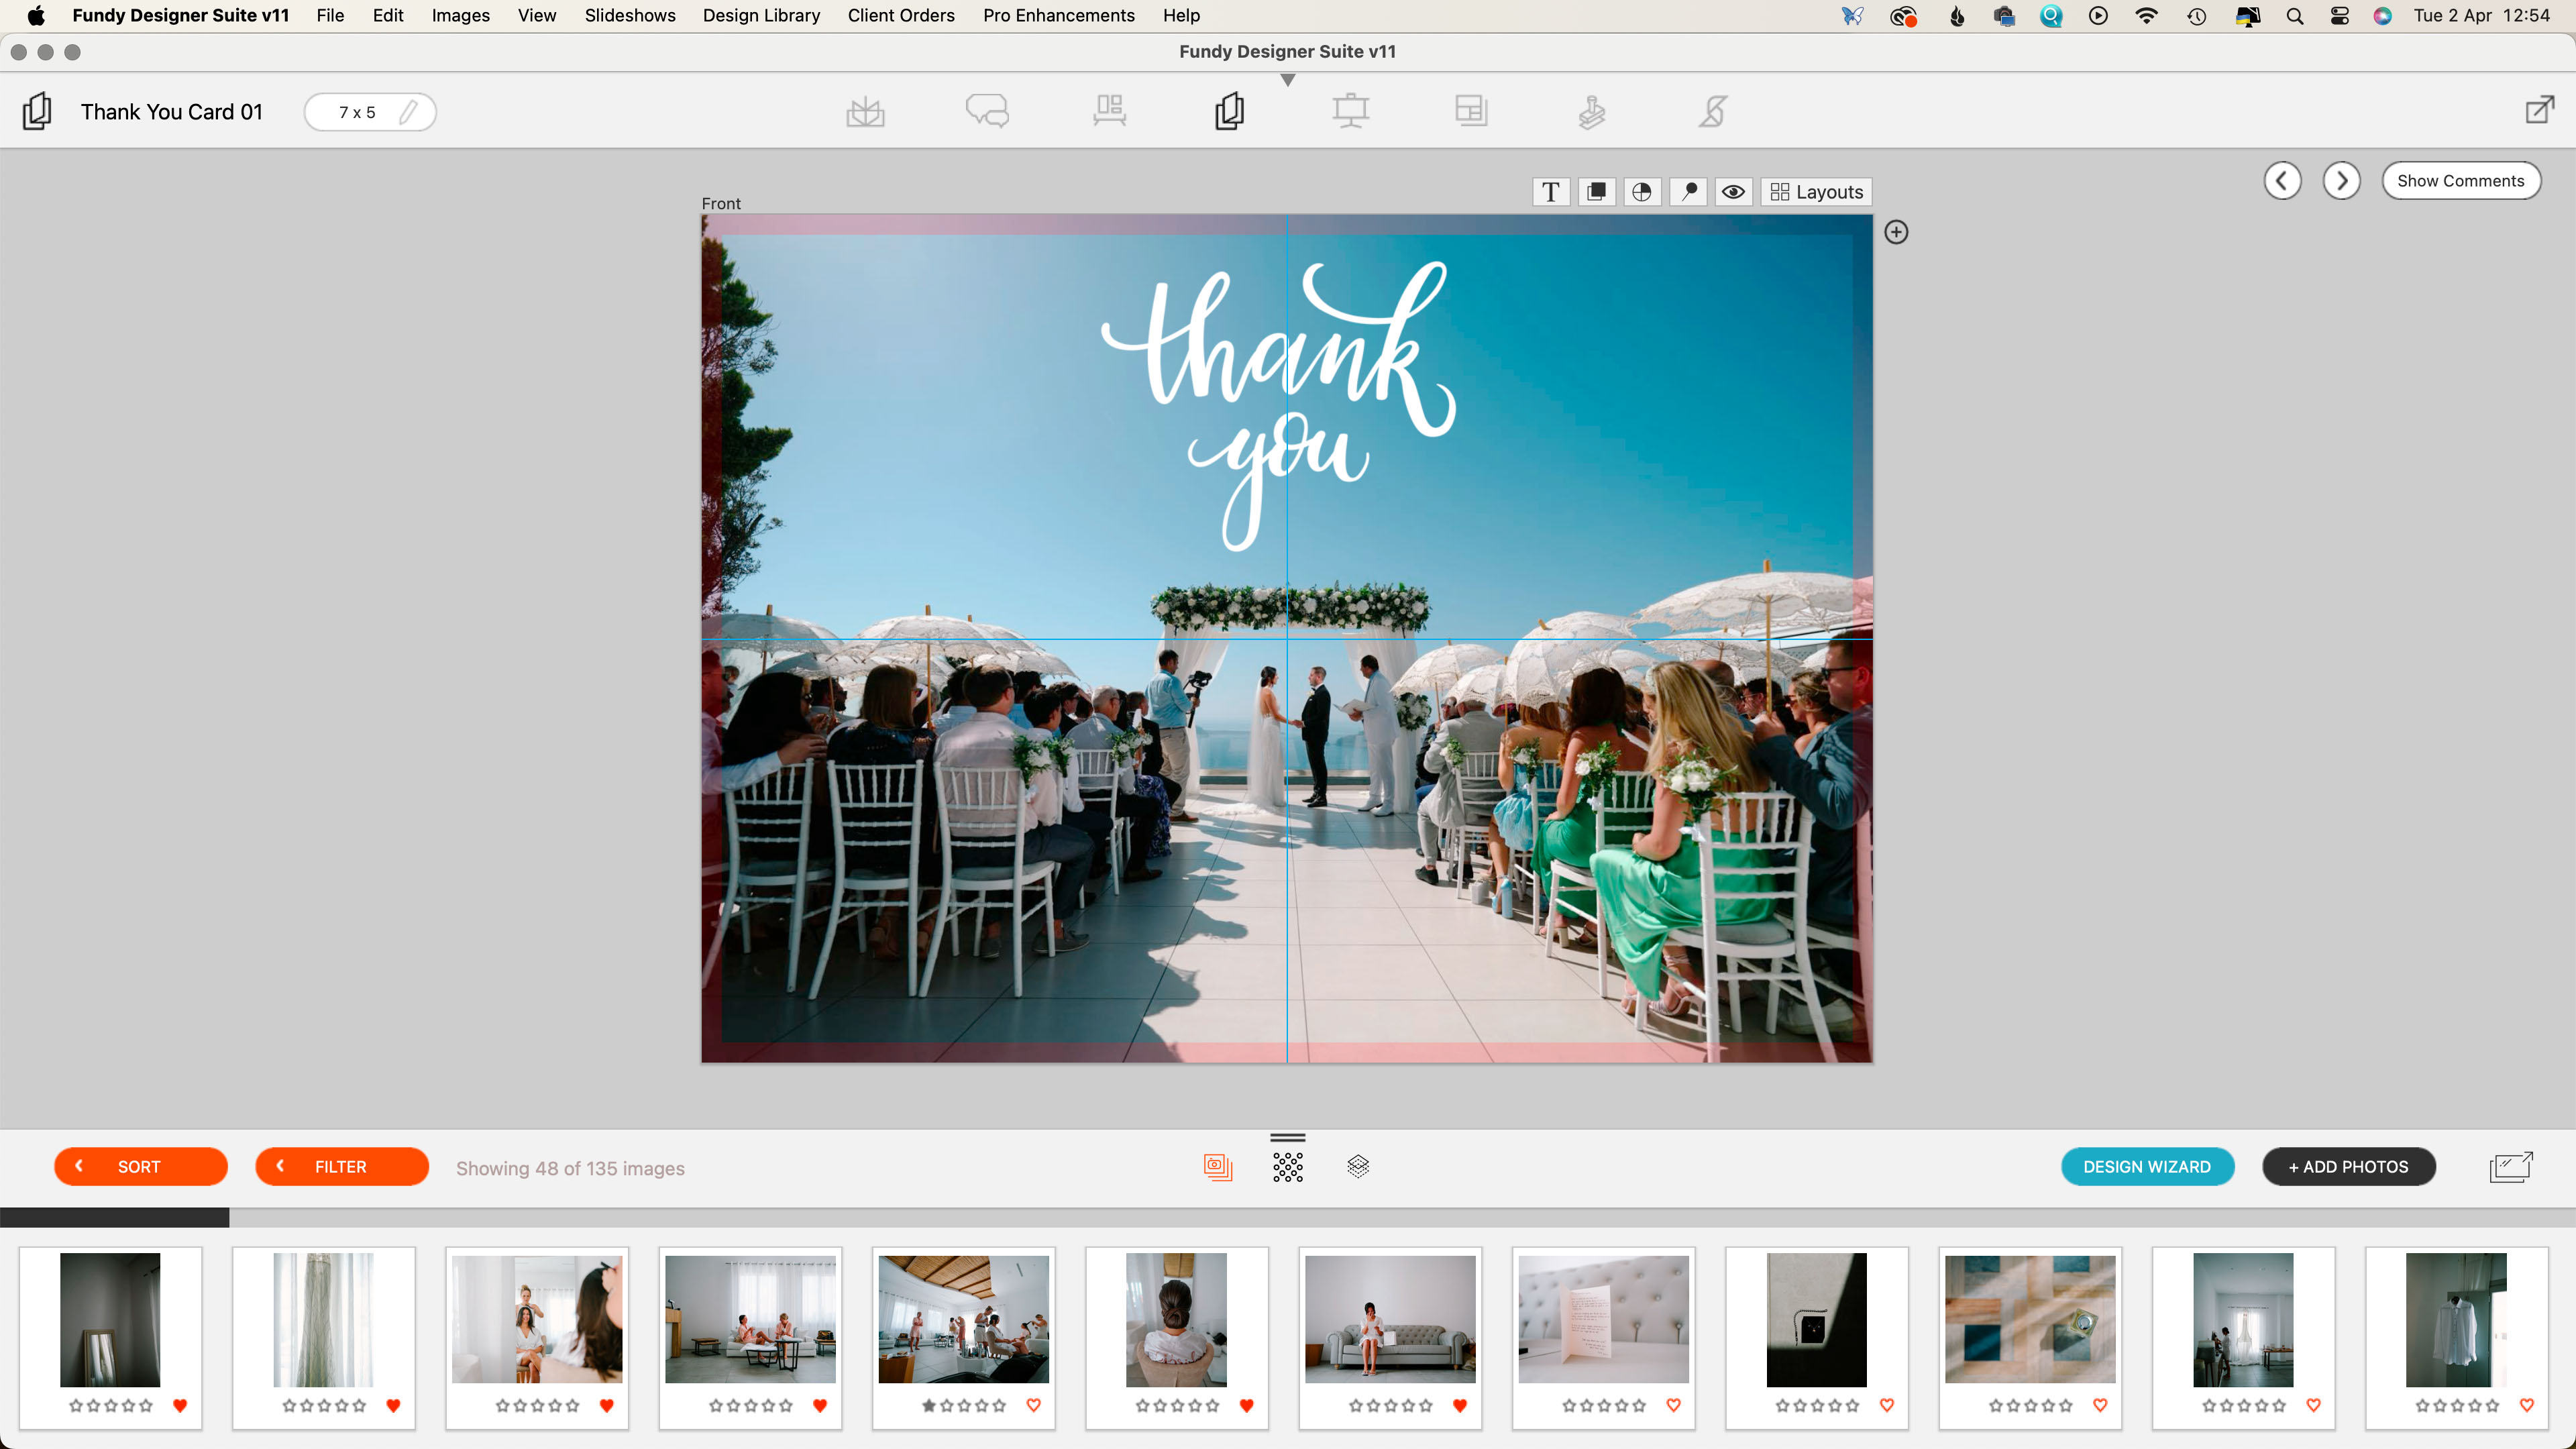
Once you’re happy with the album, you can move on to the wall art and card designs by selecting them from the menu bar at the top of the page.
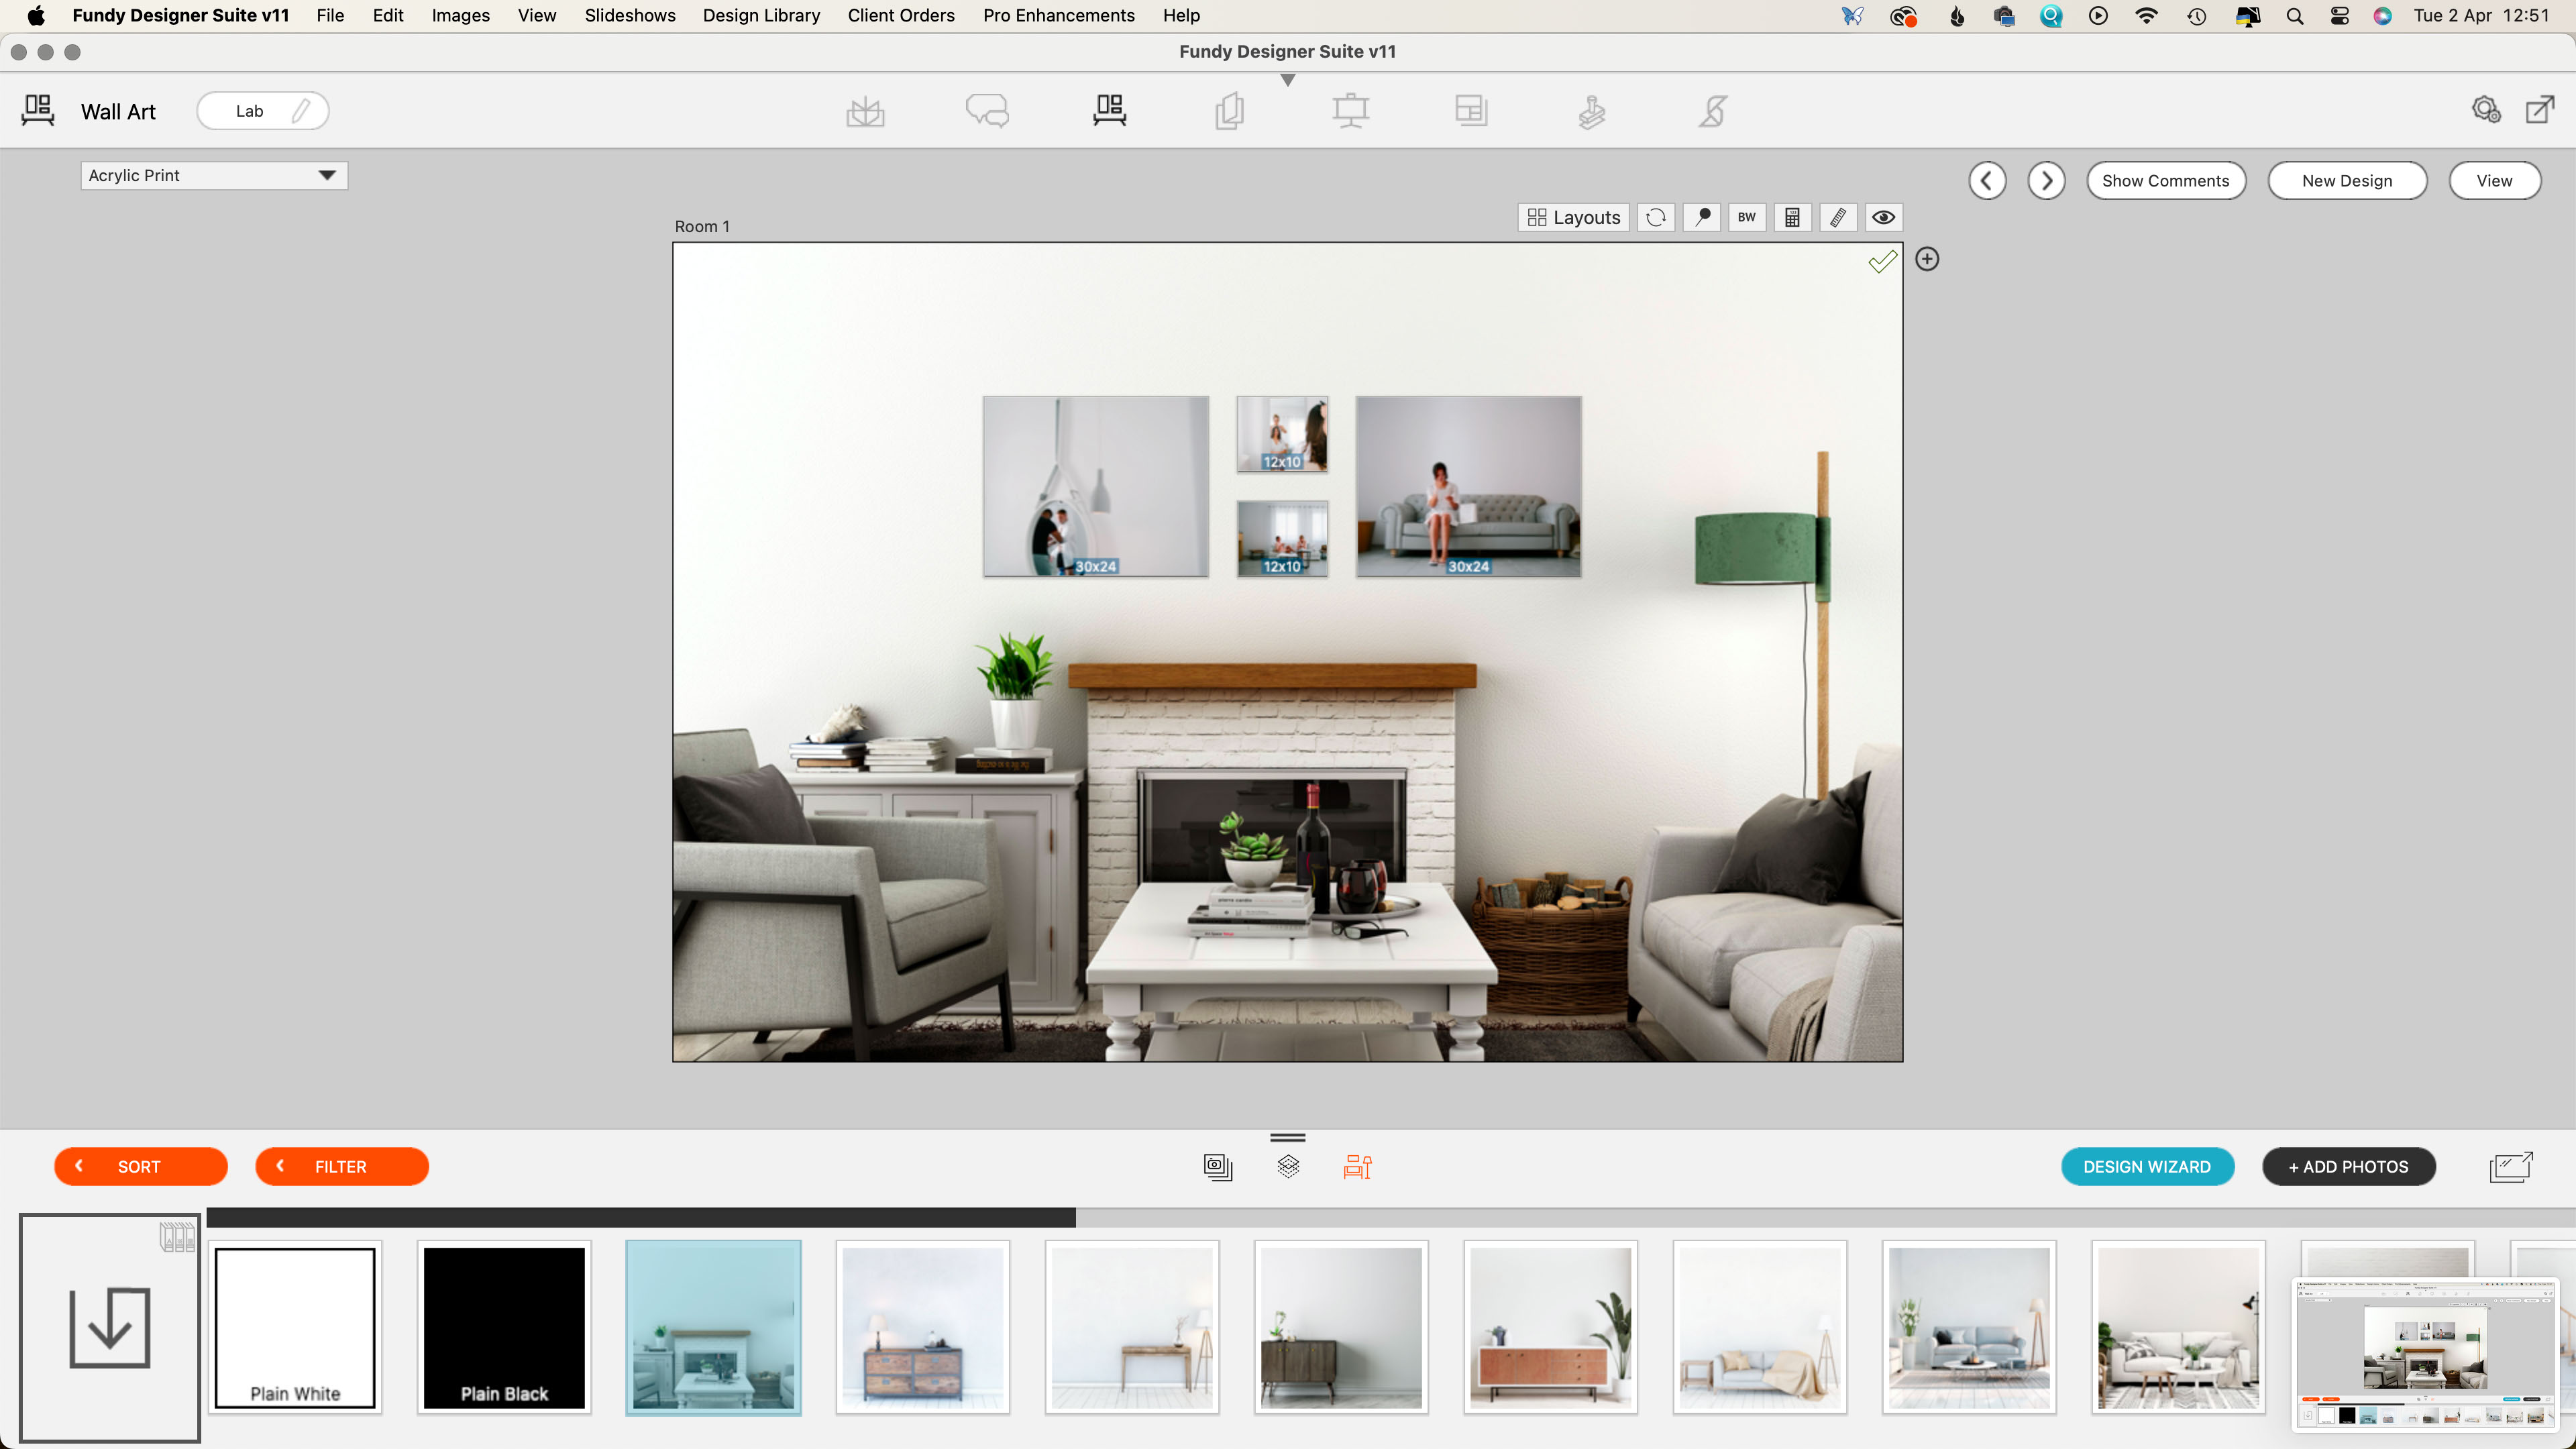
By default, the wall art is shown against a default background image of a room to give it scale. There’s a selection of room images to pick from, or you can put them on white or black. Alternatively, you can upload an image of your client’s rooms and scale everything appropriately. As with the albums, you can swap images around and change their print size and the like. The idea is to help clients see how your images could look on their walls and to encourage them to order more or larger prints.
When all the editing is finished, click on the export icon in the top right corner of the screen. This reveals options to upload your creations to your selected lab or download the files ready to upload to your lab. You can also create a design proof to share with clients, export it for web use, or save it as a design set for future use.
Fundy Designer: Verdict
The Design Wizard is the standout feature of Fundy Designer V11 and with a little guidance, it creates good-looking, neatly arranged albums within seconds. It also makes creating an attractive wall art design and cards so easy that professional photographers can create them on the off-chance of making extra sales to their clients. This is backed by Fundy Software’s excellent drop zone technology that makes it easy to move images around and perfect a design or tweak it to a customer’s preferences.
While Fundy Designer V11 is most likely to appeal to wedding photographers, it can also open up new revenue streams to other photographers who may not have previously considered selling albums, large prints, or cards. Crucially, it doesn’t add a huge amount of work and can slip into an existing workflow.
Angela has been testing camera gear from all the major manufacturers since January 2004 and has been Amateur Photographer’s Technical Editor and Head of Testing for Future Publishing’s photography portfolio (Digital Camera Magazine, PhotoPlus: The Canon Magazine, N-Photo, Practical Photoshop, Photography Week and Professional Photography magazines, as well as the Digital Camera World and TechRadar websites). She is the founder of SheClicks - a community group that encourages and supports female photographers.
