Digital Camera World Verdict
If you’re of the shoebox generation, the chances are you’ve got a stash of exposed negative film and transparencies, buried away somewhere around the home. This compact and convenient film scanner enables you to bring your old photos into the digital era with the minimum of fuss, bother and effort. We like that it’s mostly so easy to use, but film handling can be a little tricky and image quality could be better.
Pros
- +
Simple but effective
- +
No need for a computer
- +
Various film sizes supported
Cons
- -
Mediocre image quality
- -
Tricky film handling
- -
Quirky interface
Why you can trust Digital Camera World
The Kodak Scanza Digital Film Scanner serves a purpose. We’re often advocates of getting digital images off of our hard drives and gadgets, and printing them into the real world where they can actually be seen rather than buried beneath a huge pile of other data files. But it could be worse. Your images might be on negative or positive film, literally buried in a shoebox where they’re completely inaccessible. Even if you drag them out from the back of the wardrobe, loft or other hidey-hole, holding a frame of negative film up to the light won’t give you much of an insight. This film scanner from Kodak gives you the opportunity of scanning film direct to a memory card, with speed and ease.
Specifications
Power source: USB, AC adapter
Image sensor: 14MP CMOS
File format: JPEG
Resolution: 14MP (22MP interpolated)
Film type: 135, 126, 110, 8mm, Super 8
Screen: 3.5-inch LCD
Interfaces: USB 2.0, SD, 3.5mm, HDMI
Dimensions: 120 x 120 x 127mm
Weight: 460g
Key features
Unlike a conventional scanner that works on a line-by-line basis, the Kodak Scanza is based on an LED light source and a 14 megapixel ‘camera’ that captures an entire frame of film in one shot. And if you feel that the native 14 megapixels isn’t sufficient, it can also scan at 22 megapixels, using software interpolation to fill in the gaps.
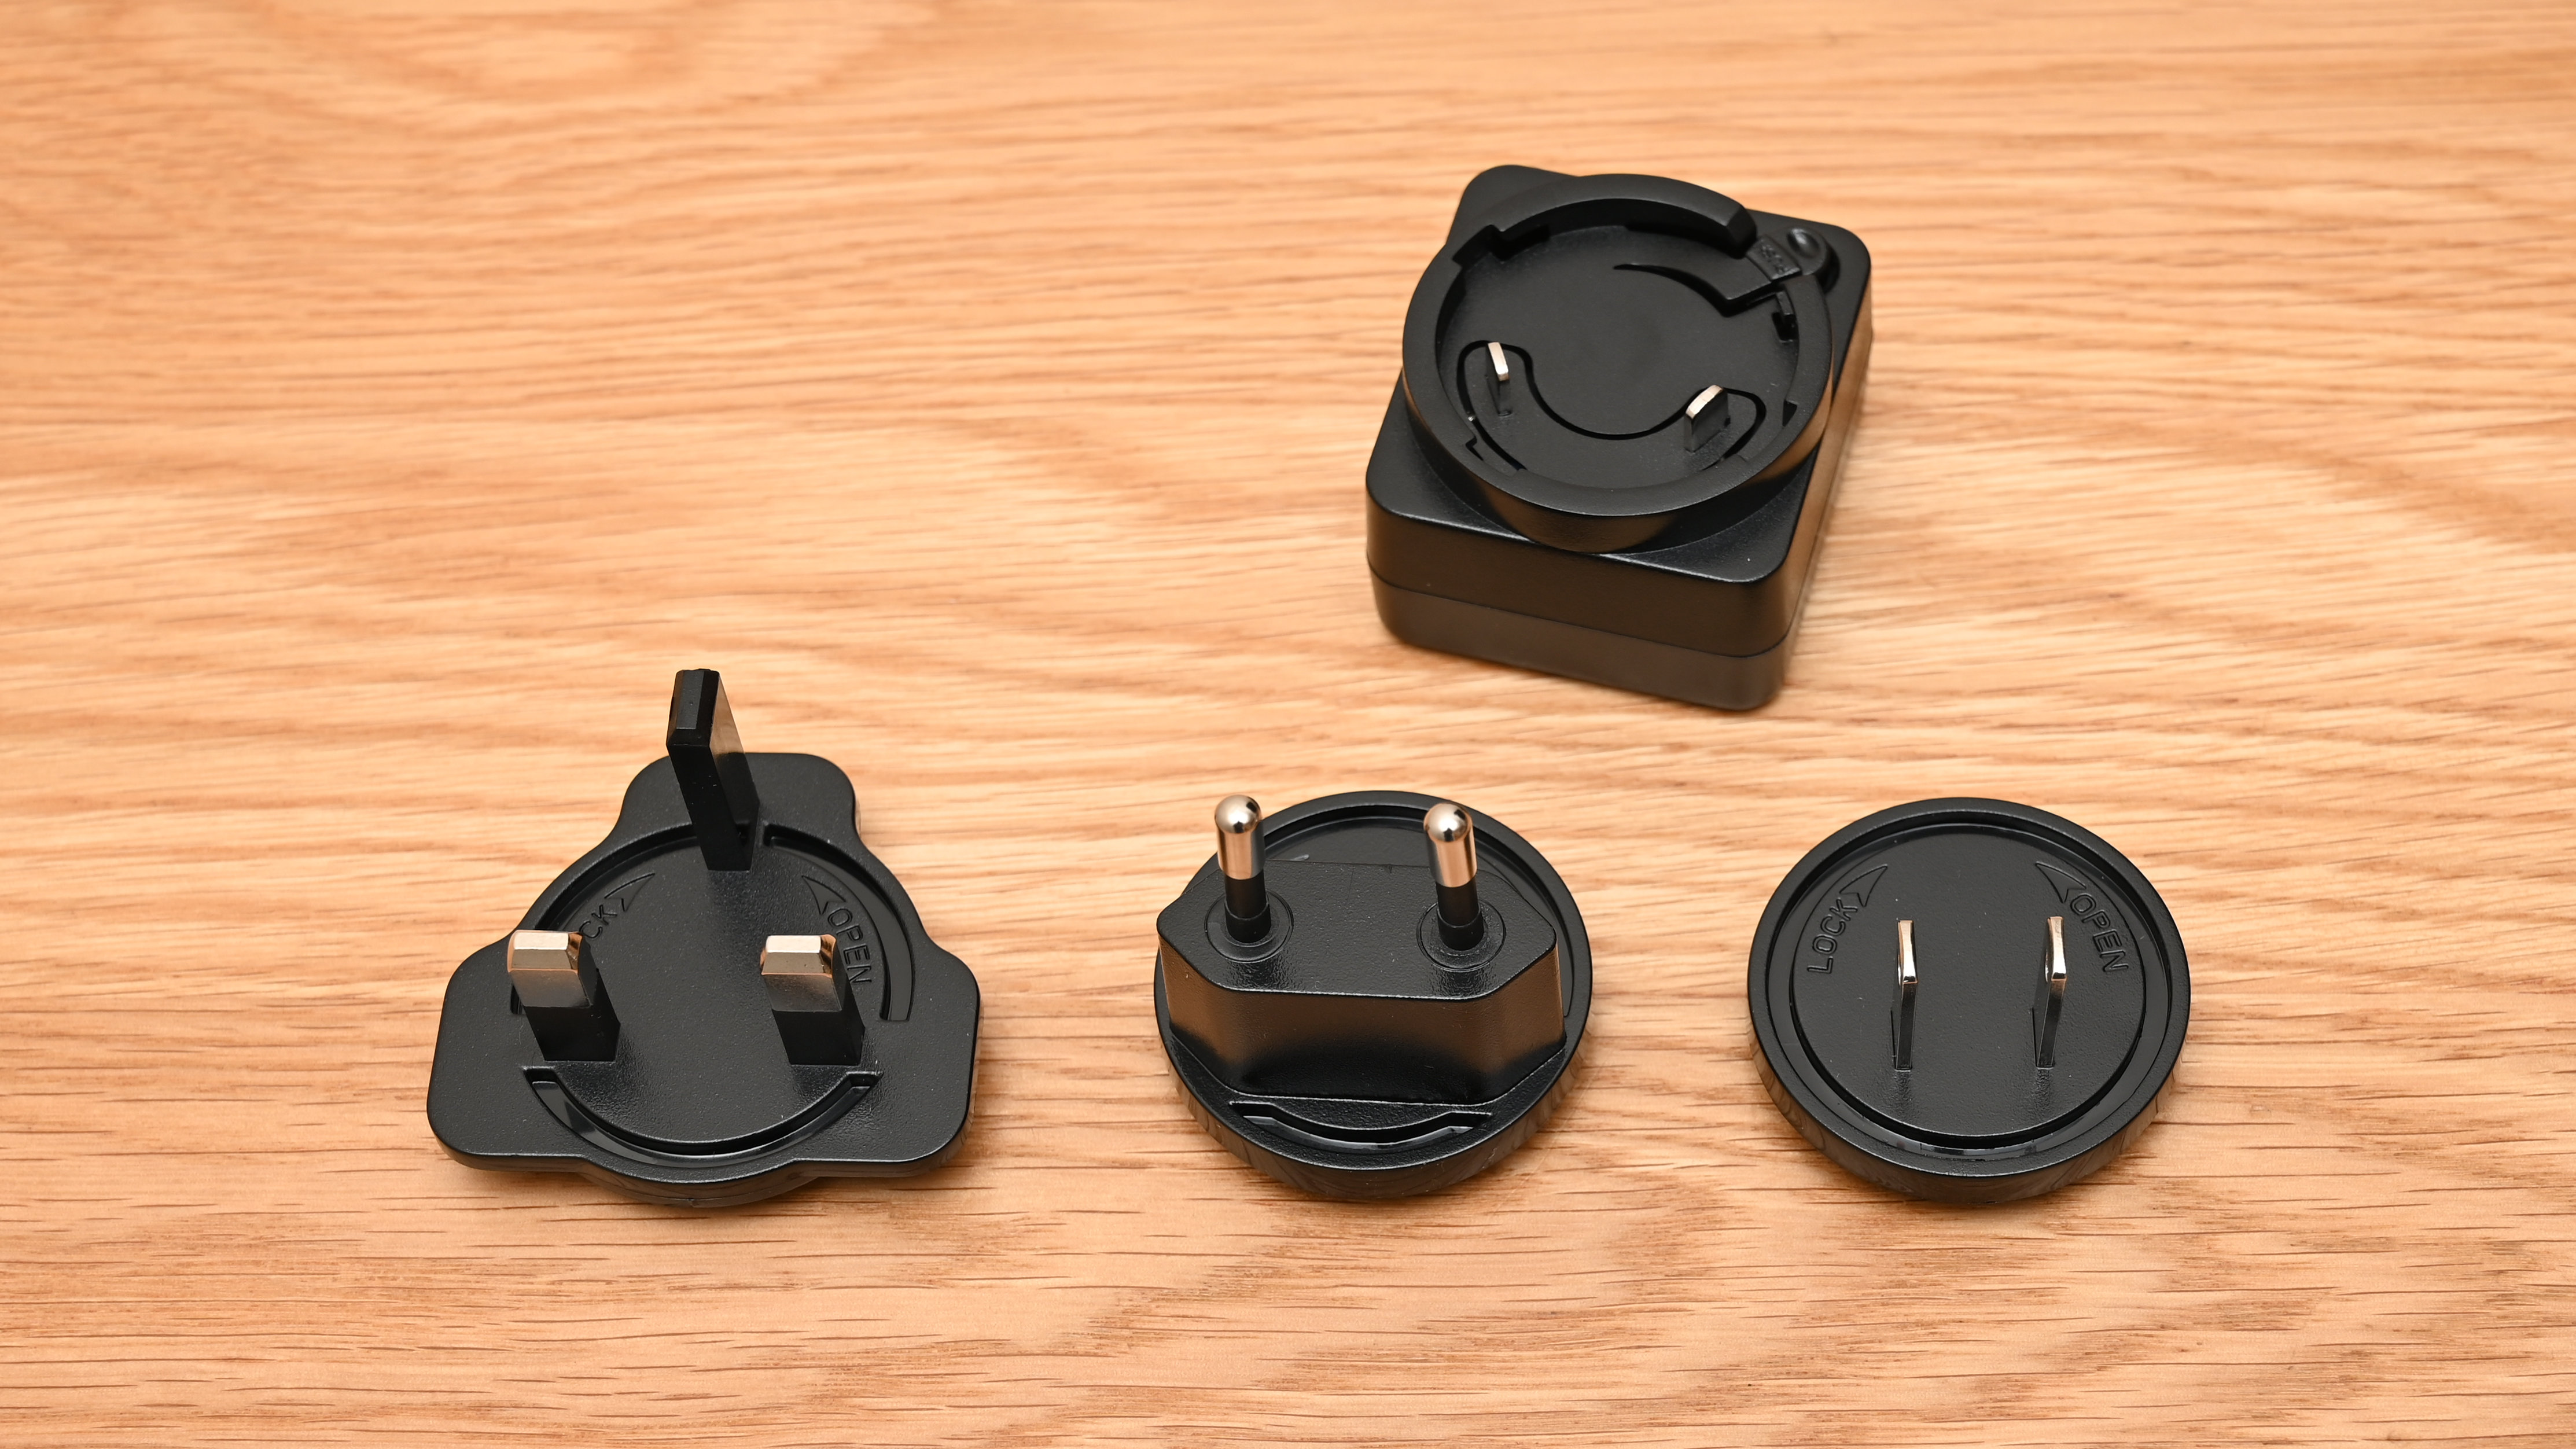
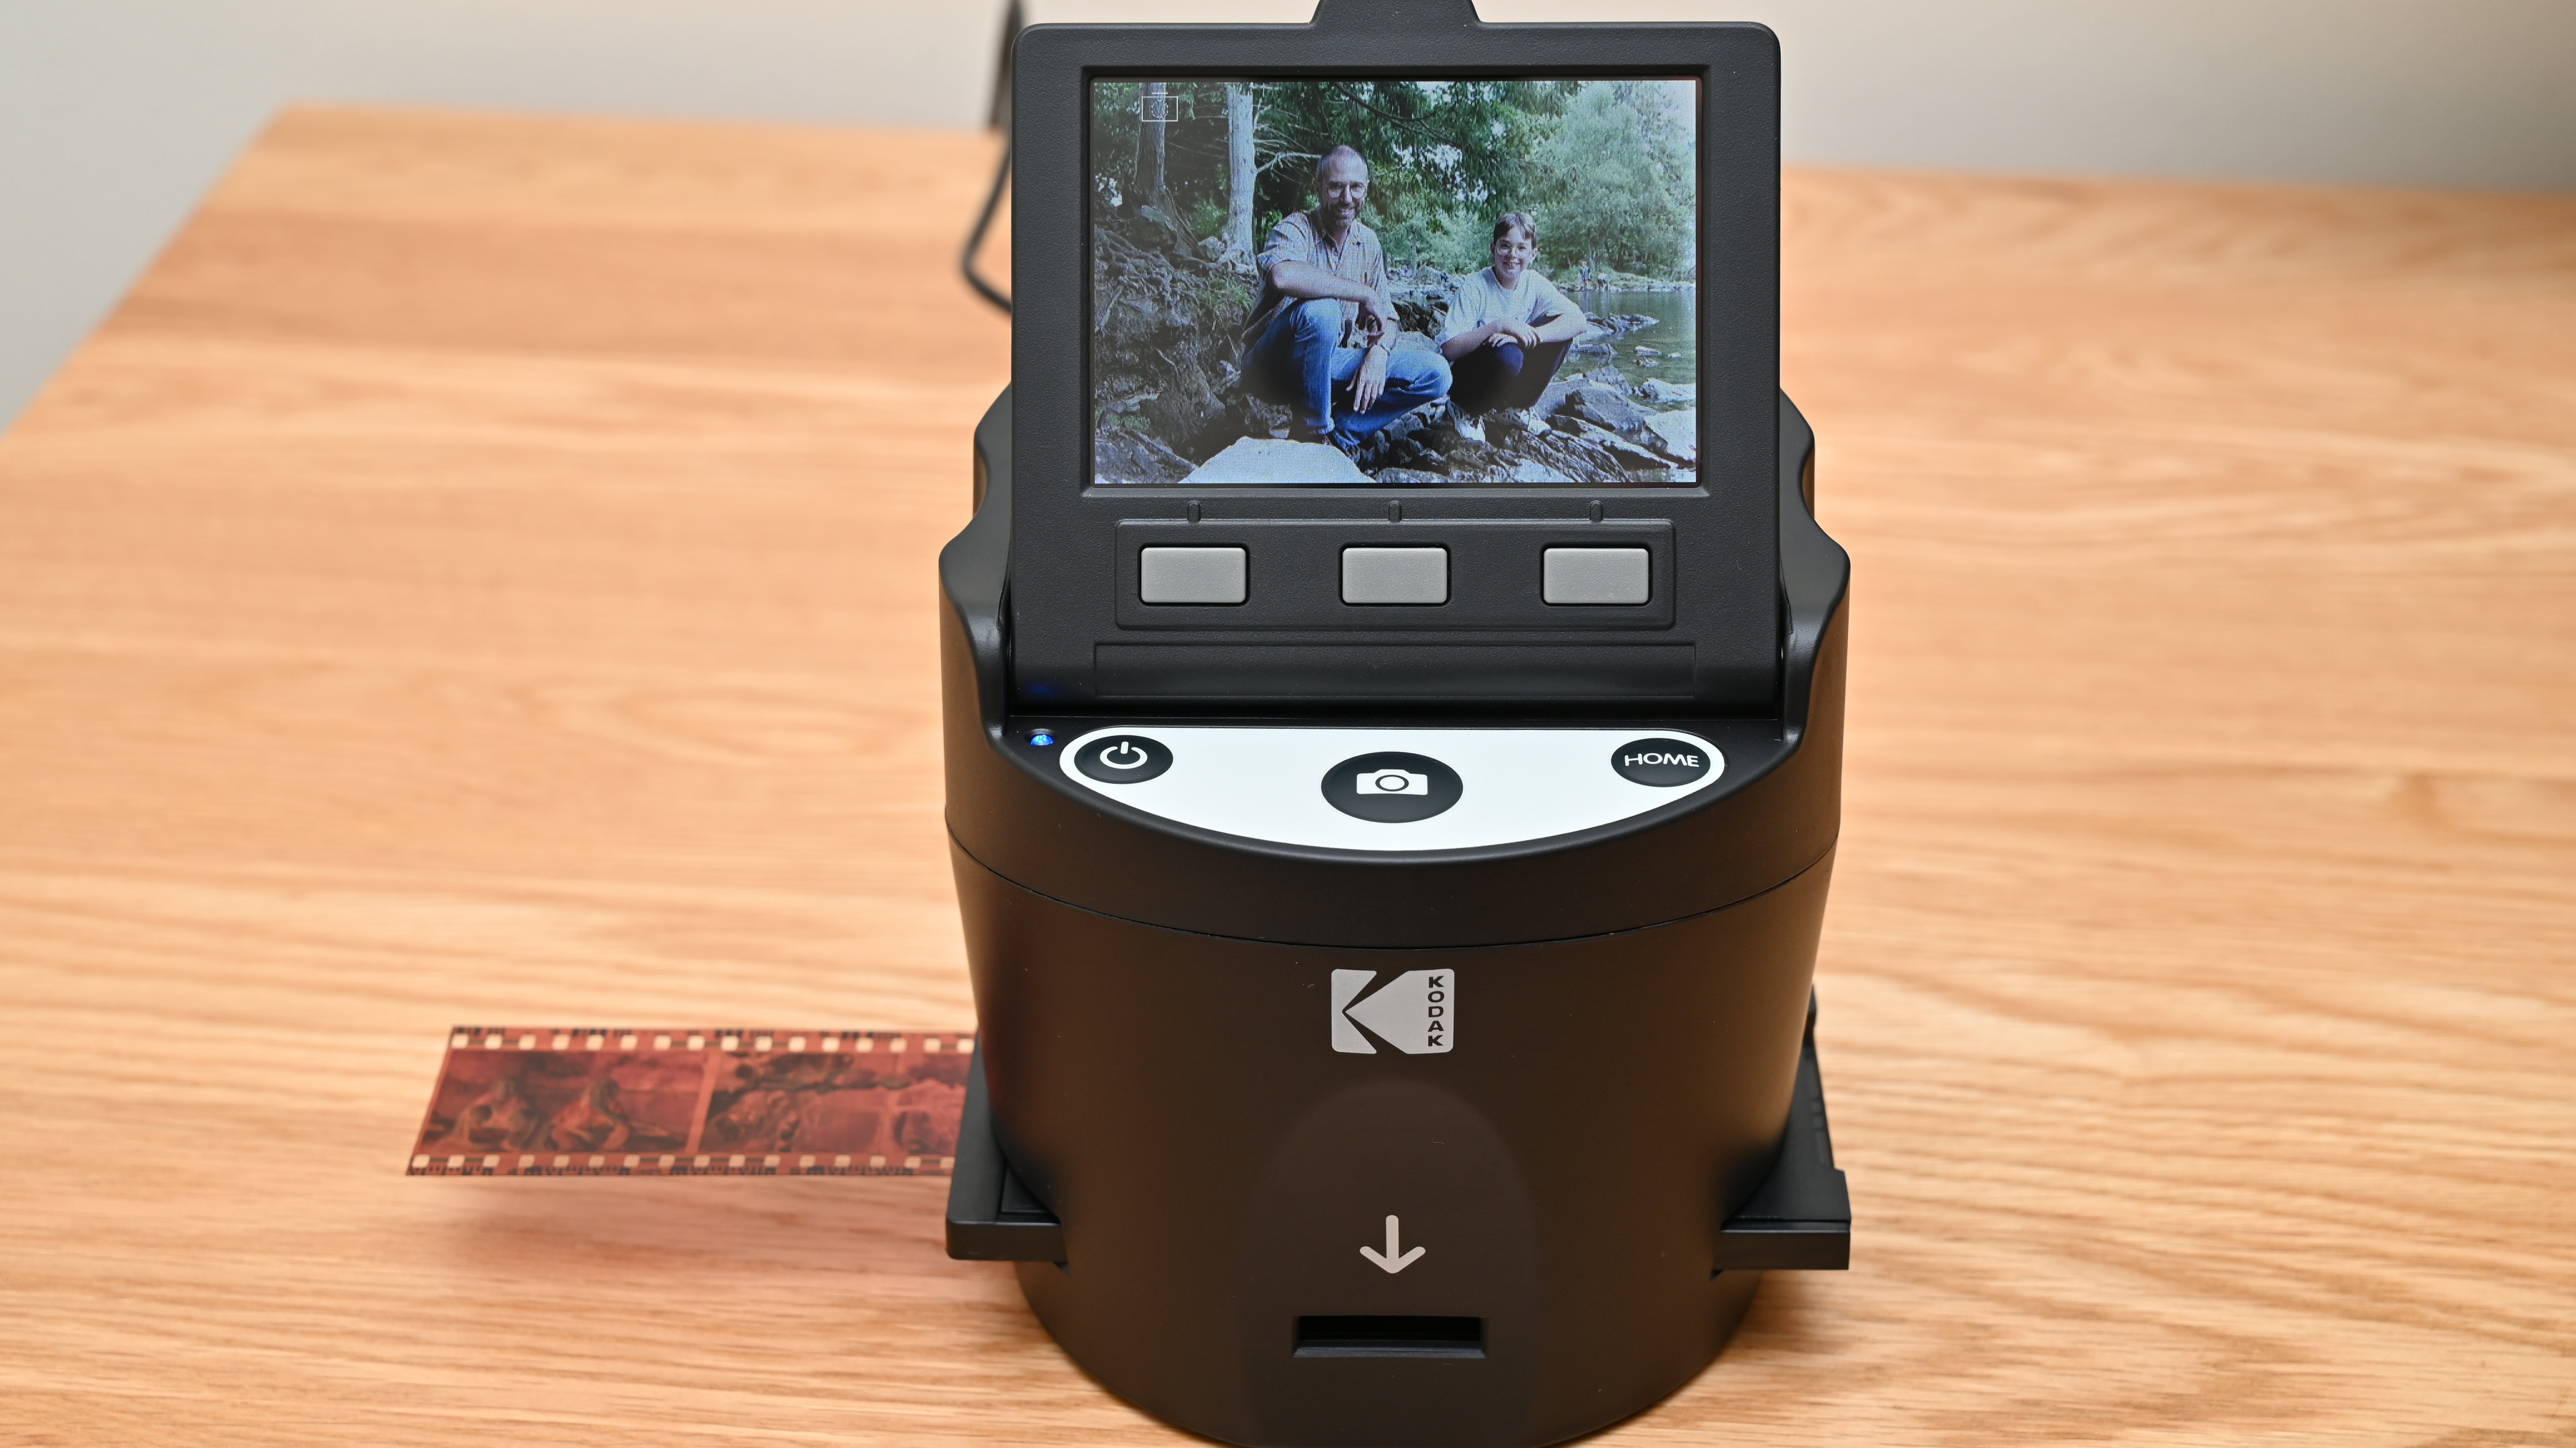
A key feature of the Scanza is that it’s completely self-contained, so you don’t need to plug it into a computer or other device to make it work. It has its own built-in control panel and a 3.5-inch TFT color LCD screen. It also comes as a fairly extensive kit. USB-powered, it’s supplied with an AC mains adapter and plug adapters to suit various world regions. As well as a high-quality USB cable, you get a similarly high-quality HDMI cable and a 3.5mm jack-to-phono video cable, either of which you can use to connect the scanner to a television or computer monitor. That’s handy for viewing images that you’ve scanned in.
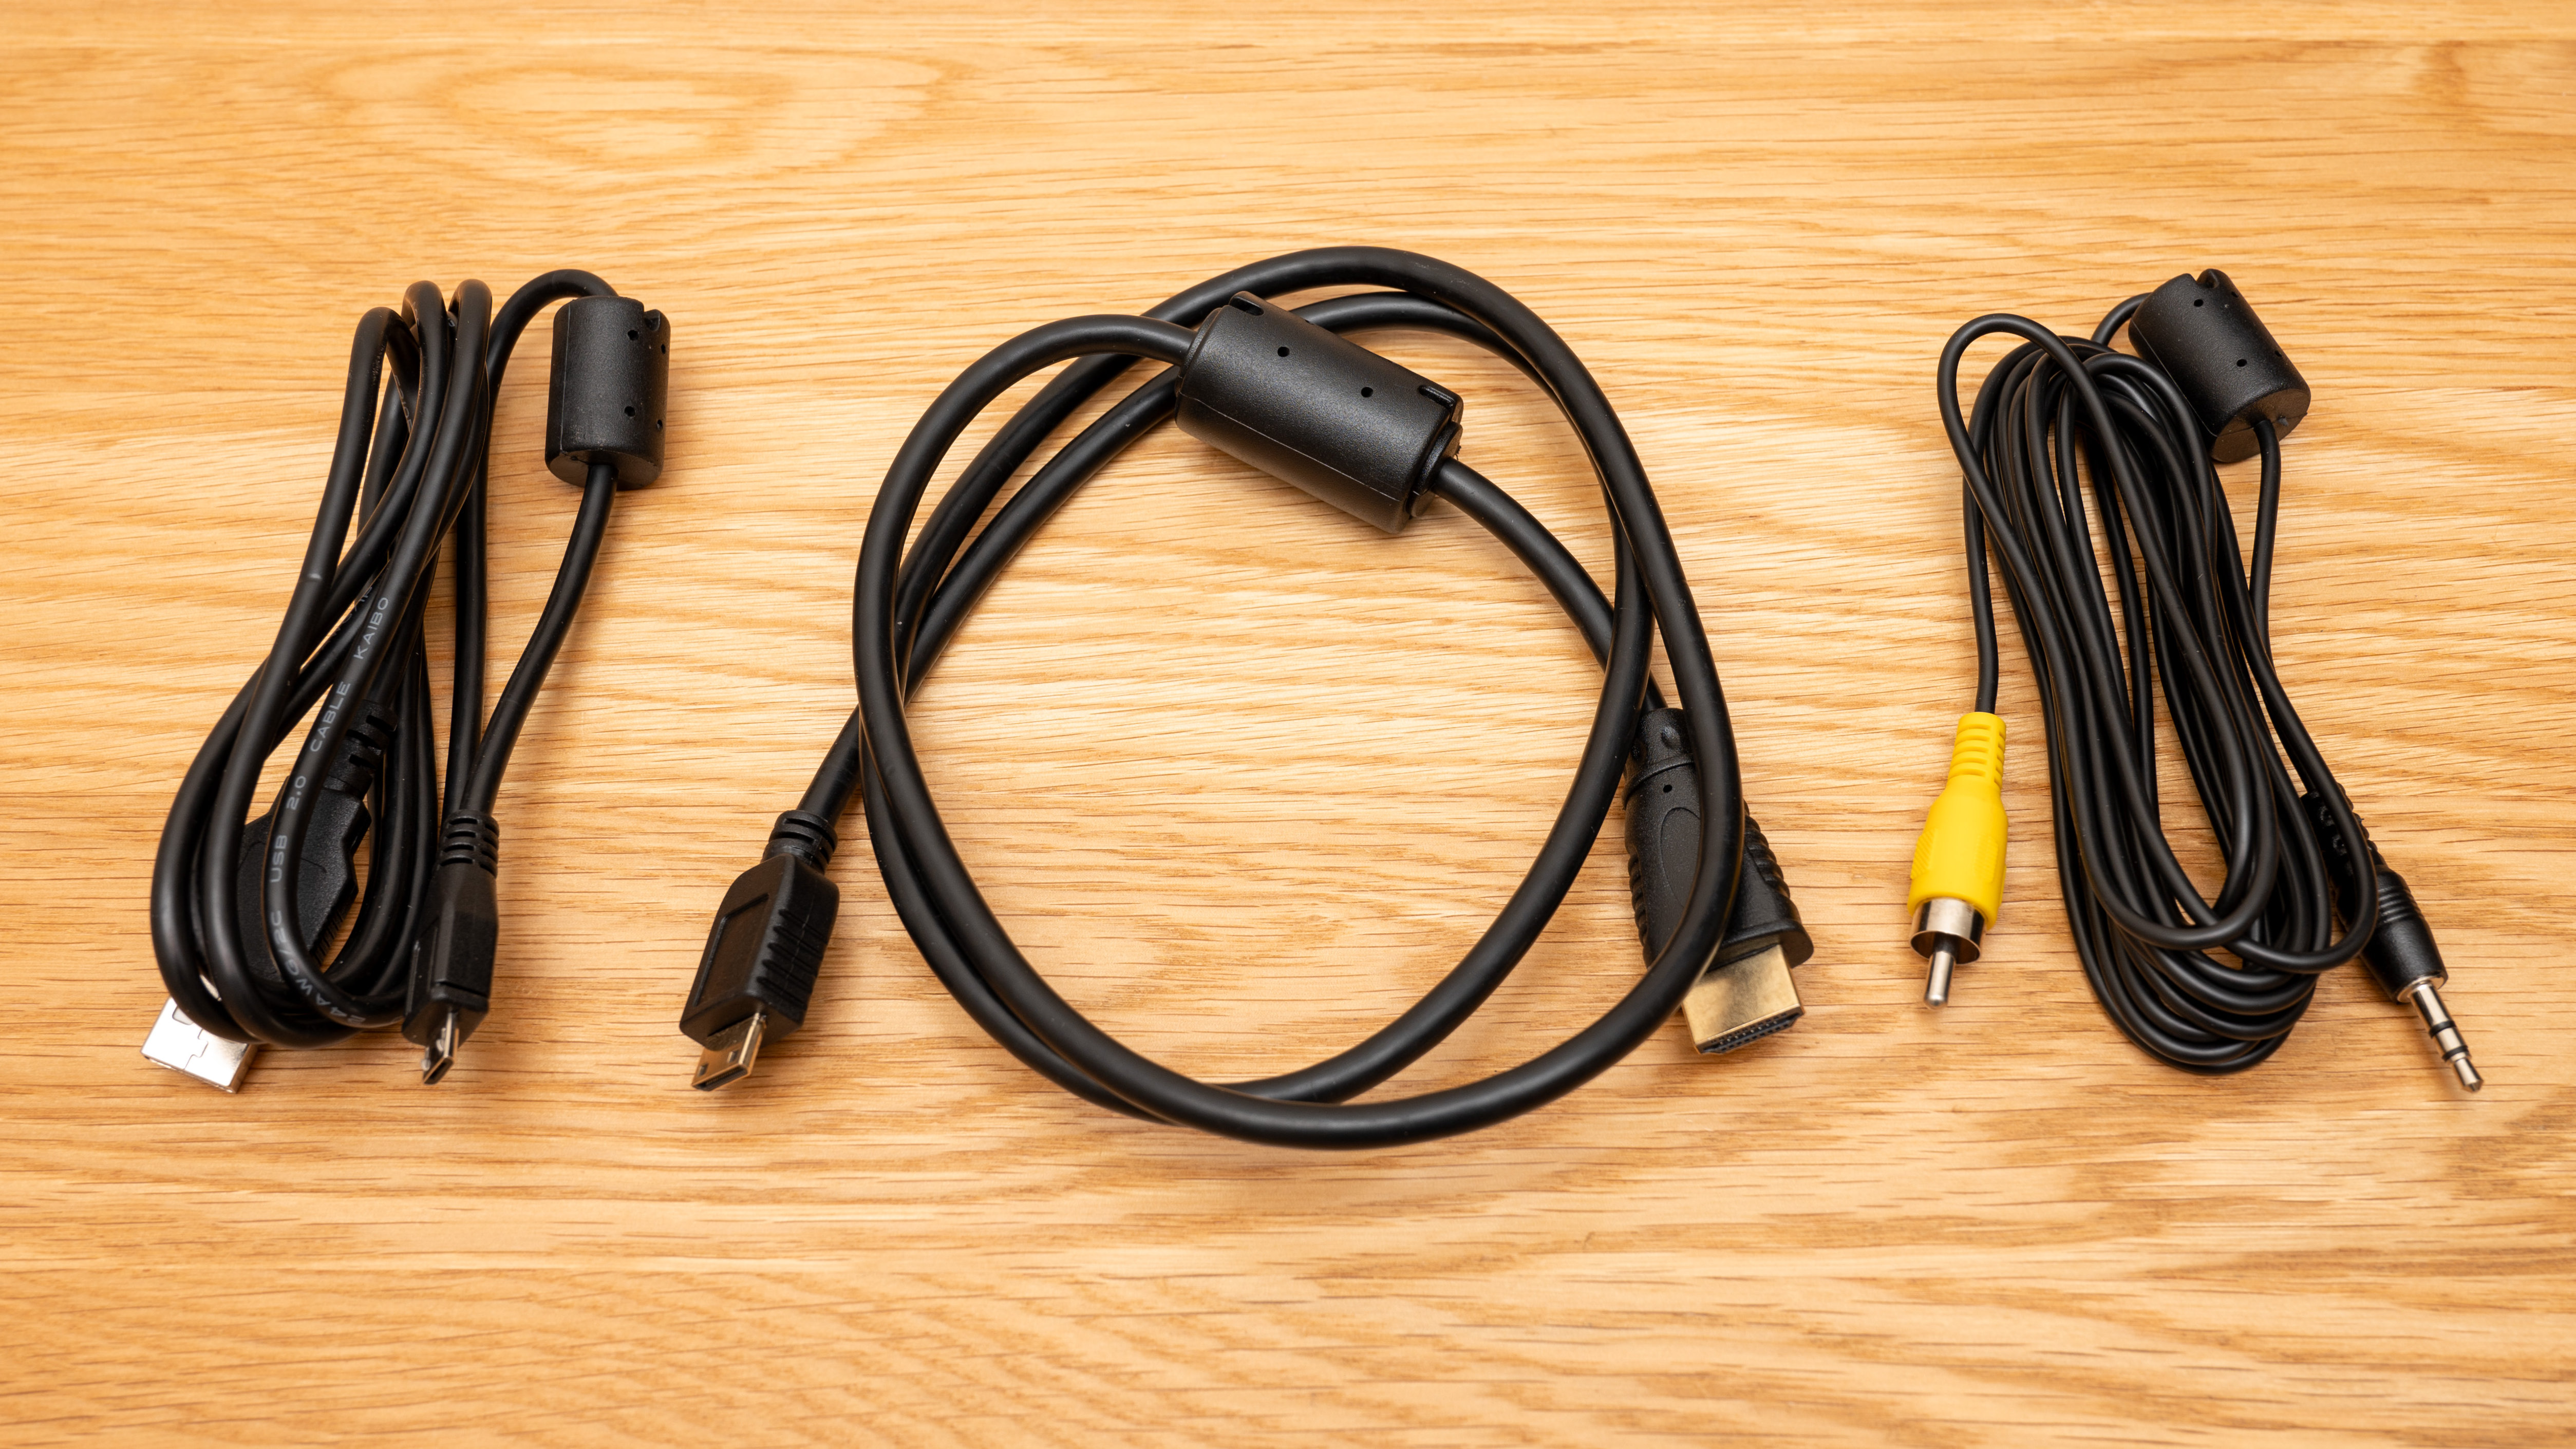
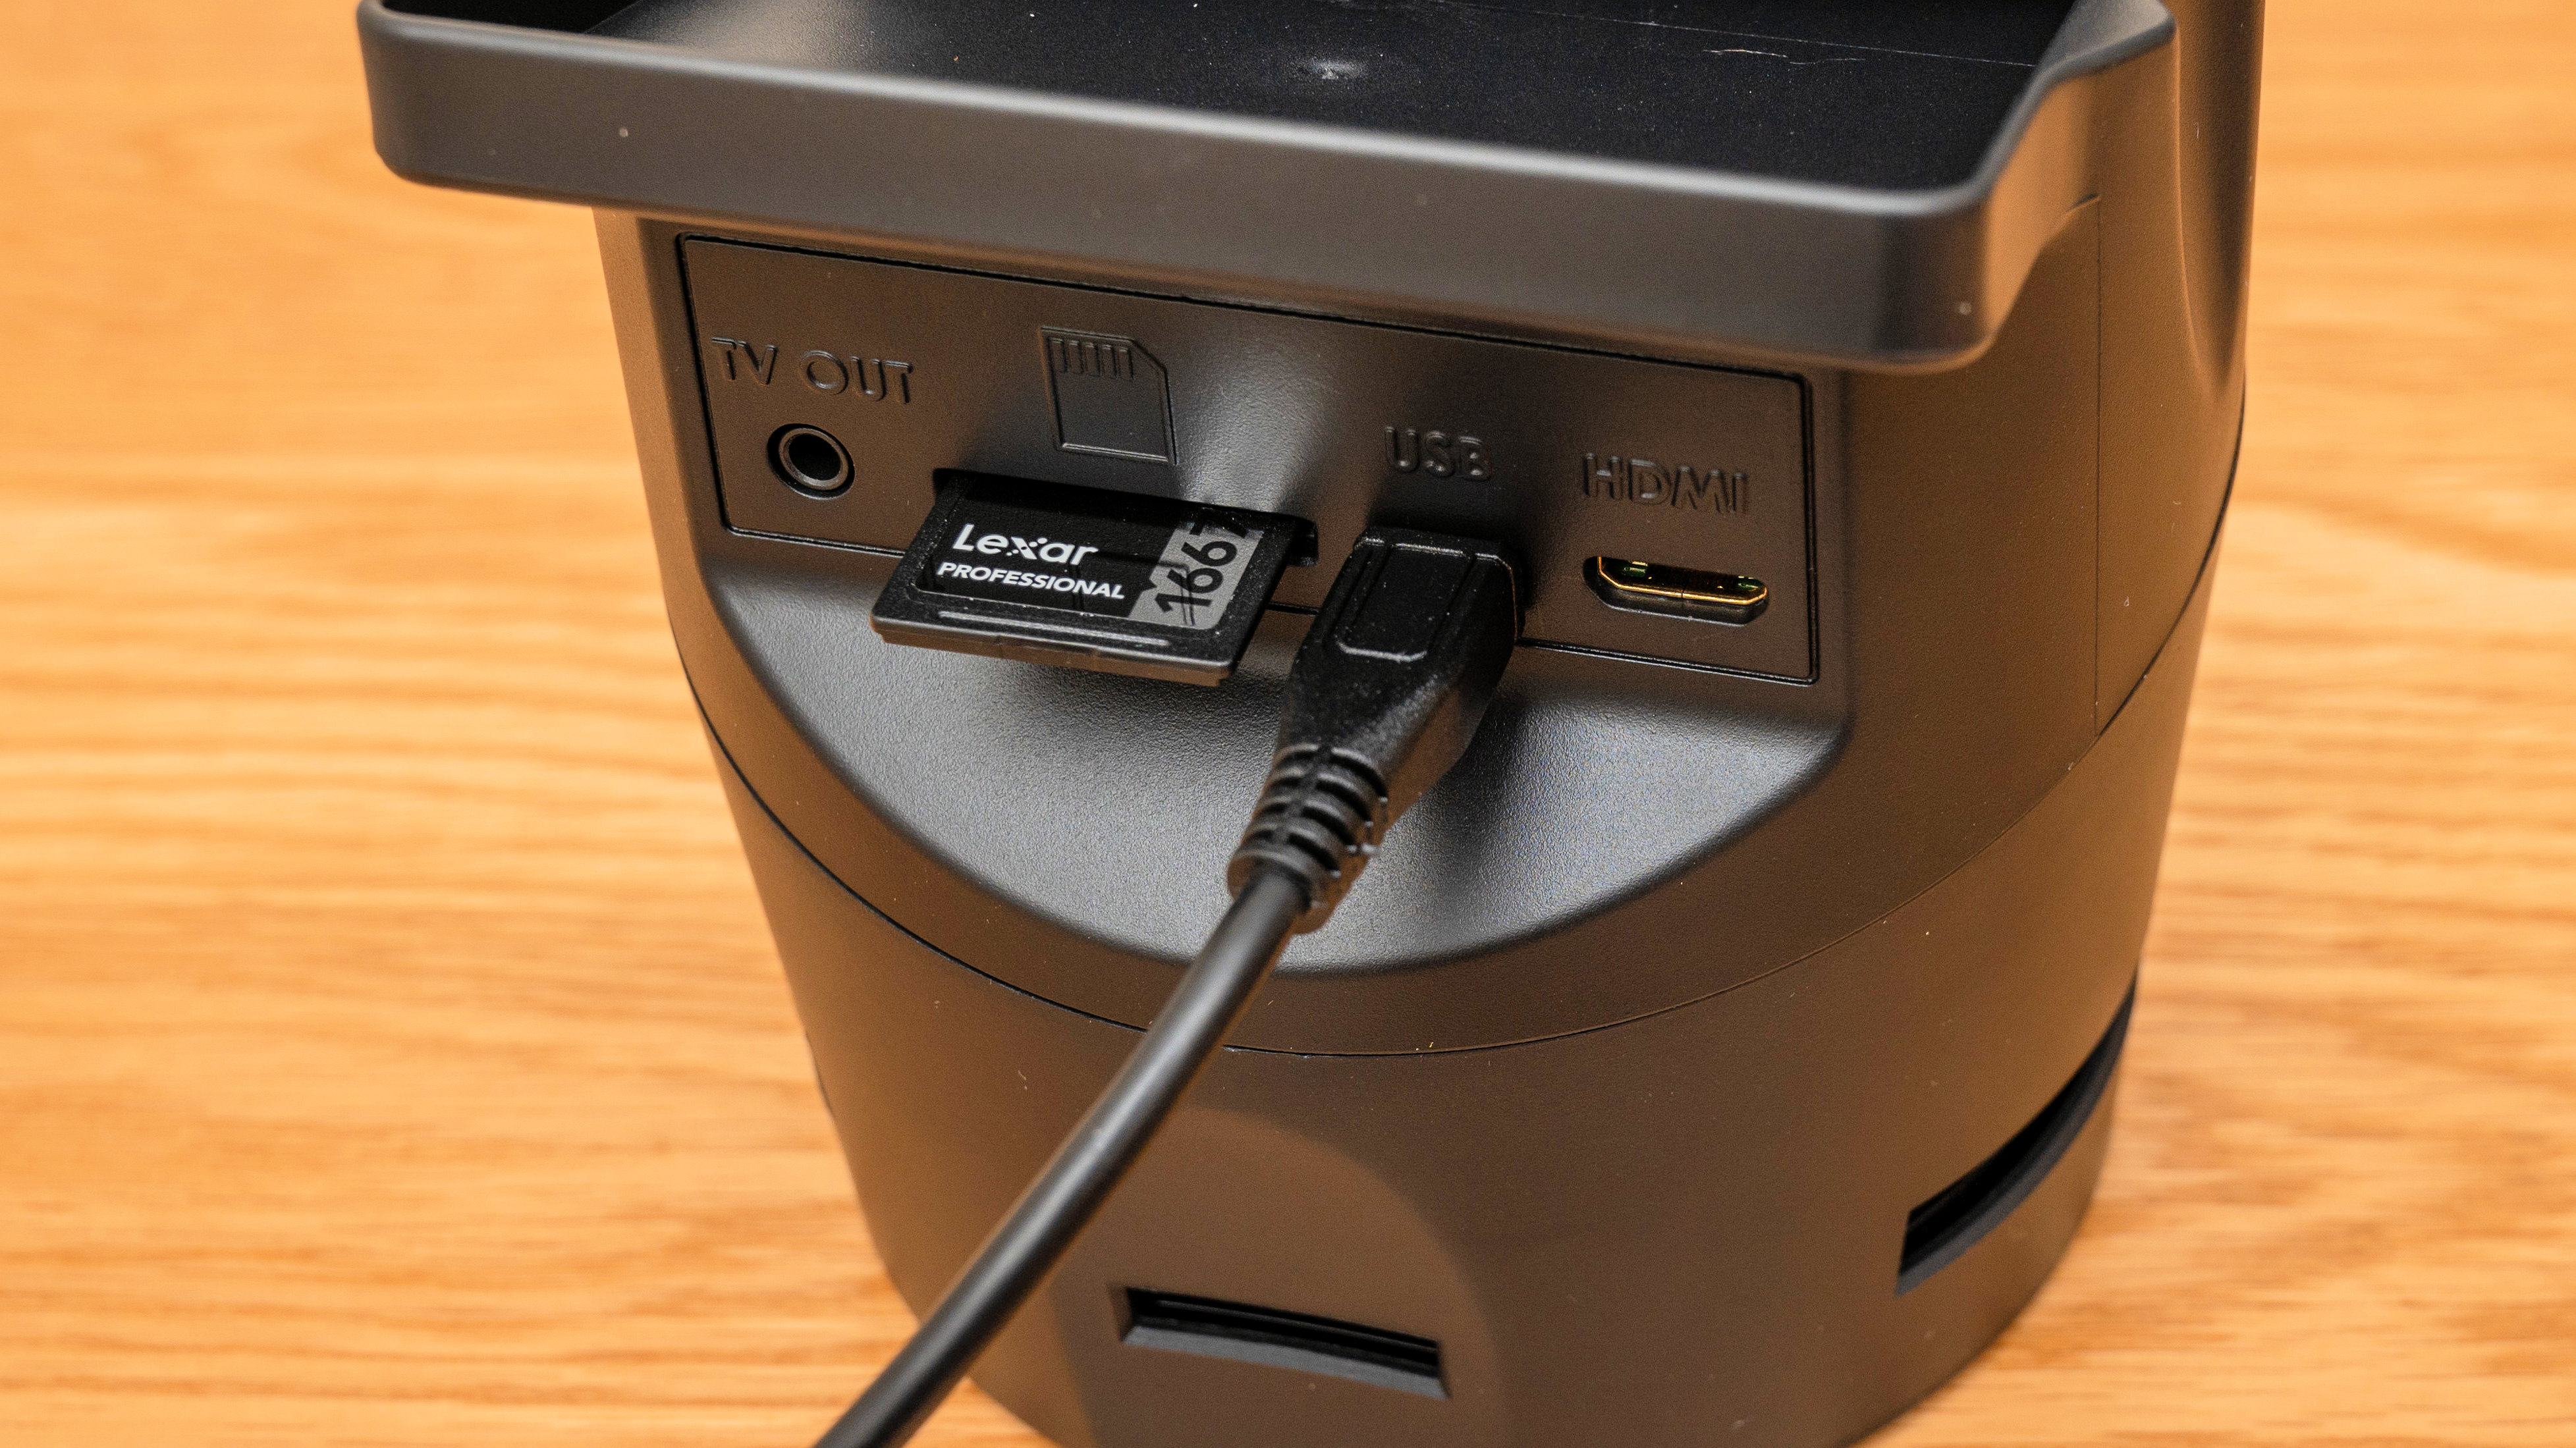
For saving scans, the Scanza uses an SD card (not supplied) which you slot in around the back. We used a relatively high-capacity 128GB UHS-II SDXC card without any issues or problems. For transferring scanned images to a computer, you can either upload them direct from the scanner using the supplied USB cable, or simply remove the card and use a separate card reader.
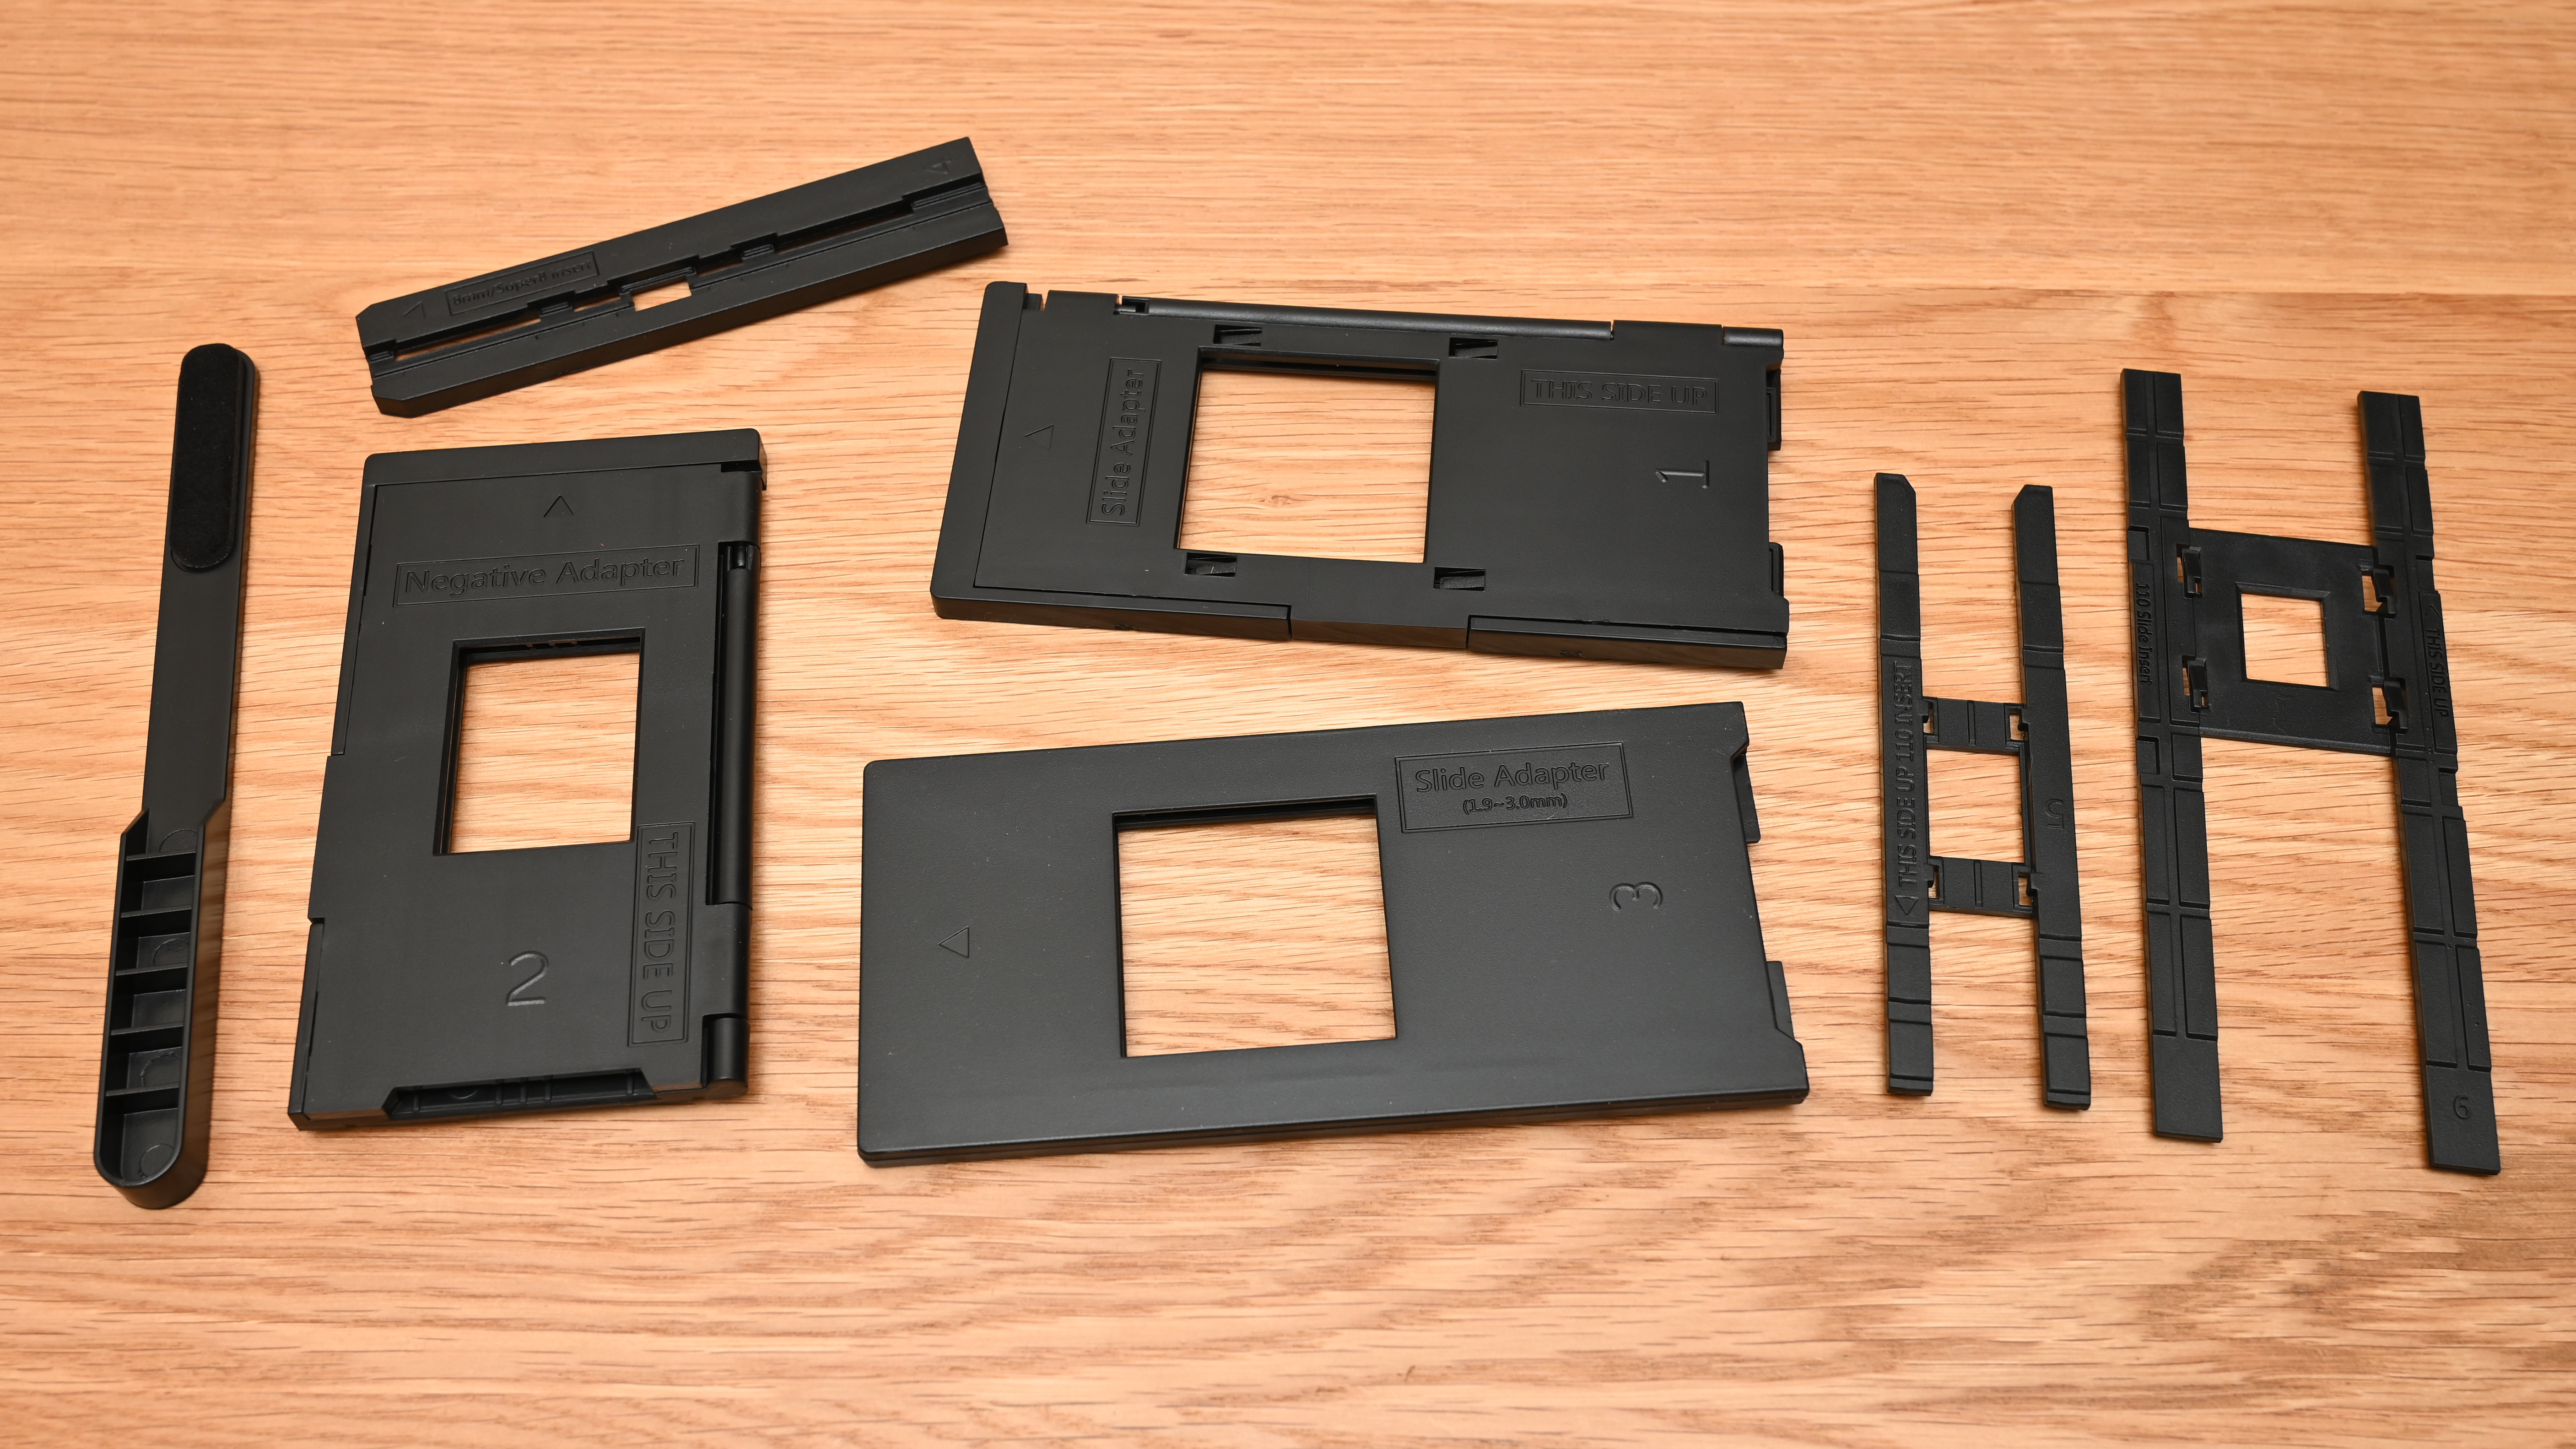
Something that we really like about the Scanza is that it comes with a wide range of trays and inserts, enabling you to scan positive or negative frames of 35mm, 126, 110, 8mm and Super 8 film. For mounted slides, there are two different adapters, catering to thin cardboard casings and thicker plastic casings, so pretty much everything’s covered.
Build and handling
The construction is pretty lightweight but build quality feels convincing. Most of the film and slide adapters and their associated inserts slot in from the side, while a front-loading slot is featured for the smallest size. Film handling is good rather than entirely great, as it can be a bit fiddly to line up frames of film with the utmost precision for scanning. Even so, a little patience pays off and we found we soon developed the necessary skills. Once the adapter and any required insert is fitted in the scanner, you can feed strips of film or mounted slides through the adapter without having to remove it each time, which can be a significant time-saver.
The SD memory card locks into place with a reassuring click, and is released by pushing it in again to eject it via a spring-loaded mechanism.
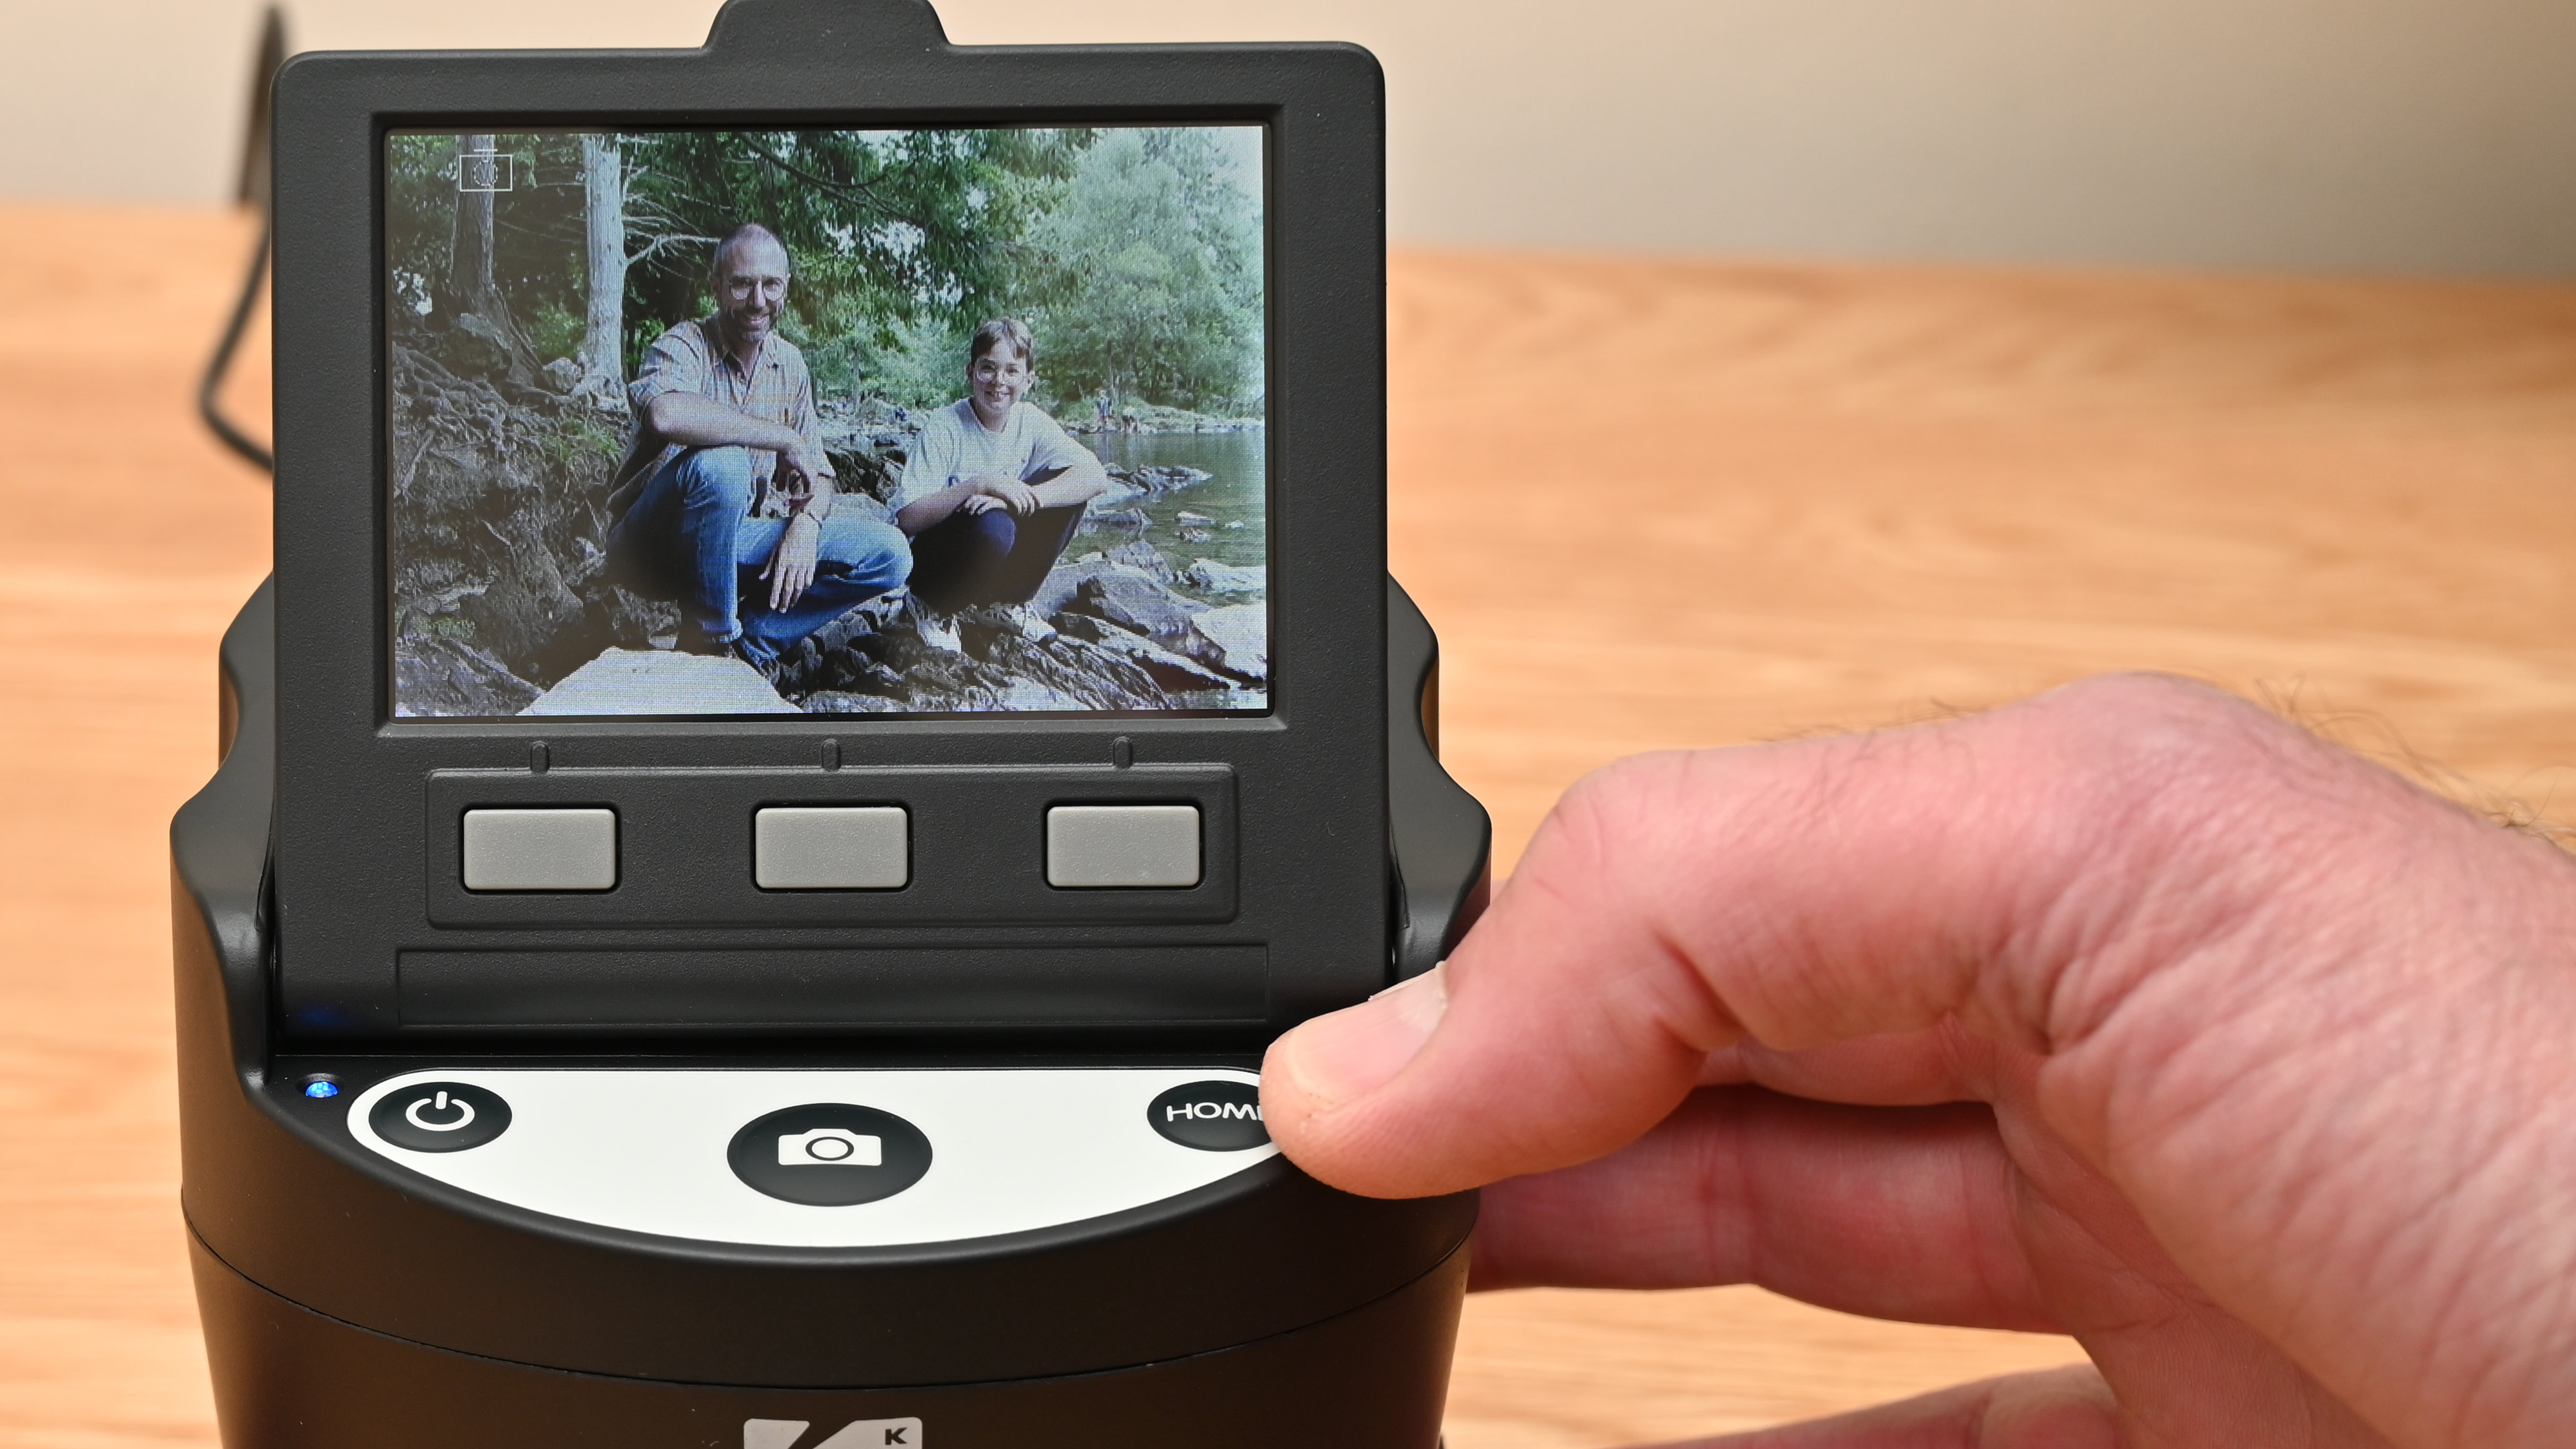
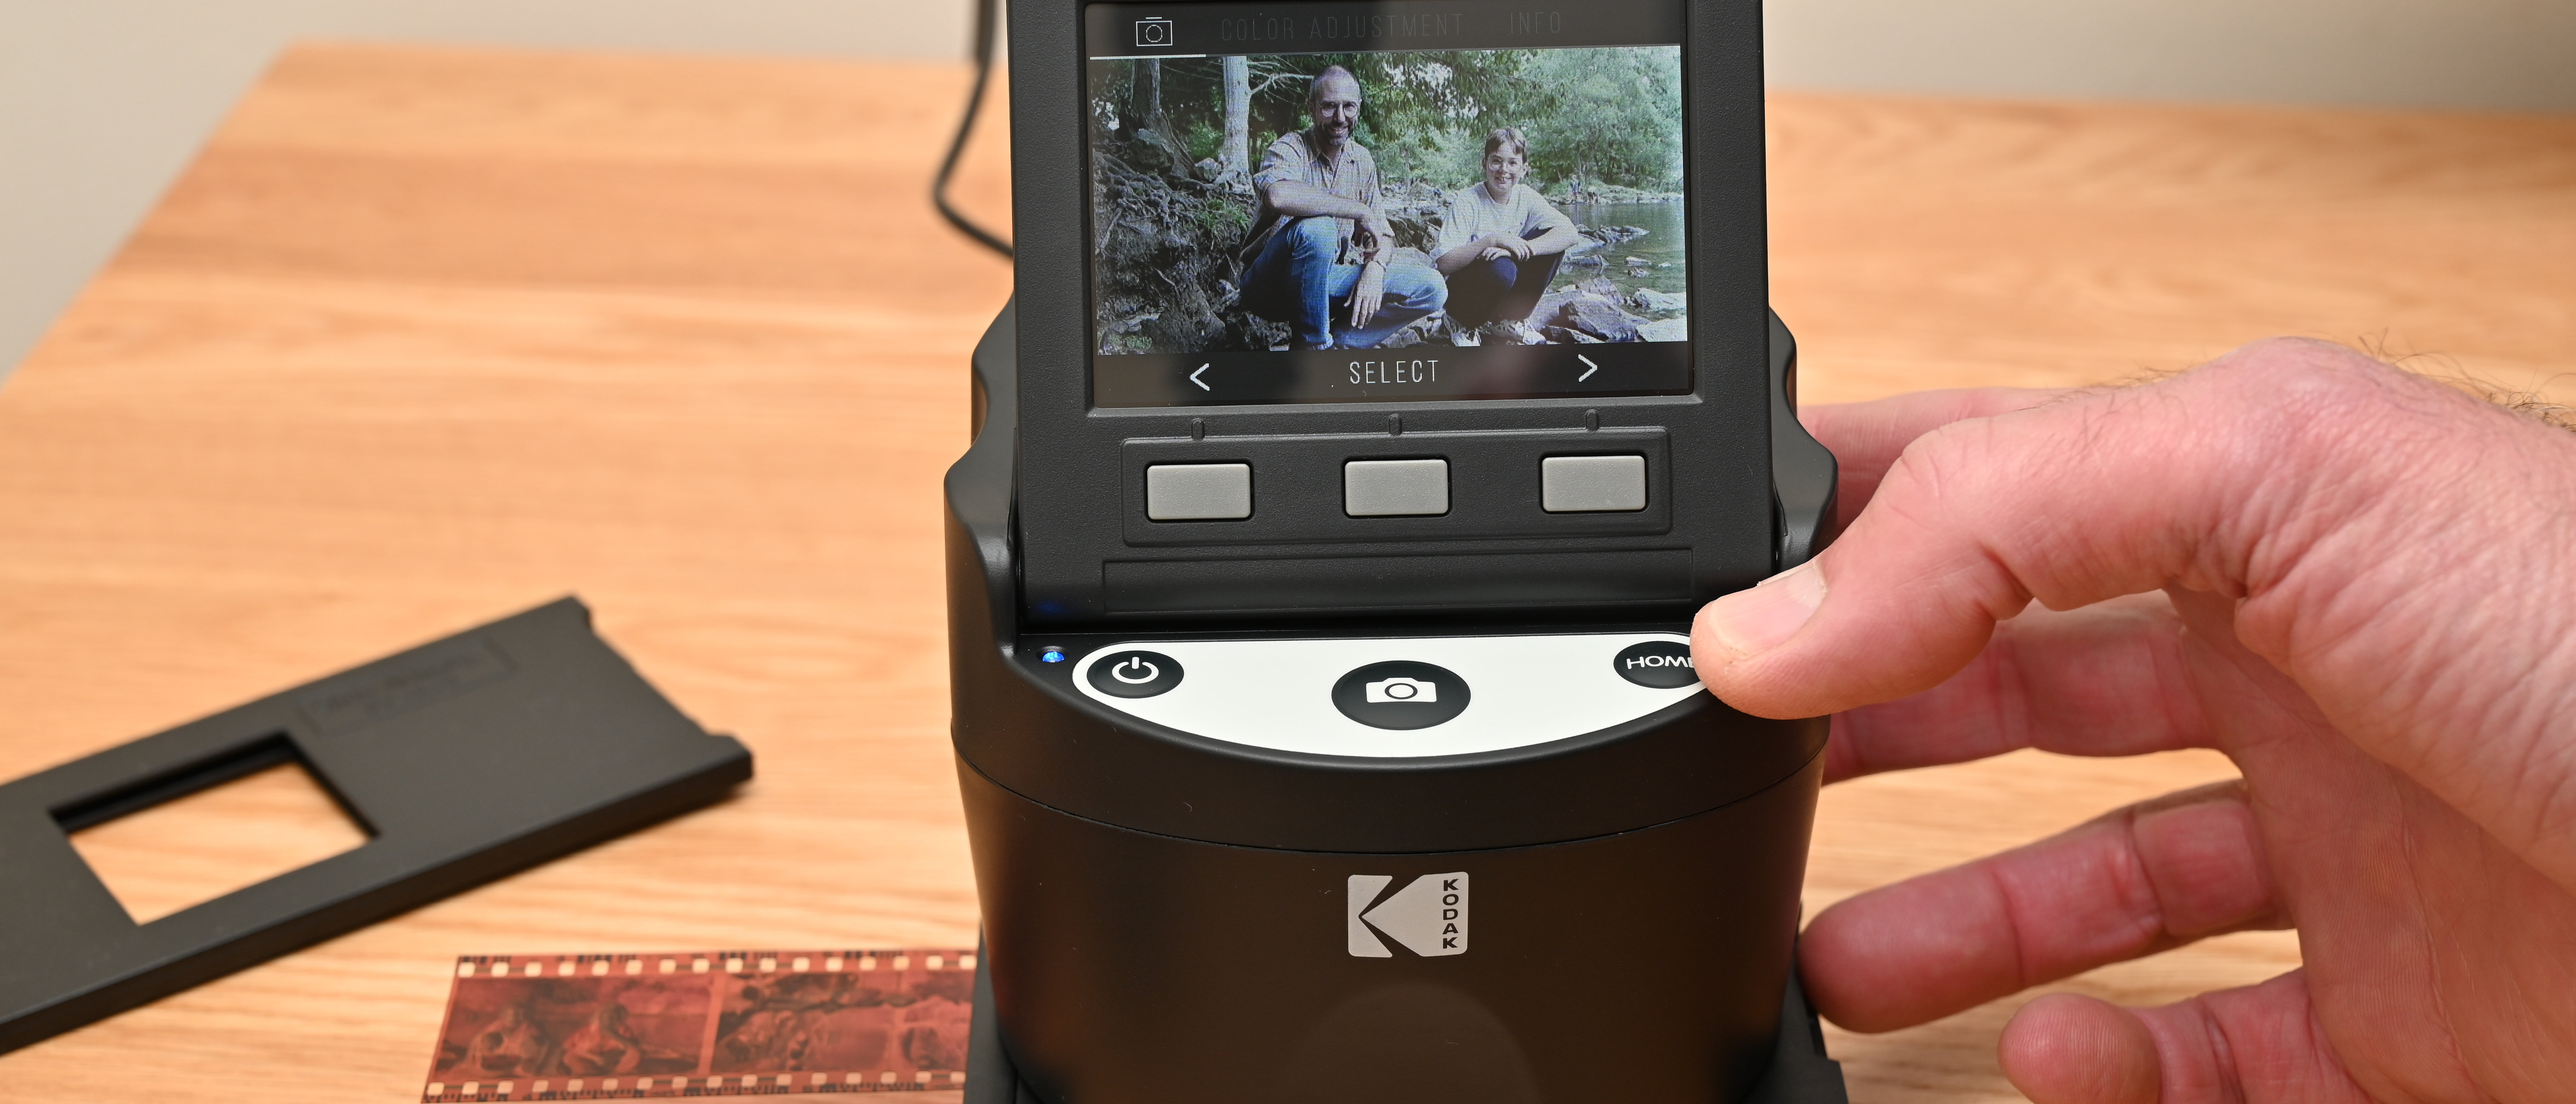
The control panel comprises an on/off button, capture button and ‘Home’ button, all on top of the main base unit. Three context-sensitive ‘soft’ keys are positioned just above, at the bottom of the tilting LCD screen. These give access to the finer points of settings, as well as scanning and playback options. The interface is a little quirky and less intuitive than it might have been if the Scanza featured a touchscreen, but it doesn’t take long to find your way around.
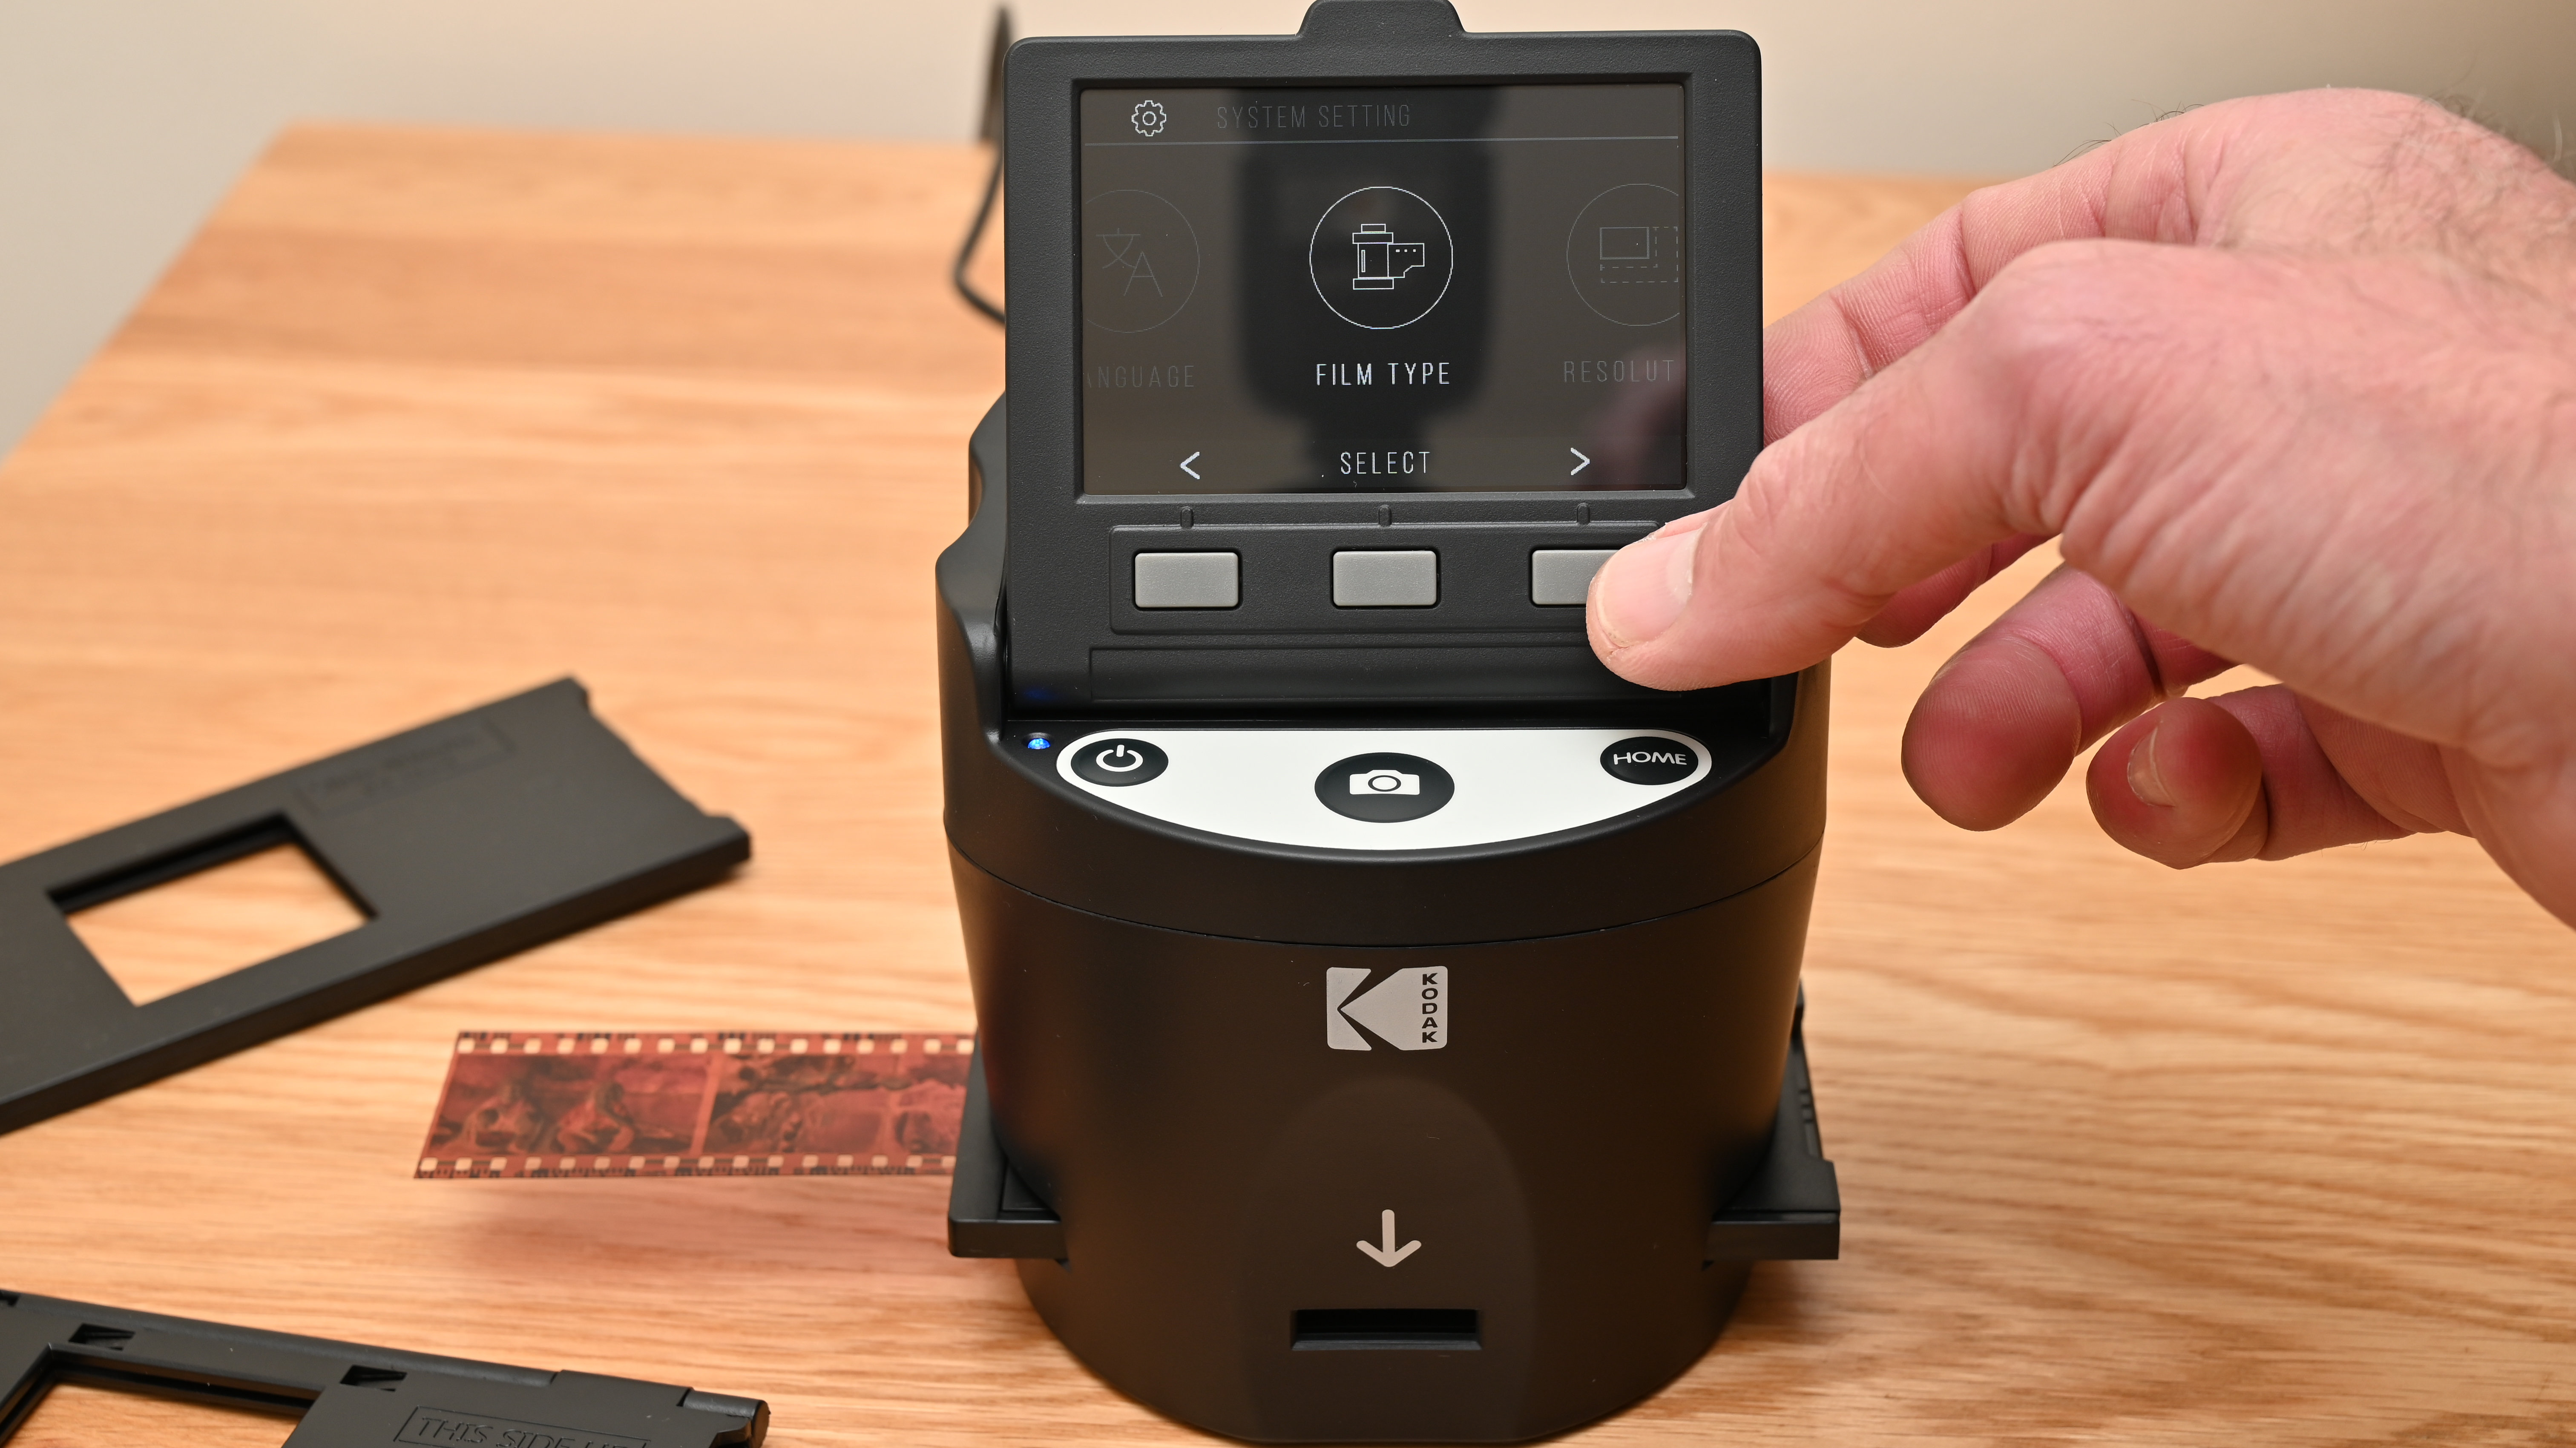
Performance
In our tests, the scanner proved pretty quick, capturing a 35mm transparency or negative frame of film in under 2 seconds. And that’s both in native 14 megapixel and interpolated 22 megapixel modes. The more labor-intensive and time-consuming part of the process is aligning the slide or frame of film precisely in the adapter for each successive scan.
For scanning both negative and positive film, you’re supplied with a ‘what you see is what you get’ preview on the 3.5-inch LCD screen, so negative film is automatically reversed at the preview stage. The scanner defaults to automatic exposure and color adjustments, which works pretty well on the whole – in our tests, more reliably than with the slightly pricier Kodak Slide N Scan Digital Film Scanner. If you’re not happy with the preview, you can use the context-sensitive soft keys to adjust the brightness, as well as for altering color rendition with RGB sliders. In practice though, if you have a computer, it works better to apply any adjustments after scanning, using an image editing app.
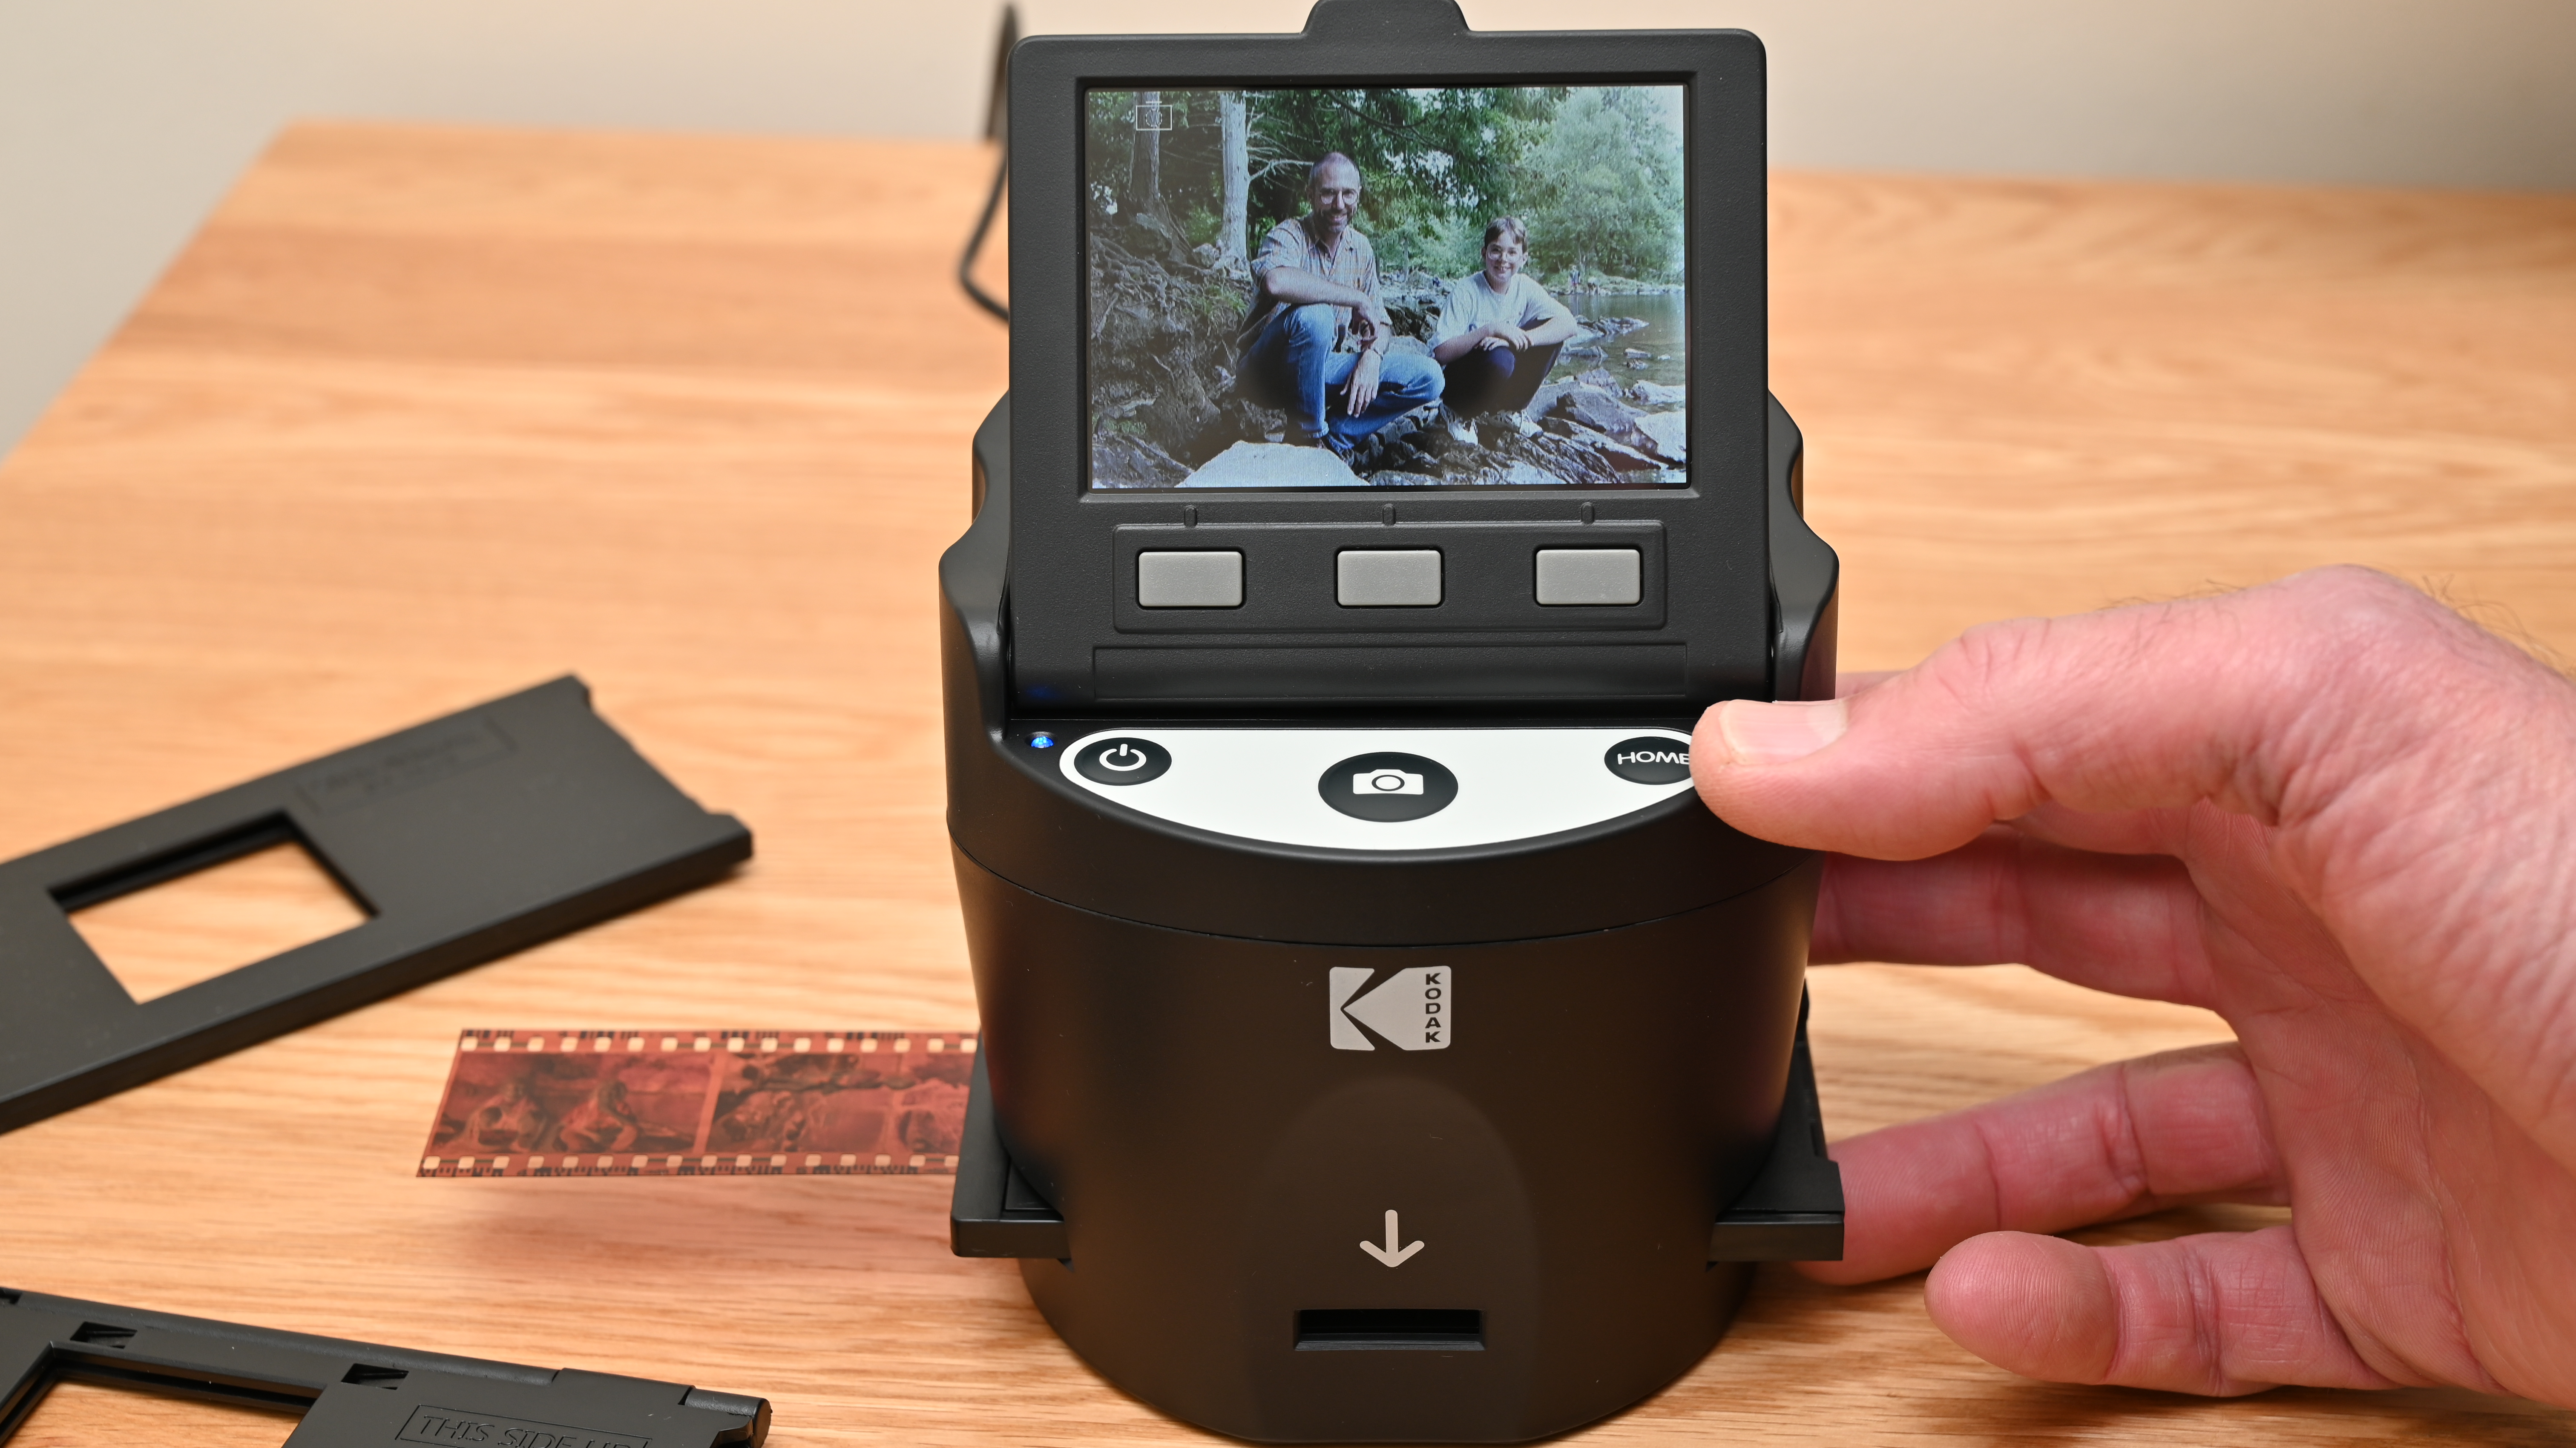
Post-capture, you can view your scans in ‘Gallery’ mode and flip or rotate images, the latter being essential for portrait orientation (upright) images. A slideshow of all the scans held on the SD memory card is also available. You can view this on the Scanza’s own 3.5-inch screen or on a television or computer monitor, hooked up via the HDMI or video cable supplied.
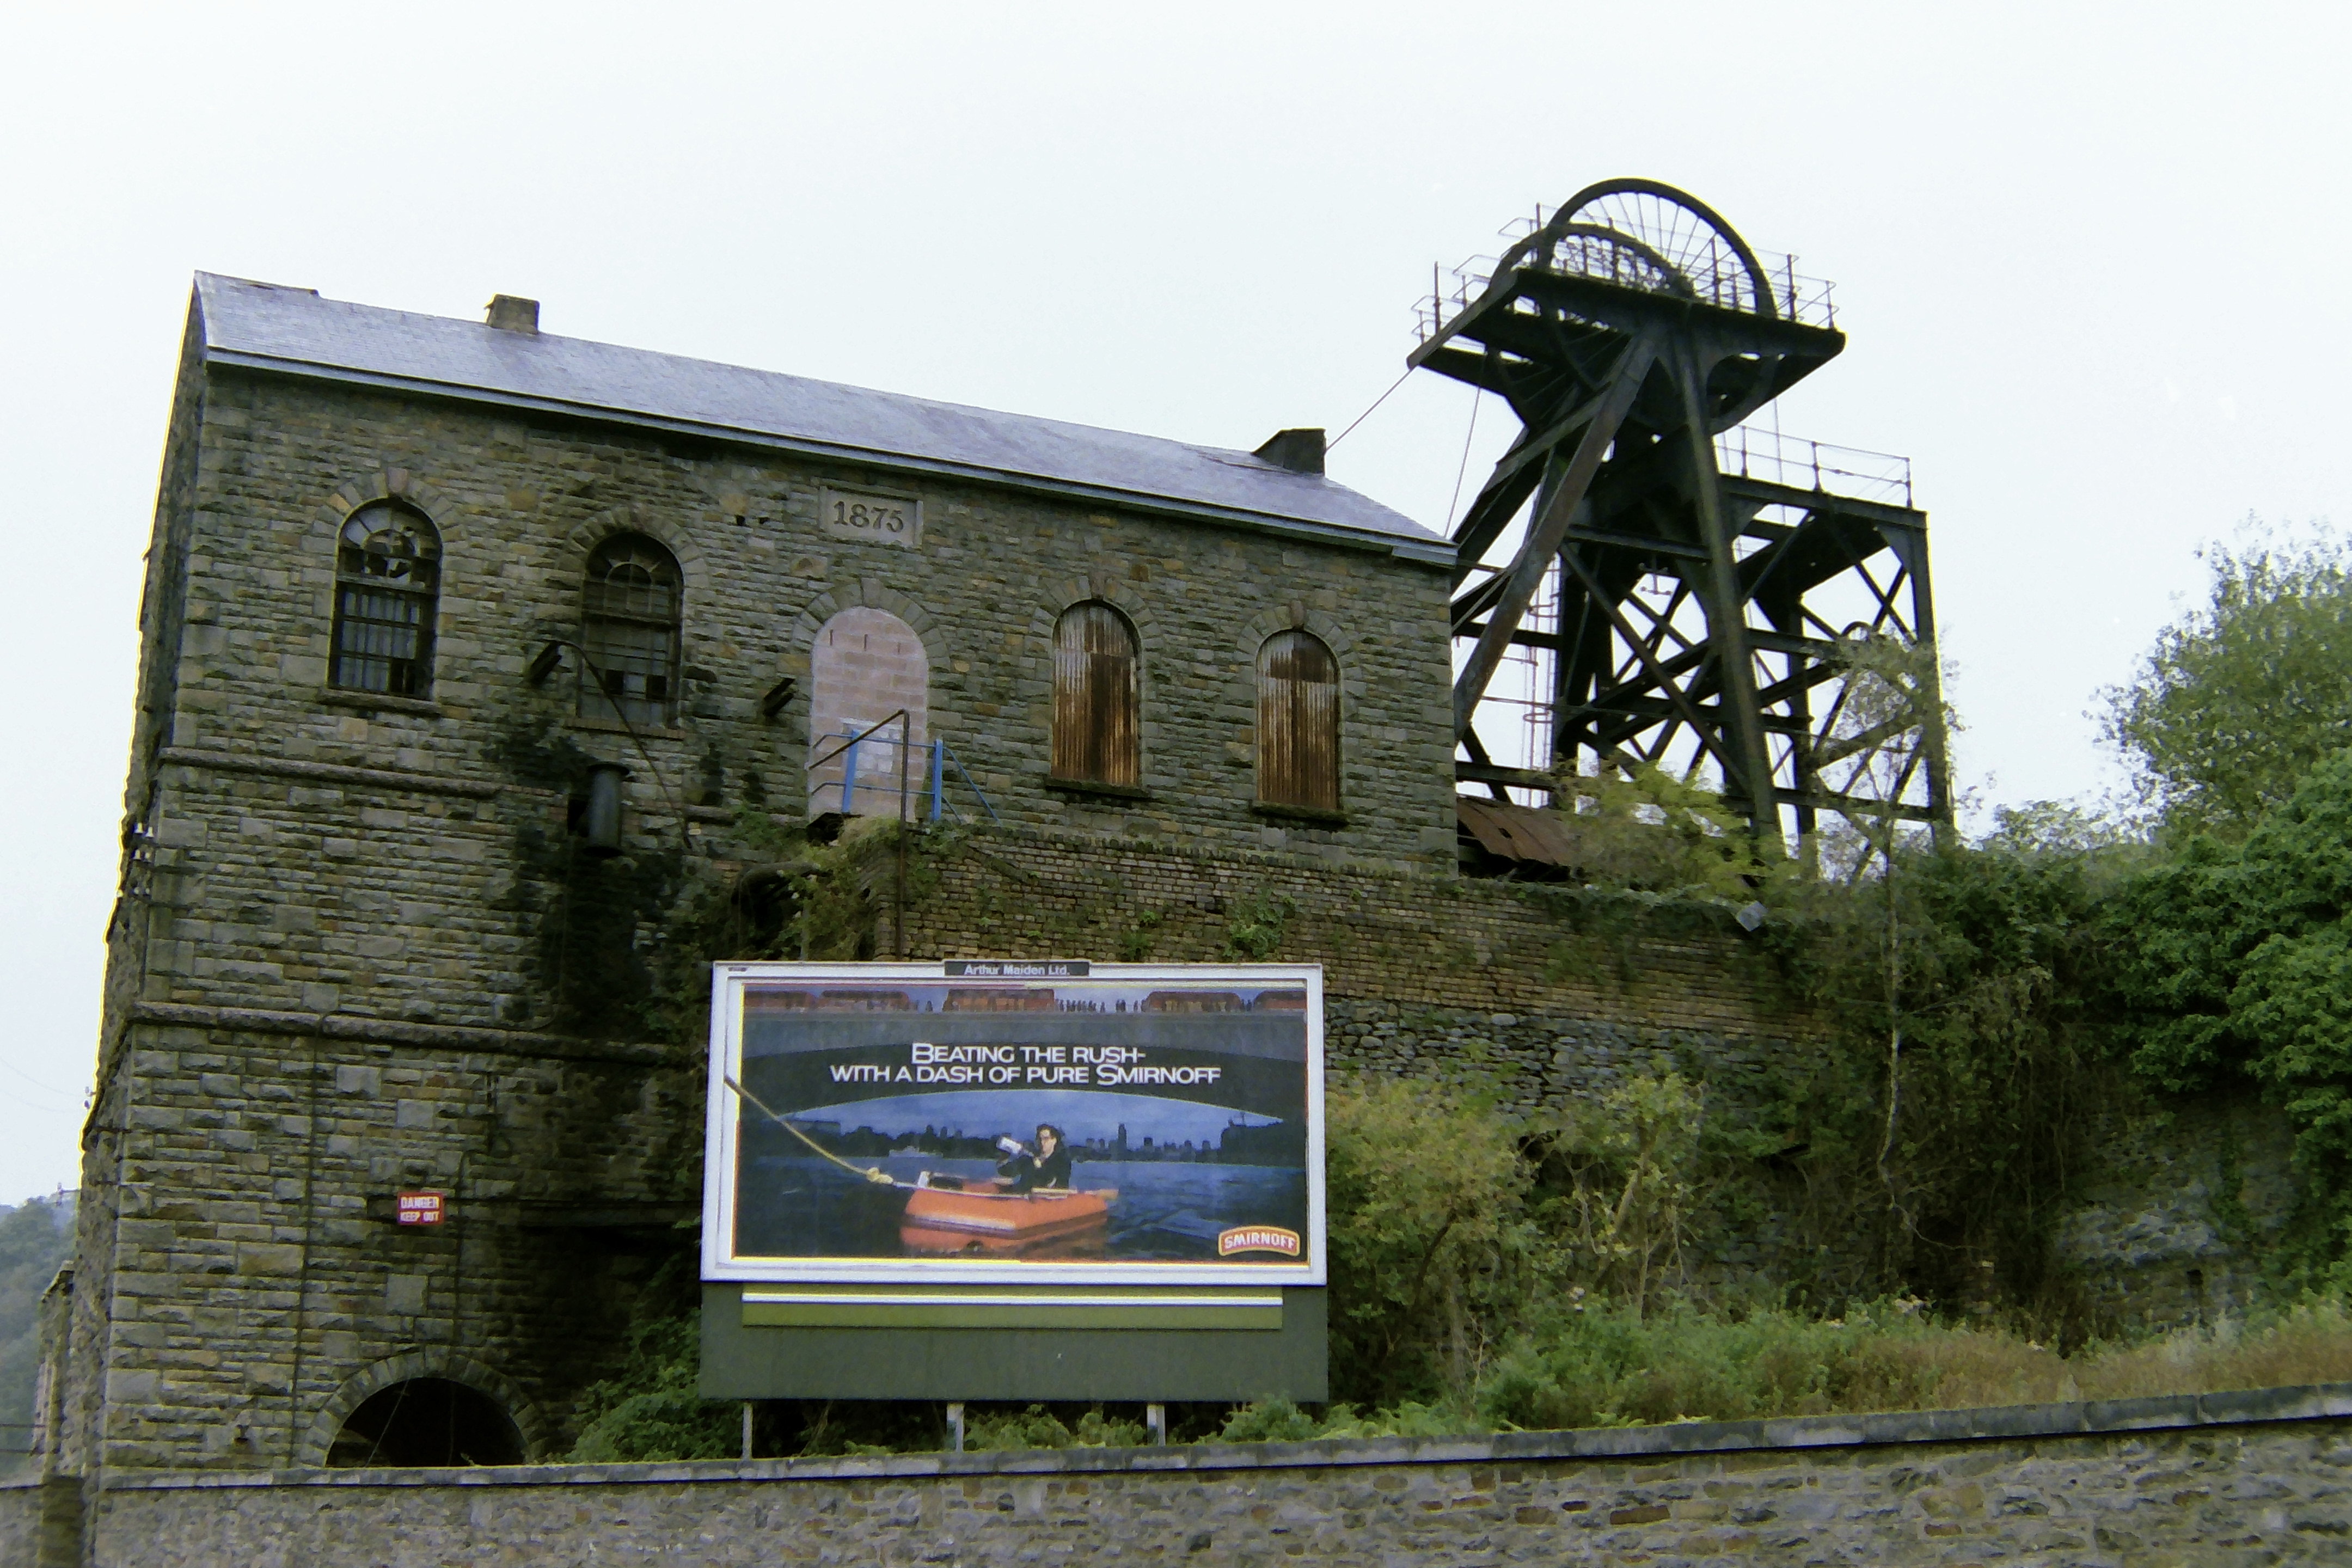
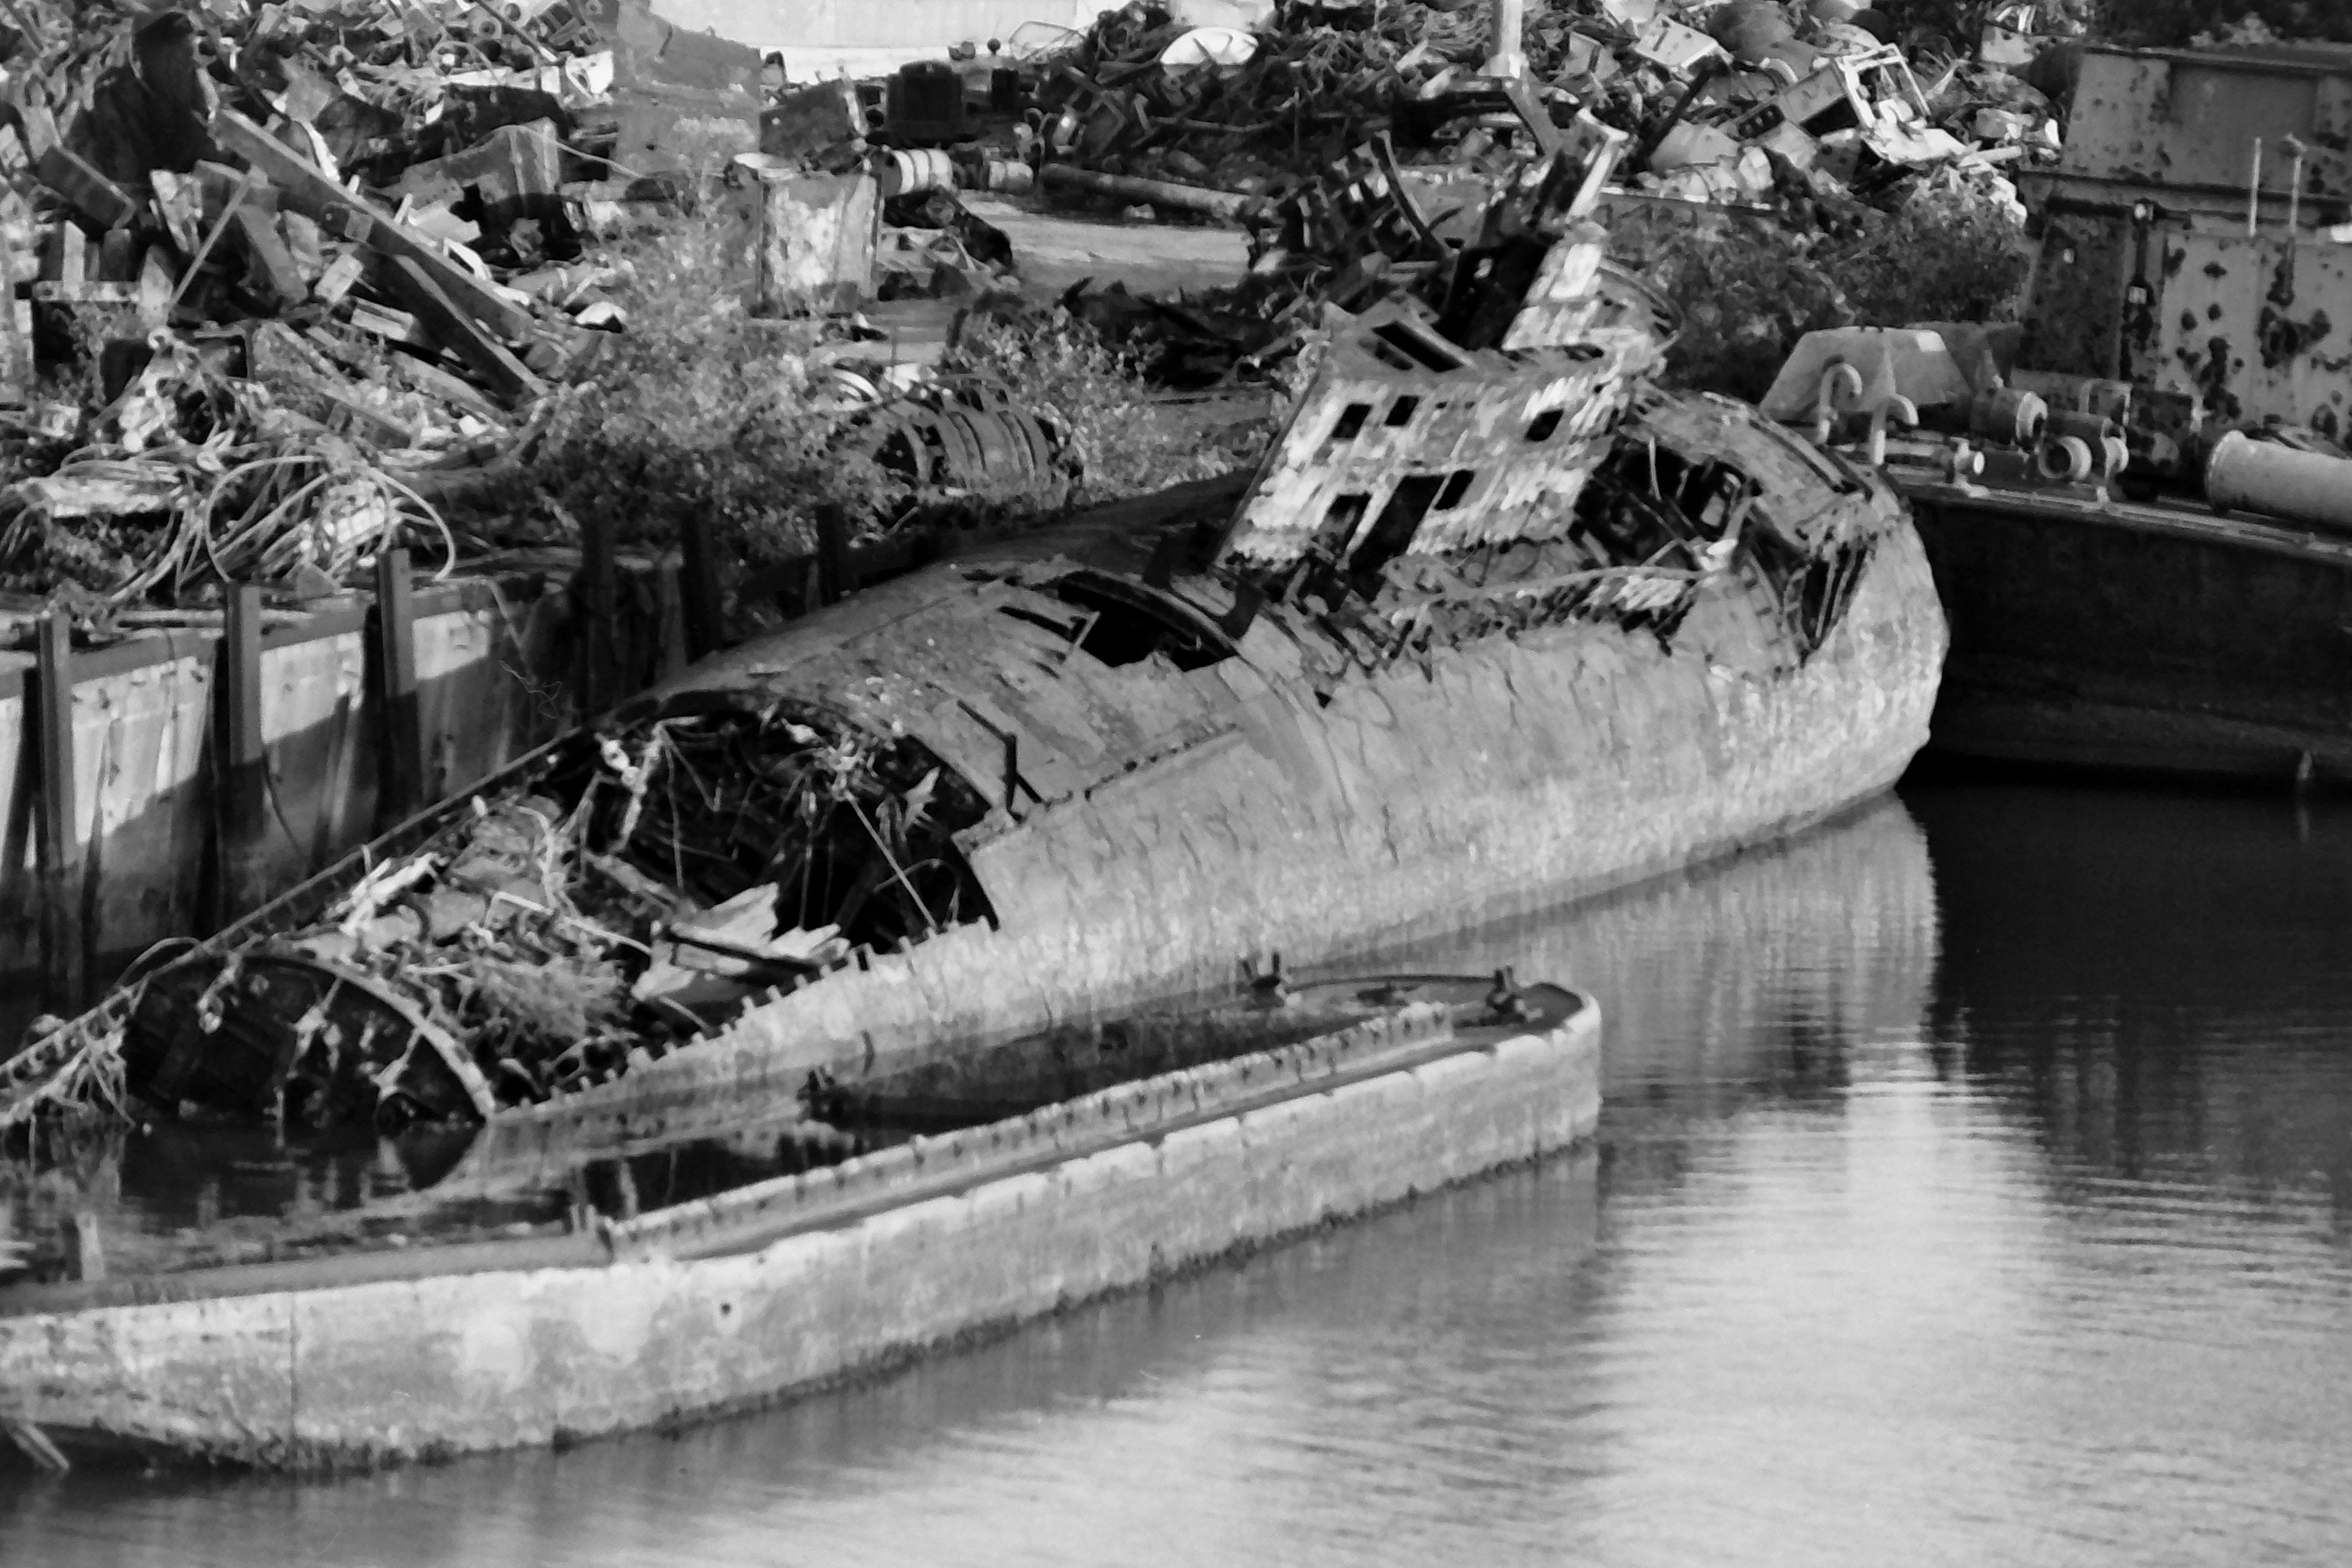
Image quality is fairly good for a budget-friendly film scanner. Color rendition can be a challenge for any film scanner, especially for negative rather than positive film, but the Scanza does pretty well in this respect, while automatic exposures generally give good results. The flipside is that sharpness and the retention of fine detail aren’t particularly impressive at the native resolution of 14 megapixels, and there’s no real advantage to be gained by switching to the 22 megapixel interpolated mode. In both scenarios, scans can tend to look a little blocky and pixelated, and bokeh is pretty blotchy.
Ultimately, if you’re digitizing old photos and you still happen to have the set of 6x4-inch machine prints that you probably bought when your films were being processed, you’re likely to get better results by photographing your prints with a decent digital camera.
Sample images




Verdict
If you’re of the shoebox generation, the chances are you’ve got a stash of exposed negative film and transparencies, buried away somewhere around the home. This compact and convenient film scanner enables you to bring your old photos into the digital era with the minimum of fuss, bother and effort. We like that it’s mostly so easy to use, but film handling can be a little tricky and image quality could be better.
Also check out our guides to the Best film scanners and the Best slide viewers
Matthew Richards is a photographer and journalist who has spent years using and reviewing all manner of photo gear. He is Digital Camera World's principal lens reviewer – and has tested more primes and zooms than most people have had hot dinners!
His expertise with equipment doesn’t end there, though. He is also an encyclopedia when it comes to all manner of cameras, camera holsters and bags, flashguns, tripods and heads, printers, papers and inks, and just about anything imaging-related.
In an earlier life he was a broadcast engineer at the BBC, as well as a former editor of PC Guide.
