Digital Camera World Verdict
Compared with the Kodak Scanza Film Scanner, which costs a little less to by, this one has a larger screen for previewing scans or playing images back once you’ve scanned them, in Gallery view and slideshows. The control panel is rather different but again relies exclusively on pushbuttons, as the larger LCD still isn’t a touchscreen. Even so, operation is simple and effective, and scanning speed is quick, although the actual image quality isn’t overly impressive.
Pros
- +
Self-contained operation
- +
Quick and easy to use
- +
Choice of screen sizes
Cons
- -
LCD isn’t a touchscreen
- -
Image quality can be lackluster
- -
Limited supplied accessories
Why you can trust Digital Camera World
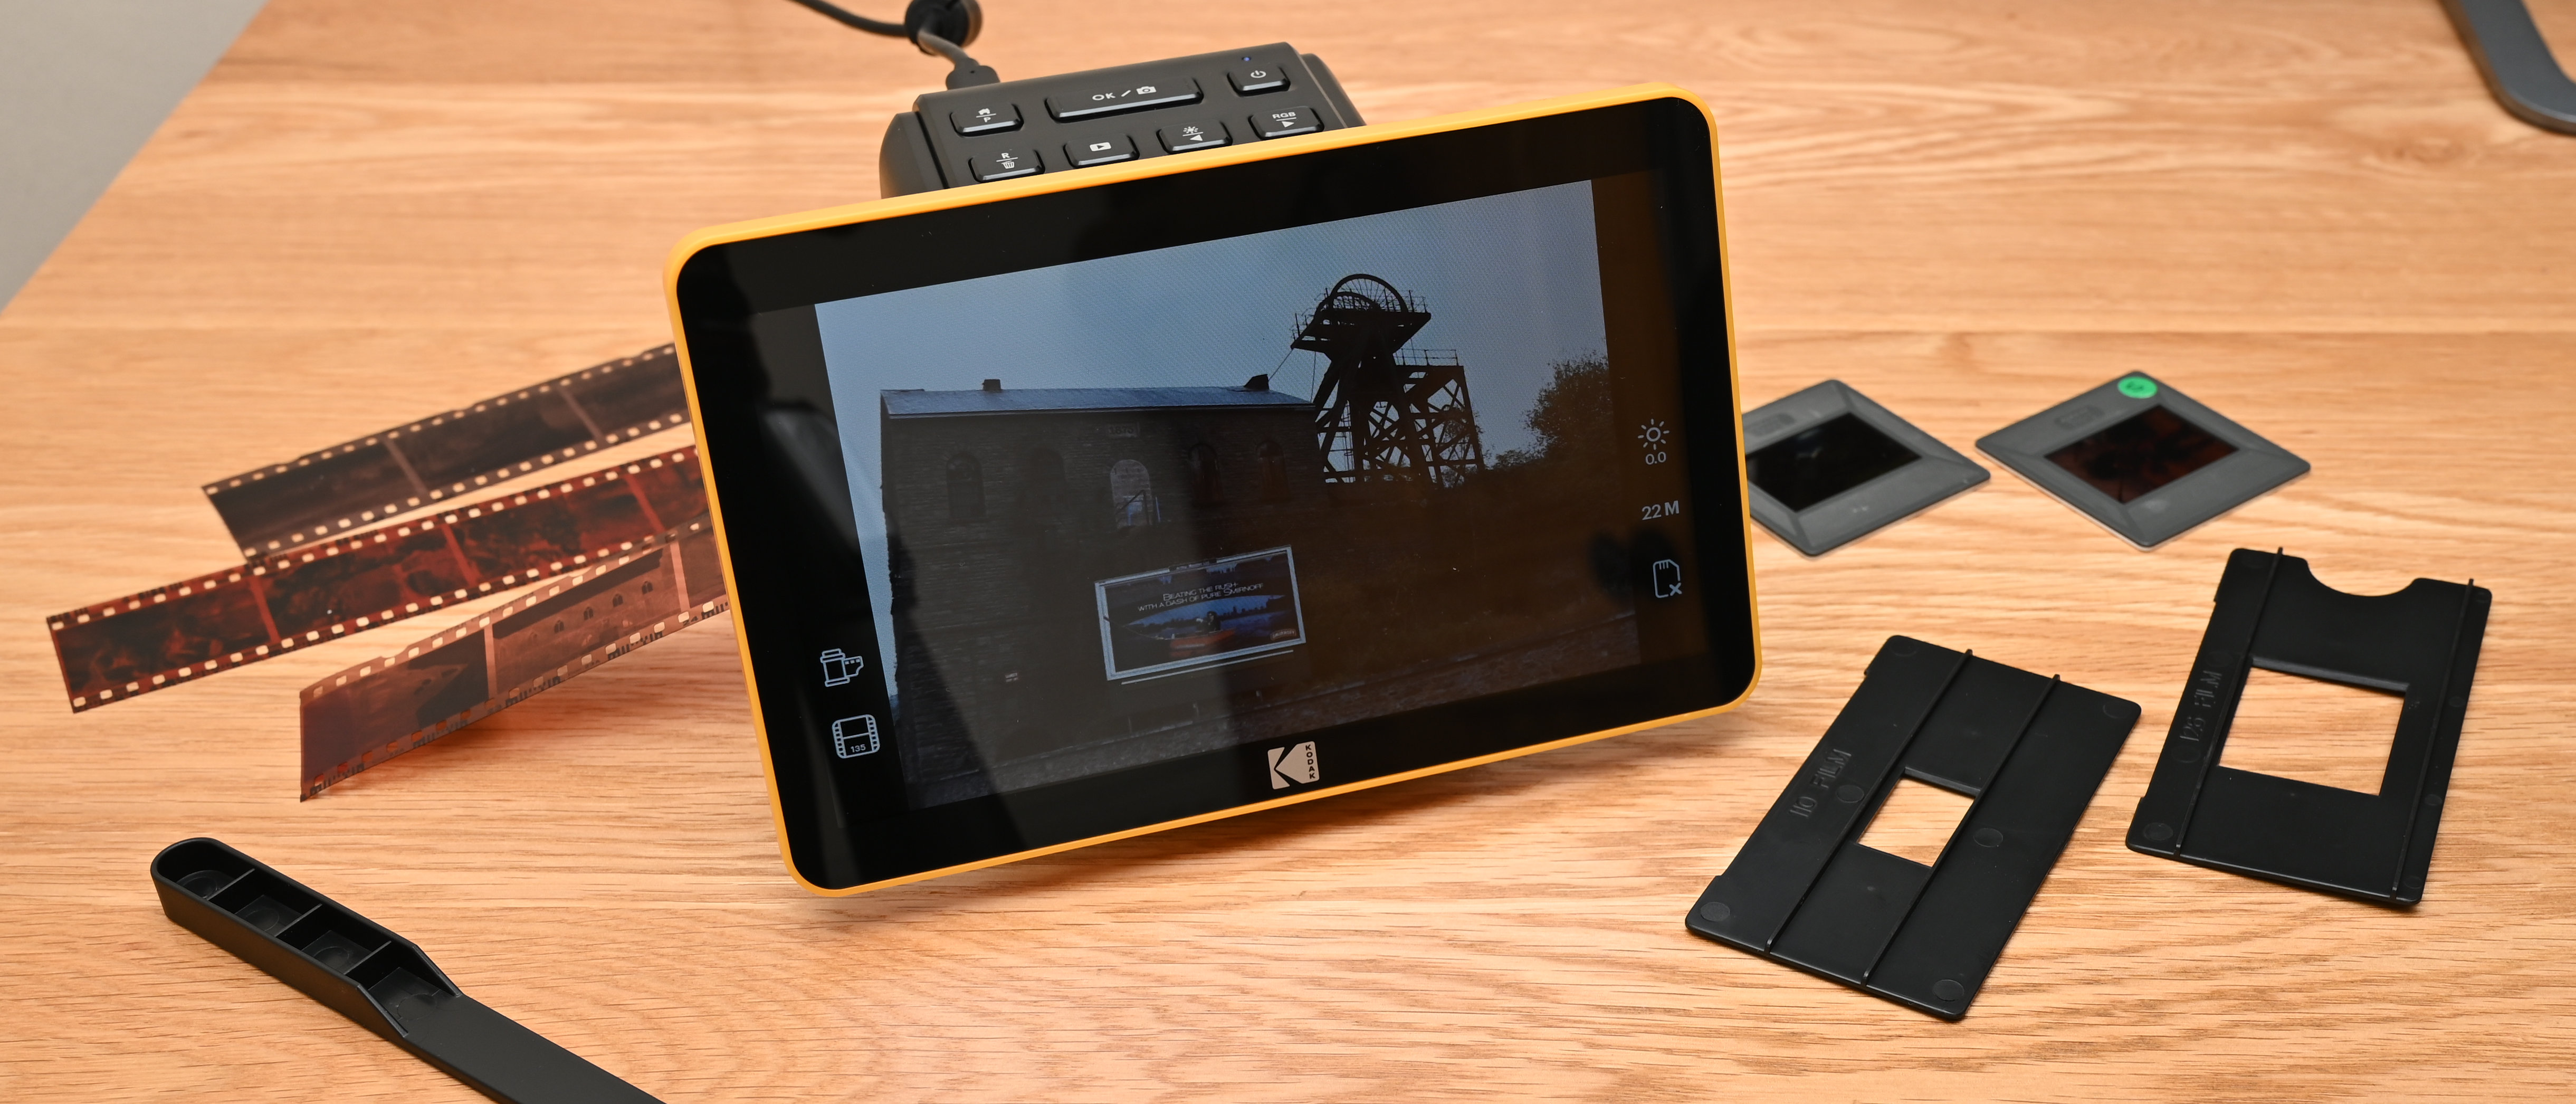
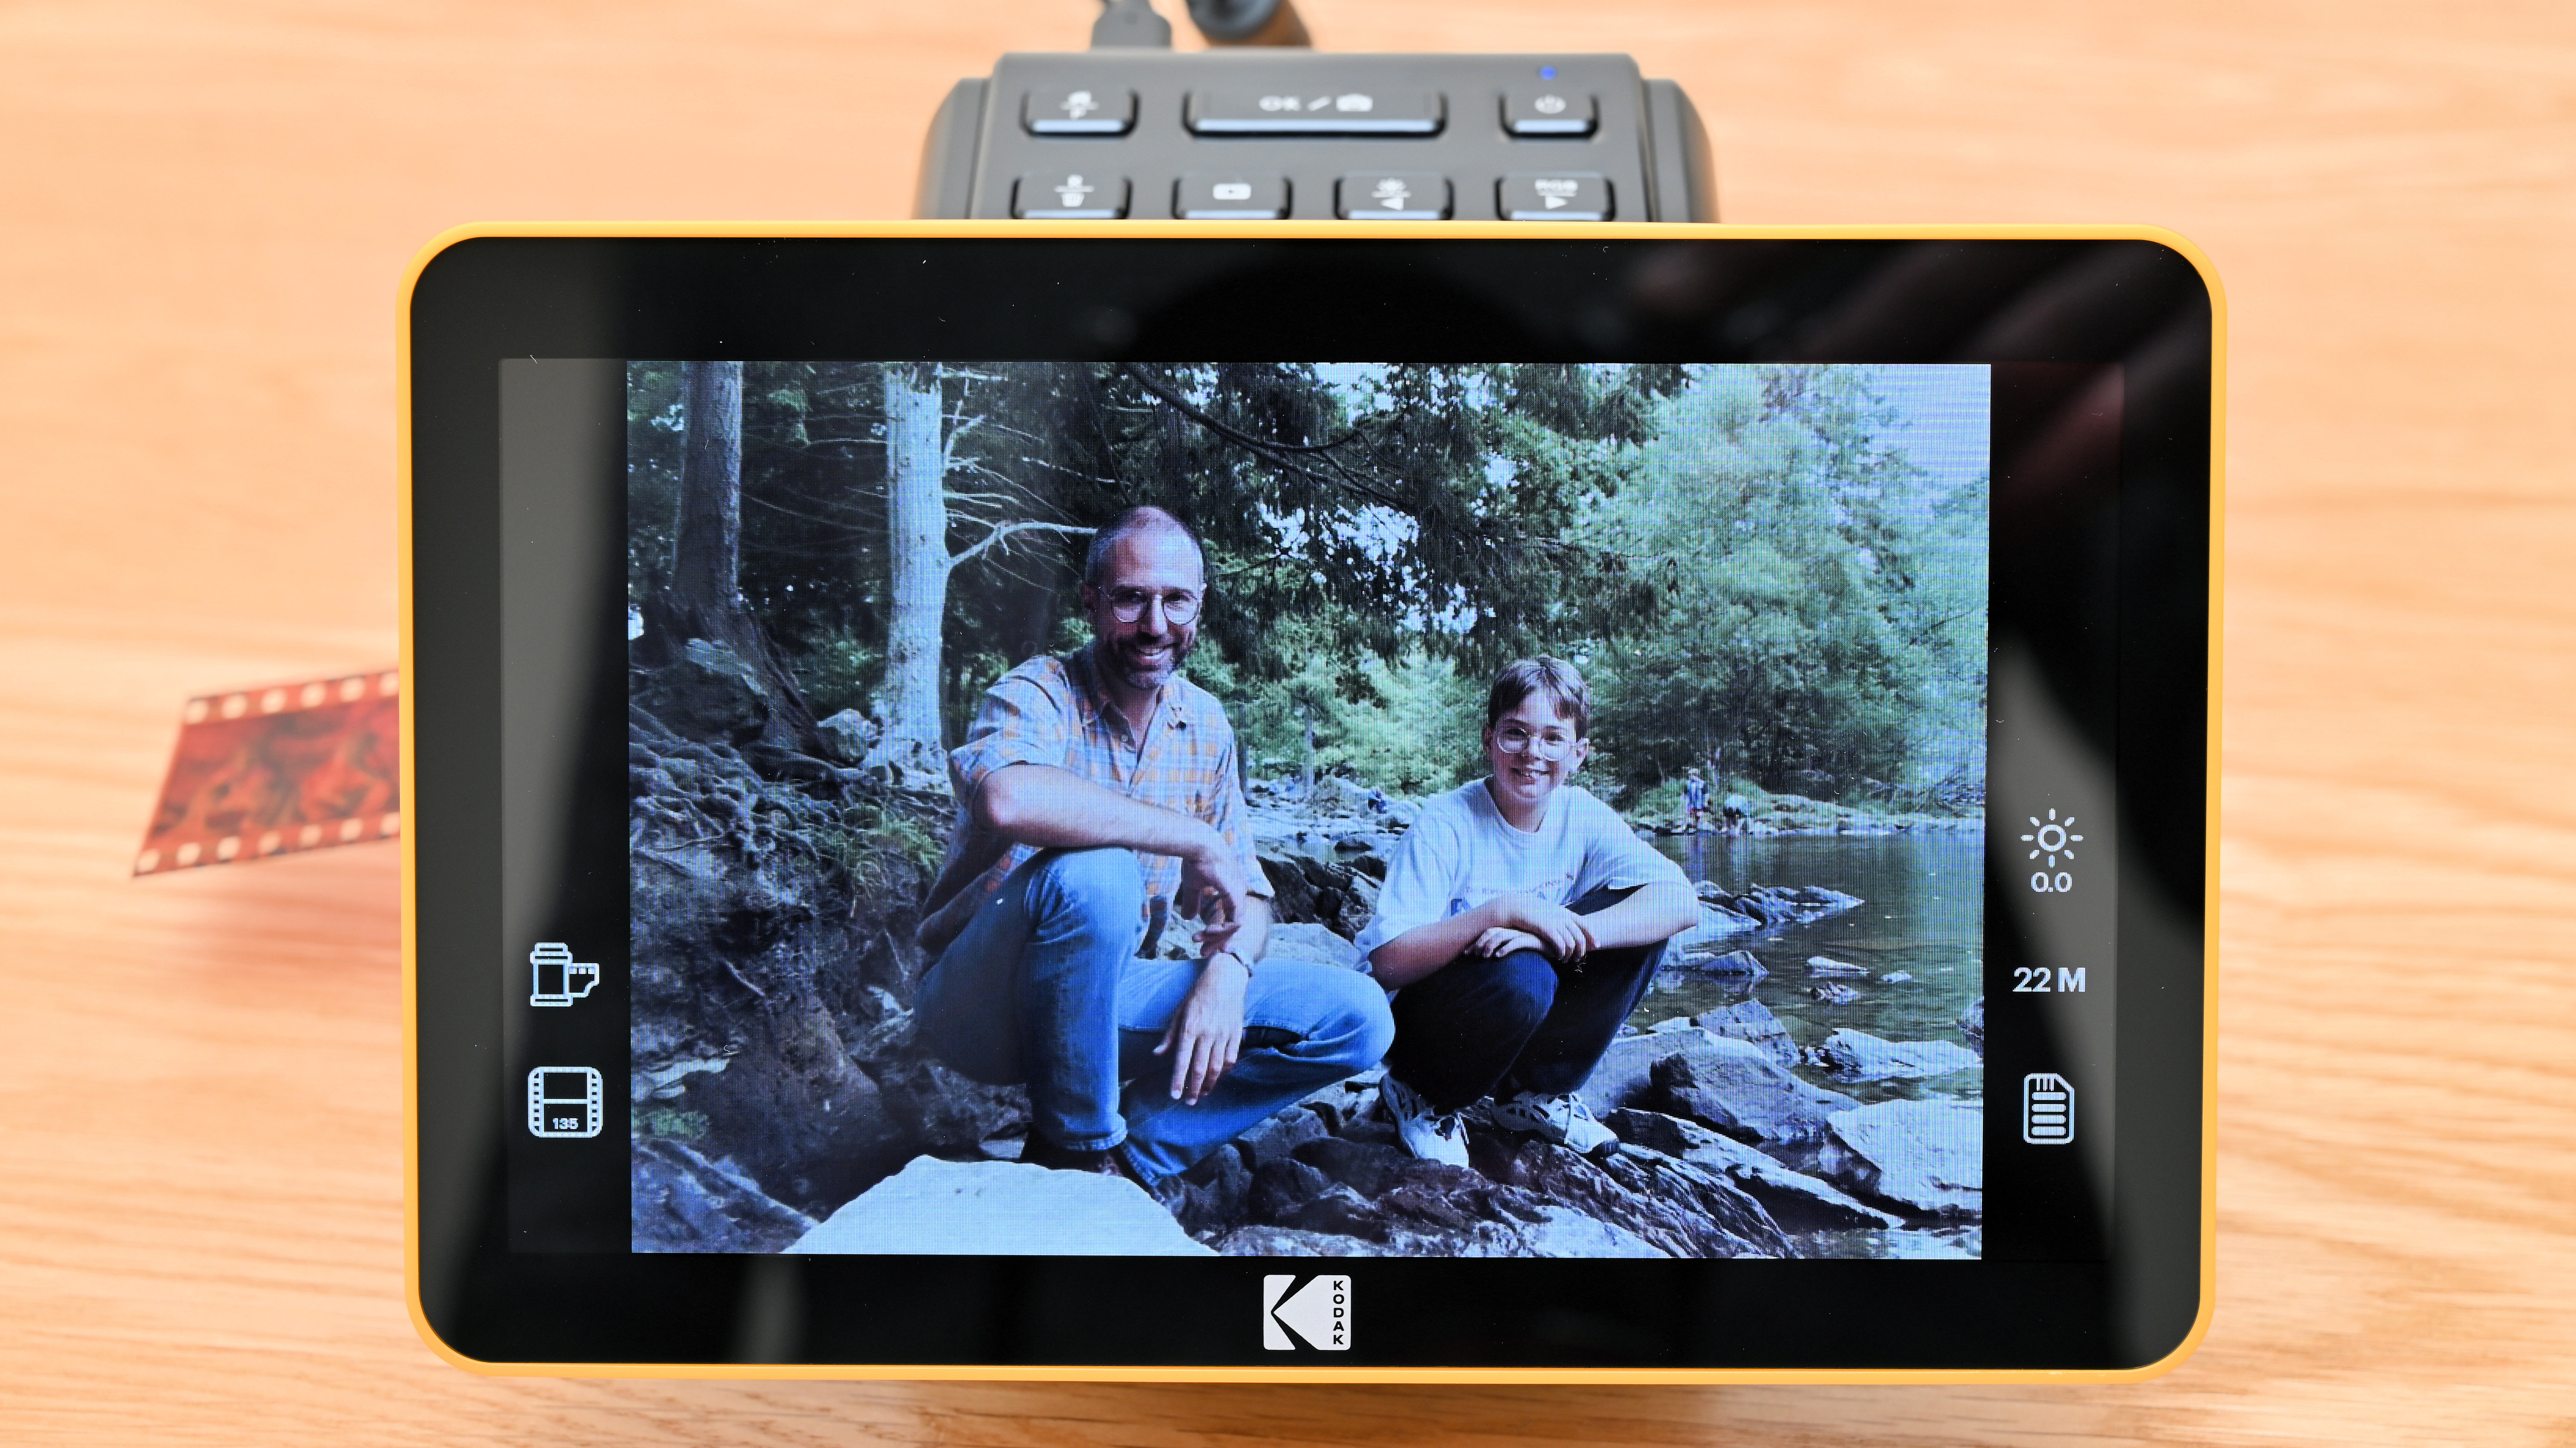
Although still a budget-friendly scanner, the Kodak Slide N Scan Digital Film Scanner takes a different approach to the slightly less expensive Kodak Scanza. The main upside is a larger screen. Whereas the Scanza has a 3.5-inch screen, the Slide N Scan is available with either a 5-inch or a 7-inch screen. We opted for the 7-inch screen, as it’s easier on the eye and there’s not much difference in the price. The actual scanning mechanism appears to be the same in all three models, based on an LED light source and a 14 megapixel CMOS sensor, which captures an entire frame of a positive or negative film, or a mounted slide, in one take.
Specifications
Power source: USB Type C
Image sensor: 14MP CMOS
File format: JPEG
Resolution: 14MP (22MP interpolated)
Film type: 135, 126, 110, 50mm slides
Screen: 7-inch LCD
Interfaces: USB 2.0, SD, HDMI
Dimensions: 112 x 175 x 113mm
Weight: 479g
Key features
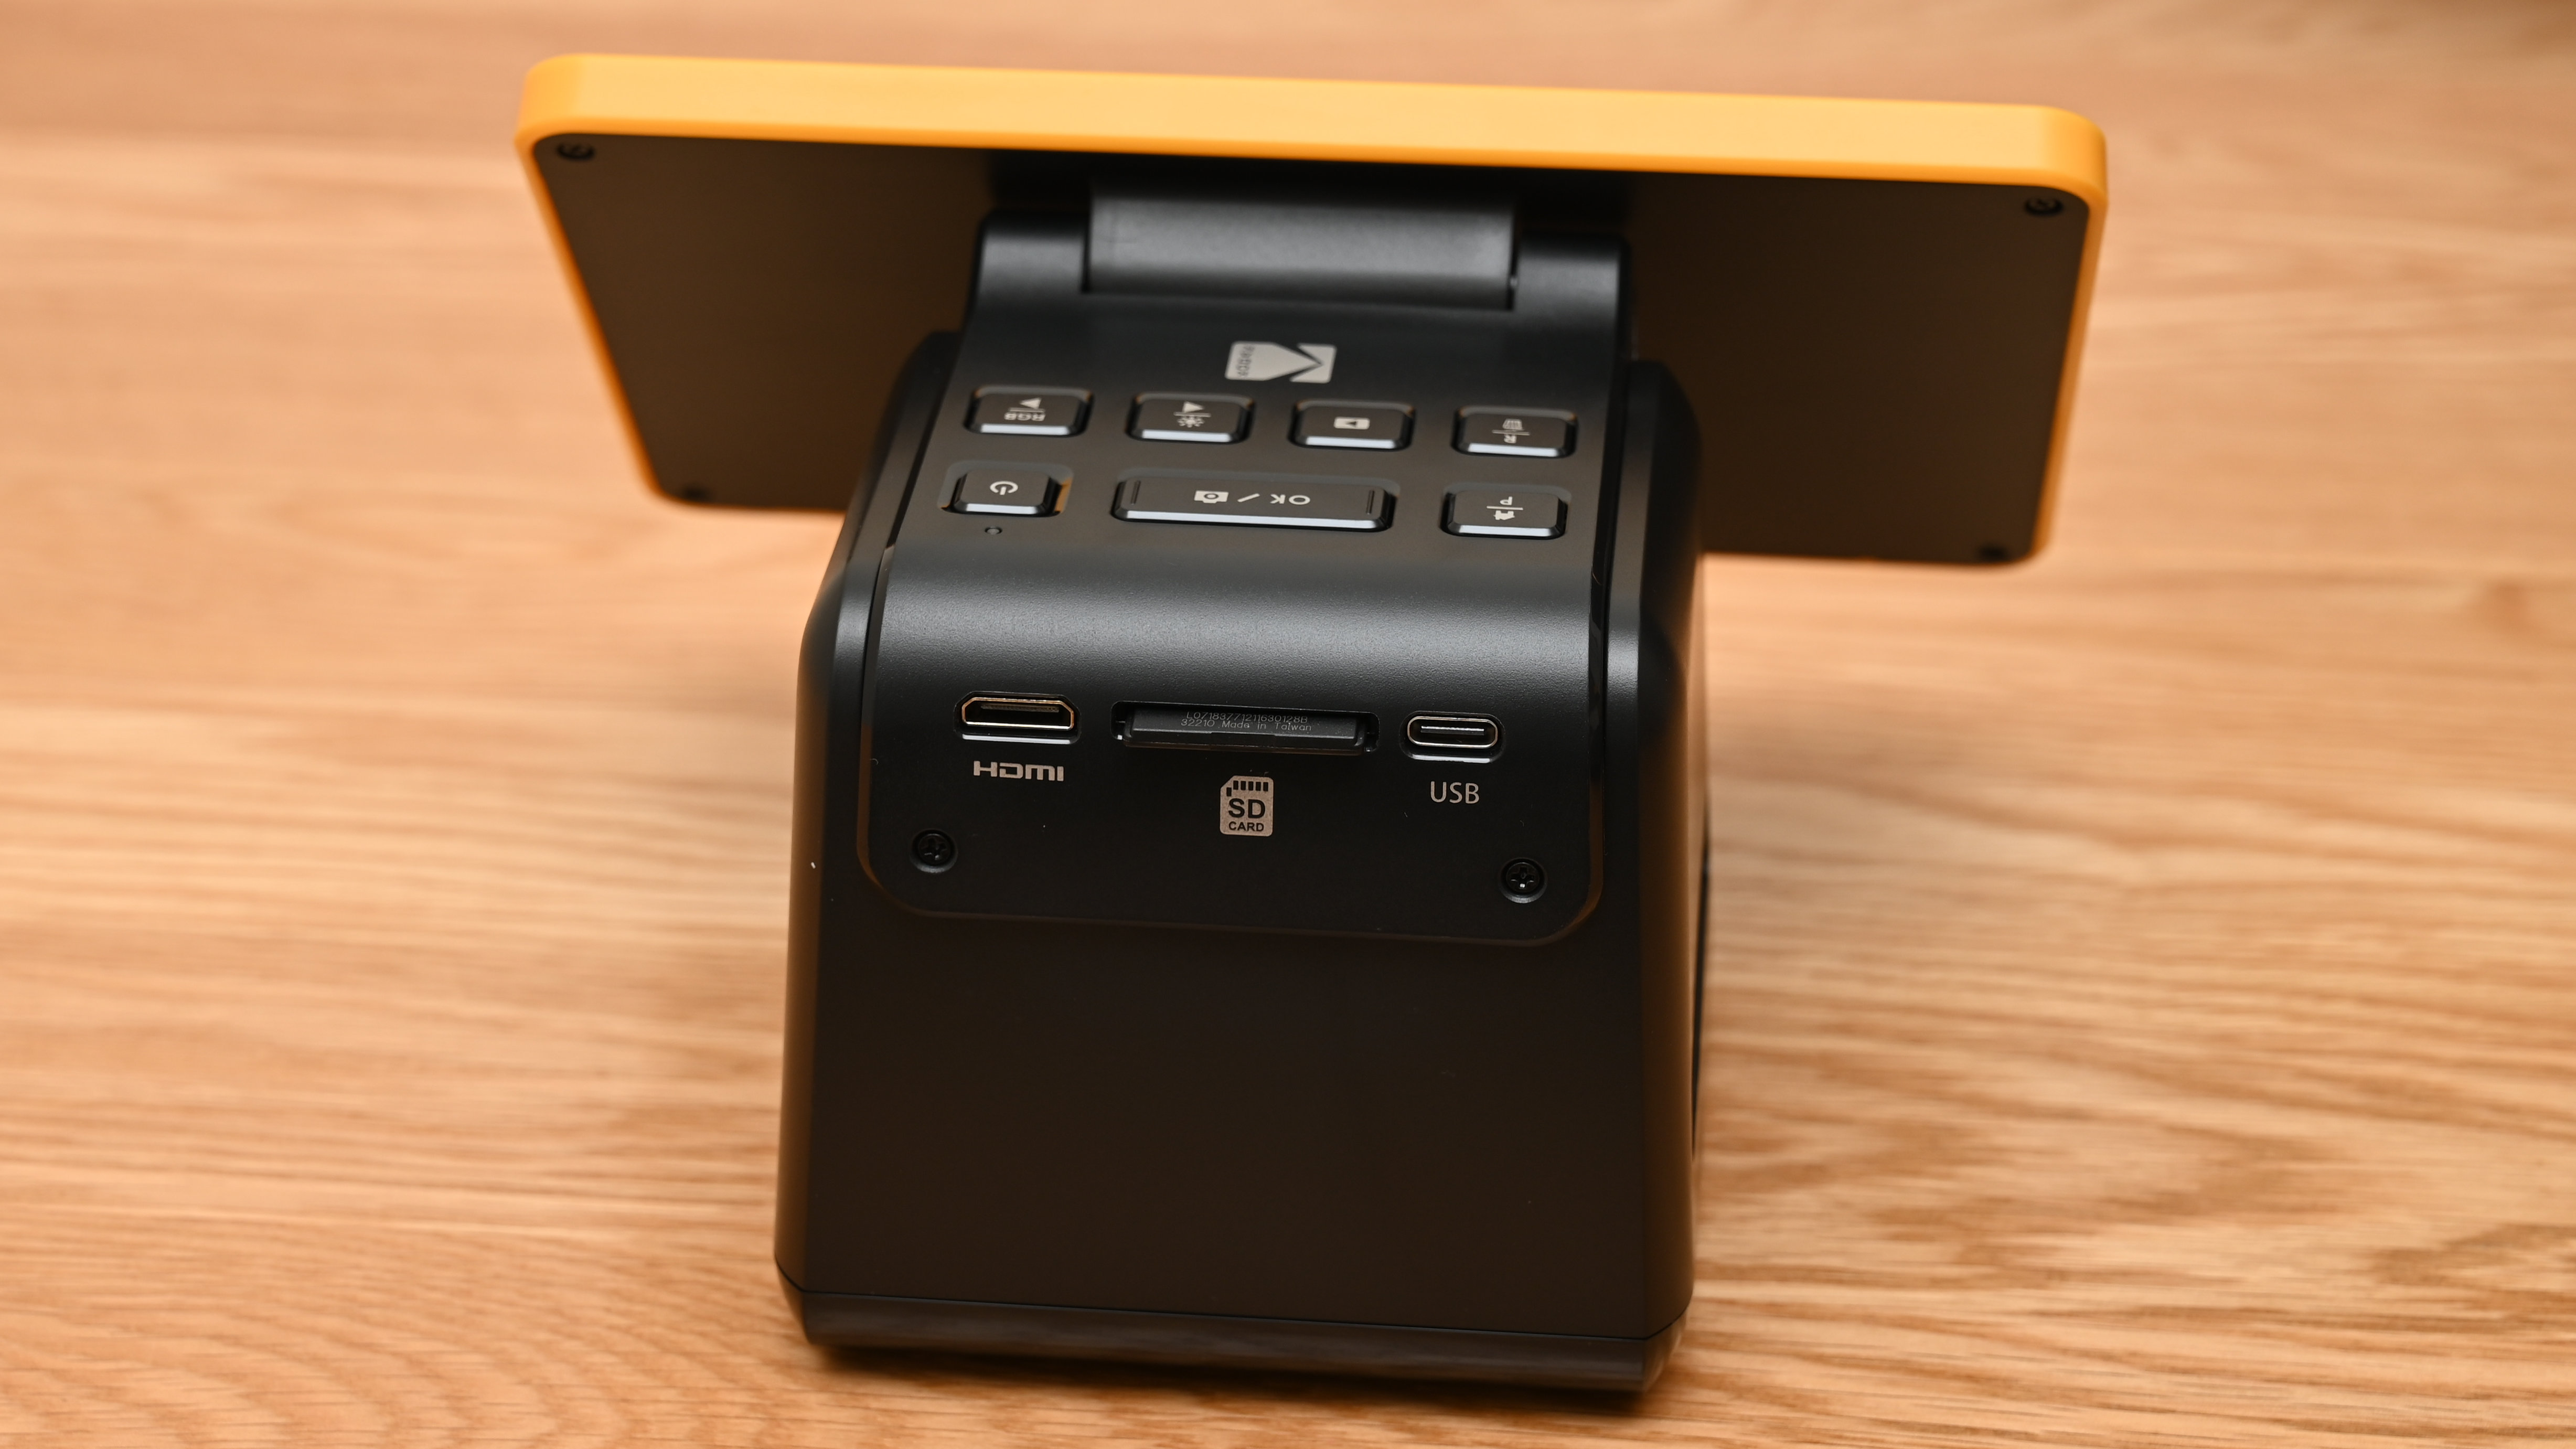
Looking more up to date than the Kodak Scanza, the Slide N Scan is powered via a USB-C port, rather than a micro USB-B socket. However, this time around there’s no mains AC adapter supplied in the kit, so you’ll have to use your own, or power the scanner from a USB port on your computer. That’s somewhat self-defeating, as the scanner is completely self-contained and doesn’t need to be connected to a computer for the actual business of scanning. Unlike the Scanza, there’s no HDMI cable supplied either, although an HDMI port is featured, so you can hook up the scanner to a television or computer monitor to play back your images.
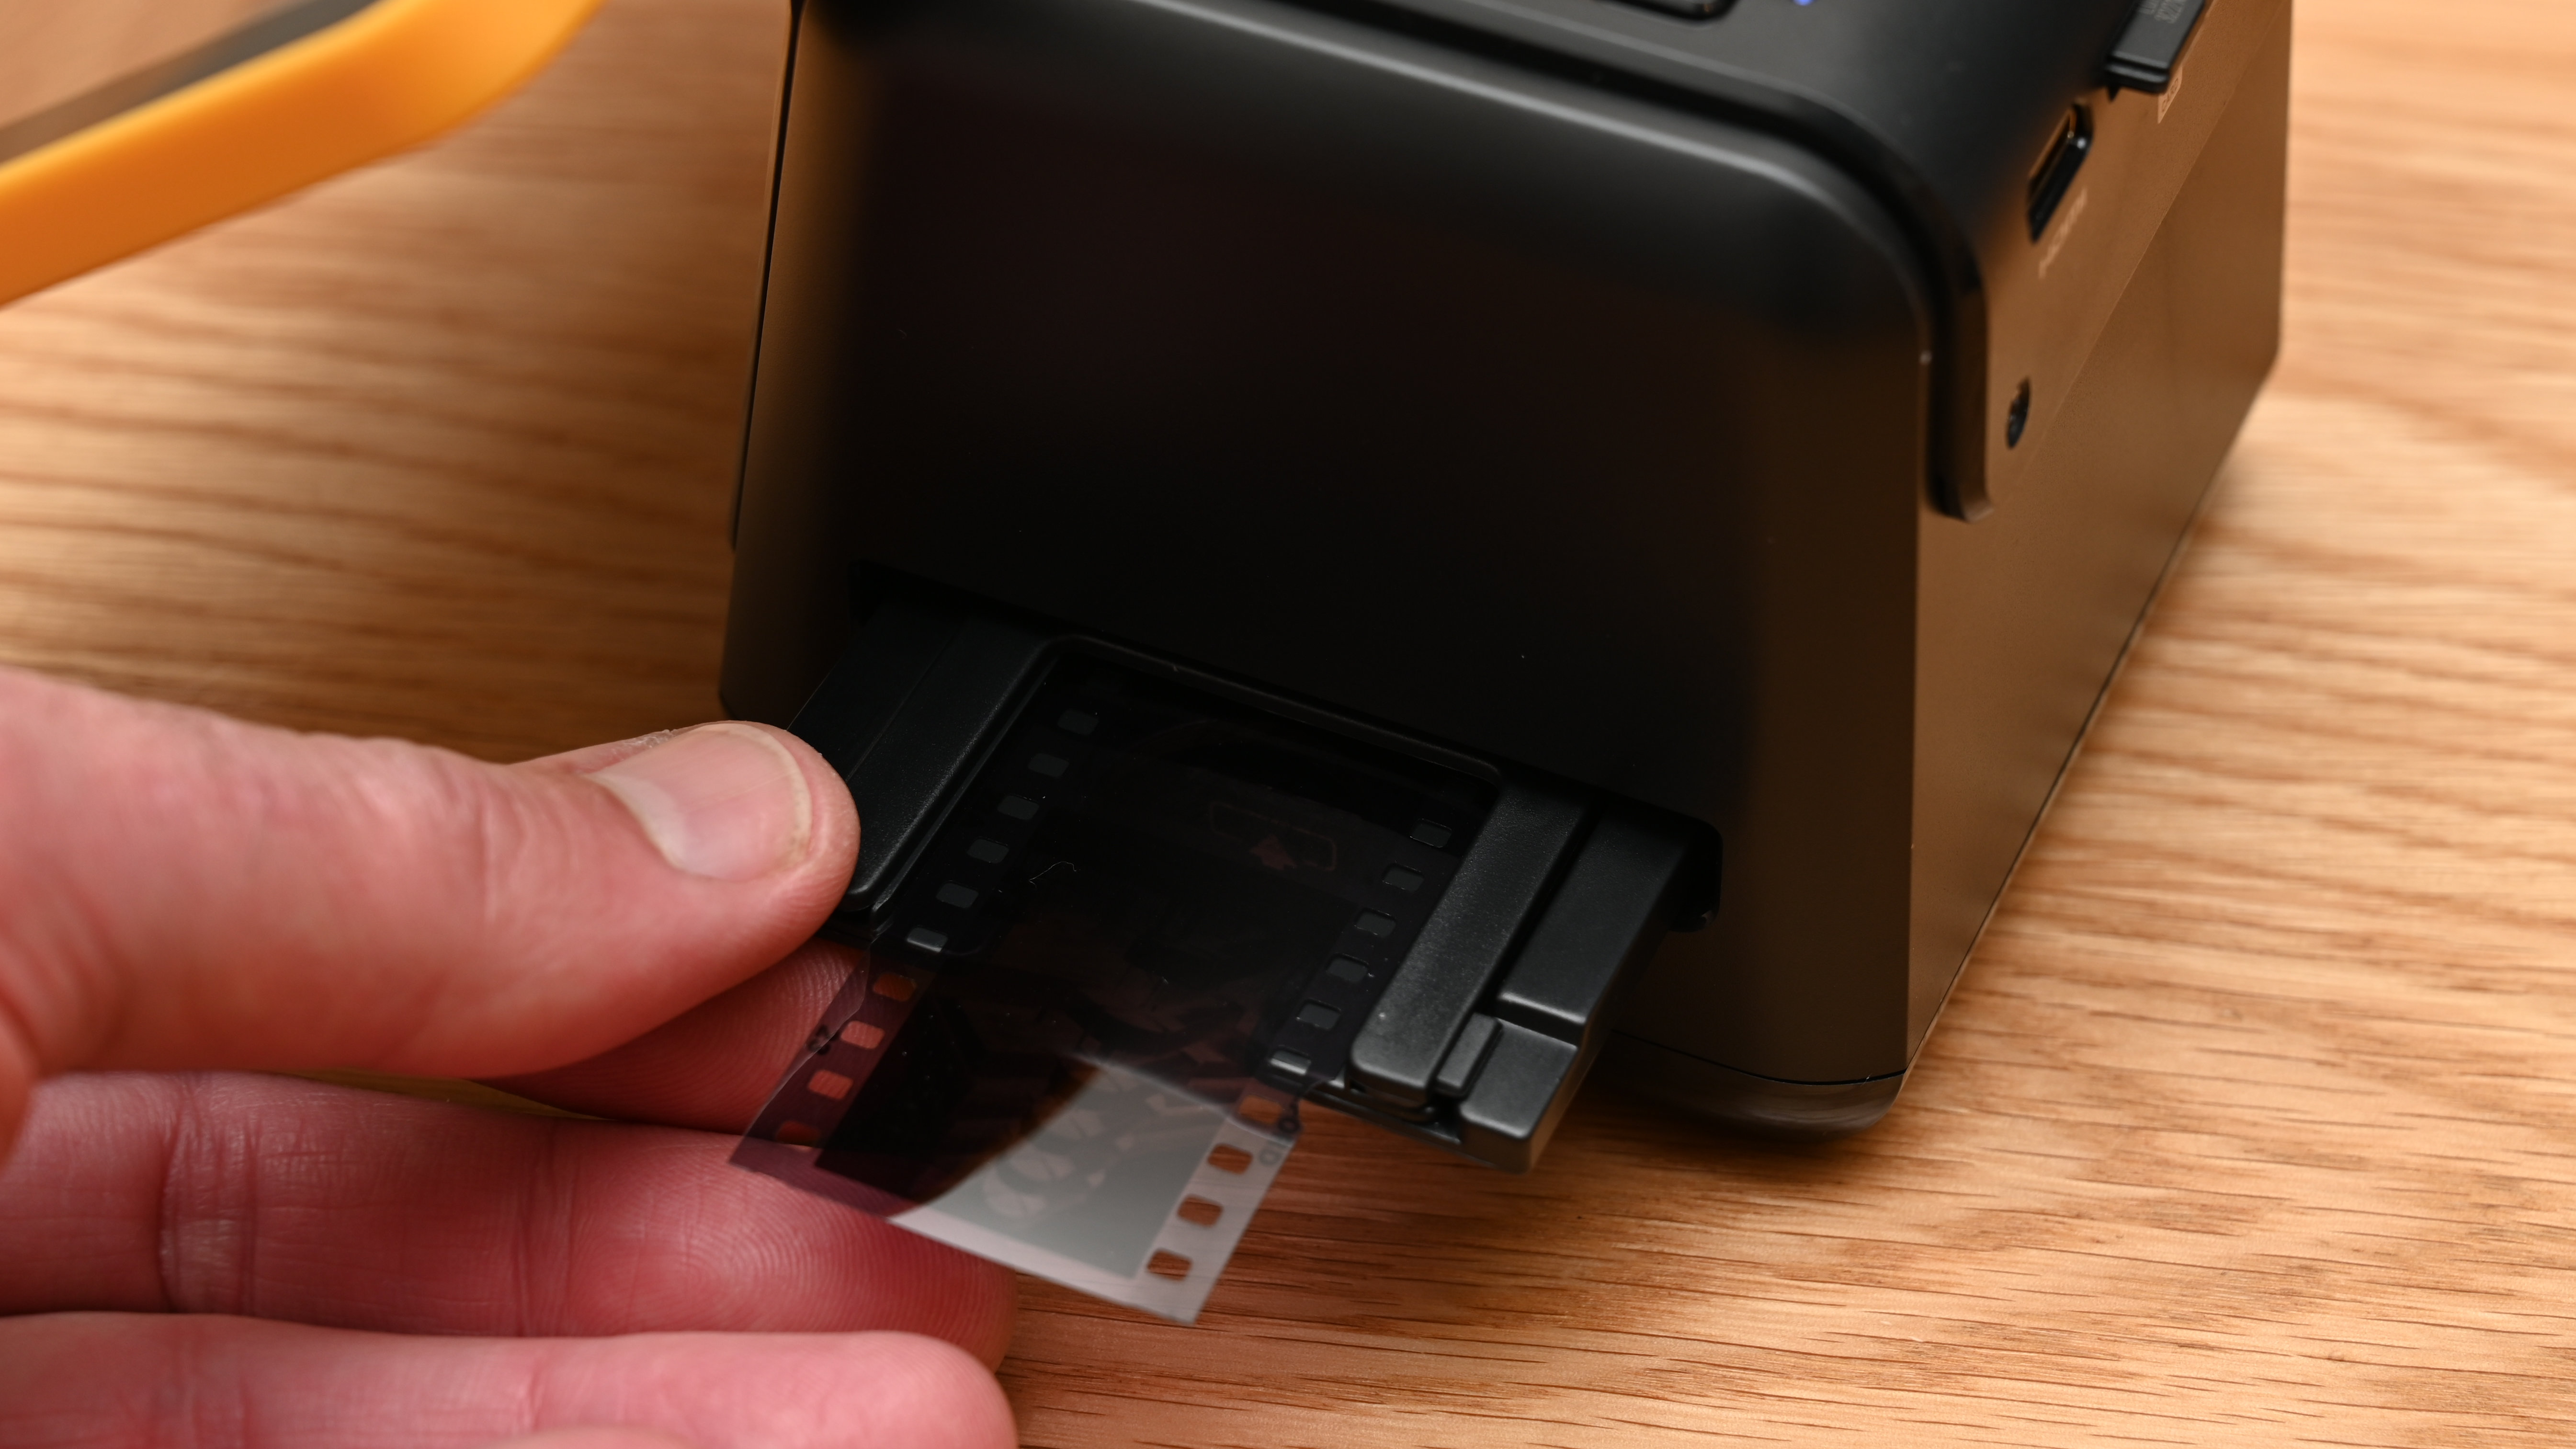
The range of film types supported is also more limited, but does include all the major 35mm, 110 and 126 sizes. This is courtesy of a main slide holder for mounted slides, along with insert adapters for 35mm, 126 and 110 strips of film.
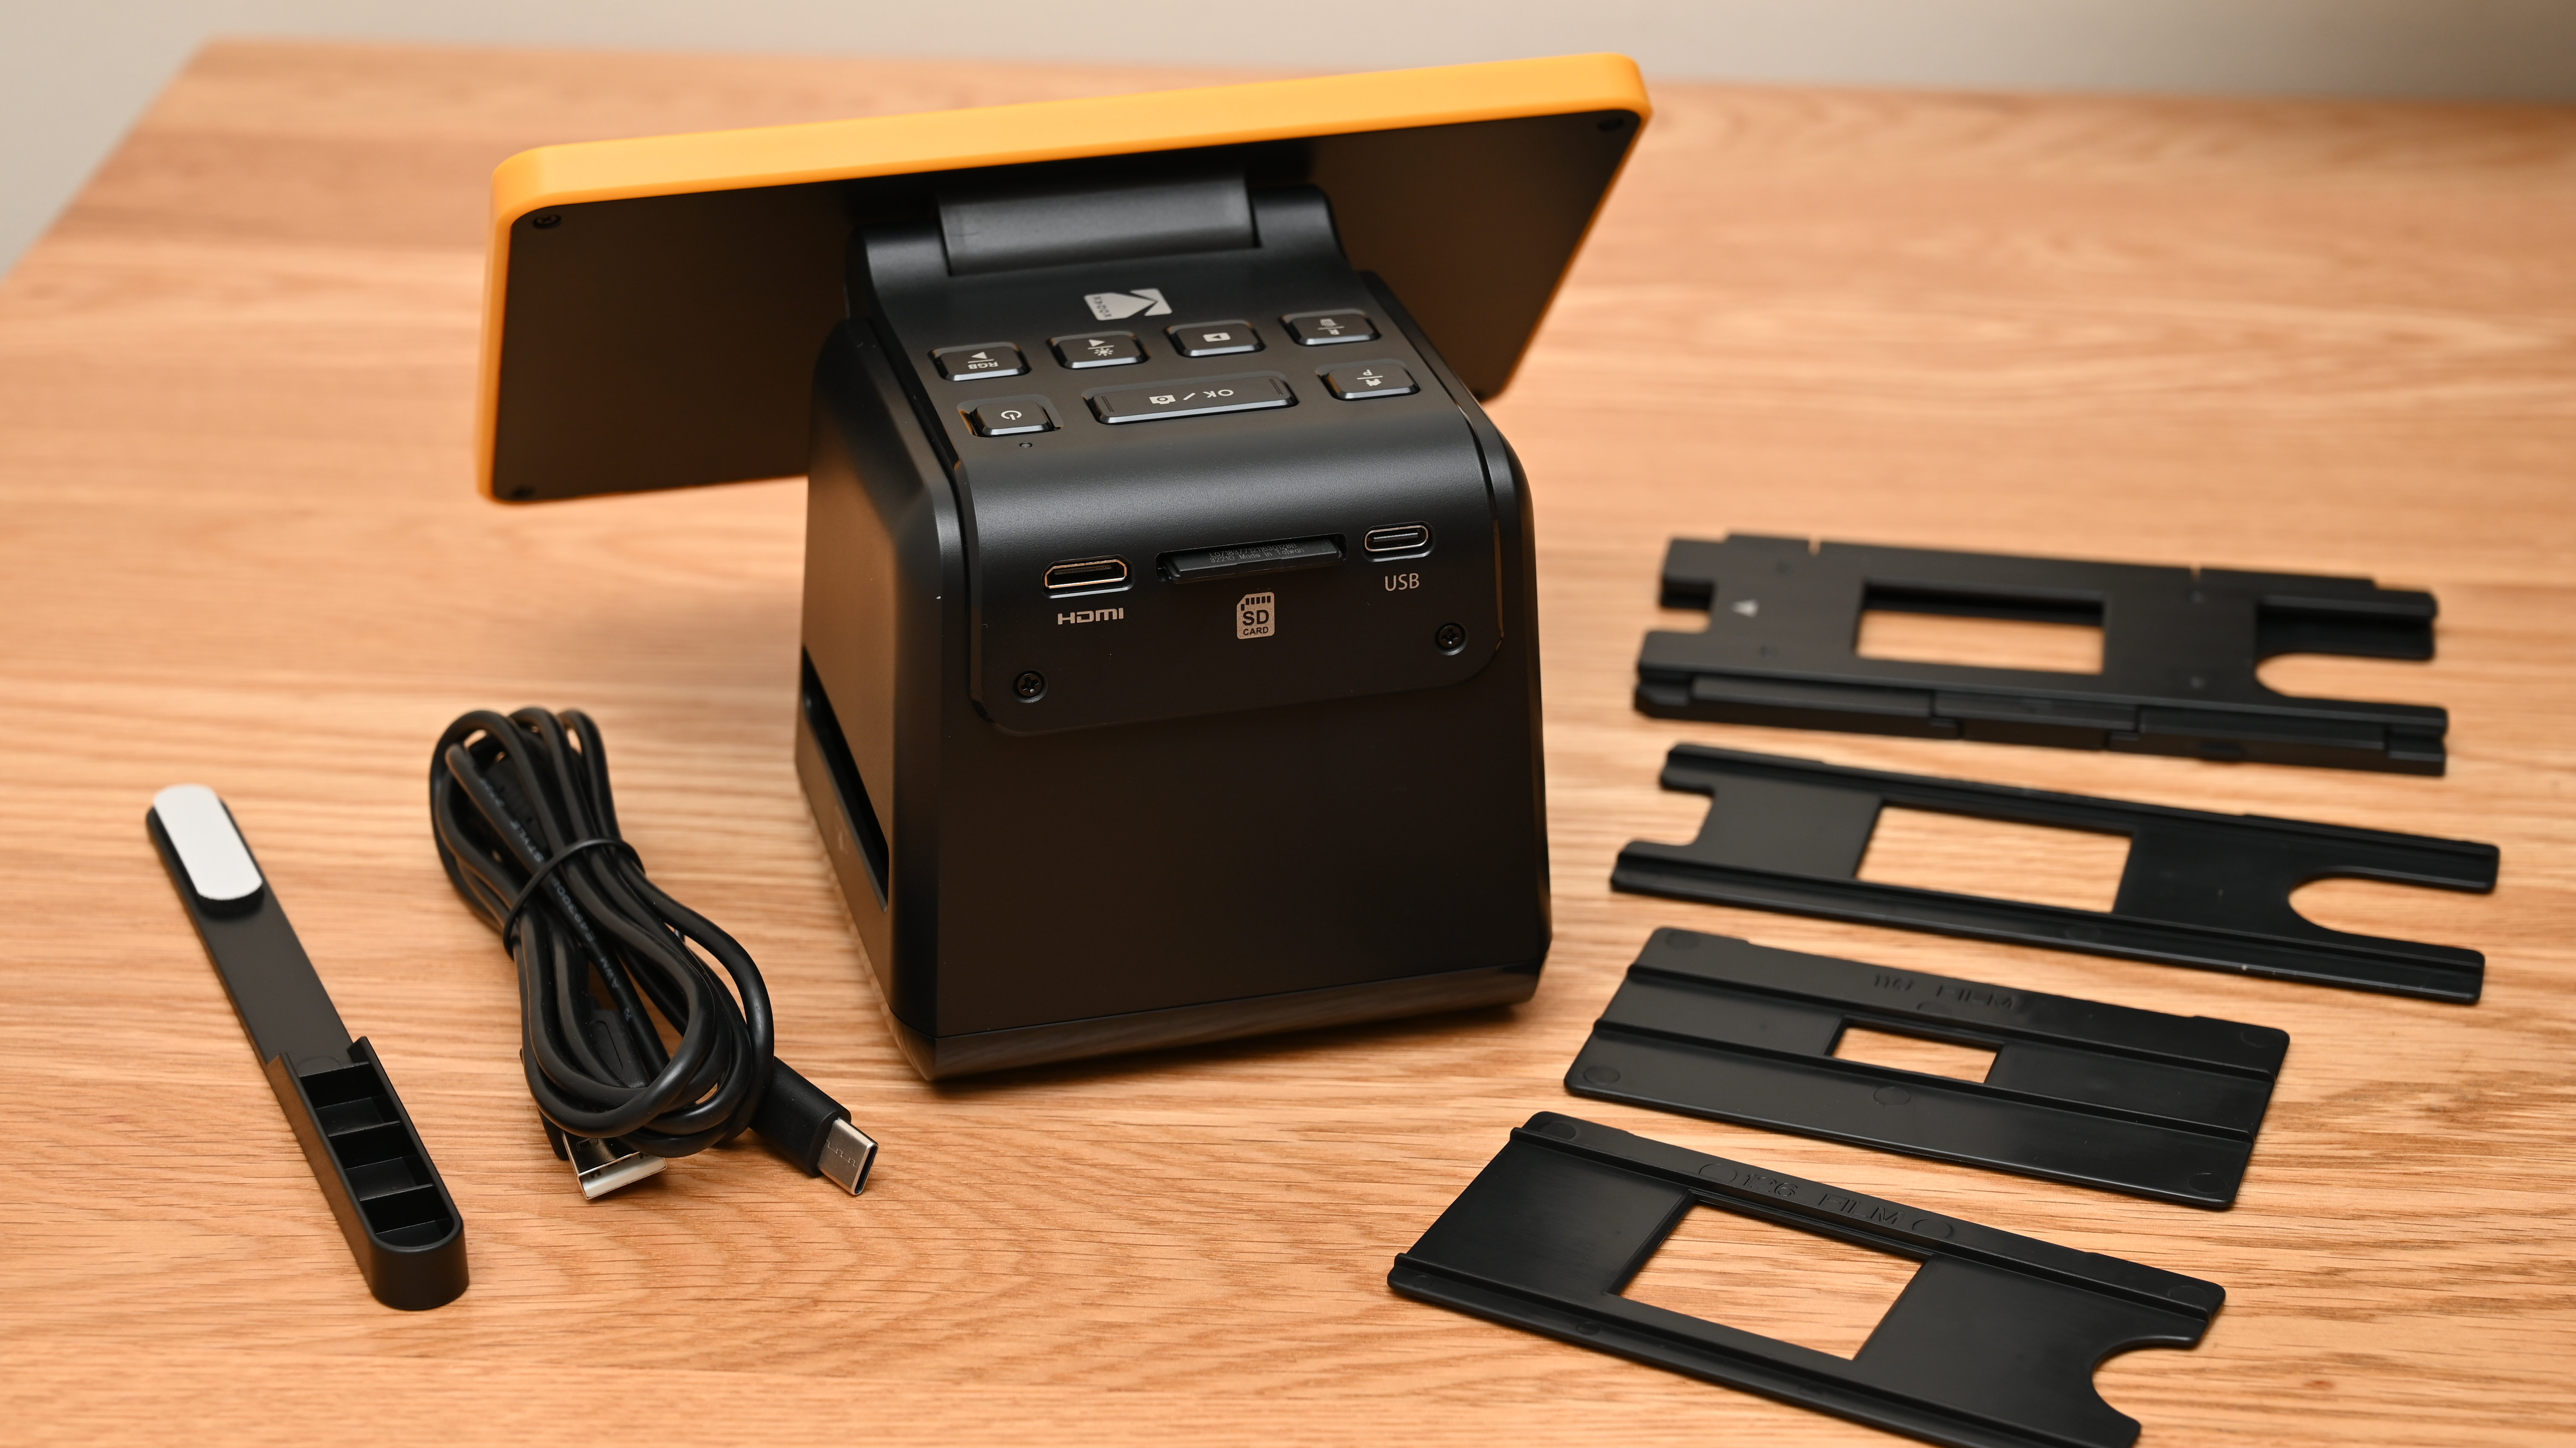
The CMOS image sensor for capturing frames of film has a native resolution of 14 megapixels, but you can also scan at 22 megapixels using software interpolation to produce larger images. The main screen is mounted at the front of the scanner and has a tilt mechanism that enables a natural viewing angle. Pushbutton controls are featured behind the screen, at the top of the base unit, while the USB-C port, SD card slot and HDMI socket are at the rear.
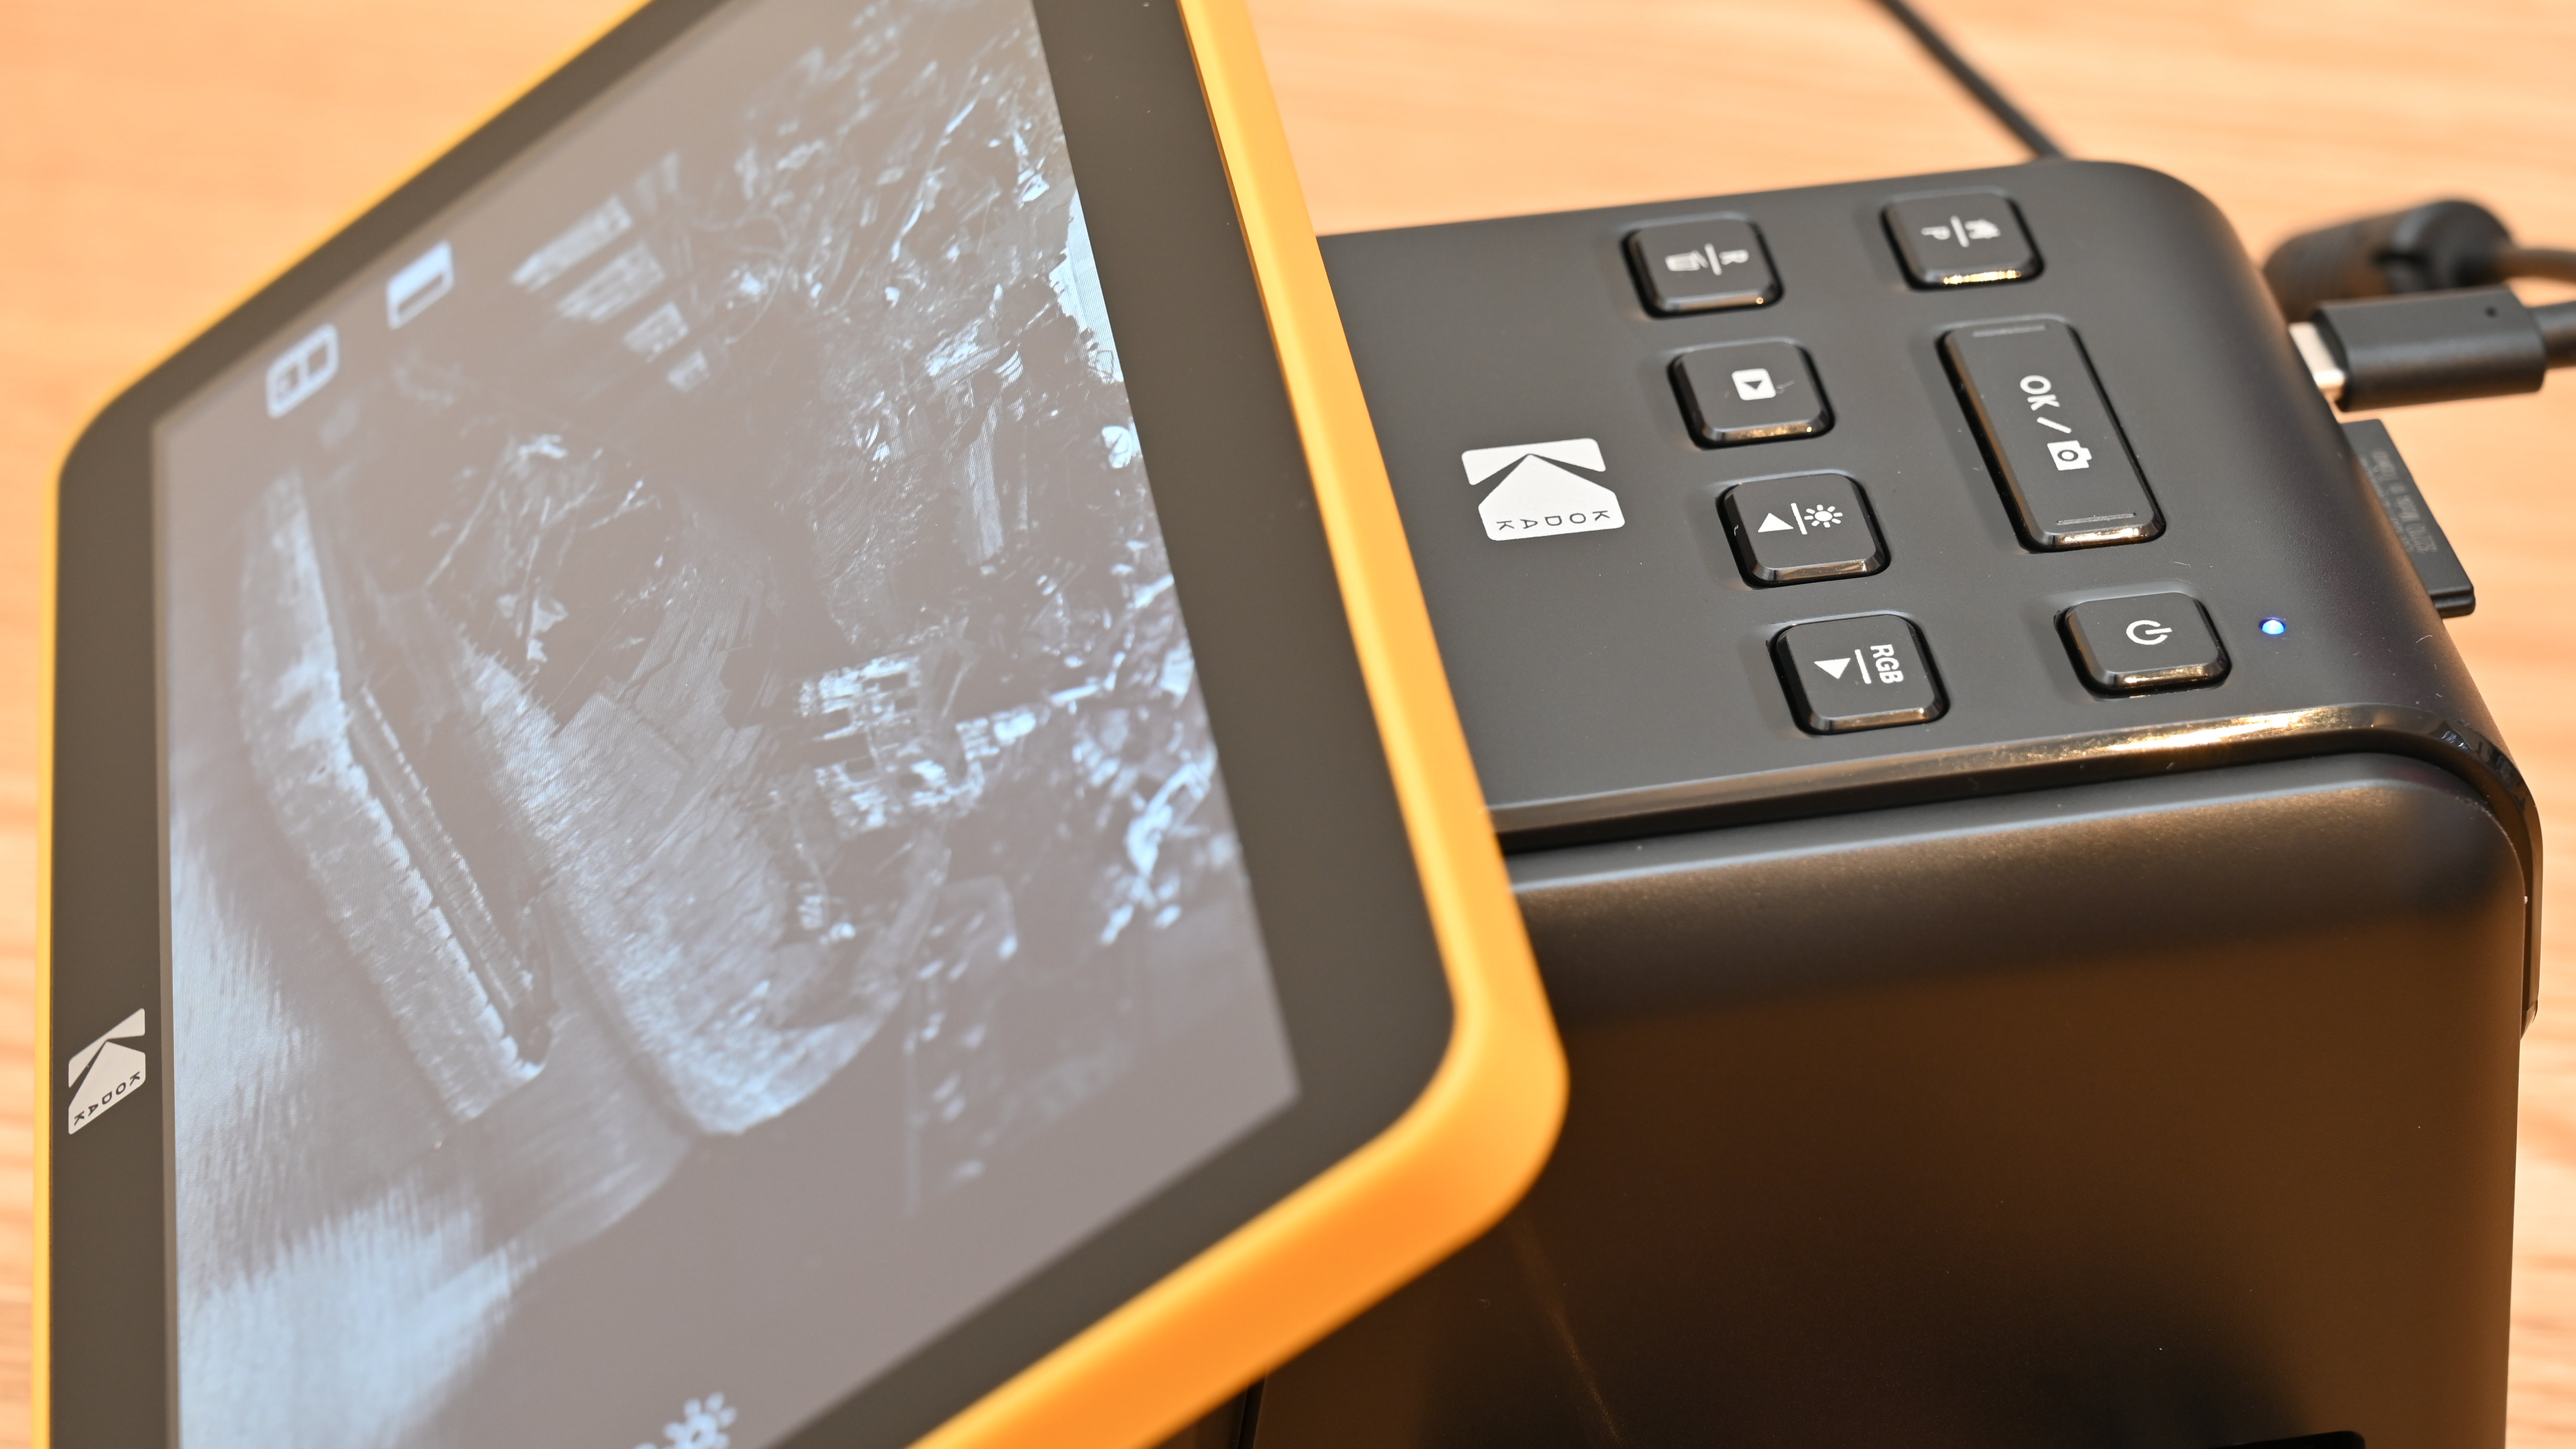
Kodak’s handbook that’s supplied with the scanner says that SD cards of up to a 32GB capacity can be used with the scanner. That’s pretty paltry by current standards but we had no problems or issues using a more up-to-date 128GB SDXC UHS-II card.
Build and handling
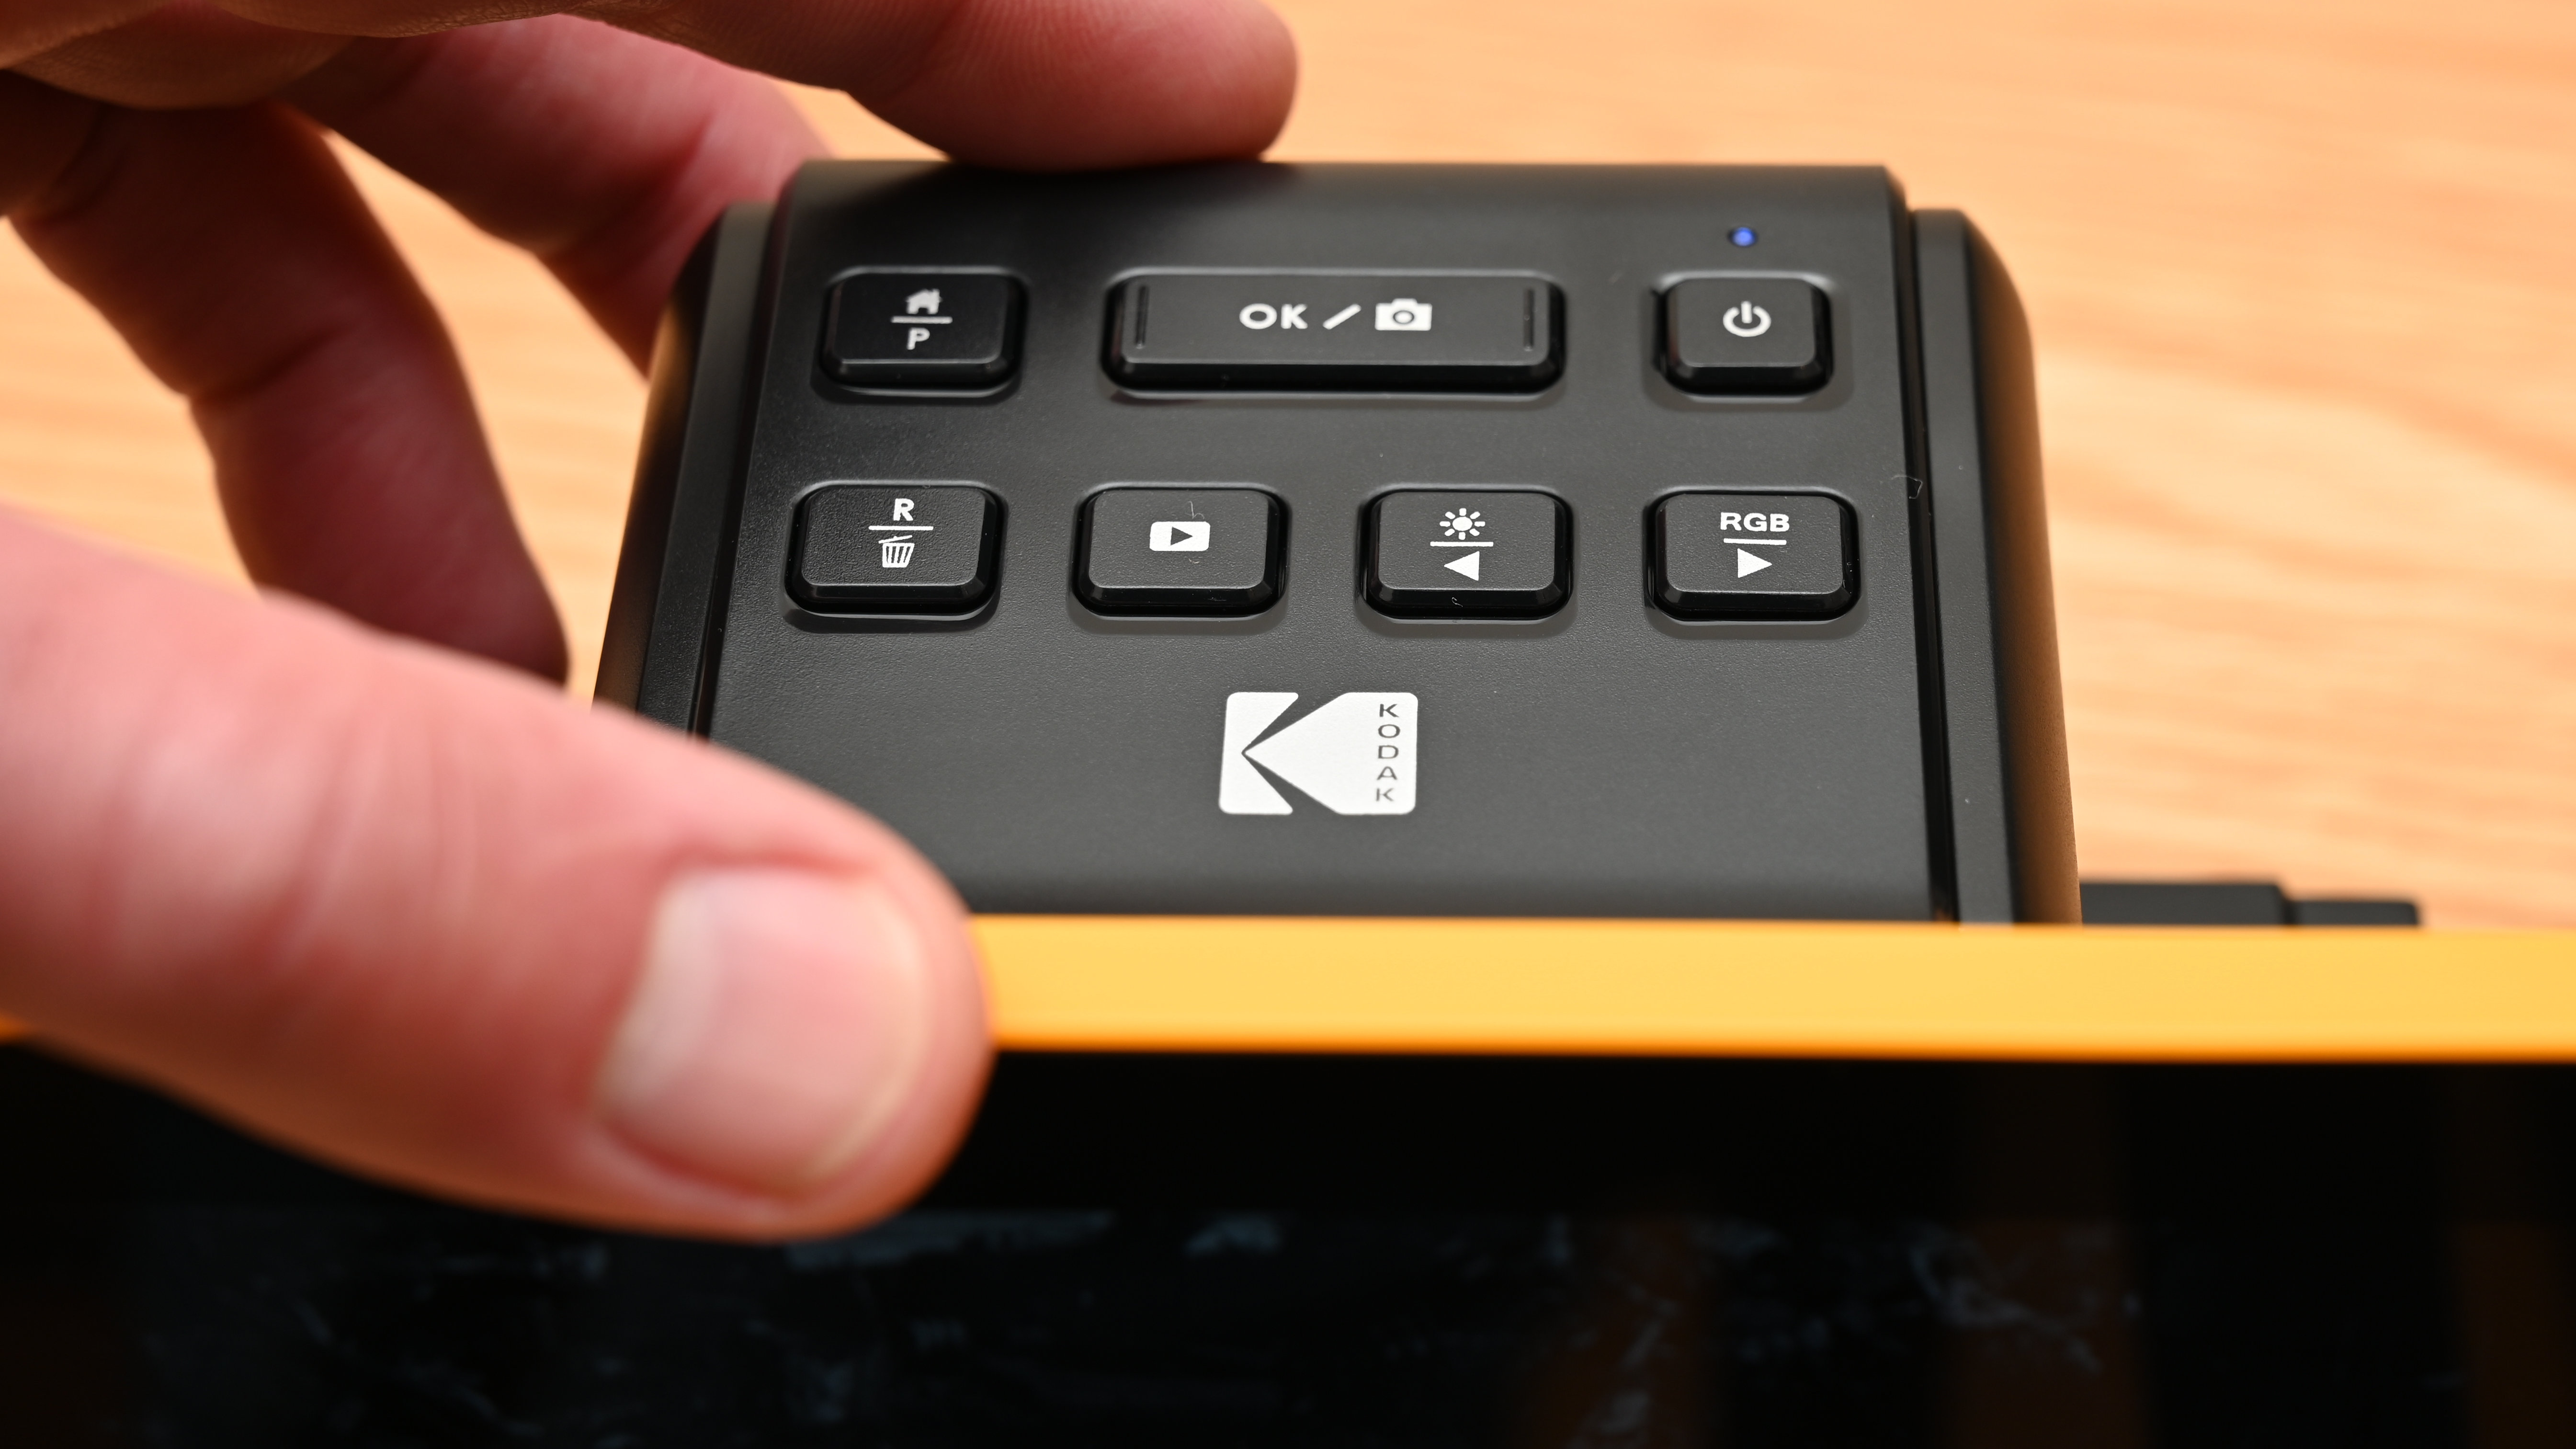
Even more so with the 7-inch model than the 5-inch version, the large screen takes center stage at the front of the scanner. Preview quality is pretty good but, from a handling perspective, it can feel a little counter-intuitive reaching behind the screen to access all the control buttons. The functions of most of them are doubled up, performing different actions depending where you are in the menu system, so it can take a little while to find your way around.
One thing we noticed when first switching on the scanner was that there’s a date and time setting. This isn’t a running clock that keeps tabs on the time however, but rather a facility for inputting the date on which photos were taken or scanned, which is then stored in the EXIF information of the resulting images.
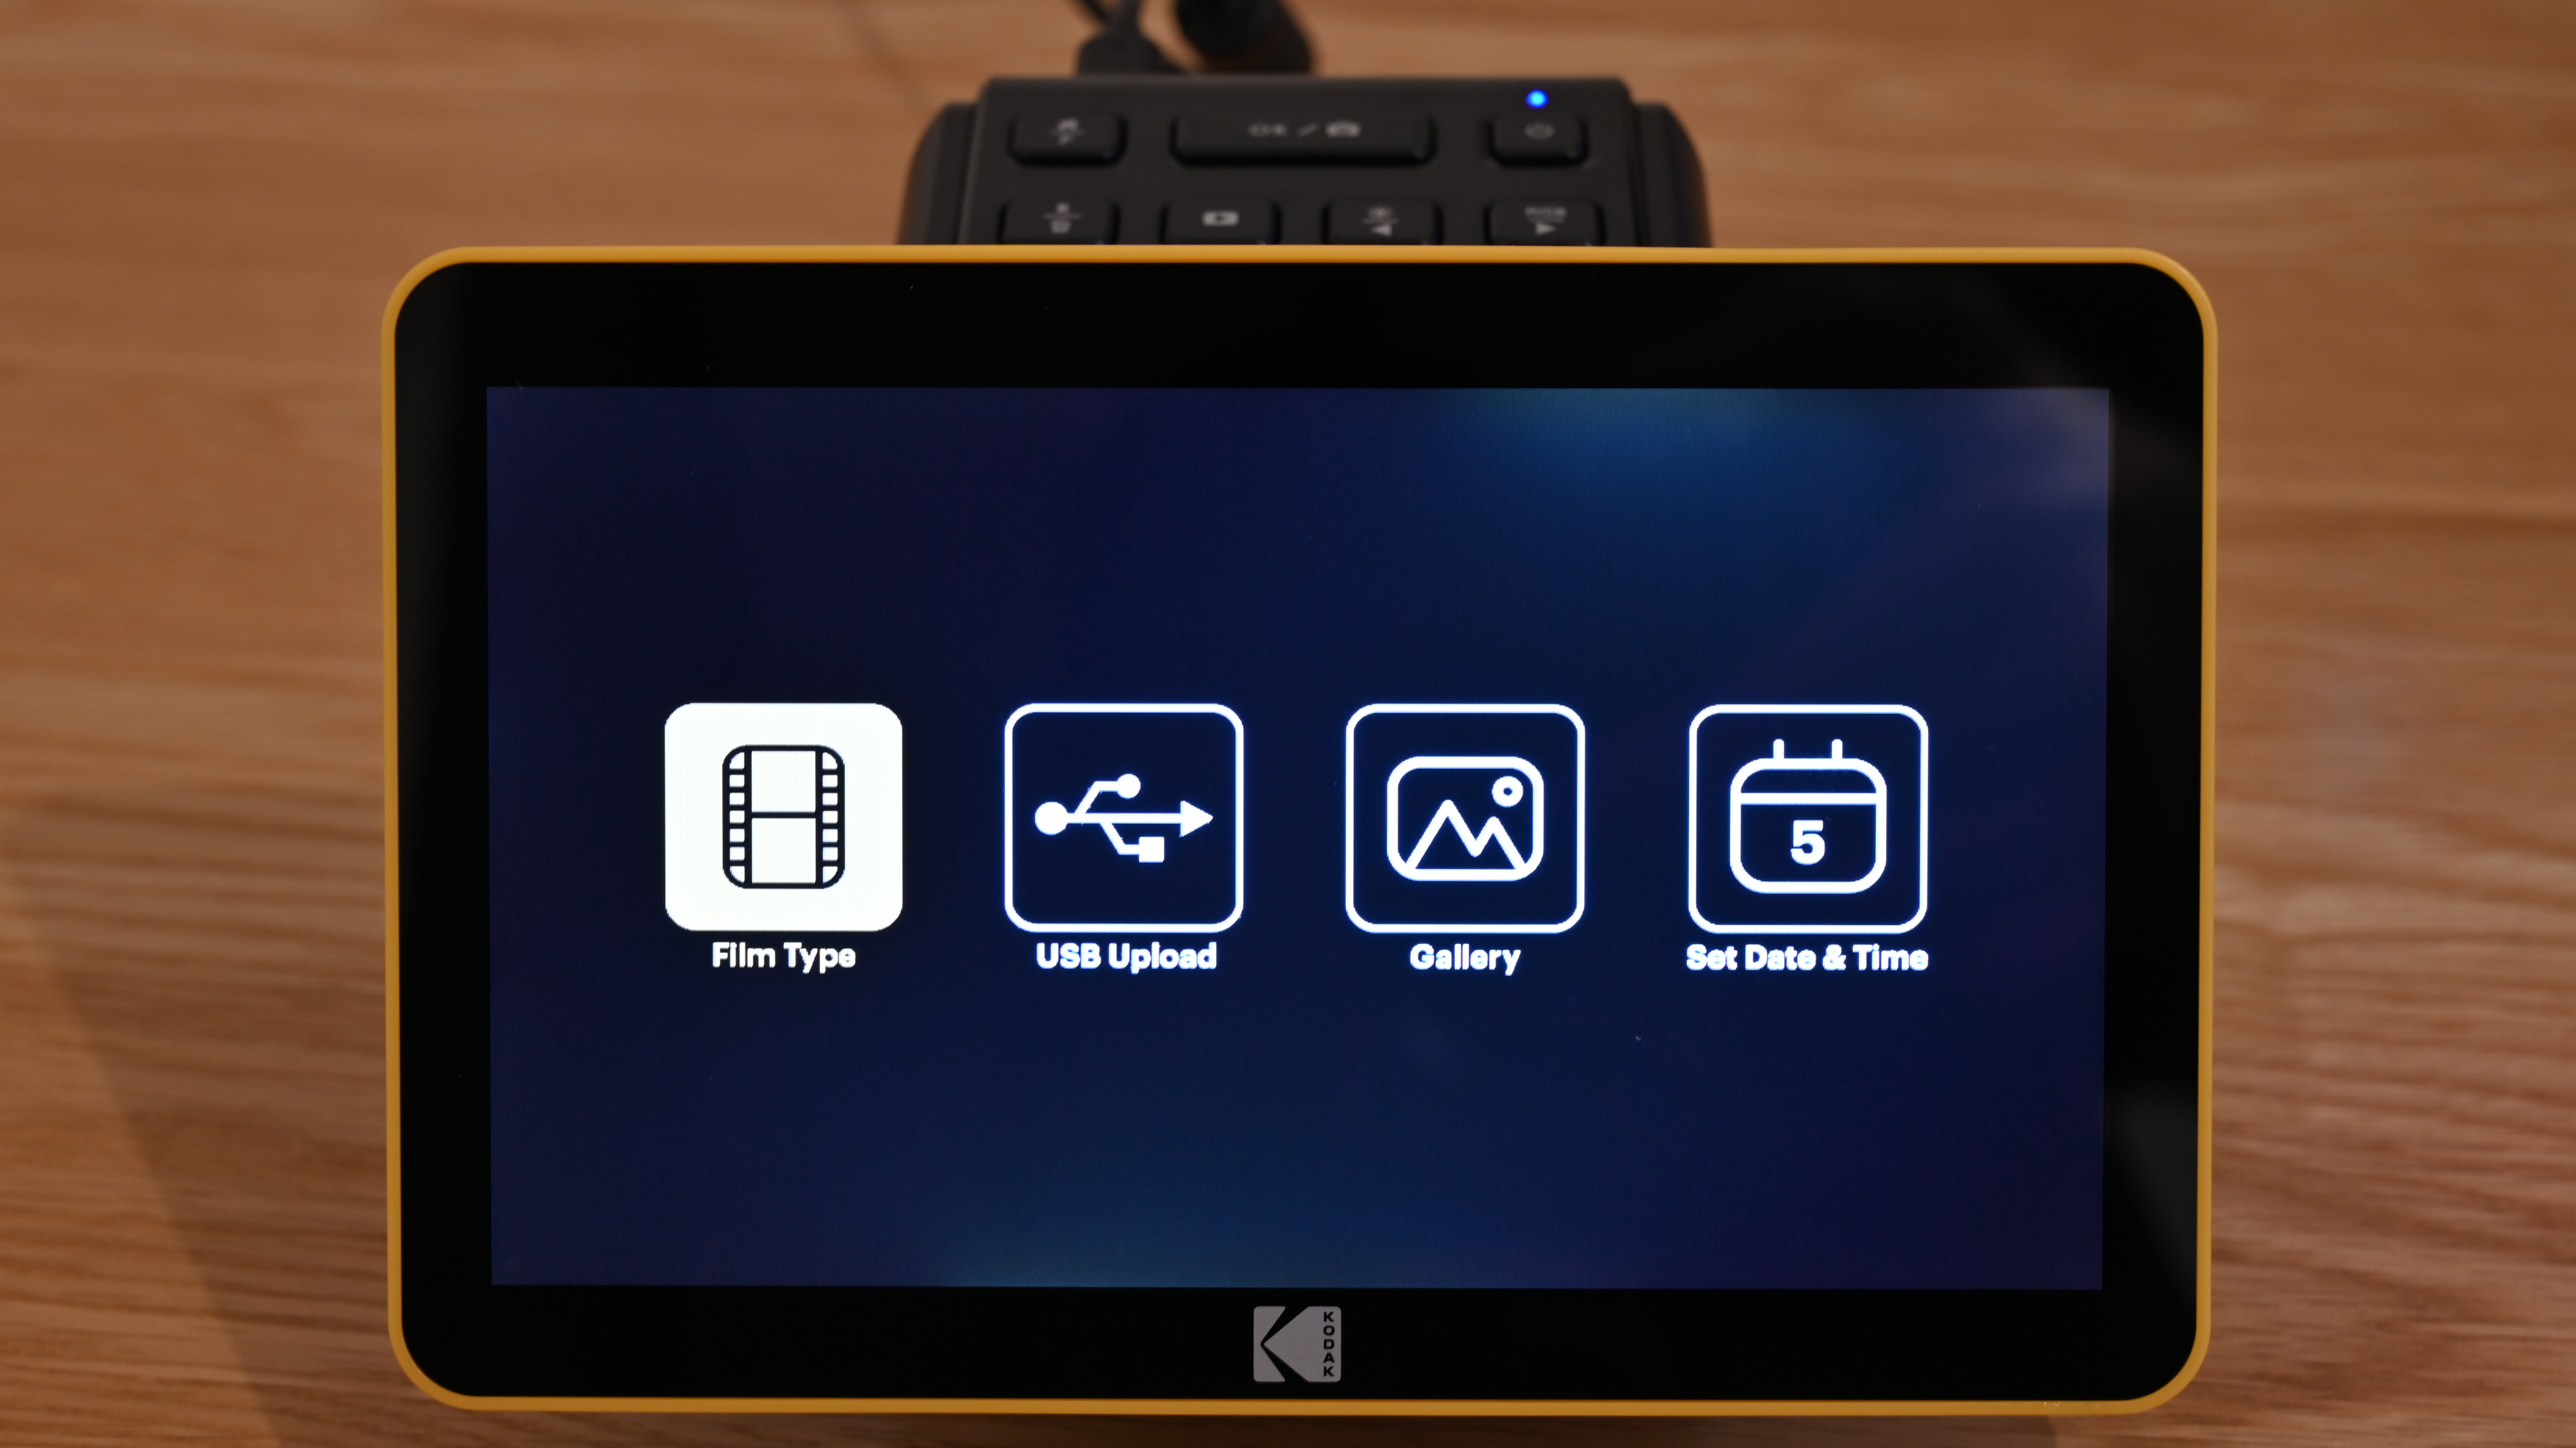
To start a scanning job, you simply need to select the right options for positive slide or for color or black & white negative film, and then select the size. After that, you’re ready to roll.
Performance
The Slide N Scan is certainly pretty speedy. In our tests, it scanned 35mm positive or negative frames in just under 2 seconds. As with the Scanza, there’s a greater amount of time involved in sliding film or slides through the scanner and making sure they’re perfectly aligned for each scan. That said, the process is a little less fiddly with the Slide N Scan, although smaller sizes like 8mm and Super 8 aren’t supported.
Although you can adjust the brightness and color balance on a scan by scan basis, at the preview stage, the default process is automated. As such, the scanner makes color and exposure corrections automatically. However, while we found this worked very well with the Scanza, in our tests using the same batch of both color and black & white negative frames of film, we found the results from the Slide N Scan were generally a little on the dark side. Conversely, images were typically a bit overly bright when scanning color transparencies. All in all, the Slide N Scan to required more manual adjustment of exposure.
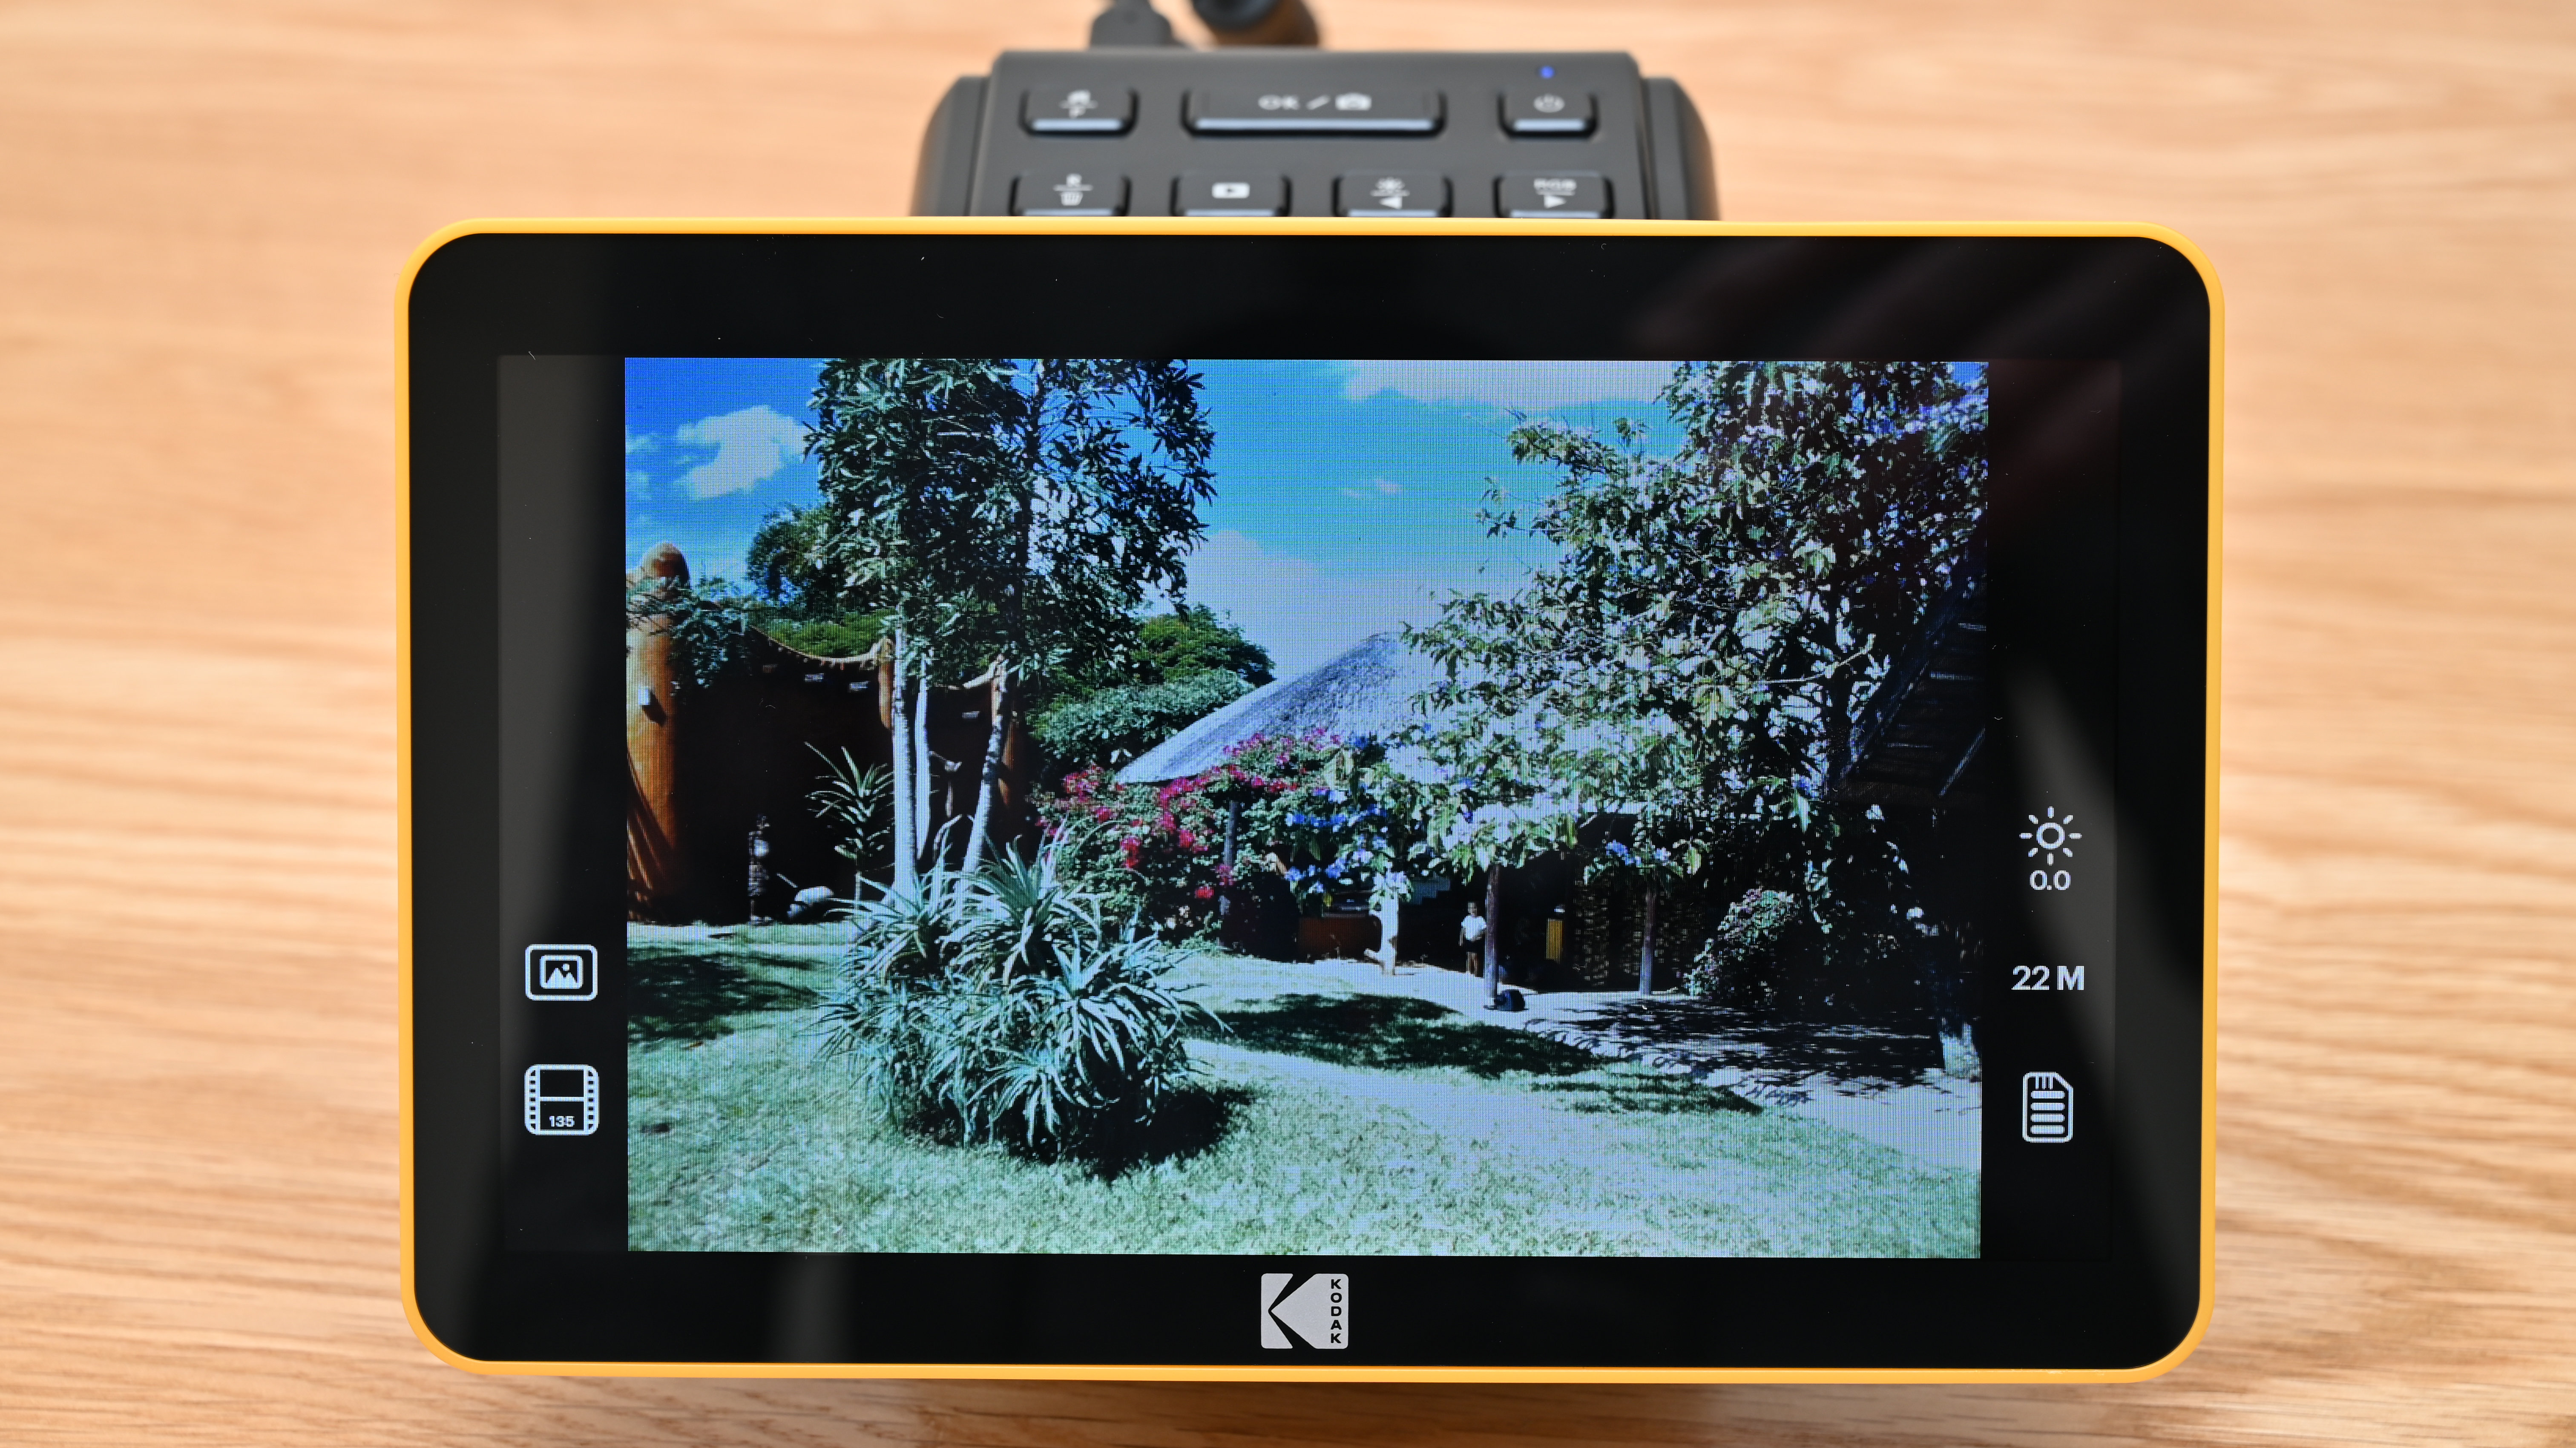
For sharpness and retention of fine detail, the Slide N Scan is very much on a par with the Scanza. As such, images tend to look rather soft. Another similarity is that they look a little pixelated and areas of subtly graduated color tend to look rather blocky, as do areas of bokeh. Again, there’s no real advantage to be gained by switching to the higher-resolution 22 megapixel interpolated scanning mode, rather than sticking with the native 14 megapixels. Ultimately, if you demand the highest standards of image quality, the Slide N Scan isn’t for you.
Sample images





Verdict
Compared with the Kodak Scanza Film Scanner, which costs a little less to by, this one has a larger screen for previewing scans or playing images back once you’ve scanned them, in Gallery view and slideshows. The control panel is rather different but again relies exclusively on pushbuttons, as the larger LCD still isn’t a touchscreen. Even so, operation is simple and effective, and scanning speed is quick, although the actual image quality isn’t overly impressive.
Also check out our guides to the Best film scanners and the Best slide viewers
Matthew Richards is a photographer and journalist who has spent years using and reviewing all manner of photo gear. He is Digital Camera World's principal lens reviewer – and has tested more primes and zooms than most people have had hot dinners!
His expertise with equipment doesn’t end there, though. He is also an encyclopedia when it comes to all manner of cameras, camera holsters and bags, flashguns, tripods and heads, printers, papers and inks, and just about anything imaging-related.
In an earlier life he was a broadcast engineer at the BBC, as well as a former editor of PC Guide.
