Digital Camera World Verdict
Those looking for welcome analog distraction from the digital world, or an opportunity to practice ‘mindfulness’ are directed to the Lomography Konstruktor, which will deliver just that in the patience-testing hours it takes to construct – plus the possible endless hours actually using the product. The process of constructing the inner workings of an SLR and understanding how it all fits together is ultimately an interesting, albeit very fiddly, one.
Pros
- +
A chance to block out life’s stresses with an immersive build that requires full concentration
- +
A value for money experience
- +
Low-tech ‘fun’ for the digital weary
Cons
- -
Requires a very hands-on, labor intensive approach to build and achieve usable results
- -
Lots of very small fiddly parts
- -
Could be a patience stretching challenge
Why you can trust Digital Camera World
Film photography specialist Lomography has always been more about putting the fun back into photography, rather than developing the sharpest lenses or delivering the most detailed images. In other words it’s almost the exact opposite of most other camera manufacturers, keen to push the envelope and tempt photographers to spend more on their new, upgraded and better-performing products.
It’s safe to say that ‘Lomo’ cameras have relied on lo-fi, Heath Robinson-style, plastic cog-powered charm as a sales tool, rather than the very latest tech. And so what if the resulting pictures are a bit blurry or the colors look a bit odd, when it’s about the overall ‘experience’?
Taking this resolutely analog approach one step further, or perhaps a step up, is the Lomography Konstrukor. This is a 35mm film SLR, the brand’s first. There’s only one problem, or ‘challenge’; it arrives in plastic kit form. Yes, just like those airplane models and robots we ham-fistedly glued together in our youth. Happily there’s no need to glue this one, however, as the disparate parts either snap together or are assembled using provided screws and tightly coiled springs. So, are you up for the challenge?
Key features
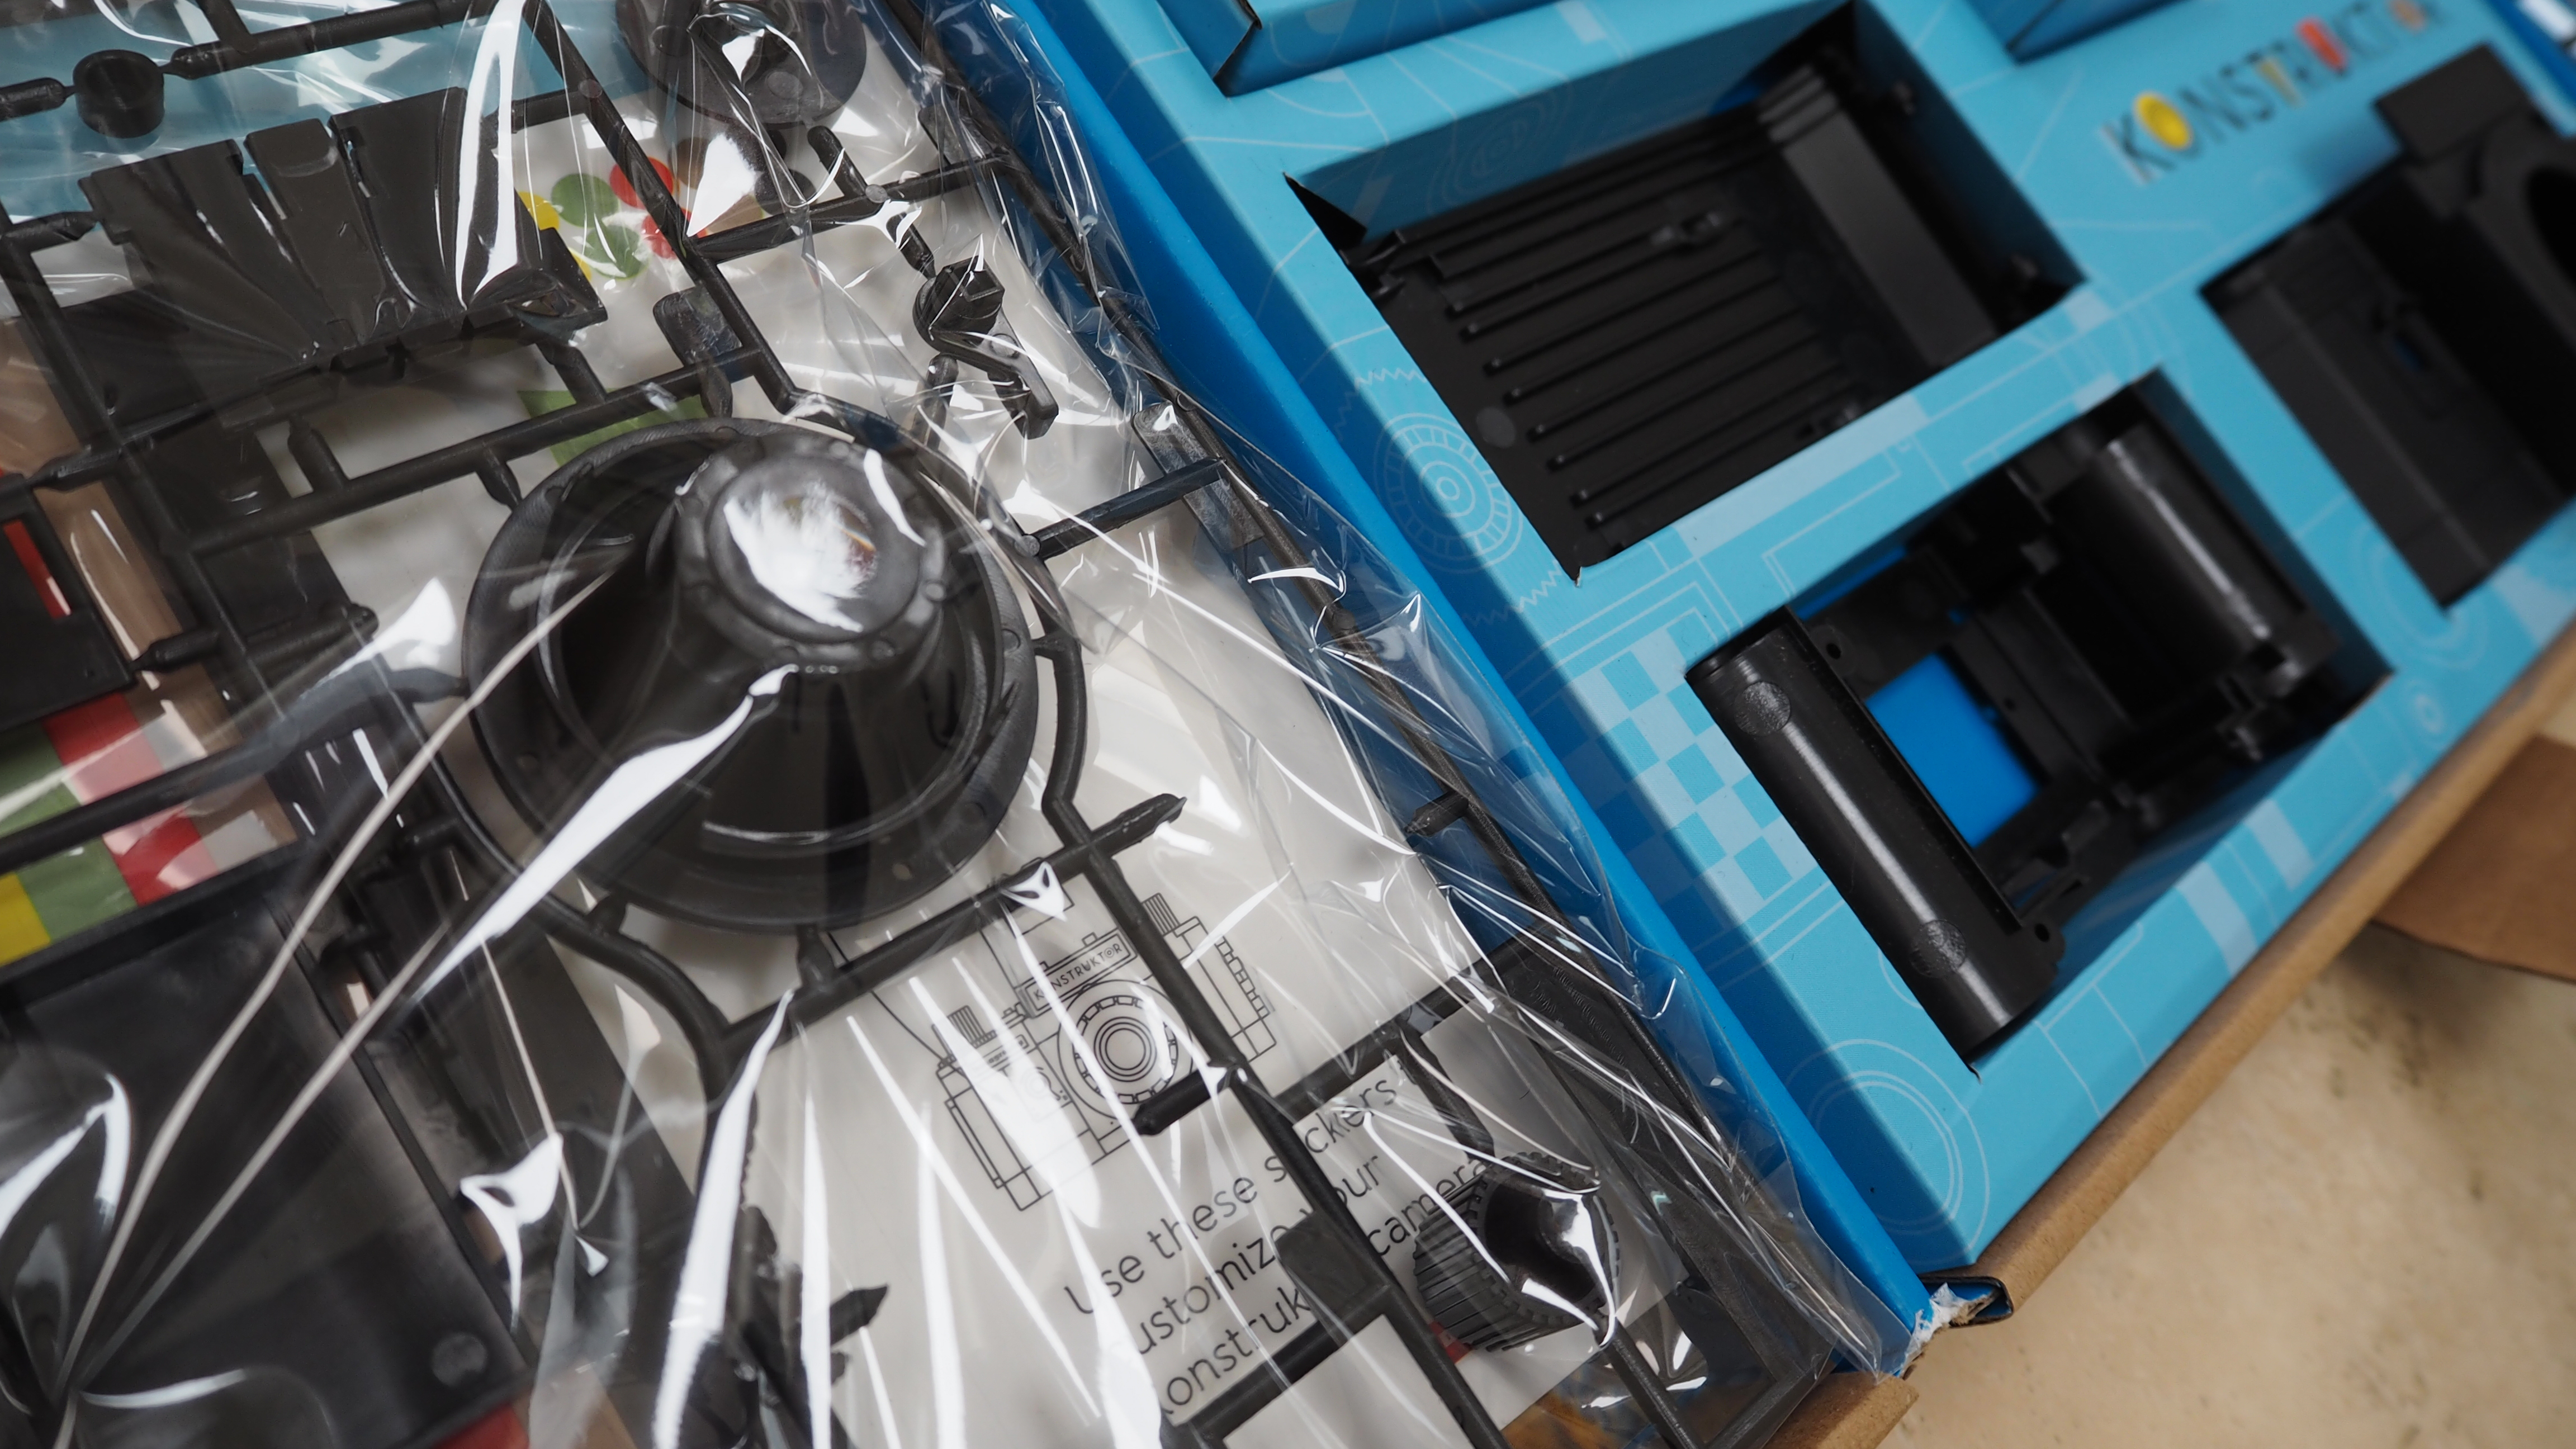
We have to say the packaging of the Lomography Konstructor F looks great for the pocket money friendly price demanded, and will appeal to an audience who enjoy crafting, as well as model making and photography. The initial idea and inspiration, at least, appears sound. Like a piece of origami, the inter-leaved, inter-locking cardboard box design unfurls itself to reveal the components neatly compartmentalized before us. We can imagine huge gift potential for the photo buff or shed-dwelling dabbler in your life – even if that’s you, yourself.
We then attempted construction. Lomography states that this can take an hour or two, ‘usually’. We quickly discovered that the instructions in its glossy booklet didn’t 100% marry up with the parts presented before us. Some had been pre-assembled, and were thus missing from the plastic frame on which we were expecting to find them. We easily wasted five to ten minutes while we figured this out.
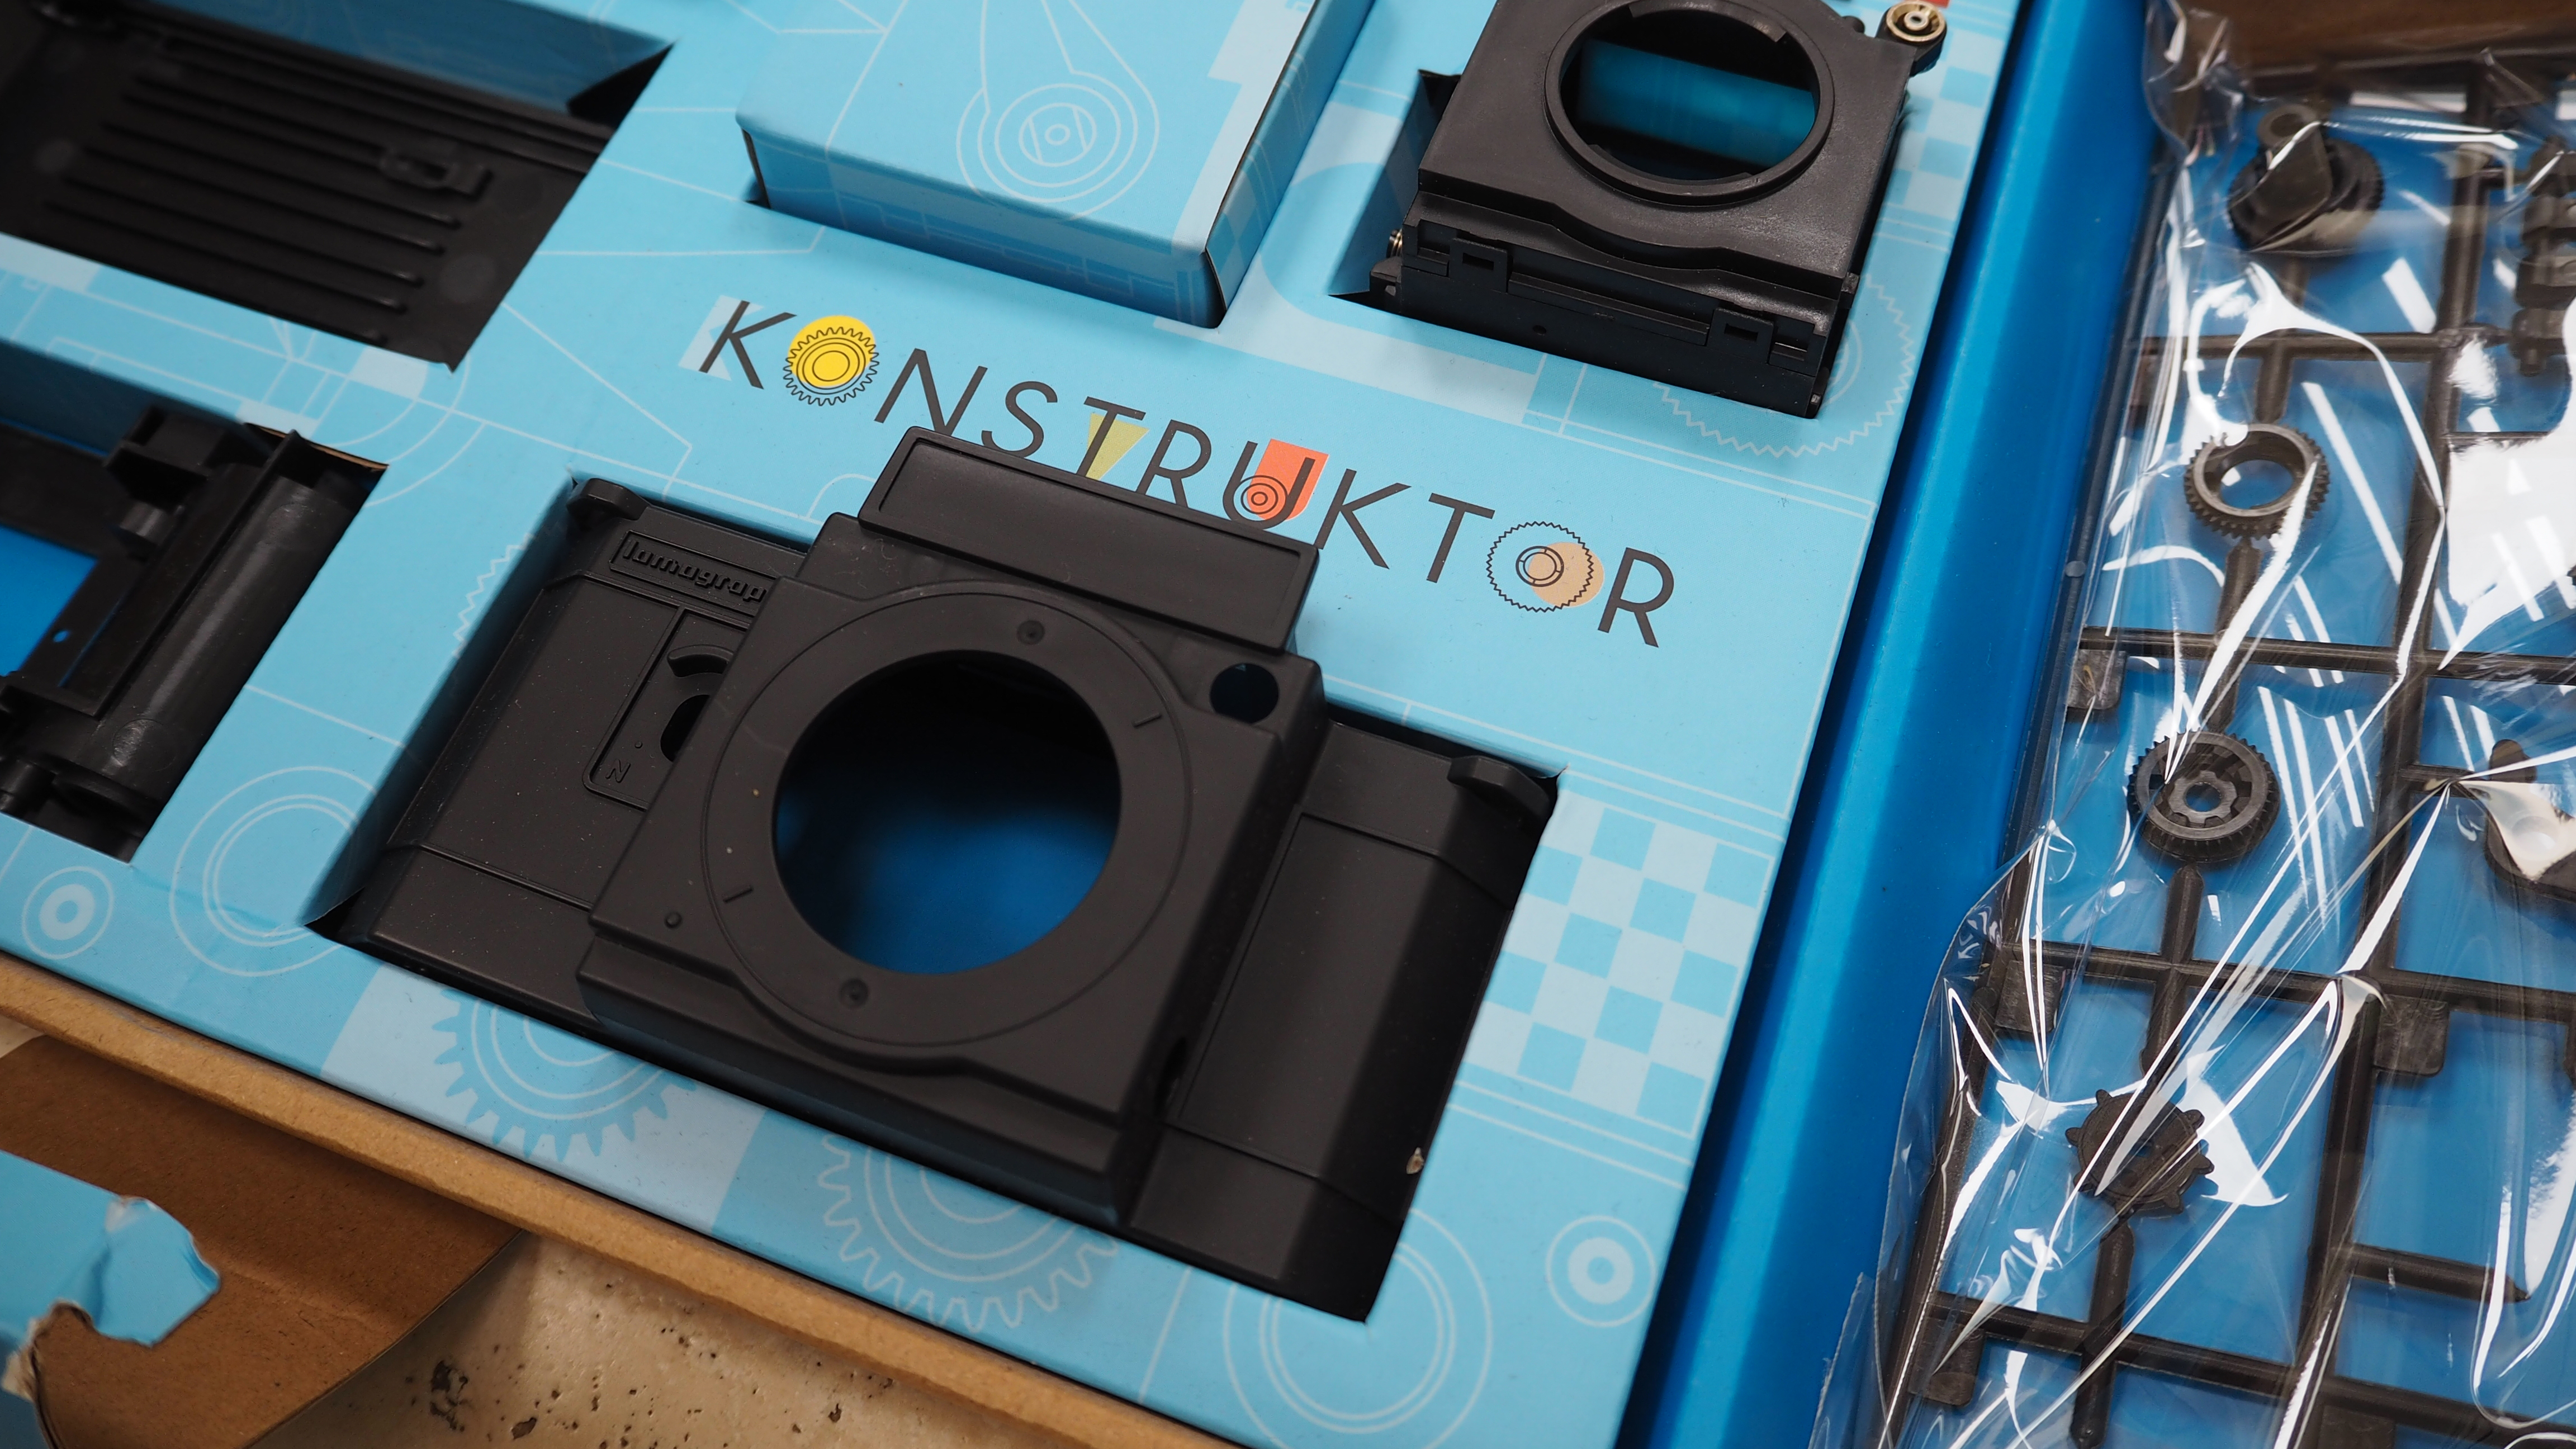
Fortunately, a metal screwdriver is provided out of the box for the application of the tiny screws provided for assembly, negating the need for glue, which would have made a couple of the build stages impossible to undo and re-do to finesse. And yet, trying to differentiate one tiny black metal screw a few millimeters in length from another equally miniscule black metal screw proved tricky, if not impossible – and in the end we hoped it wouldn’t make a lot of difference anyway.
For reasons unclear, one plastic frame of camera parts is labeled with the prefix A, while the second frame has parts labeled with the prefix P. All the parts referred to with the prefix ‘B’ in the instruction manual are not to be found on any frame, however, and are loose in the box. This isn’t explained at the outset and necessitates some detective work on the part of the assembler, in trying to best match the disparate parts with the small images shown in the manual. Again, this elongates the process while equally stretching the patience of the assembler – particularly if you’re eager to get it done in a particular time frame you’ve set aside.
Construction
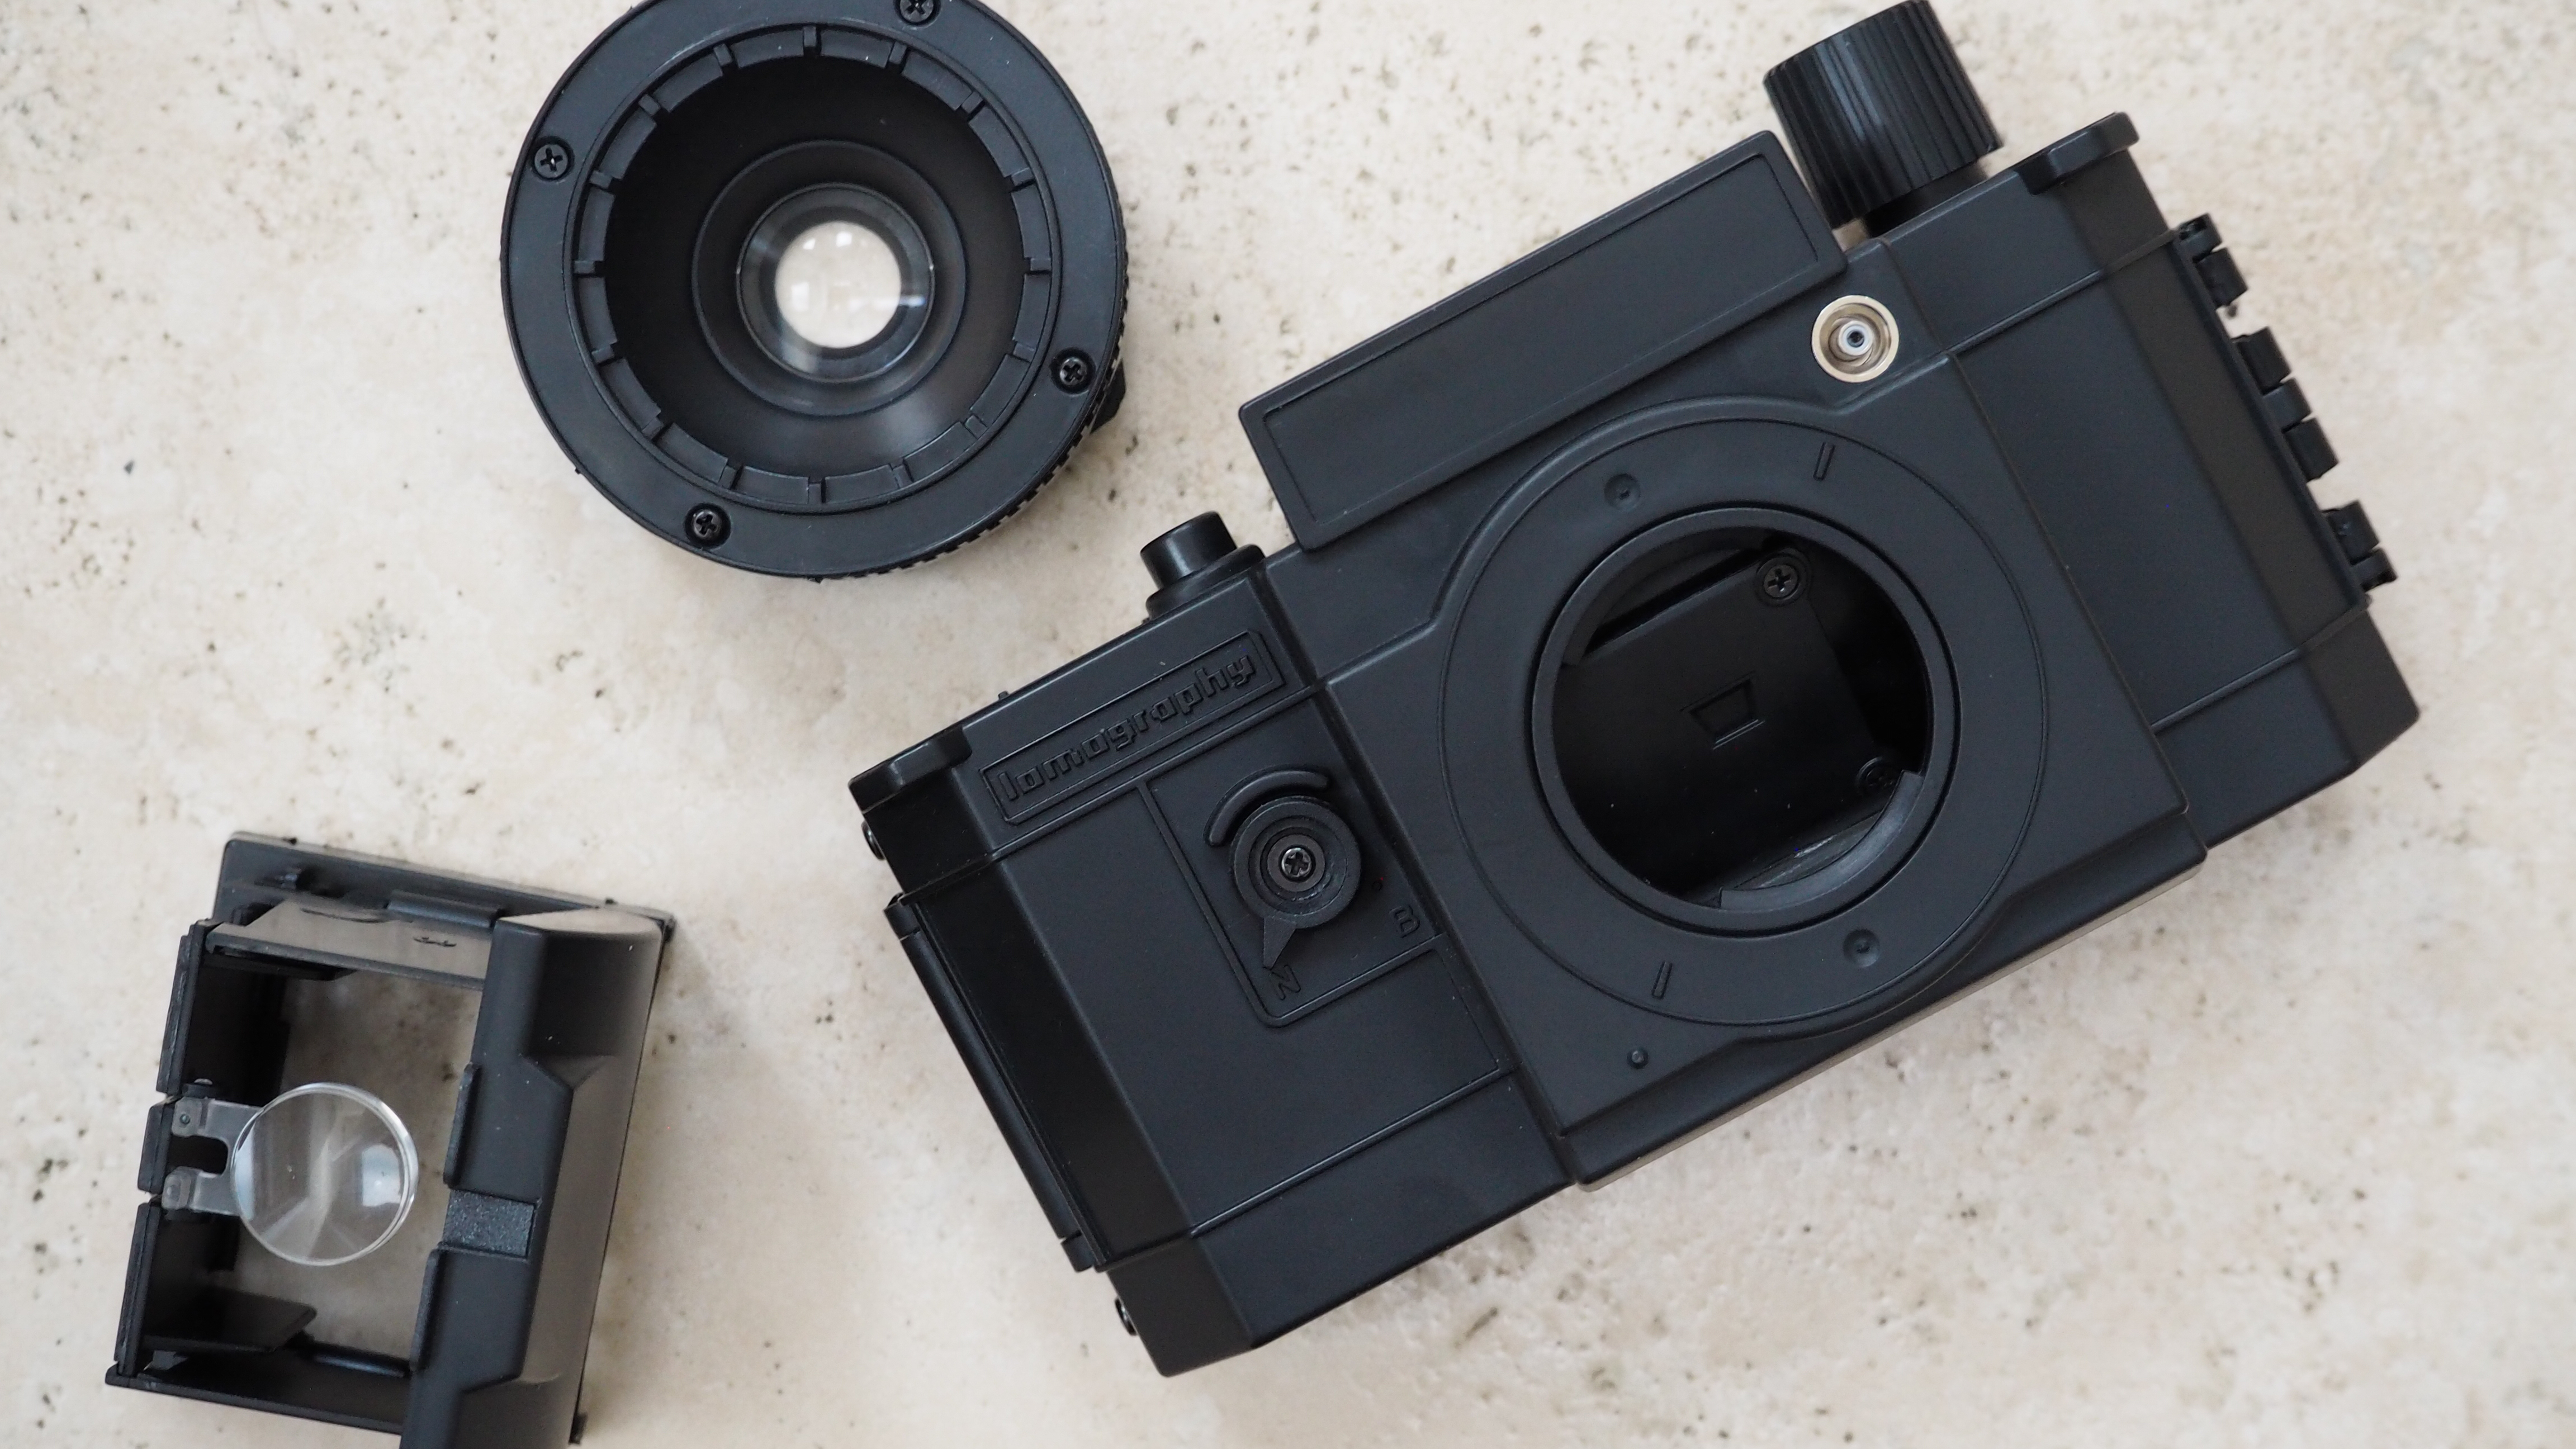
While the box claims that the Lomography Konstruktor F can be put together as a working SLR example in two hours, we spent over double that constructing the camera. The ability to rush things came down to the fact that we were aware at every stage that we were attempting to build a camera that would, eventually, be required to work. That meant making sure we followed instructions as closely to the letter as we could – to avoid having to re-do certain stages. Even then, we found ourselves having to unfasten and refasten screws a couple of times, as certain plastic parts weren’t quite gelling together as well as we would have liked. It’s safe to say that quite a lot of patience is required, with various parts so small and fiddly that working to a set timeframe just isn’t an option.
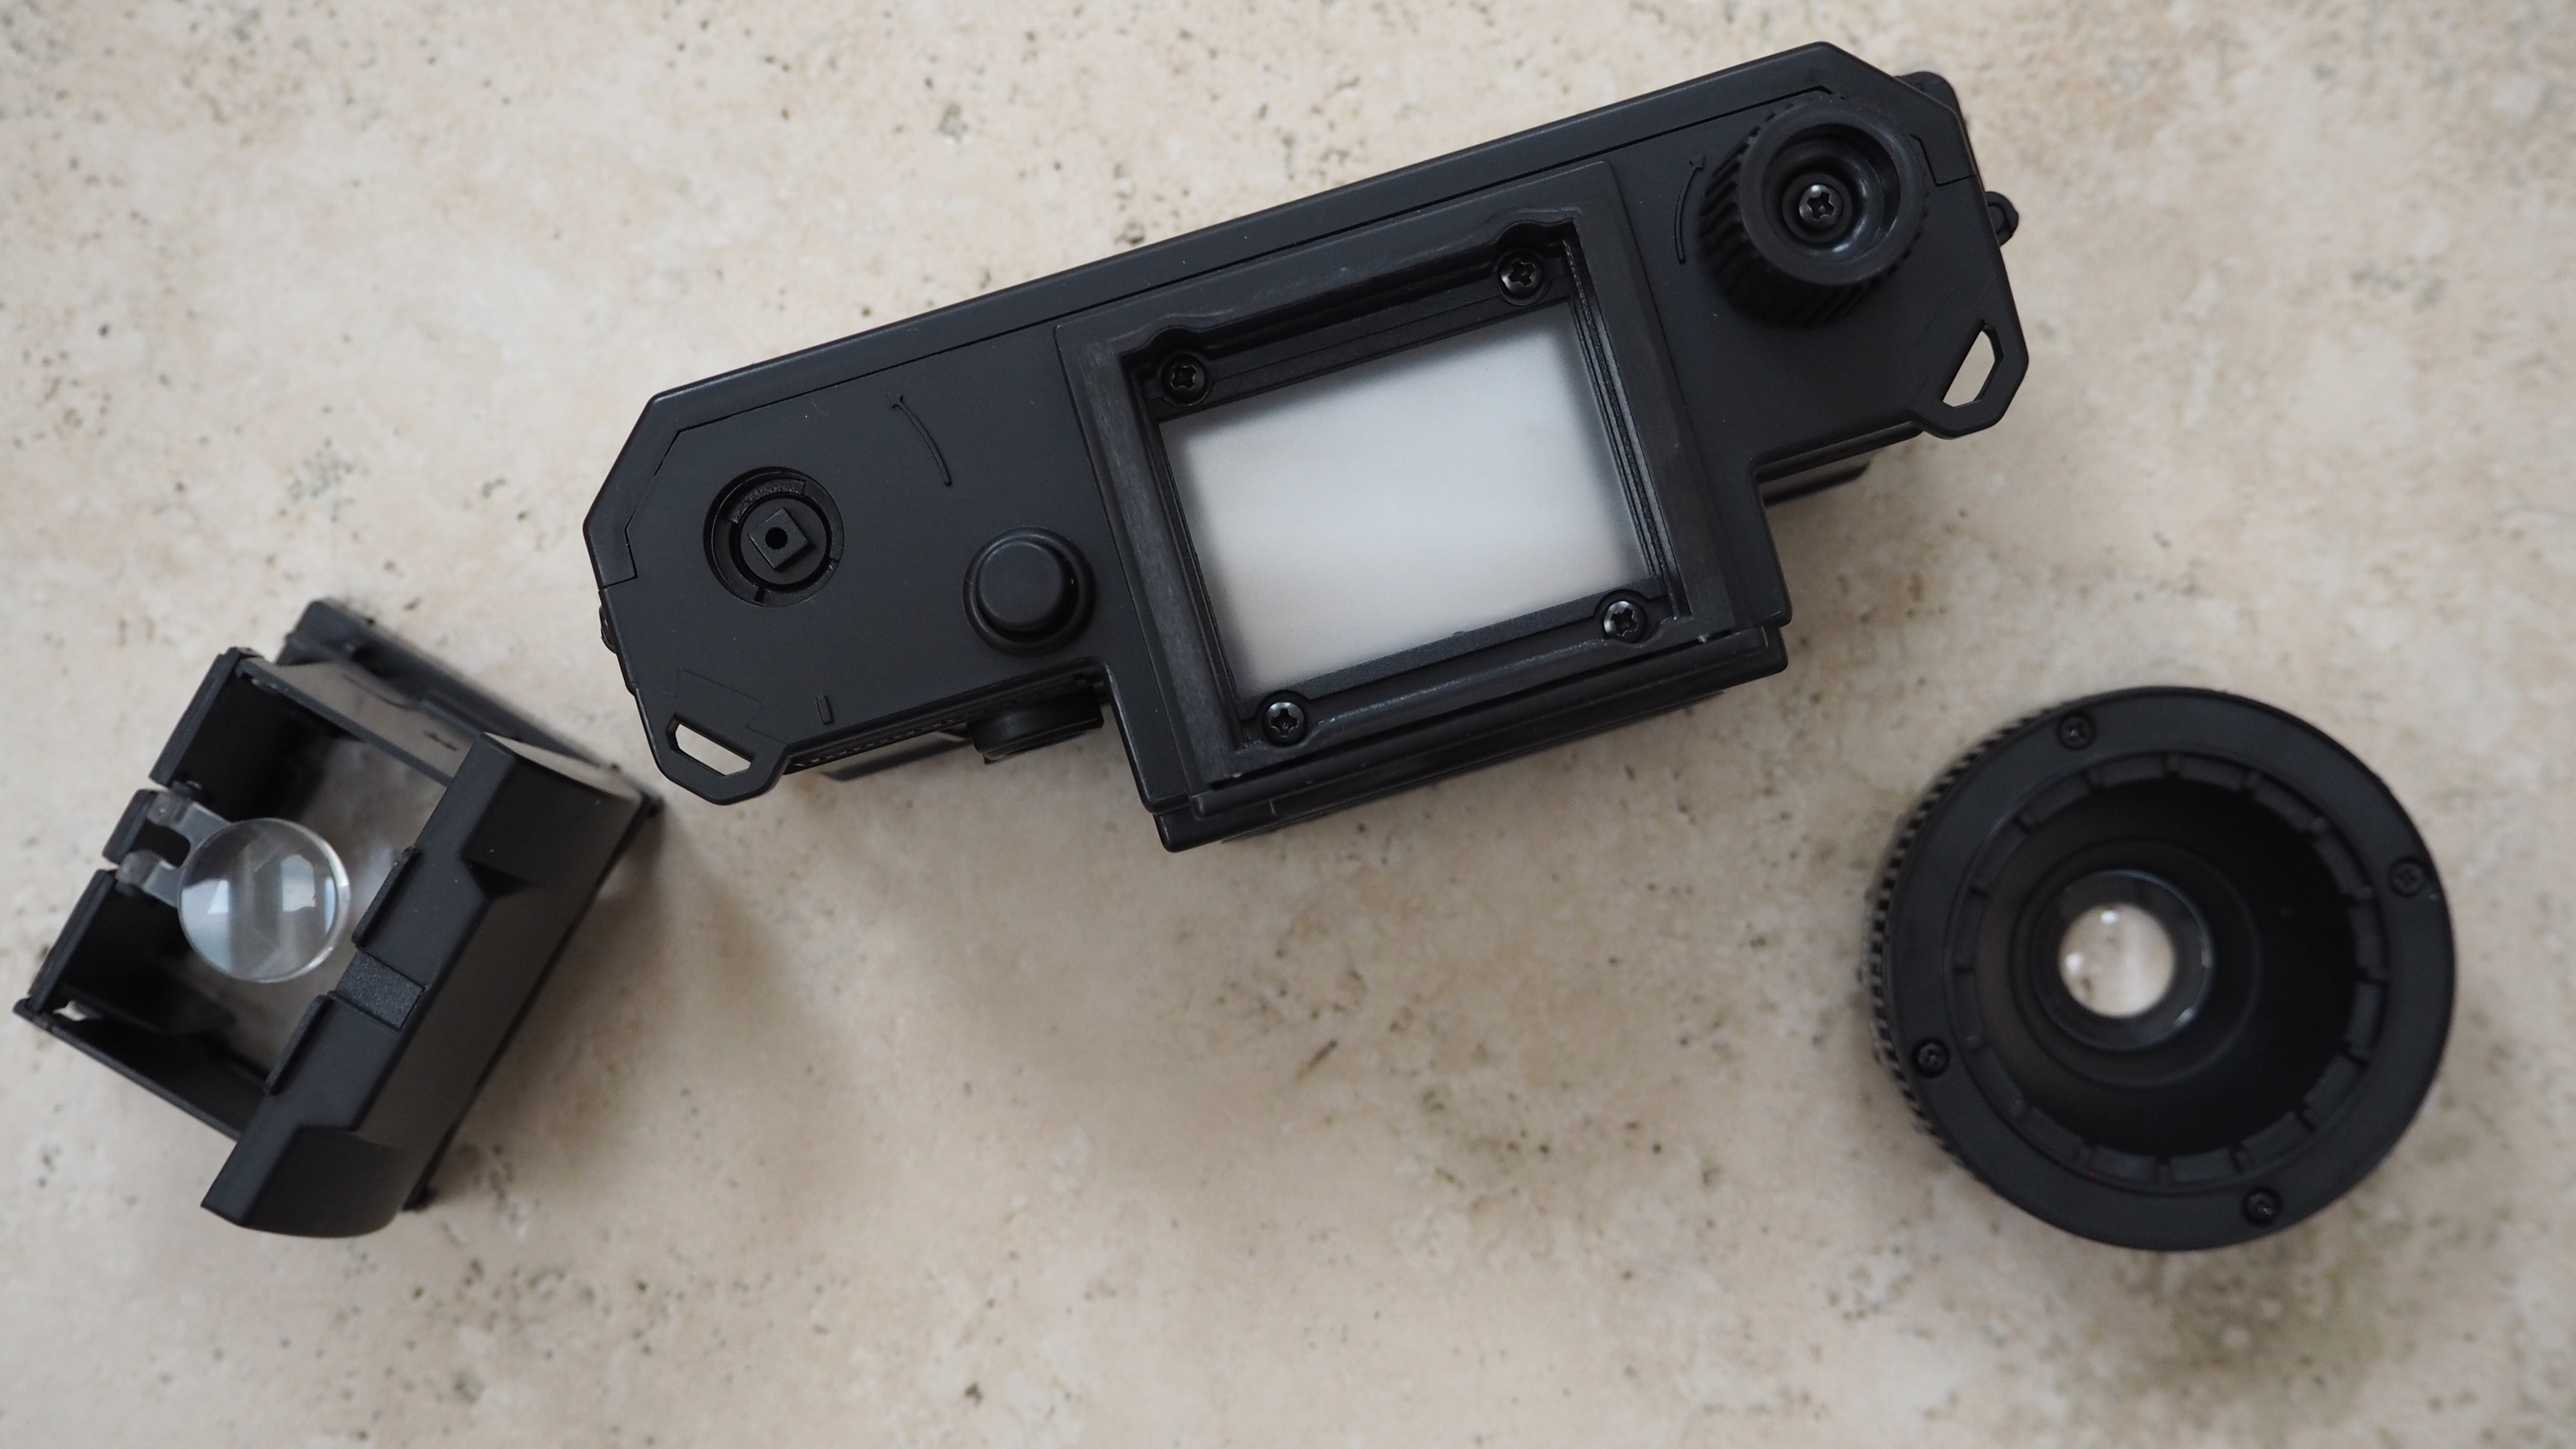
A particular kicker is that once the camera is completed, the realization dawns that no roll of film is included in the box with the Konstruktor. It would have been a sensible for Lomography to include one or two rolls, even if it pushed up the initial price slightly. It’s like being given a toy as a child and finding you can’t actually play with it or test it out straightaway, as batteries aren’t included. Or maybe the manufacturer suspects that the construction is such a challenge that actually ending up with a fully working camera will prove impossible for many.
Interesting, the sample we were given to construct from scratch came with an pre-fitted PC socket for theoretically pairing with an accessory flash. Unsurprisingly said flash is not included in the deal, but it does show some ambition at least.
Handling
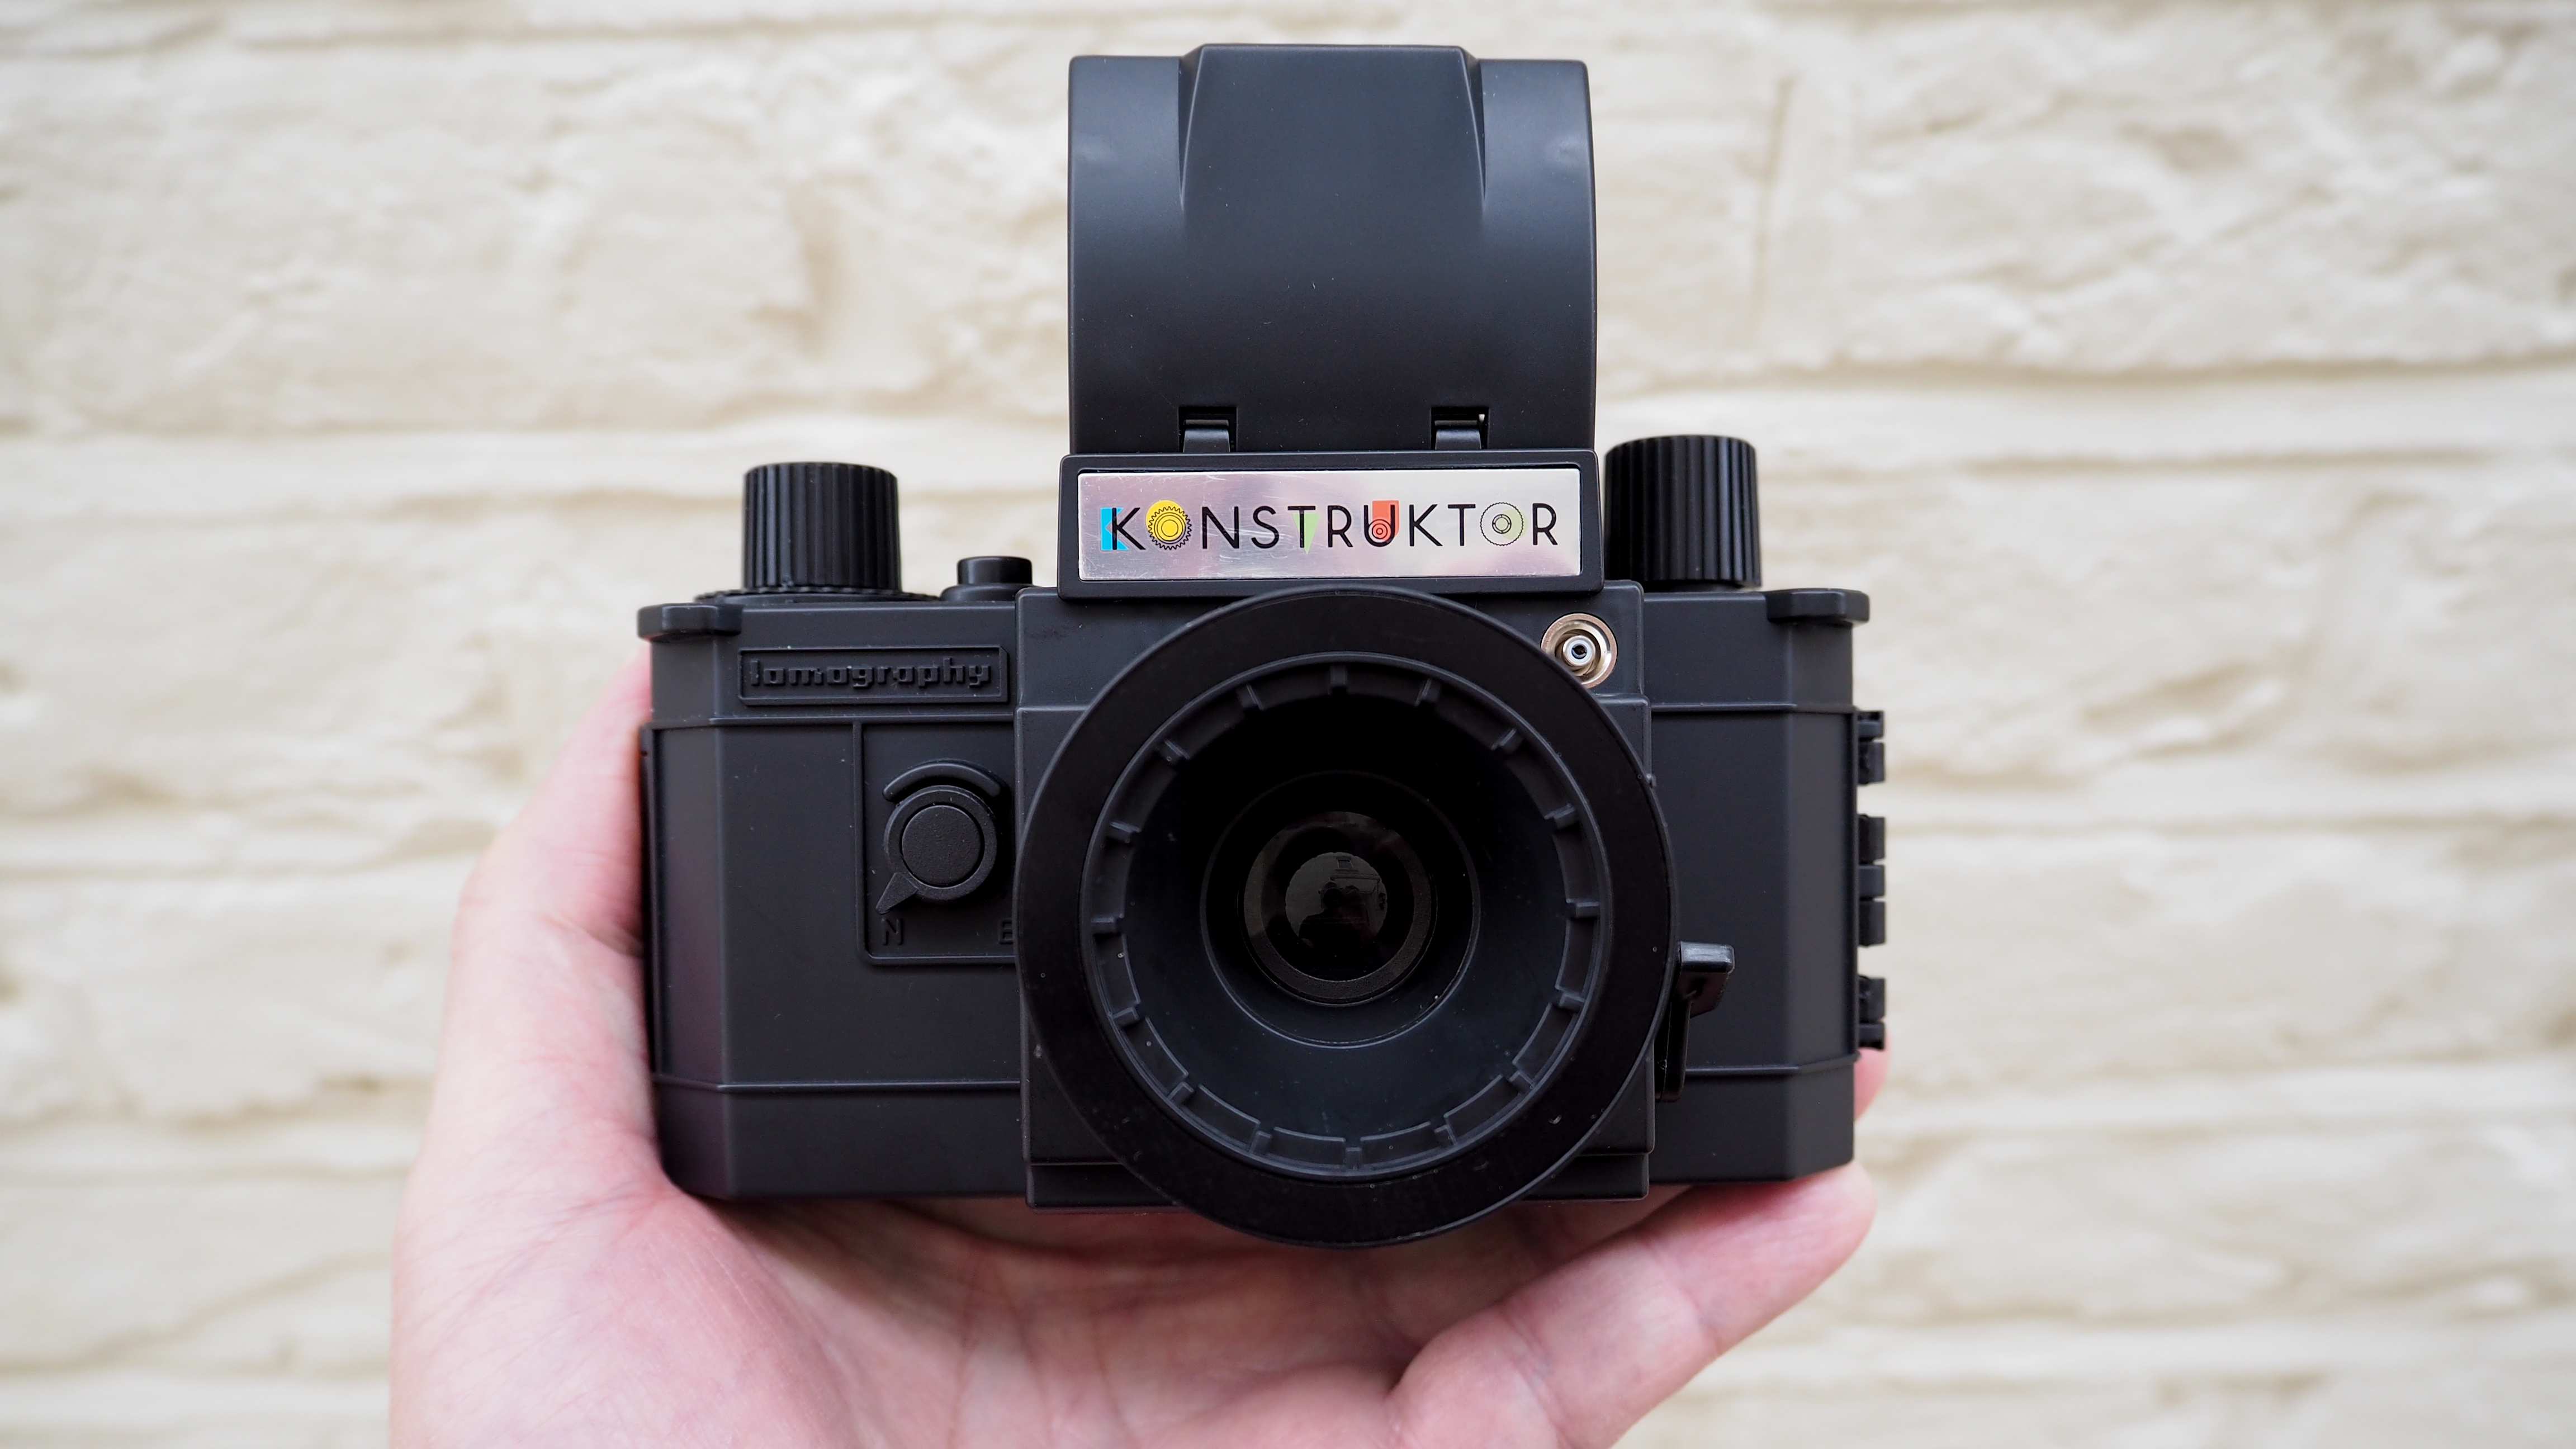
Generally to date we’ve enjoyed the low-tech approach and affordability of Lomography’s products, which goes some way to alleviate occasional handling frustrations and hit-and-miss results from the at times toy-like gear. Our first thoughts upon completing the build of the Konstruktor however were that we don’t want to have to do that again in a hurry – and that we’ll opt for a ready-built Lomo next time. If we could afford it, most of us would pay for someone from Ikea to come around and construct our flat pack furniture too.
Though we’d endeavored to follow instructions chapter and verse, we weren’t expecting a performance to match a ready-made SLR from any of the larger household brands. Cocking the shutter to reset the mirror, which on our camera build took several attempts each time for some reason and seemed to respond better to a thumb flick rather than a definite press, followed by a press down on the shutter release button to take a shot, we found the shutter ‘action’ a little softer than we would have liked.
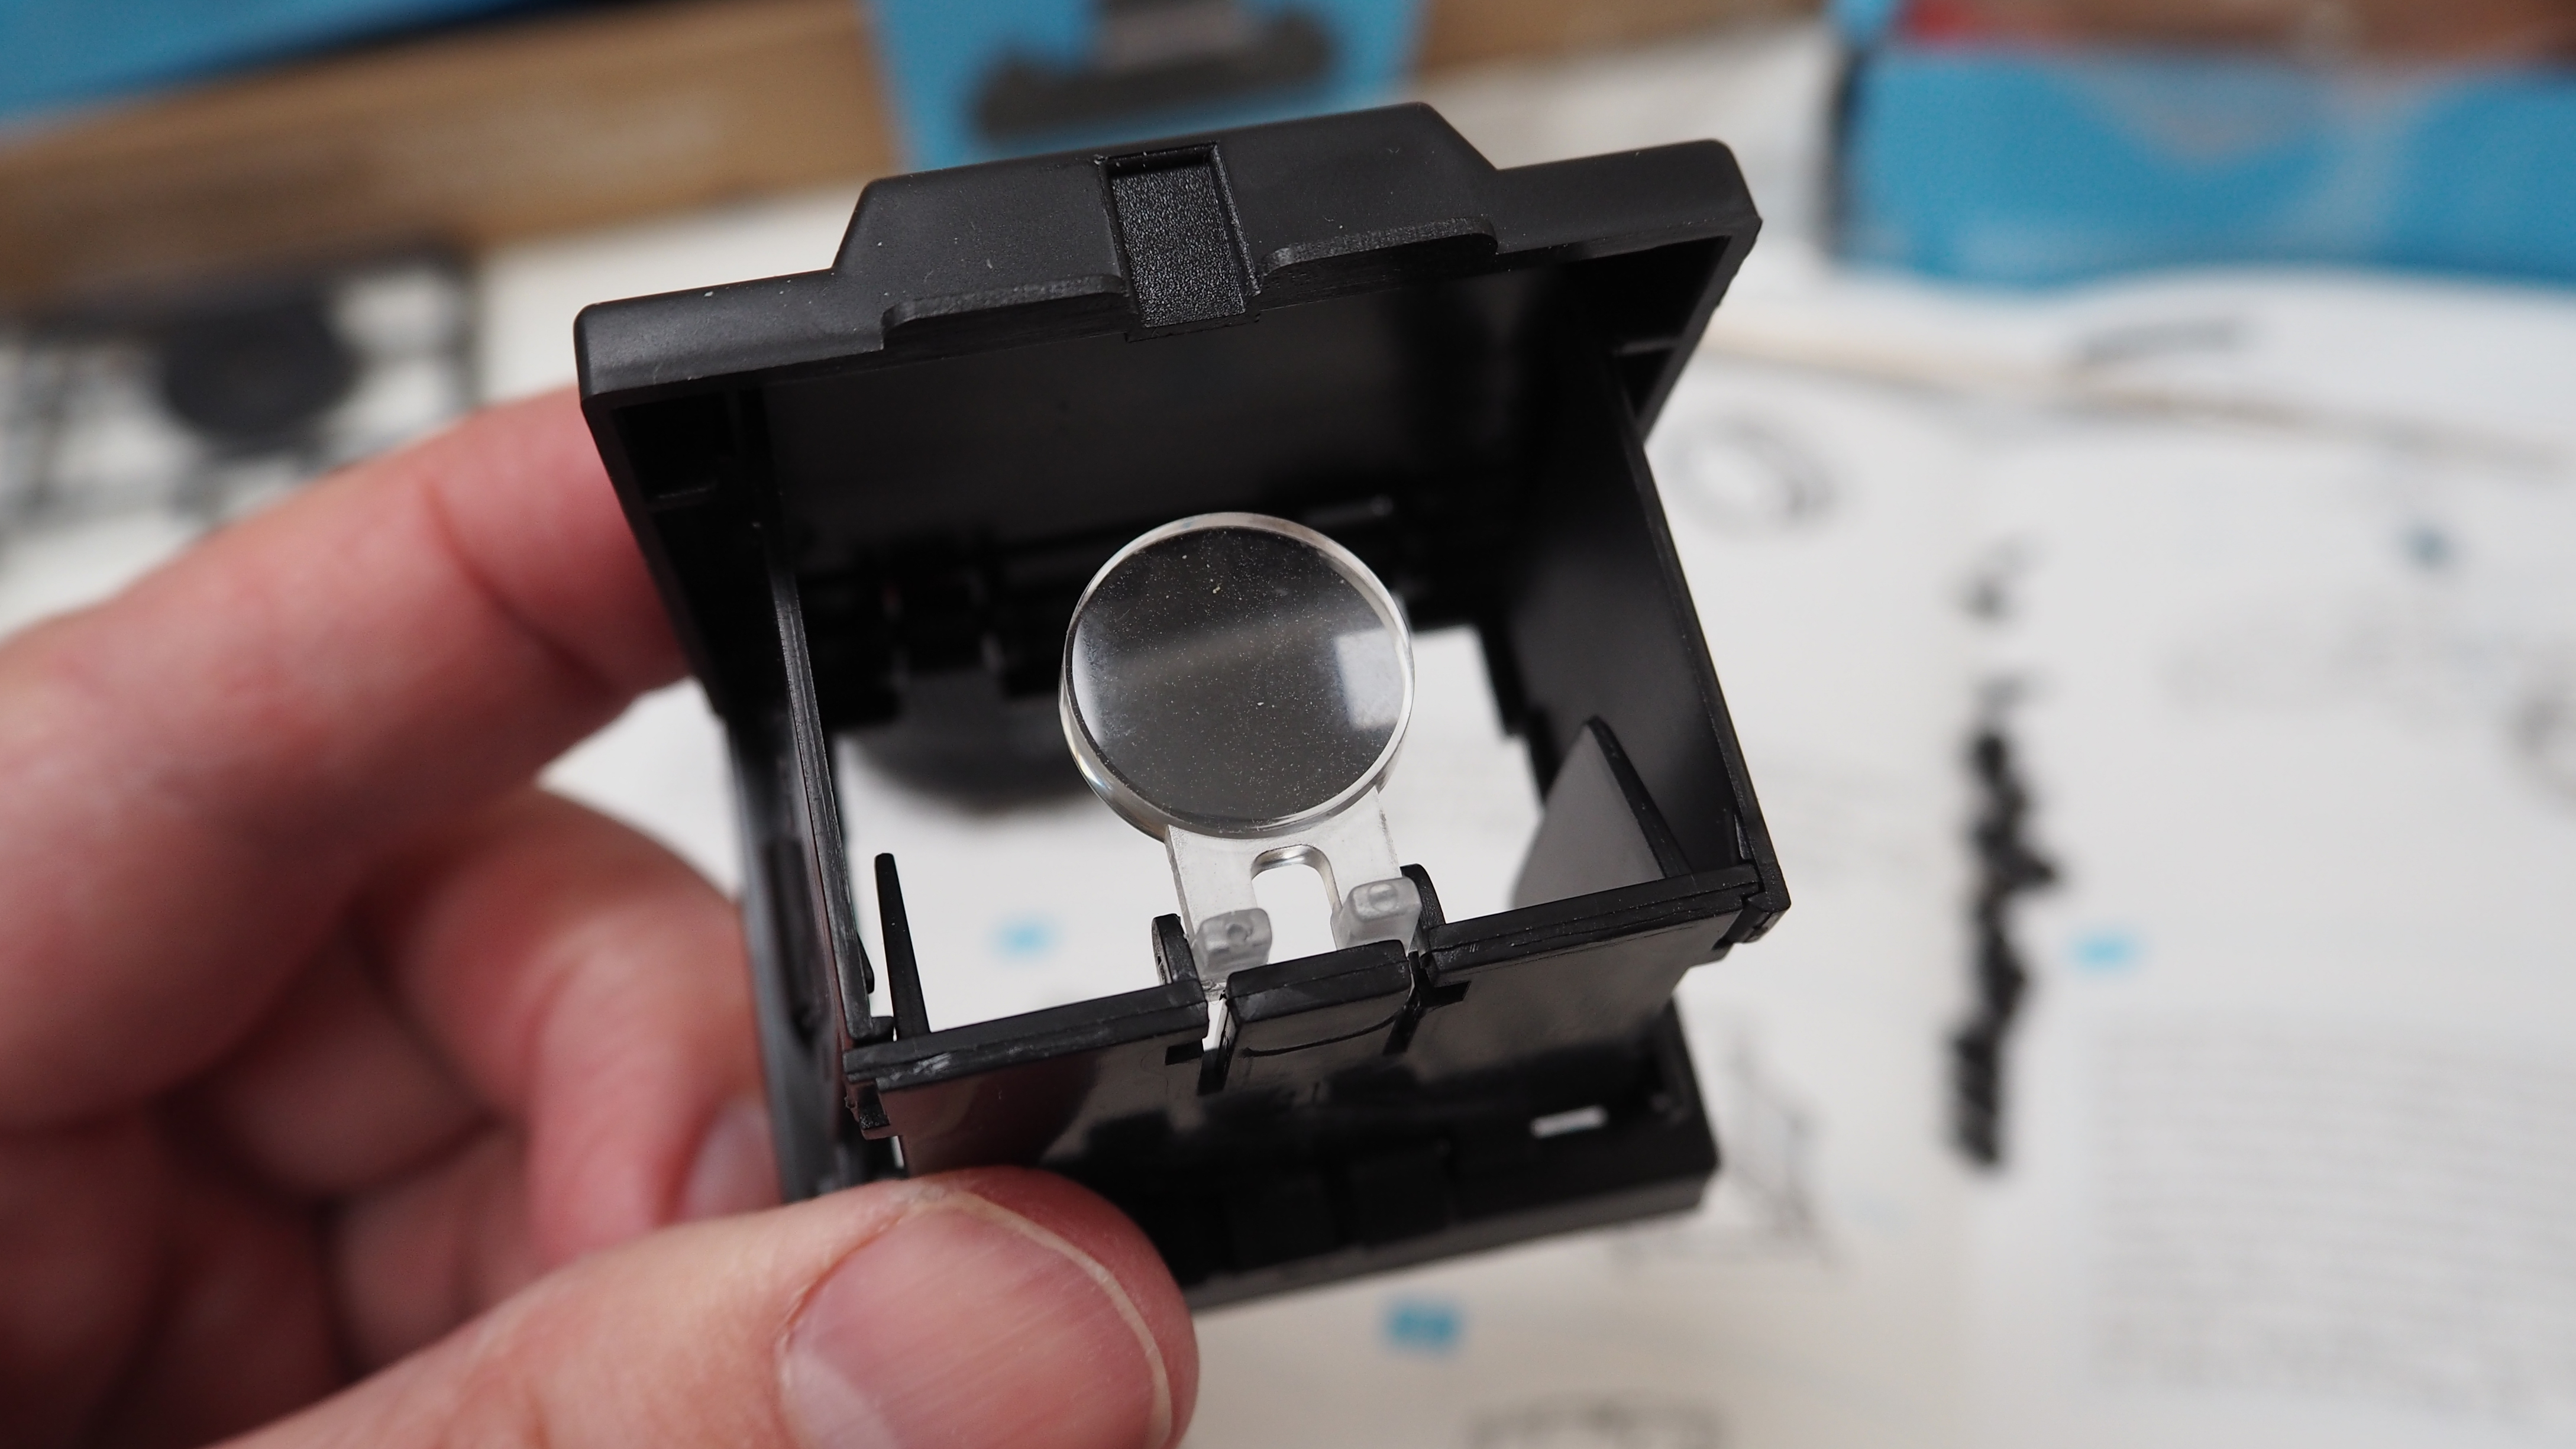
During construction we were forced to source a set of cosmetic tweezers to be able to stretch the tiny spring – the length of our smallest fingernail – that anchors the shutter release mechanism, and enables it to move up and down. We suspect that, like in other reviews we’ve read of this build project online, we may possibly have over-stretched it. But not having a properly working sample alongside ours, we can’t be sure. This is probably why Lomo supplies two of these particular springs, along with half a dozen additional screws, in case parts get lost or damaged in the build.
When our patience returns or we have a spare hour, we may try undoing the final stages of our build and attempt to replace it with our spare spring to see if it makes any difference, though we suspect it may not.
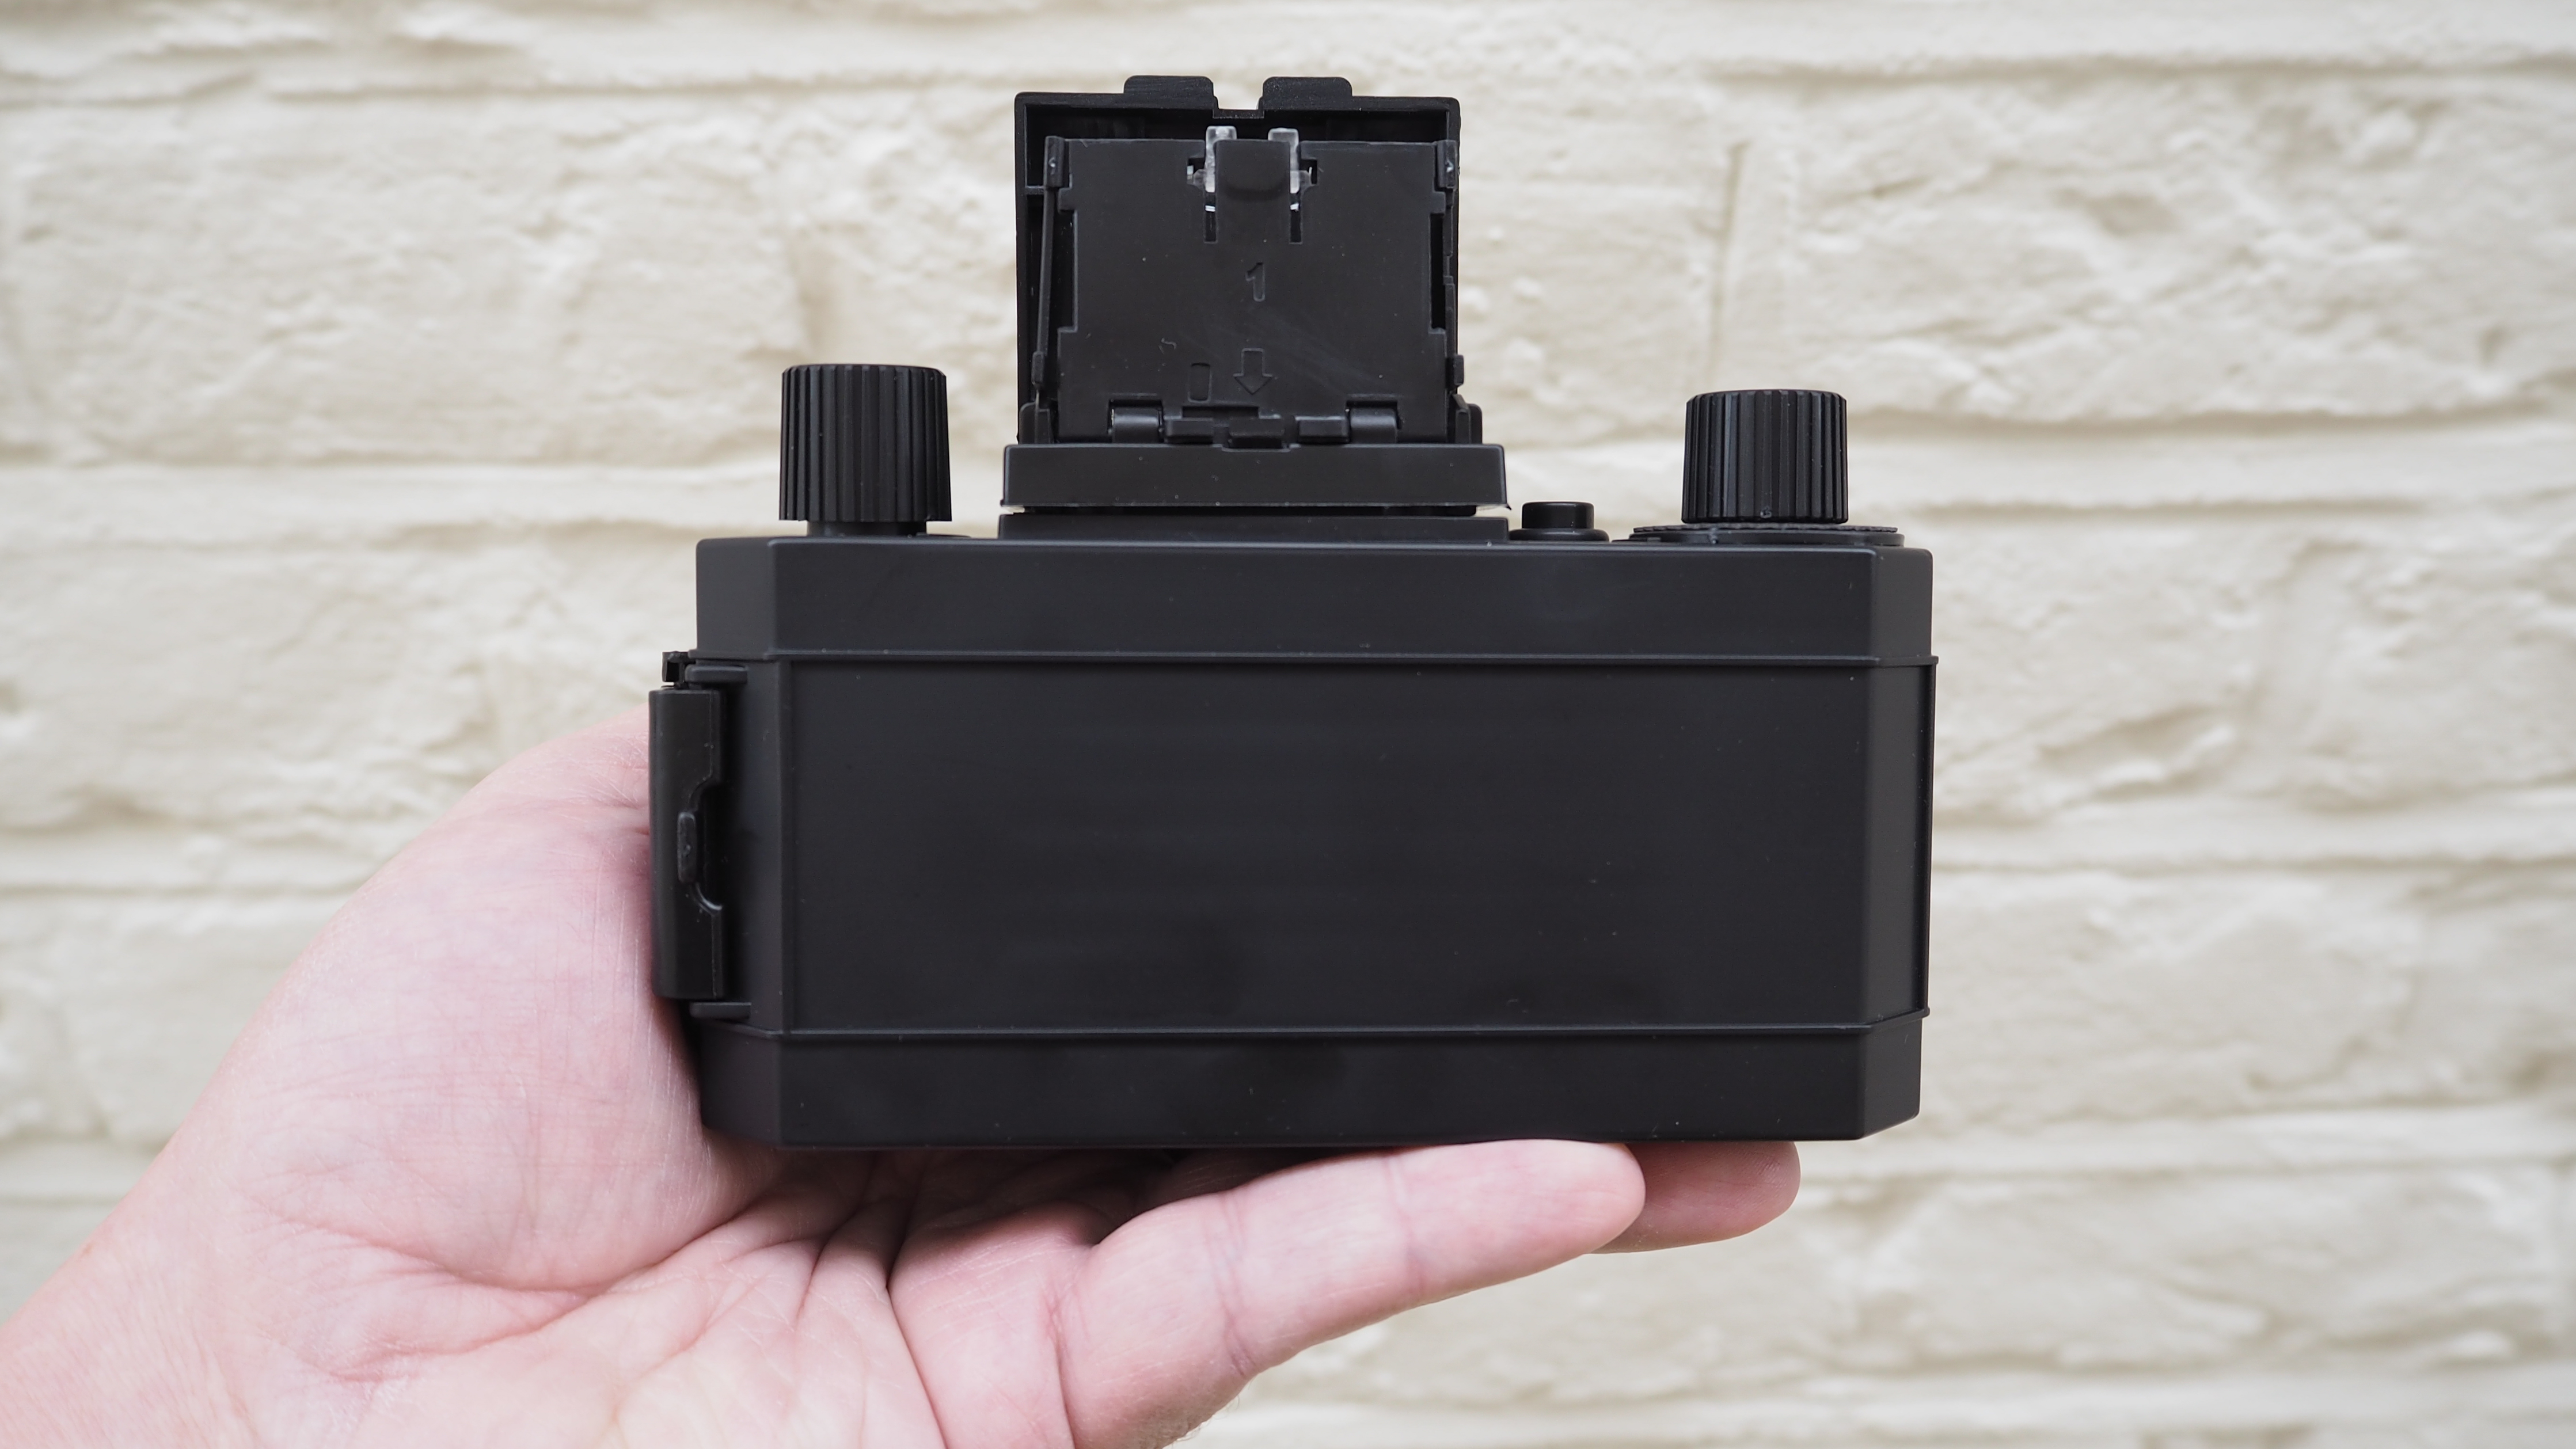
Lining up and framing each shot involves looking through the top down viewfinder, with a pop up magnifier provided to aid the process. We found this works best in bright sunlight – anything less and we found the image through the viewfinder to be fuzzy and indistinct, like we were viewing it through frosted glass. Focal distance is given on the lens ring itself to aid focusing.
We found it best to hold the lens firmly in place with one hand while making adjustments with the other; otherwise it’s all too easy to accidentally unscrew the lens, as this isn’t a piece of precision equipment we’re working with. If we’re being charitable, we might suggest that such limitations can sometimes become assets. However this is certainly no cheap substitute for a factory-built SLR proper. Pay pocket the money price, don’t go into it with high expectations, and your satisfaction level may be reasonable. At worst it can be decorated colorfully with the sticker sheet provided and, as we’ve done in the past with Lomo products, stuck on the shelf as a photographic curio.
Lomography Konstruktor: Verdict
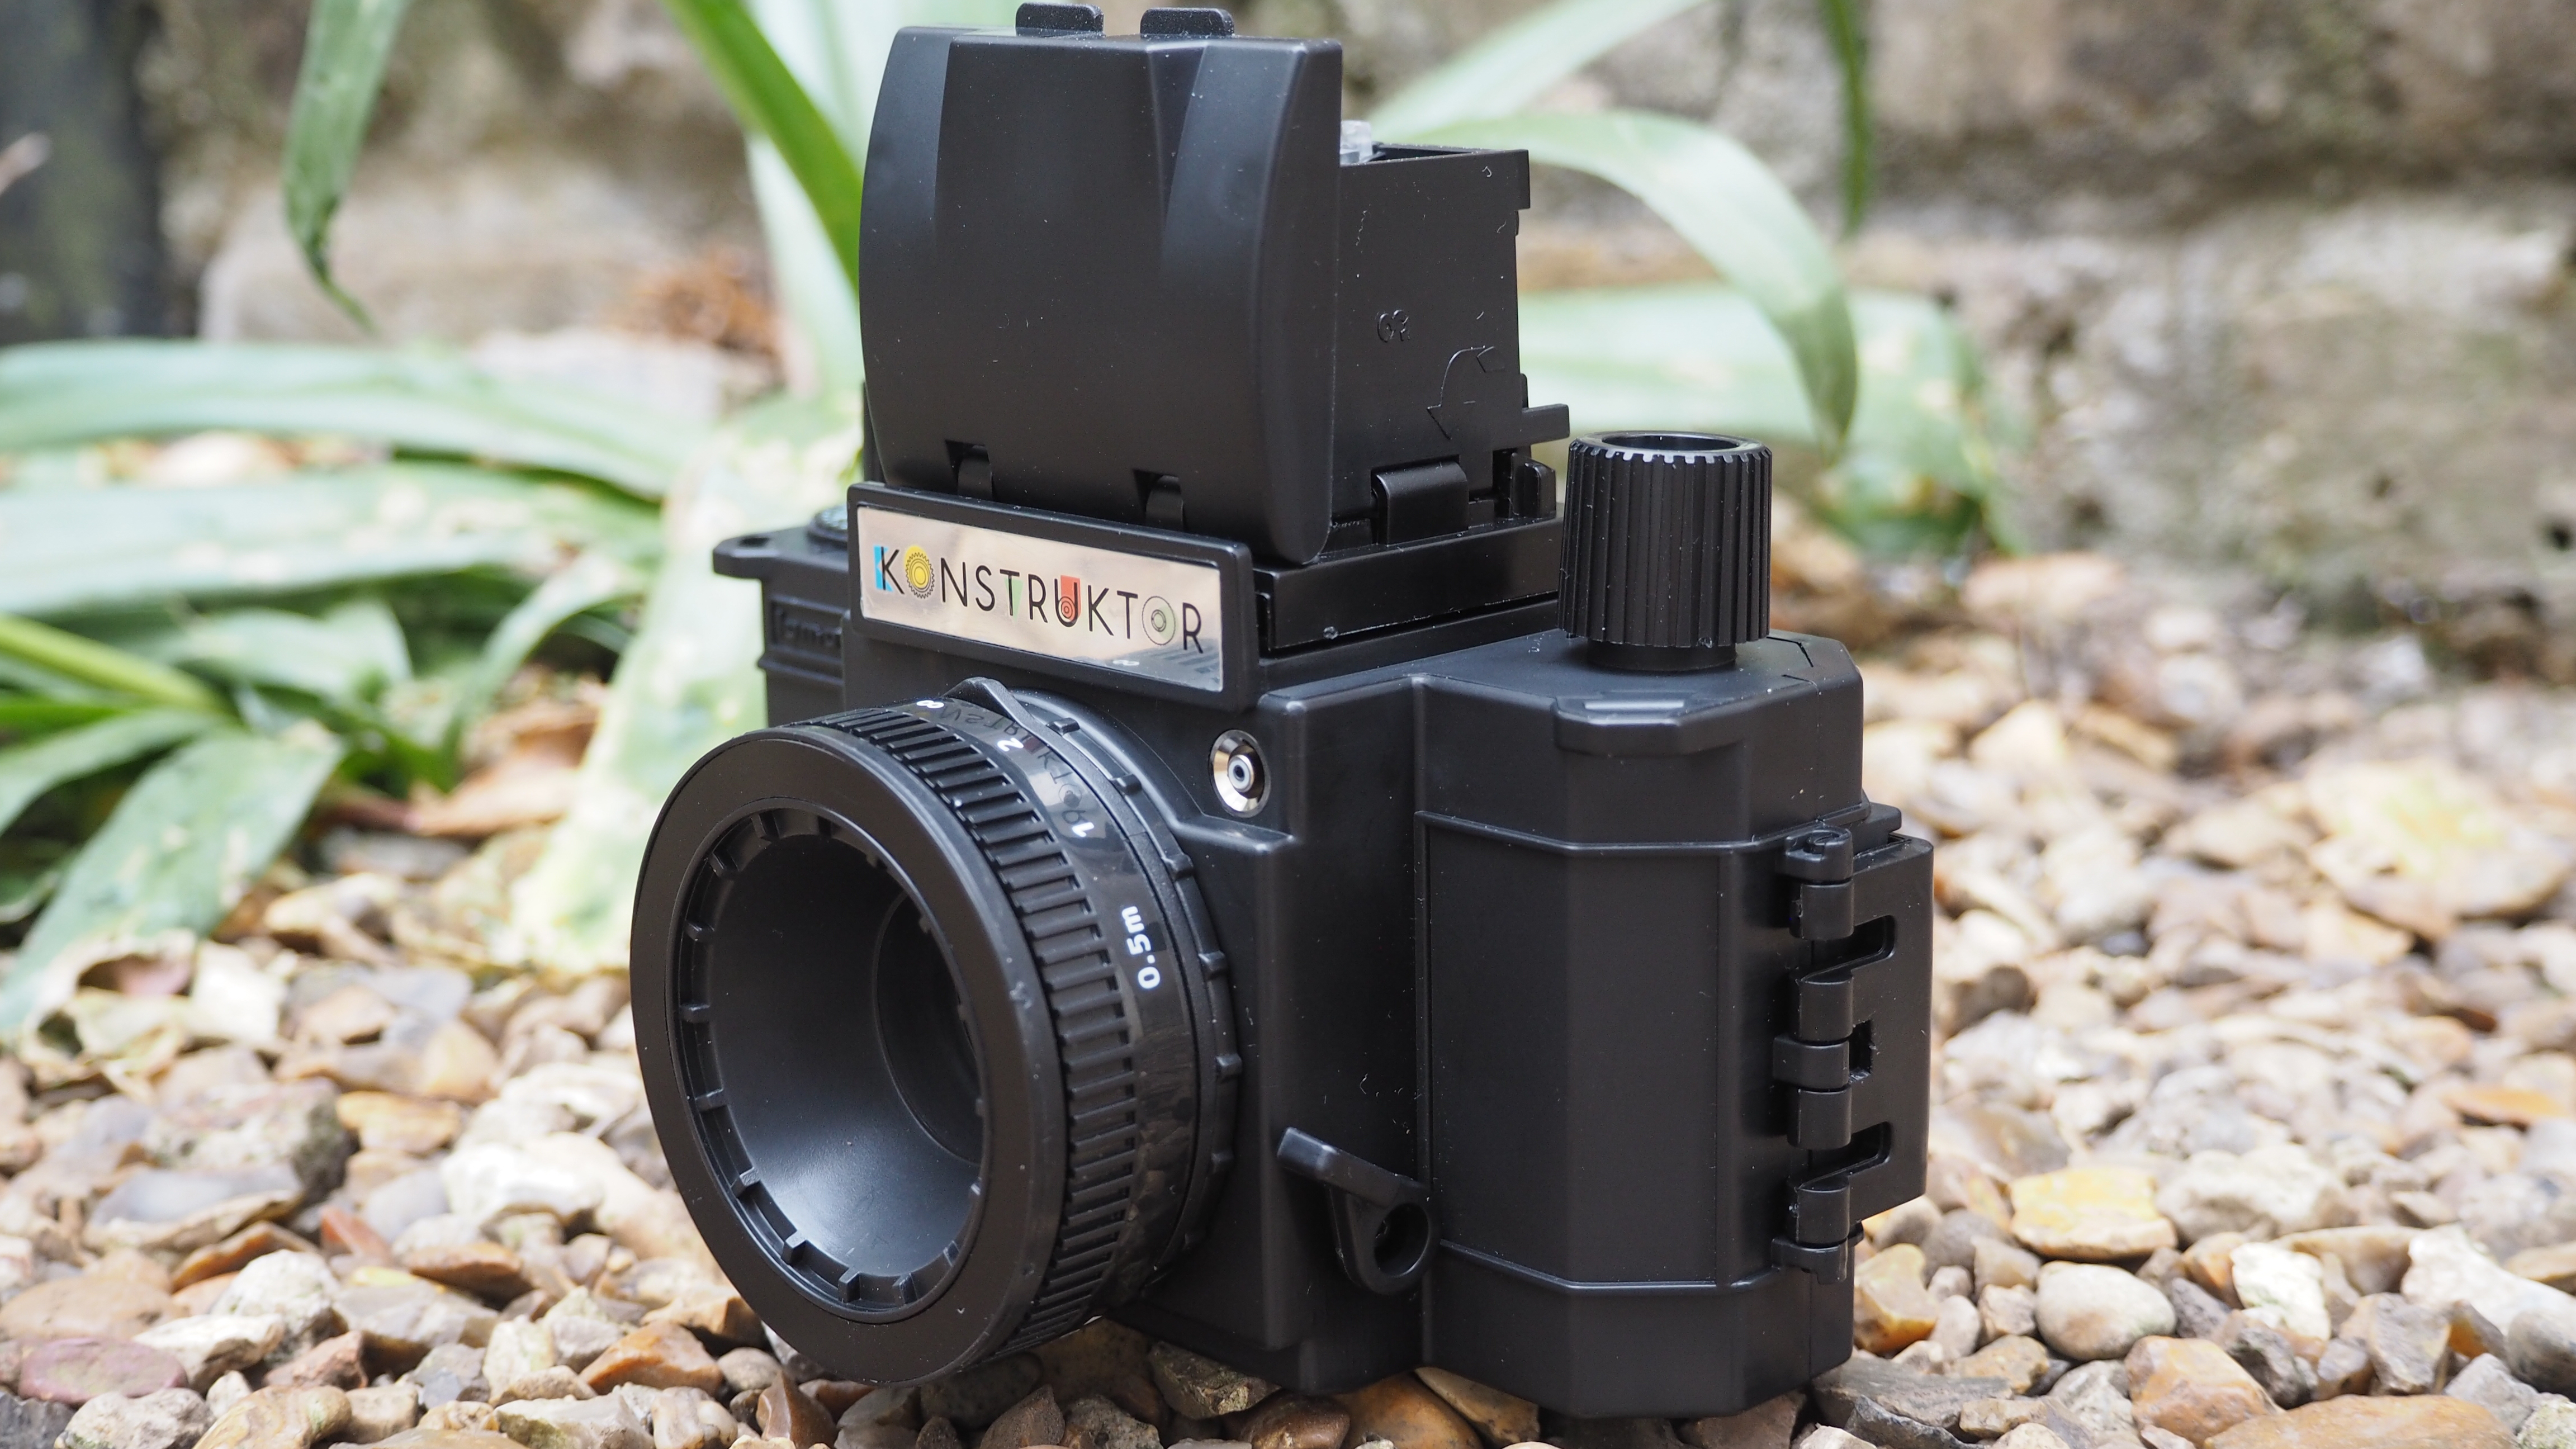
While the process of constructing your own all-plastic camera, rather than getting the usual ready-made off-the-shelf alternative from Lomo, is a unique and interesting one – and your respect for those factory workers who do this day-in-day out, with magnifiers strapped to their eyeballs, goes up immeasurably as a result – it does require oodles of time and patience and is not an experience we’ll be rushing to repeat, despite the satisfaction of completing the build at the end of it.
As an insight into camera assembly and the components that make up a film SLR, plus a means of whiling away a few hours, the Lomography Konstruktor works well. As a camera in itself however, we’re not so sure. This one is best viewed as a bit of a project for those who love to tinker and anyone who doesn’t mind a trial and error process to end up with usable results.
Read more
Best film cameras
Best 35mm film
Best cameras for kids
Best Lomography cameras
Gavin has over 30 years’ experience of writing about photography and television. He is currently the editor of British Photographic Industry News, and previously served as editor of Which Digital Camera and deputy editor of Total Digital Photography.
He has also written for a wide range of publications including T3, BBC Focus, Empire, NME, Radio Times, MacWorld, Computer Active, What Digital Camera and the Rough Guide books.
With his wealth of knowledge, Gavin is well placed to recognize great camera deals and recommend the best products in Digital Camera World’s buying guides. He also writes on a number of specialist subjects including binoculars and monoculars, spotting scopes, microscopes, trail cameras, action cameras, body cameras, filters and cameras straps.


