Digital Camera World Verdict
If you’re a blogger or YouTuber who wants to spice up their social media content then Movavi Video Editor 2024 is well worth taking for a free test drive. It is packed with eye-catching animated assets and effects that will make your footage stand out from the crowd of YouTubers who have added a high production value polish to their content in the form of animated graphics and titles.
Pros
- +
Affordable annual subscription
- +
Optimized for M1 Ultra chips
- +
AI tools speed up complex tasks
- +
Lots of social media friendly assets
Cons
- -
Requires extra subscription for additional assets
Why you can trust Digital Camera World
Movavi Video Editor 2024 is part of a suite of apps that include Movavi Screen Recorder, Movavi Video Converter, and Movavi Photo Editor. Movavi offers its apps via a similar model to the Adobe Creative Cloud in that you can subscribe to individual apps or pay more to bundle them together. For example, you can subscribe to Movavi Video Editor on its own or bolt on the Screen Recorder and Video Convertor apps for an additional subscription cost.
But let's focus on Movavi Video Editor. Like Davinci Resolve, Adobe Premiere Elements, Final Cut Pro, and iMovie – Movavi Video Editor 2024 is a non-linear editor (NLE) that enables you to pop your clips into a timeline, trim them to show the good bits and drag clips around to change the running order and tell a more coherent story.
You can also use the app to add post-production ‘bells and whistles’ such as titles, animated overlay effects, and music to create slick video sequences with high production values. On the spectrum of non-linear video editors, Movavi is an entry-level app like iMovie and Adobe Premiere Elements, but it boasts some extra AI-assisted tools up its sleeve such as the ability to remove a background without needing a green screen backdrop in the shot. This enables you to perform some fun composite sequences without having much non-linear editing experience.
Movavi: Requirements
| Operating system | Windows® XP*/Vista/7/8/10 |
| Processor | Intel, AMD or compatible processor, 2.8 GHz and above |
| Graphics card | OpenGL 2.1 and above |
| RAM | Windows XP – 2 GB, Windows Vista, 7,8, 10 – 4 GB |
| Processor | Intel i3 (or comparable AMD processor) or higher |
| Graphics card | DirectX compatible graphics card, screen resolution 1600x900 (or higher) |
| RAM | Minimum 4 GB RAM |
Movavi: Interface and Usability
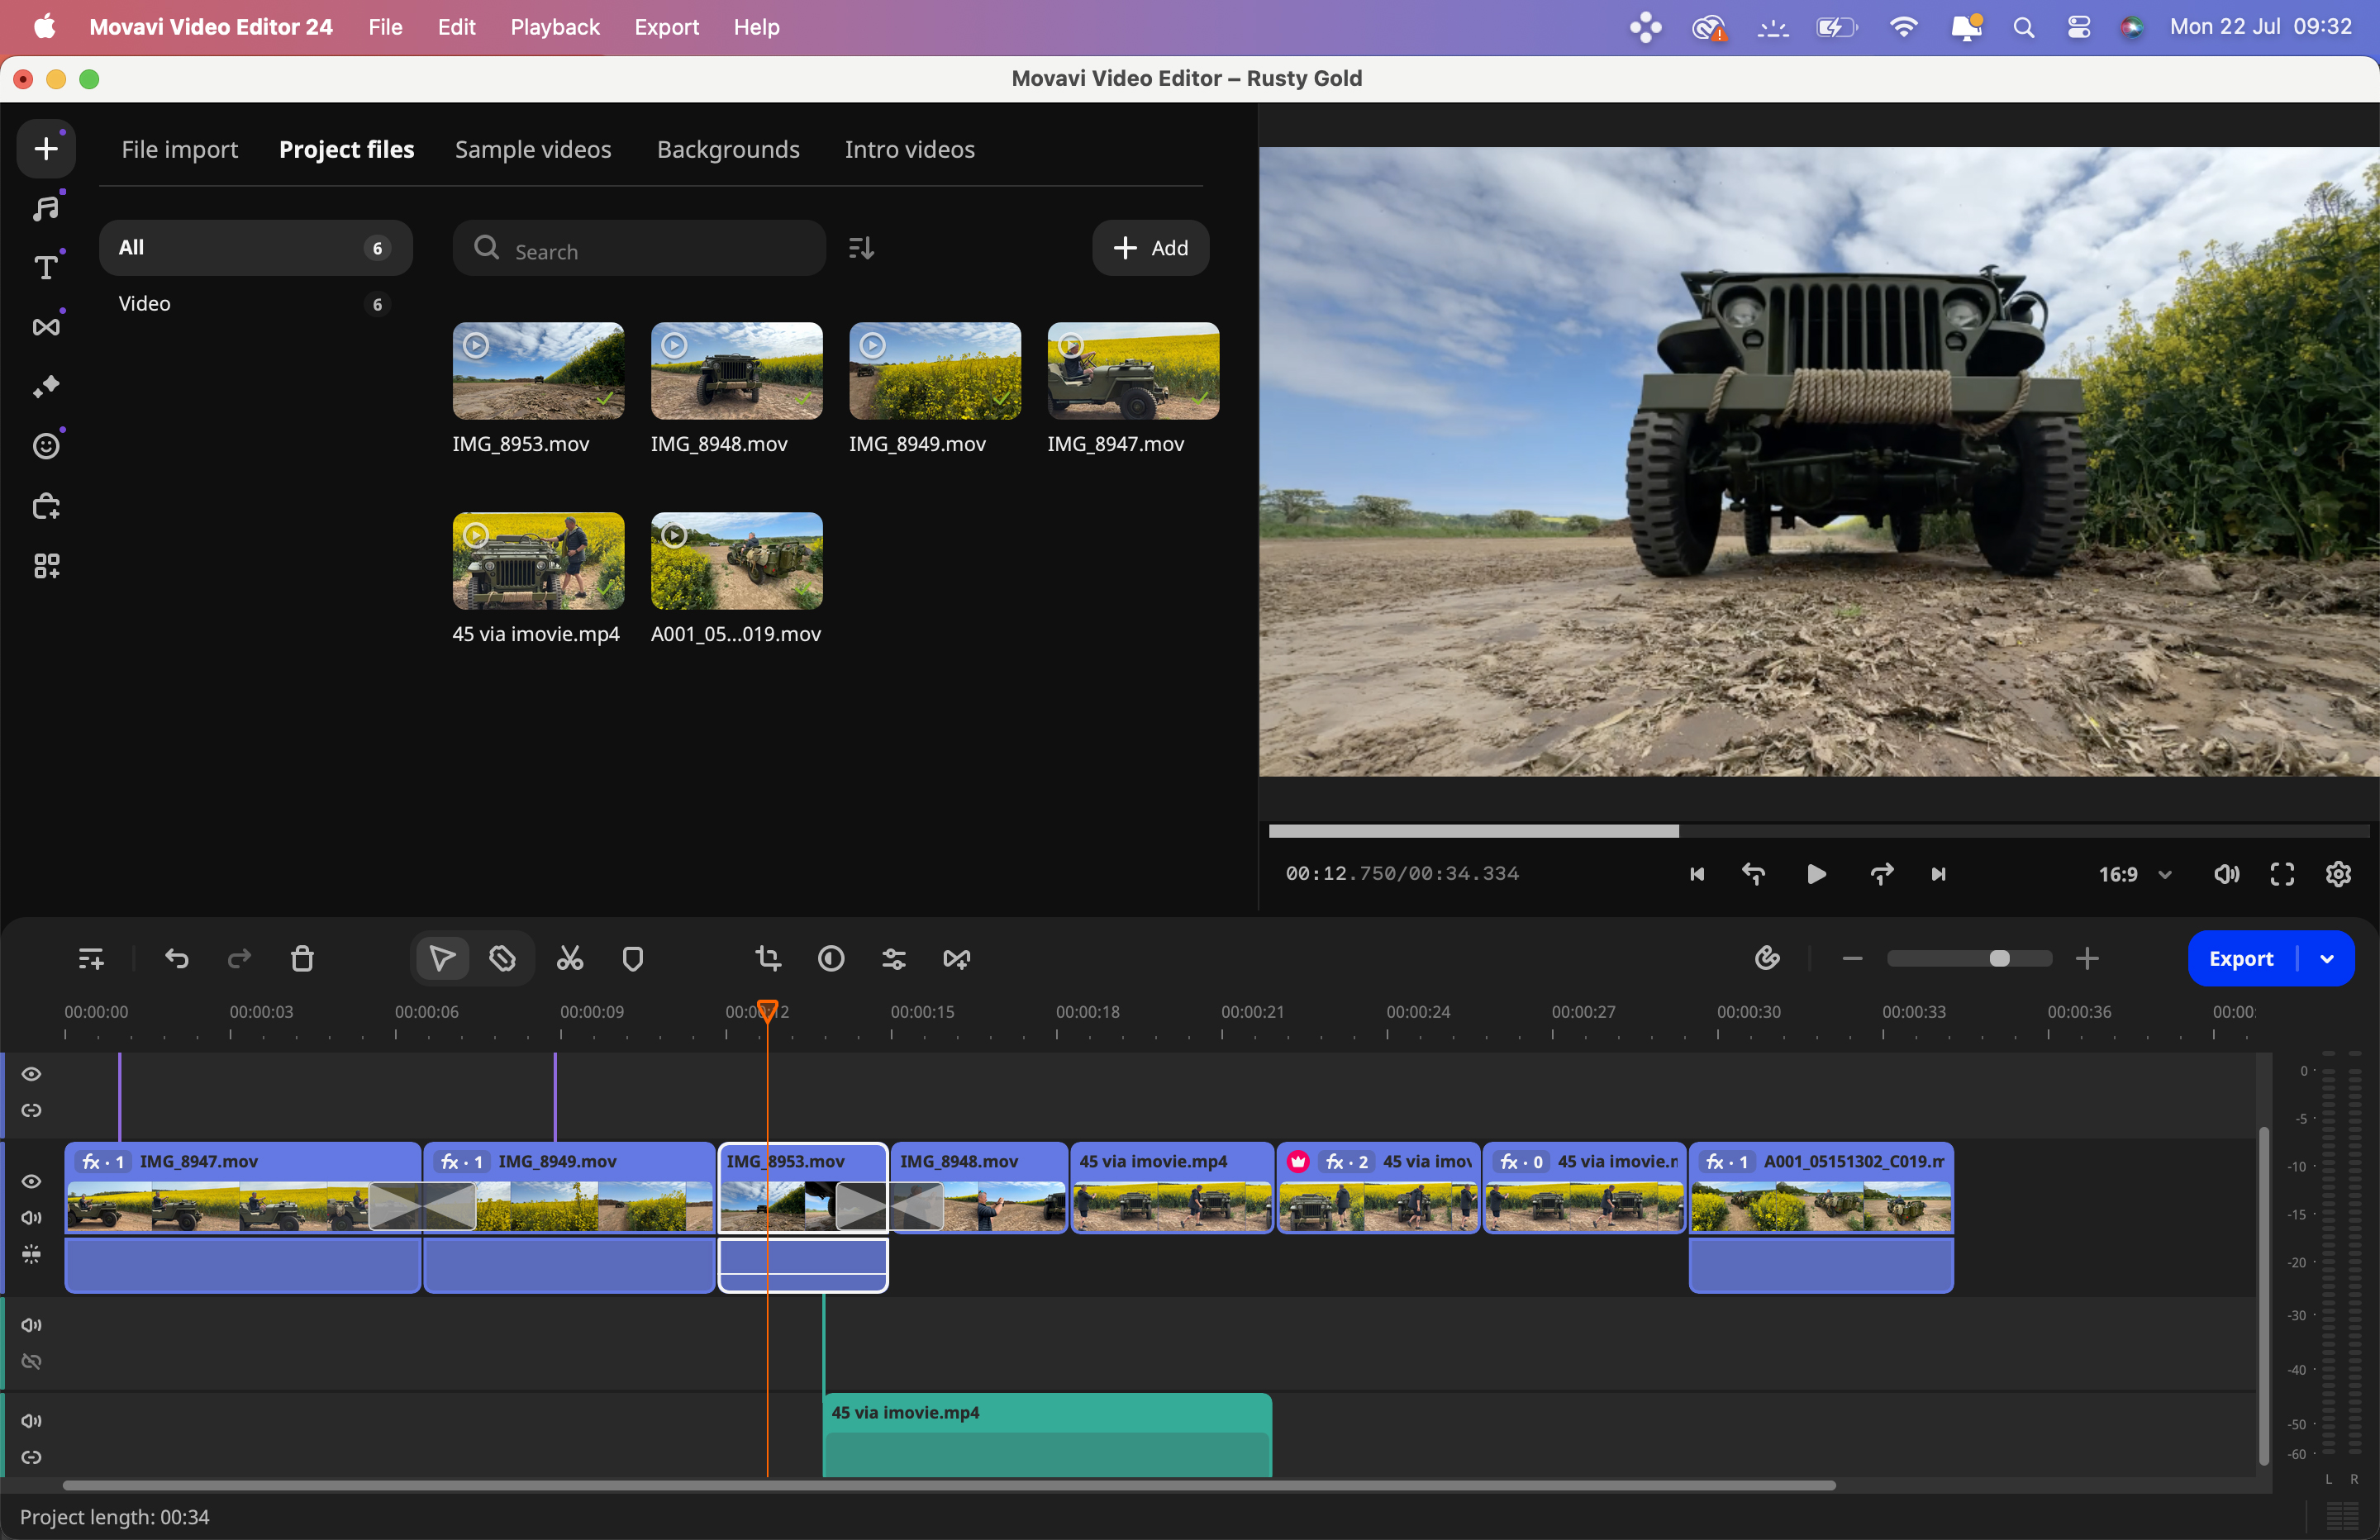
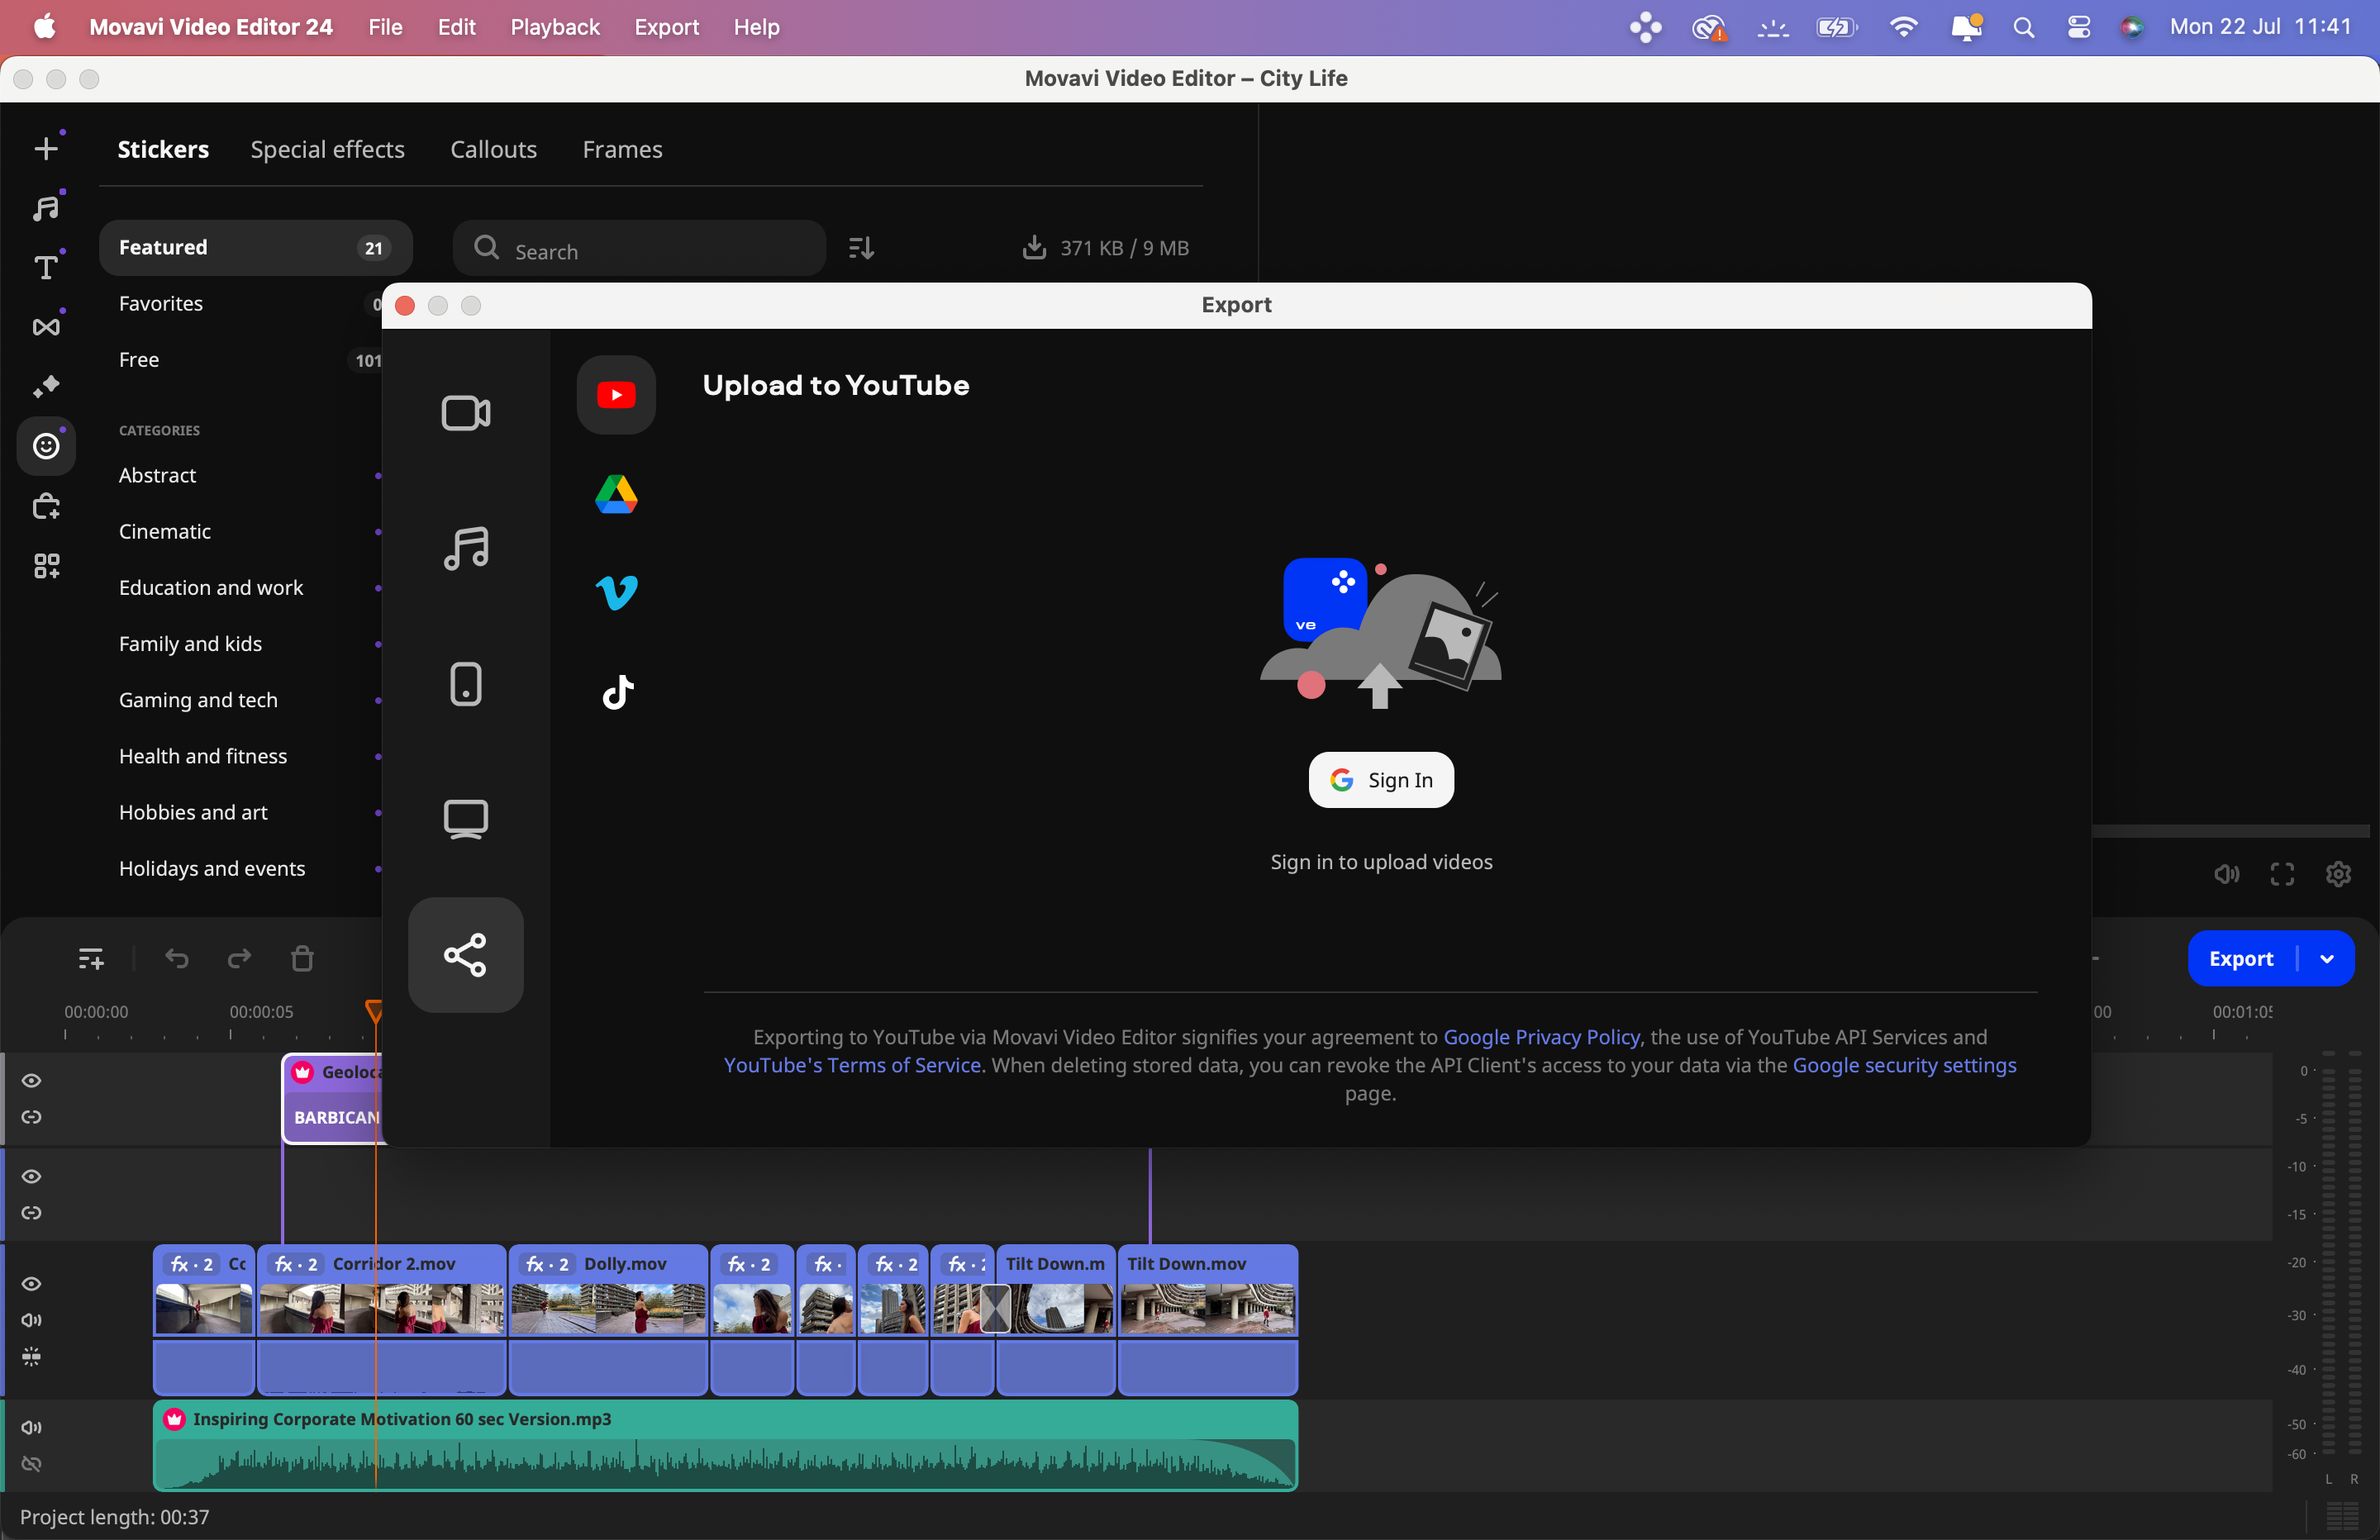
Movavi’s apps (such as Video Editor and Video Convertor) are accessed in the Movavi Suite App. This works like the Adobe Elements Organiser, enabling you to launch your desired photo or video editing app. During the trial period, you can use the Movavi Suite app to launch and explore Movavi Video Editor, Video Converter, and Screen Recorder. As with most NLE apps, project assets (such as clips) appear at the top left (alongside a column of icons that accesses other assets such as titles and transitions.) These assets can be dragged into the timeline that runs along the bottom of the workspace. Here you do the main work of trimming and re-ordering clips to tell a story and then add post-production polish with effects, title, and transitions. Your edited story takes shape in the viewer at the top right.
Movavi’s interface has the standard black and dark grey backdrop favored by contemporary NLE apps, though its assets in the timeline are color-coded to make them easy to identify. For example, music tracks are green while video clips are blue, and they inhabit their own layered tracks in the timeline. If you’ve used any non-linear editor (NLE) before then you should be able to get up and running in Movavi Video Editor in a short time.
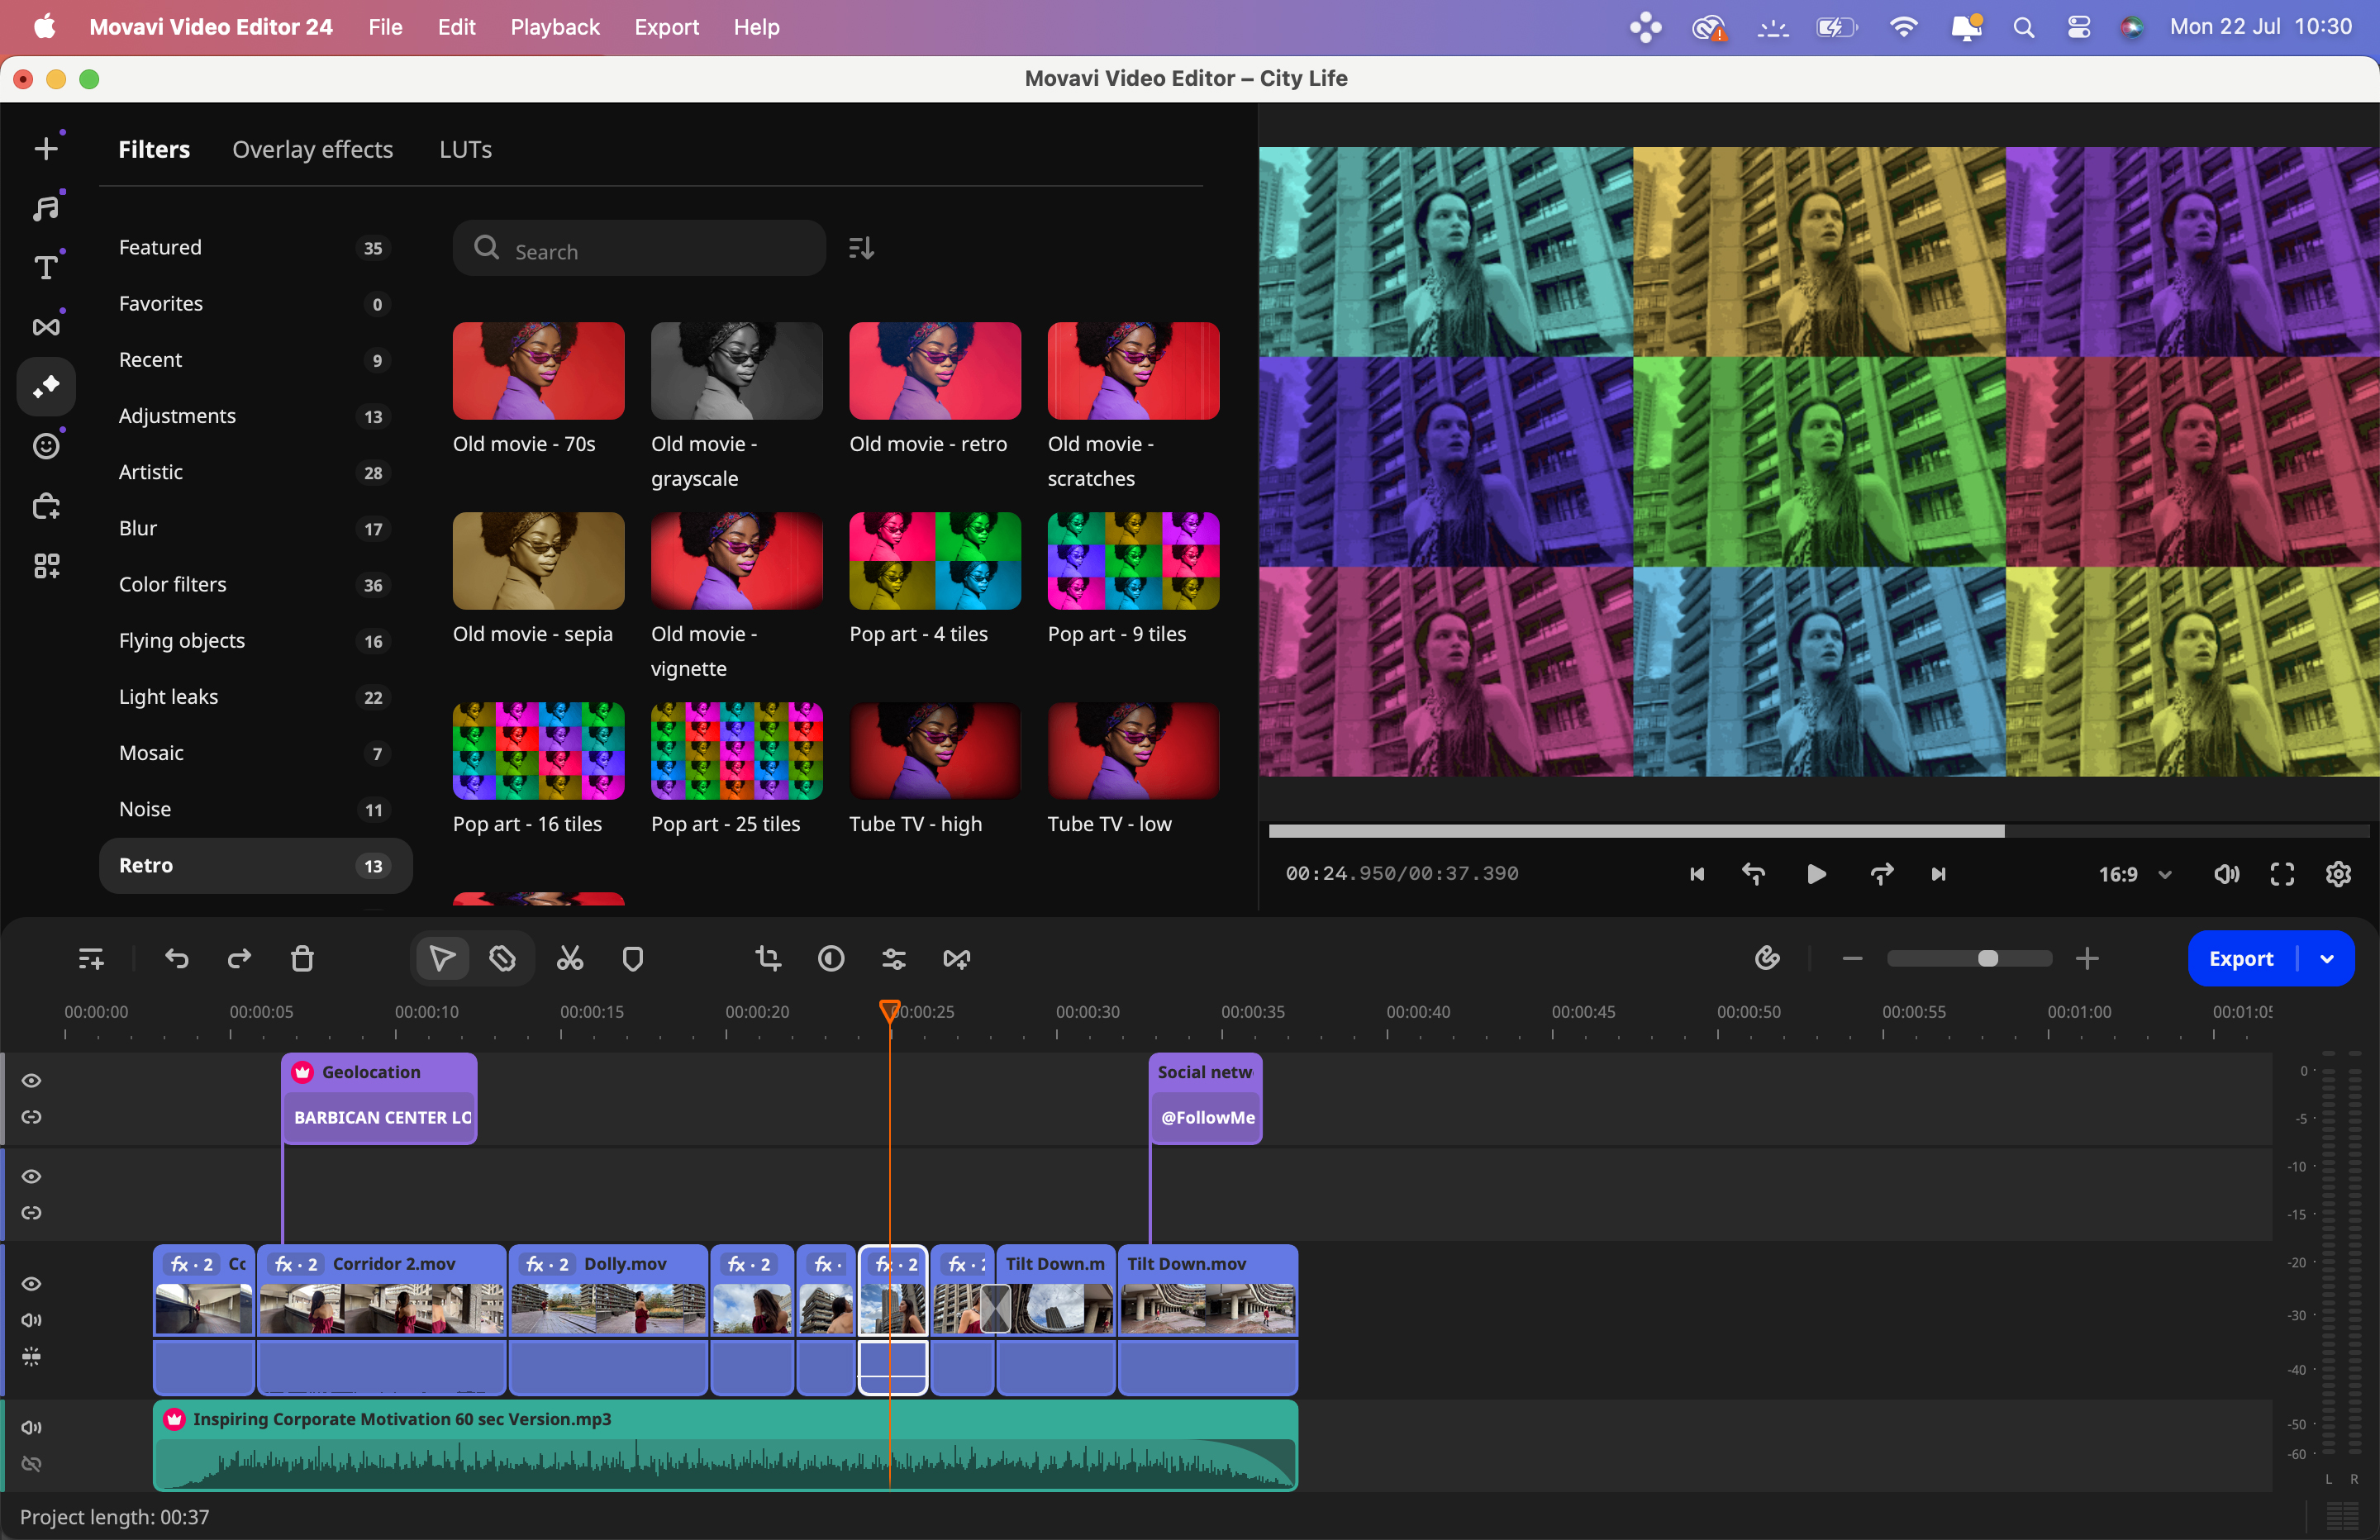
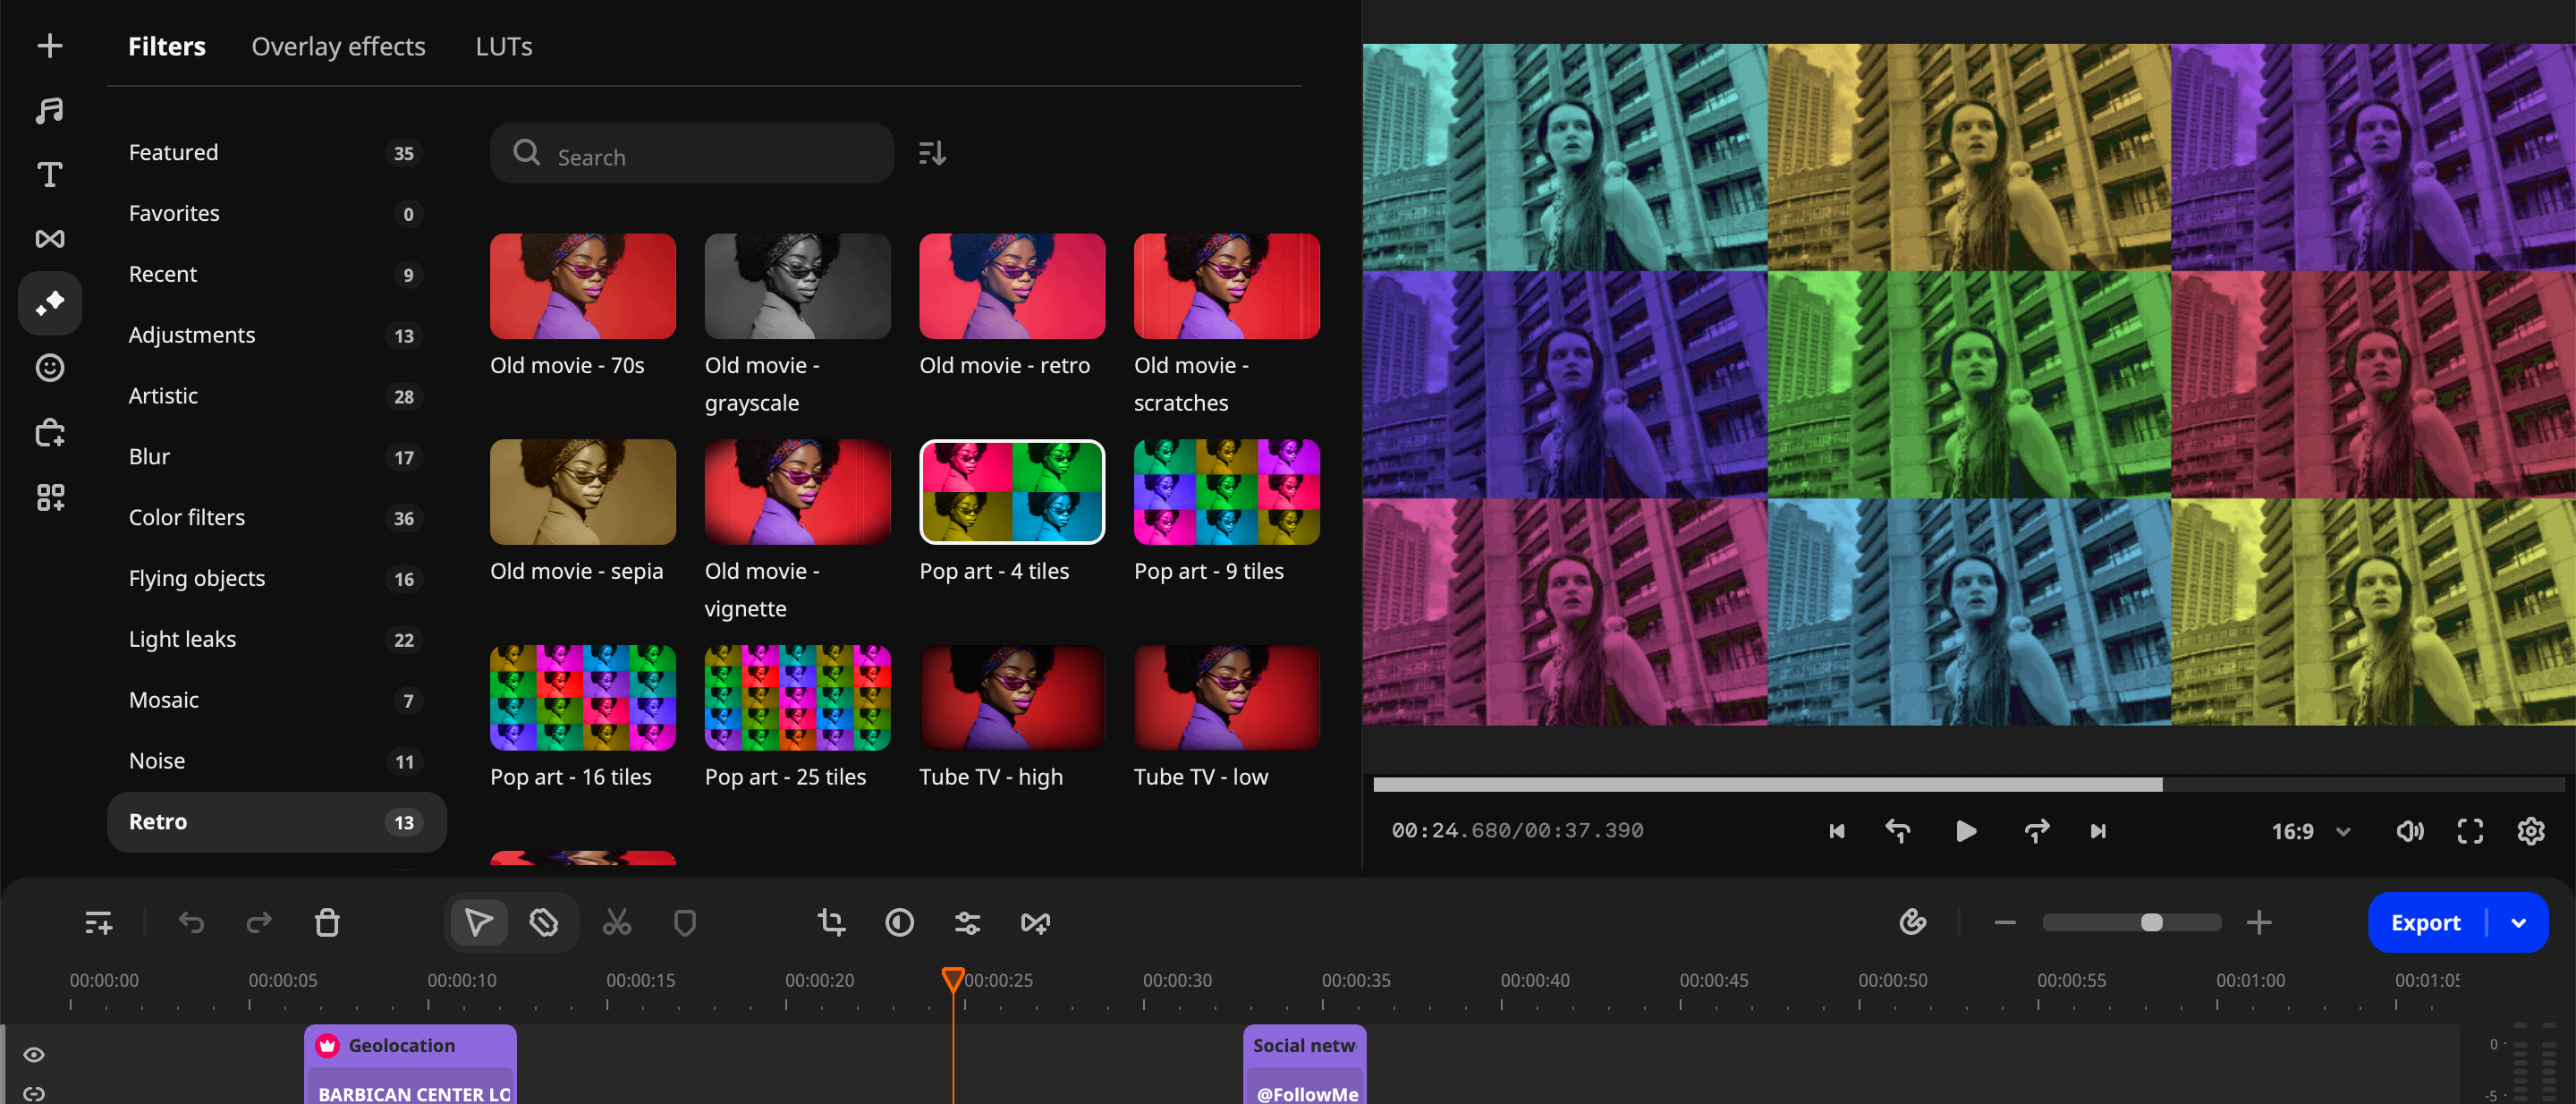
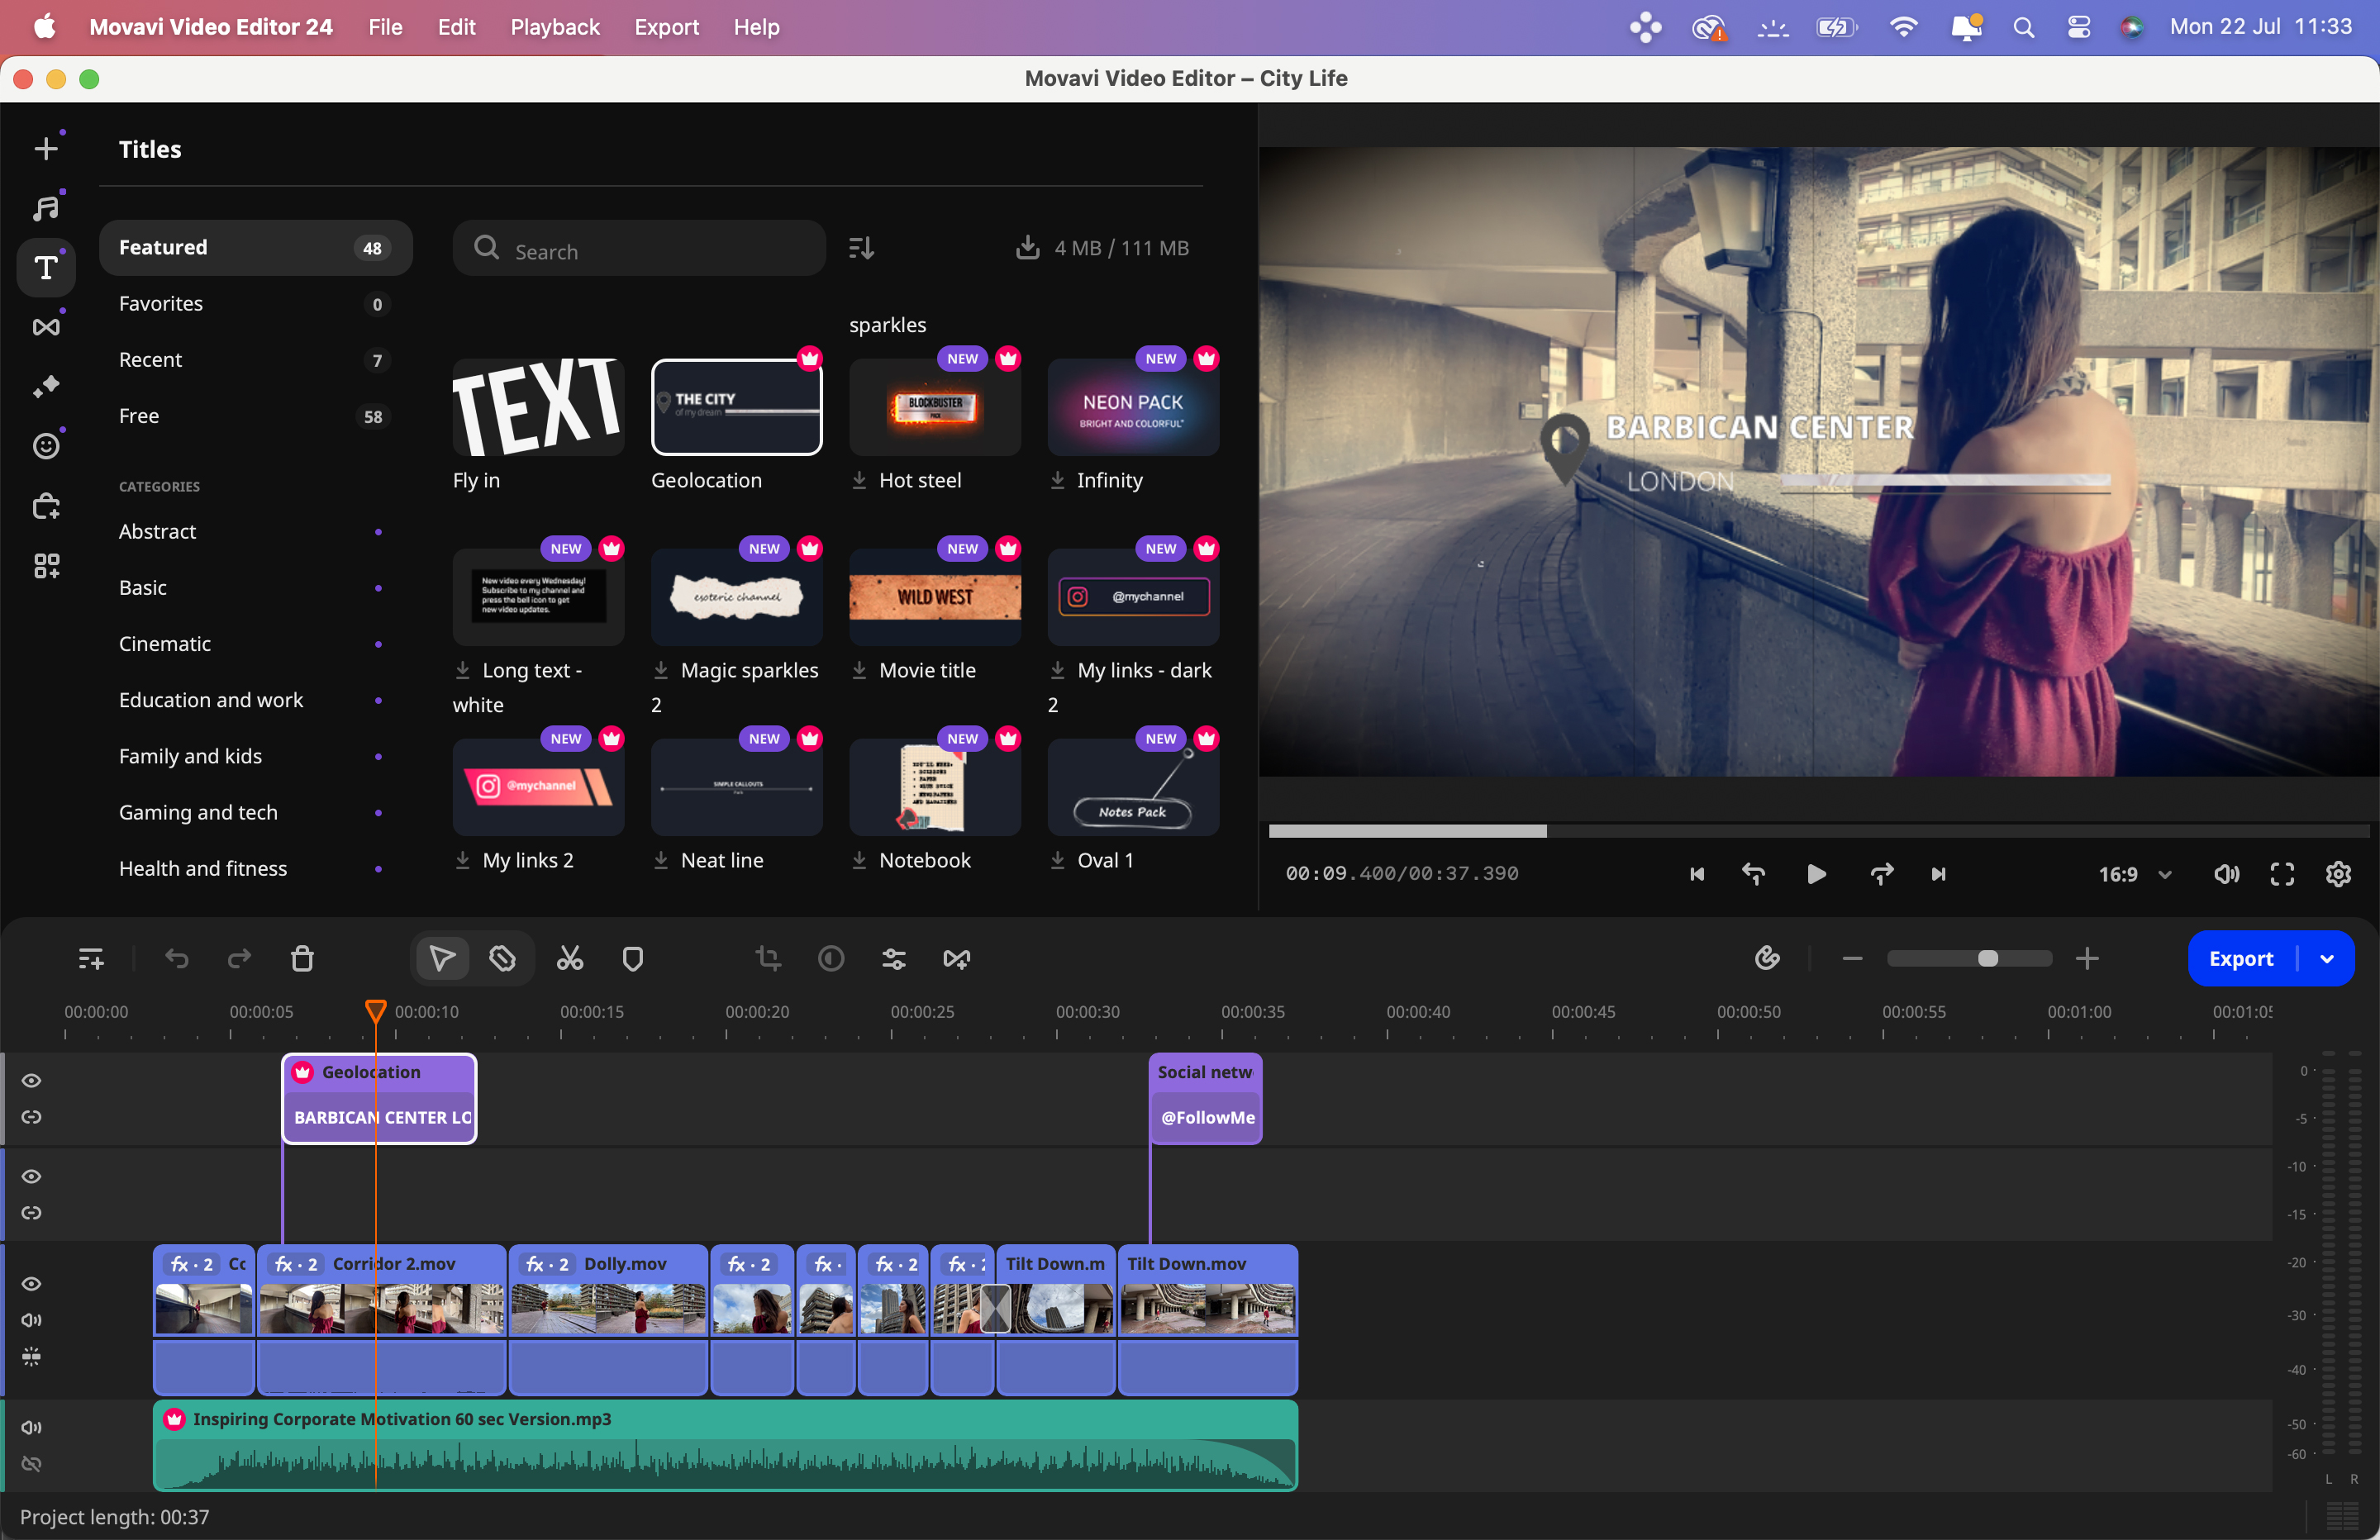
Movavi Video Editor 2024 is packed with a generous collection of ‘free’ assets. I put inverted commas around ‘free’ because you do need to subscribe to use Movavi Video Editor 2024. For example, there are 693 free sound effects compared to iMovie’s 95. These sound effects are collected and accessed by convenient categories such as ‘Footsteps’ or ‘Horror and Suspense’, making it easier to find the audio asset that your project requires.
The 58 free titles are also helpfully categorized. If you need to expand Movavi’s collection of titles or sound effects you can drag and drop assets that have a red crown icon on them. These extra assets require you to subscribe to an additional Effects Store Subscription. If you don’t subscribe to the Effects Store then you can still export your video.
However, video clips that feature assets that require an additional subscription will have a watermark graphic over them. Extra audio tracks that require an Effects Store subscription have an audio watermark (which repeats the word ‘Movavi’ at intervals), thereby rendering the audio clip useless (unless you subscribe to the Effects Store). However, there are ‘free’ 155 music tracks included in the basic annual Movavi Video Editor subscription so you should be able to find a suitable soundtrack without paying extra.
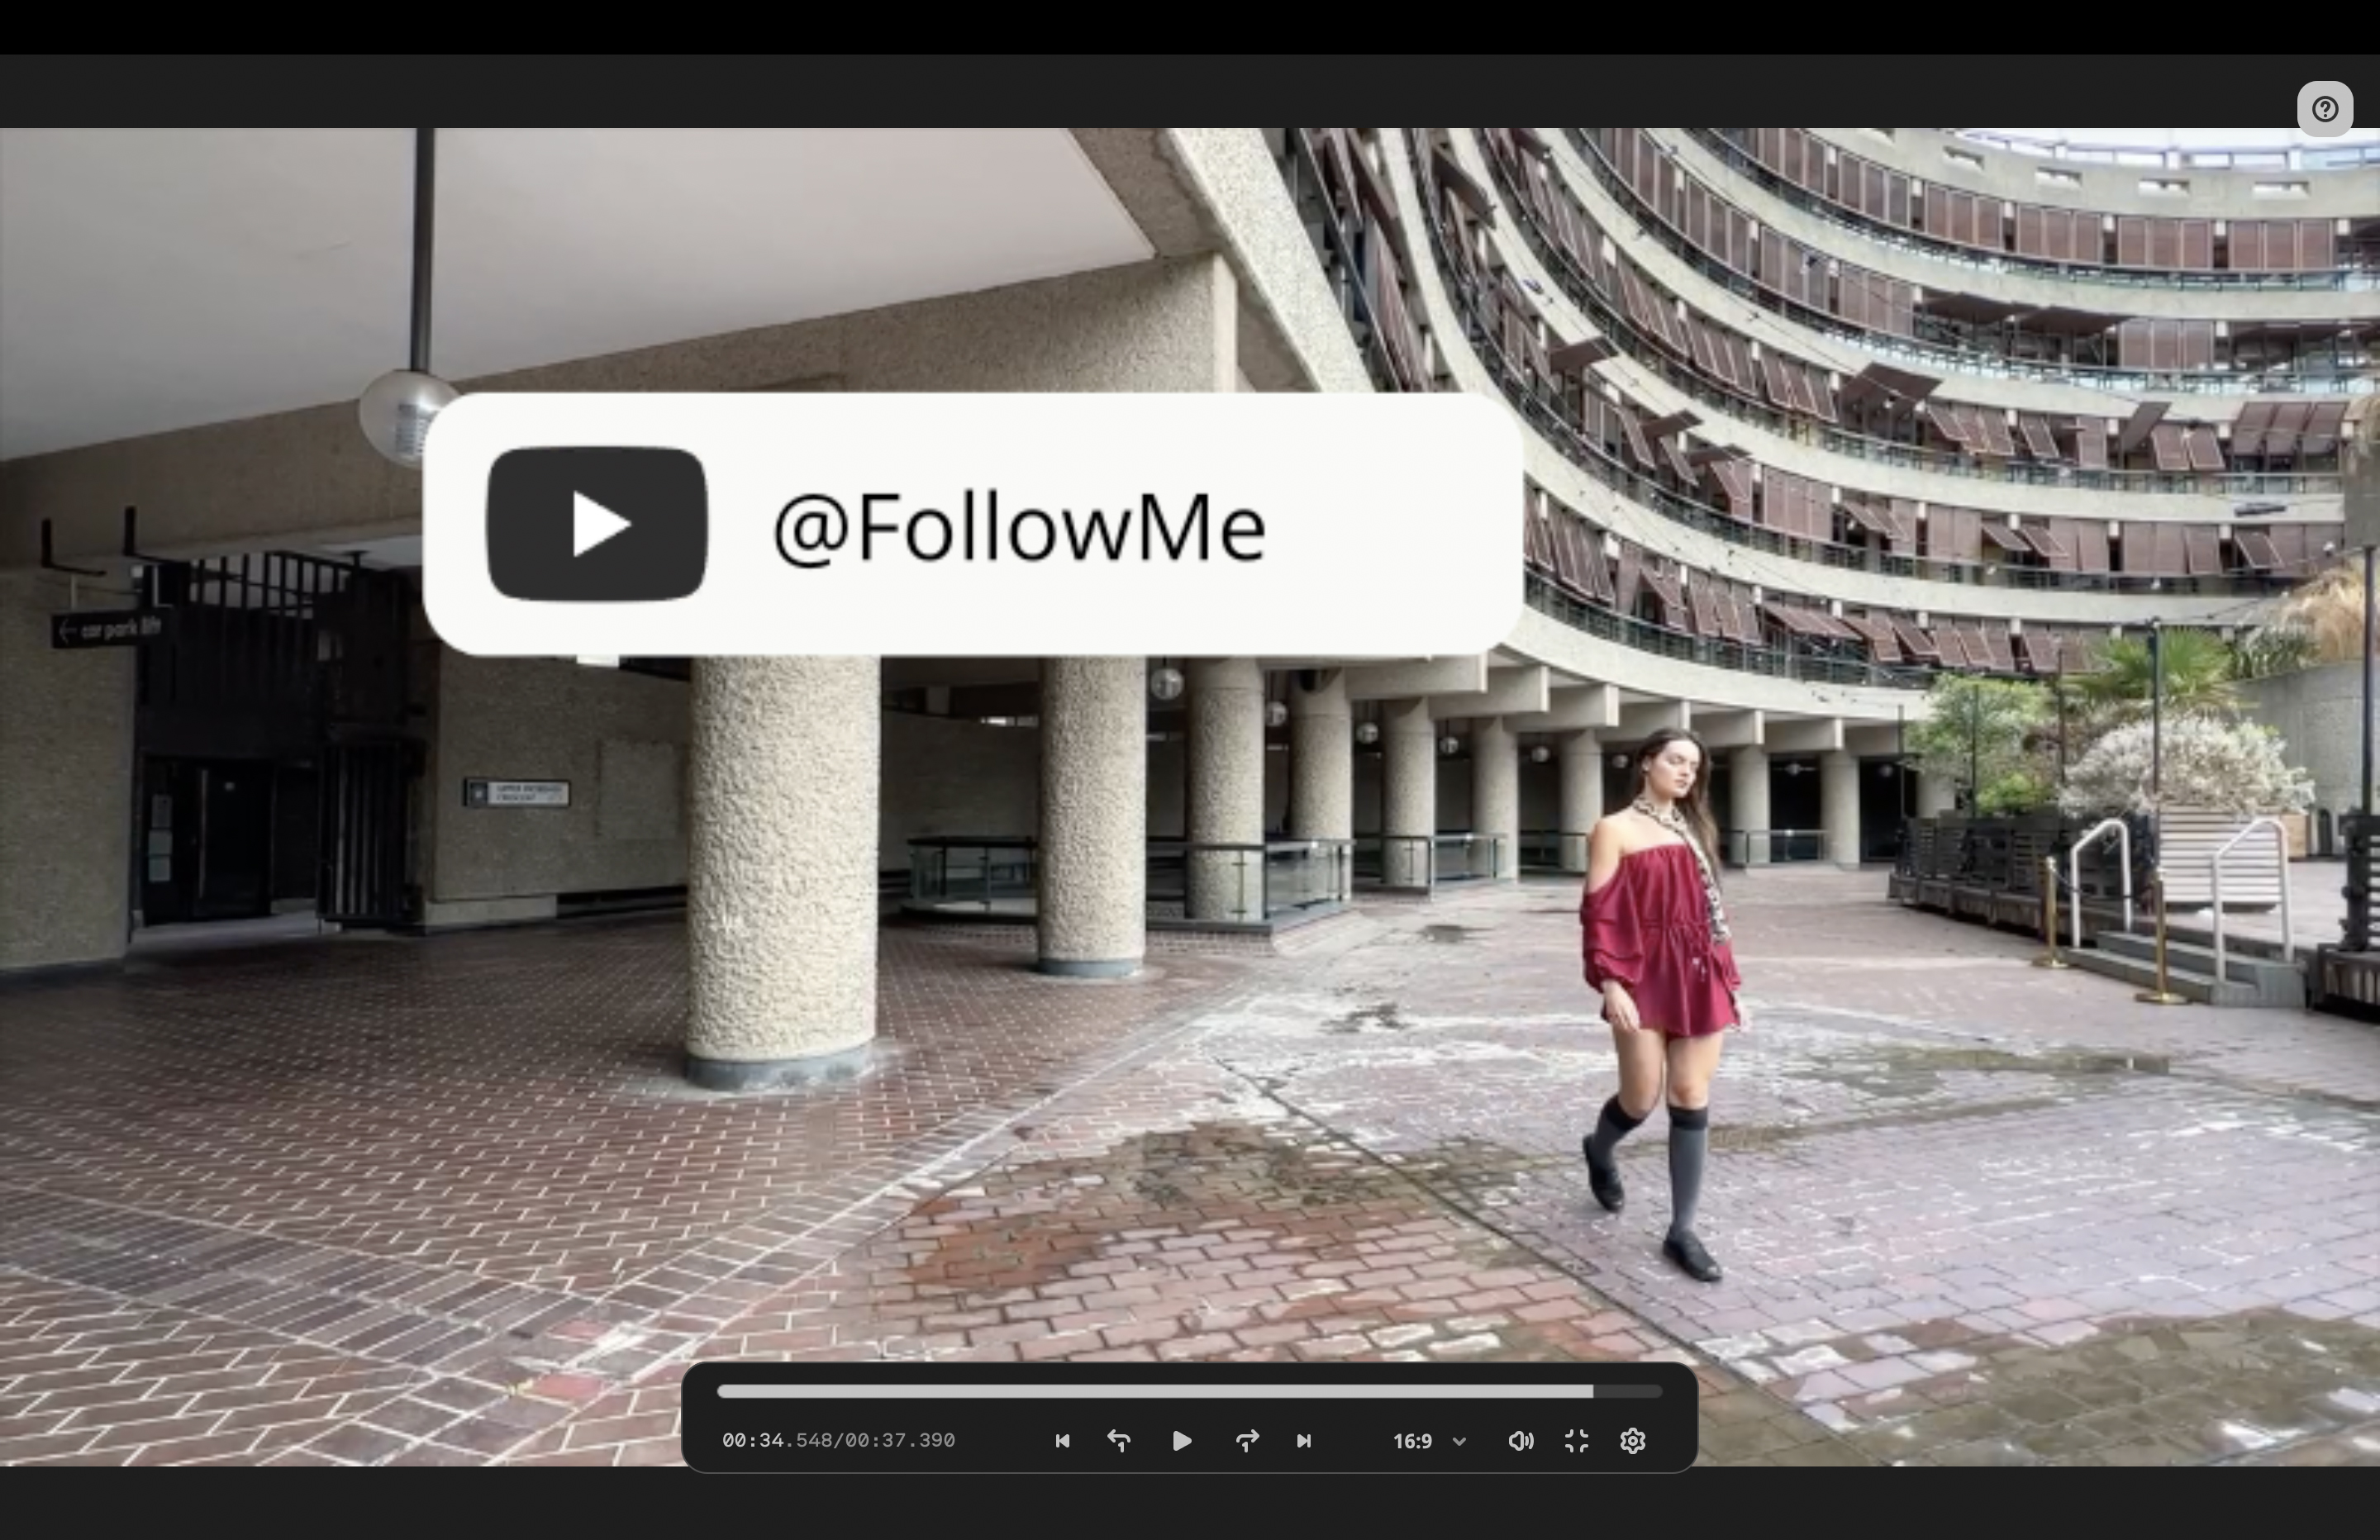
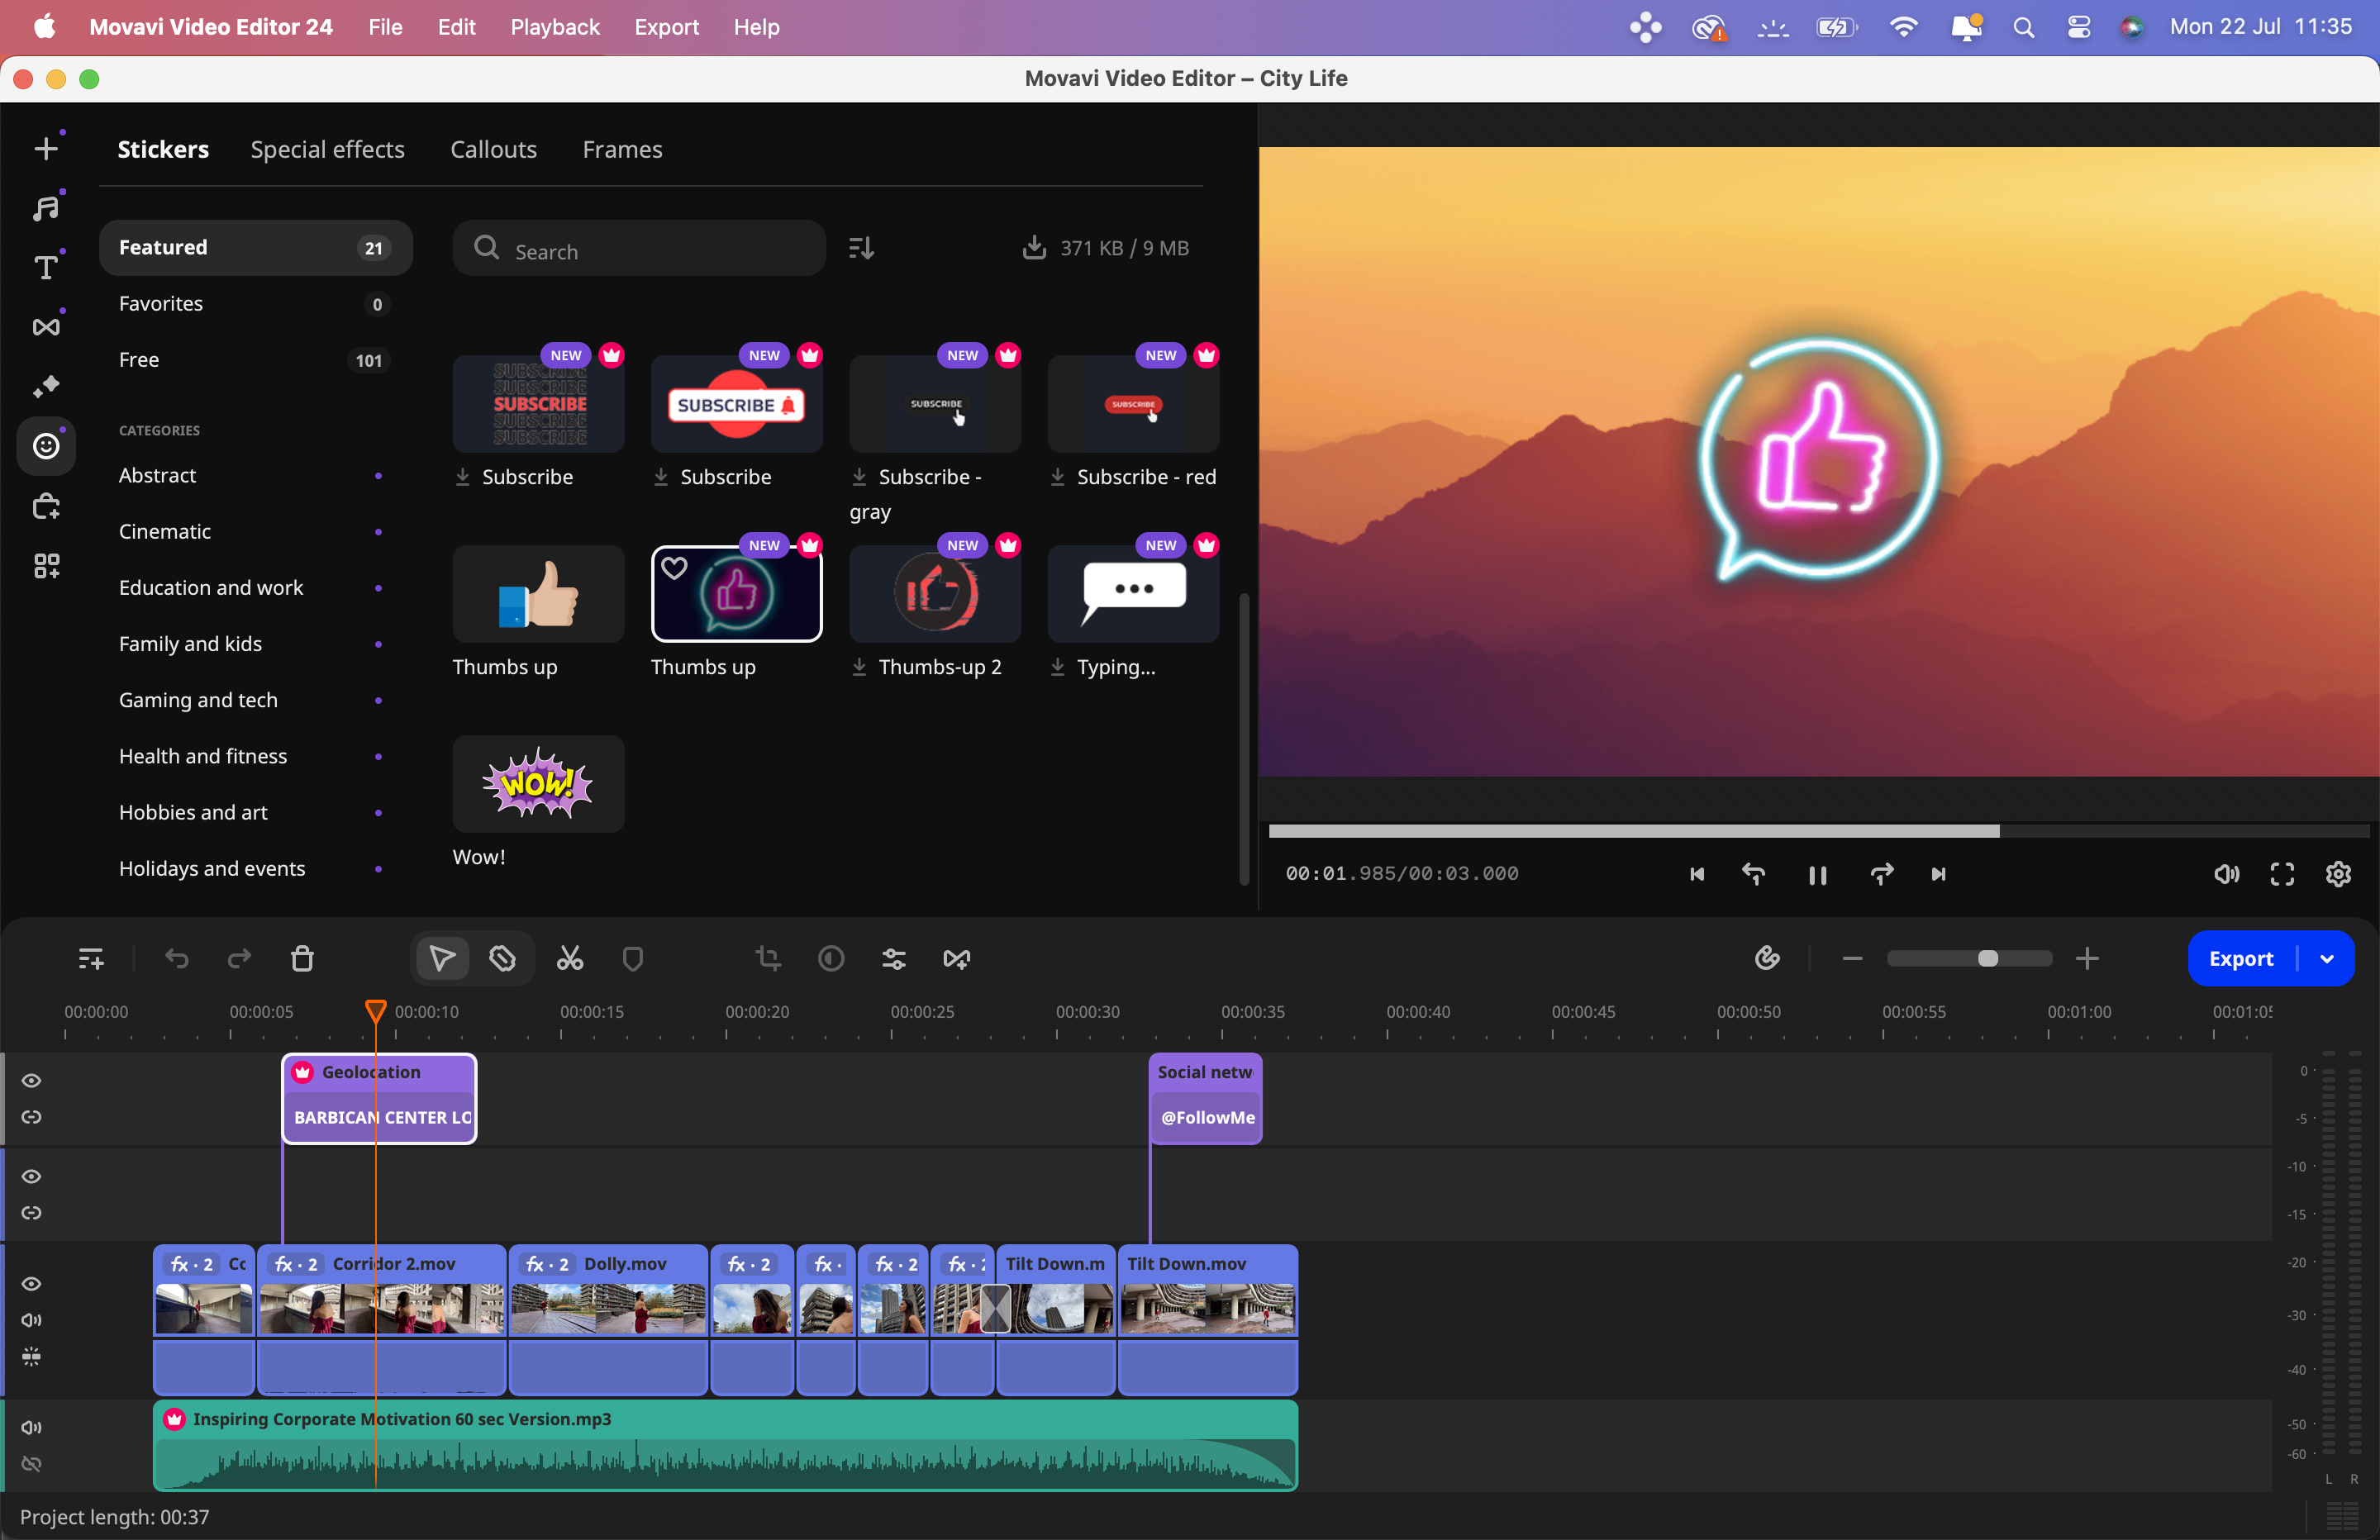
I must mention the fact that Movavi Video Editor’s graphics and stickers are slick and contemporary, so they will make your YouTube channel’s content look good. They are far better than Adobe Premiere Elements graphical assets which look more like old ‘clip art’.
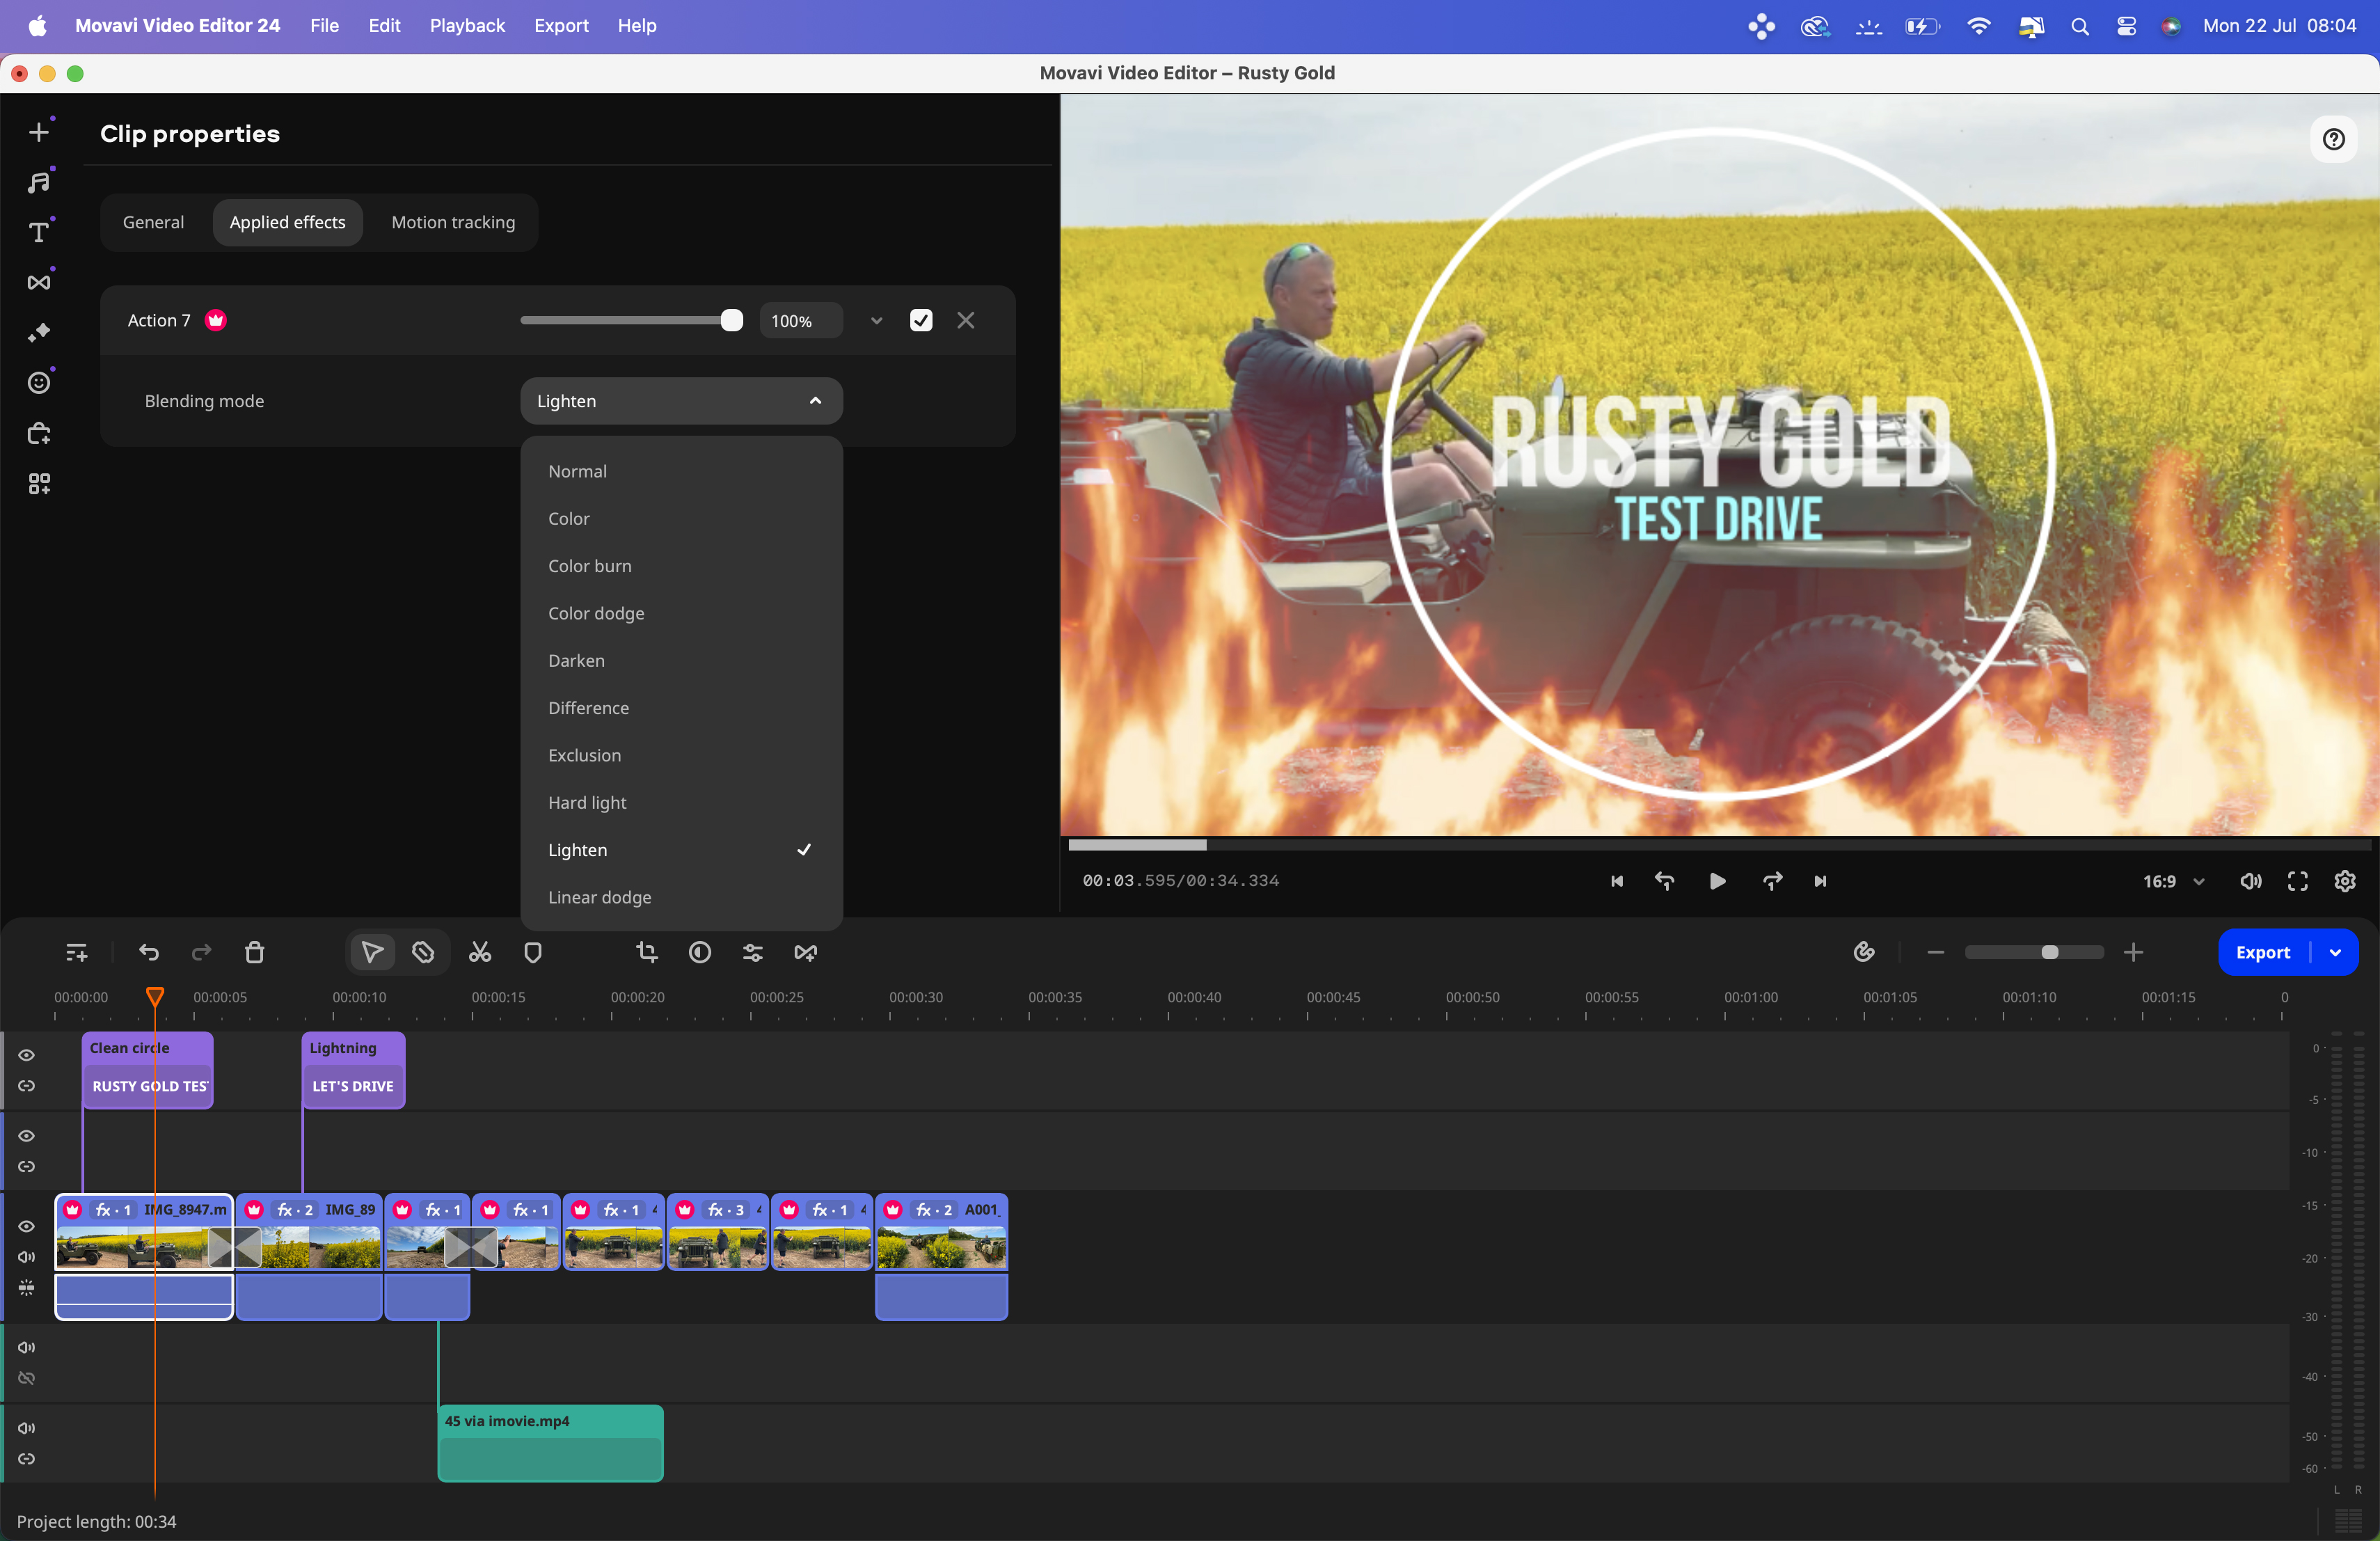
You can drag multiple effects (such as Overlays and Filters) onto a single clip. These effects are easy to manage. By double-clicking on a clip you can assess the Clip Properties window (which is a bit like Final Cut Pro’s inspector). Here you can modify general properties such as Opacity or Blending modes or go to the Applied Effects panel to change a particular effect’s attributes.
As a regular user of Final Cut Pro, I enjoy using keyboard shortcuts, such as tapping Cmd+B to cut/split a clip at the position of the playhead. I can also summon the Blade tool with the same shortcut and then click to make multiple cuts. This Cmd+B keyboard shortcut performs the same way in Movavi Video Editor when it comes to splitting clips, making it an intuitive process for me to edit quickly in the app.
One feature I didn’t like was when I clicked on a clip in the timeline and hit [Backspace] to delete the target clip, the consecutive timeline clips didn’t automatically slide to fill the gap. There may be a setting to make this happen but I haven’t found it as yet. That’s a small niggle though as in general I was able to bash out a couple of test edits very quickly and add effects, titles, and transitions with ease (see supporting video).
Another niggle occurred when applying multiple effects to a clip. I added three effects to make an iPhone 15 Pro Max’s pristine HD clip look like retro analog film complete with scratches, cross-processed faded colors, and a vignetted edge. In Final Cut Pro (and even iMovie) I could copy the multiple effects from one clip and paste them onto another. In Movavi Video Editor I had to apply the effects to each clip one by one which slowed down my workflow unnecessarily.
Movavi: Performance
Like many apps these days Movavi Video Editor 2024 uses AI to make challenging tasks easier and faster to perform. You can pop a graphic on a layer above a video clip and then use AI-assisted motion tracking to make the graphical element follow the movement of a particular person in the clip. This is easy to implement (just draw a box around the subject) and it works effectively as you’ll see from our supporting video.
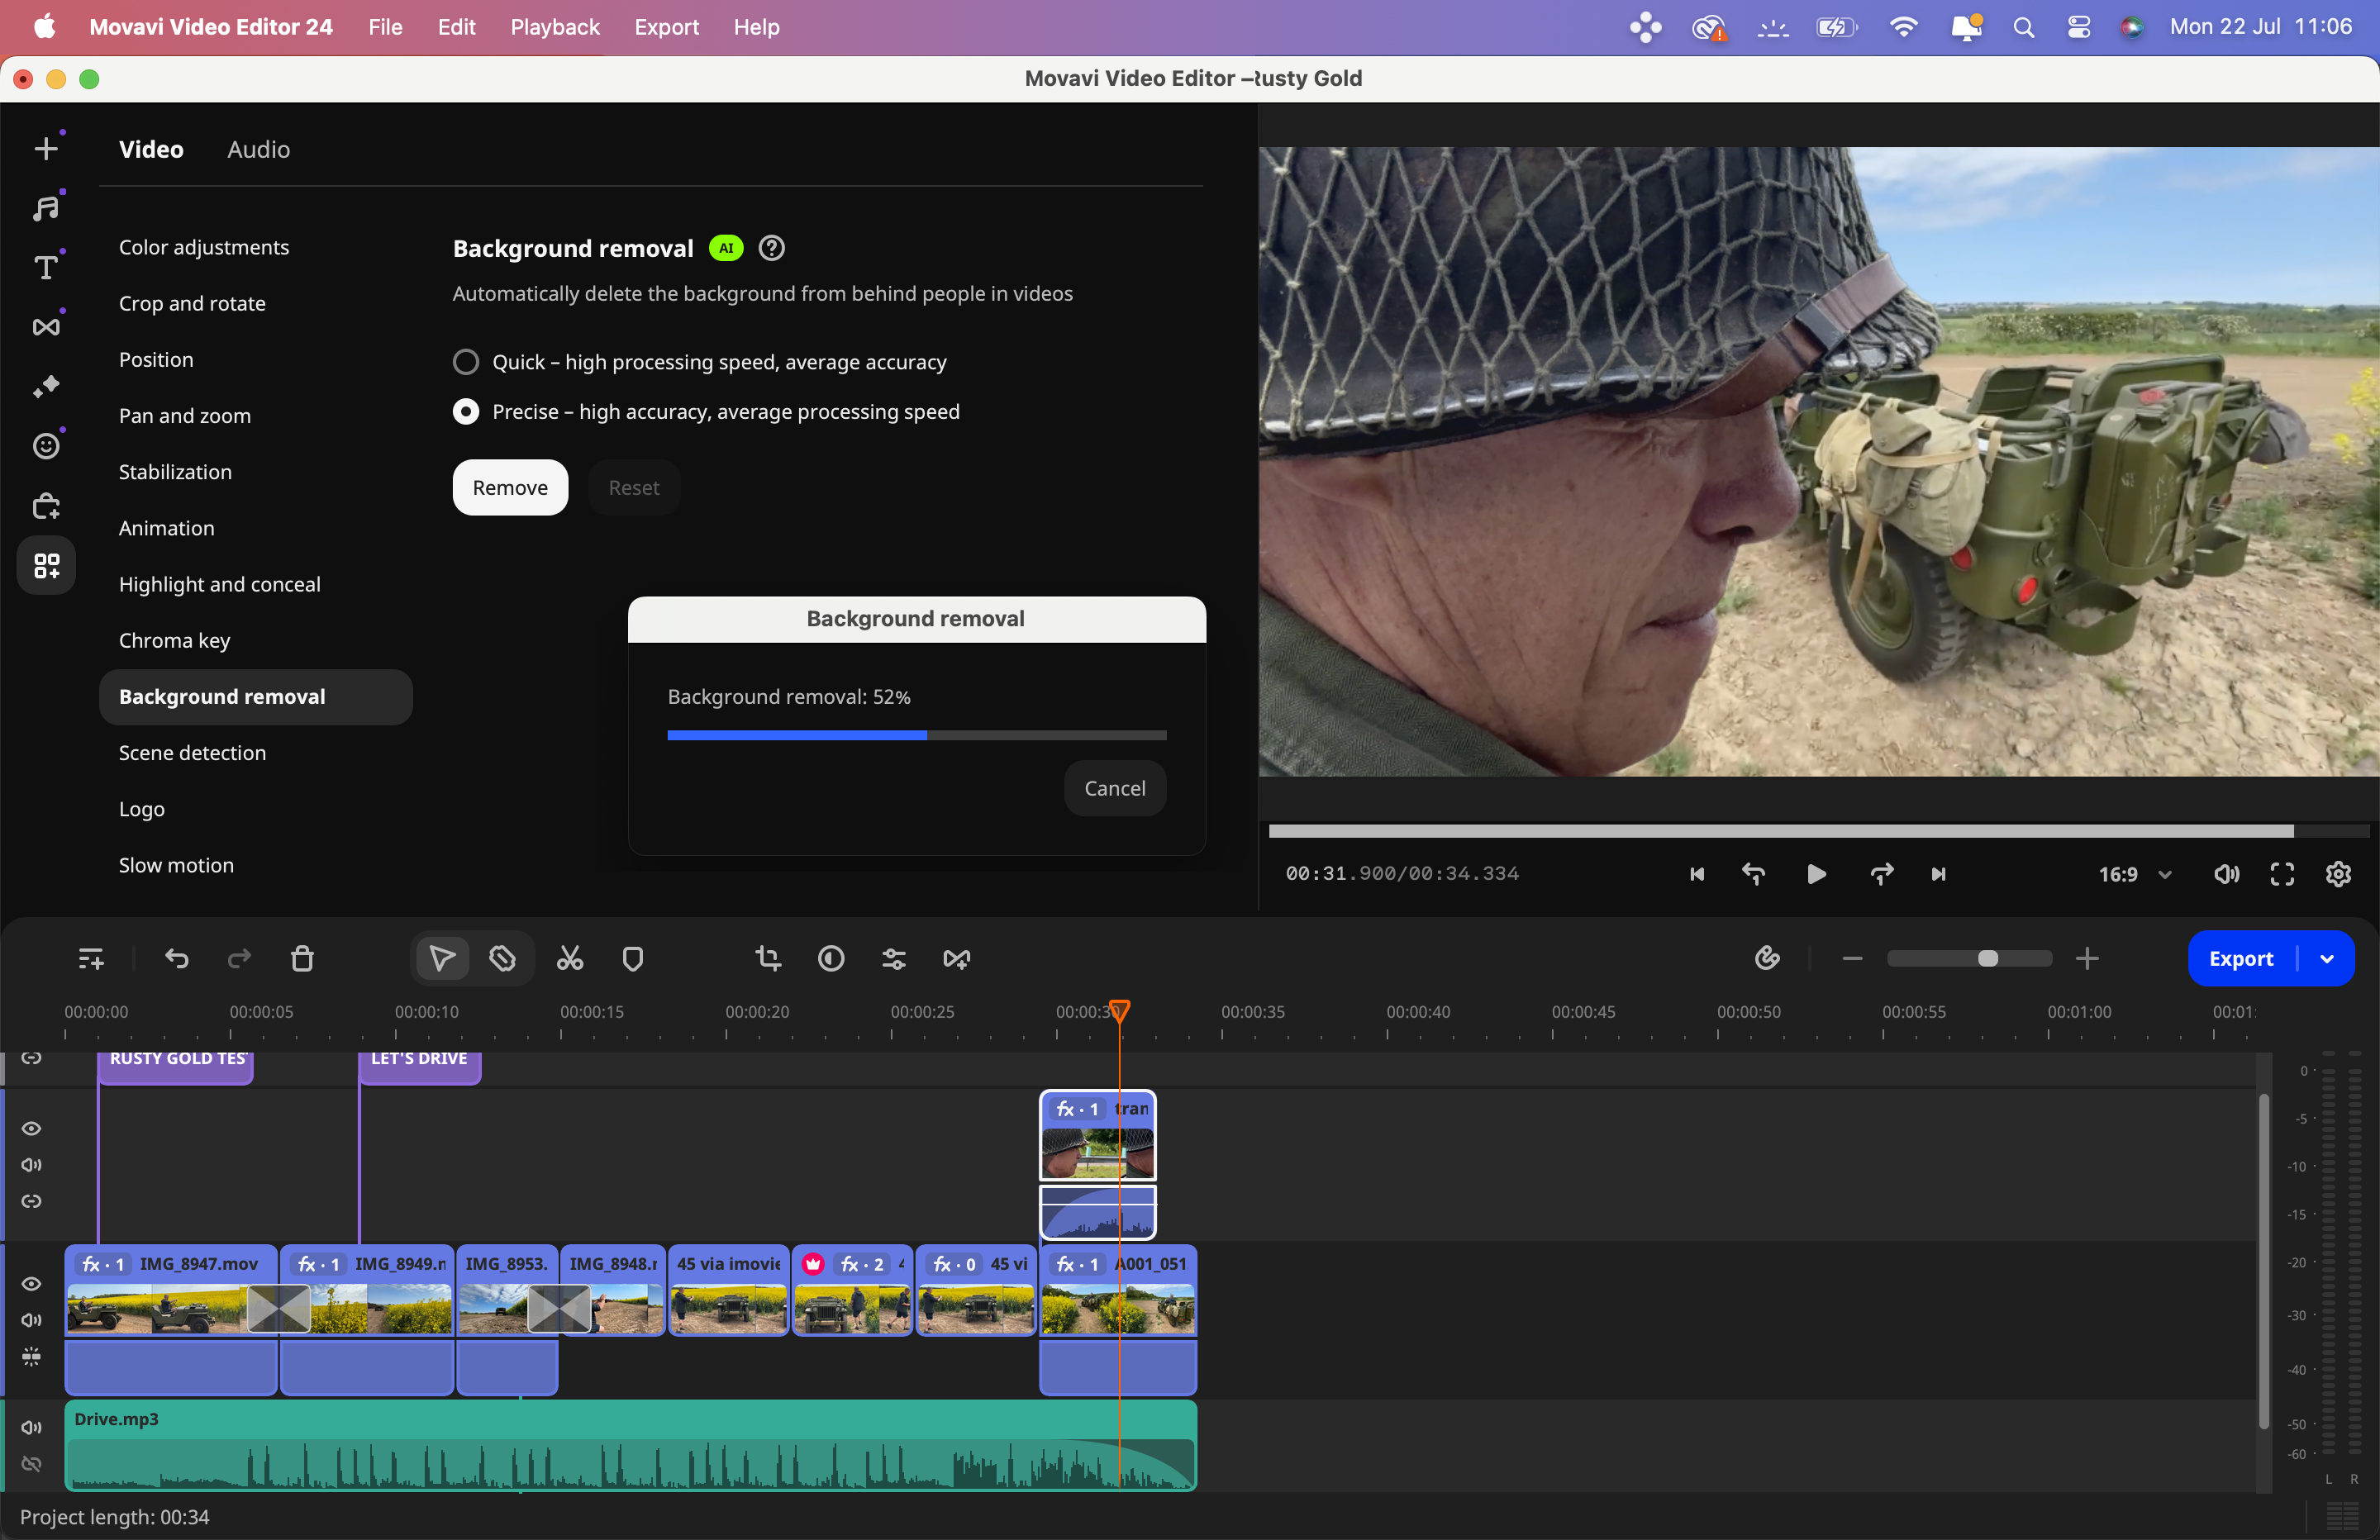
Another area where AI proves effective is in removing a background. Traditionally you’d need to film a subject against a green screen and key out the green to make the background become transparent (and Movavi does have green screen compositing tools). However, with the AI Background Removal tool, you can remove the background in any clip. The results aren’t always as smooth as using chroma key tools, but for a quick social media composite this is a welcome feature - and I was impressed at how AI managed to select a subject’s wind-blown hair while removing unwanted background pixels.
In the Audio panel, you can use AI-assisted Noise Reduction to reduce the distracting presence of background noise so that the subject’s voice sounds clearer.
When it comes to sharing Movavi makes it easy. Simply tap on the Export button and browse through a wide selection of destination devices such as specific widescreen TVs or smartphone models or upload directly to social media sites such as YouTube to TikTok.
Movavi: Verdict
As an experienced video editor, I enjoyed using Movavi Video Editor 2024, though a novice should be able to get to grips with it quite quickly. The basic subscription supplies plenty of assets such as animated titles and captions that enable you to create eye-catching social media sequences with ease, though you do have to pay extra for additional effects to avoid watermarking.
The AI-assisted features are welcome and fairly effective, especially the background removal tool and you can also use AI to track a graphic to a subject without worrying about manually creating keyframes. All in all Movavi Video Editor 2024 is a slickly designed feature-packed NLE that is more polished than the similar Adobe Premiere Elements 2024, though unlike Adobe’s app, Movavi Video Editor requires an annual subscription, which will make it cost you more in the long run.
| Features | AI tracking and compositing plus a host of transitions and effects | ★★★★★ |
| Design | Clean interface with easy to master editing tools | ★★★★☆ |
| Performance | AI tools work well and editing is intuitive. | ★★★★☆ |
| Value | The annual subscription is reasonable but will add up over time. | ★★☆☆☆ |
✅ Buy it...
- You need an entry to mid-level NLE
- You’re editing for social media sites
- You need AI-assisted compositing tools
- You need the option to expand its toolset
🚫 Don't buy it...
- You want to own an NLE app outright
George has been freelancing as a photo fixing and creative tutorial writer since 2002, working for award winning titles such as Digital Camera, PhotoPlus, N-Photo and Practical Photoshop. He's expert in communicating the ins and outs of Photoshop and Lightroom, as well as producing video production tutorials on Final Cut Pro and iMovie for magazines such as iCreate and Mac Format. He also produces regular and exclusive Photoshop CC tutorials for his YouTube channel.
