Digital Camera World Verdict
Some of the Calibrite ColorChecker Studios features, like projector and scanner calibration, are unlikely to be essential, and it’s a pity that smart device calibration is a bit half-baked. Some advanced users may also find the Studio’s software to be a little limiting, but these are all minor nitpicks with what’s otherwise a highly versatile, easy-to-use device that offers a lot for the money.
Pros
- +
Easy to use
- +
Hugely versatile
- +
Well priced (though see opposite)
Cons
- -
Pricey if you don't need printer profiling
- -
Relatively bulky
- -
Underwhelming tablet calibration
Why you can trust Digital Camera World
Where many calibration tools are designed purely for monitor calibration, Calibrite ColorChecker Studio is an all-in-one kit that’ll calibrate every stage of a photographer’s workflow, from camera to monitor to print.
Originally sold as the X-Rite’s i1Studio, the Calibrite ColorChecker Studio is short on versatility, but do its extra features justify the hefty price premium over a more conventional alternative?
Features
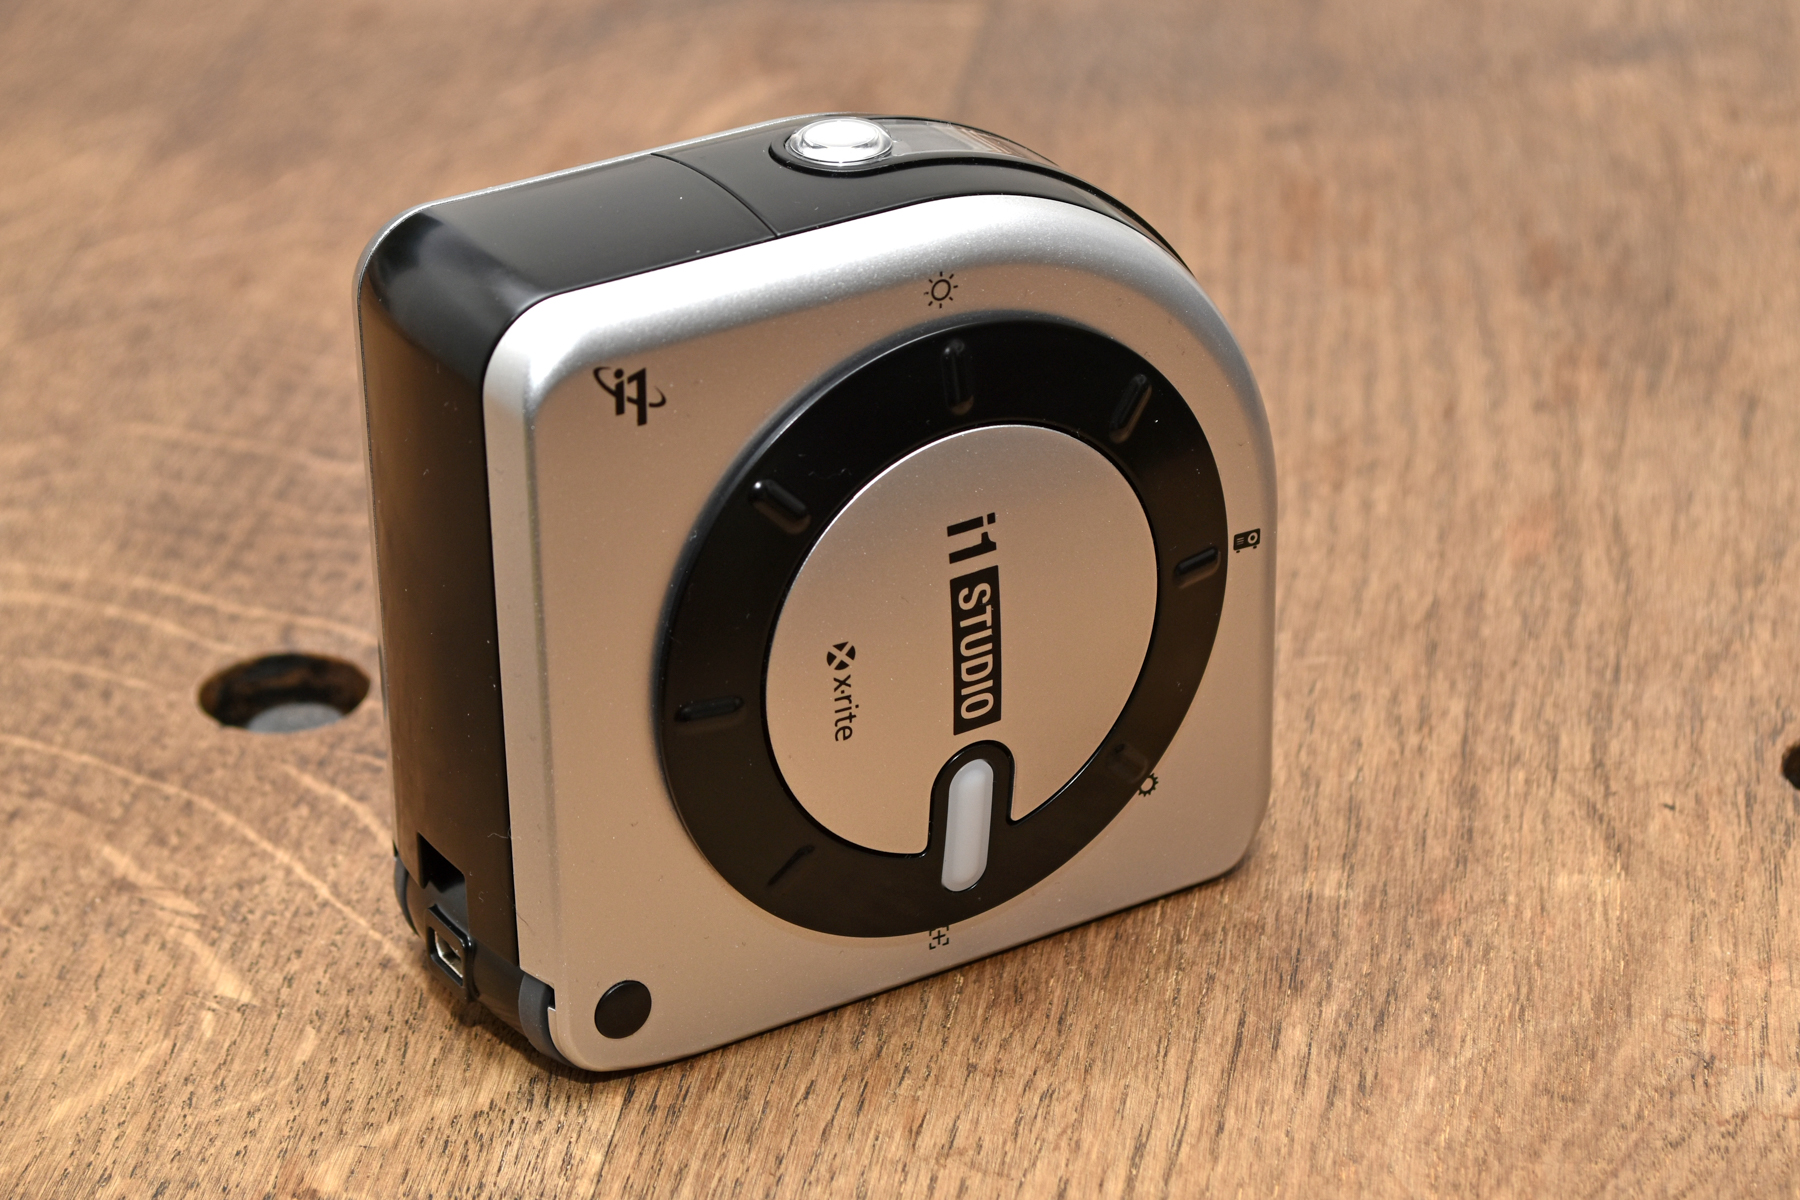
The Calibrite ColorChecker Studio is based around a multi-purpose spectrophotometer that not only profiles your monitor, but can also be used profile a printer, scanner or projector.
Starting with monitor calibration. The Calibrite ColorChecker Studio software isn’t just configured to suit photo editing, as it also includes video color space options like DCI P3, Rec. 709, PAL and NTSC. Extra factors that can affect perceived color accuracy can be counteracted, with features such as Flare Correct helping compensate for the strong reflections off a glossy screen. There’s also ambient lighting analysis that enables you to configure monitor brightness to suit the ambient light around the screen.
• See the our guide to the best monitor calibrators
In addition to monitor profiling, the ColorChecker Studio can also be used to calibrate an iOS mobile device with the aid of the ColorTRUE app, tweaking your iPad or iPhone to display photos with corrected color.
Your printer can’t escape the Calibrite ColorChecker Studio treatment either, as RGB and CMYK printers can be profiled. Although monitor-to-print consistency is more critical in professional media environments, if you’re spending big bucks on ink and quality paper, it’s nice to know your printer is working to the best of its abilities.
Projector profiling follows and almost identical procedure to conventional monitor profiling, just with different positioning requirements for the Studio. It’s a useful feature not just for home cinema fanatics, but also if you’re giving a presentation via a projector and you want your audience to view it with accurate color.
Also included in the kit is Calibrite ColorChecker Studio target card. This works in conjunction with software to ensure you have consistent color from your camera during a shoot, or you can use it as a reference target when converting Raw files in Adobe Lightroom. The color target card can also be used for scanner profiling.
Lastly, the ColorChecker Studio spot color measurement feature means you can analyze the color of objects, so you can match the color of your favorite wallpaper or toy like you can at a custom paint-mixing stand at a hardware store.
Design and build
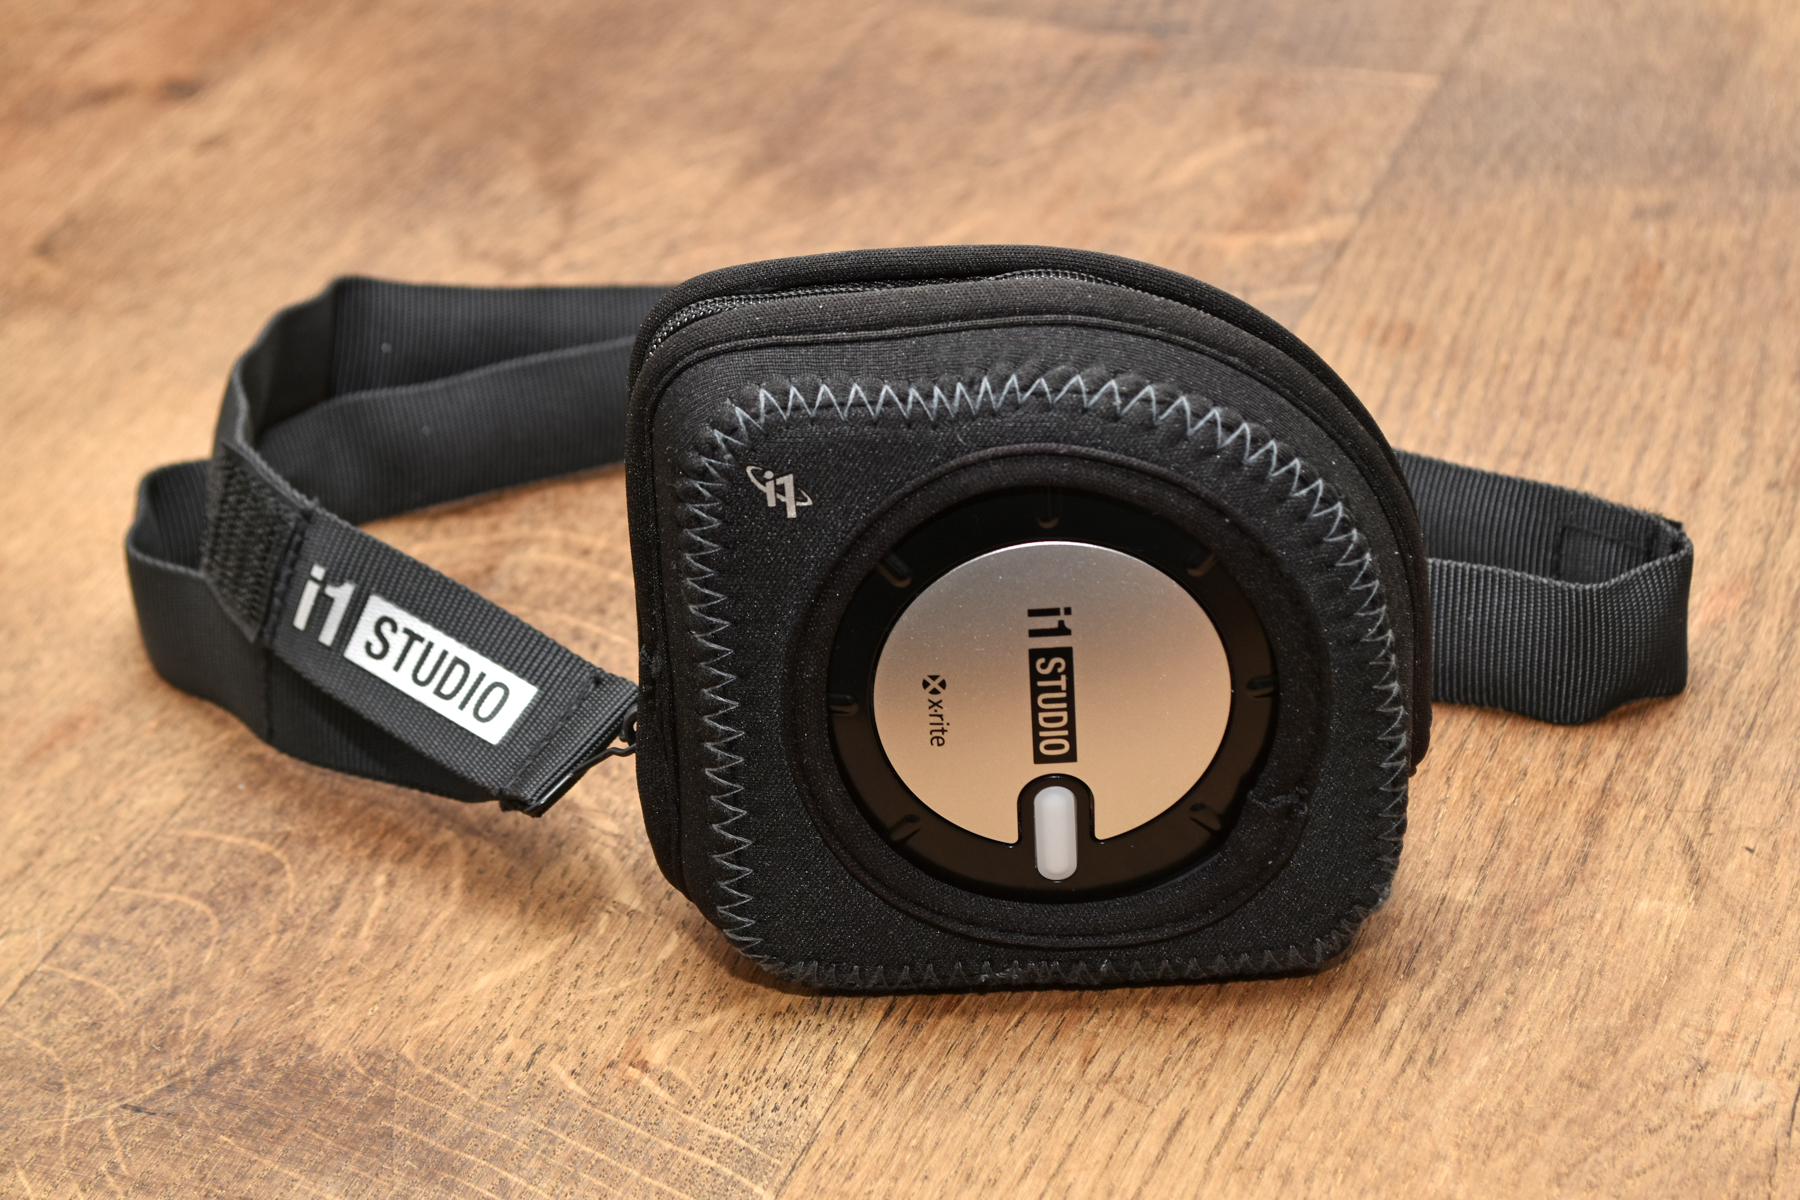
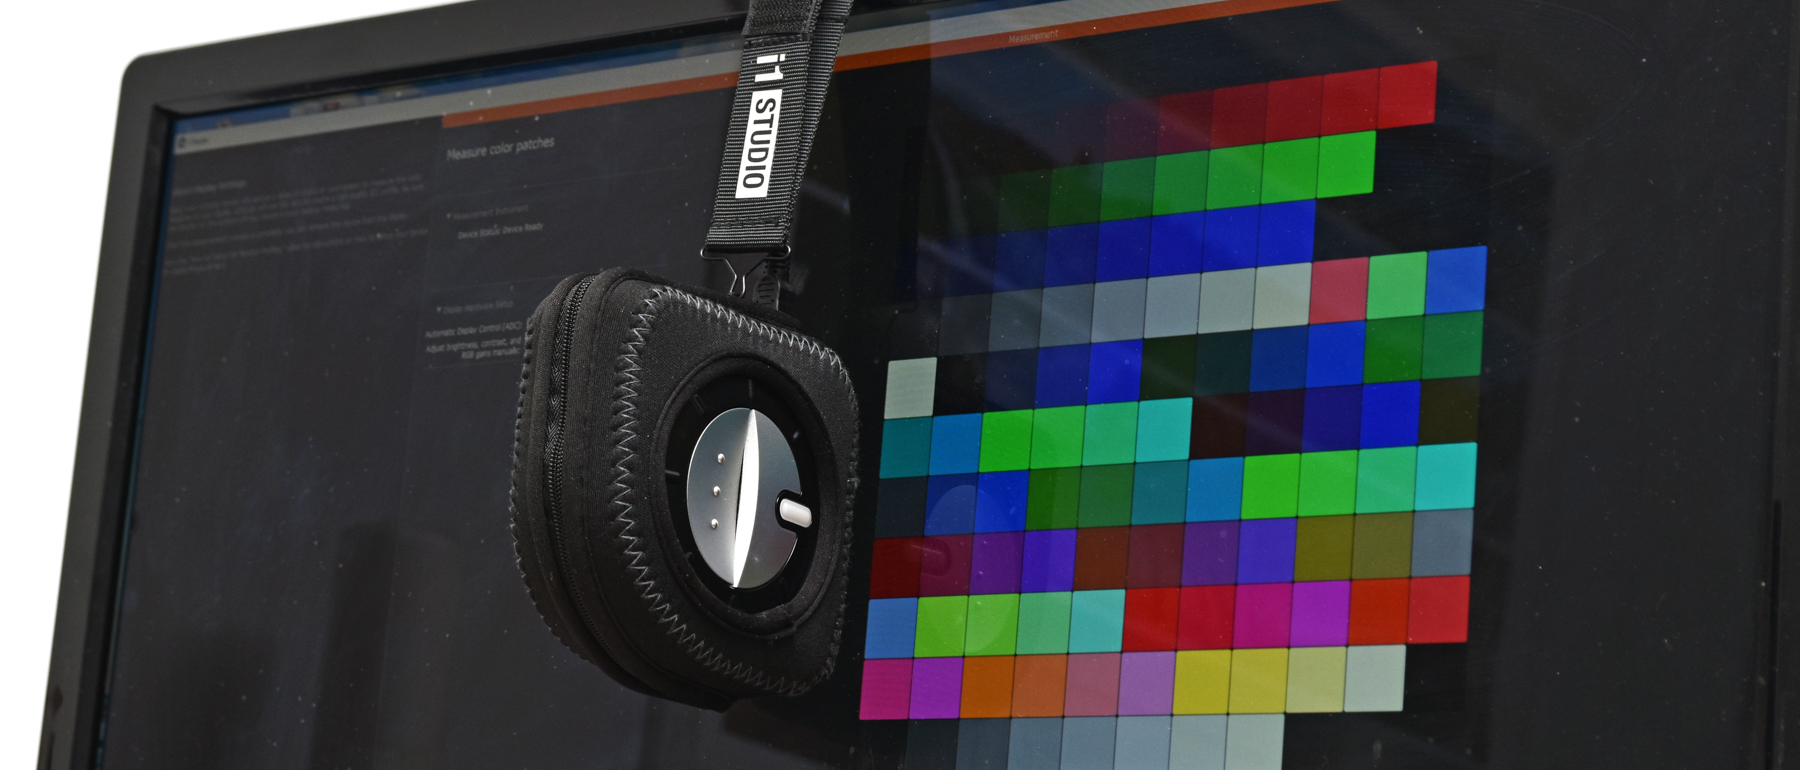
The centerpiece of the ColorChecker Studio kit is the spectrophotometer. Being such a versatile device, it’s considerably bigger than a typical monitor-only calibrator, measuring 100 x 90 x 50mm (albeit with the corners rounded off). Despite an all-plastic construction, build quality feels solid, and for a little extra protection you get a form-fitting neoprene case. You can leave this on when calibrating your monitor, and you actually need to as it contains the mounting loop to attach a weighted strap that hangs over the back of your monitor and acts as a counterweight to hold the device in place on the front of your screen.
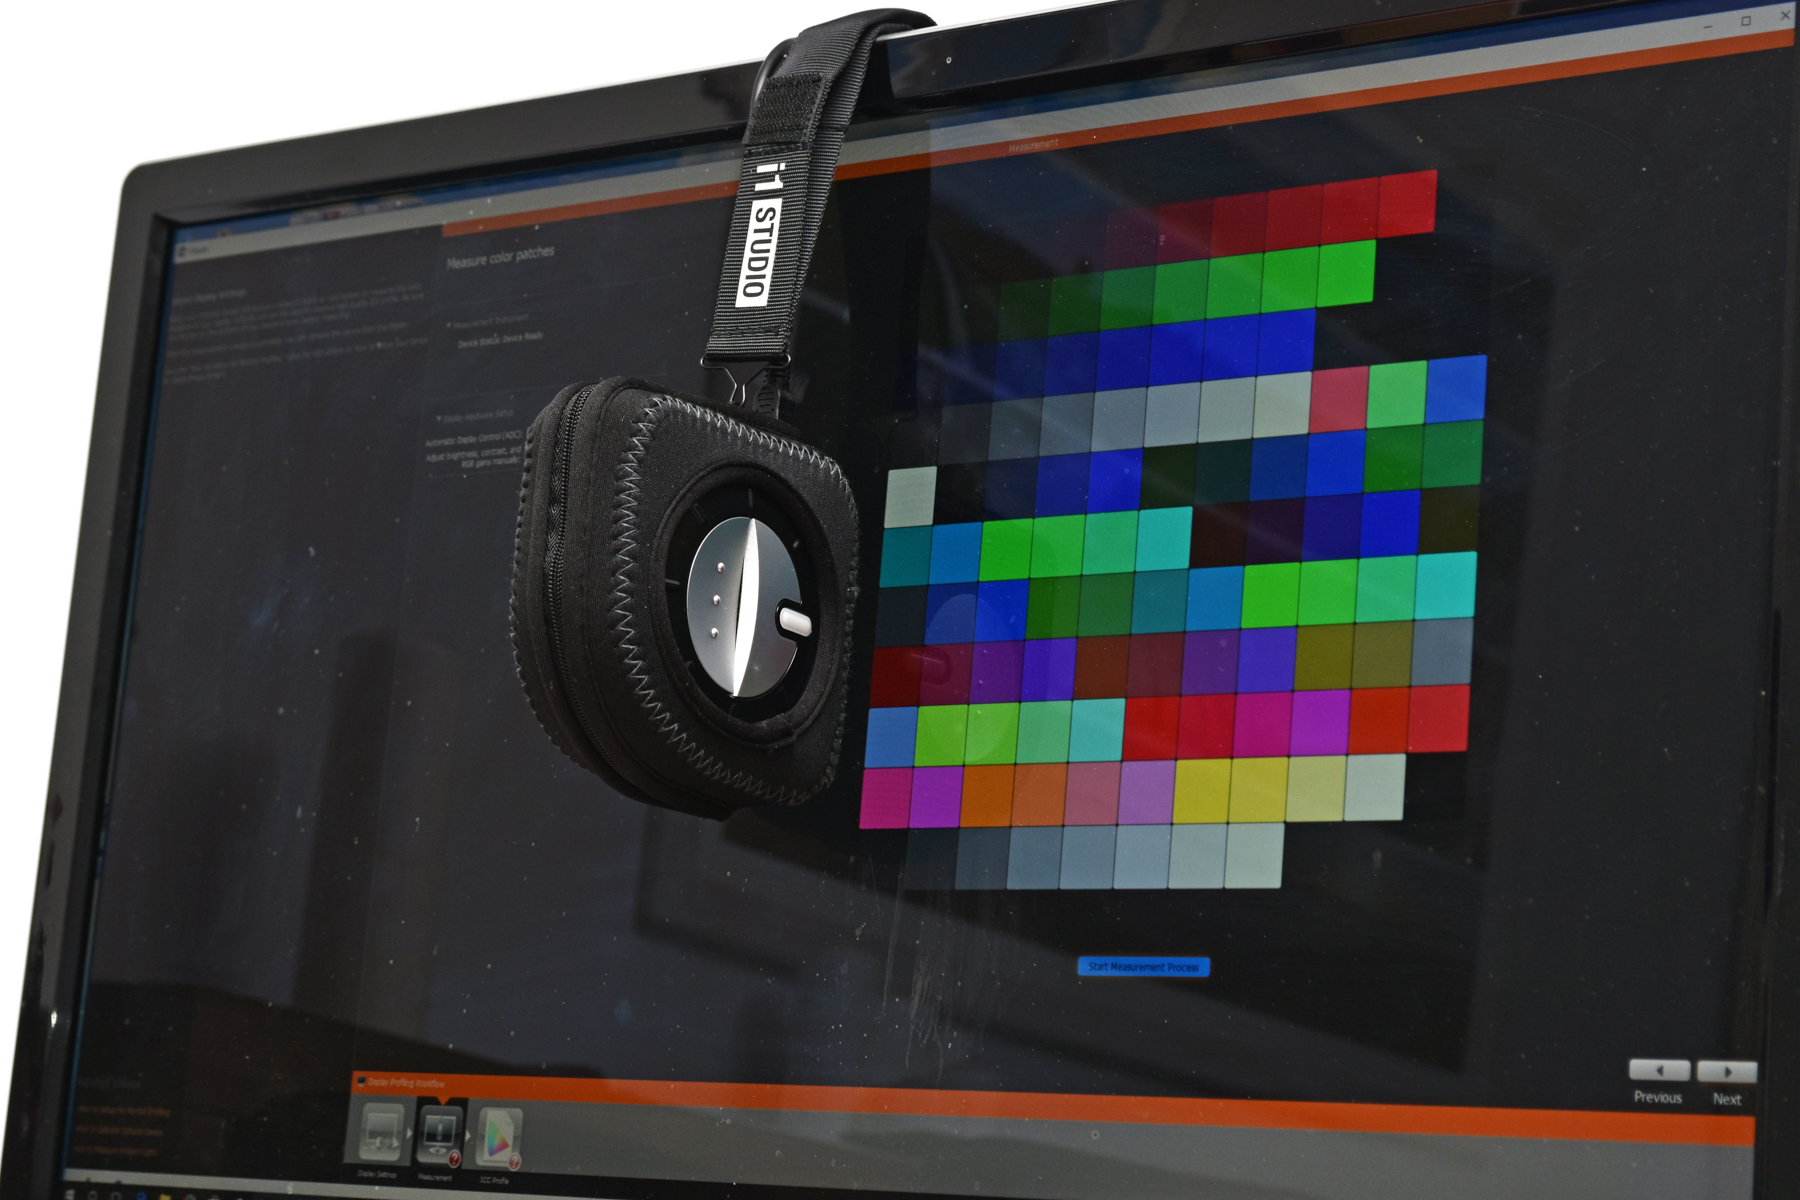
The large circular dials on each side of the device aren’t just for show. They’re actually joined within the casing and rotate a single dial that can be gripped from both sides. Its purpose is to set calibration mode, with positions for monitor/print calibration, projecting profiling and ambient lighting detection. The fourth marking on the dial indicates the calibration position (yes, even the tool doing the calibrating needs to be calibrated itself!).
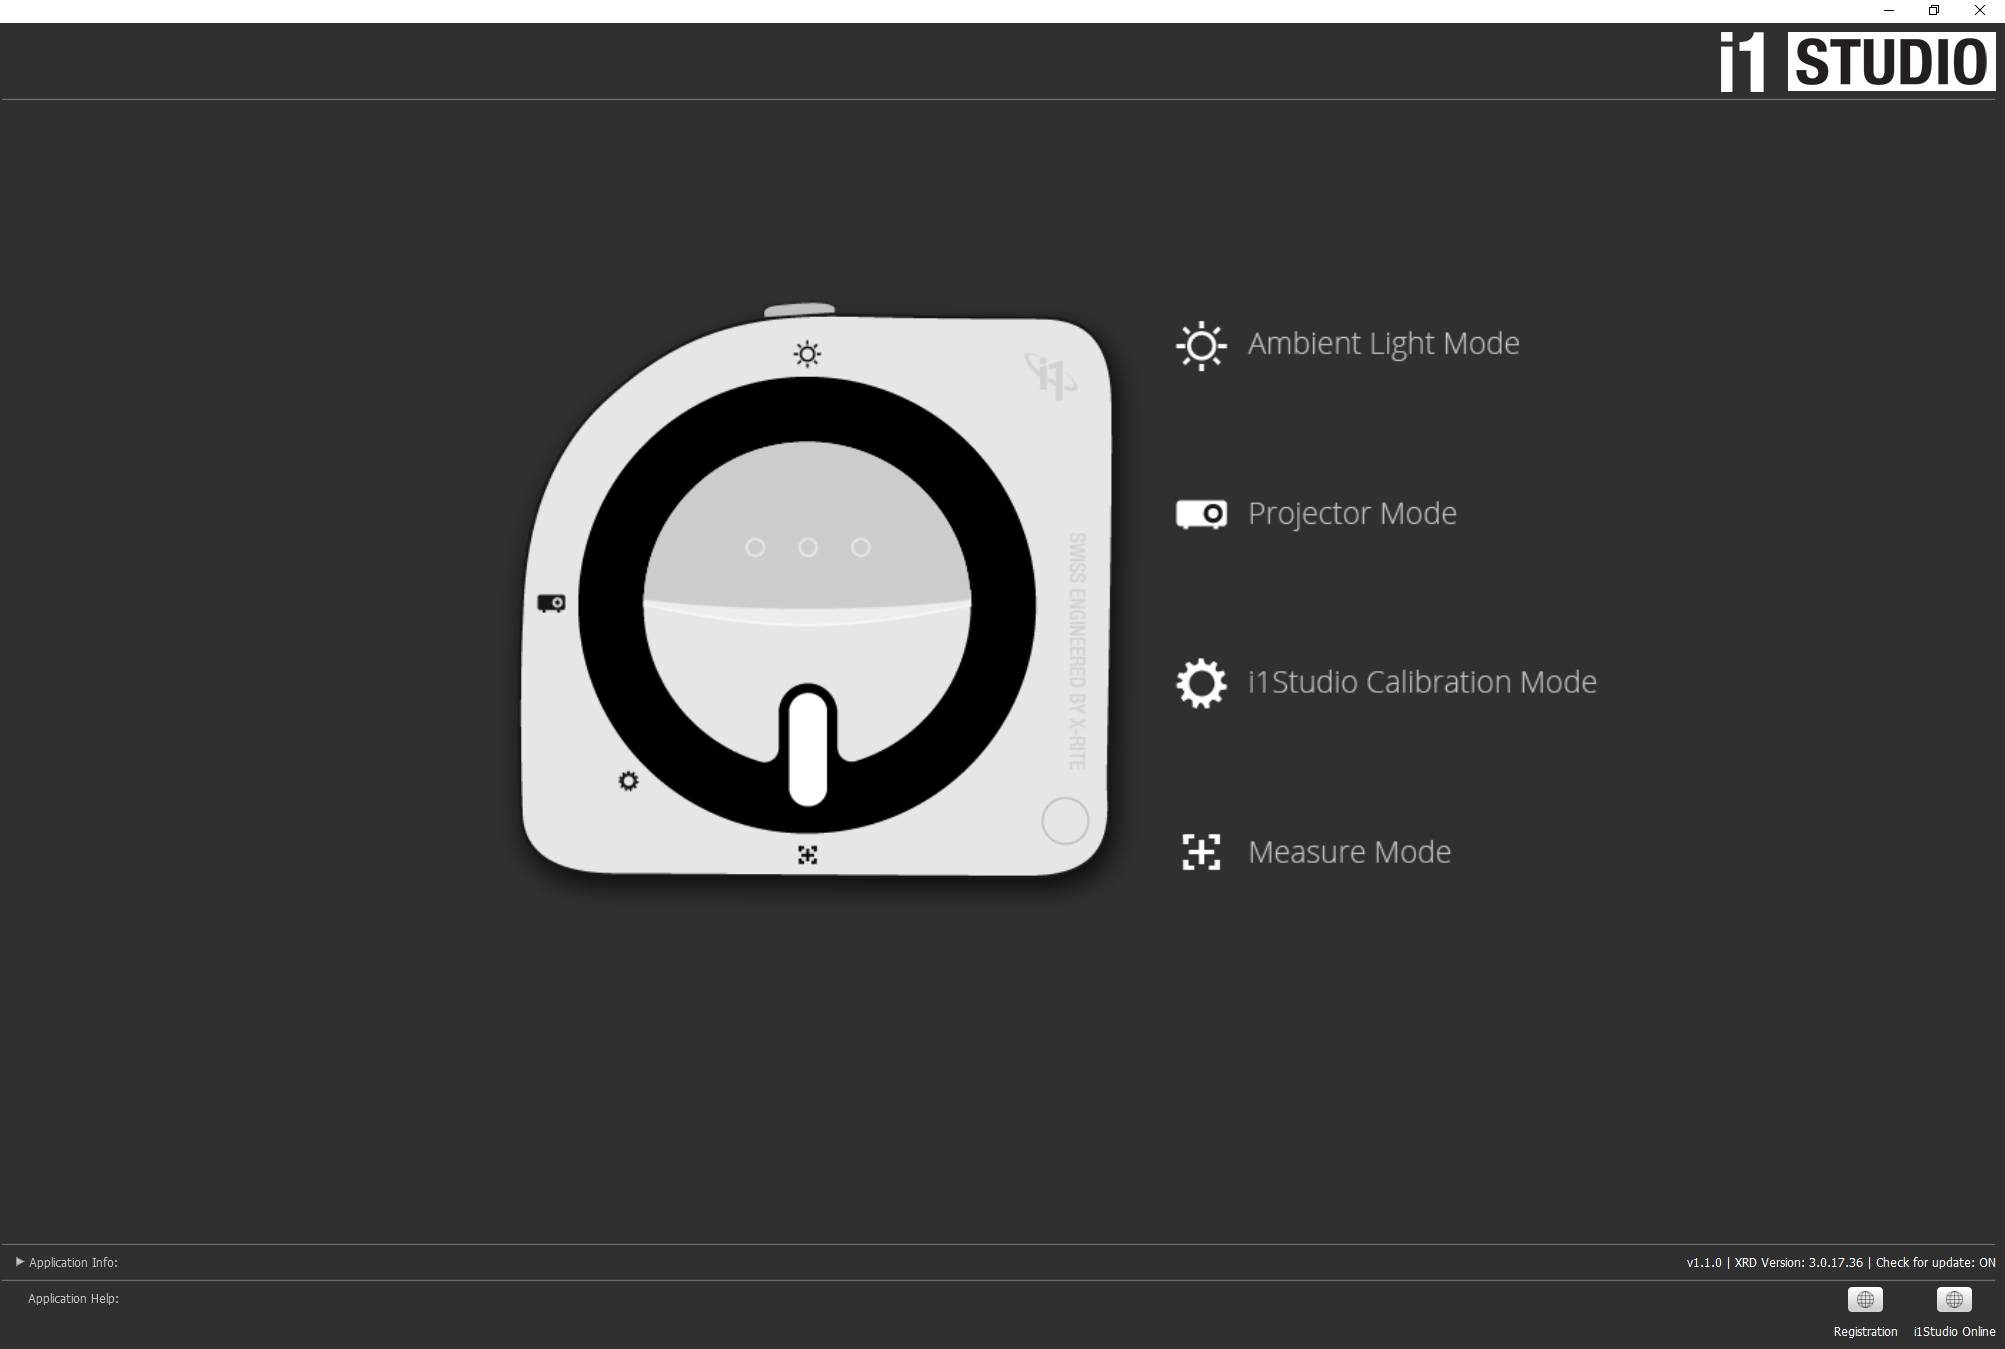
Calibrite's software requires you to first rotate the dial to this position before you calibrate anything else. In doing so the device’s sensor is then covered. It can automatically calibrate itself, and only then can you continue. There’s a pulsating status LED on each side, and on one side only is a single large button, which you use for taking spot color measurements and while scanning color patch prints during the printer-calibration procedure.
Performance
Although the ColorChecker Studio is aimed at enthusiasts, but it’s less intimidating to use than a monitor calibrator like Calibrite i1Display Pro.
Monitor calibration is a simple procedure, with only essential options to define such as white point and luminance. Once you’ve set these – the default values are usually fine if you’re not sure what to go for – the device then scans 118 different colours fired though your screen by the calibration software, with the whole process taking just under five minutes.
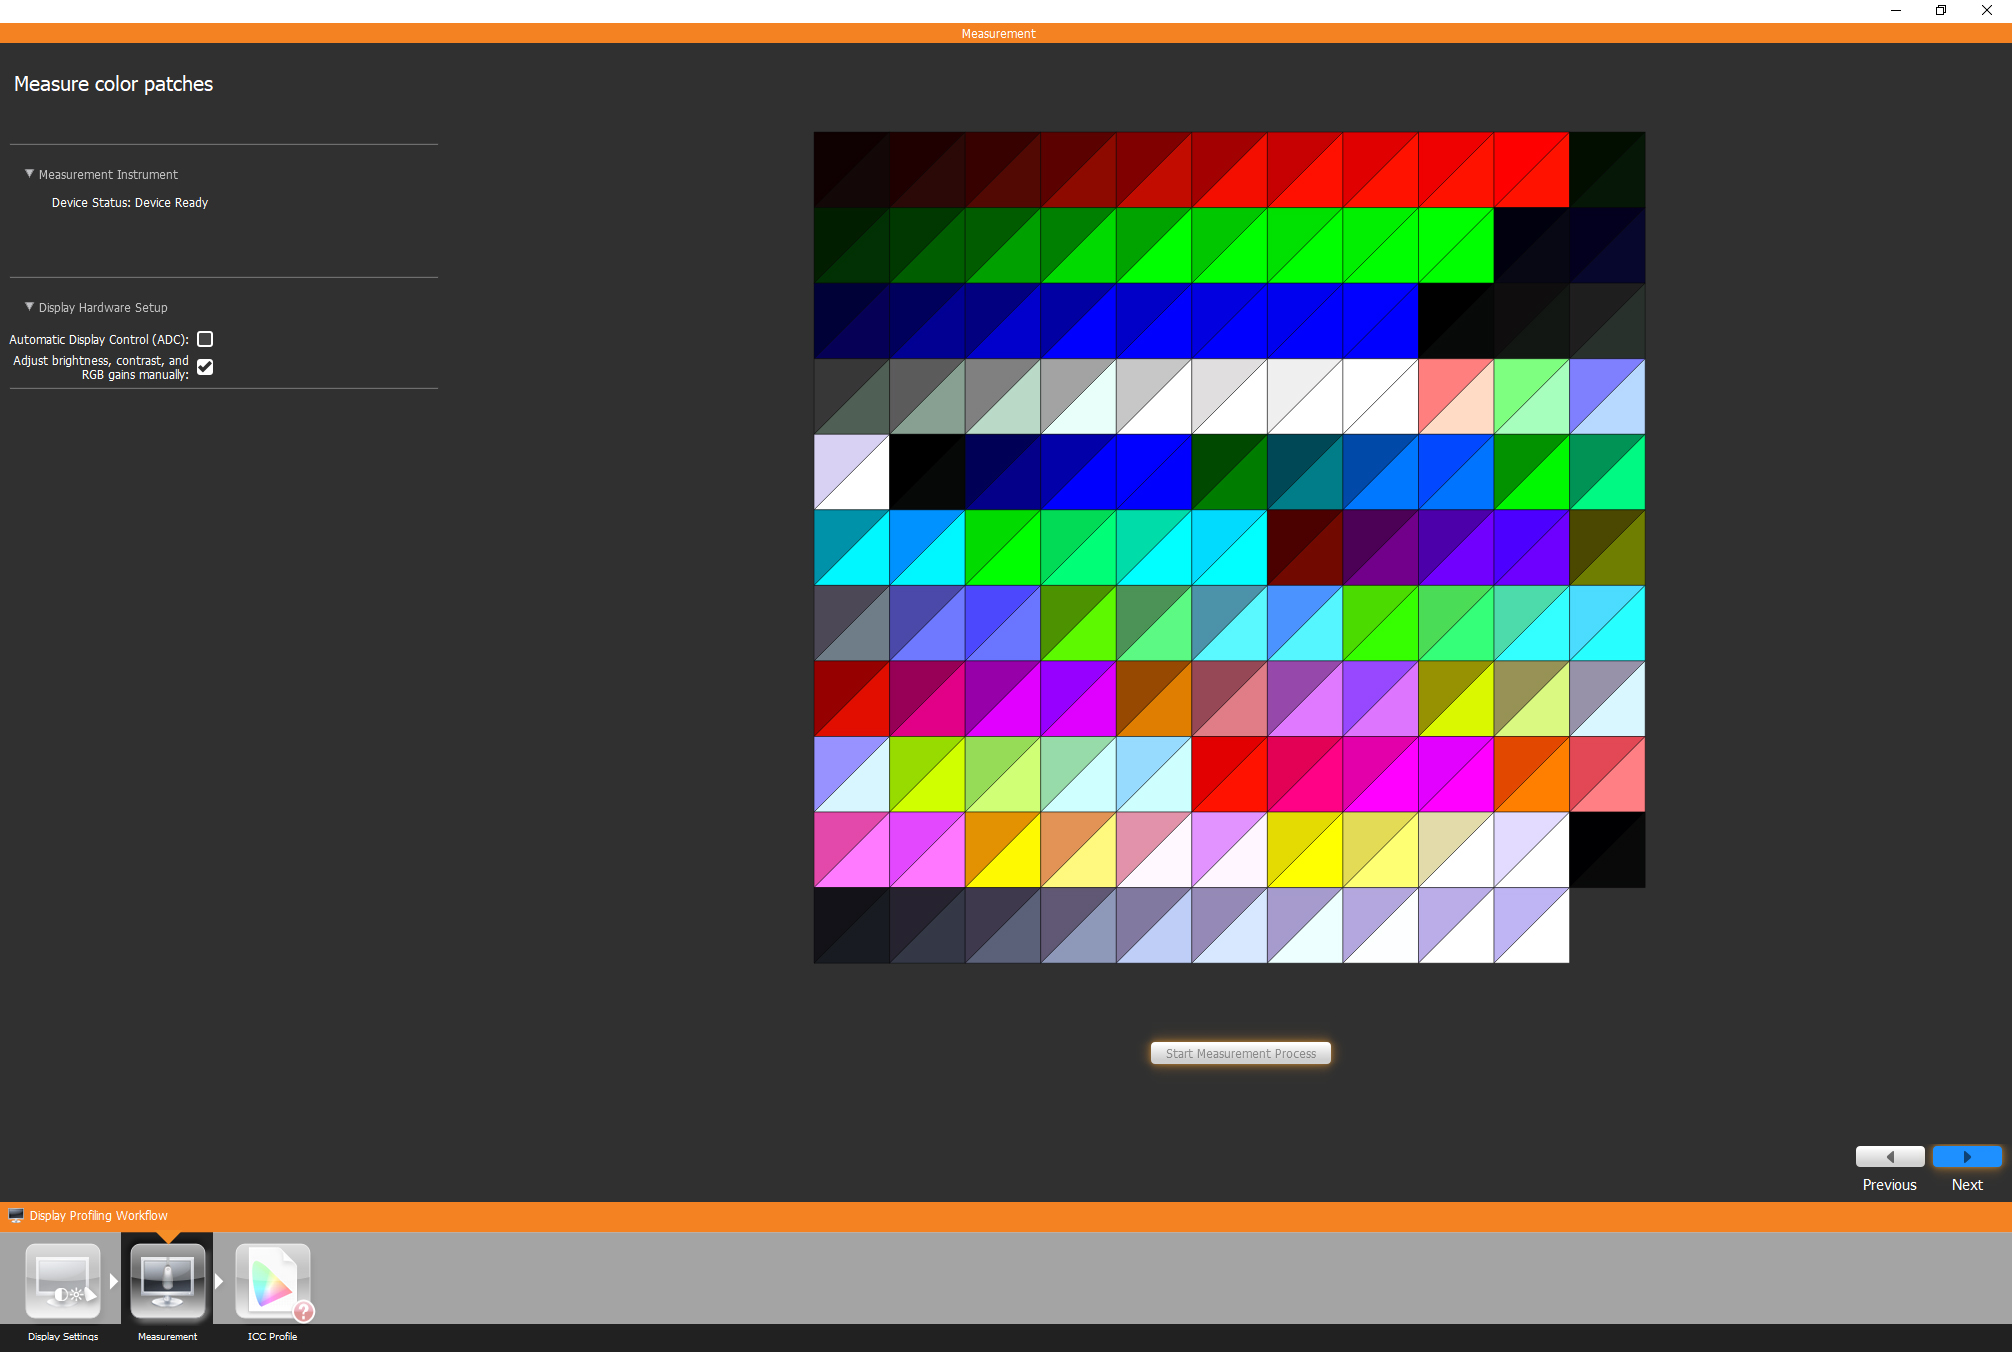
A custom color profile – or 'look-up table' – is then created and saved to your computer’s graphics card. Each time you boot up, the corrected colour profile is loaded and your monitor’s color automatically changes from its default settings to the calibrated color.
In our case the before-and-after difference was very noticeable, with our test monitor’s default color revealed as having a noticeably green cast, whereas the corrected output appeared slightly magenta-biased by contrast, but actually much more neutral after a few seconds of viewing.
Projector profiling follows much the same procedure, though you need to position the ColorChecker Studio at a specific distance and angle relative to the size of your projected image.
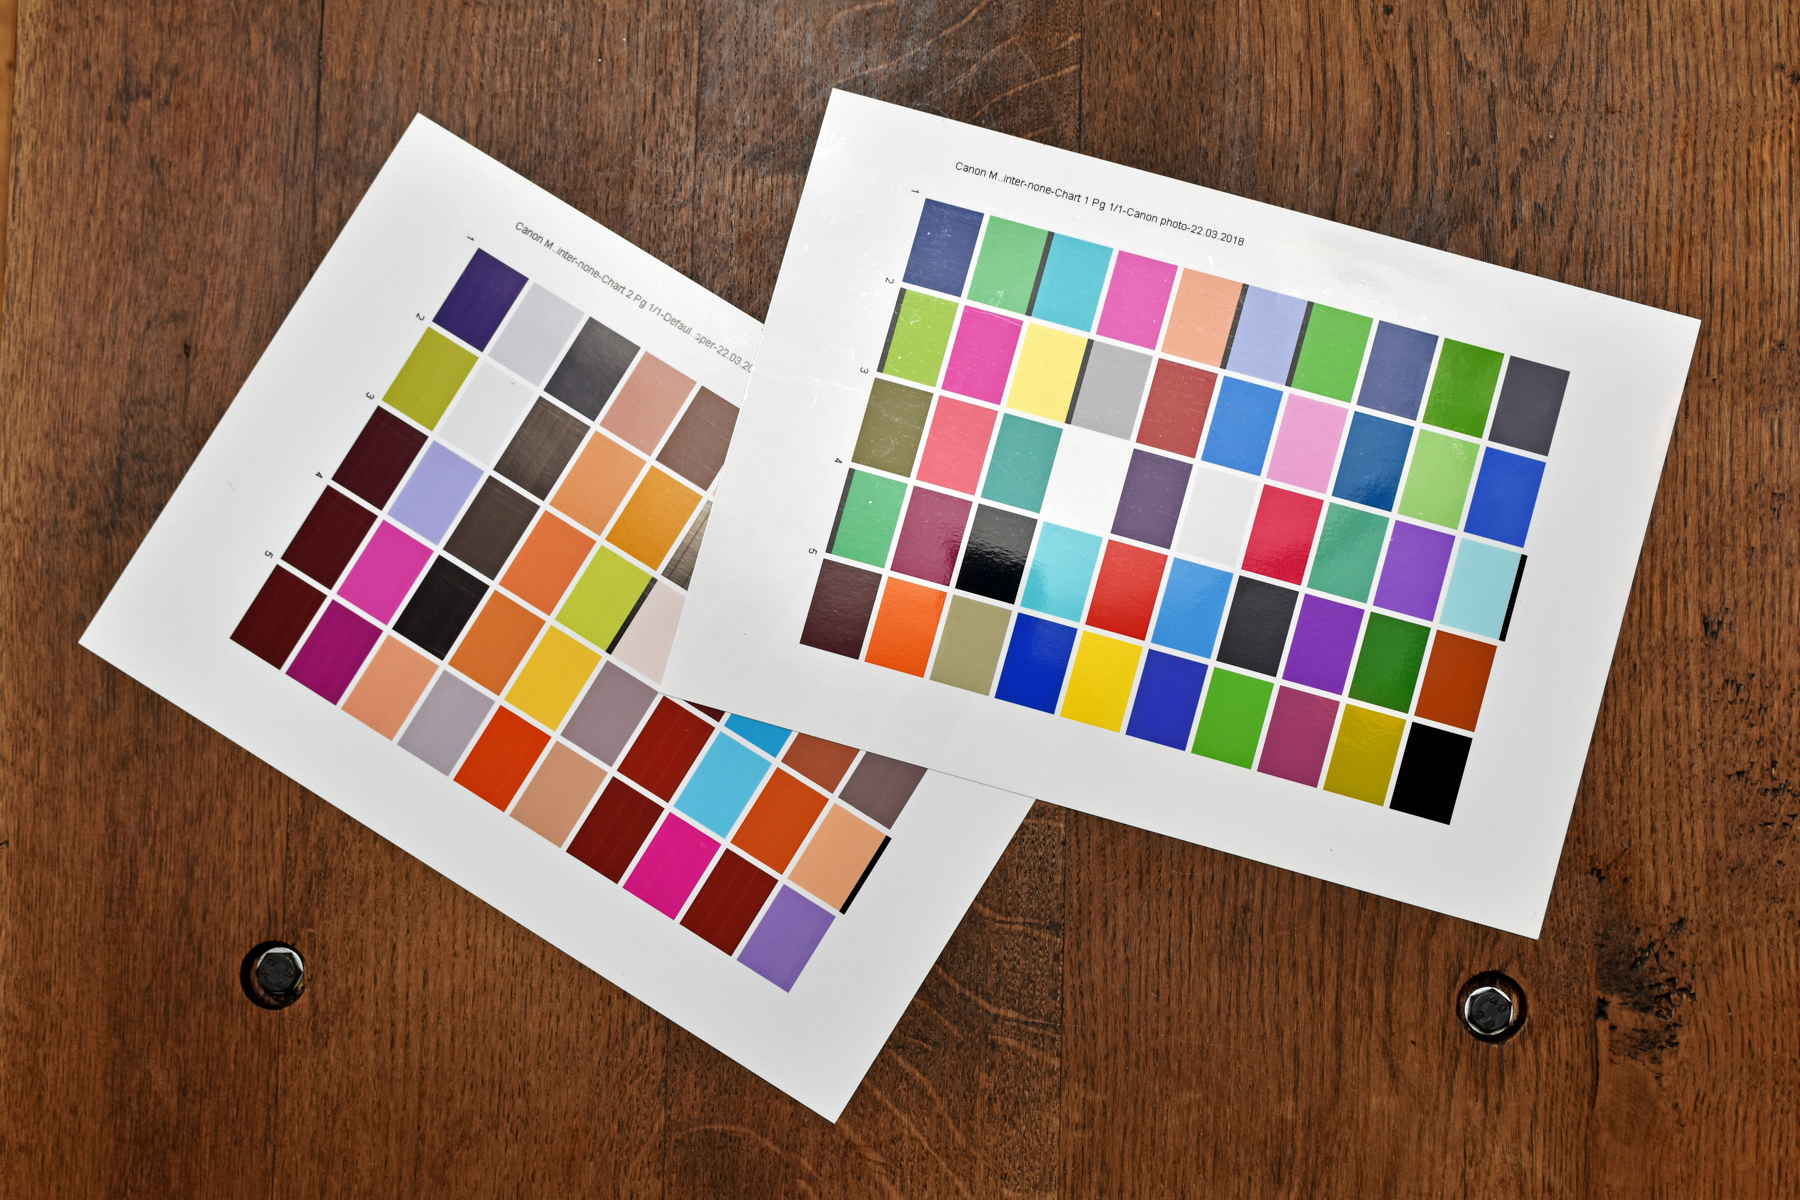
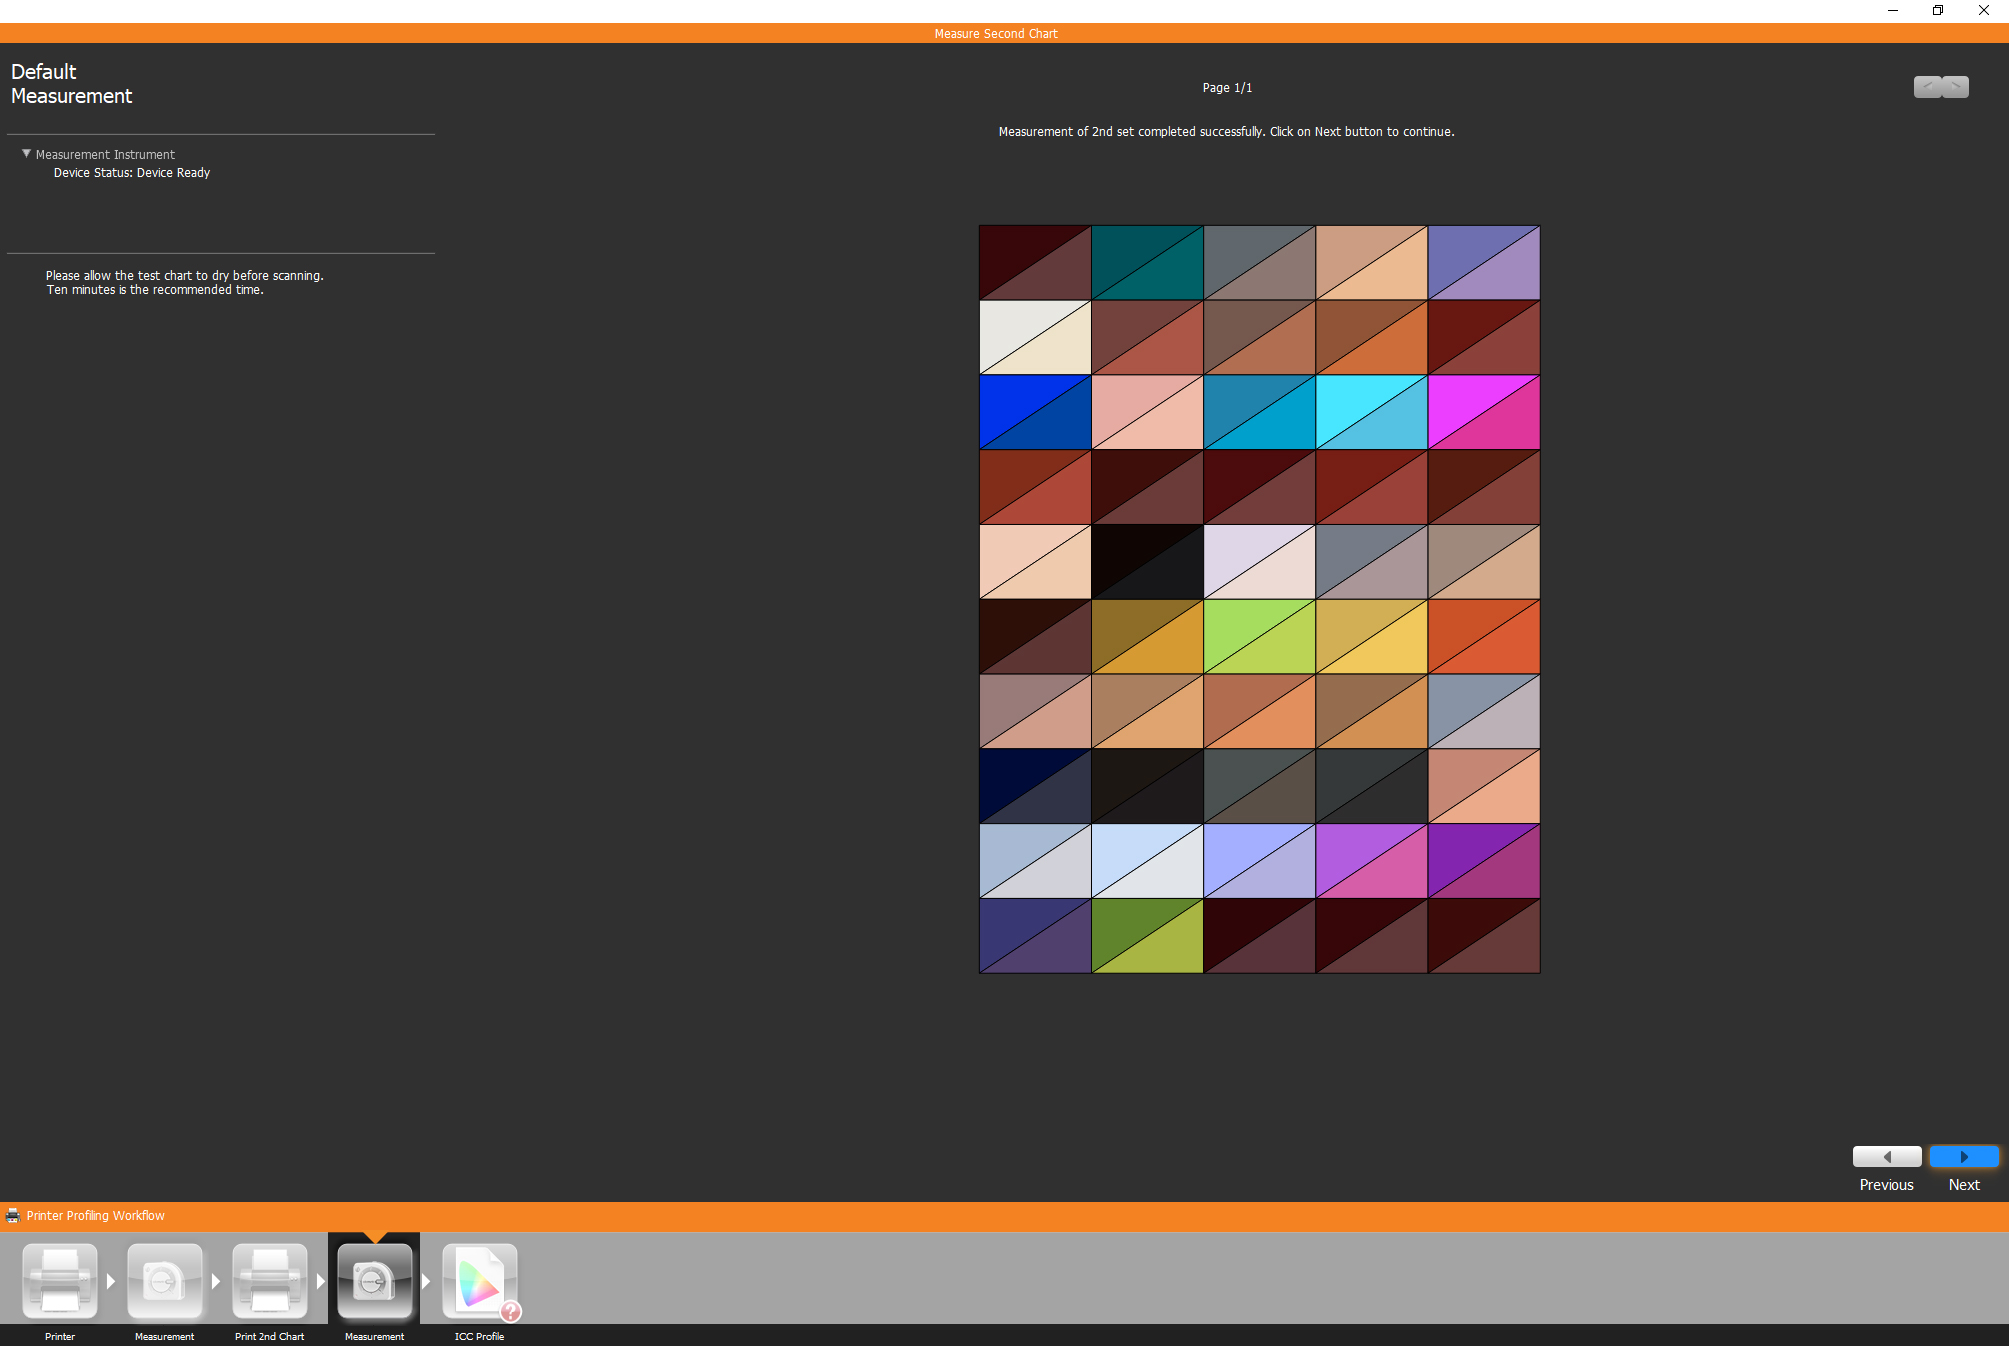
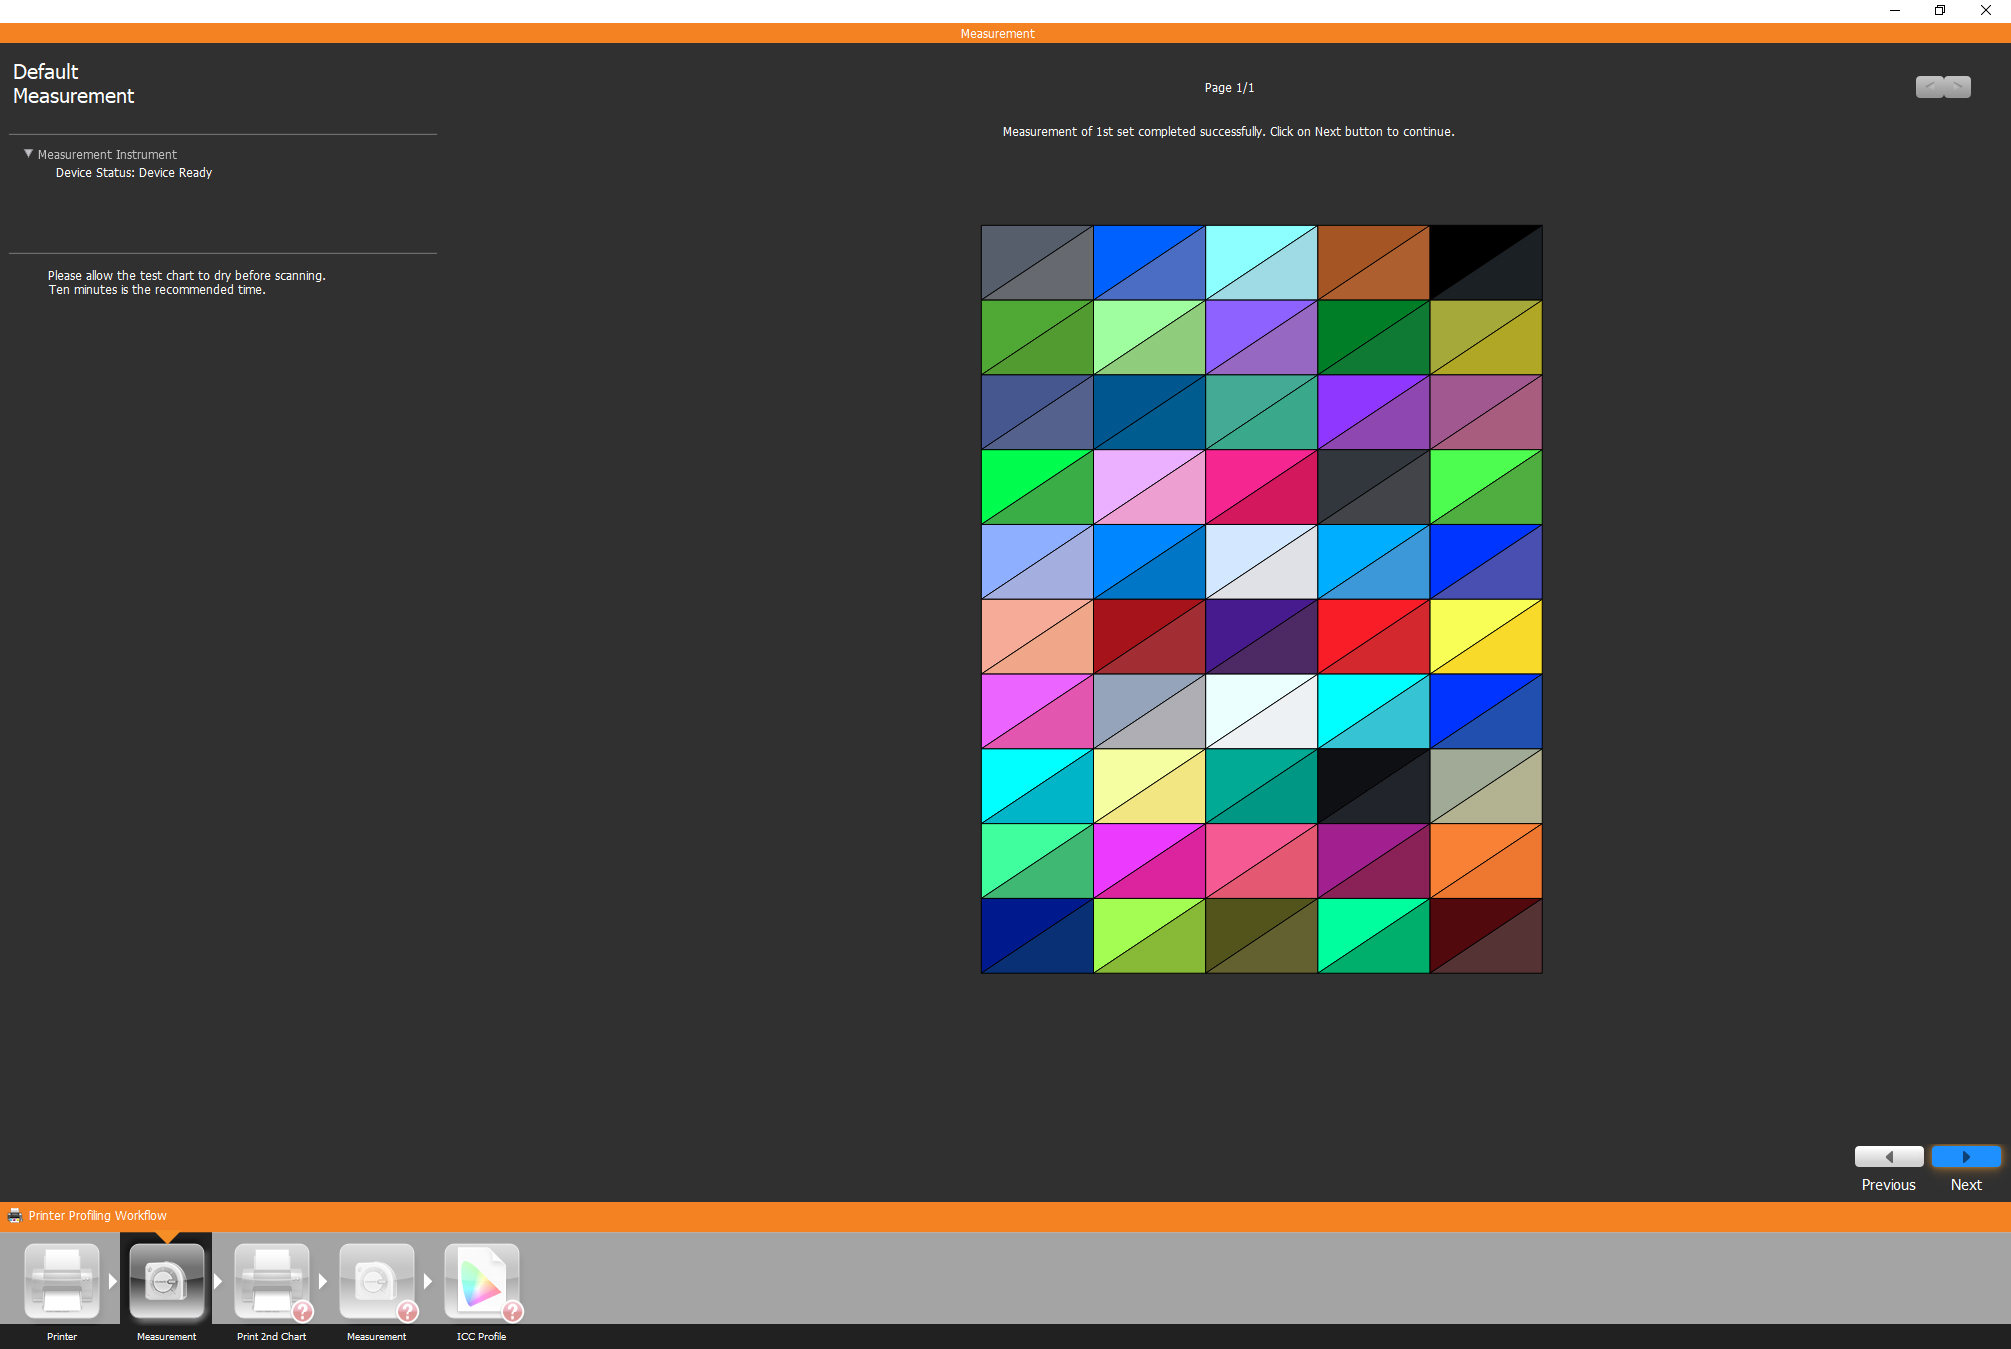
Printer profiling requires you to print two test pages, each containing 50 colour patches. The software then shows you how to scan each test print using the ColorChecker Studio, pressing the side button as you scan. Unlike some printer calibration devices of old, you don’t need to pause on every individual color patch; just slide along each row for 10 patches and the device automatically does its thing.
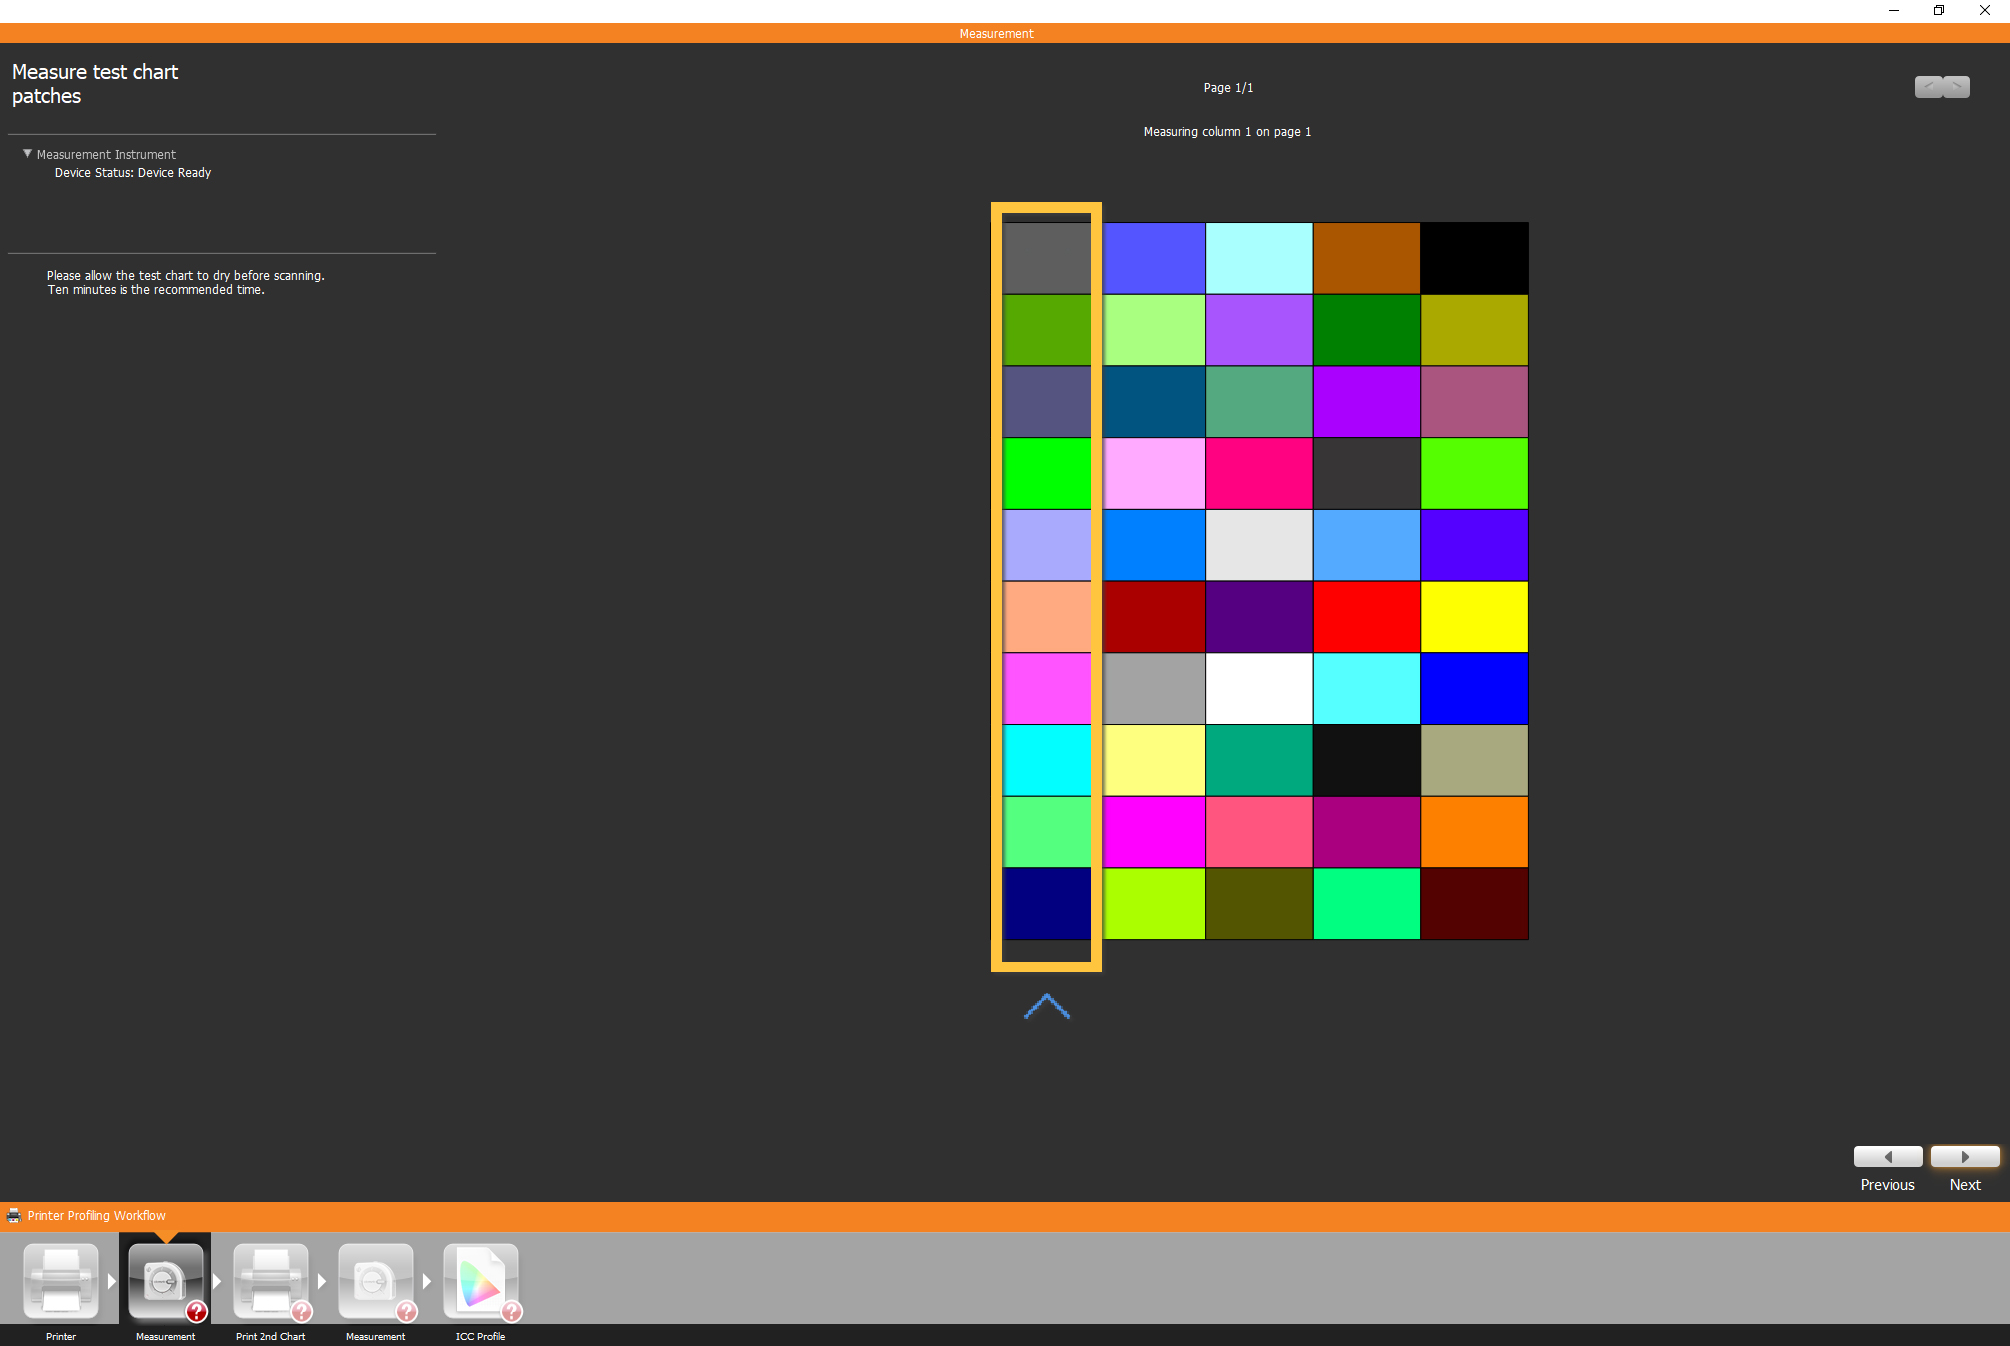
An entire page can be scanned in under 30 seconds when you’re familiar with the process. Like the monitor profiling, once you’ve scanned each sheet, a custom colour profile is saved and you select this rather than using your printer’s default settings next time you go to print.
Our print results showed a noticeable shift to more subtle skin tones when using the calibrated print profile, with the original default settings appearing marginally over-saturated by comparison. If you’re passionate about black-and-white printing there’s also a printer profiling mode specifically designed to help you get the most neutral mono prints possible.
Finally there’s the iOS smart device calibration. You’ll need to download the ColorTRUE app to use this feature, then you place the ColorChecker Studio on your device’s screen and the calibration process works much like it does when calibrating your main monitor.
There is a catch though: this doesn’t alter your device’s color at a system level. Only images opened within the ColorTRUE Image Gallery will be displayed with corrected color. Some other photo-focussed apps can also display ColorTRUE color profiles, but most apps and iOS itself will retain default color settings.
Verdict
The Calibrite ColorChecker Studio isn’t exactly an all-new product, but rather a subtle tweak and rebrand of the old X-Rite ColorMunki Photo. If you’d prefer more monitor calibration control, even a fully-featured i1Display Pro can be had for a little over half the price of an Calibrite ColorChecker Studio, and its software packs more monitor calibration options.

Whether you should buy an ColorChecker Studio really hinges on how much you need printer profiling. This certainly ups the price compared to a monitor-only calibrator, but consider that to get CMYK printer profiling you’d otherwise need to splash out more.
Some of the ColorChecker Studio features, like projector and scanner calibration, are unlikely to be essential, and it’s a pity that smart device calibration is a bit half-baked. Some advanced users may also find the Calibrite software to be a little limiting, but these are all minor nitpicks with what’s otherwise a highly versatile, yet easy to use, device that offers a lot for the money.
Read more: Best photo-editing monitors
Ben is the Imaging Labs manager, responsible for all the testing on Digital Camera World and across the entire photography portfolio at Future. Whether he's in the lab testing the sharpness of new lenses, the resolution of the latest image sensors, the zoom range of monster bridge cameras or even the latest camera phones, Ben is our go-to guy for technical insight. He's also the team's man-at-arms when it comes to camera bags, filters, memory cards, and all manner of camera accessories – his lab is a bit like the Batcave of photography! With years of experience trialling and testing kit, he's a human encyclopedia of benchmarks when it comes to recommending the best buys.
