10 night-scape photography hacks: boost your set-up with these simple tips
From Velcro and star-trackers to fluorescent stickers and L-brackets, here’s how to pimp your night-scape shoot
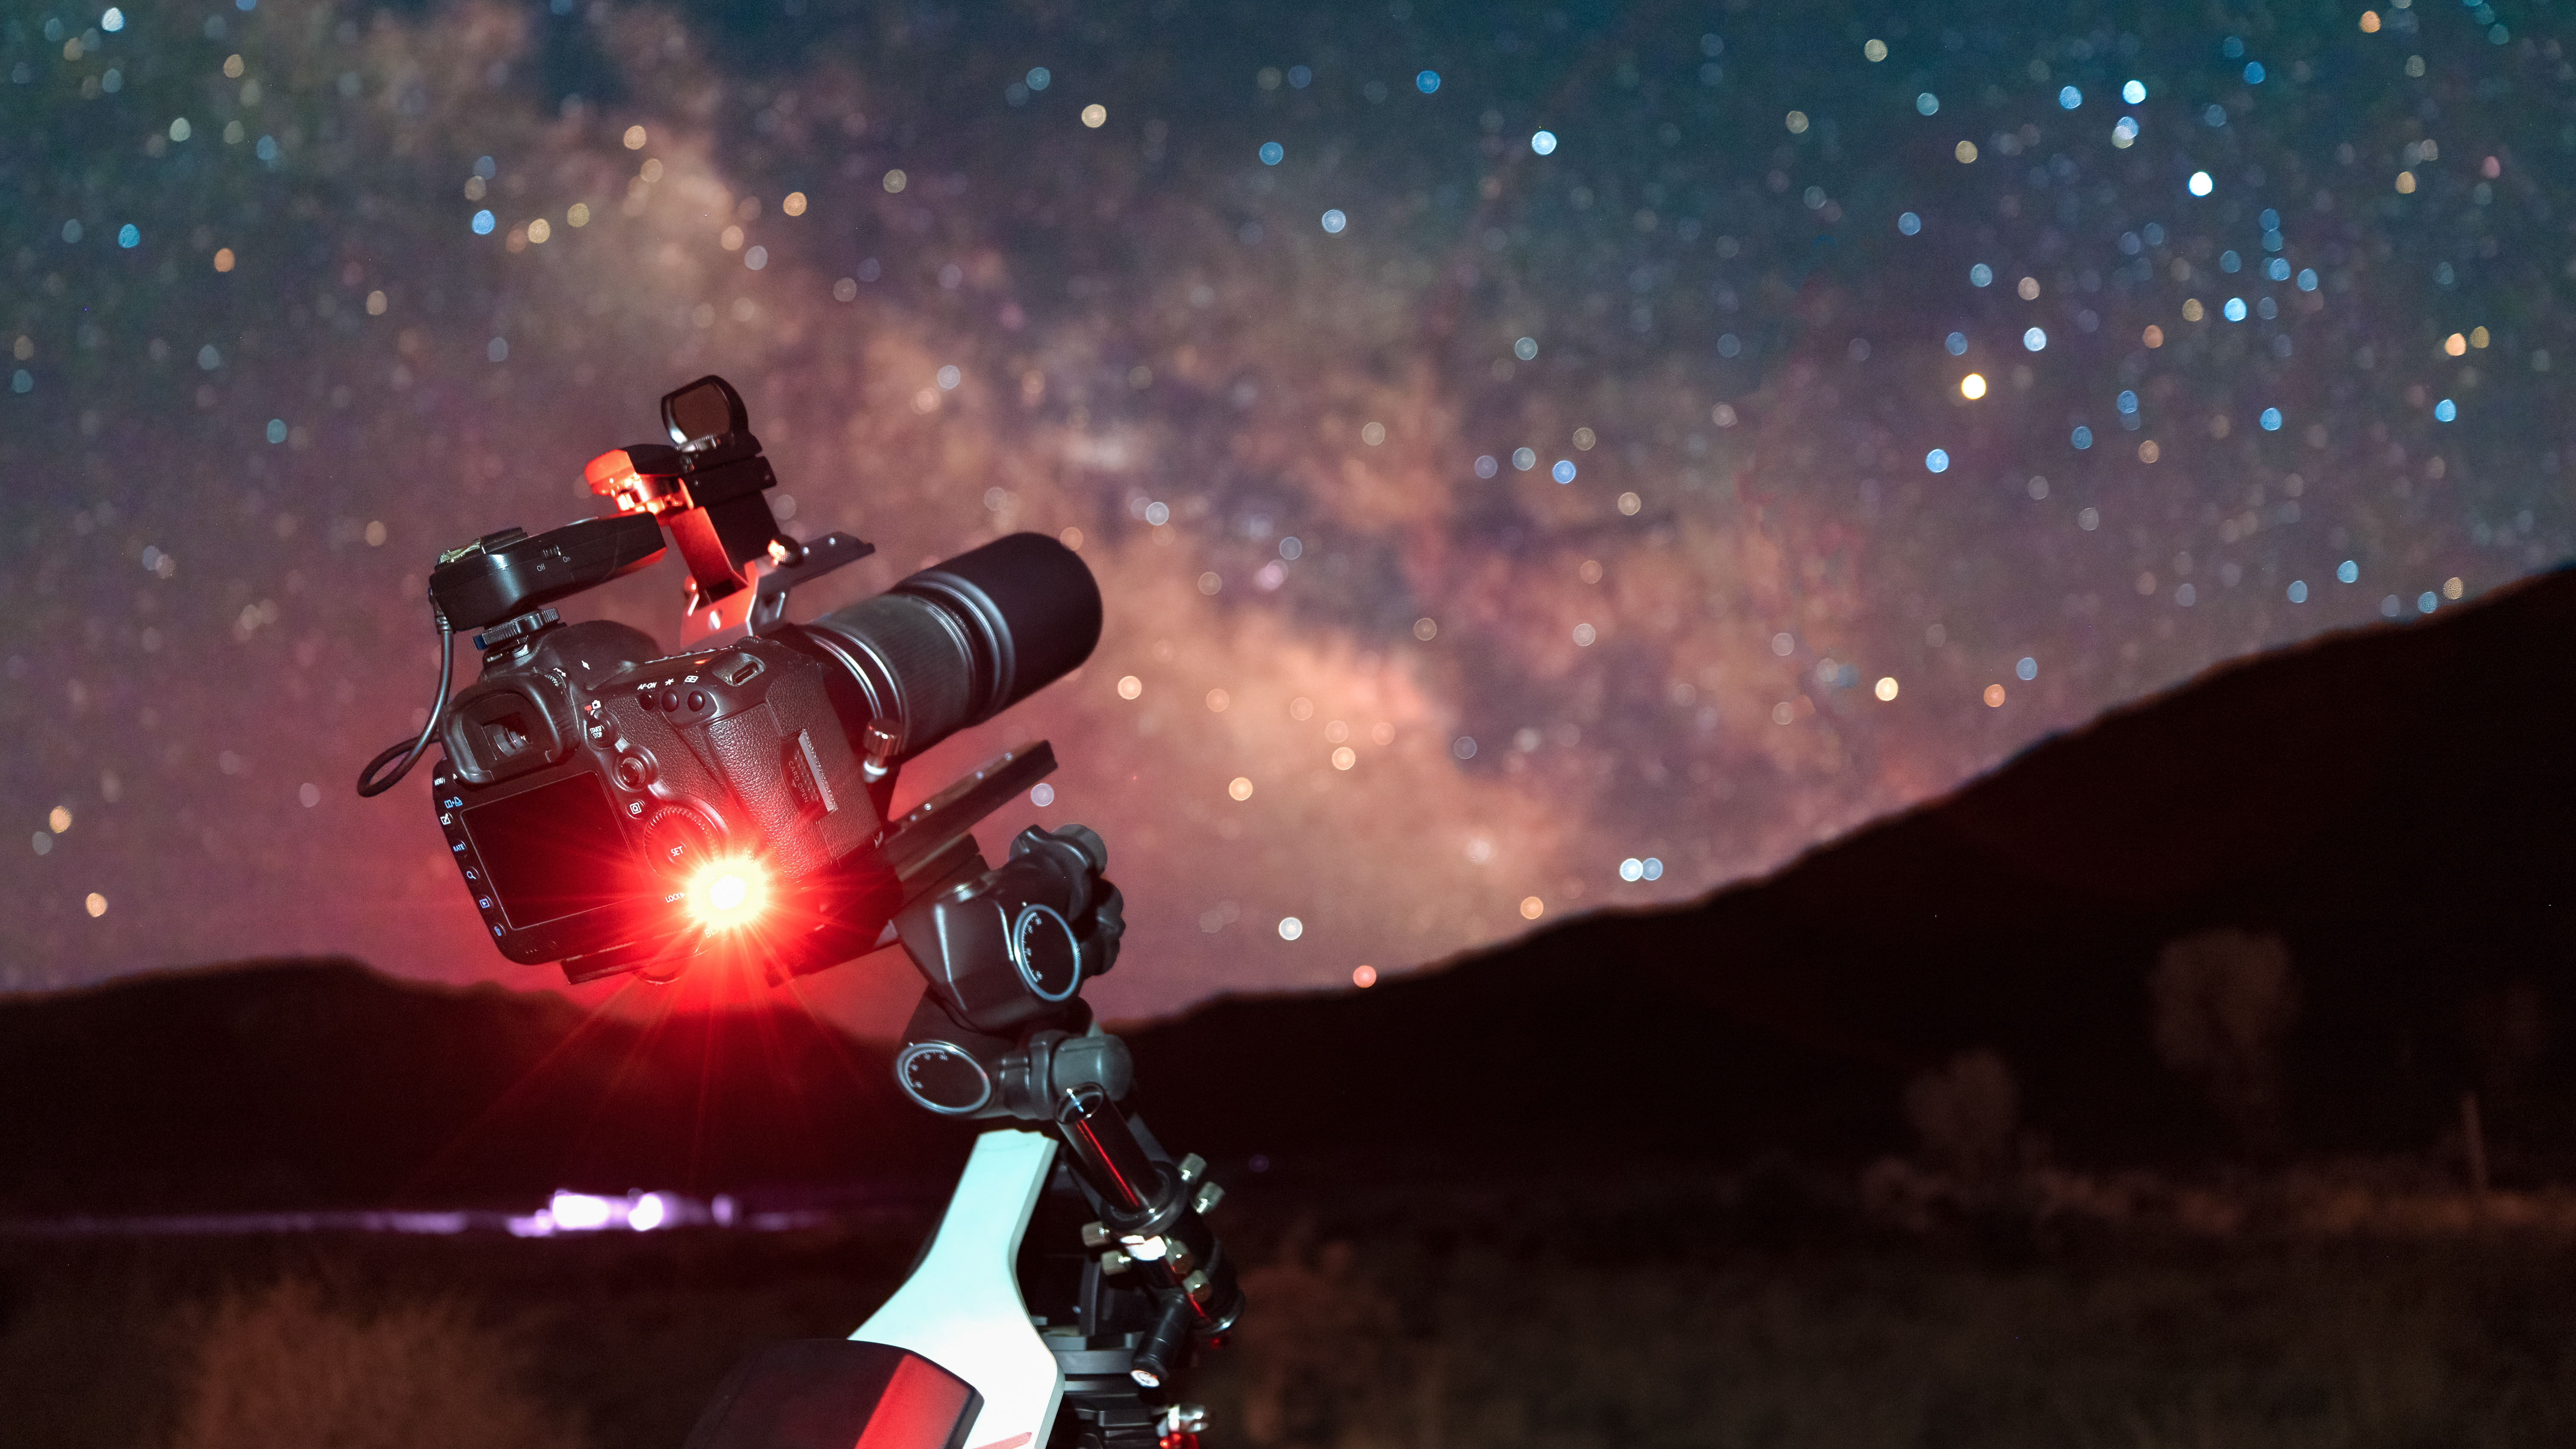
Working at night is not easy. Go out on a clear night with the intention of doing some astrophotography and you'll come up against some problems. It's dark, so you will lose things. You'll kick over your tripod. So you'll need a torch to see what you're doing, which will ruin your long exposure photograph and kill your night vision. You'll get hungry and cold. The stars in your beautiful photos will look blurry and after all that you’ll have learned nothing about what you’re actually trying to capture. From Velcro and star-trackers to fluorescent stickers and L-brackets, here’s how to pimp your night-scape rig and get more out of astrophotography.
1. Use a really sturdy tripod
If you’re off to find a dark sky and a Milky Way panorama then it’s likely that you’re going to be heading somewhere remote. That means travel, which makes it very tempting to save money by packing one of the best travel tripods. Travel tripods are awesome for landscape photography, but they’re not ideal for night-scaping. Even if you’re only touting a camera and a wide-angle lens their lack of height makes it tricky to compose shots without kneeling on the floor. However, if you start adding heavy-duty ball-heads, brackets and (particularly) one of the best star-trackers then they get seriously wobbly. Save yourself a lot of bother by taking one of the best tripods instead.
2. Make your tripod glow in the dark
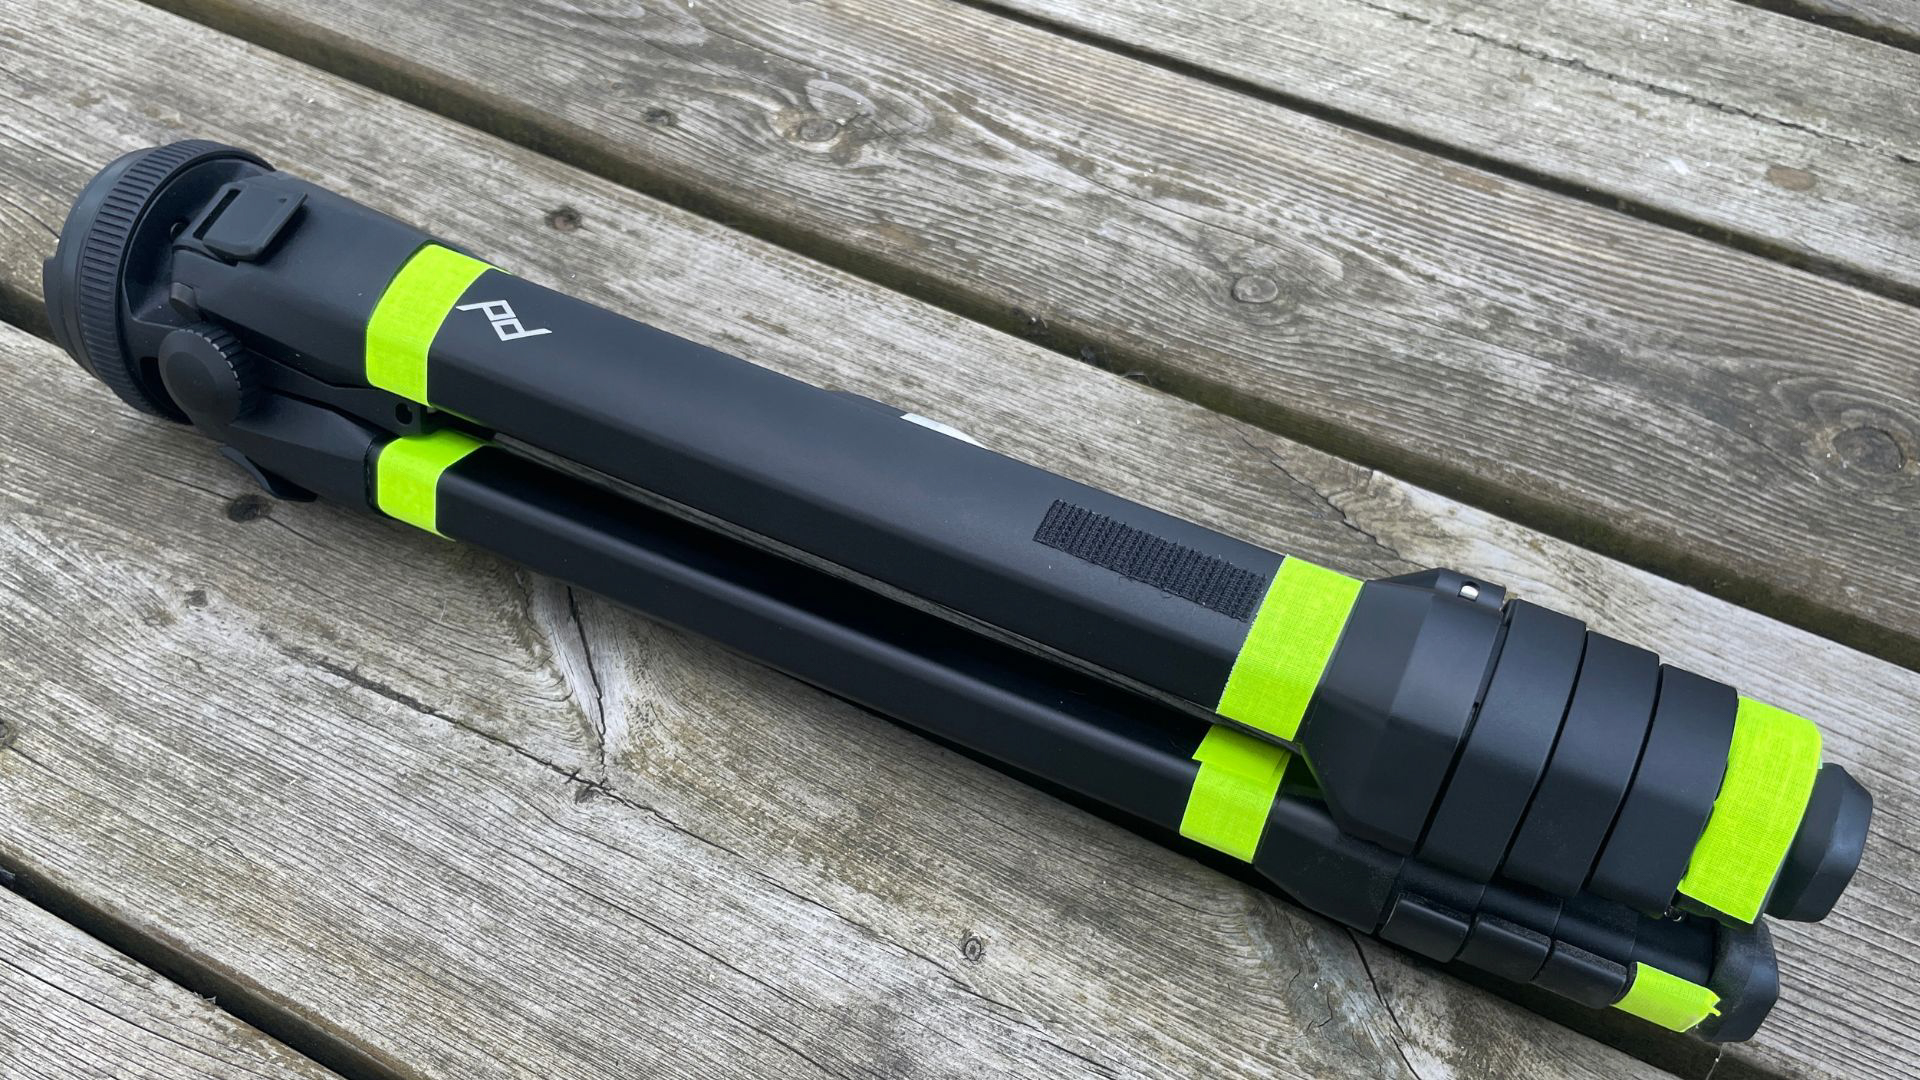
If you’re ever accidentally kicked your tripod while it’s mid-way through a super-long exposure – either a tracked shot using a star-tracker or a foreground shot to merge later – you’ll know all about this major pitfall of night-scaping. Using one of the best camera remotes is handy because it means you can keep away from your camera, but with manual focusing often required that’s not always possible. So go find yourself some glow-in-the-dark tape, which can be wrapped around the legs of your tripod. It’s a simple and inexpensive pimp that could save you from disaster.
3. Wear a jacket with chest pockets
You will lose things in the dark. Star-trackers are incredibly fiddly things that have lots of small components that, once dropped, are almost impossible to find, such as Hex keys, tiny screws and other bits and pieces. Plus you’ve got spare batteries, SD cards and more that you’ll need at crucial moments … and then again a few minutes later when your rig goes out of alignment or your camera runs out of battery. Save yourself some bother by putting everything you use regularly into an easily-accessible chest pocket on a specially-selected photographer's vest or jacket.
4. Use red light
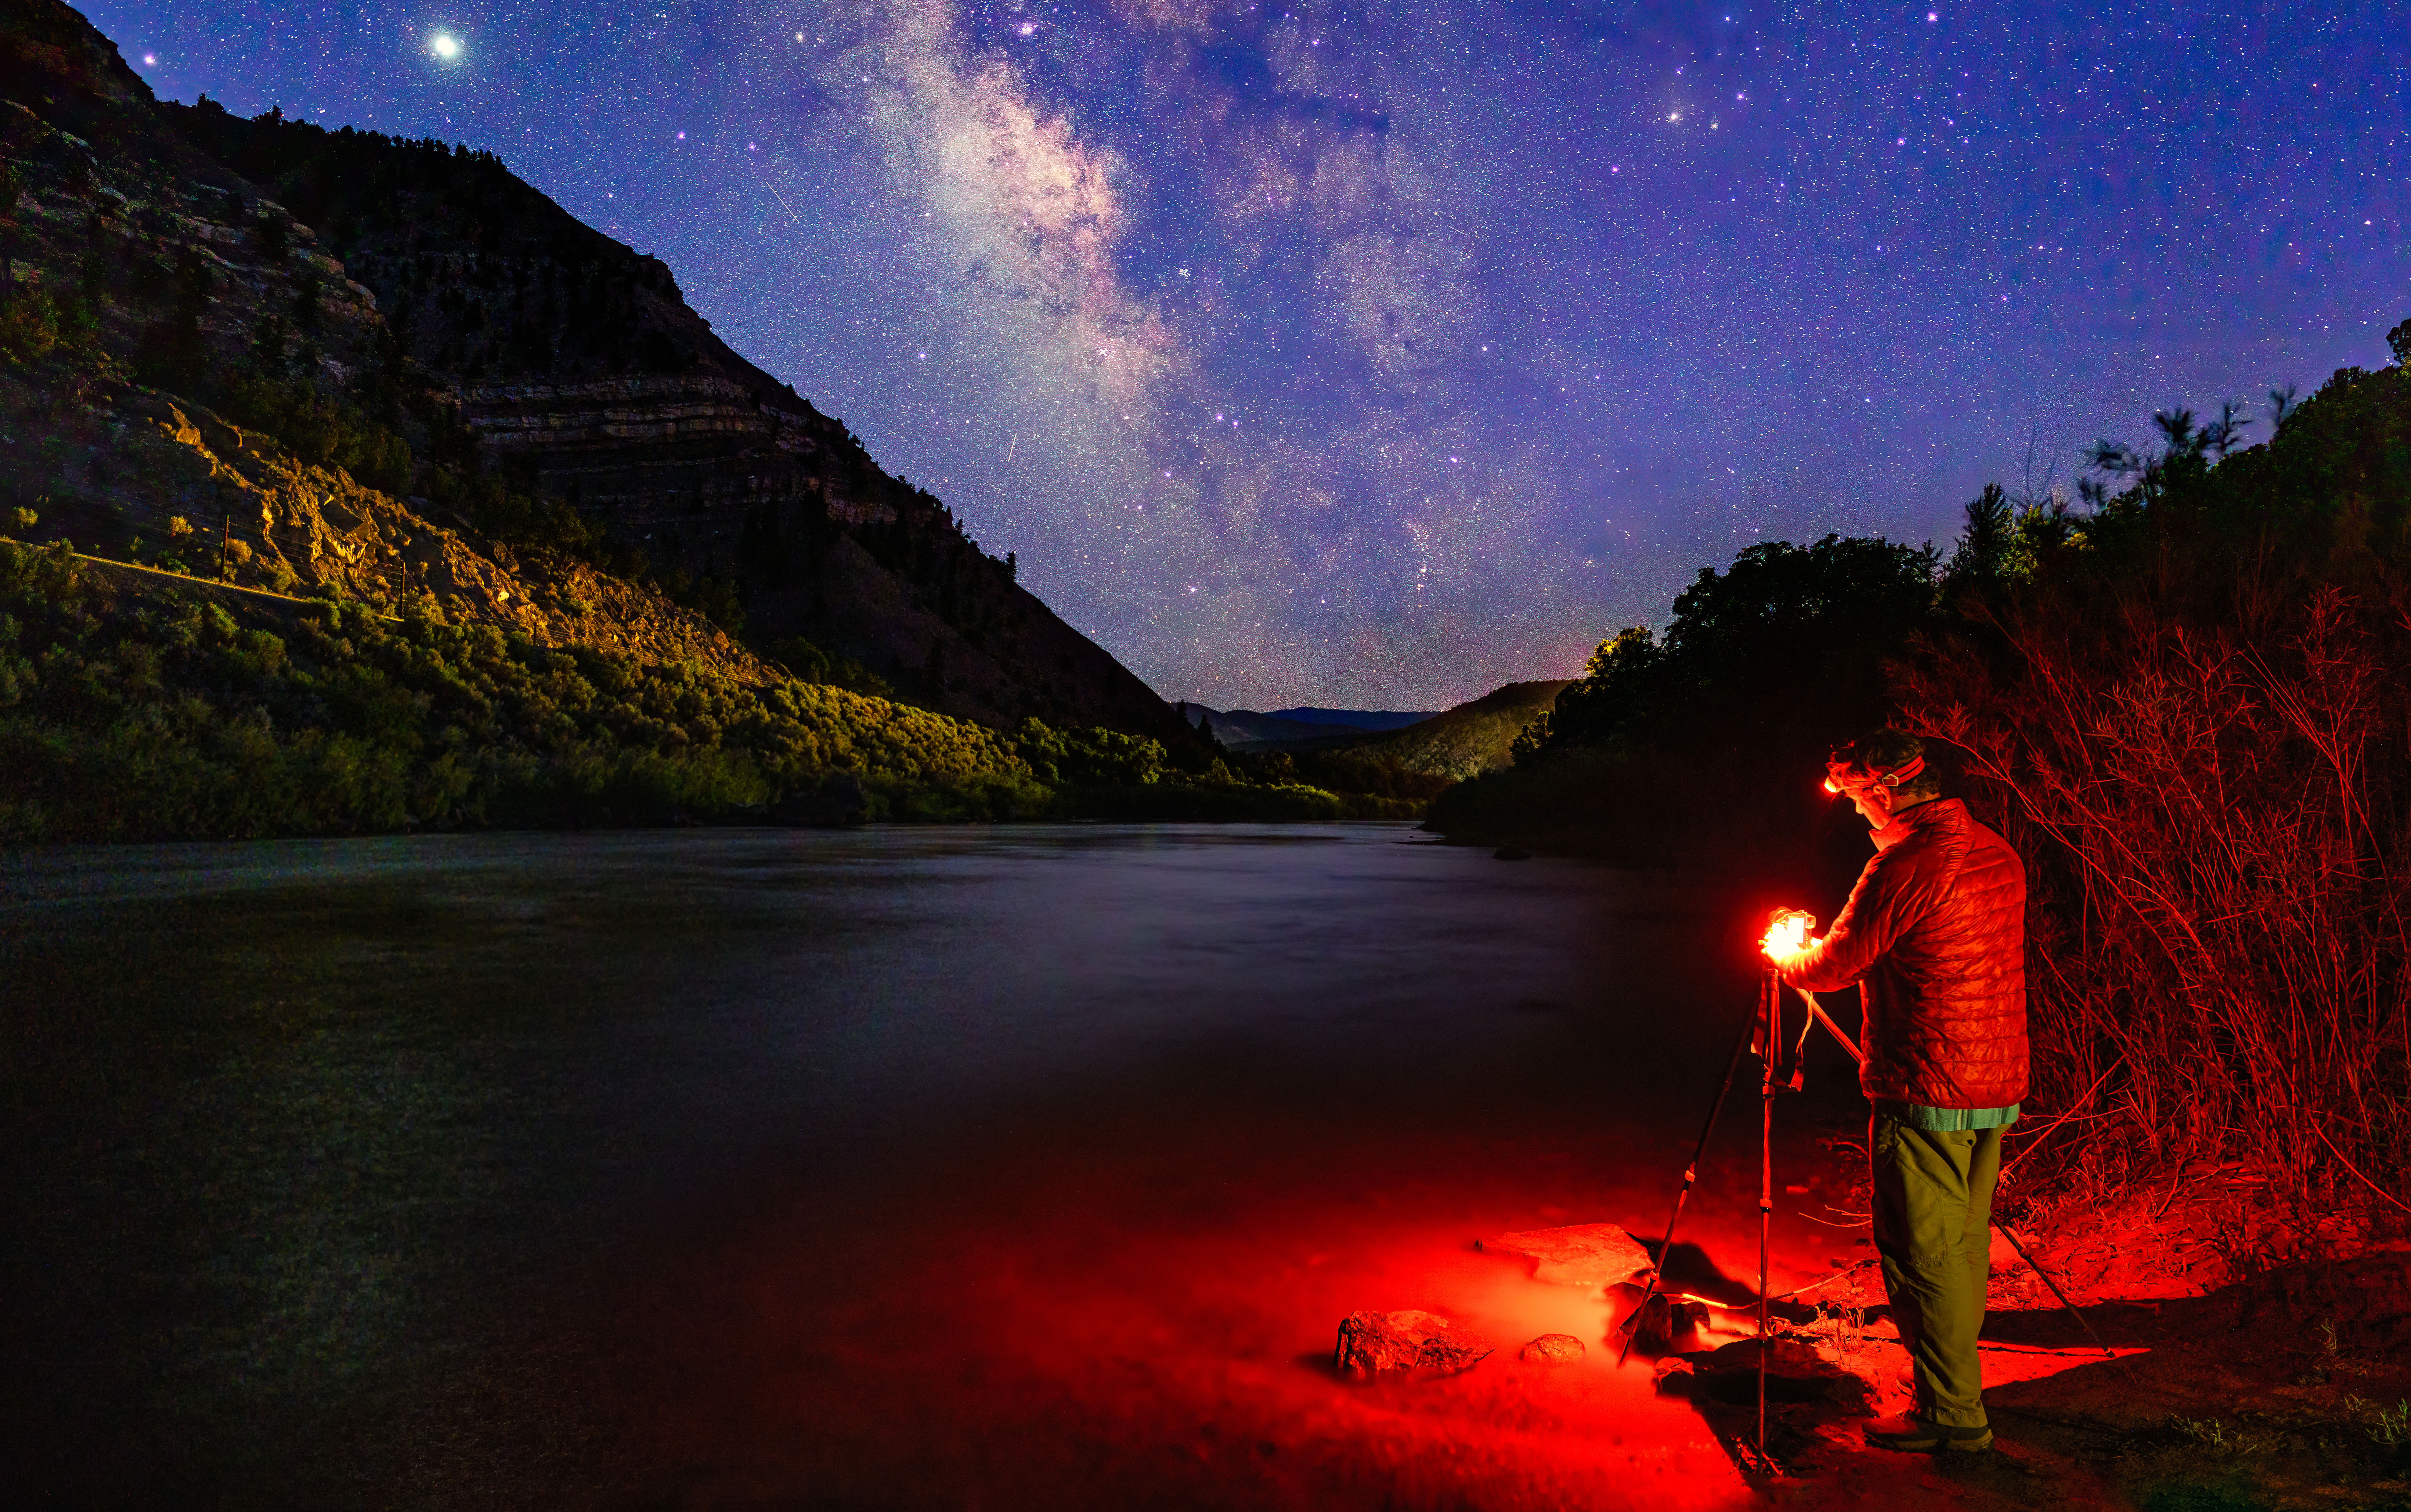
Most photographers who work at night use a white flashlight or their smartphones to illuminate either the floor (while searching for stuff) or their set-up when batteries need changing etc. Most photographers are wrong. You should be using a red light. One option is to wear a head torch, but since they have lots of different white-light modes they don’t always work well. A better idea is to find a dedicated red light torch and attach it to a lanyard around your neck.. You’ll then always have easy and quick access to light when you need it – and you won’t ruin your own or anyone else’s night vision.
5. Use an L-brackets
The best L-brackets – which fit all around a camera body and are generally compatible with a wide-range of plates – make it easy to turn from landscape to portrait orientation without having to use your ball head. A massive time-saving device for landscape photographers, they’re often overlooked by nightscapers who generally try to get as much sky in shots by shooting in landscape. In reality, that’s a bit limiting. Not only are portrait compositions featuring the night sky just as effective, but they’re also how stitched panoramas of the Milky Way are created.
6. Get a star-tracker
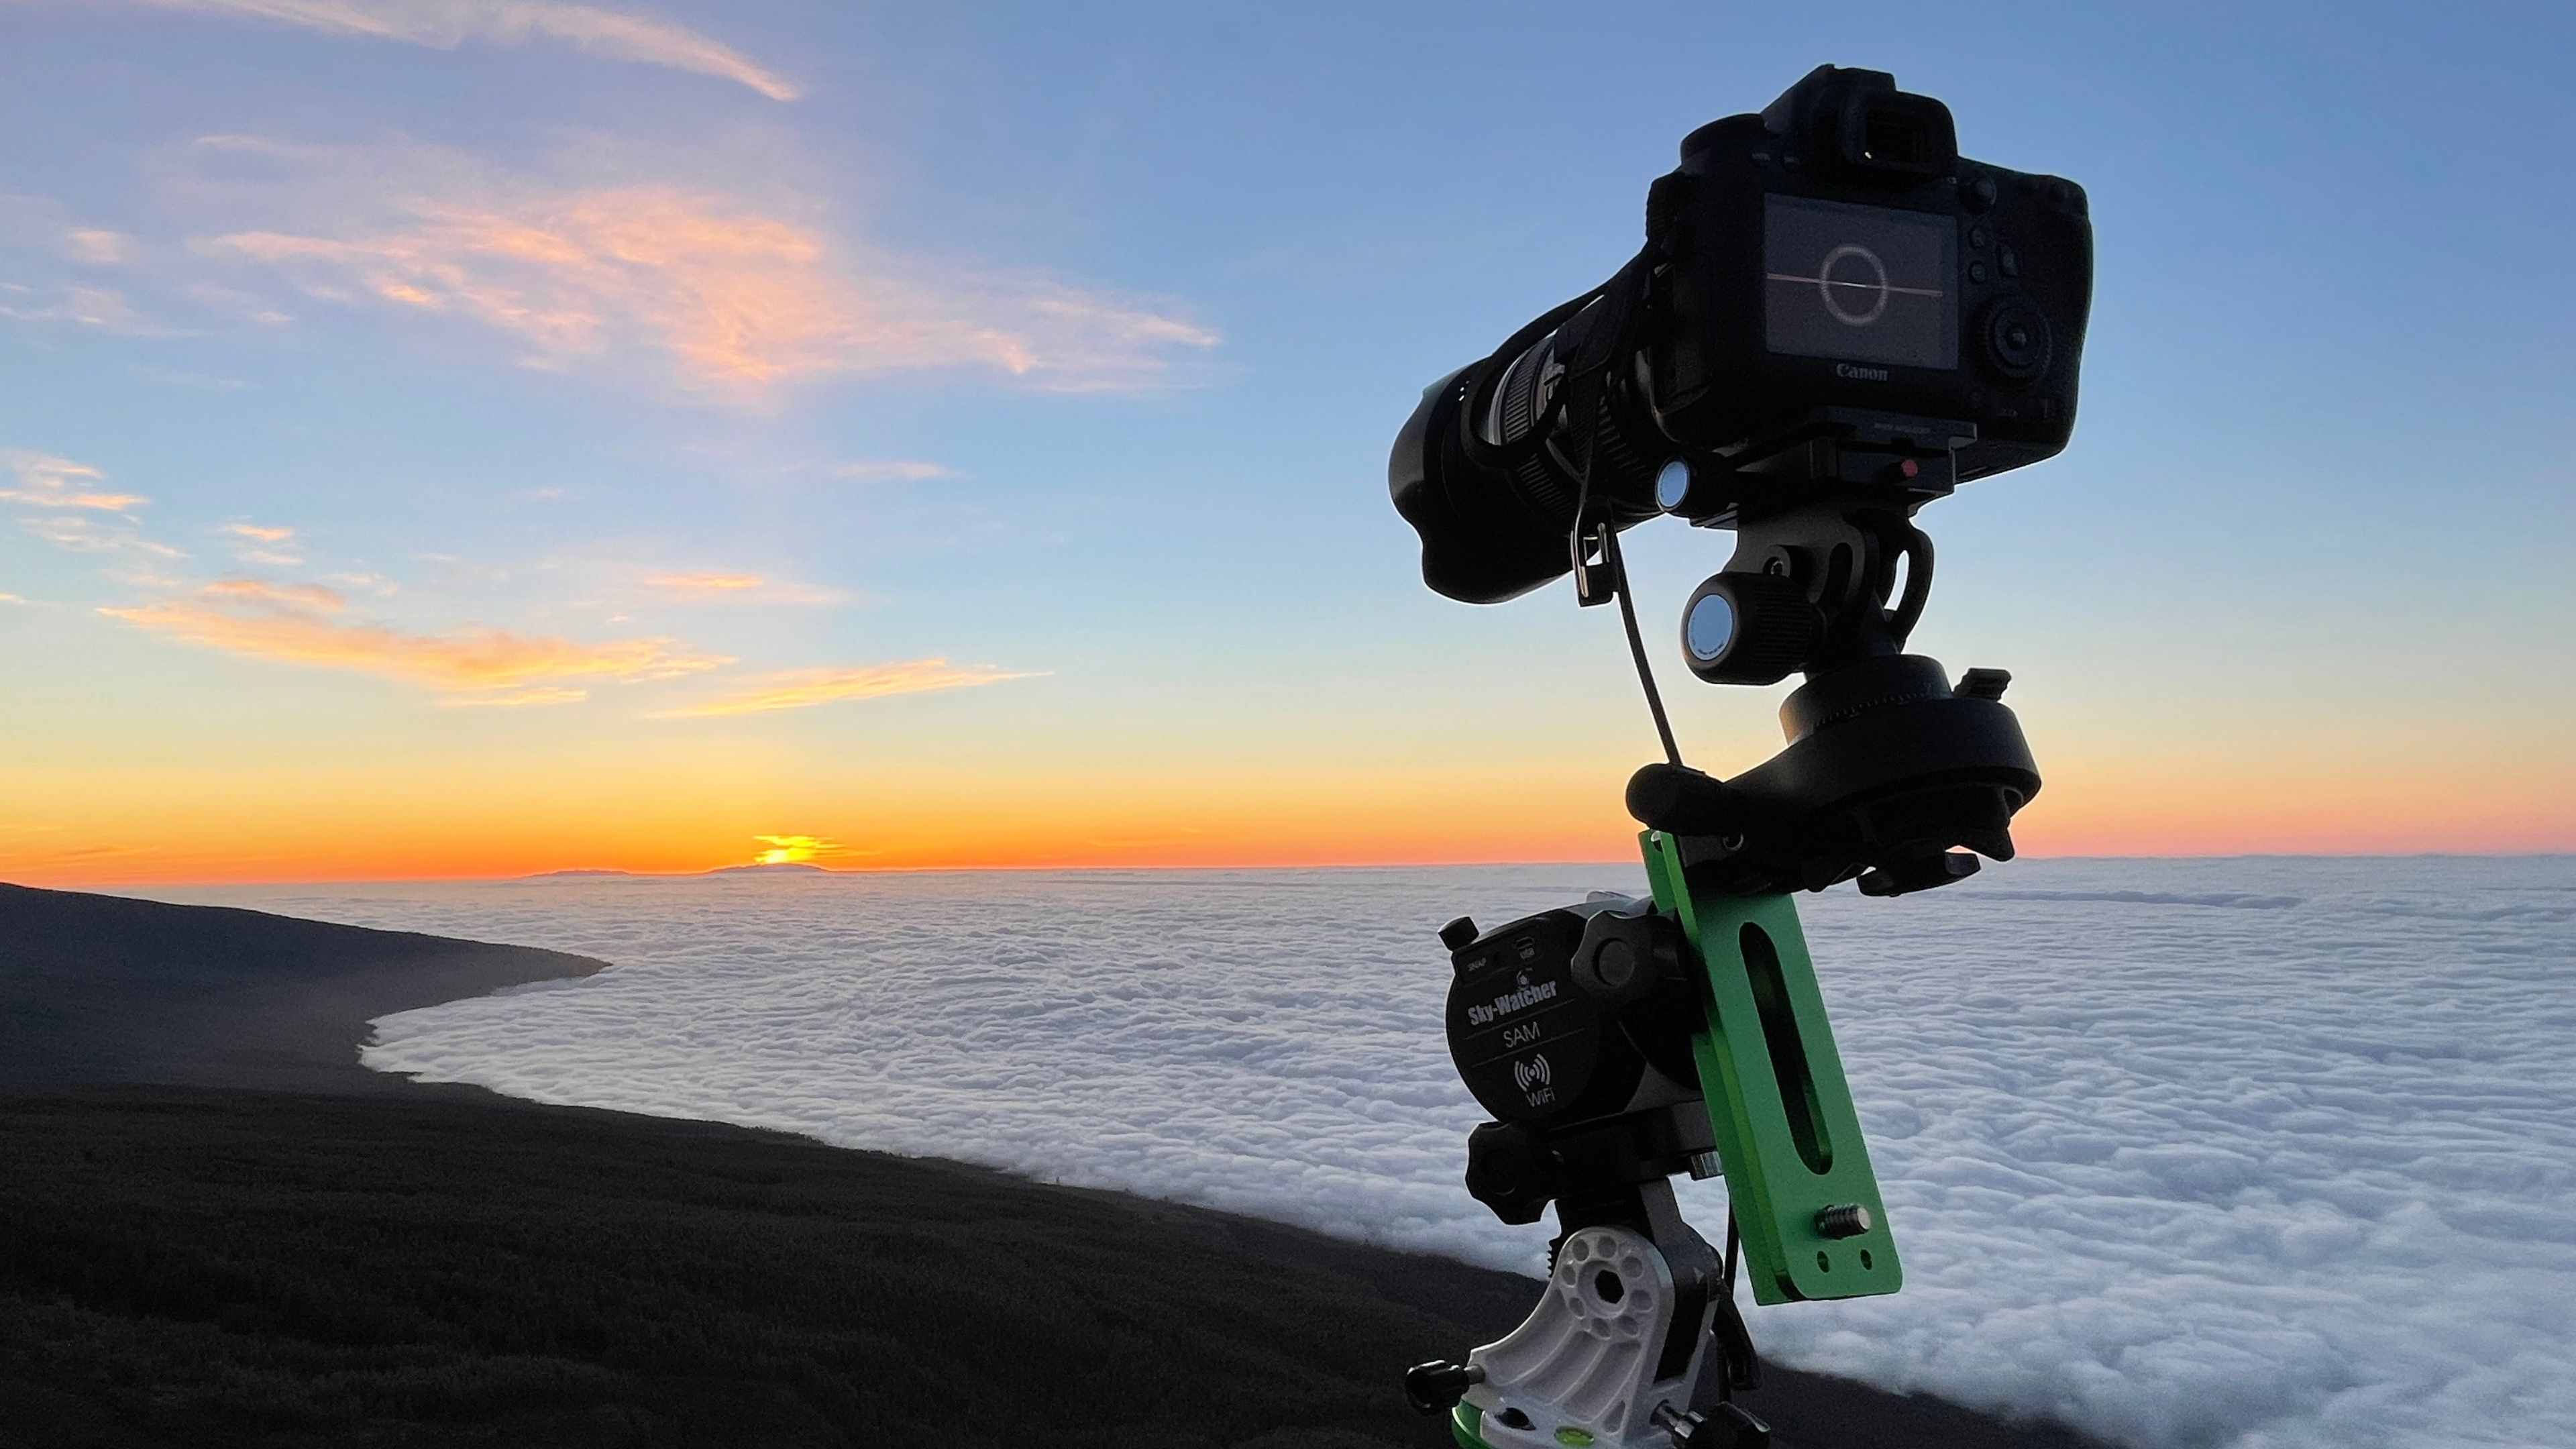
Stars blur during long exposures because Earth is rotating. For proof check out some star-trails. Your lens and focal length will decide exactly when, but 25 seconds is about the limit. Cue the best star-trackers, which once aligned with the north or South Pole can track the stars for around three minutes. That allows your camera to collect so much more light, which means a far richer-looking Milky Way. They aren’t cheap and they’re a faff to use, but they get great results.
7. Find a camera bag with side-pockets
The manufacturers of the best camera bags usually advertise the extra pockets on their gear as places to store SD cards, batteries and cables. Sure, all of that is important. But when you’re out in the middle of a dark and cold field/desert/beach you’re going to need fuel. So fill the side-pockets with snacks and drinks – chocolate, cereal bars, small cartons of juice and a flask of strong coffee work well – which will all help keep you warm and hydrated during a long shoot.
8. Use Velcro on your accessories
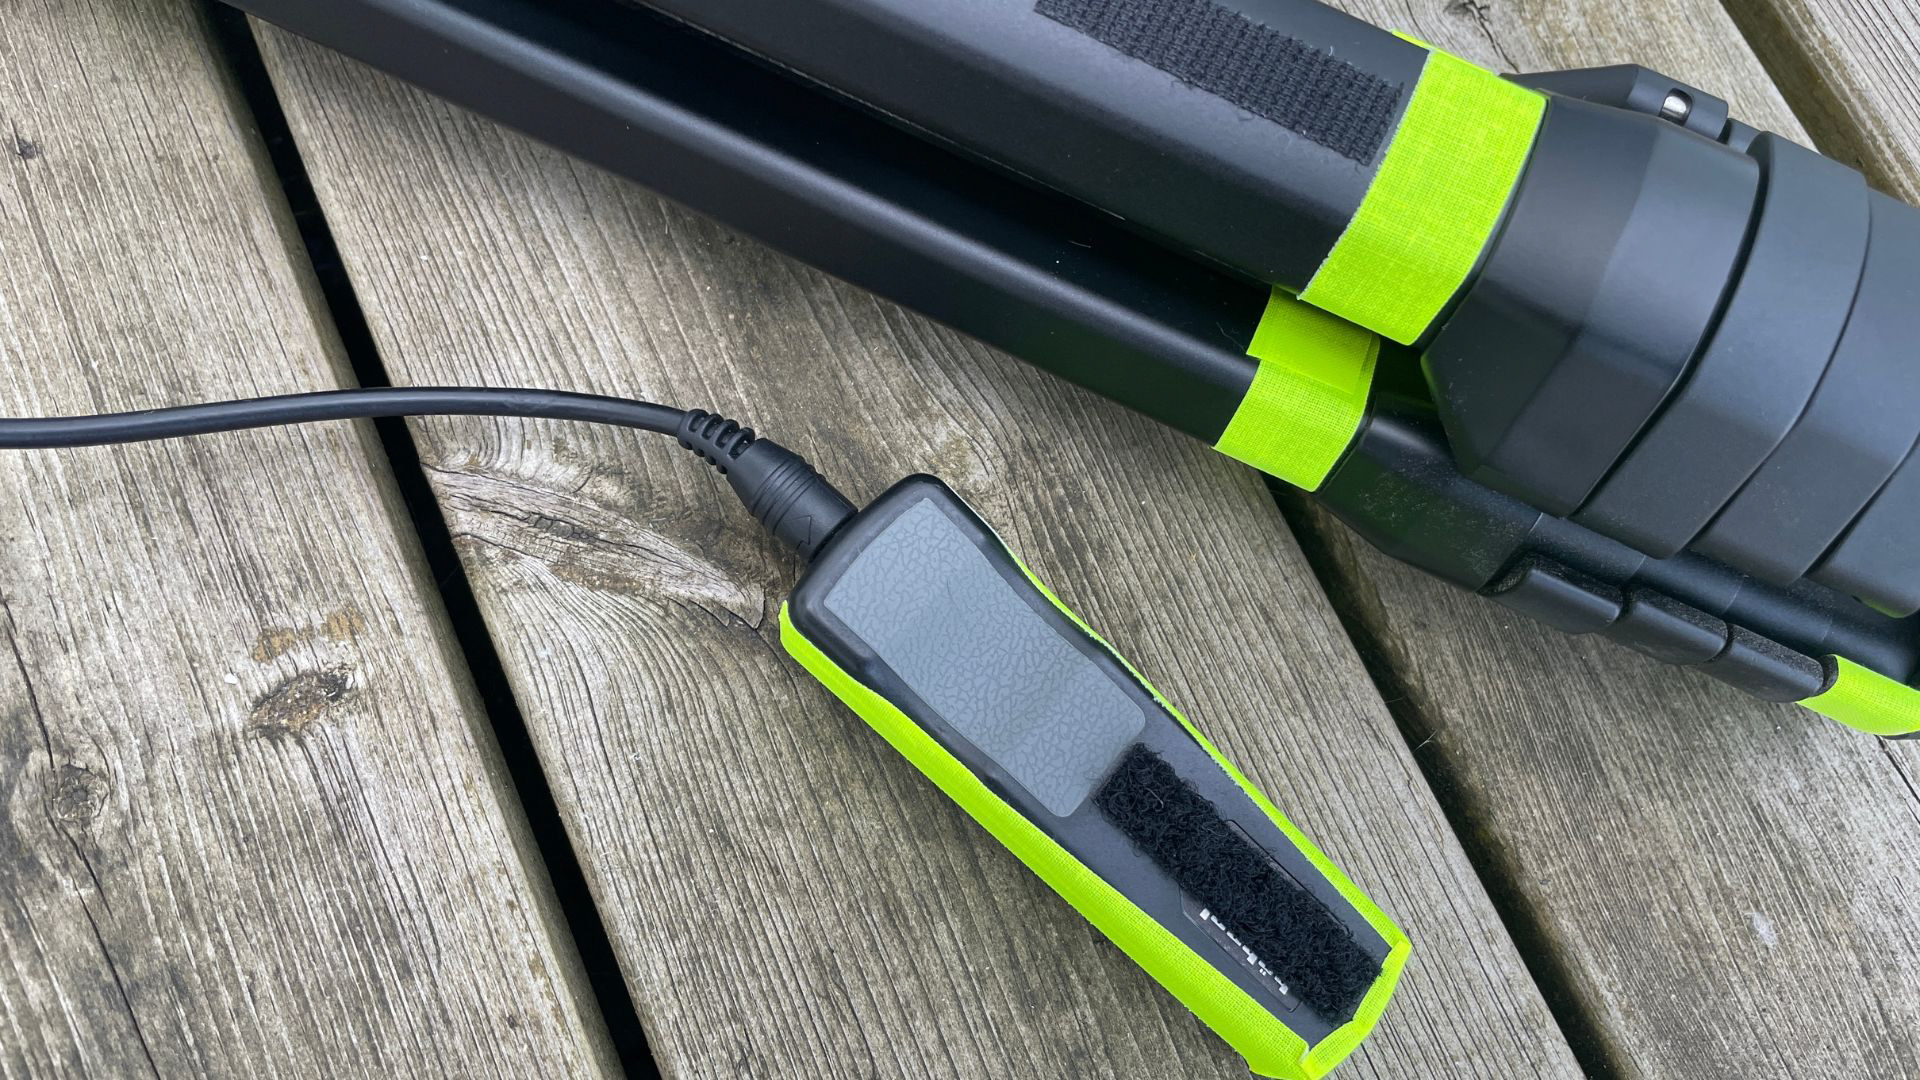
You sometimes leave your shutter release cable dangling in the wind between the legs of your tripod during long exposures, right? An easy way to know exactly where your shutter release cable is without grappling for it in the dark is to apply a stick-on Velcro loop pad to the back of it. Choose somewhere relatively high-up on your tripod to put the corresponding hook pad and you’ll always know where it is in the dark. The same goes for almost anything else you can think of, from Hex key to portable battery.
9. Take more than one extra layer
Not only will the night get colder, but so will you. It may involve hiking out to a remote location and scouting for compositions, but night-scape photography is one of the most sedentary kinds of photography there is. After a few hours standing very still in the dark not only will you naturally get cold, but as you get tired your body can start to shut down. So always take extra layers to go with your warm coat, hat, gloves and neck gator.
10. Bring binoculars
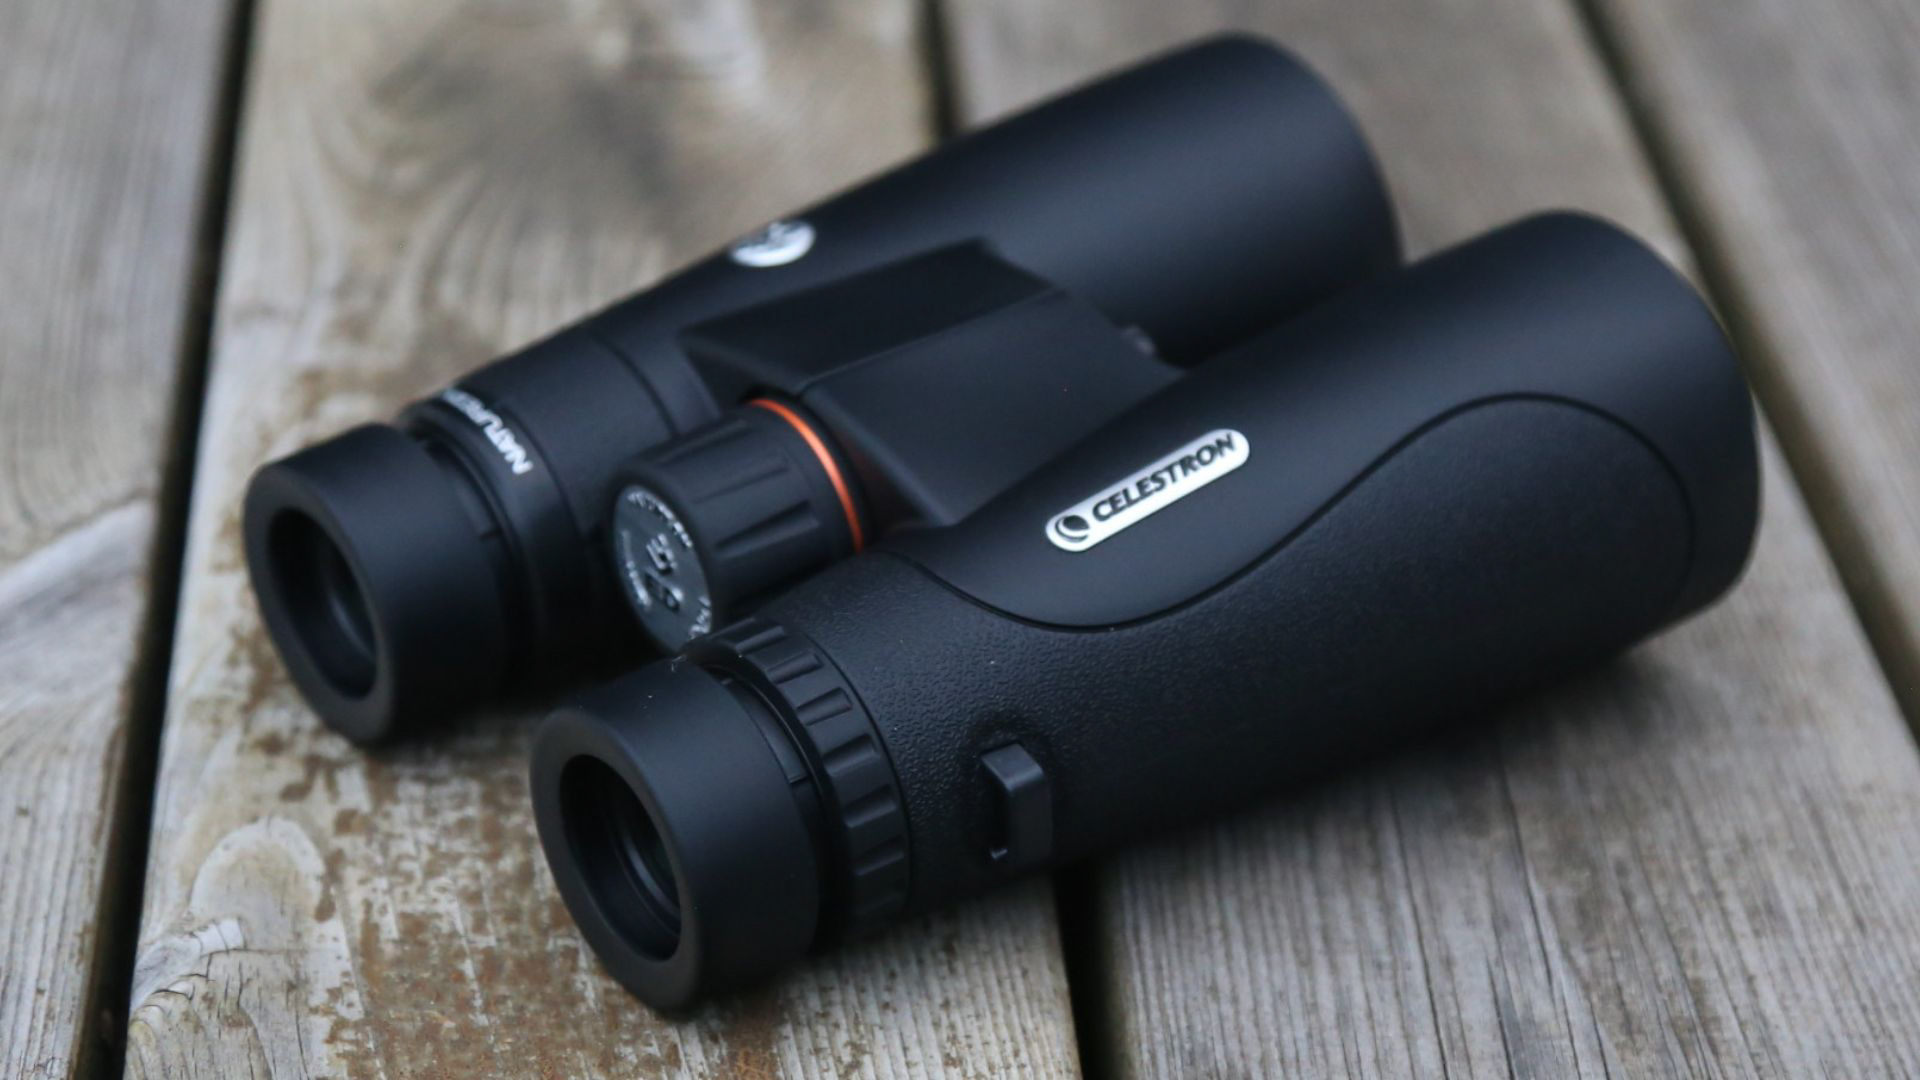
If you’re a Milky Way photographer who has absolutely no idea what they’re photographing then you are a fake. Though shooting a series of three-minute exposures of the night sky shouldn’t cause you too many problems, a series of multiple 10-minute exposures for the foreground will leave you with significant time on your hands. Some night-scapers bring a second camera and tripod to tend to when their main rig is busy. A better idea is to bring a pair of 10x50 or 12x50 binoculars so you can explore the vast night sky and develop a proper appreciation of what you’re trying to capture with your camera.
Read more:
• How to improve your astrophotography: tips, tricks and techniques
• Astrophotography tools: the best gear for shooting the night sky
• The best telescopes for astrophotography
• The best CCD cameras for astrophotography
• The best star trackers for astrophotography
• The best light pollution filters
• Best lenses for astrophotography
Get the Digital Camera World Newsletter
The best camera deals, reviews, product advice, and unmissable photography news, direct to your inbox!

Jamie has been writing about photography, astronomy, astro-tourism and astrophotography for over 15 years, producing content for Forbes, Space.com, Live Science, Techradar, T3, BBC Wildlife, Science Focus, Sky & Telescope, BBC Sky At Night, South China Morning Post, The Guardian, The Telegraph and Travel+Leisure.
As the editor for When Is The Next Eclipse, he has a wealth of experience, expertise and enthusiasm for astrophotography, from capturing the moon and meteor showers to solar and lunar eclipses.
He also brings a great deal of knowledge on action cameras, 360 cameras, AI cameras, camera backpacks, telescopes, gimbals, tripods and all manner of photography equipment.
