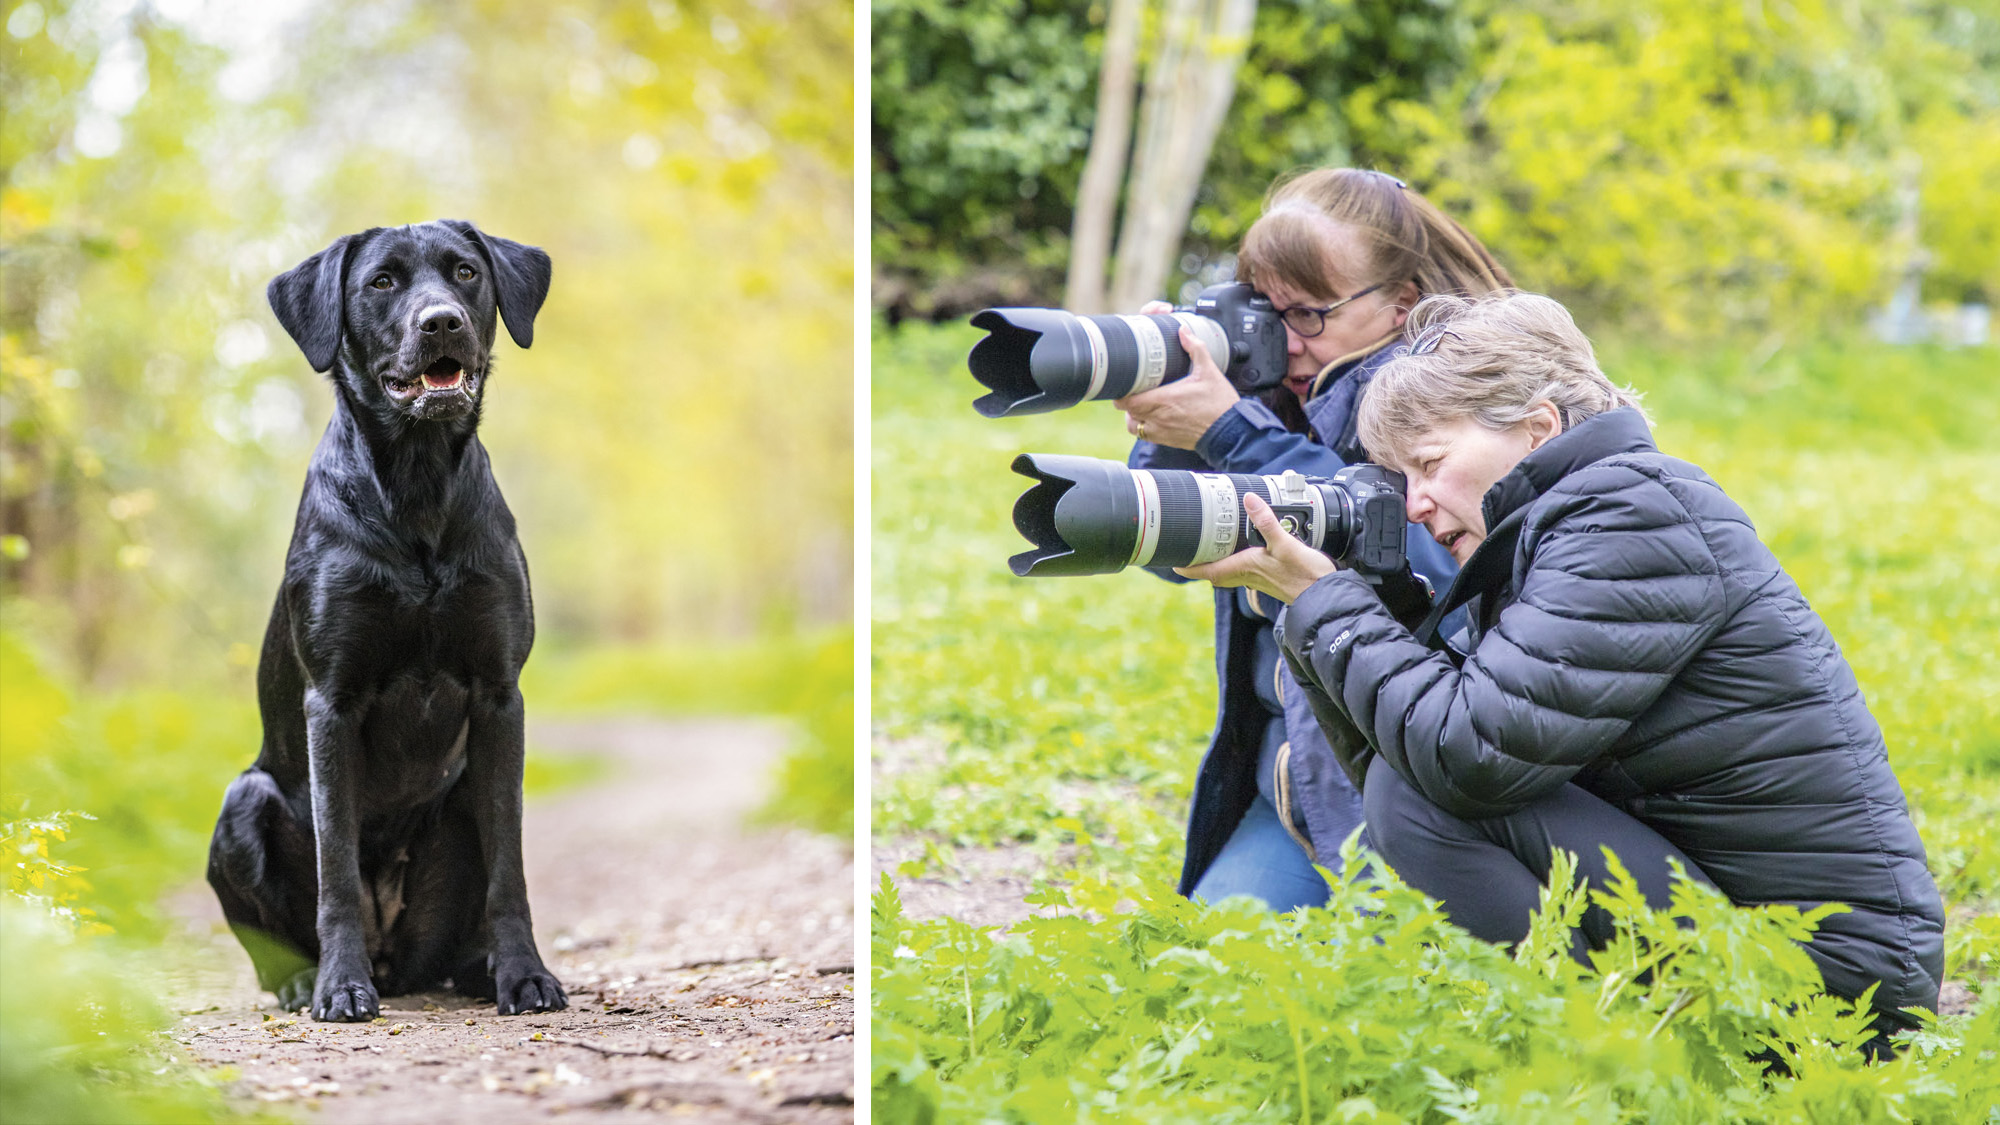
Pet photography is an incredibly fun and rewarding genre to get into if you have a love for animals, especially if you or loved ones have willing subjects you can practice on. However, many animals (including well trained ones) can be chaotic and unpredictable making it tricky to get a good shot.
• Read more: Best lenses for animal photography
Laura Galbraith is a dog lover and professional pet photographer who won the Guild of Photographers' Bird Image of the Year title in 2019, and Nature and Wildlife Image of the Year in 2020.
We paired her with reader of PhotoPlus: The Canon Magazine, Yvette Smith, for a masterclass in pet photography – and here you'll find Laura's top 10 pet photography tips, along with some of the images that Yvette was able to capture by applying them to her own photography.
You can find out more about Laura's work, as well as the photography workshops she leads, at her website.
01 Get a short telephoto lens
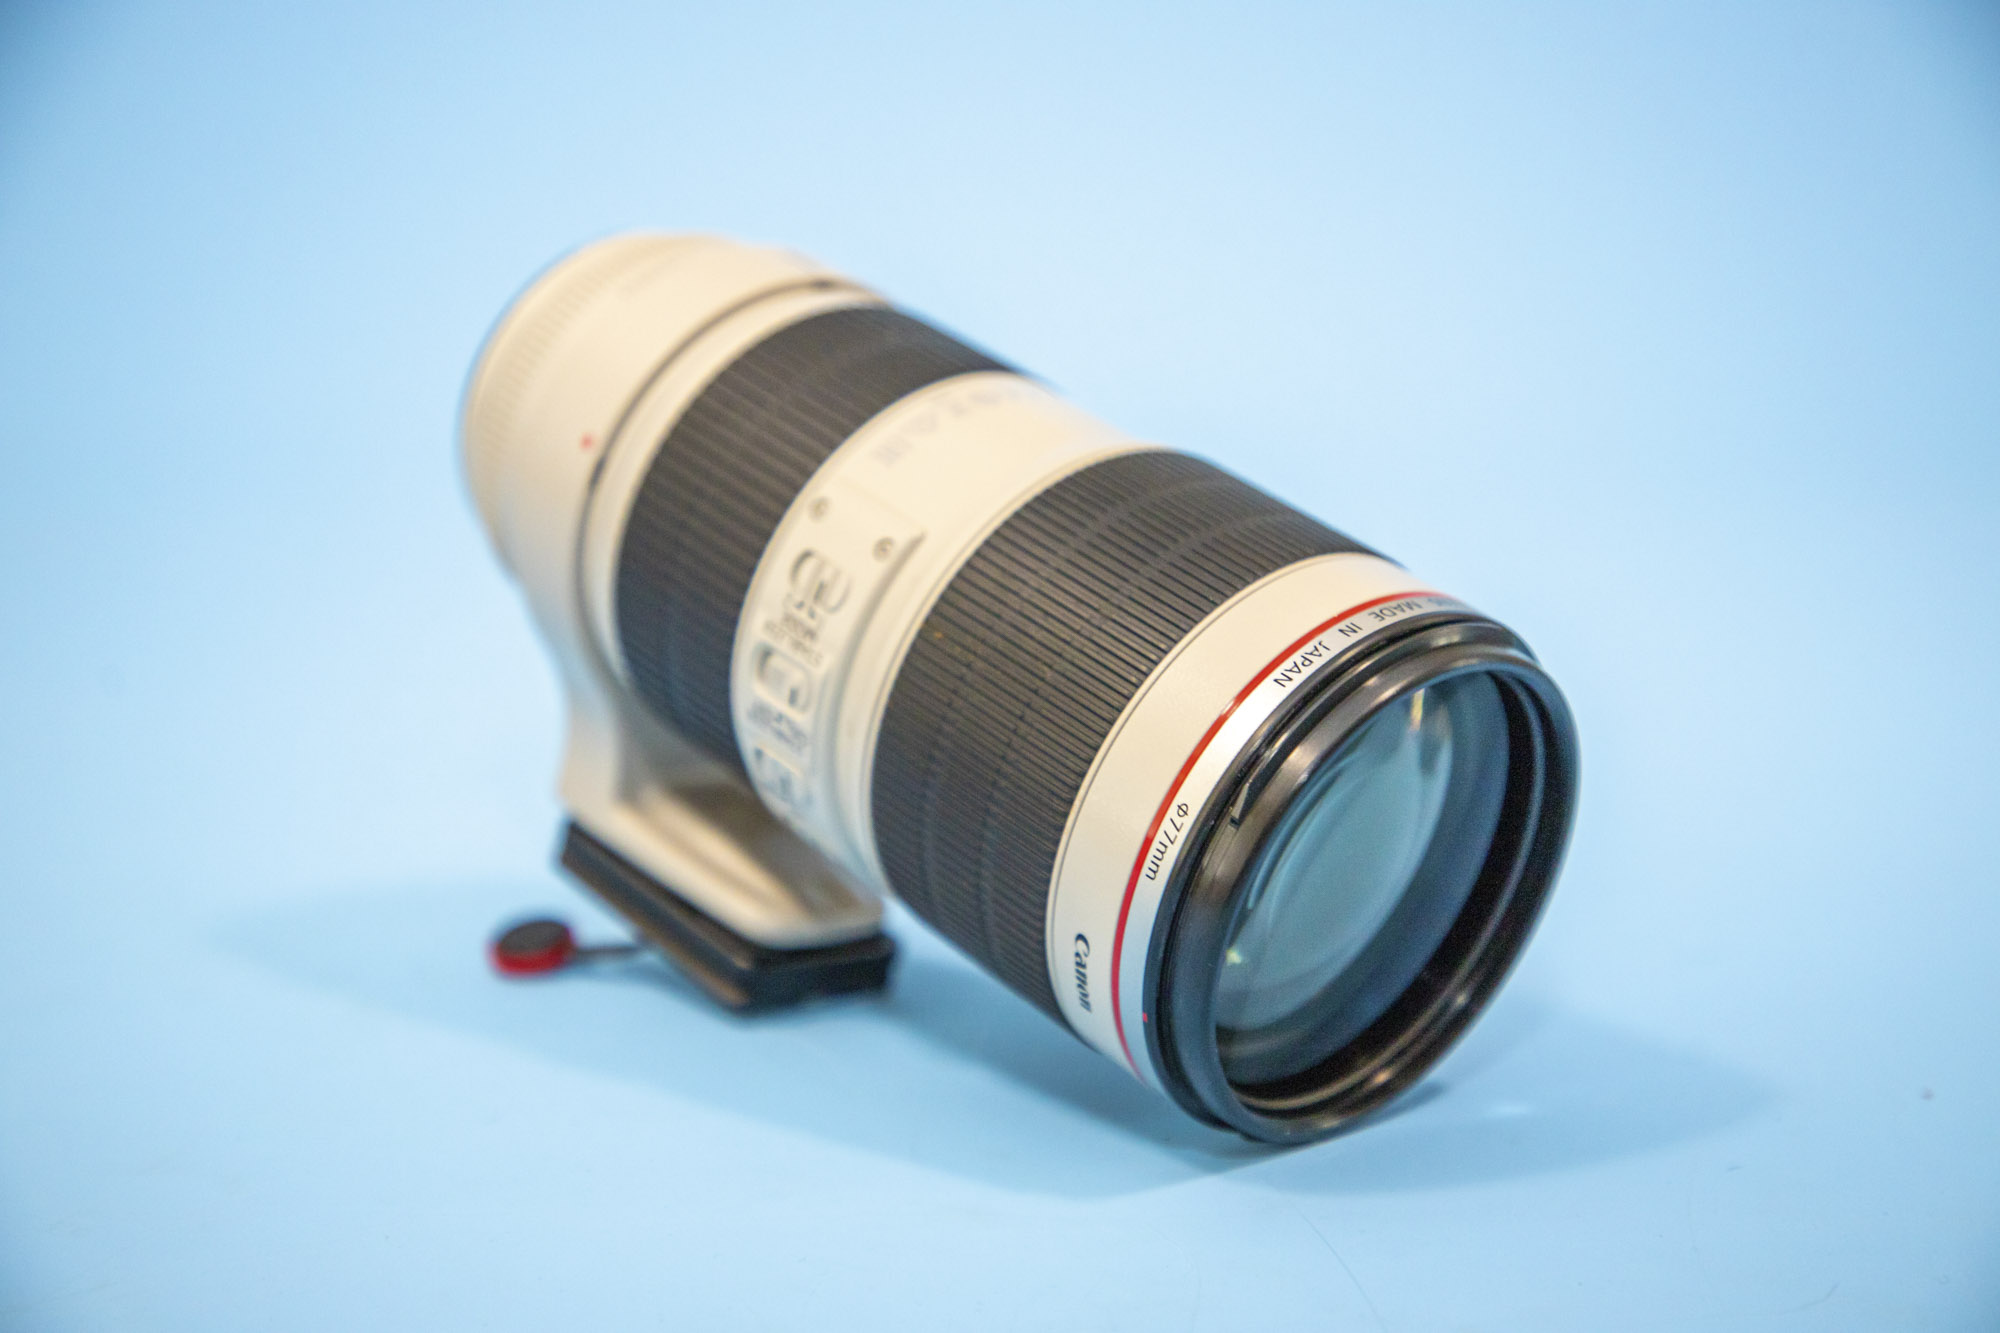
Laura uses a Canon EF 70-200mm f/2.8L IS II USM to take the majority of her pet portraits. The short telephoto focal length is great for full-body dog shots, and zooming in for tighter headshots, as well as being able to shoot from a distance without invading the dog’s space. Its wide max aperture of f/2.8 makes it easy to blur backgrounds, too.
02 Change your background
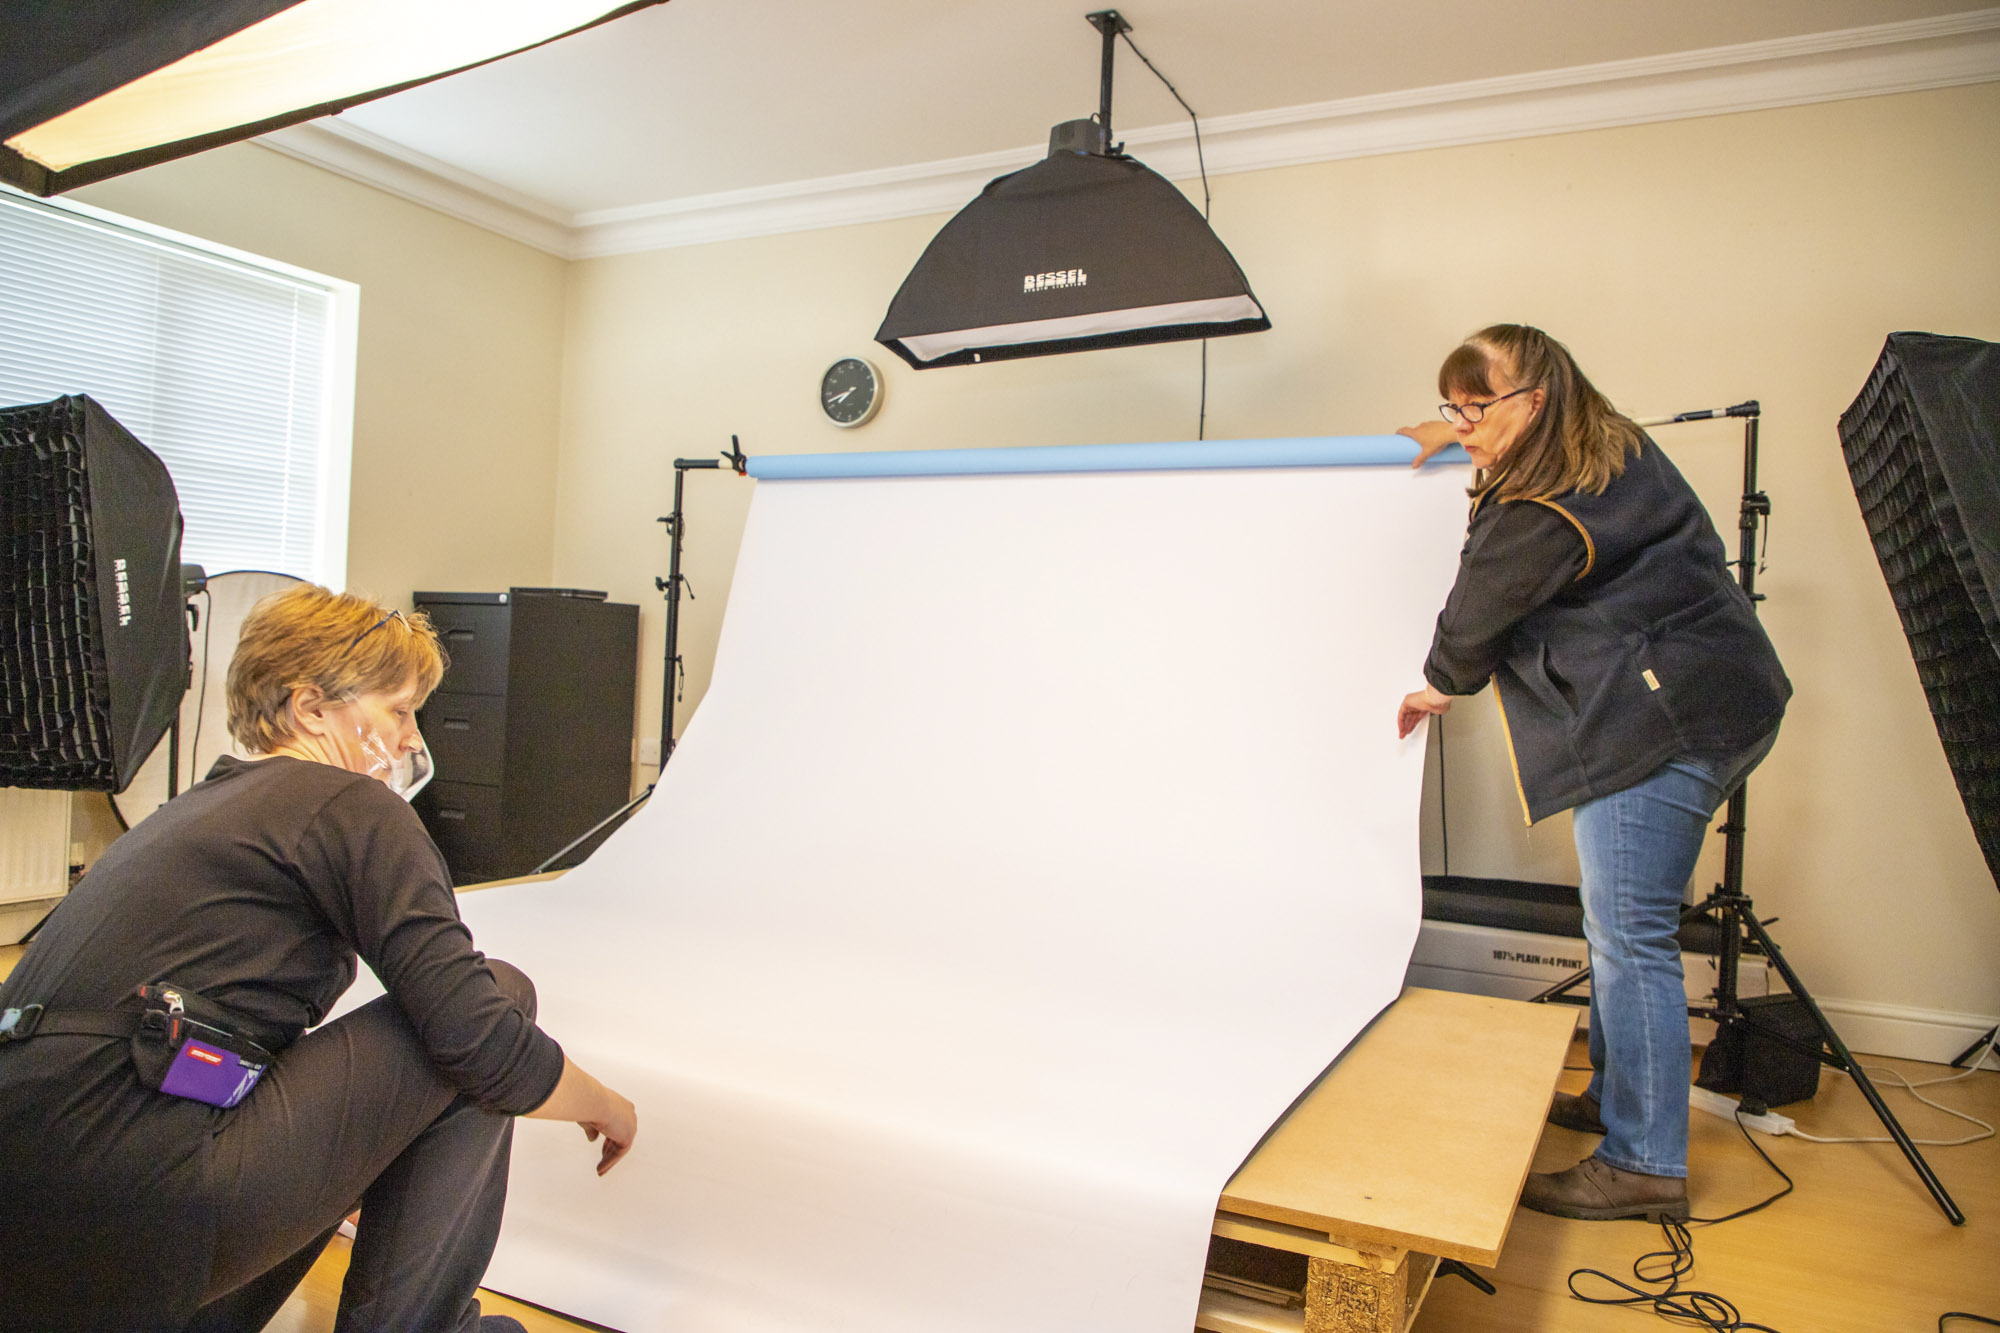
Laura has a vast range of backgrounds she can quickly change to give her pet portraits an entirely different look. She has a mixture of paper and vinyl background rolls that measure 2.7m wide, this area gives you more chance to be able to take a shot with a neat background, even if the dog moves around a little. Laura says the vinyl ones work out better value as they’re more robust and more easily cleaned after any doggy accidents or mucky paw prints.
• Best backdrops for photography
03 Catch the dog's attention
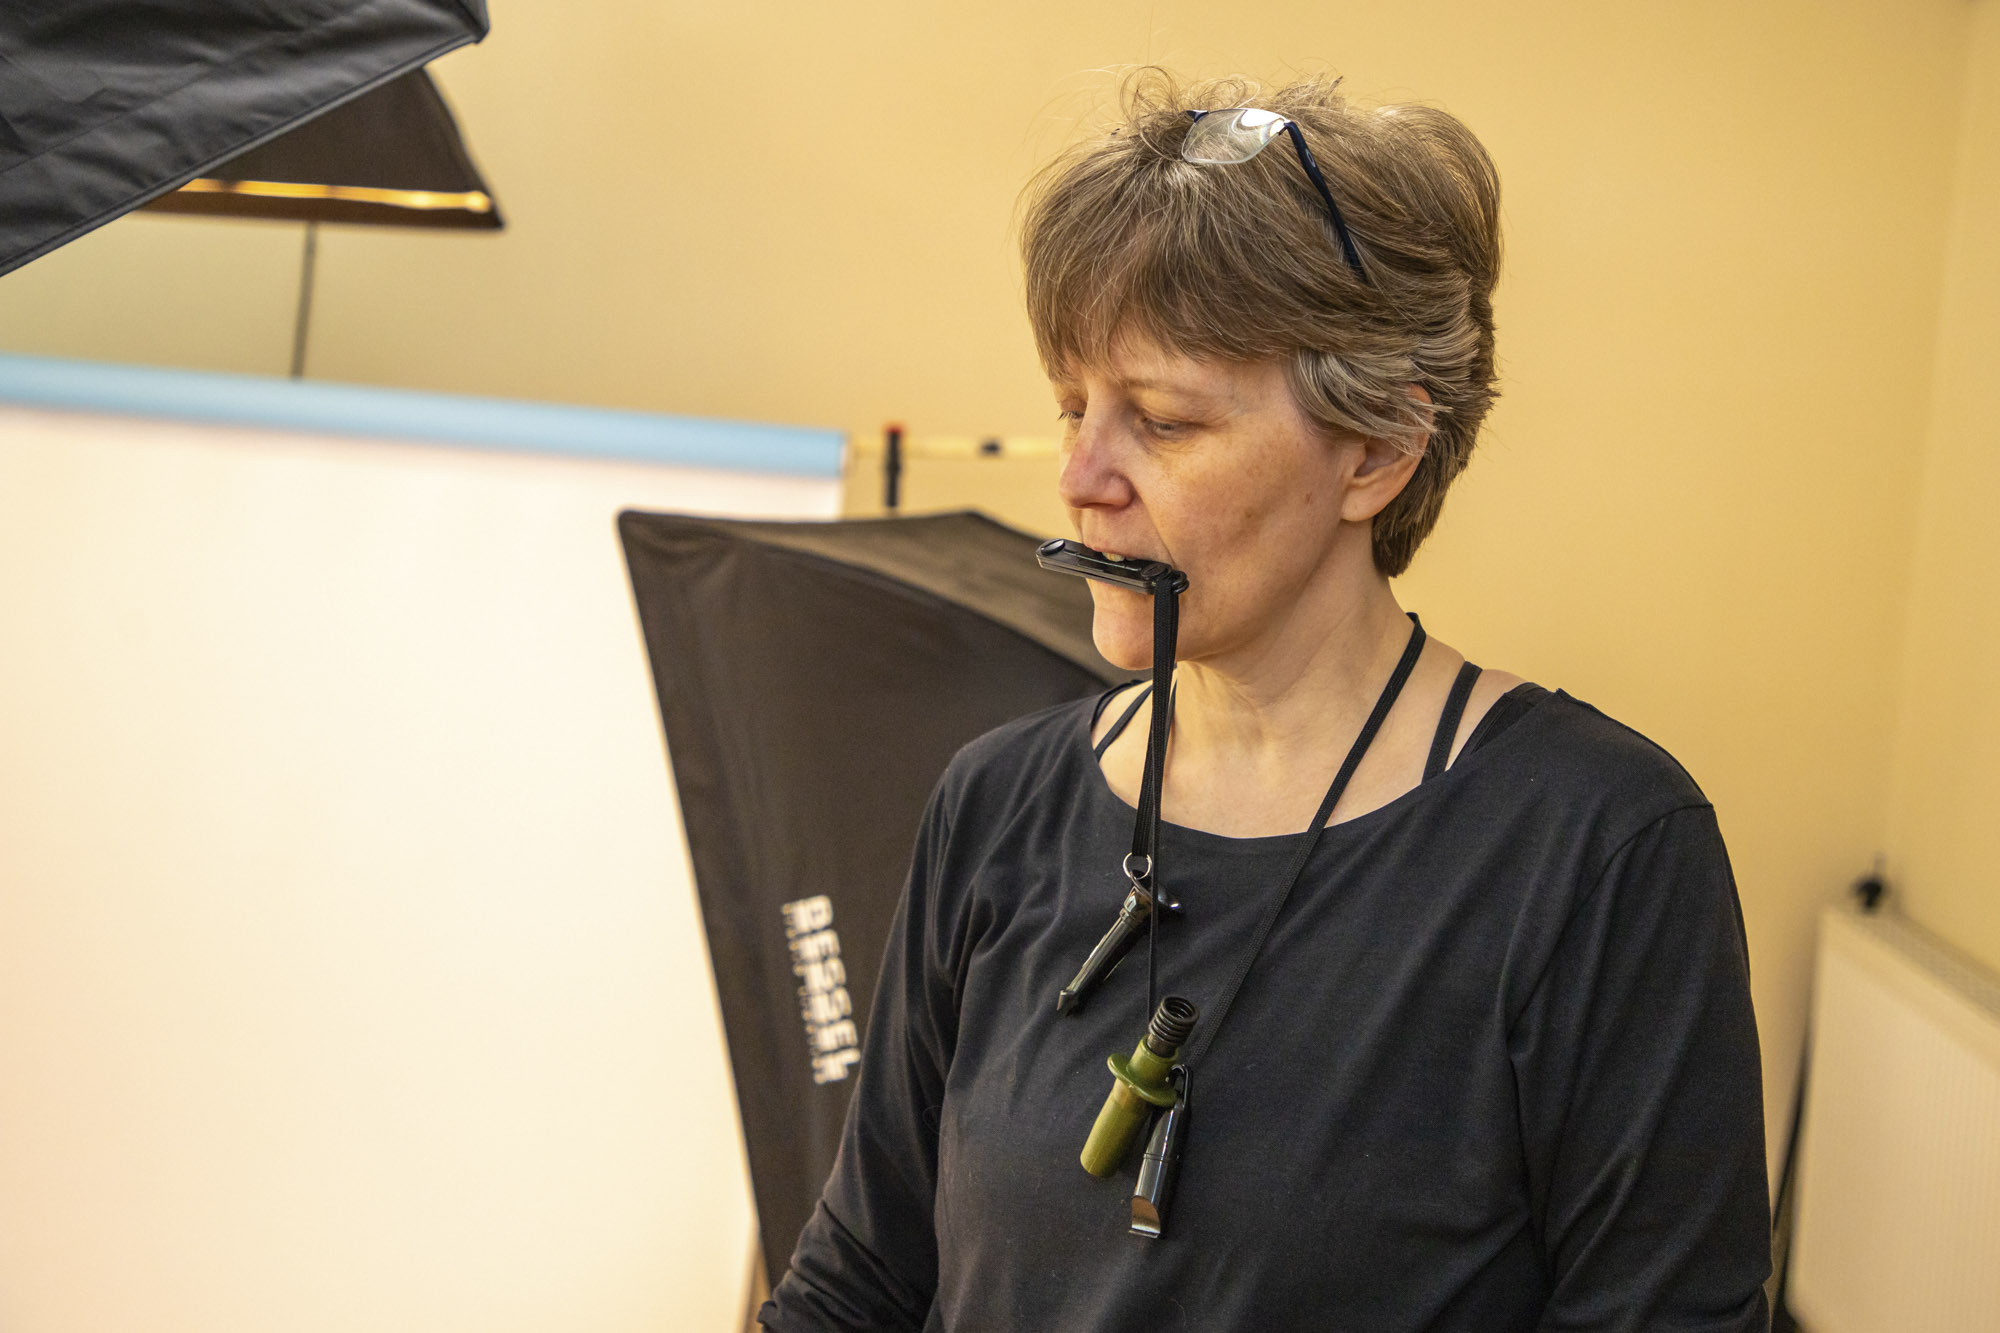
Laura has a variety of methods to get the dogs attention and ensure that they’re looking in the correct direction. She has a bag full of ‘quackers,’ which are whistles that hunters use to imitate the sound of a duck or various other birds. They’re a great hands-free way to make a sound that pricks up the dog's ears and gets them making eye contact with the camera when you’re taking pictures.
04 Check your histogram
After taking a test shot be sure to check your histogram on the LCD of your camera – this is usually done by going into the playback menu and toggling the image display until the histogram appears.
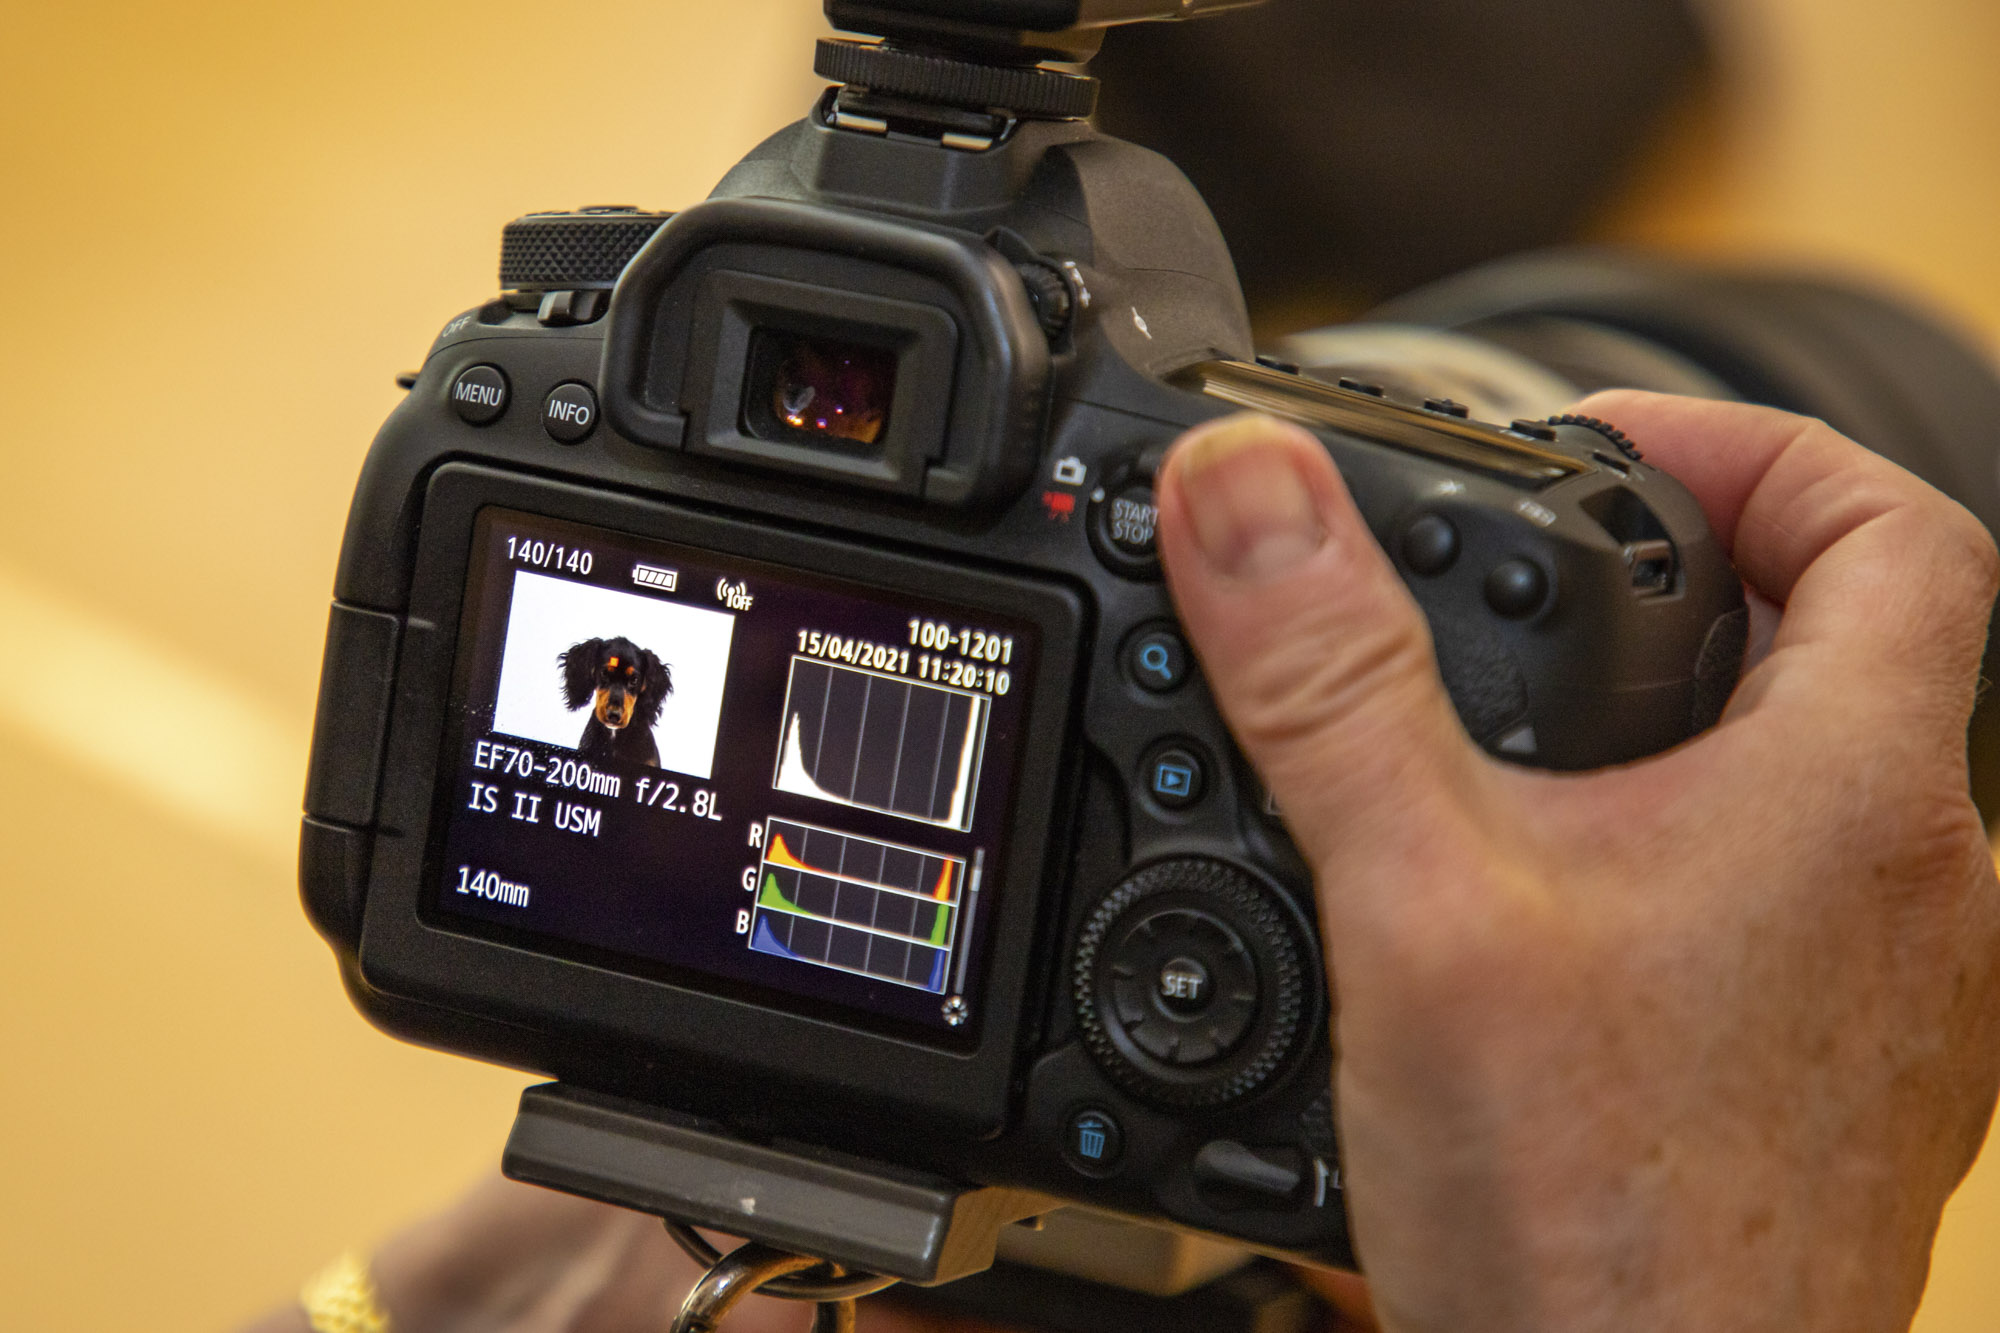
You’ll have a peak on the right or left when shooting on a black or white background, while the other ‘bump’ will be the exposure information of the dog, so make sure that this part isn’t bunched up at the sides as this will mean a loss of data.
05 Bribe them with treats
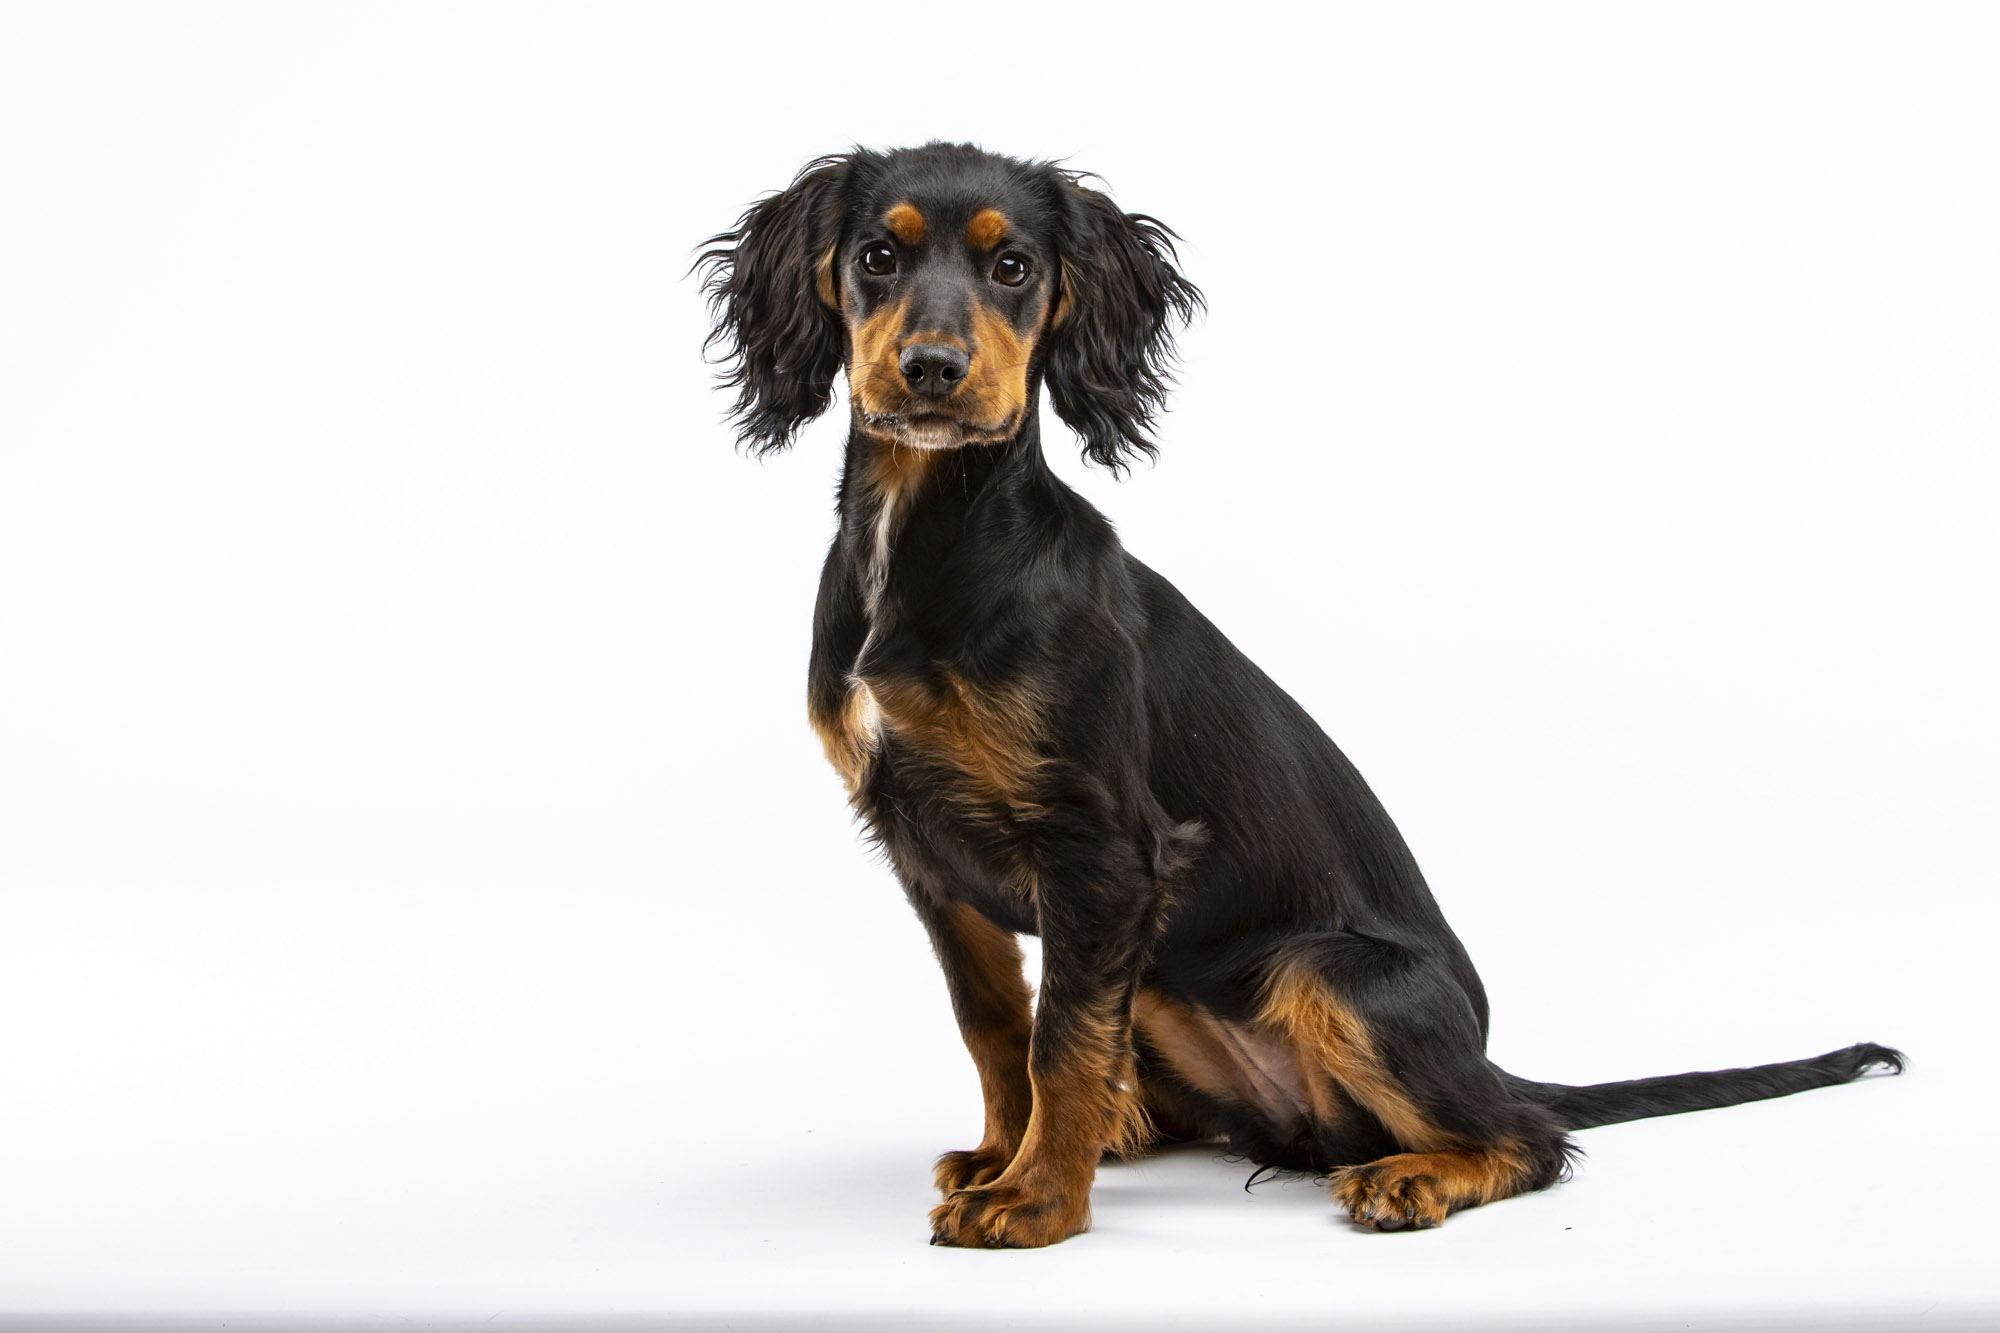
Treats for your pets are essential for getting them to behave, stay still and look in the direction you need them to for the best shots. Fred here had a particular affinity for the ‘puppy sausage,’ which Laura had cut up into tiny pieces to reward his behavior with a small treat.
06 Use a reflector
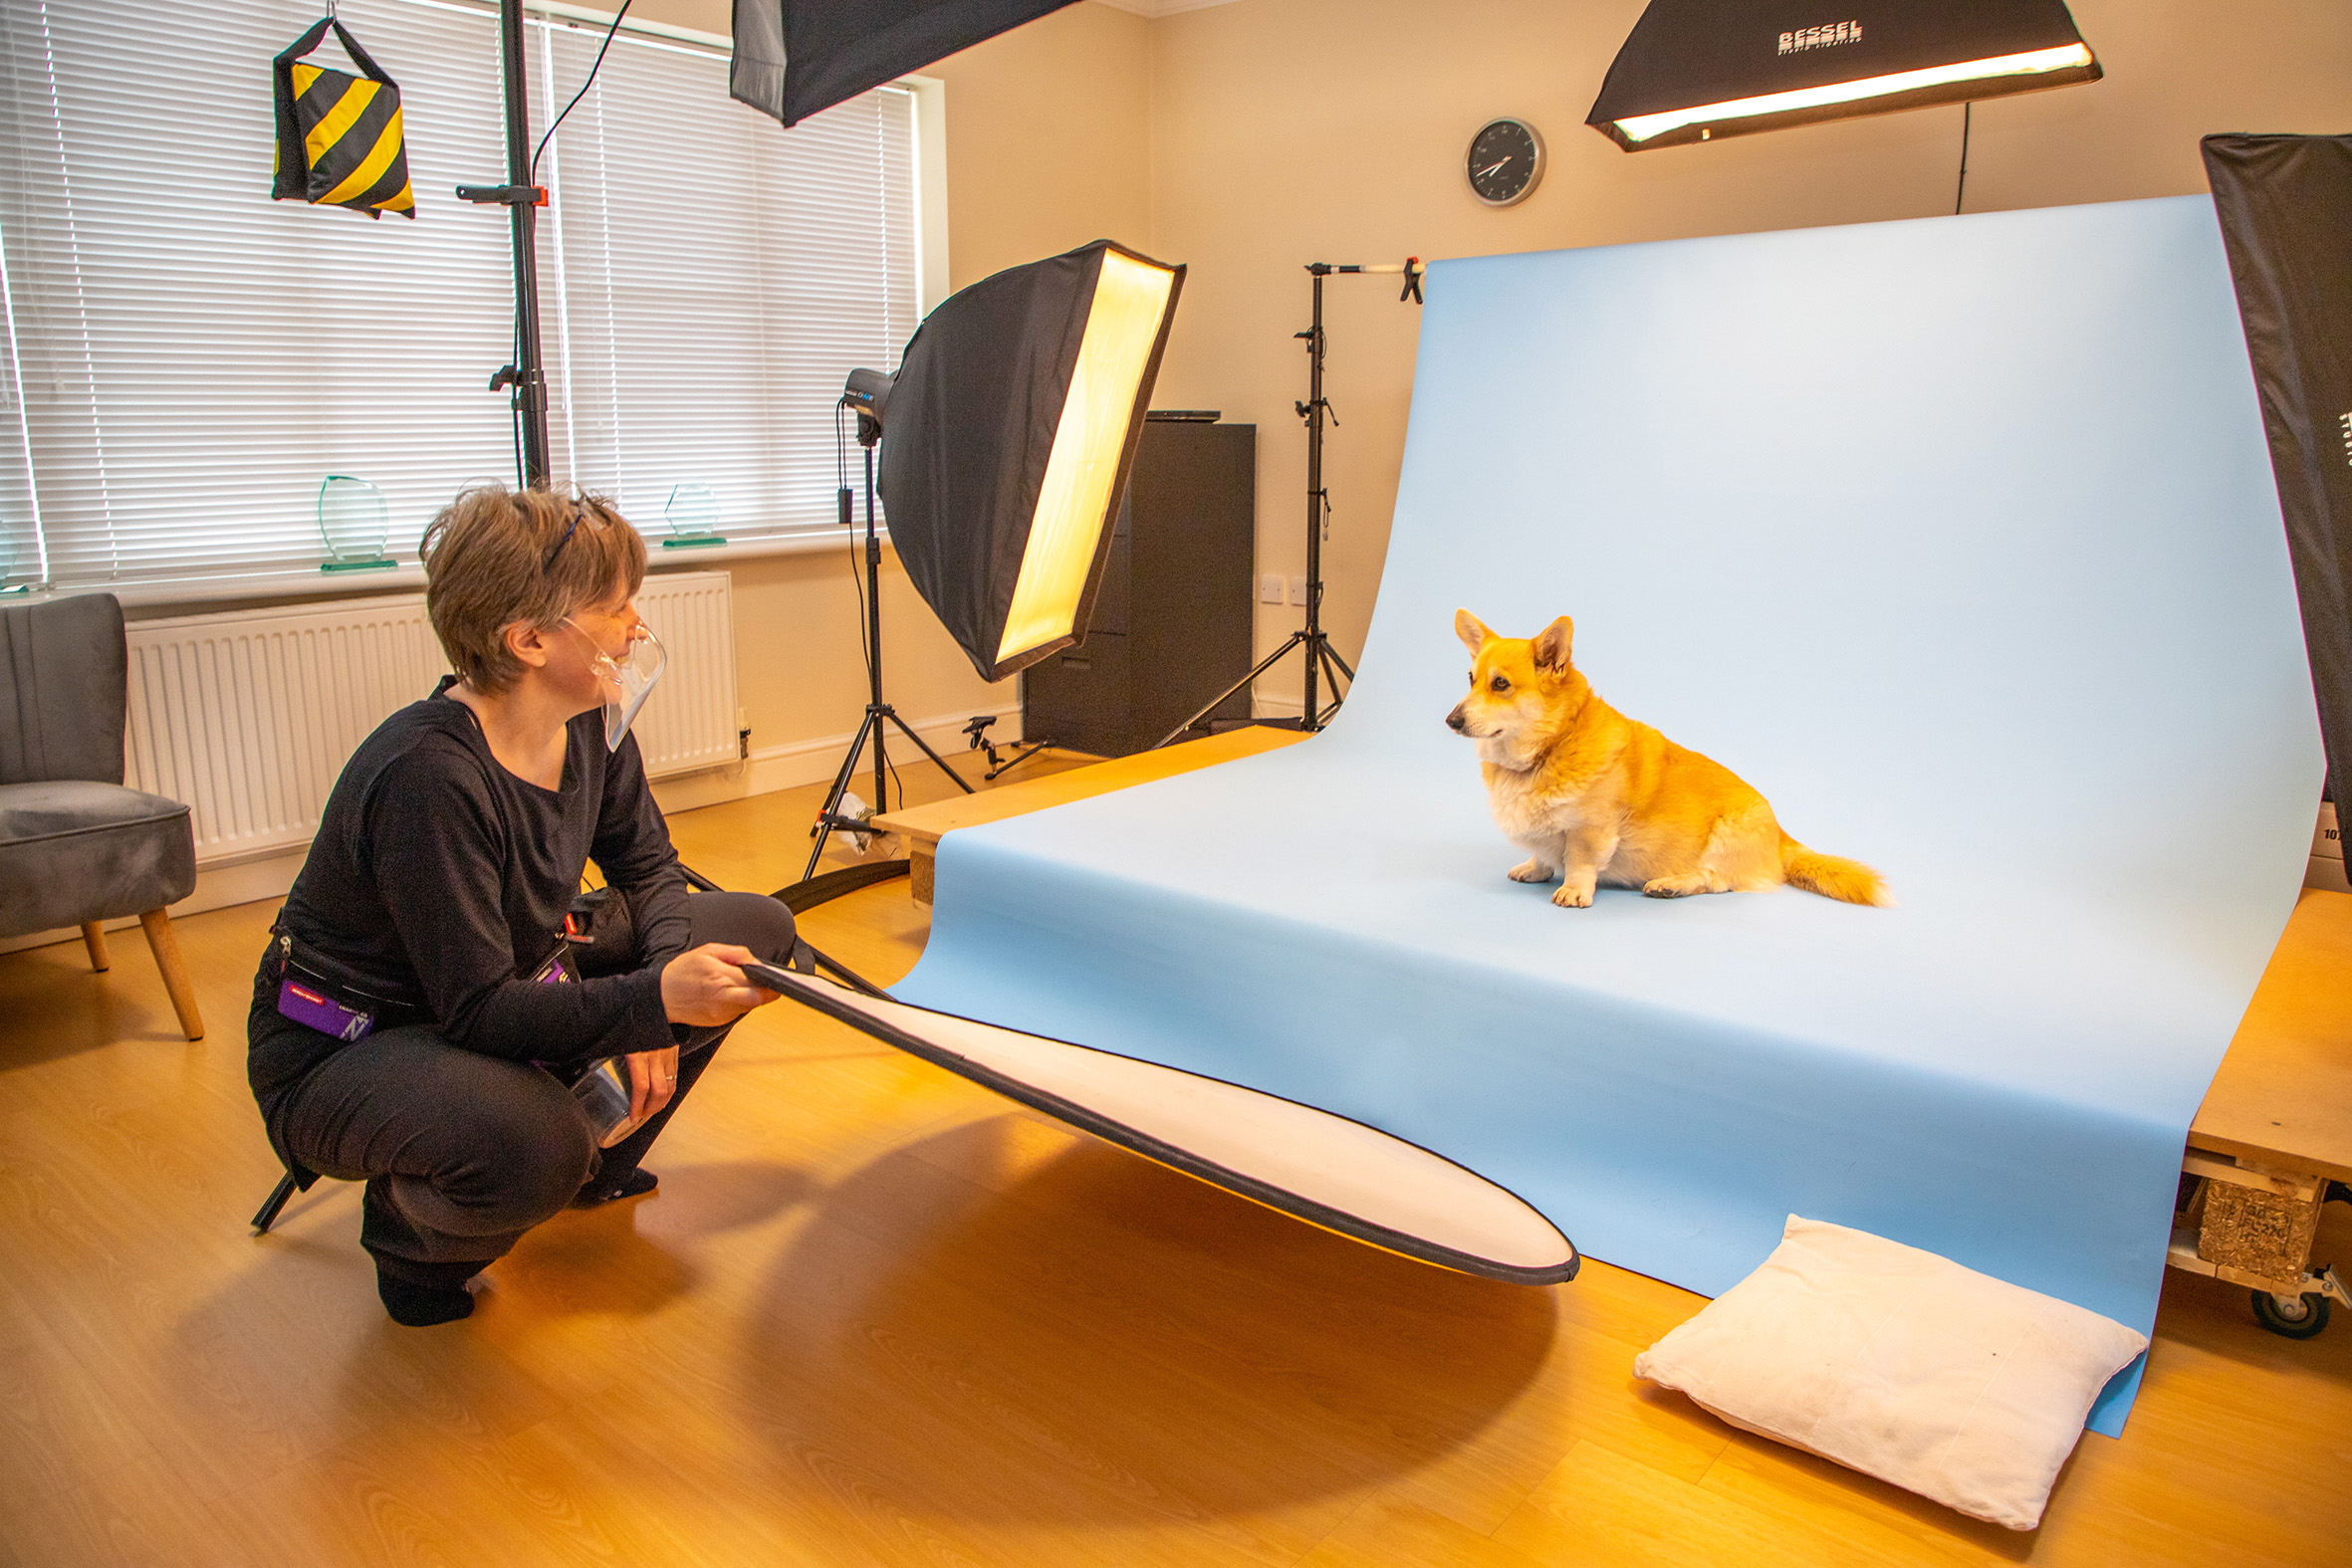
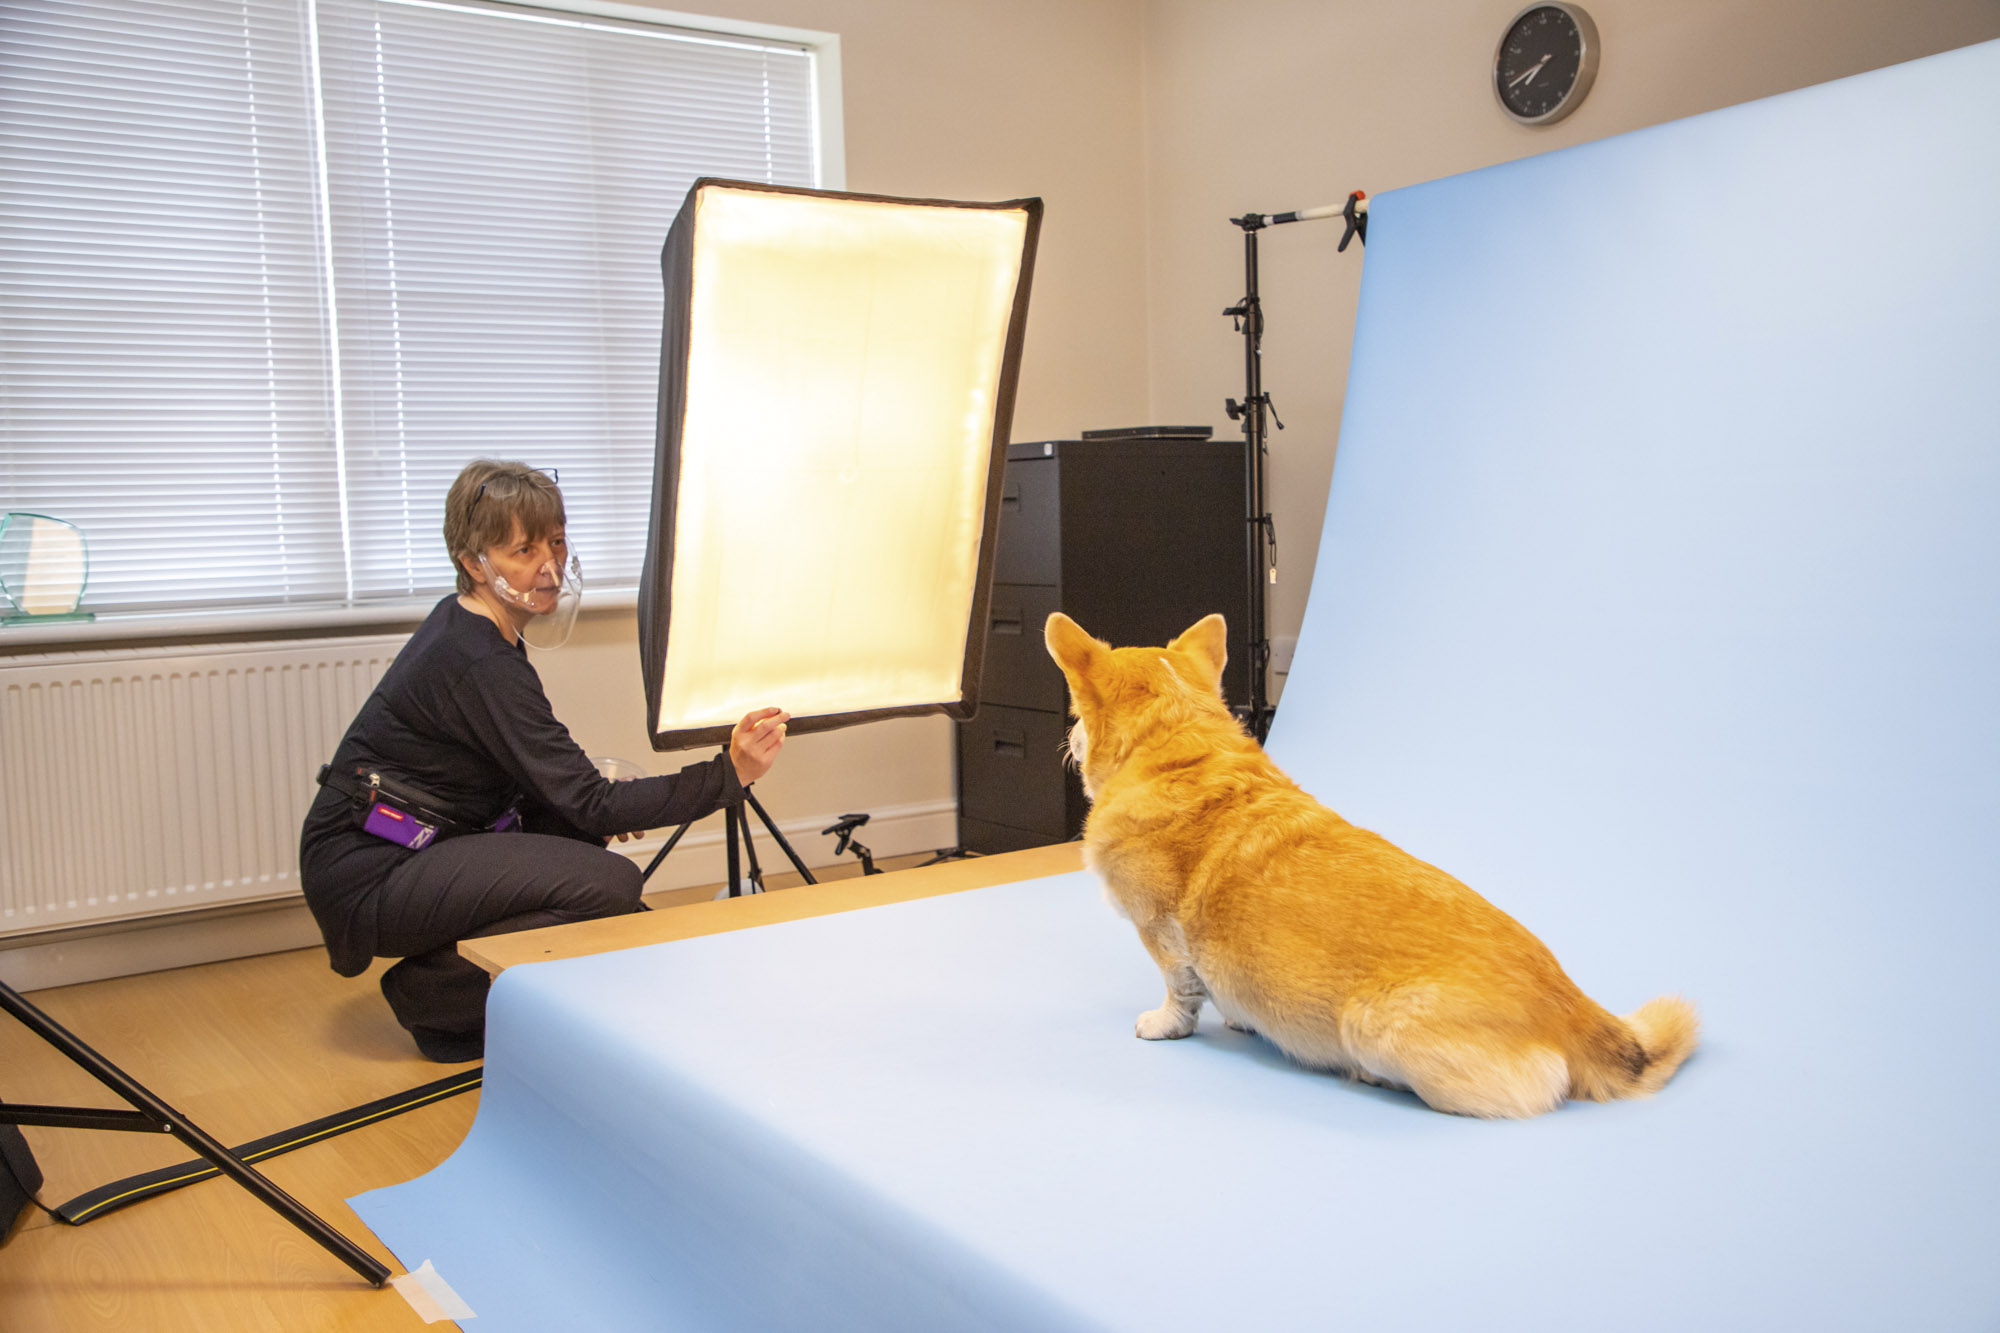
Laura has a large reflector she can use to reflect some of the bounced flashlight back onto the dog and fill in any shadows. Her reflectors have colored sides, such as gold, silver, and white.
• Best reflectors for photography
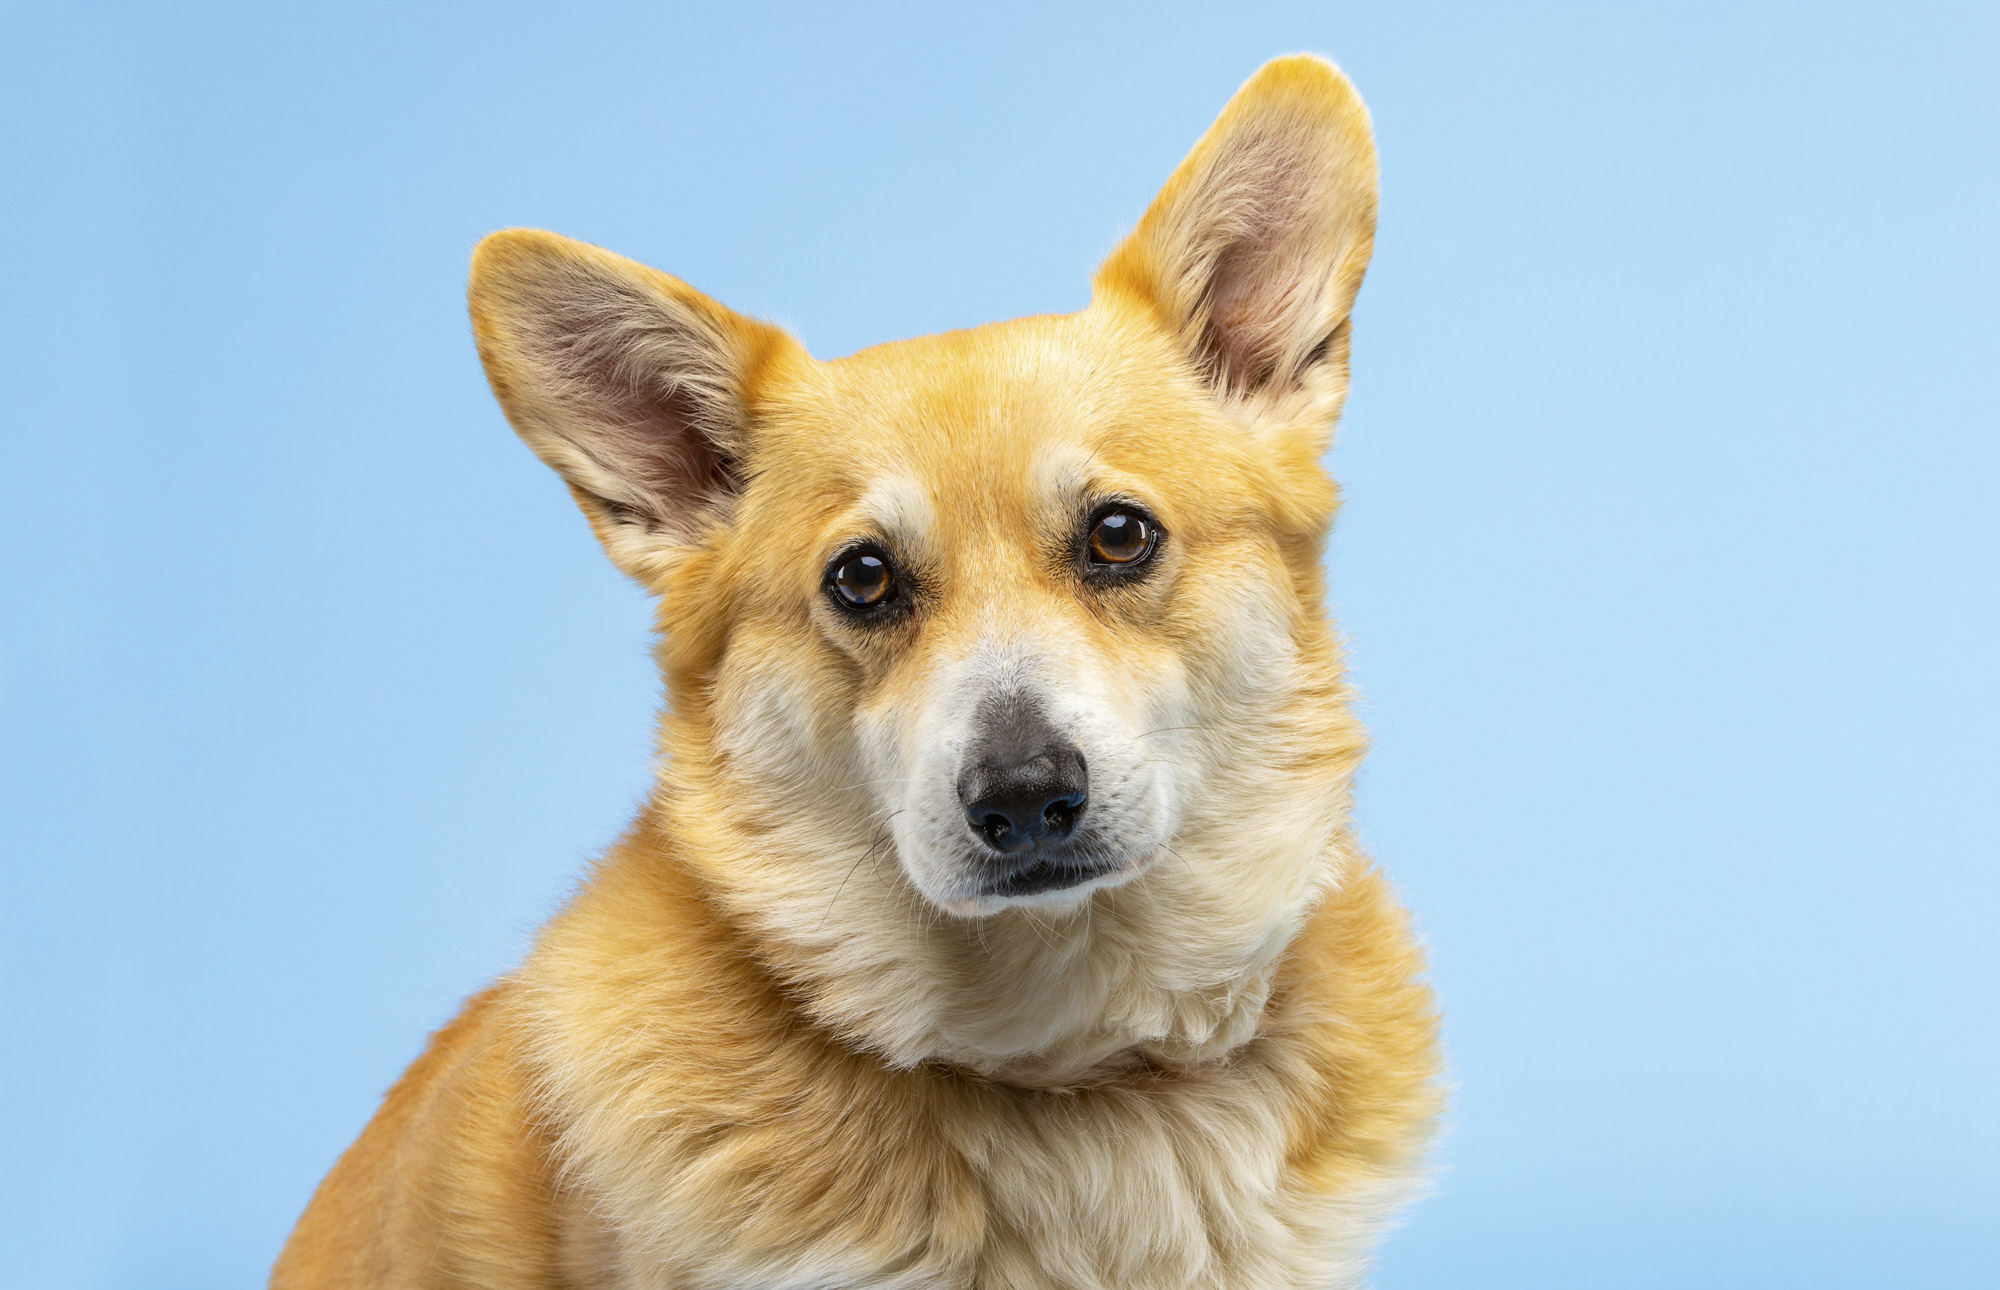
07 Use studio flash
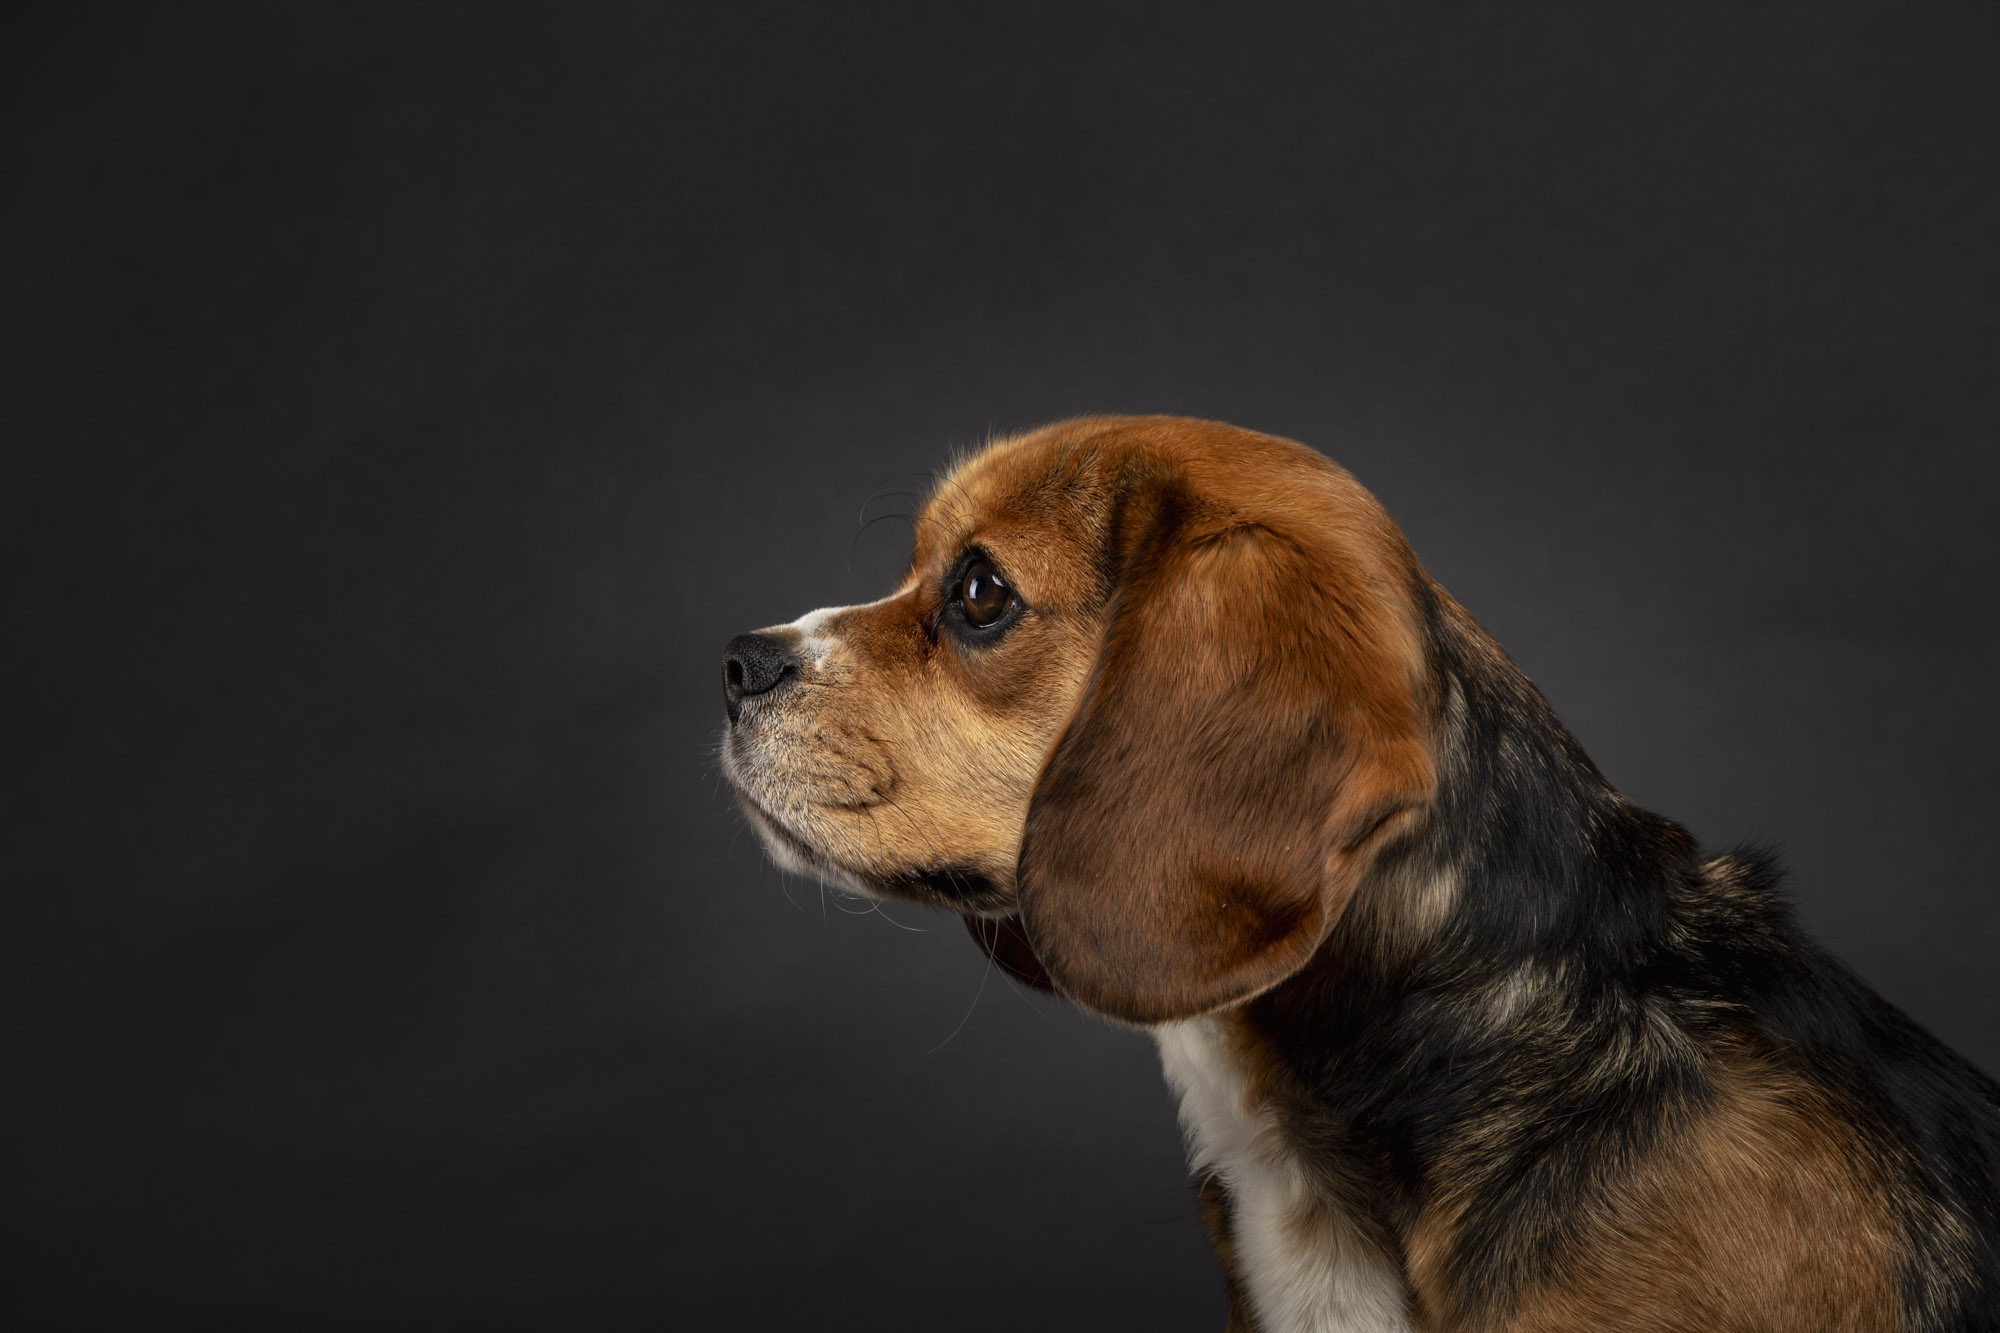
Laura uses four Elinchrom D-Lite RX One flash heads, three on lightstands with softboxes attached and another on the ceiling with a strip softbox. Laura has a large octobox attached to her key light, this goes in front of the dogs for lighting and creating catchlights.
• Best photography lighting kits
• Best flash modifiers
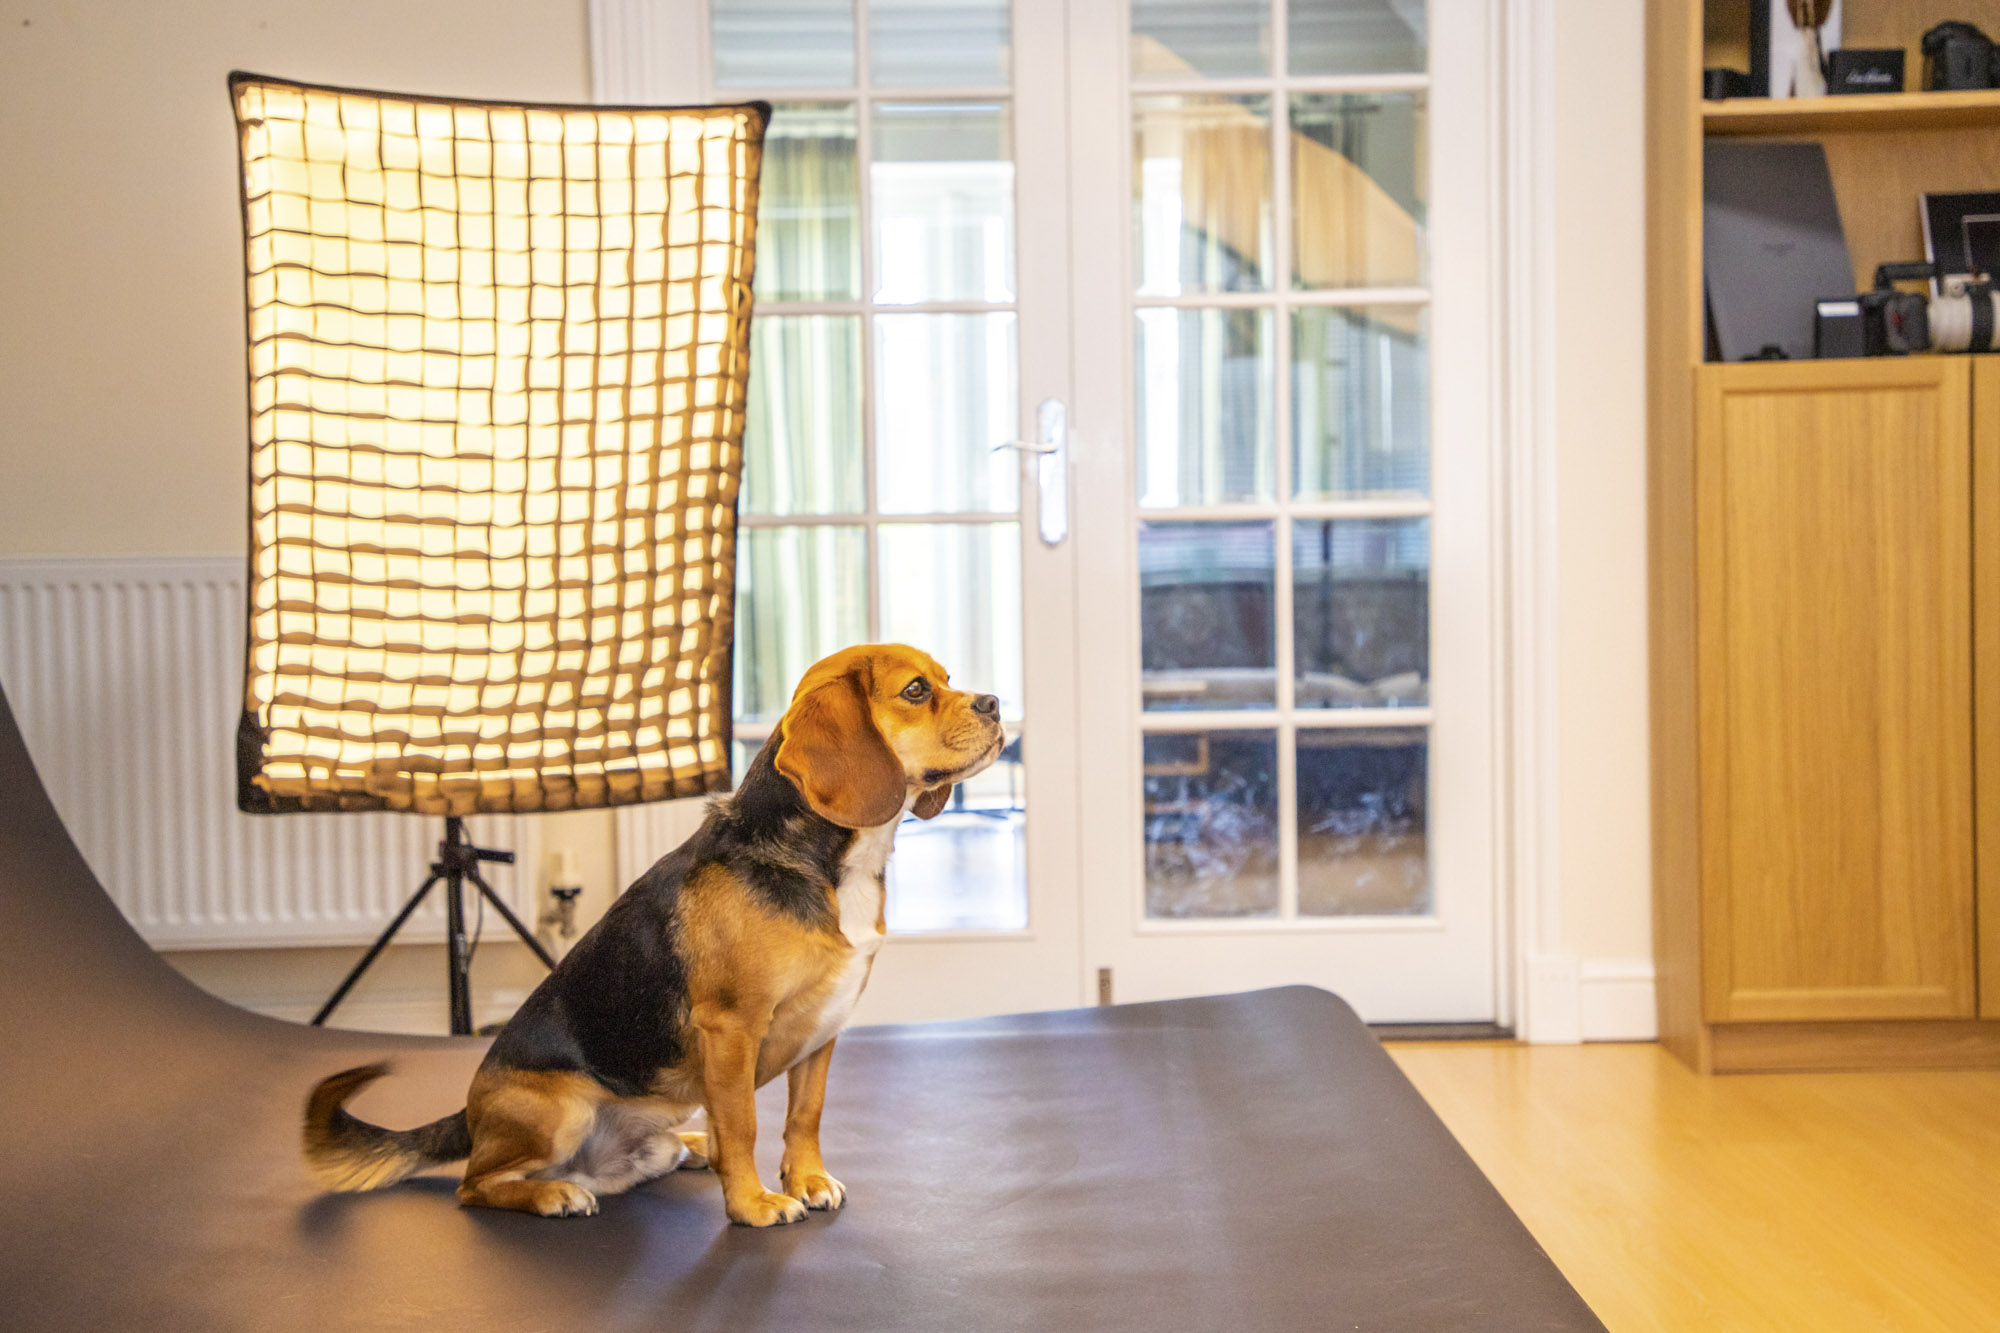
08 Practice makes perfect
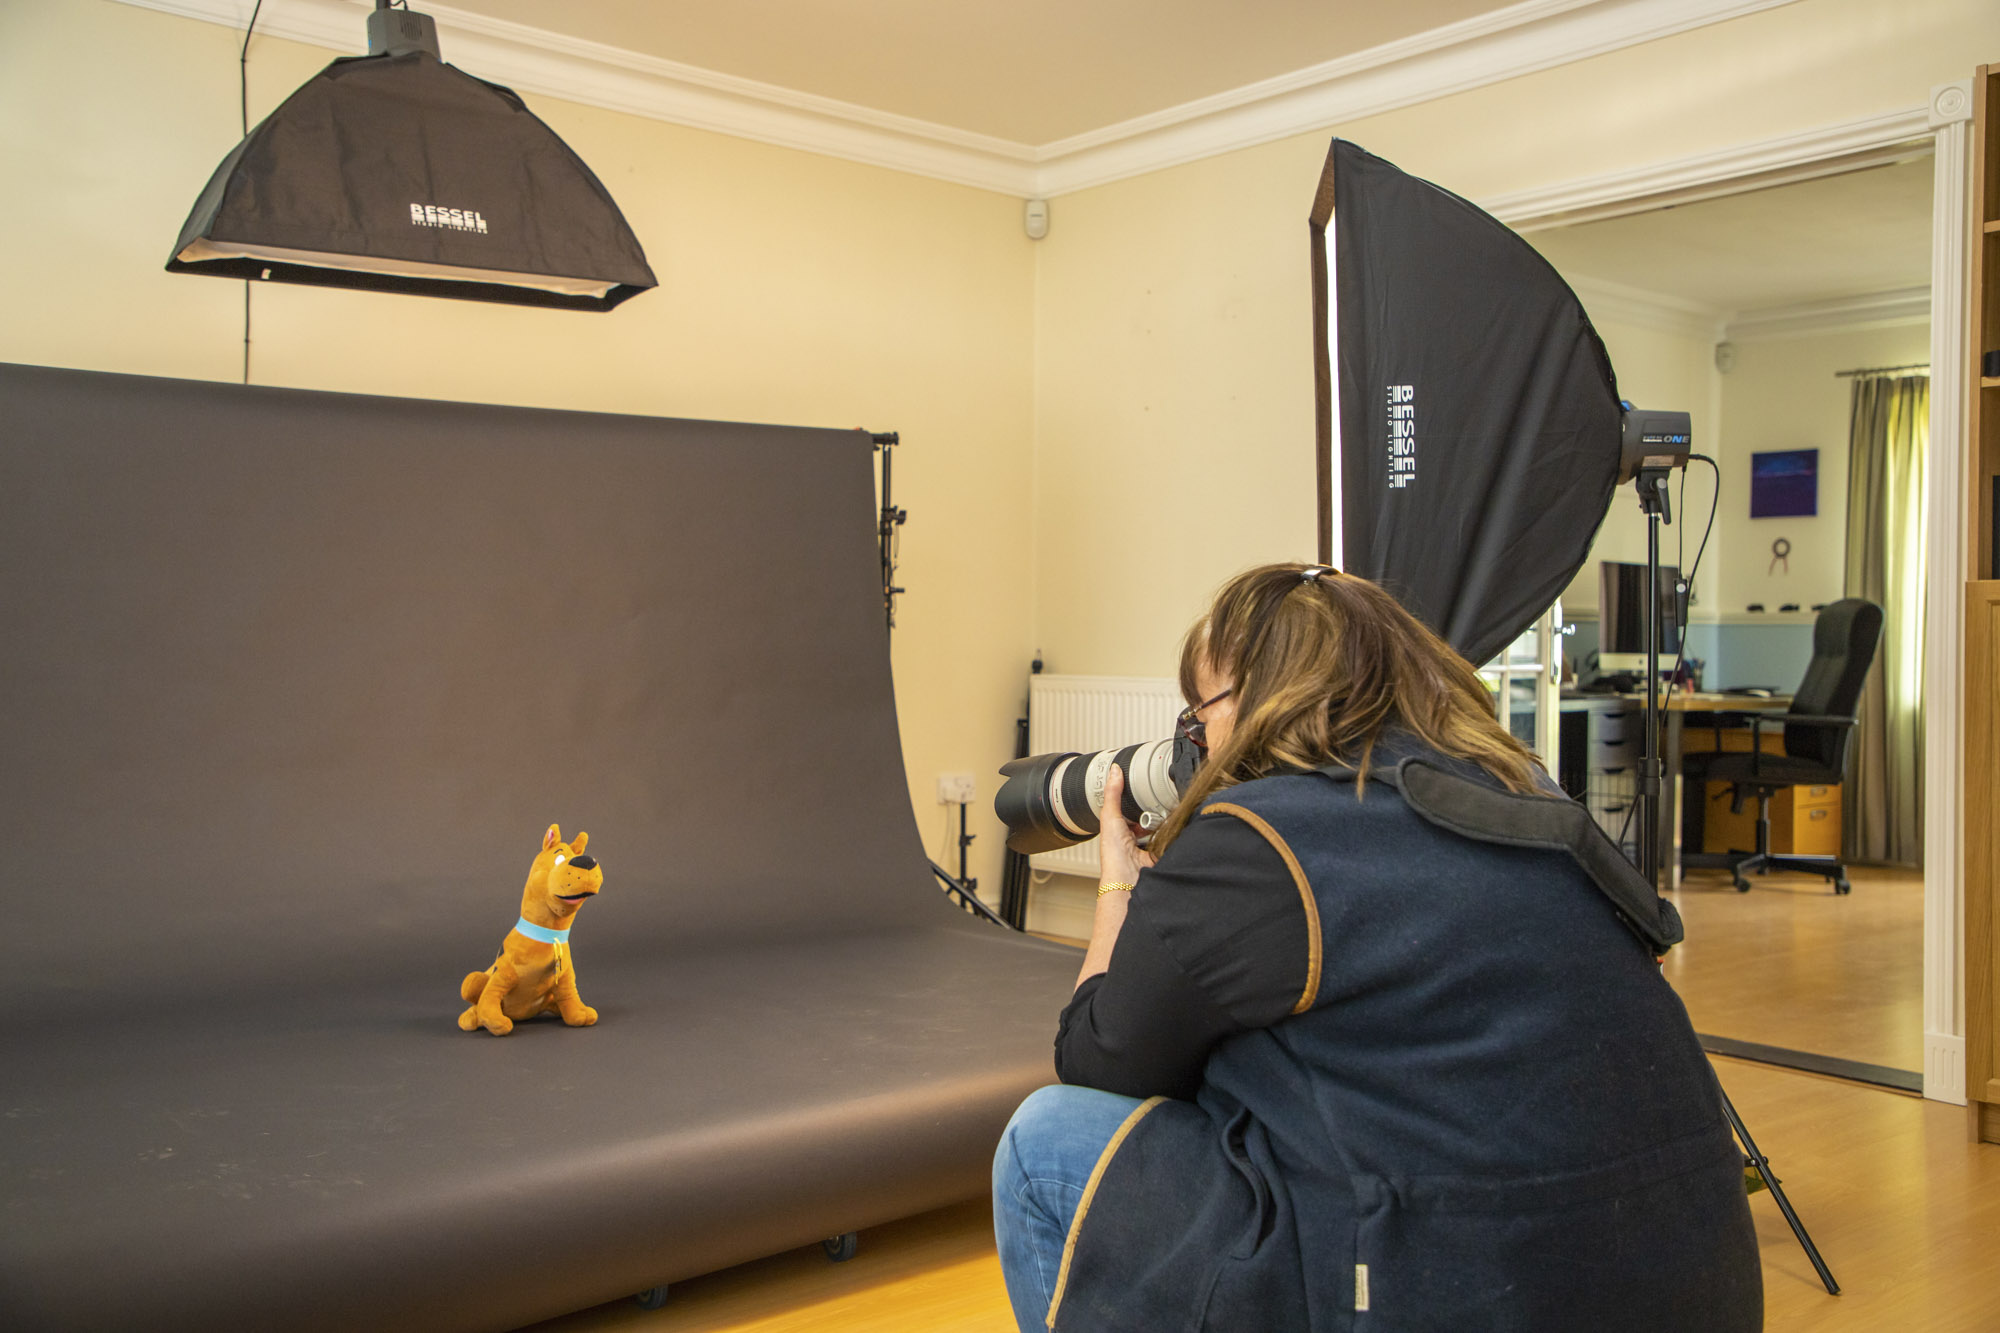
Laura likes to get her lighting spot-on before the dogs arrive, as you need to focus all your attention on getting them to behave and coaxed into position, rather than messing with lighting. To do this she sets up the background, gets the lights roughly in position and starts them all on a quarter power. She’ll then place her Scooby-Doo toy in position, take test shots and dial in the lighting until it looks perfect, then lock it all off ready to start shooting.
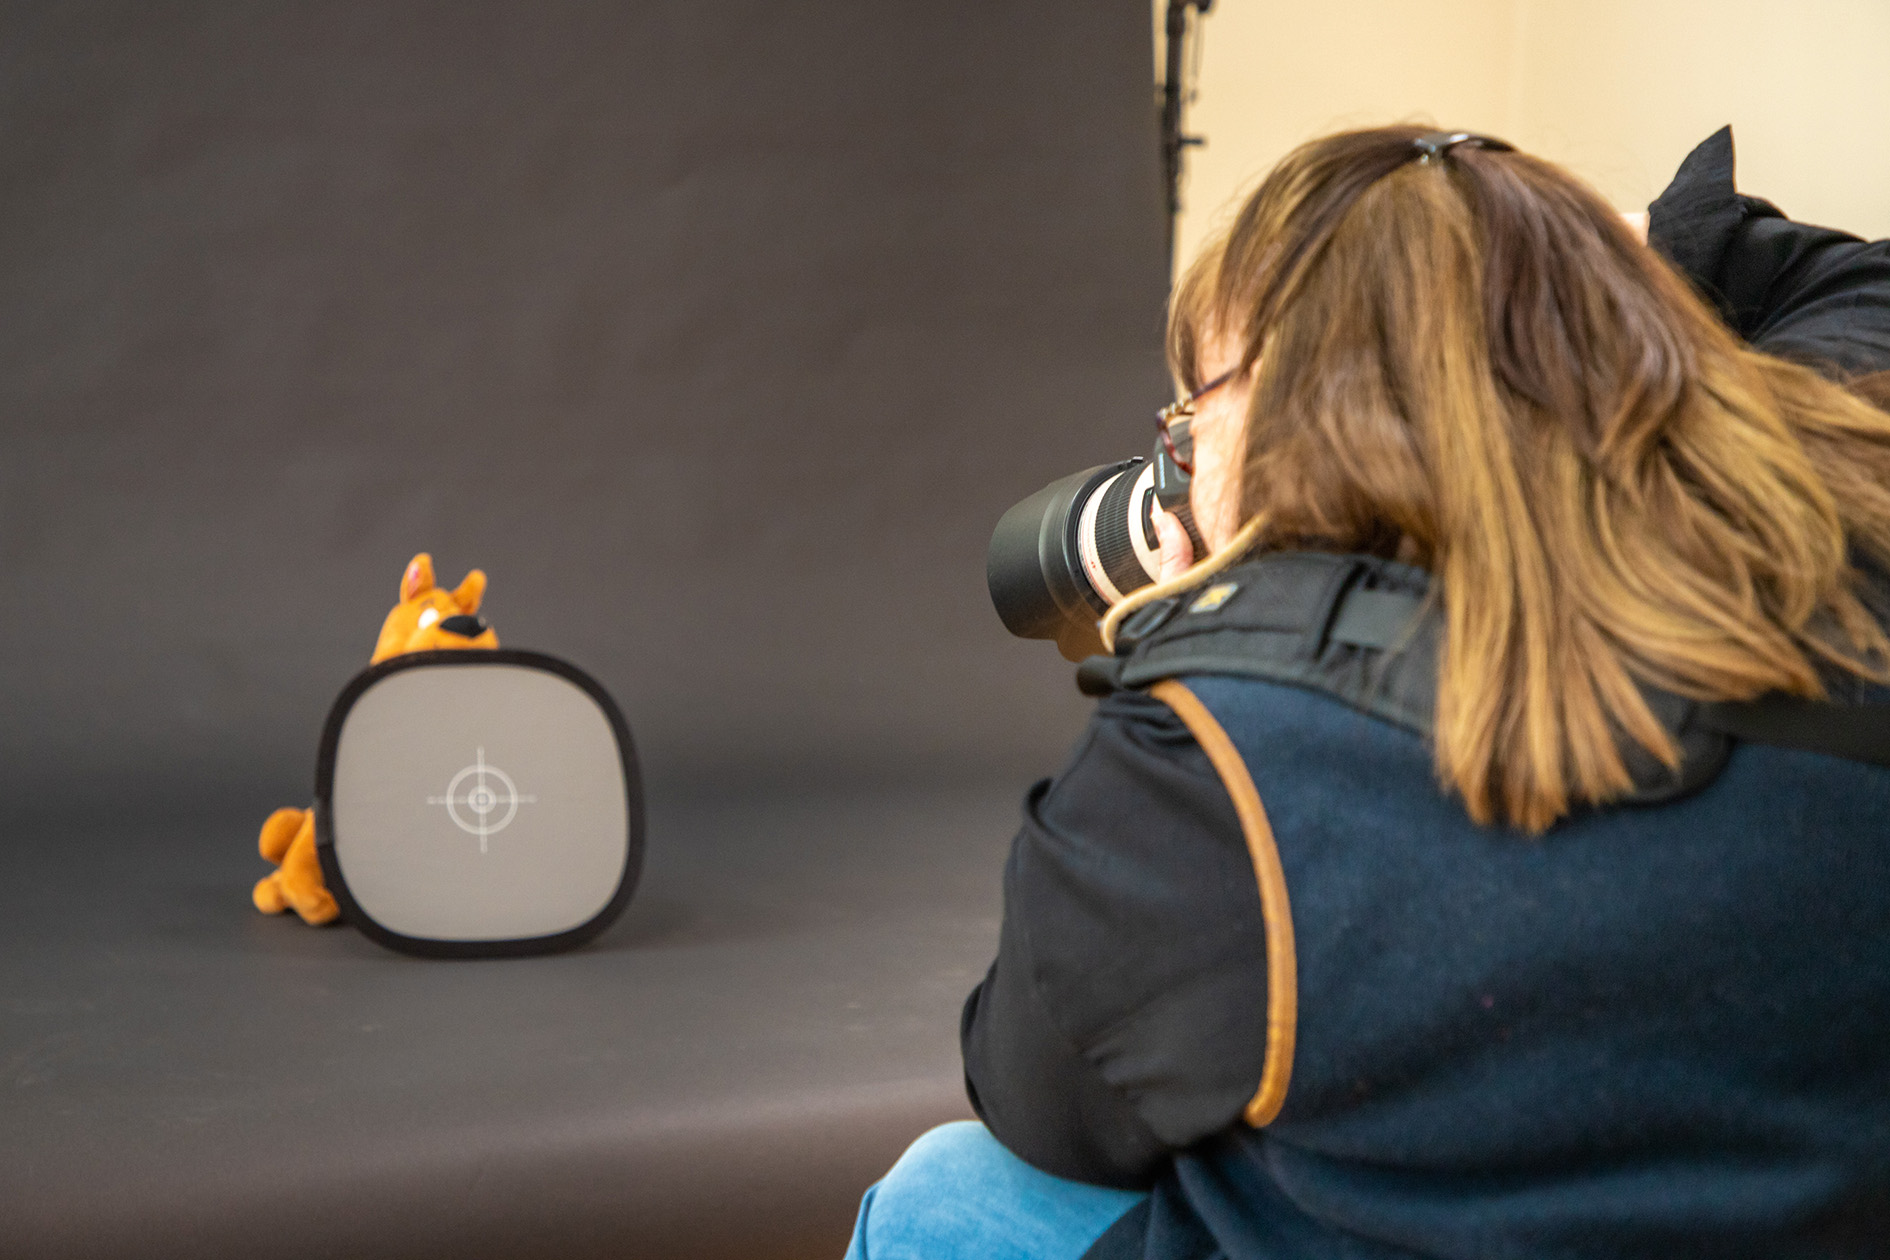
09 Canon EOS R5's amazing pet eye detection
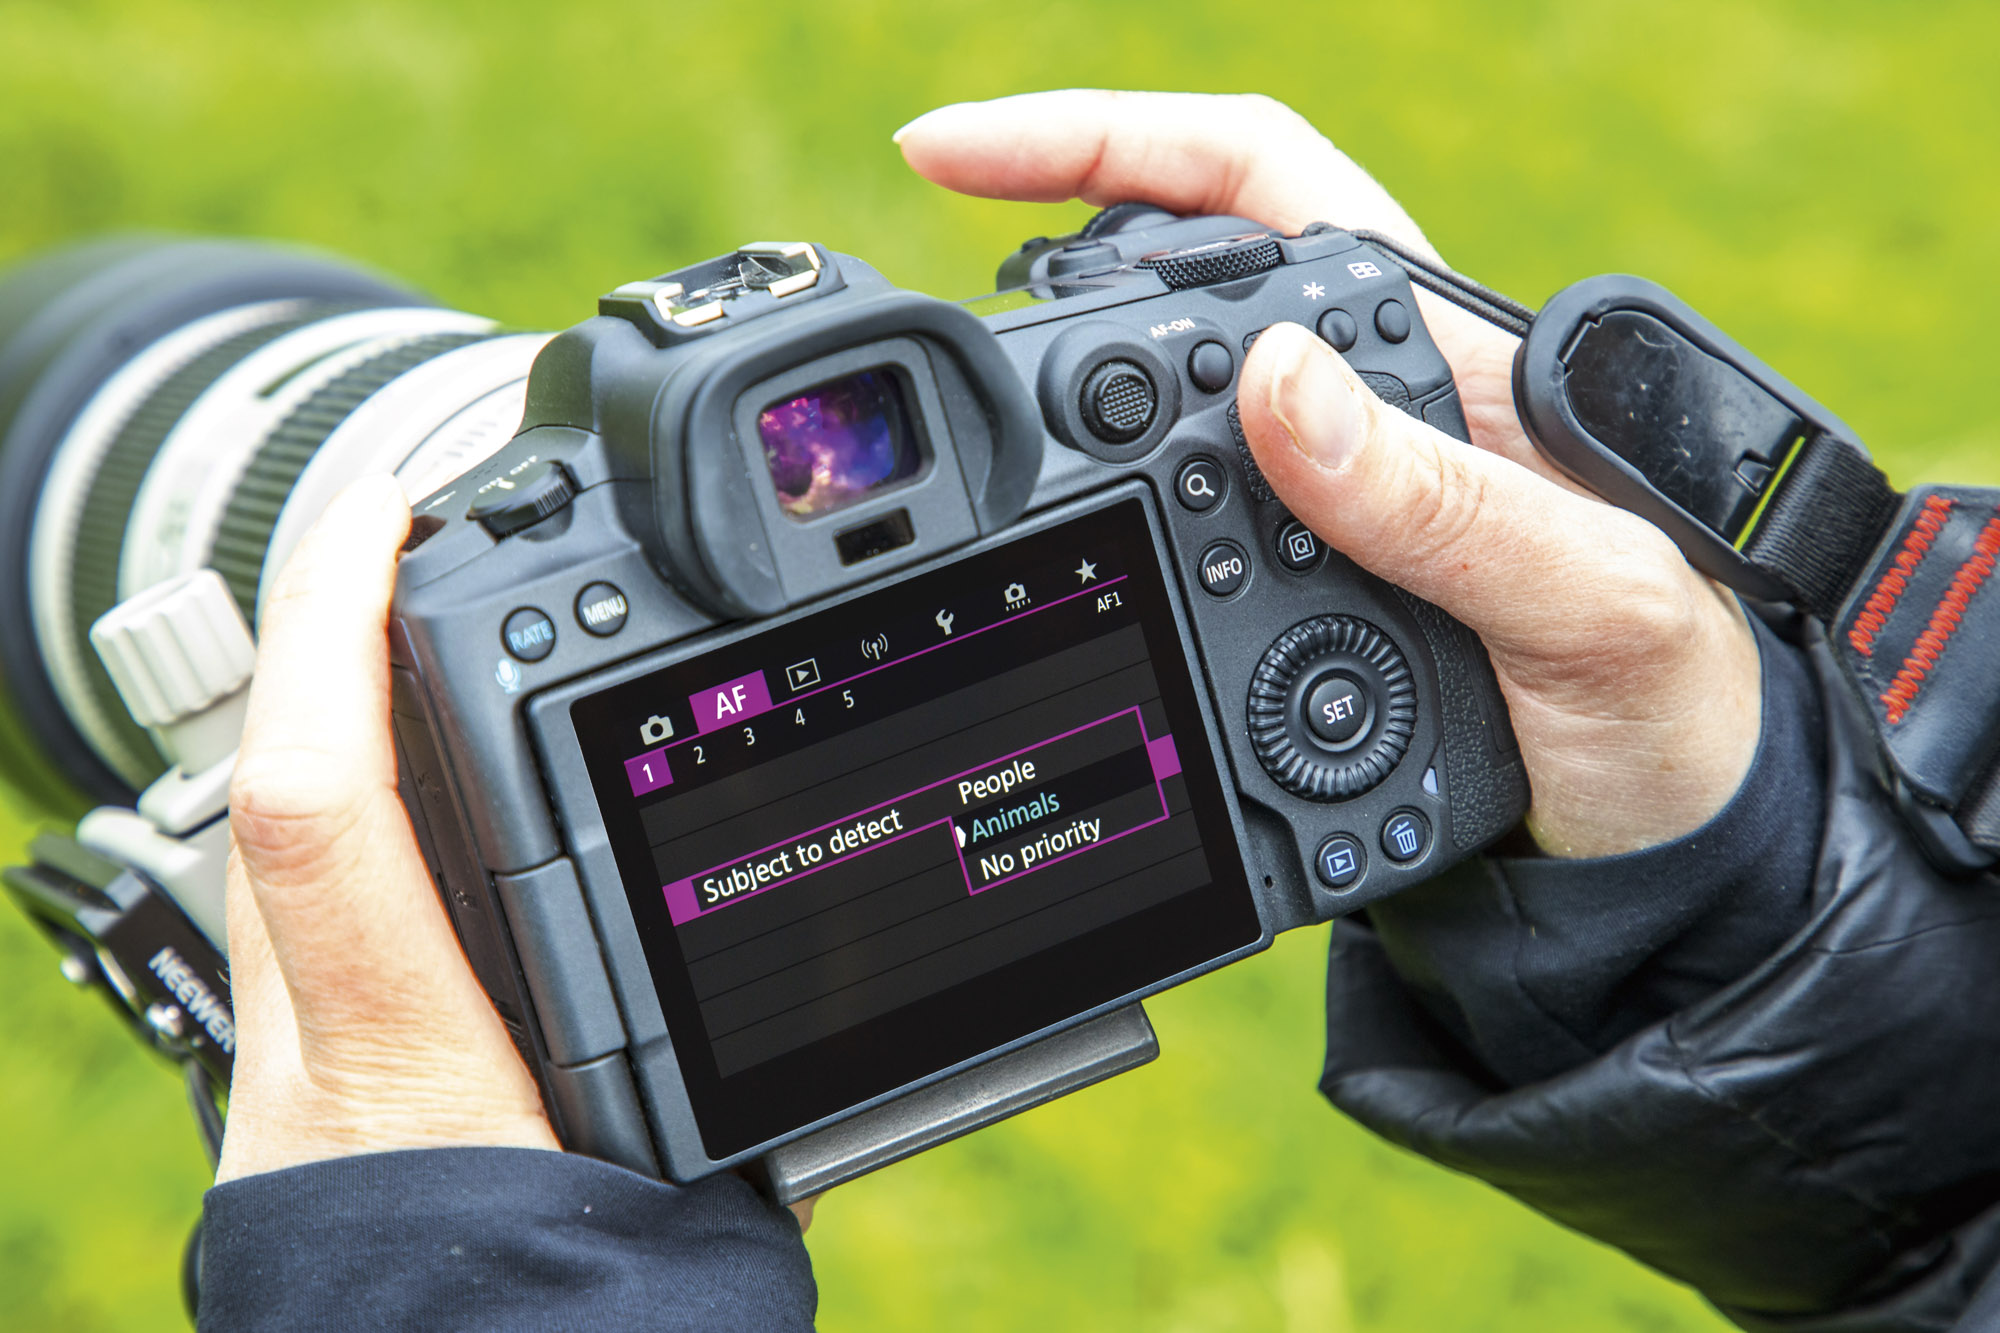
One of the reasons Laura upgraded to the Canon EOS R5 was for its state-of-the-art animal face and eye detection AF. This is set in the autofocus menu by setting subject to detect to Animals.
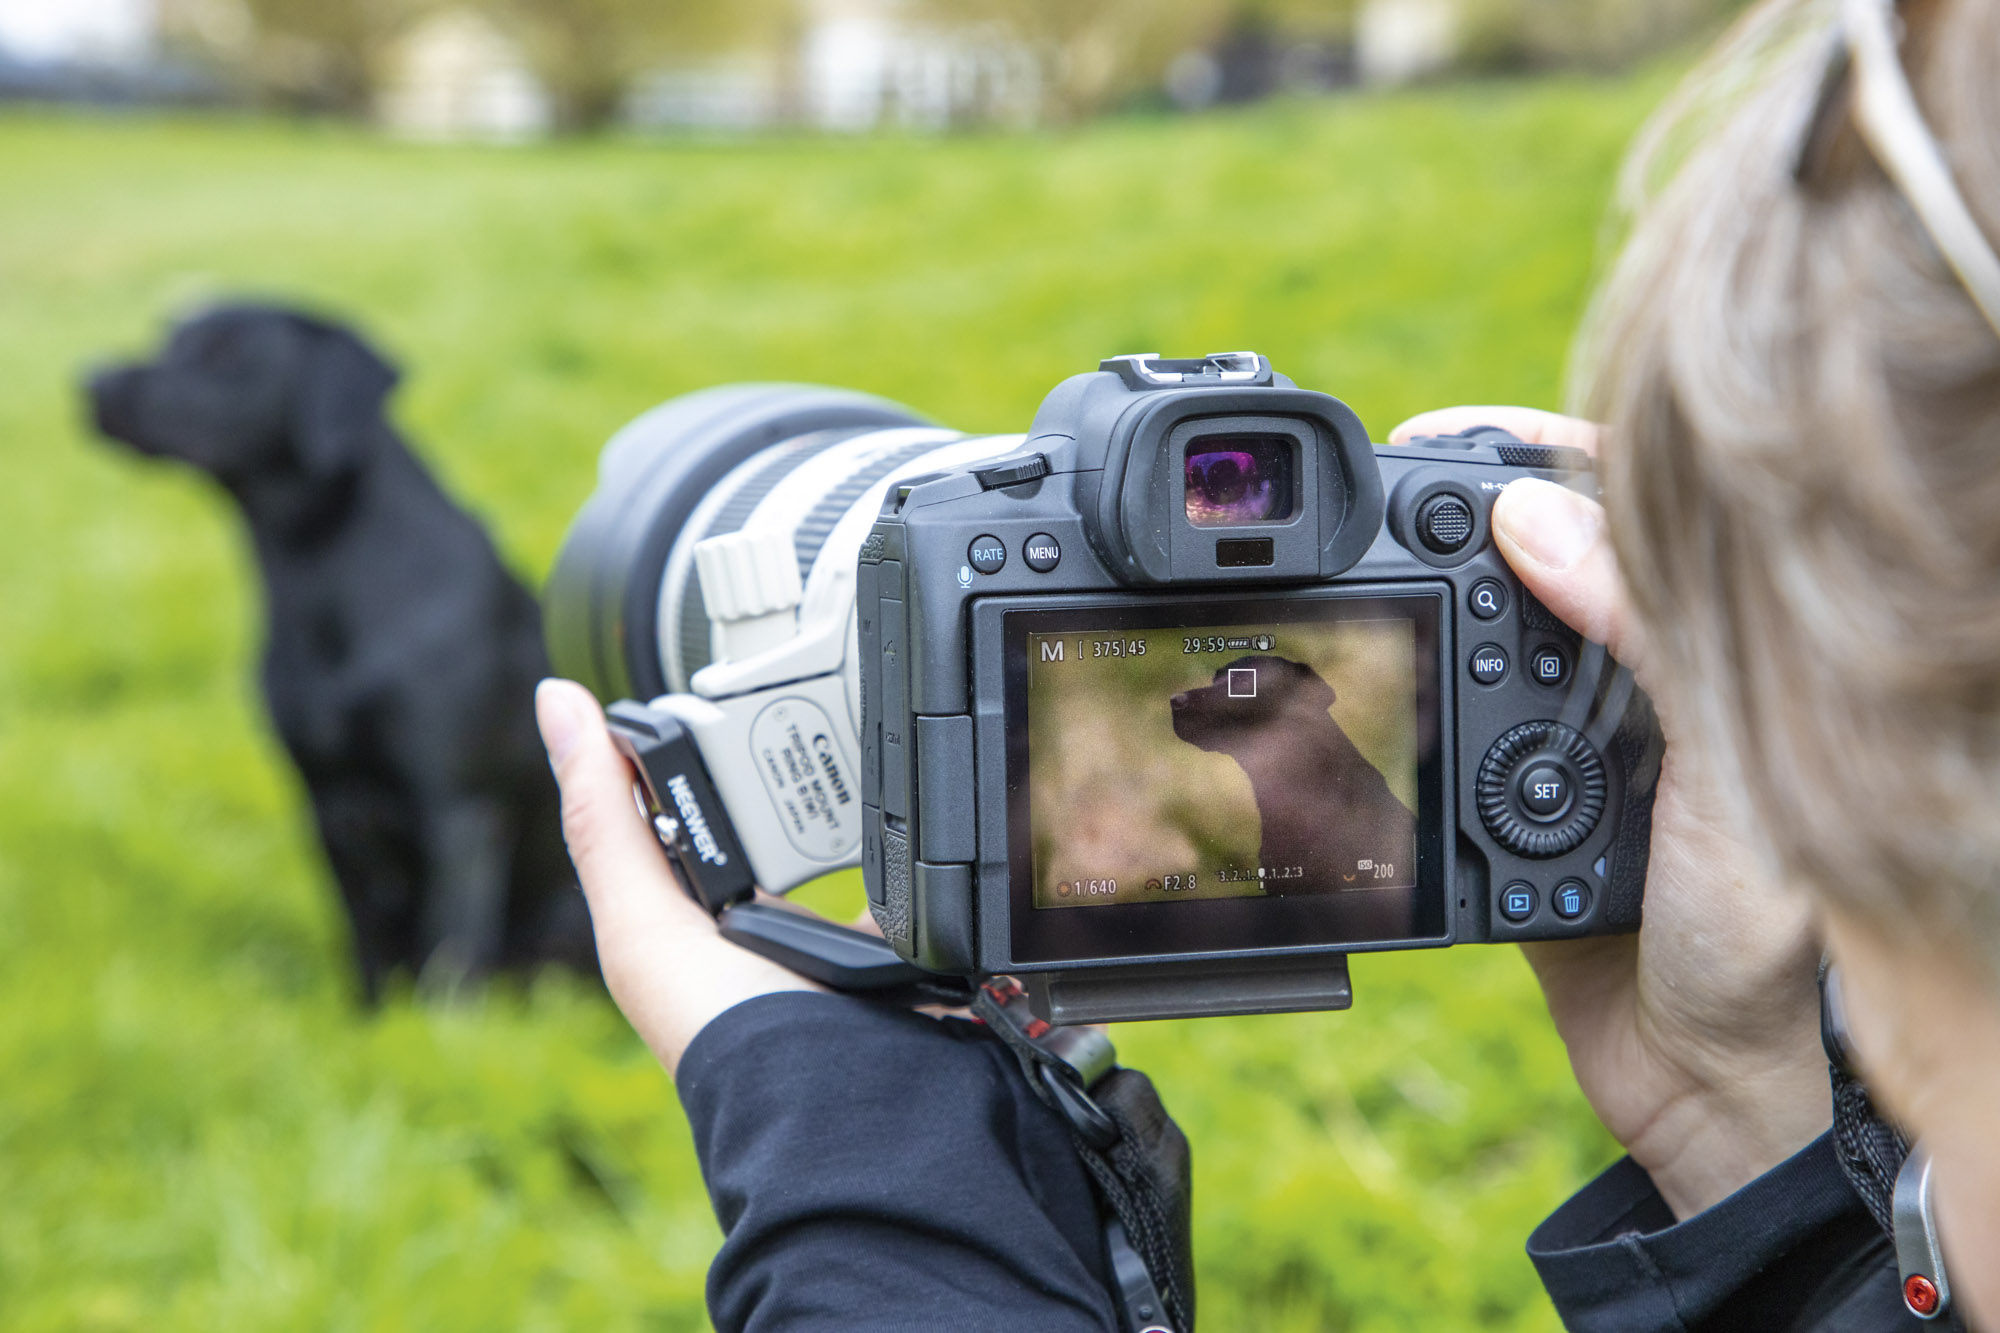
This works incredibly well placing the active AF point over the dogs eyes and tracking them as they move, impressively picking out Phoebe’s dark eyes against her black fur and making it a breeze to get her eyes pin-sharp.
10 Edit your pet portraits like a pro
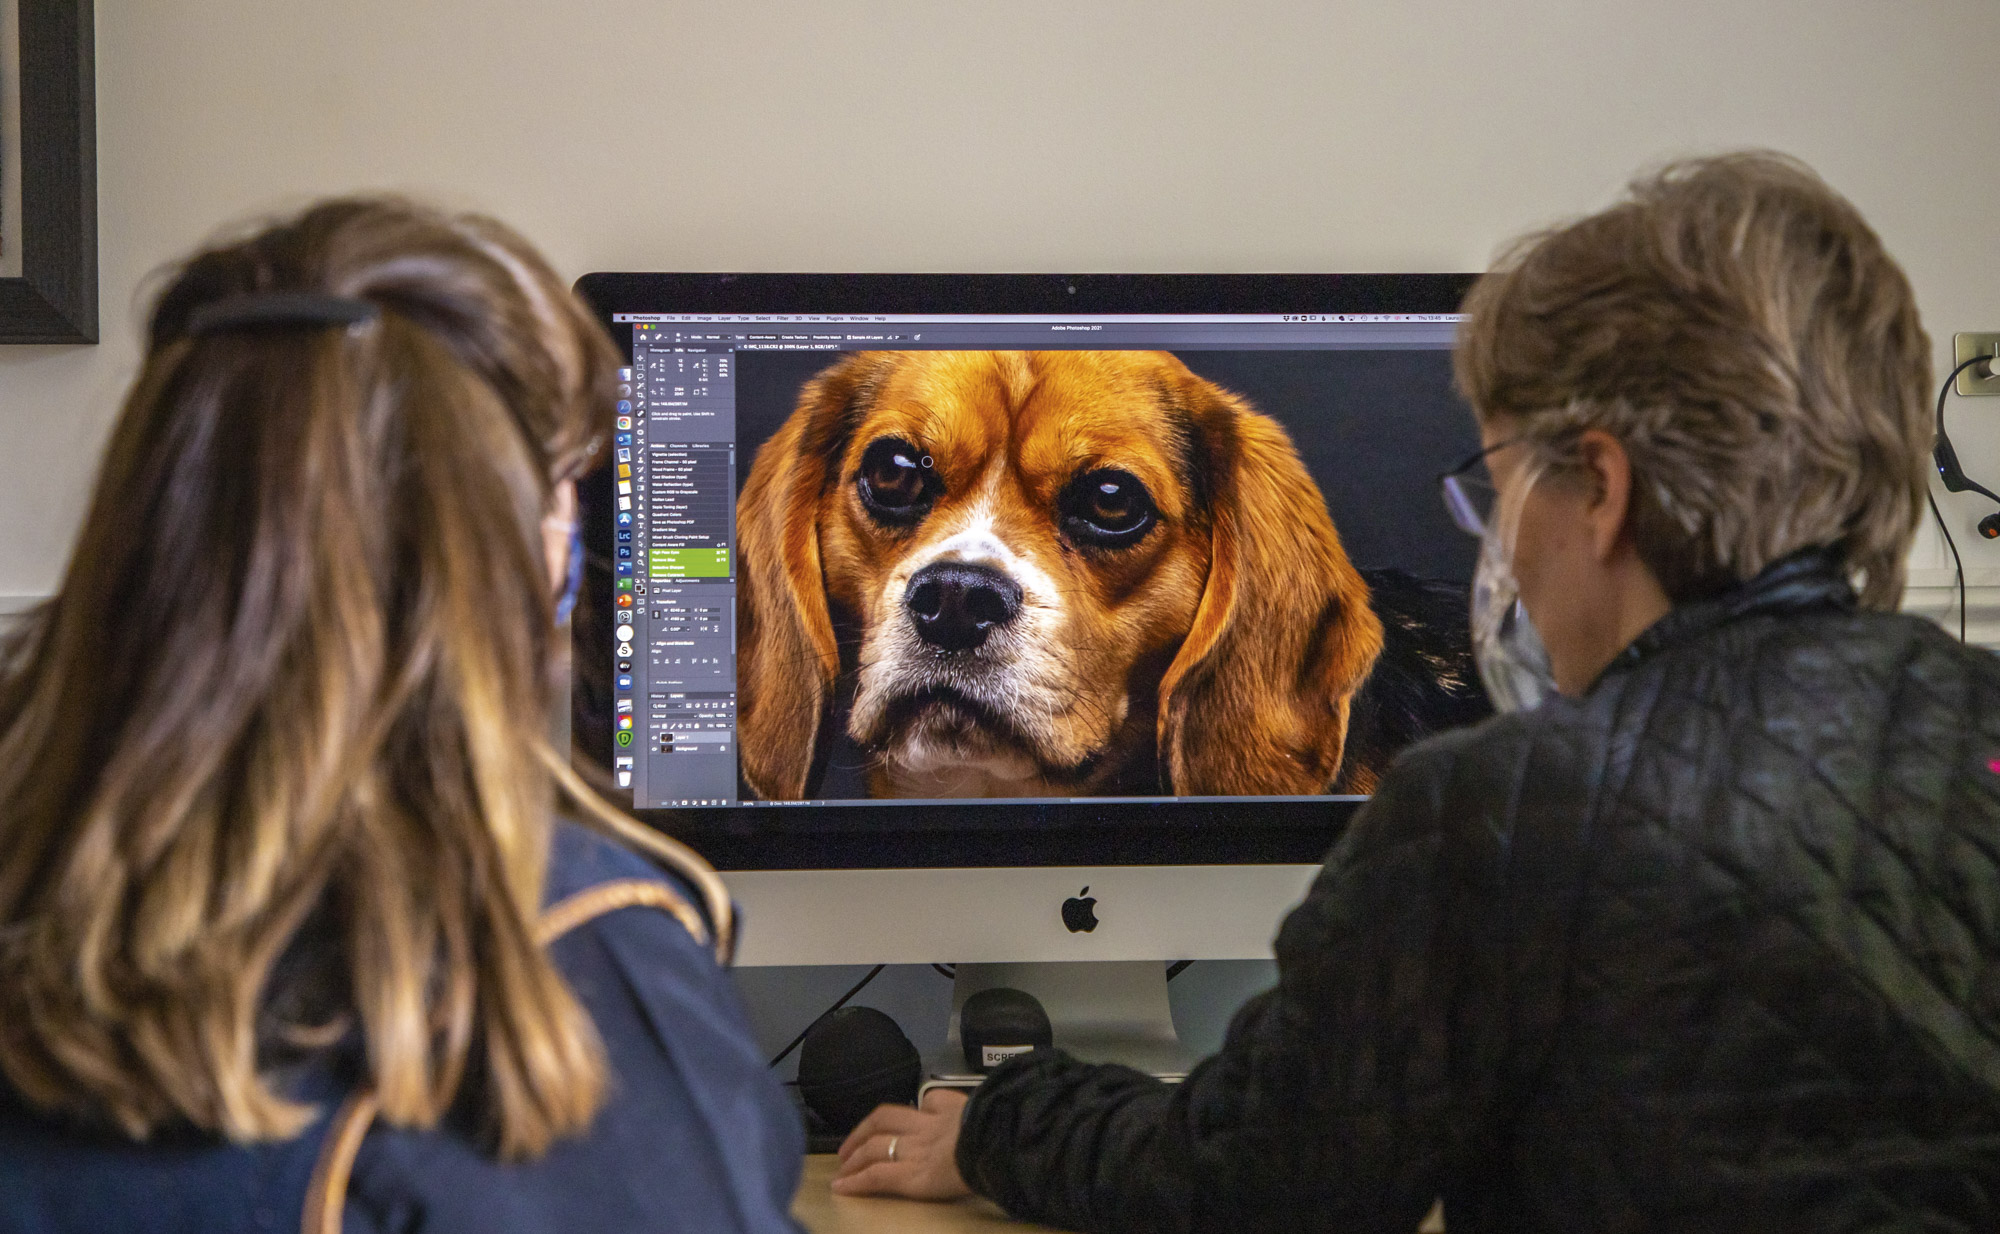
To produce her award-winning images Laura polishes her pictures up to perfection in Lightroom Classic and Photoshop CC. She’ll clone out and touch up particles of dust or paw prints on the background, and correct the colours by tweaking the Raw files in Lightroom. Laura explains: “My Beaglier Kade always comes out far too orange in pictures, so I tone down the saturation specifically on the orange and red channels to make it look more natural."
PhotoPlus: The Canon Magazine is the world's only monthly newsstand title that's 100% devoted to Canon, so you can be sure the magazine is completely relevant to your system.
Read more:
Best lens for portraits
Best camera for portraits
Photography tips
Canon EOS R5 review
Get the Digital Camera World Newsletter
The best camera deals, reviews, product advice, and unmissable photography news, direct to your inbox!
PhotoPlus: The Canon Magazine is the world’s only 100% Canon-focused title on the newsstand. Launched in 2007, for 14 years it has delivered news, reviews, buying guides, features, inspirational projects and tutorials on cameras, lenses, tripods, gimbals, filters, lighting and all manner of photography equipment.
Aimed squarely at enthusiast photographers who use the Canon DSLR or mirrorless camera systems, all content is tailored to Canon users – so everything from techniques to product tests are tailored to those using the EOS camera system.
Editor Peter Travers brings 14 years of experience as both a journalist and professional photographer, with Technique Editor Dan Mold shoring up the magazine with his 6 years of expertise.


