One of the best ways to enjoy nature and explore the great outdoors is with your camera, taking in the sights and fresh air, all while getting creative with your camera in outside spaces.
The good news is that to take great landscapes you only need some basic equipment to get started, even an entry-level DSLR or mirrorless camera with a kit lens, a tripod and some essential filters will be enough to get you started.
• To shoot stunning portraits of your own, check out the best cameras for landscape photography
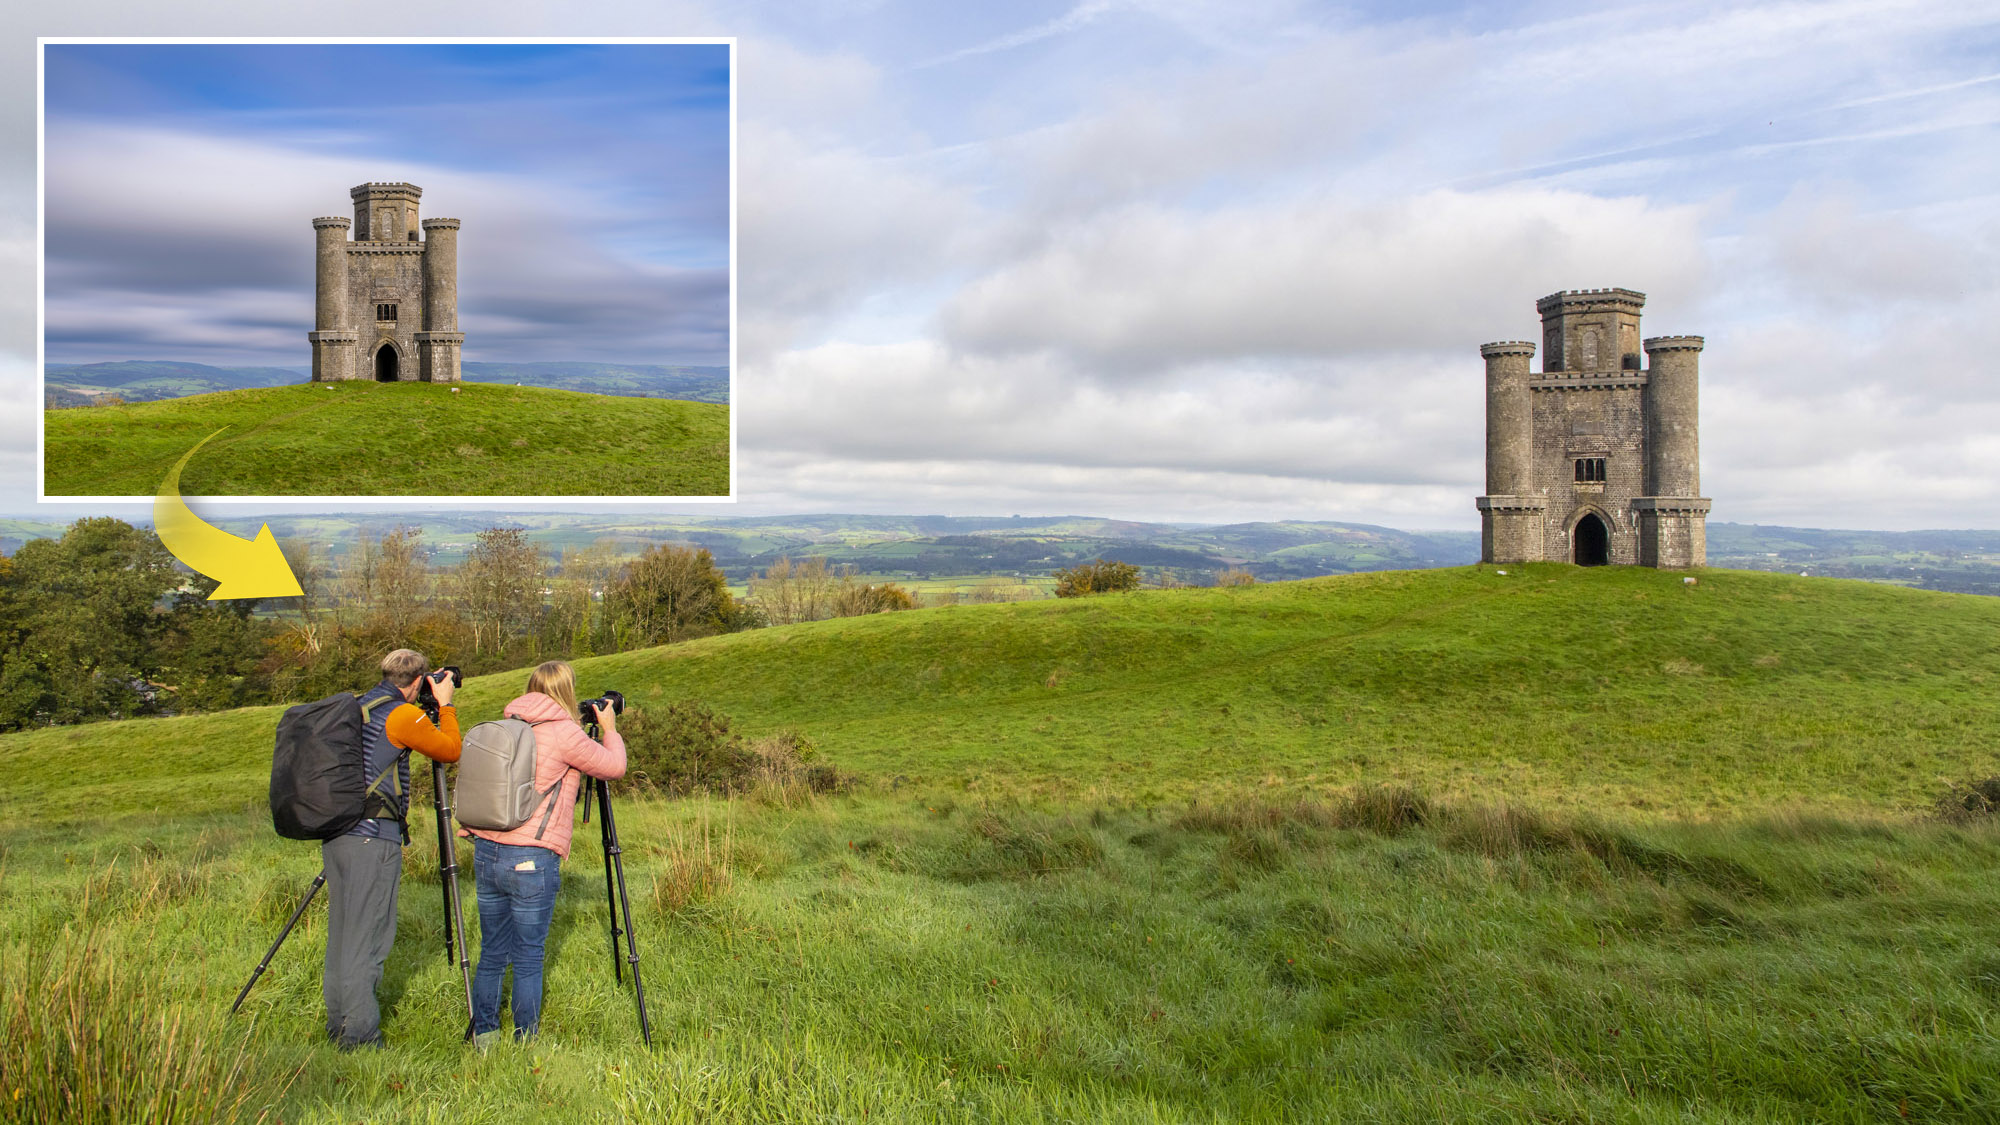
Reader of PhotoPlus: The Canon Magazine, Lyndsey Abercromby has been shooting family and child portraits for the past six years. She often finds herself in some beautiful outdoor locations when working with her clients, and while she knows how to take a top portrait, she admits she’s a bit lost when it comes to landscapes. So, we’ve paired her up with top Canon professional photographer Drew Buckley for a masterclass on photographing outdoors scenes in South Wales. Here's how they got on during their workshop.
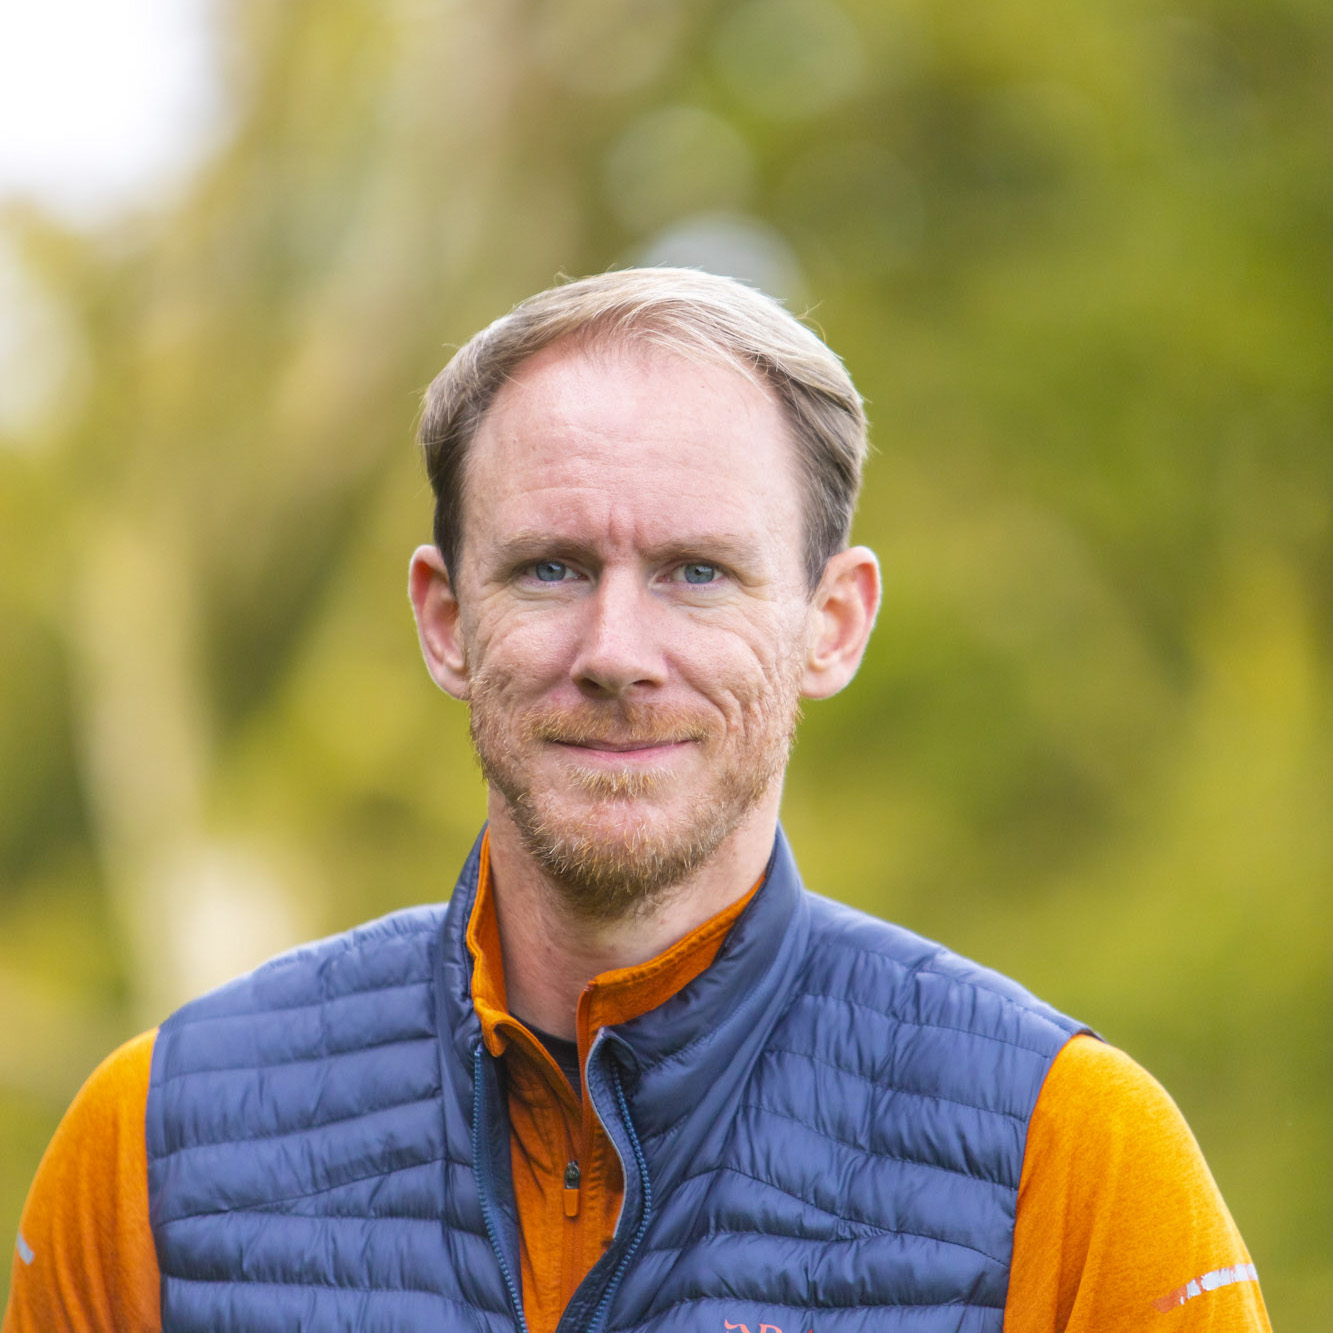
Drew is a professional photographer based in Pembrokeshire, Wales. Drew happily turns his hand to all sorts of genres, with landscape, wildlife, astrophotography and timelapses being just a few. He runs workshops throughout the year and has been published in a wide range of publications. He also wrote and took the images for his book Photographing South Wales and took the photographs for the book Wilder Wales.
1. Manual mode
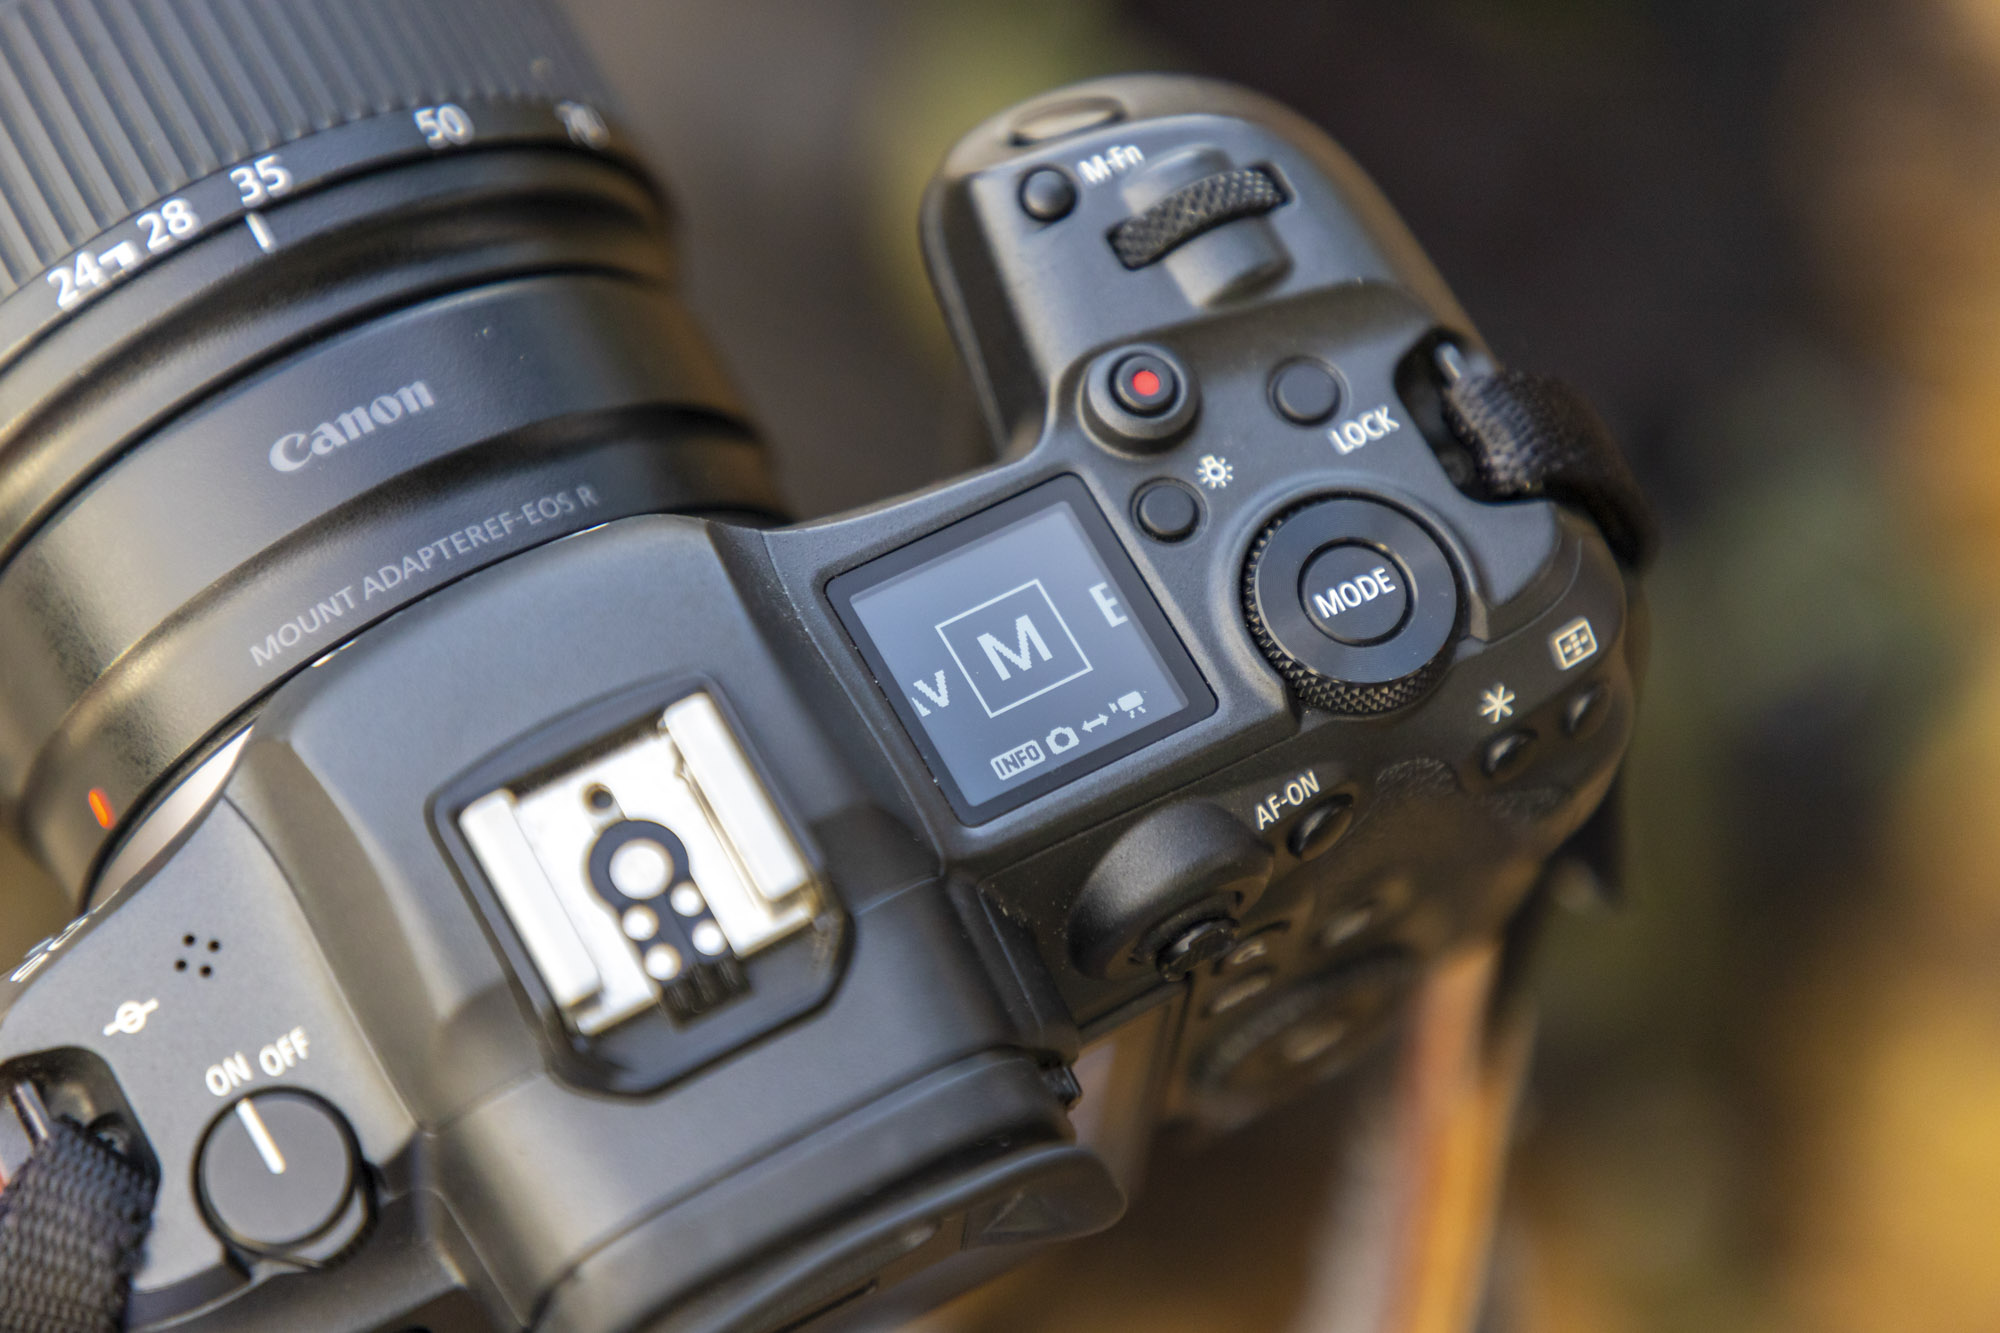
Lyndsey was familiar with the Manual mode on her Canon EOS R5 because she’s used to working with it when shooting portraits with flash. Drew suggested staying in Manual mode for landscapes, too, as it will give her total control over the three exposure parameters: aperture, shutter speed and ISO. To begin, he dialled in a low ISO of 100 for good image quality and to help achieve longer shutter speeds with a lower light sensitivity. He then dialled in an aperture of f/11 to strike a good balance between lens sharpness and a deep depth of field.
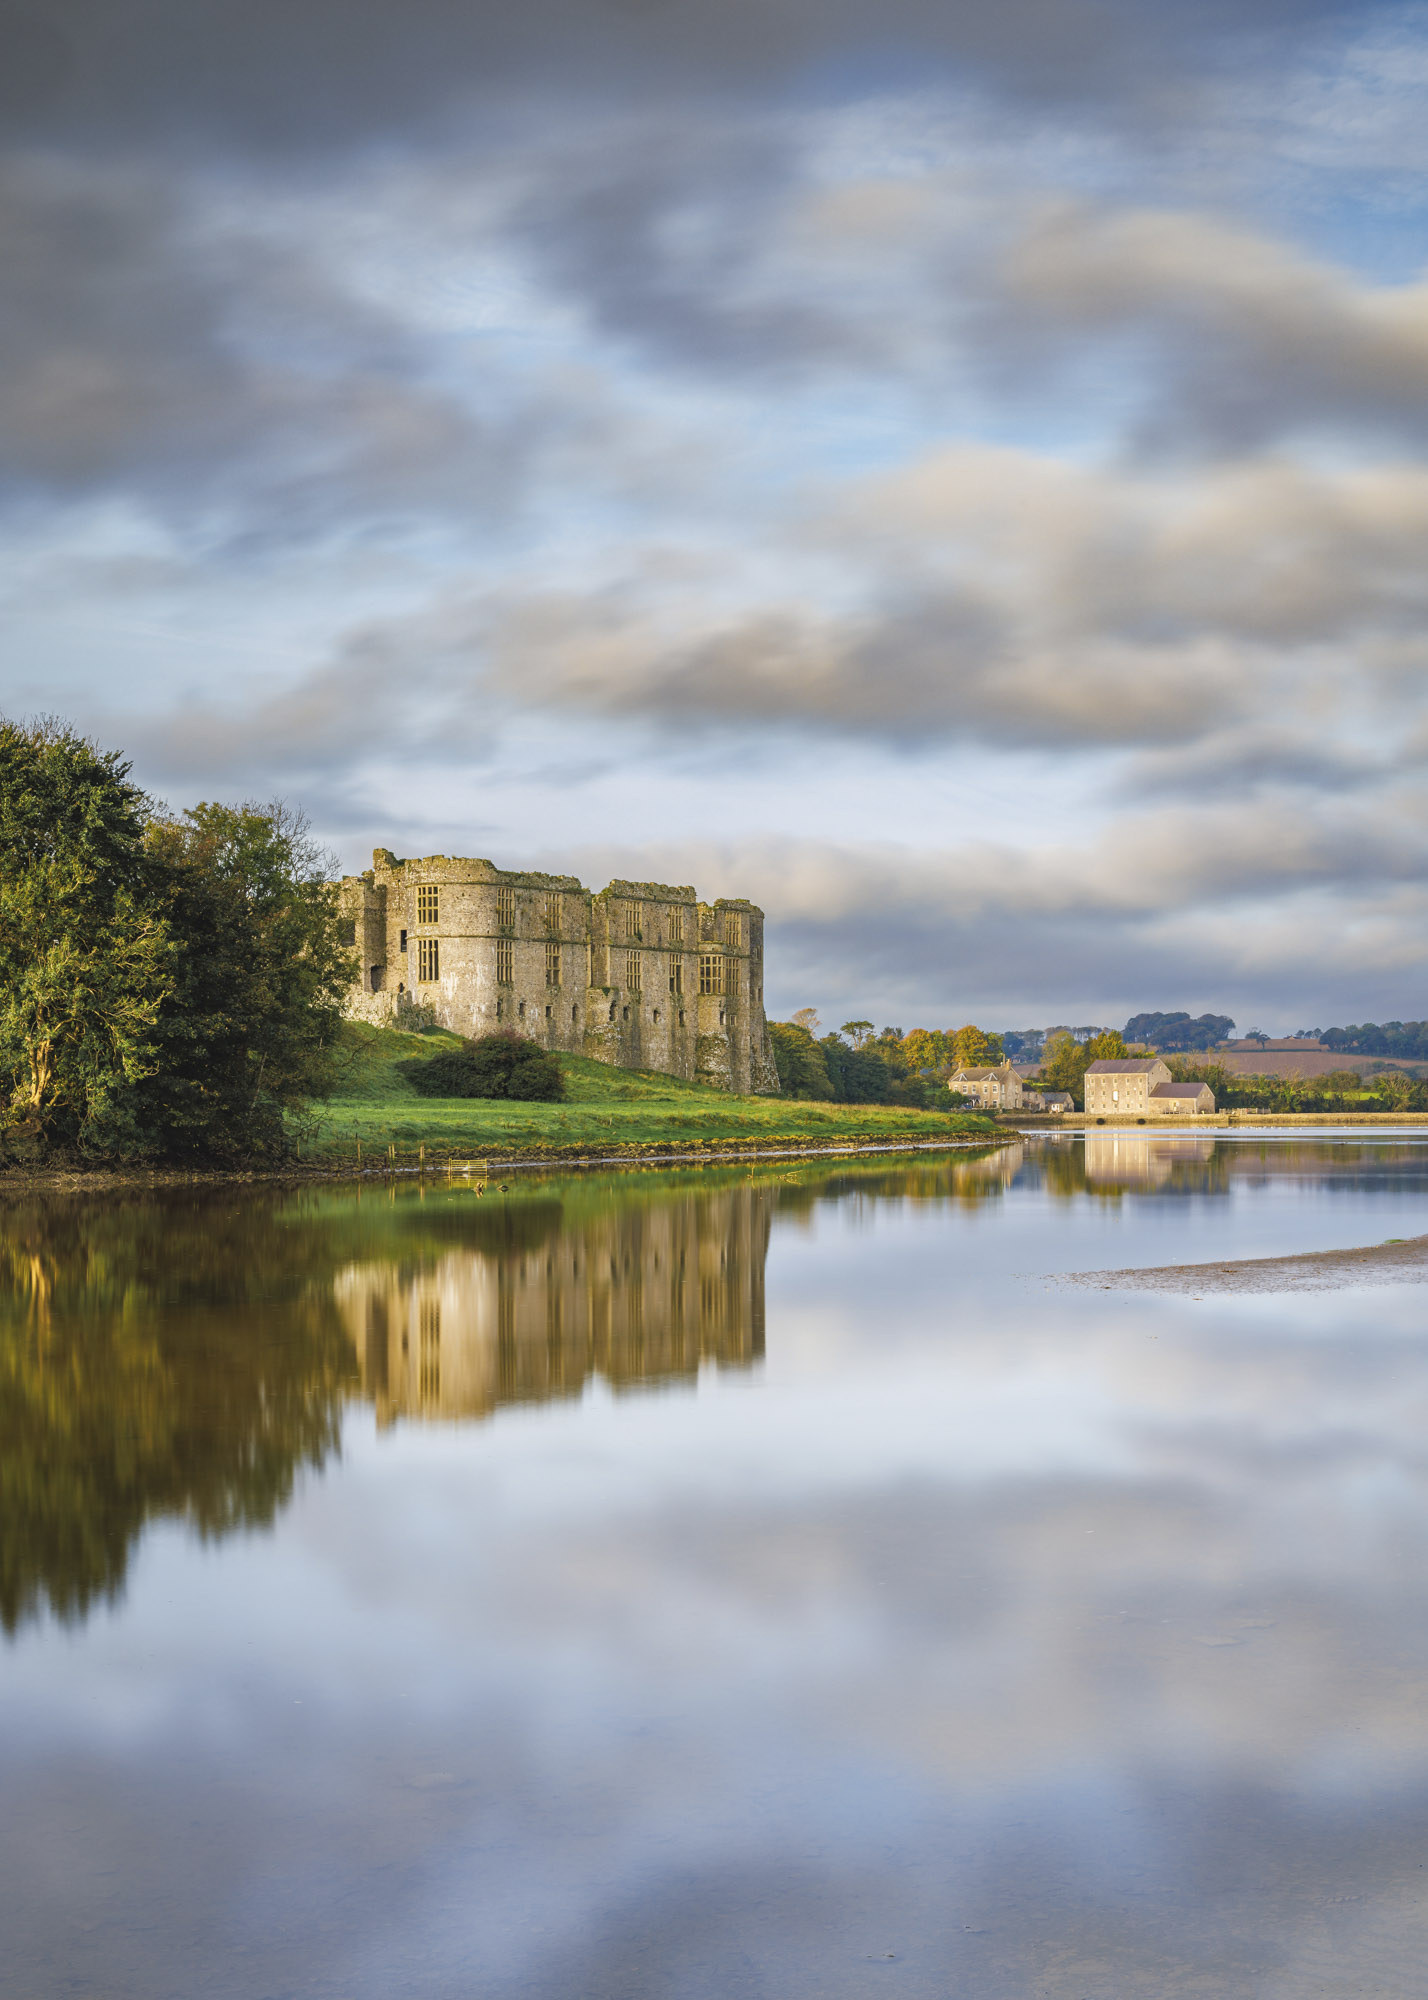
2. Exposure Simulation
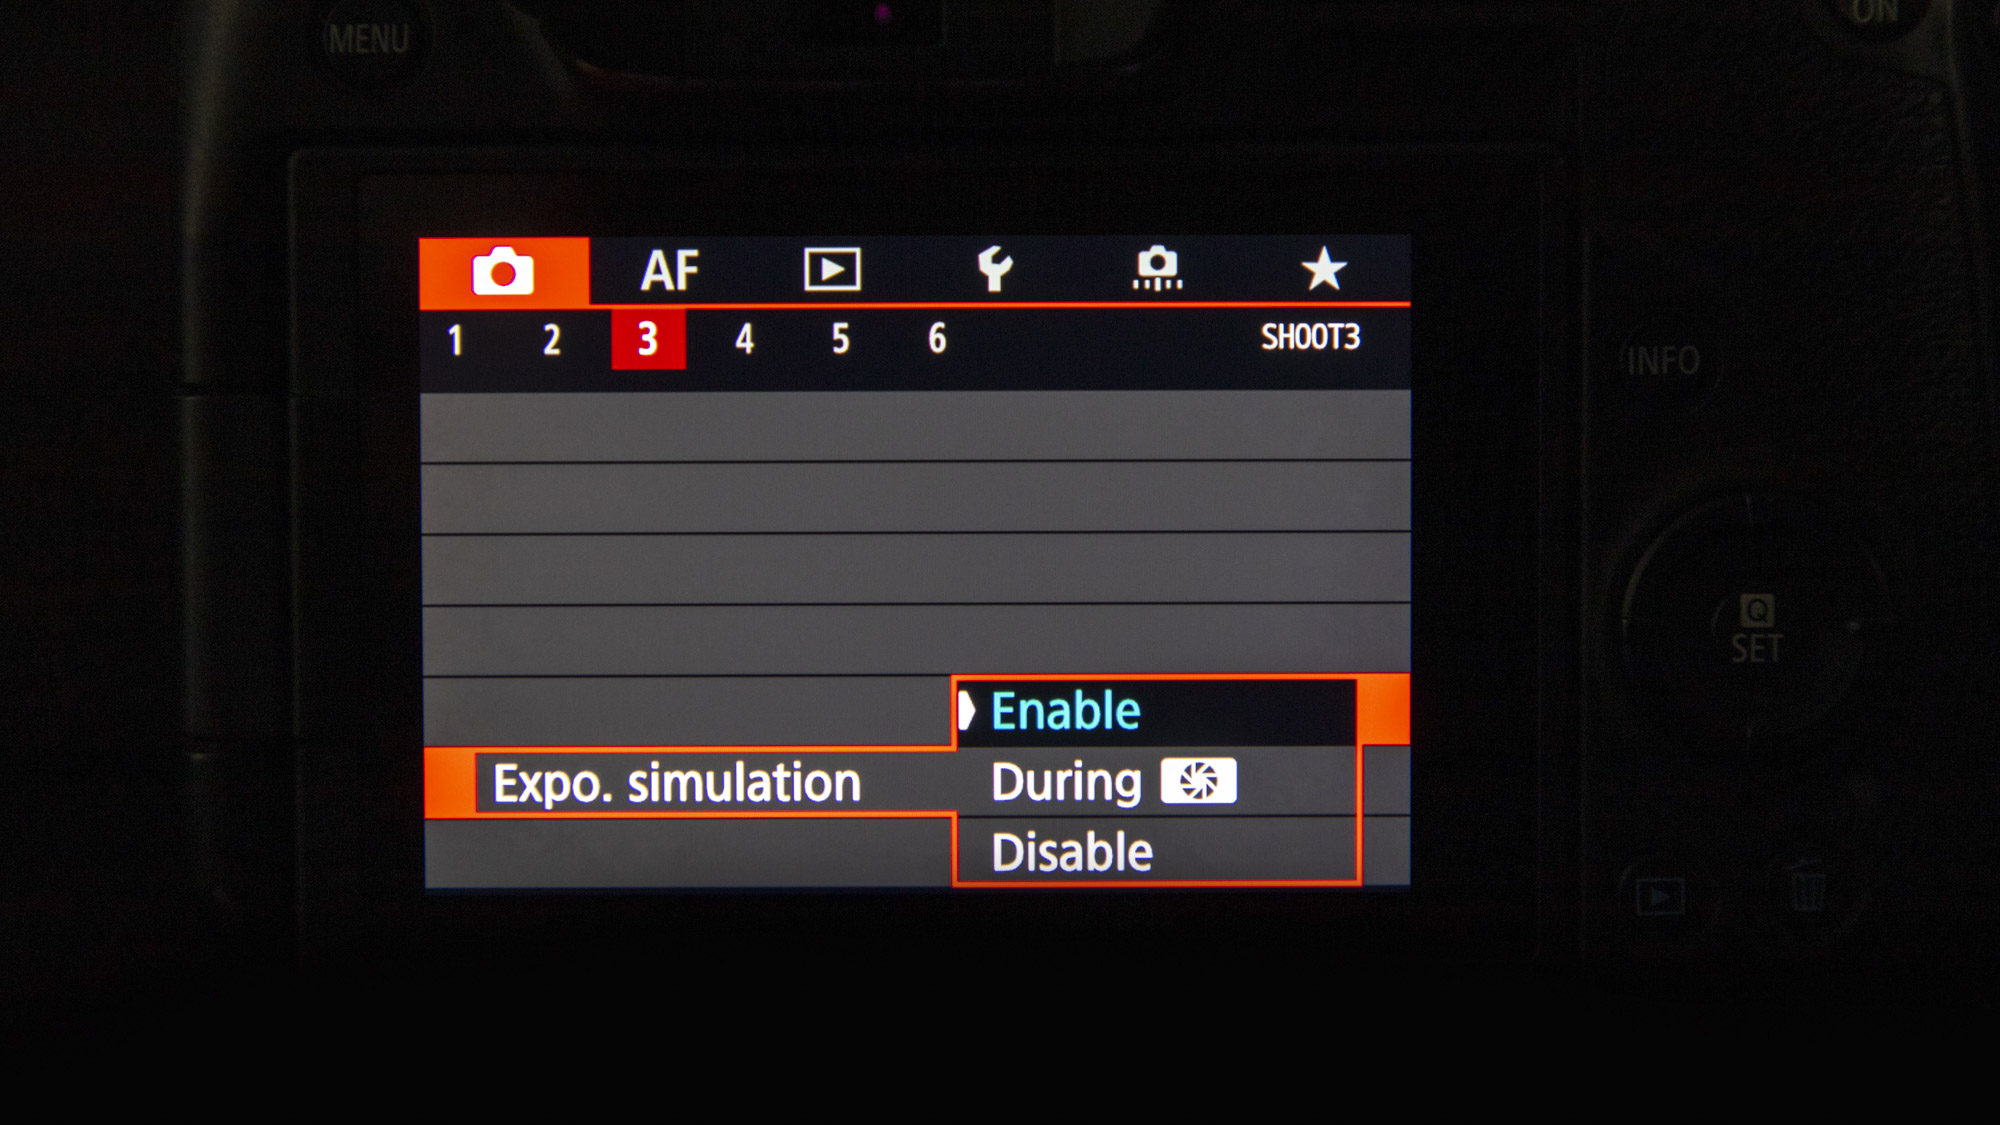
As Lyndsey usually uses flash when shooting portraits, she has the Exposure Simulation setting switched off as this would make her LCD screen and viewfinder too dark to compose with. Drew noticed this and suggested she turned Exposure Simulation on while shooting landscapes because it will provide a much more accurate idea of how the exposure will look when dialling in the various settings and adding filters.
3. Wide-angle lens
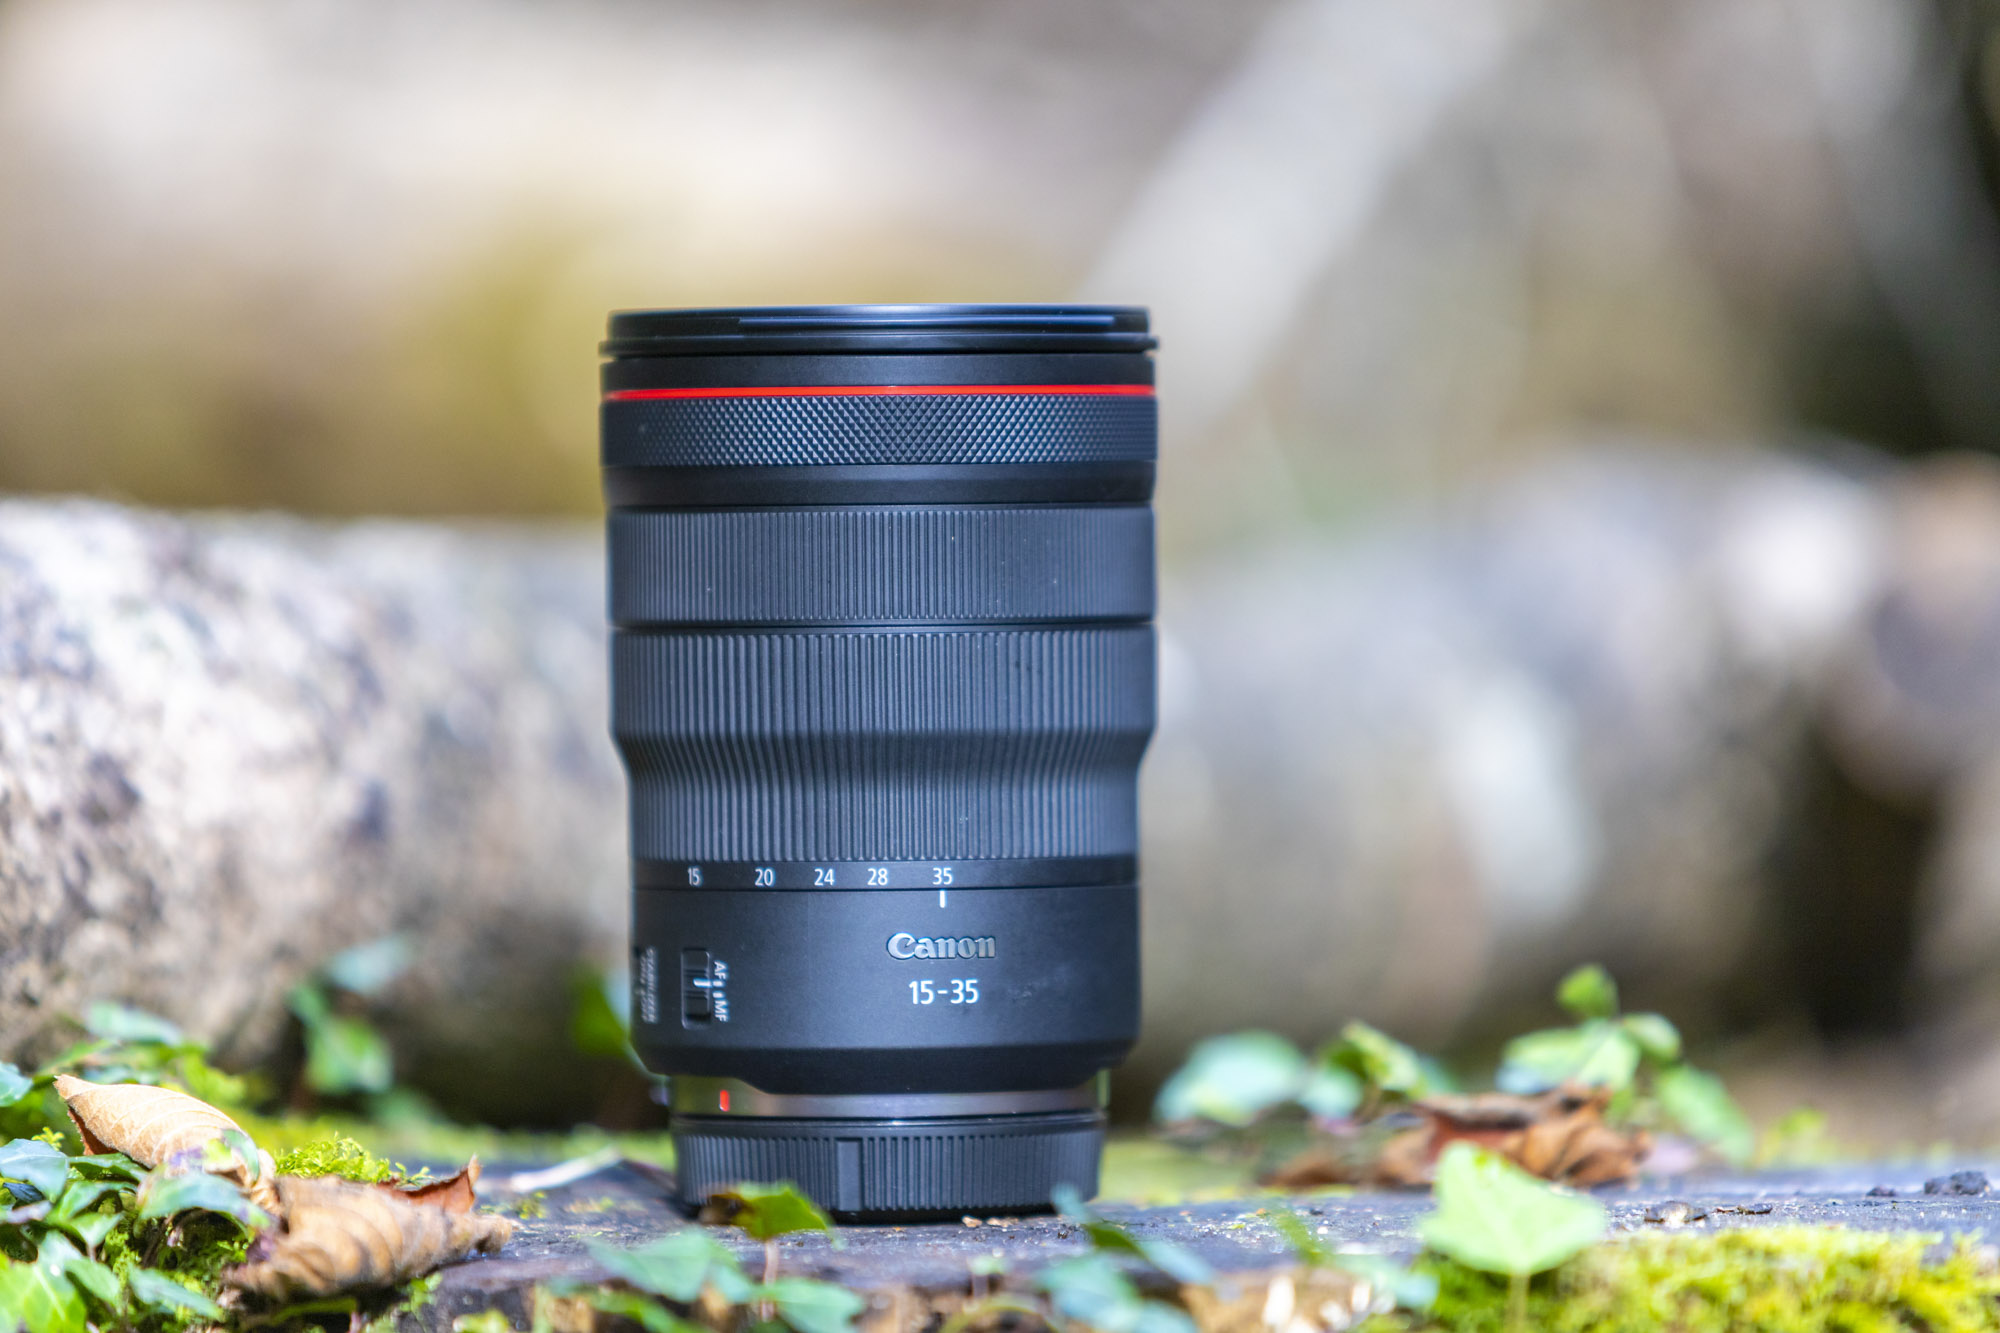
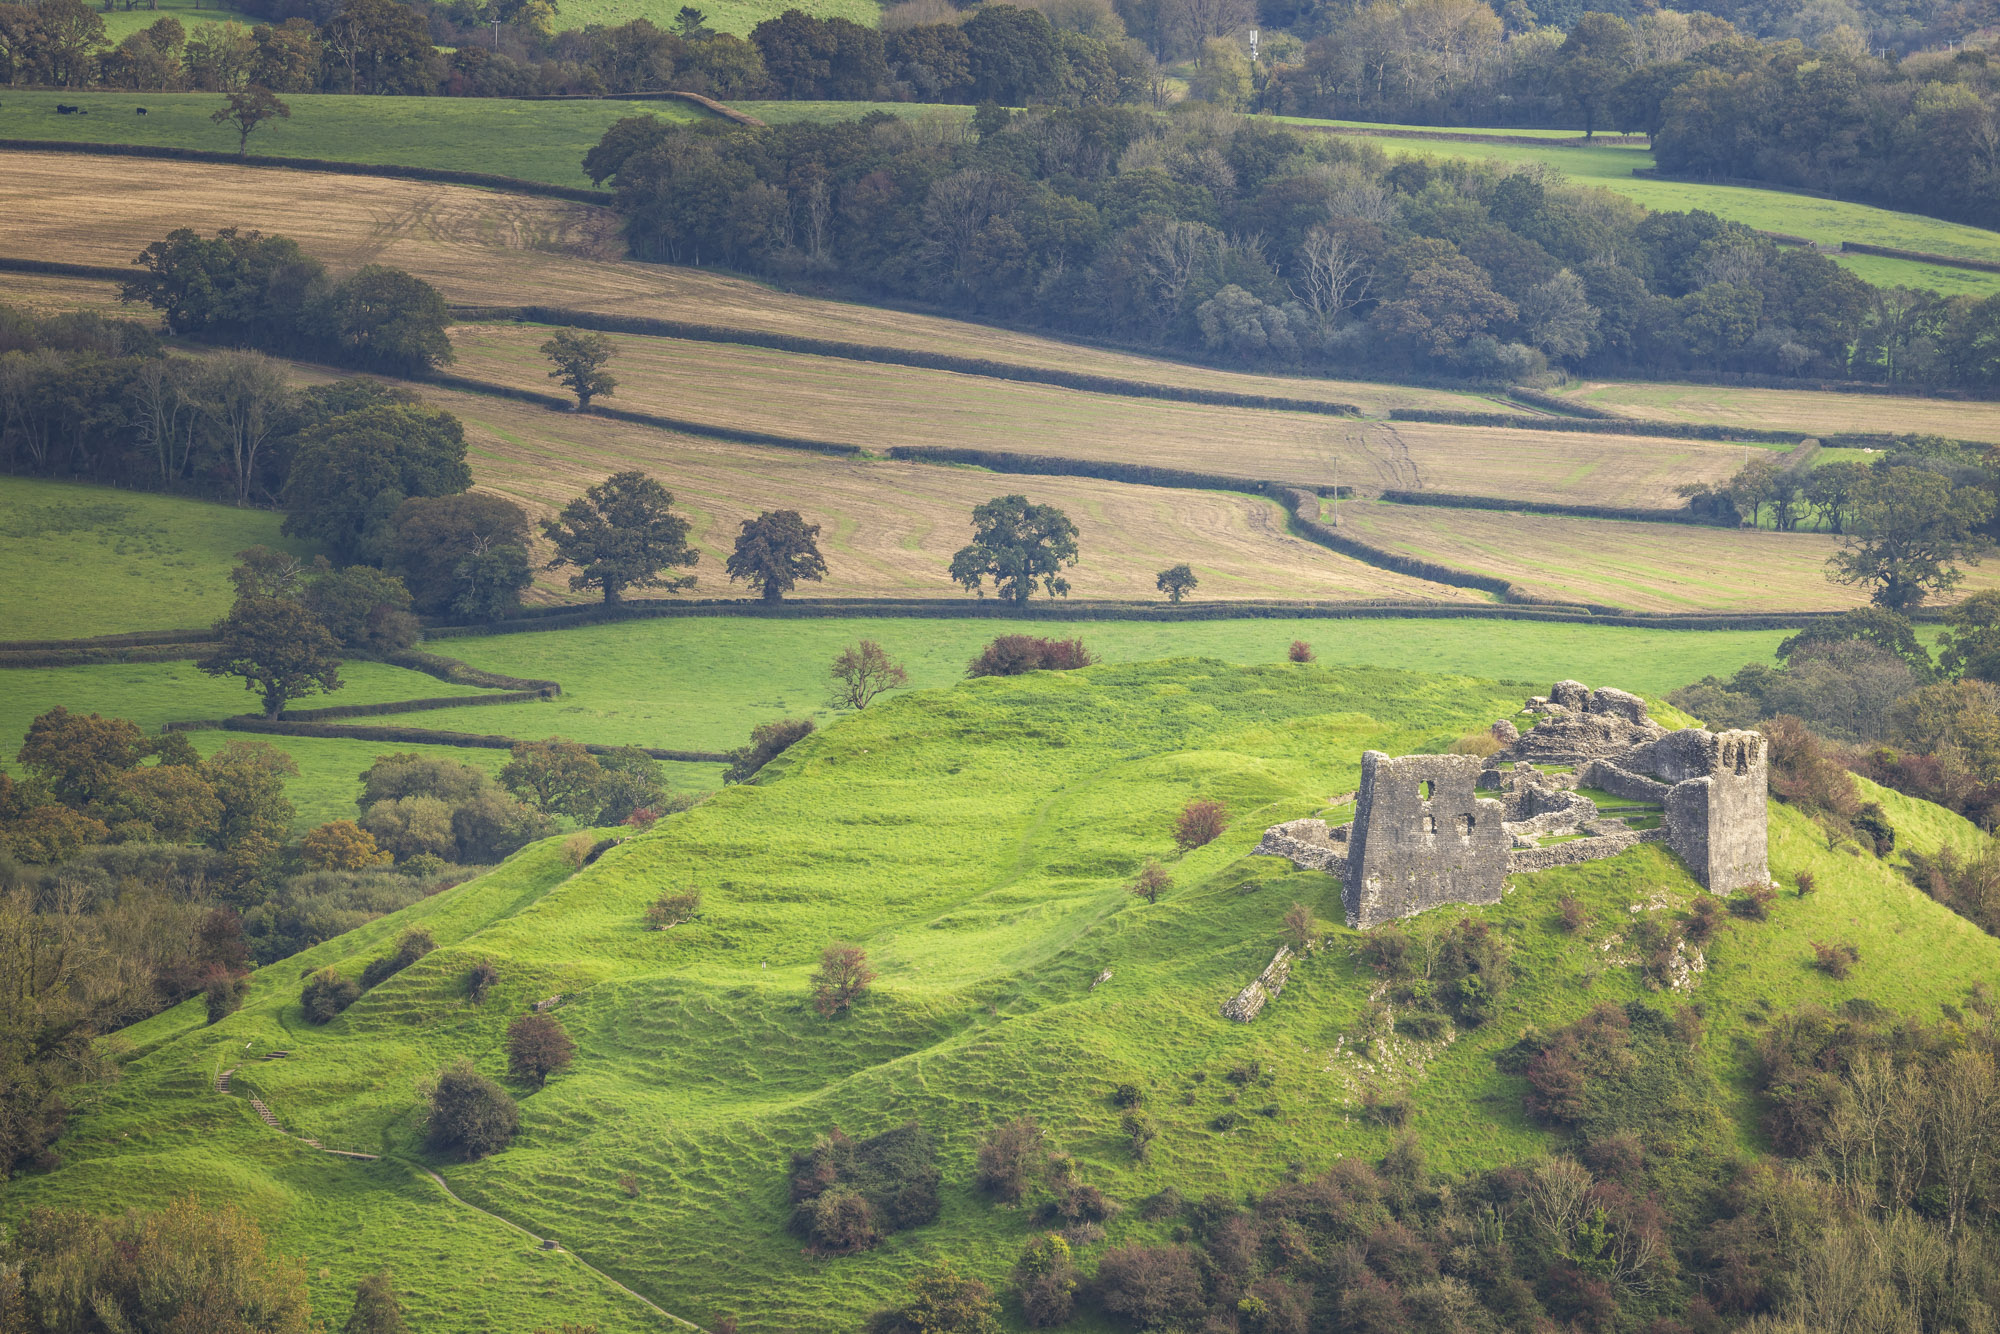
Drew carries a few key optics with him at all times to cover any eventuality. He loves Canon’s L-series lenses because they’re built for professional use and are weather- and dust-resistant. His Canon RF 24-105mm F4L IS USM has a broad zoom range, making it super-versatile and an ideal lens to keep on all day when travelling light. When he needs a wider angle of view, he reaches for his Canon RF 15-35mm F2.8L IS USM.
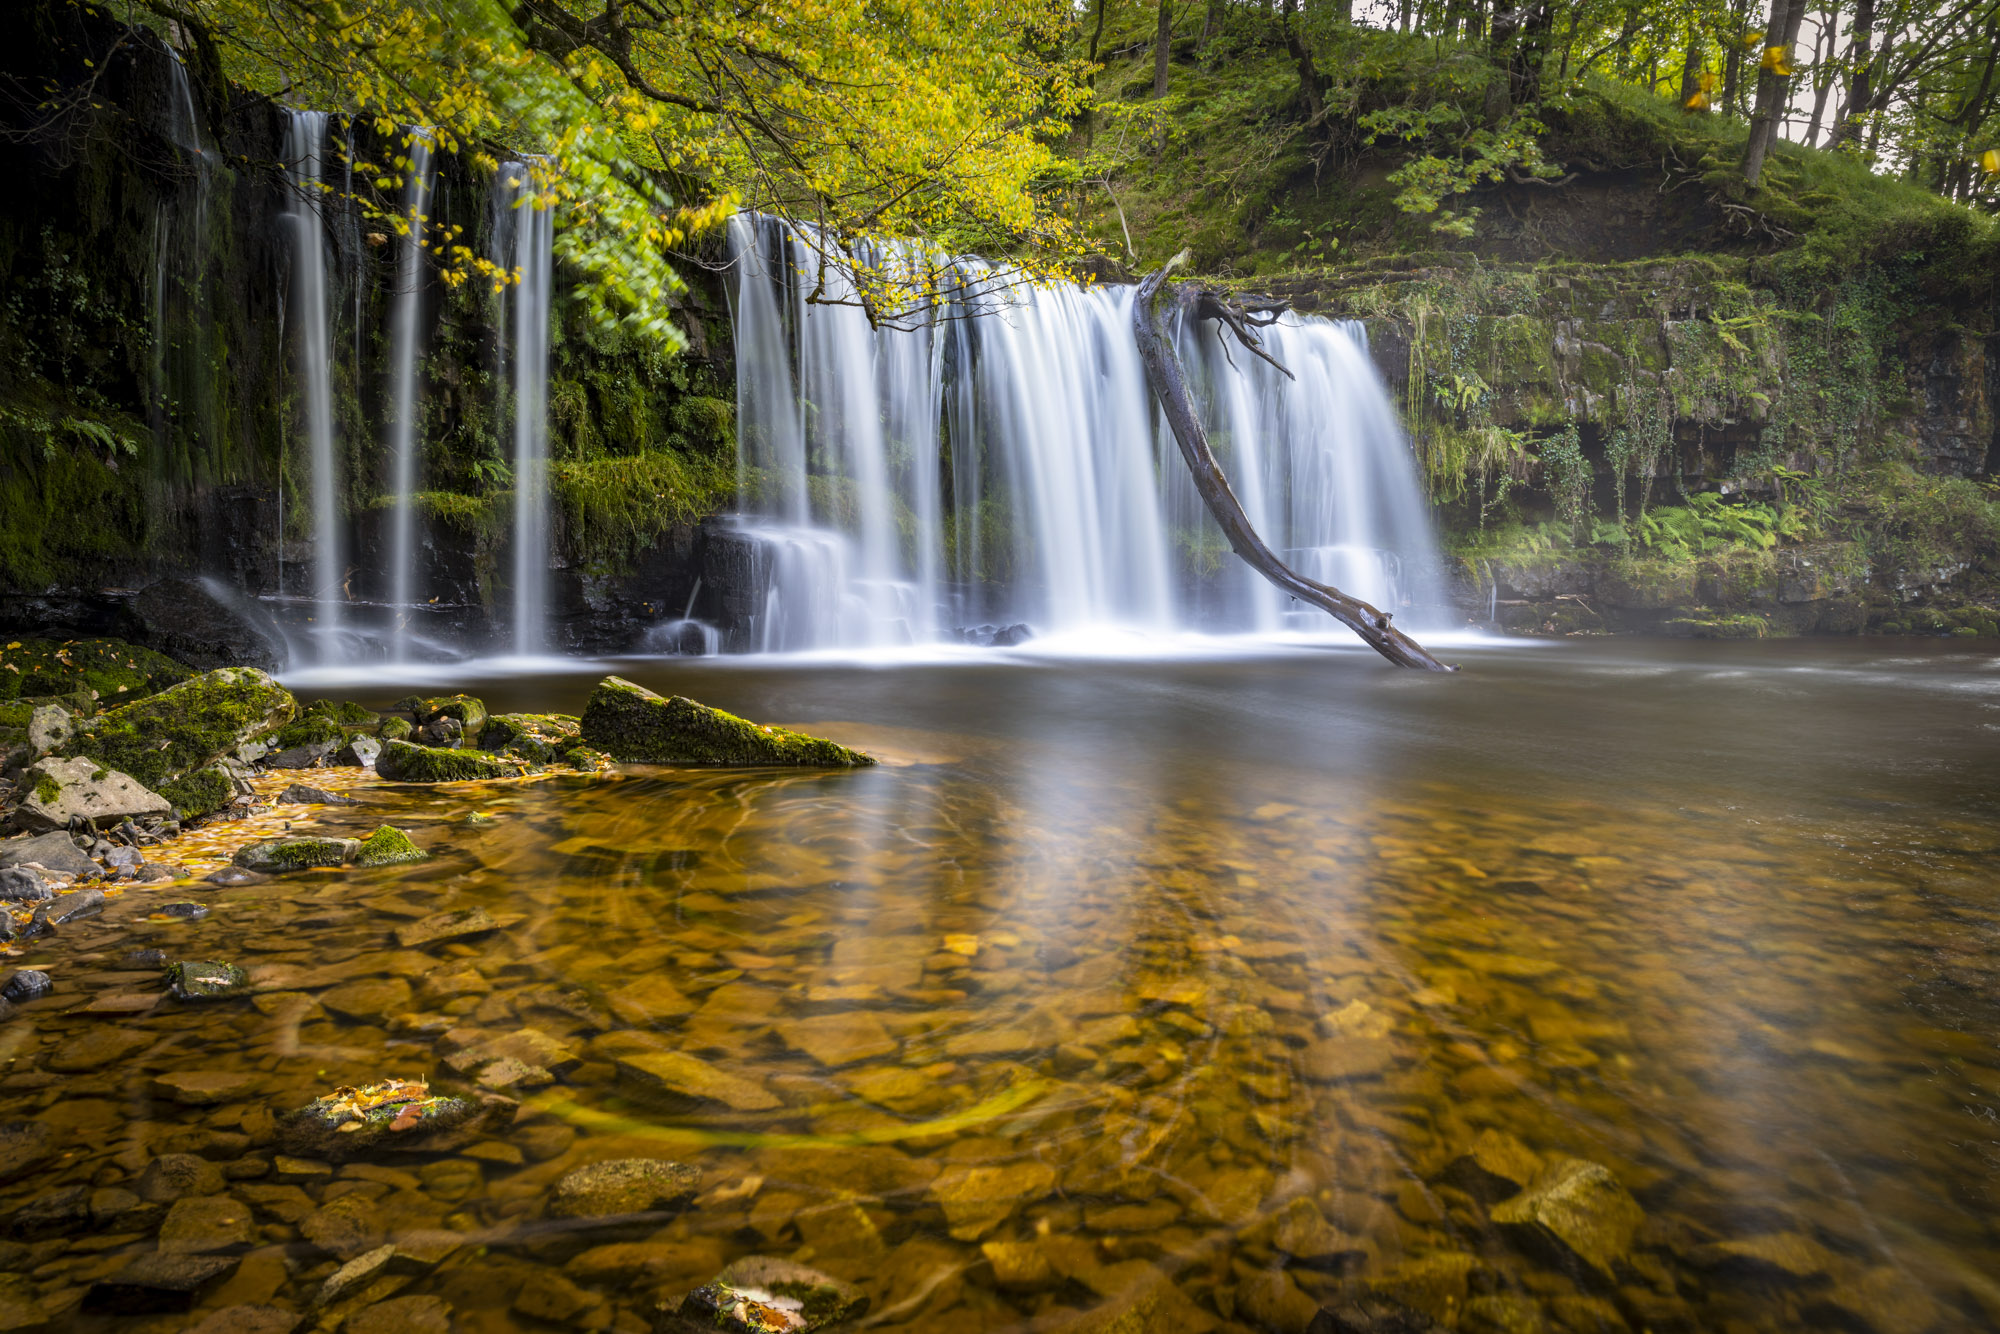
4. Bulb mode
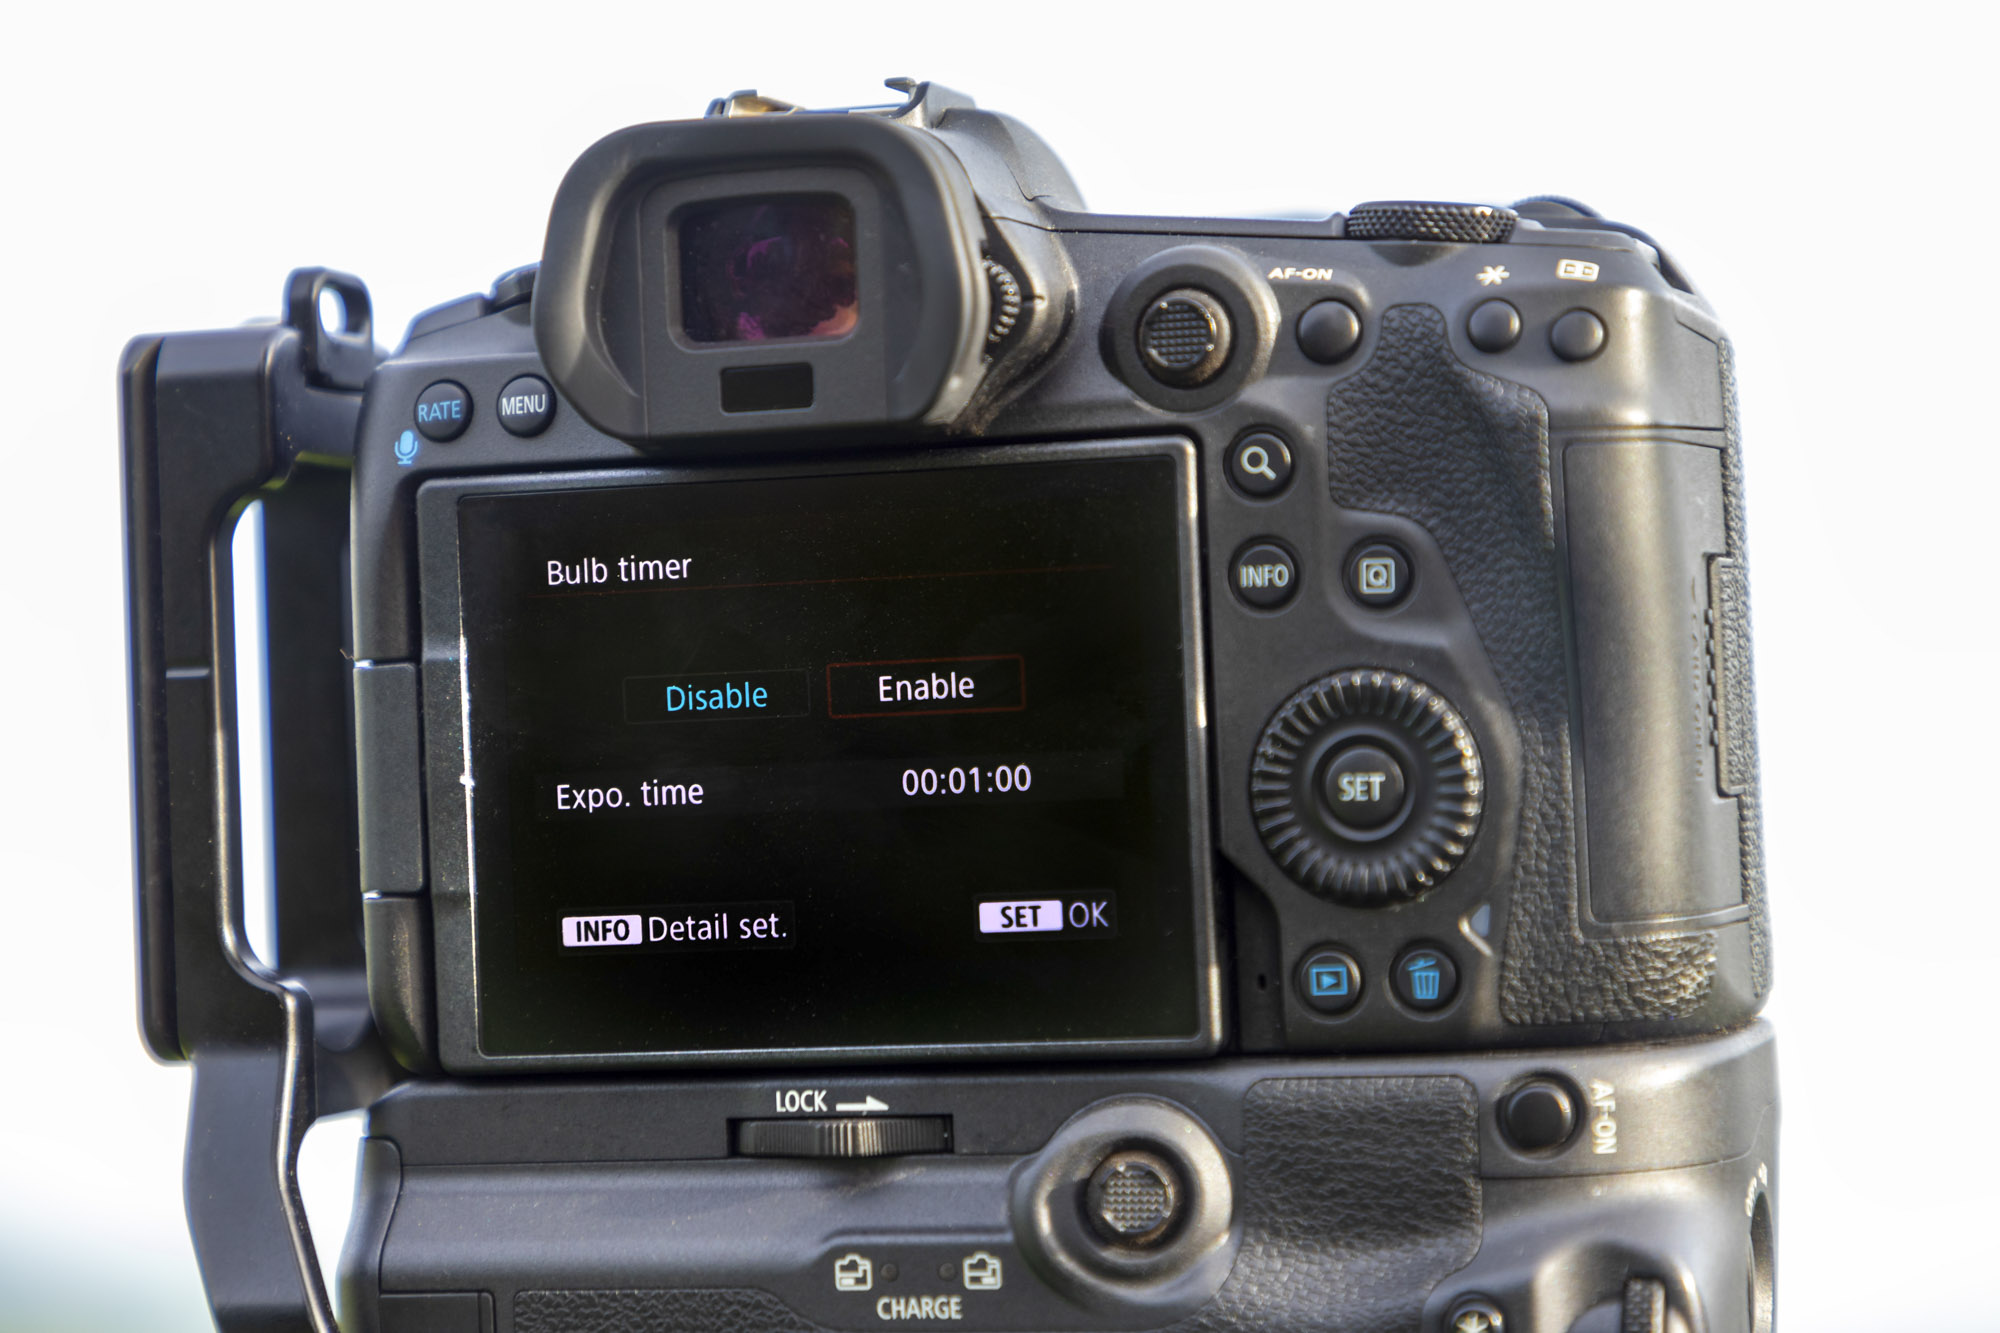
You may have noticed that the longest shutter speed available usually tops out at 30 secs in the main Manual, Aperture Priority and Shutter Priority modes. With neutral density filters that block out lots of light, you might often find yourself needing to shoot for much longer than this, so the solution is to use Bulb mode. The conventional method would be to use a shutter release cable and lock it off until your exposure time was up, but Drew loves the Bulb timer mode on his Canon EOS R5 that allows you to input custom exposure times without needing a shutter release cable.
5. Circular polarizer filter
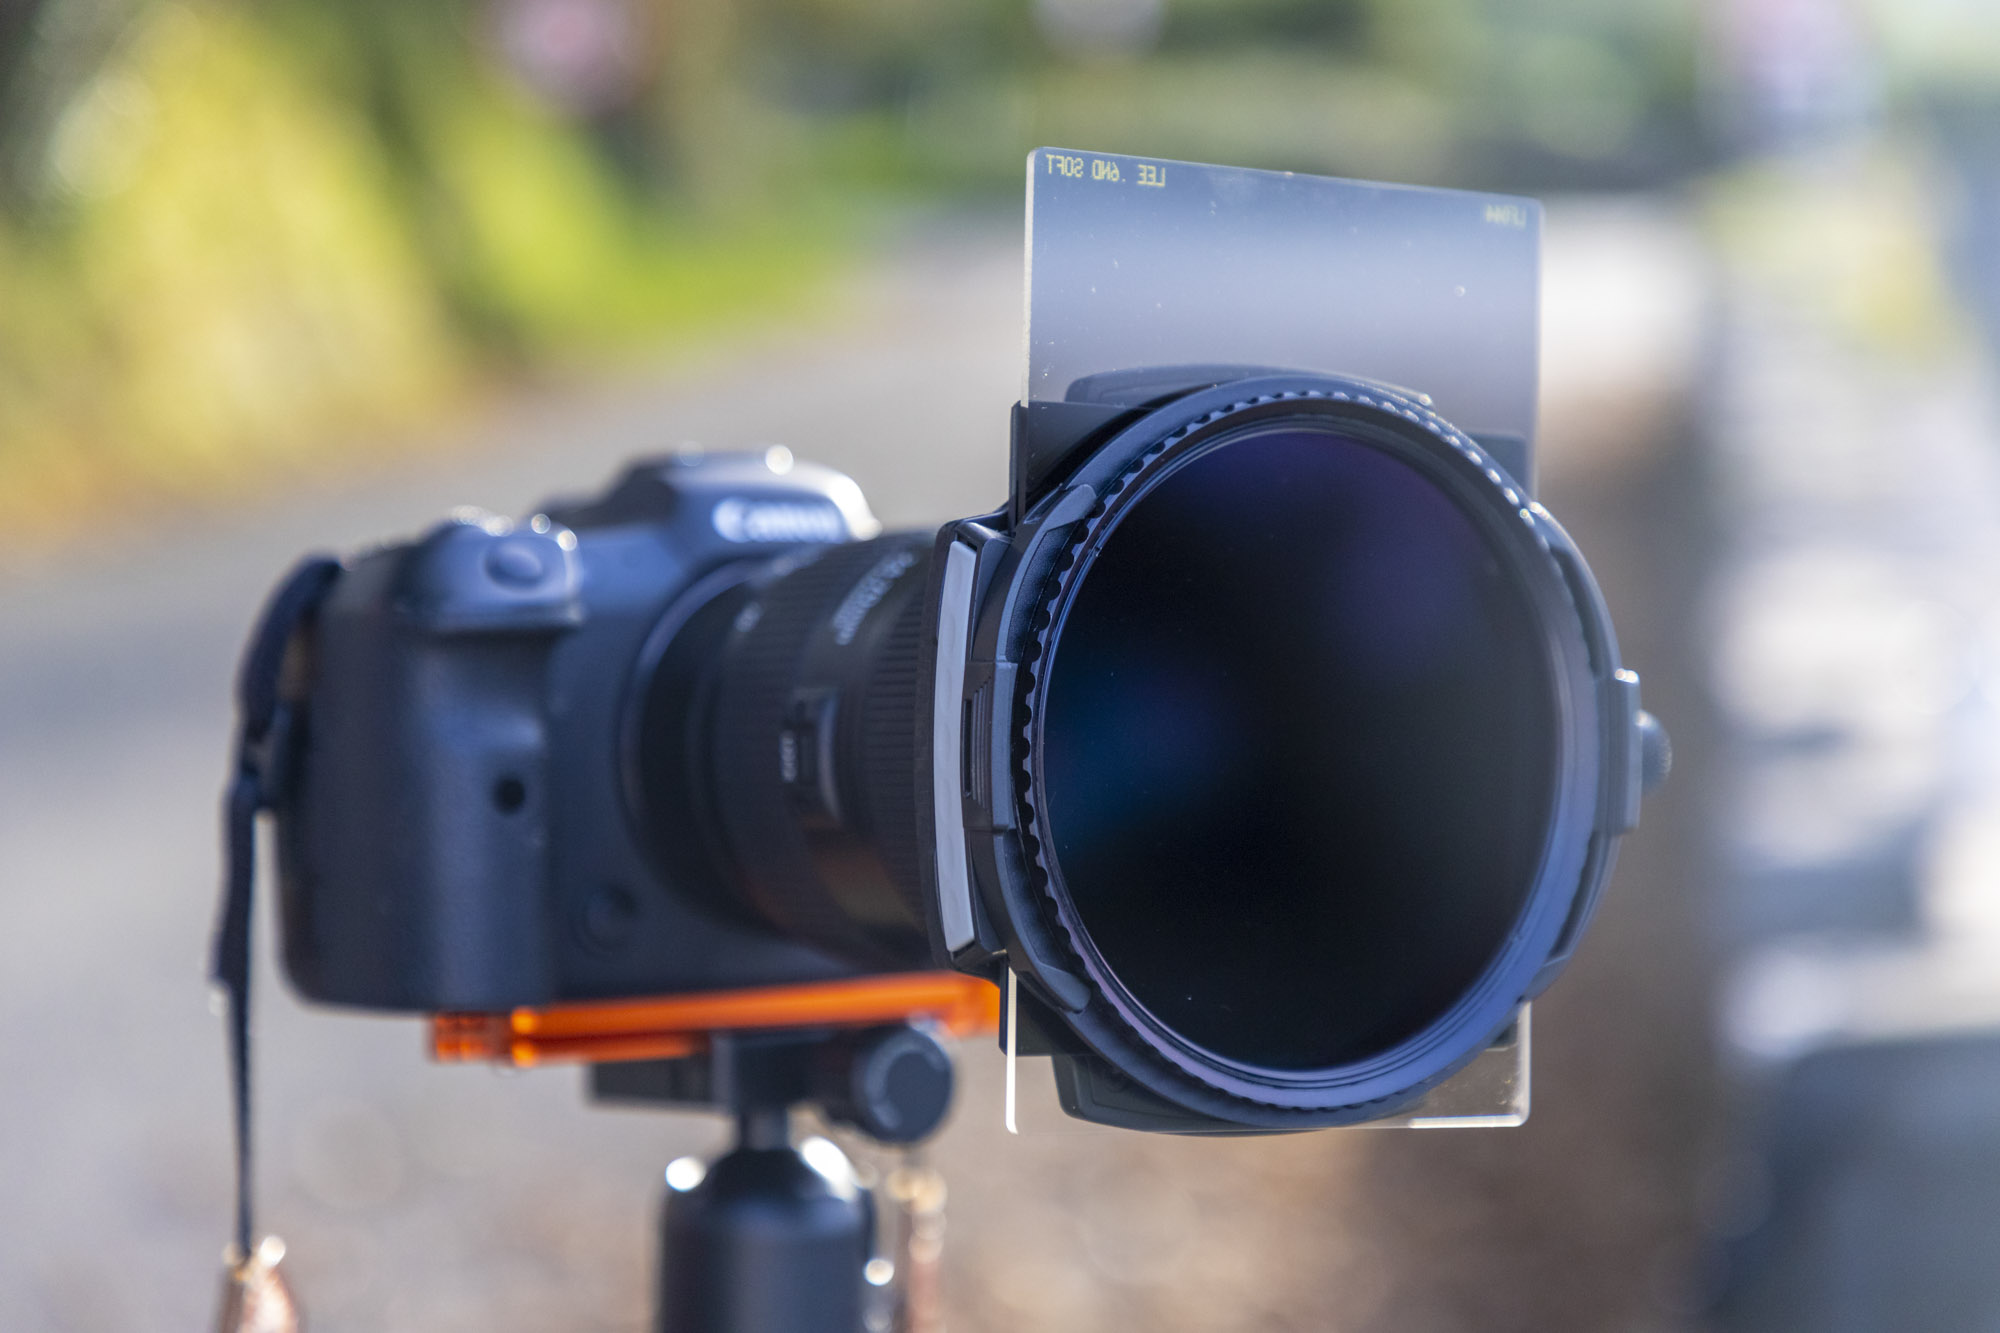
A circular polarizer isn’t called ‘circular’ because of its shape, it’s actually due to the etched pattern on the glass. Polarizing filters cut out scattered polarized light, which reduces light flow by about two thirds of a stop at its maximum setting, though their main uses are to boost blues in skies and also tame reflections in glass and on water.
6. Electronic level
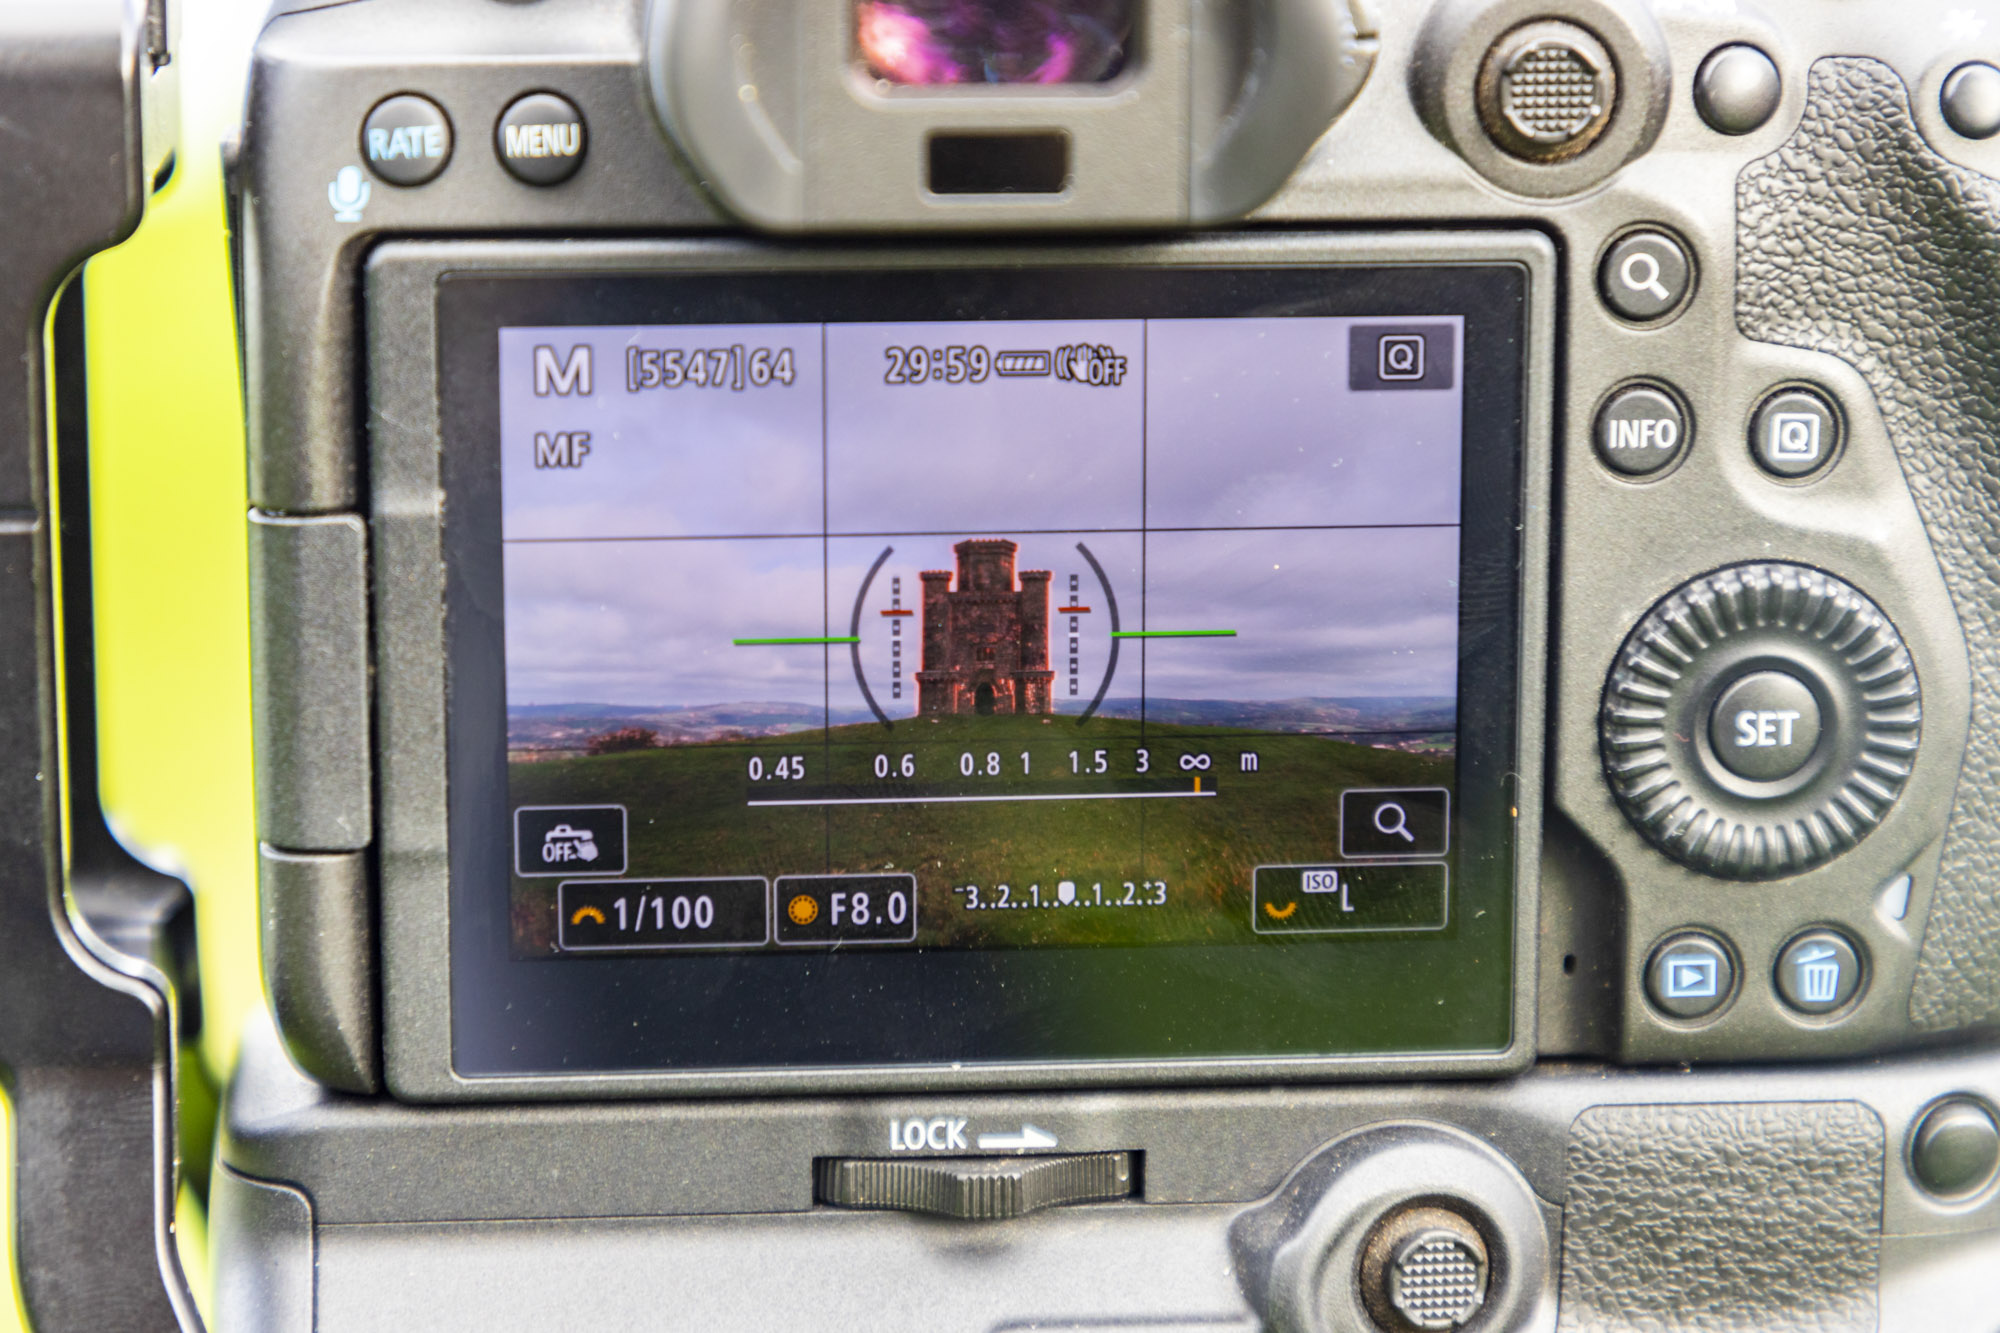
Drew uses the electronic level on his Canon EOS R5 to help him make sure his horizon is perfectly straight and level, because a wonky horizon is the first thing people notice when looking at a landscape. To access it on your Canon EOS, you can press the Info button to cycle through its modes until the electronic level appears. You can then recompose until the electronic level turns green, which indicates your horizon is straight.
7. Professional tripod
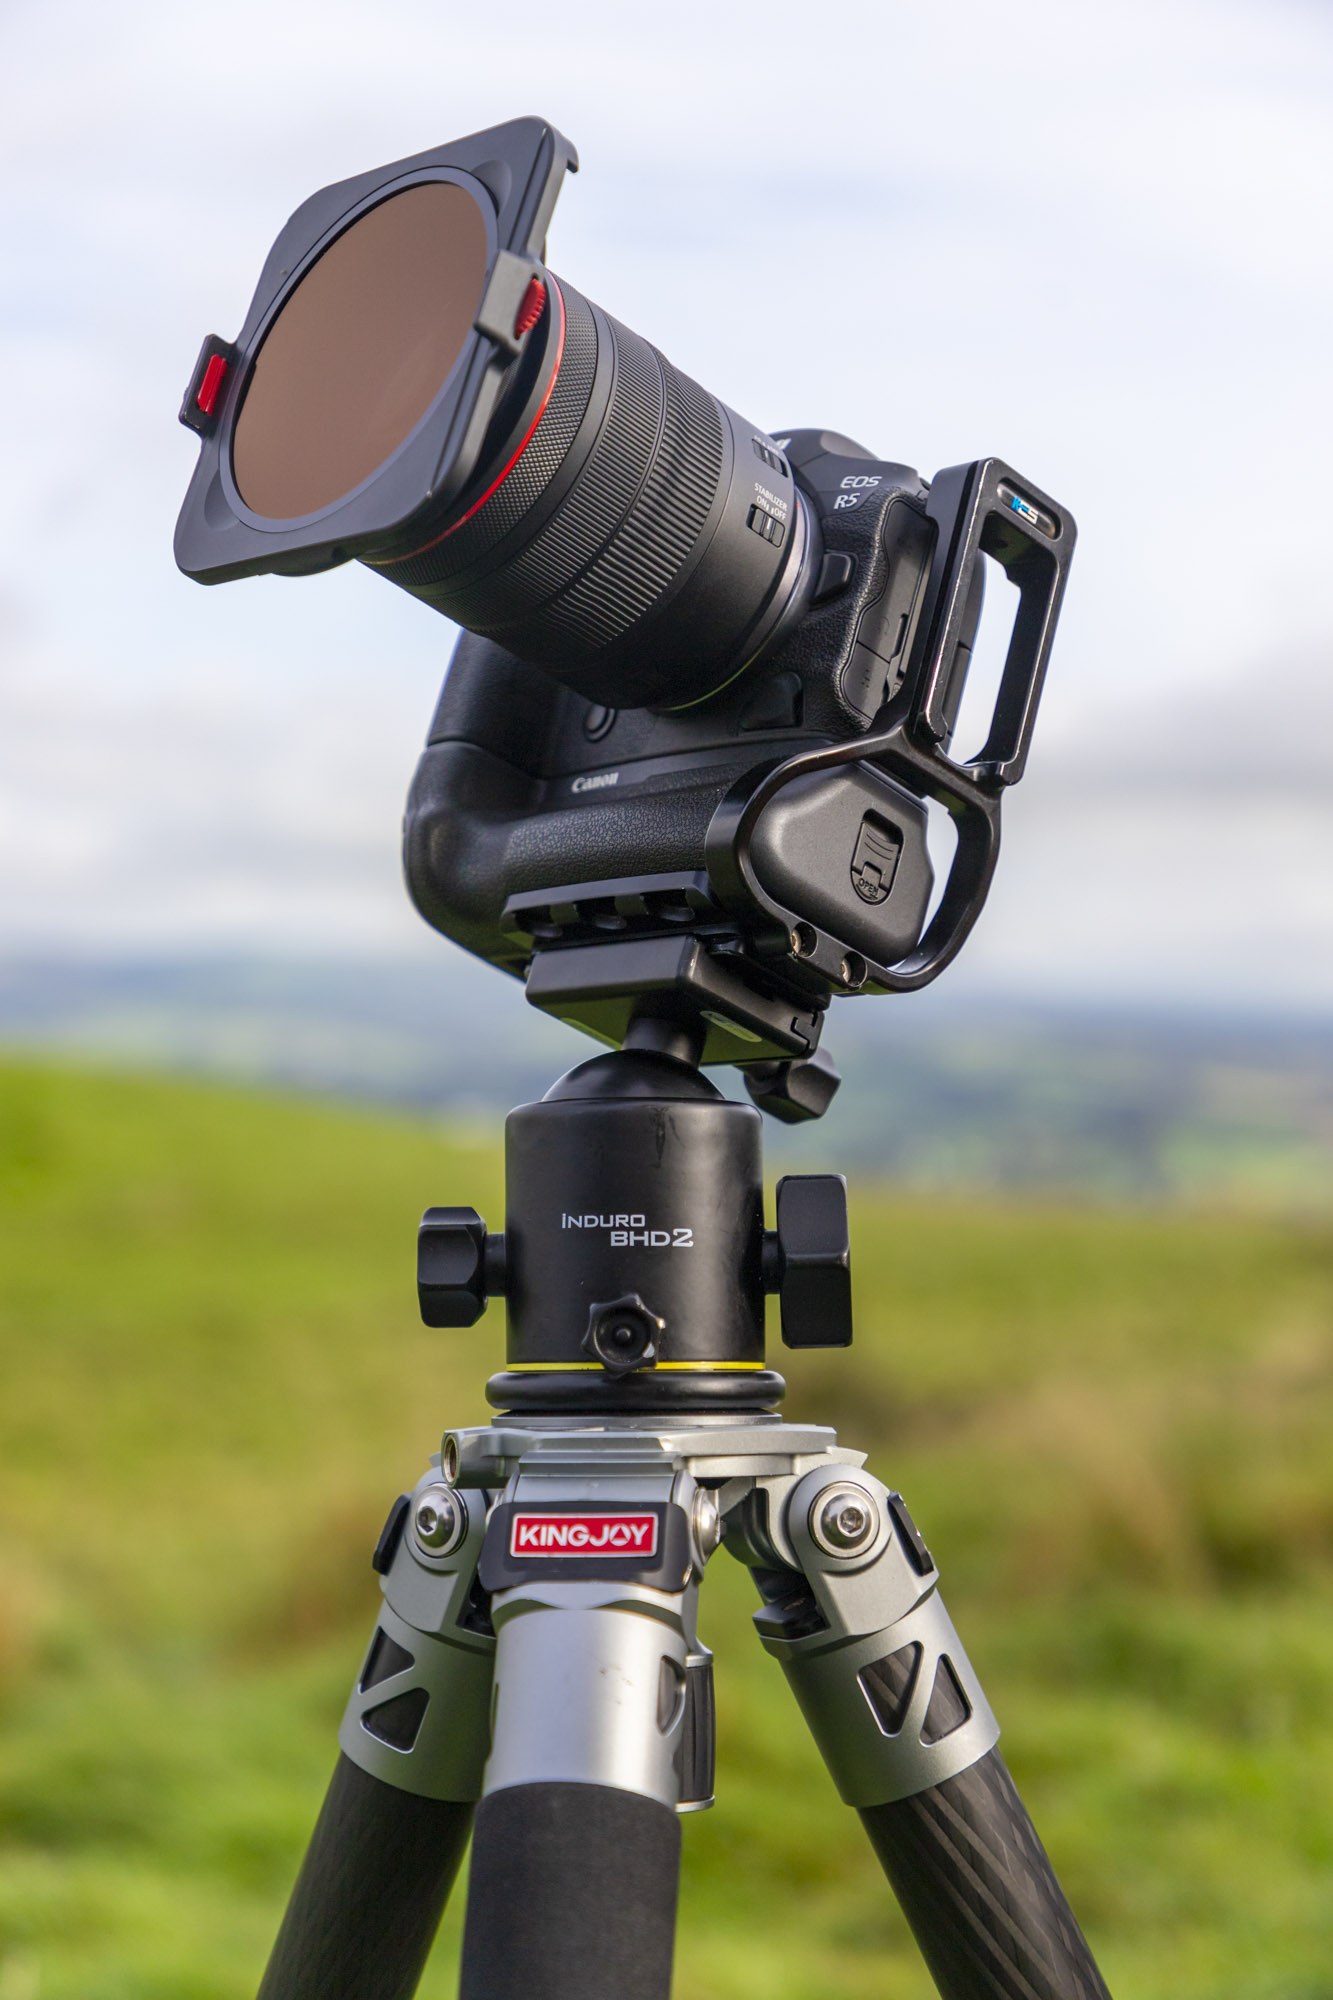
Drew uses a Kingjoy C86 carbon fiber tripod, which is a professional four-section tripod capable of handling up to 30kg and weighing just 2.4kg. It can reach 156cm and folds down to just 57cm with twist locks that allow for a quick setup. Drew has paired it with a Benro Induro BHD2 ball head, which can be locked off or unlocked with a single dial for super-fast setup, and has an Arca-Swiss-style mounting plate that is compatible with his Kirk L-bracket.
8. L-bracket
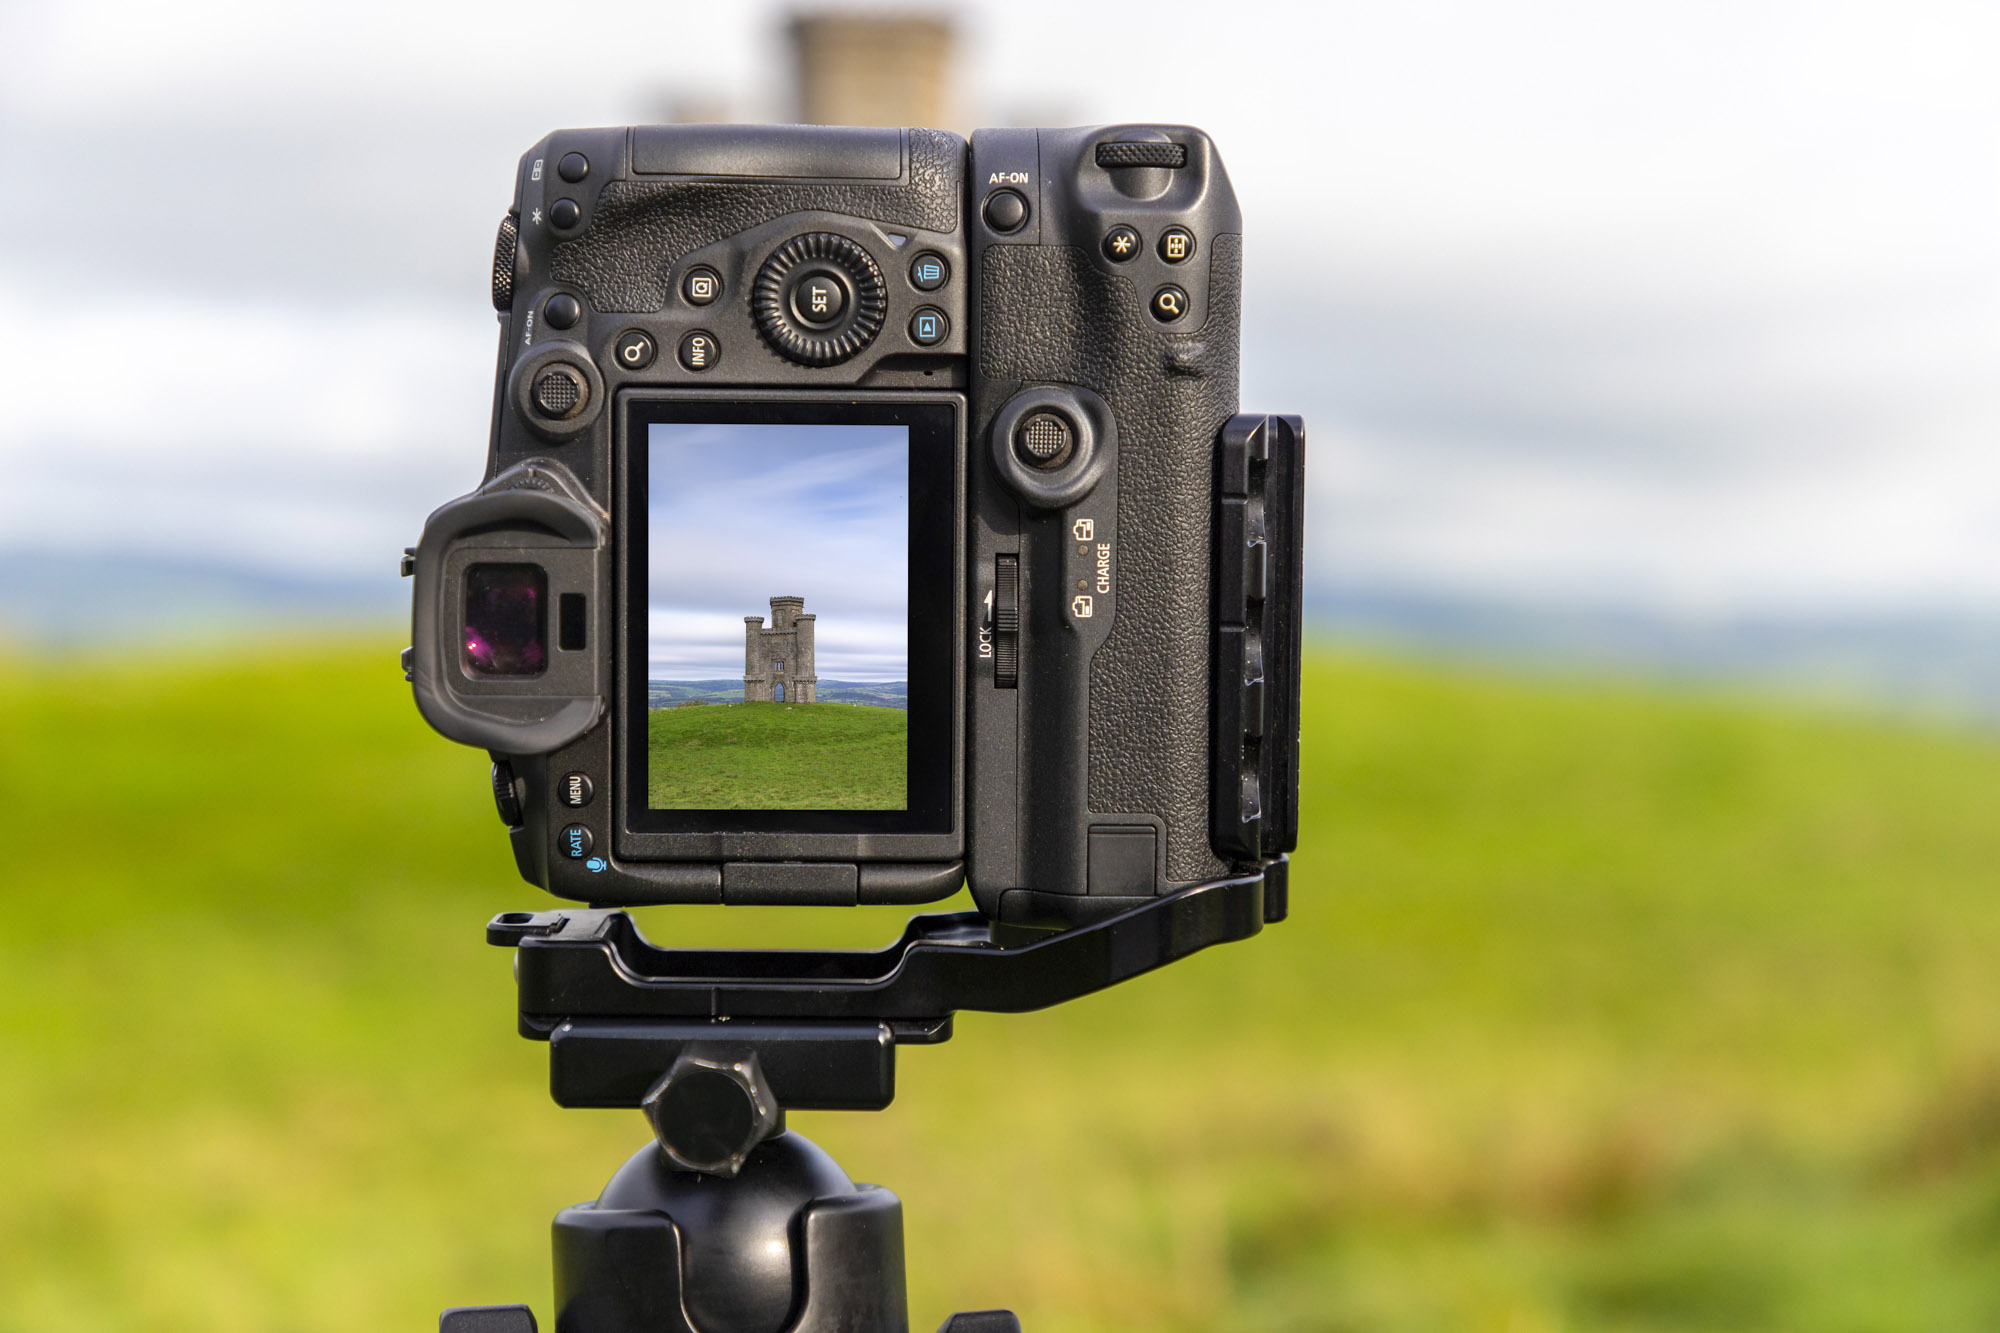
Drew uses an L-bracket on his Canon EOS R5 to mount it to his tripod. He’s currently using a Kirk L-bracket designed to fit his Canon EOS 5D Mark IV DSLR, but he finds it works well enough on his mirrorless R5 to not warrant splashing out on a new upgrade. The big advantage of an L-bracket is that you can quickly switch your camera’s orientation from portrait or landscape and keep the centre of gravity directly above the tripod’s head, helping to compose more quickly and balance cameras on tripods more effectively.
9. Shoot in all seasons
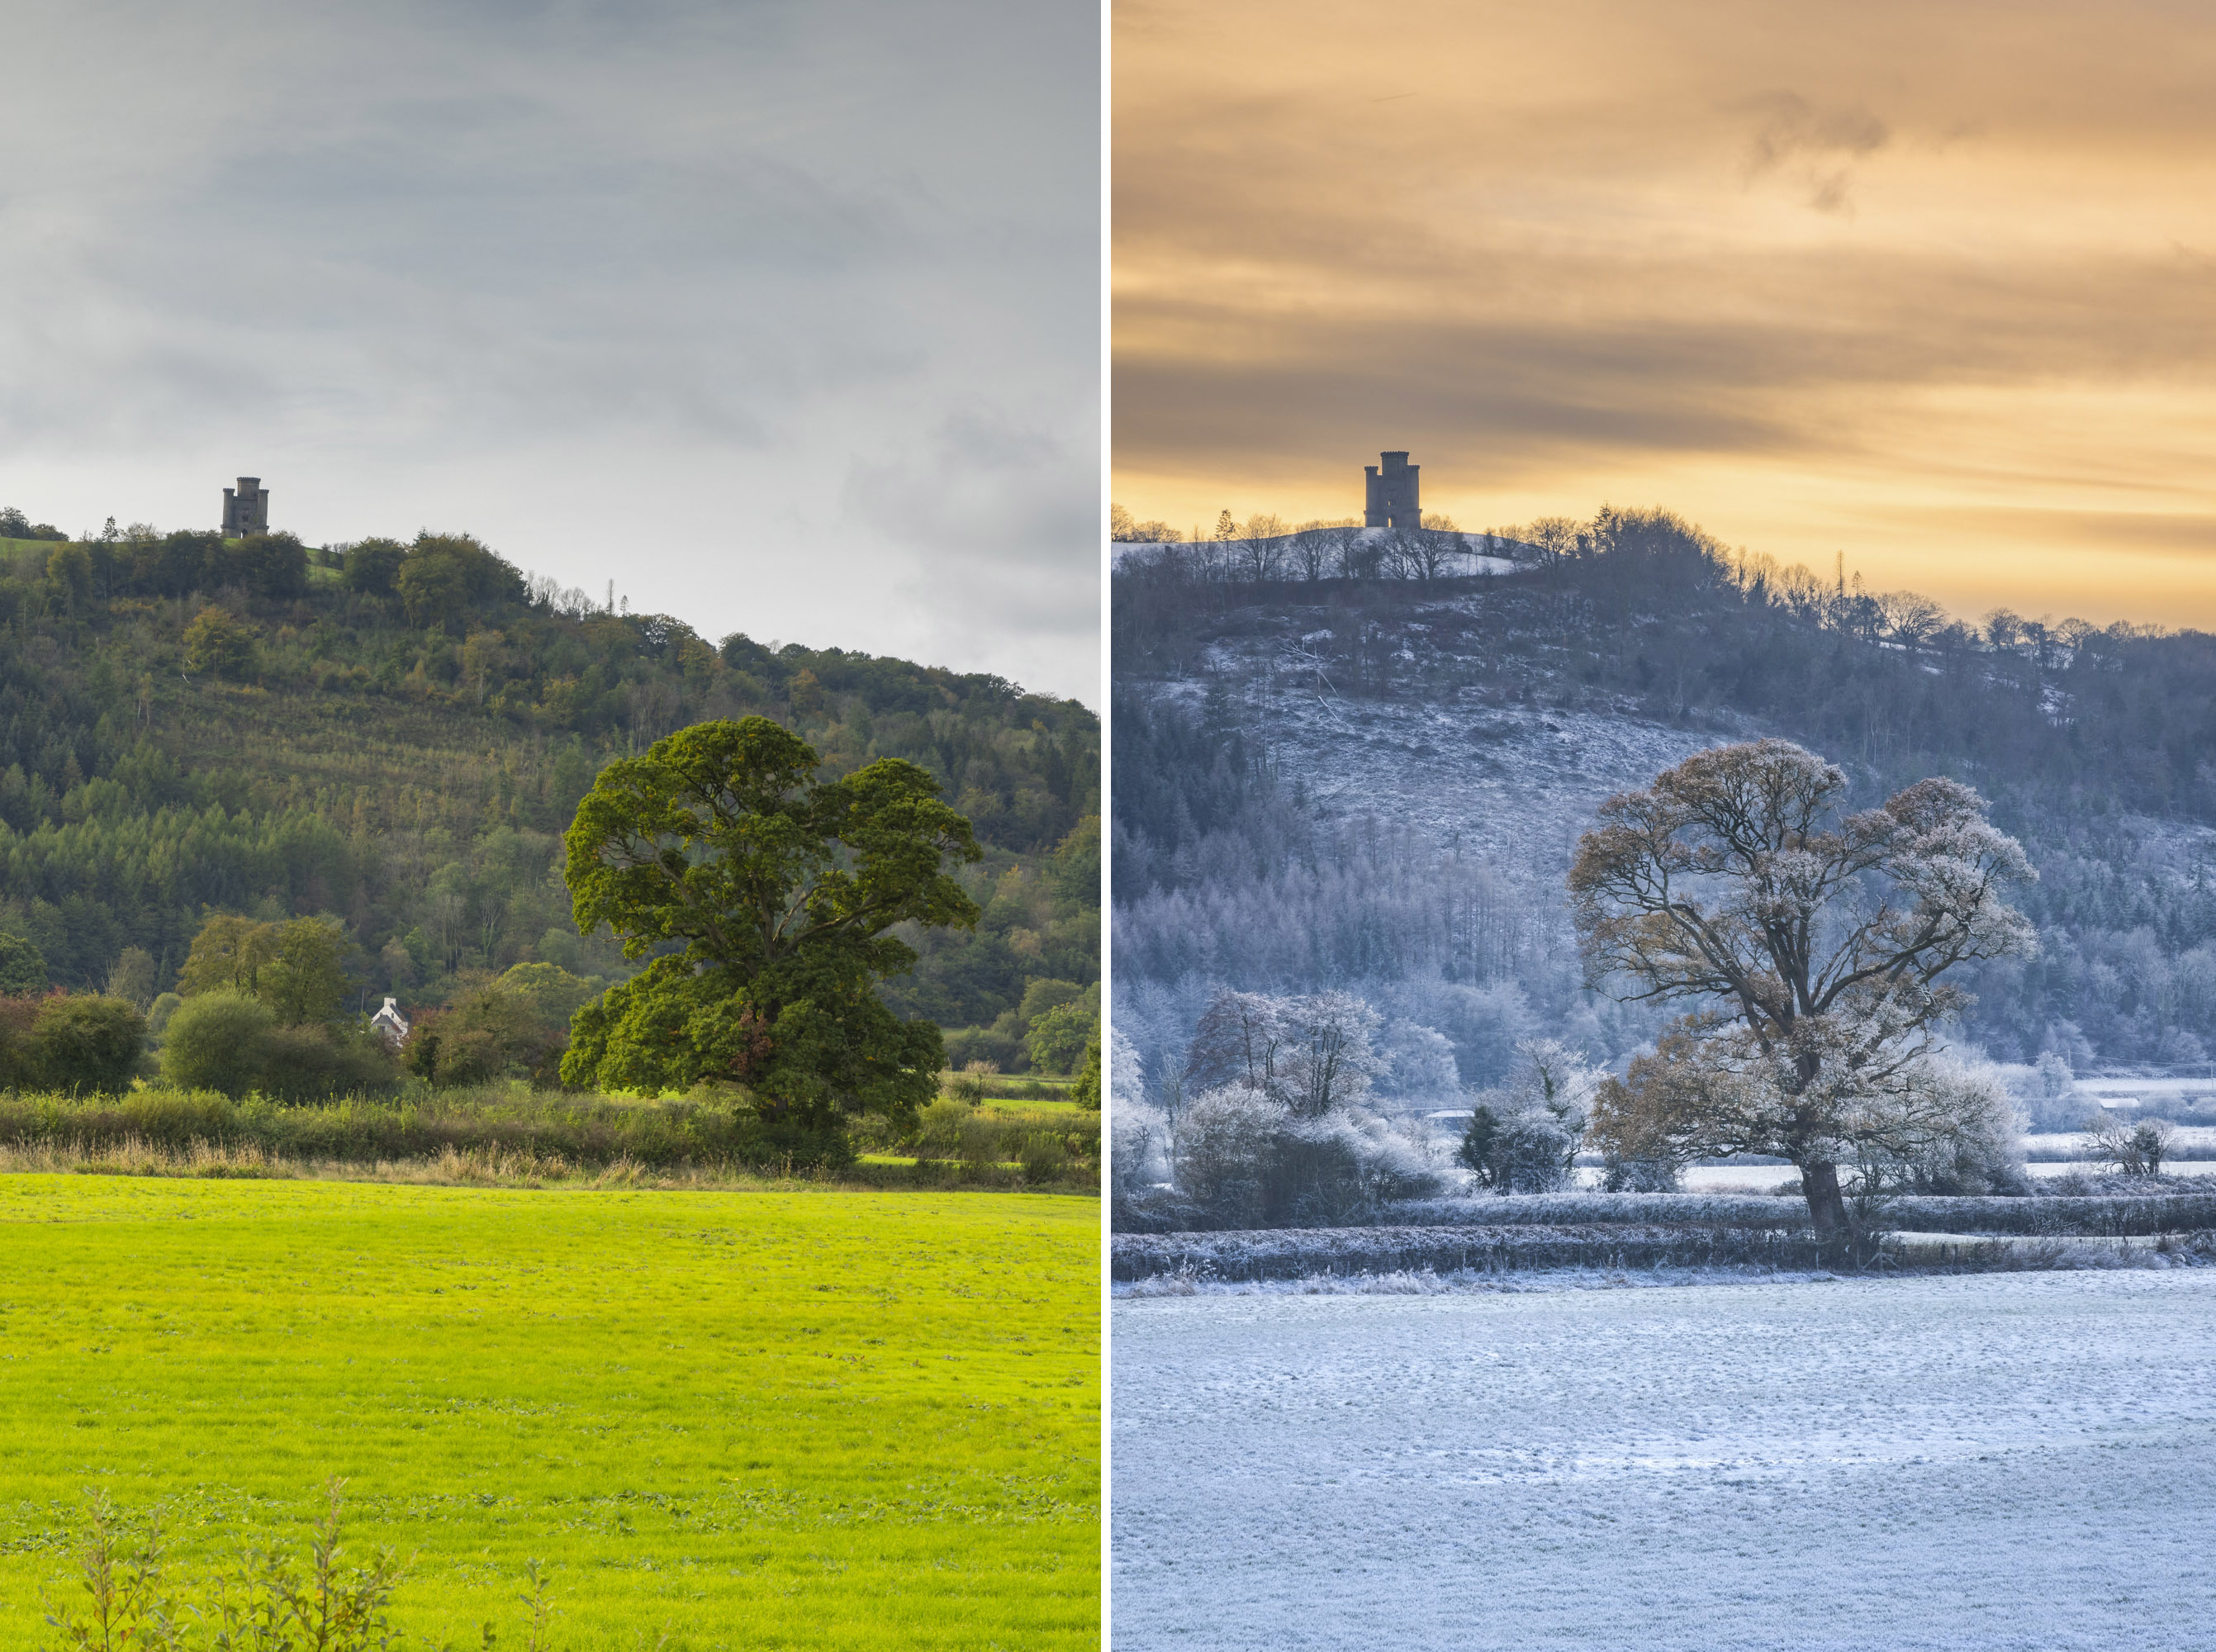
“I love to revisit some of my favourite local landscape locations throughout the year as the scenes look wildly different when flowers are blooming in spring, leaves turn golden in autumn or it is all covered in snow in winter,” says Drew.”Here’s an image I took of the same landscape last winter when the area had a light dusting of snow, which makes it look totally different and comes with its own challenges. A lot of landscape photography is patience and determination; if you visit the same scene enough times, you will eventually be rewarded by the perfect lighting and weather, so don’t give up!”
10. Lens filters for landscapes
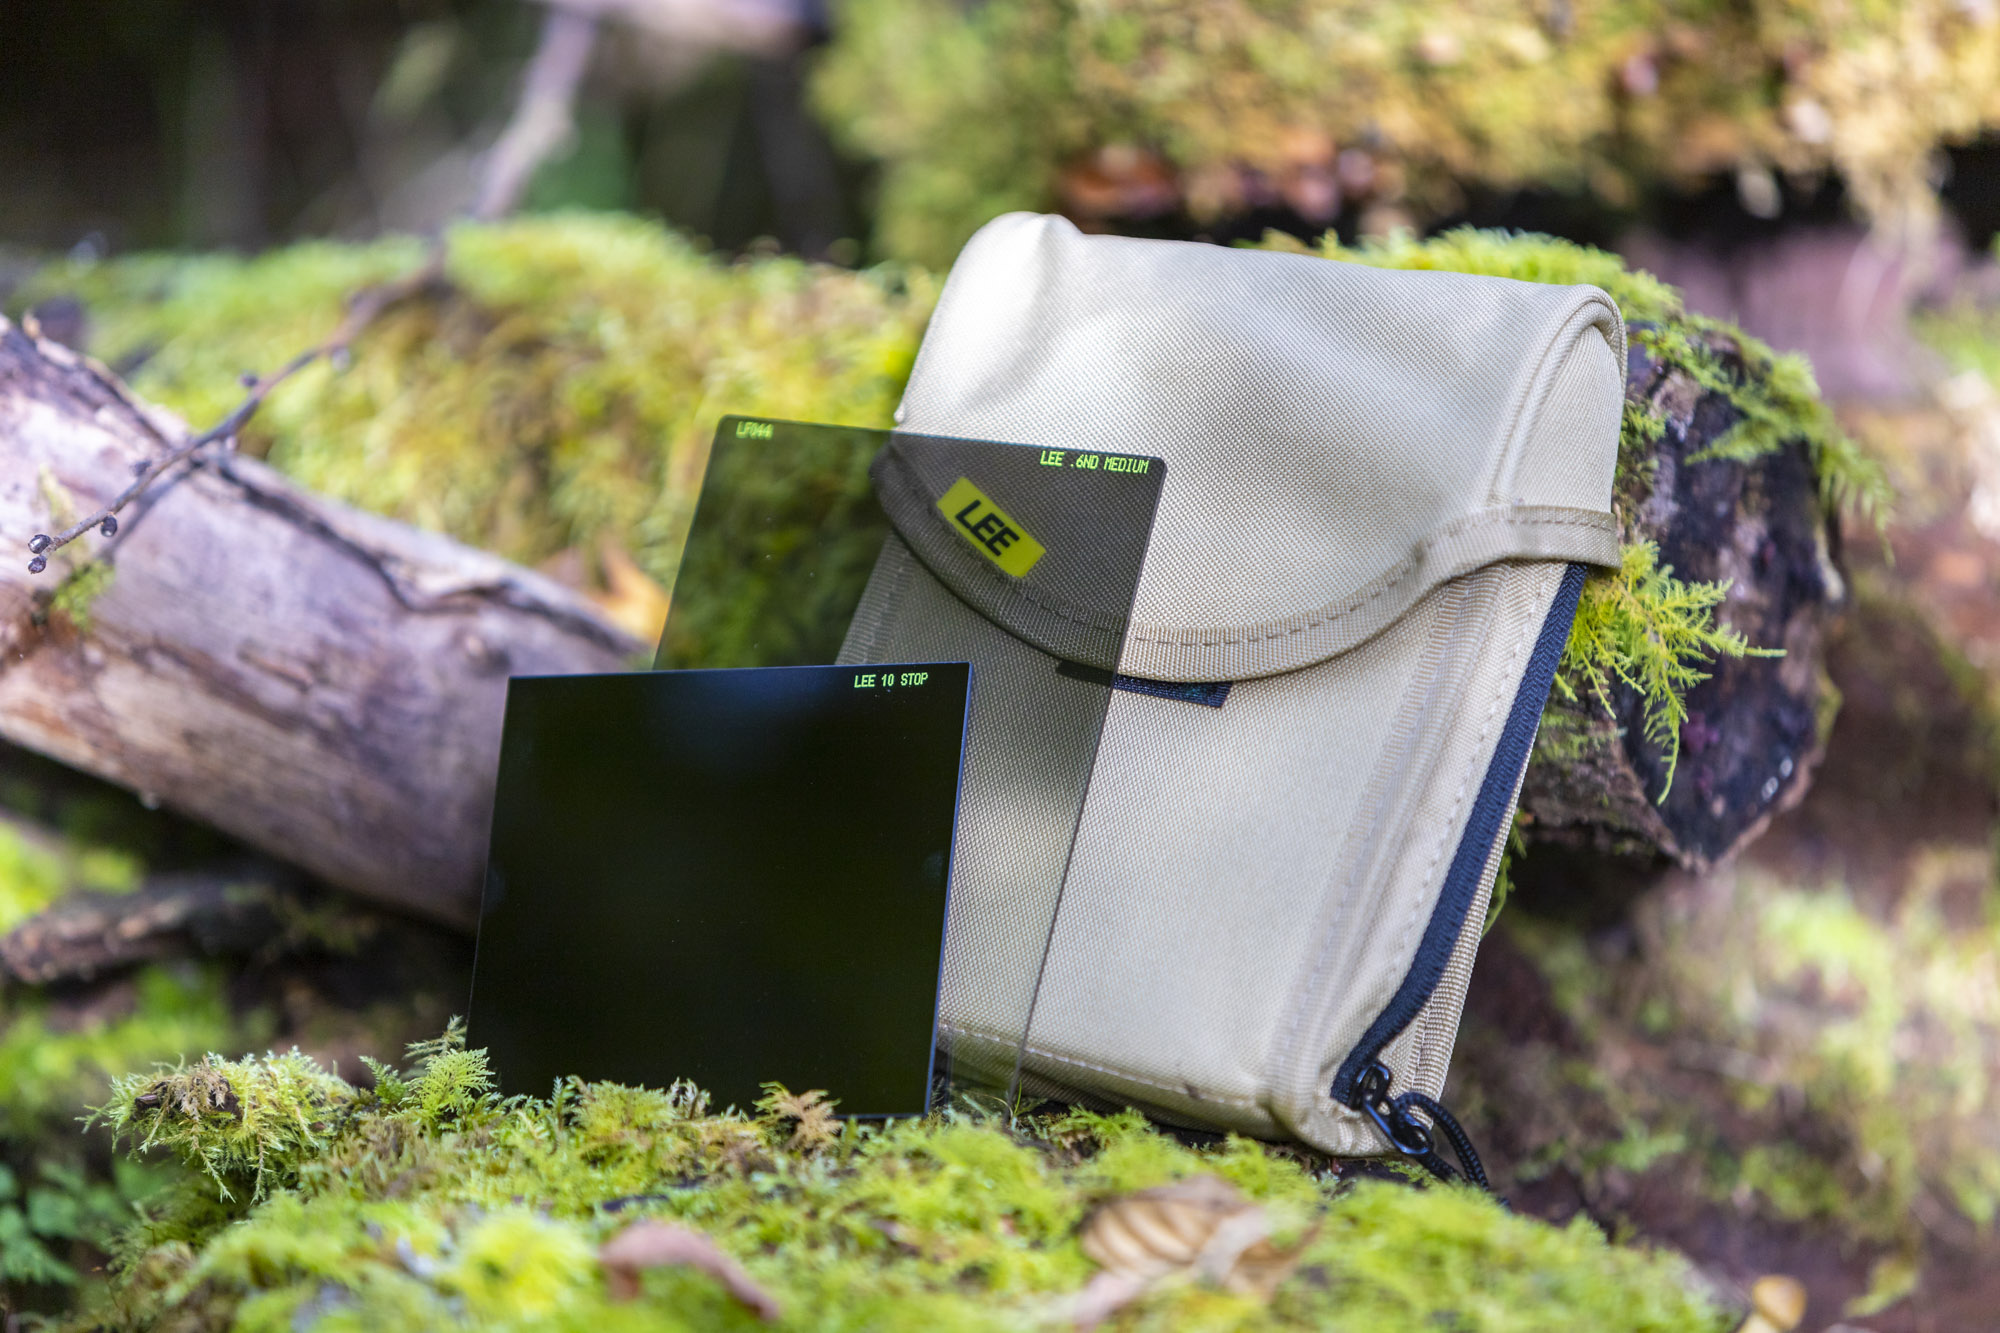
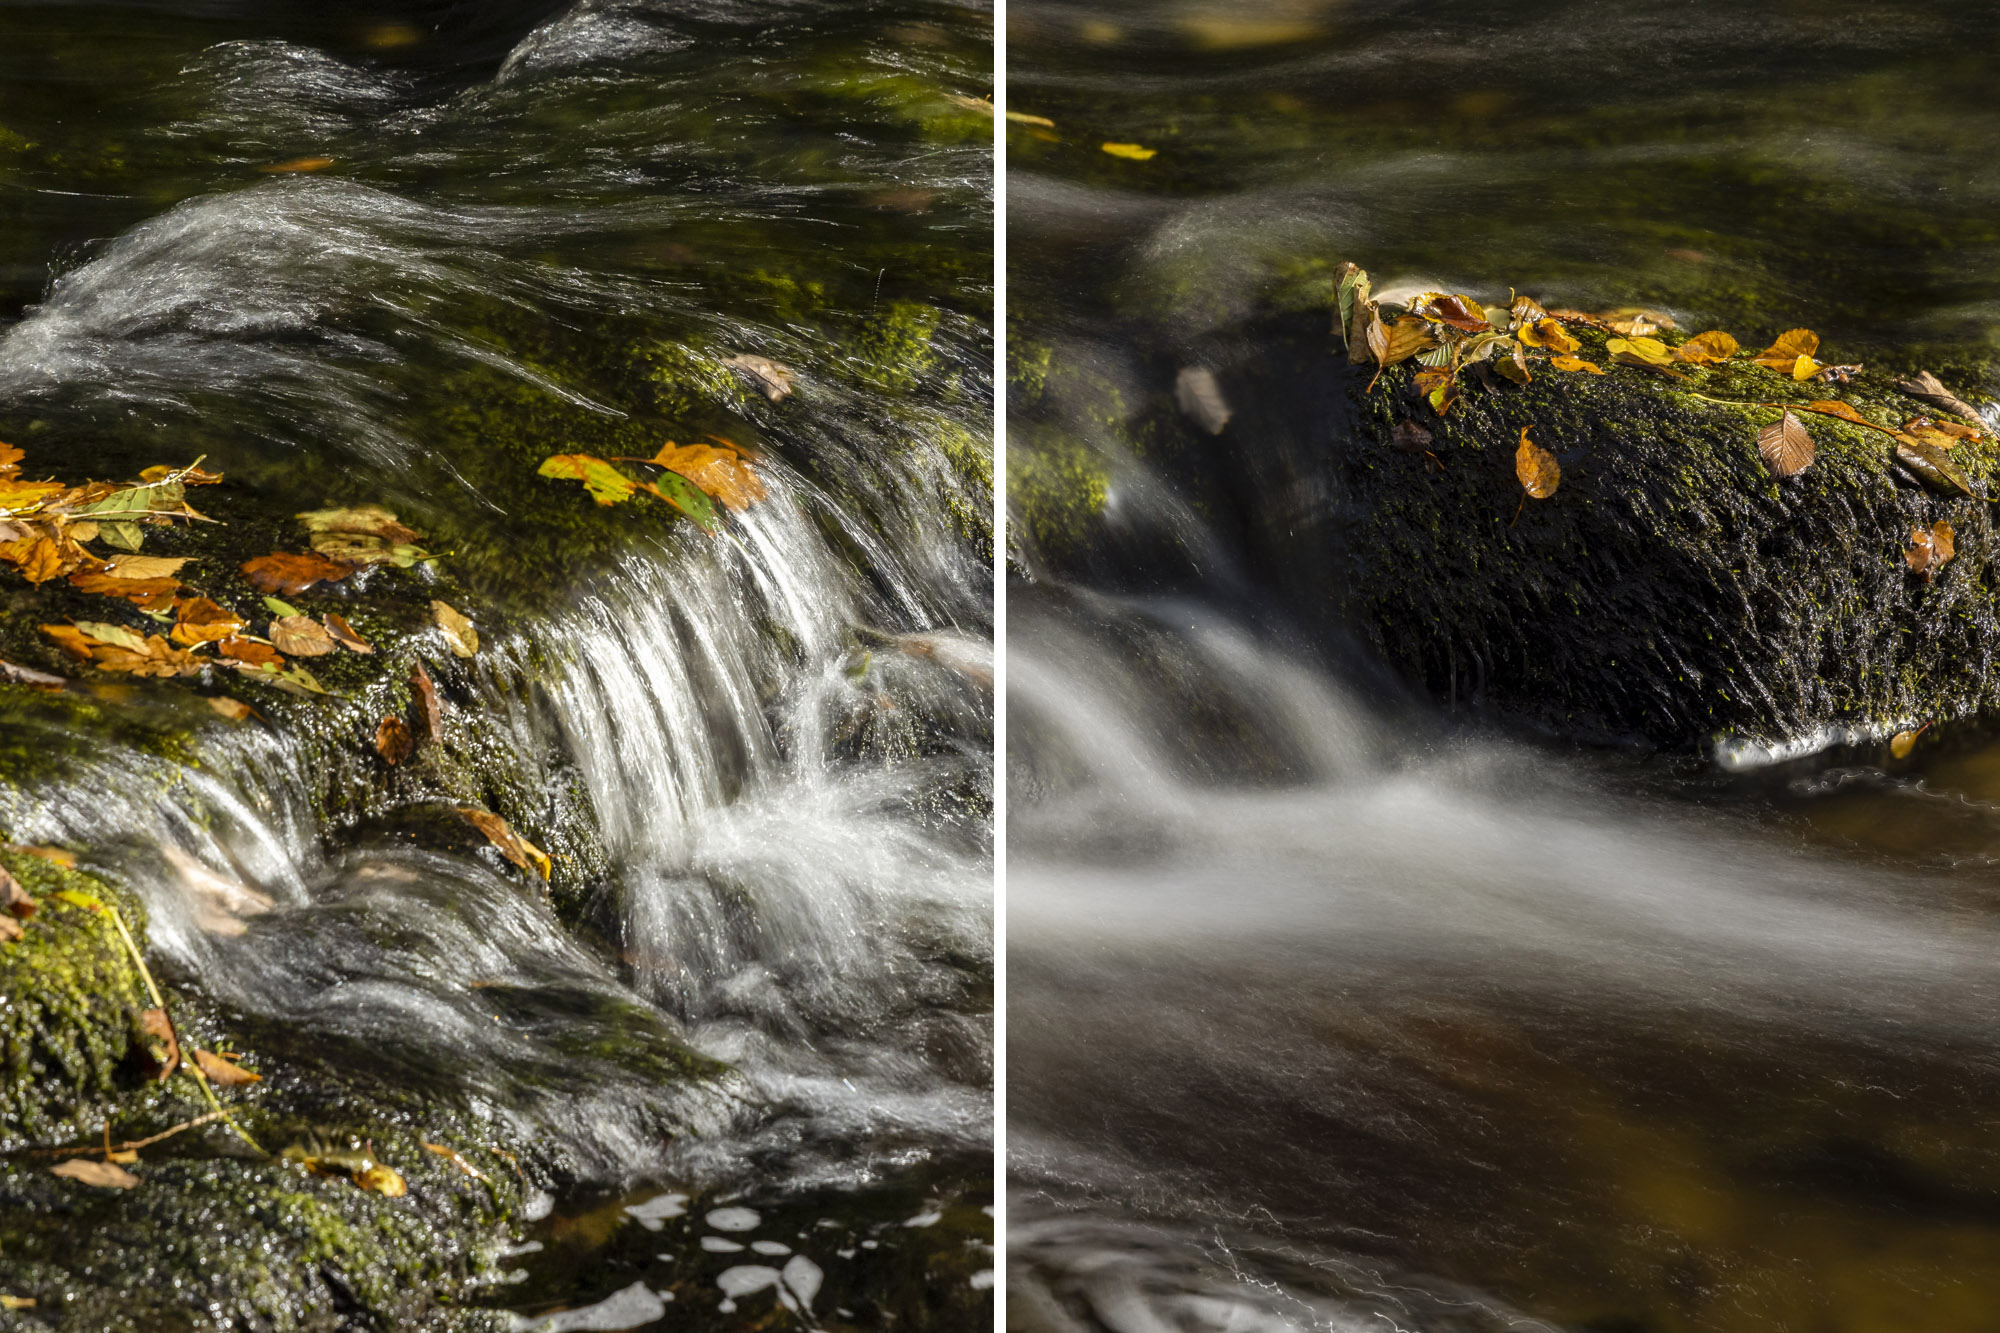
Advancements in software editing have become remarkably good in recent years, however there are still certain things that are difficult to replicate in post-production. Drew uses a range of filters from LEE and Kase, including neutral density (ND) filters that block light flow, enabling long exposures to blur moving water and clouds, as well as graduated ND filters that are only dark at one end – which are useful for pulling back detail in bright skies. He also uses a polarizer filter to boost blue skies and reduce reflections on glass and water.
If you're really into landscapes photography, you'll want to check out the best lenses for landscapes. Drew uses a Canon EOS R5. To see his stunning portfolio check out his Instagram, or to book a workshop visit his website.
PhotoPlus: The Canon Magazine is the world's only monthly newsstand title that's 100% devoted to Canon, so you can be sure the magazine is completely relevant to your system. Every issue comes with downloadable video tutorials too.
Get the Digital Camera World Newsletter
The best camera deals, reviews, product advice, and unmissable photography news, direct to your inbox!

Deputy Editor on PhotoPlus: The Canon Magazine, Dan also brings his technical wizardry and editing skills to Digital Camera World. He has been writing about all aspects of photography for over 10 years, having previously served as technical writer and technical editor for Practical Photography magazine, as well as Photoshop editor on Digital Photo.
Dan is an Adobe-certified Photoshop guru, making him officially a beast at post-processing – so he’s the perfect person to share tips and tricks both in-camera and in post. Able to shoot all genres, Dan provides news, techniques and tutorials on everything from portraits and landscapes to macro and wildlife, helping photographers get the most out of their cameras, lenses, filters, lighting, tripods, and, of course, editing software.
