Landscapes are an incredibly fruitful avenue of photography, allowing those passionate about nature to step into the great outdoors with their cameras and take some wonderful shots of top scenic scenes.
The great news is that you can take fantastic landscape shots with basic equipment, such as a DSLR or mirrorless camera with a kit lens, sturdy tripod and a few filters. The coast is a fabulous place to begin your journey into landscapes photography, it's ever changing and presents a decent challenge to keep your creative juices flowing.
• To shoot stunning landscapes of your own, check out the best cameras for landscape photography
Reader of PhotoPlus: The Canon Magazine, Alan Burchell, is a retired archaeologist from Cornwall and also served in the military and police. On retirement he became a mature student at Exeter University, reading archaeology to Masters level – here he also discovered he was dyslexic and dyscalculia. “This makes it difficult for me to completely understand manipulation of numbers and reading manuals,” he says. This hasn’t held him back with his photography, but Alan asked for our help to learn to use his Canon kit to capture local scenery.
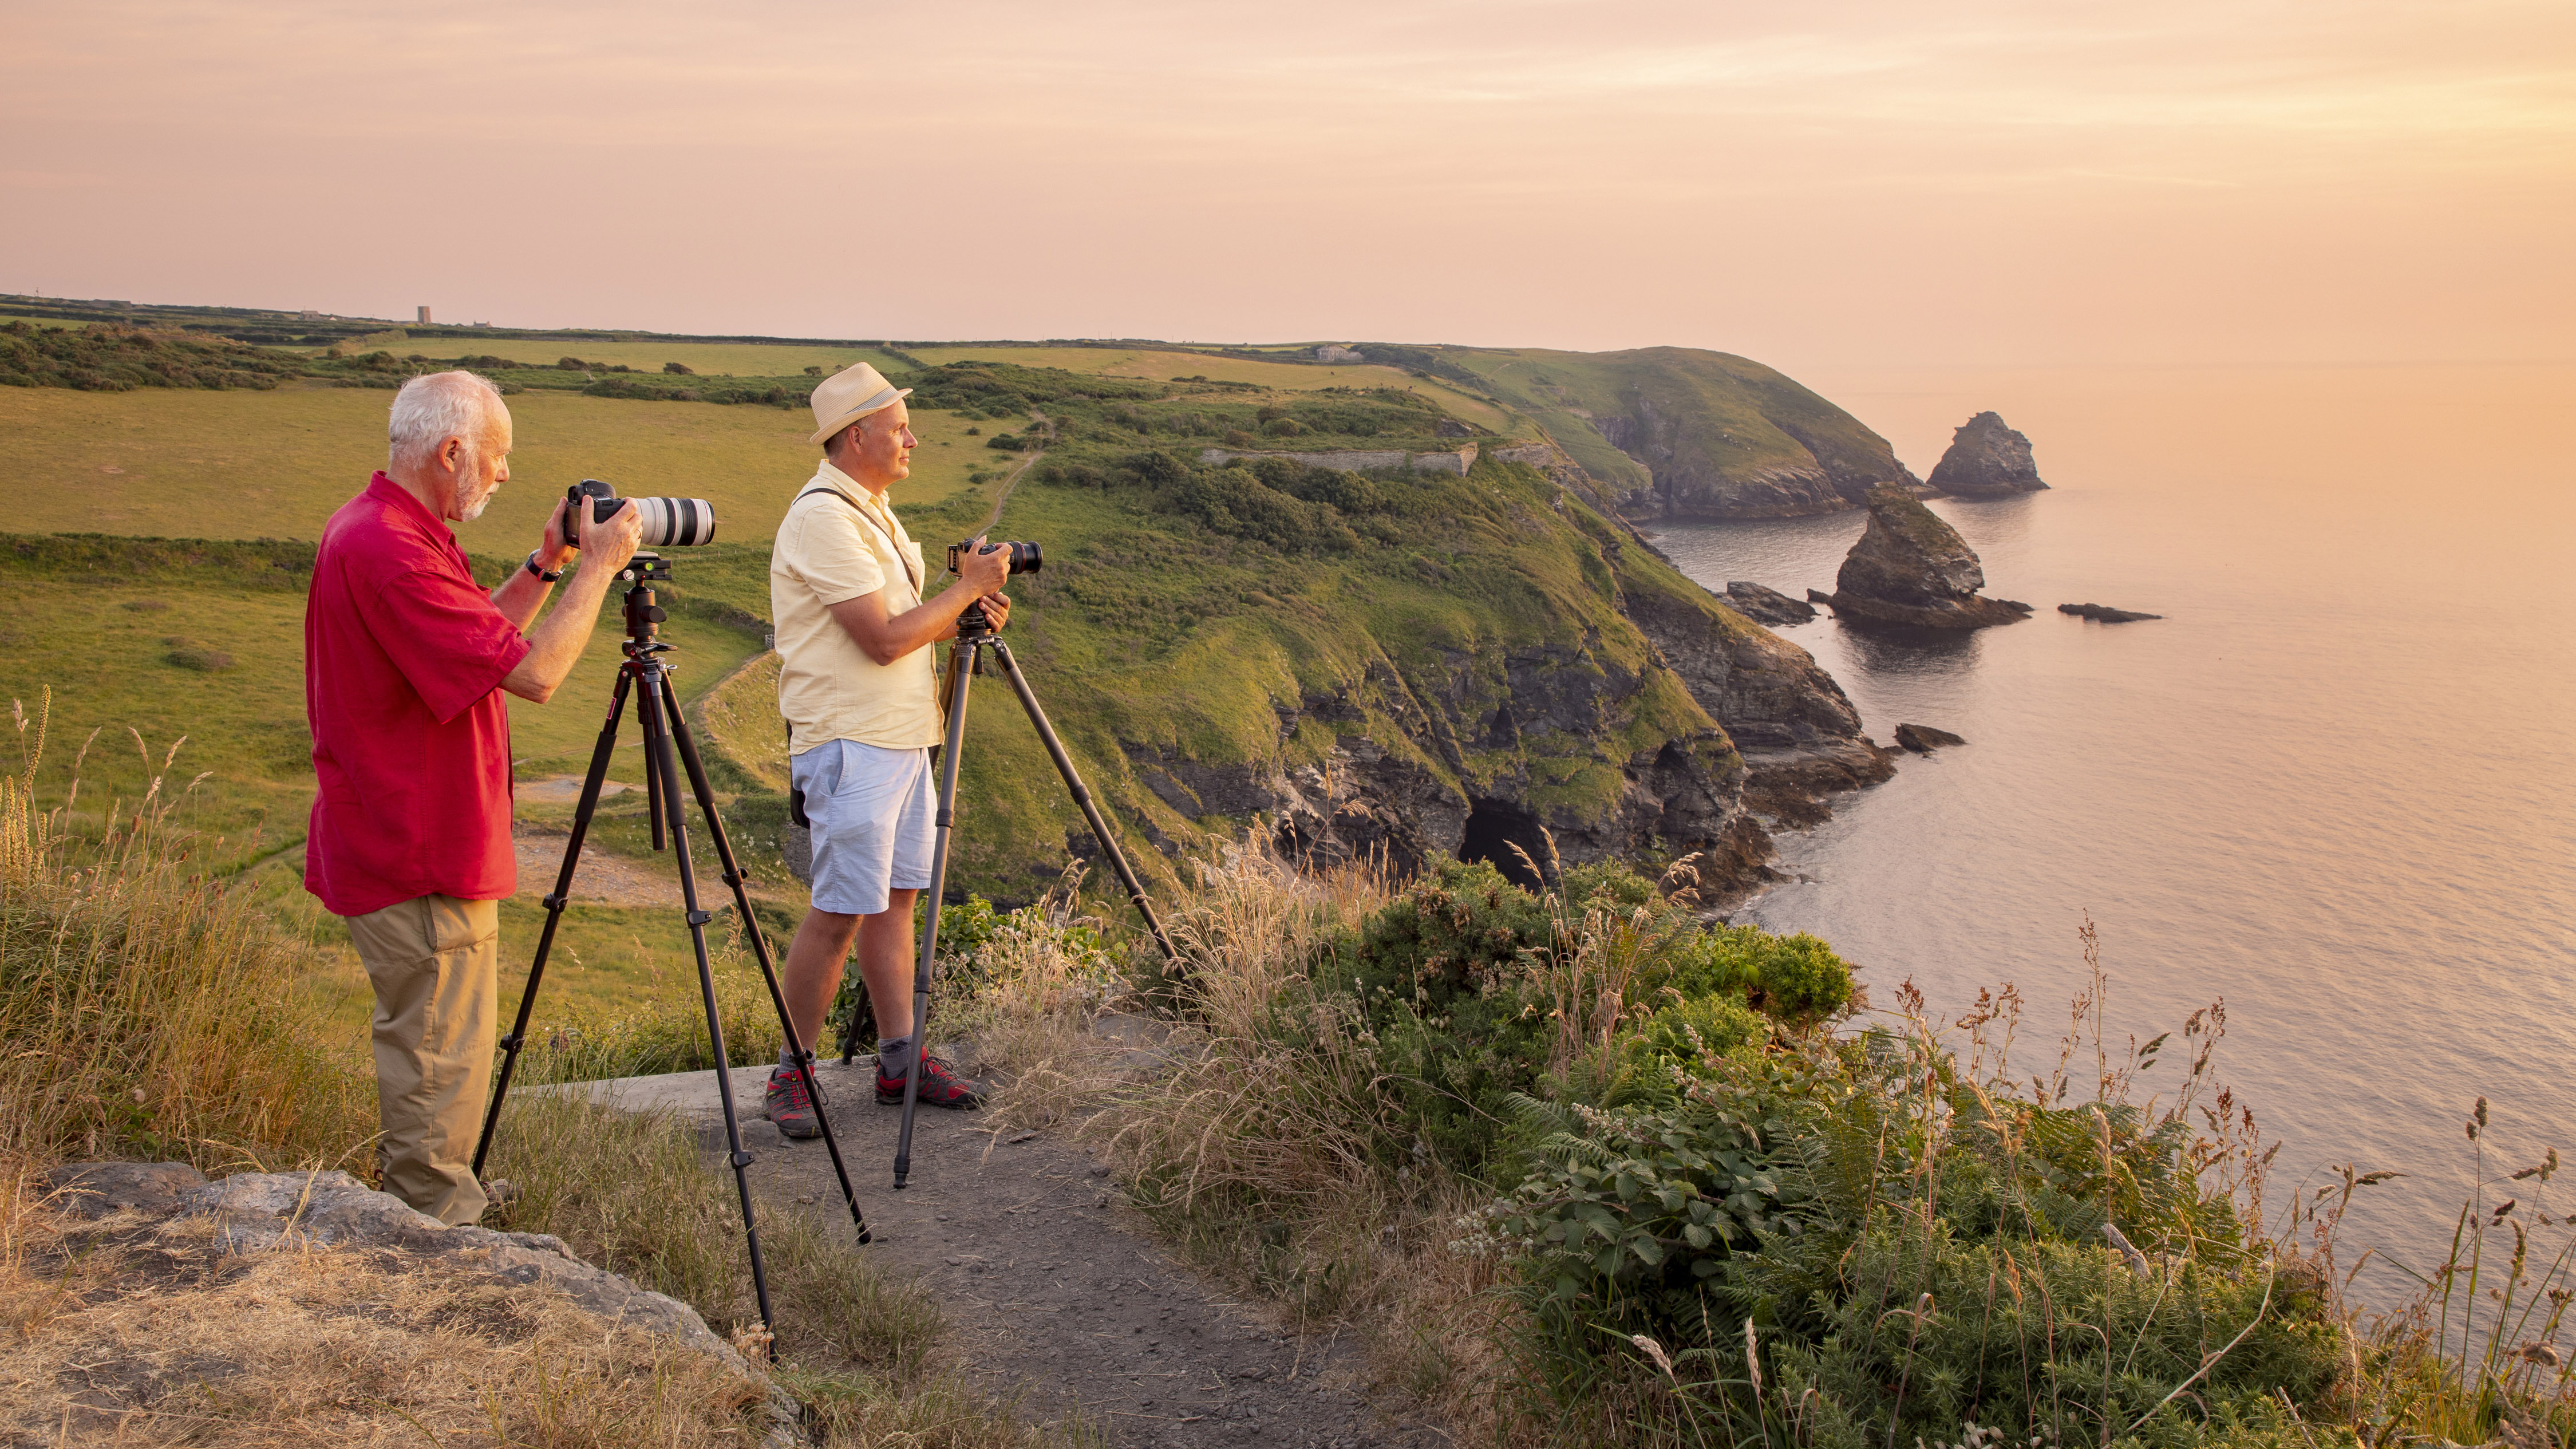
We paired him up with professional travel photographer David Clapp to show him the ropes on a day out around the beautiful North Cornwall coast in the UK. Here's some of the top tips David taught Alan on their workshop together.
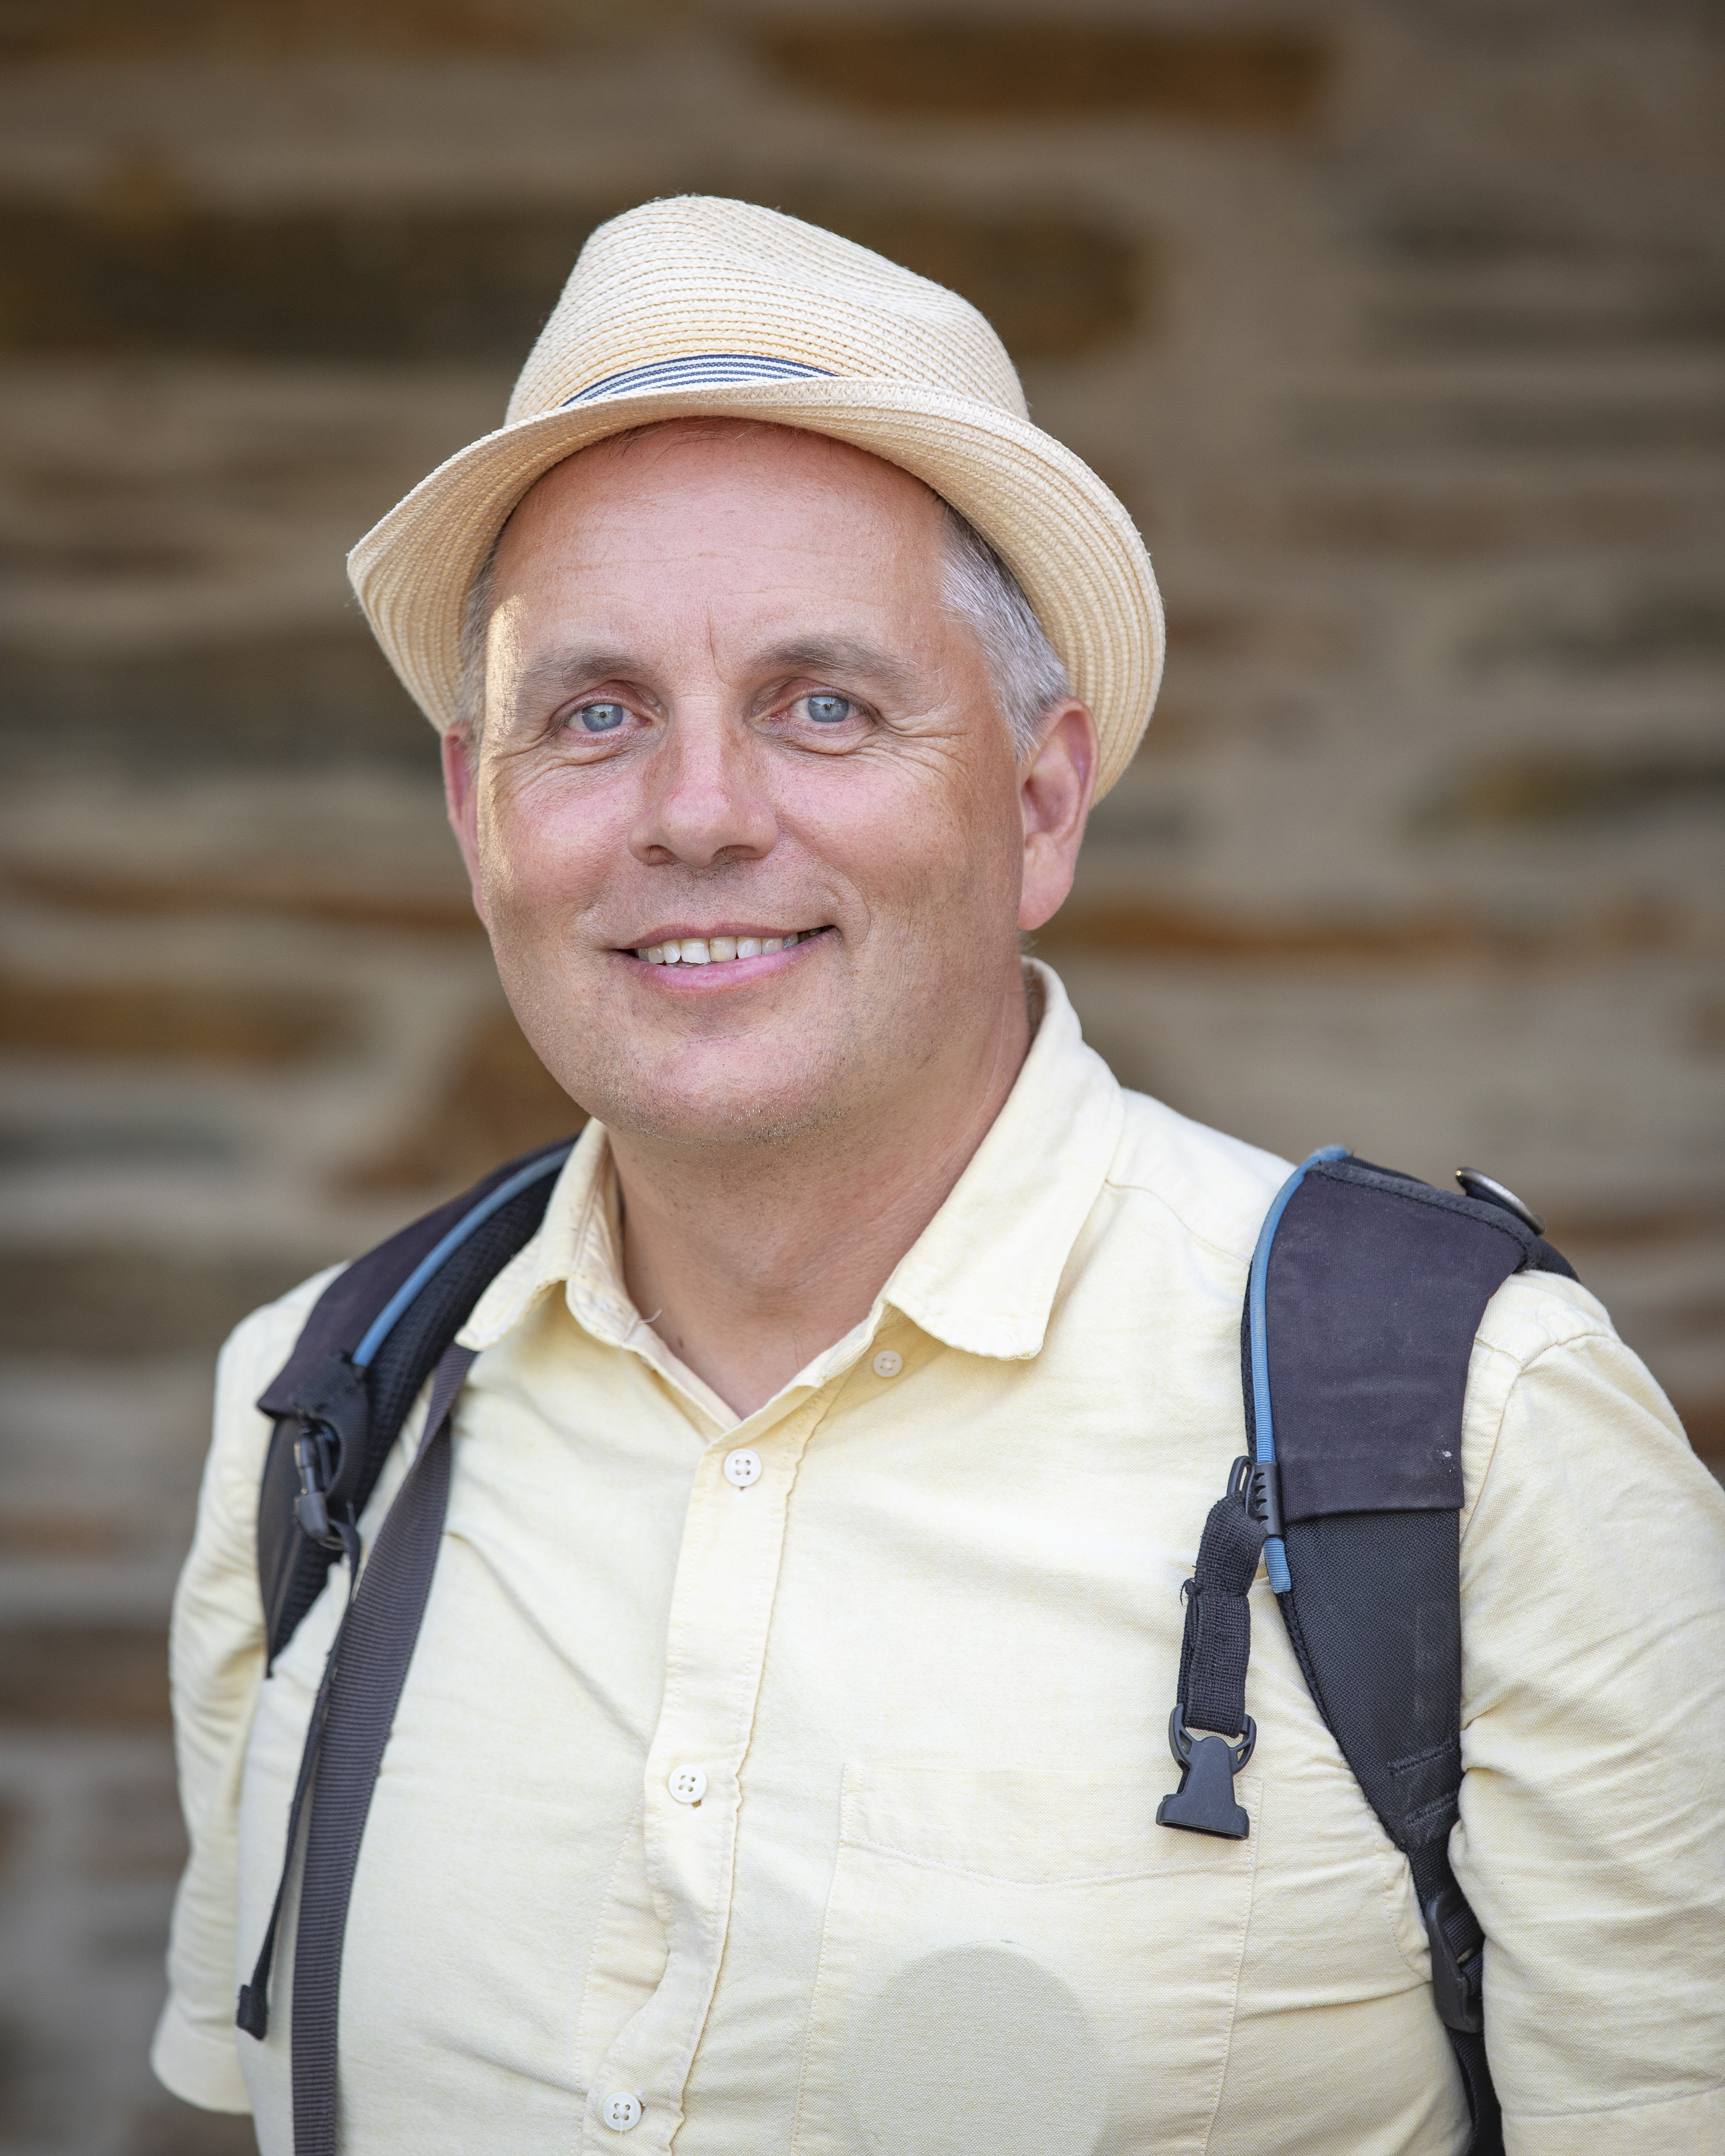
Canon landscape and travel photographer David is based in South Devon, but enjoys travelling the world with his Canon kit. Running seminars for Canon and his own photography workshops, David was the perfect pro to show our Apprentice Alan how to capture great seaside scenes and seascapes on the North Cornwall coast.
1. Use Av mode
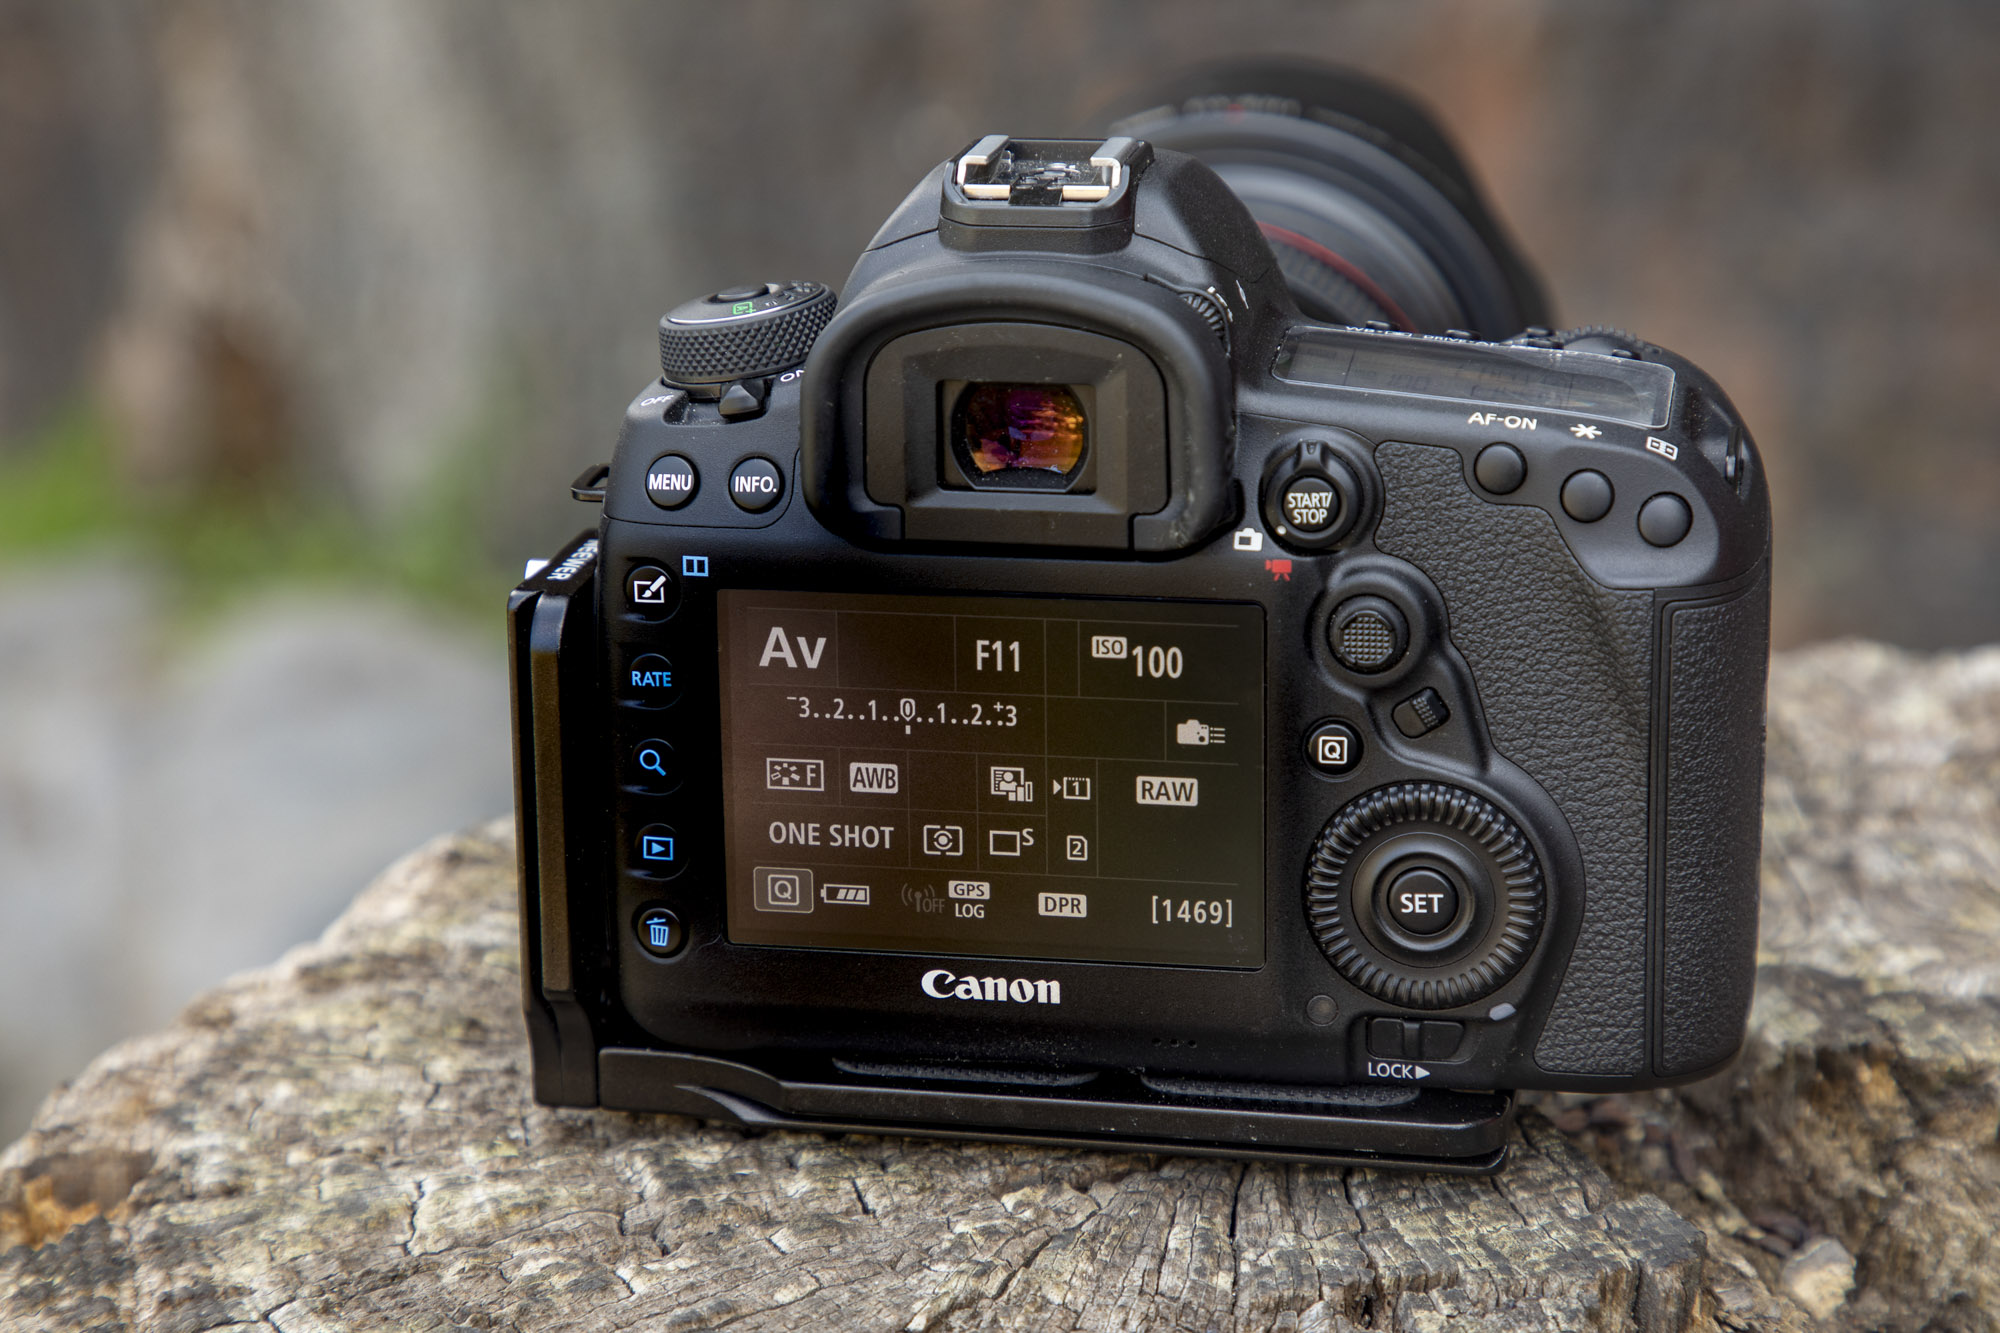
“I got Alan to set his Canon EOS 5D Mk IV to Aperture Priority (Av) mode,” says David. “So he could ensure his lens’s aperture was always around f/8 to f/11 for the best image quality, good depth of field, and totally sharp scenes. In Av mode, you set the aperture and ISO (we set ours to 100-200), and your camera sets the shutter speed for a standard exposure.”
2. Manual Focus
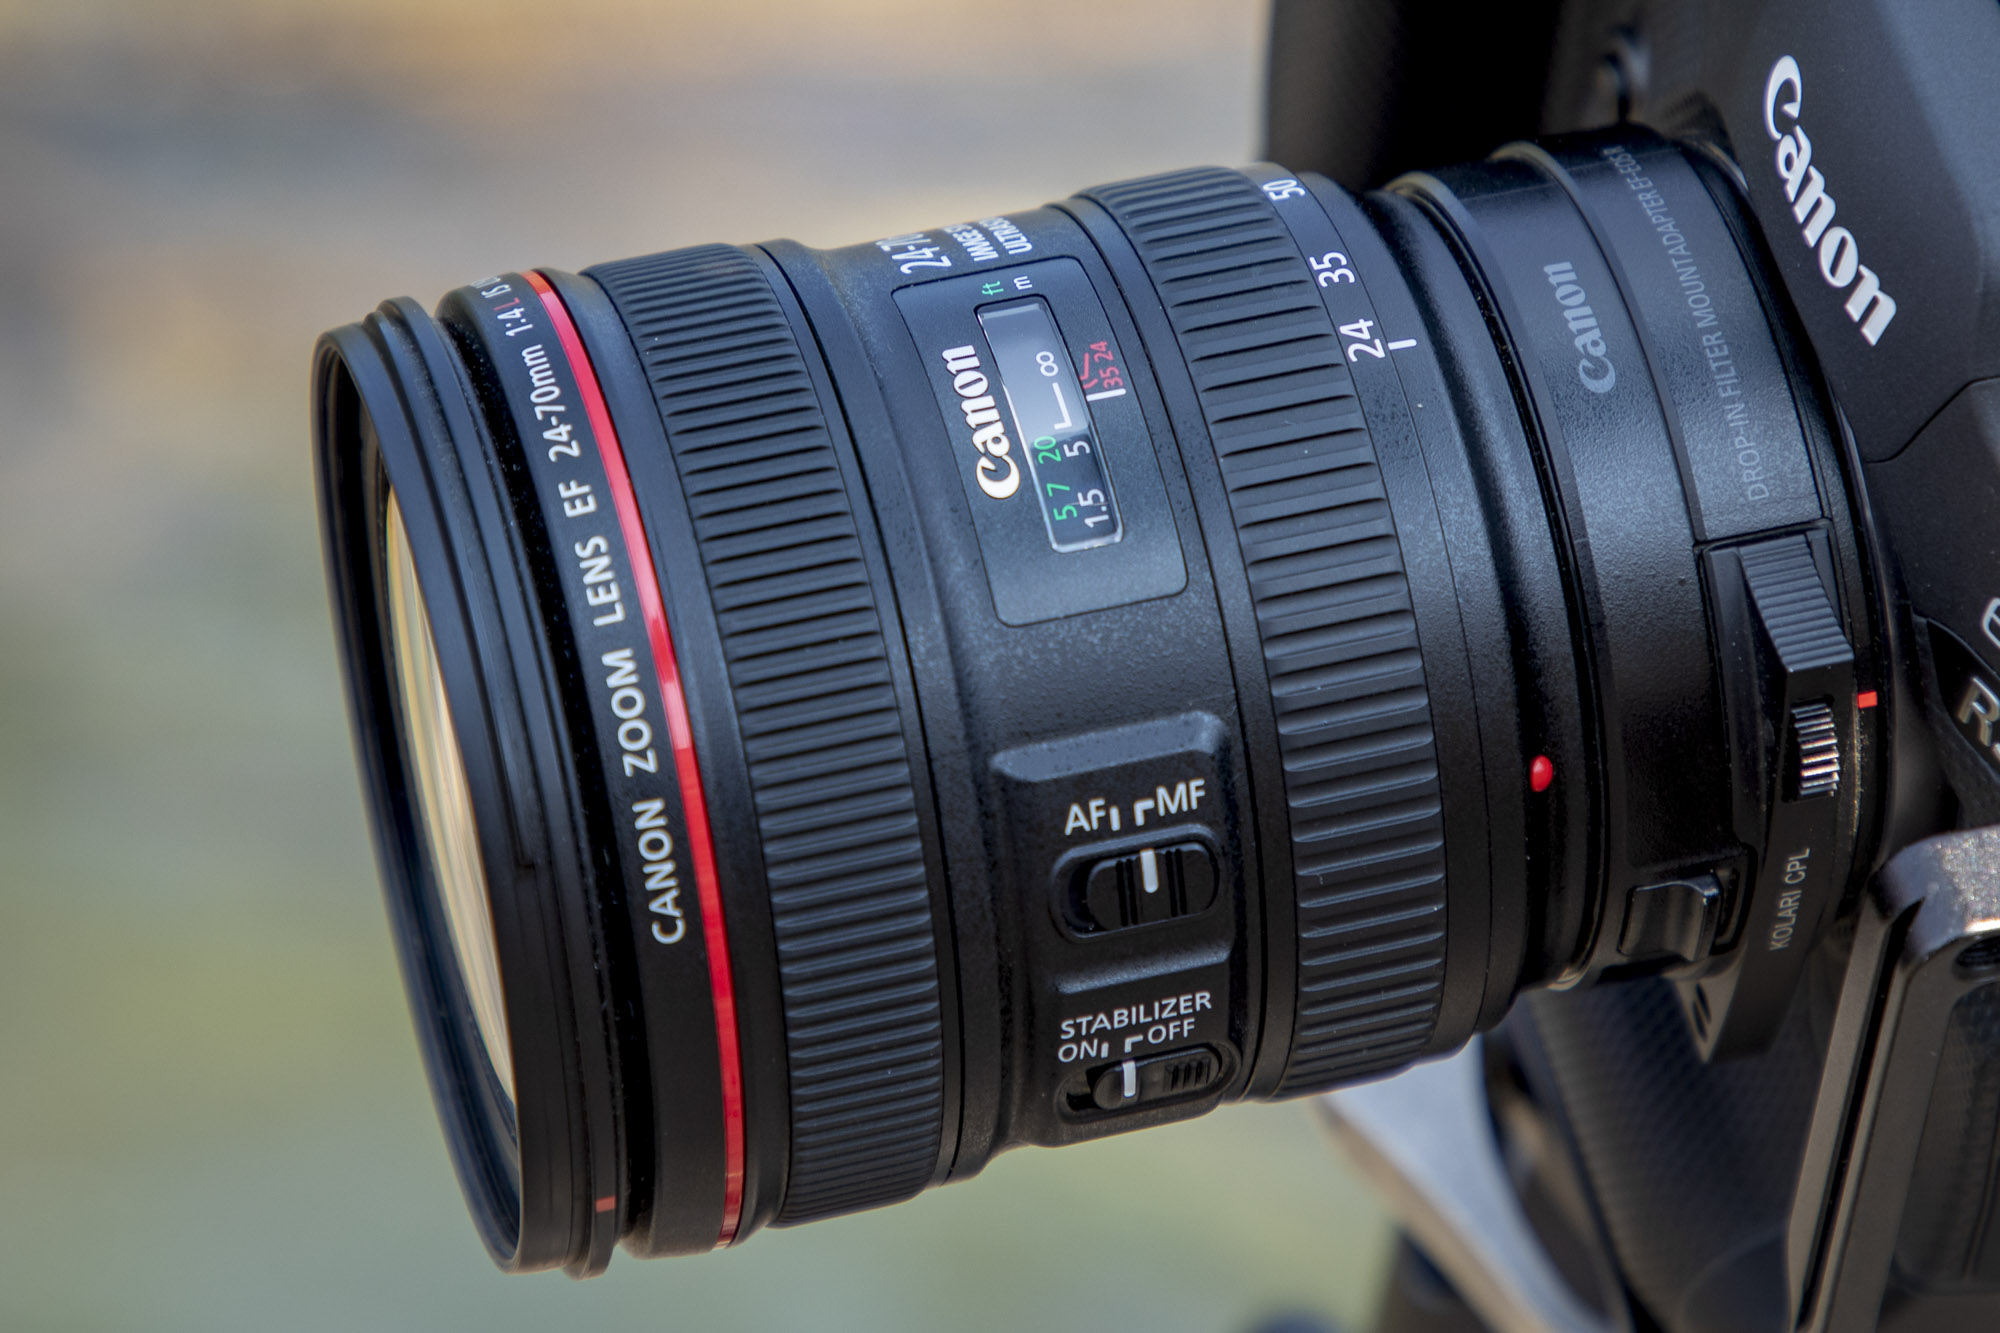
David explains how he focuses manually to infinity on his lens: “I always use the infinity L marker on lenses to focus to infinity for sharp landscape shots. Learn which point along the L marker to manually focus on with your own lenses, checking on the screen in Live View and zooming into the scene.
“Believe it or not, temperature can affect the infinity focusing point, due to the expansion and retraction of metal components in the lens. The L-shaped zone at the end of the focusing range is there to allow infinity focus at all times, should heat or cold cause the infinity point to drift.”
3. Canon EOS R3
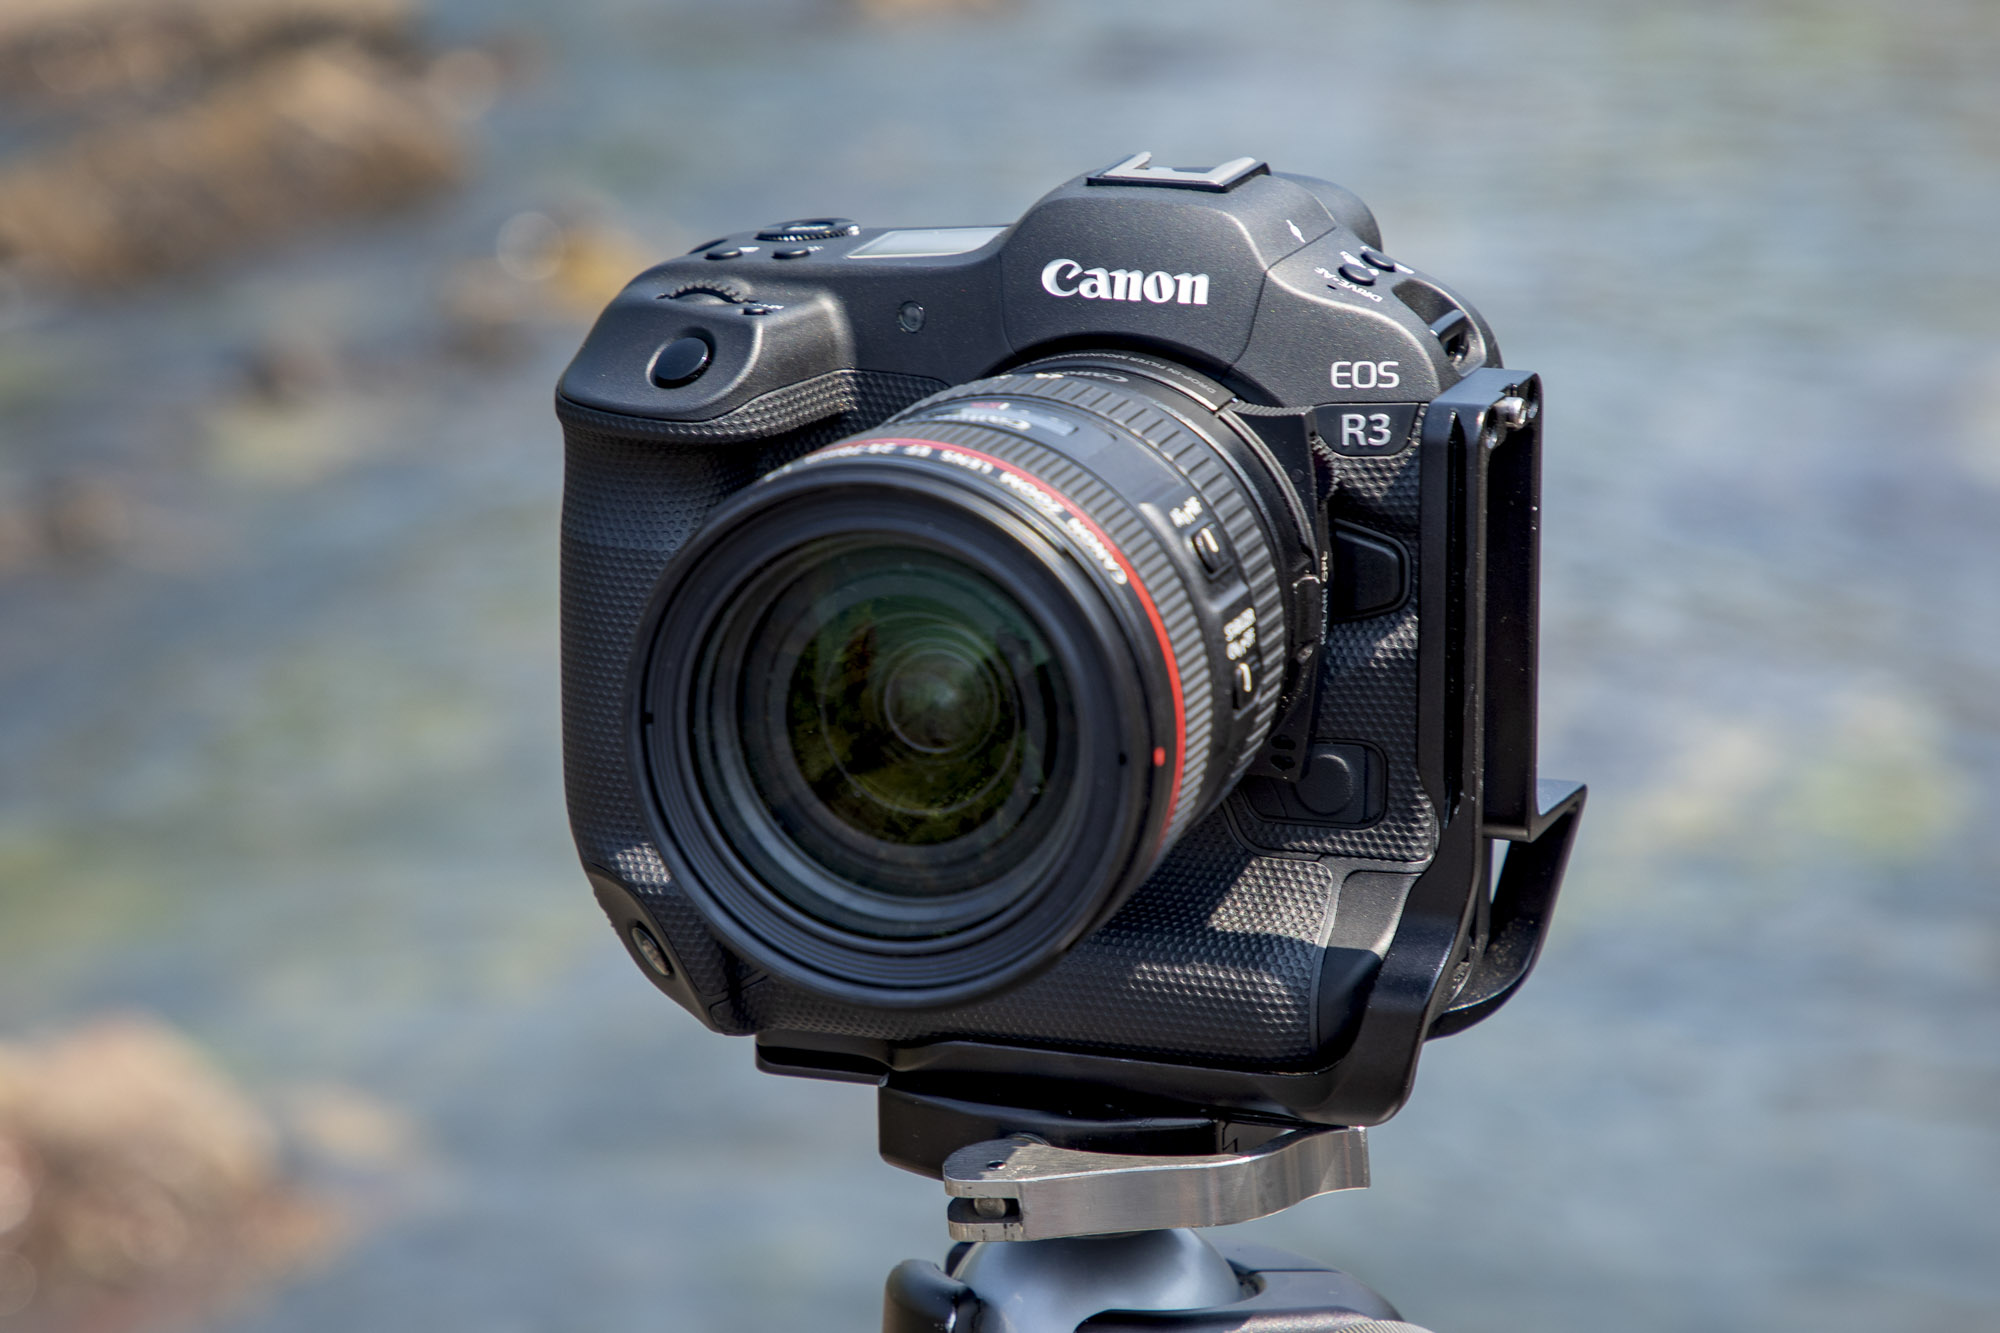
David has been biding his time to buy the right mirrorless camera, as he’d been happy with his 5D Mark IV images – but after trying out a Canon EOS R3 full-frame mirrorless, he instantly upgraded.
“The R3 is my first new camera in eight years! I now realise my future is a hybrid camera, for both stills and video. The R3 is a behemoth. This camera will revolutionise my photography world. I’ve started shooting beautiful videos of wildlife at sunrise – and using it for close-up orchid photography yesterday, it was so accurate with focus peaking and tracking.”
4. Move and compose handheld first
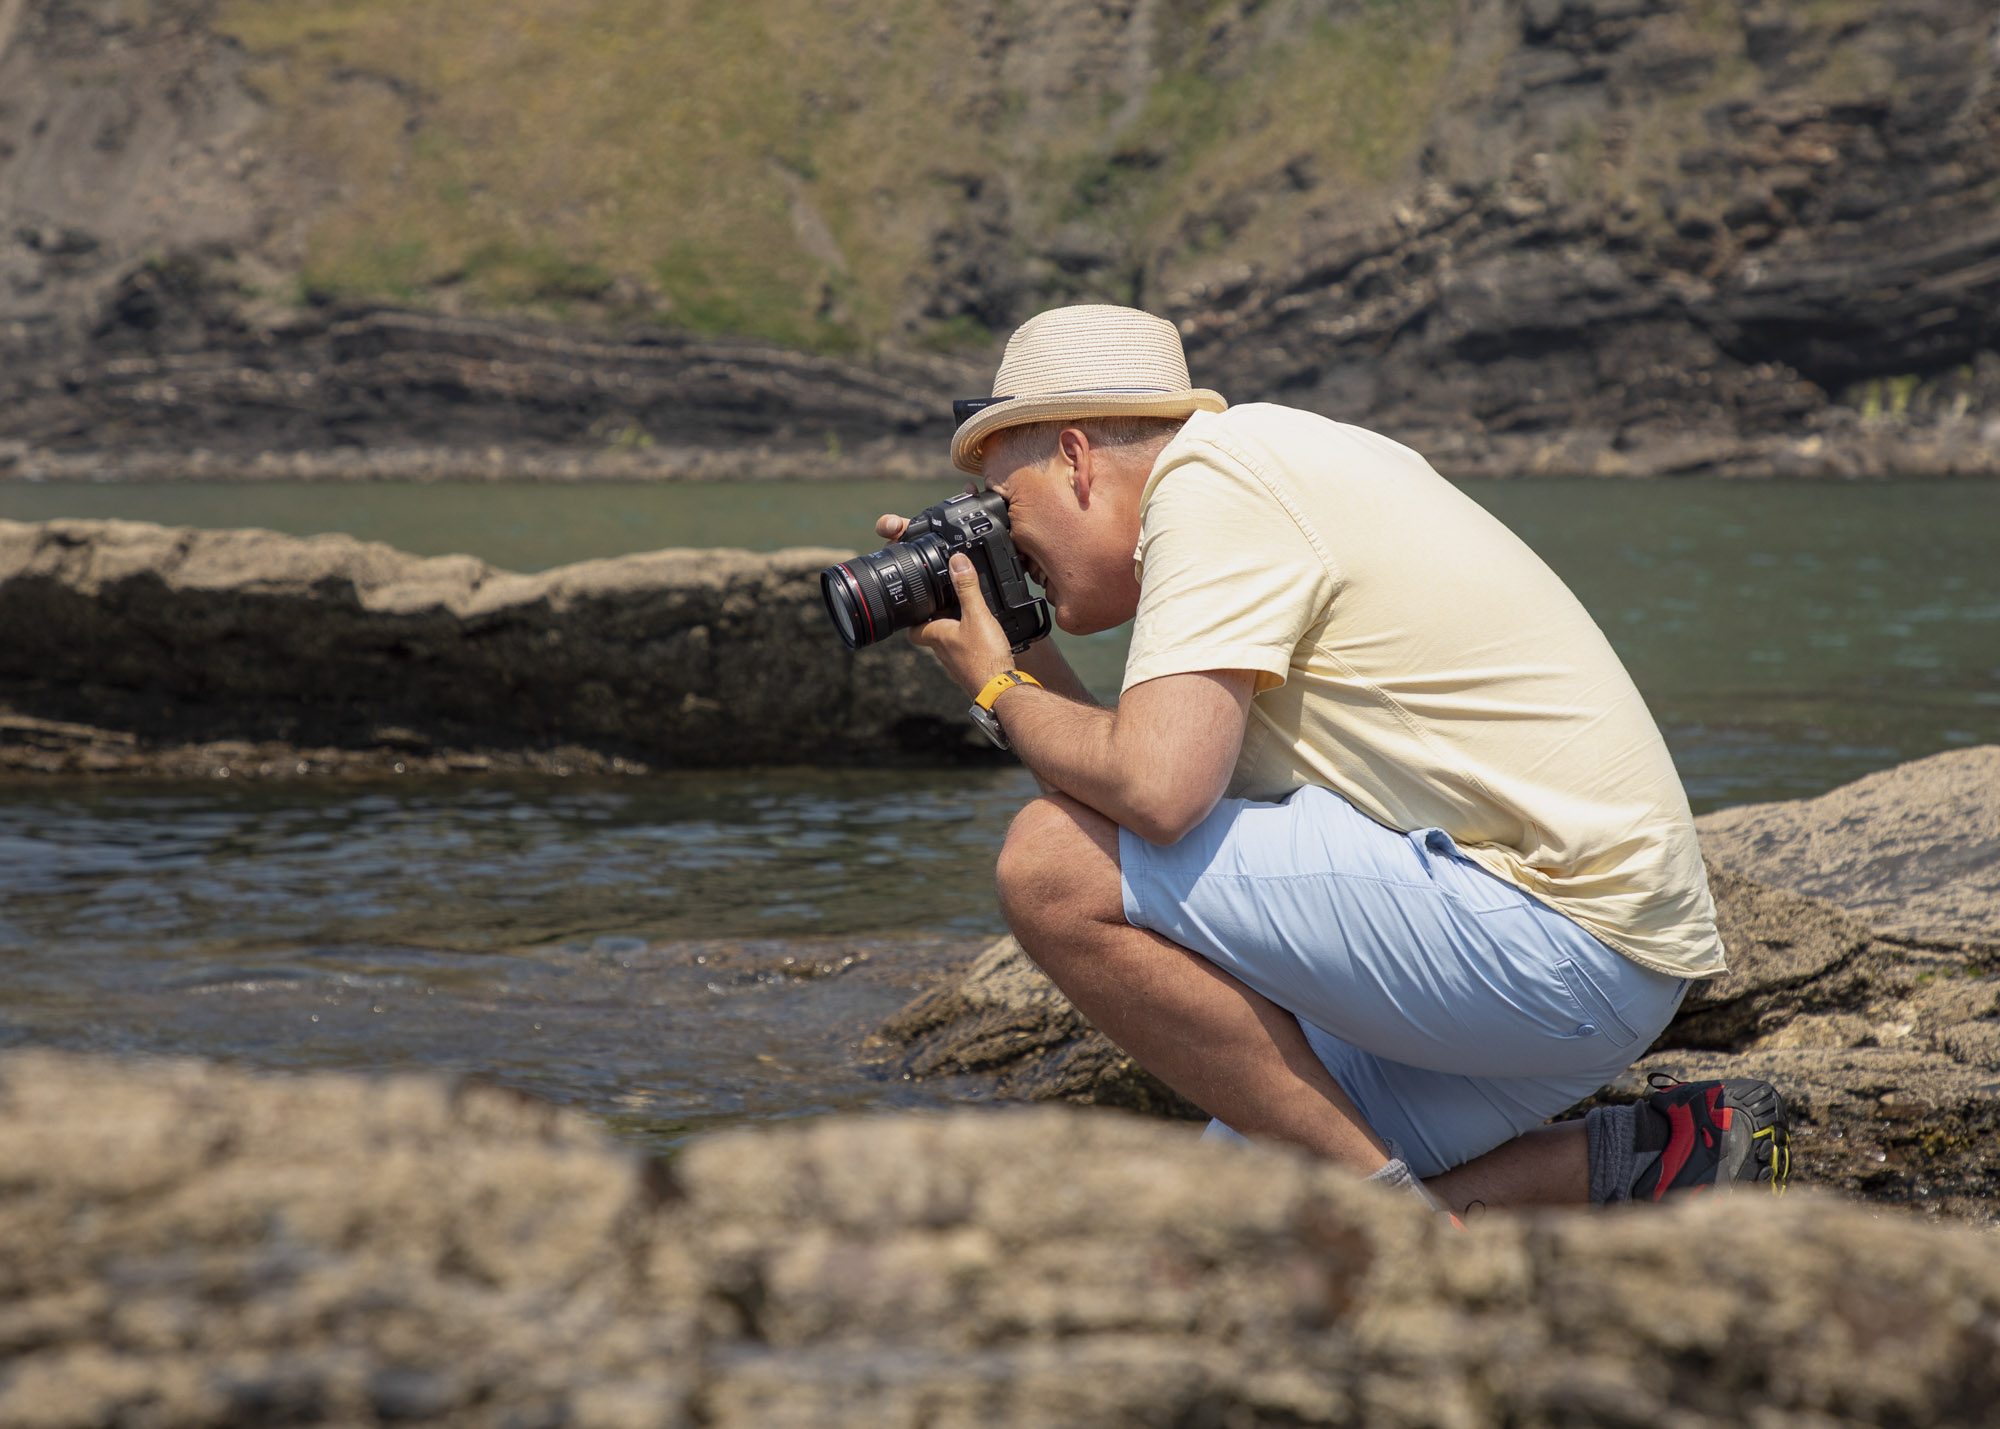
“Sometimes people can be too quick to fix their camera on a tripod in one spot and start shooting,” says David, “I like to look and move around a scene first, shooting handheld to find the location and height that captures the scene the best. Then I will set up my tripod and fine-tune my exposure and focus at this point.”
5. Neutral-Density filters
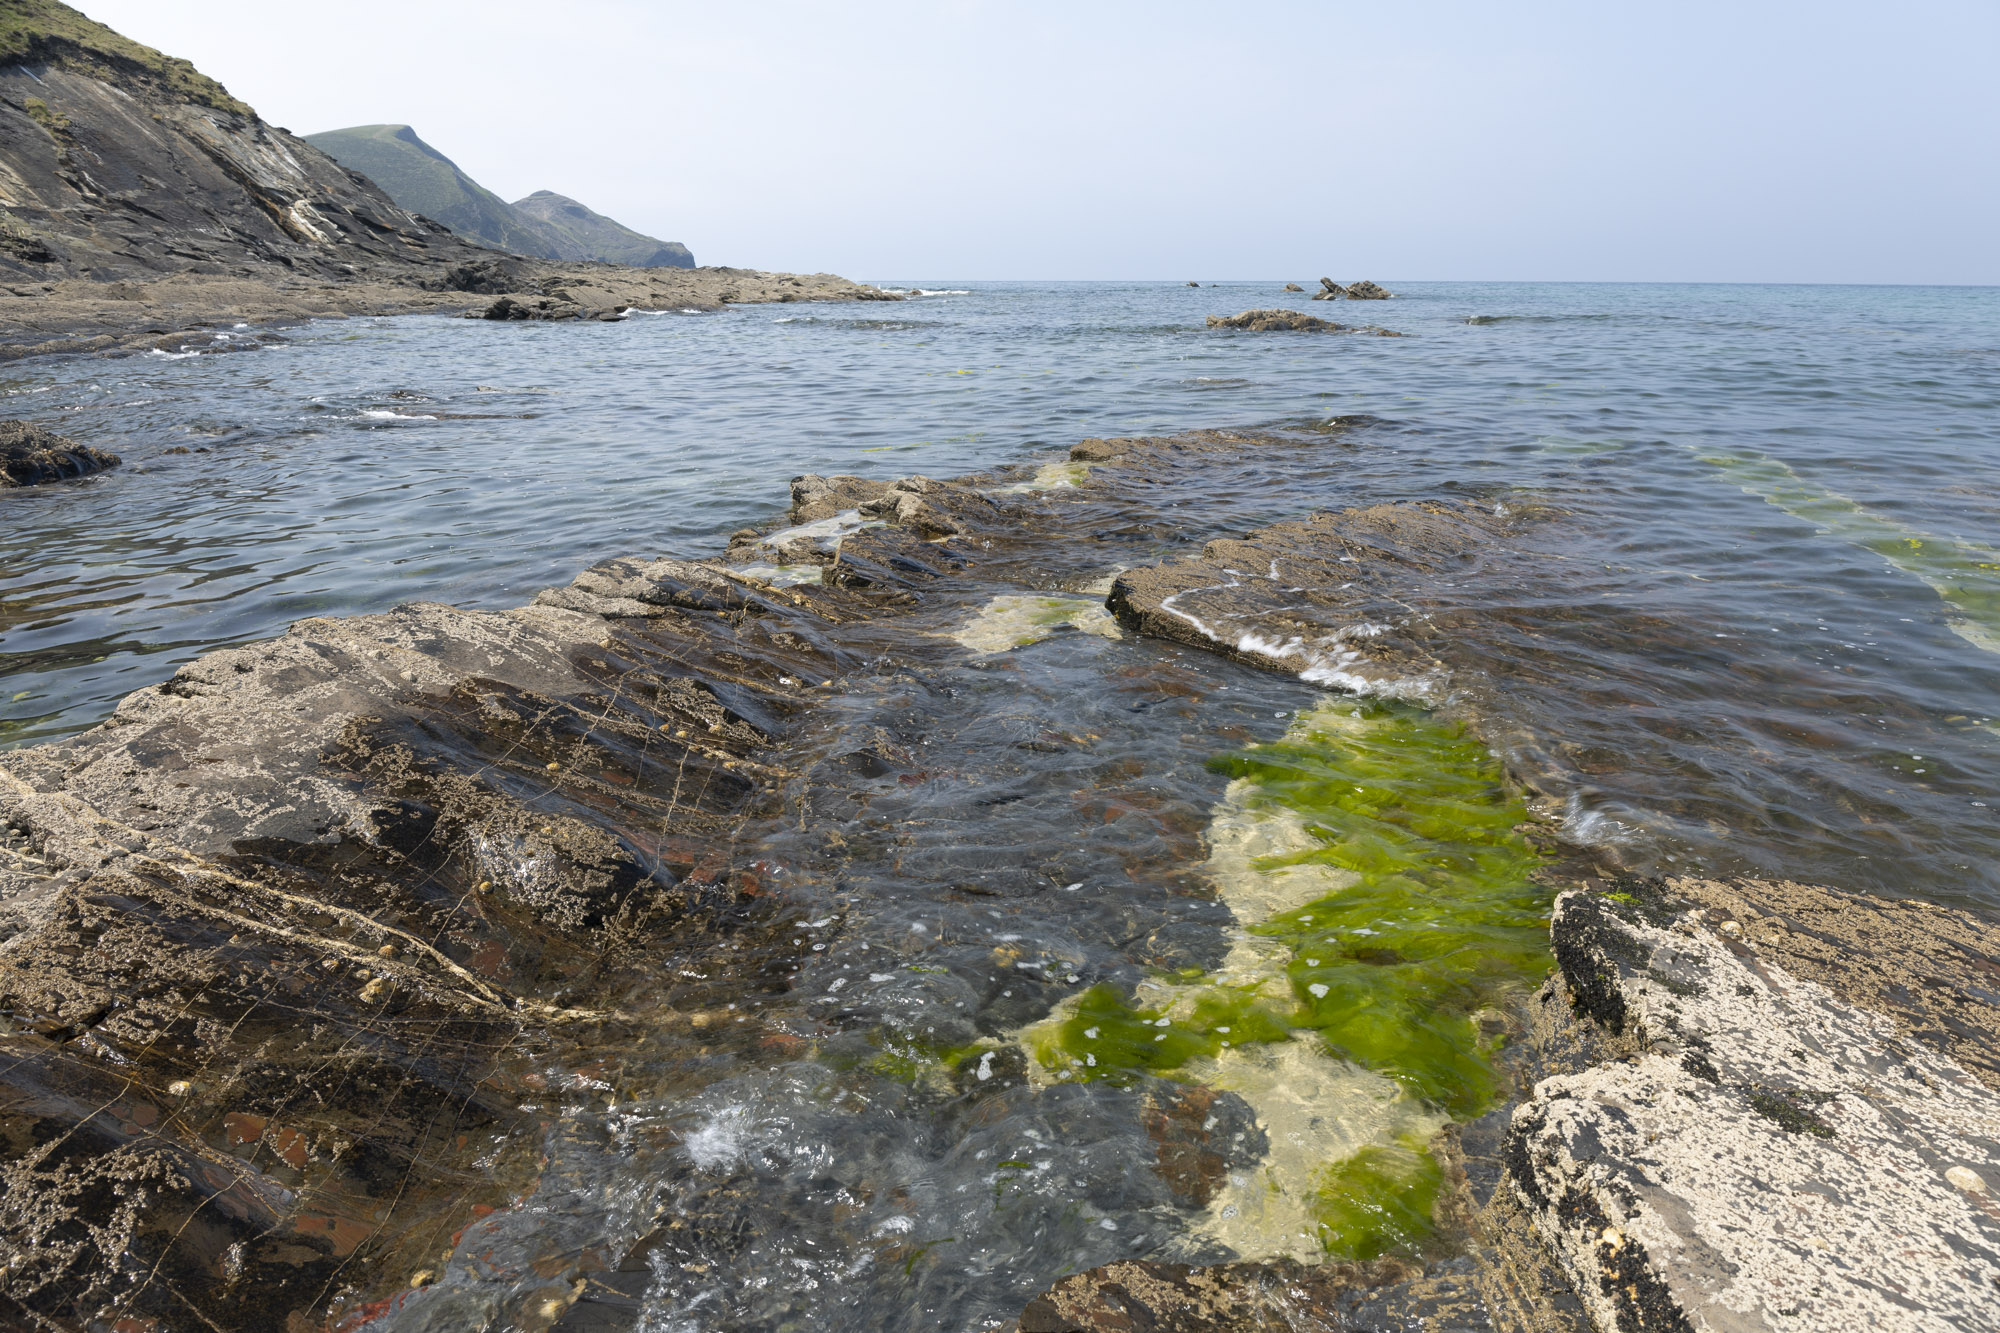
Alan has only used ND grad filters for darkening skies, but to make the seascapes in sunshine appear more interesting, David showed him how to use an ND for long exposures - even during the day.
“We had Alan’s camera locked on his tripod first. But before I screwed a spare B+W brand 10-stop 77mm ND filter on Alan’s 24-105mm, first we focused, as it’s hard to do so once a dark ND is on your lens."
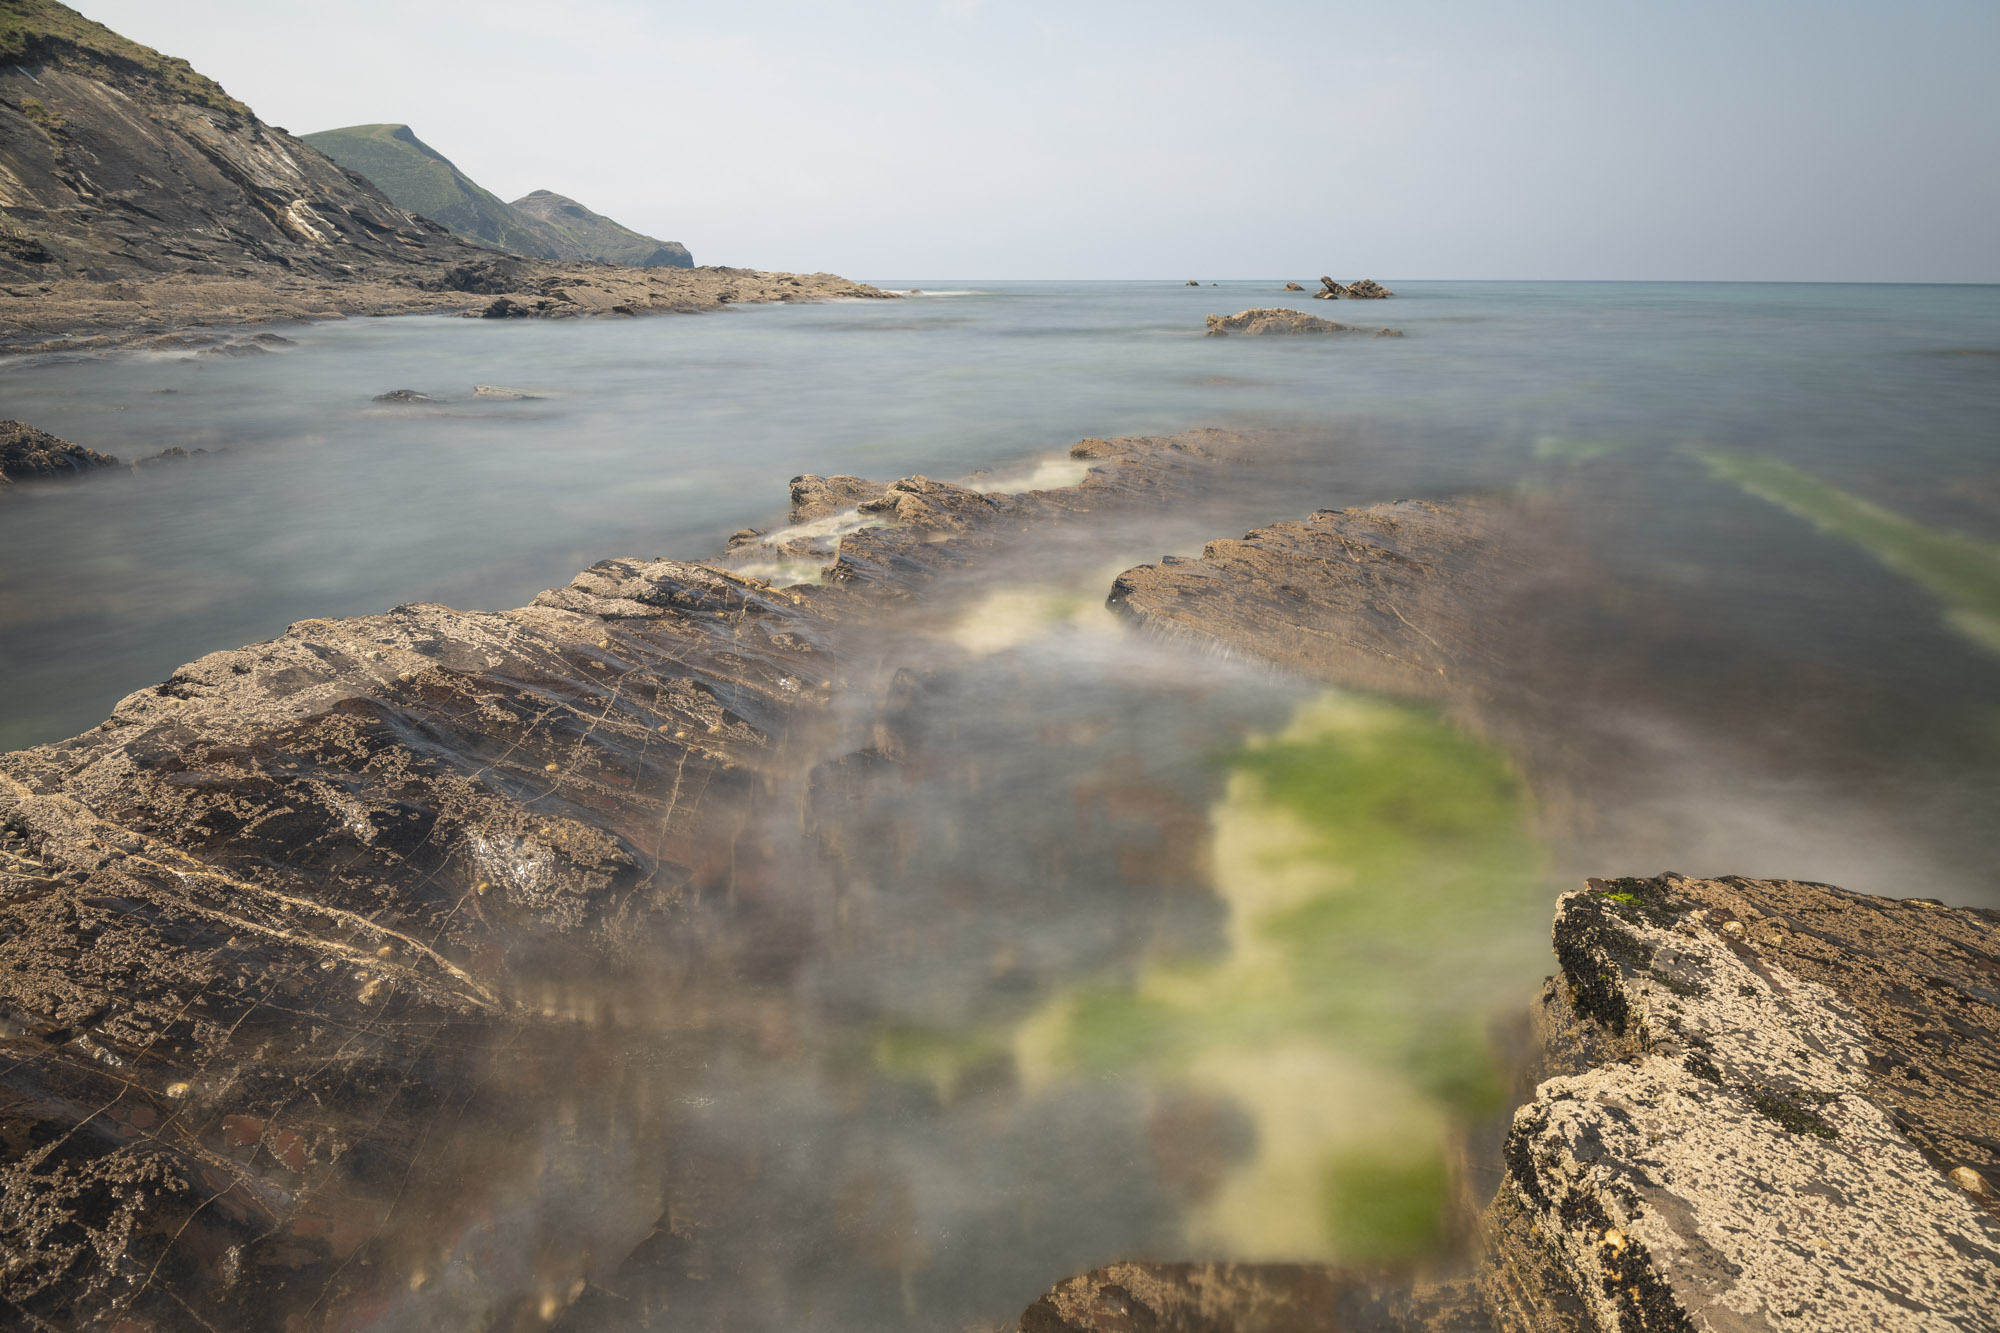
"We then blocked Alan’s viewfinder, as light goes into the camera’s sensor during long exposures in the day and affects your results.” A common problem with strong ND filters is they cause color casts, but David said you can overcome this by simply setting a custom white balance in your camera menu, using the color cast filter shot.
6. Mono Picture Style
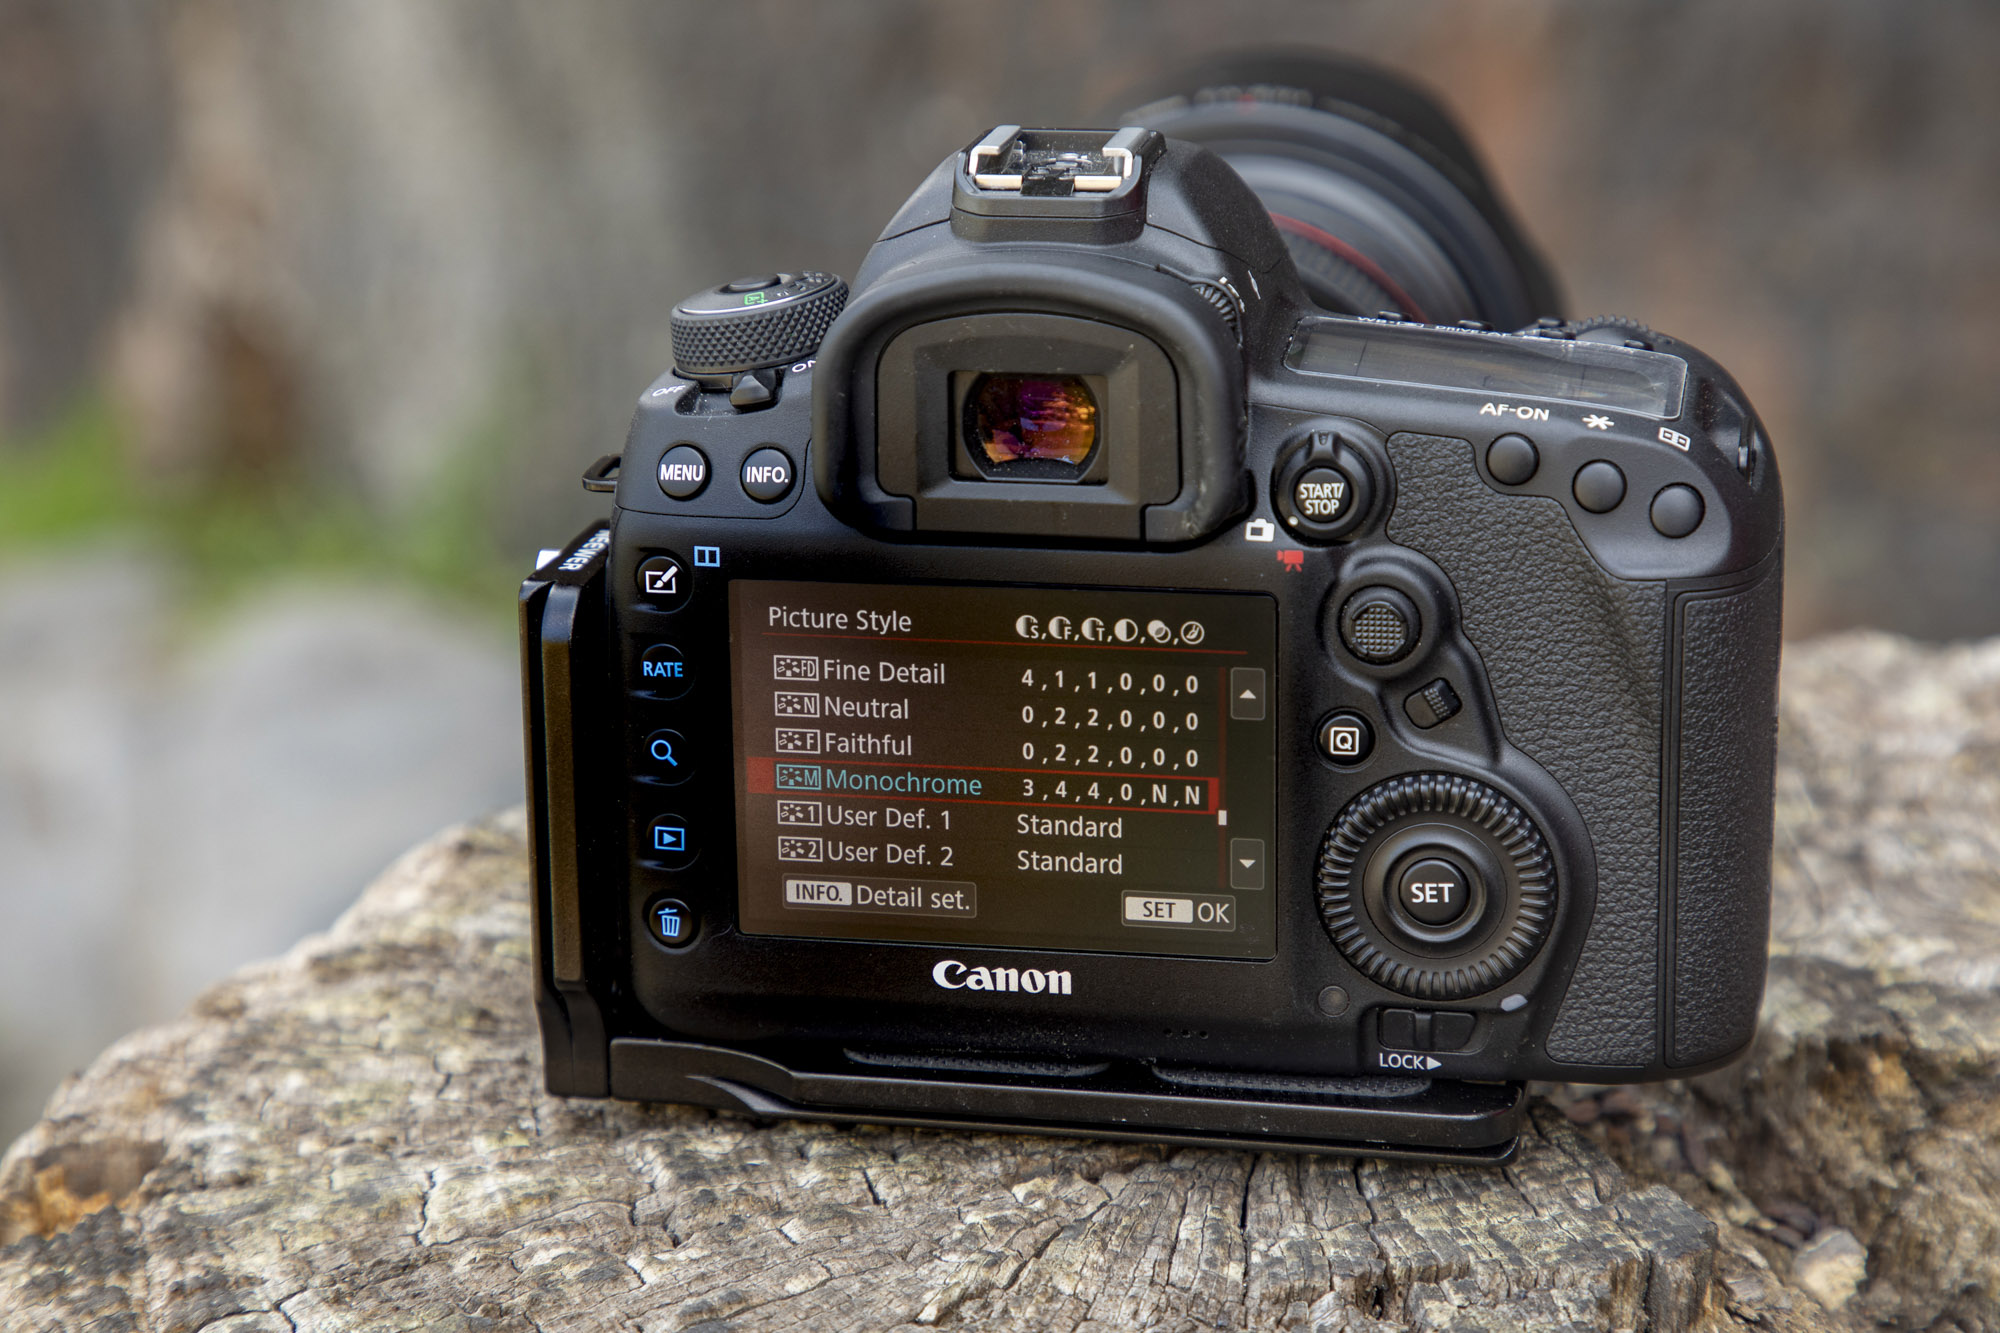
Featureless blue skies without interesting clouds and harsh early-afternoon light aren’t a landscape photographer’s best friend, so David suggested we shoot some black-and-white images to make the most of the conditions. “The best way to shoot in black and white is to use the Monochrome Picture Style on your Canon, so you can see how the shot is working when colour is removed,” says David.
7. Drop-in Filter Mount Adapter EF-EOS R
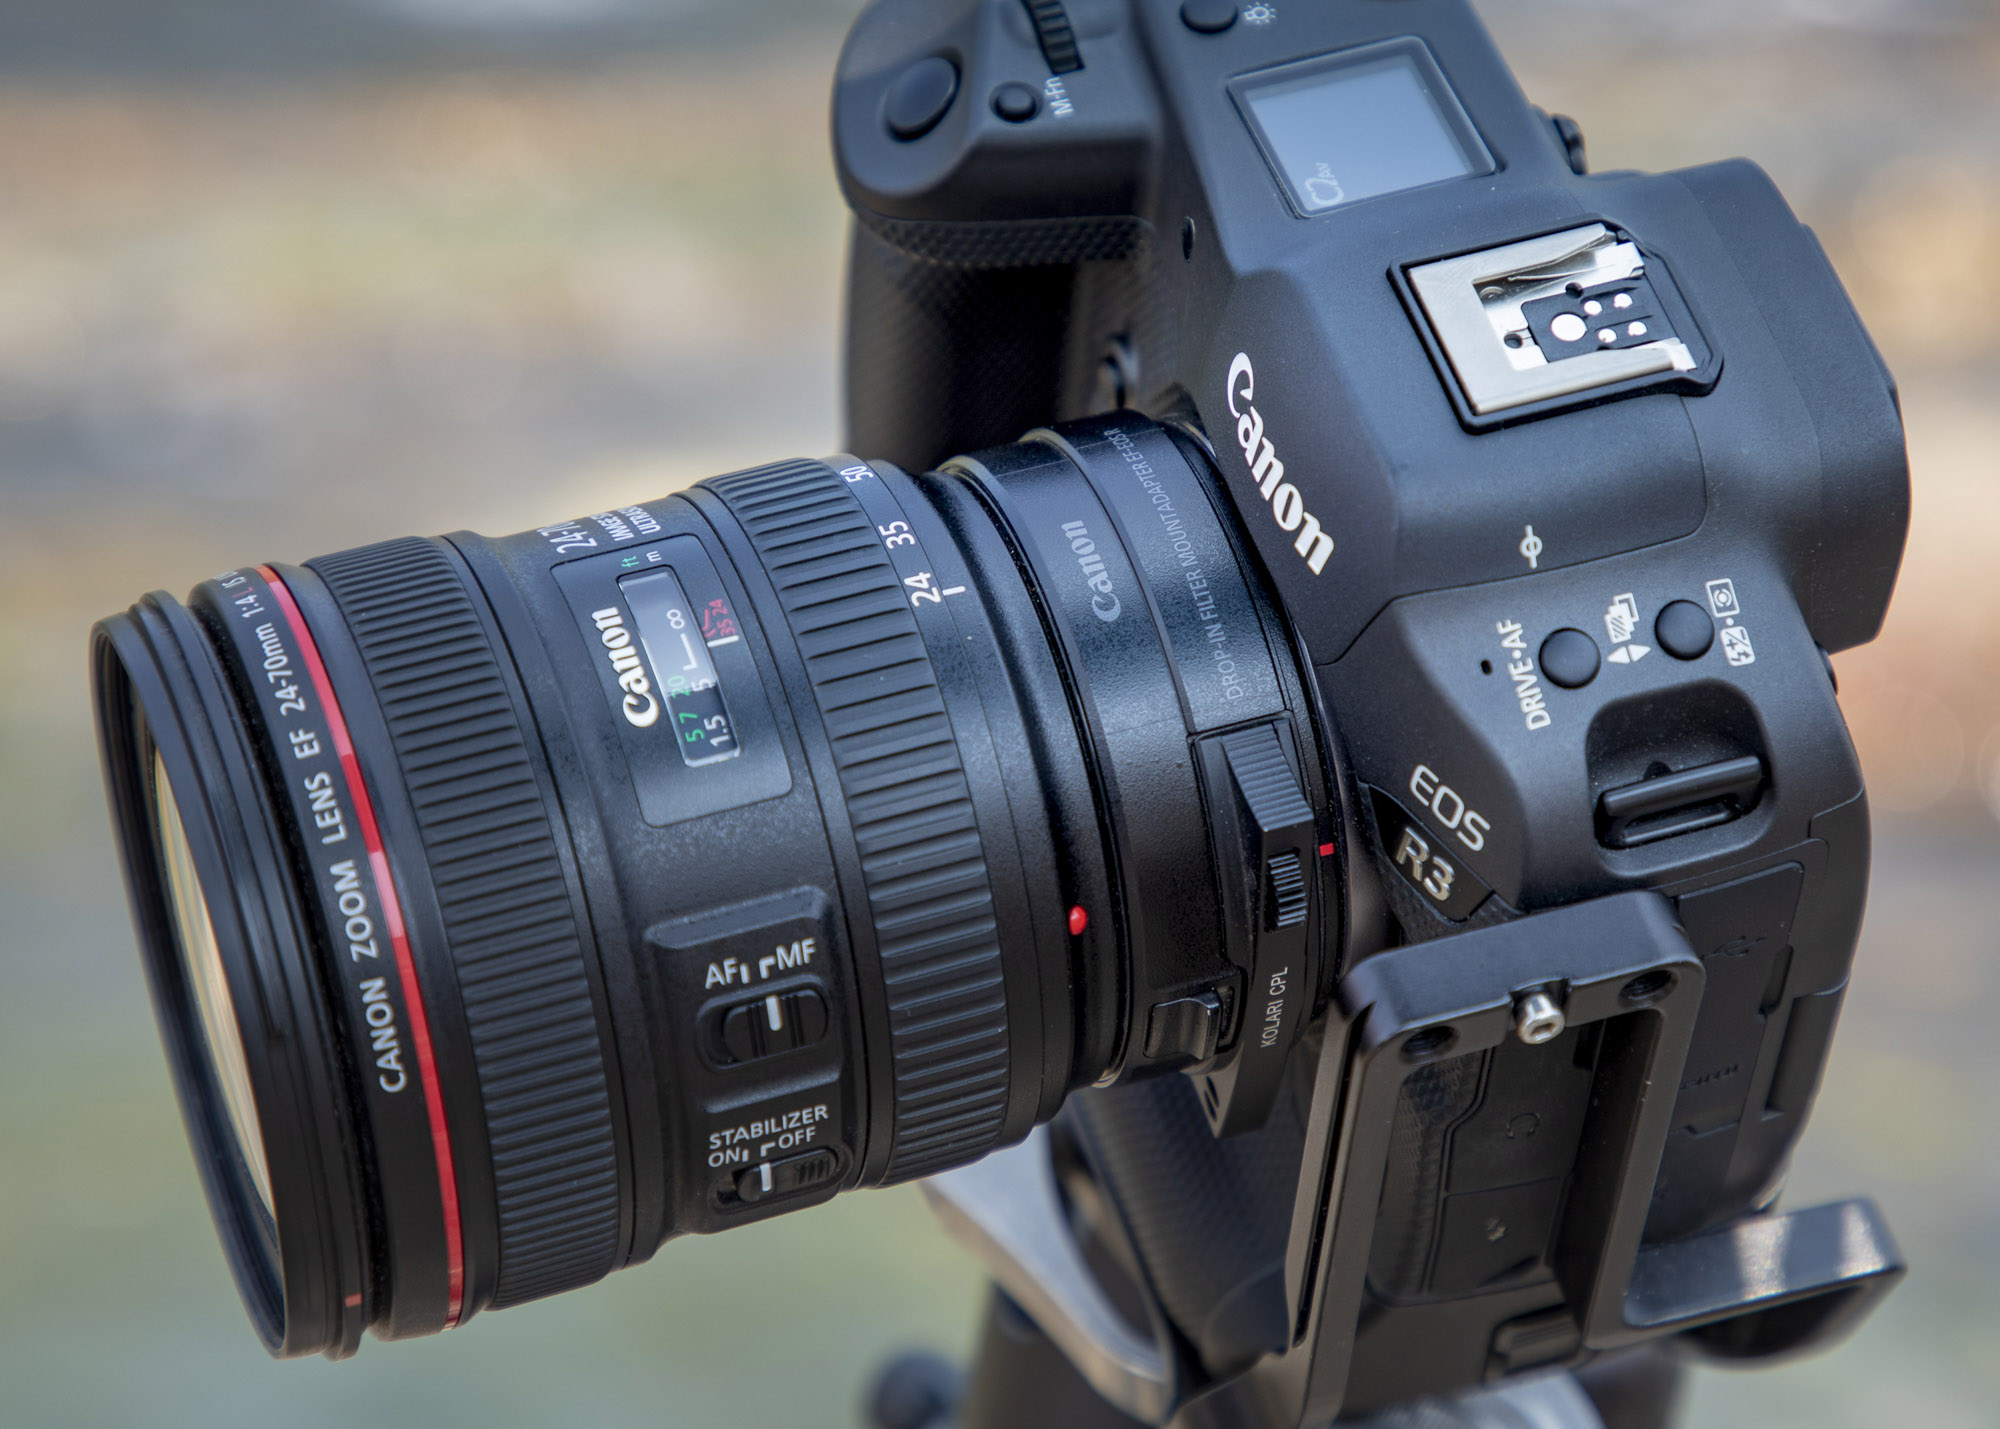
“I still mostly use Canon EF lenses on my EOS R3,” says David, “but rather than the usual Canon Mount Adapter EF-EOS R, I use the Drop-in Filter Mount Adapter EF-EOS R. I can use it for attaching EF lenses while shooting with my R3, but the real bonus is I only need one size of smaller filters for any EF lens I use on my R3. I can drop in an ND filter or a circular polarizer – and it won’t get dusty or wet on the end of my lens!”
8. Strong and tall pro tripod
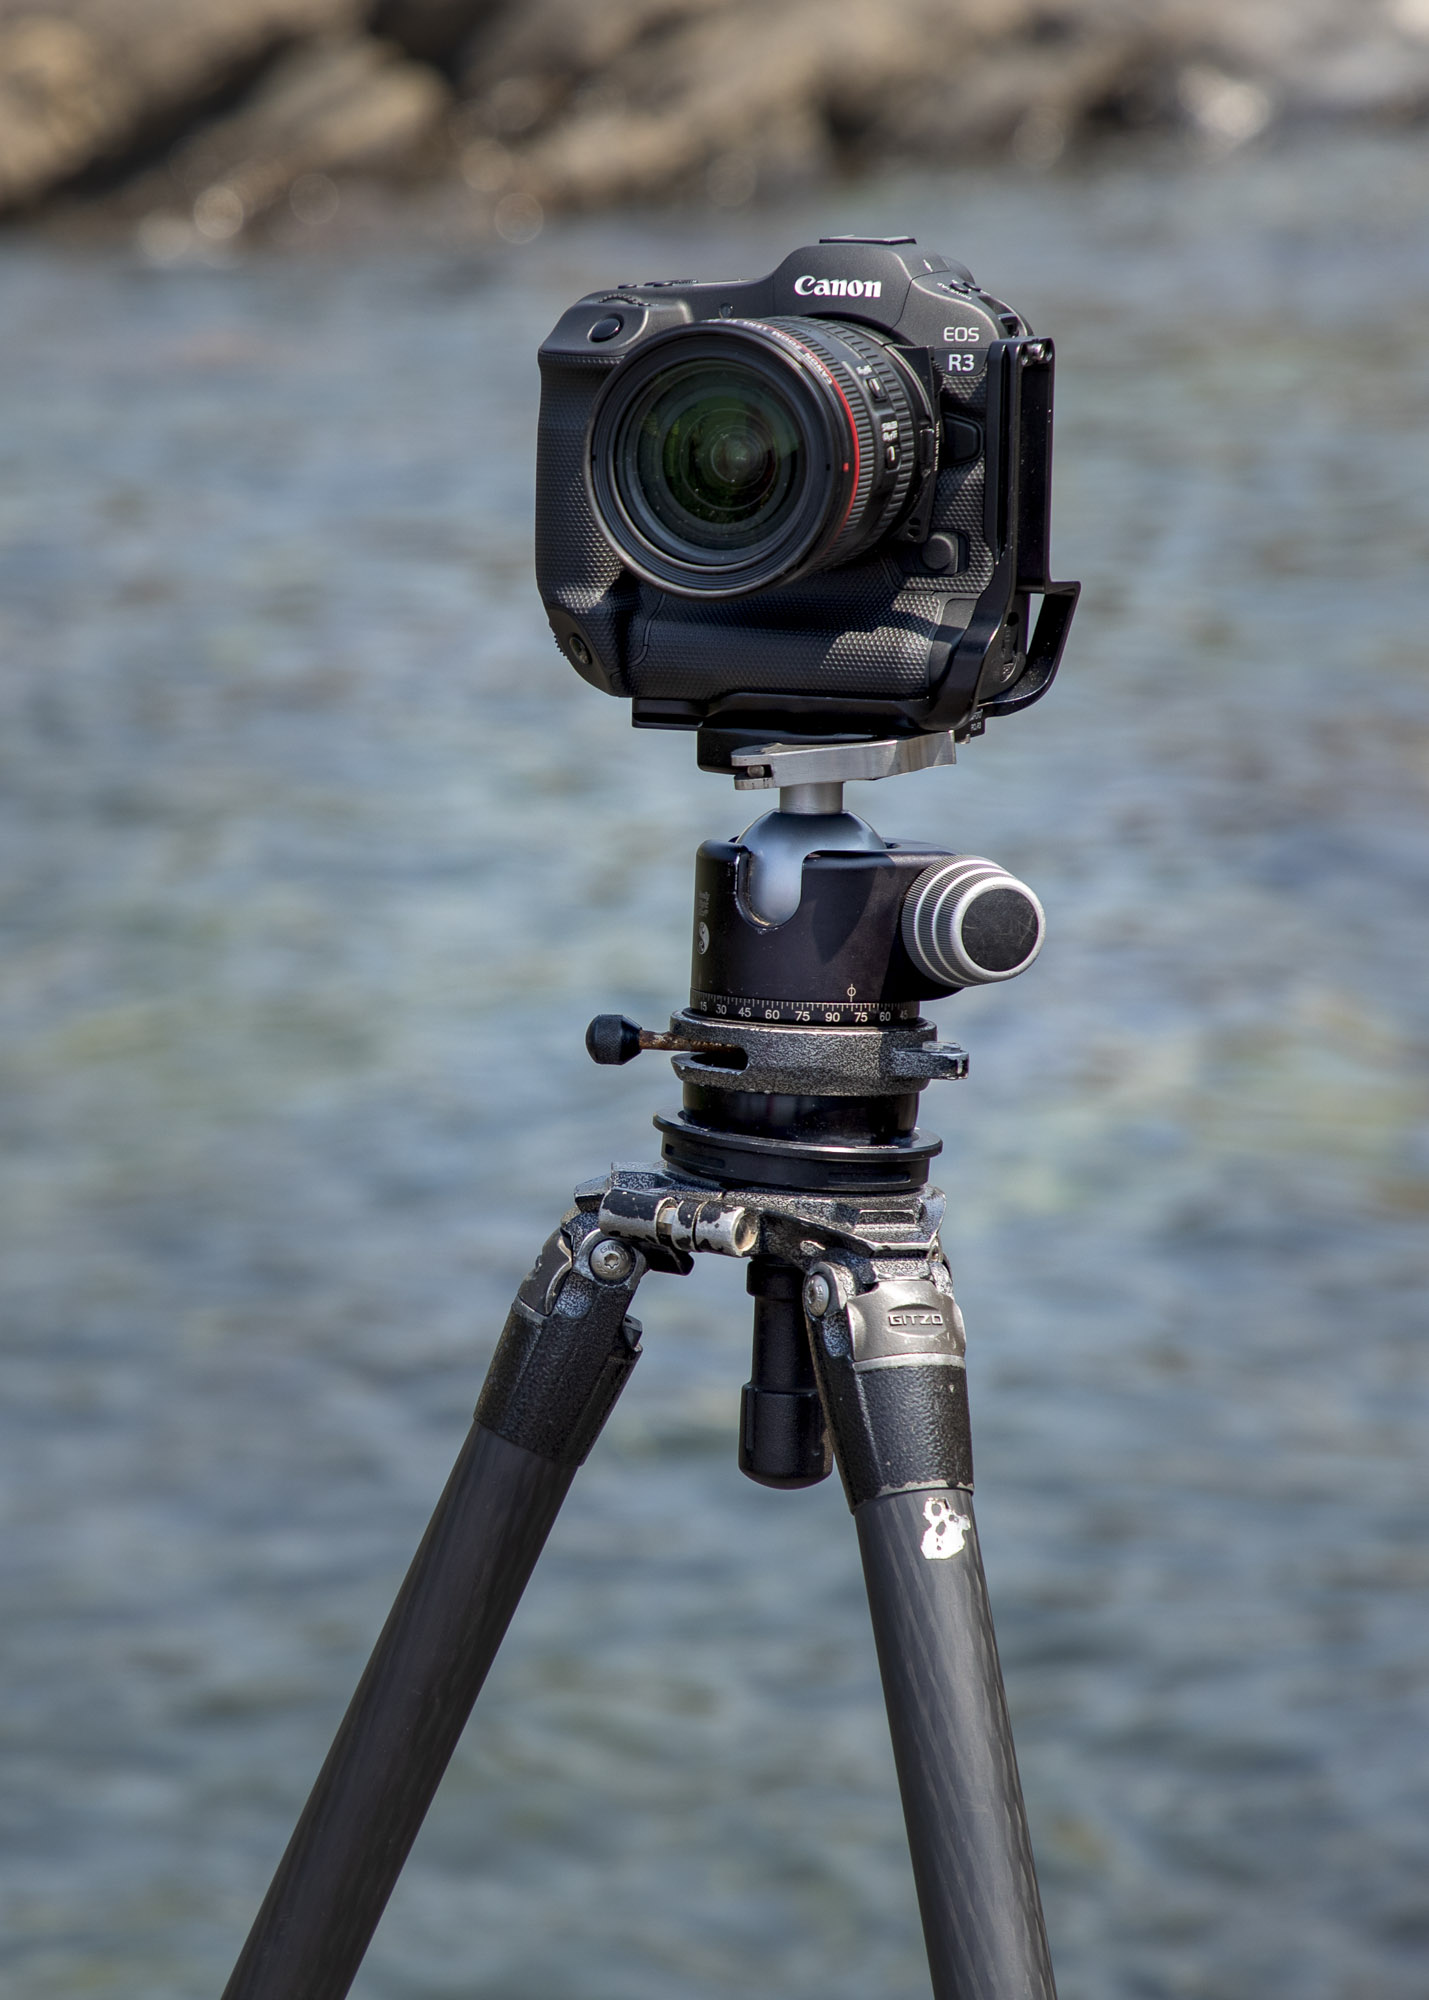
A solid tripod is essential for any landscape-type shots, but a tall tripod is especially useful for seascapes when you need to dig the feet into wet sand, or compose with water lapping around the tripod legs.
“Tripods are also essential for sharp shots during long exposures, and for panoramas and bracketing images, as it keeps your camera totally still,” says David. “My beat-up, beefy Gitzo 4542LS offers a good compromise of weight and strength. It has a levelling base with a bubble level – perfect for accurately composing shots. I use it with my trusty, versatile Really Right Stuff BH-55 ball head.”
9. L-bracket for EOS bodies
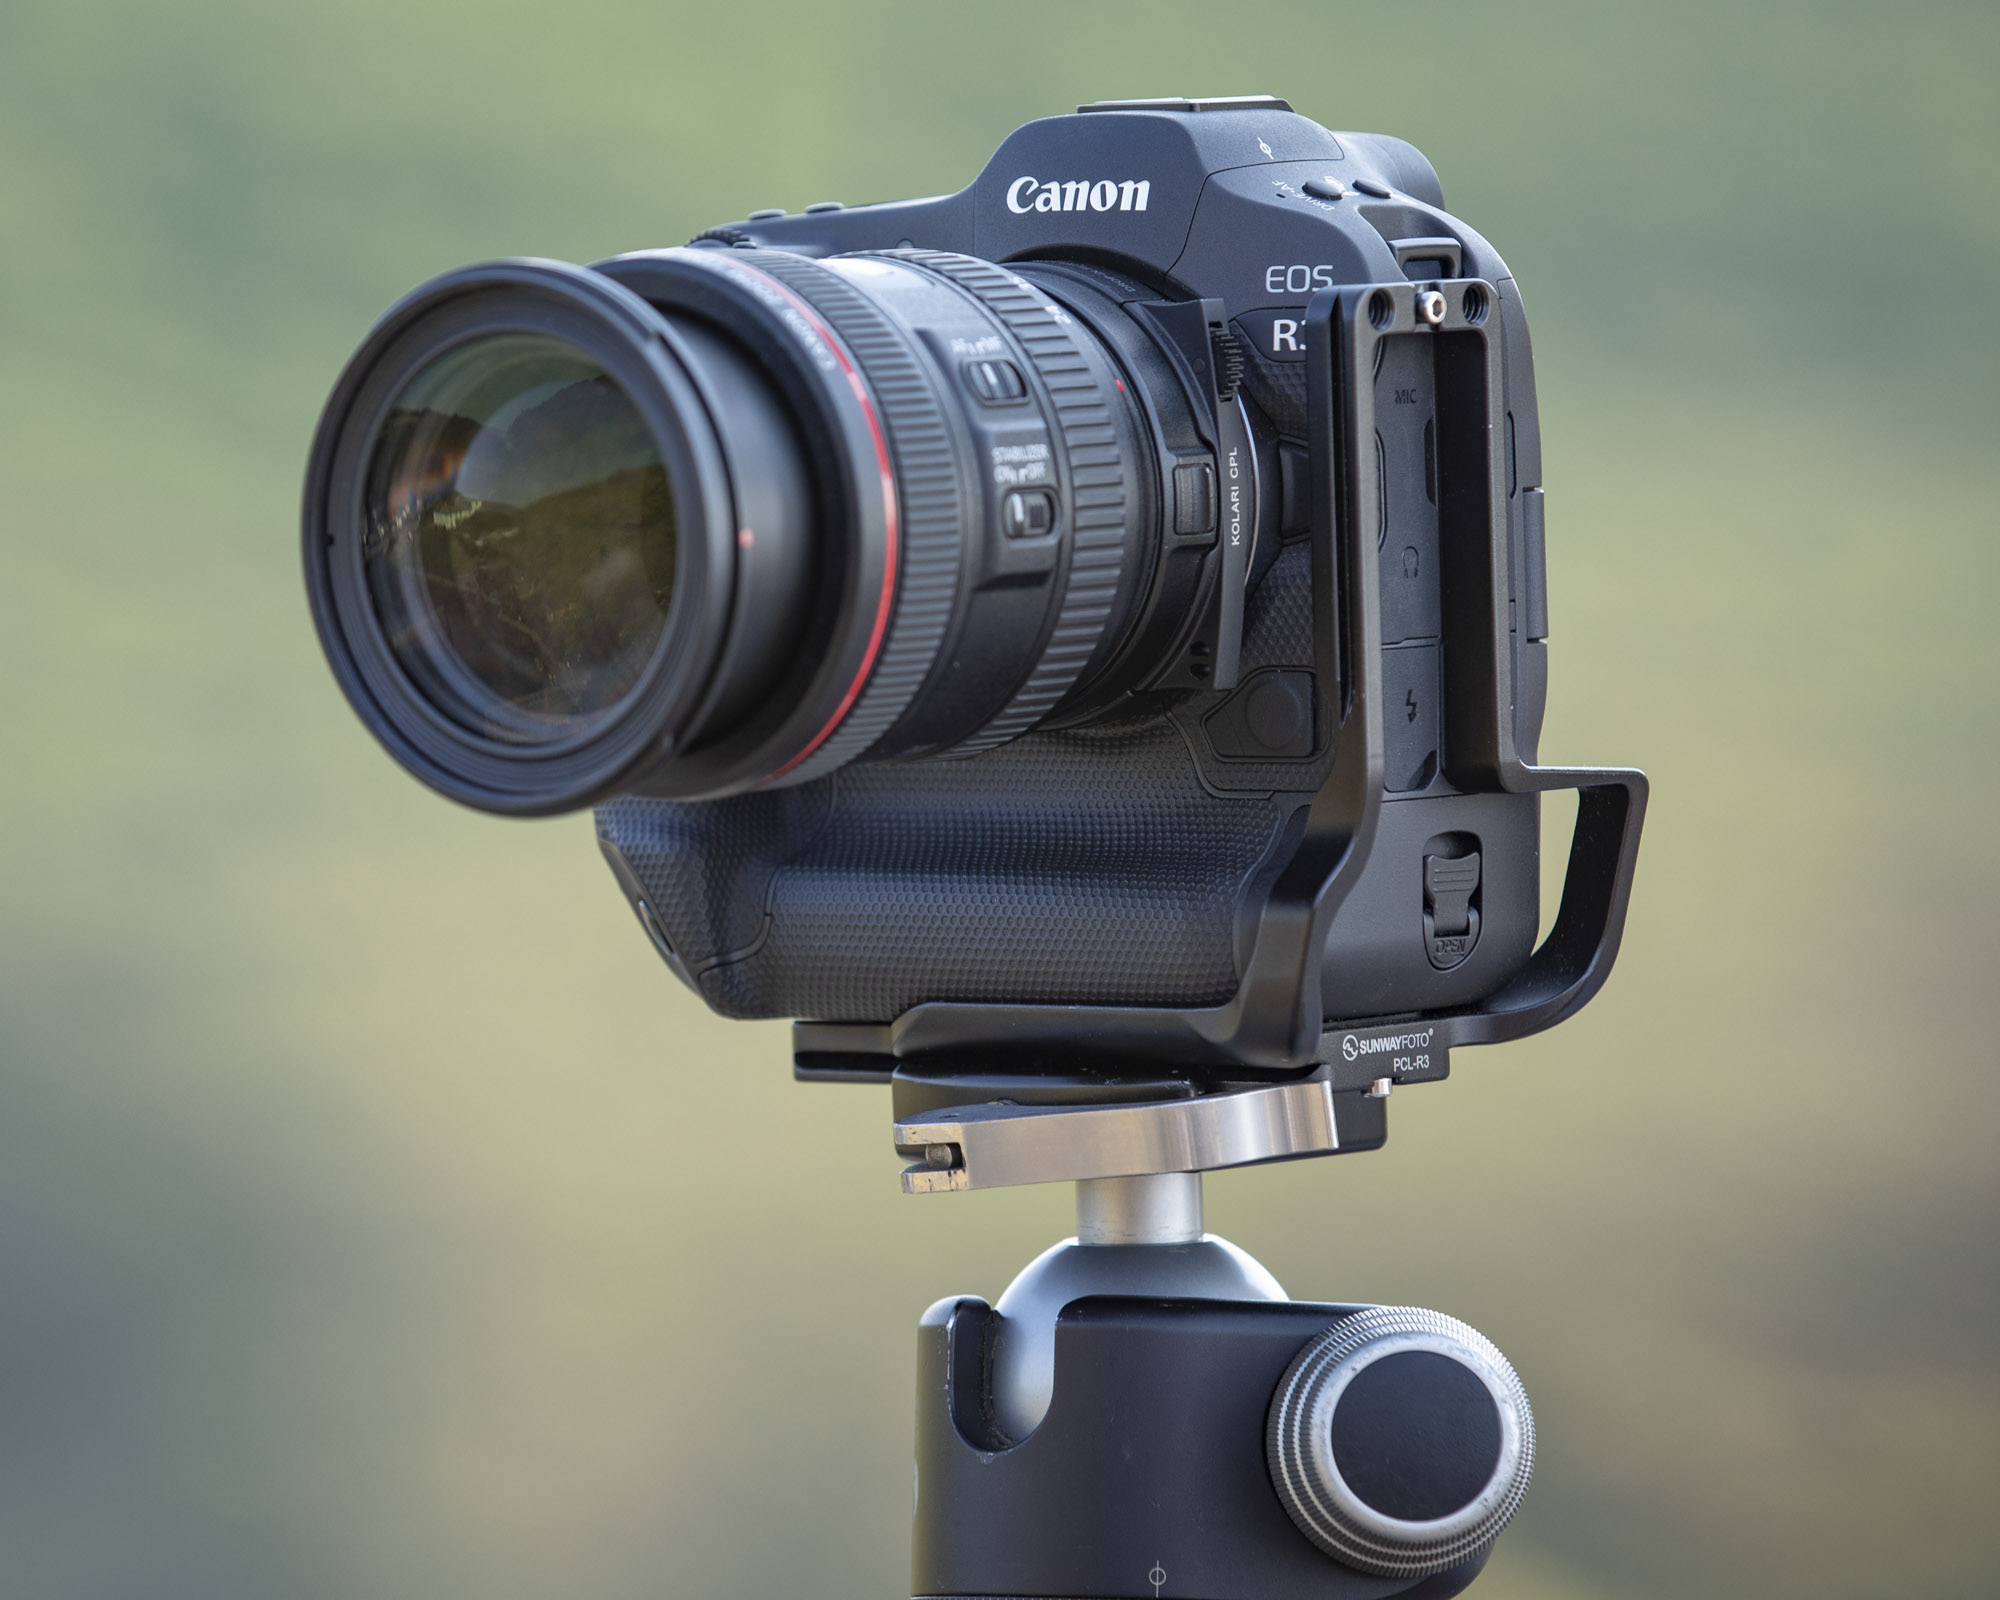
Both David and Alan had L-brackets for their Canon EOS bodies, so they could quickly toggle between horizontal and vertical shooting. “I use a SunwayFoto PCL-R3 L-bracket for my R3, which enables me to access the ports and camera battery drawer,” says David. “It also allows full rotation of the screen, plus the standard Arca-Swiss system that’s compatible with most ballheads.”
10. Infrared photo tips
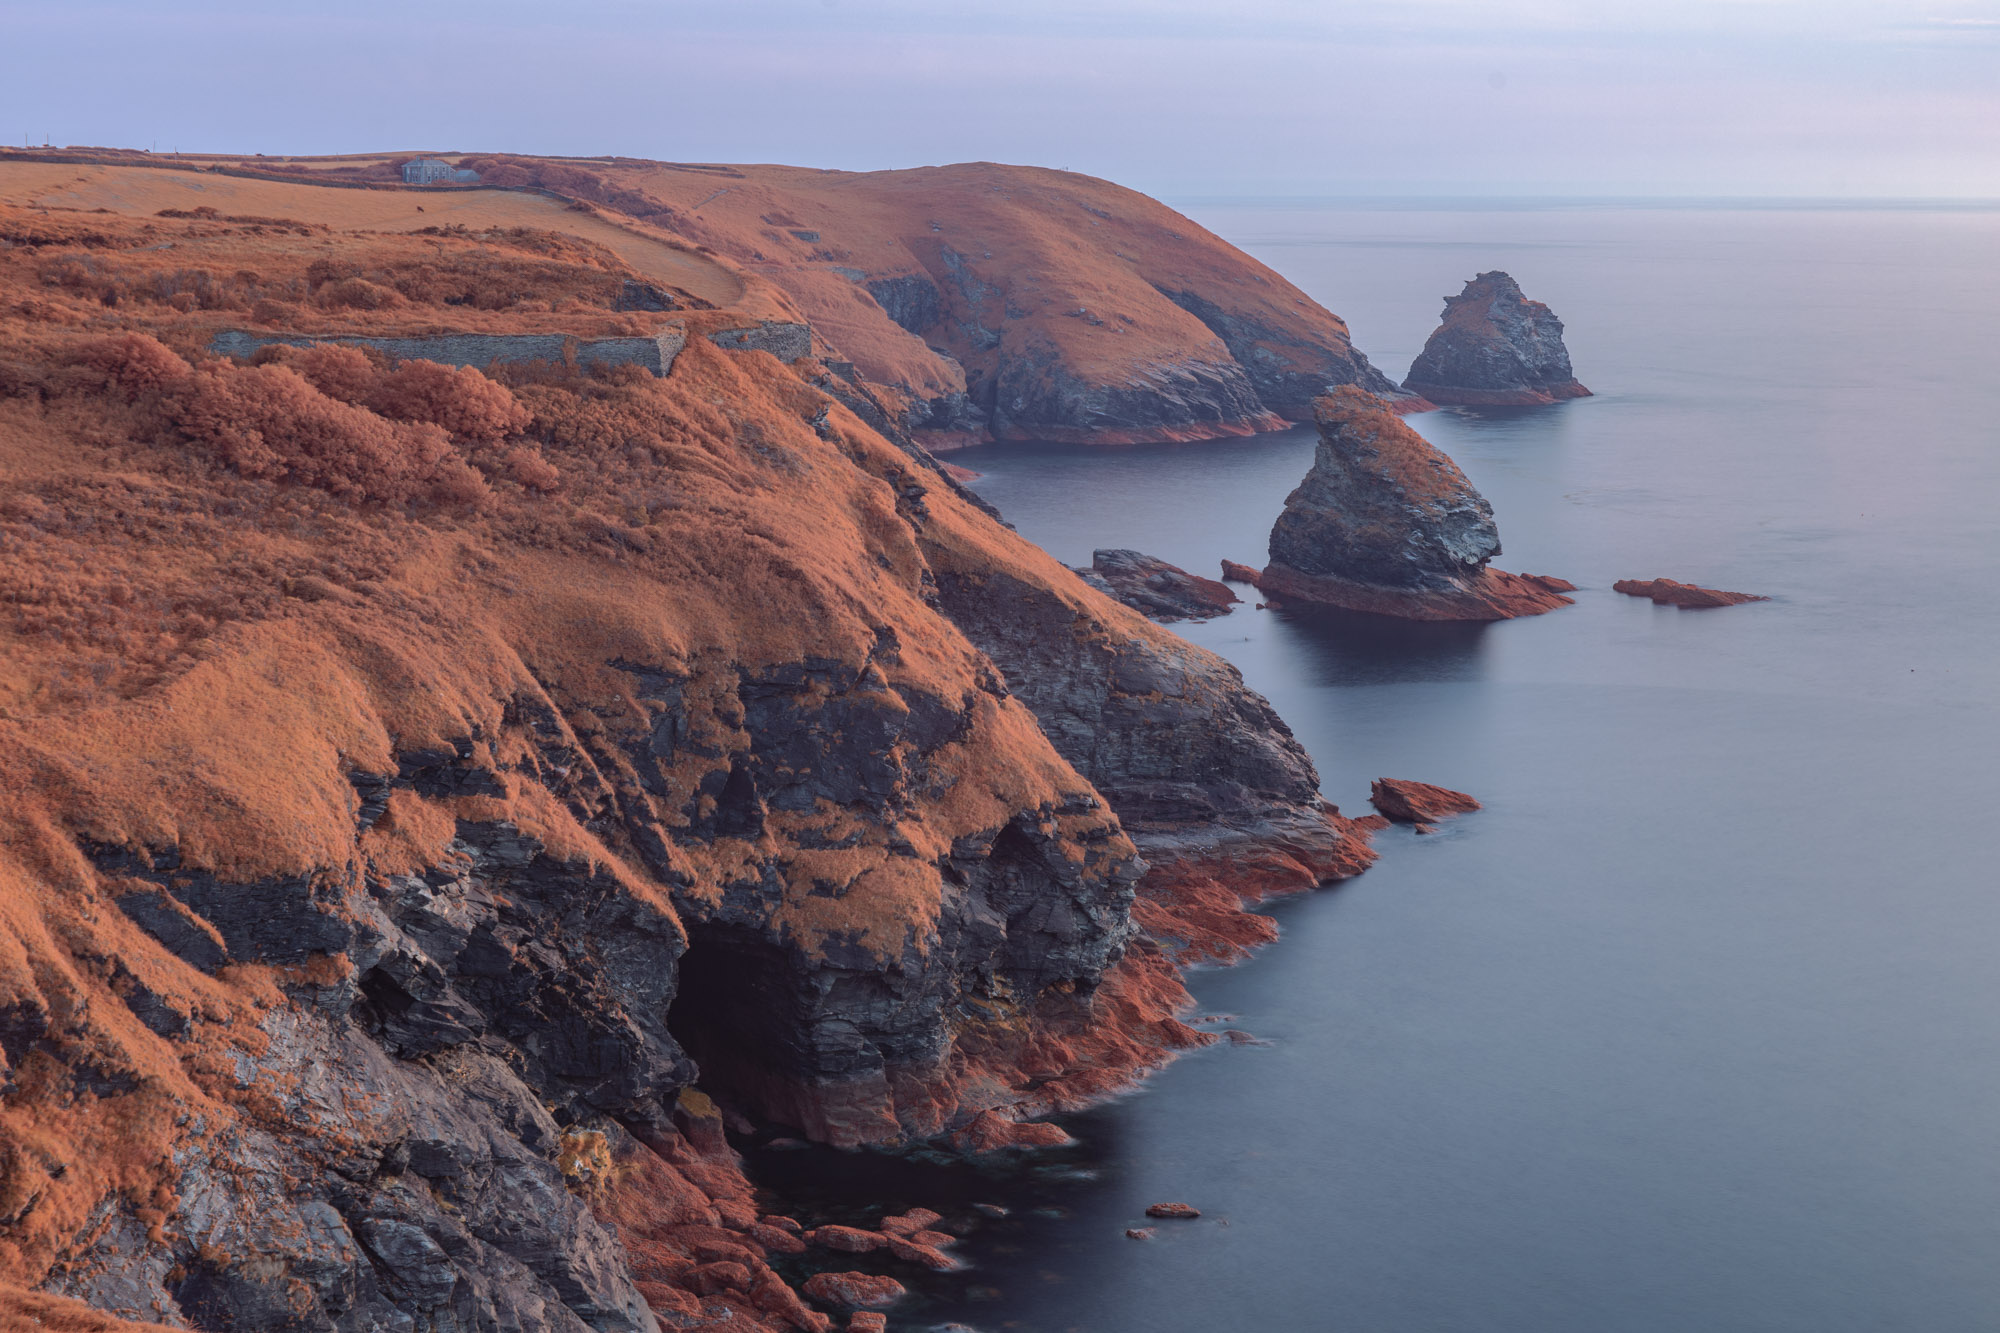
Light is measured in nanometres. The visible spectrum is between the values 350nm (violet) and 700nm (red). Infrared is the next wavelength band after the colour red, between 700nm and above. “Most digital cameras contain IR blocking filters that stop IR mixing with the visible spectrum, but my IR-converted EOS RP has had this filter removed and a quartz filter installed to protect the sensor’s surface,” explains David.
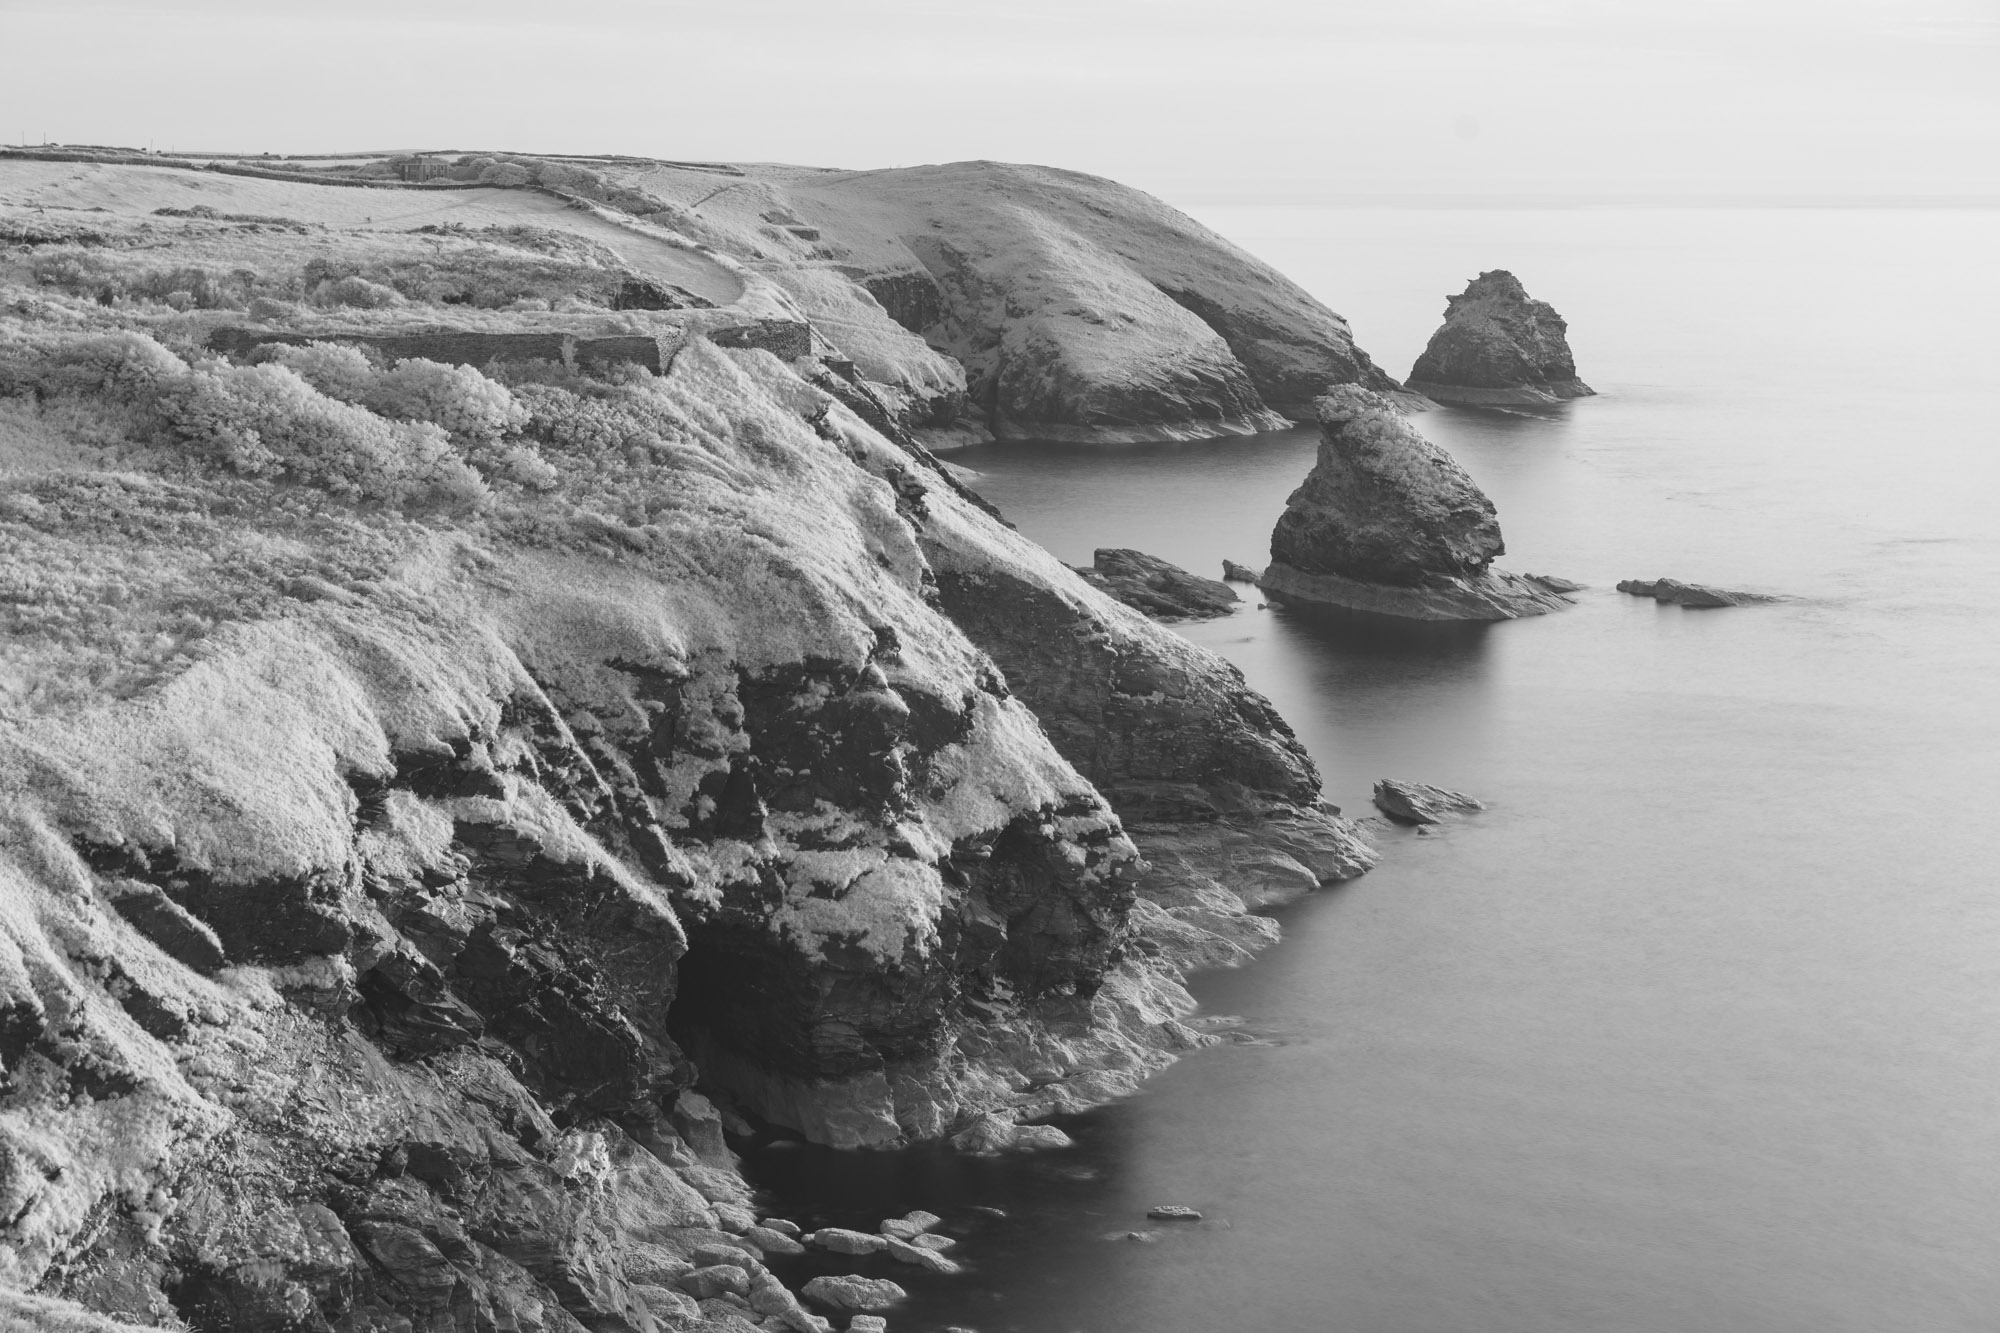
“Using the Drop-in Filter Mount Adapter EF-EOS R, I can drop one of my three IR filters in front of the sensor. That filter blocks most of the visible light spectrum, but mixes it with a bit of infrared – it is this mix that gives the most creative results.”
If you're really into landscapes photography, you'll want to check out the best landscape lenses. David uses a Canon EOS R3. To see his stunning portfolio check out his Instagram, or to book a workshop visit his website.
PhotoPlus: The Canon Magazine is the world's only monthly newsstand title that's 100% devoted to Canon, so you can be sure the magazine is completely relevant to your system. Every issue comes with downloadable video tutorials too.
Get the Digital Camera World Newsletter
The best camera deals, reviews, product advice, and unmissable photography news, direct to your inbox!

Deputy Editor on PhotoPlus: The Canon Magazine, Dan also brings his technical wizardry and editing skills to Digital Camera World. He has been writing about all aspects of photography for over 10 years, having previously served as technical writer and technical editor for Practical Photography magazine, as well as Photoshop editor on Digital Photo.
Dan is an Adobe-certified Photoshop guru, making him officially a beast at post-processing – so he’s the perfect person to share tips and tricks both in-camera and in post. Able to shoot all genres, Dan provides news, techniques and tutorials on everything from portraits and landscapes to macro and wildlife, helping photographers get the most out of their cameras, lenses, filters, lighting, tripods, and, of course, editing software.
