When the sun has set and light levels dip you might be tempted to put your camera away for the day. But this is when the night sky comes alive with incredible twinkling stars that can transform your scenes into magical astro landscapes.
While astrophotography does have some pretty niche and specialist equipment, such as equatorial heads to counter the Earth's rotation, the great news is you can get started taking top night shots with just a basic DSLR or mirrorless camera, a wide-angle lens and a sturdy tripod, then upgrade your kit bag as you see fit.
• To shoot amazing astro shots of your own, check out the best cameras for astrophotography
Reader of PhotoPlus: The Canon Magazine, Steve Dytham, is 60-years old, recently retired and picked up photography as a hobby over the Covid lockdowns in 2020 and 2021. He’s based in Peterborough and is often out with his Canon EOS camera to shoot wildlife at some of his favourite local nature spots. But, he has a passion for all things nature and would love to know how to take better landscapes and night shots, which he admits are a different world to him.
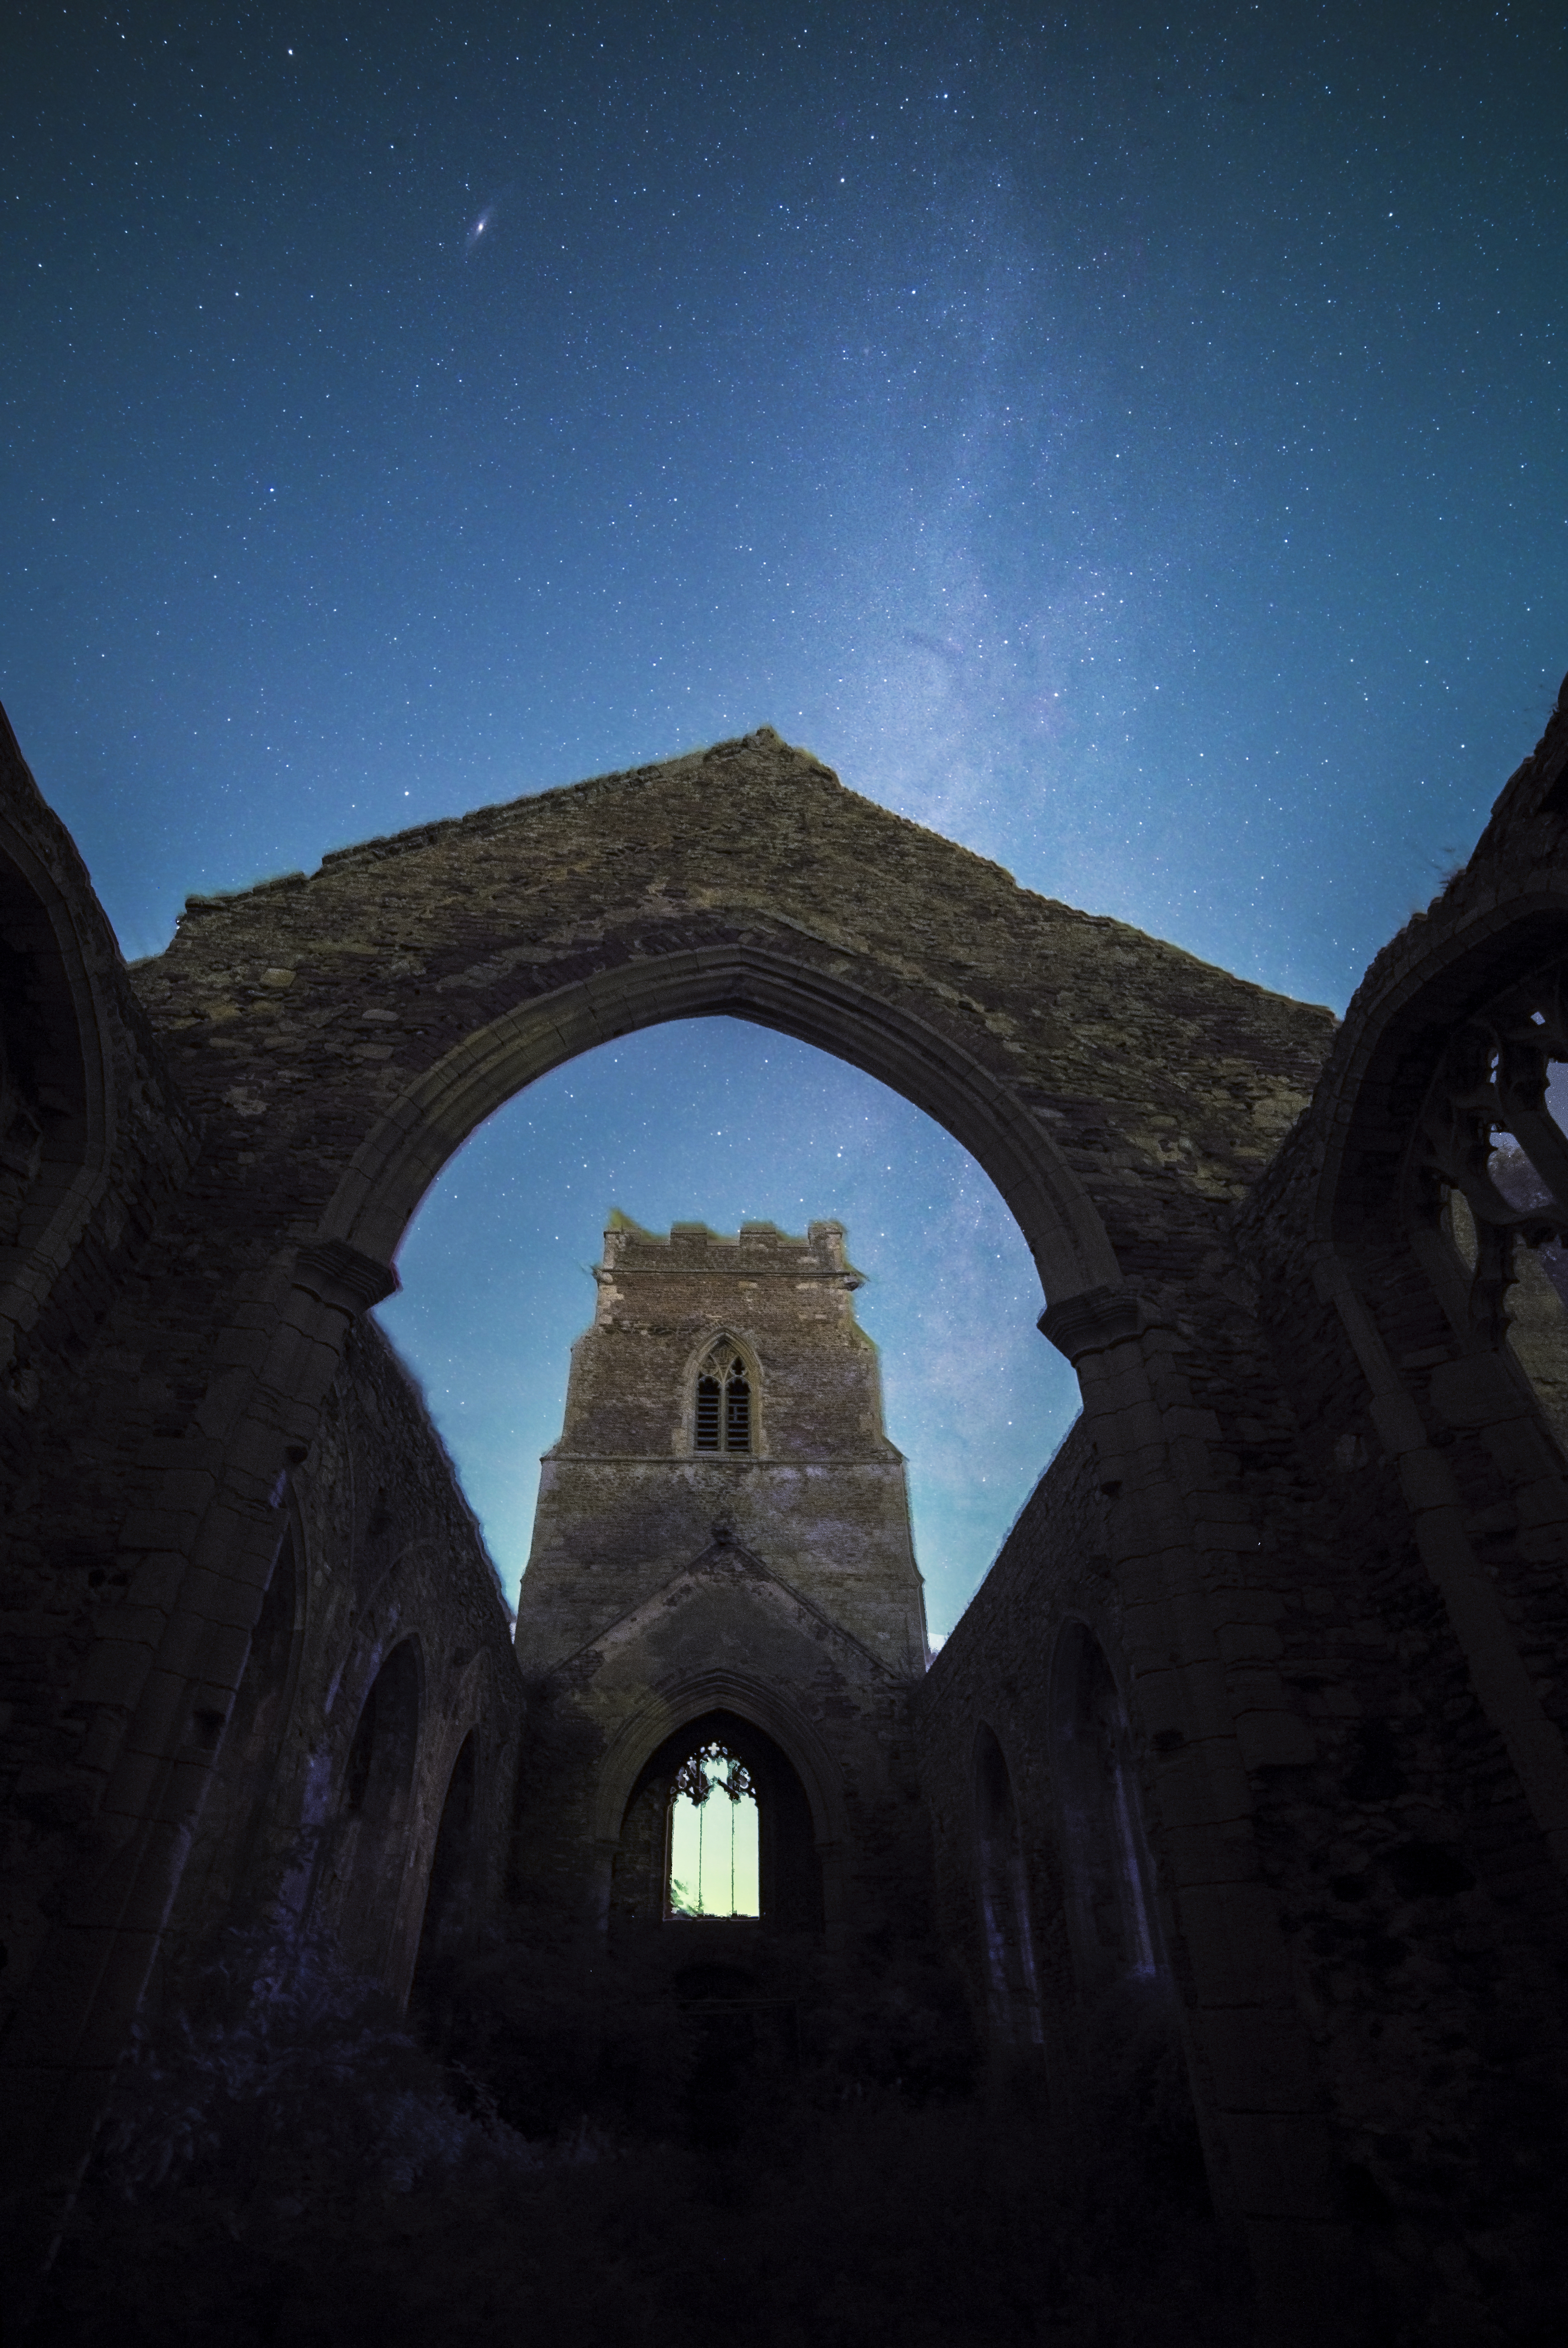
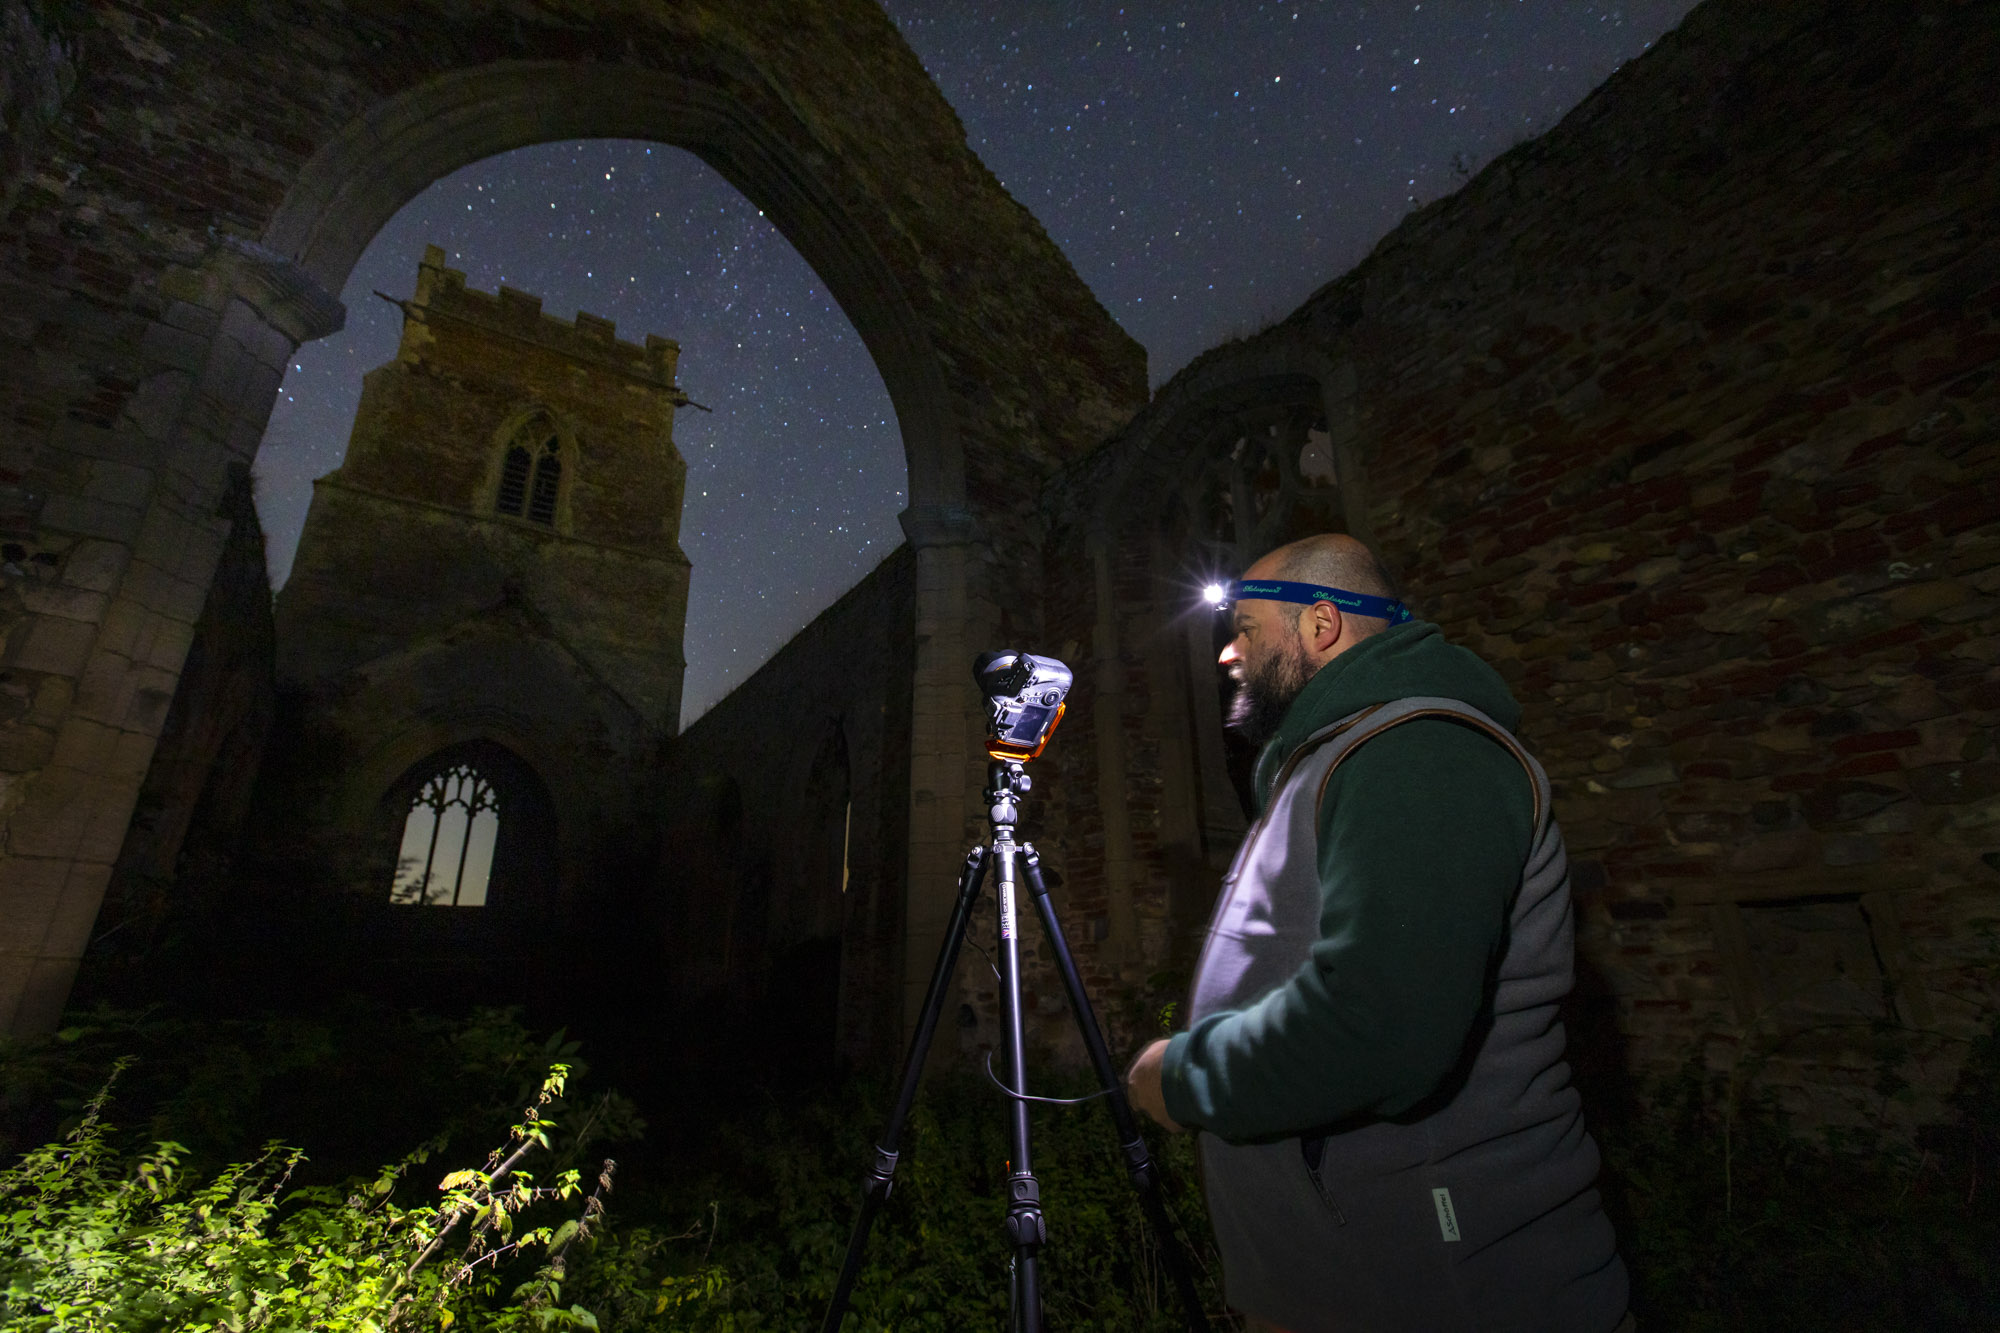
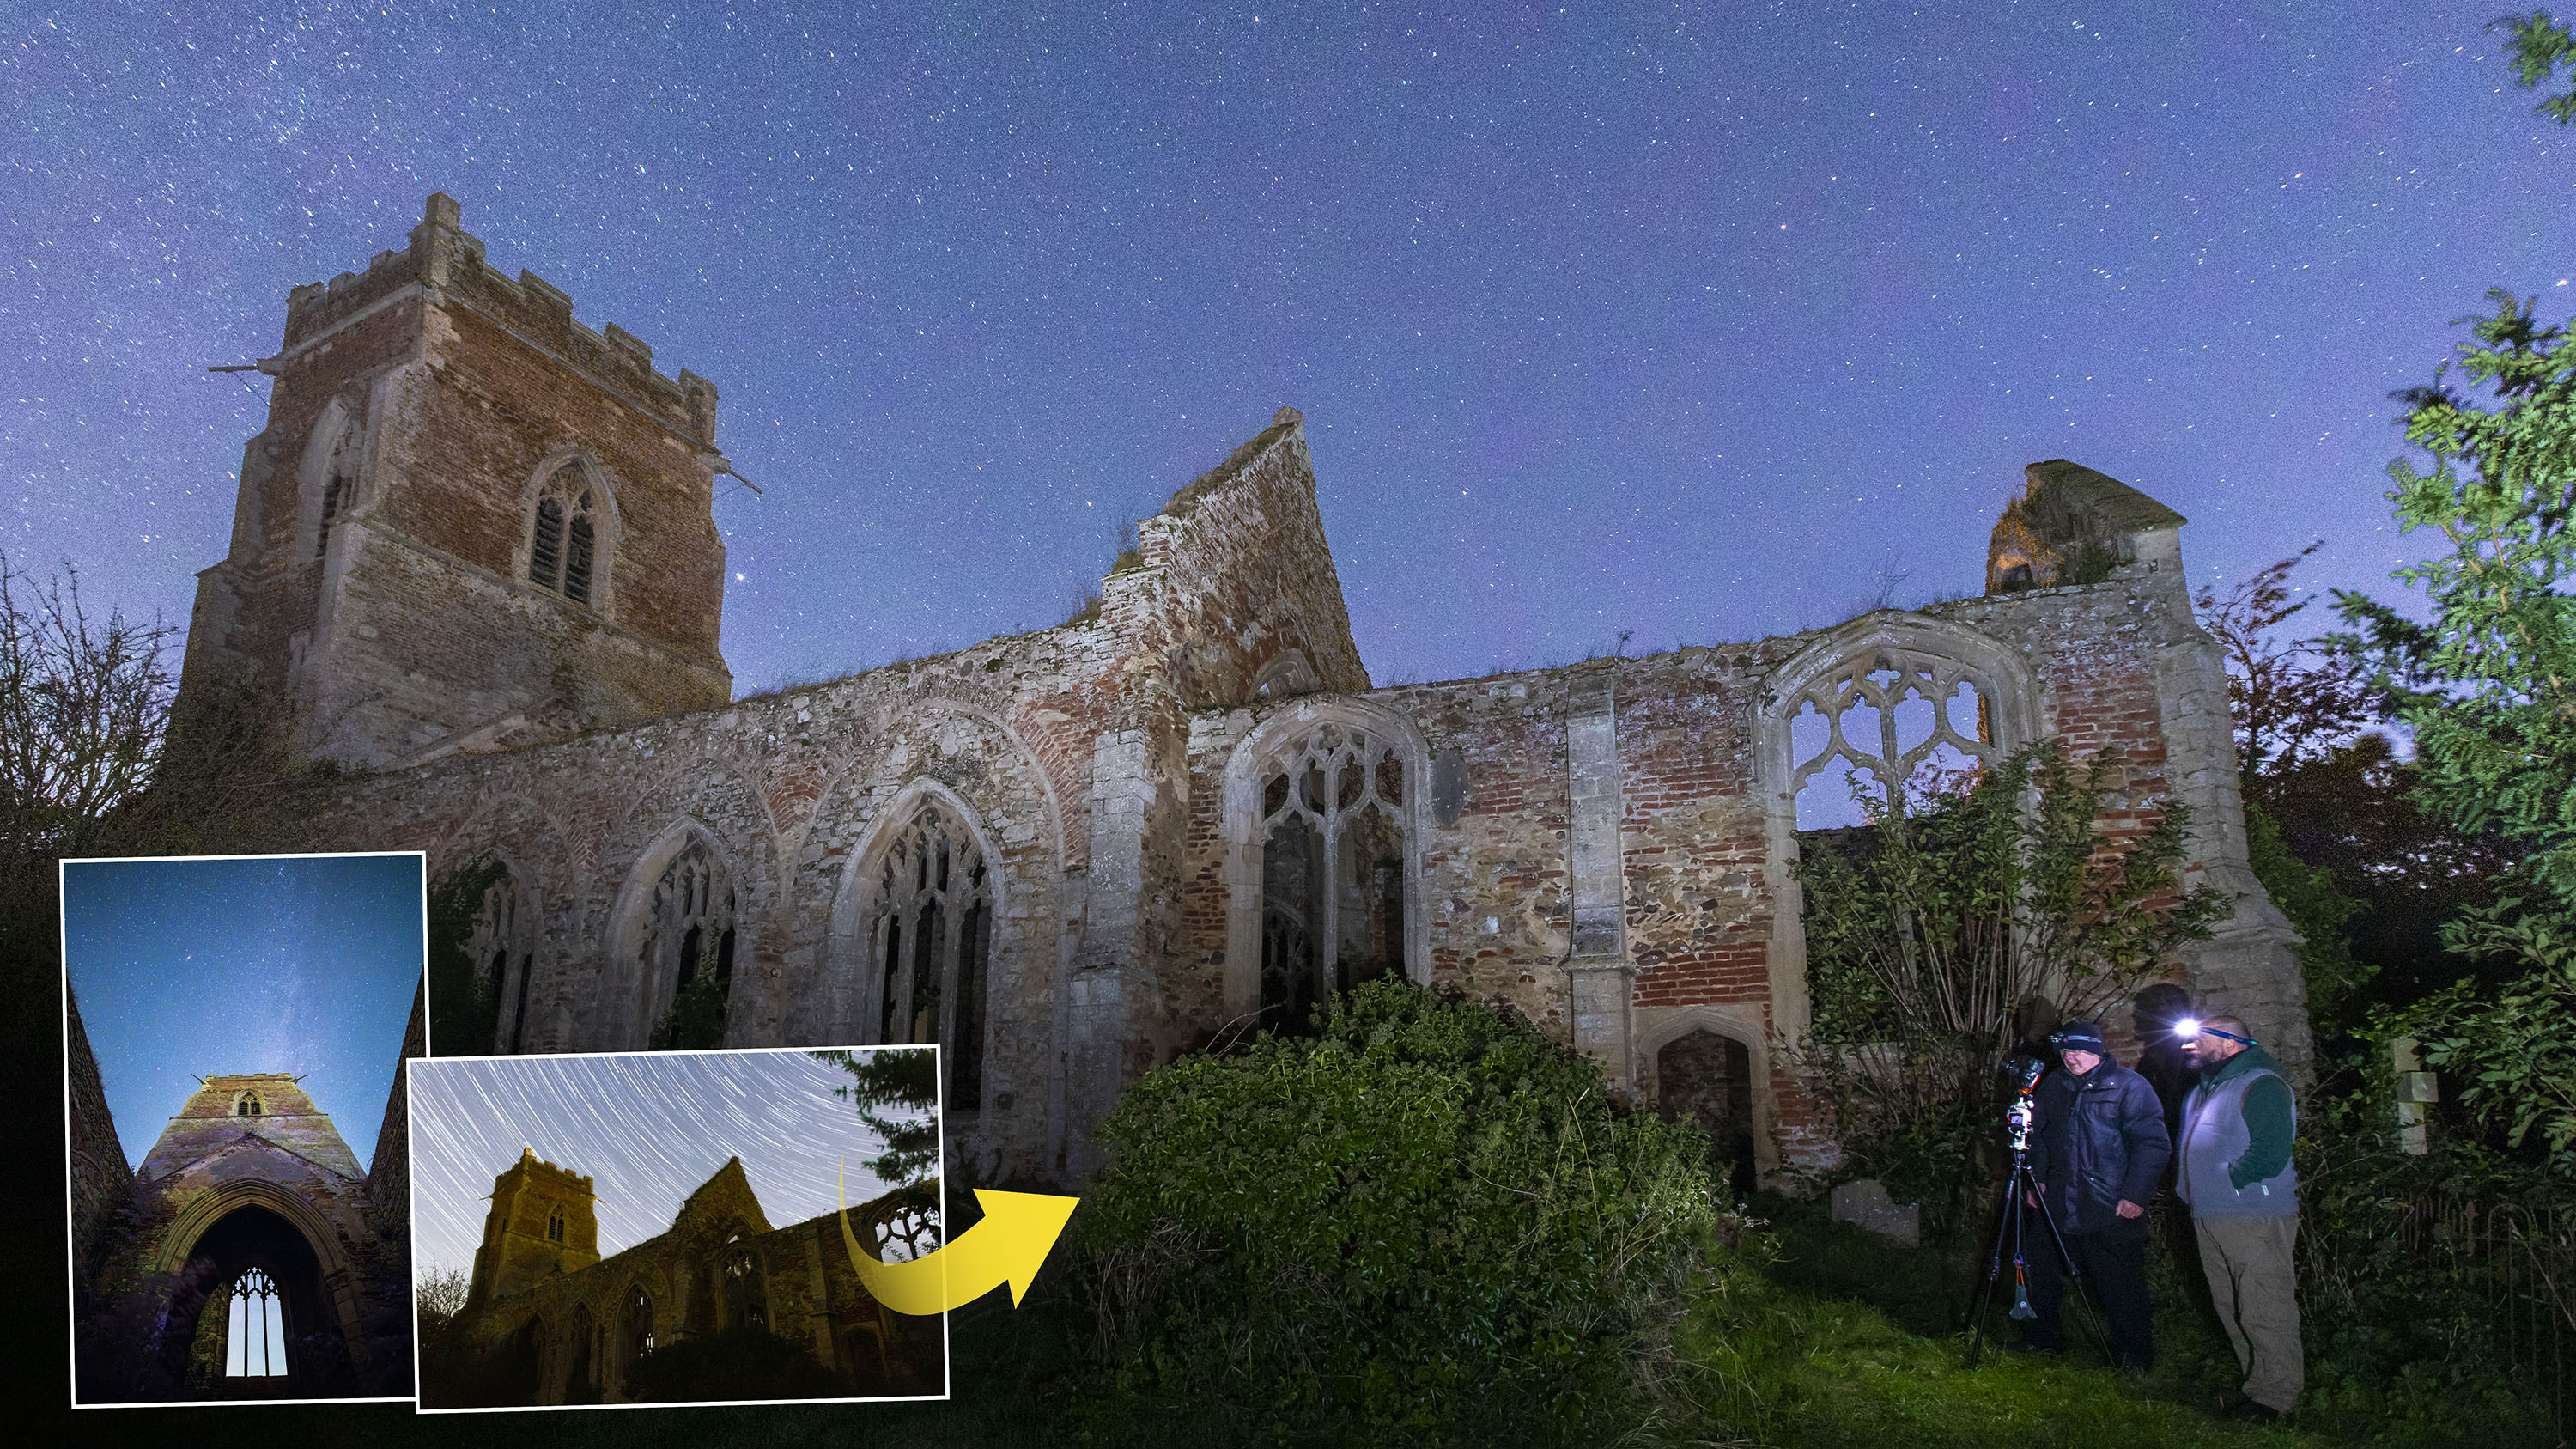
We paired him with astro pro Chris Grimmer at a brilliant church ruin near King’s Lynn to show him the ropes. Here's Chris's top tips from their workshop together.
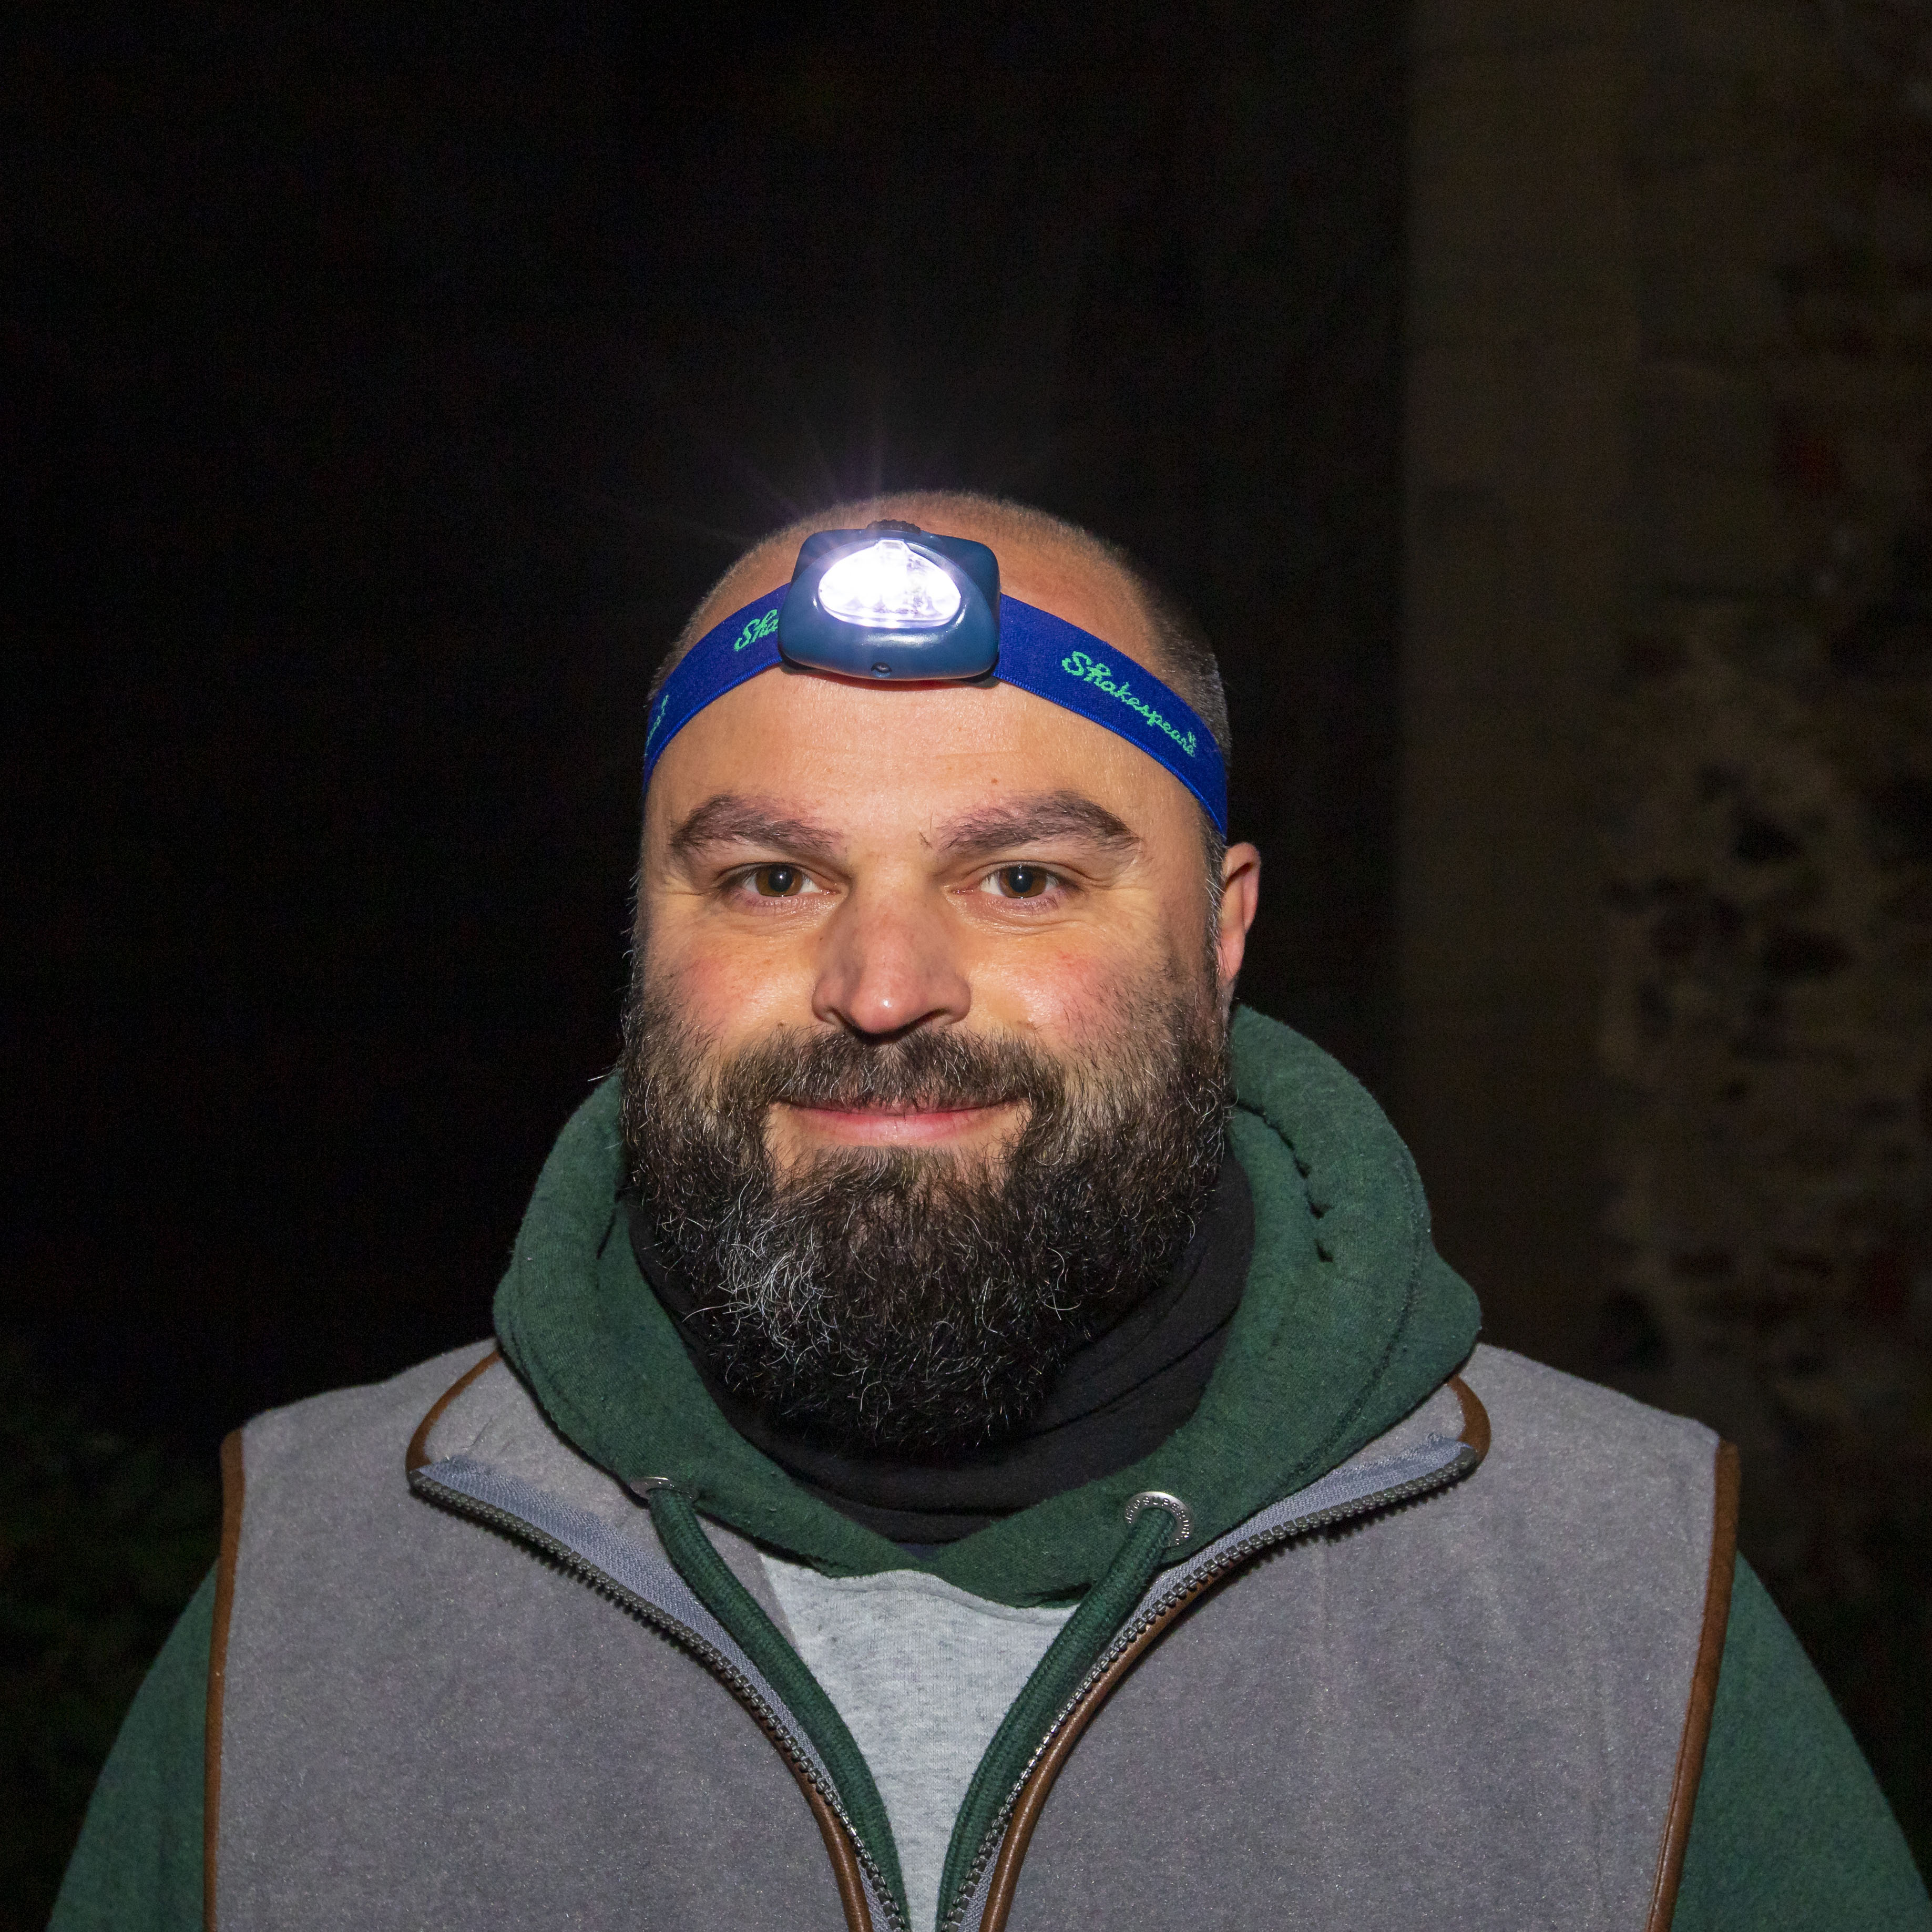
In 2015 Chris was shortlisted for the incredible Insight Astronomy Photographer of the Year, and was also shortlisted twice for the UK Astrophotographer of the Year! It’s safe to say Chris knows a thing or two about capturing great shots of starry skies, and he uses a whole host of equipment, from converted EOS cameras to tripod heads that rotate to track stars – and even telescopes.
1. Starting settings
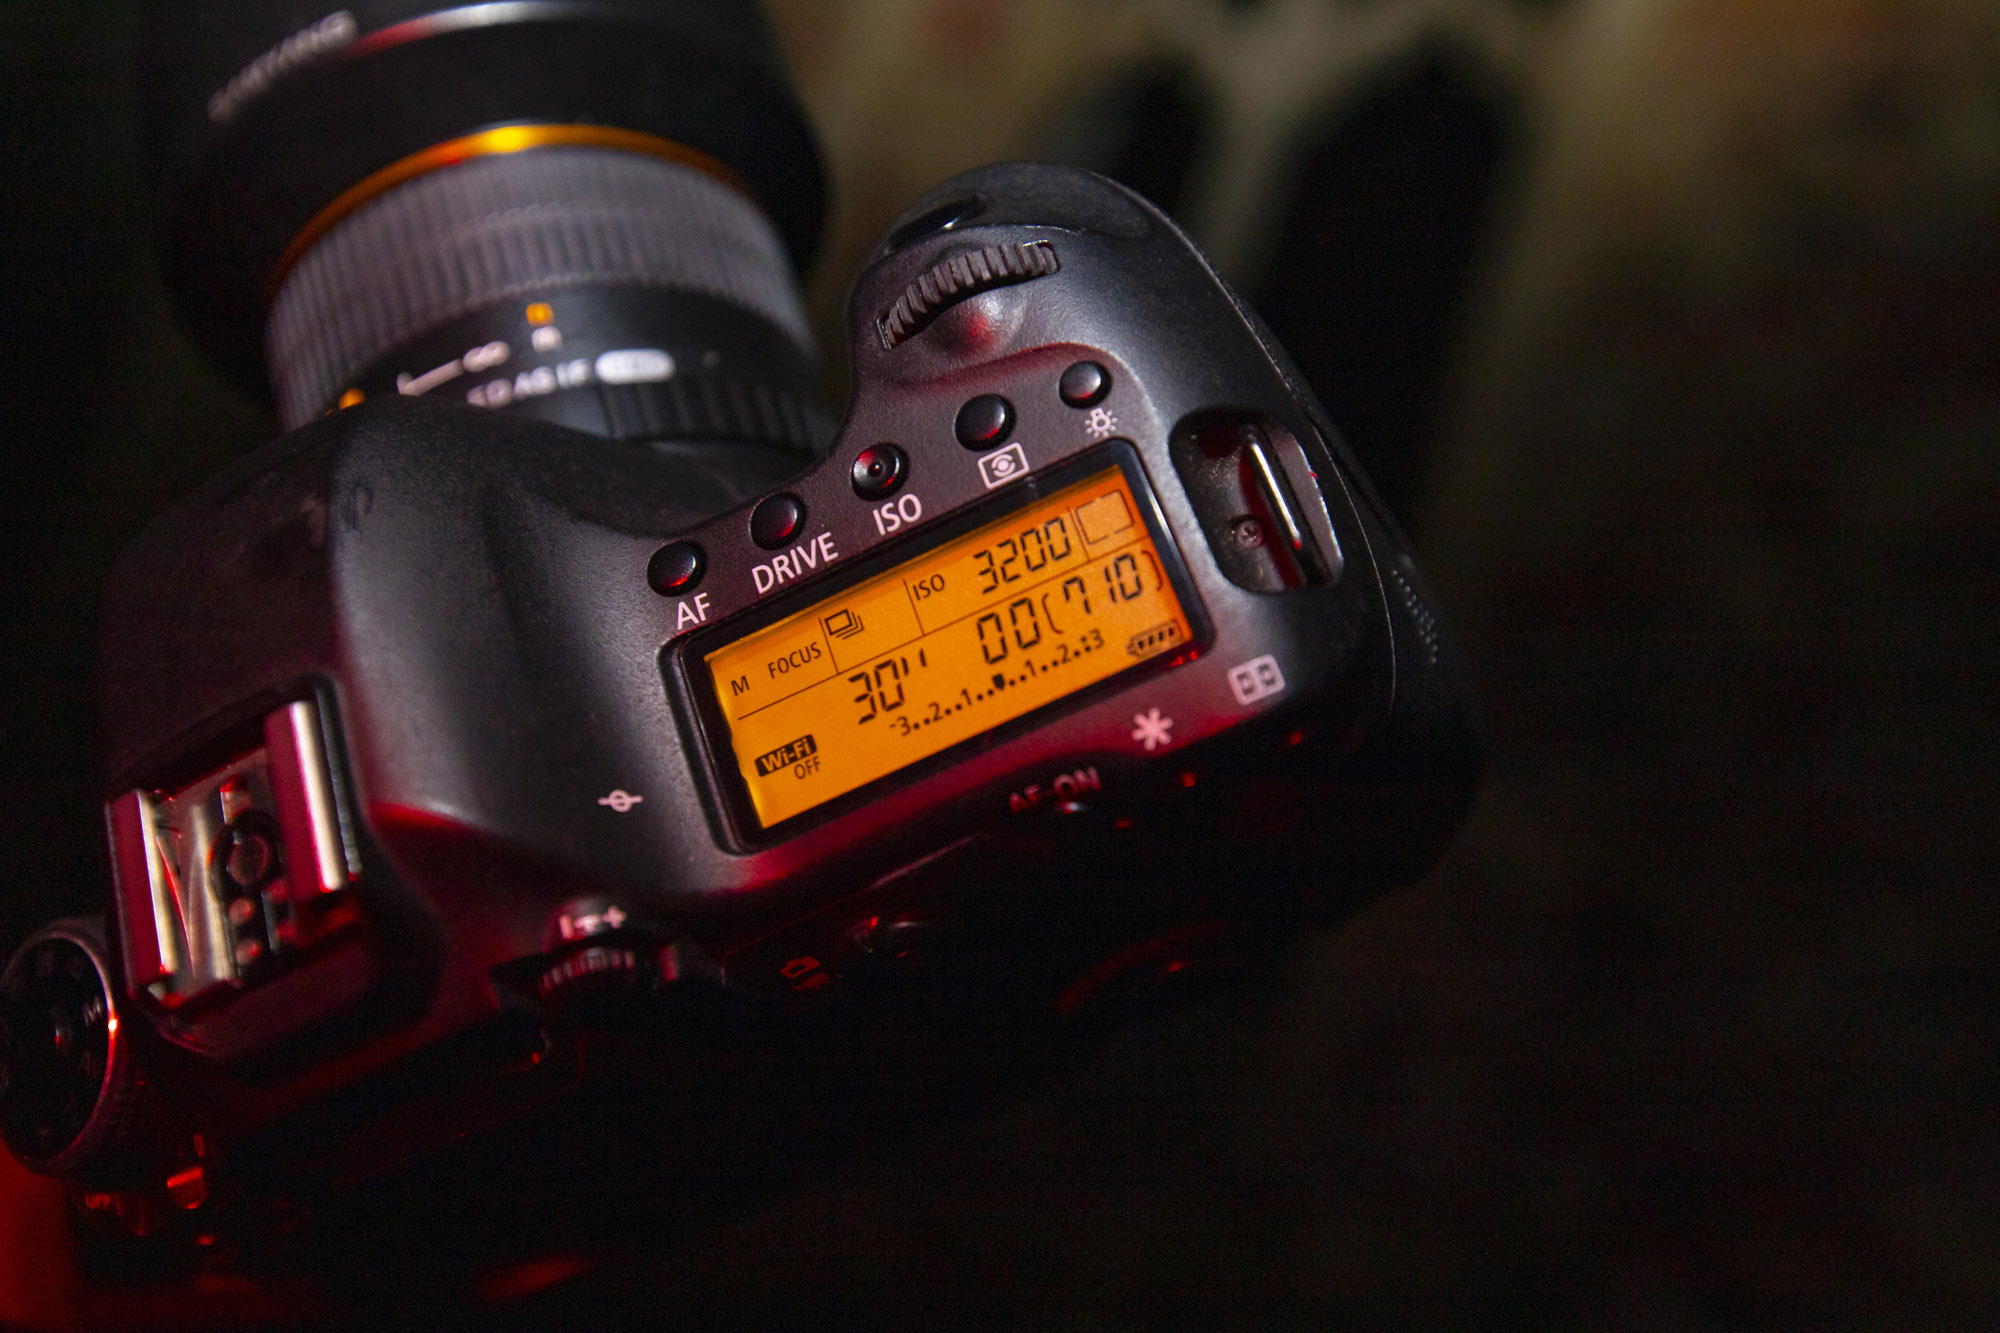
Chris suggested starting in Manual mode so that Steve could take total control over his exposures. Chris recommended starting with a shutter speed of 30 secs for pin-sharp stars when using his equatorial mount. He also suggested boosting the ISO to 3200 to make the sensor much more sensitive to light, and also to open the aperture on his lens as wide as it can go to suck in as much light as possible.
2. Manual focusing
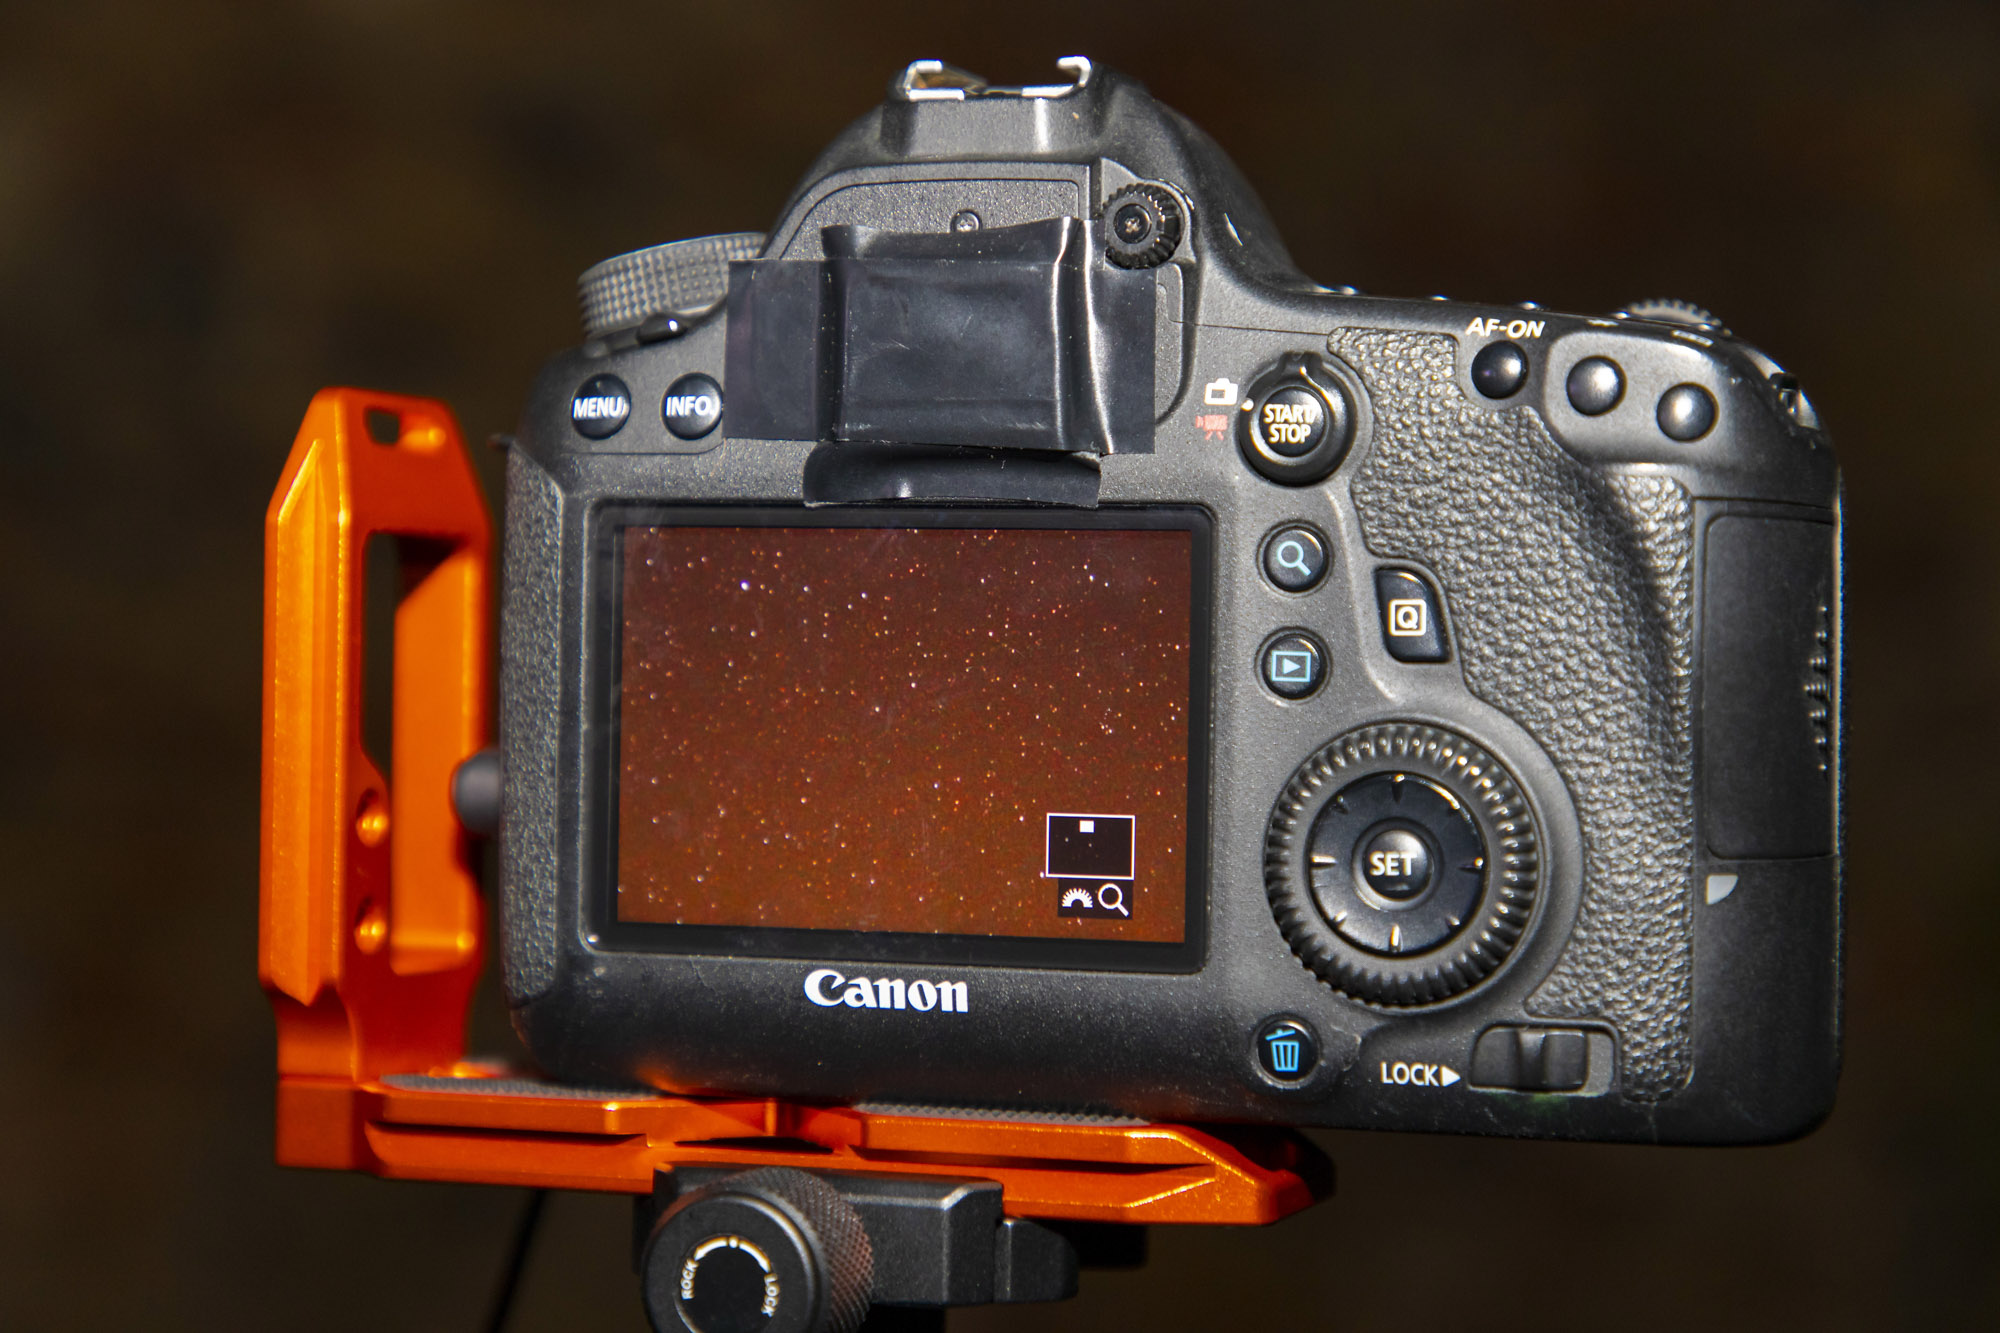
Focusing at night can be tricky and Chris explained you have two options; focus on the foreground, or focus on the stars (depending on which you’d prefer to be sharp). To focus on the foreground he shone a bright torch on the church so that Steve’s camera could lock autofocus, and then switched to MF to lock it off. He also showed Steve how to focus on the stars by going into live view and pressing the magnifying glass button to zoom in so I could see the stars clearly enough to manually focus on them until they were pin-pricks of light.
The best camera deals, reviews, product advice, and unmissable photography news, direct to your inbox!
3. Check the weather
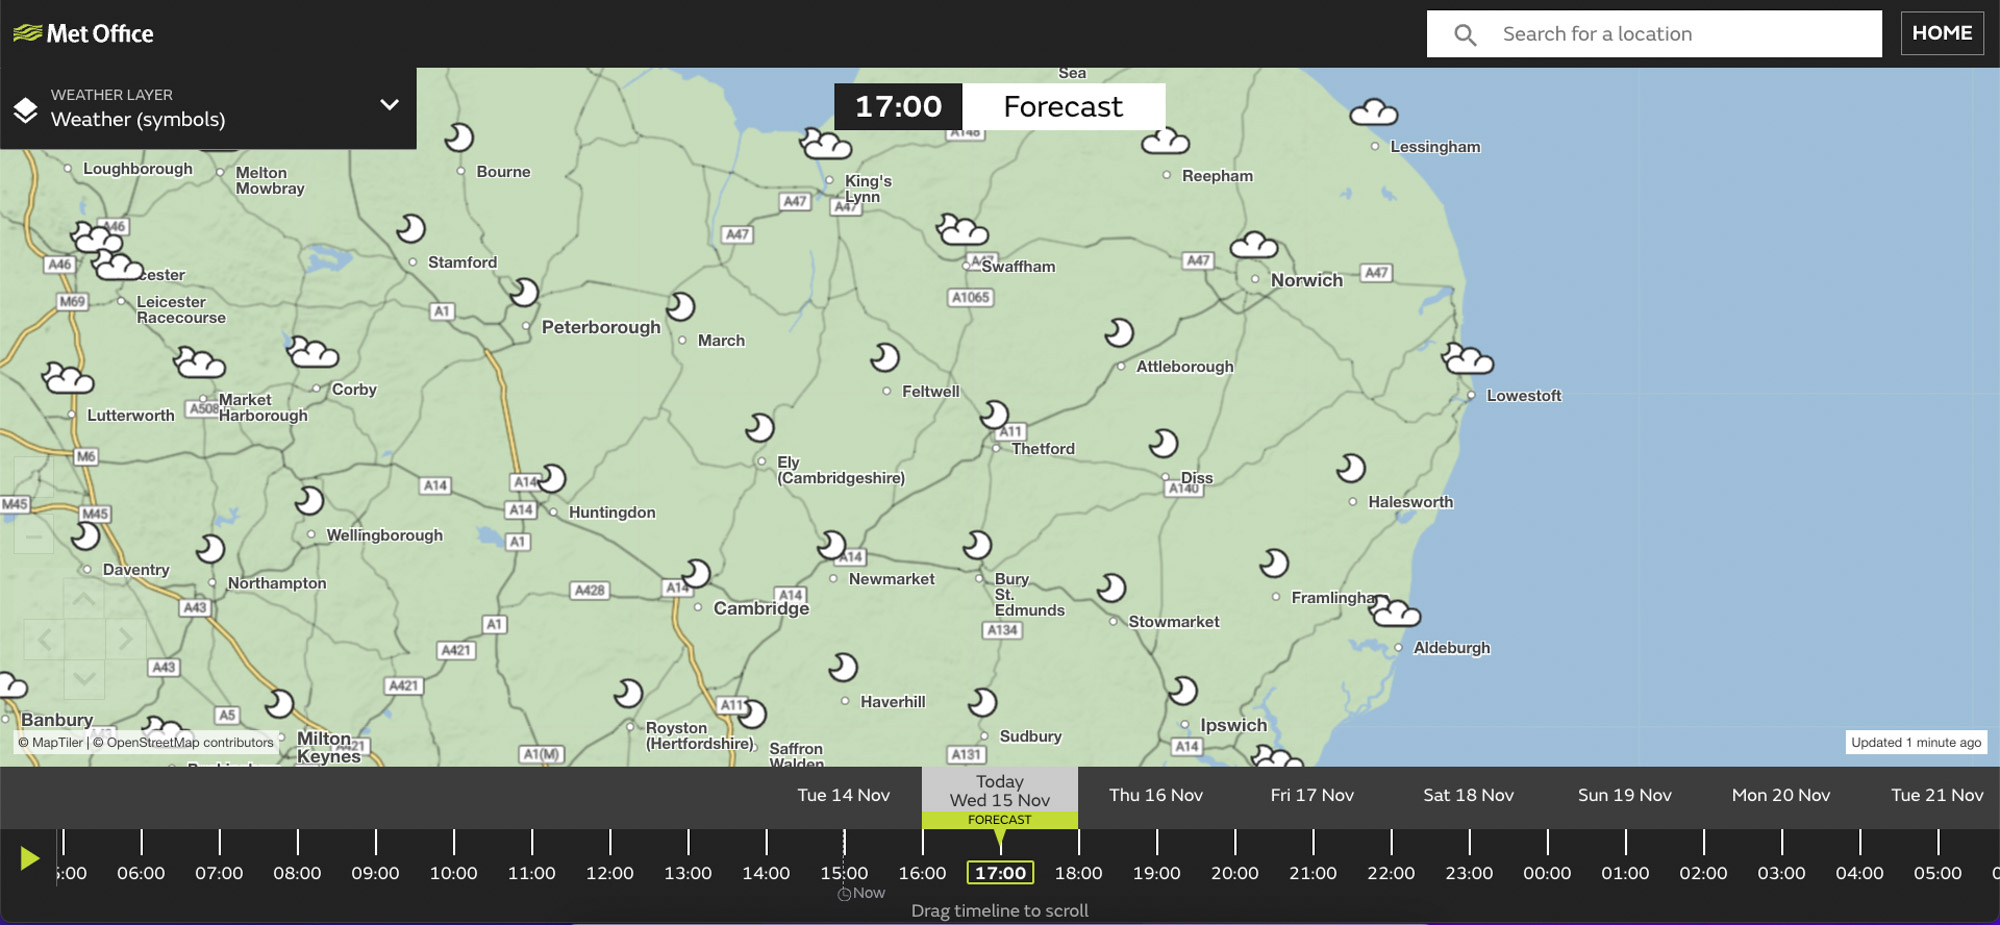
Crisp winter nights free from clouds are perfect for astro shoots so be sure to check as close to your chosen night as possible for the most accurate forecast. Sites like metoffice.gov.uk and bbc.co.uk/weather will give you a good indication of cloud cover in the area you wish to shoot. Apps like Clear Outside are even better as it shows you the low, medium and high cloud coverage in more detail.
4. Equatorial mount
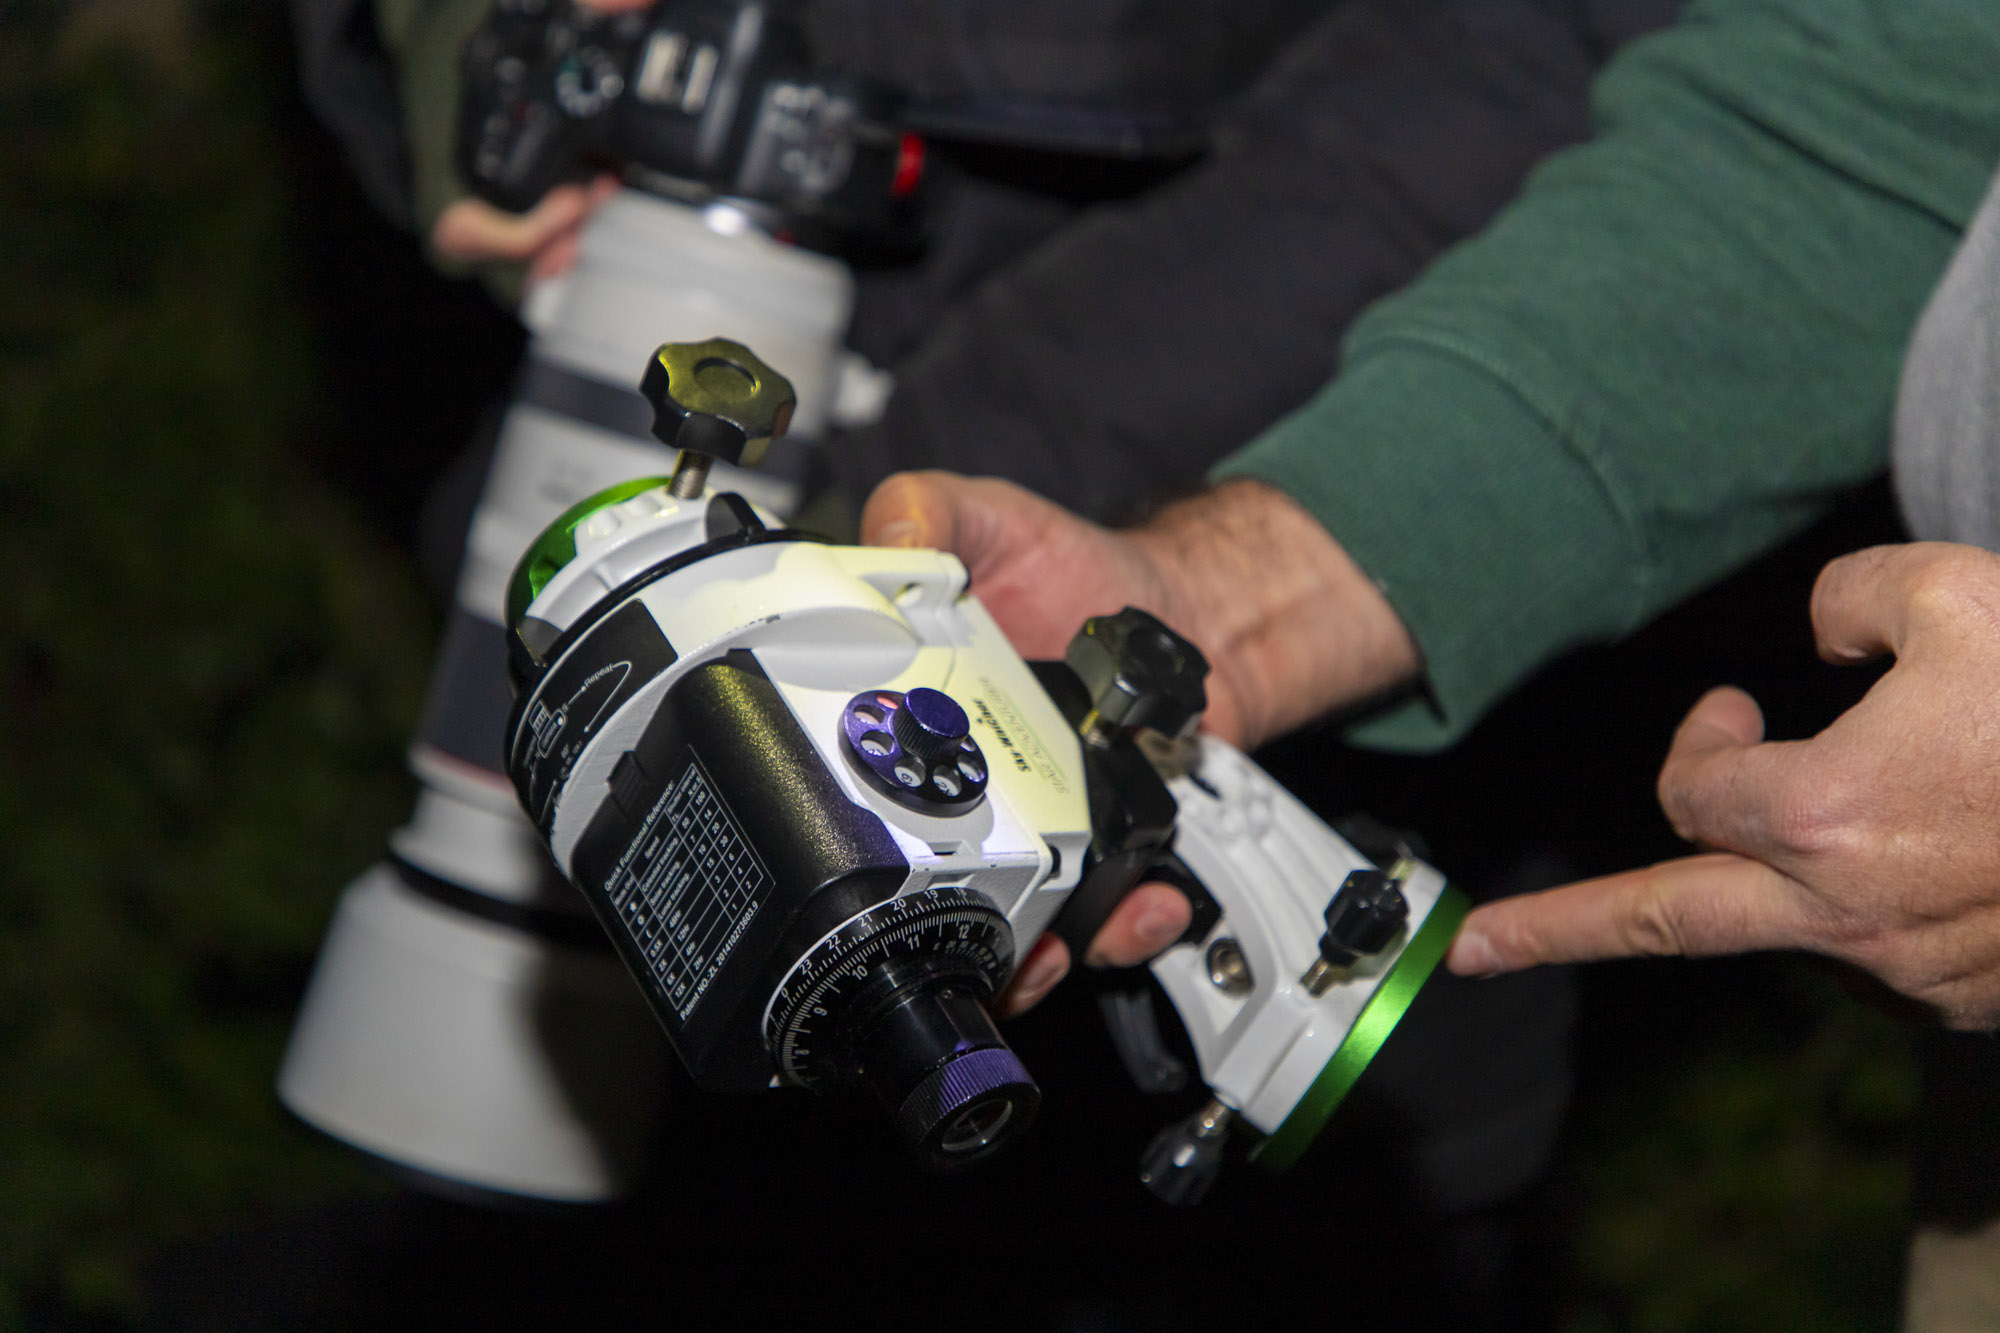
Long exposures tend to pick up the Earth’s rotation and turn the stars from pin-points of light into trails. This means Chris needs to track the stars at the same speed as the Earth’s rotation. He uses a battery-powered Sky-Watcher Star Adventurer Pro equatorial mount on his Three Legged Thing Charles 2.0 tripod which is lined up with the Polaris star.
5. Professional tripod
To support the weight of equatorial mounts and heavy telephoto lenses, Chris uses a Three Legged Thing Charles 2.0 pro tripod. Its magnesium alloy construction can handle loads of up to a whopping 40kg. He also uses a 3LT Airhed Pro ball head for fast adjustments which can be mounted directly to the tripod, or equatorial mount. The ball head also has an Arca-Swiss mount which works with his L-bracket so he can quickly switch between portraits and landscapes.
6. Astro-modded camera bodies
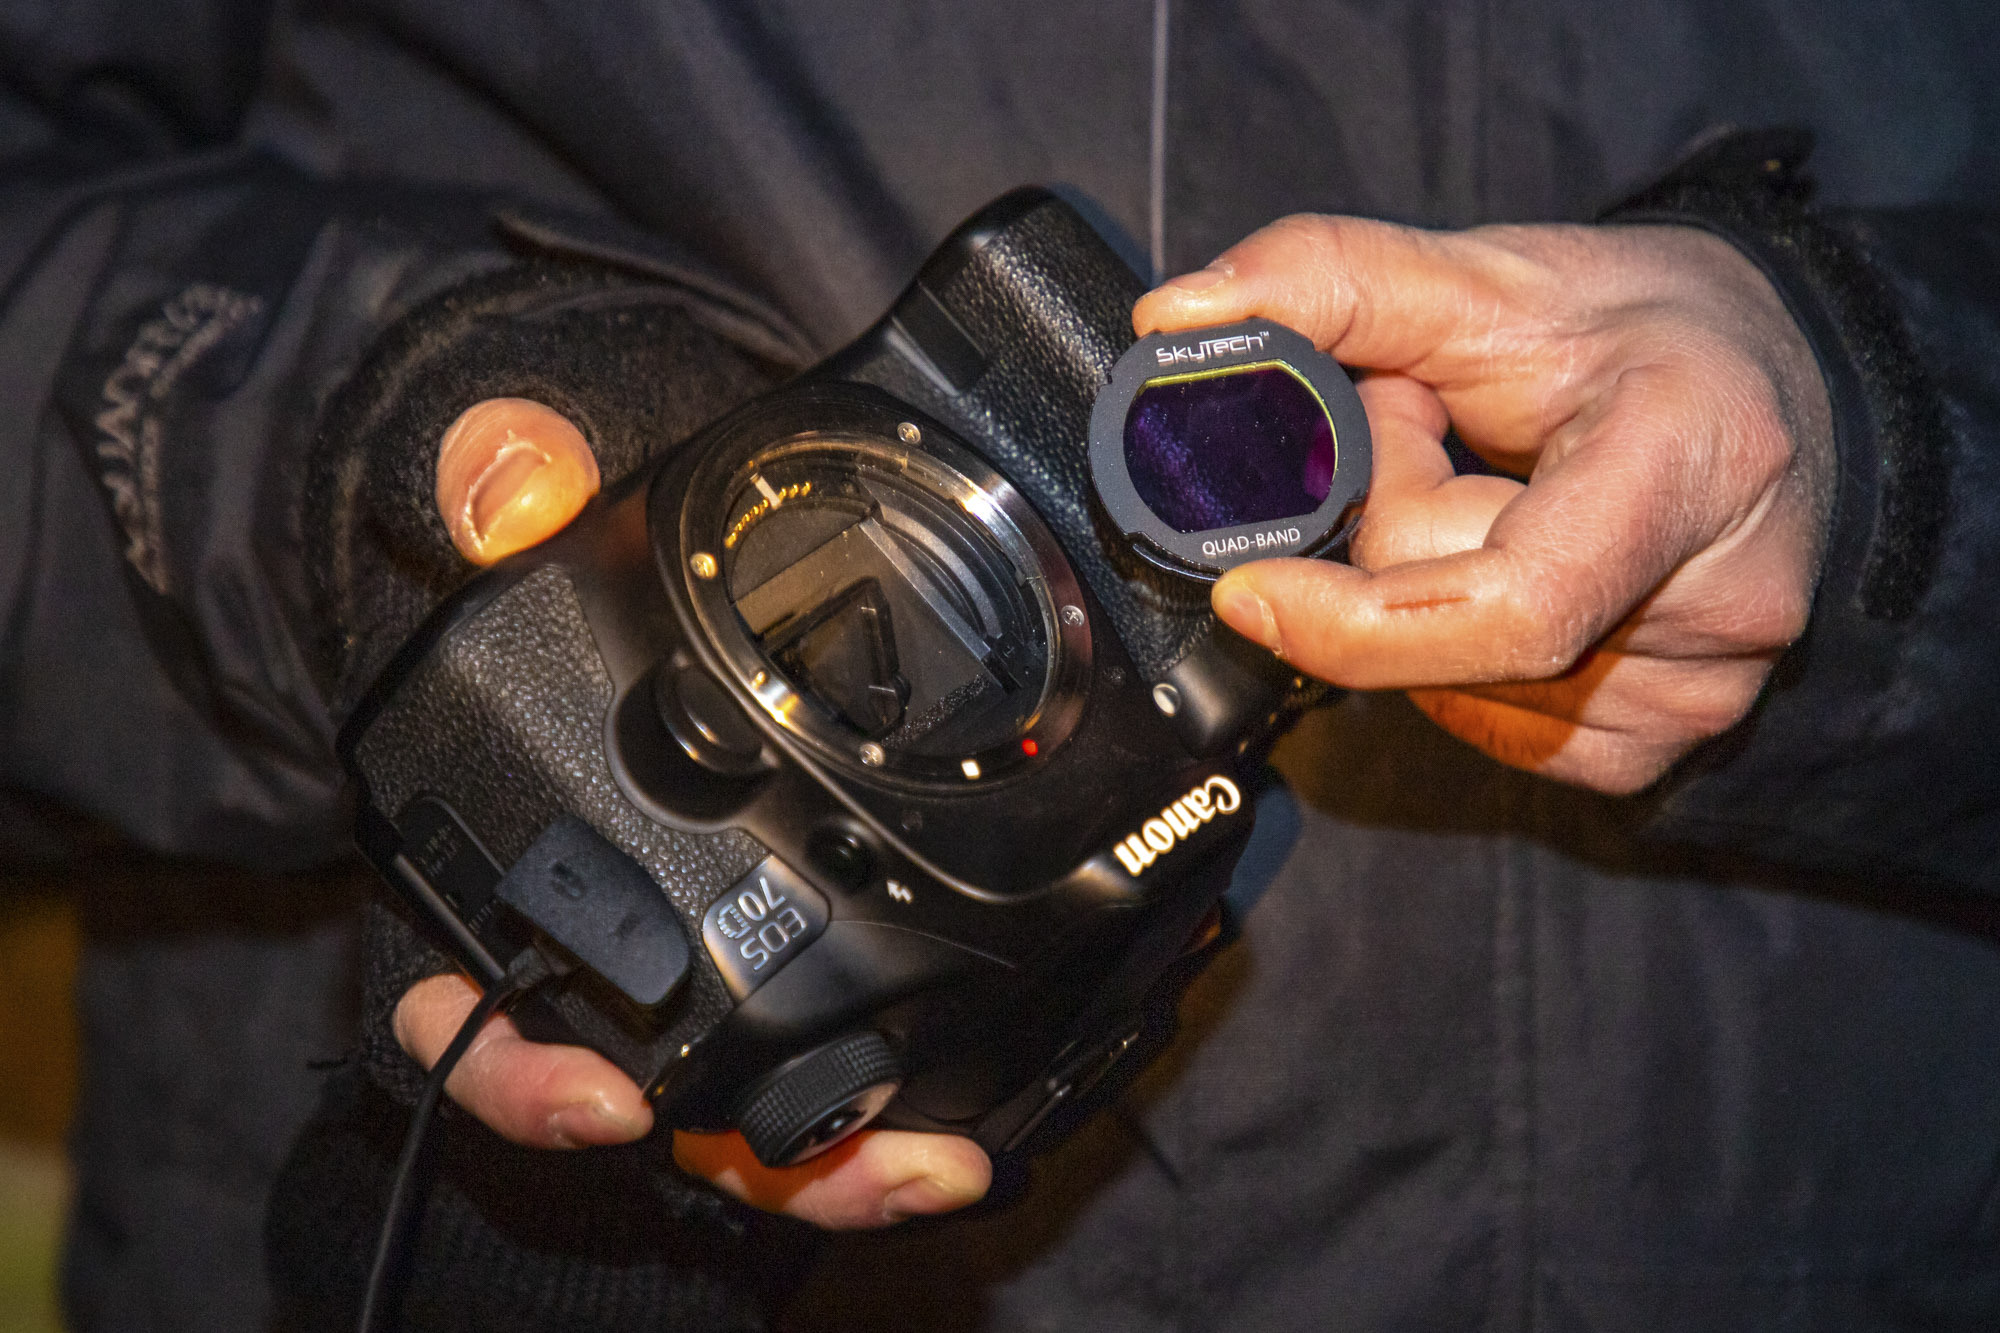
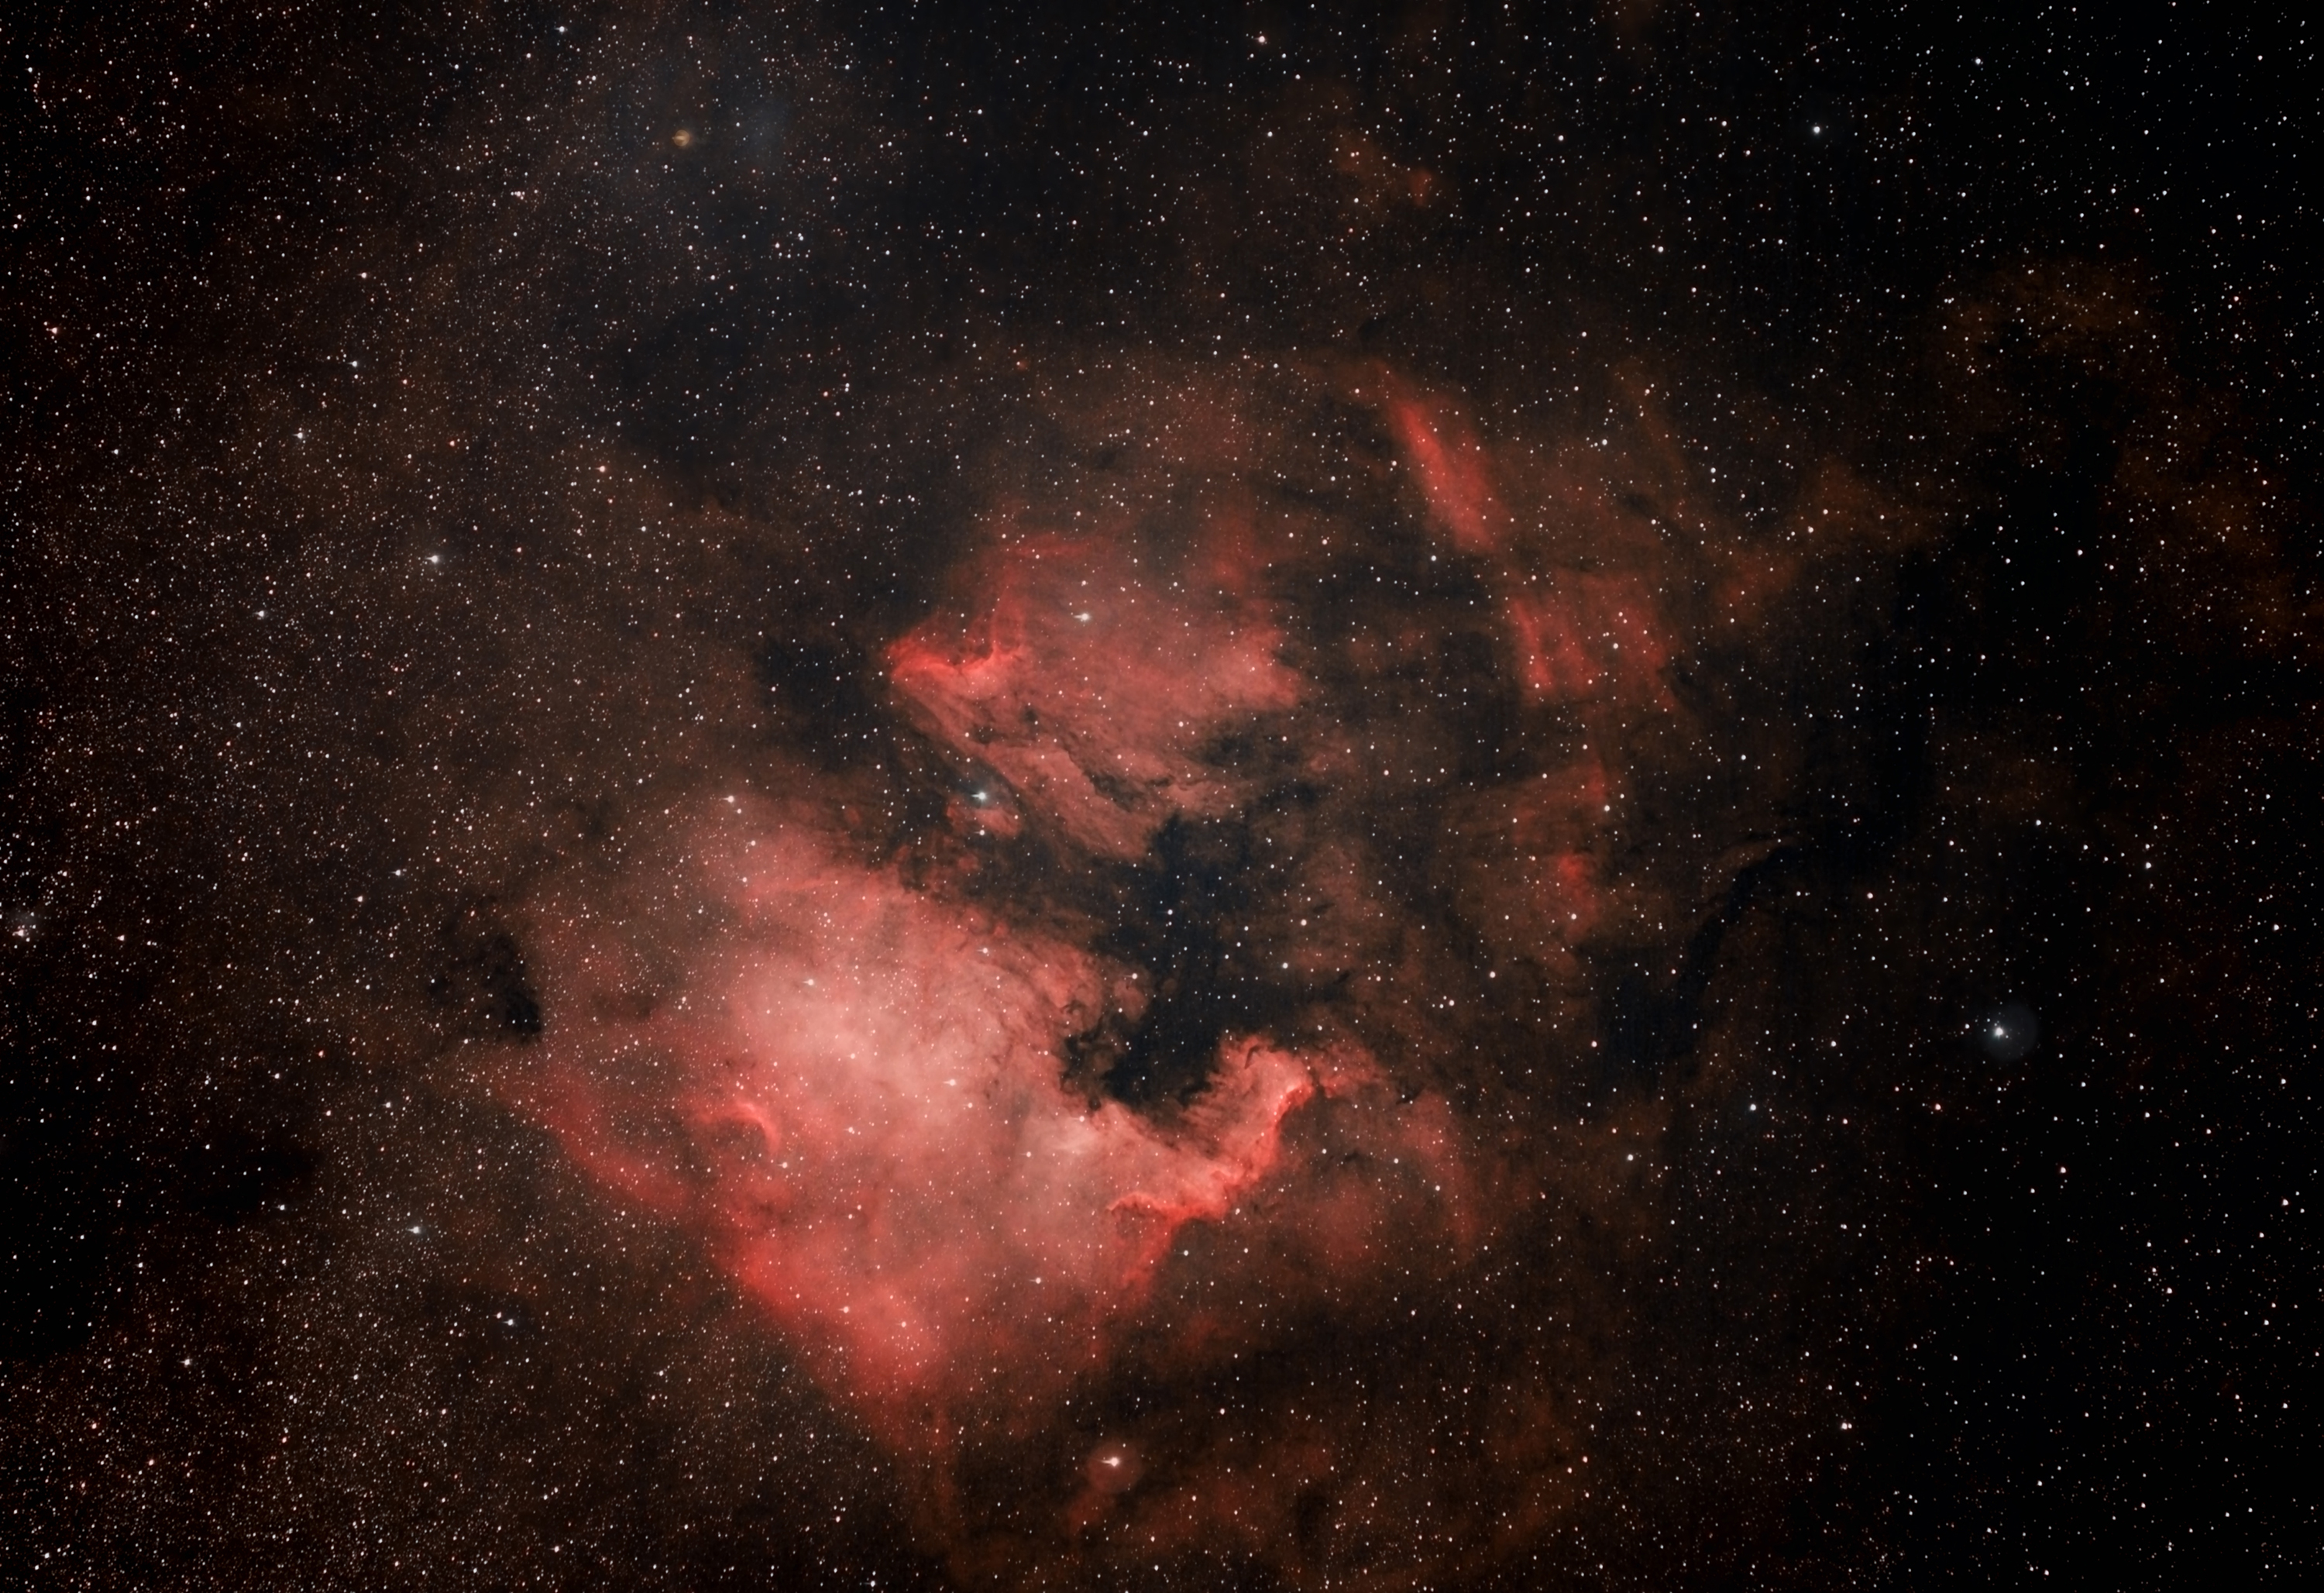
Chris owns a standard Canon EOS 7D and two modified bodies – a Canon EOS 70D and full-frame EOS 6D. With the modified DSLRs, he’s removed the internal IR and UV filter, which allows more red spectrum to be recorded and makes them optimized for astrophotography. On his 70D he added a Skytech Quad band filter, which lets in hydrogen, oxygen, nitrogen and hydrogen beta.
7. LCD brightness
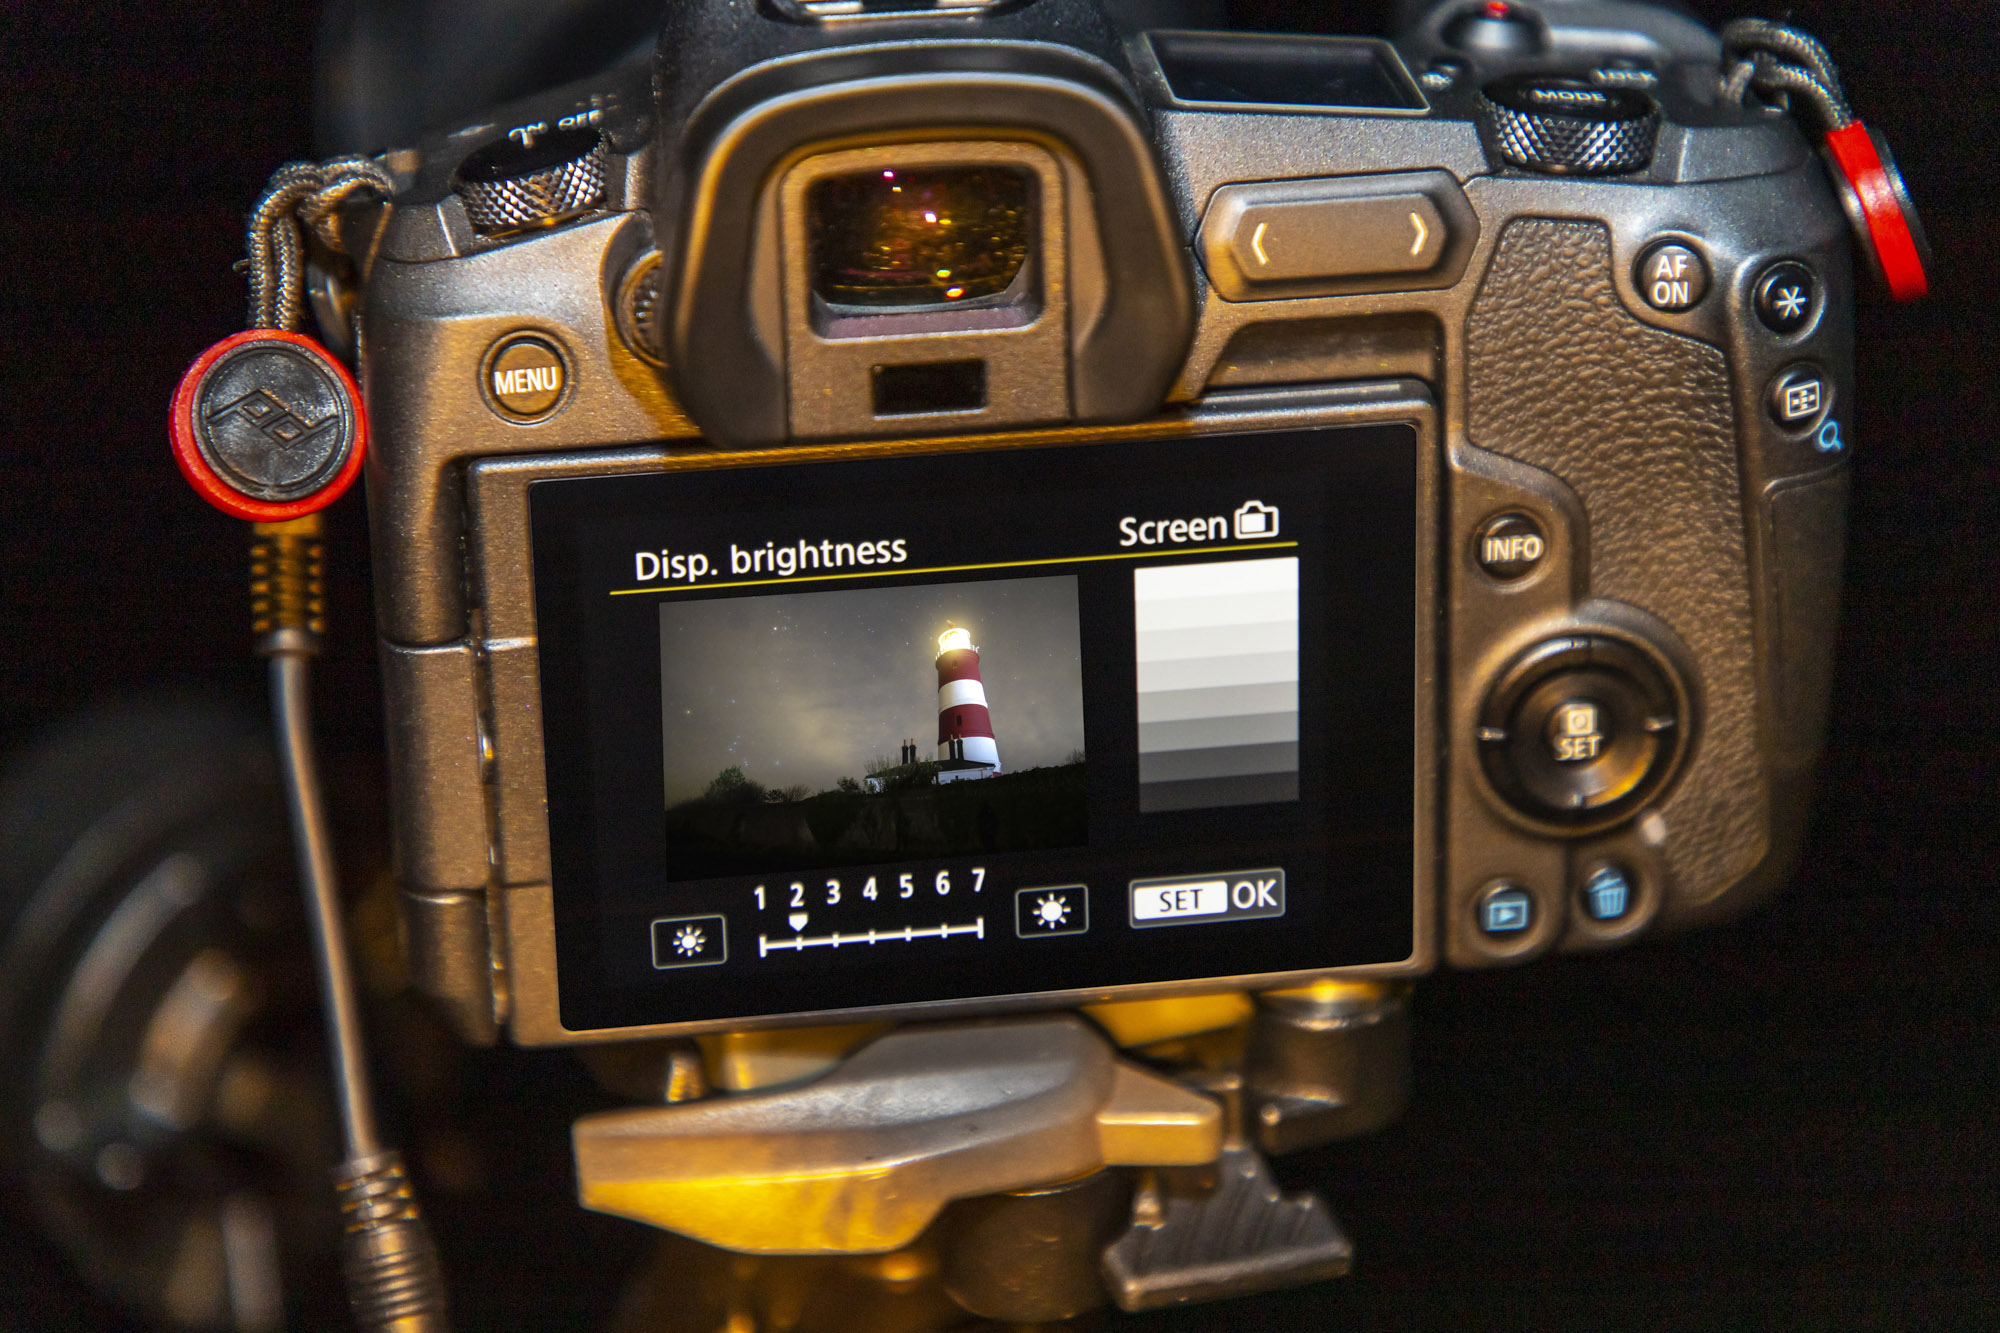
The bright glare from your camera’s LCD screen will reduce your night vision which will make it harder to see in the dark and compose. There is a handy solution though, simply go into your Canon’s Menu and lower the LCD brightness to its minimum setting to stop this from happening. Just remember to turn it back up to a middle value when you’re back out shooting in the daytime.
8. Editing software
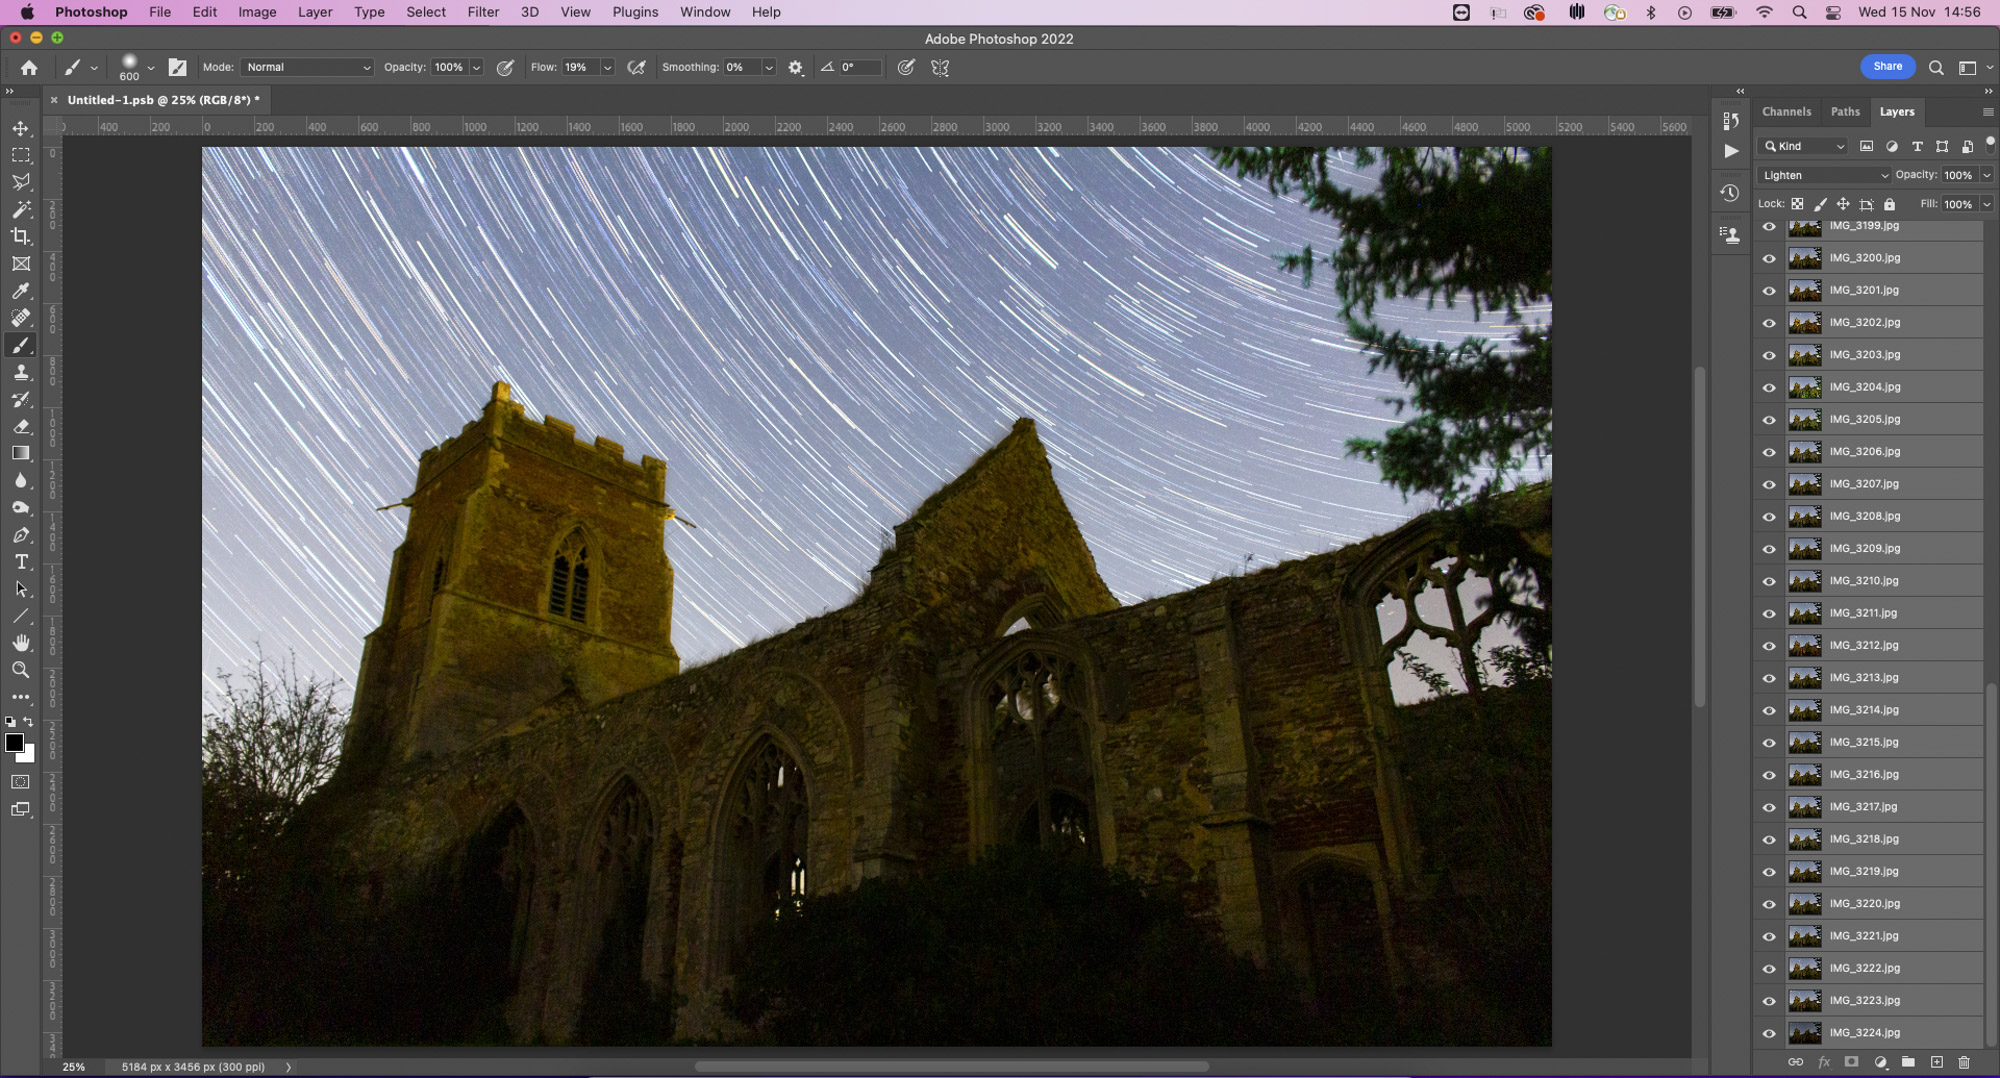
To merge all of the exposures to create a star trail image you can load all of your files into Photoshop as layers from Adobe Bridge via Tools>Photoshop>Load files in Photoshop Layers, and then change the Blending Mode of all of your layers to Lighten. Alternatively, Chris uses the free Startrails software for Windows to create star trail images, time-lapse movies, reduce gaps and has a ‘falling stars’ mode.
Read more: The best astrophotography software
9. Turn up the heat
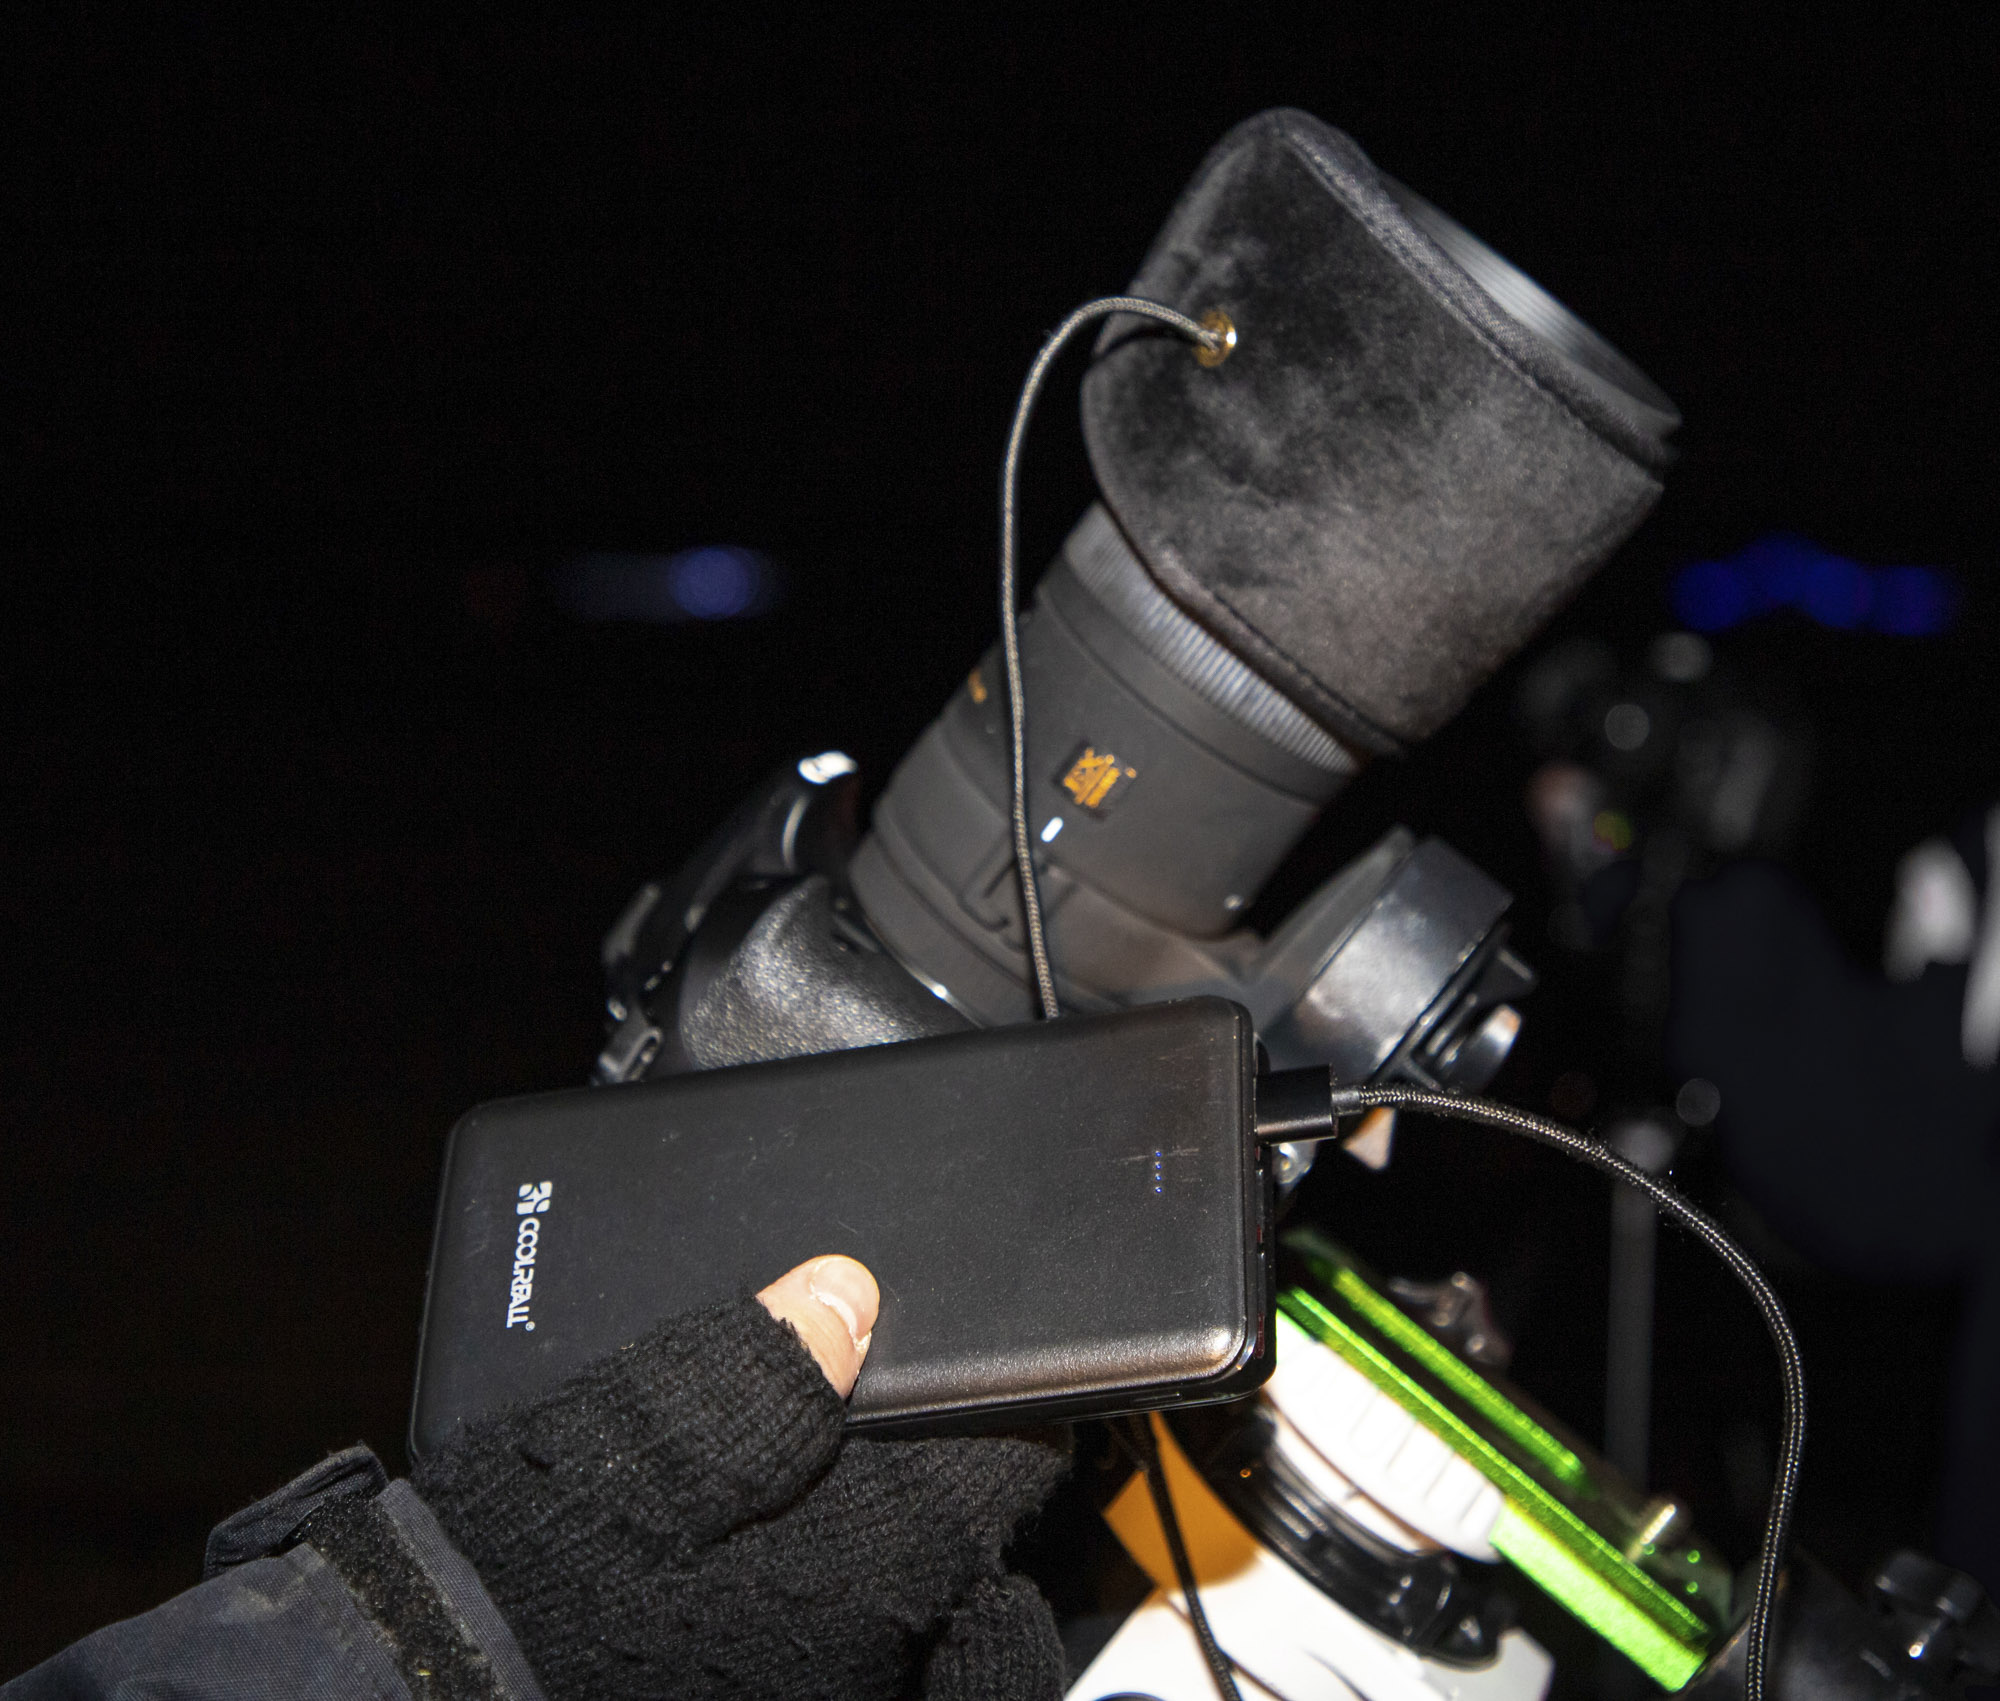
Condensation will be your biggest enemy when shooting stars for long periods on cold winter nights. Moisture can find its way onto the front element of your lens when you’re set up over long stints for deep space or star trail images which can make details look blurry. To prevent this, Chris uses a lens heat wrap which he bought on Amazon for less than £20 and is powered by USB power bank to ensure lenses stay warm and keep condensation at bay.
10. Astrophotography apps
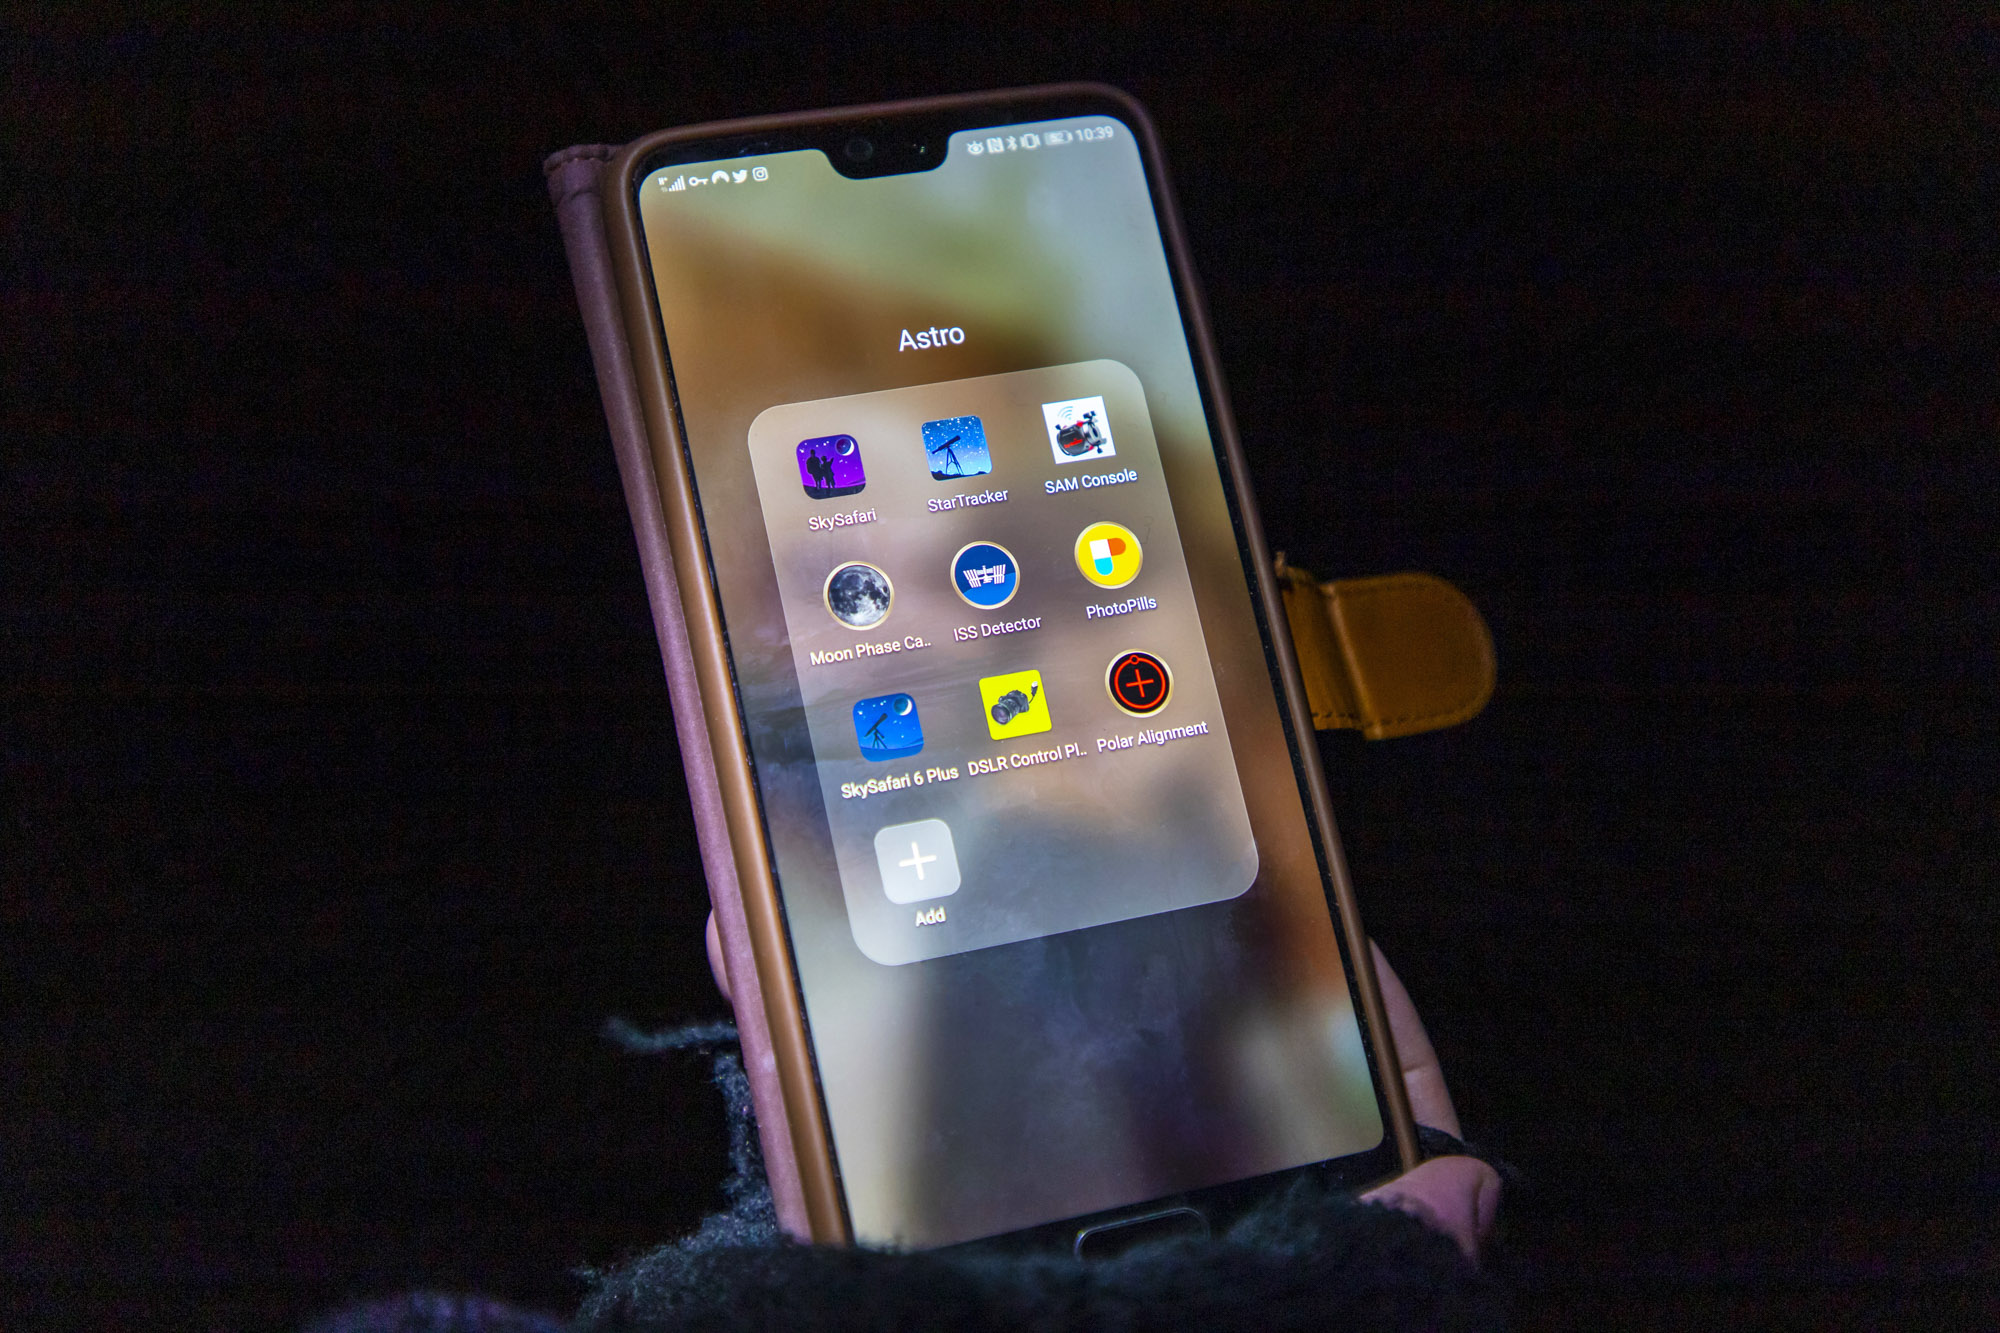
Chris uses a whole host of apps on his phone to help him take astro images, in fact he’s created a folder on his phone to keep them all organized. His favourite two apps are Stellarium Mobile Star Map (free for iOS and Android but with in-app purchases), which locates the Milky Way. He also uses PhotoPills (£10.99 iOS / £10.99 Android), which is useful for night shots too.
If you're really into astrophotography, you'll want to check out the best lenses for astrophotography. Chris uses a Canon EOS 6D. To see more from his stunning portfolio be sure to check out his website.
PhotoPlus: The Canon Magazine is the world's only monthly newsstand title that's 100% devoted to Canon, so you can be sure the magazine is completely relevant to your system. Every issue comes with downloadable video tutorials too.

In addition to being a freelance photographer and filmmaker, Dan is a bona fide expert on all things Canon and Adobe. Not only is he an Adobe-certified Photoshop guru, he's spent over 10 years writing for specialist magazines including stints as the Deputy Editor for PhotoPlus: The Canon Magazine, Technical Editor for Practical Photography and Photoshop Editor on Digital Photo.
