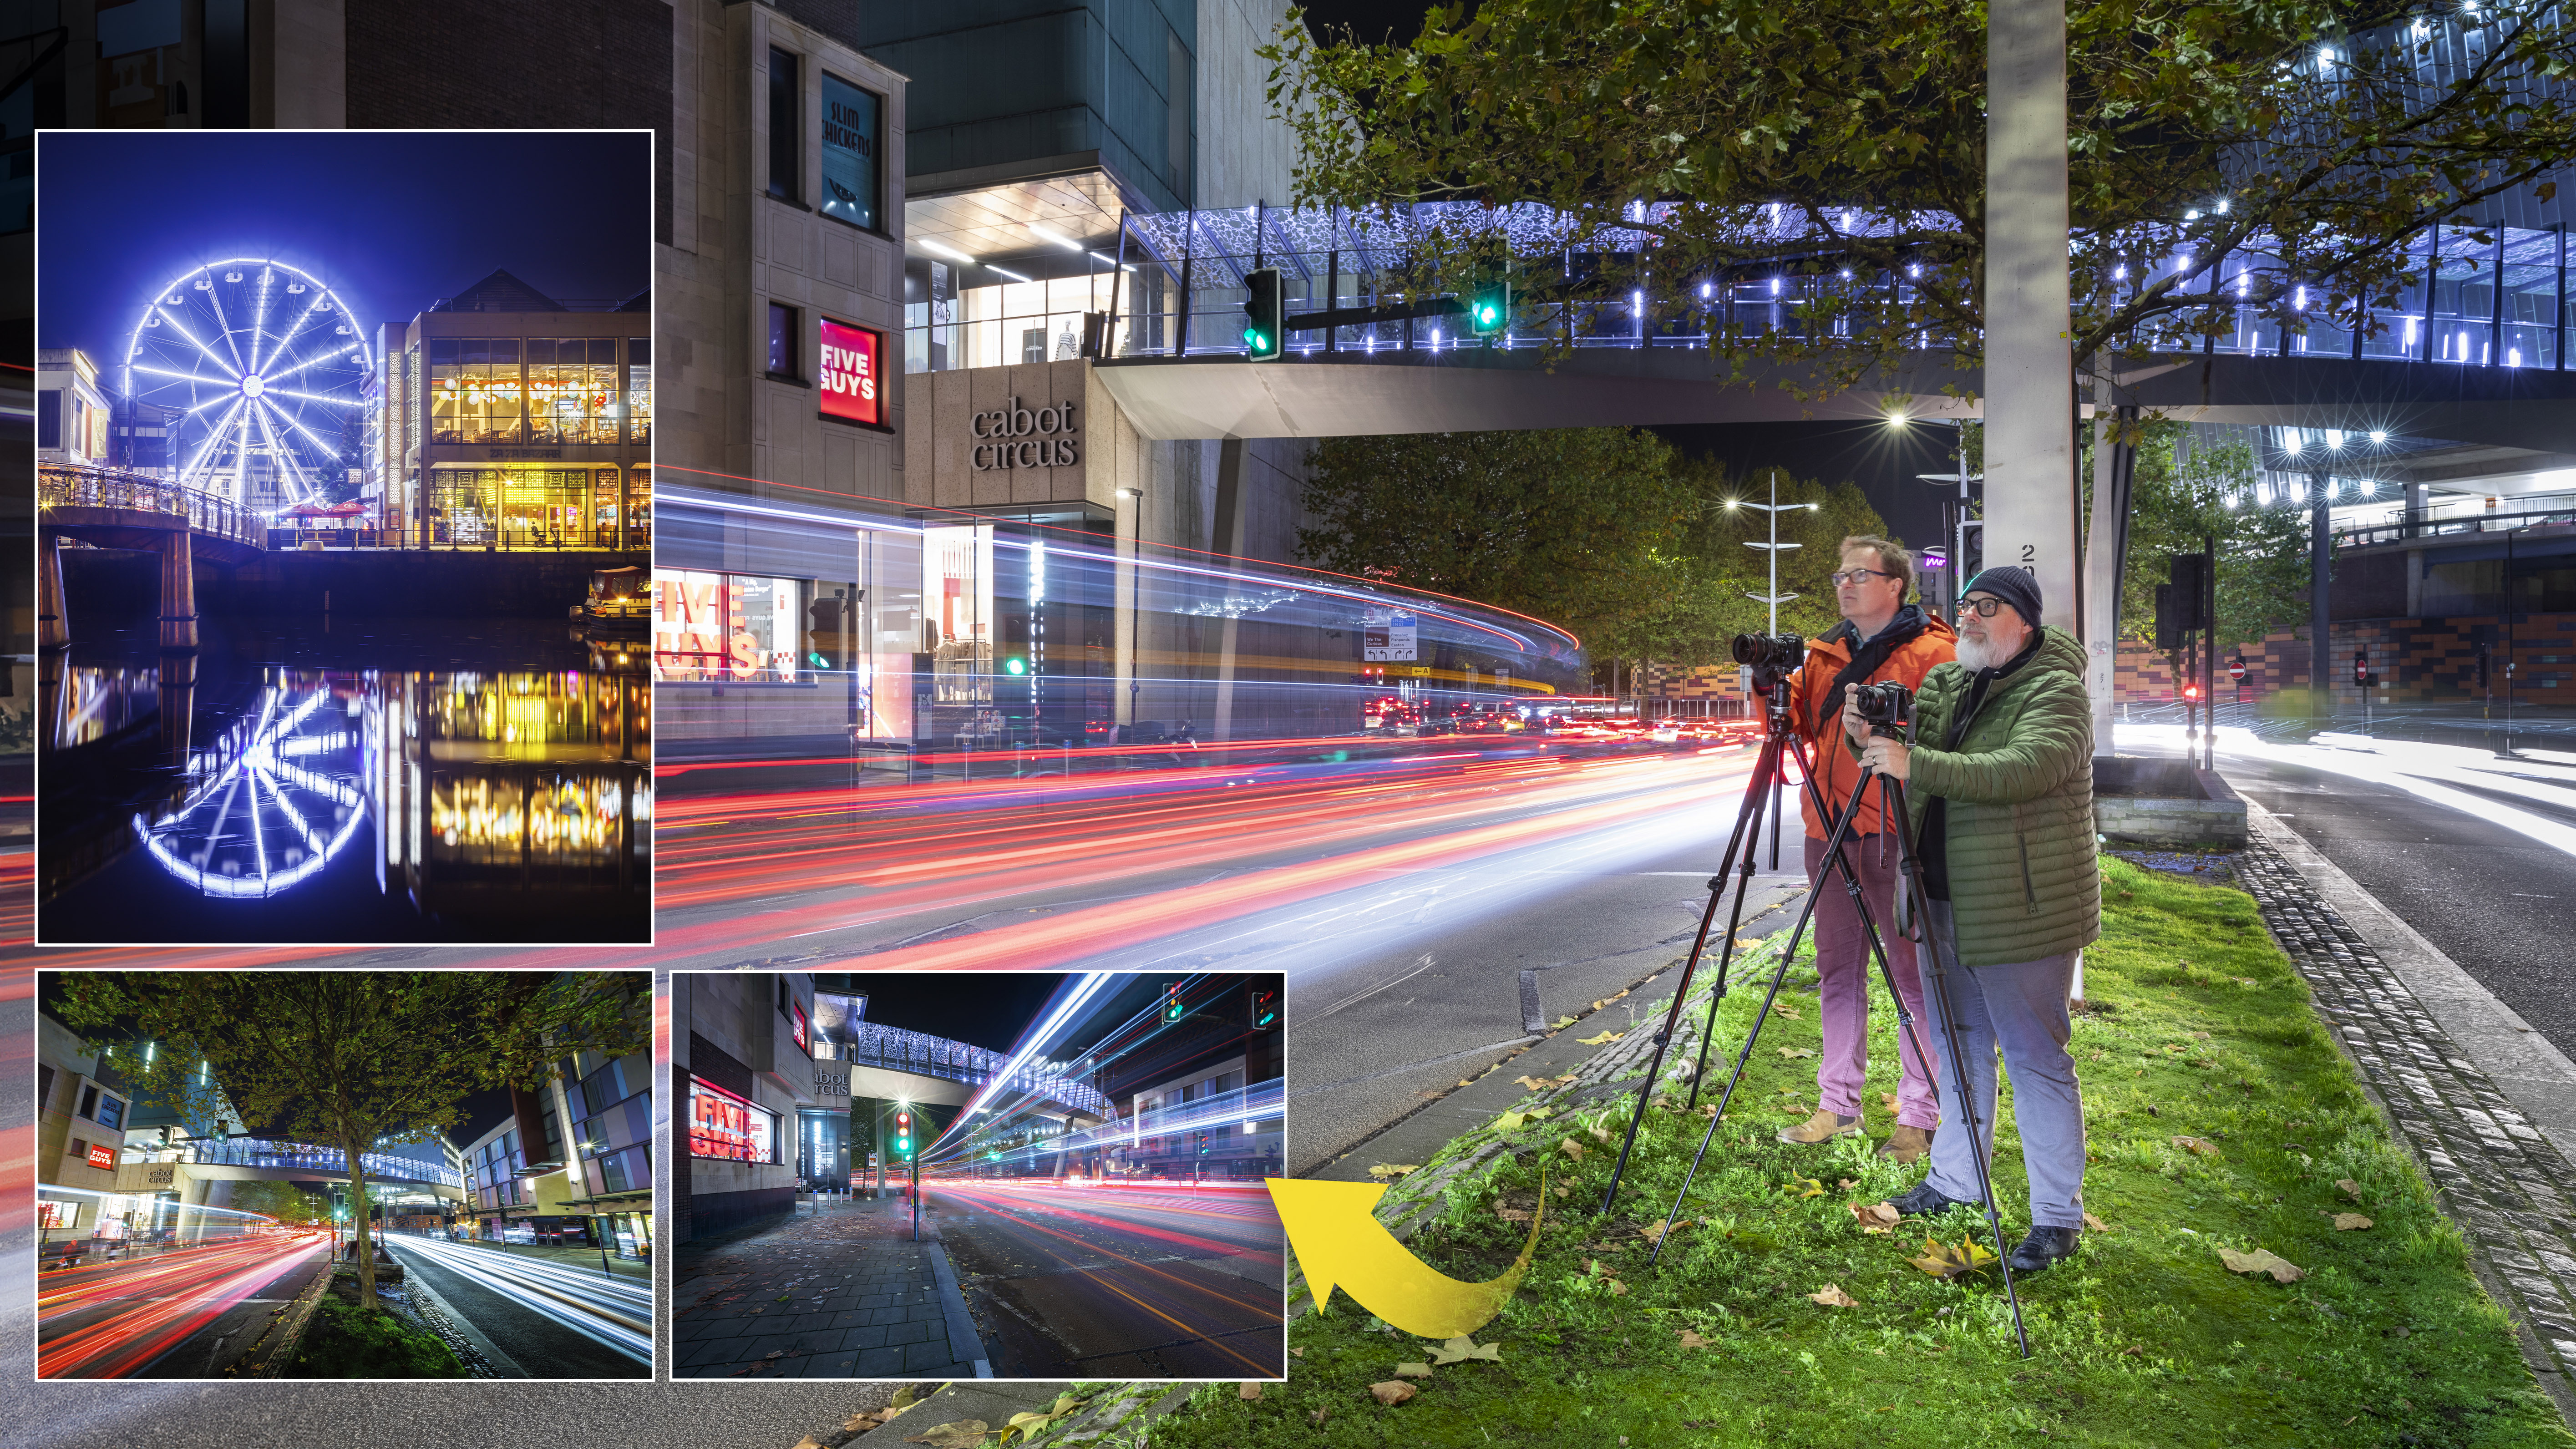
When the sun sets you might be tempted to pack up your camera and call it a day, however you'd be missing out on the brilliant potential to be had shooting cities and urban environments after dark.
Bright artificial street lamps, lit up buildings and even car headlights can all illuminate dark city scenes in brilliant ways with a little creativity.
• To shoot amazing architecture shots of your own, check out the best tilt-shift lenses
Reader of PhotoPlus: The Canon Magazine, Paul Way is based in South Wales, and has been shooting wildlife for many years. “My job as a UK sales manager takes me all over the country, giving me opportunities to visit some great photography locations. I also support and take photos for the Gigrin Farm red kite feeding centre. I’ve recently upgraded to a Canon EOS R5 full-frame mirrorless after using a Canon 7D Mk II for many years, and have also upgraded to RF lenses.” Paul was keen to get out of his comfort zone to learn how to capture city shots at night.
We paired him with Bristol Photographer Paul Groom for a night on the town in Bristol's bustling city centre. Here's Paul's top tips from their workshop together.
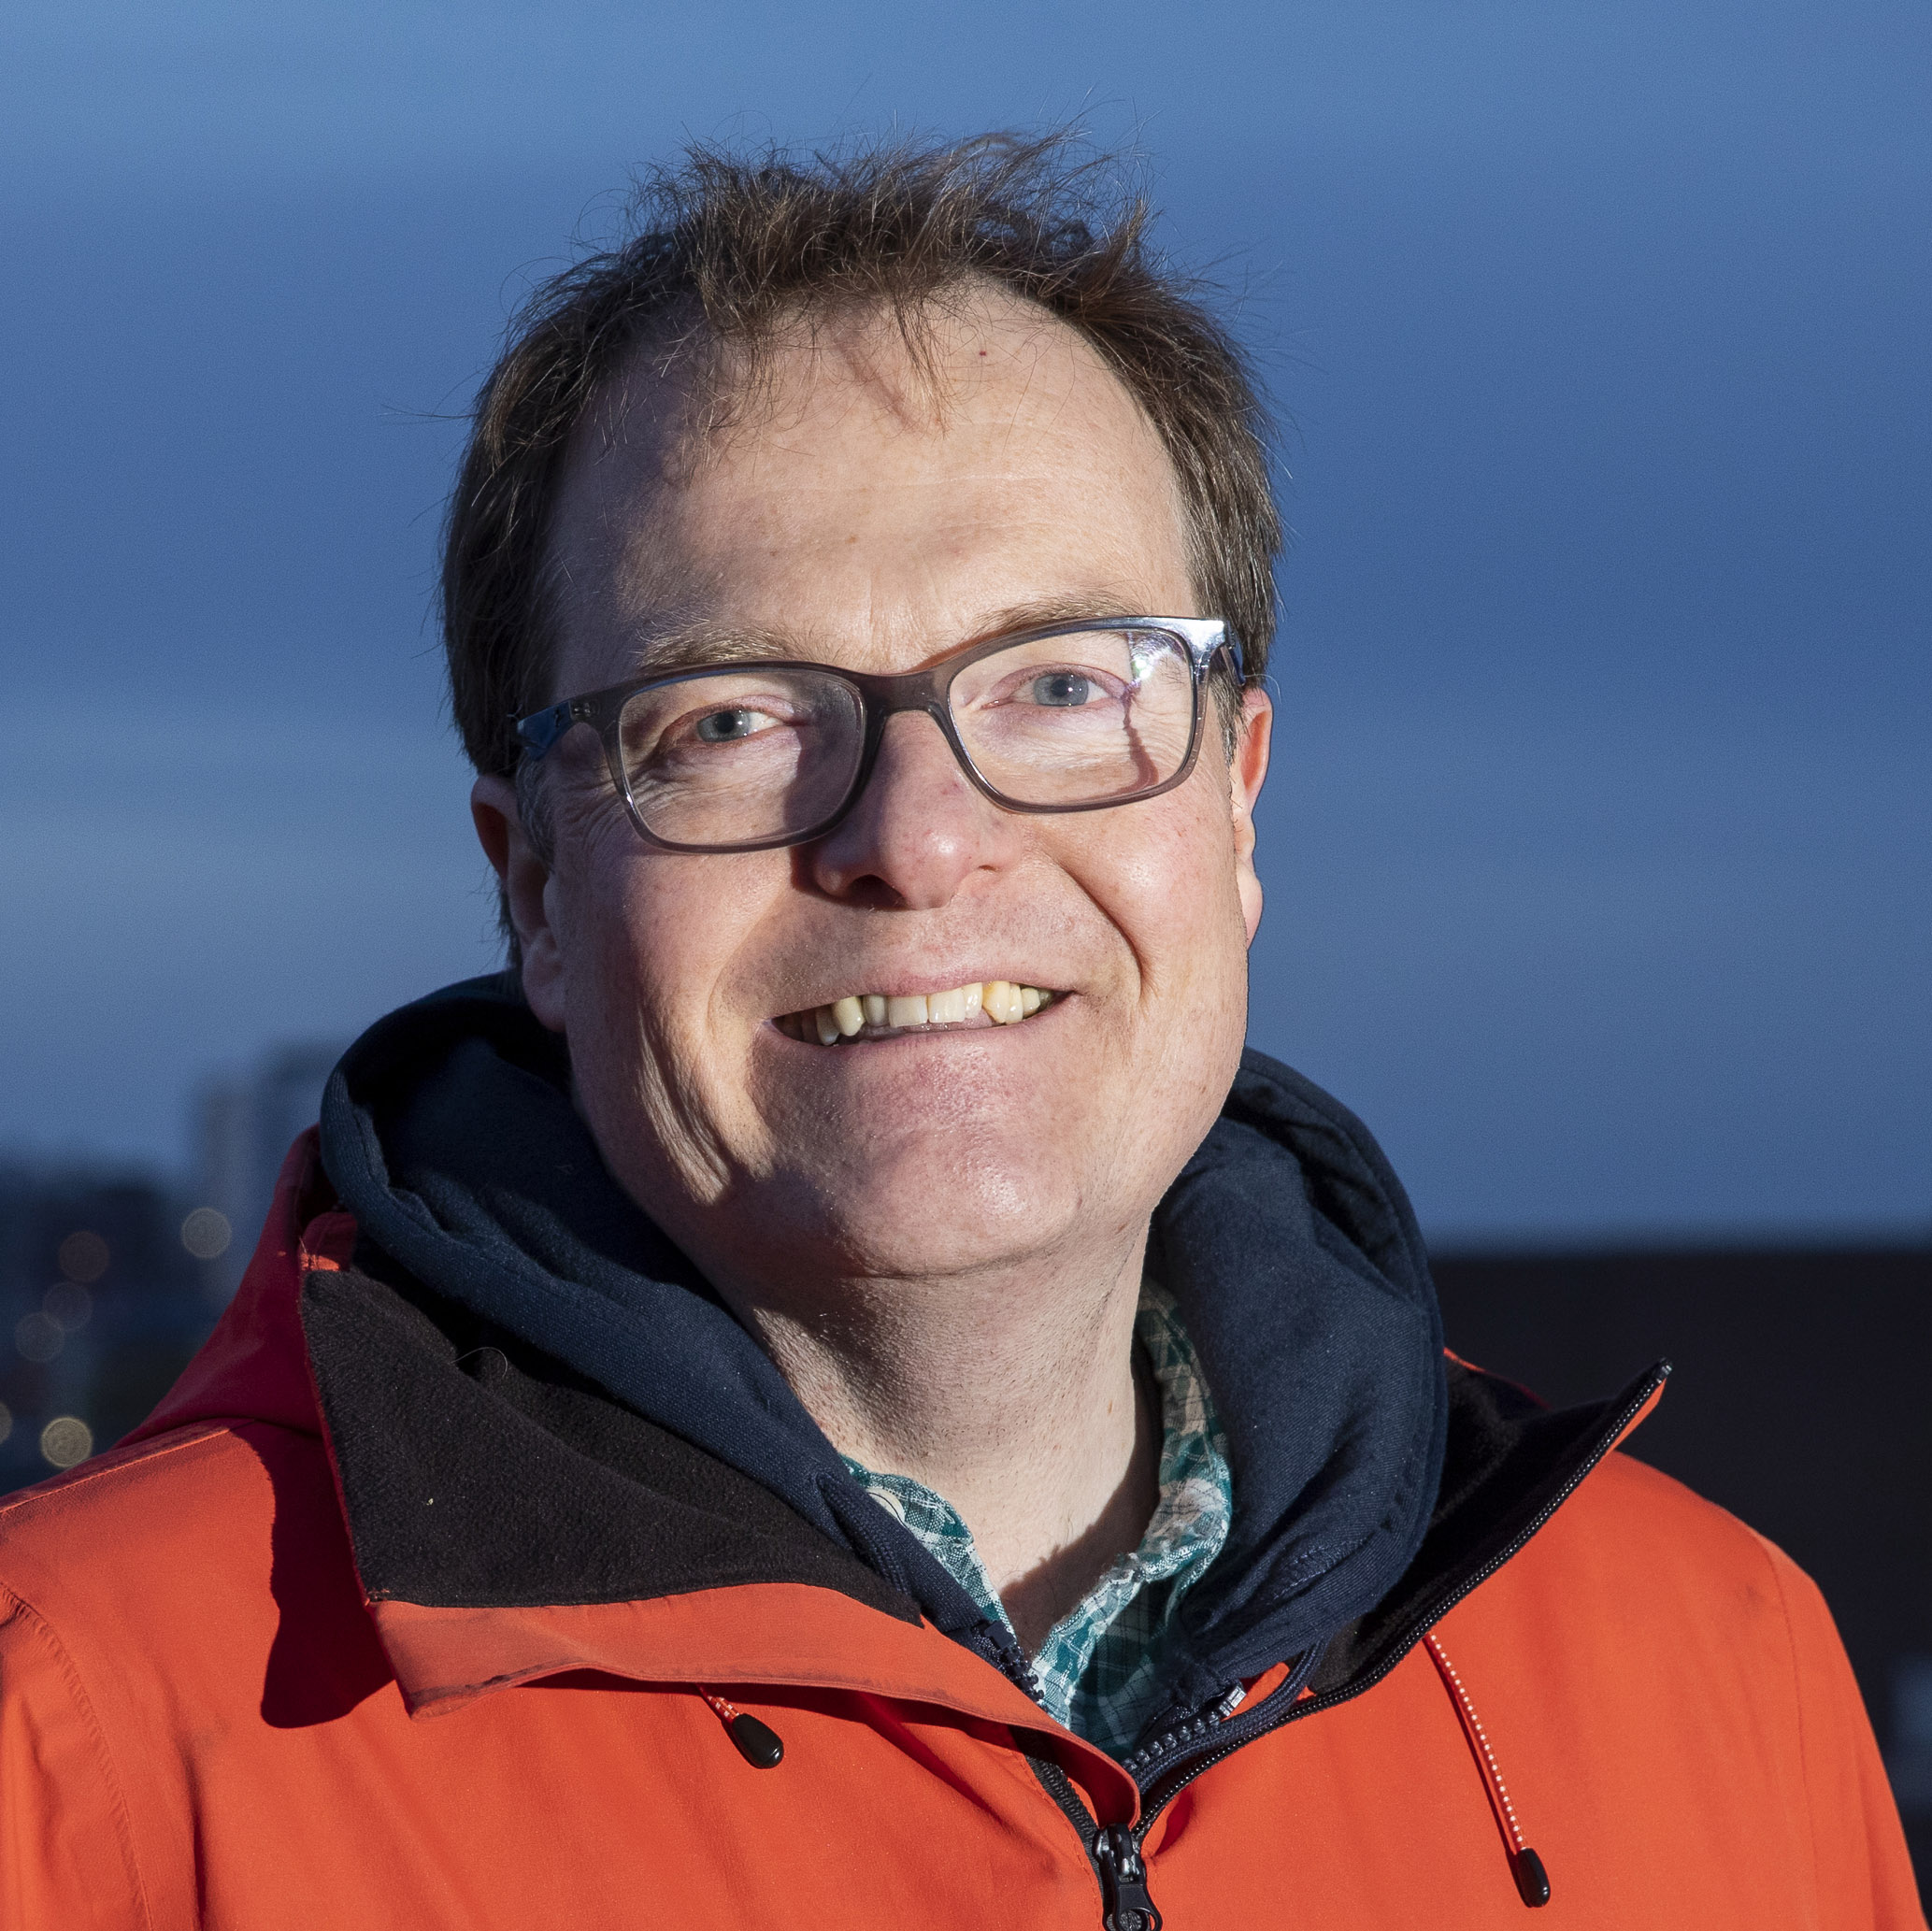
Paul Groom is a Canon professional photographer based near Bristol. With extensive knowledge from shooting the city and its buildings and bridges over the past 20 years, he was ideally placed to teach our Apprentice how to capture great night shots of the modern architecture. “After starting in graphic design, I’ve been working as a full-time photographer since 2005. I now proudly work with many clients including National Grid, Channel 4, Burges Salmon and various charities.”
1. Manual mode
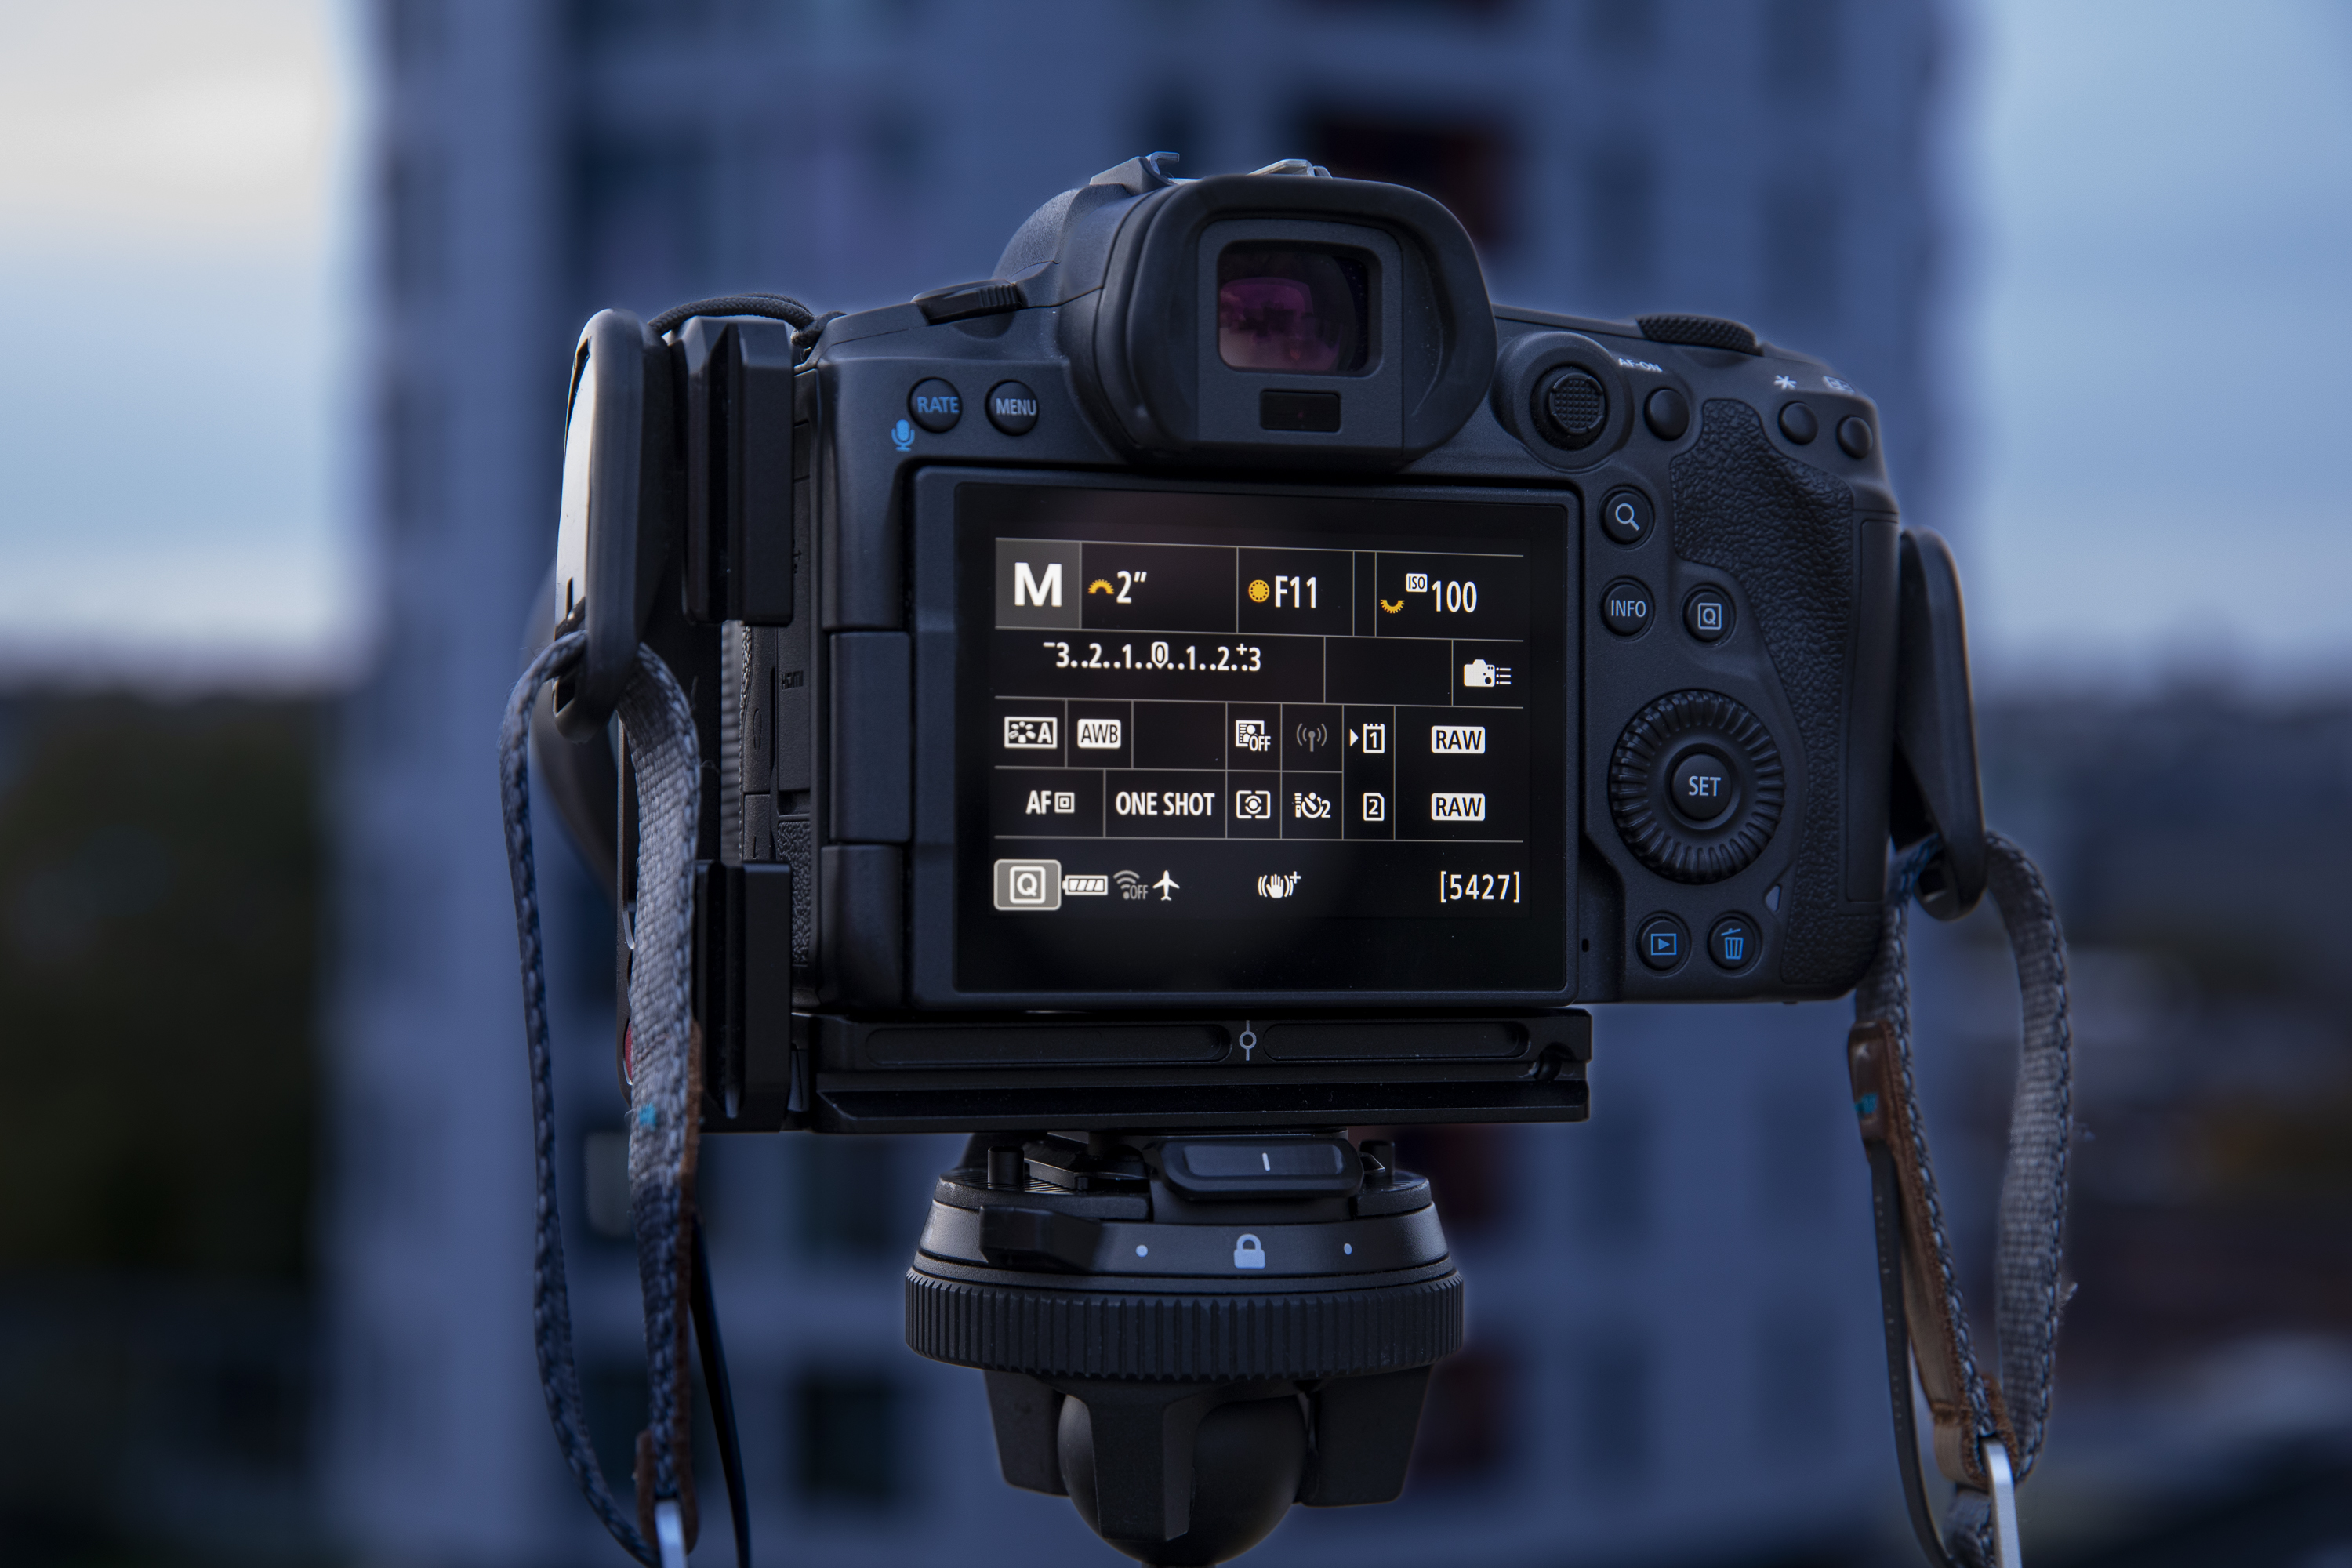
To control your aperture, shutter speed and ISO, all independently, you need to shoot in Manual mode on your Canon EOS camera. As pro Paul explains, “Manual mode means you can set both the aperture and shutter speed for an exposure of your city scenes to suit your eye, not what the camera thinks. We could set a mid-range aperture and a shutter speed for good brightness levels in the shots. At dusk, we started at f/11 and 2 secs, but the shutter speed was soon much slower as it got darker.”
2. White Balance control
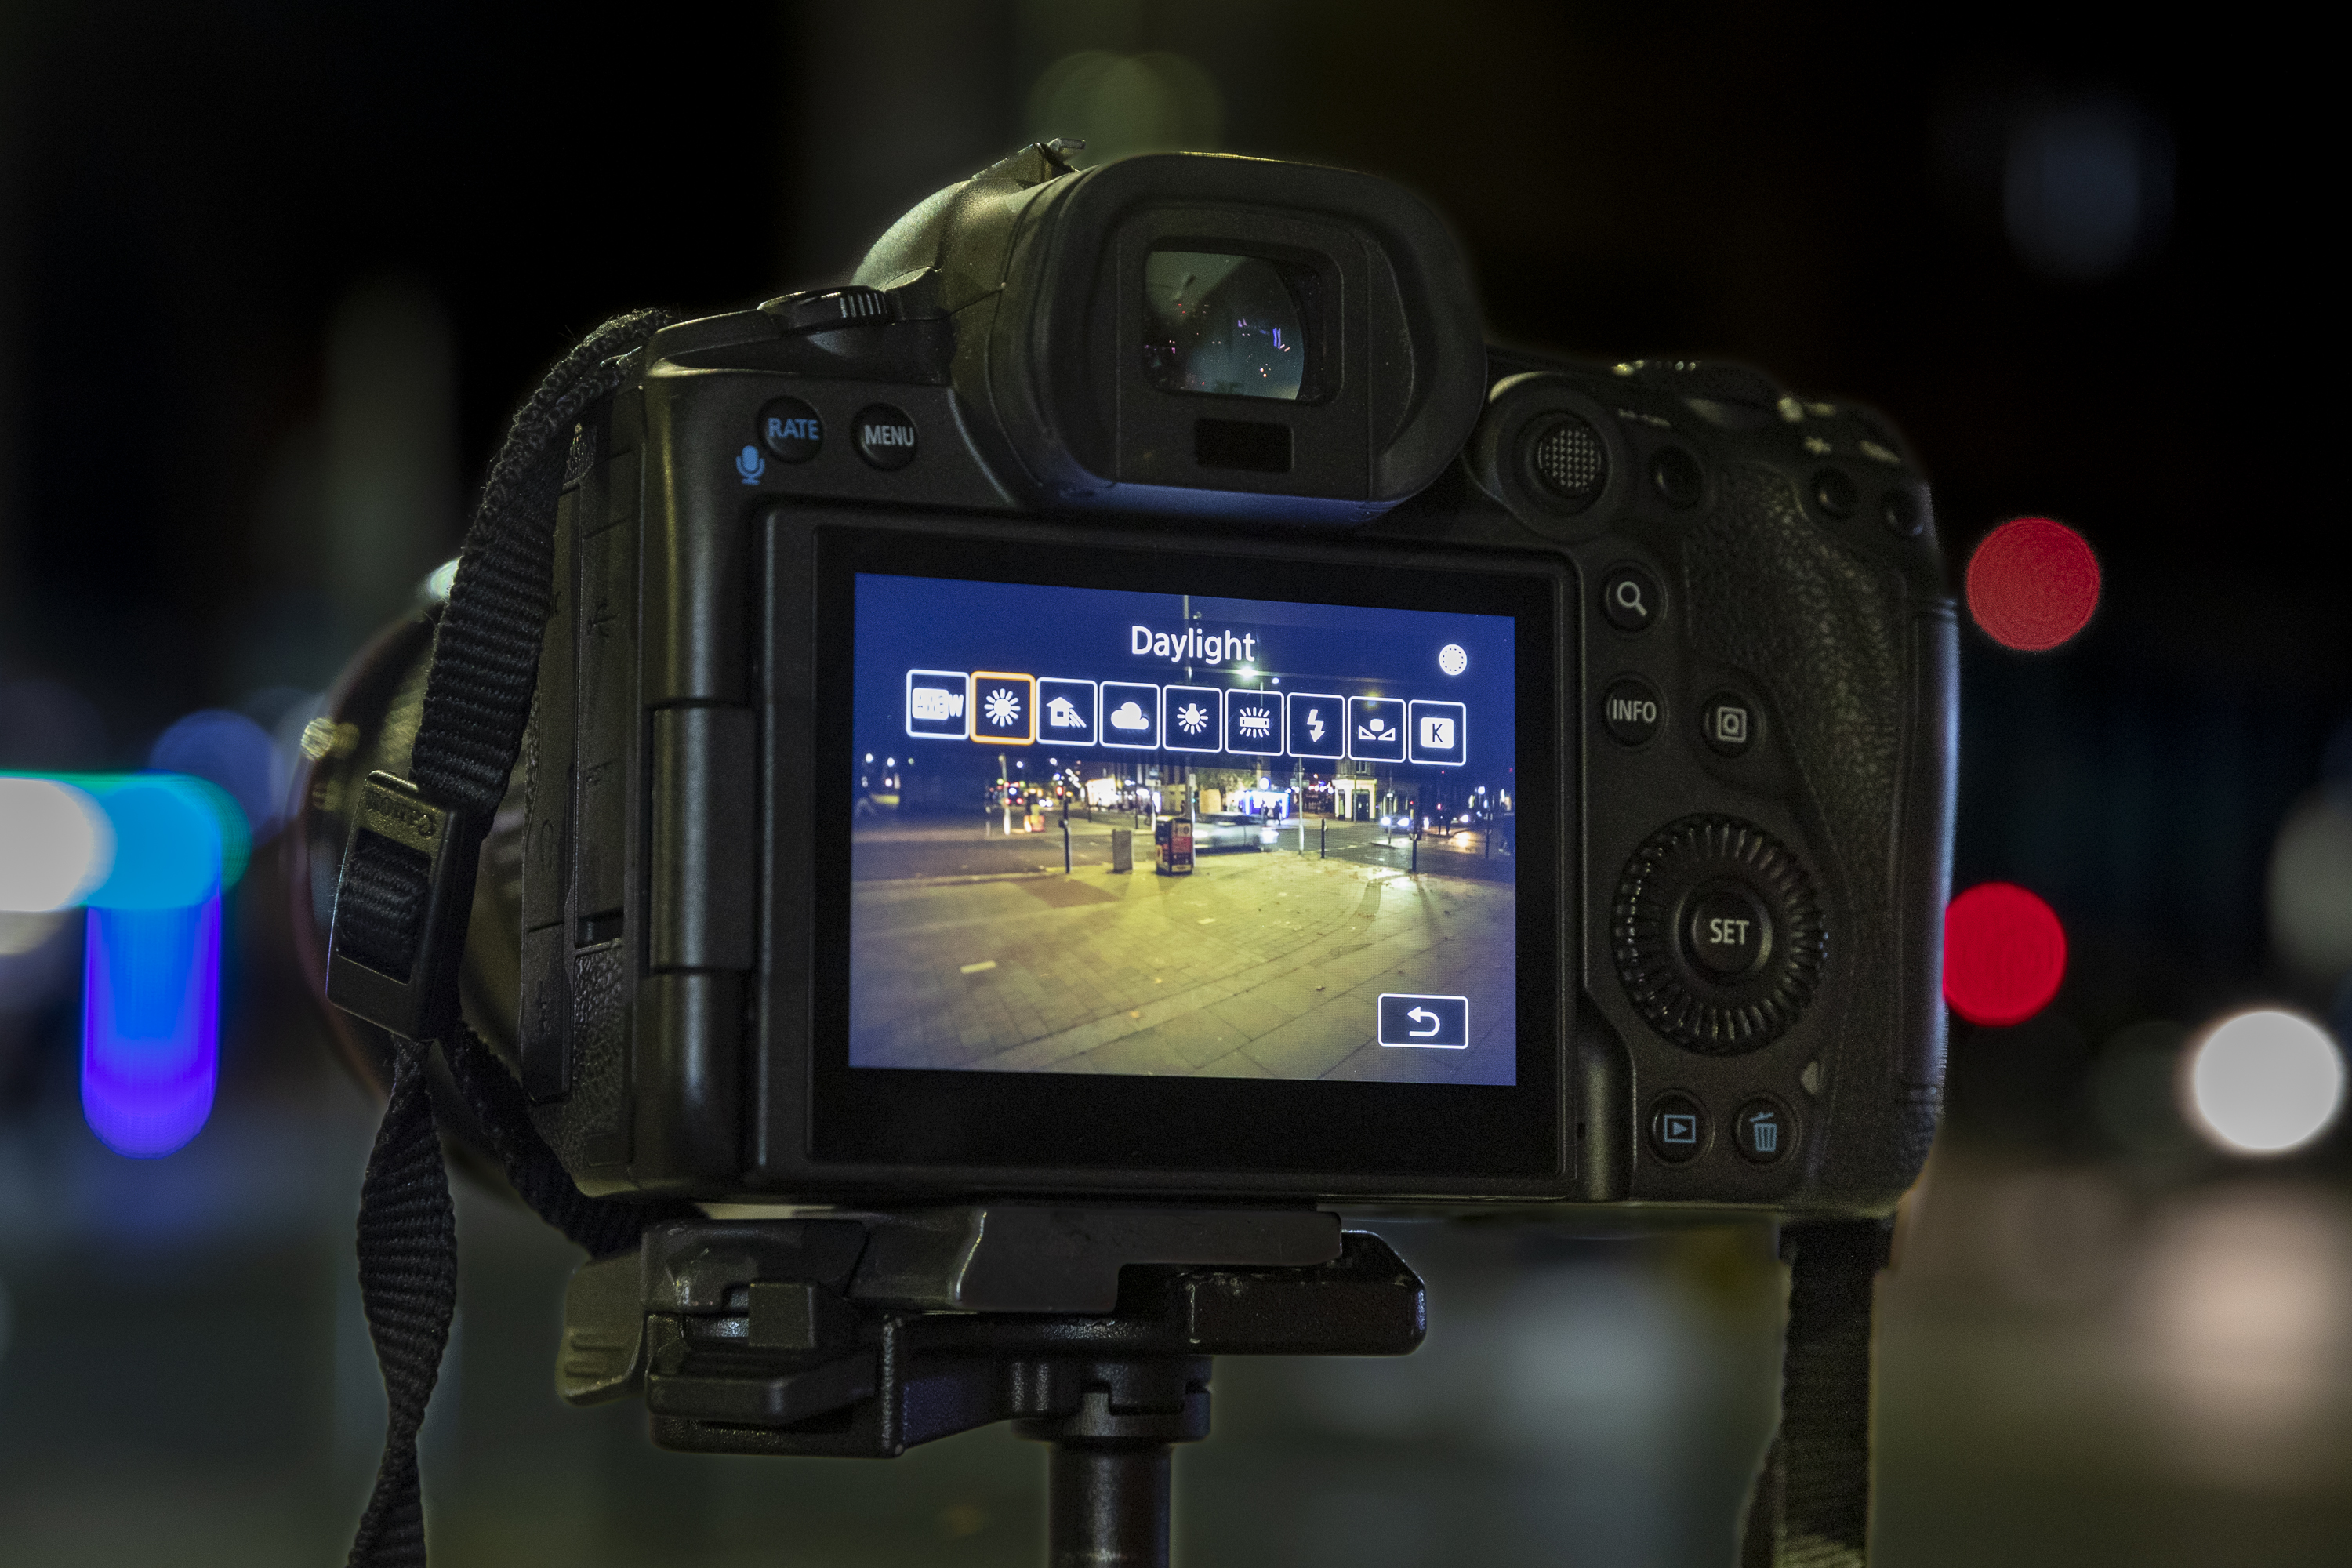
“We both started off using Auto White Balance (AWB) on our EOS R5 cameras,” says pro Paul, “but as light levels started to drop, the AWB was looking too cool – 3450K when looking at the temperature slider of the RAW images in Adobe Camera Raw on the computer later. So we set our white balance to Daylight preset (which was 5300K) to warm up the night scenes.”
3. Sturdy tripod and adjustable head
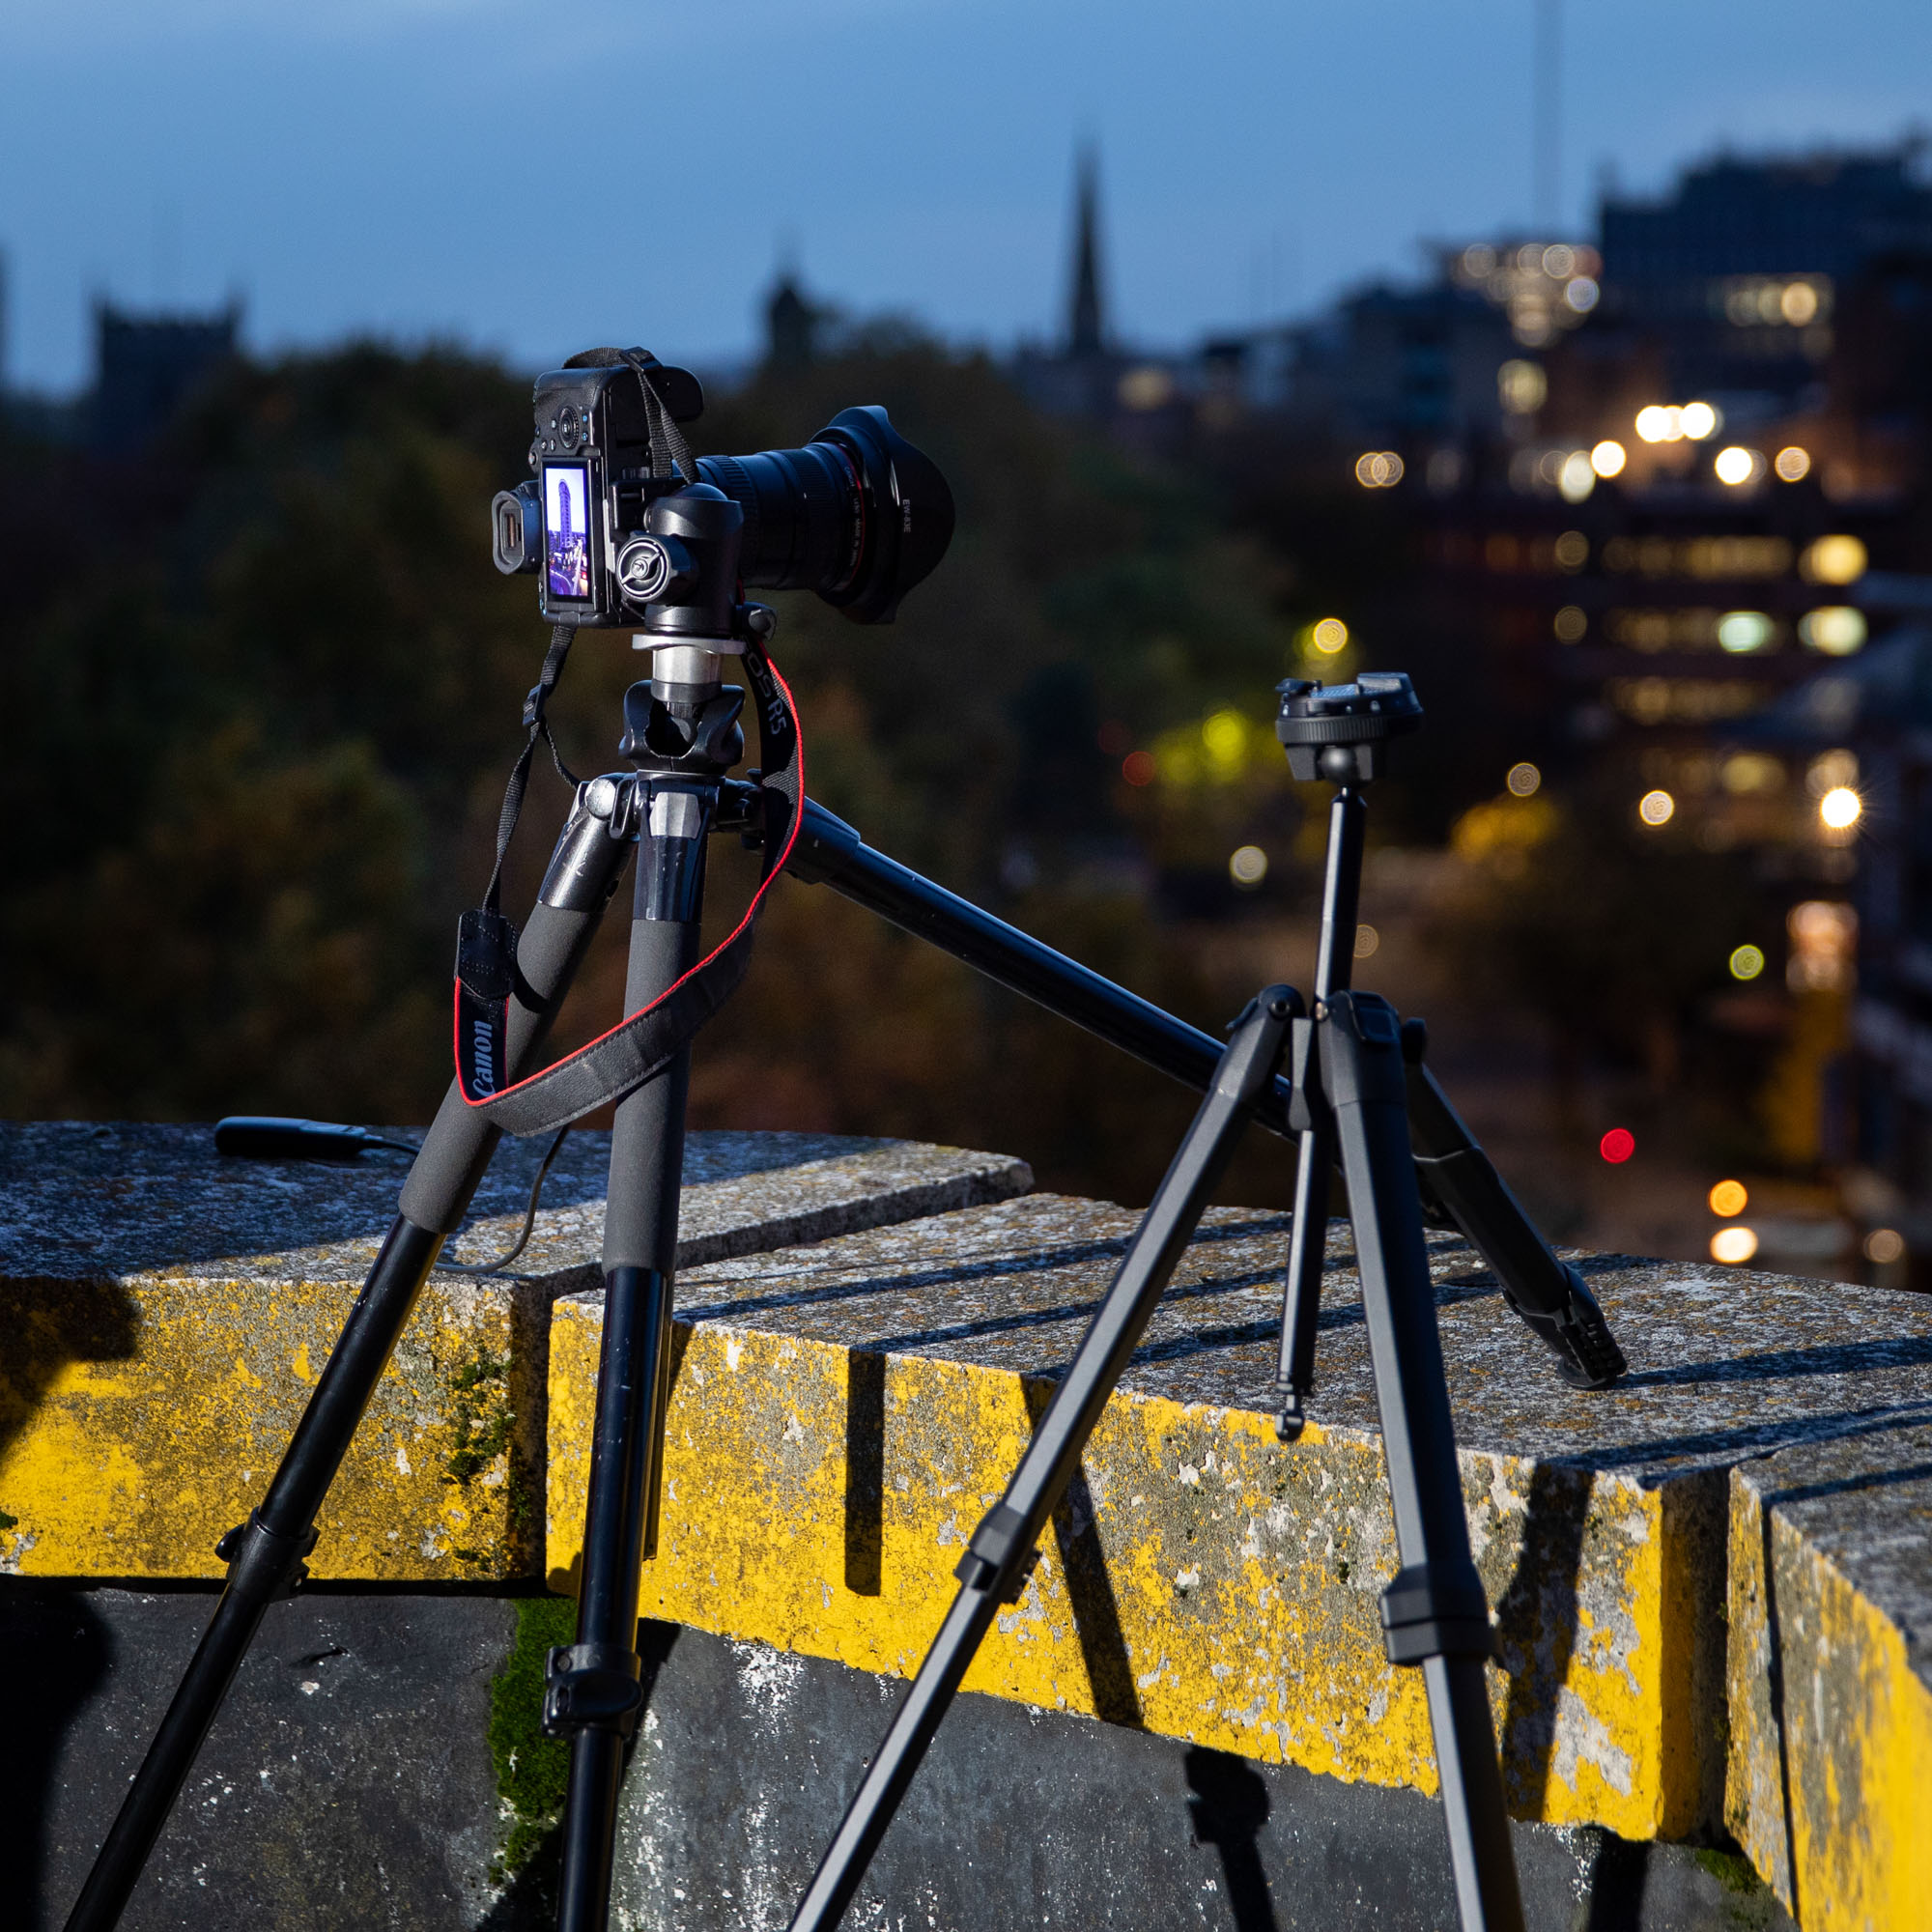
A good tripod is essential for night photography as you’re taking exposures too long to shoot handheld. It’s worth investing in a decent pair of legs and head, as pro Paul explains: “This helps keep your camera stable for sharp shots every time, while a good tripod head is easier to adjust to get the horizontals and verticals of buildings straight.” He uses a Manfrotto 055XPROB aluminium tripod and 496 centre ball head.
4. ISO settings at night-time
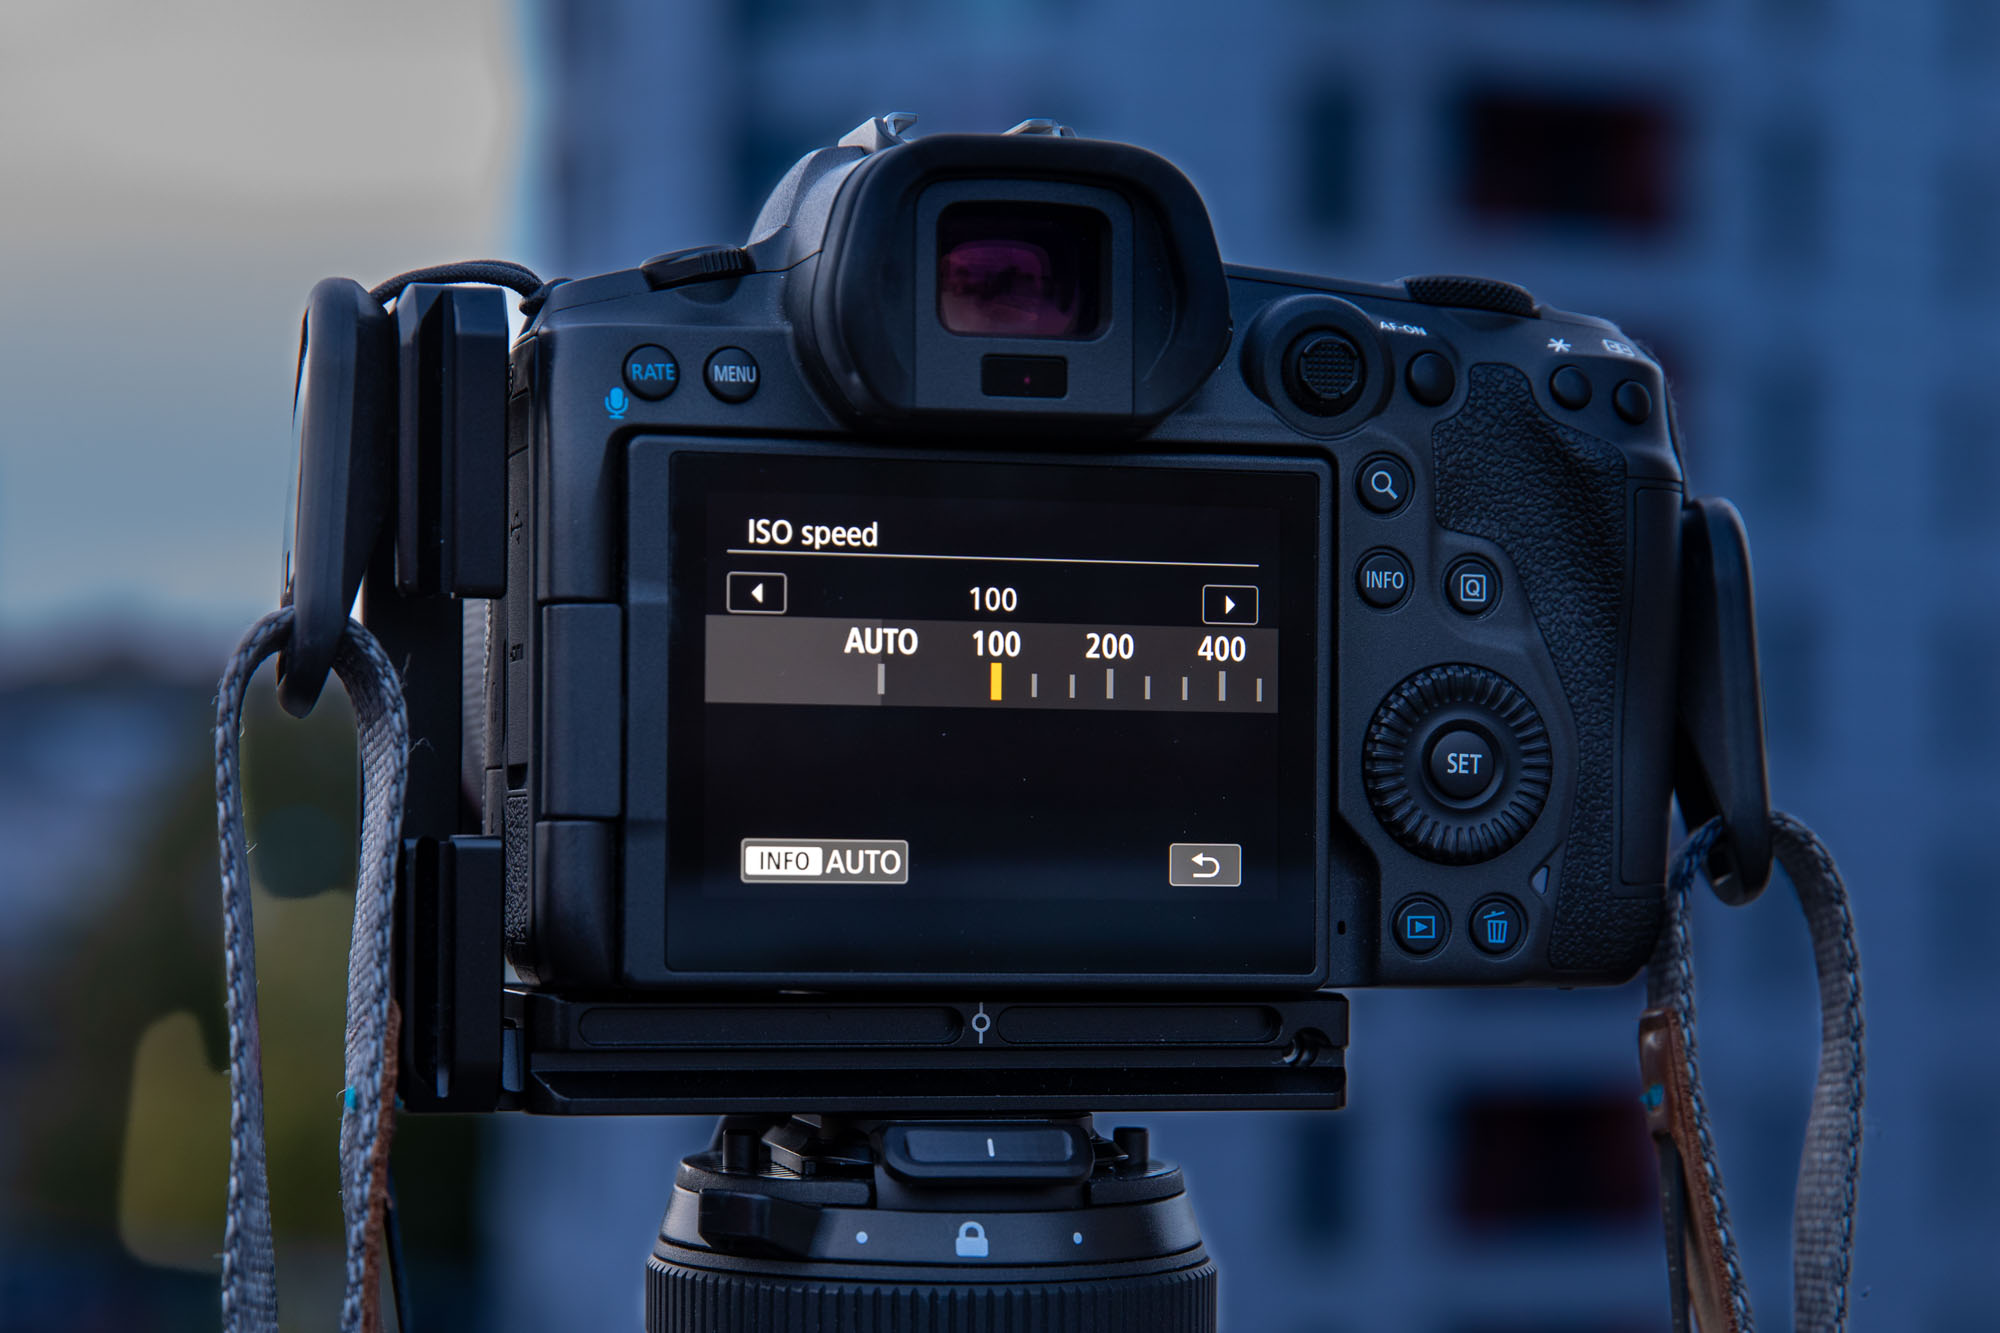
“As we were shooting with tripods, we could keep our ISO as low as possible, so we both shot at ISO100 for the best image quality. This ISO sensitivity setting also helps keep any noise to a minimum, because with long exposures at night, noise in shadowy areas of scenes can be more pronounced,” advises pro Paul.
5. Autofocus and focus points
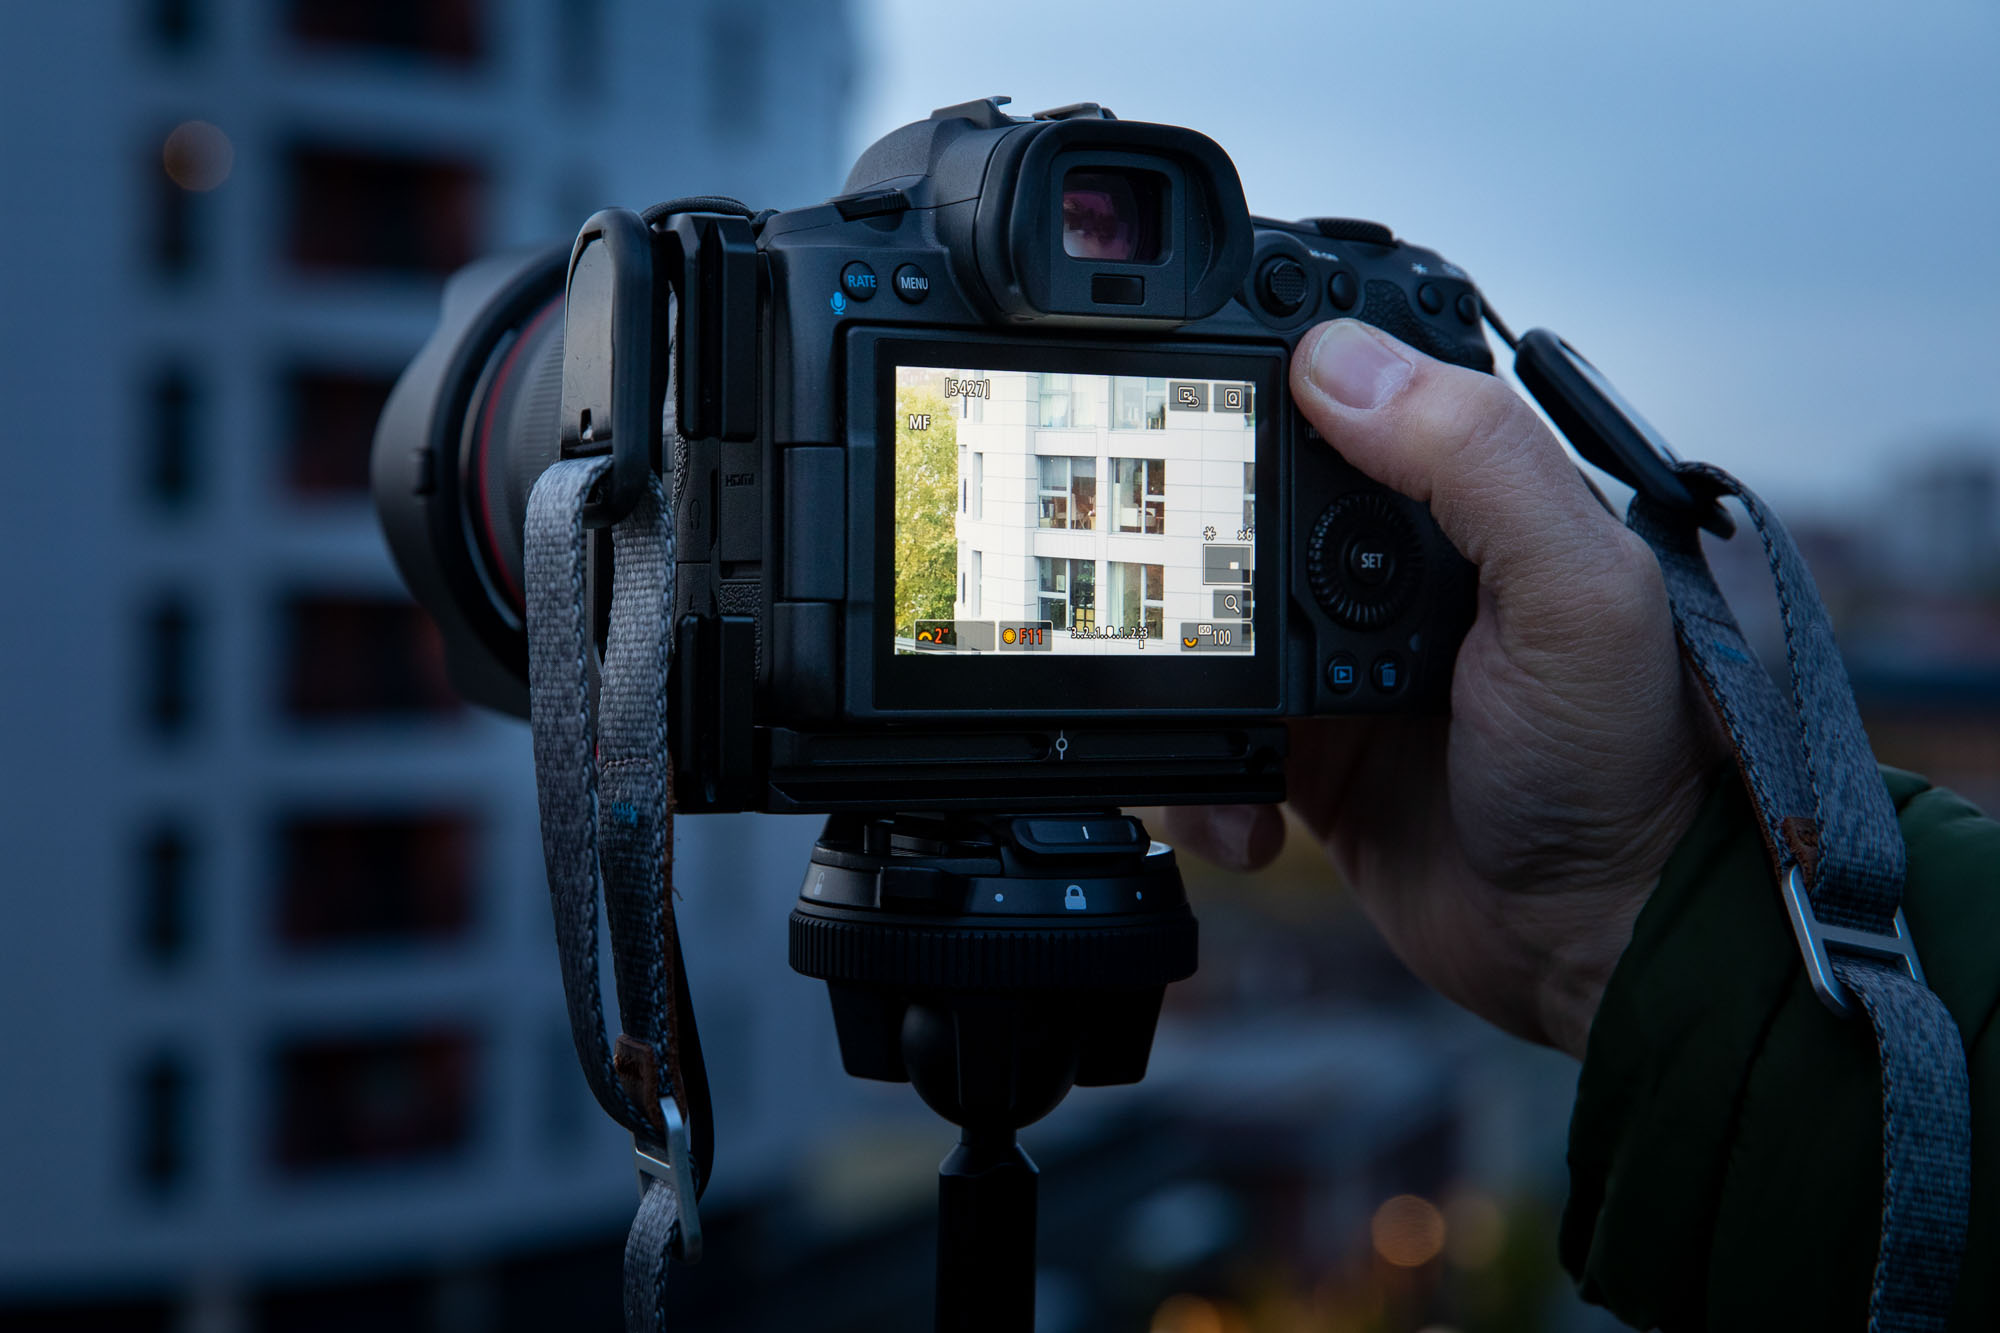
Apprentice Paul was new to using the rear screen on his R5: “I’m used to shooting using the electronic viewfinder, so it was interesting being shown how to use the screen.” Pro Paul explained the benefits: “With my R5 on the tripod, I can fine-tune compositions, adjust white balance and exposure until the scene looks right. You can also focus more accurately on screen by zooming in to check your AF point is positioned over on the most important part of the shot.”
6. Canon full-frame EOS camera
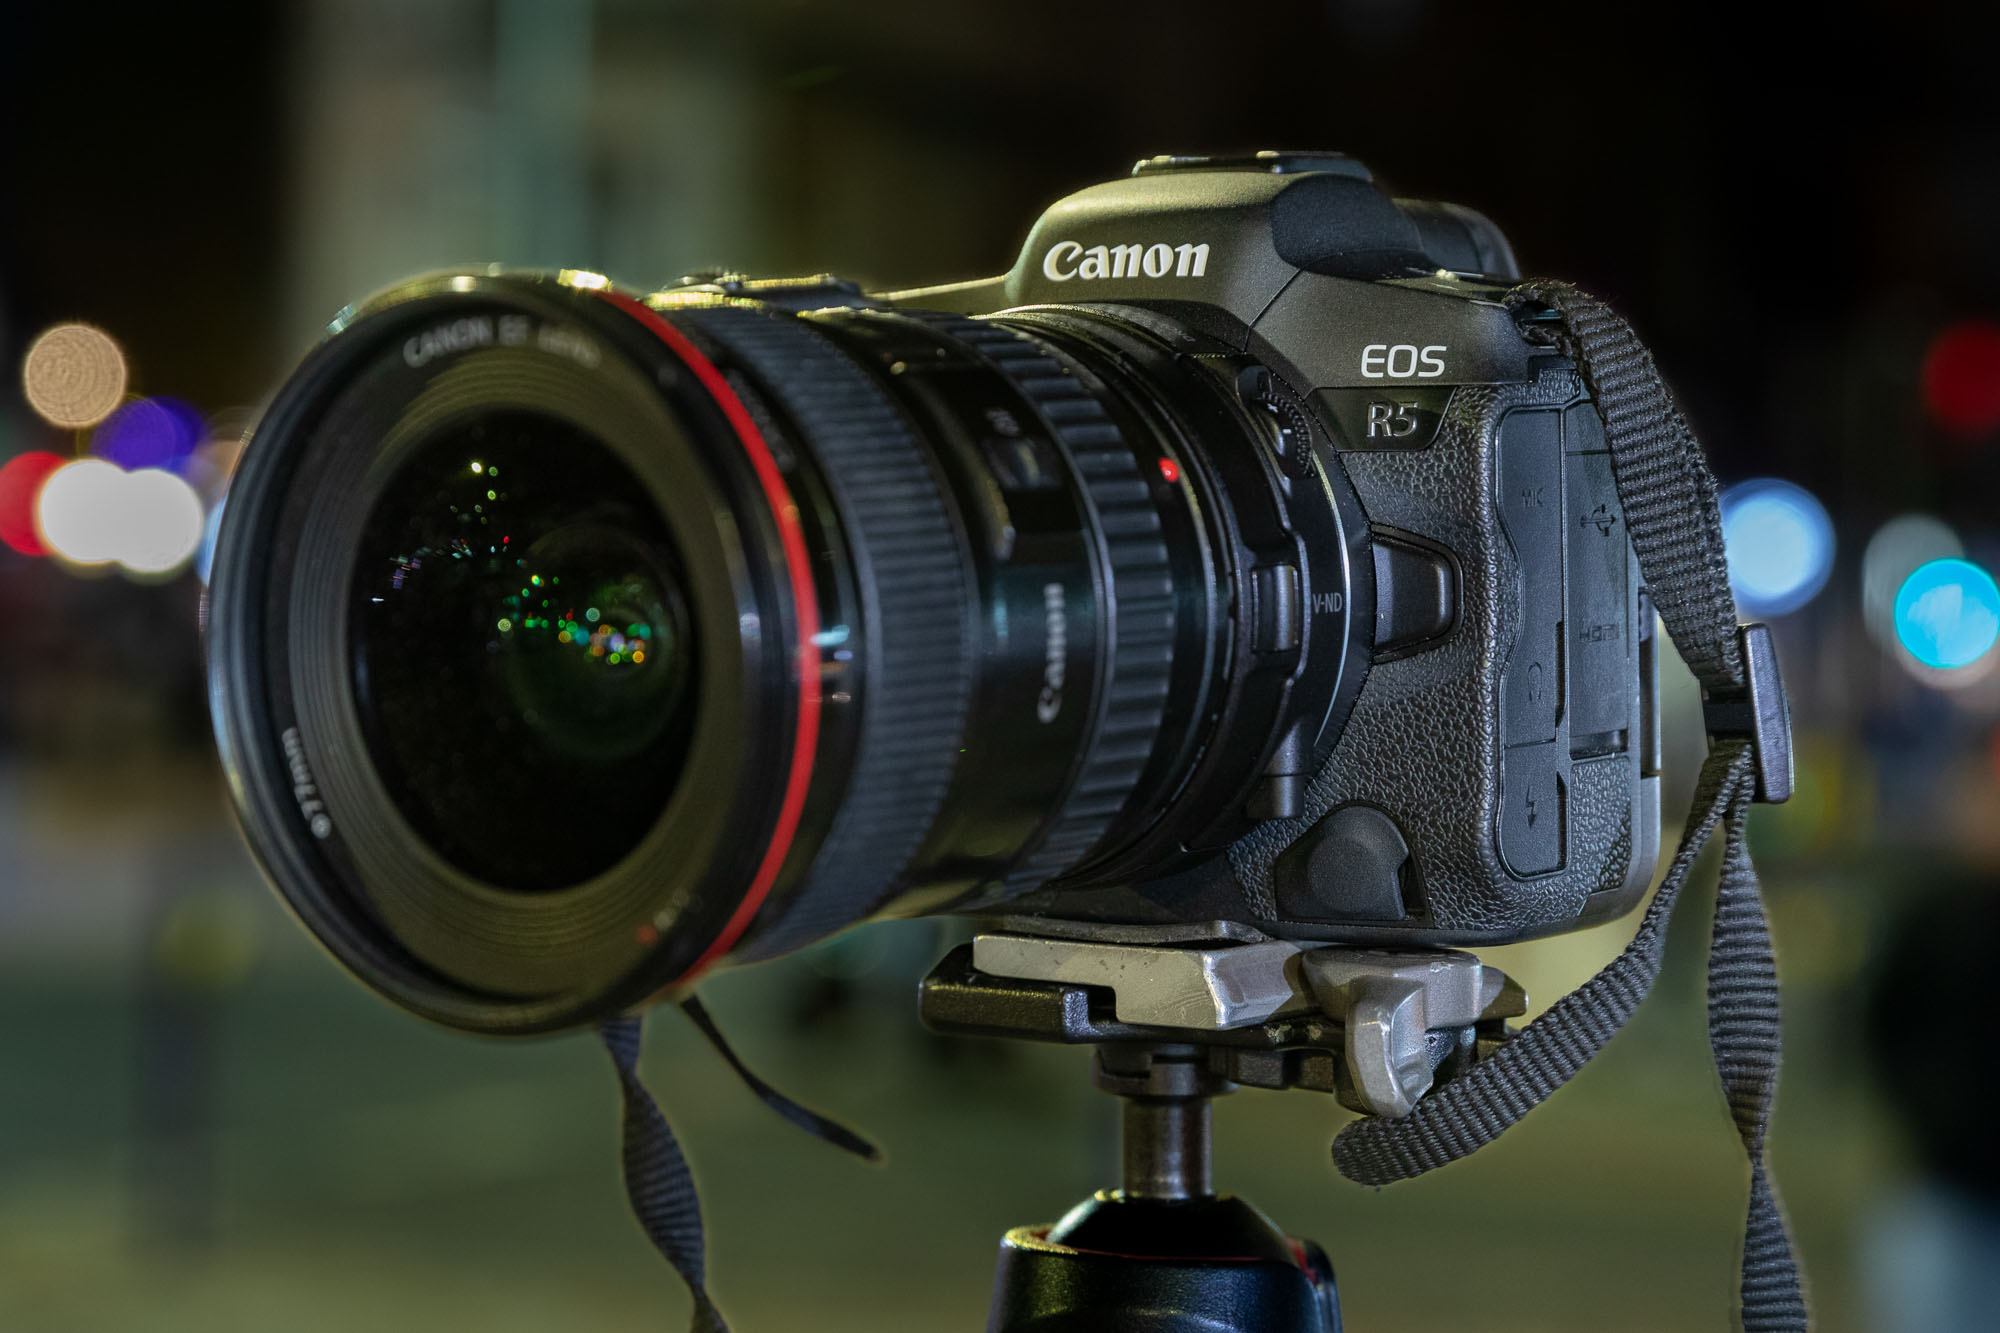
Both Pauls use the full-frame mirrorless Canon EOS R5. “The R5 is a brilliant camera, with a great 45MP sensor that captures a large dynamic range in RAW images, ideal for retaining detail in the highlights and shadows in high-contrast night scenes,” says pro Paul. “Also, with such large 8192x5464-pixel images, it gives me lots of scope to crop if I need to, and still have decent-sized images. It also has amazing AF eye detection for my portrait work.”
7. RAW image quality
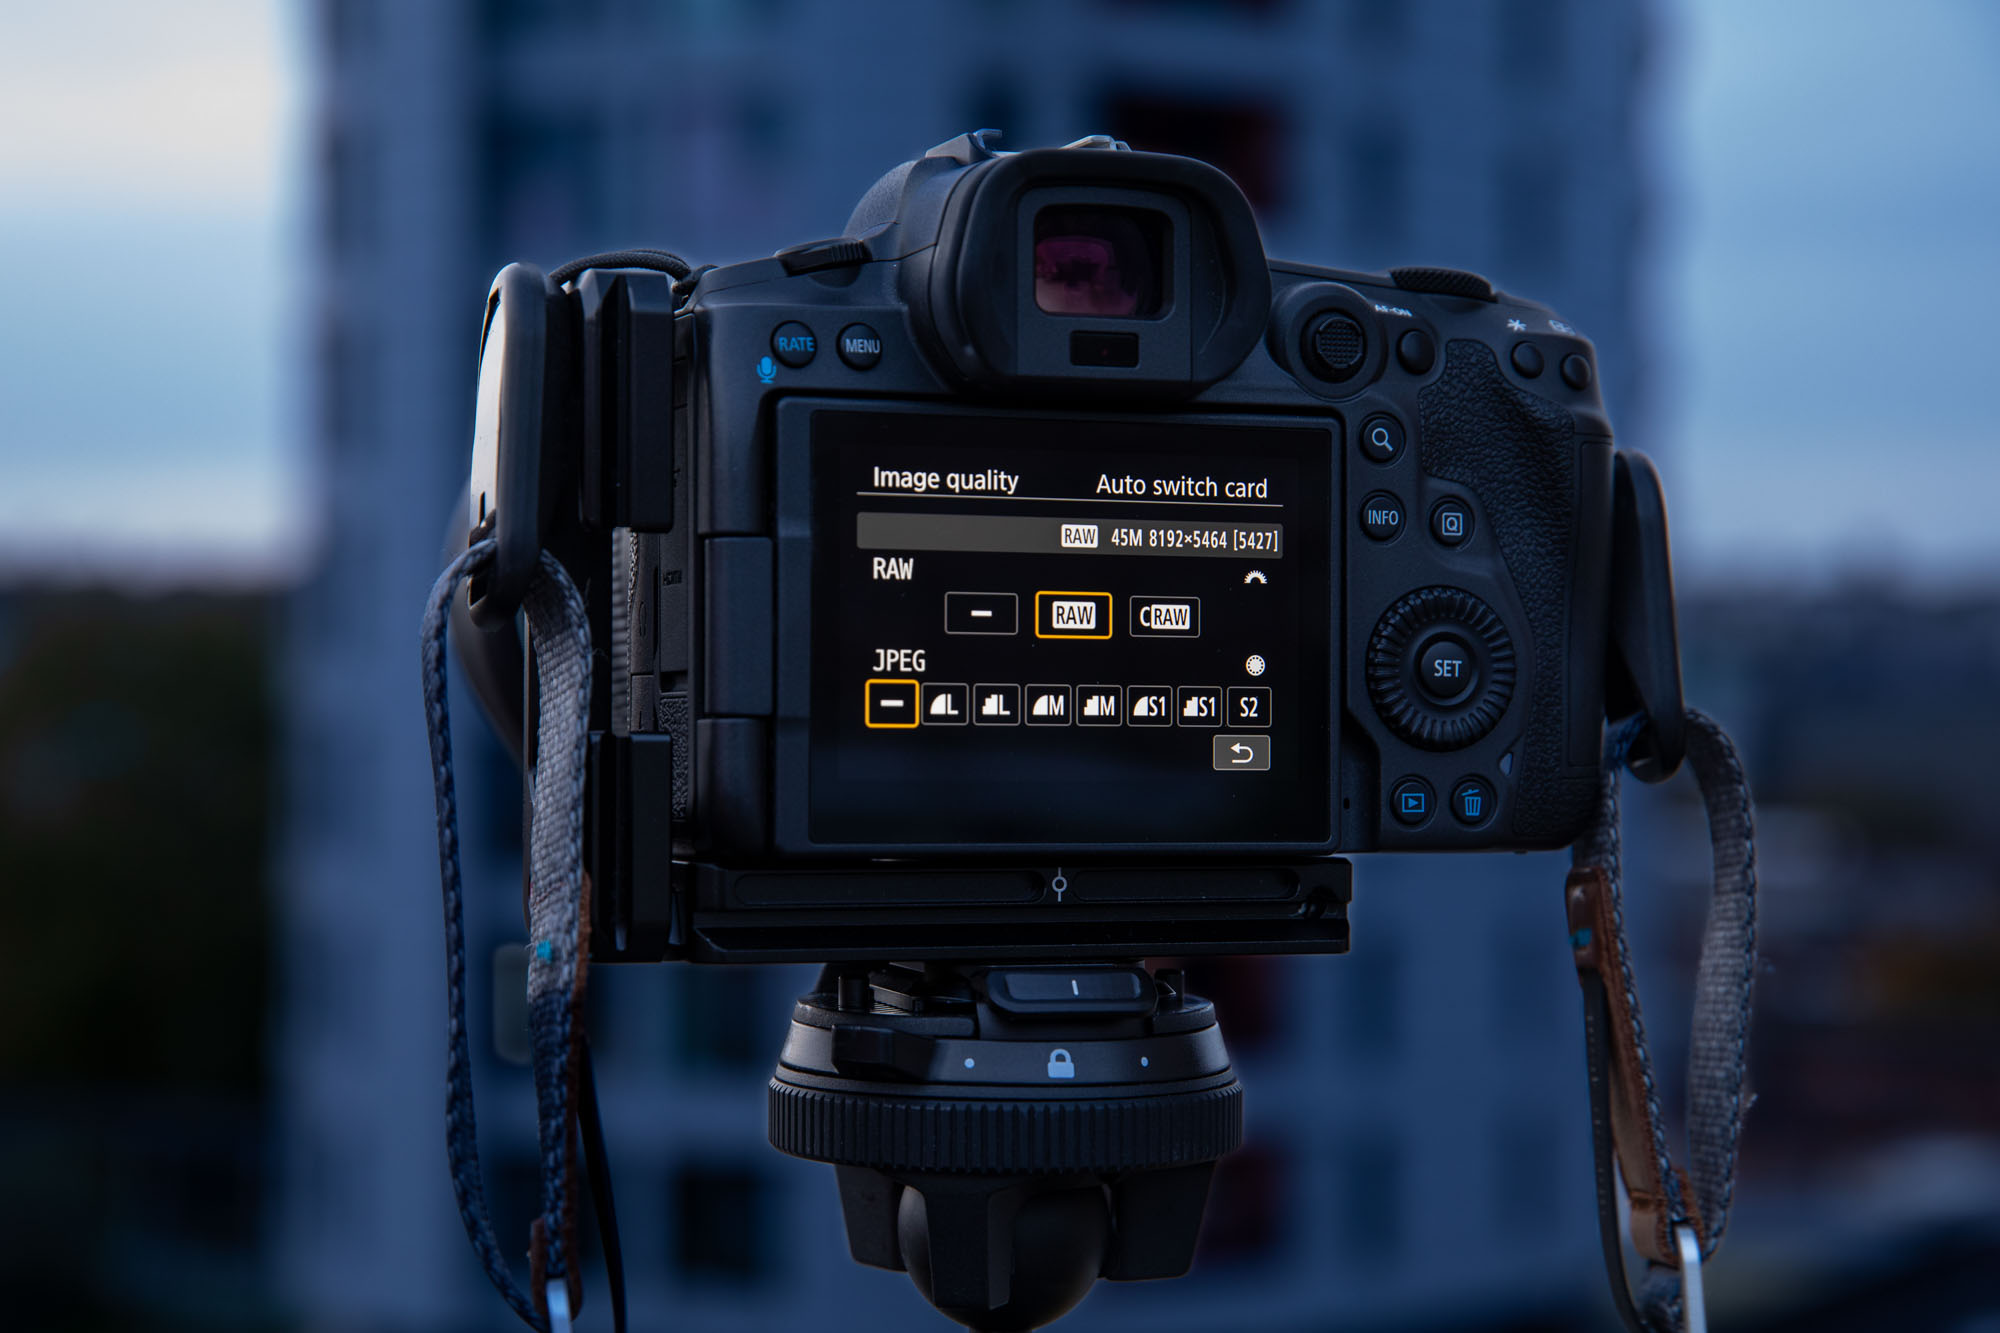
It’s always better to shoot in RAW, but it’s even more important when taking cityscapes at night, because you can reveal more detail when editing your RAWs in Photoshop CC’s Adobe Camera Raw (ACR) and Lightroom,” says pro Paul. “Compared to JPEGs, much more detail can be revealed in the shadows in dark areas, for a more balanced exposure afterwards.” Plus it’s really easy to correct any white balance problems, as well as use masks in Adobe Camera Raw and Lightroom to selectively adjust certain buildings in shot.
8. Wide angle lenses
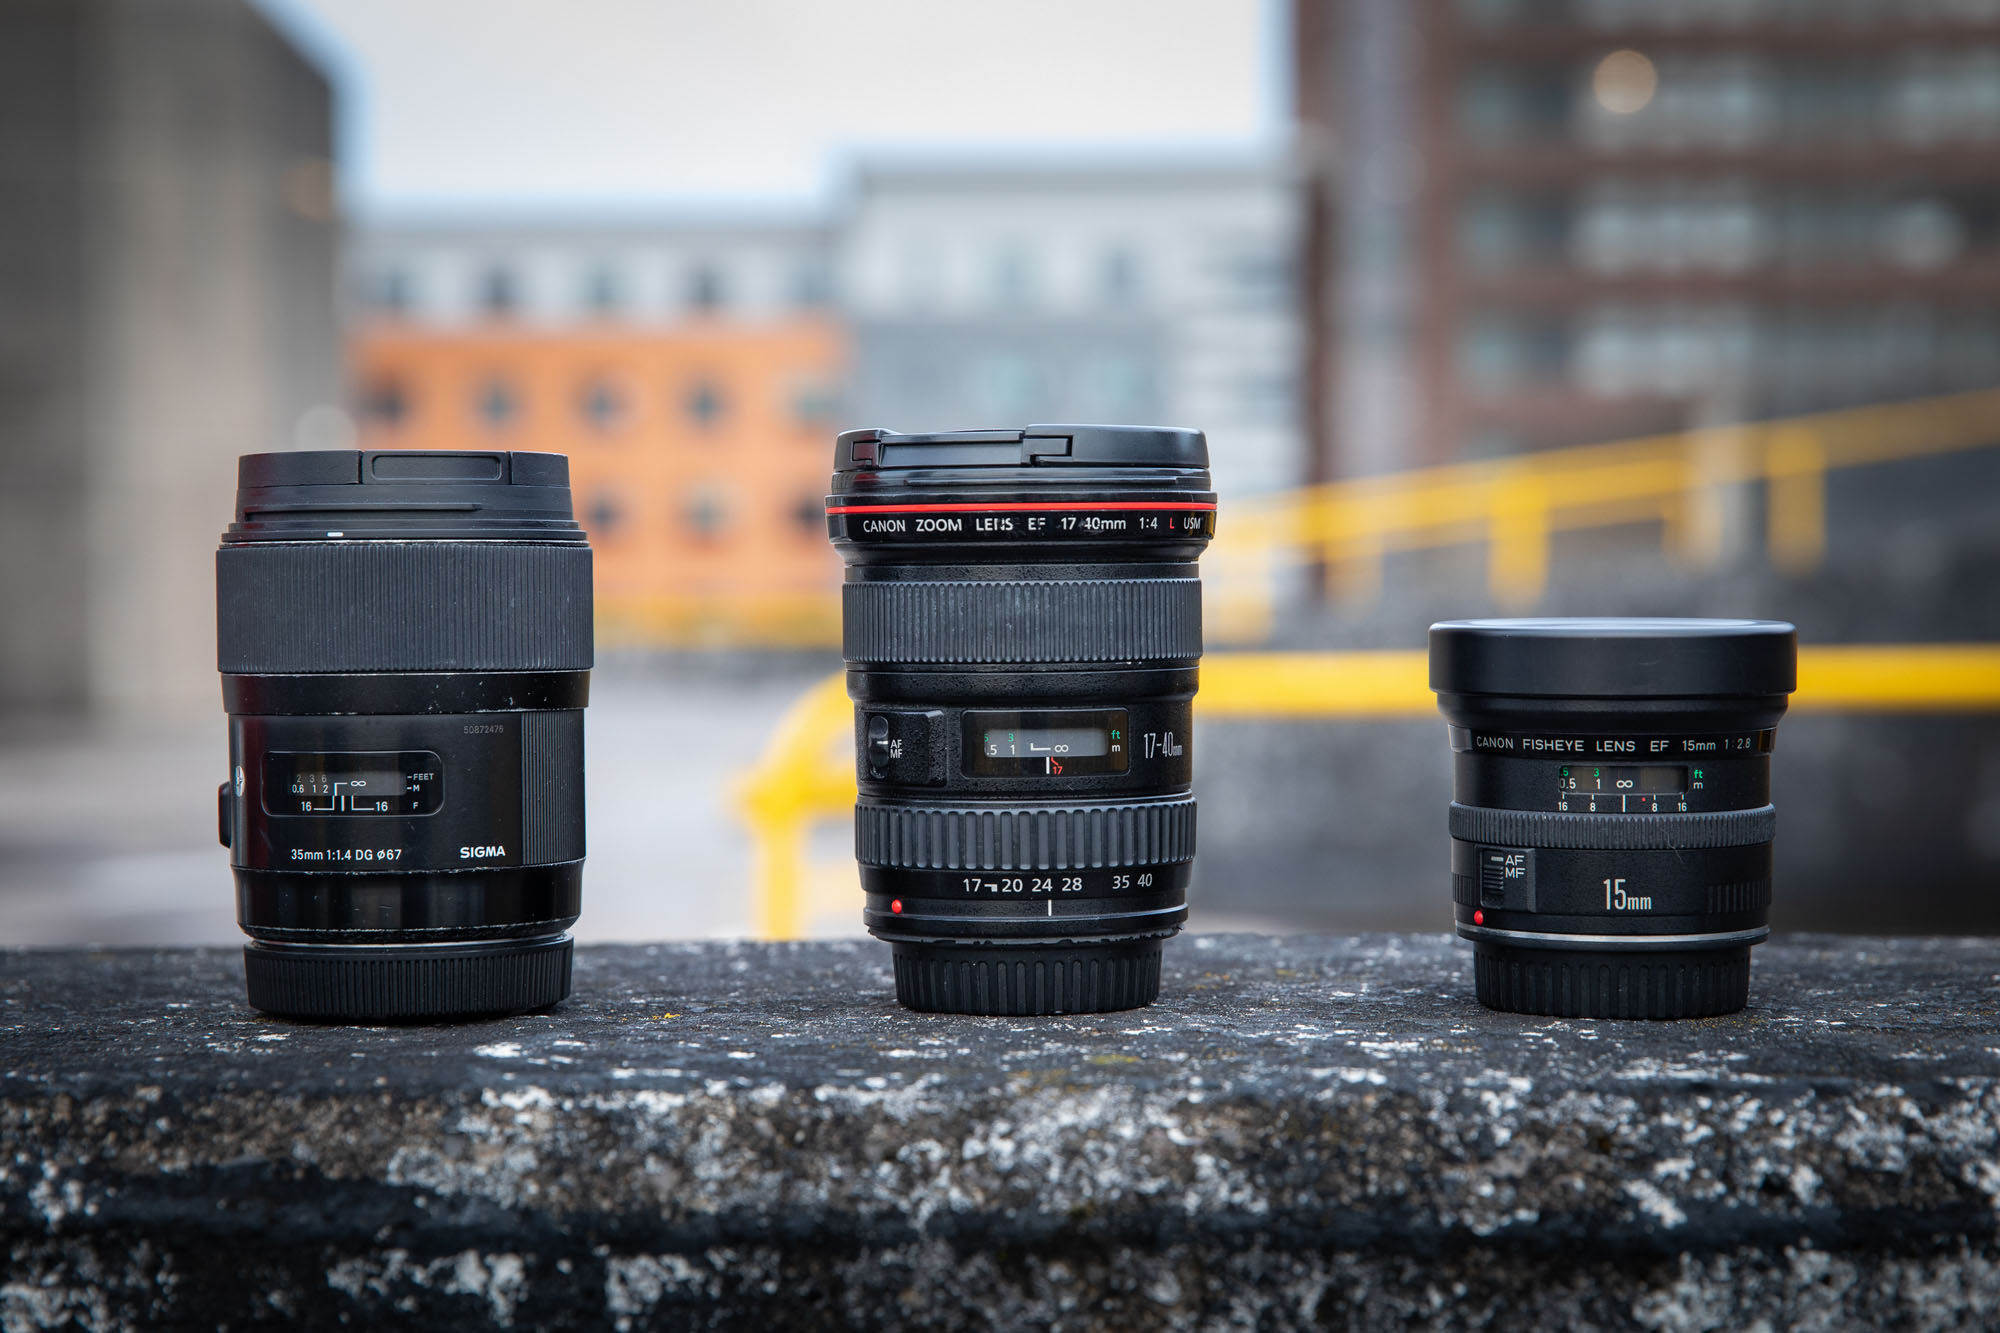
For most city photography, you’ll be using a wide-angle lens. Pro Paul has three main full-frame wide lenses he carries: the Sigma 35mm f/1.4 DG HSM prime, the budget Canon EF 15mm f/2.8 Fisheye, and his trusty Canon EF 17-40mm f/4L USM. “I’ve been using this old L-series EF 17-40mm for nearly 20 years and it’s still going strong. It’s incredibly reliable, not too heavy, and sharp from centre to the edges at f/11. I use it all the time for my architecture photography.”
9. Canon pro tilt-shift lenses
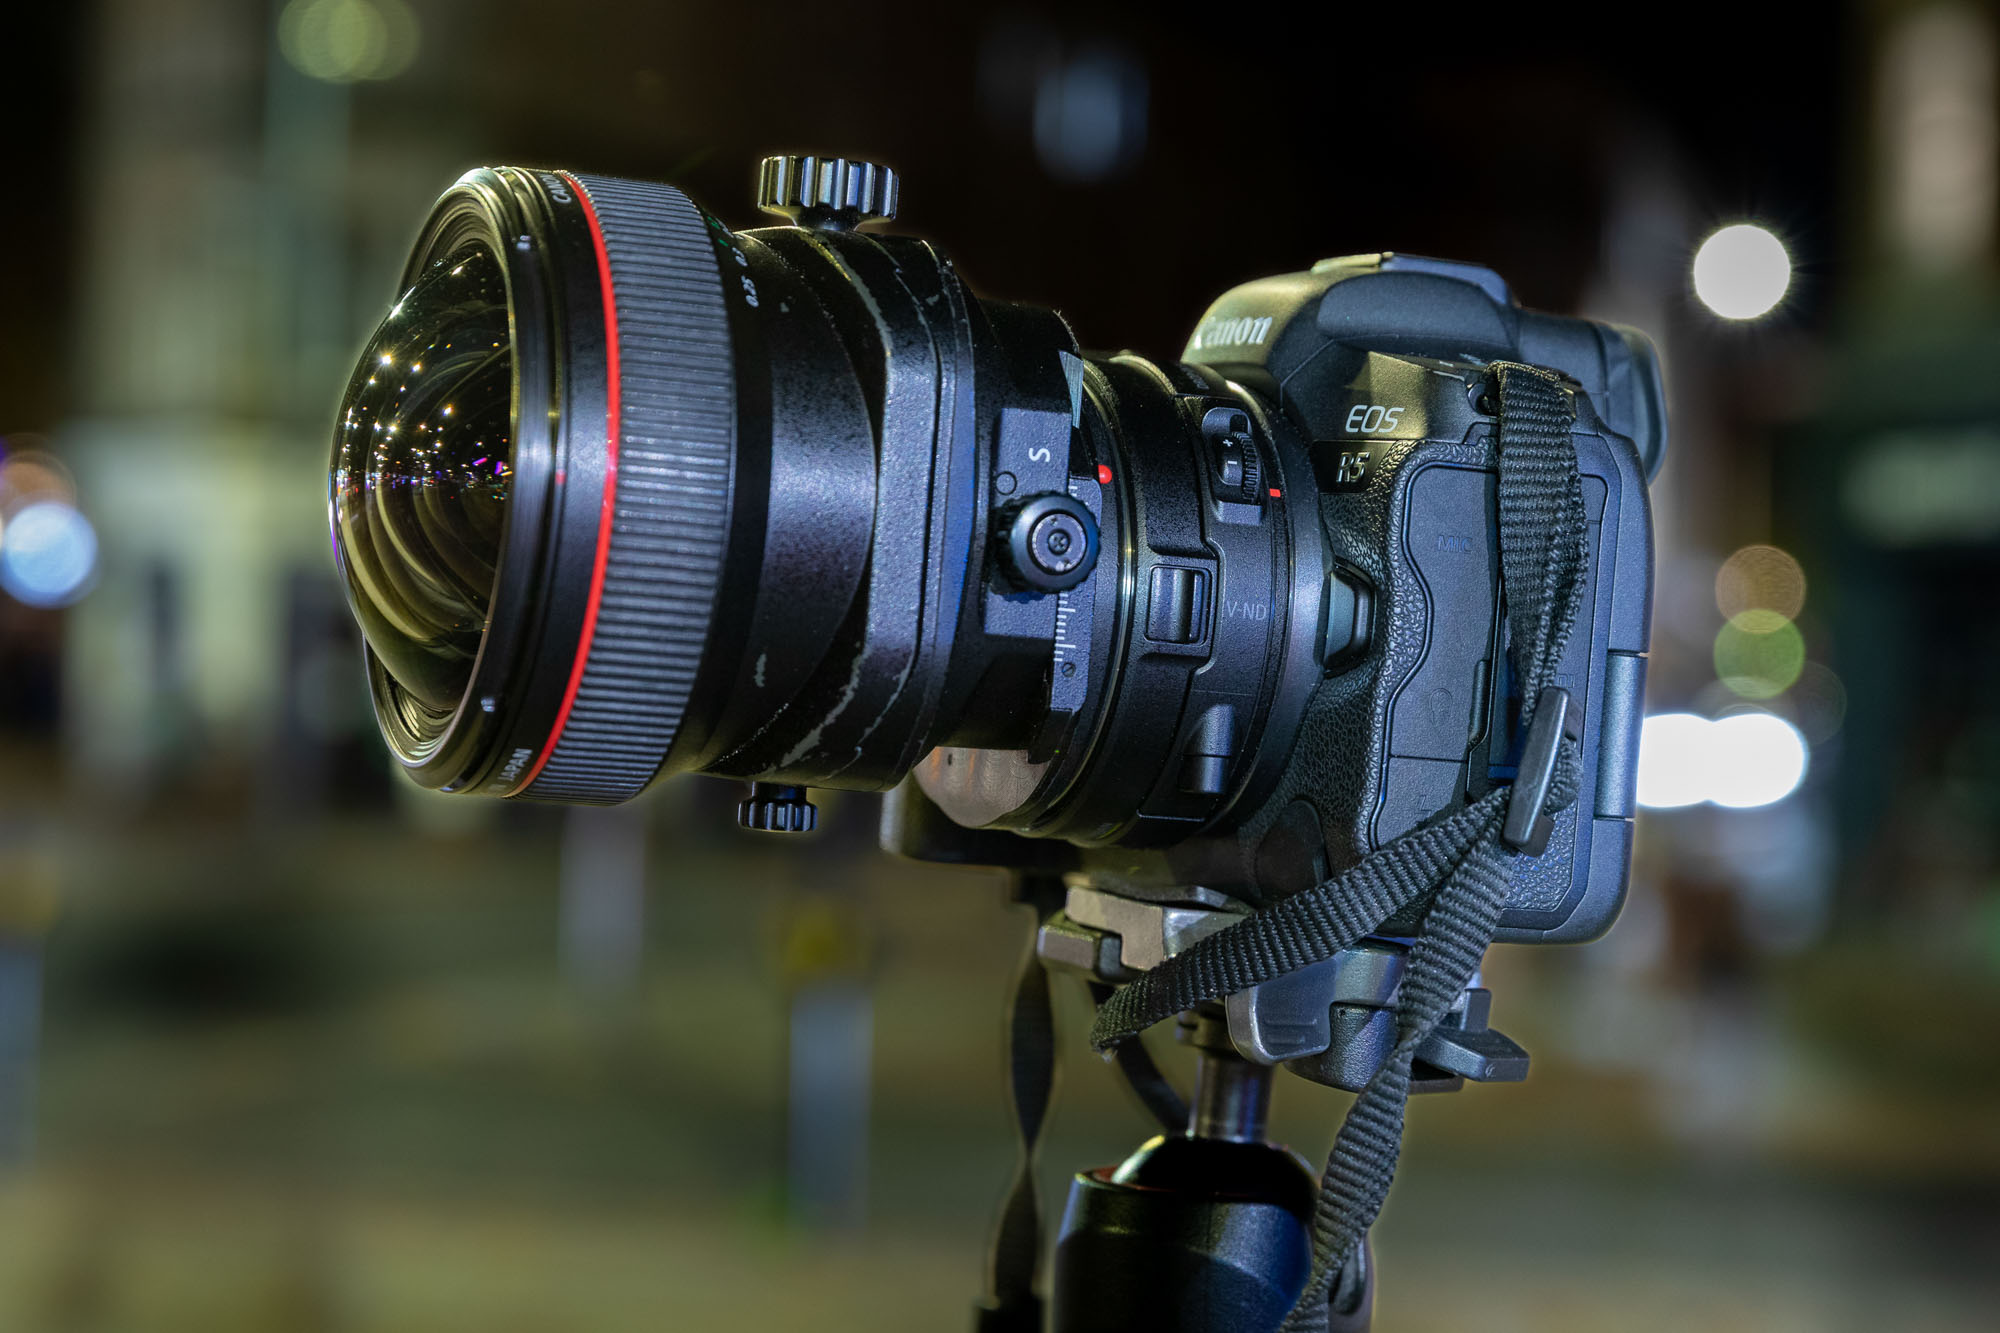
Wonky city architectural photos, when horizons aren’t level and buildings aren’t straight, are awkward on the eye. Even worse, is when big buildings have been shot too close with a wide focal length, as you’ve had to point your camera up to get the whole thing in the frame, so it looks like buildings are leaning back. Pro Paul banishes these unwanted converging verticals with his three Canon TS-E 17mm, 24mm and 45mm pro tilt-shift lenses. By composing so his camera sensor is square to the architecture, he can then shift the lenses up to fit taller buildings in shot.
10. The best shutter speed for traffic light trails
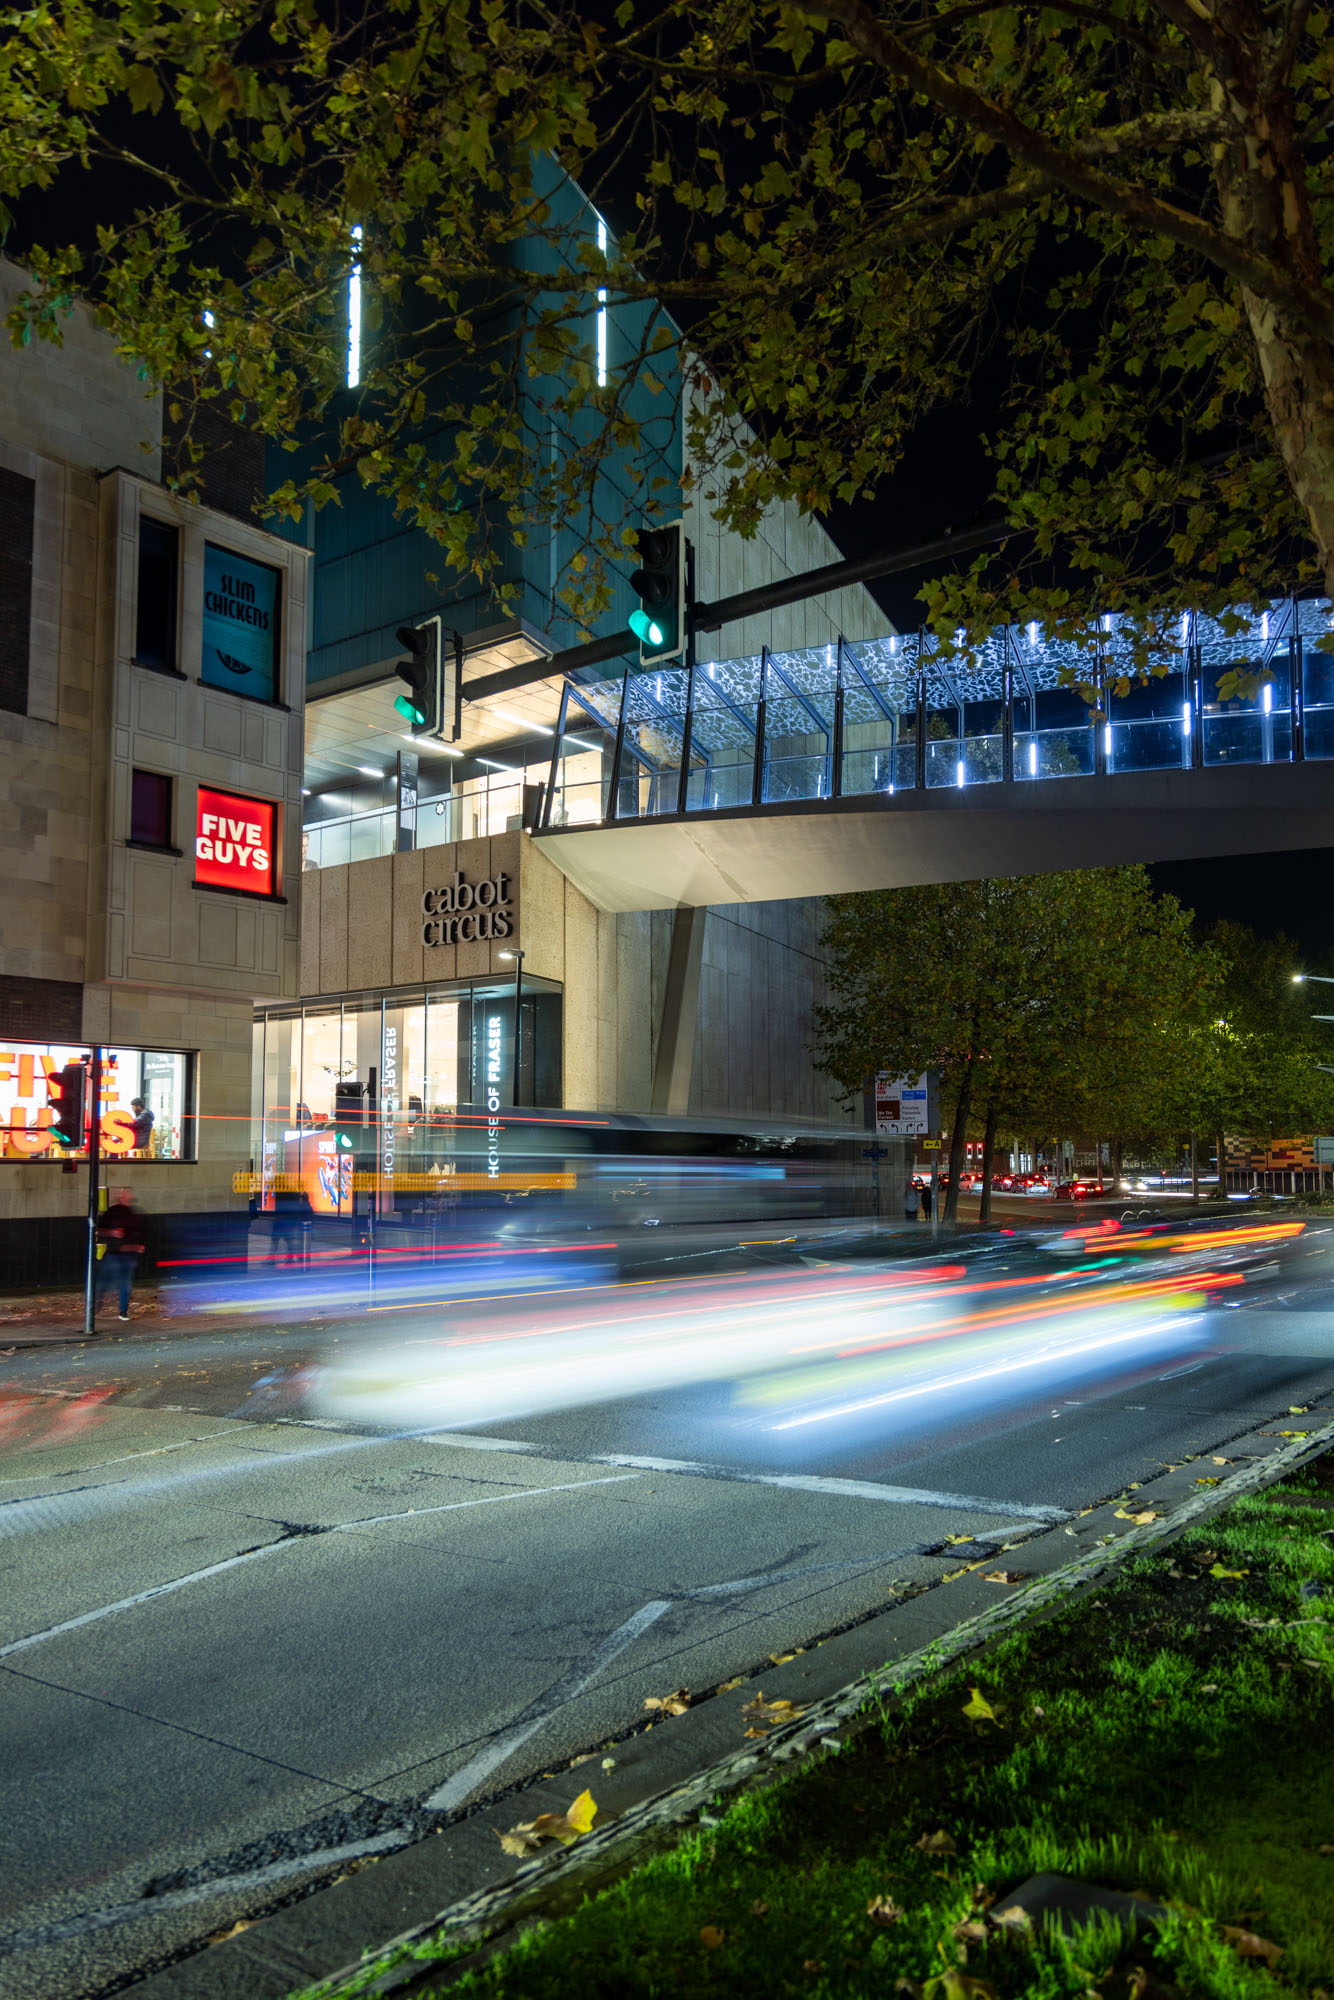
Believe it or not, taking city night photos is pretty simple once skies are totally dark, and if street and building lights aren’t overly bright. You can shoot in Manual mode, set an aperture between f/11 and f/16, and choose a shutter speed anywhere from around 10 to 30 seconds. The only variable depends on the speed and density of the traffic. Experiment with five, 10 and 15-second exposures in city centres at rush hour, opening the aperture or increasing the ISO to maintain bright exposures. We found around 20-30 seconds worked best for our shots as it was fairly stop-start and slow moving due to lots of traffic lights on the stretch of road.
If you're really into night photography, you'll want to check out the best wide angle lenses. Paul uses a Canon EOS R5. To see more from his stunning portfolio be sure to check out his website.
PhotoPlus: The Canon Magazine is the world's only monthly newsstand title that's 100% devoted to Canon, so you can be sure the magazine is completely relevant to your system. Every issue comes with downloadable video tutorials too.
Get the Digital Camera World Newsletter
The best camera deals, reviews, product advice, and unmissable photography news, direct to your inbox!
PhotoPlus: The Canon Magazine is the world’s only 100% Canon-focused title on the newsstand. Launched in 2007, for 14 years it has delivered news, reviews, buying guides, features, inspirational projects and tutorials on cameras, lenses, tripods, gimbals, filters, lighting and all manner of photography equipment.
Aimed squarely at enthusiast photographers who use the Canon DSLR or mirrorless camera systems, all content is tailored to Canon users – so everything from techniques to product tests are tailored to those using the EOS camera system.
Editor Peter Travers brings 14 years of experience as both a journalist and professional photographer, with Technique Editor Dan Mold shoring up the magazine with his 6 years of expertise.
- Dan MoldDeputy Editor
