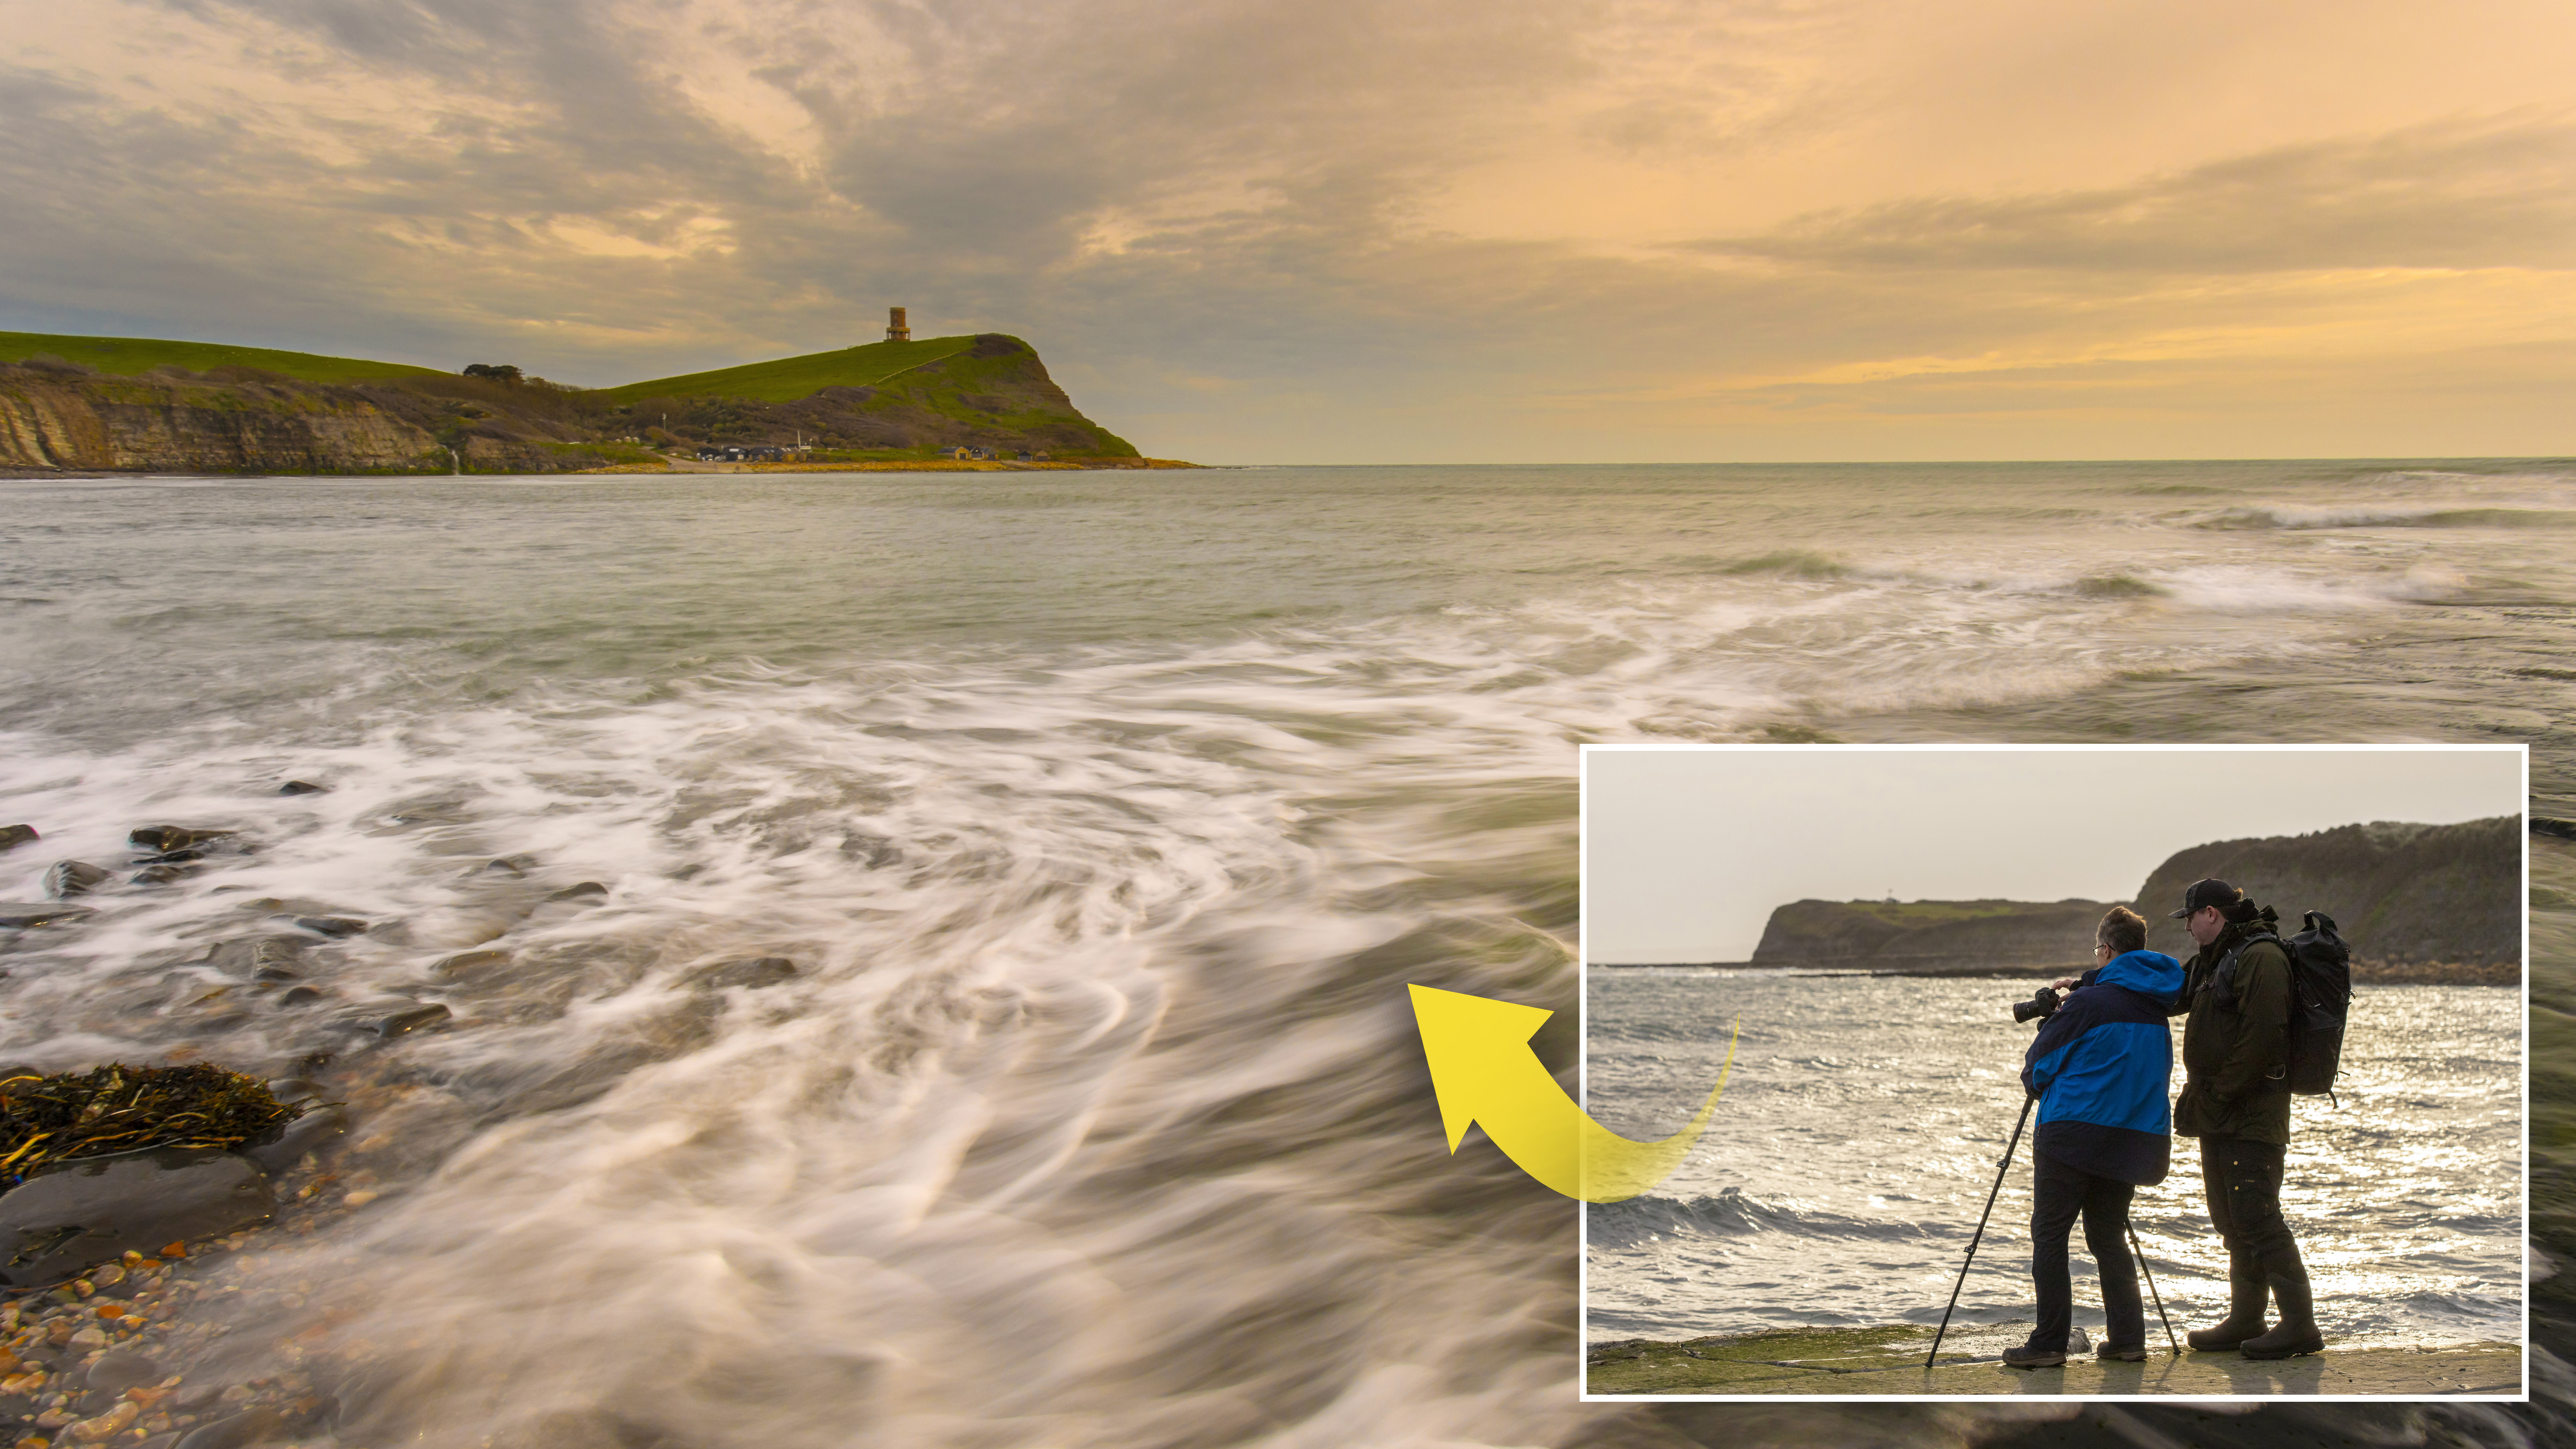
If you have a love for the outdoors, exploring the wilderness and getting out with your camera all whilst bolstering both your physical and mental health then landscapes photography is pretty tough to beat!
From rolling hills to historic landmarks, there's brilliant scenery everywhere you point your camera and there's never two pictures that look exactly the same with changeable weather delivering glorious sunshine at sunset or stormy skies for moody black and white images. It's not quite a simple as heading out to a brilliant location with your camera though...
• To shoot amazing outdoor nature shots of your own, check out the best lenses for landscapes
Reader of PhotoPlus: The Canon Magazine, Gary Kimber suffered a heart attack 10 years ago, resulting in a triple bypass surgery. He's now semi-retired, and loves to get out shooting with his camera in his spare time. His passion is motorsports photography, but he’d love to take more landscapes if he was a little more confident with camera settings for outdoor scenes. He’s written to us asking for help understanding Manual mode and how to use filters for better landscape photos.
So we paired him with landscape pro Jack Lodge to chase the light around the fabulous Isle of Purbeck down in Dorset and take some incredible landscapes. Here's Jack's top tips from their workshop together.
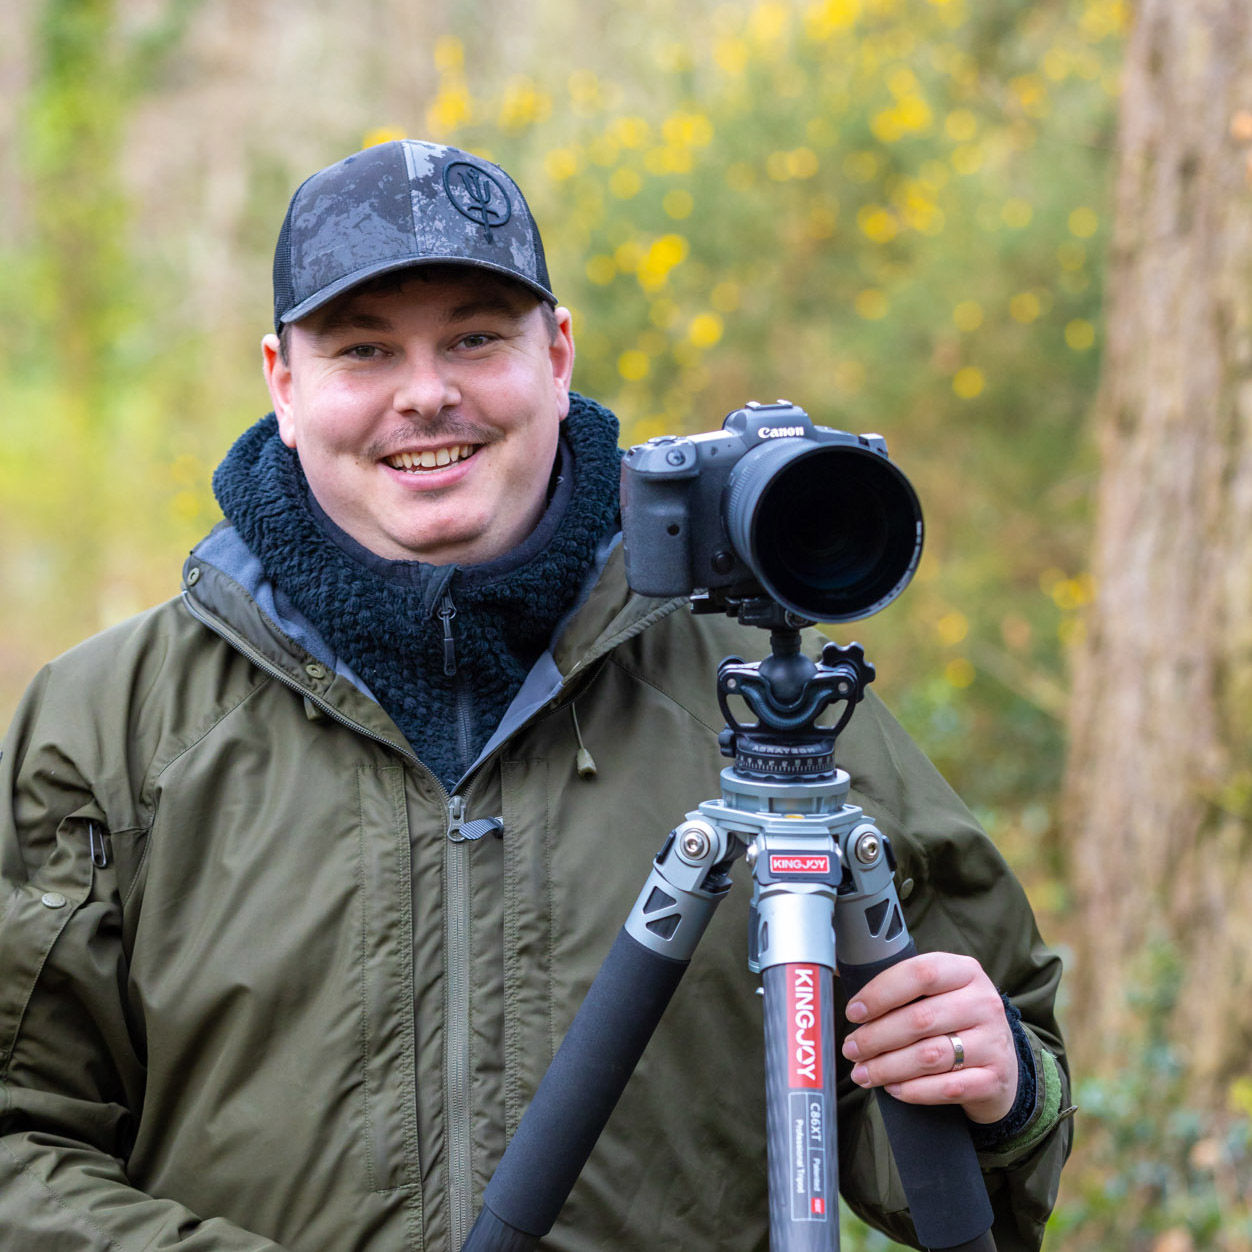
Based down in Wimborne, Dorset, Jack is perfectly placed for great landscapes and seascapes on the stunning Jurassic Coast. His image ‘Winter at Win Green’ was shortlisted in the Landscape Photographer of the Year 2022, and he runs landscape and wildlife workshops, from Dorset to Snowdonia, all year round. He also spoke on the Canon stand at The Photography & Video Show 2024.
1. Aperture priority (Av) mode
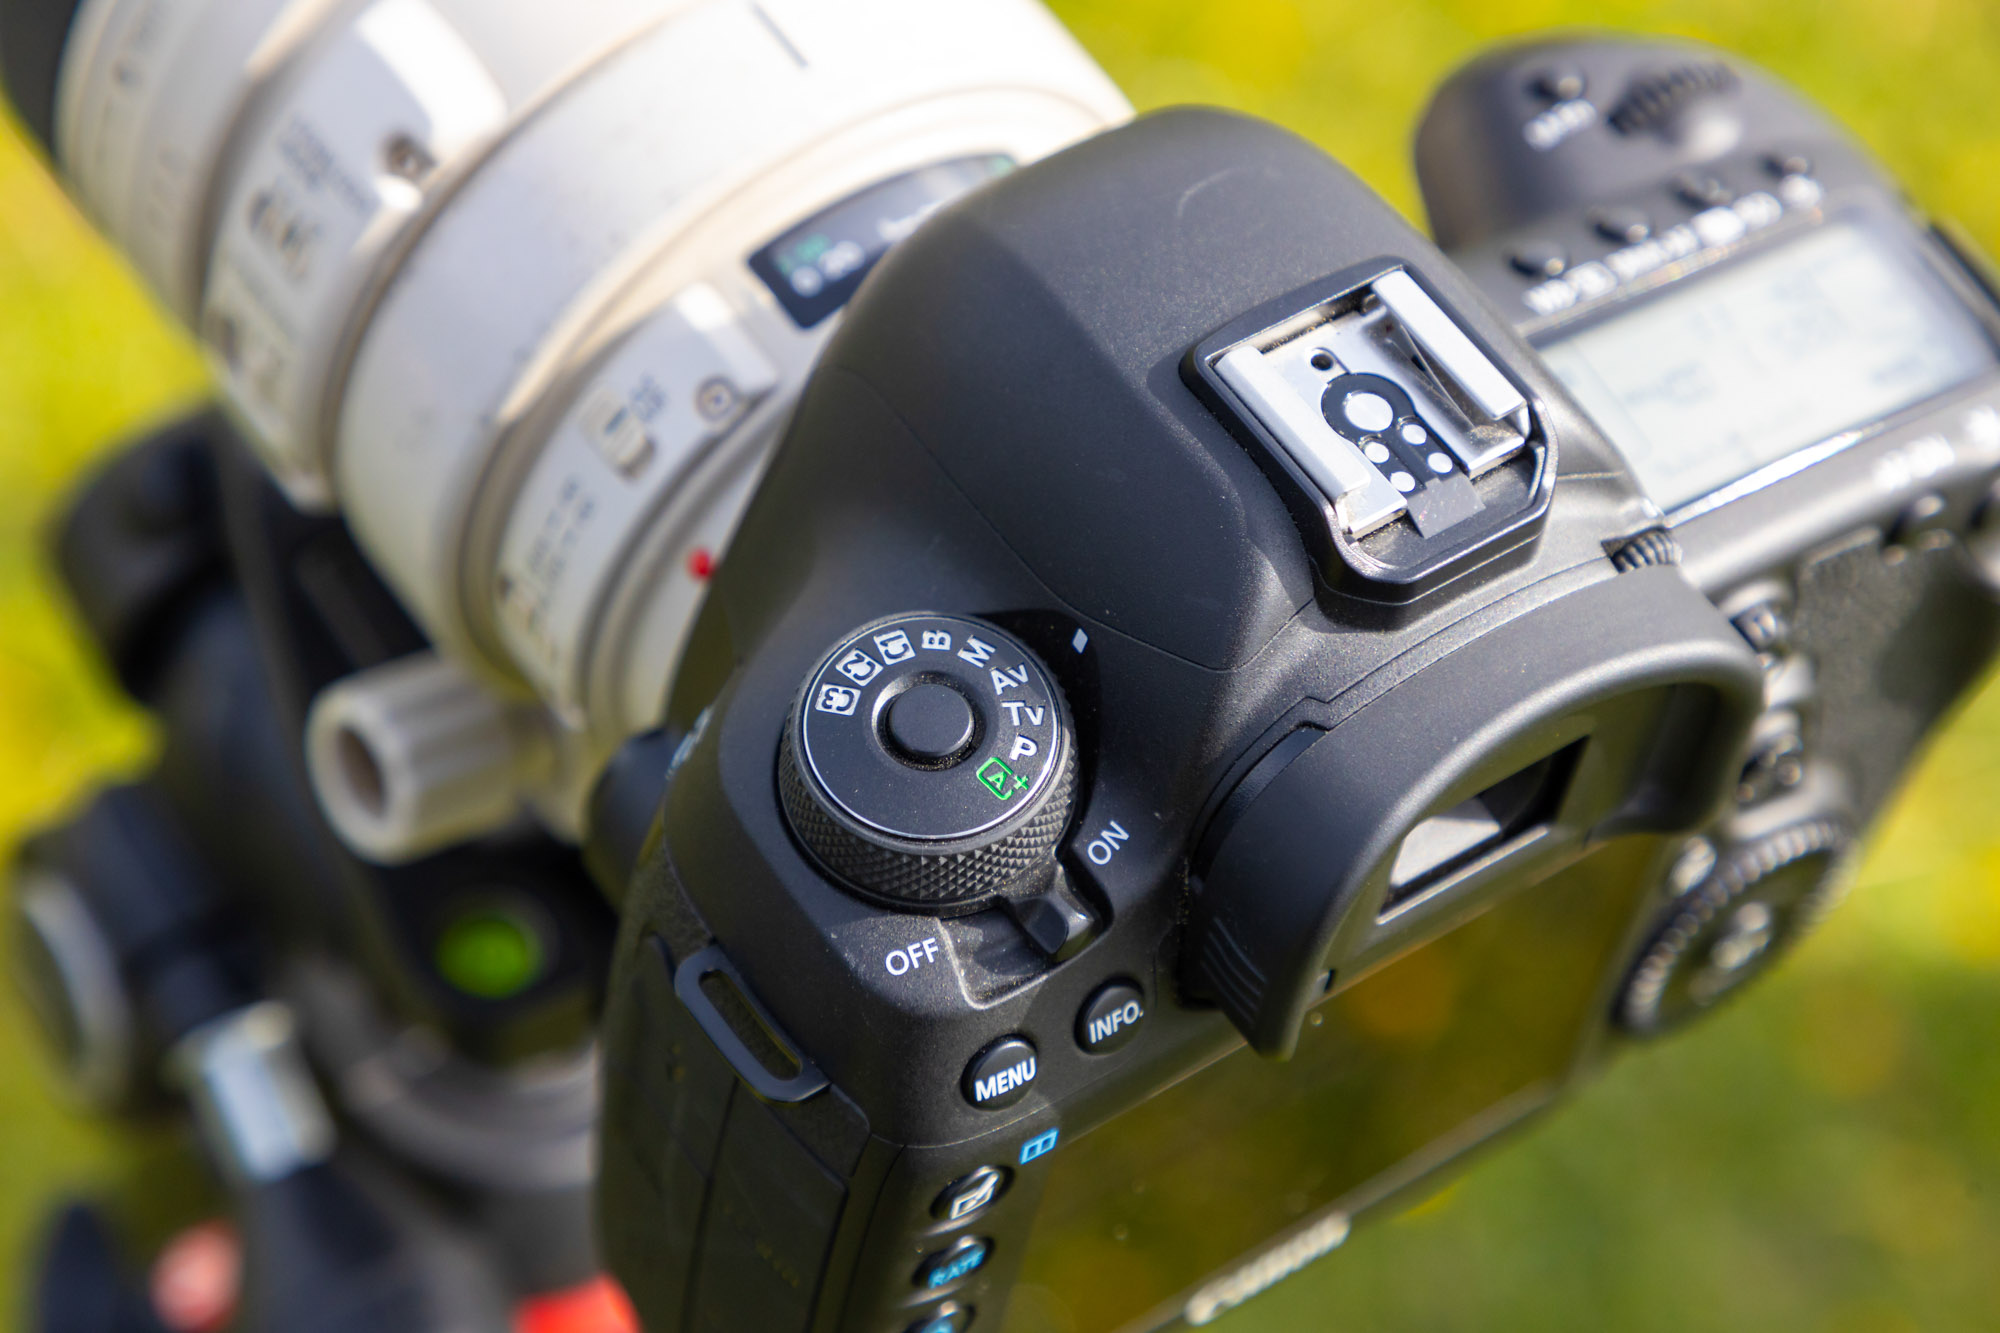
Gary is used to using the Shutter Priority, or Tv (Time Value) mode on his Canon as it allows him to set the shutter speed for the right amount of blur when photographing motorsports. Jack explained that Aperture Priority, or Manual mode, would be preferable for landscapes because it’s more important to set the aperture to determine how much of the scene is in sharp focus to adjust the depth of field accordingly.
2. Use the histogram
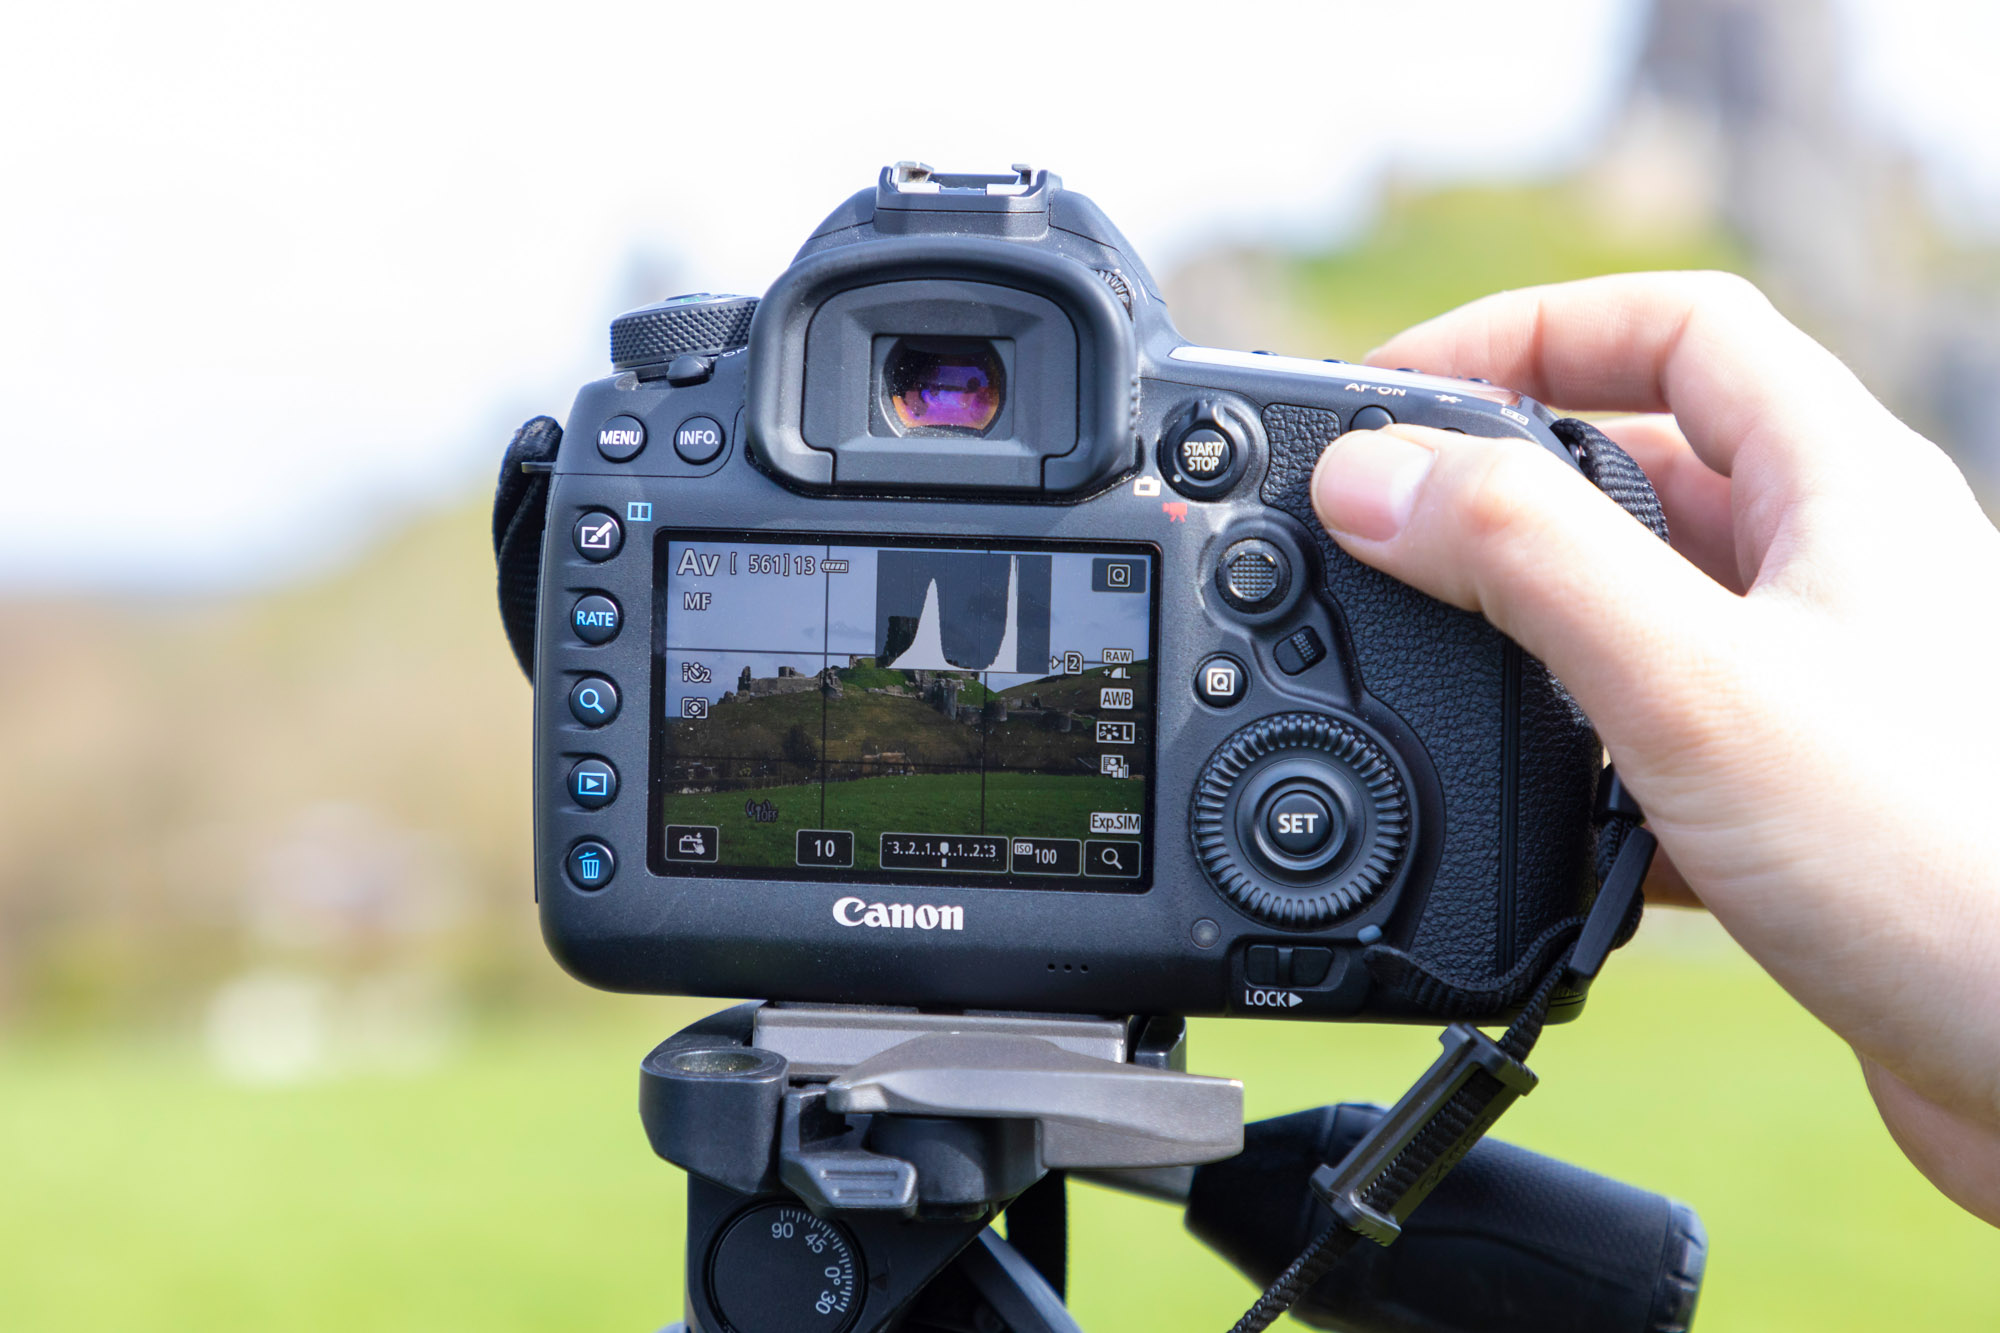
Gary had never used the histogram on his camera before so Jack was keen to show him how it works. He activated it in the Live View on his Canon EOS 5D Mark IV by pressing the Info button a few times to bring it up and explained that it’s a basically a graph that shows your full range of tones, from deep blacks on the left to bright highlights on the right. For a well-exposed scene you don’t want to see any tones in the graph bunched up to one side, as this would indicate your images will come out overexposed, or underexposed.
3. Photo apps
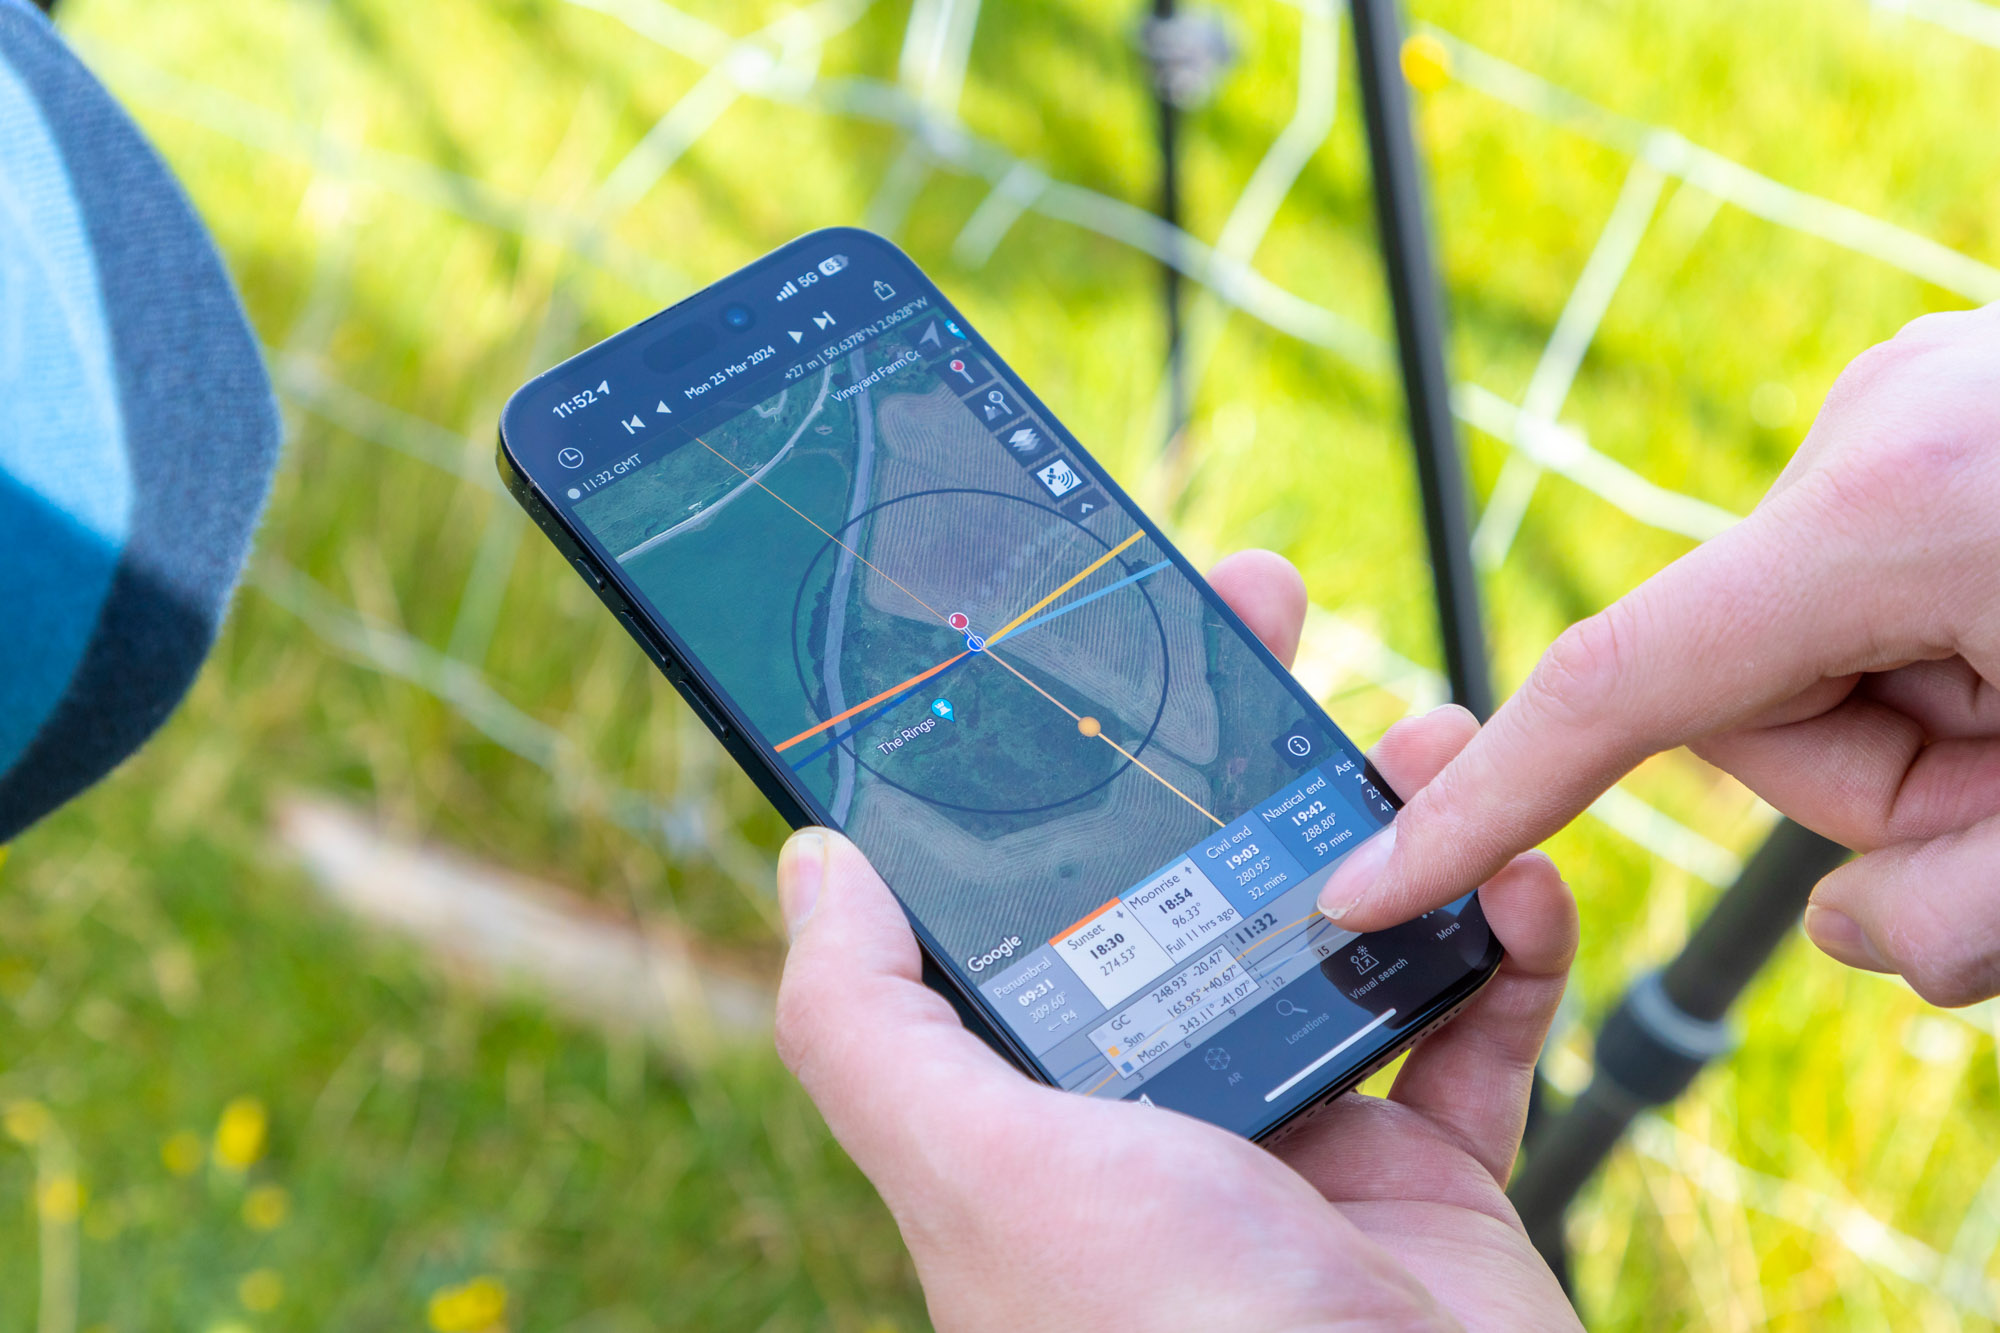
The right light and weather are essential for good landscape photos, so Jack is constantly monitoring them with apps on his smartphone: The Photographer’s Ephemeris app enables you drop a pin on a map to visualize where the light will be hitting your scene at different times throughout the day, and is invaluable for planning sunrise and sunsets. Ventusky is a weather app that helps Jack clearly visualize the low, medium and high cloud at scenes throughout the day, so he can plan ahead.
4. 'Red ring' lenses
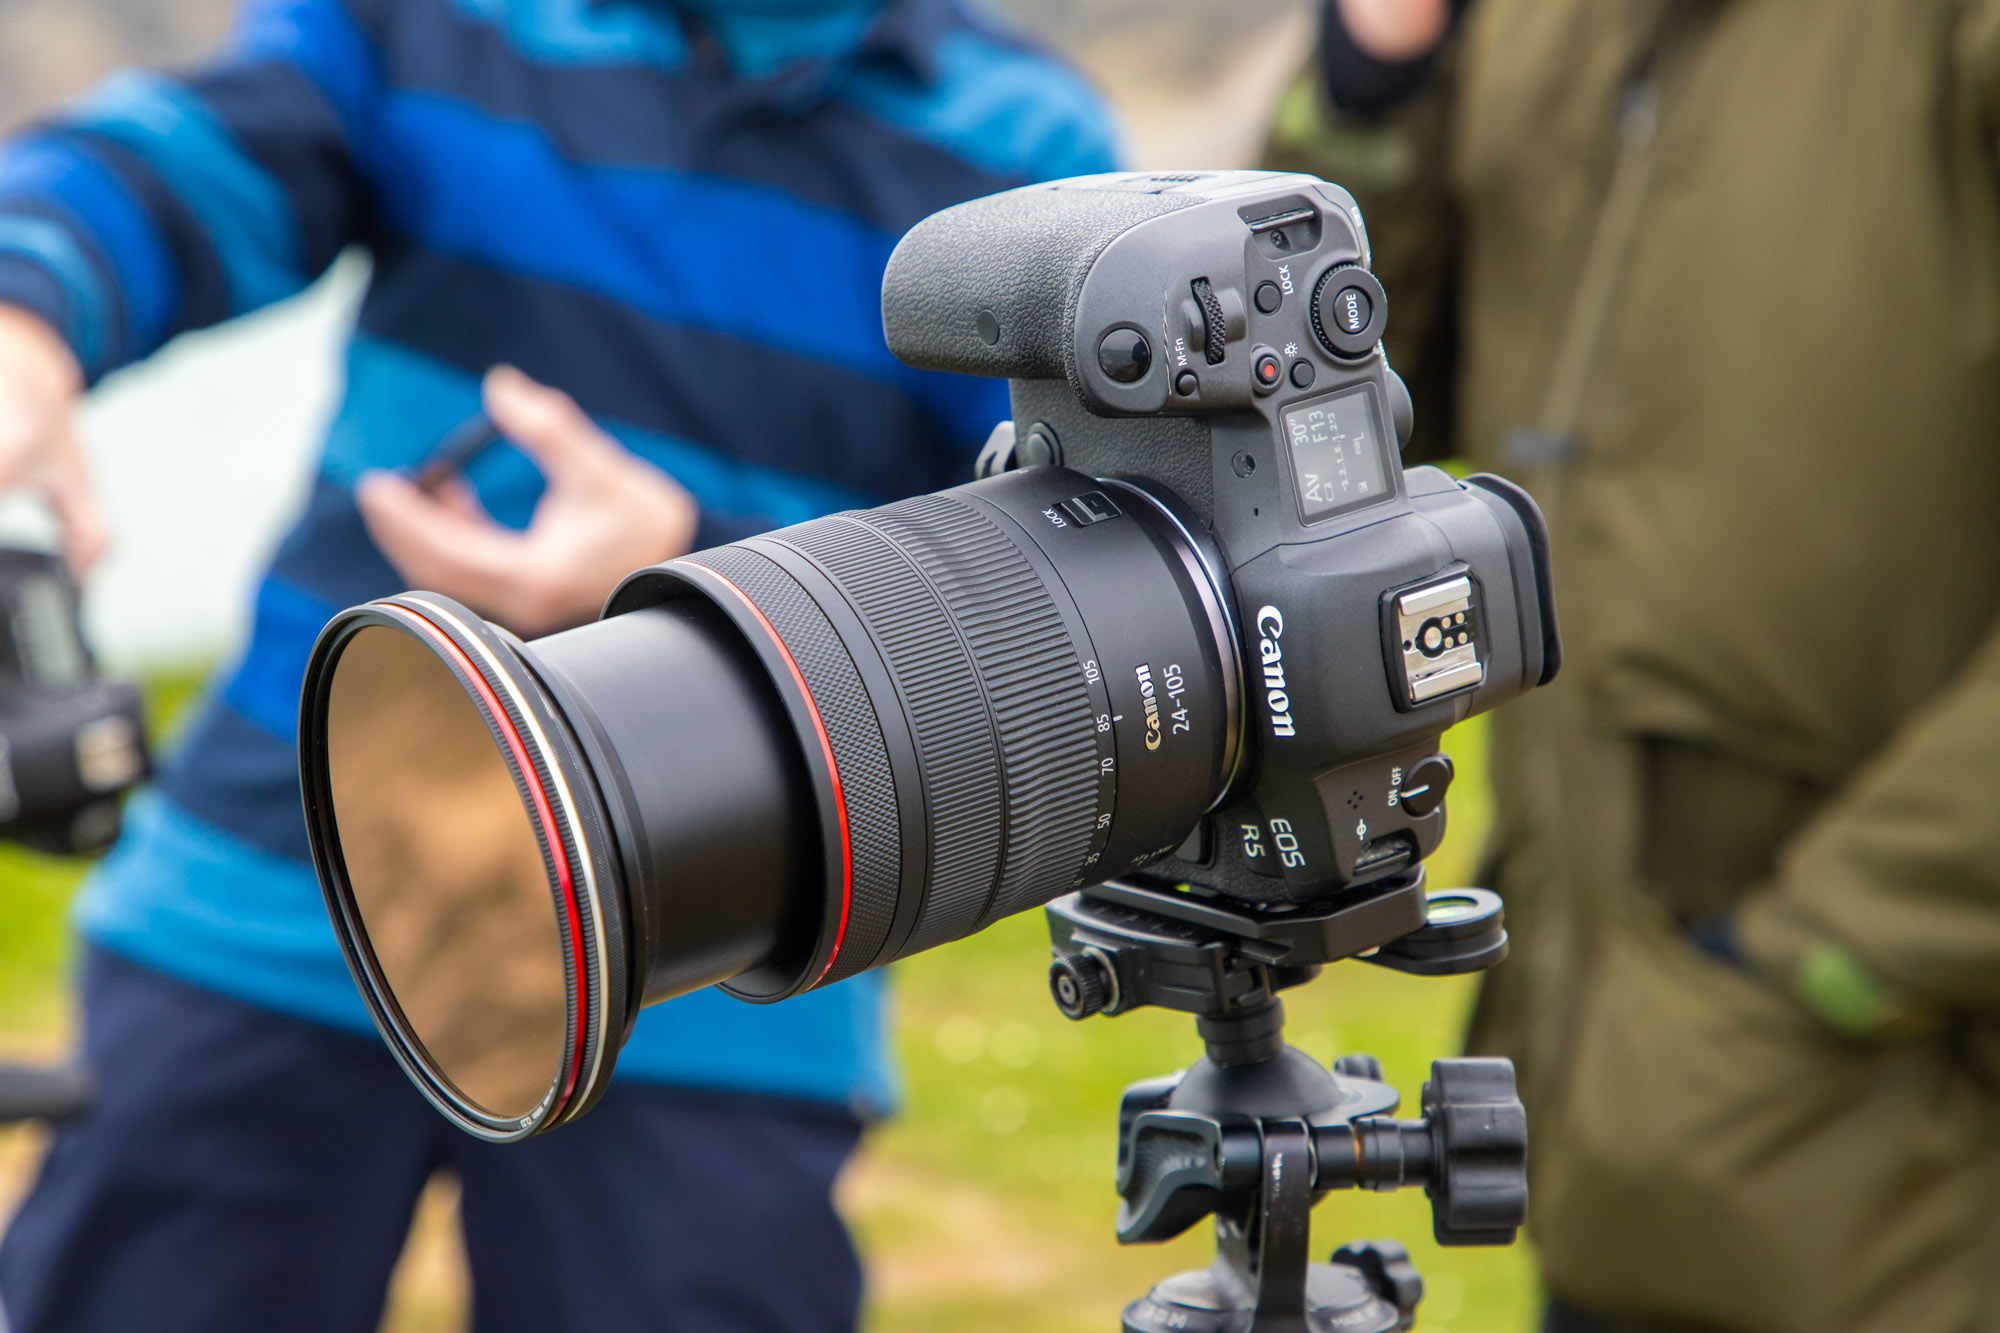
Jack is a pro landscape and nature photographer working with clients such as Canon, Fotospeed and Kase, as well as selling his prints online, so he needs to ensure his images are professional quality and razor sharp. He uses Canon’s pro L-series RF mount lenses for his EOS R5, including the Canon RF 24-105mm F4L IS USM and Canon RF 15-35mm F2.8L IS USM lenses, and the Canon EF 100-400mm F/4.5-5.6 IS II USM (with an EF-EOS R adaptor) for wildlife or when he needs to zoom in on details in a landscape scene.
5. Remote shooting
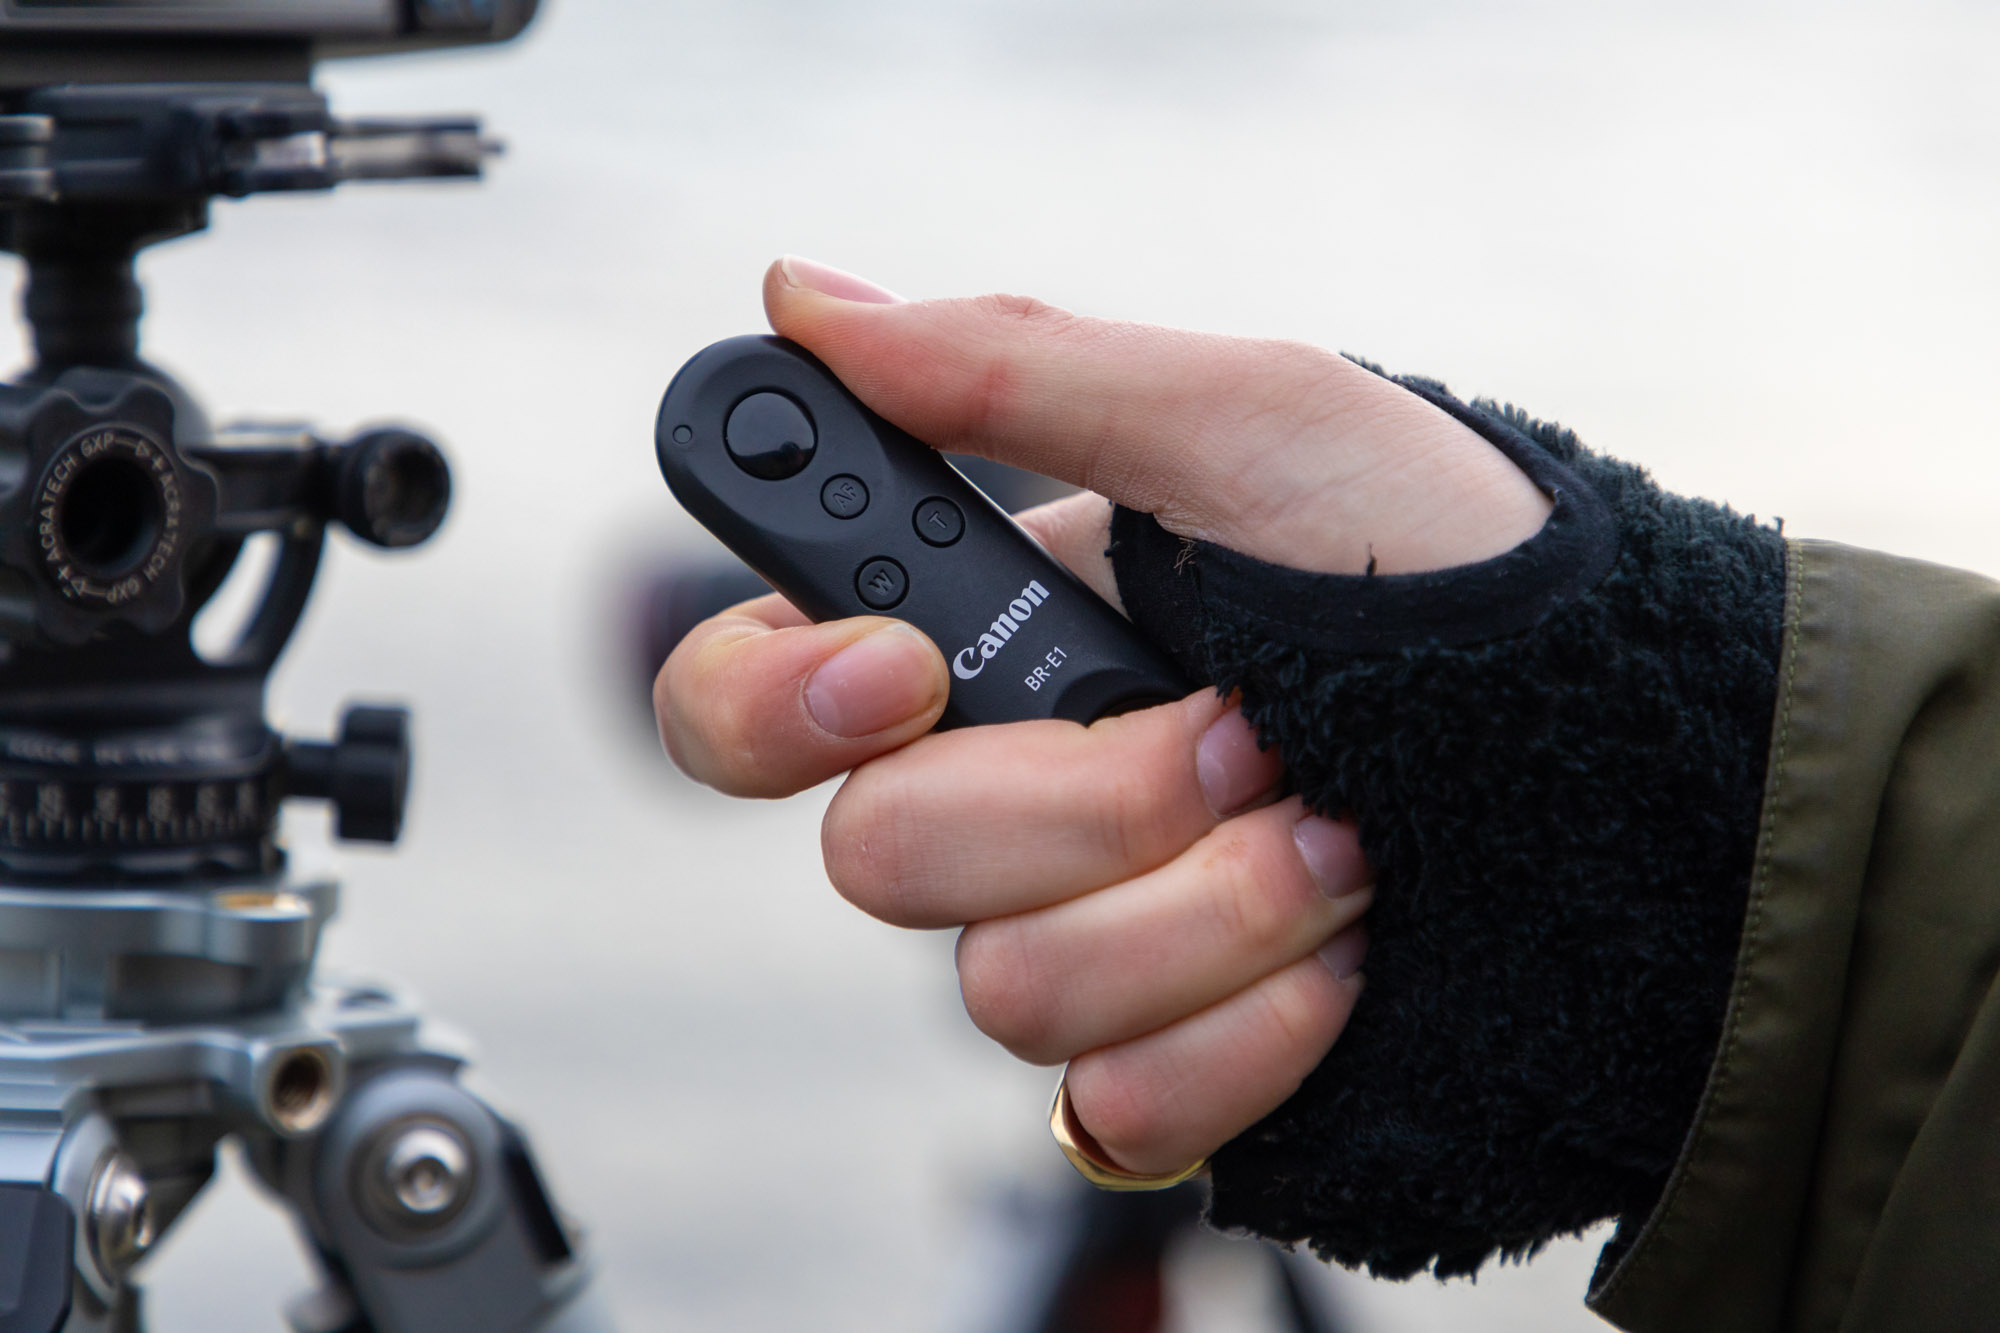
Bulb mode is commonly used in landscapes to shoot exposures longer than the standard 30 secs, which is the maximum shutter speed in Av/Tv and Manual modes. Bulb lets you to set a custom exposure time by holding the shutter button down, when you release your finger the exposure will finish, but touching the camera would cause camera shake, so Jack uses a Canon BR-E1 shutter release to trigger his remotely.
6. Catch big waves
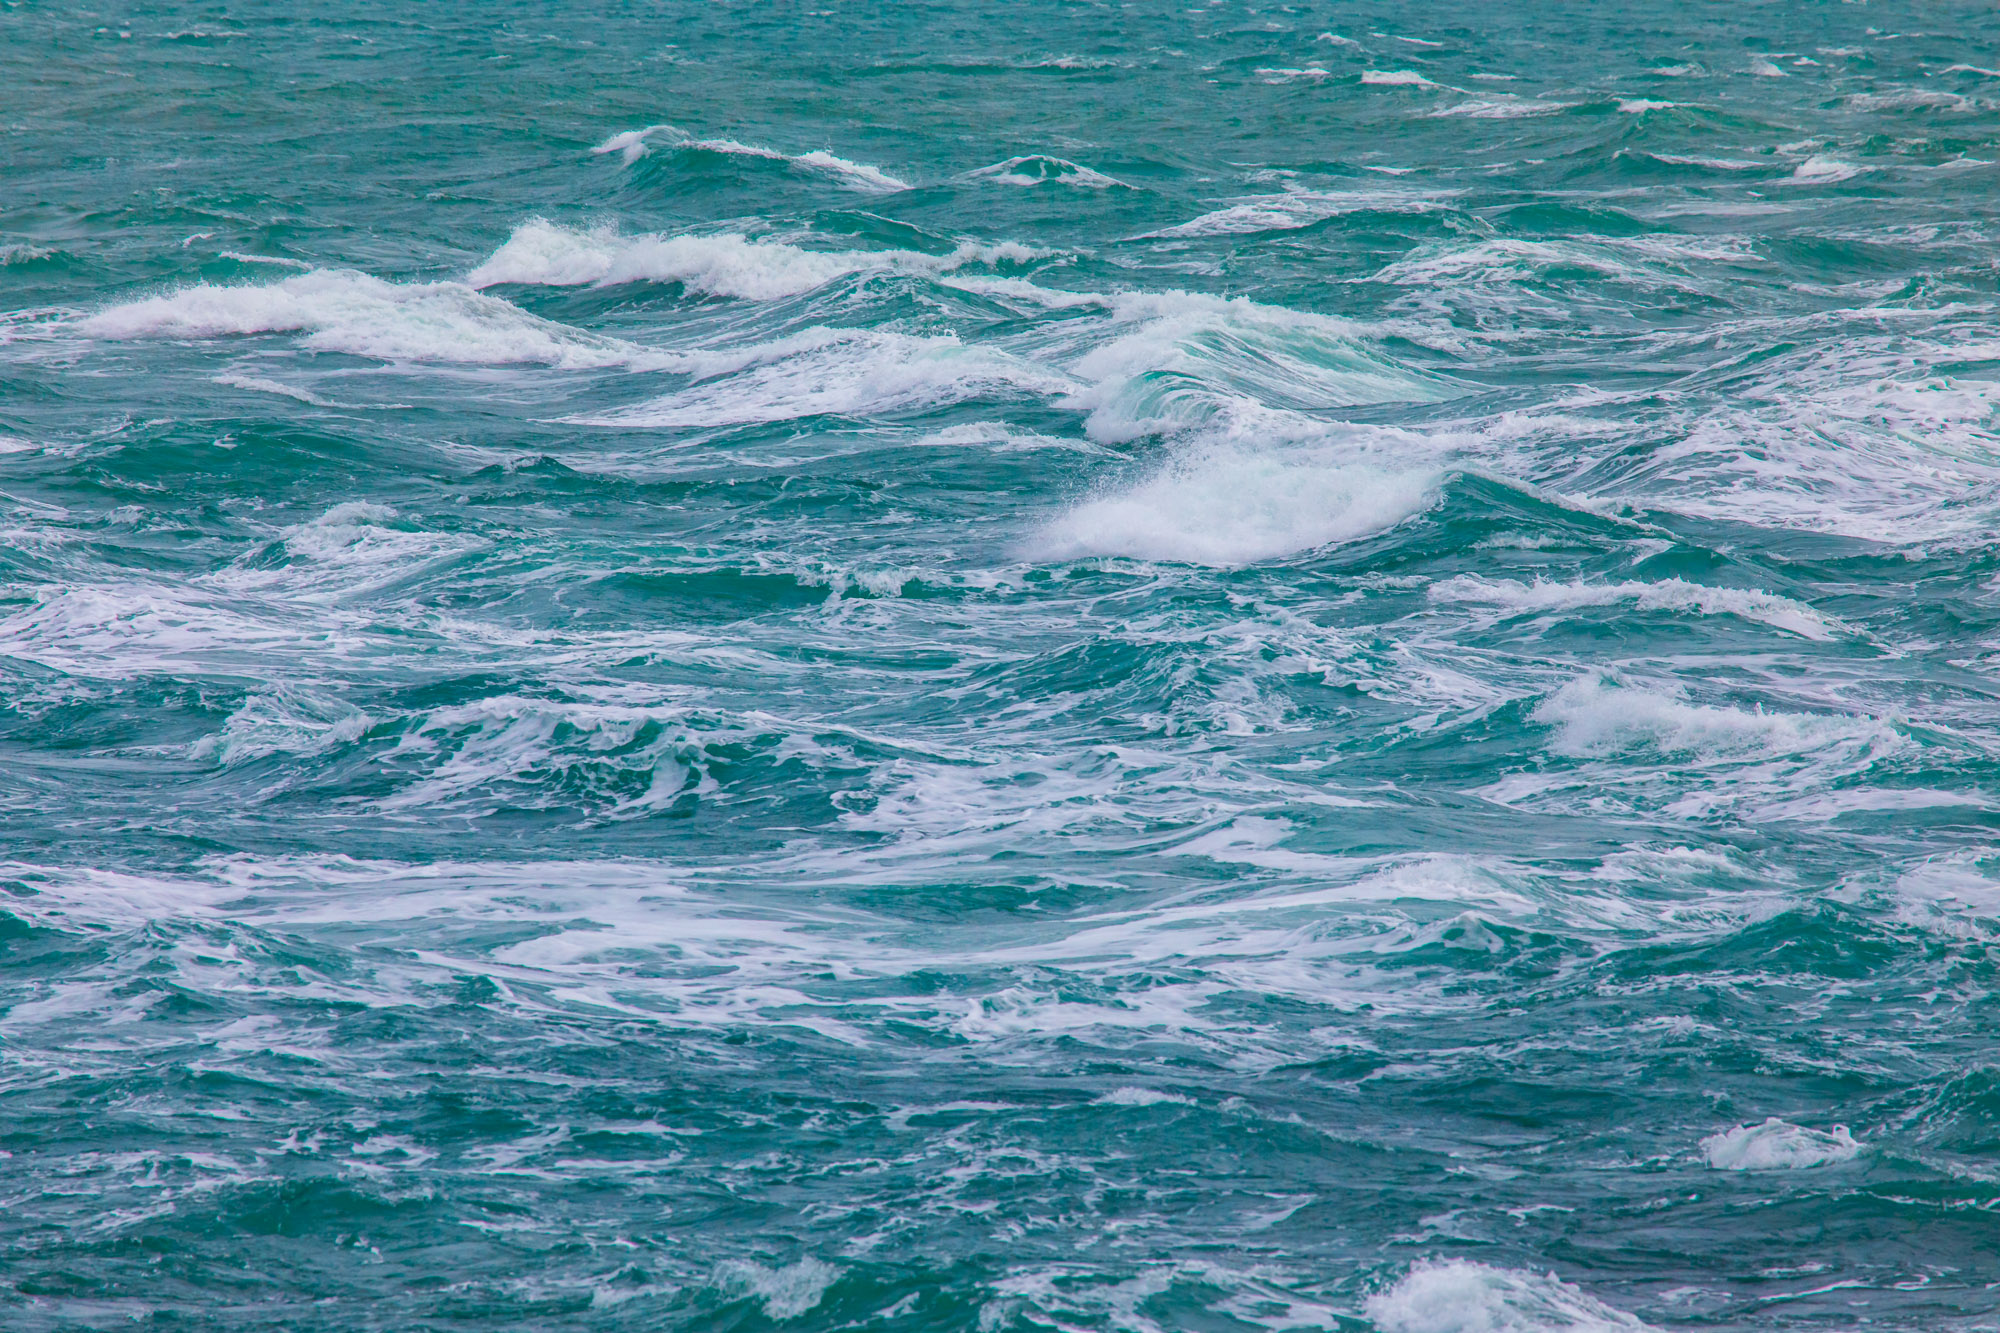
Jack suggested Gary zoom in with his long Canon EF 100-400mm f/4.5-5.6L IS USM telephoto lens to pick out details of the waves crashing and choppy seas in the high winds. To achieve this abstract shot of the waves, Gary pushed his ISO up to 800 for a shutter speed of 1/1250 sec – fast enough to eliminate camera shake and freeze the waves in place. He also turned on Image Stabilization to steady his handheld shots and used his continuous drive mode to rattle off a burst of images and increase his chances of catching the perfect wave patterns.
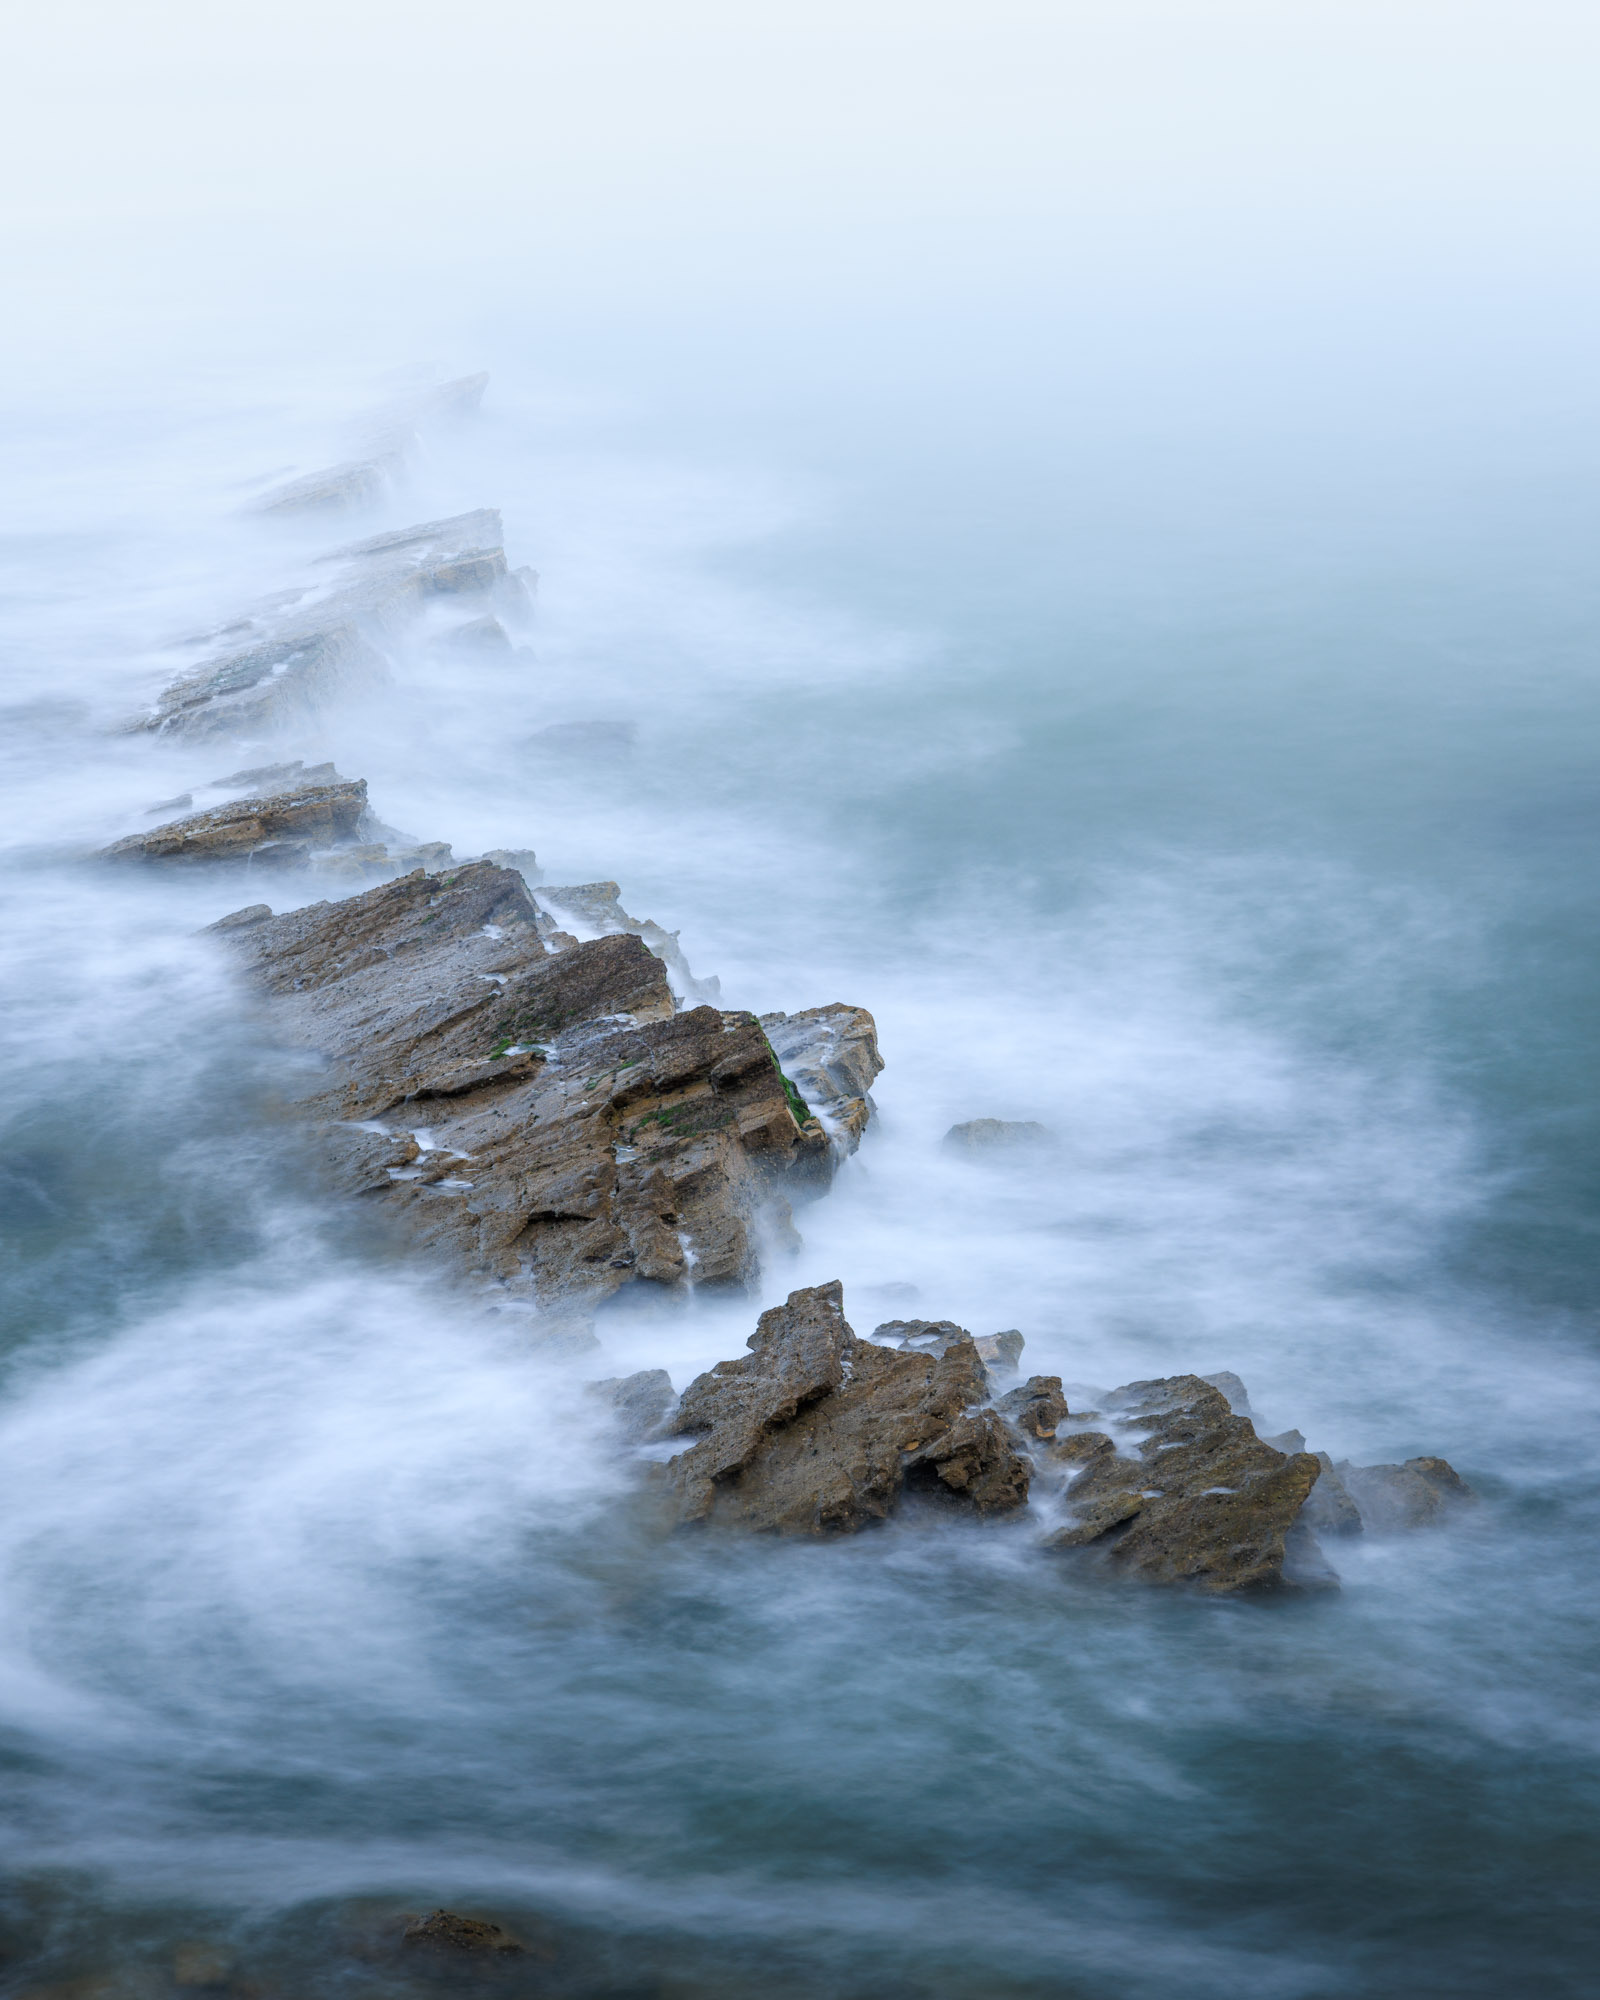
7. Professional tripod
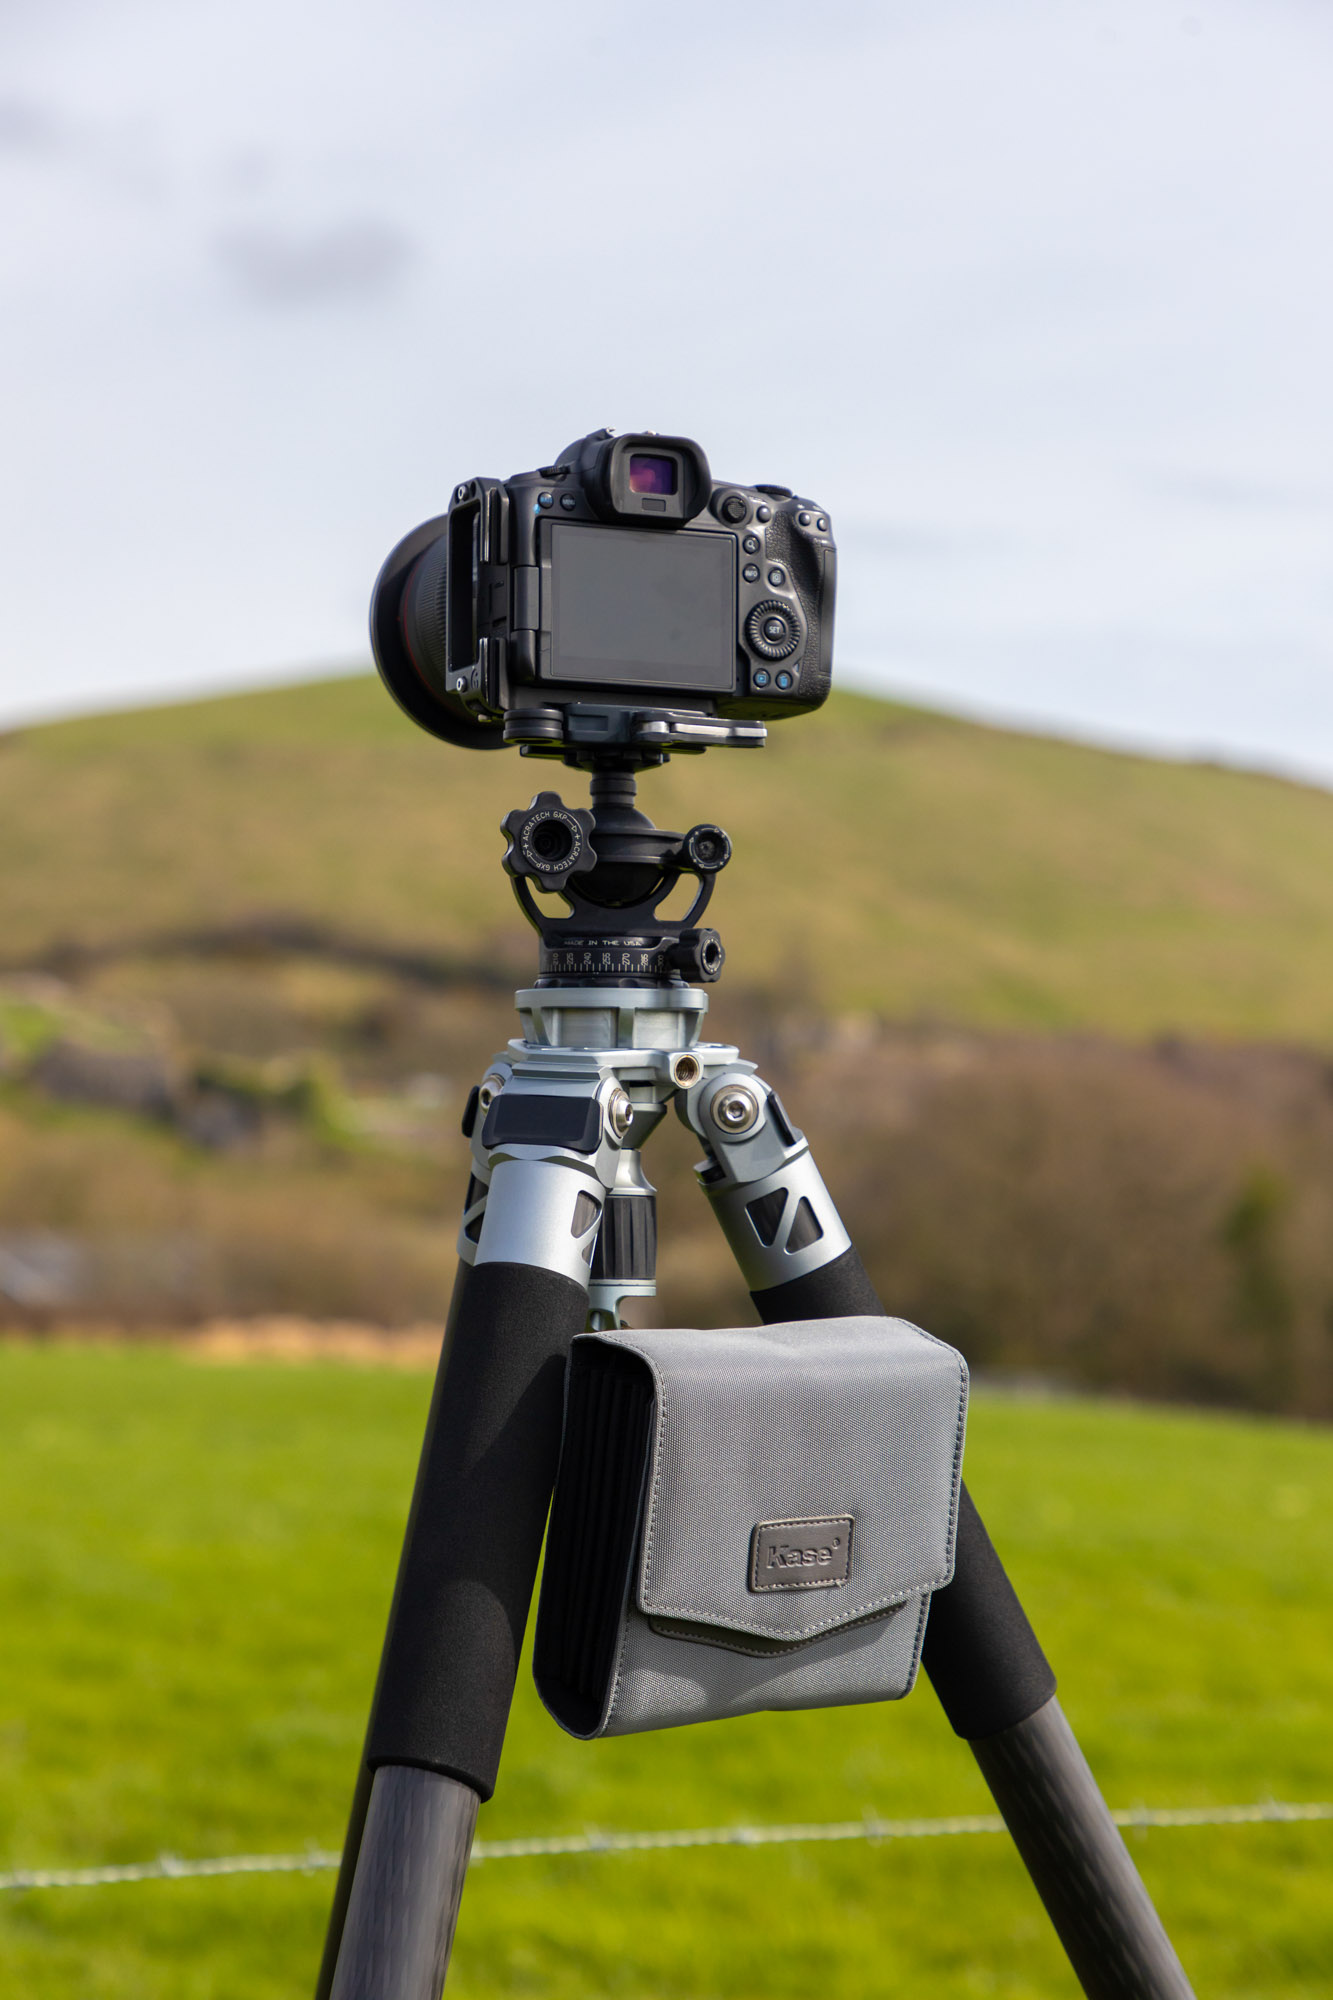
Jack uses a Kingjoy C86XT tripod which is a professional carbon fiber tripod capable of handling up to 30kg of equipment, while weighing itself just 2.4kg, and can be extended up to two meters! Its spiked feet help dig it into soft ground to help anchor it, and he’s fitted it with an Acratech GXP head, which is a clever ball head capable of functioning like a ball, gimbal, and leveling panoramic head all at the same time. It’s lightweight and rugged so is well suited to the great outdoors.
8. Circular Polarizing (CPL) filter
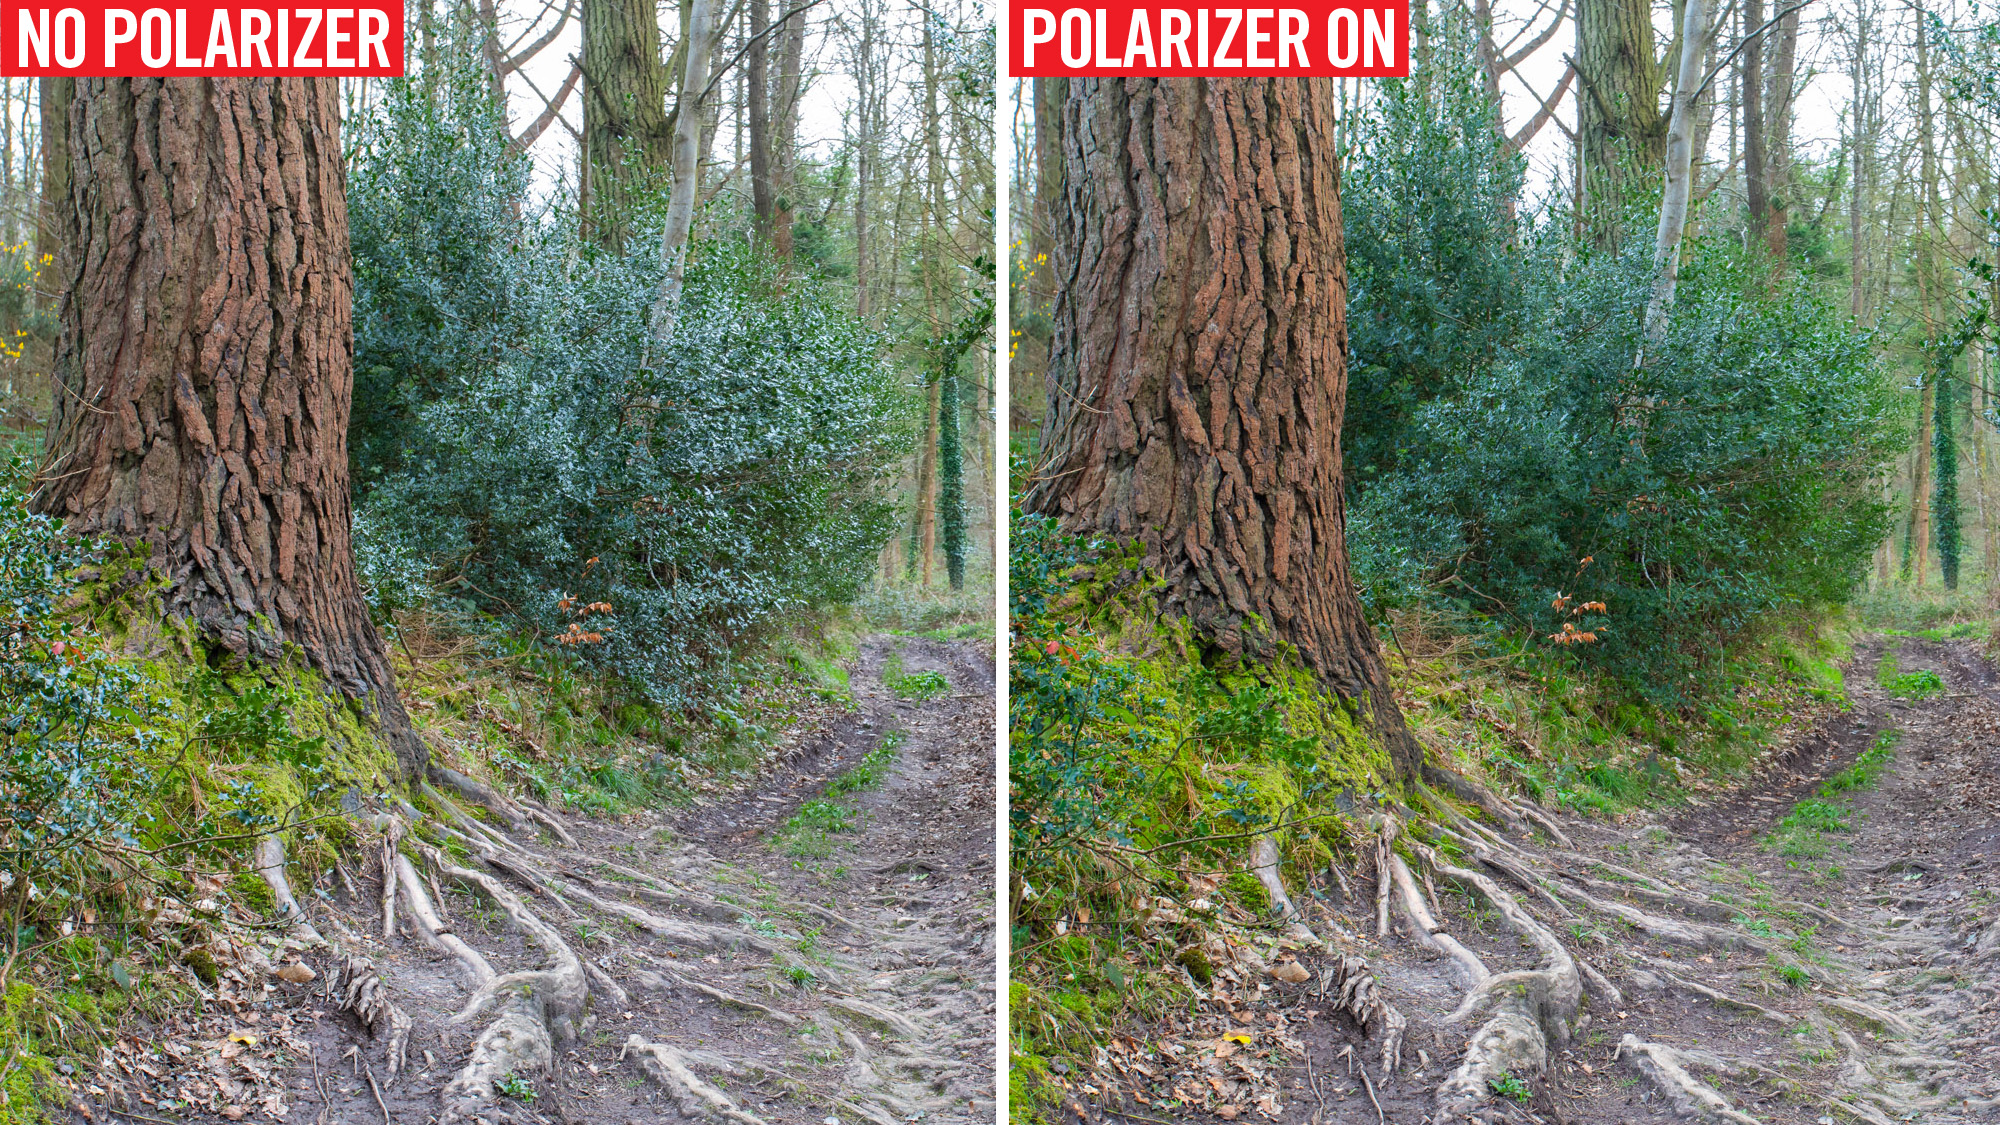
A circular polarizer deserves a place in every budding Canon landscape photographer’s kit bag. While Jack’s Kase polarizer is circular in shape, they’re called circular due to the pattern which is etched into their glass which cuts out polarized light. Doing so has all sorts of applications for landscape photography, from reducing haze to removing reflections in water and boosting blue skies to enabling longer shutter speeds. Here, it removes glare on the forest foliage which helps the greens to ‘pop’ out.
9. Magnetic filters
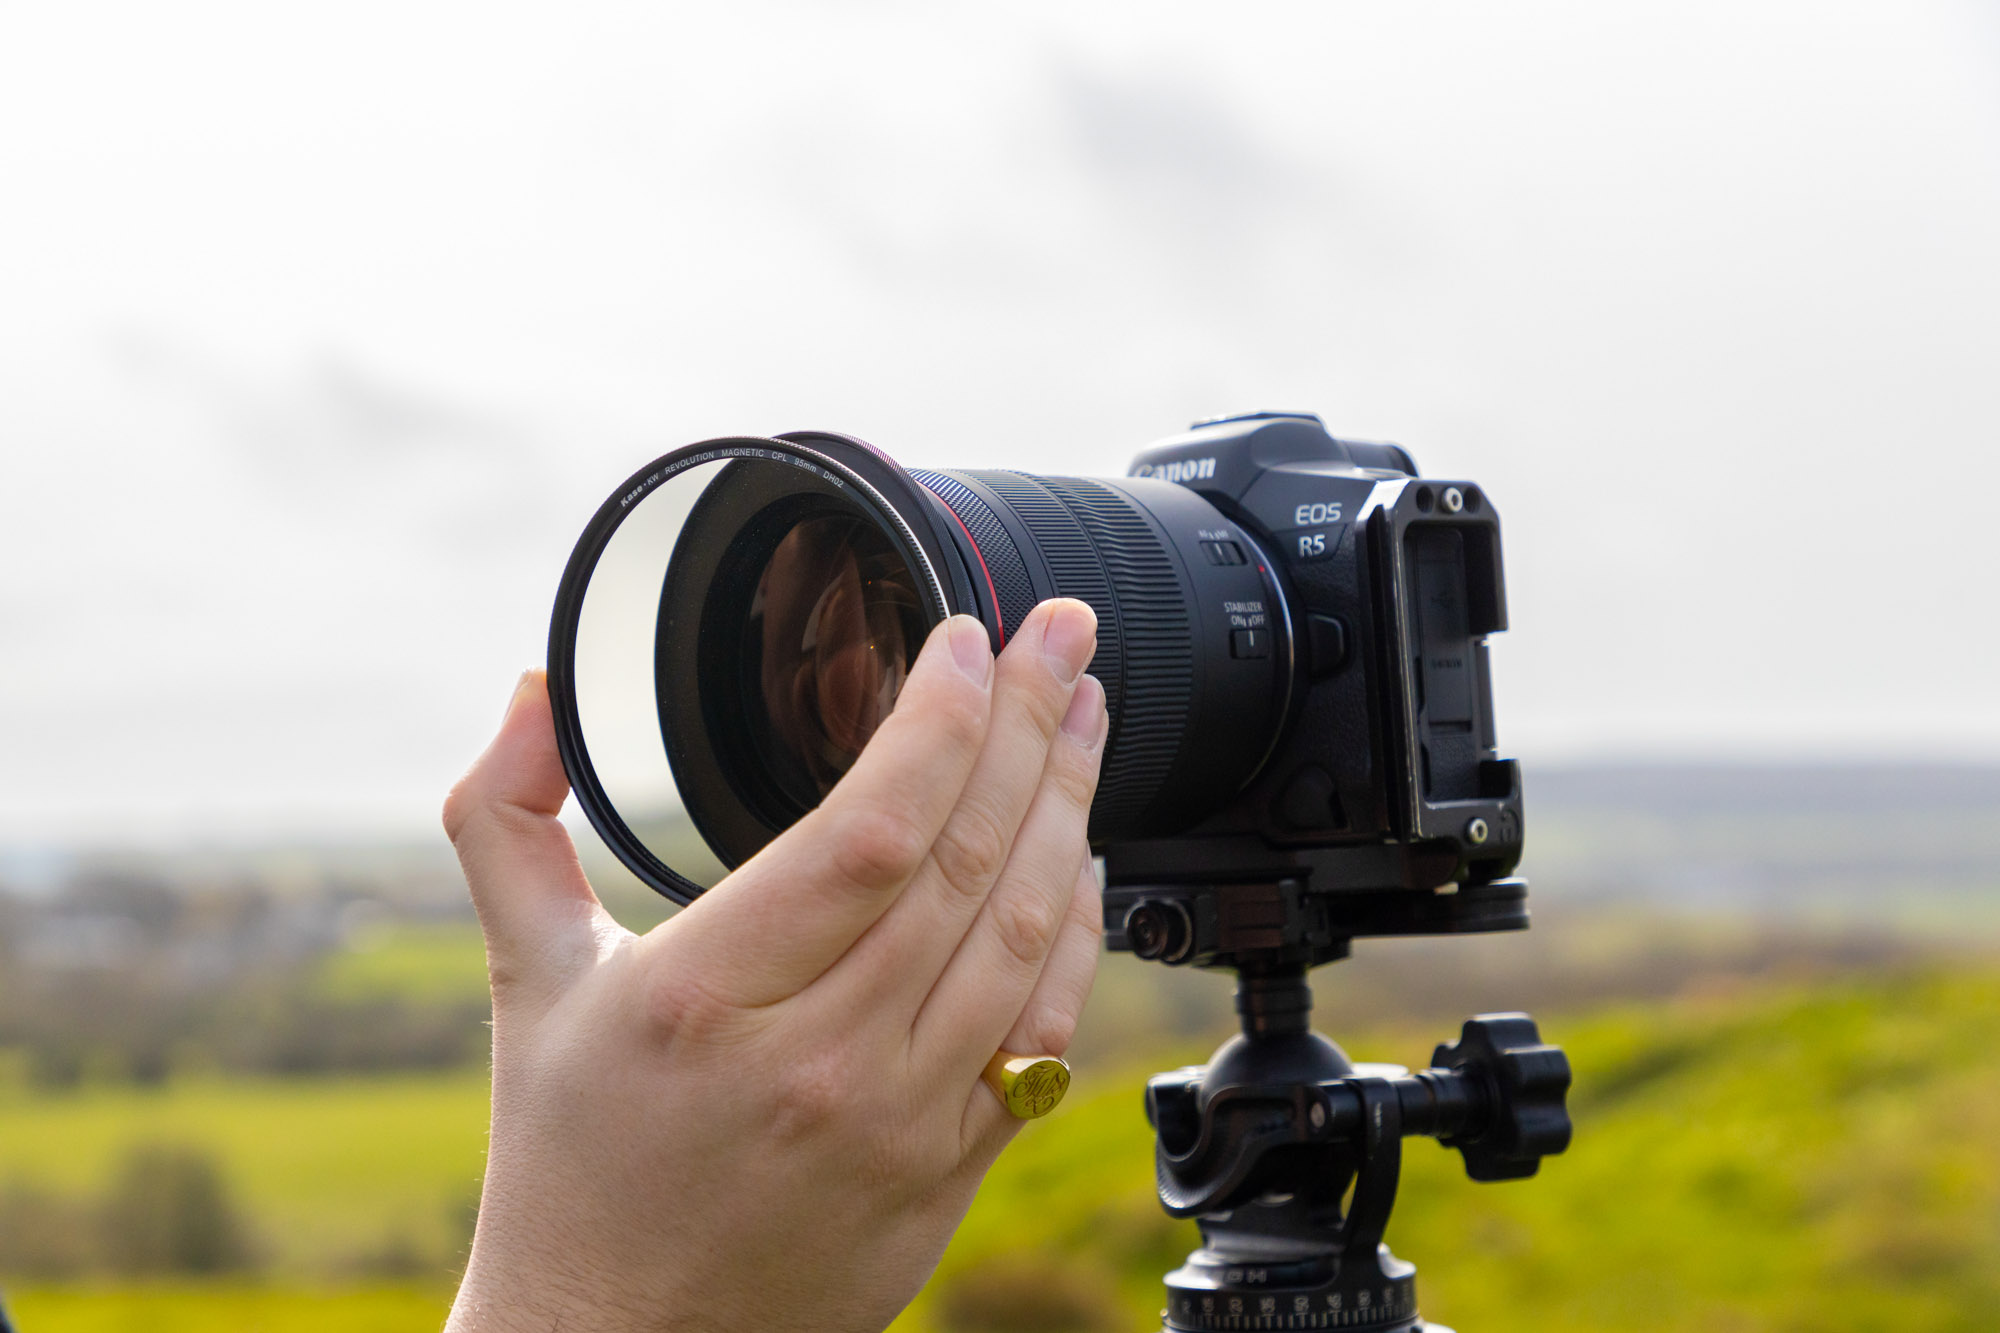
Jack is part of Kase Filter’s Affiliate Program and has a whole range of Kase Revolution magnetic filters which easily snap into position and allows filters to be stacked. This suits Jack’s shooting style as he often needs to set up quickly to catch the best light, fleeting mist or fading rainbows before they disappear. He prefers to use ND filters instead of graduated NDs, as they take up too much space in his bag.
10. Rule of thirds
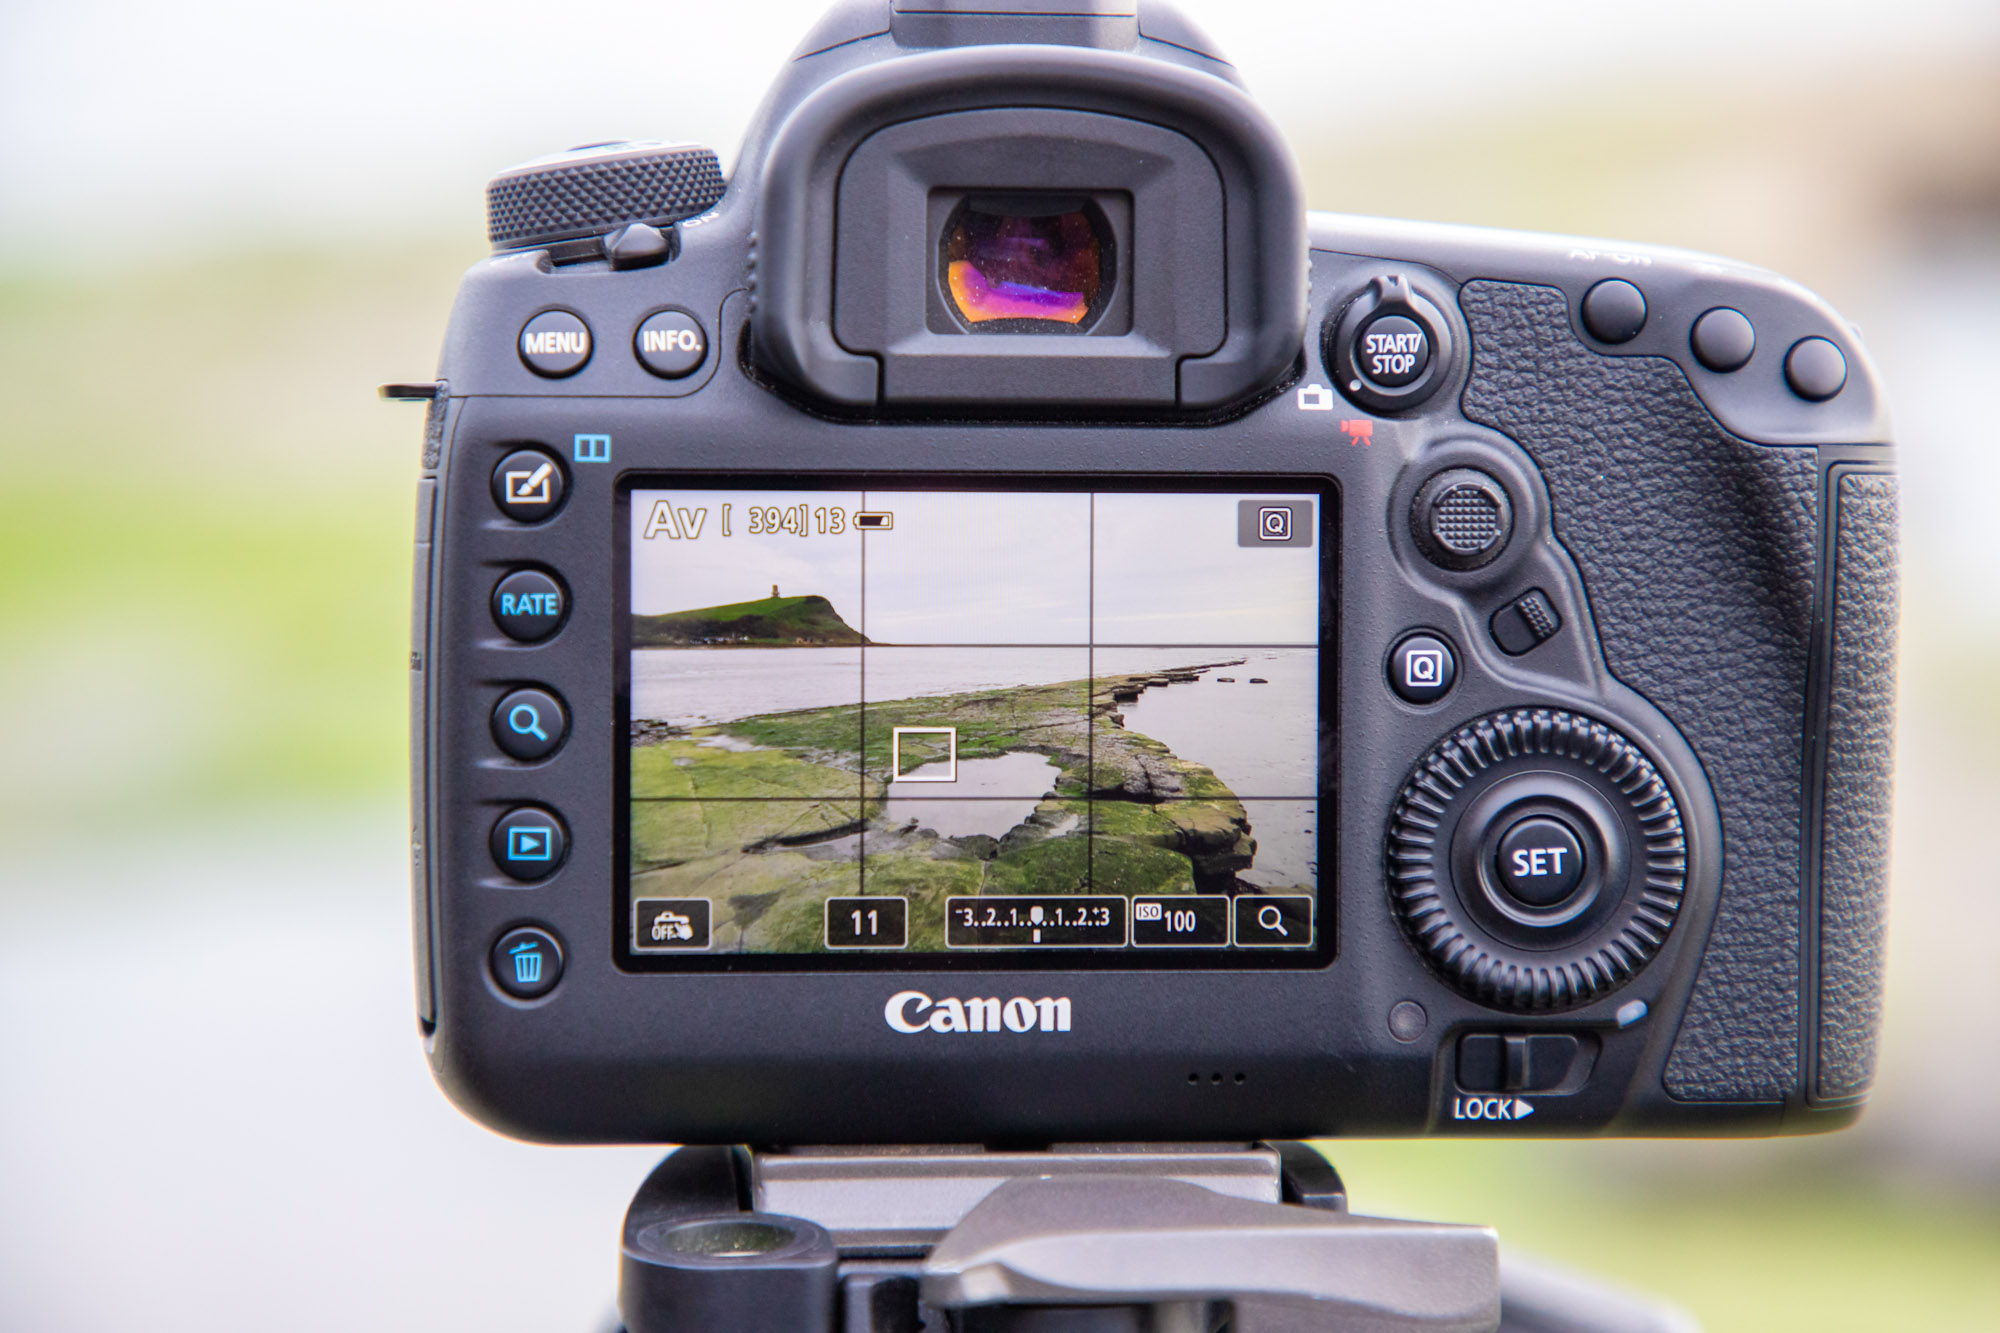
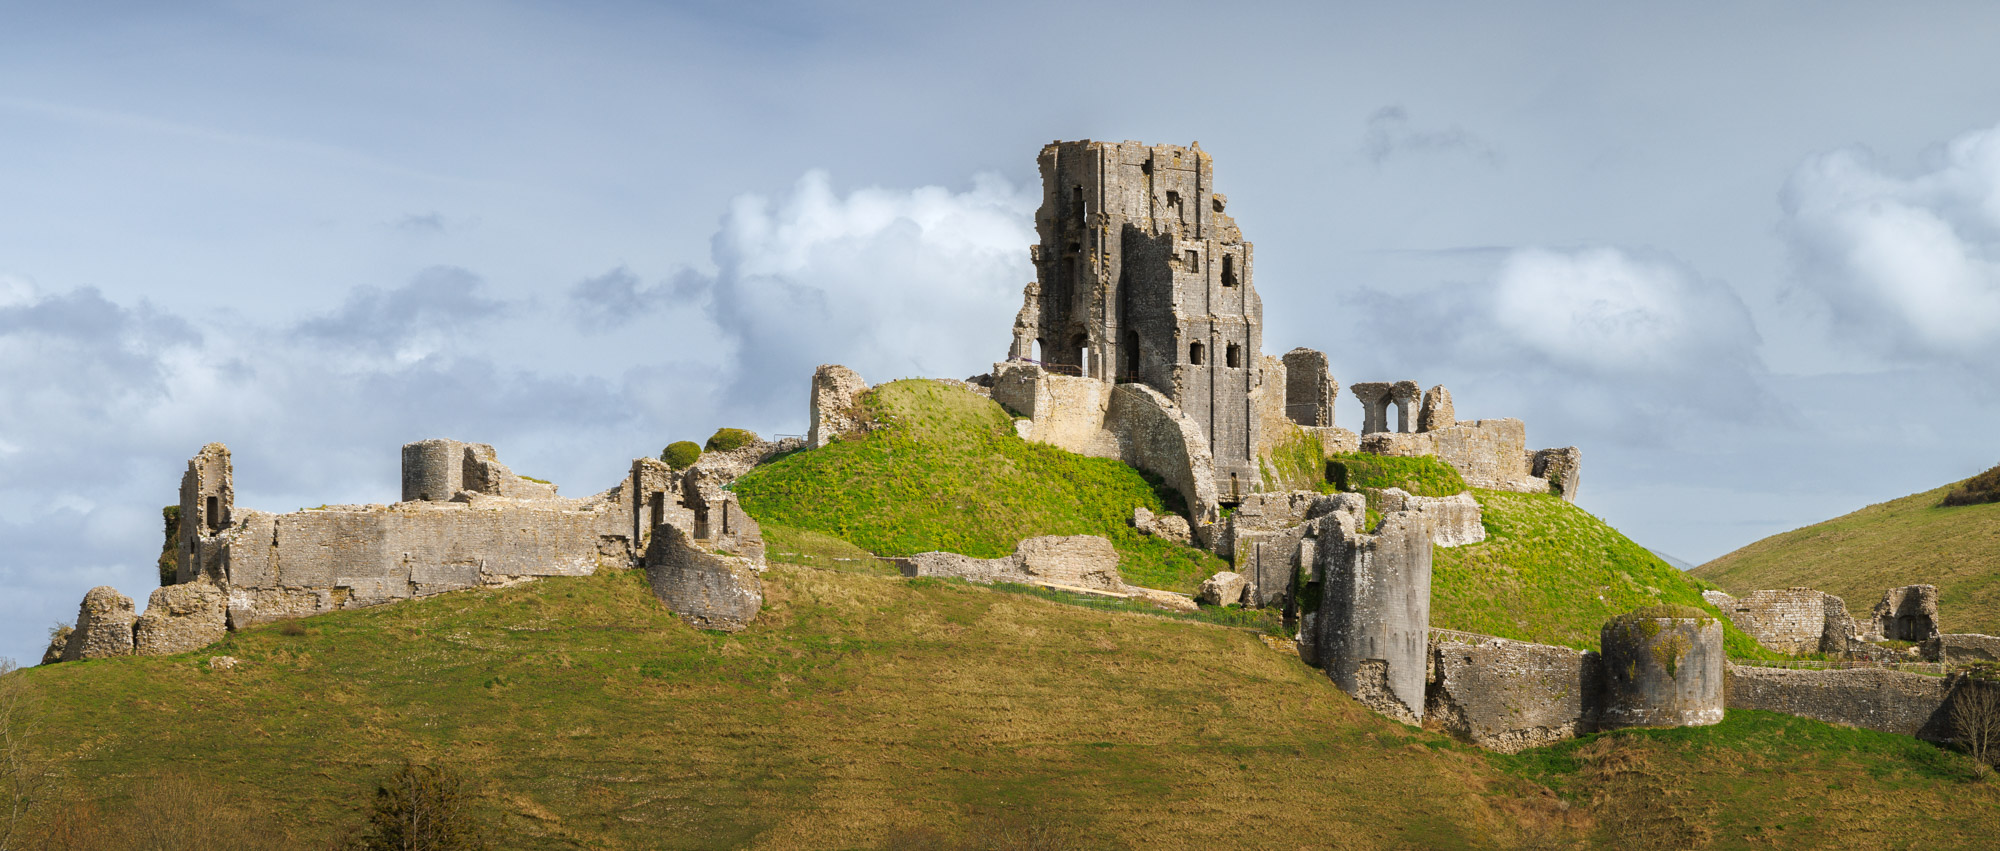
The rule of thirds is an age-old compositional technique where you divide your scene up into nine equal boxes and then place the horizon on one of the lines, or a position your focal point so it sits on one of the intersections and this can help bolster the impact of your compositions. Go into your Canon’s menu and change the Grid Display to 3x3 to see the rule of thirds grid overlaid on your scene when working with Live View.
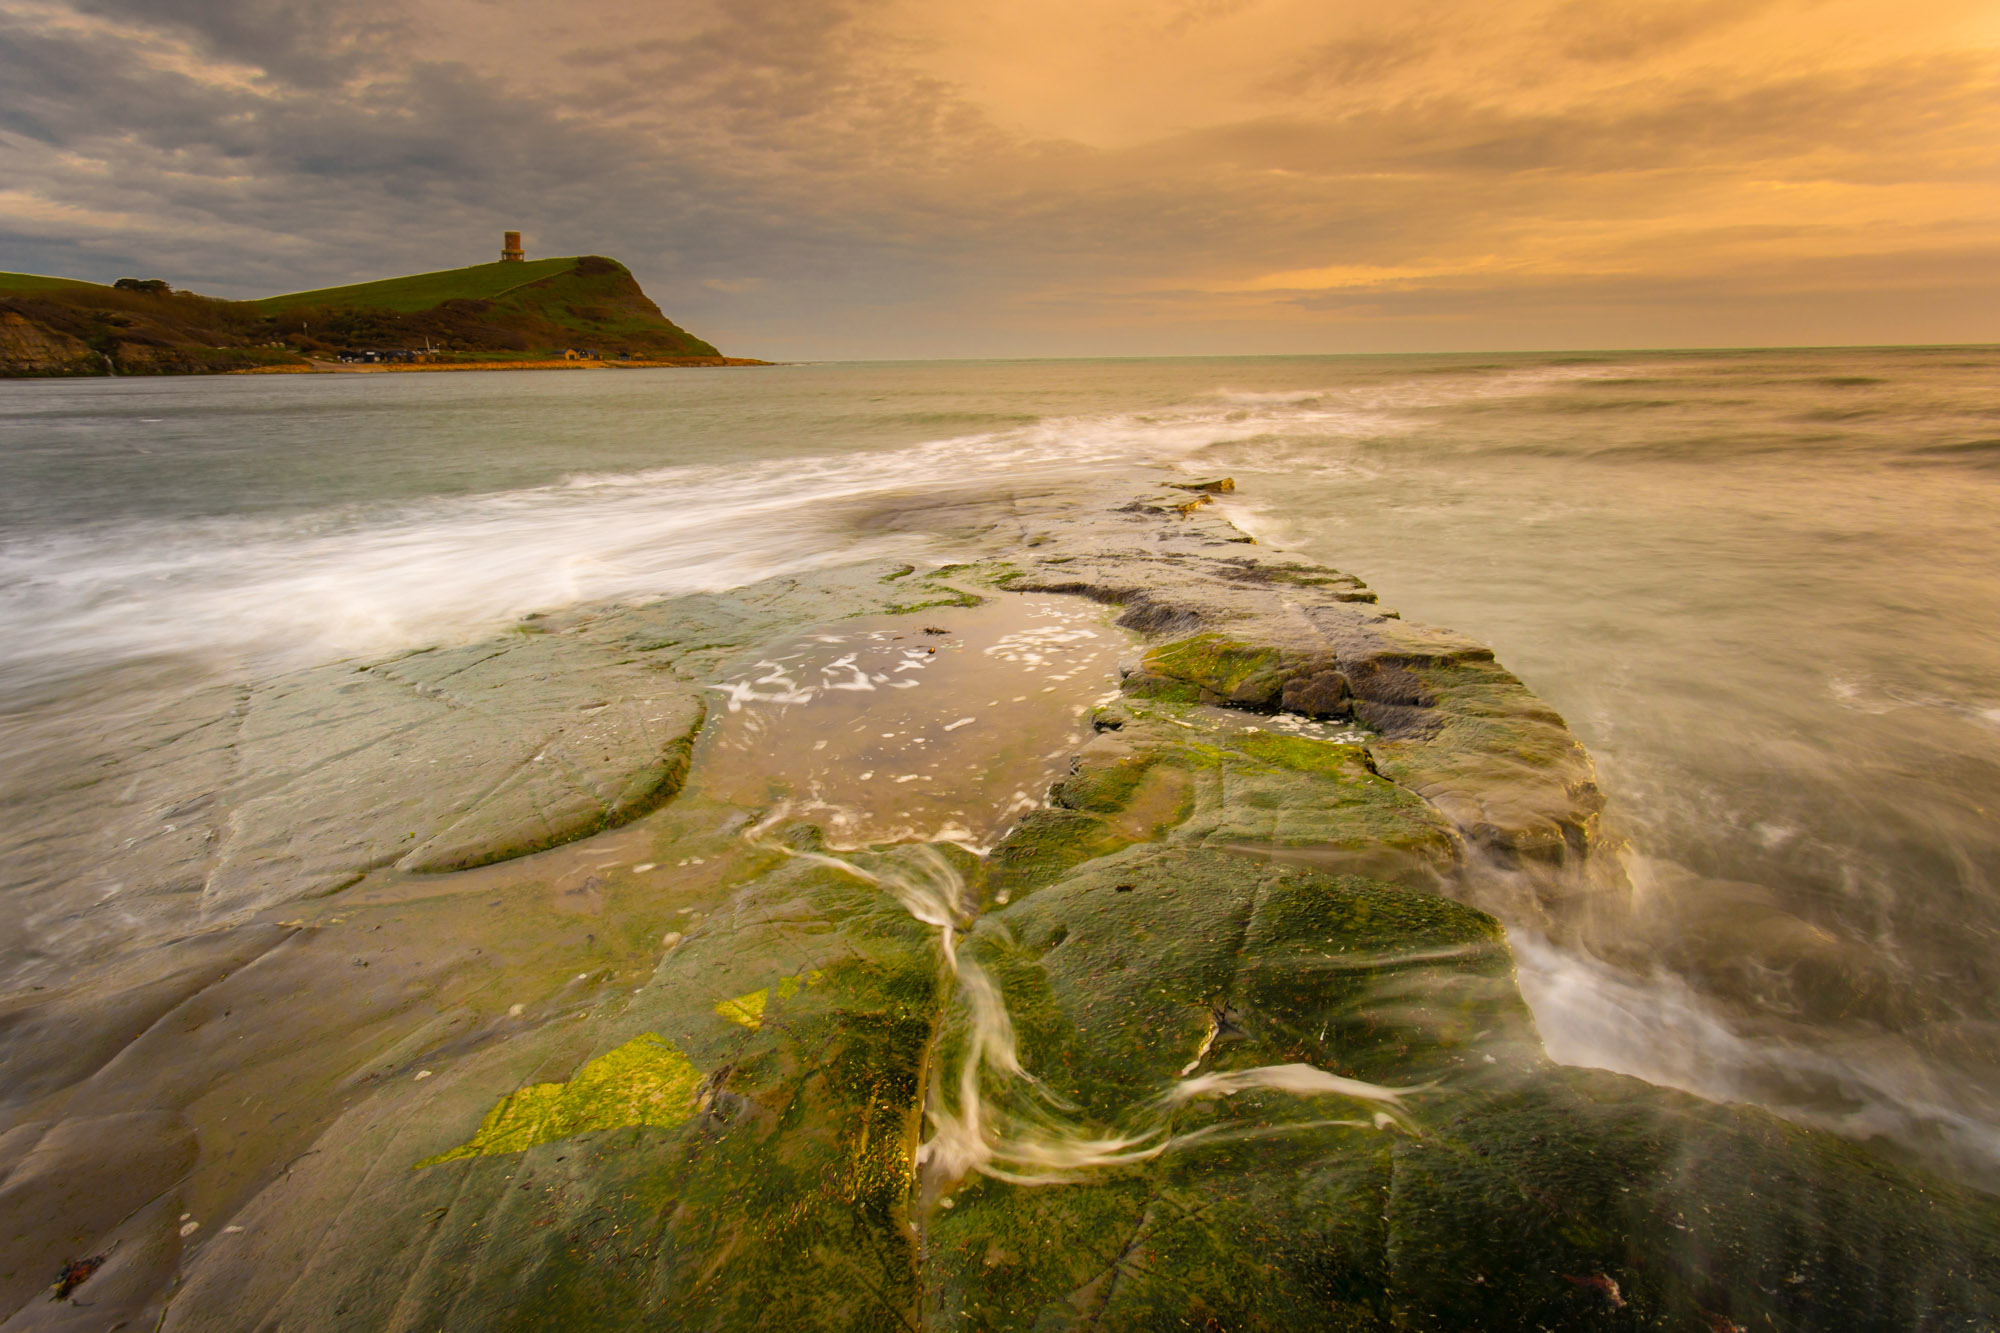
If you're really into landscape photography, you'll want to check out the best lenses for landscapes. Jack uses a Canon EOS R5. To see more from his stunning portfolio be sure to check out his website.
PhotoPlus: The Canon Magazine is the world's only monthly newsstand title that's 100% devoted to Canon, so you can be sure the magazine is completely relevant to your system. Every issue comes with downloadable video tutorials too.
Get the Digital Camera World Newsletter
The best camera deals, reviews, product advice, and unmissable photography news, direct to your inbox!

Deputy Editor on PhotoPlus: The Canon Magazine, Dan also brings his technical wizardry and editing skills to Digital Camera World. He has been writing about all aspects of photography for over 10 years, having previously served as technical writer and technical editor for Practical Photography magazine, as well as Photoshop editor on Digital Photo.
Dan is an Adobe-certified Photoshop guru, making him officially a beast at post-processing – so he’s the perfect person to share tips and tricks both in-camera and in post. Able to shoot all genres, Dan provides news, techniques and tutorials on everything from portraits and landscapes to macro and wildlife, helping photographers get the most out of their cameras, lenses, filters, lighting, tripods, and, of course, editing software.

