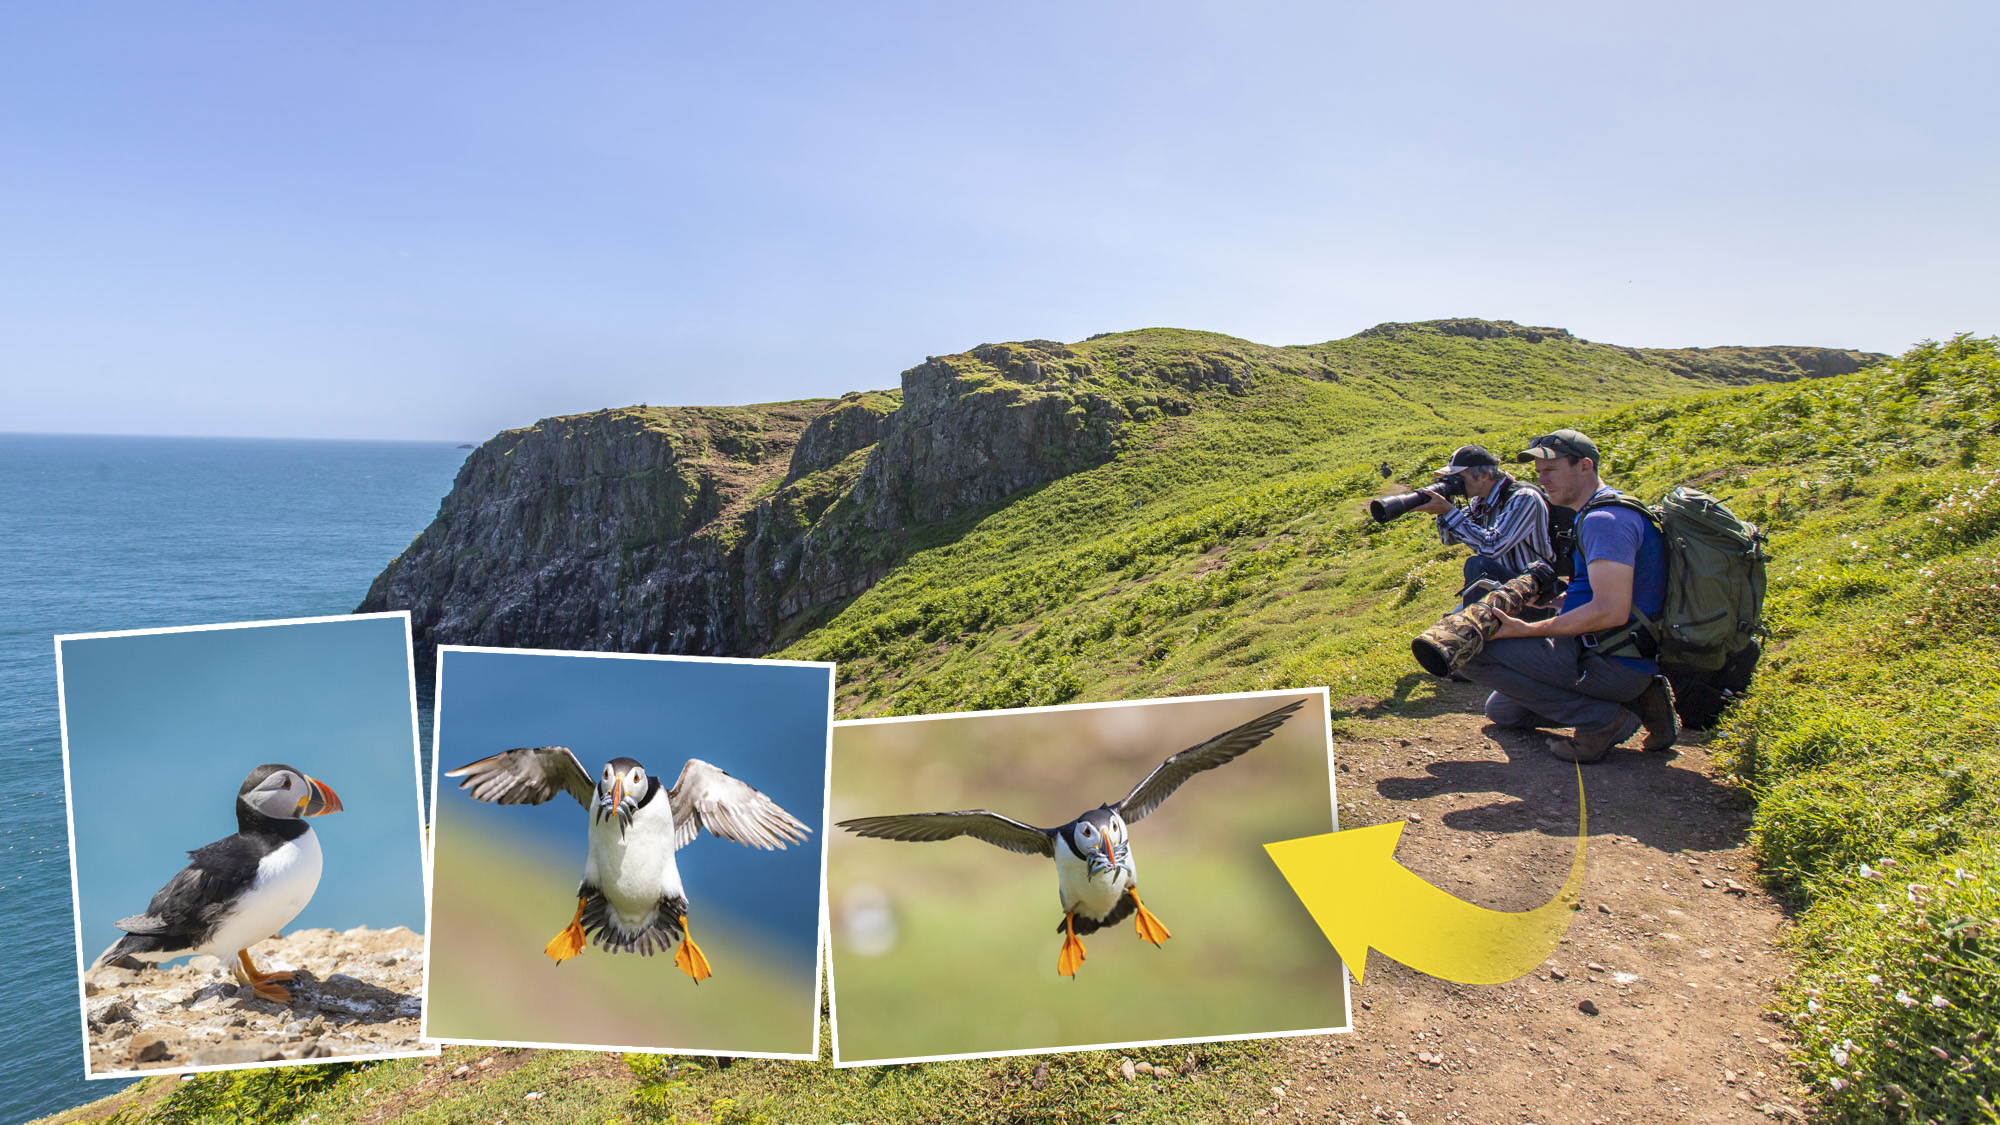
Wildlife photography is a brilliant genre that helps you get into the great outdoors with your camera and take incredible shots of mother nature. Taking photos of wild animals isn't without its challenges though, focusing and settings can all be problematic when you need to catch the moment quickly. This is certainly the case with the quintessential summer bird, the puffin.
Puffins, also called the 'clowns of the sea', are wonderfully photogenic seabirds that pose many trials and tribulations for photographers, such as autofocus, exposure, composition, settings, and your equipment setup, though many of these will apply to other agile and unpredictable wild subjects too. This month we teamed up a reader of PhotoPlus: The Canon Magazine, Mark Braybrook, for a masterclass in wildlife photography with Canon pro Drew Buckley on the magical Skomer island in Wales.
Drew is a Canon professional landscape and wildlife photographer based in South Wales, a regular PhotoPlus contributor, and has taken pictures for publications such as Photographing South Wales and The Puffin Book. From May to July, he runs workshops on Skomer island, the second largest island off the Welsh coast – home to large colonies of Atlantic Puffins, some 6,000 pairs – where you can get close enough to take amazing portraits and flying shots of the birds.
Before you get started, you might also like to look at the best lenses for bird photography – long telephotos that help you to get frame-filling portraits.
1. Starting settings
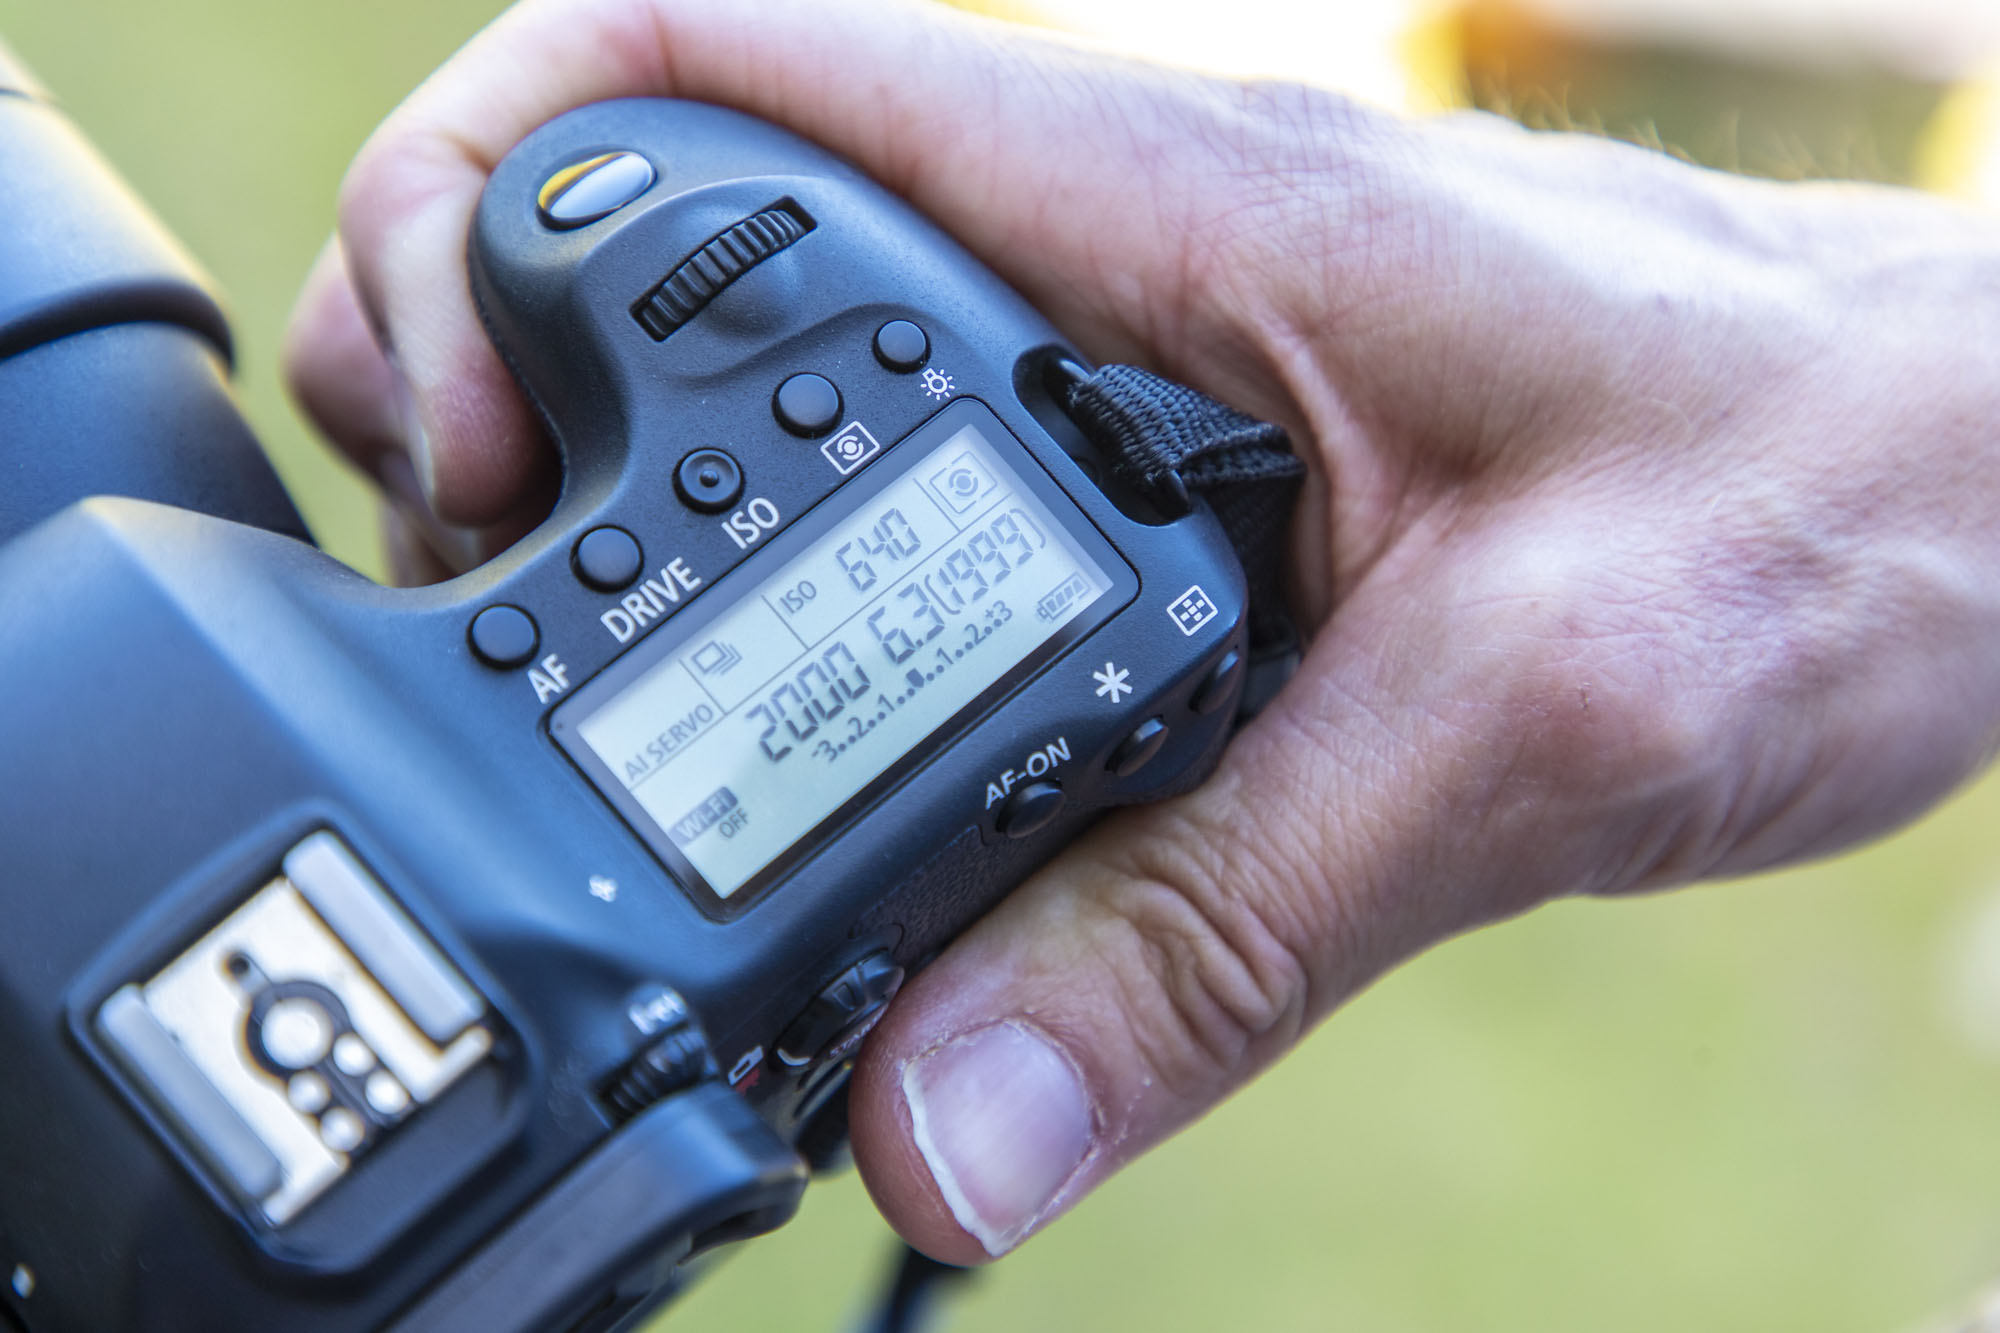
Mark had set his camera to shoot Raw and JPEG, so Drew changed this to Raw only, to make his memory card’s buffer less likely to clog up when shooting a fast burst of images. He then set the shutter speed to 1/2000 sec as it was a beautifully sunny day and this would also help freeze the puffins in flight, as well as reduce camera shake when handholding. He then opened the aperture all the way to his lens’s maximum aperture, which was f/6.3 at 600mm, then raised the ISO to 640, which gave a correct histogram reading.
2. Get down low
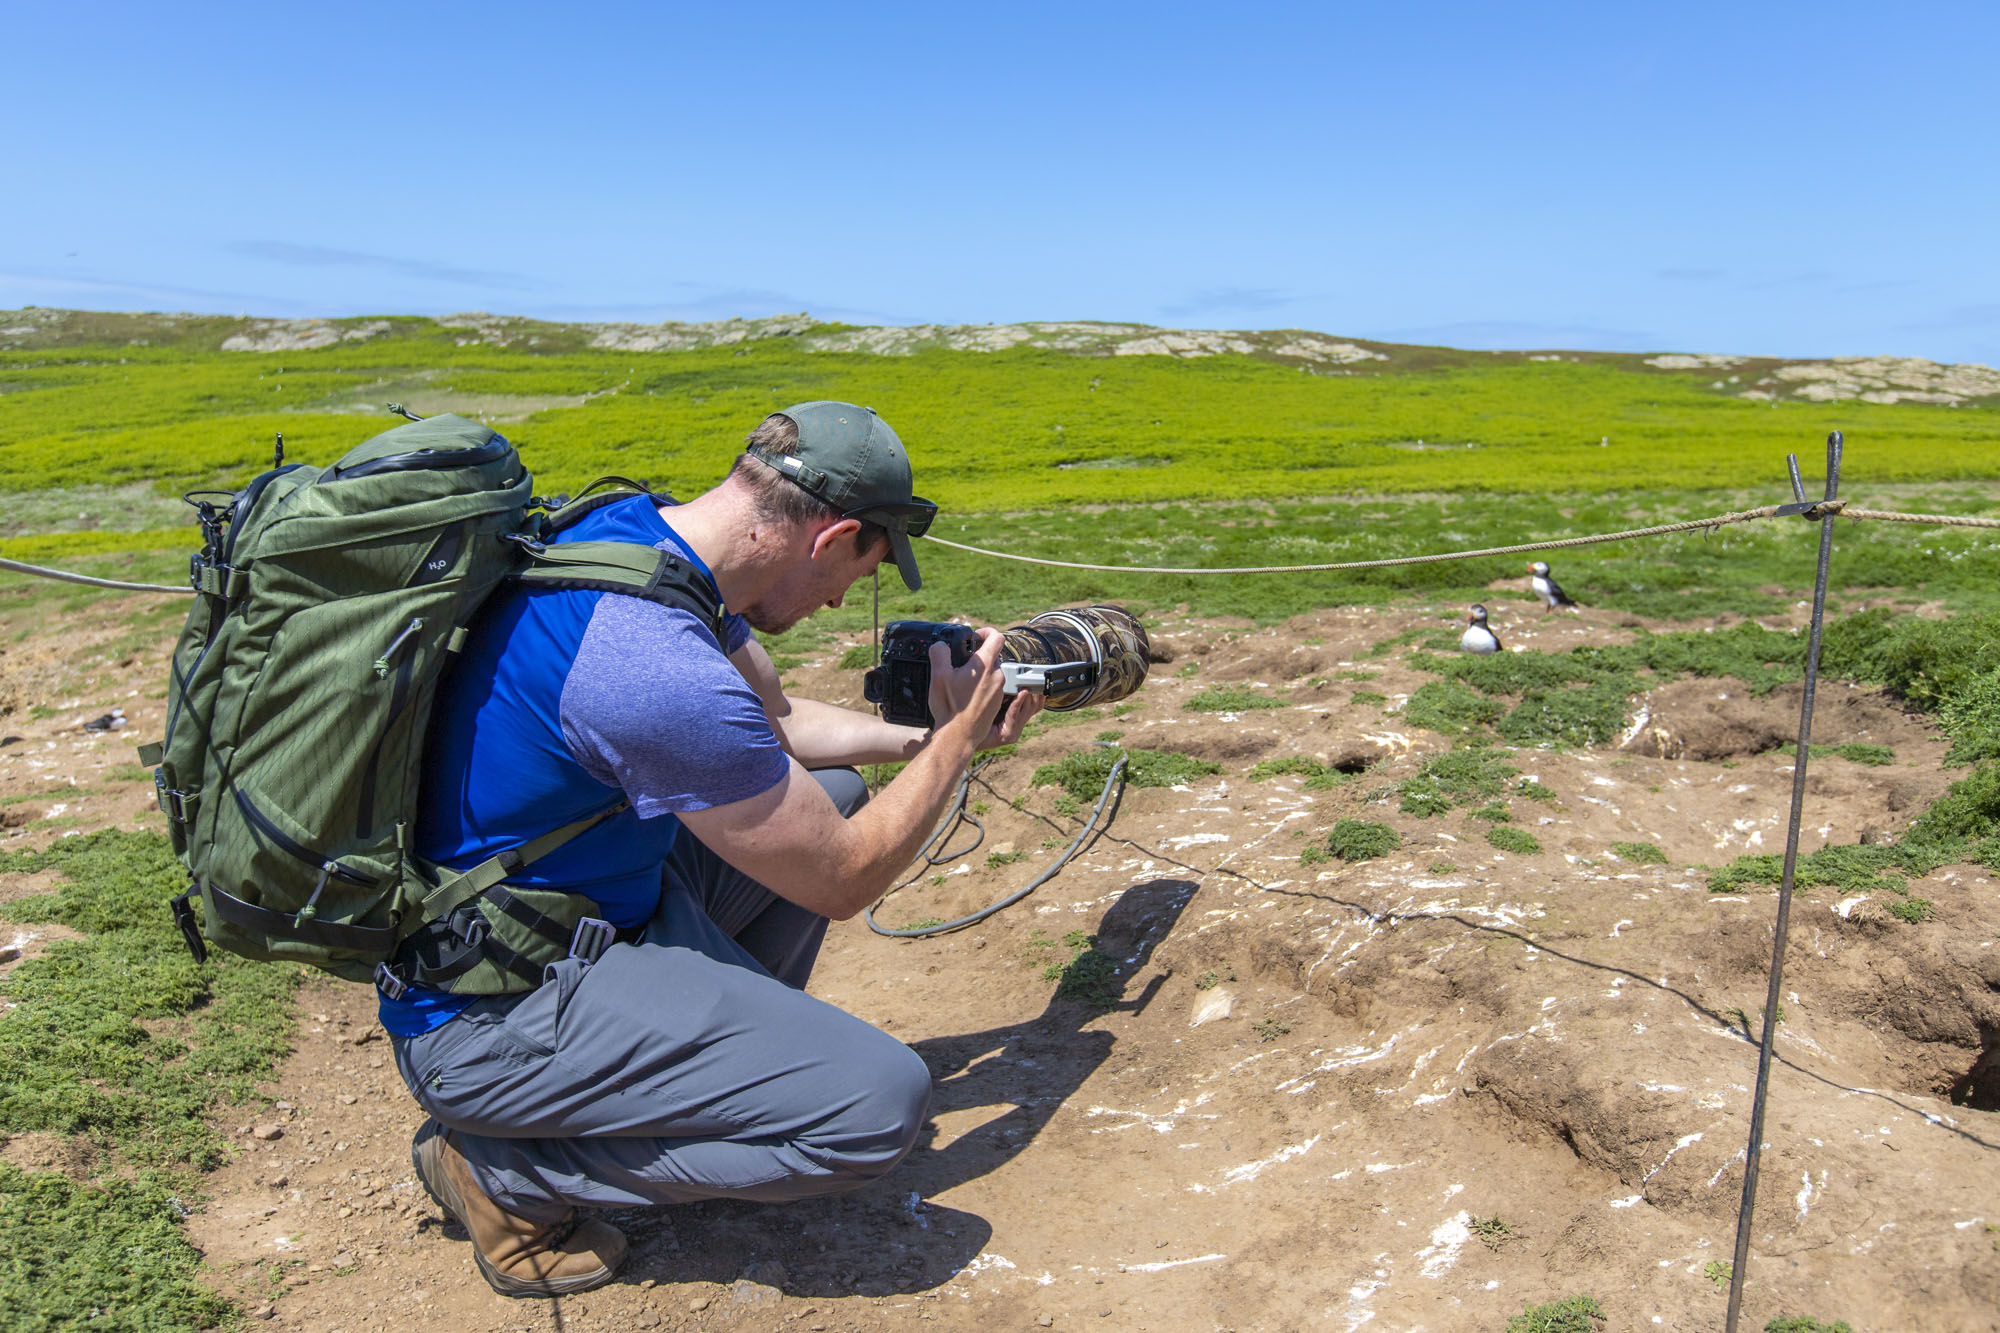
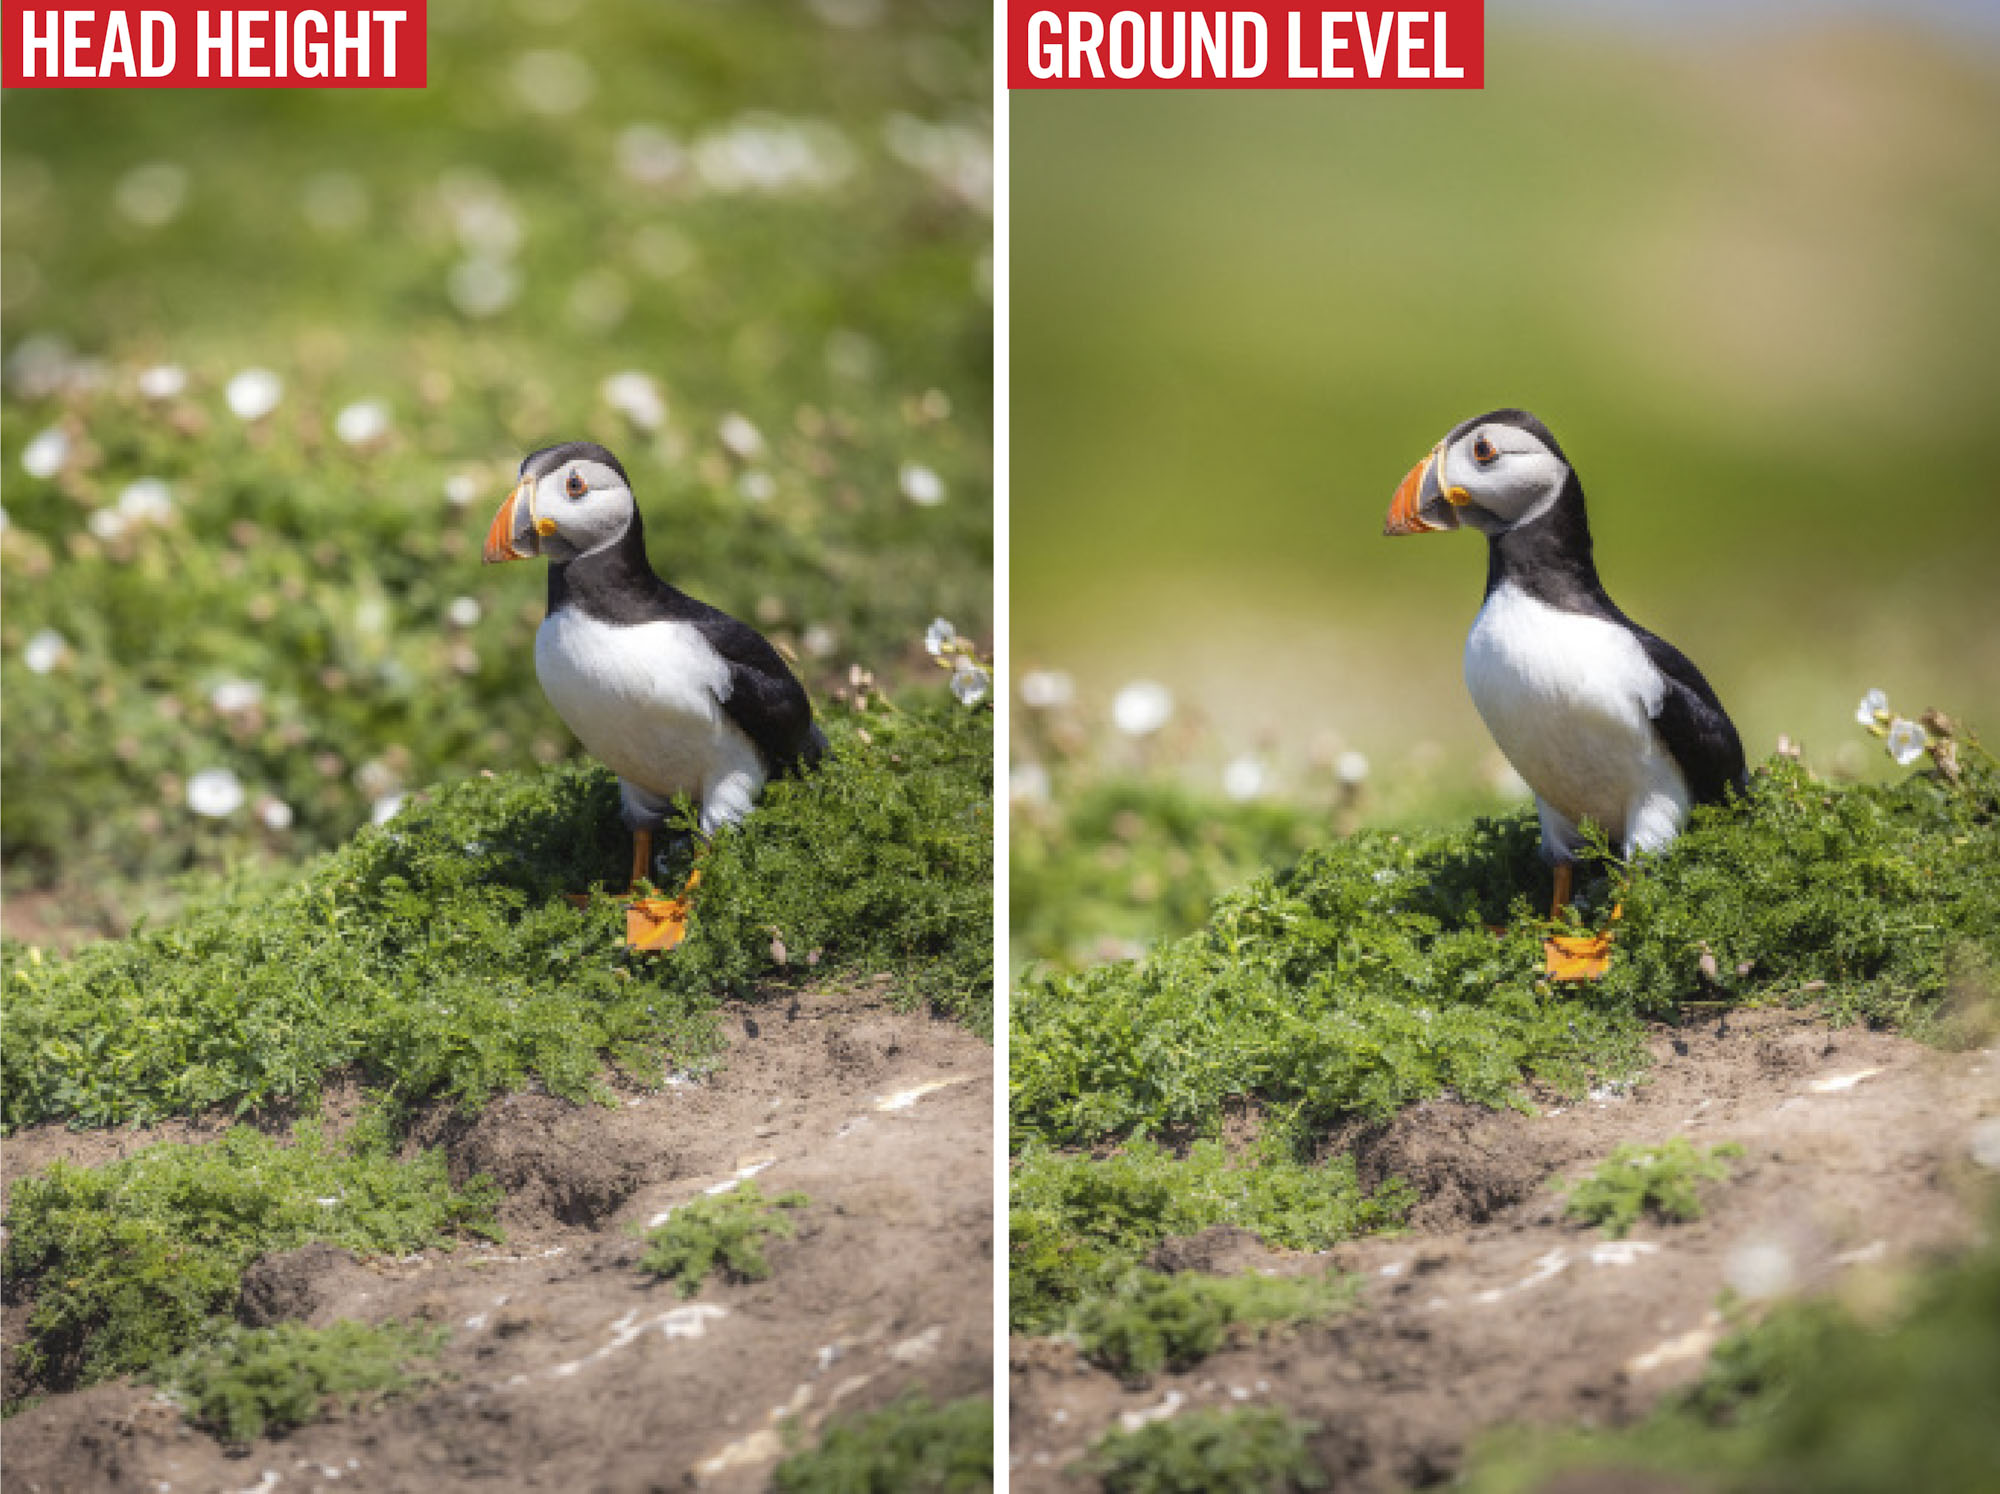
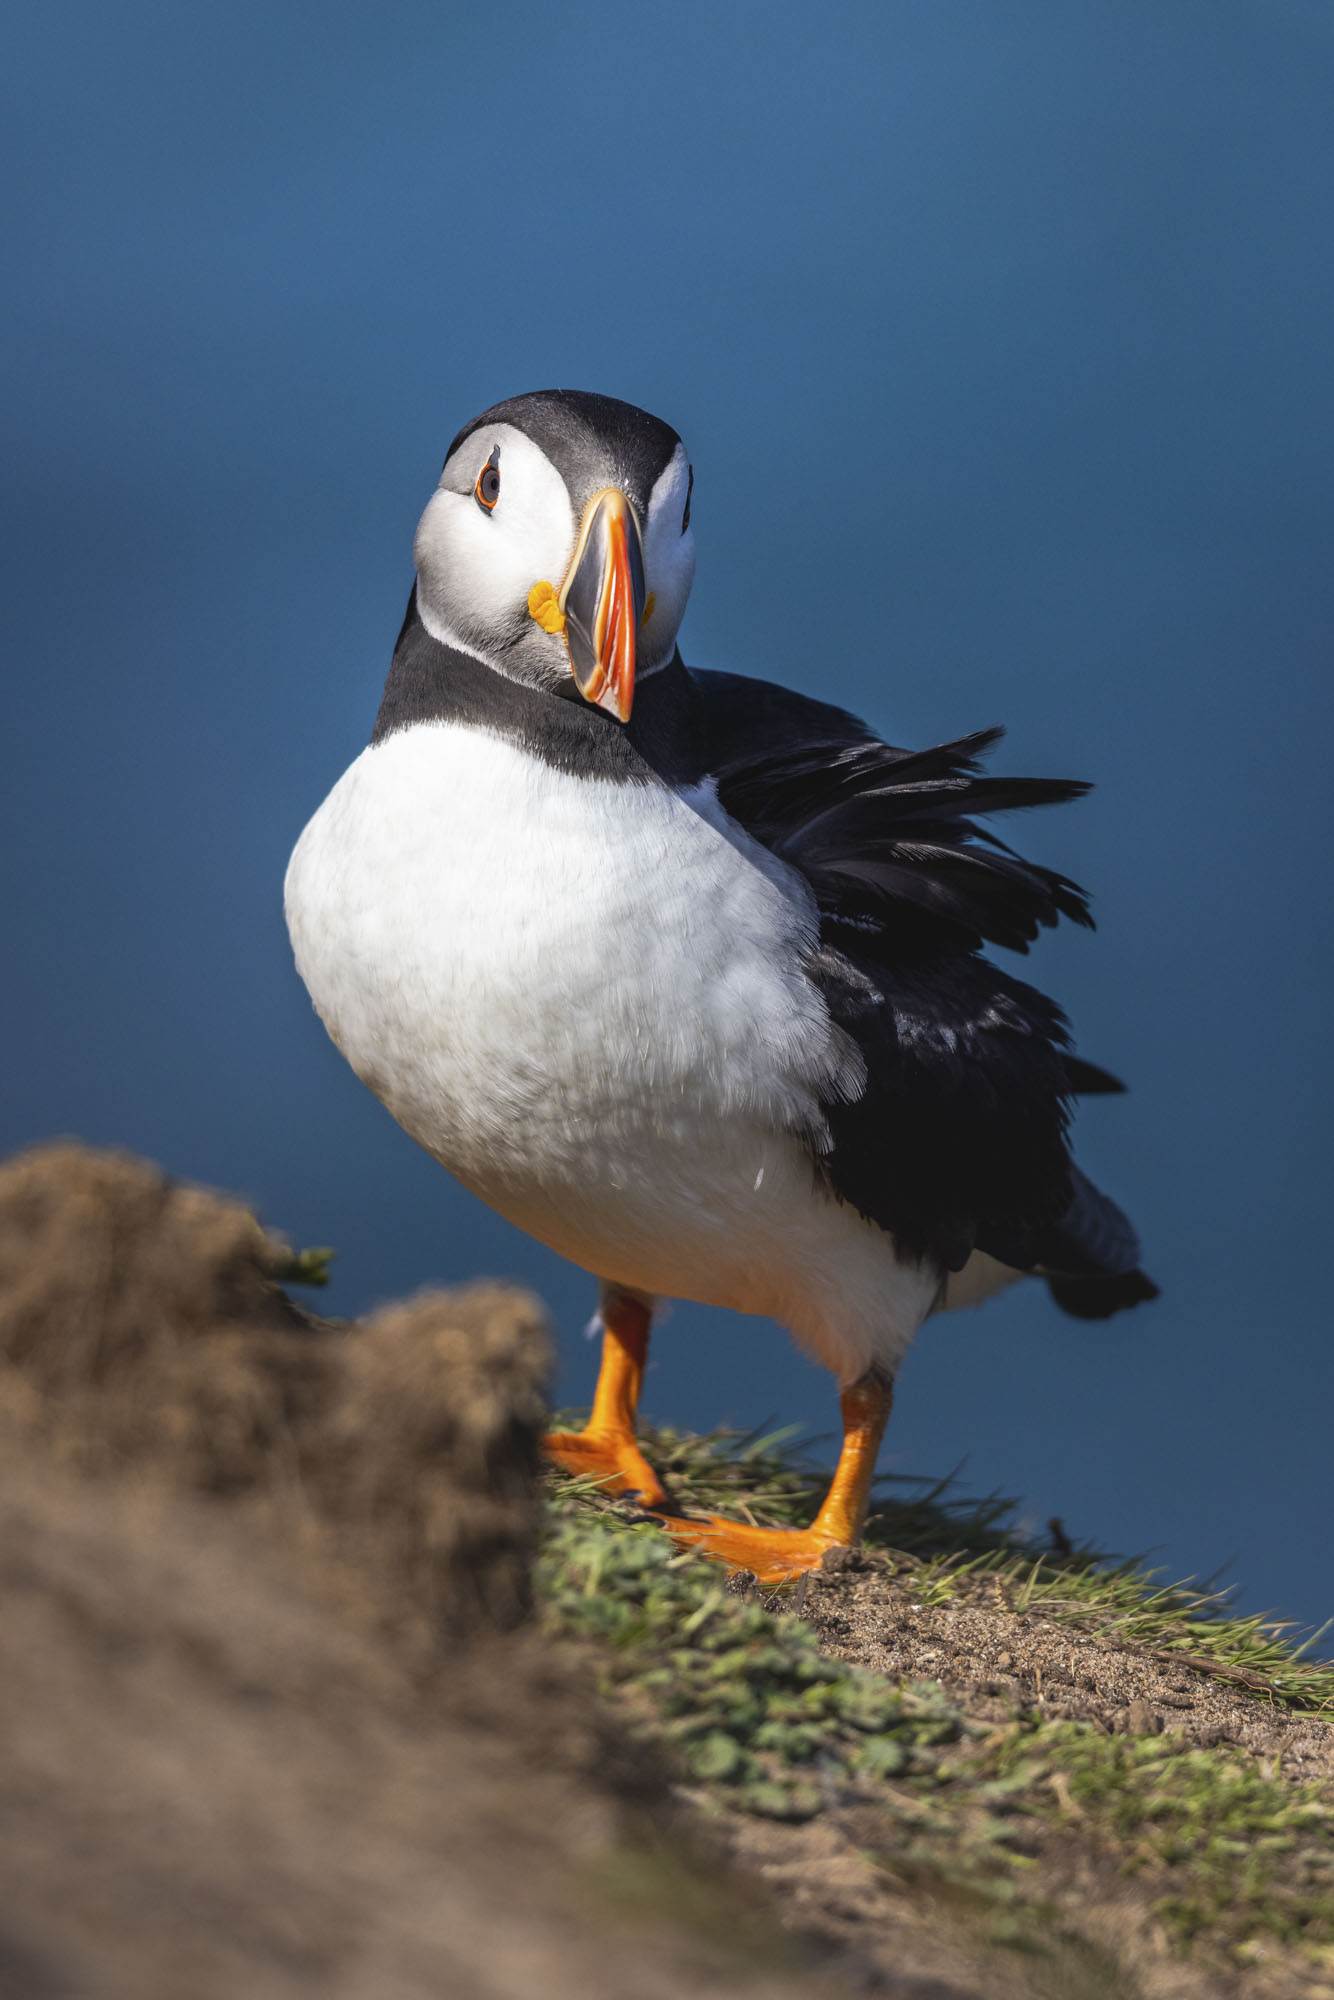
When taking animal portraits, it’s a good idea to be at eye level with your subject. As puffins are small, this means crouching or lying down. It makes the shot more intimate and engaging, and enables you to increase the distance between subject and background, making it easier to create shallow depth of field effects for bokeh and softer backgrounds.
3. Super-telephoto prime
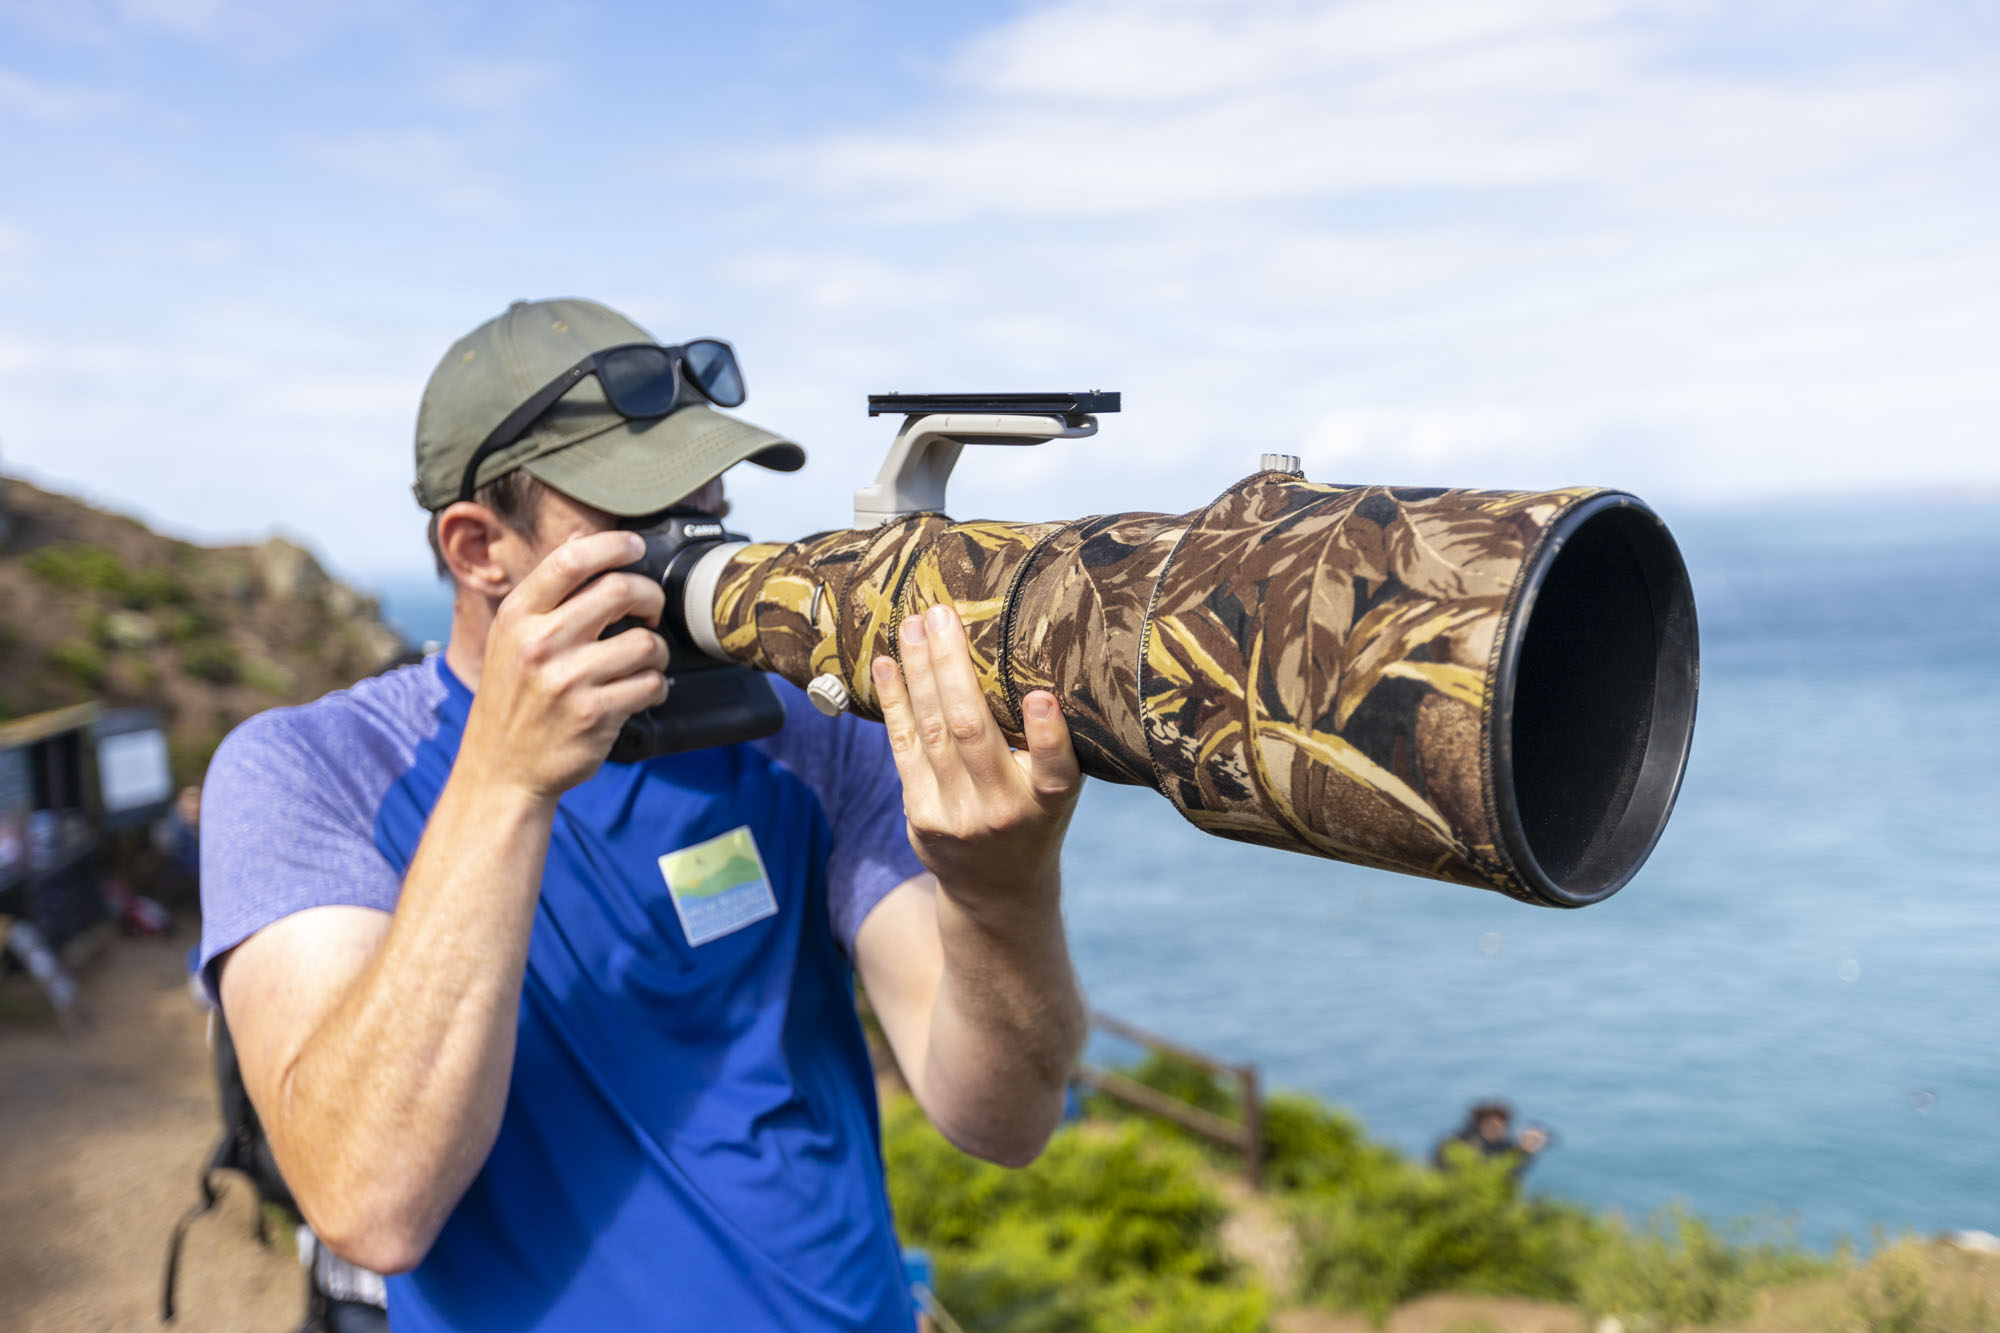
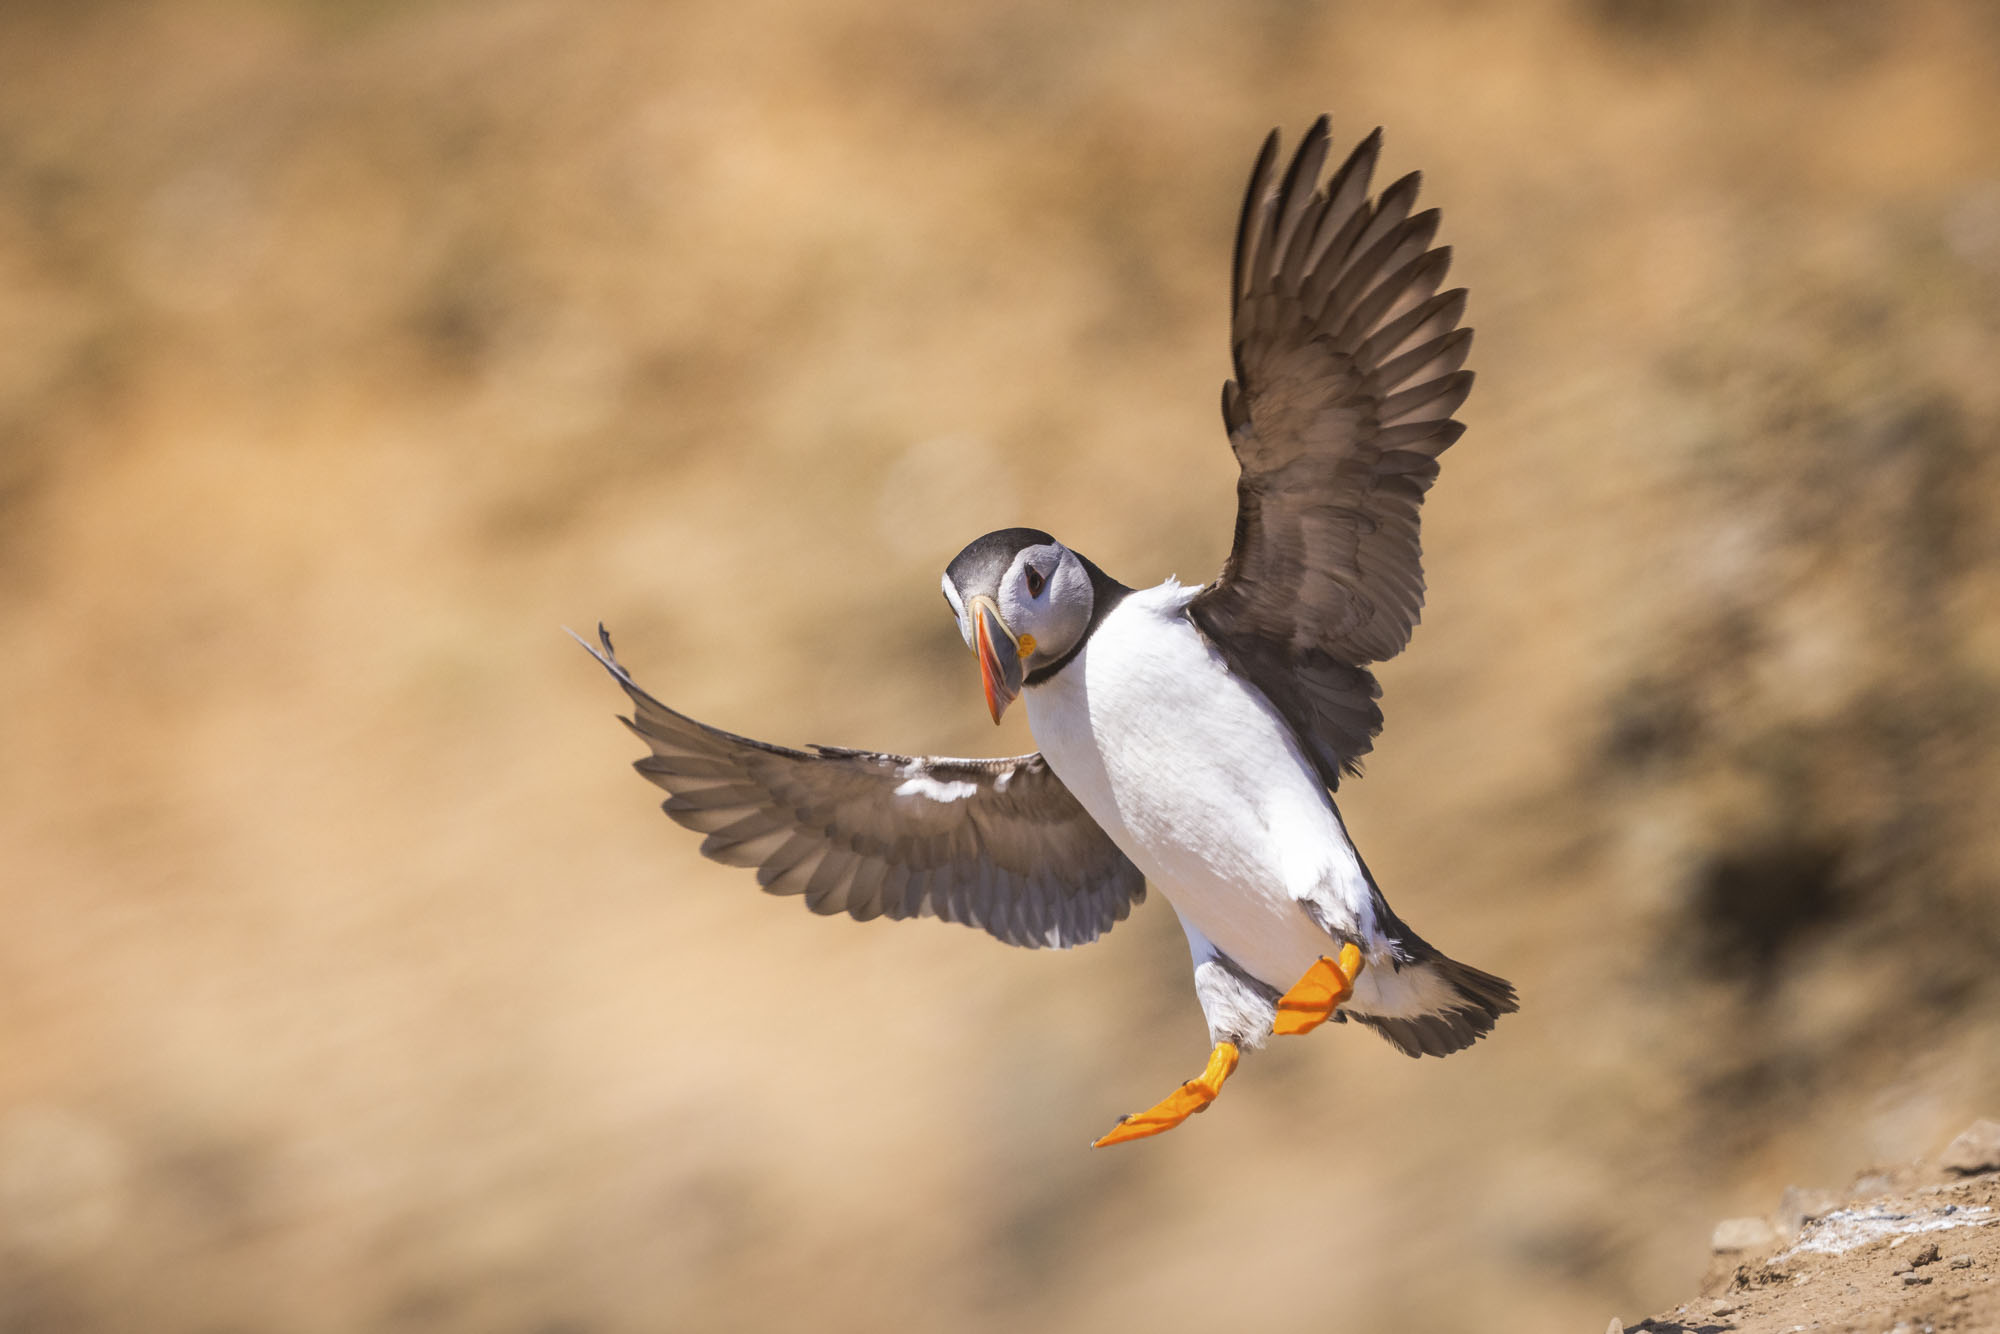
When shooting birds in flight, Drew opts for his Canon EF 500mm f/4L IS II USM, which has a really long focal length, which means he can still get frame-filling shots of the tiny puffins even if they’re far away. As a prime lens, it offers incredible image quality and the autofocus is extremely snappy – perfect for locking on to agile puffins. Drew has wrapped it with a neoprene cover from LensCoat to offer a bit of protection from knocks and dings. He fits it to his Canon EOS R5 with an EF-EOS R adapter.
4. Go wide
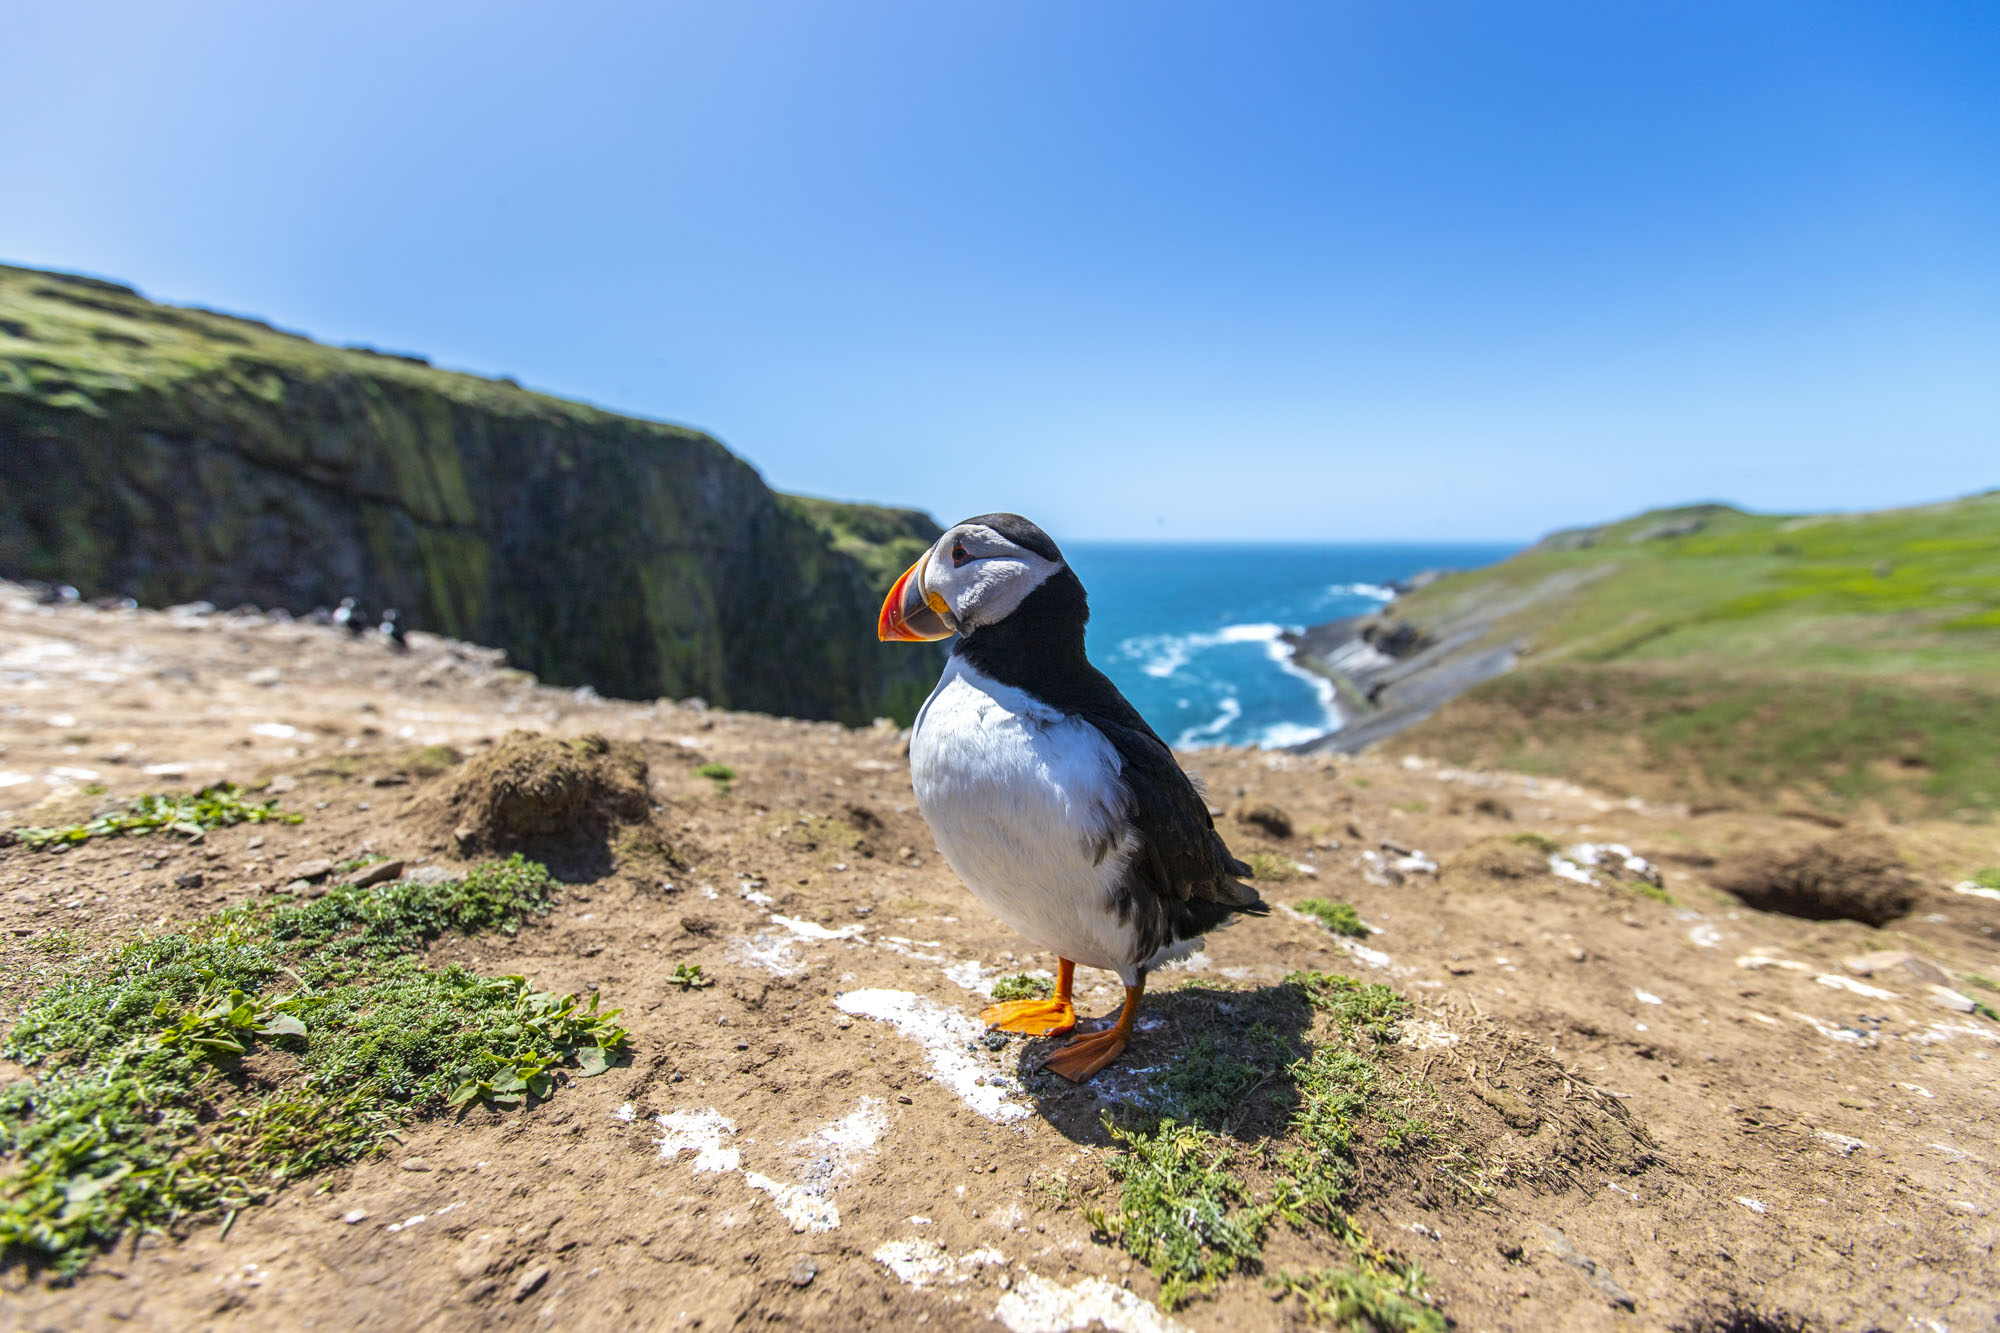
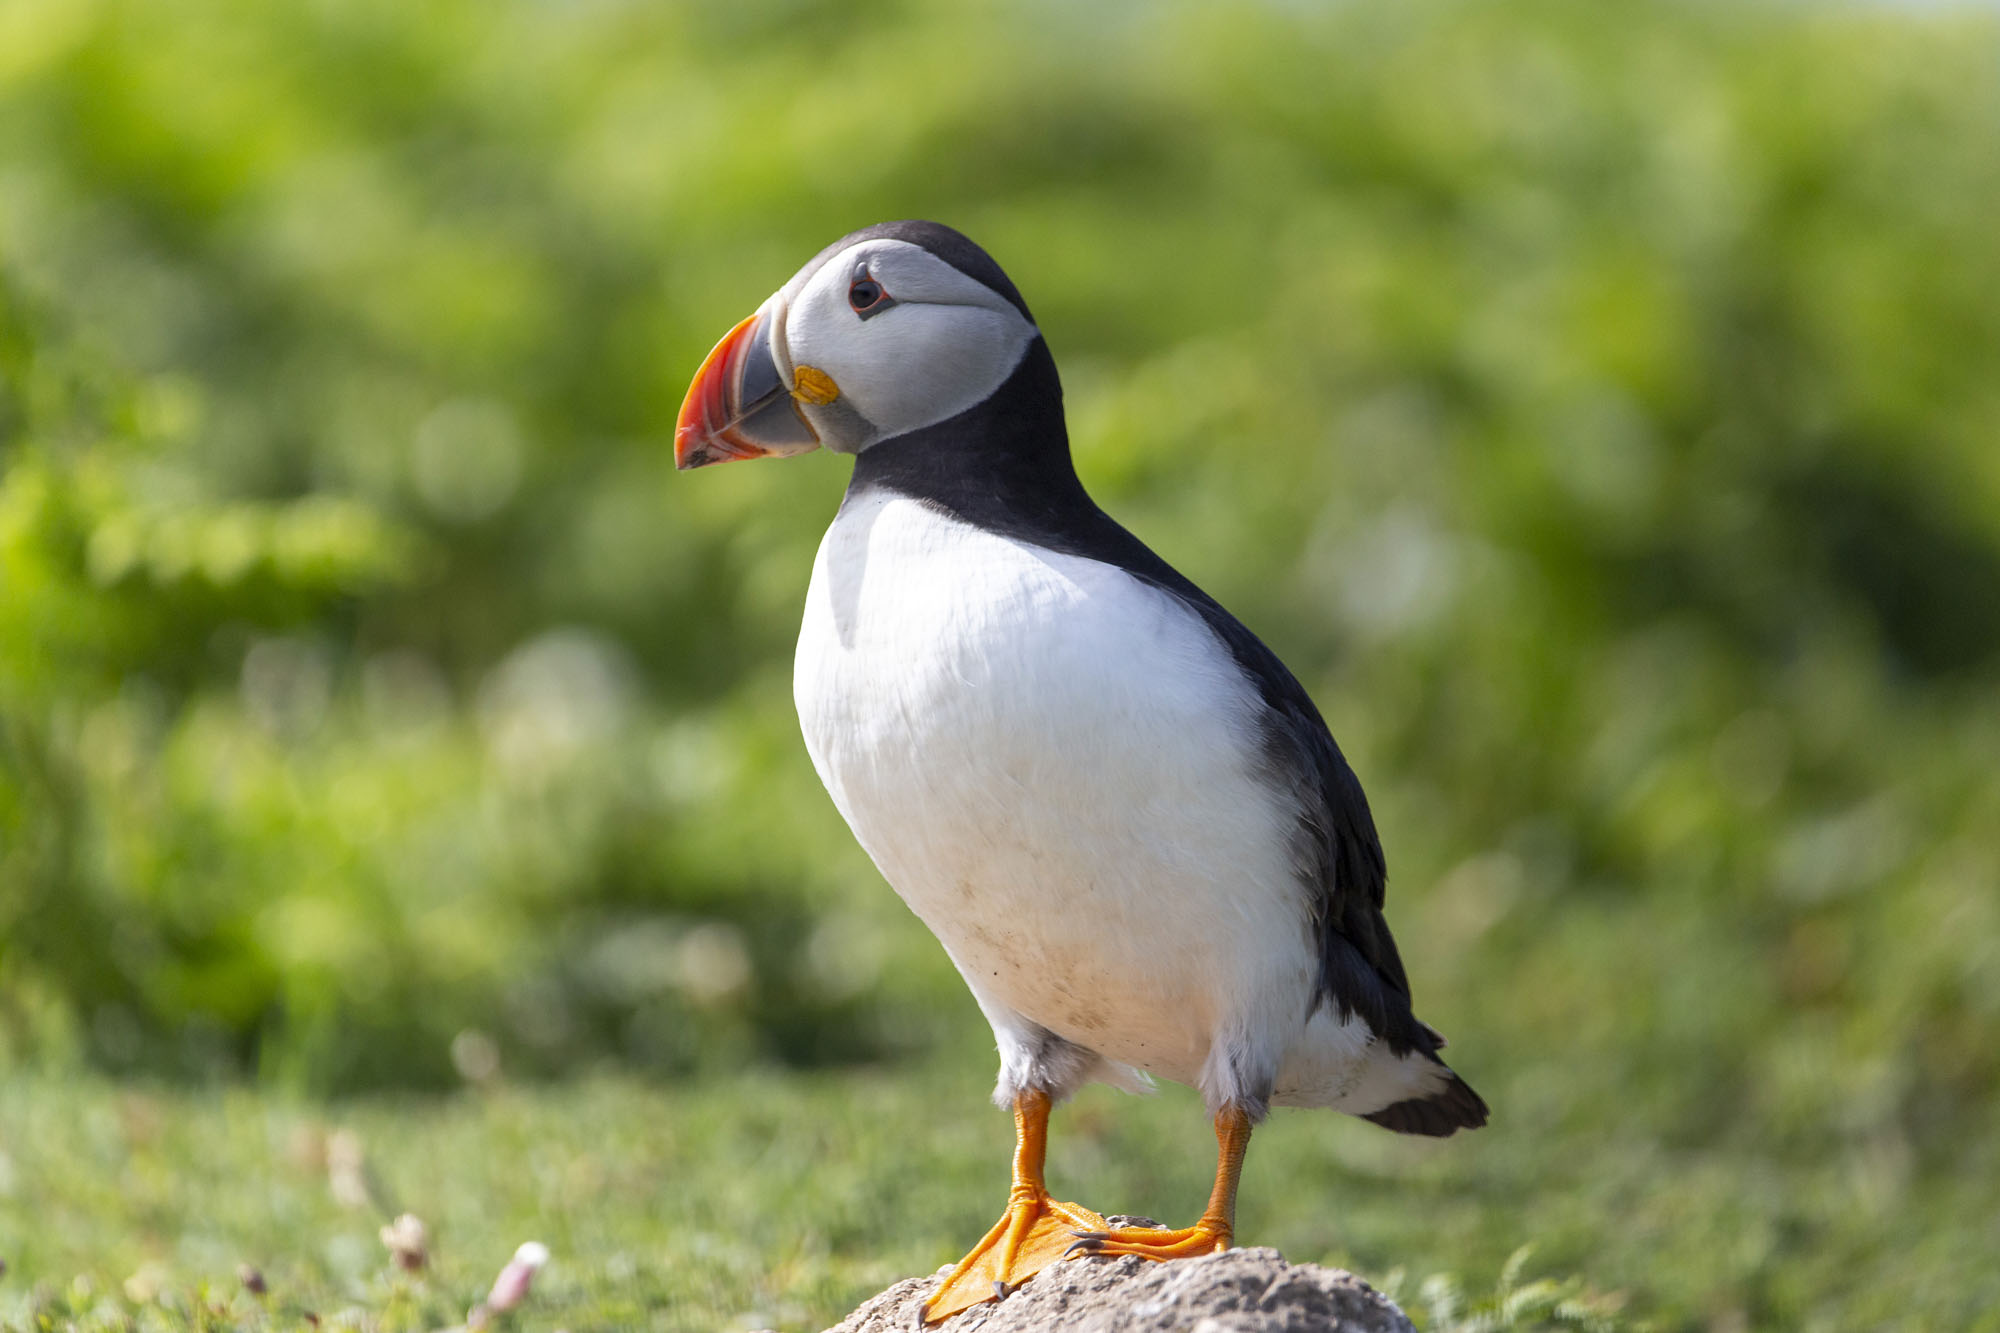
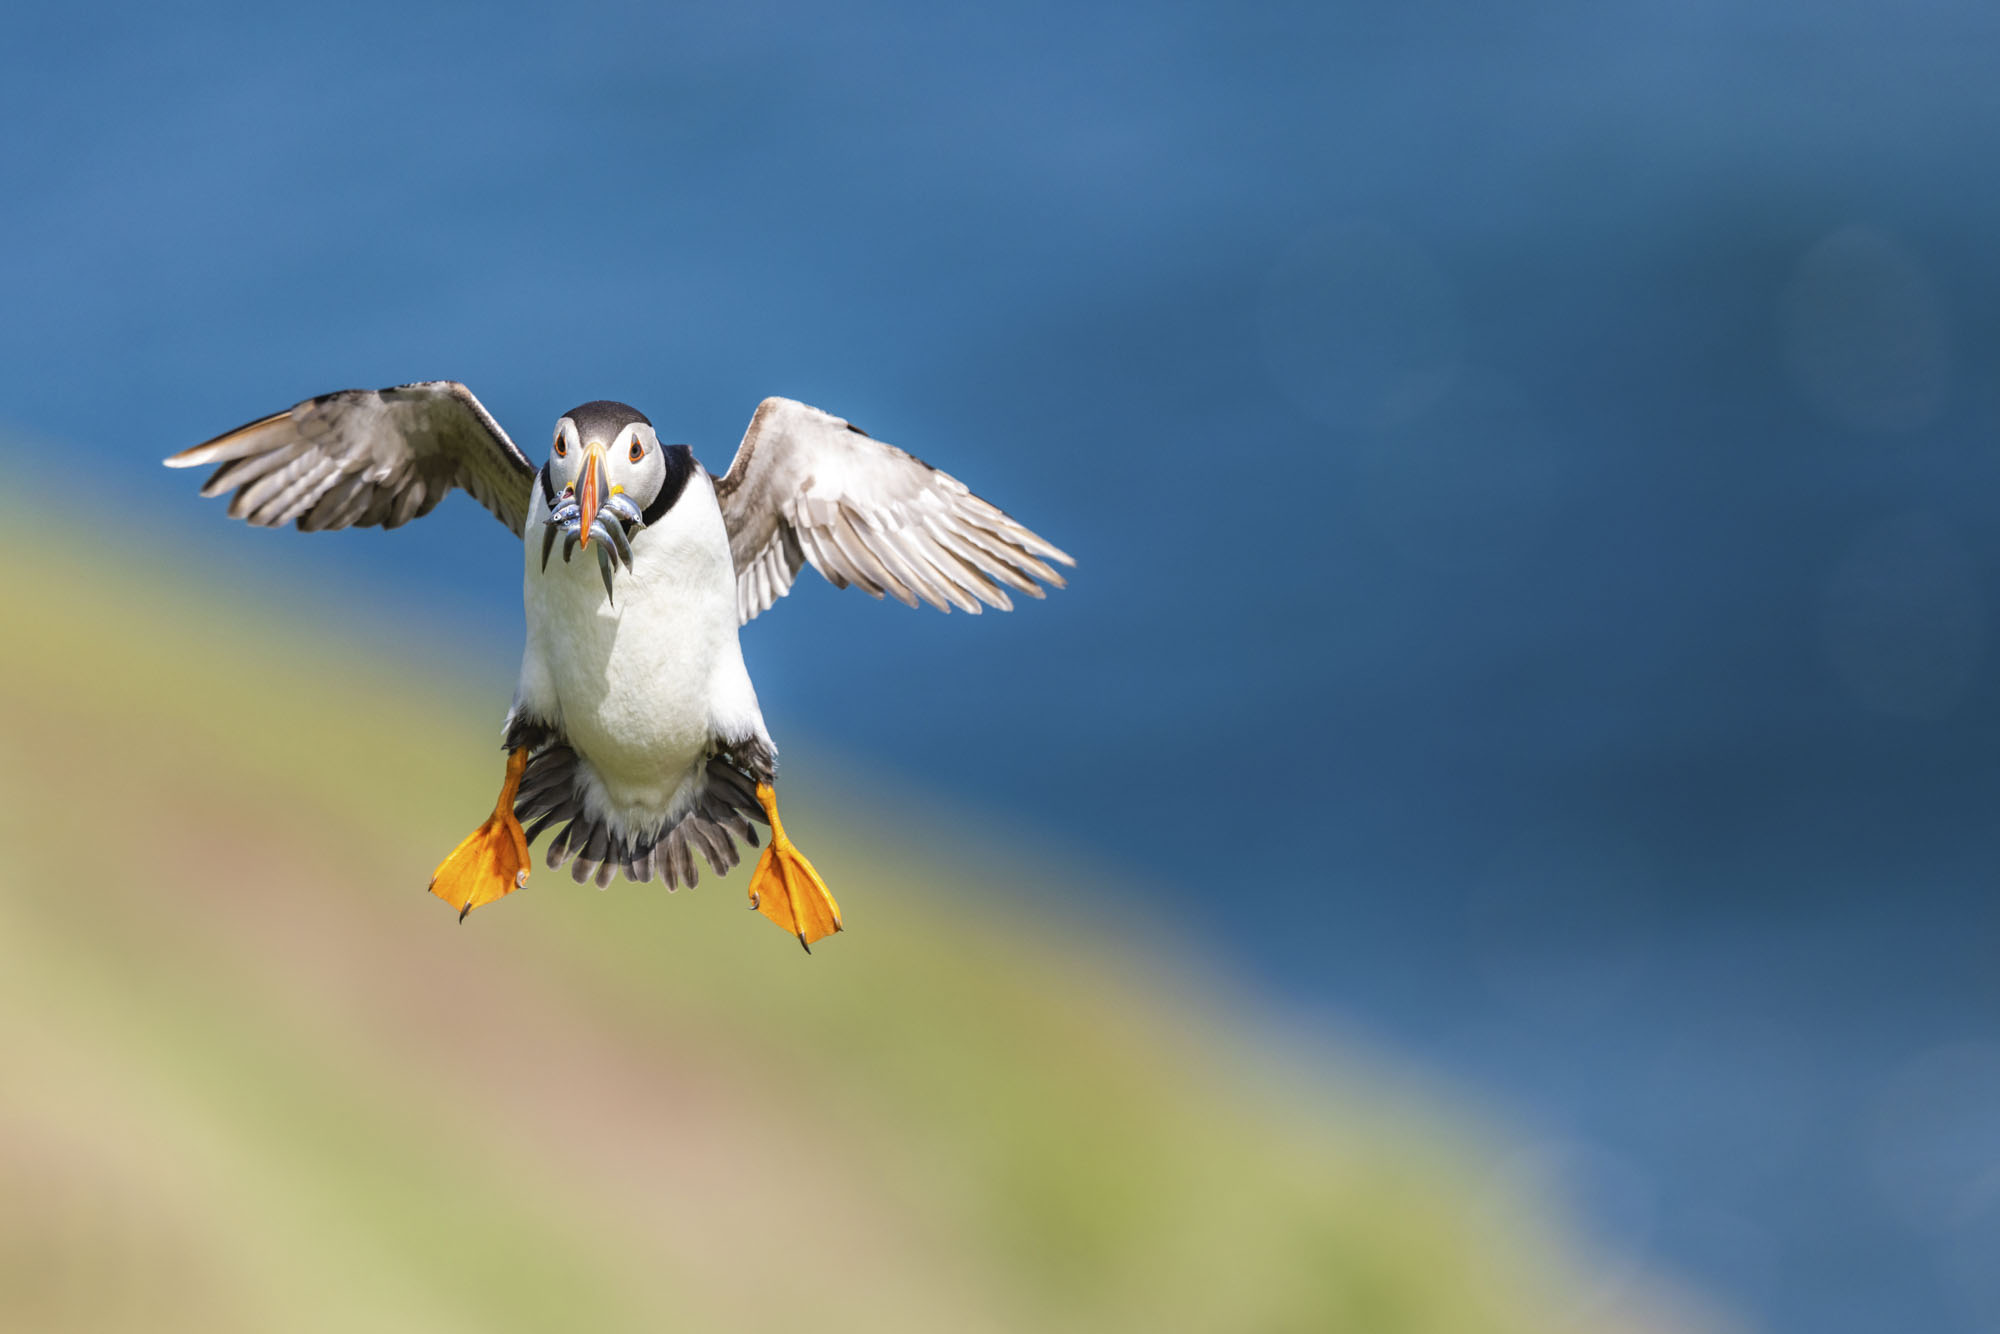
While a long telephoto lens is certainly useful for skittish animals that you may struggle getting close to, a wide-angle lens can also be a great choice in many scenarios. You can get incredibly close to the puffins on Skomer Island, especially locations such as The Wick, where they regularly land in front of you and cross footpaths to get back to their burrows. A wide-angle lens is perfect here, enabling you to get frame-filling shots of the birds with a wide enough perspective to include some of the surrounding scenery.
5. Depth of field
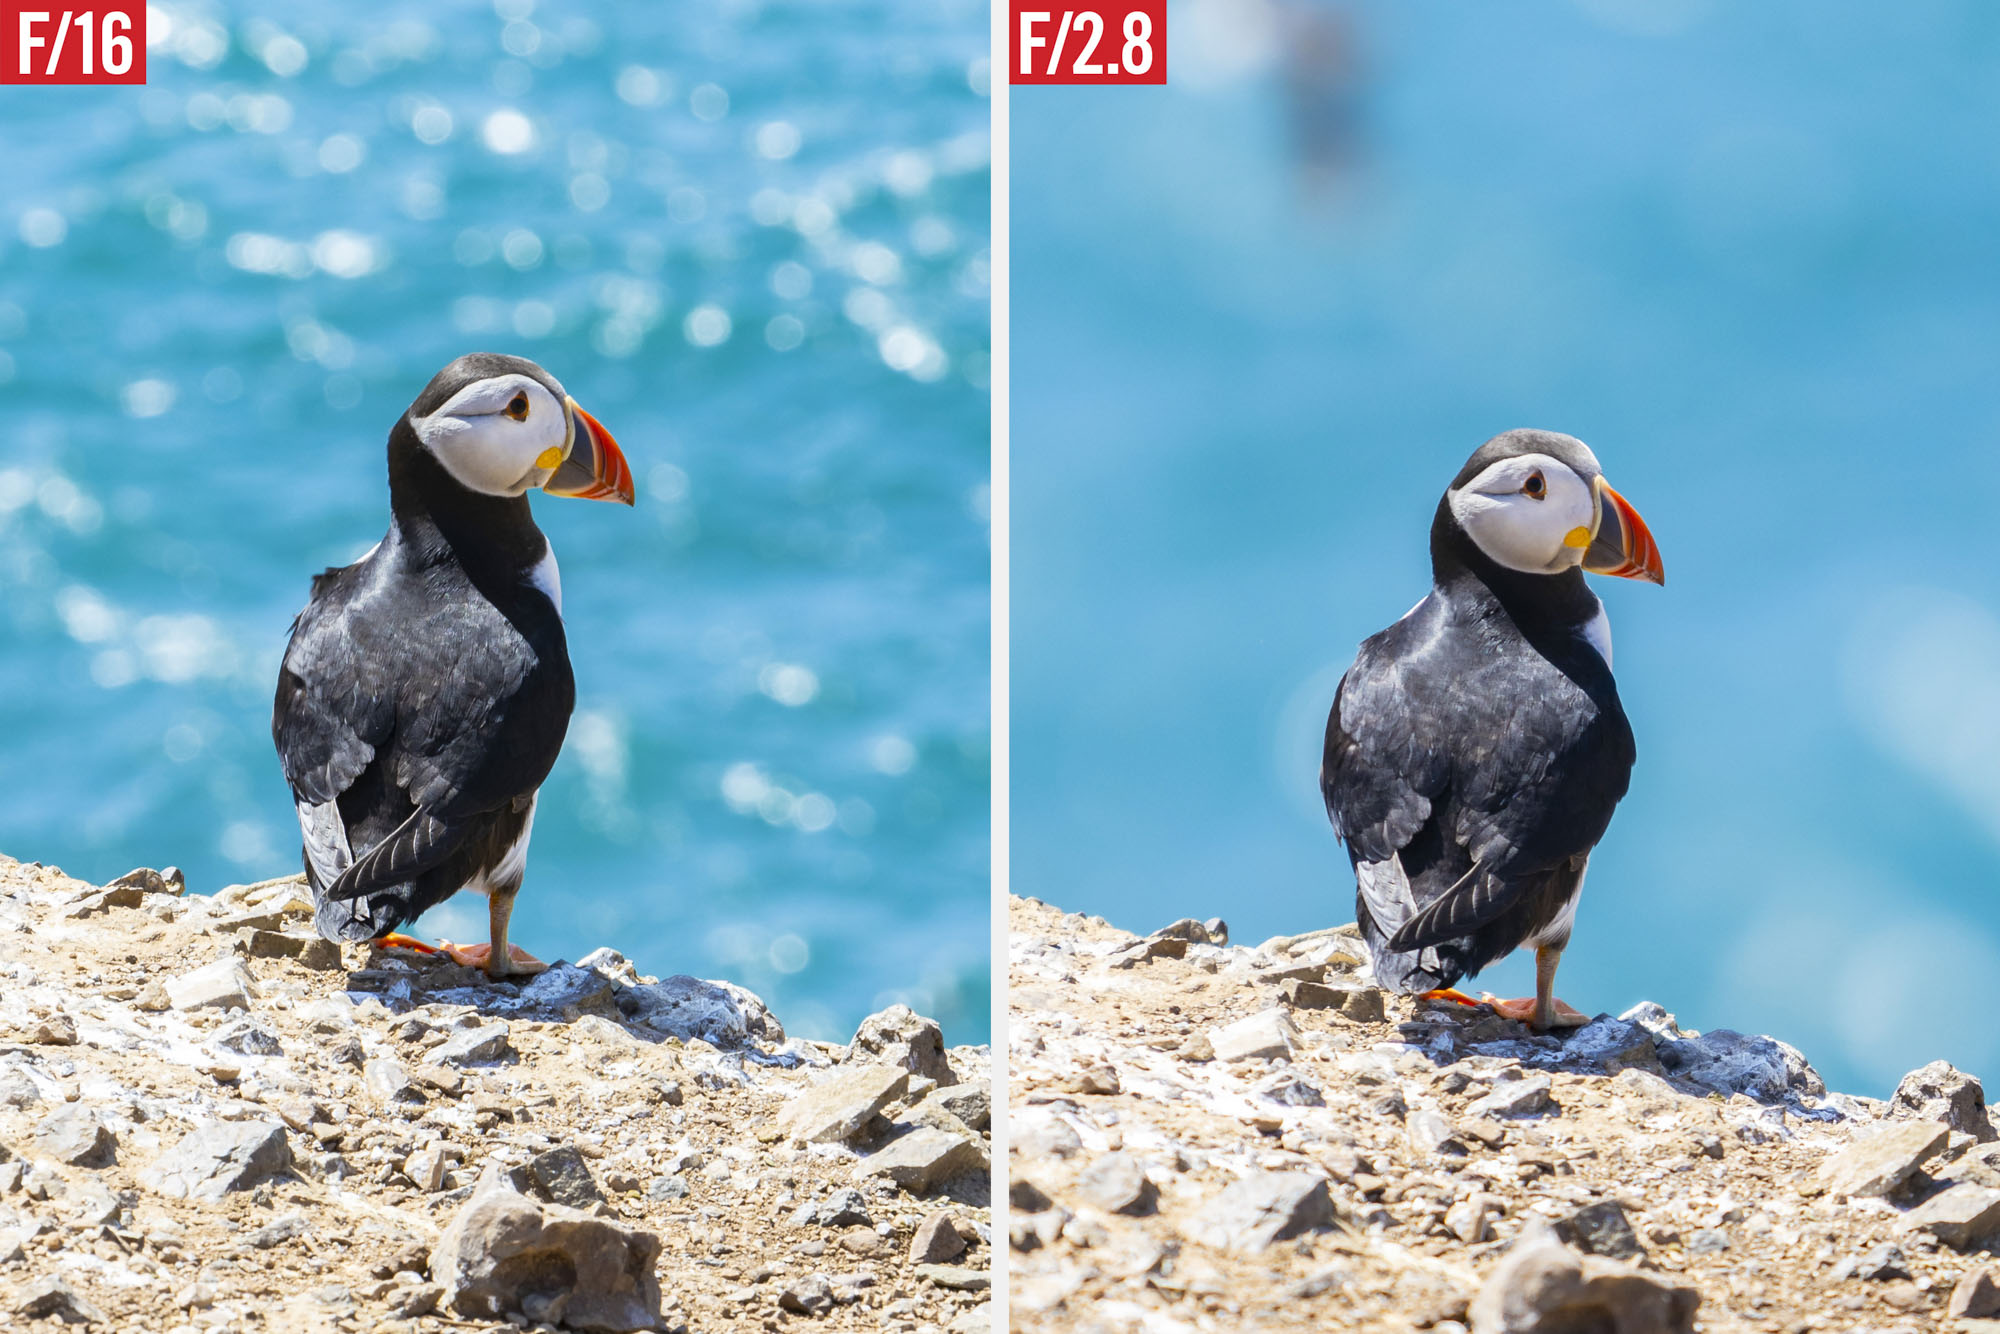
What is aperture? The aperture is a hole inside the lens made up of several blades that can open to let in more light or close to restrict the light entering the camera. Opening the aperture wide, to a value such as f/2.8 or f/4, is a great option for wildlife photography, as not only does this flood the sensor with light and allow a faster shutter speed, which helps eliminate camera shake and subject blur, but it also gives you a shallow depth of field, or narrow zone of sharp focus, making it easier to blur your backgrounds and bring the attention solely to your bird.
6. Autofocus cases
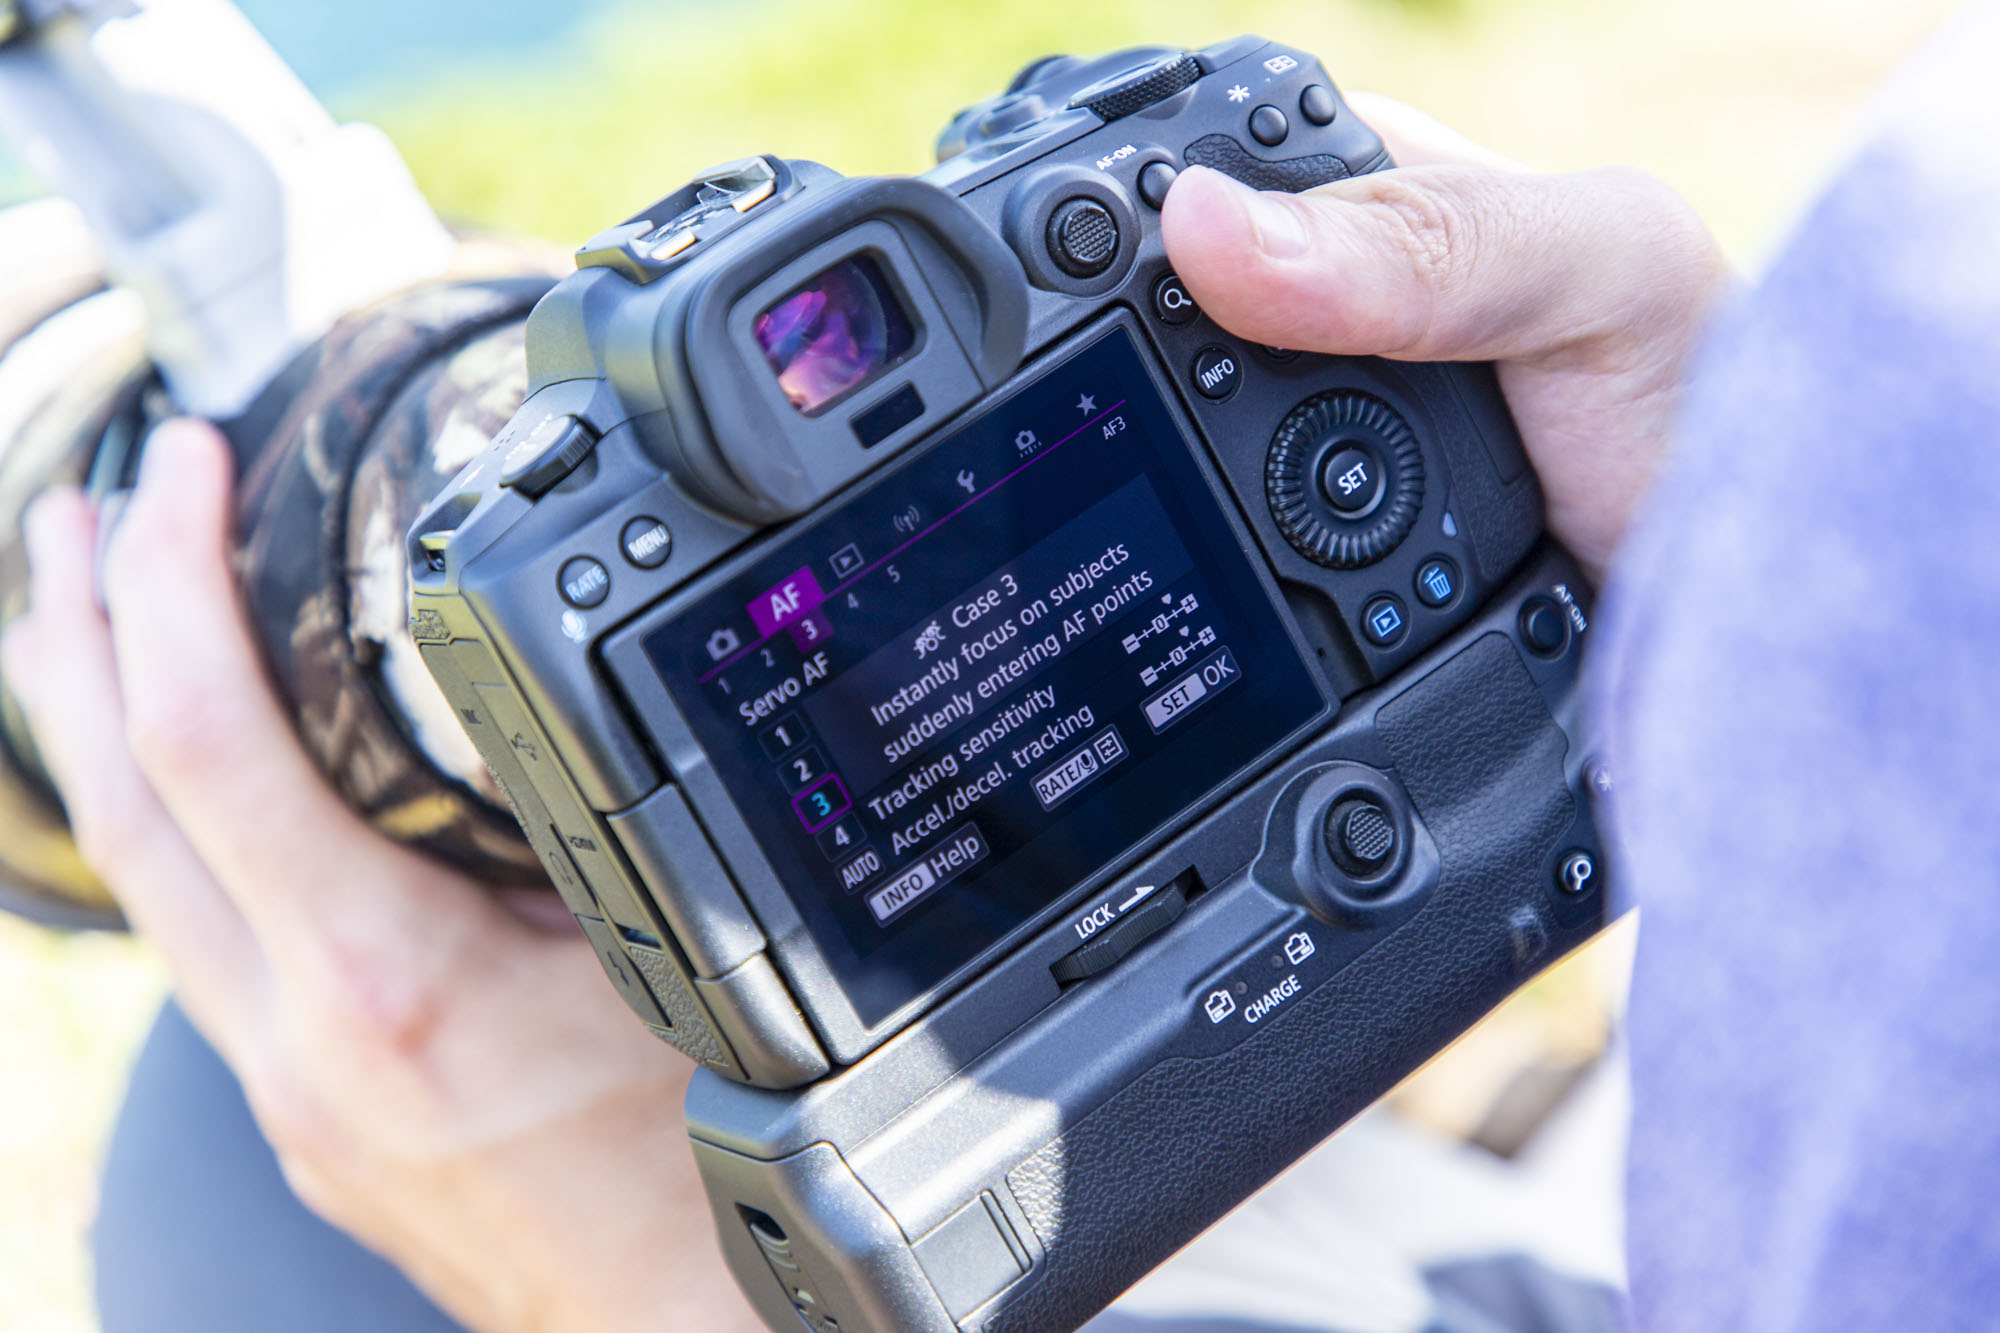
Puffins are incredibly small and fast creatures and their movements can be quite unpredictable and erratic. To bolster Drew’s chances of being able to lock on to one of these nimble birds, he customized his Servo AF case in the Canon menu and set it to Case 3, which instantly focuses on subjects that suddenly move over your active AF points. You can also customize the tracking sensitivity as well as the acceleration or deceleration tracking here, too.
7. Use a fast burst mode
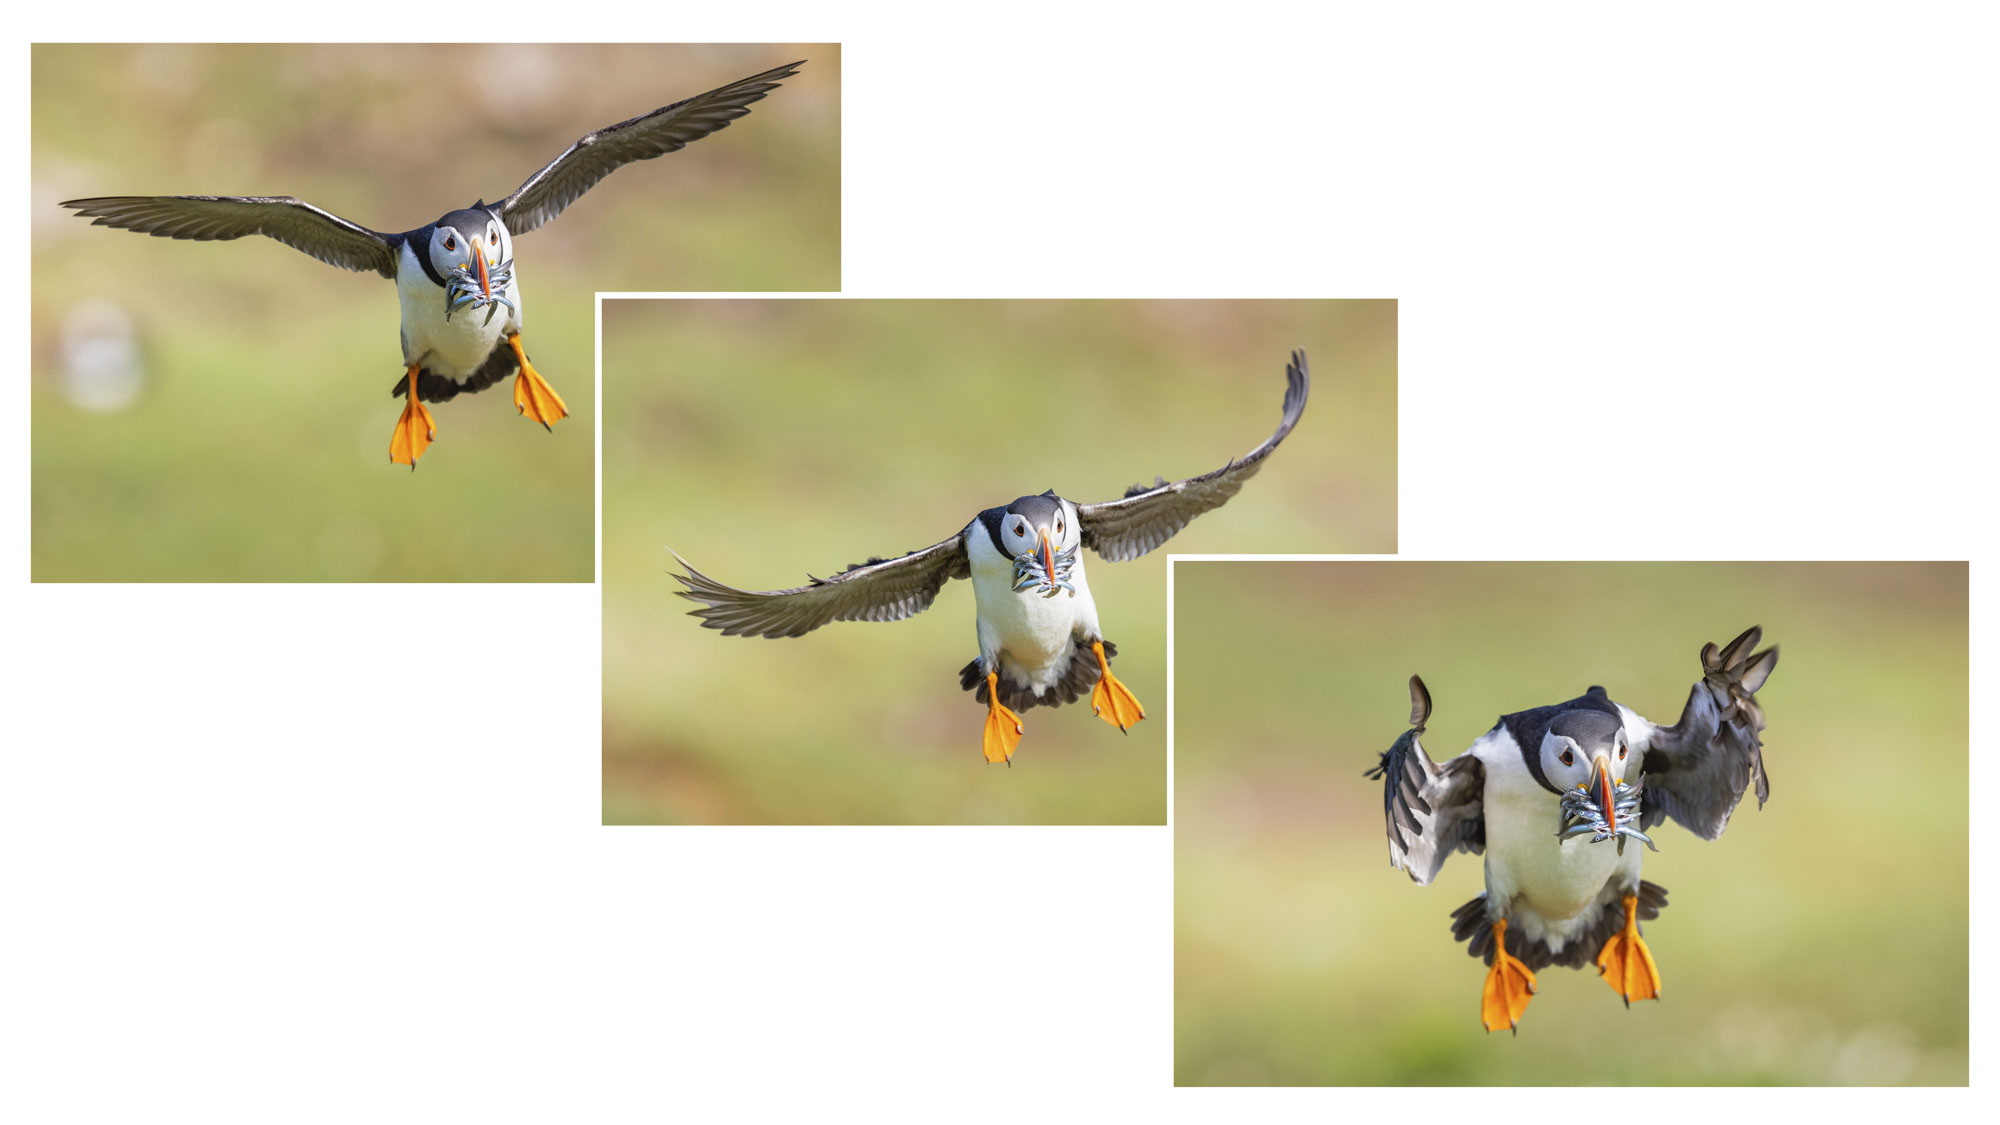
Drew activated the fastest burst modes on his EOS R5 and Mark’s EOS 6D for a better chance of capturing a precise moment when a bird is flying fast. On Drew’s EOS R5, he has the option of High-Speed Continuous mode using the mechanical shutter for a frame rate of 12fps, or High-Speed Continuous Plus mode using the electronic shutter for a blisteringly fast 20fps to catch every split-second moment.
8. Understand crop factor
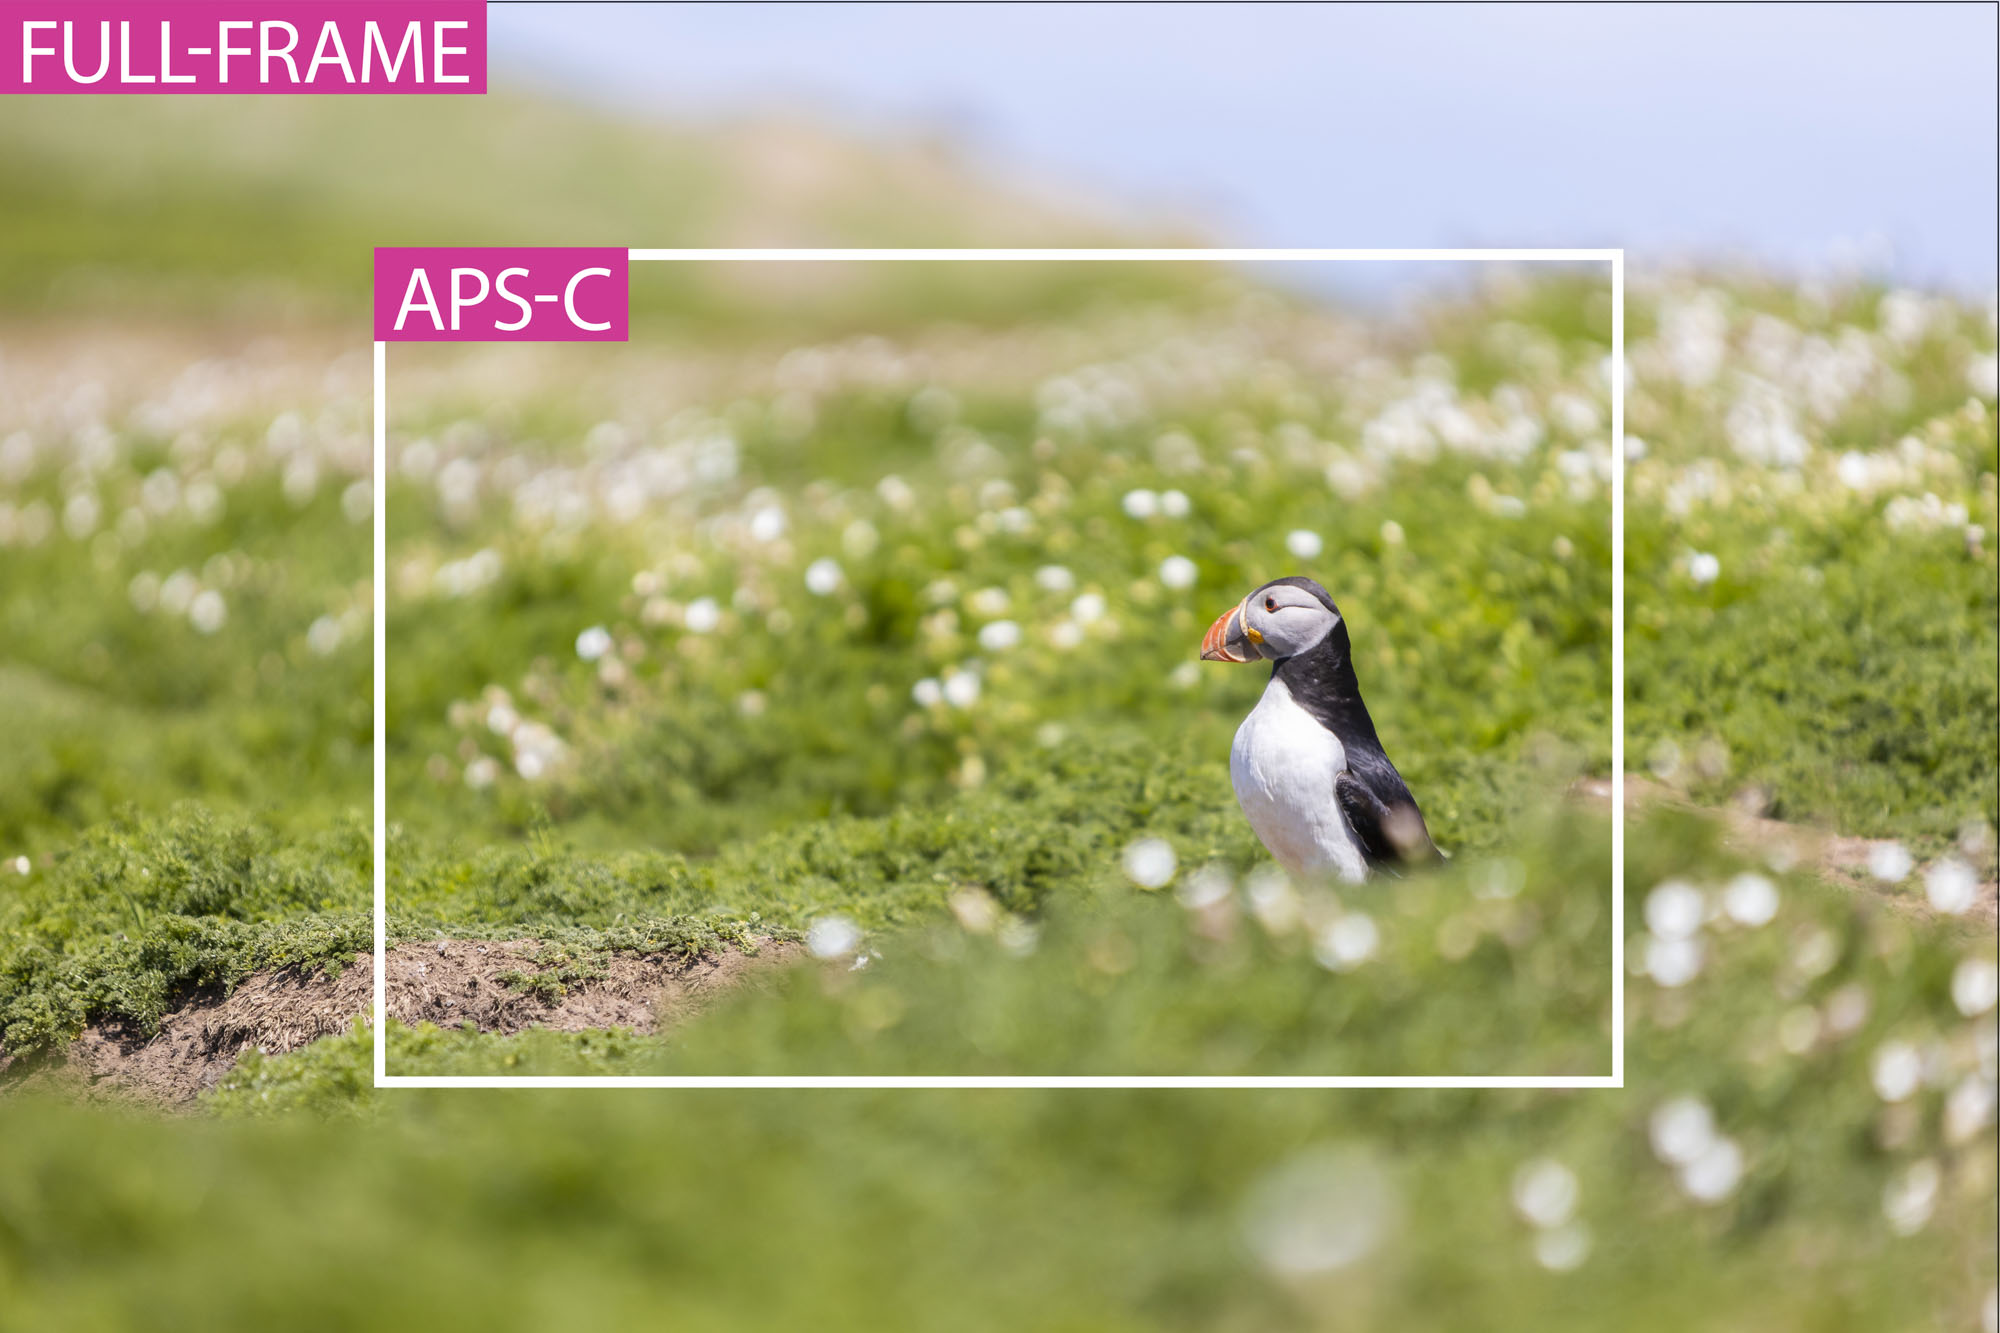
Should you use a full-frame or crop sensor camera for bird photography? While cameras with a crop factor are usually cheaper than full-framers, don’t let that deter you from using an EOS APS-C camera for wildlife – as they have a smaller sensor size, your images actually appear more ‘zoomed-in’ which can be a benefit. This is because the focal length of your lens is effectively multiplied by 1.6x on EOS APS-C cameras, which means that if you fit a 300mm lens to an APS-C Canon, it gives you an angle of view similar to a 480mm, and if you’re using a 600mm lens, it becomes 960mm!
9. Use a fast memory card
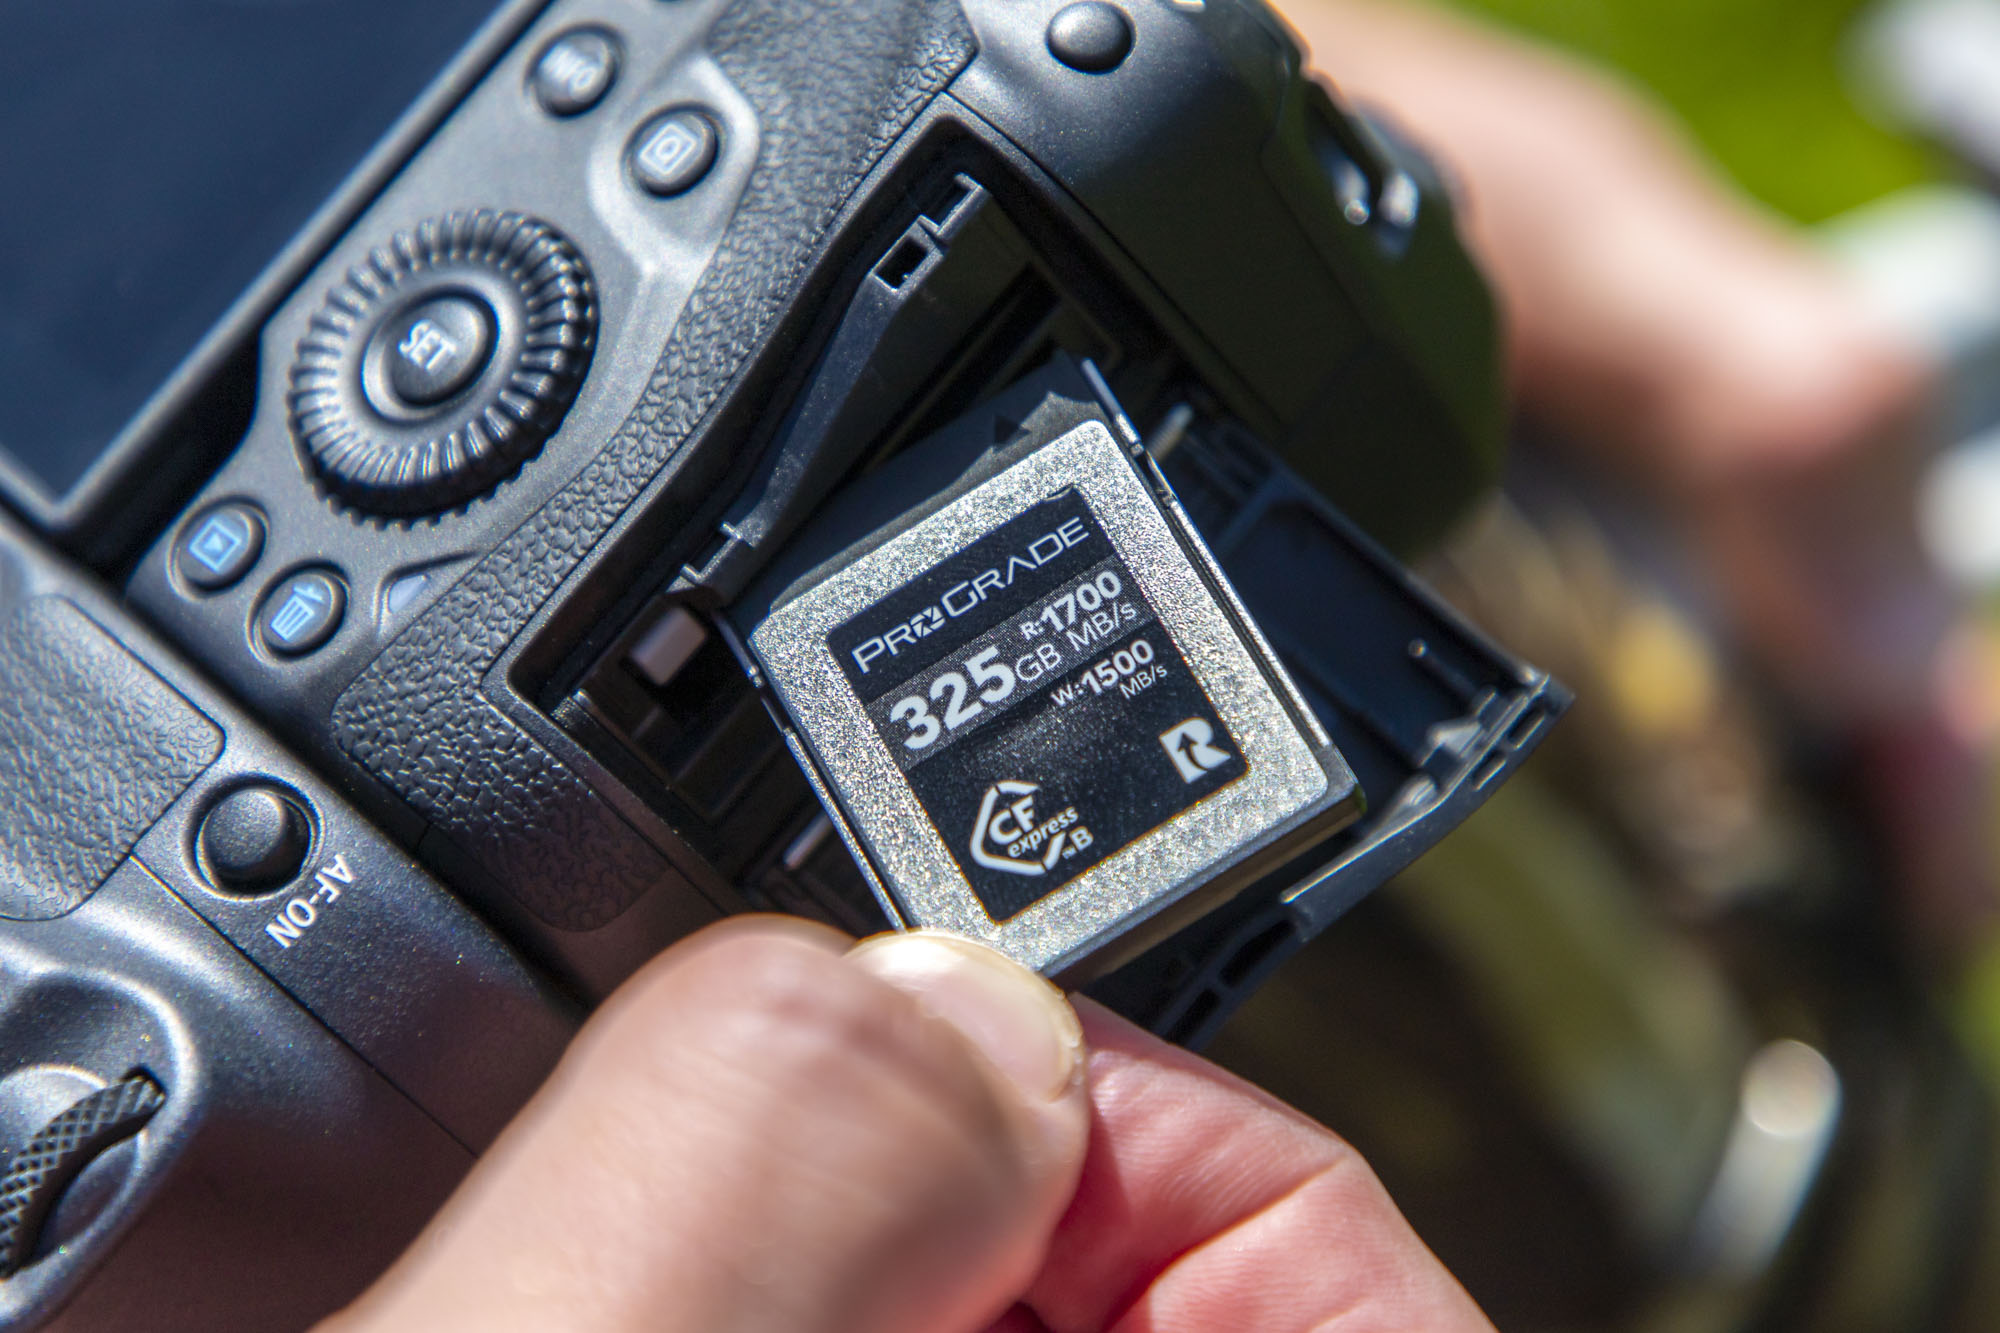
Shooting 4K videos or using the 20fps burst mode outputs large amounts of data. To ensure that Drew has enough storage for his shoots and that his cards are fast enough to keep up with the EOS R5, he uses a ProGrade CFexpress card with a huge 325GB of storage, as well as a read speed of 1700MB/s and a write speed of 1500MB/s. The best memory cards and storage don’t come cheap, though.
10. Extend your reach with a teleconverter
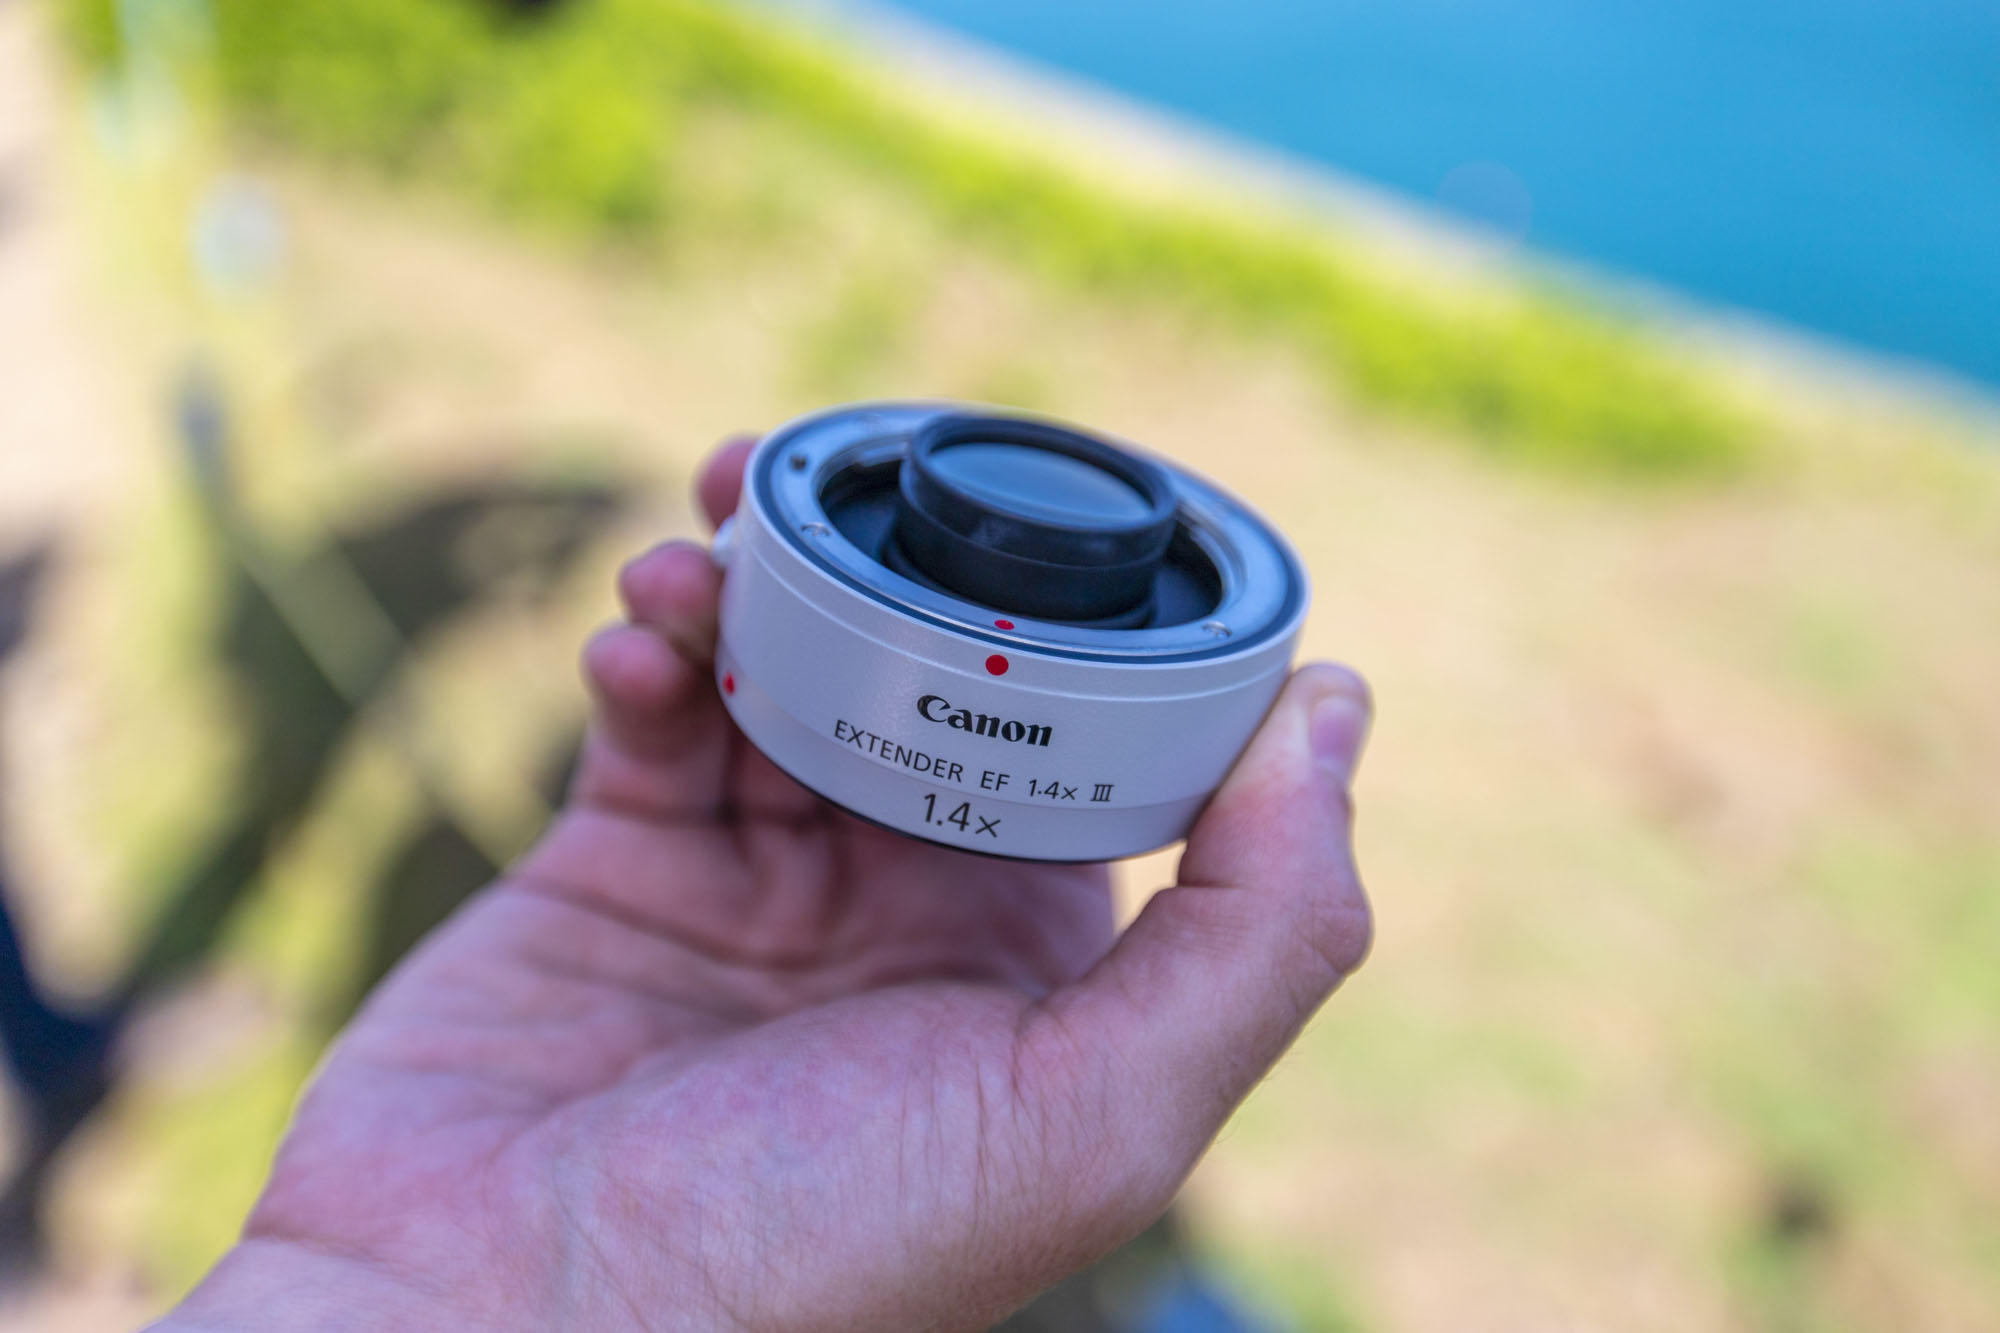
Canon’s extenders, also known as teleconverters, sit between your lens and the camera body and magnify the light to give your lens a more zoomed-in feel. Drew uses the Canon Extender EF 1.4x III on a 300mm f/2.8, which turns it into a 420mm f/4 lens, giving extra reach in return for losing a stop of light from the maximum aperture. Canon extenders are compatible only with specific top-quality lenses so check your fits before buying.
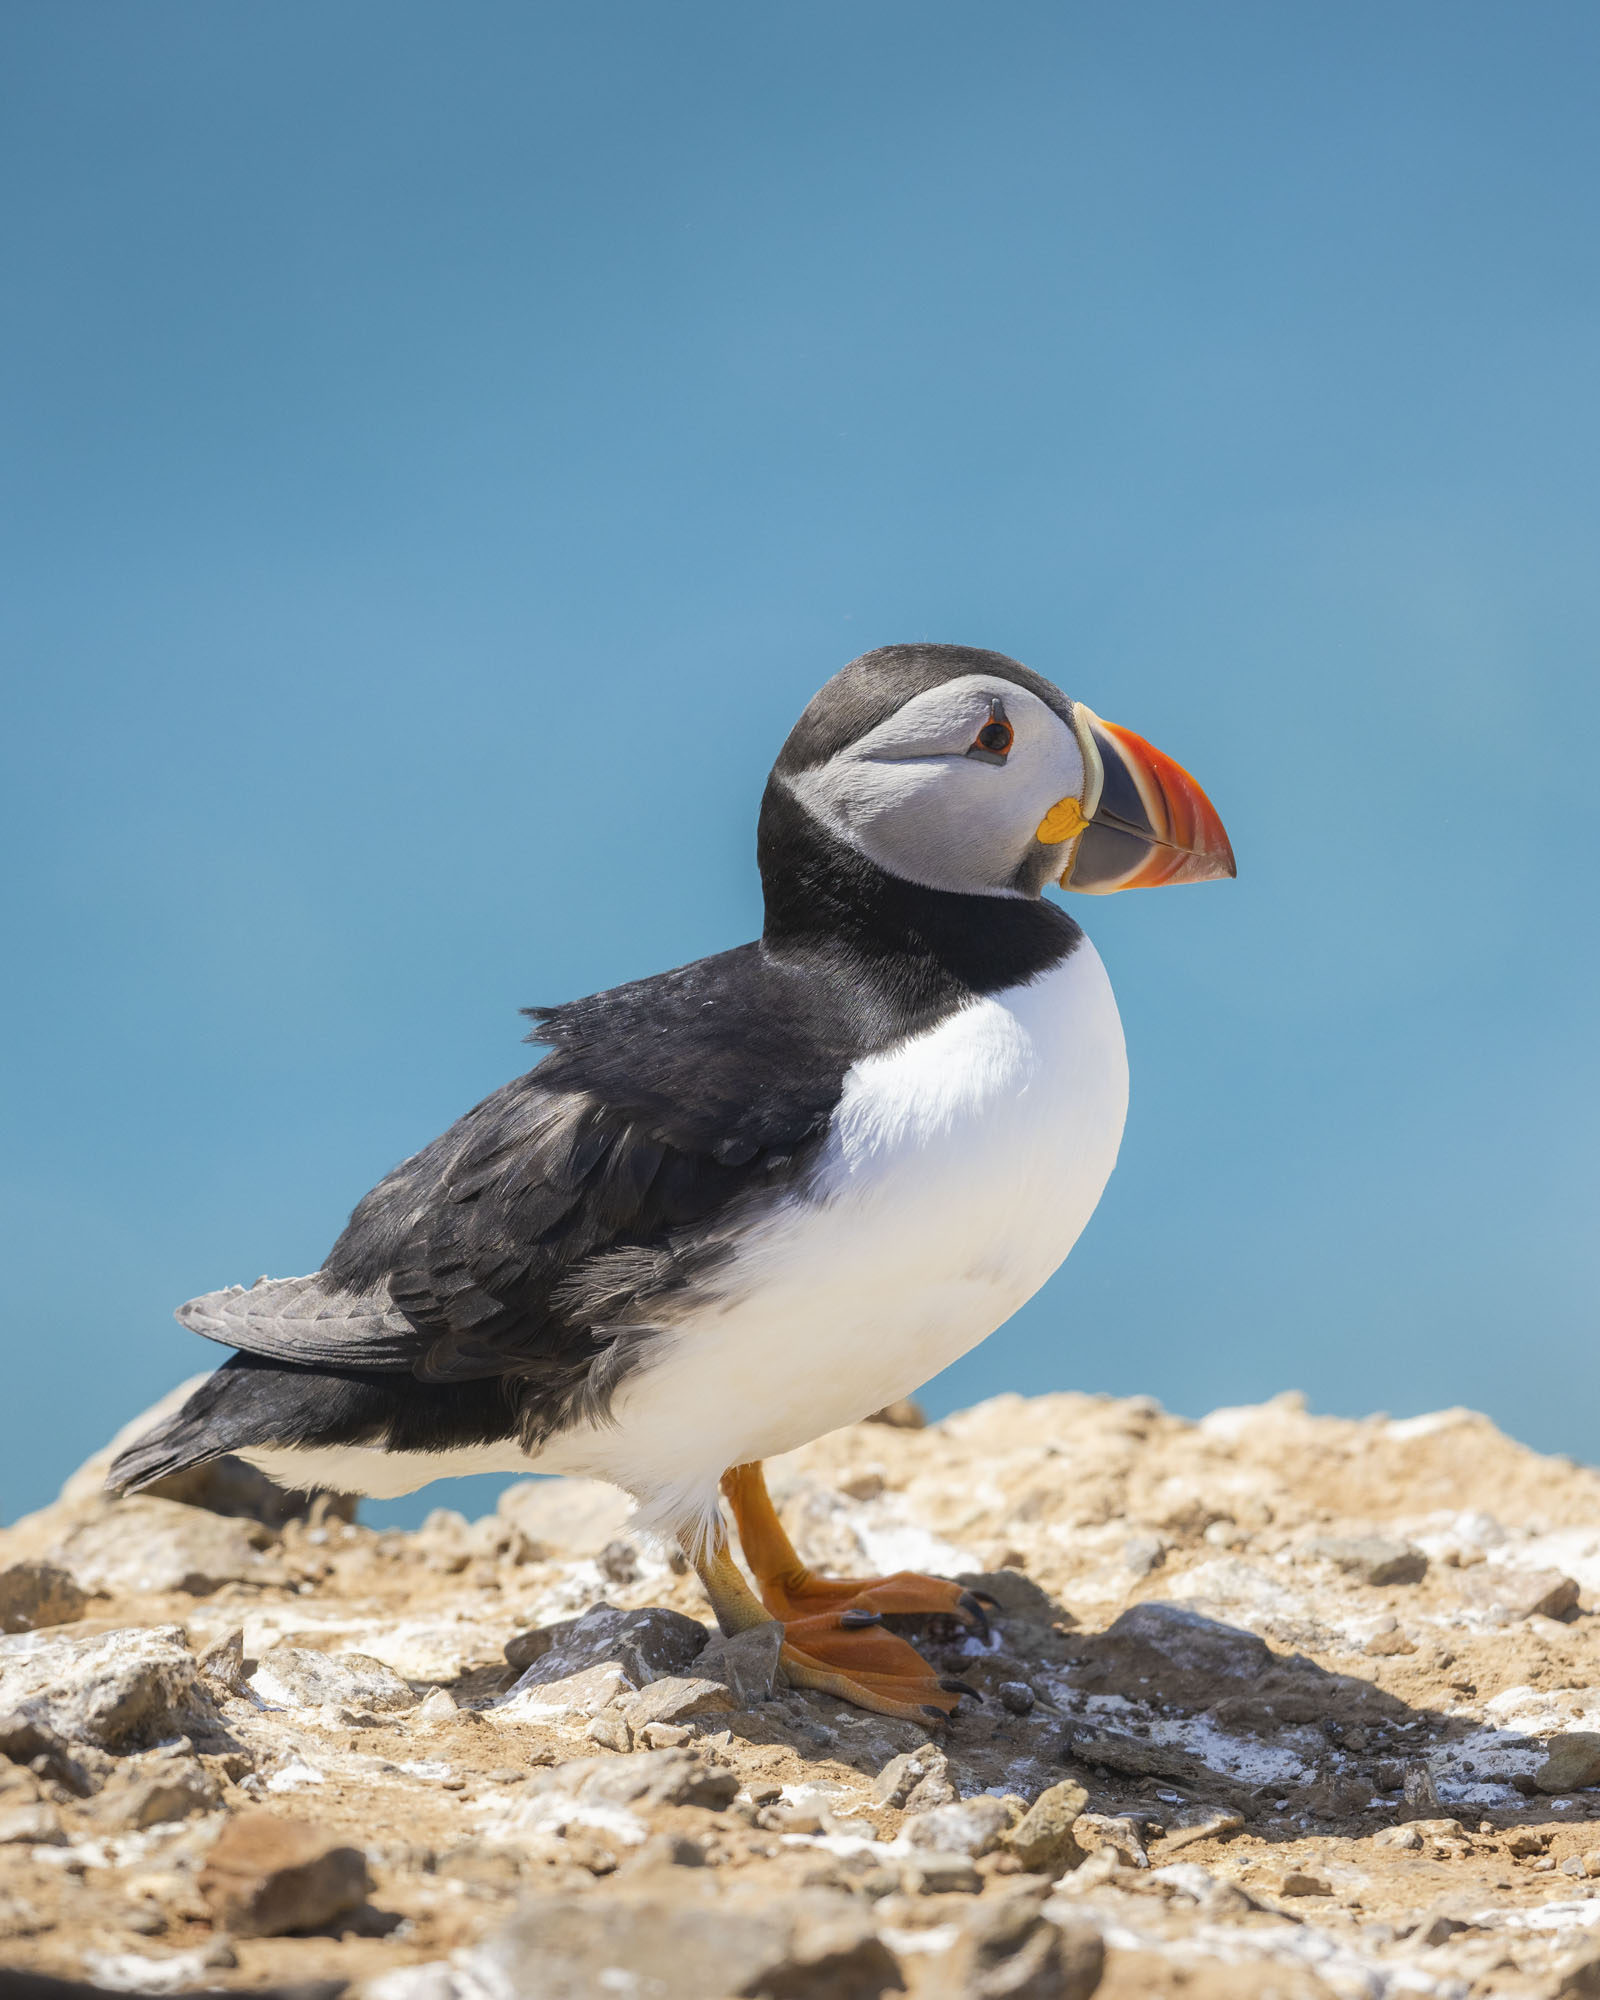
If you're really into photography birds, you'll need the best camera for wildlife. Drew uses a Canon EOS R5. To see his stunning portfolio or to book a workshop visit his website.
PhotoPlus: The Canon Magazine is the world's only monthly newsstand title that's 100% devoted to Canon, so you can be sure the magazine is completely relevant to your system. Every issue comes with downloadable video tutorials too.
Get the Digital Camera World Newsletter
The best camera deals, reviews, product advice, and unmissable photography news, direct to your inbox!

Deputy Editor on PhotoPlus: The Canon Magazine, Dan also brings his technical wizardry and editing skills to Digital Camera World. He has been writing about all aspects of photography for over 10 years, having previously served as technical writer and technical editor for Practical Photography magazine, as well as Photoshop editor on Digital Photo.
Dan is an Adobe-certified Photoshop guru, making him officially a beast at post-processing – so he’s the perfect person to share tips and tricks both in-camera and in post. Able to shoot all genres, Dan provides news, techniques and tutorials on everything from portraits and landscapes to macro and wildlife, helping photographers get the most out of their cameras, lenses, filters, lighting, tripods, and, of course, editing software.
