Wildlife photography requires huge amounts of patience and camera knowledge, as having a good understanding of fieldcraft is just as important as your technical camera know-how.
It can be difficult to know where to start, so that's why this month we teamed up reader of PhotoPlus: The Canon Magazine, Neil Henderson, for a masterclass in wildlife photography with Canon pro Paul Fowlie at his red squirrel hides in the United Kingdom's Yorkshire Dales.
• These are the best cameras for wildlife photography
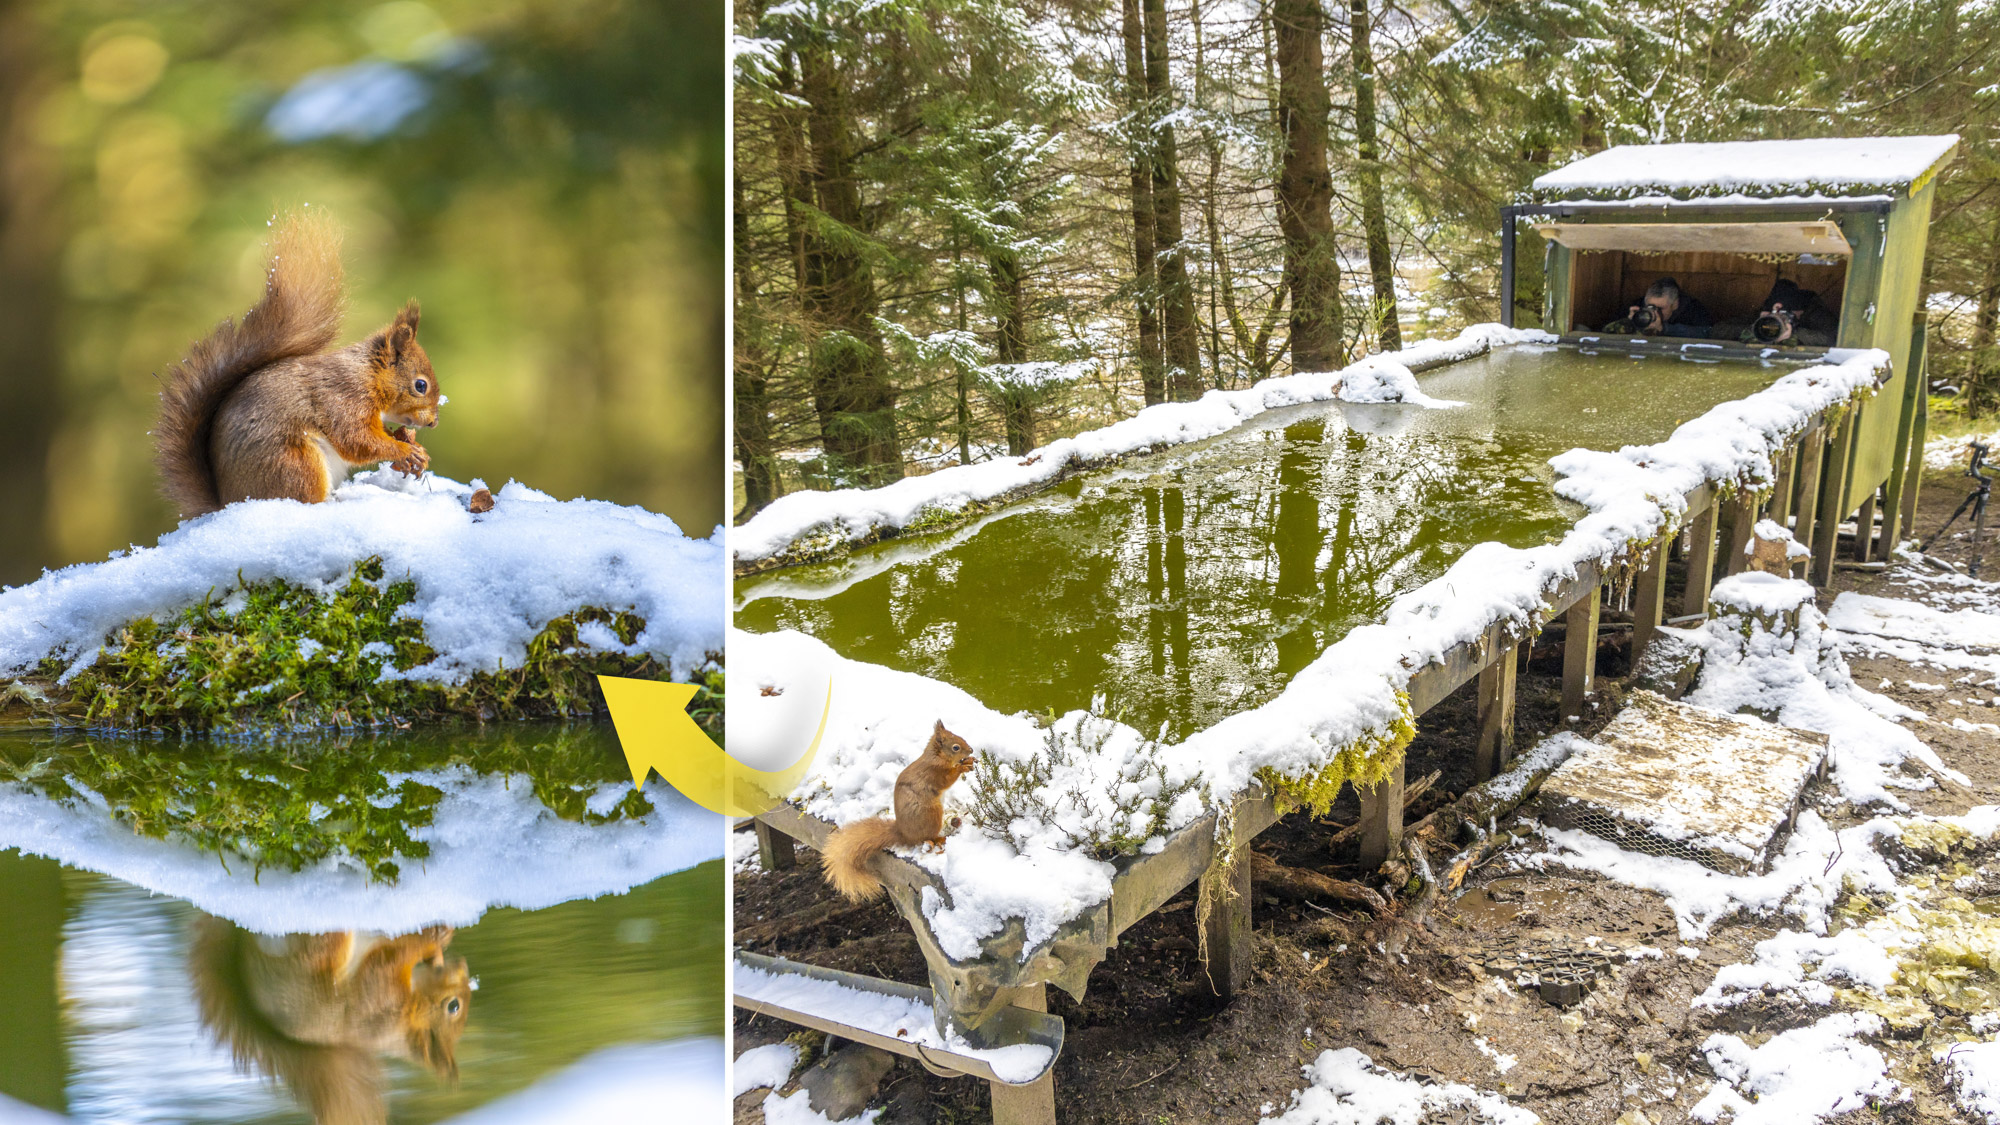
Paul has been a pro wildlife and landscape photographer since 2010. Based in Yorkshire, he runs photography workshops in the Lake District, the Dales, Scotland and Scandinavia. We met up with him at his woodland hide in Yorkshire to take close-ups of red squirrels.
To see his stunning portfolio visit his website, and check out his top 10 tips for red squirrel portraits…
01 Keep your snow white
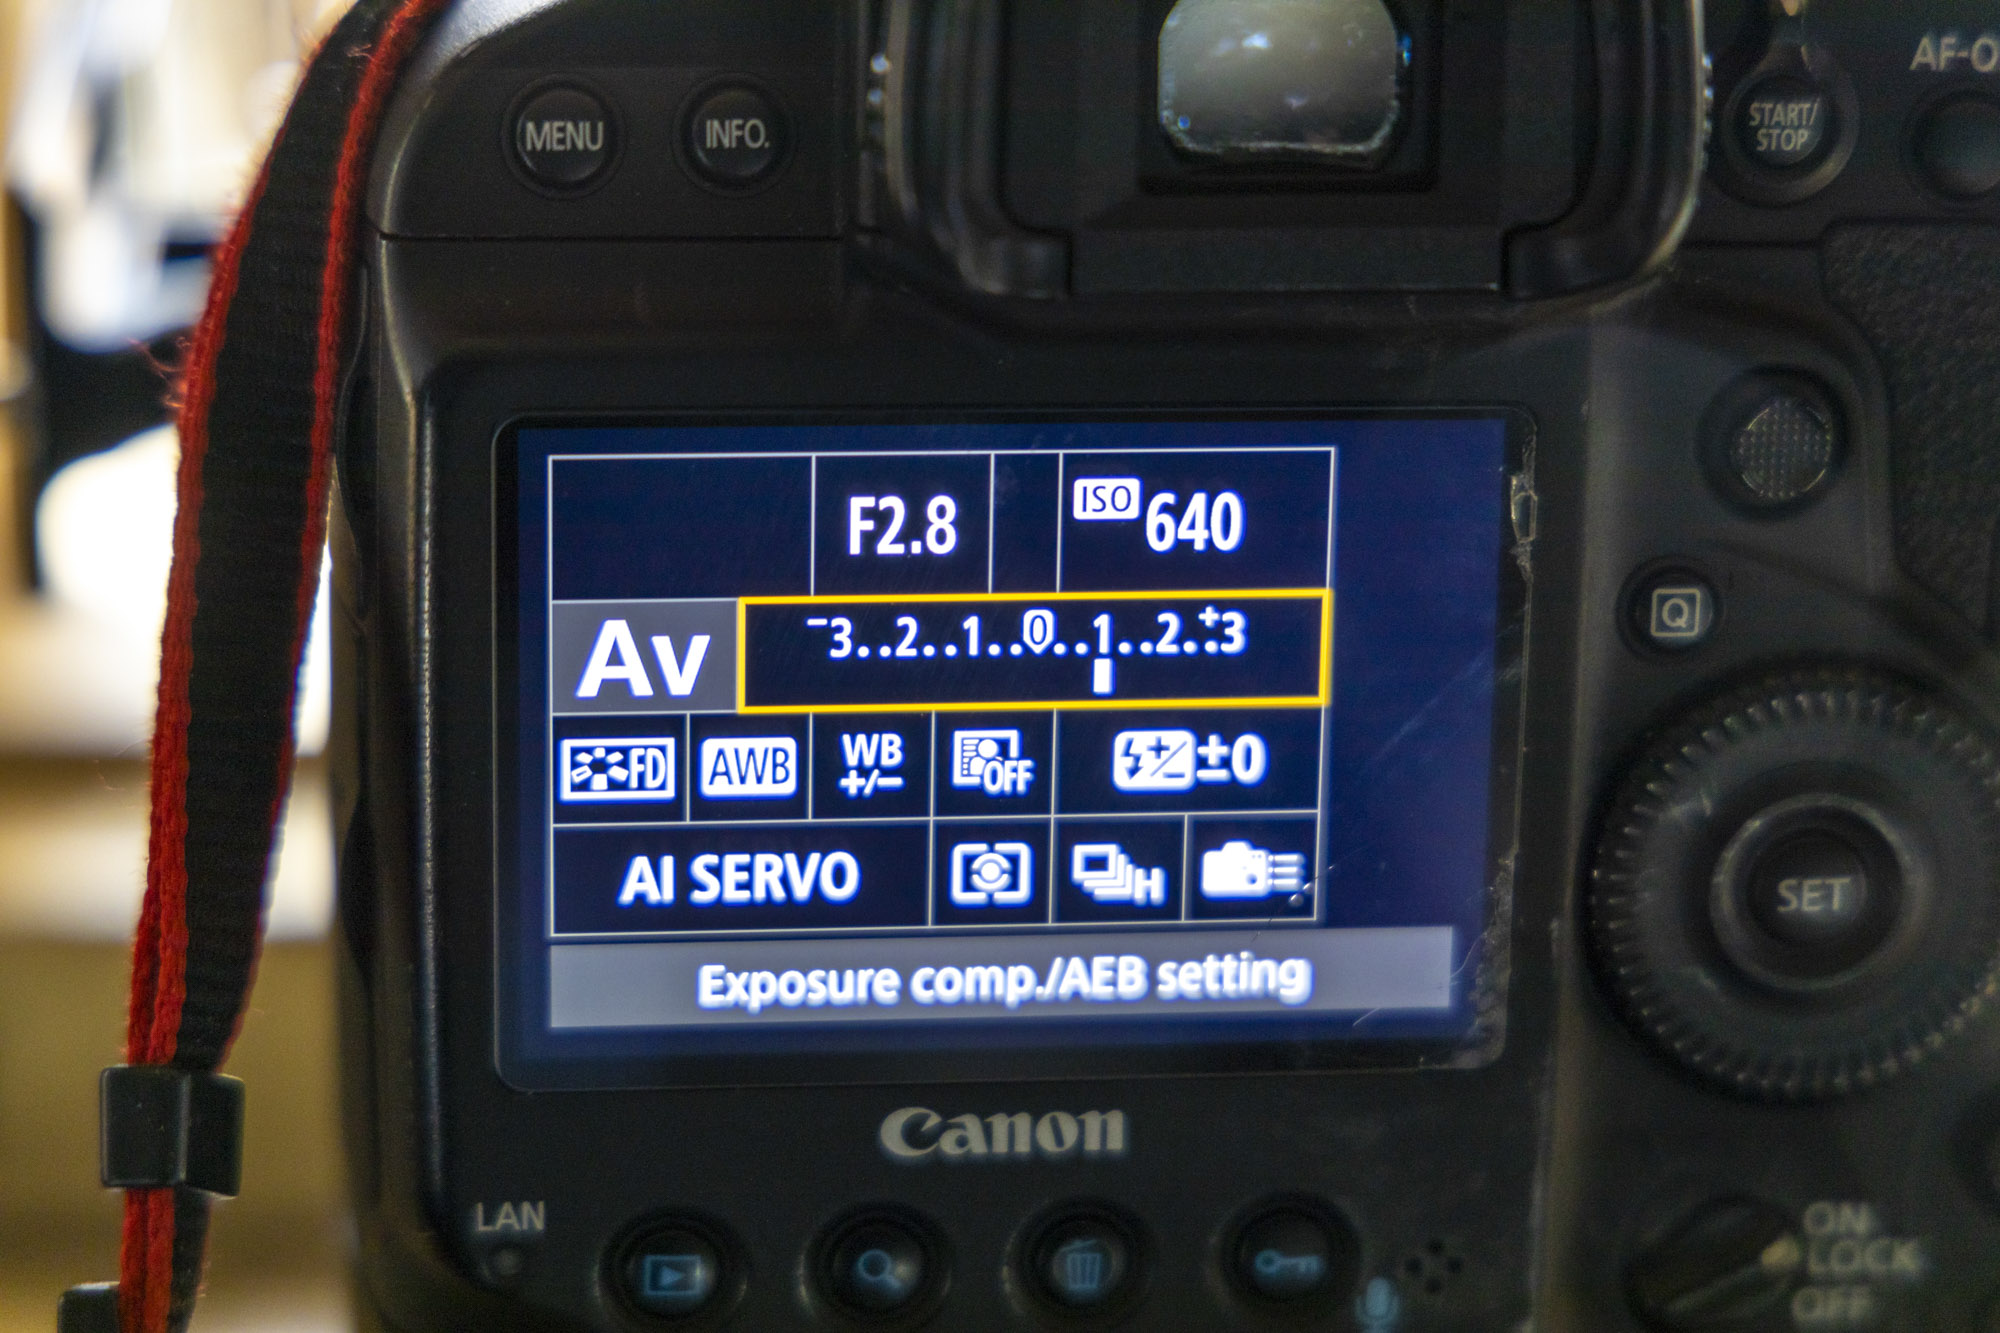
On the day we met up with Paul it was an unexpectedly snowy day, but this made for some fantastic photographic opportunities. "The trick to achieving brighter shots in the snow is to make sure it doesn’t appear underexposed and grey, as this will make it look mushy.
"When using semi-automatic modes, such as aperture priority, your camera’s metering is likely to underexpose to try and stop bright snowy areas appearing too white. It’s best to override this with some positive exposure compensation, so that the snow does come out white, and your wildlife subjects will also look brighter. If you shoot in RAW too you’ll have a bit of a safety net for later on when you’re editing in the post-processing stage."
02 Use aperture priority
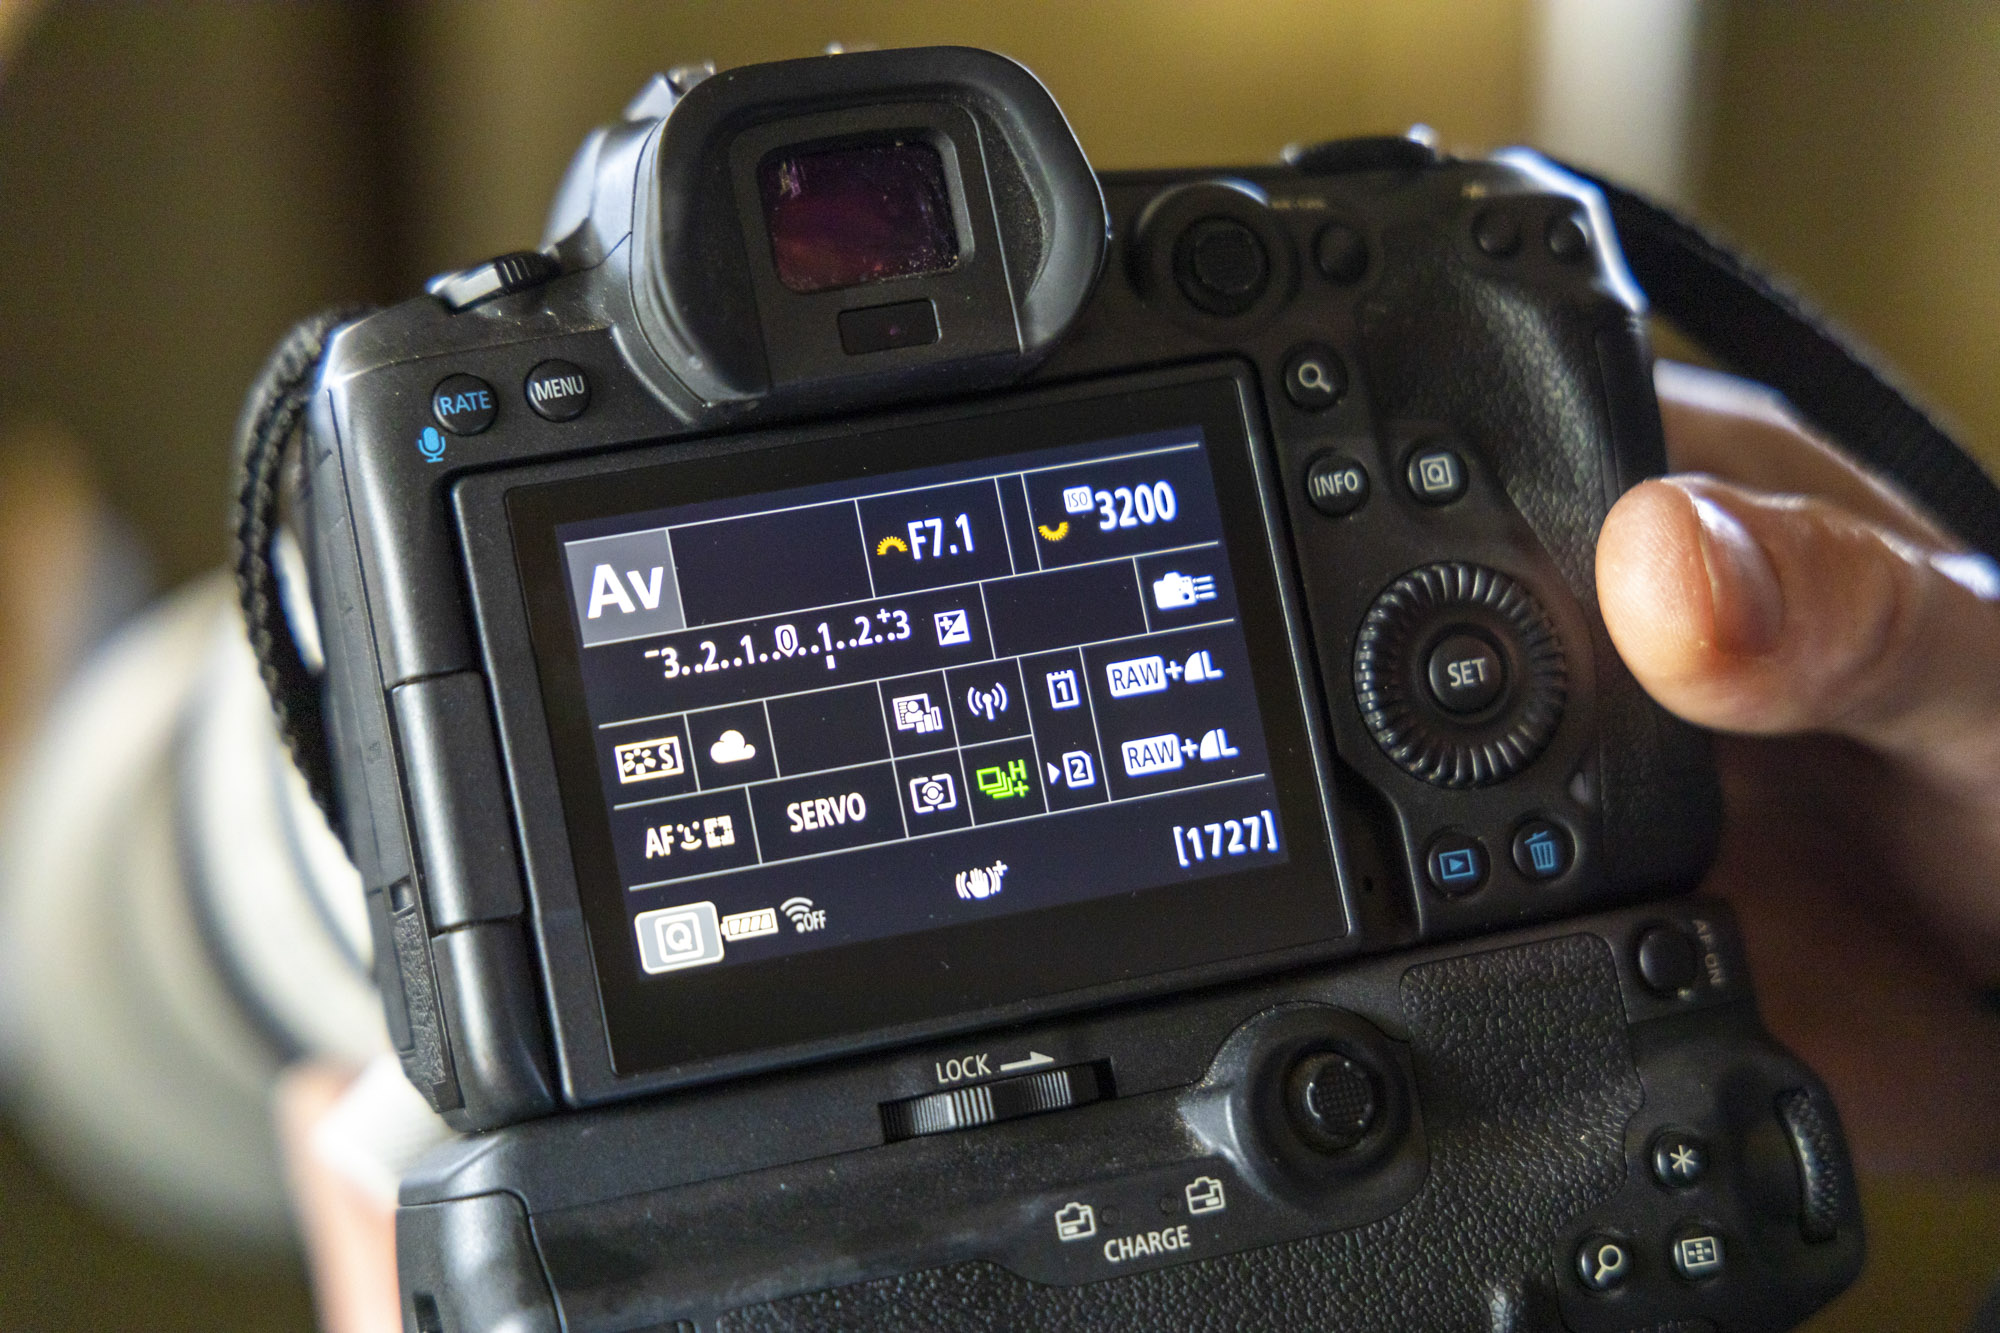
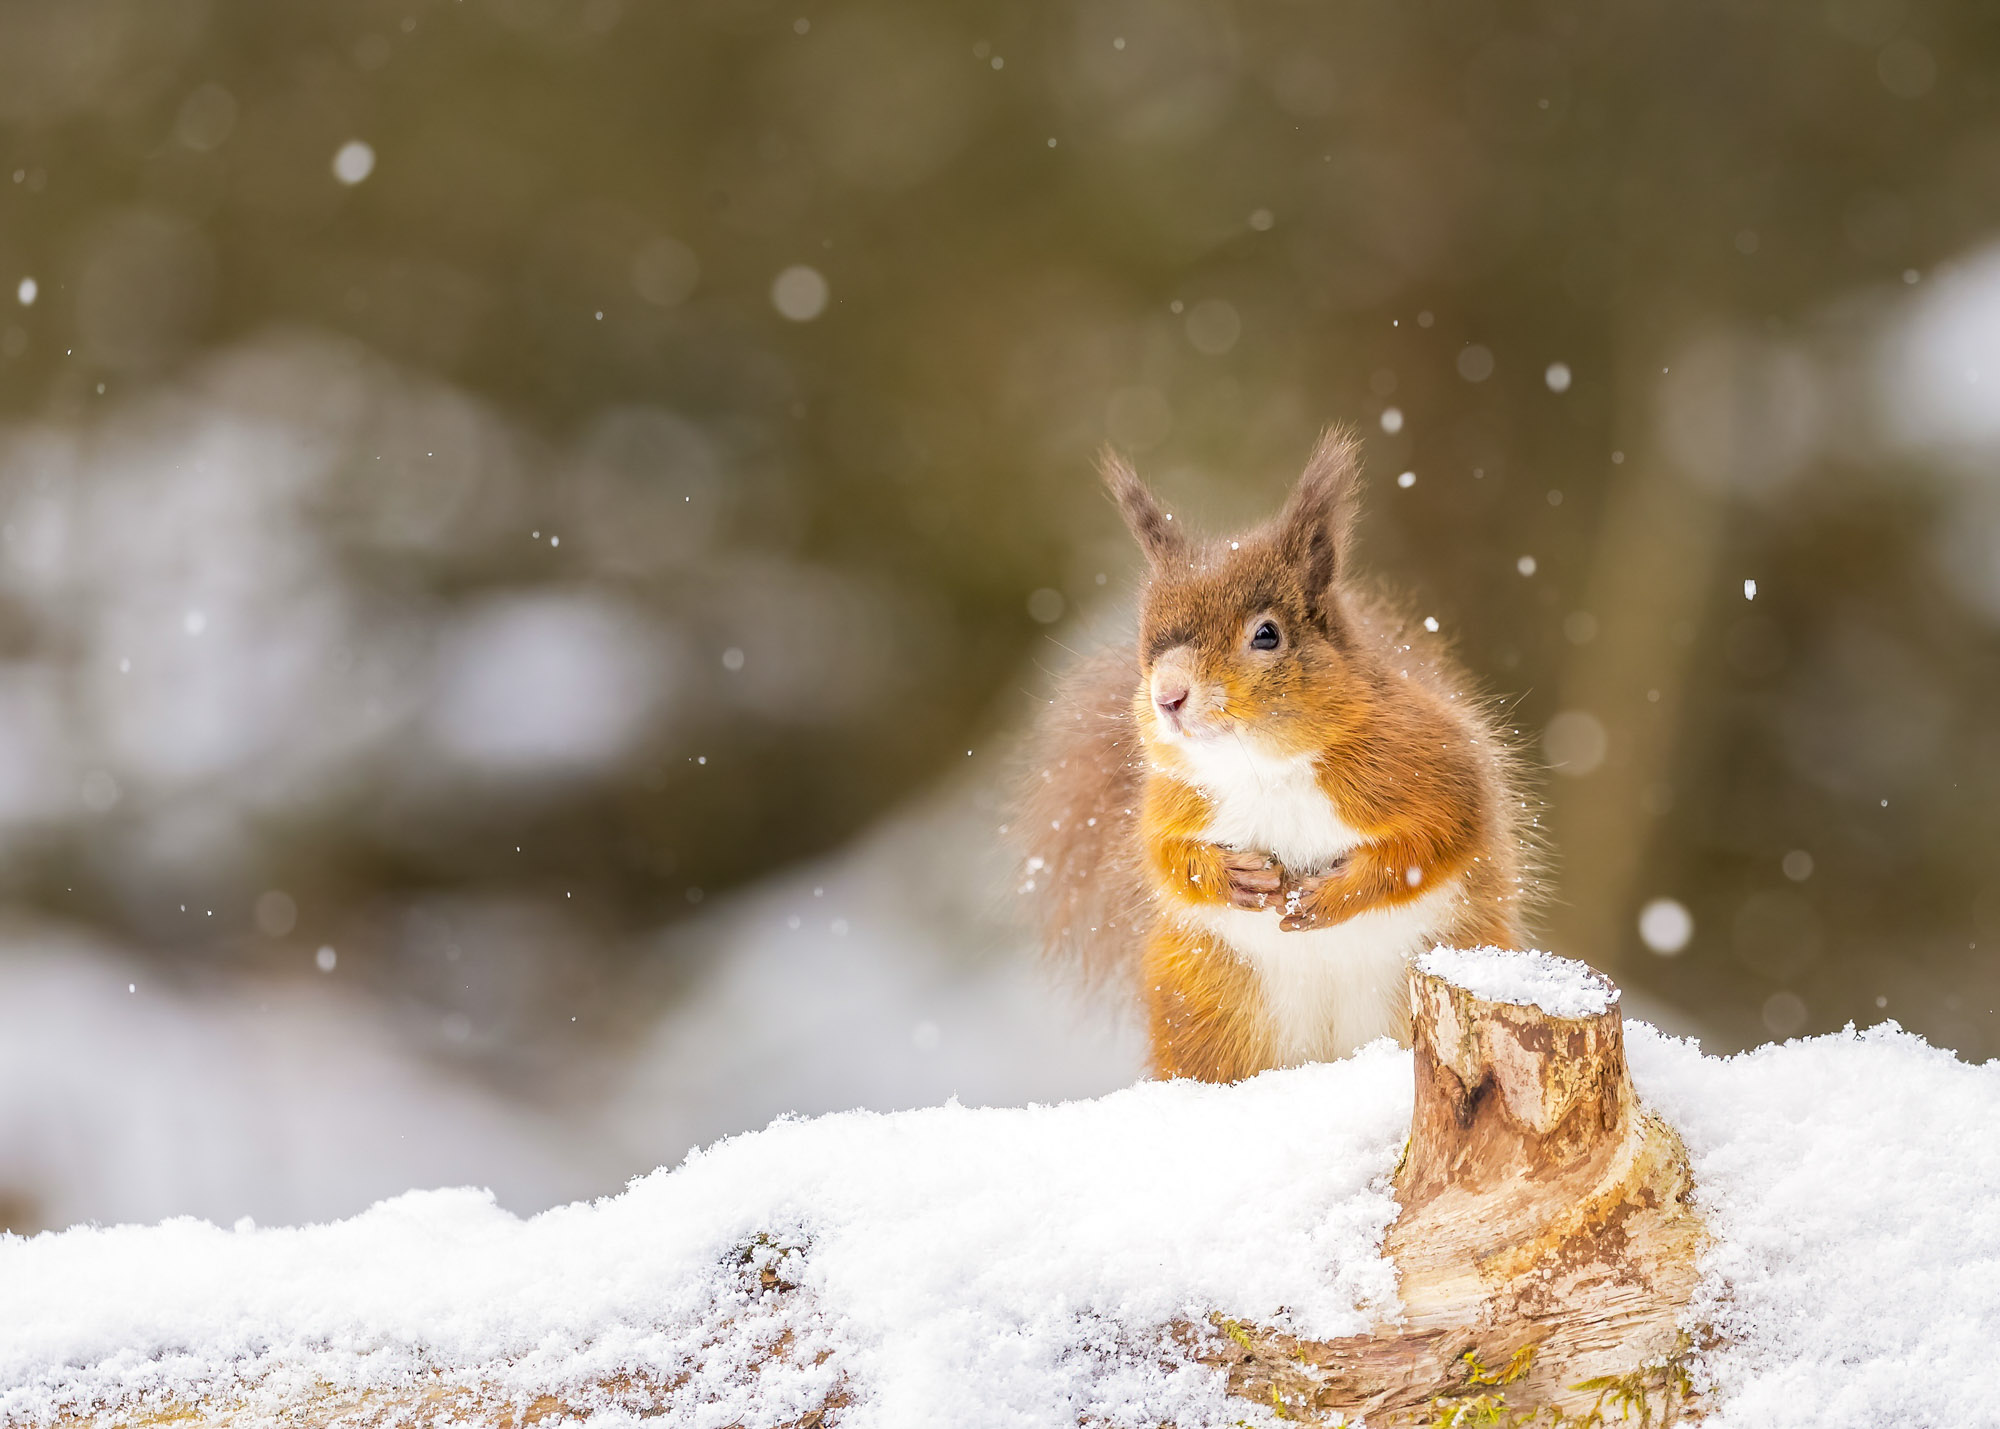
To get started Paul set up Neil’s Canon EOS R5 in the aperture priority mode, which is a semi-automatic mode where you can set the aperture and the camera will then work out the required shutter speed for you, based on your current metering mode.
He started with an aperture of f/7.1 (at 500mm) for decent sharpness in the squirrels and set the ISO to 3200. This was so they could achieve a shutter speed of around 1/200-1/400 sec, fast enough to catch sharp squirrel shots handheld when they were sitting fairly still.
03 Shoot with a fast burst mode
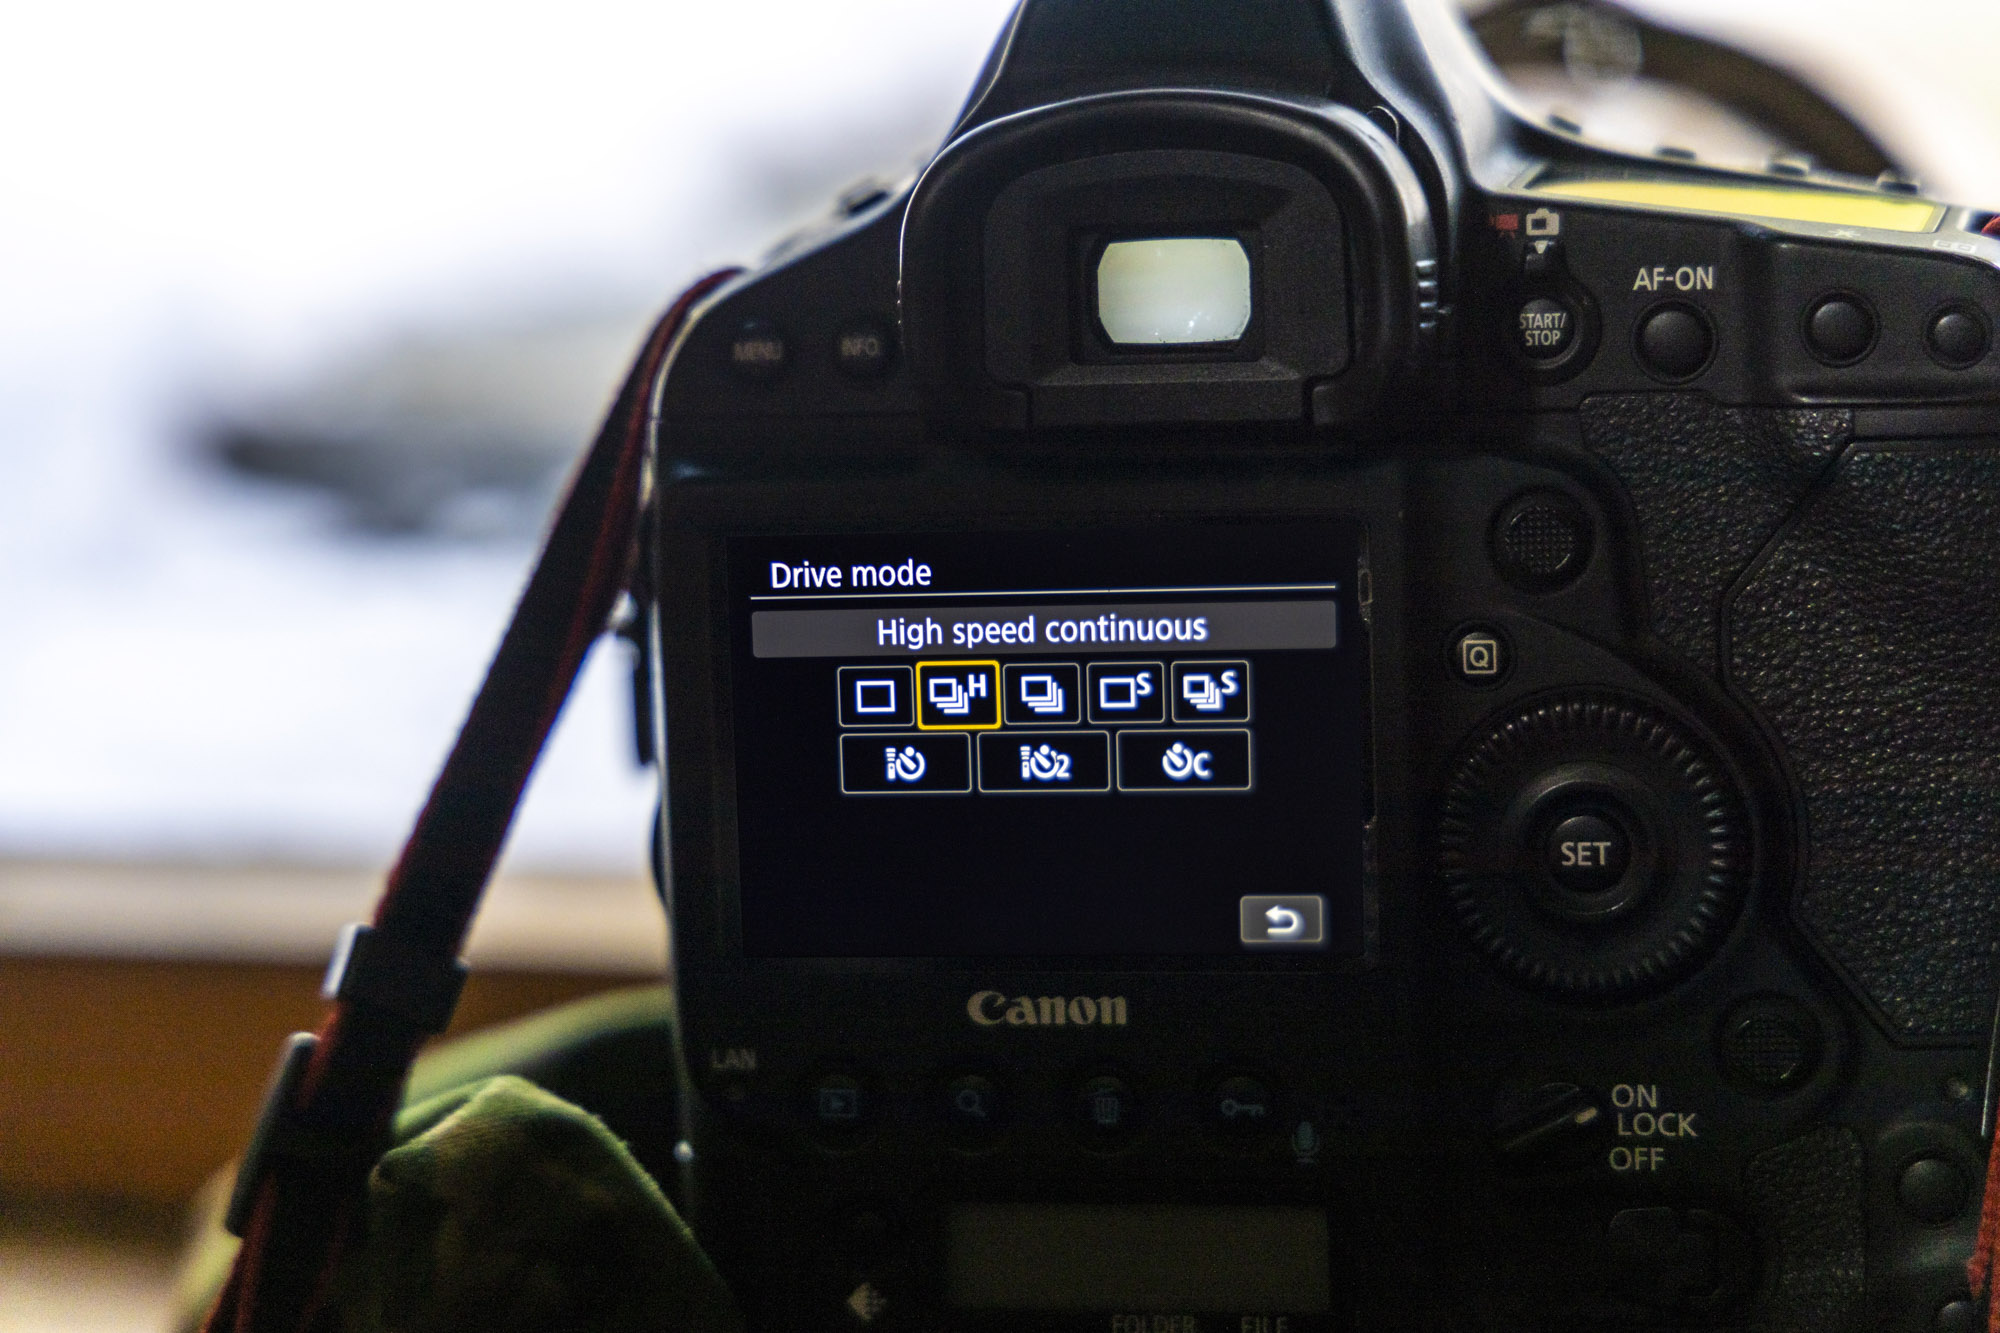
Paul set his and Neil’s cameras to their High Speed Continuous shooting setting, so that they could shoot at rapid frame rates of 14fps on Paul’s Canon EOS-1D X Mark II and 20fps on Neil’s R5. Capturing a rapid burst of frames makes it easier to get the precise moment in an action sequence, like a squirrel jumping through the air.
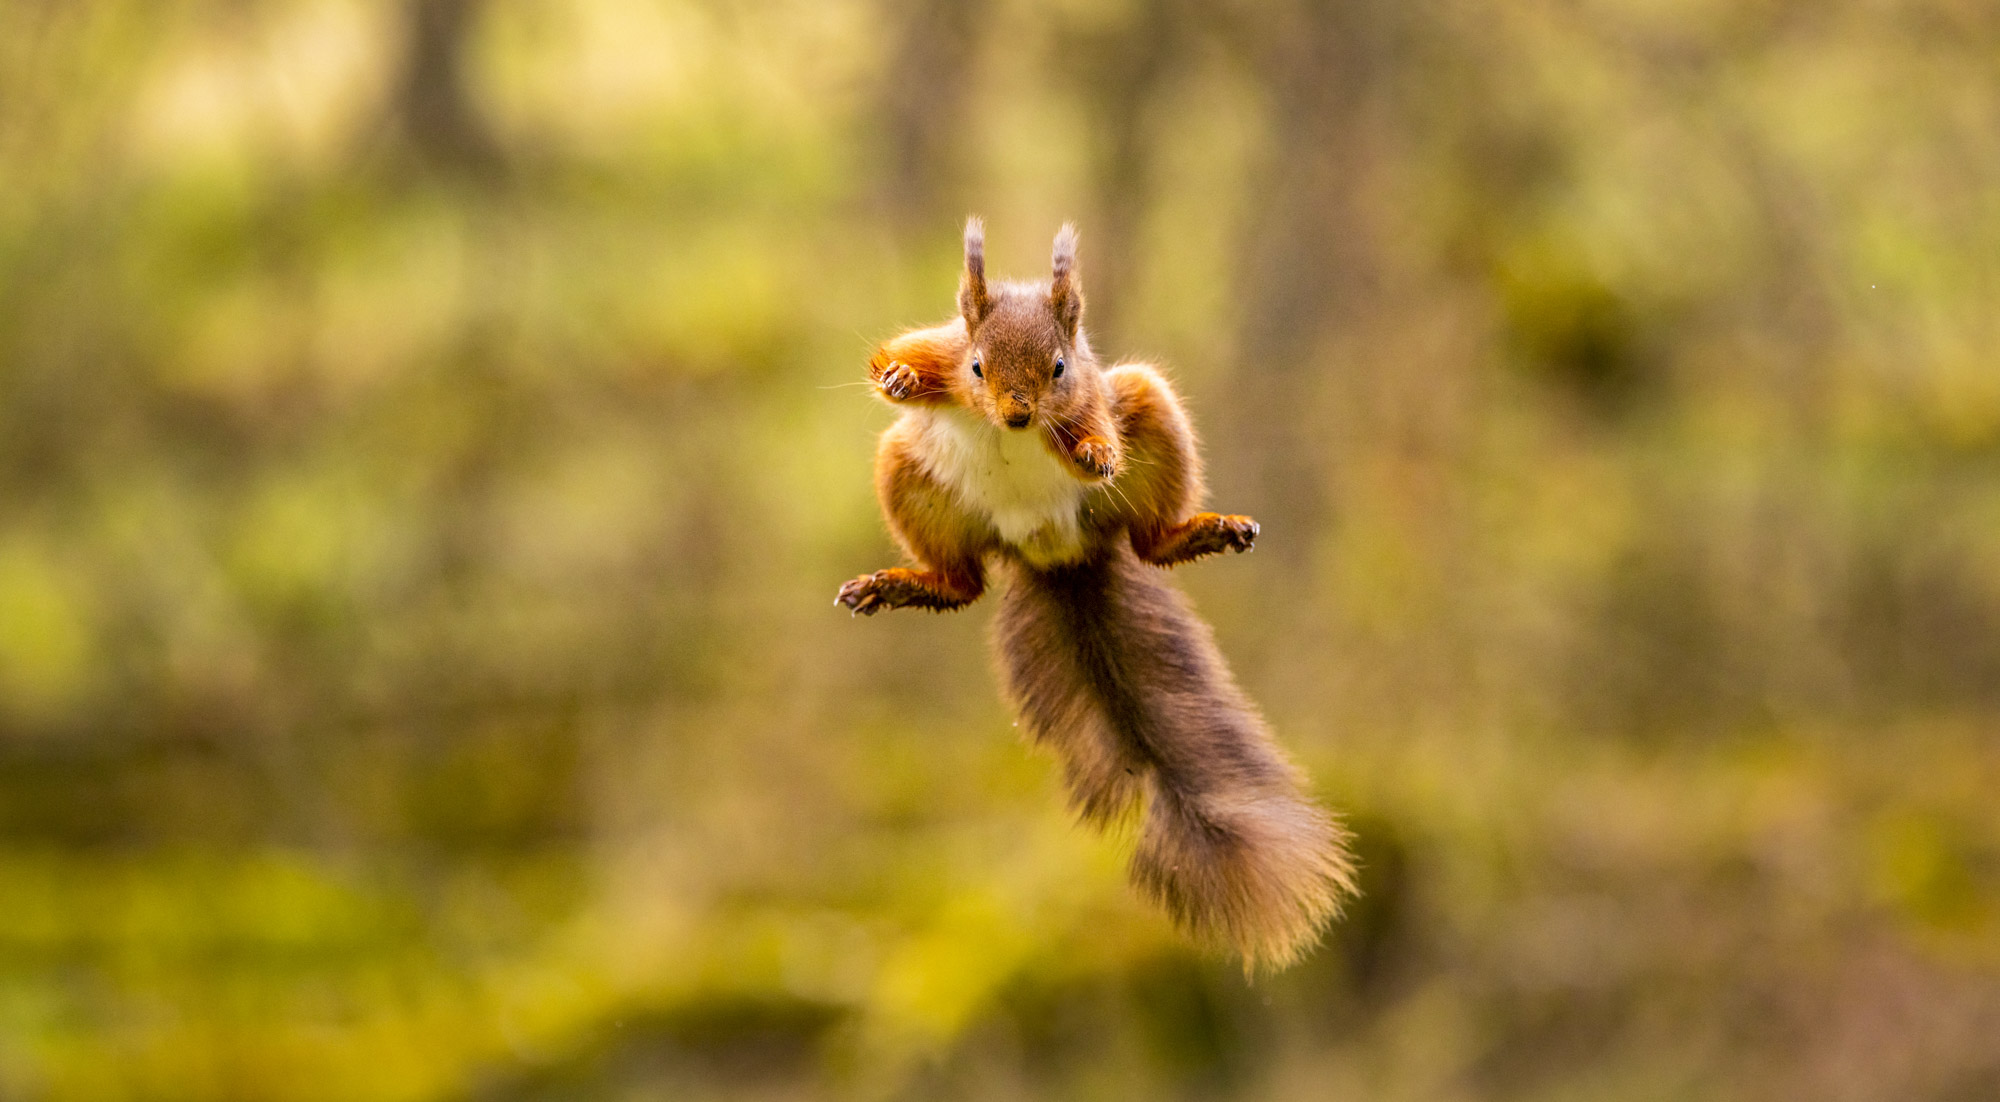
04 Exploit full-frame cameras
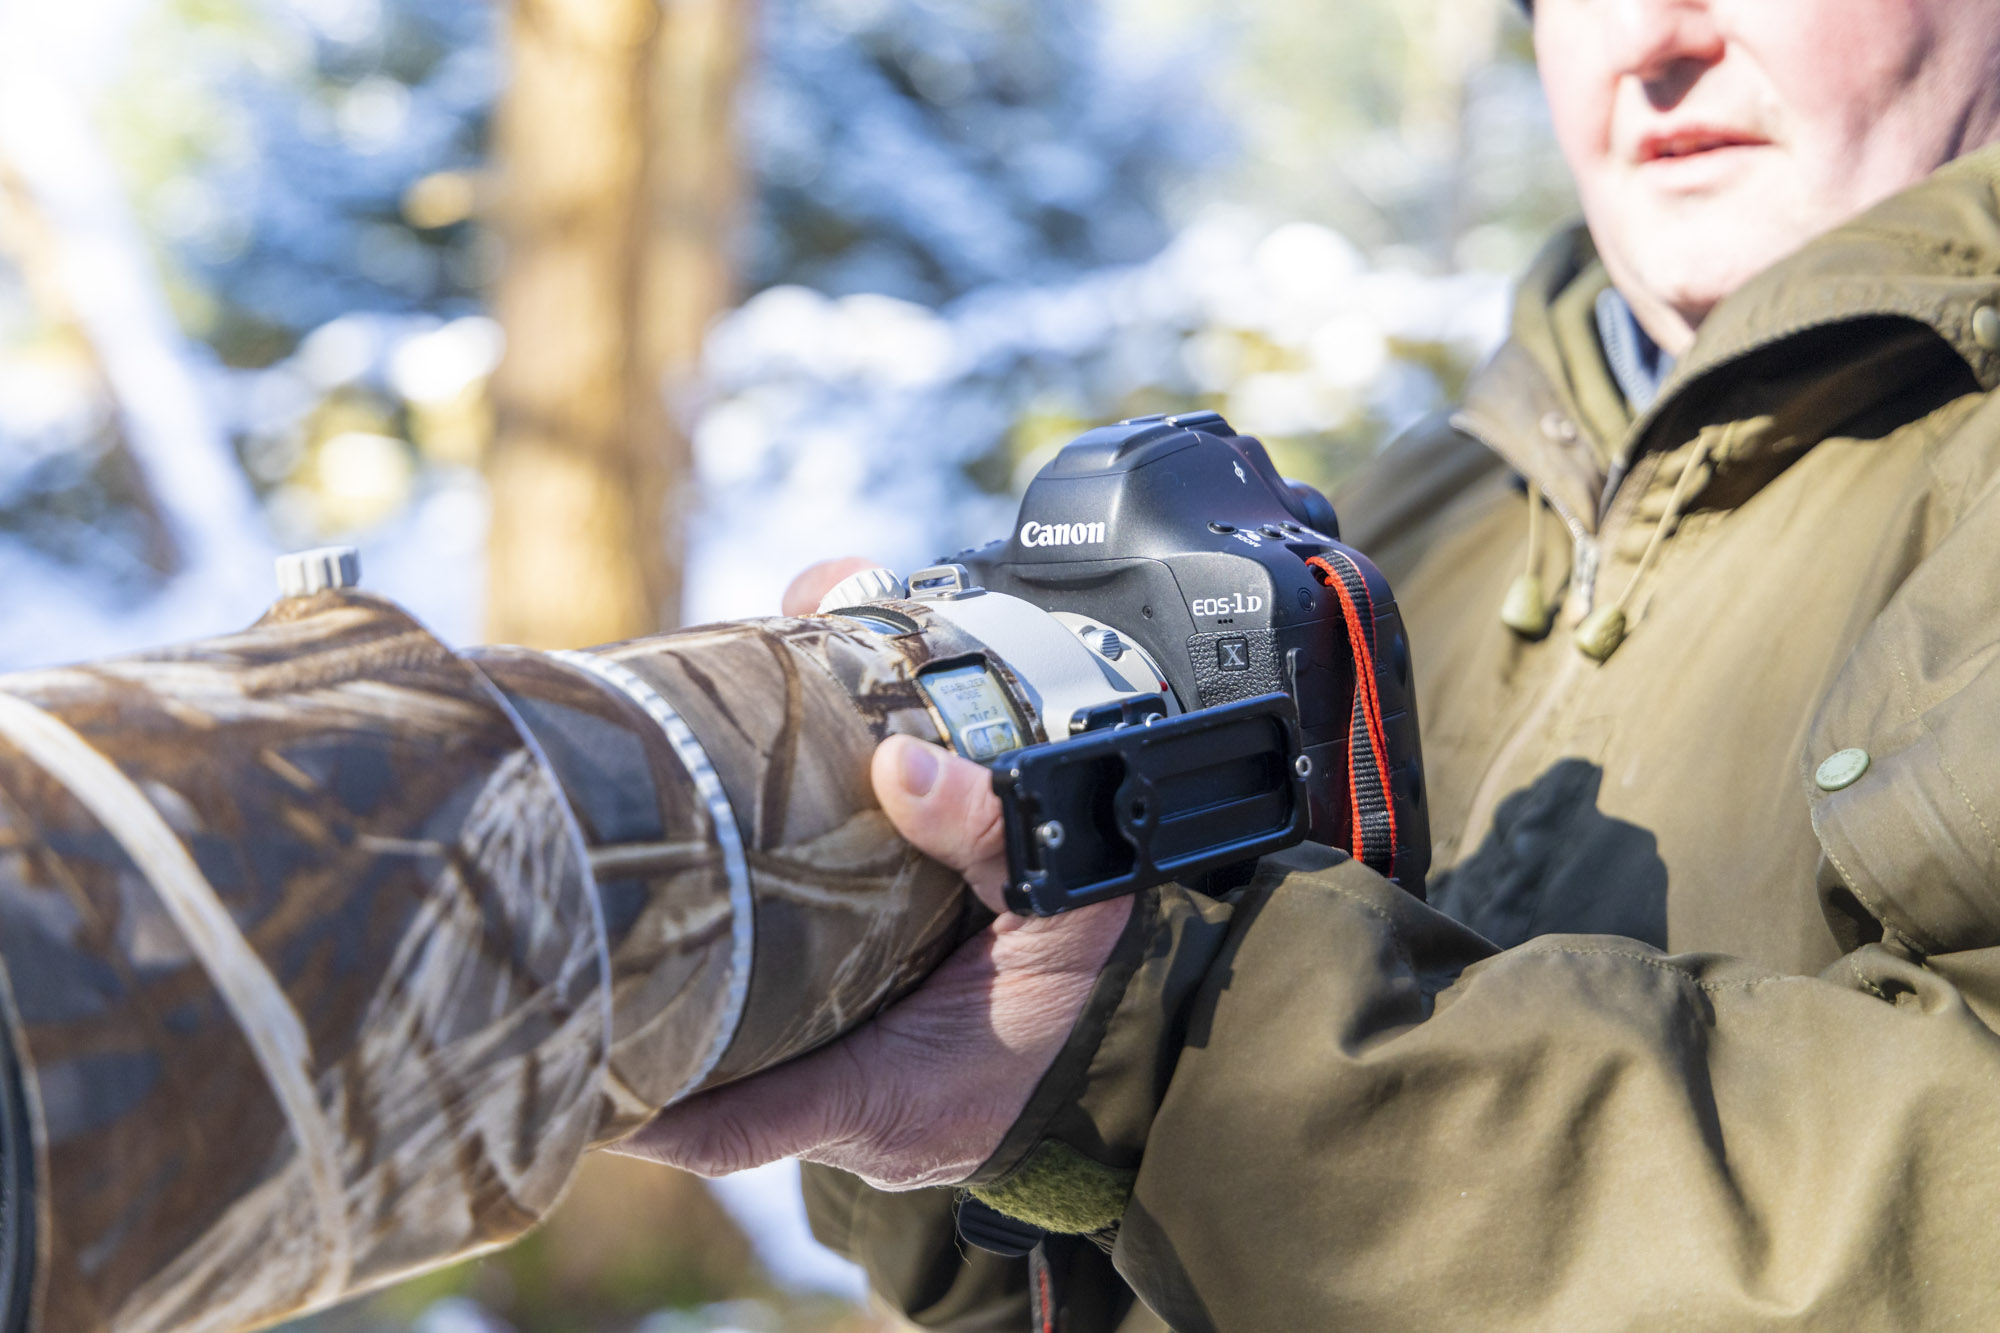
The benefits of a full frame camera for wildlife shooting include the ability to capture cleaner detail in challenging conditions (where you have to boost the ISO to achieve a fast shutter speed) and greater leeway to crop into your shots and fill the frame without compromising your overall image size (at least, as much as you would if you were shooting on a cropped sensor).
05 Keep your lens protected
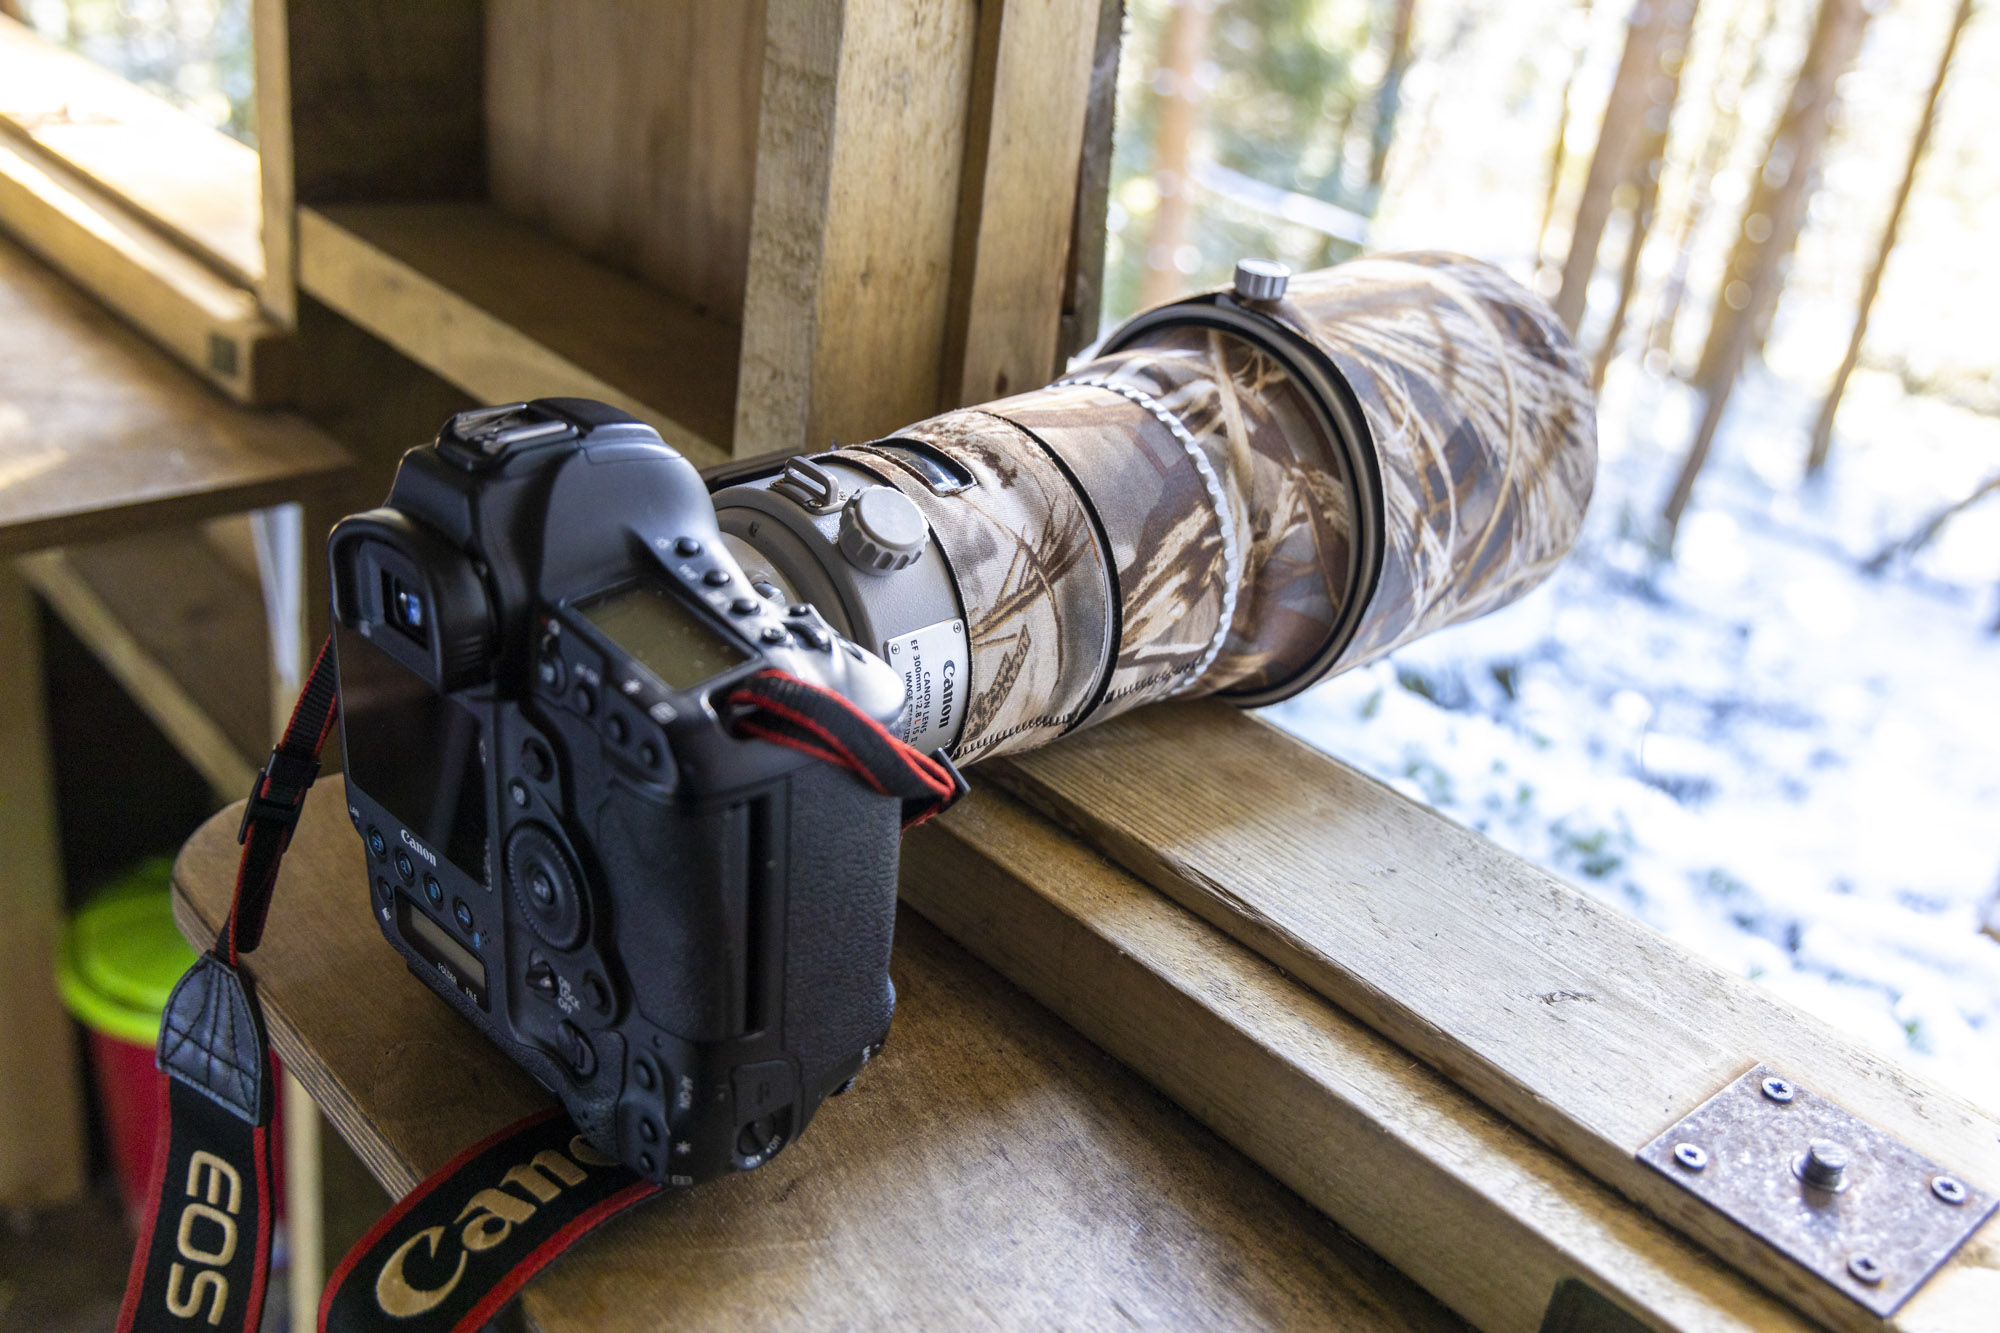
Paul uses Lens Coat covers on all his lenses, like the beefy Canon EF 300mm f/2.8L IS II USM used here. A lens coat will not only help him blend into the outdoor scenery he’s shooting in, but also offers a bit of protection to his pricey lenses from knocks, dings and scratches, making it a great addition for wildlife photographers.
06 Use a bean bag
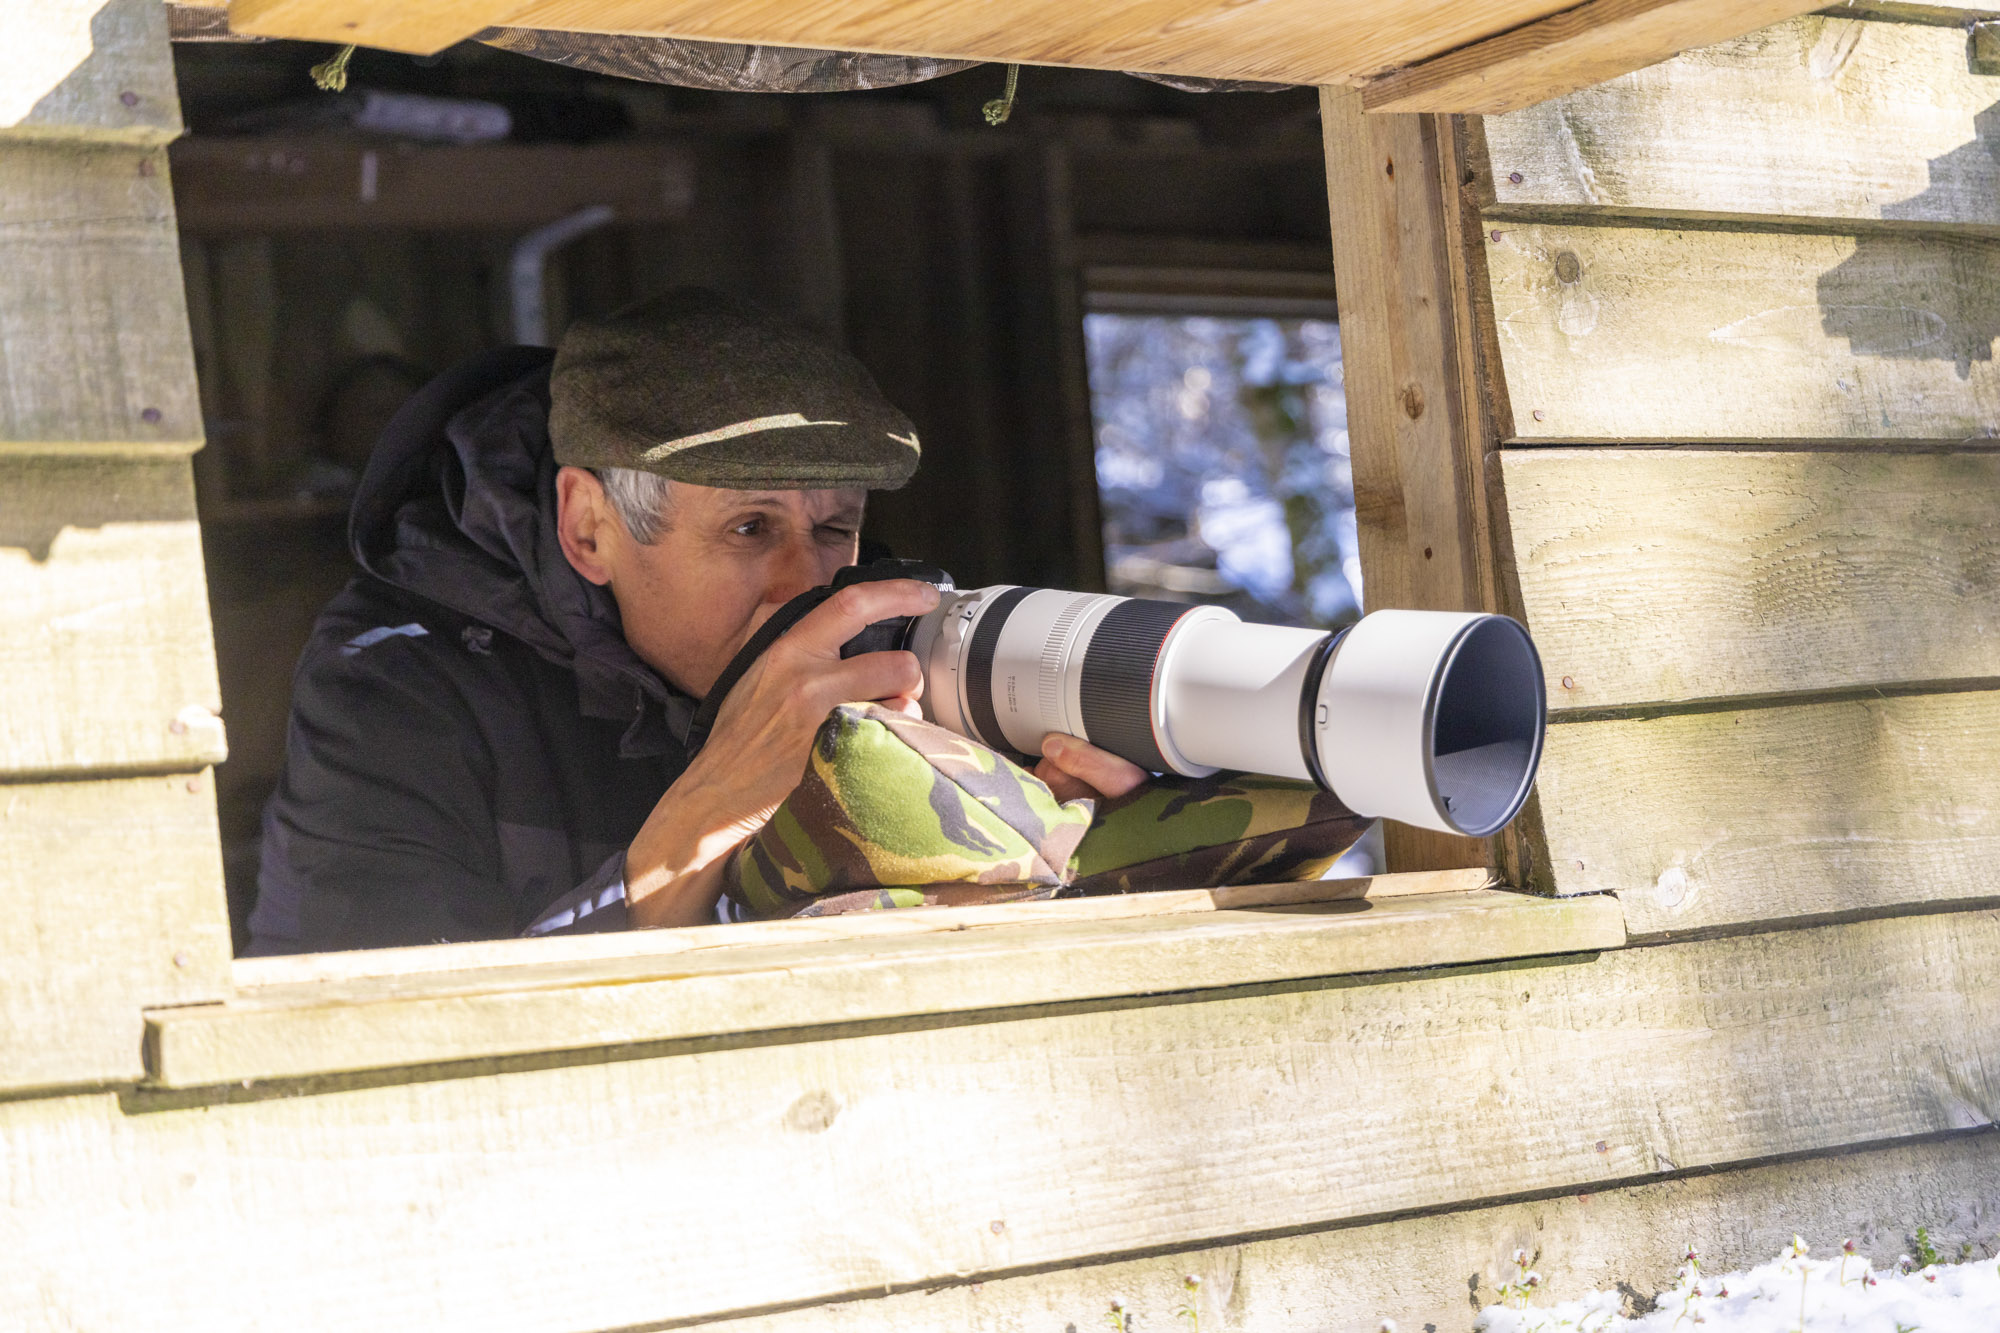
Bean bags are a brilliant way of stabilizing unwieldy telephoto lenses when shooting out of a hide window. They’re a great alternative to cumbersome tripods and provide good maneuverability if you need to move quickly to frame up on an animal. They can also come in camouflage styles, which can help you blend in and keep a low profile when you’re in a hide.
07 Make use of active space
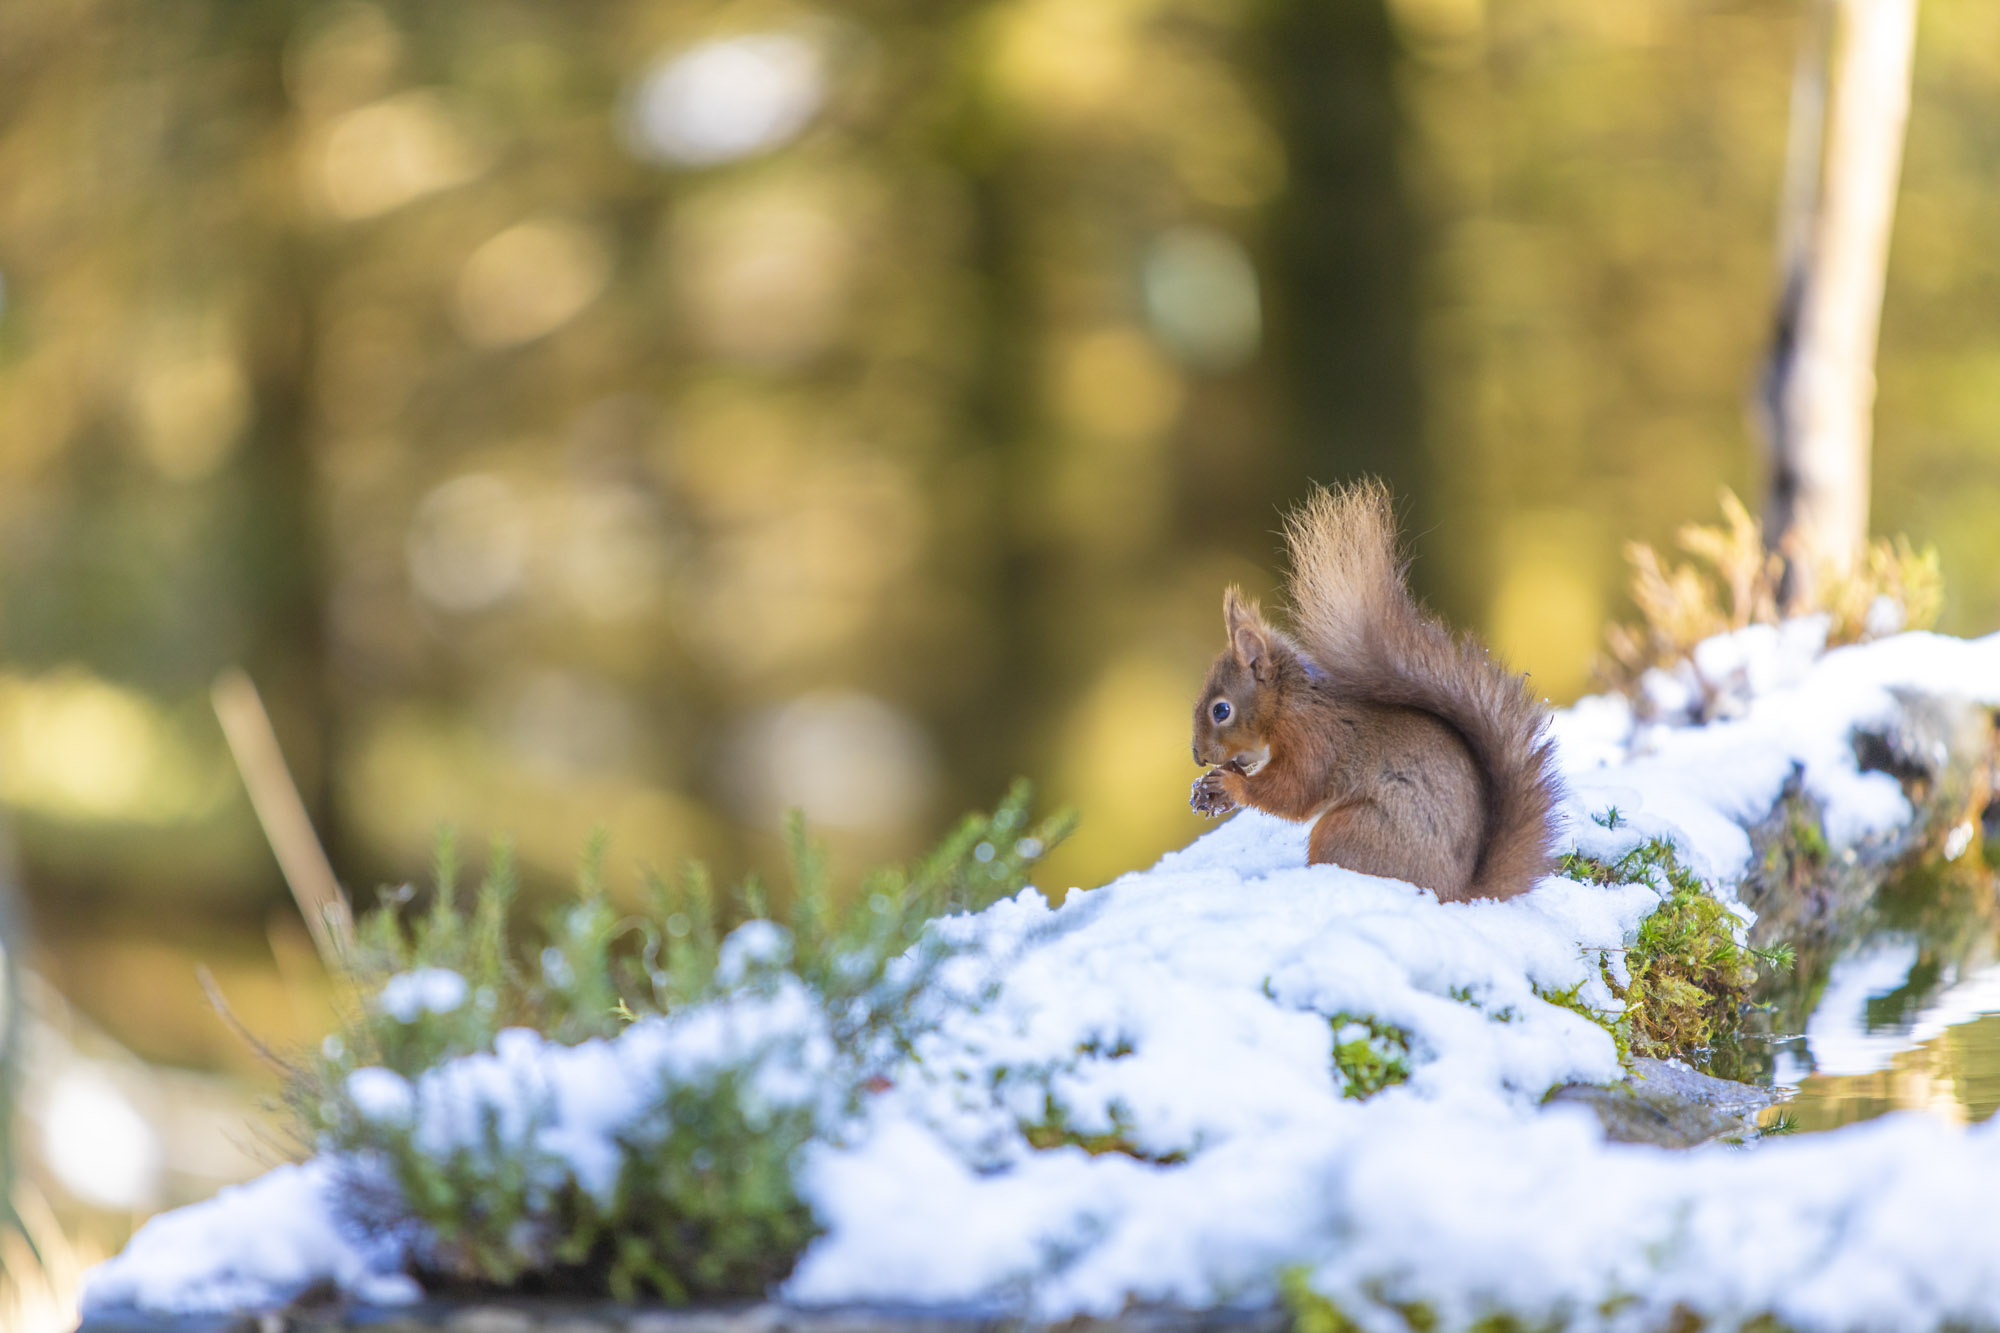
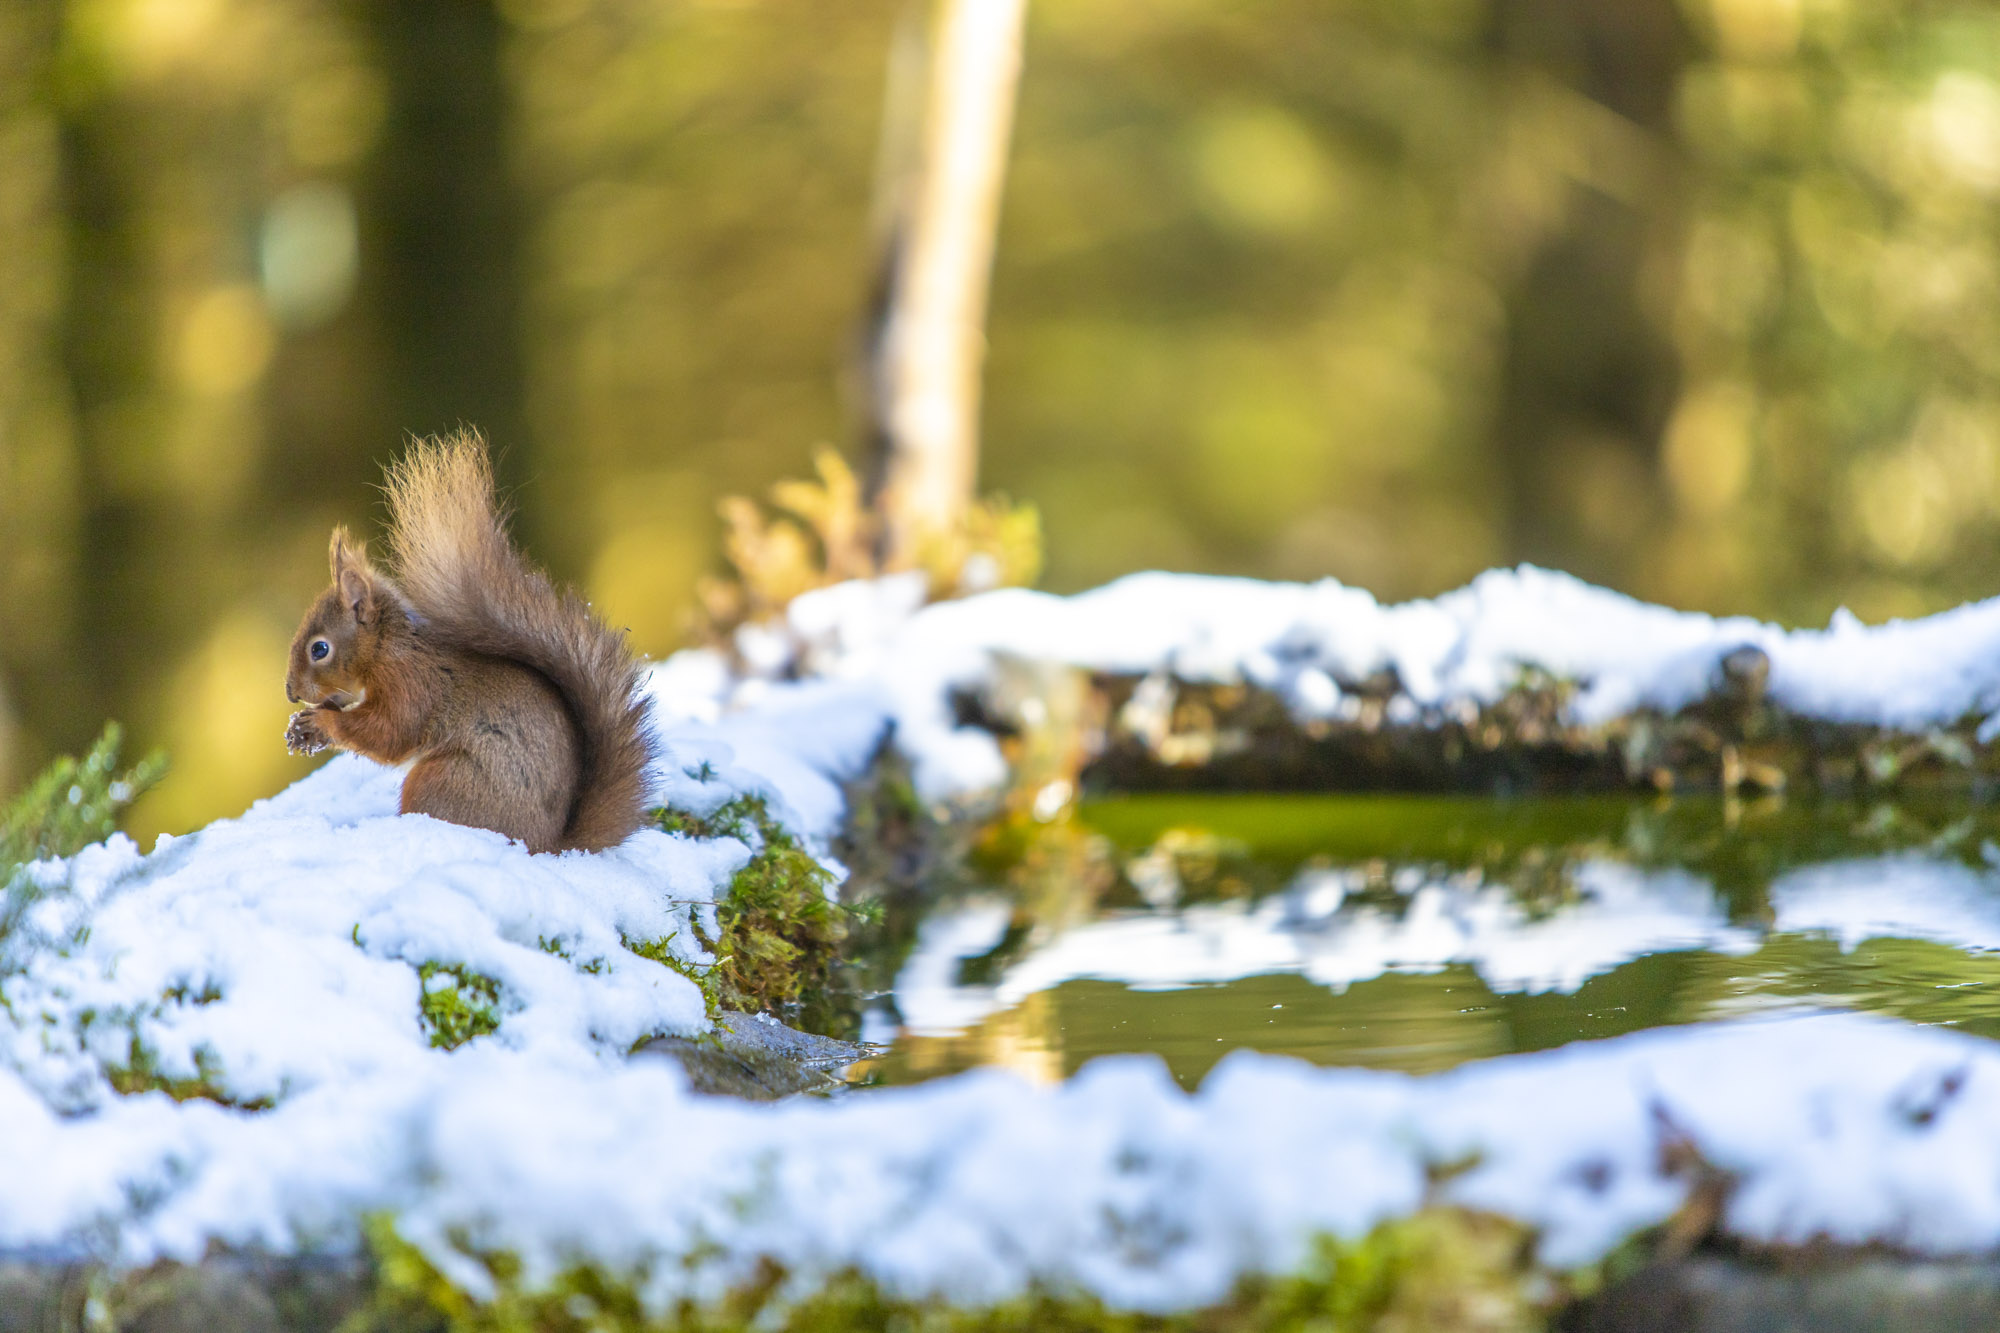
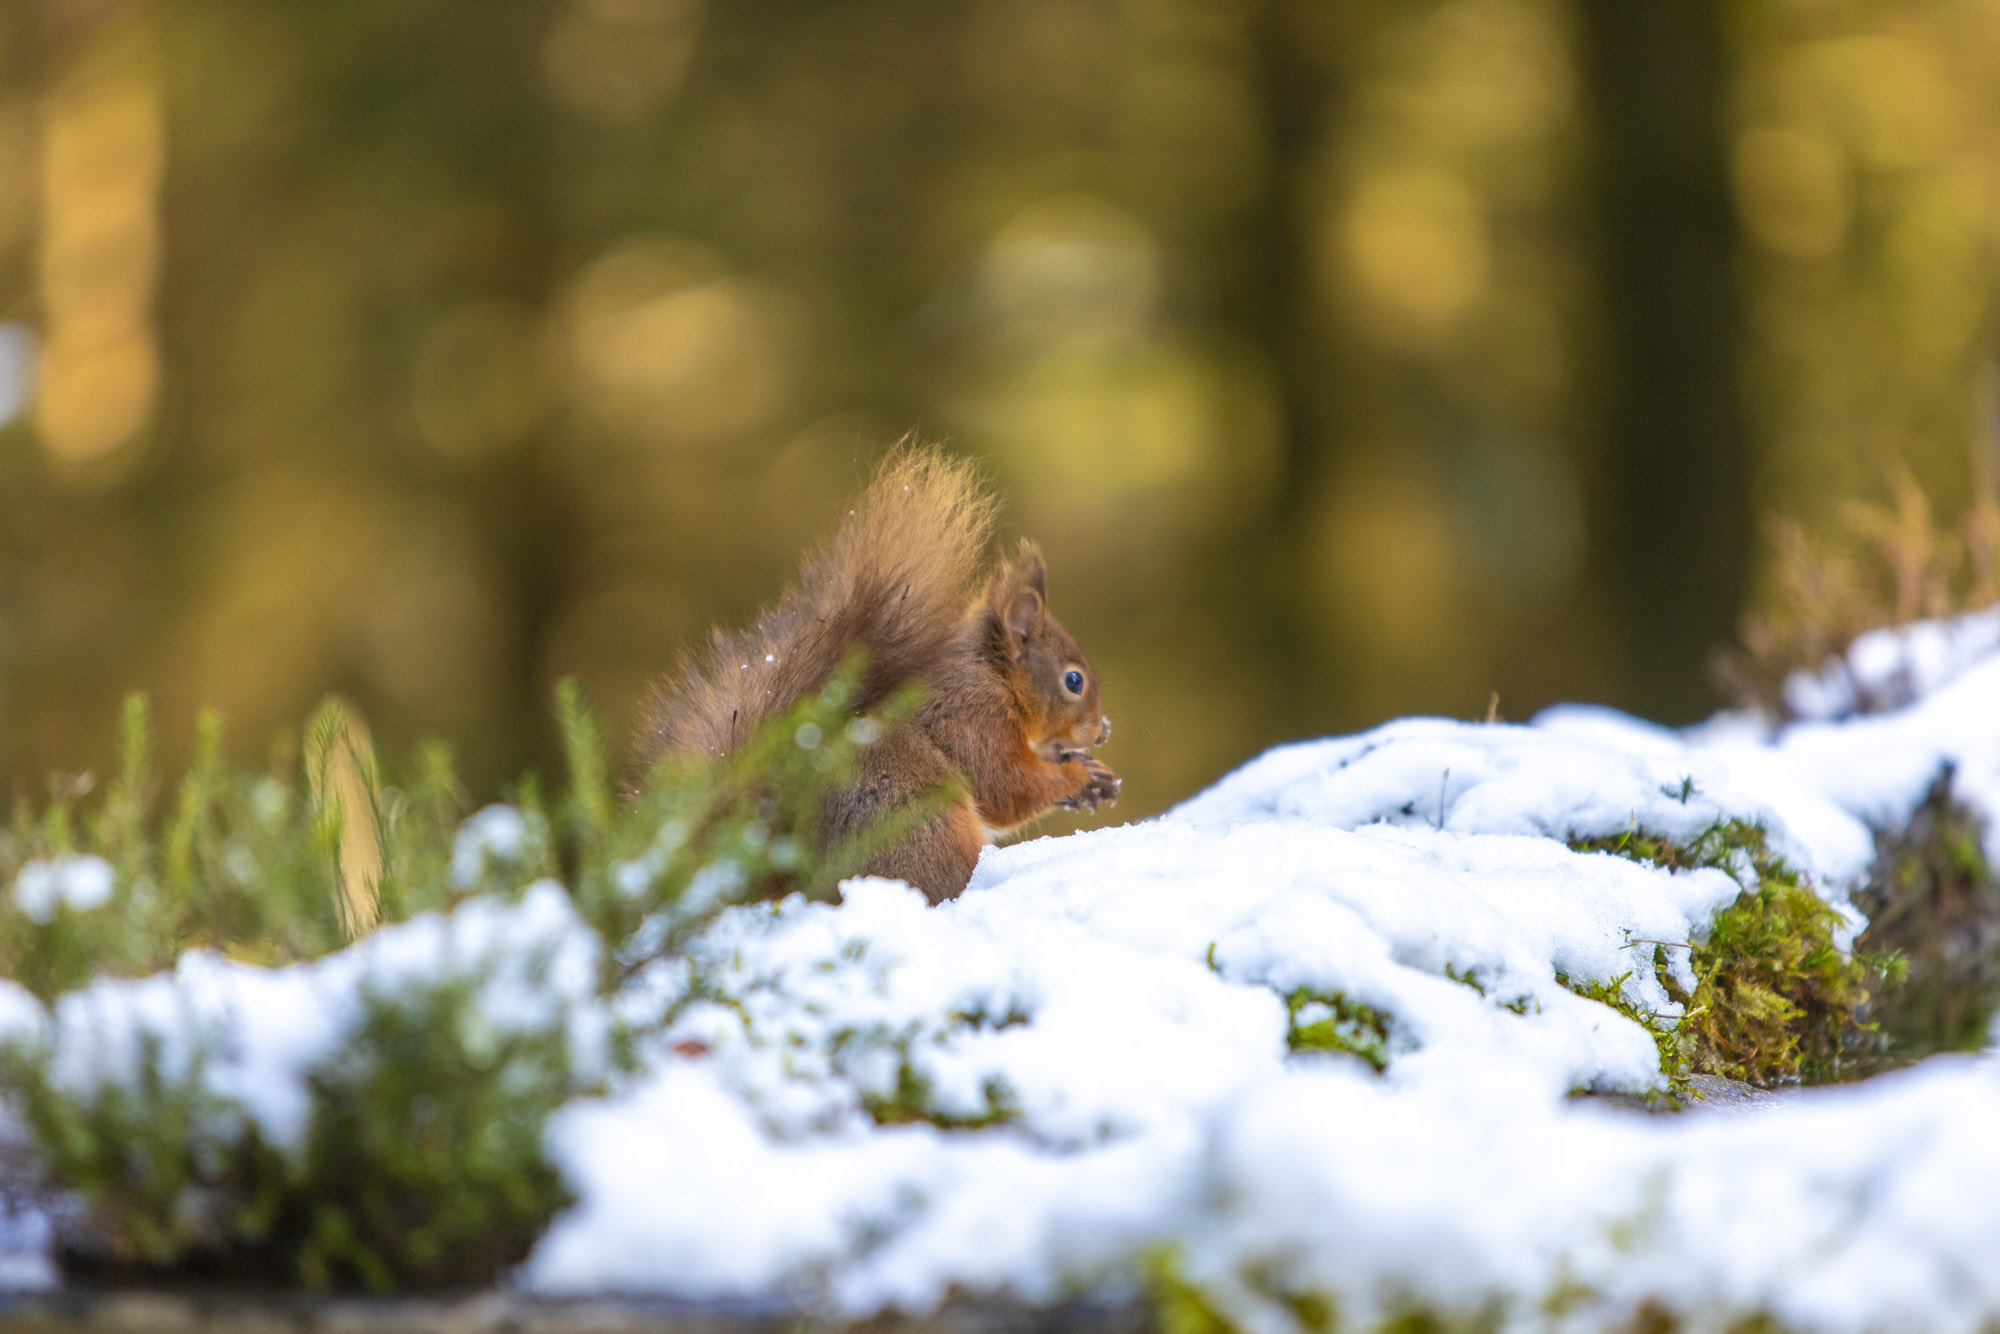
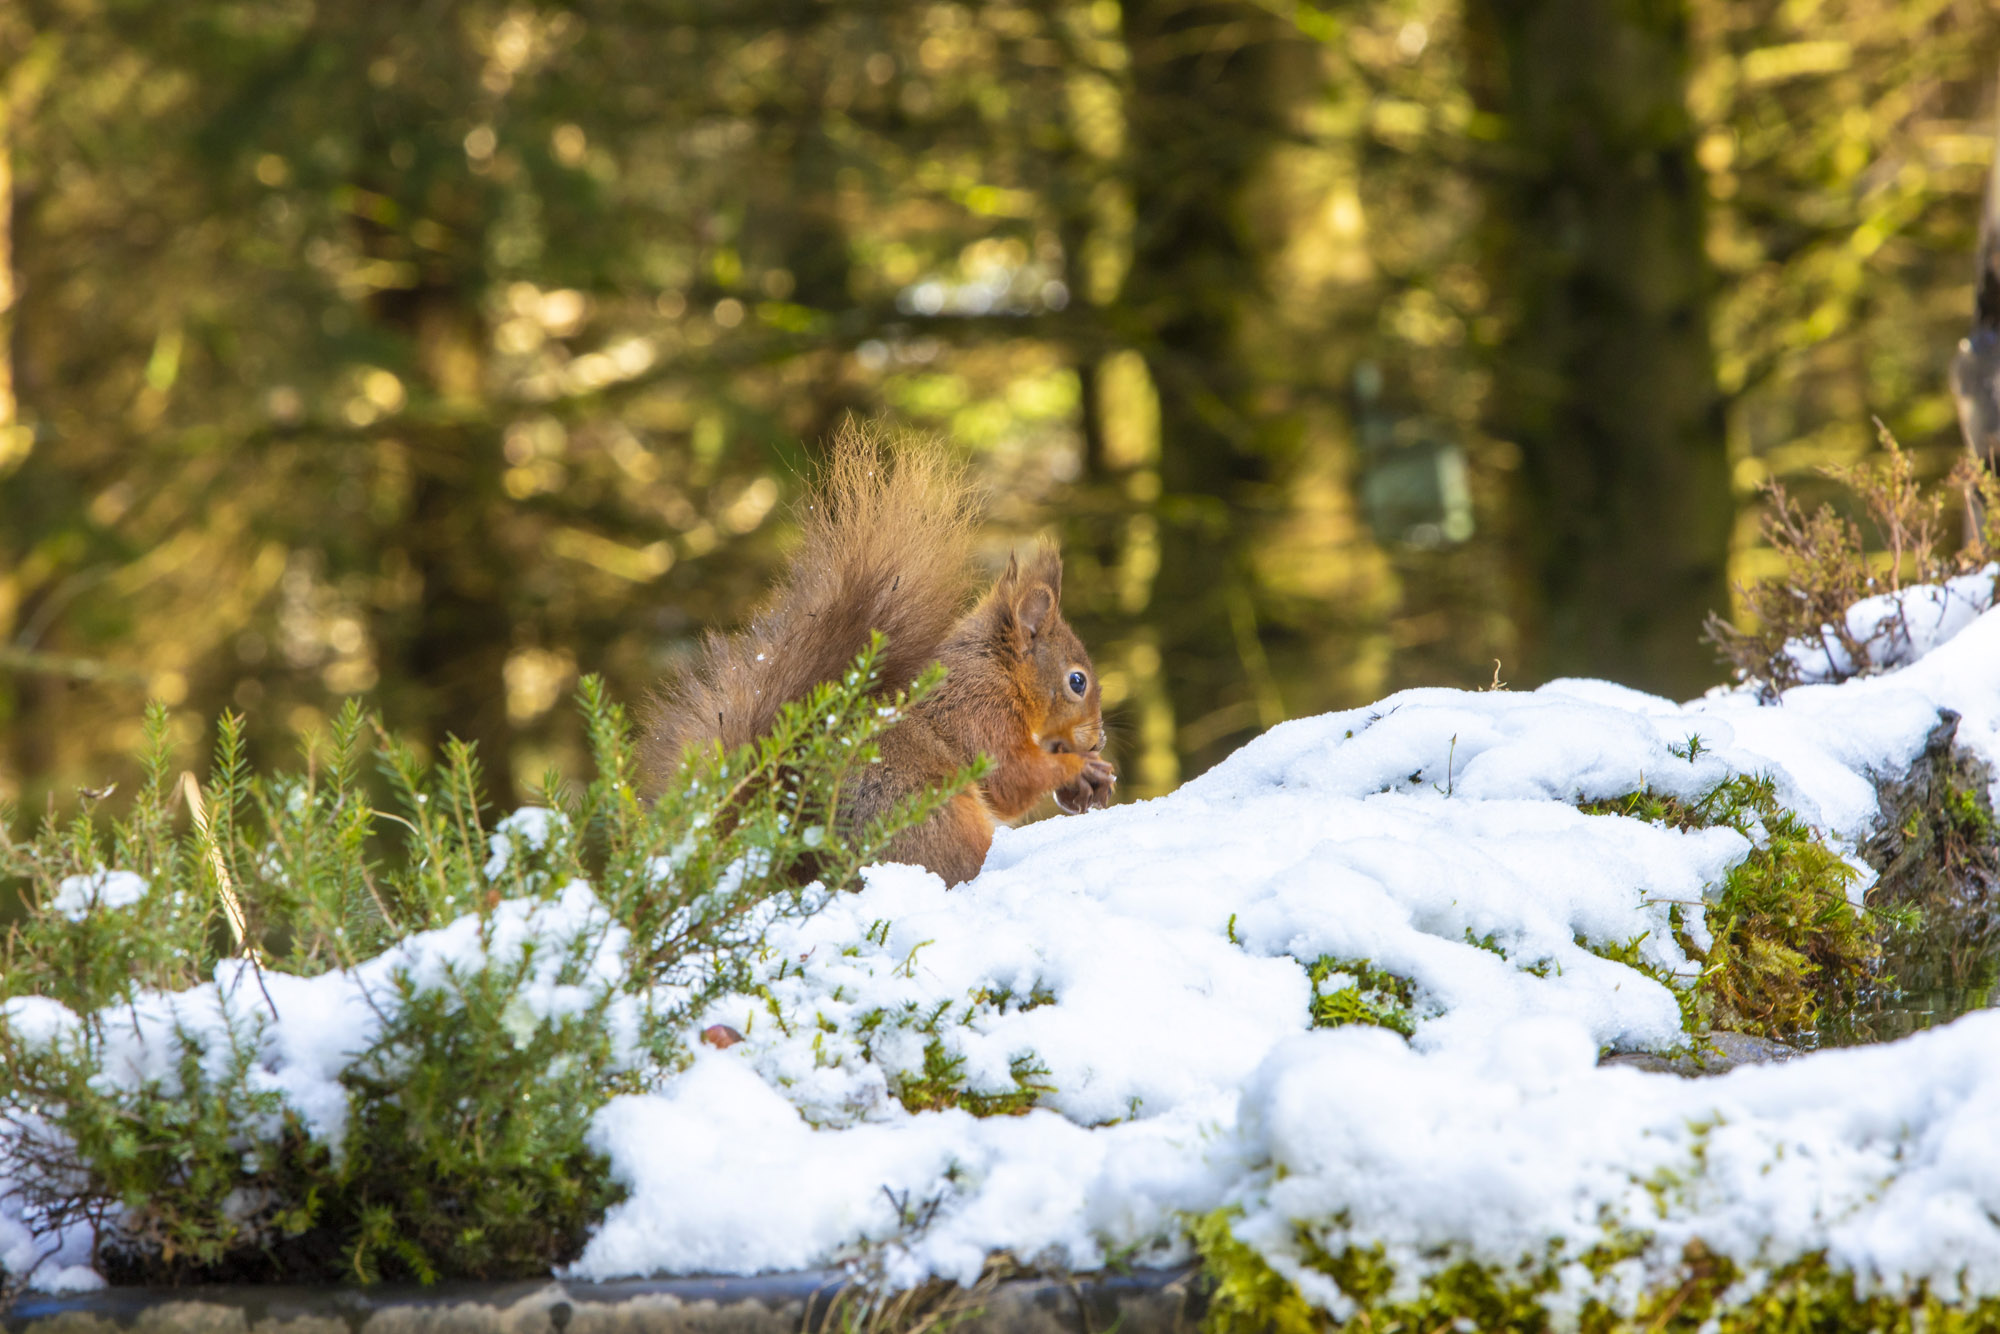
Where you position your subject within the frame can have a big impact on the quality of your compositions. You generally always want to emphasize ‘active’ space – the space that your subject is looking towards or moving into. ‘Dead’ space is the area behind your subject, and including too much dead space rather than active space makes your images look far less engaging.
08 Go for a telephoto prime lens
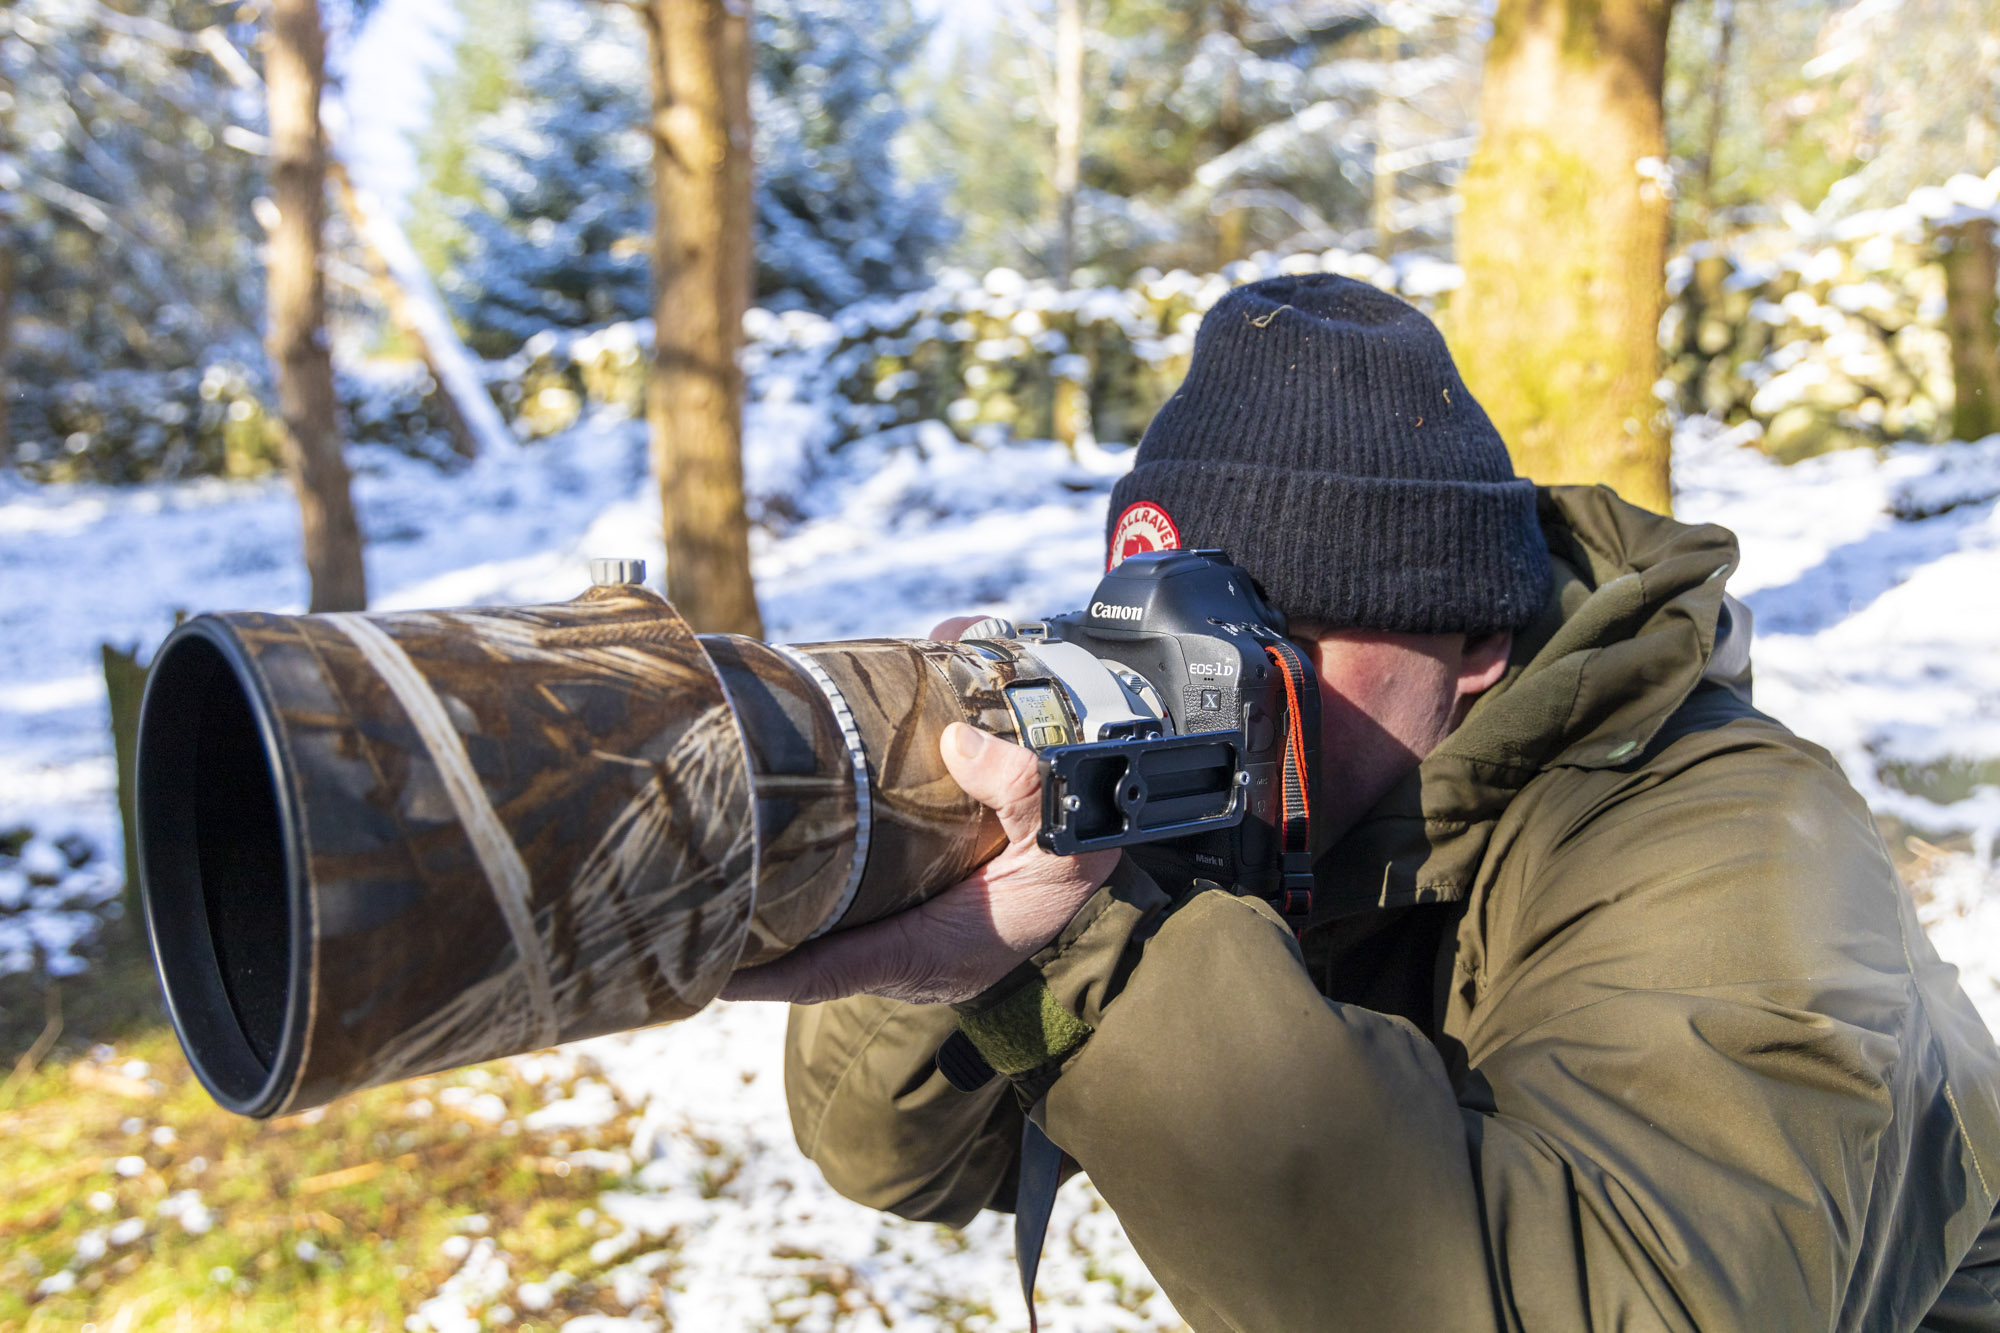
Paul uses long telephoto ‘prime’ lenses, which means they have a fixed focal length and no zoom – so you physically need to get closer or further away from your subject to make it bigger or smaller in the frame. Canon’s L-series primes are generally a better choice than zoom lenses when it comes to optics, image quality and autofocus, as they have less moving parts.
09 Aperture choice
Wide apertures are ideal for animal portraits, as they will enable you to shoot at faster shutter speeds for sharper shots and lower ISO values for better image quality. Additionally, they make it easier to blur your backgrounds so that your subject becomes the clear focal point. This does mean that your focusing needs to be precise to ensure your subject isn’t out of focus.
10 Got animal subject detection? Use it!
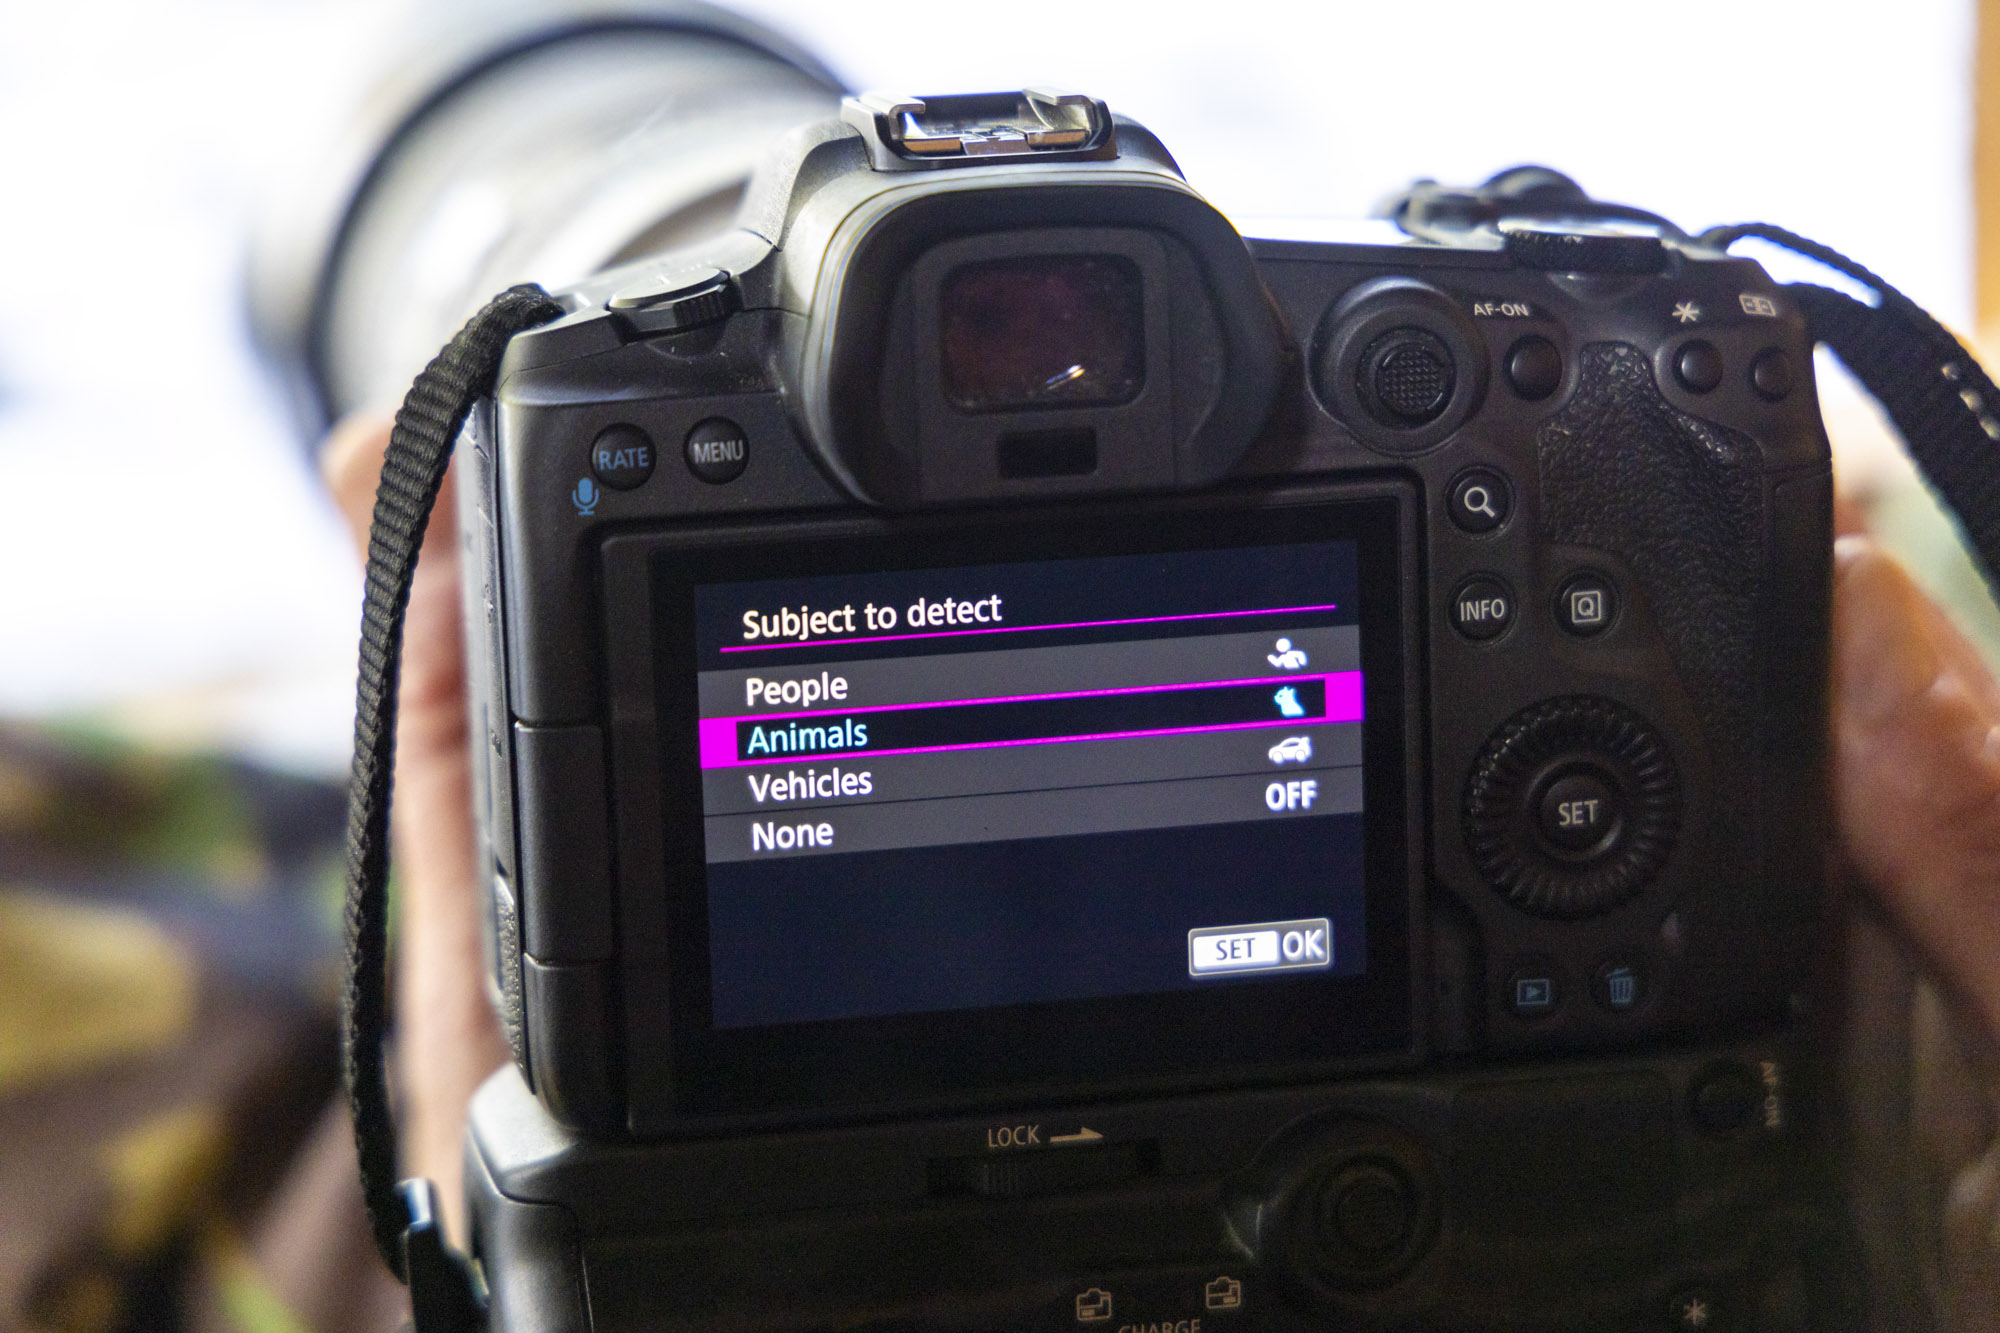
Neil switched on the Animal AF Face Detection on his Canon EOS R5, which makes it a breeze to lock on and continually track to keep focus on the eyes of the red squirrels. This made it easier to achieve in-focus shots of the quickly moving red squirrels and allowed him to concentrate more on camera settings and composition.
Read more:
Best lens for bird portraits
Best camera for wildlife
Photography tips
Canon EOS R5 review
PhotoPlus: The Canon Magazine is the world's only monthly newsstand title that's 100% devoted to Canon, so you can be sure the magazine is completely relevant to your system. Every issue comes with downloadable video tutorials too.
Get the Digital Camera World Newsletter
The best camera deals, reviews, product advice, and unmissable photography news, direct to your inbox!

Deputy Editor on PhotoPlus: The Canon Magazine, Dan also brings his technical wizardry and editing skills to Digital Camera World. He has been writing about all aspects of photography for over 10 years, having previously served as technical writer and technical editor for Practical Photography magazine, as well as Photoshop editor on Digital Photo.
Dan is an Adobe-certified Photoshop guru, making him officially a beast at post-processing – so he’s the perfect person to share tips and tricks both in-camera and in post. Able to shoot all genres, Dan provides news, techniques and tutorials on everything from portraits and landscapes to macro and wildlife, helping photographers get the most out of their cameras, lenses, filters, lighting, tripods, and, of course, editing software.
