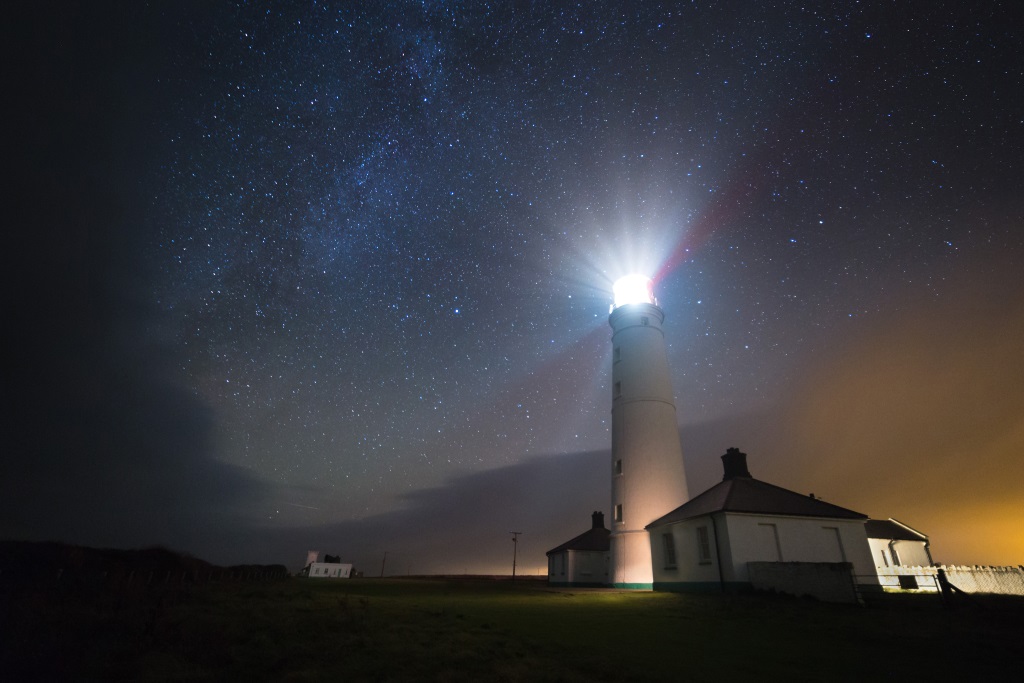
Have you ever photographed the stars at night? When you’re in a remote location, far from bright city lights, it’s incredible how much of the starry night sky you can capture at night.
Astrophotography can be truly rewarding when you’re using the right camera techniques to capture these starry skies and the surrounding night scene, but where do you start? Here are ten tips to help you see stars in your eyes.
Subscribe to PhotoPlus: The Canon Magazine and you'll get more inspiring Canon DSLR photography techniques just like this every month, plus a free video disc. To sign up for yourself, or that special Canon photographer in your life, subscribe today and save over 40%
1. Wrap up warm
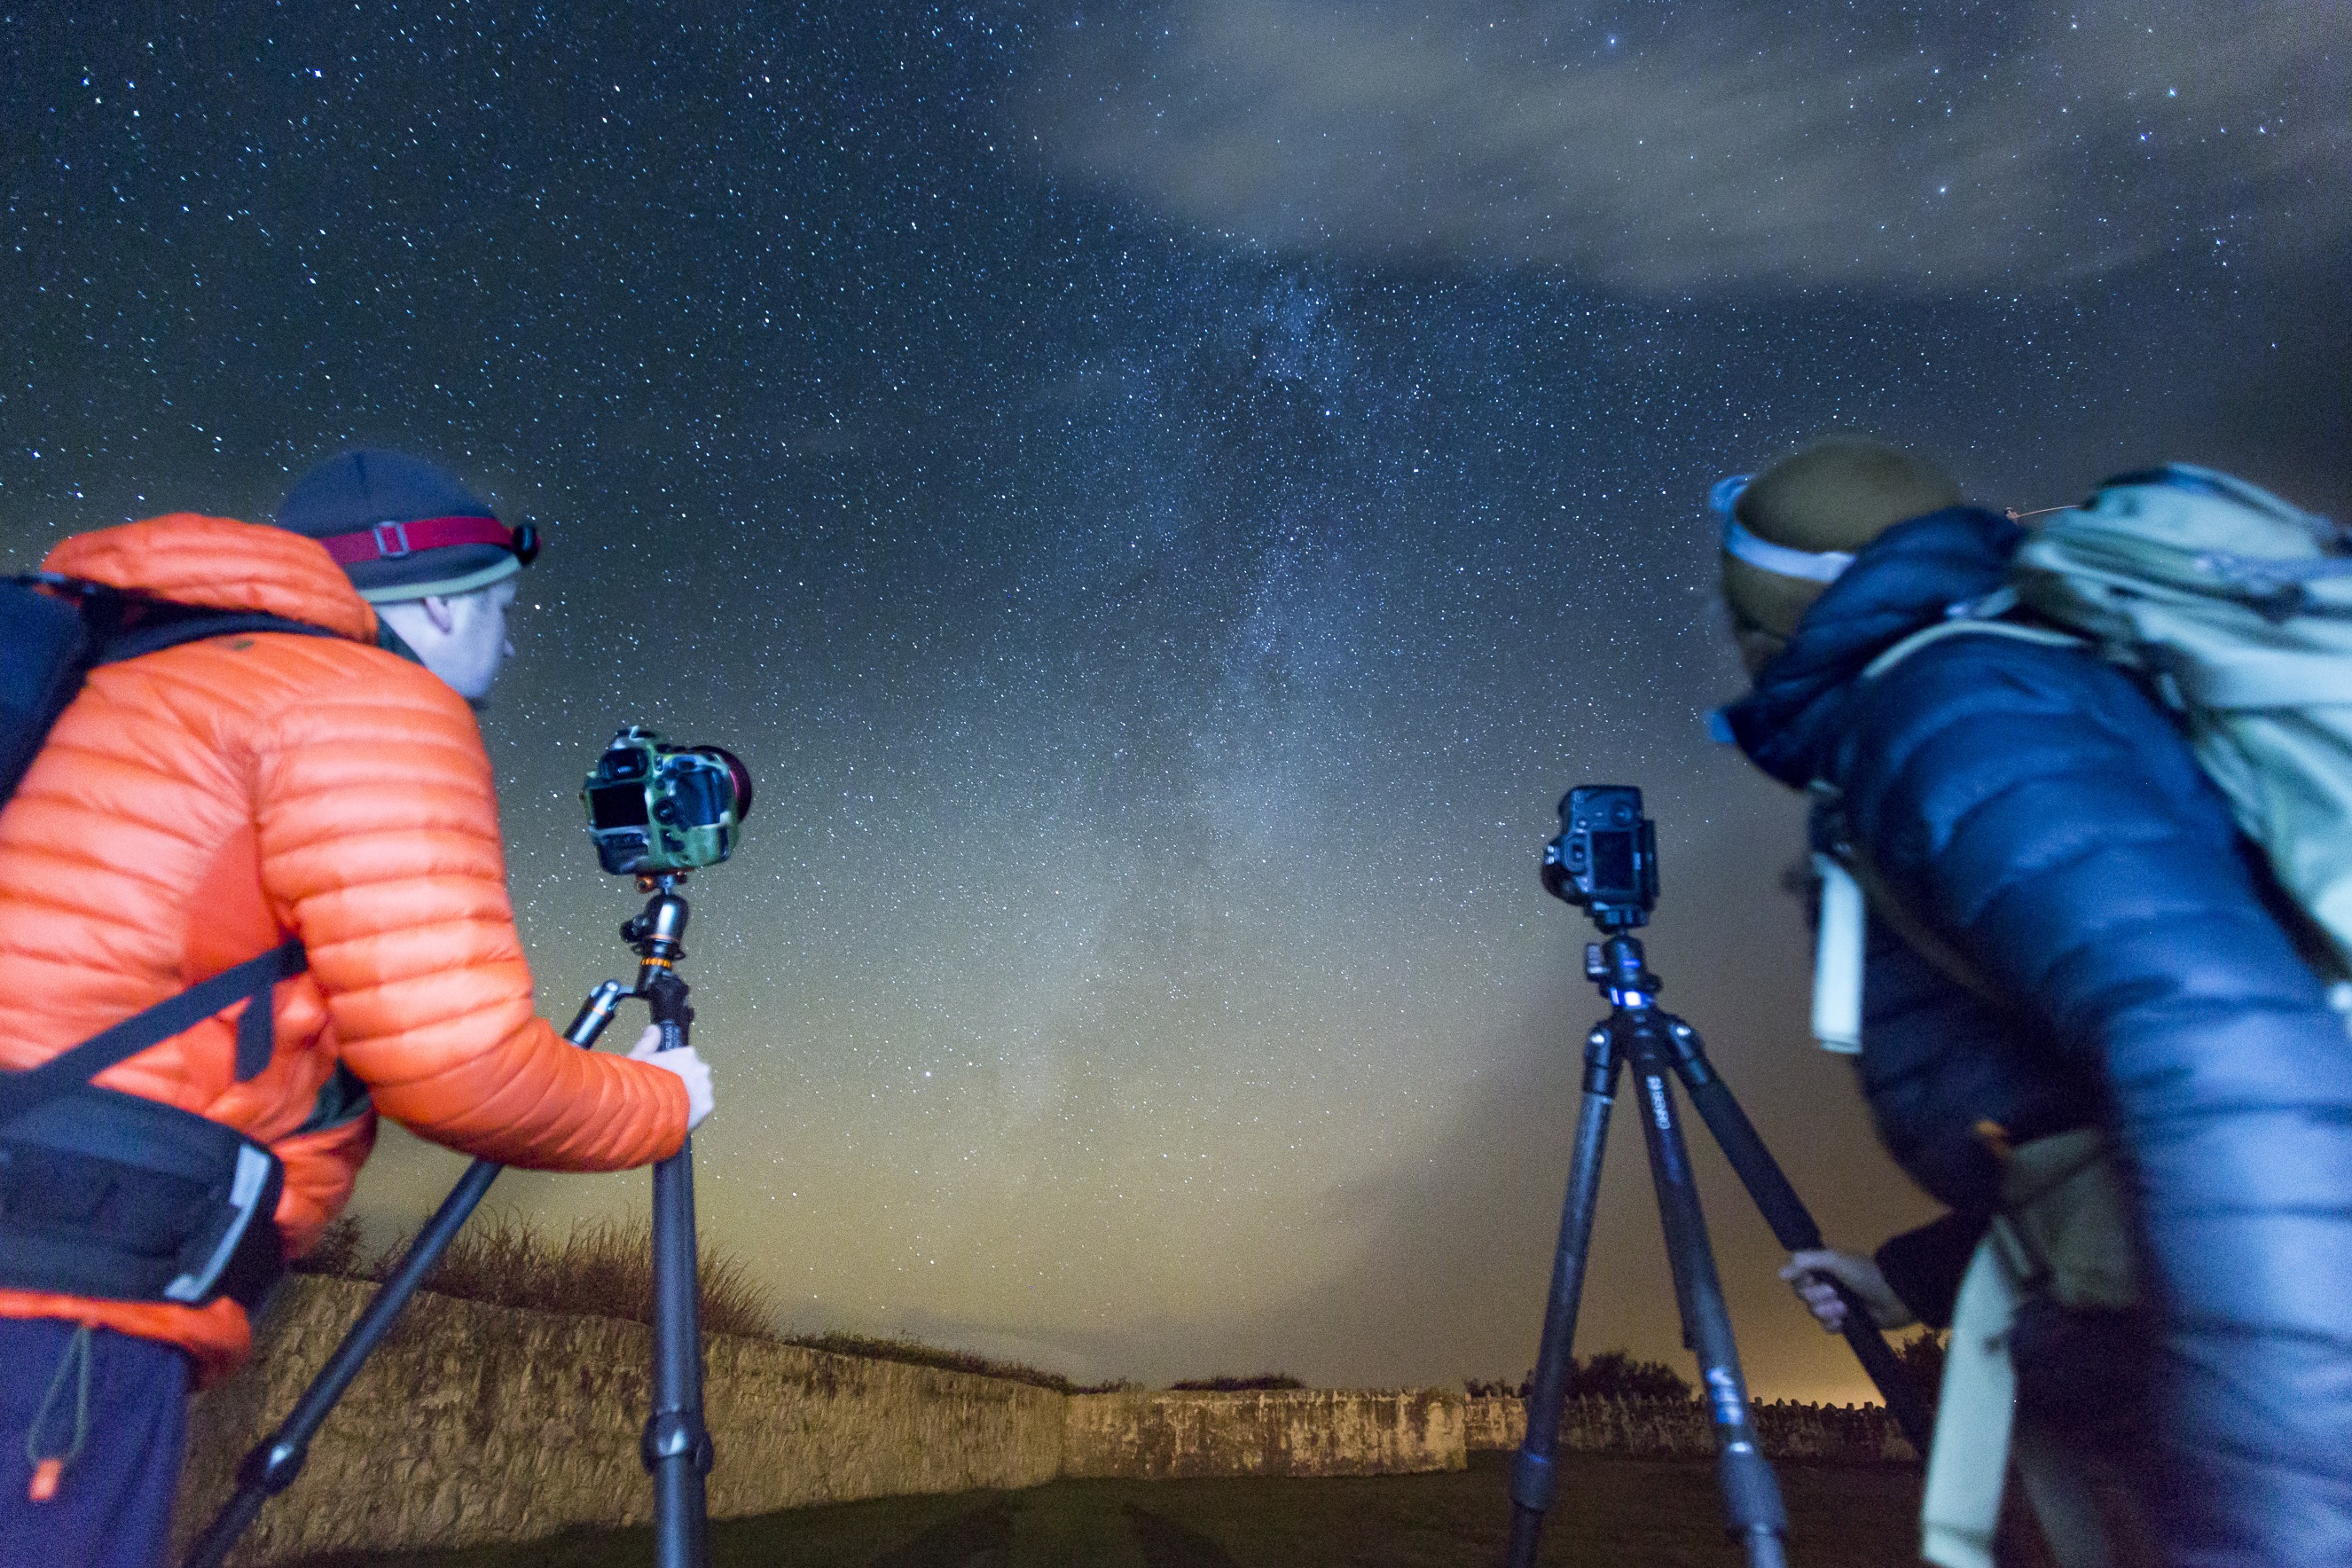
Temperatures can drop very quickly on cloudless nights, so it’s important to wrap up warm. The less you’re worried about the cold, the more you can focus on being creative.
2. Go wide and fast
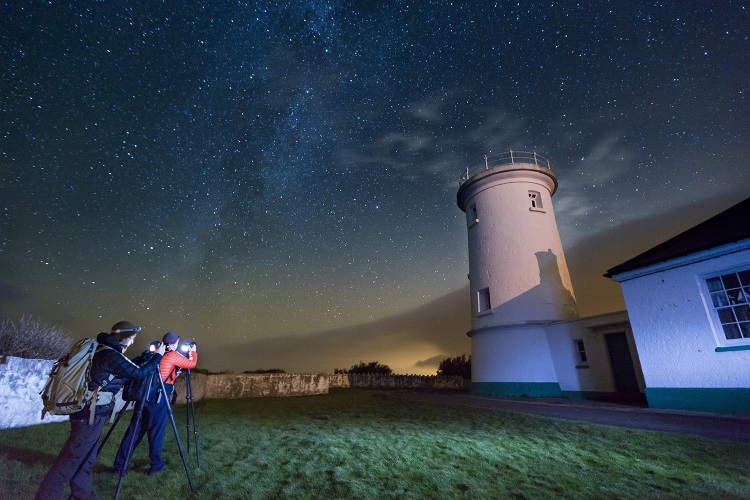
A wide-angle is the best lens for astrophotography as it will allow you to take in as much of the wonderful night sky as possible, while adding compositional interest by including some landscape based foreground features.
The faster the aperture, the better on your lens. An aperture of f/4 is a good start, but if you really want to get the most out of the Milky Way you’ll need a wide-angle lens with a maximum aperture of at least f/2.8.
3. Push your camera to its limits
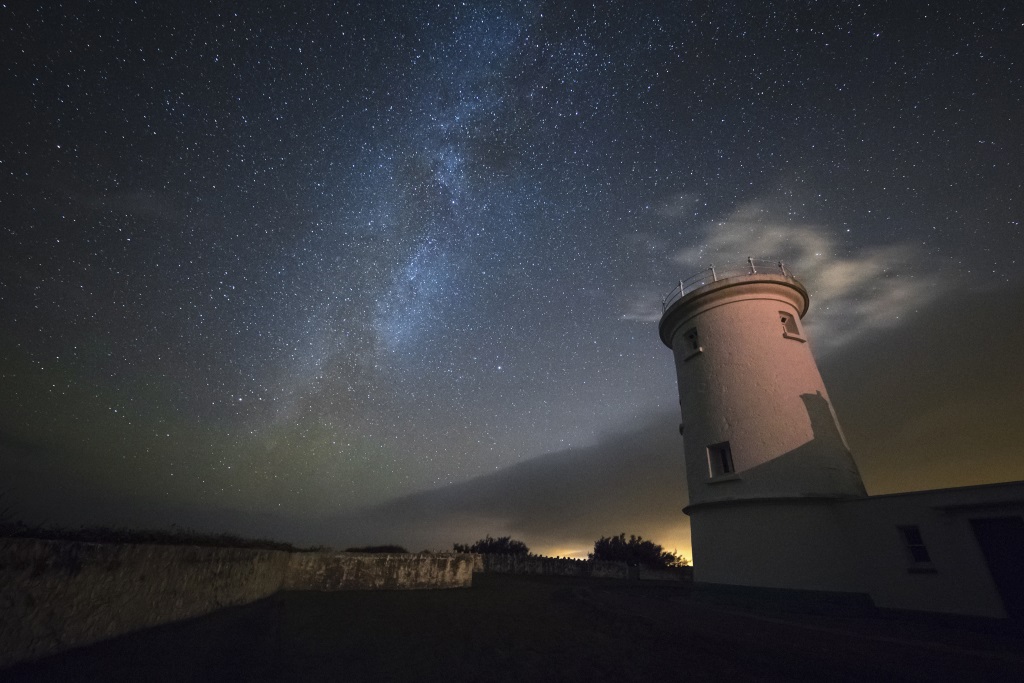
You don't want to use too low an ISO as you need to get a fast enough shutter speed to capture stars as start, rather than trails. Too high, however, and you'll introduce too much noise. ISO 3200 is a good place to begin. Try setting this with an aperture of f/2.8 and a 30sec shutter speed to begin with.
4. Don’t shake the camera
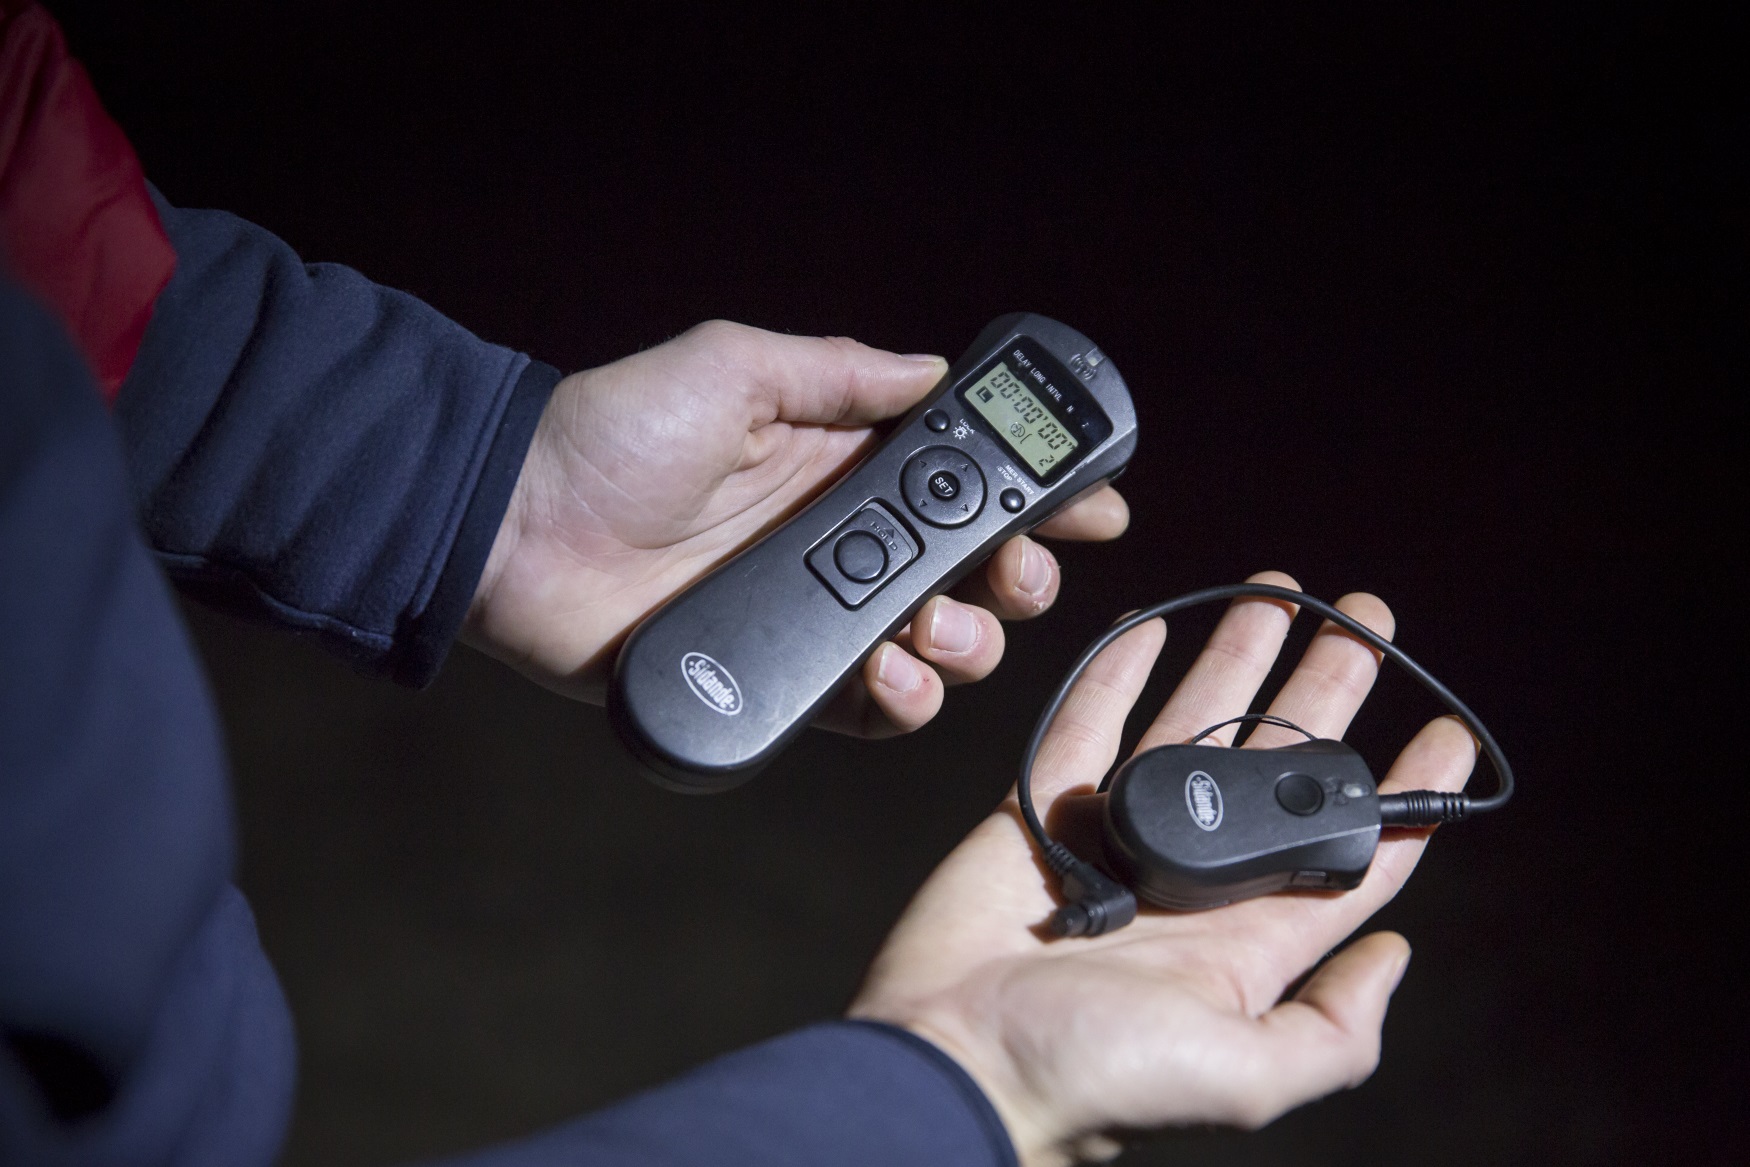
Make sure your tripod is level and sturdy and use a cable shutter release to fire the button. If you don’t have a shutter release, use a 2-second delay.
Read more Best camera remotes
5. Take a headtorch
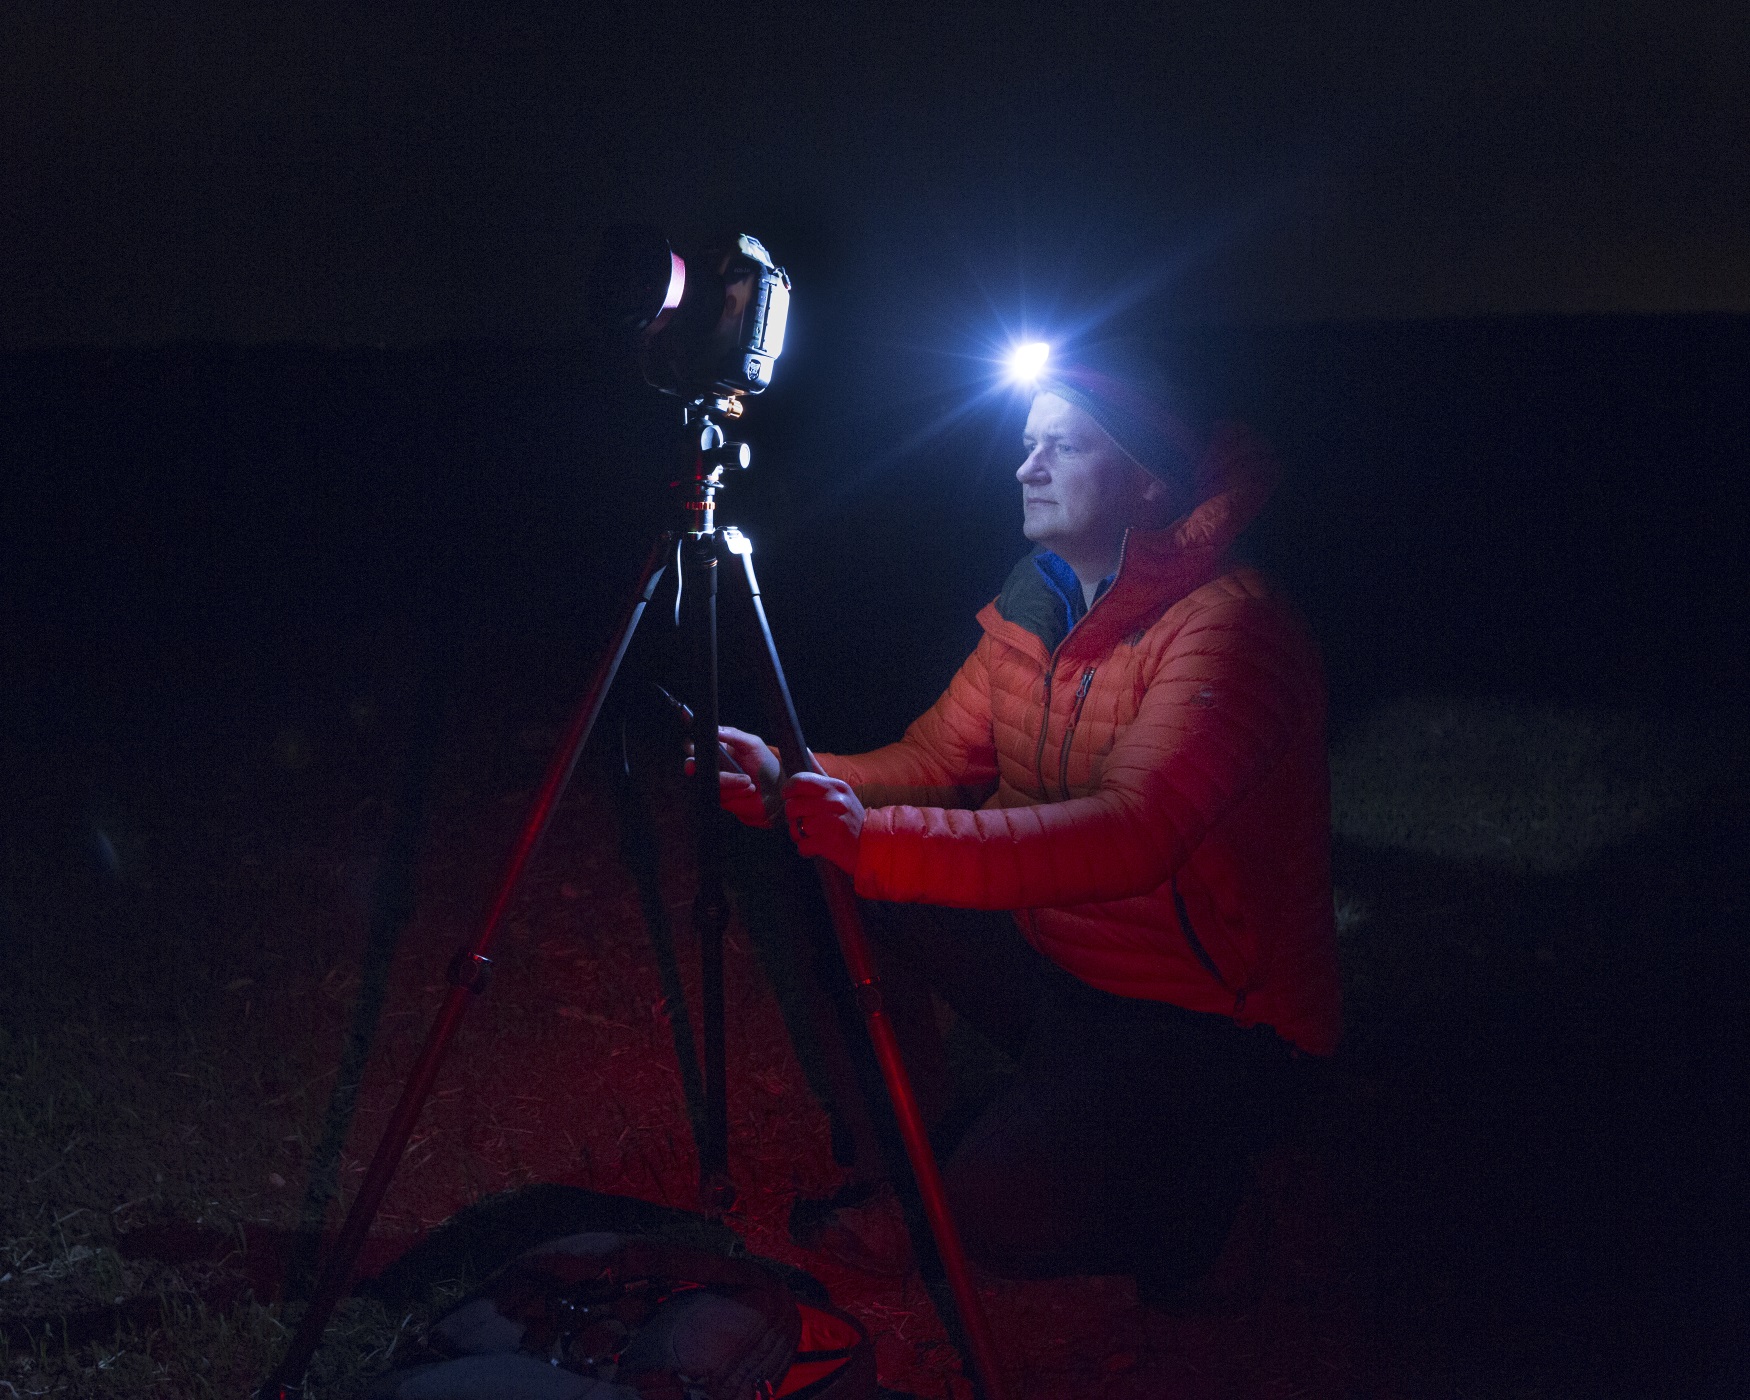
It’s going to be dark! Using a headtorch will also leave your hands free to fiddle with the buttons and settings. You can also use it to light-paint your foreground.
Read more: Choosing the Best head torch
6. Know your location
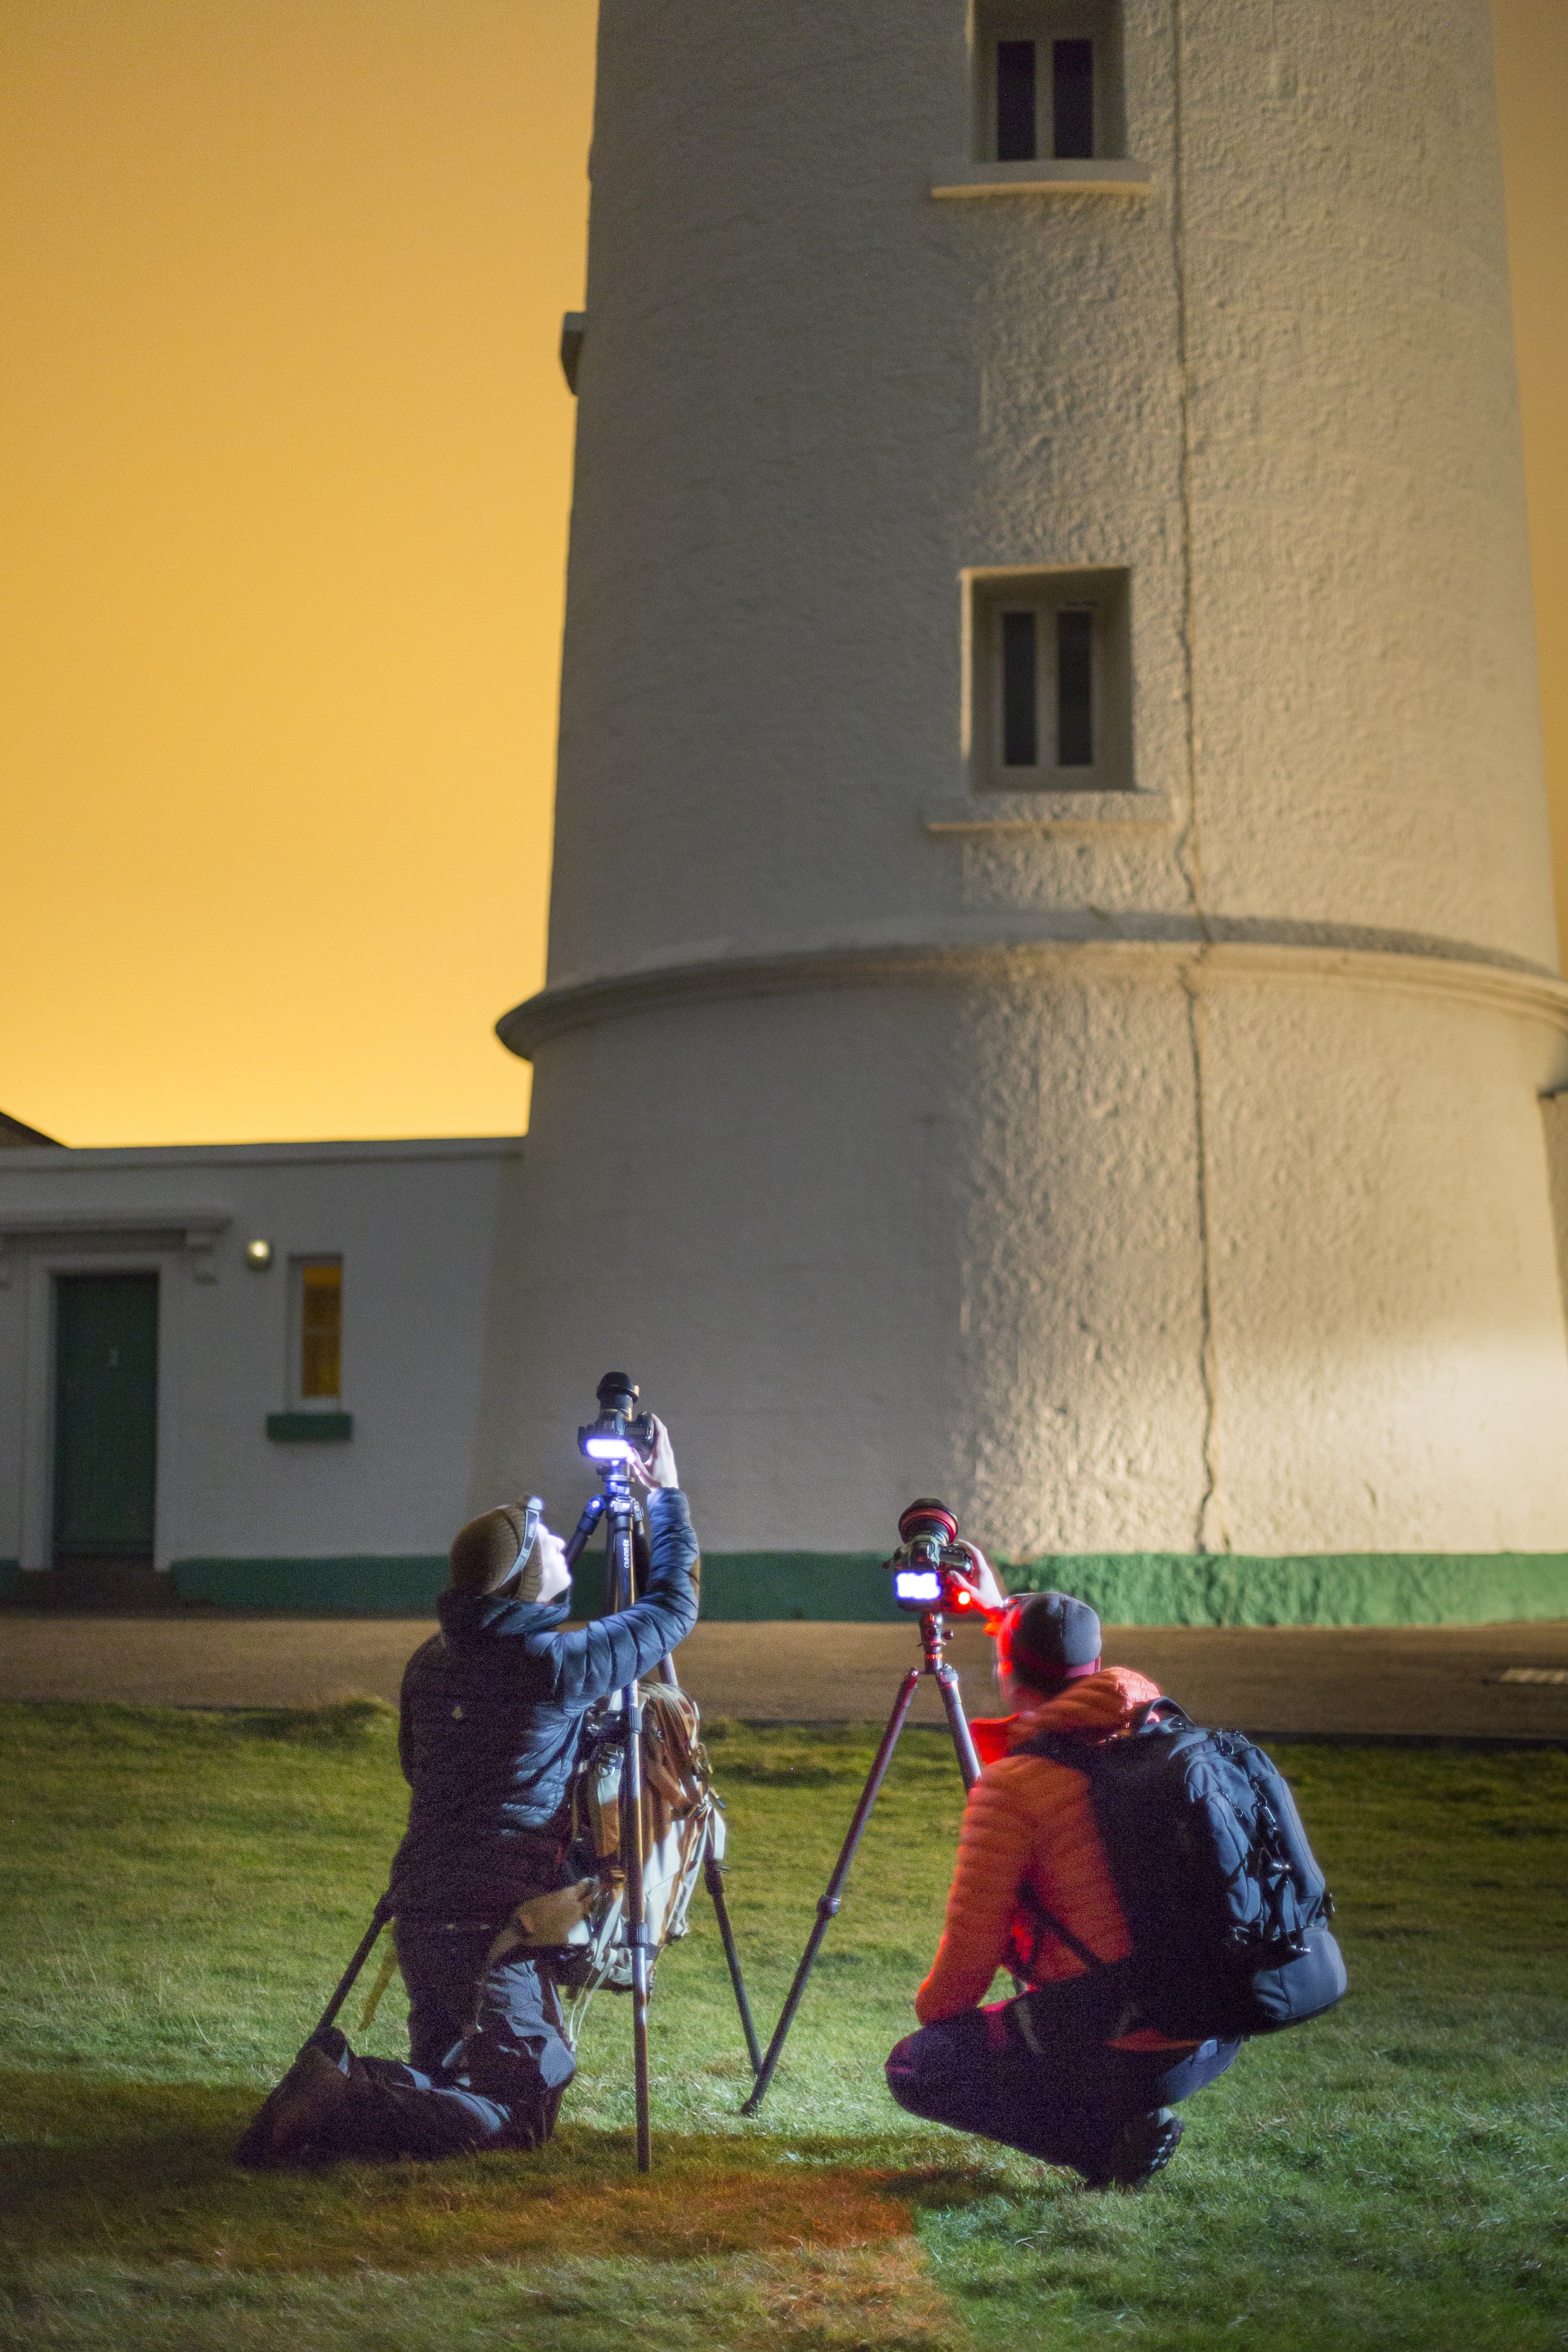
Composing in the dark can prove quite difficult and time-consuming. Go to a location you know well, or first scout it out while it’s still light.
7. Use the 500 rule
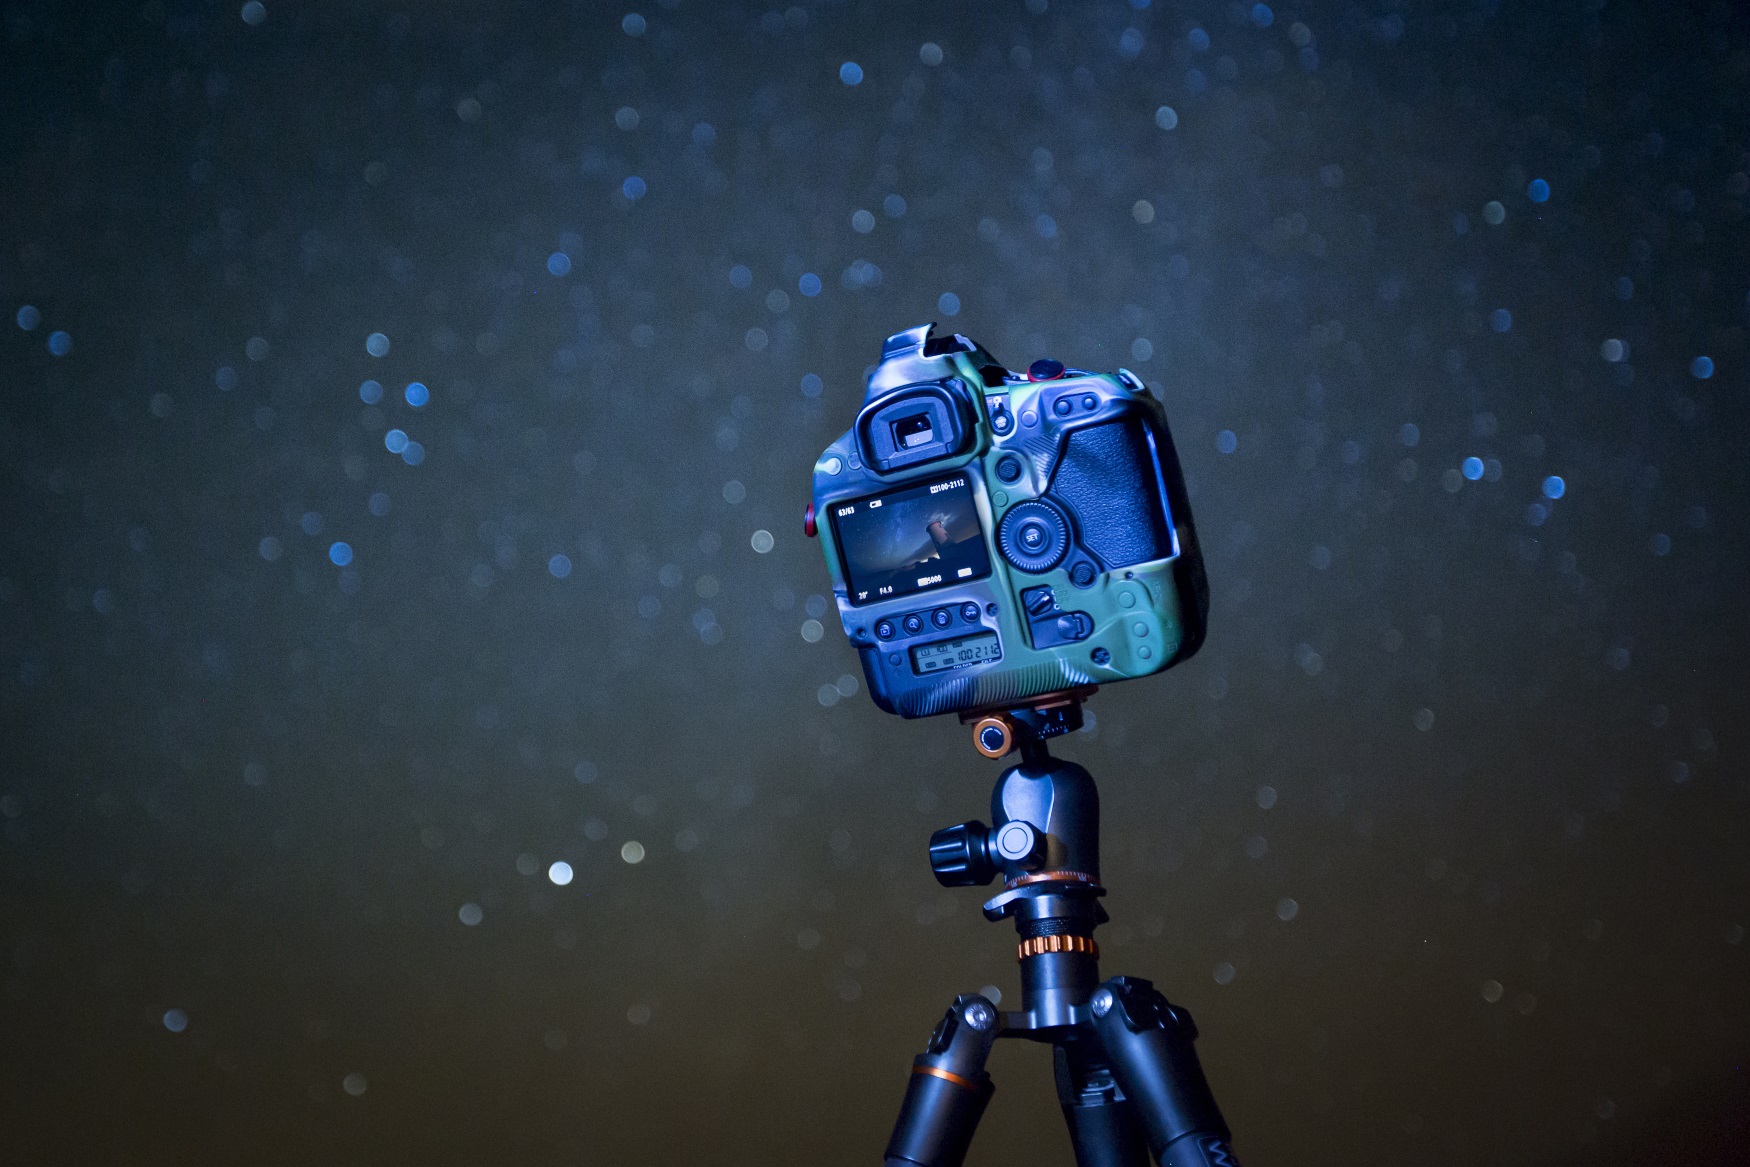
If you expose for too long, the stars will create light trails as the Earth rotates. Use the 500 rule to find your maximum shutter speed: simply divide 500 by your focal length (using an alternative 300 rule for crop cameras). Using a 16mm lens on a full-frame DSLR, this is 500/16, which equals 31 secs. The wider your lens, the longer your exposure can be, which is great as you'll get getting more light on your sensor! Using an ultra wide-angle full-frame Canon EF 11-24mm f/4L USM lens means you can shoot for 45 secs (500/11).
8. Blending exposures
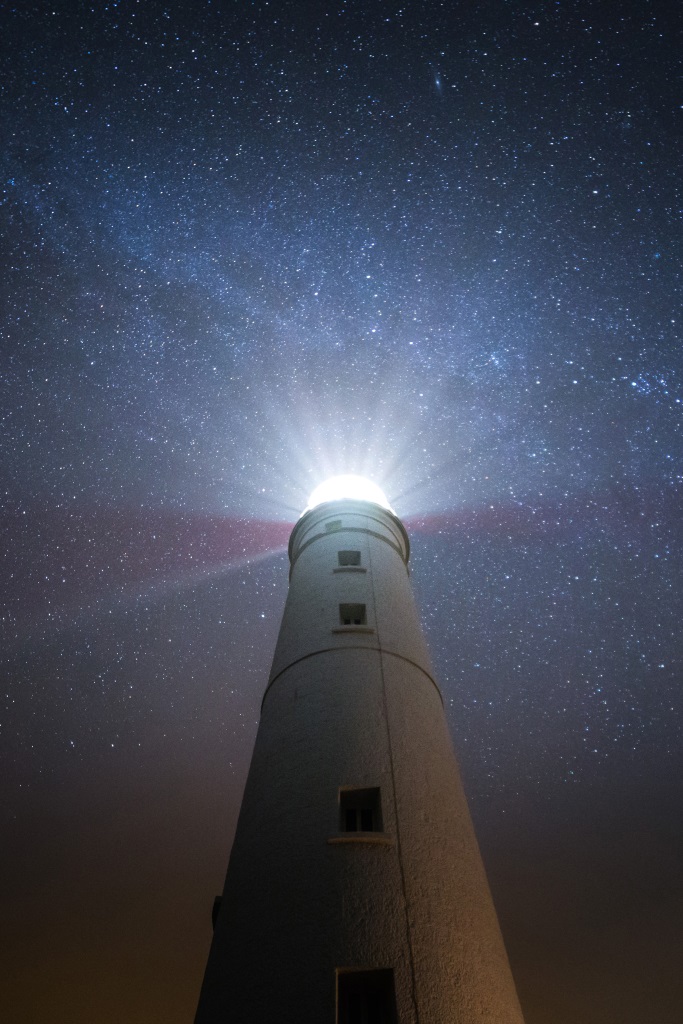
If your foreground is too dark, try a longer exposure of multiple minutes at a lower ISO, before blending it in using layer masks in Photoshop.
9. Check your histogram
When you’re out in the dark, the image preview on the back of the camera will be super bright. Check your histogram to make sure you’re exposing correctly.
10. Get rid of that noise
High ISO settings result in noisy images. Photoshop and Lightroom’s built-in noise reduction does a great job of smoothing out the noise and making your images more aesthetically pleasing.
Read more great articles like this in PhotoPlus: The Canon Magazine
Read more
Best lenses for astrophotography
Astrophotography: How-to guides, tips and videos
Best light pollution filters
Get the Digital Camera World Newsletter
The best camera deals, reviews, product advice, and unmissable photography news, direct to your inbox!
PhotoPlus: The Canon Magazine is the world’s only 100% Canon-focused title on the newsstand. Launched in 2007, for 14 years it has delivered news, reviews, buying guides, features, inspirational projects and tutorials on cameras, lenses, tripods, gimbals, filters, lighting and all manner of photography equipment.
Aimed squarely at enthusiast photographers who use the Canon DSLR or mirrorless camera systems, all content is tailored to Canon users – so everything from techniques to product tests are tailored to those using the EOS camera system.
Editor Peter Travers brings 14 years of experience as both a journalist and professional photographer, with Technique Editor Dan Mold shoring up the magazine with his 6 years of expertise.

