10 steps to better photos (and videos) with your camera drone
Capturing images from above can be unfamiliar, but these 10 steps will help improve your camera drone photos and videos
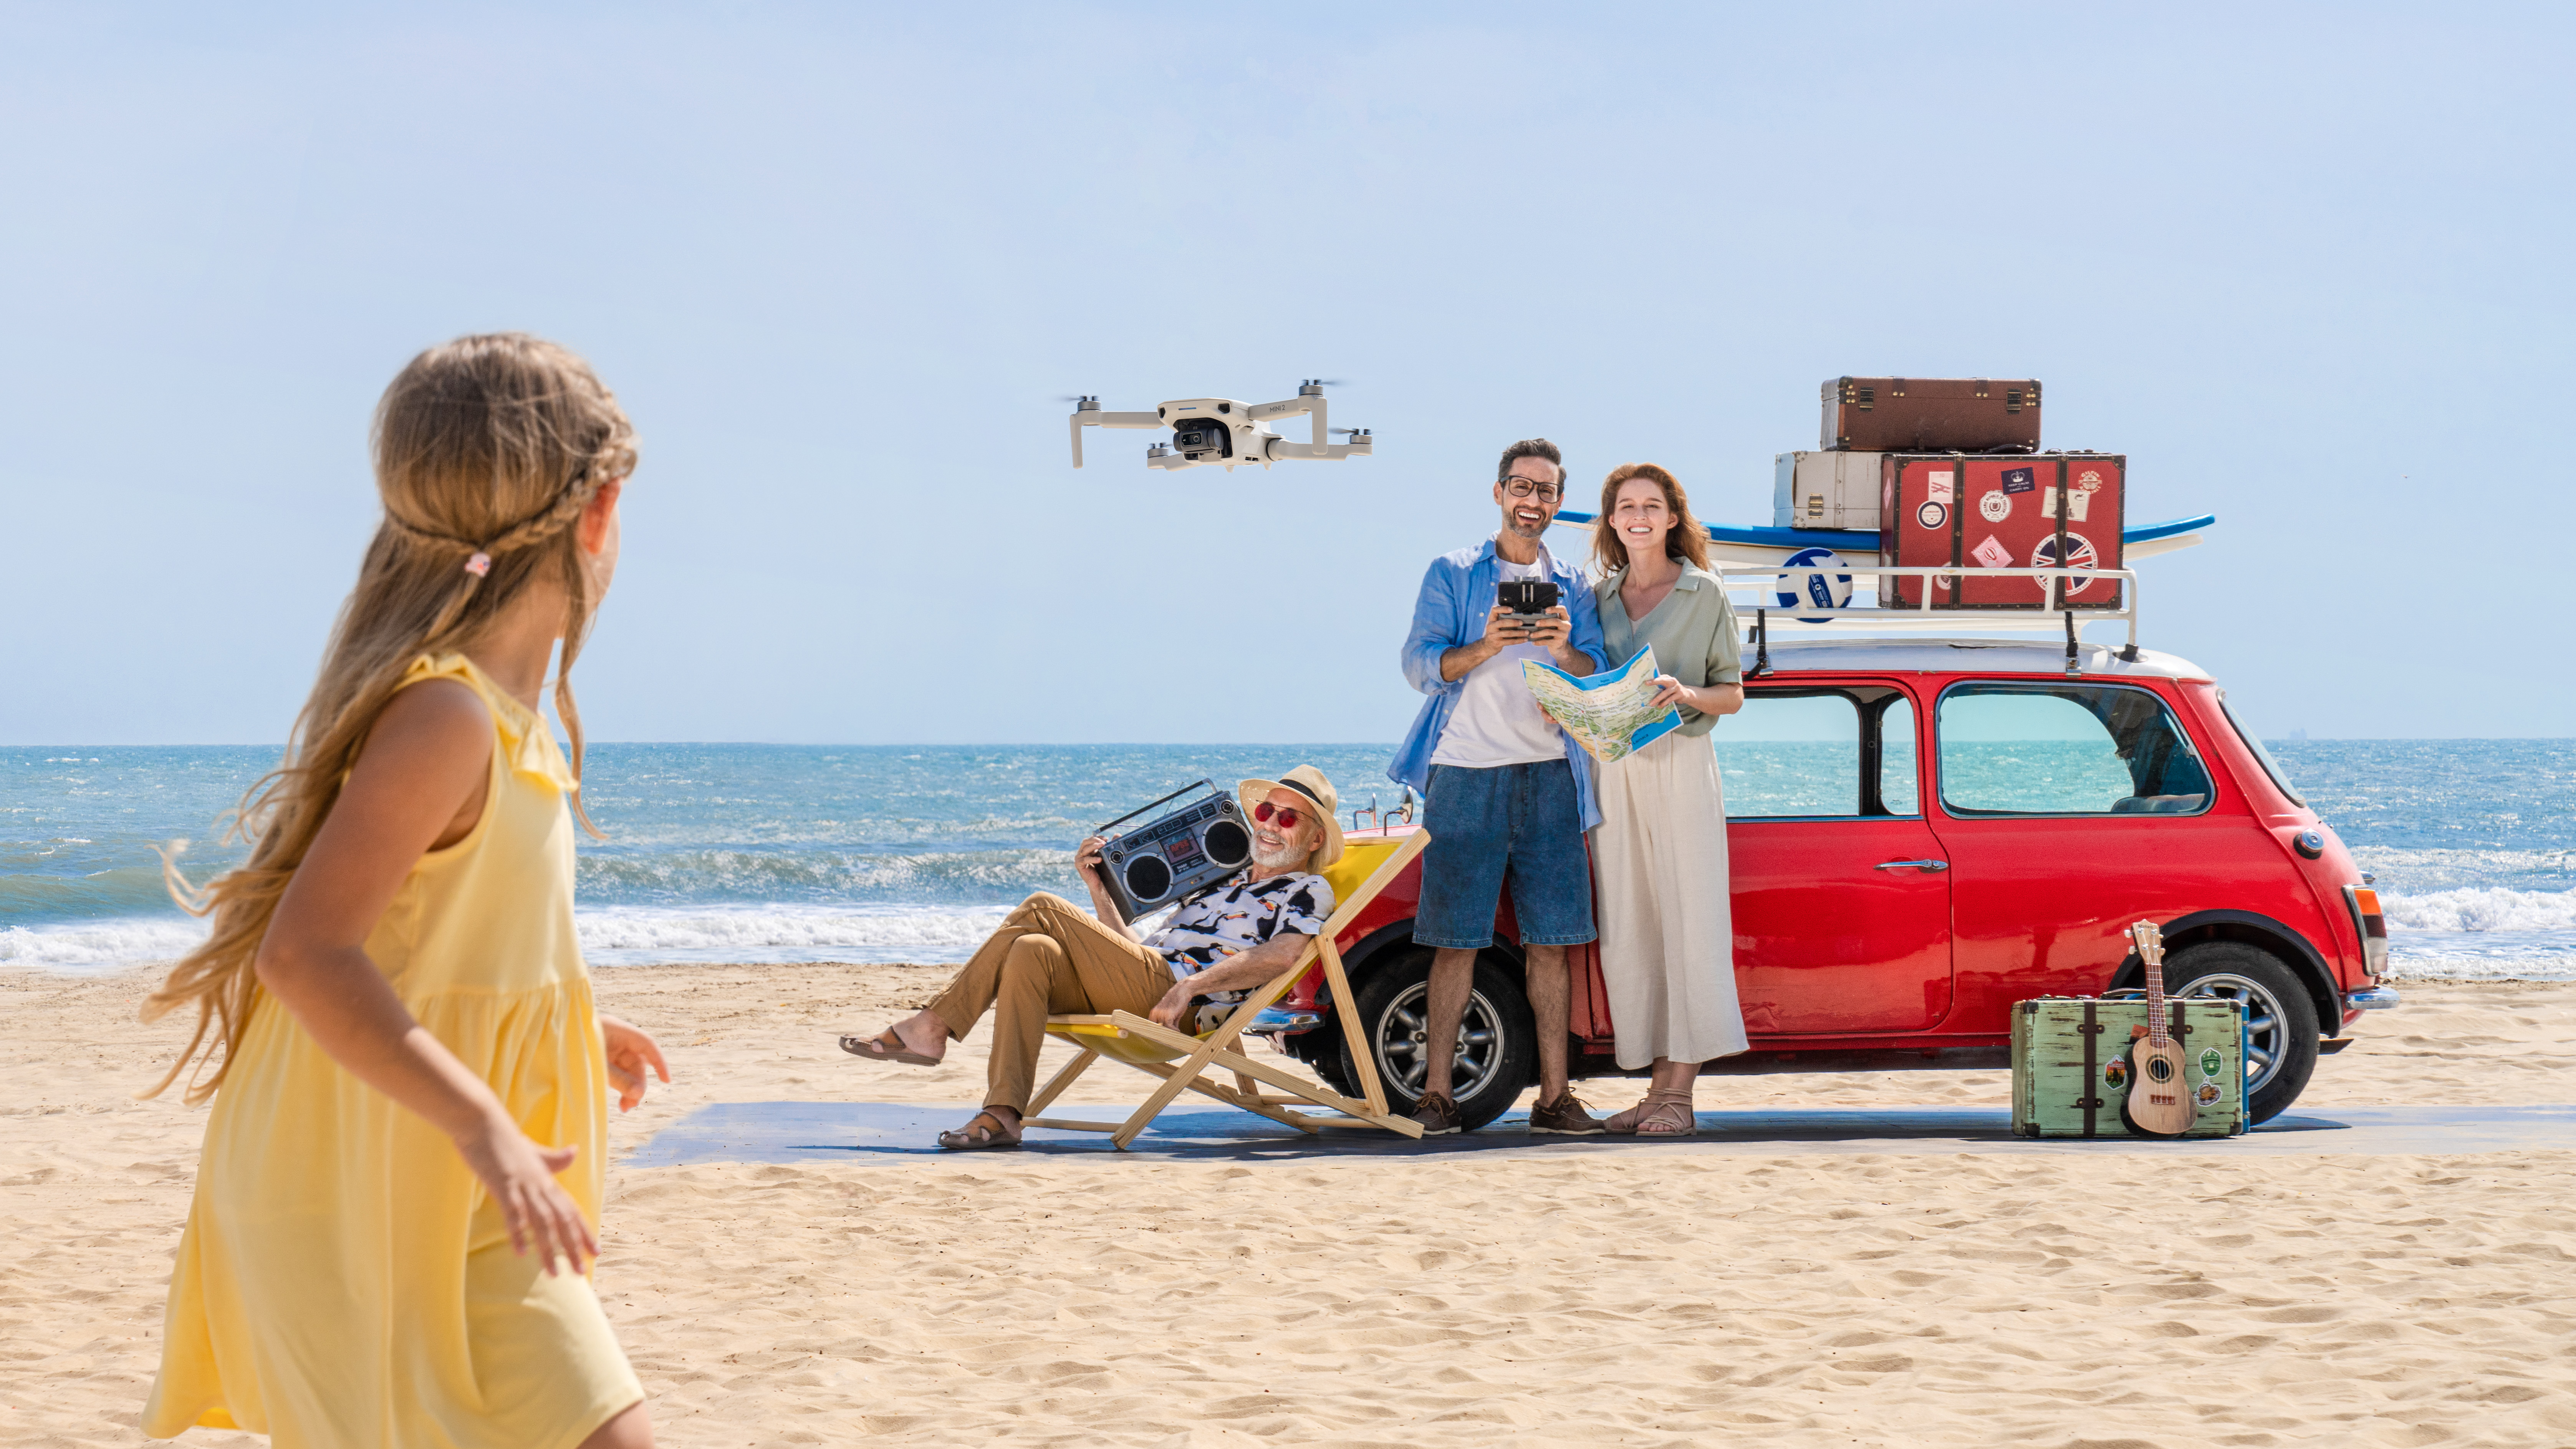
We’re going to go out on a limb here and assume, if you’re want to get good imagery with a portable aircraft, you’ve got yourself one with a remote control which has a screen built in or borrows that of your phone. If you’re trying with a toy and can’t see where you’re shooting then we admire your ambition but you might want to read our Best camera drones list first – the tech needed to capture striking images needn’t cost the earth.
Here are three rules and seven tips that will take your drone photography to fresh heights:
Rule 1: Be a pilot first, then a creative
We’ve seen a lot of enthusiastic photographers take their drone up for the first time, gingerly at first, then very quickly get far too enthusiastic with the controls – quite probably because of the rapidly changing view on the screen. The result is nearly inevitable; fly beyond your ability to see the aircraft and you’ll be left able to feel the controller in your hand (and the dent in your wallet) and you’re going to panic.
If this does happen, hit the ‘return to home’ button and you should be fine. Better, though, to avoid such a thing. Get a few practice flights in and familiarise yourself with the controls. If your drone has a ‘Normal’ speed setting, start there, but don’t push the sticks all the way at first.
Once you’ve got the hang of the flight basics, add the camera controls to your repertoire so you won’t waste time. Discover the settings lock function so you can shoot video without auto mode changing things mid-shot, but remember not to leave it on too long. It can be tempting to just leave the camera rolling but that can fill up cards fast and will produce less considered results you’ll regret later (we know…).
Rule 2: Visualize before you take off
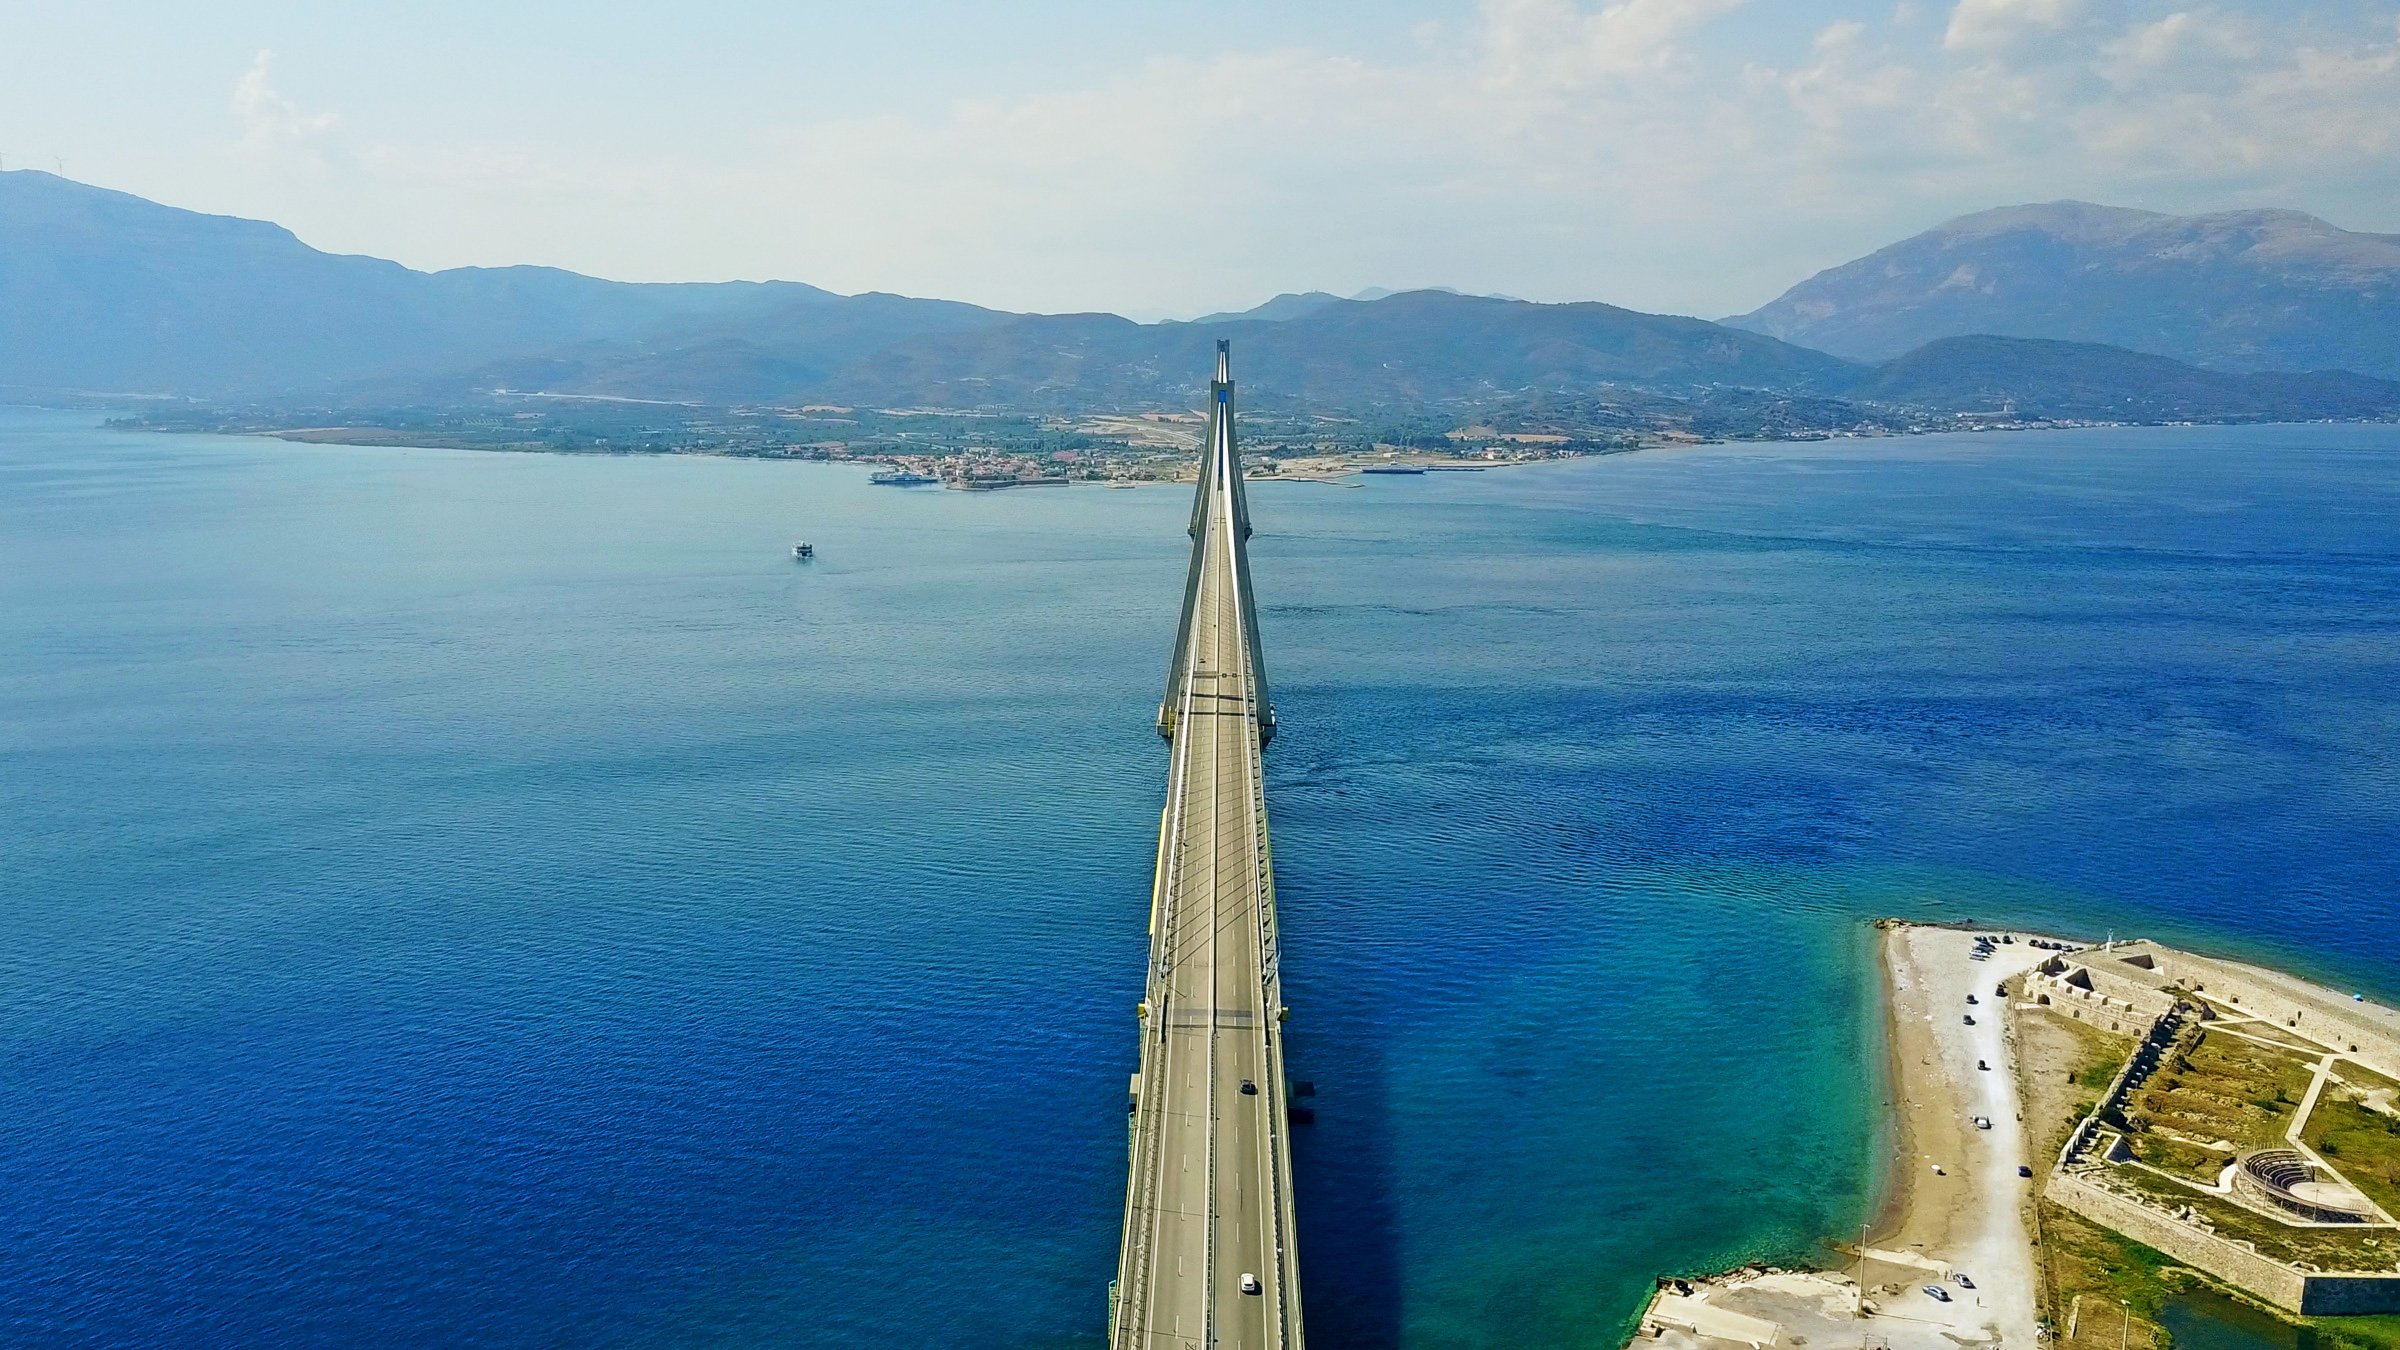
There are a couple of reasons for this; firstly even with the best drones flight times are limited – in fact some of the more professional ones with heavier lenses manage less time aloft – so it’s a good idea to have an idea where you’re planning to go. Secondly some shots will require permission to be sought in advance, for example crossing a highway, so no matter how interesting a view you might get it might require a bit of planning. An extra tip from experience – if you do spend the time seeking approval, don’t squander it by flying slightly too high and, as a result, missing the opportunity to emphasize the size of the bridge pylons. You know, for example.
Rule 3: Don’t be a manual mode snob
A lot of drones come with semi-autonomous shooting which can track a subject, orbiting them and keeping the camera on them as the drone moves. DJI call these ‘QuickShots.’ Many photographers instinctively feel this kind of assistance is akin to cheating in some way, but the truth is that if you’re getting something which looks good, your viewers aren’t going to question it. Moreover, it isn’t like there aren’t creative controls with these features – you are choosing altitude, distance from subject and so on and merely letting the AI avoid making accidental wobbles of the finger.
The best camera deals, reviews, product advice, and unmissable photography news, direct to your inbox!
Just as we would never argue against the benefits of understanding how aperture, shutter and ISO work together, it’s usually preferable to shoot in shutter priority or aperture priority.
Tip 1: Stay Low
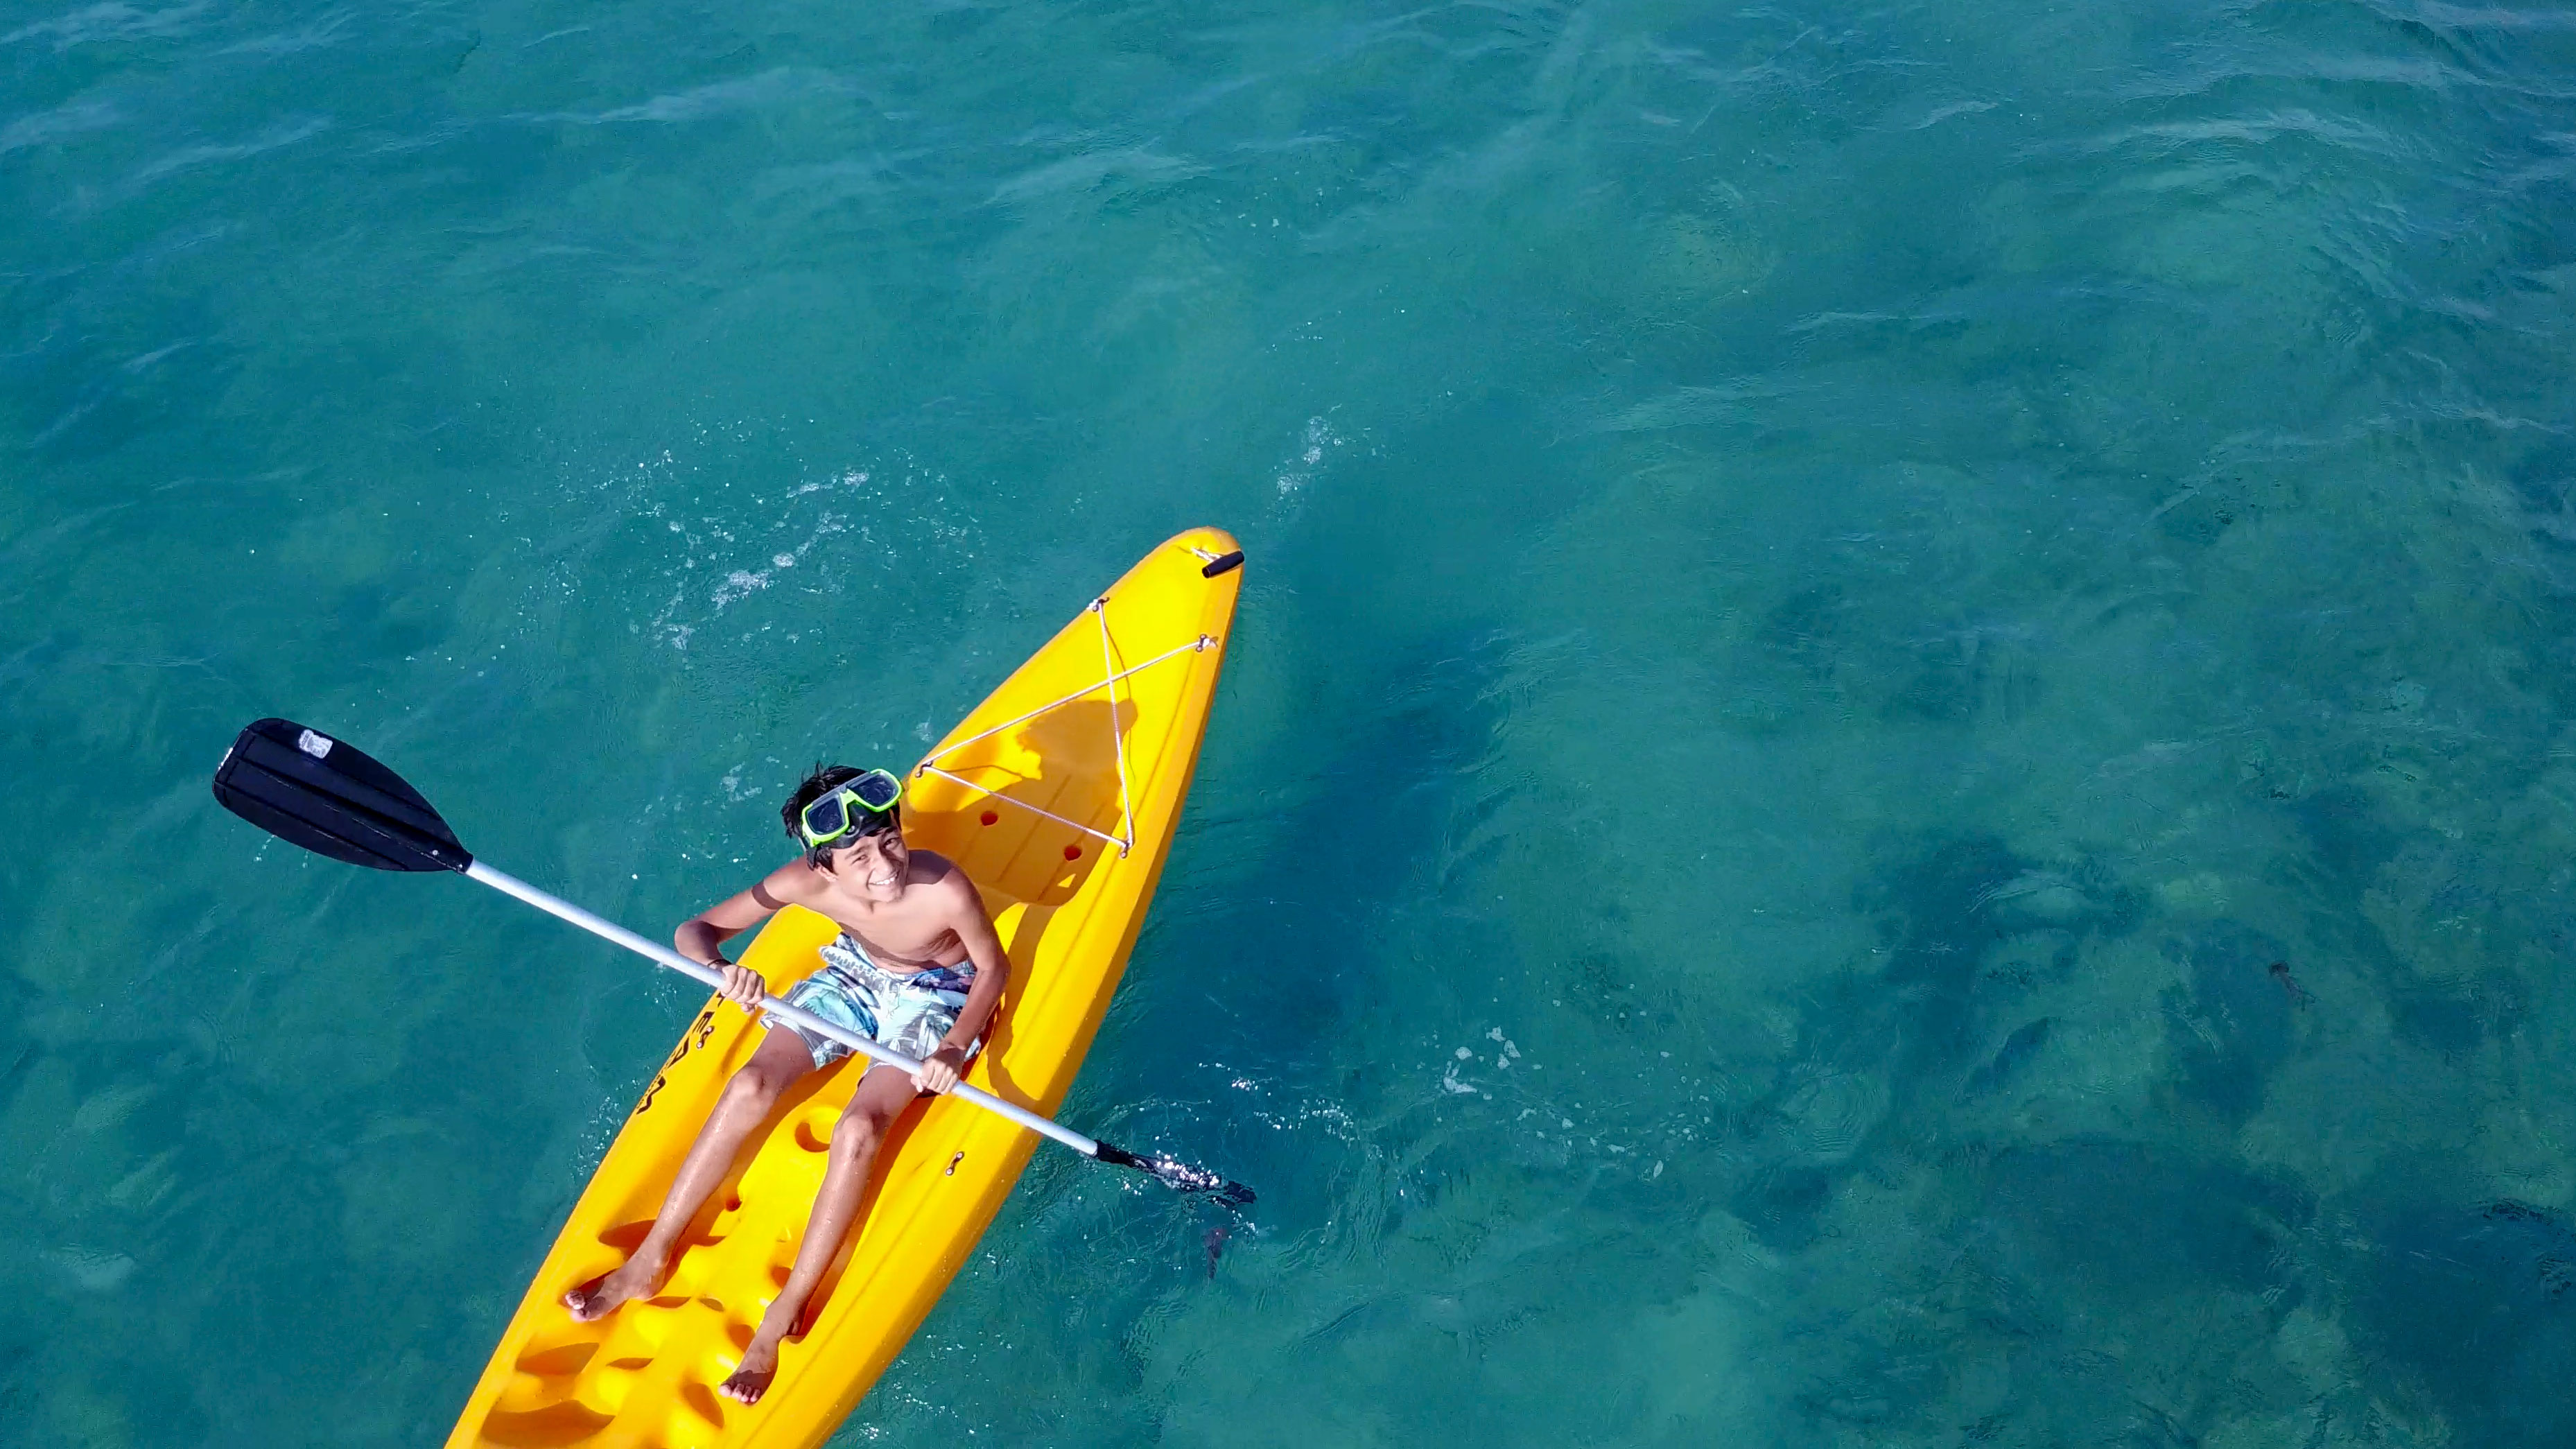
Not every drone shot needs to be, or should be, taken from the legal ceiling. You’re usually dealing with a pretty wide-angle lens, so if you want to include people – with their permission – you’ll need to stay very near them to see faces.
In broader creative terms, a drone can often be thought of a kind of limitless tripod, giving you the option to hoist your camera above the obstacles which might ruin a shot at ground level – signs, fences – without needing to travel far enough up for the picture to scream aerial shot. You still get to look at a scene with a little bit of flexibility, like a painter might, but the viewer will be left admiring the subject, not pondering the method.
Tip 2: Use the weather
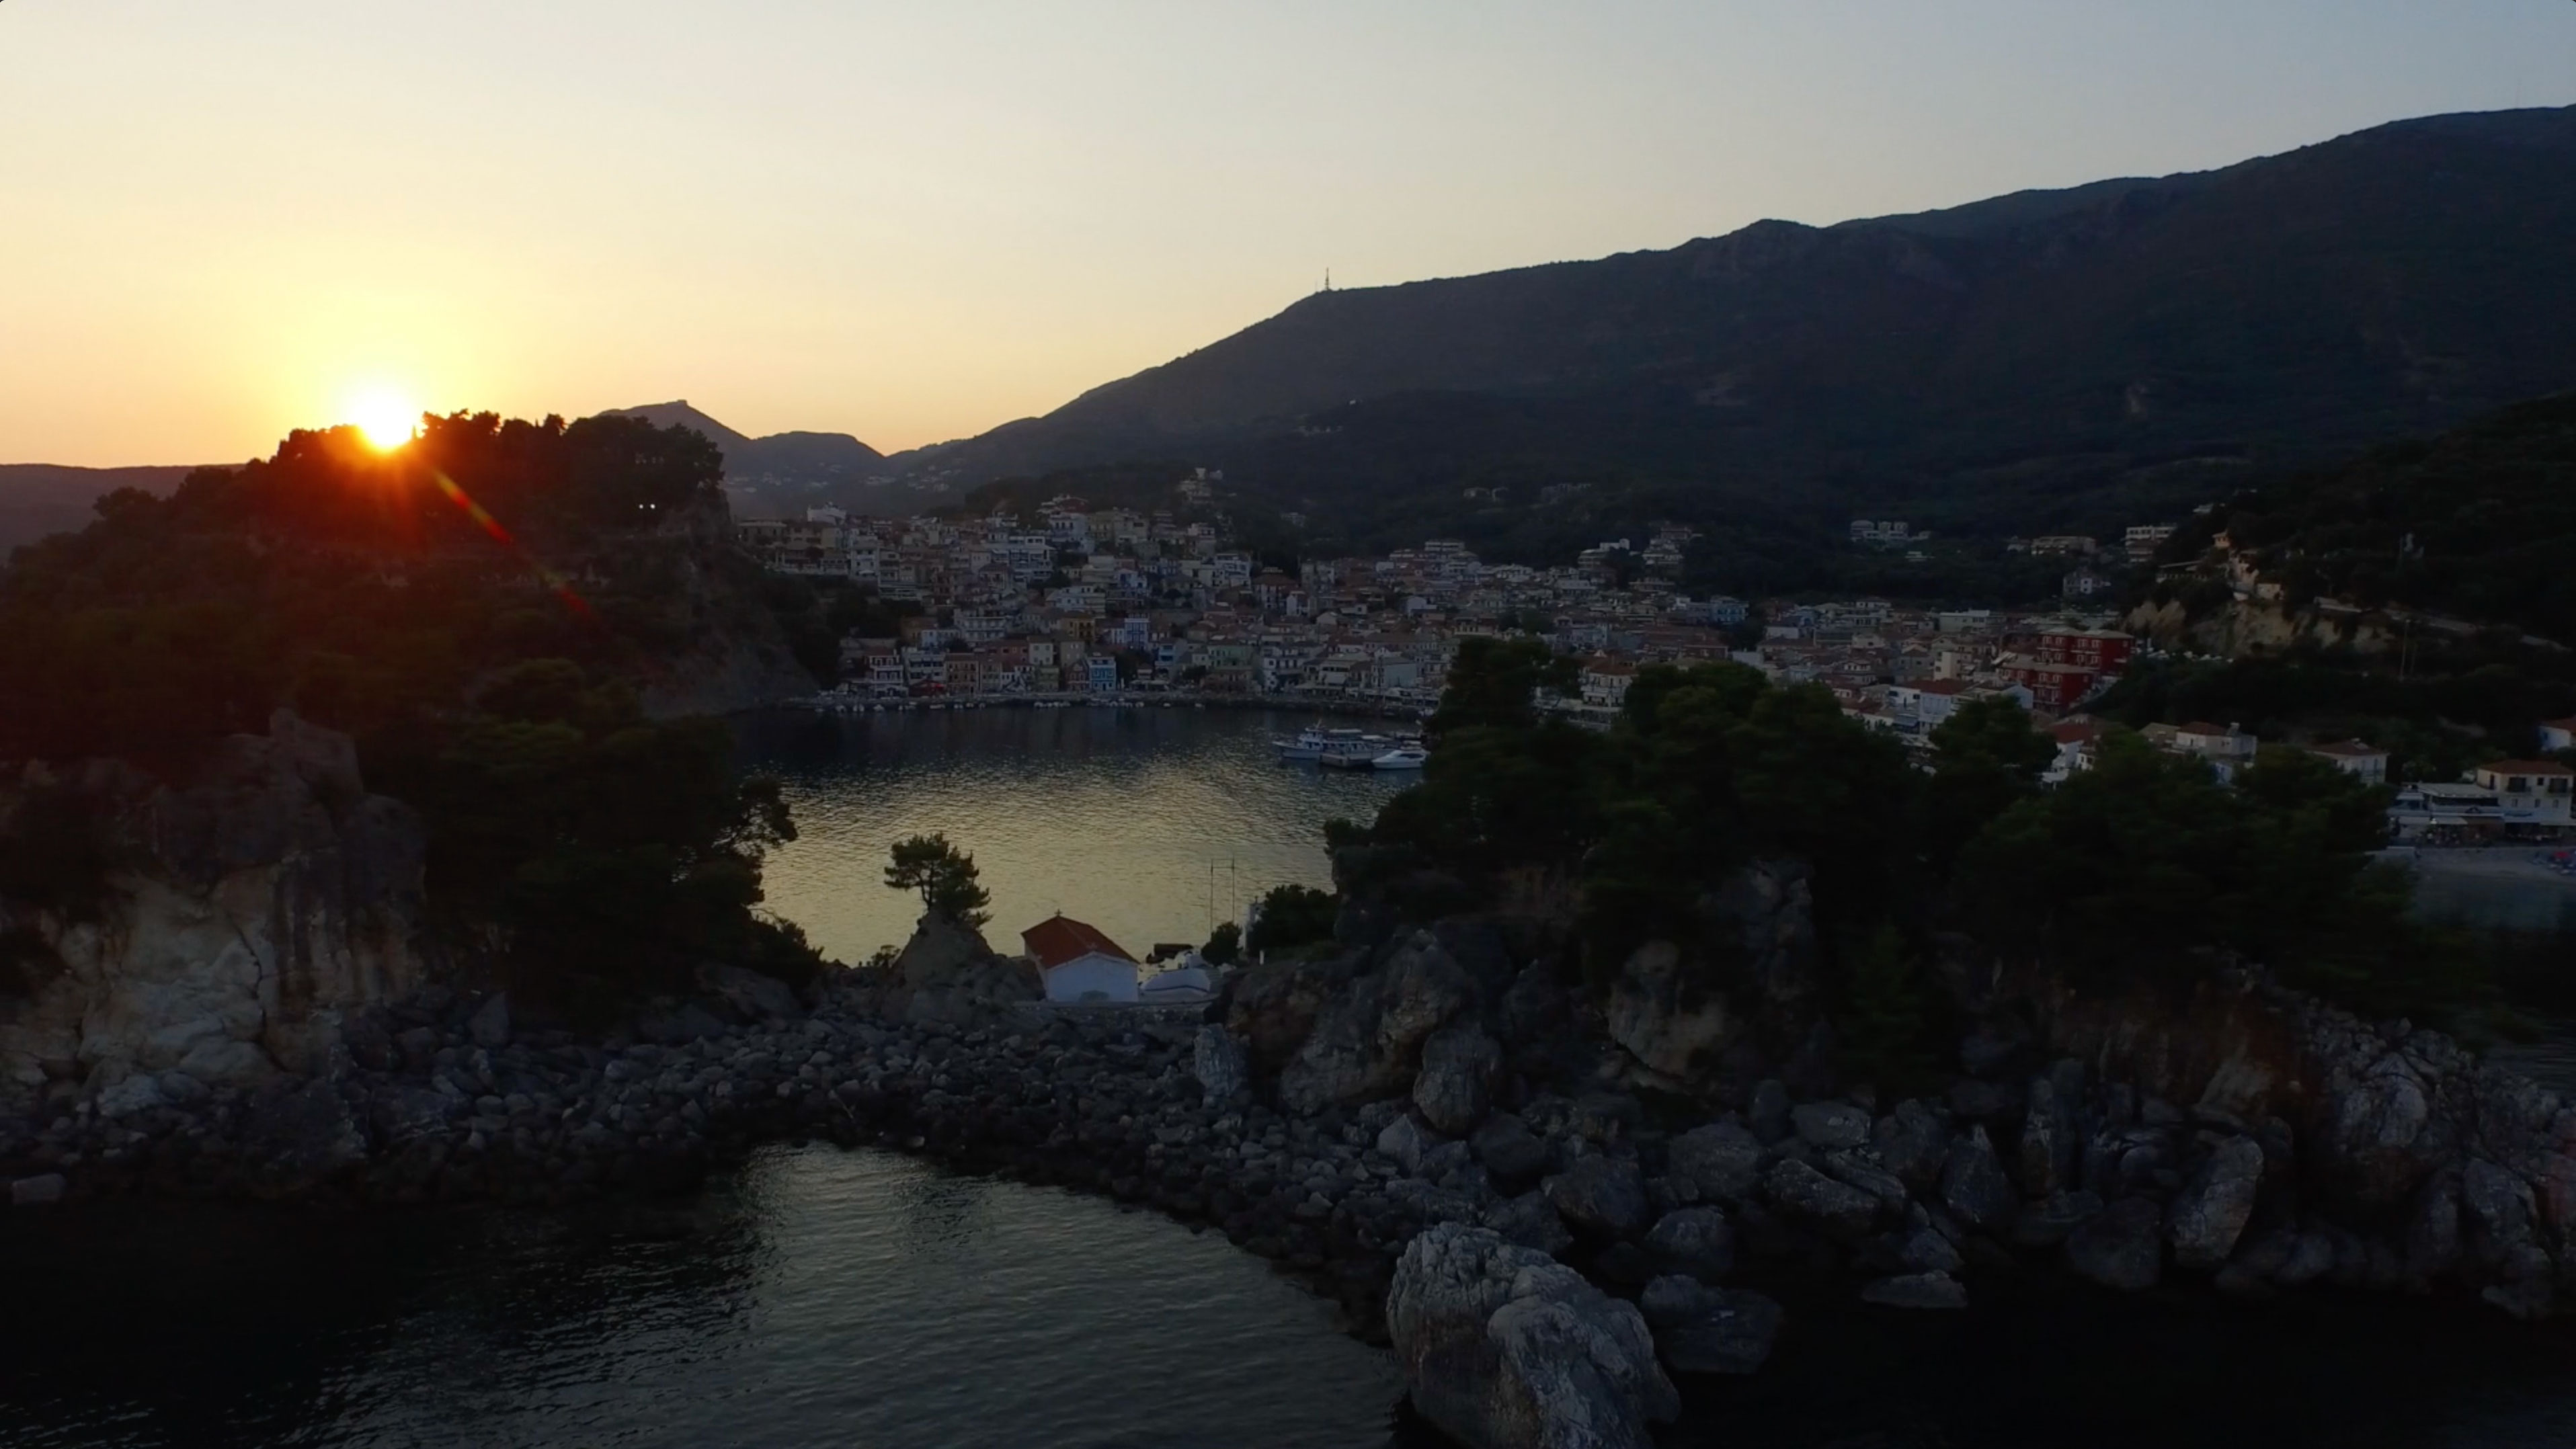
Photographers have long understood that rising early in the morning or waiting after others have gone might be essential, and that the weather is not under their jurisdiction. The same is true for aircraft, with the further concern that wind must be below the drone’s safety threshold; it’s rarely worth pushing this as the camera gimbal might well be the component most thrown around by gusts, running your shot anyway.
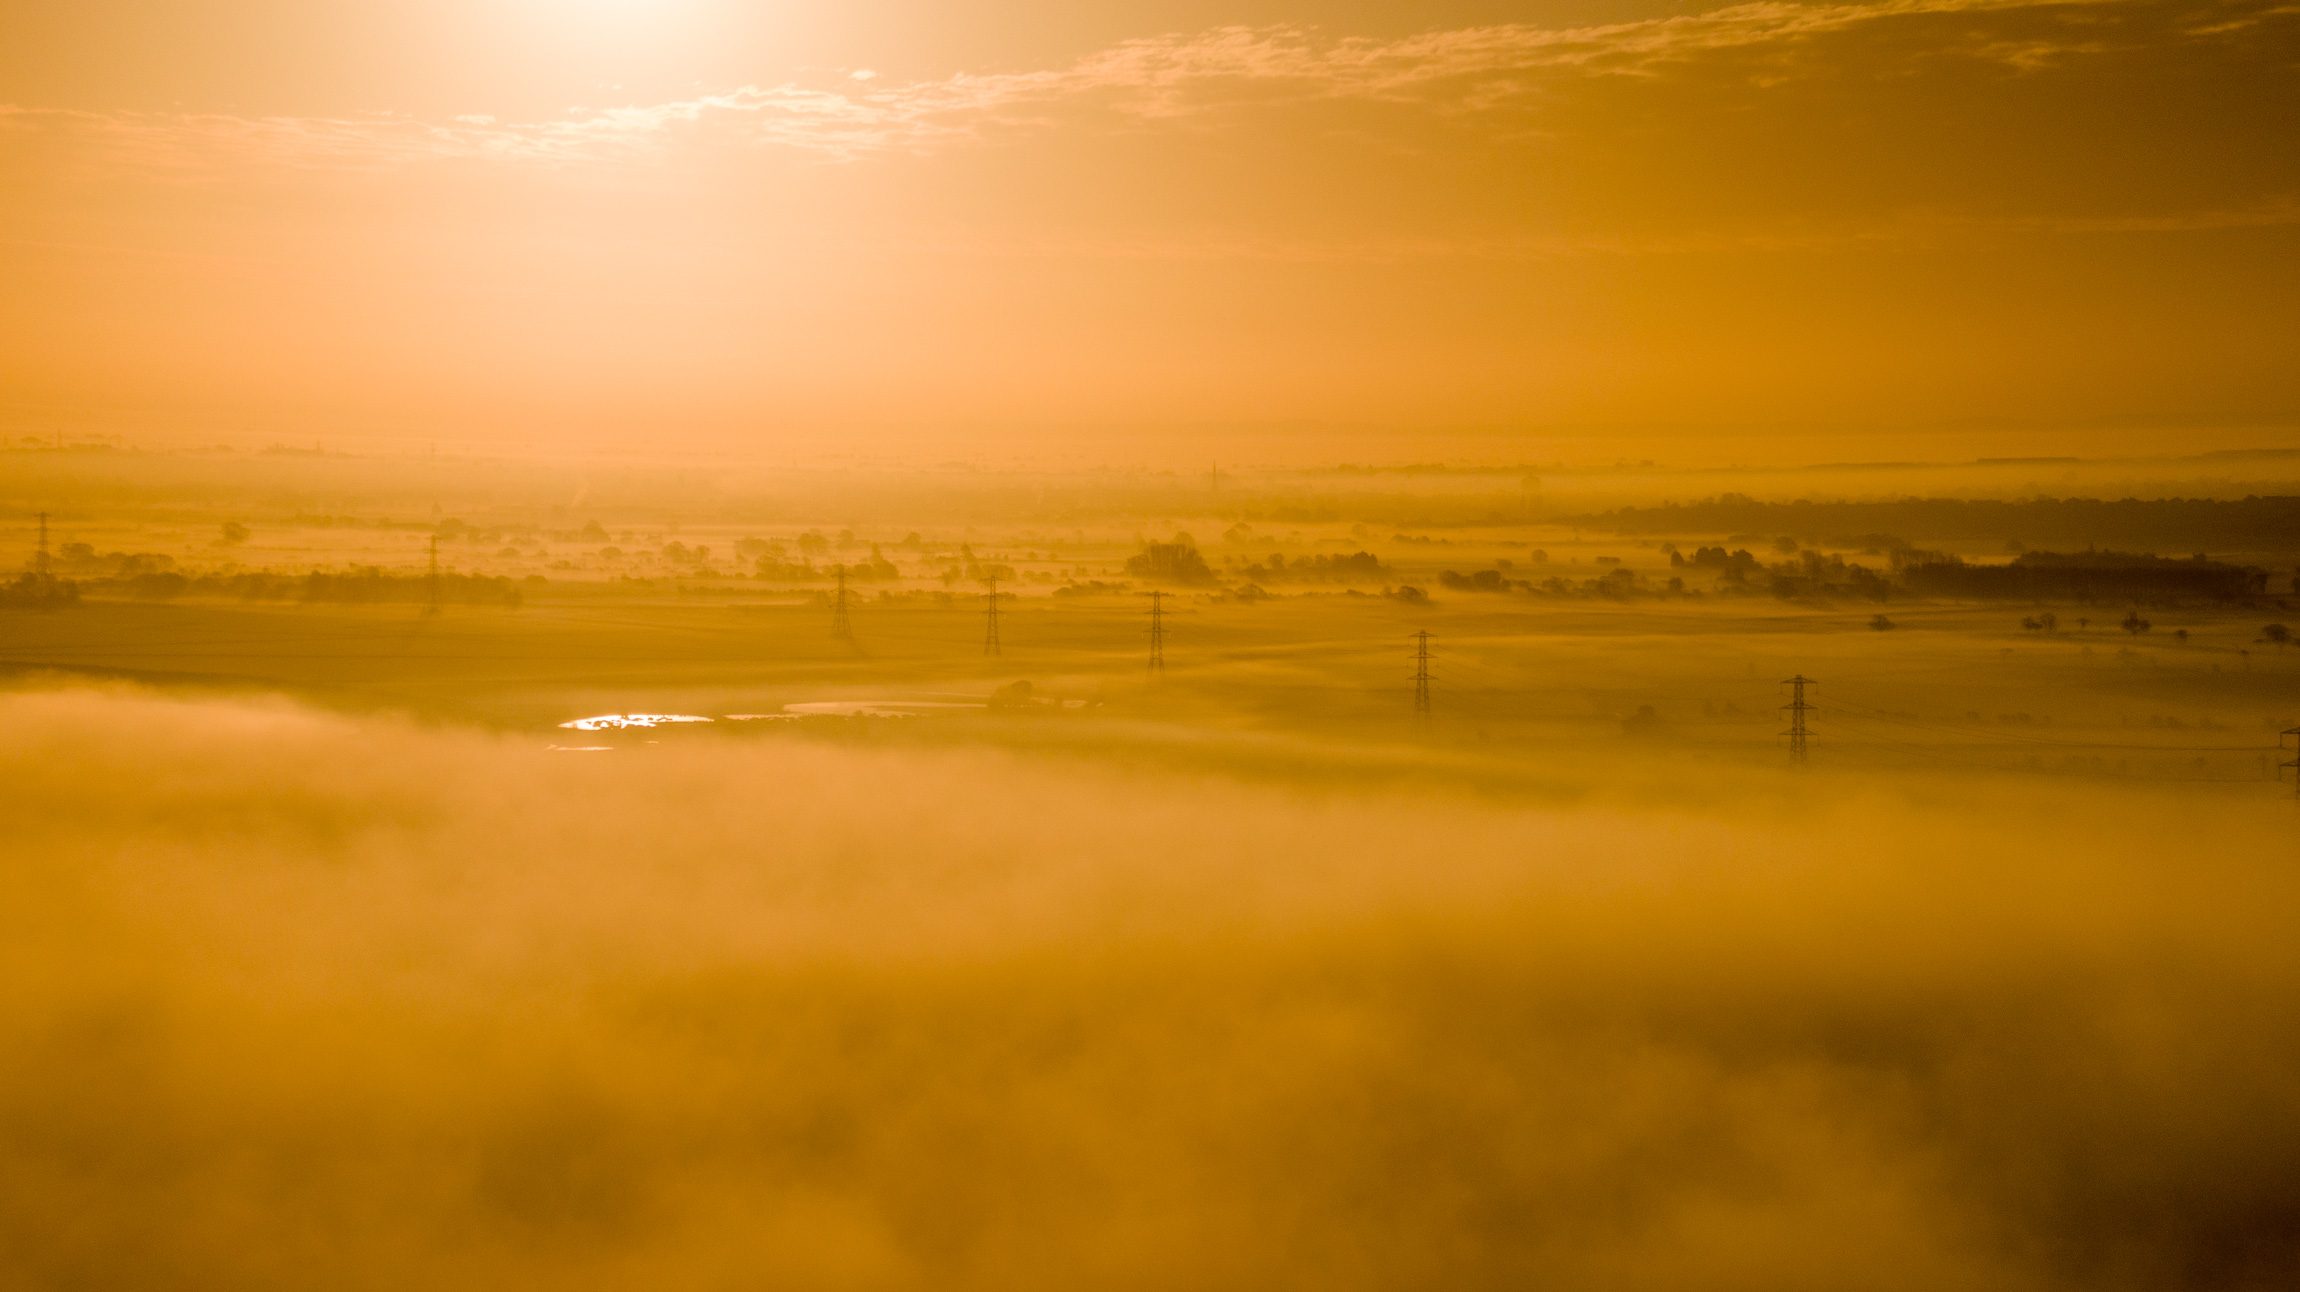
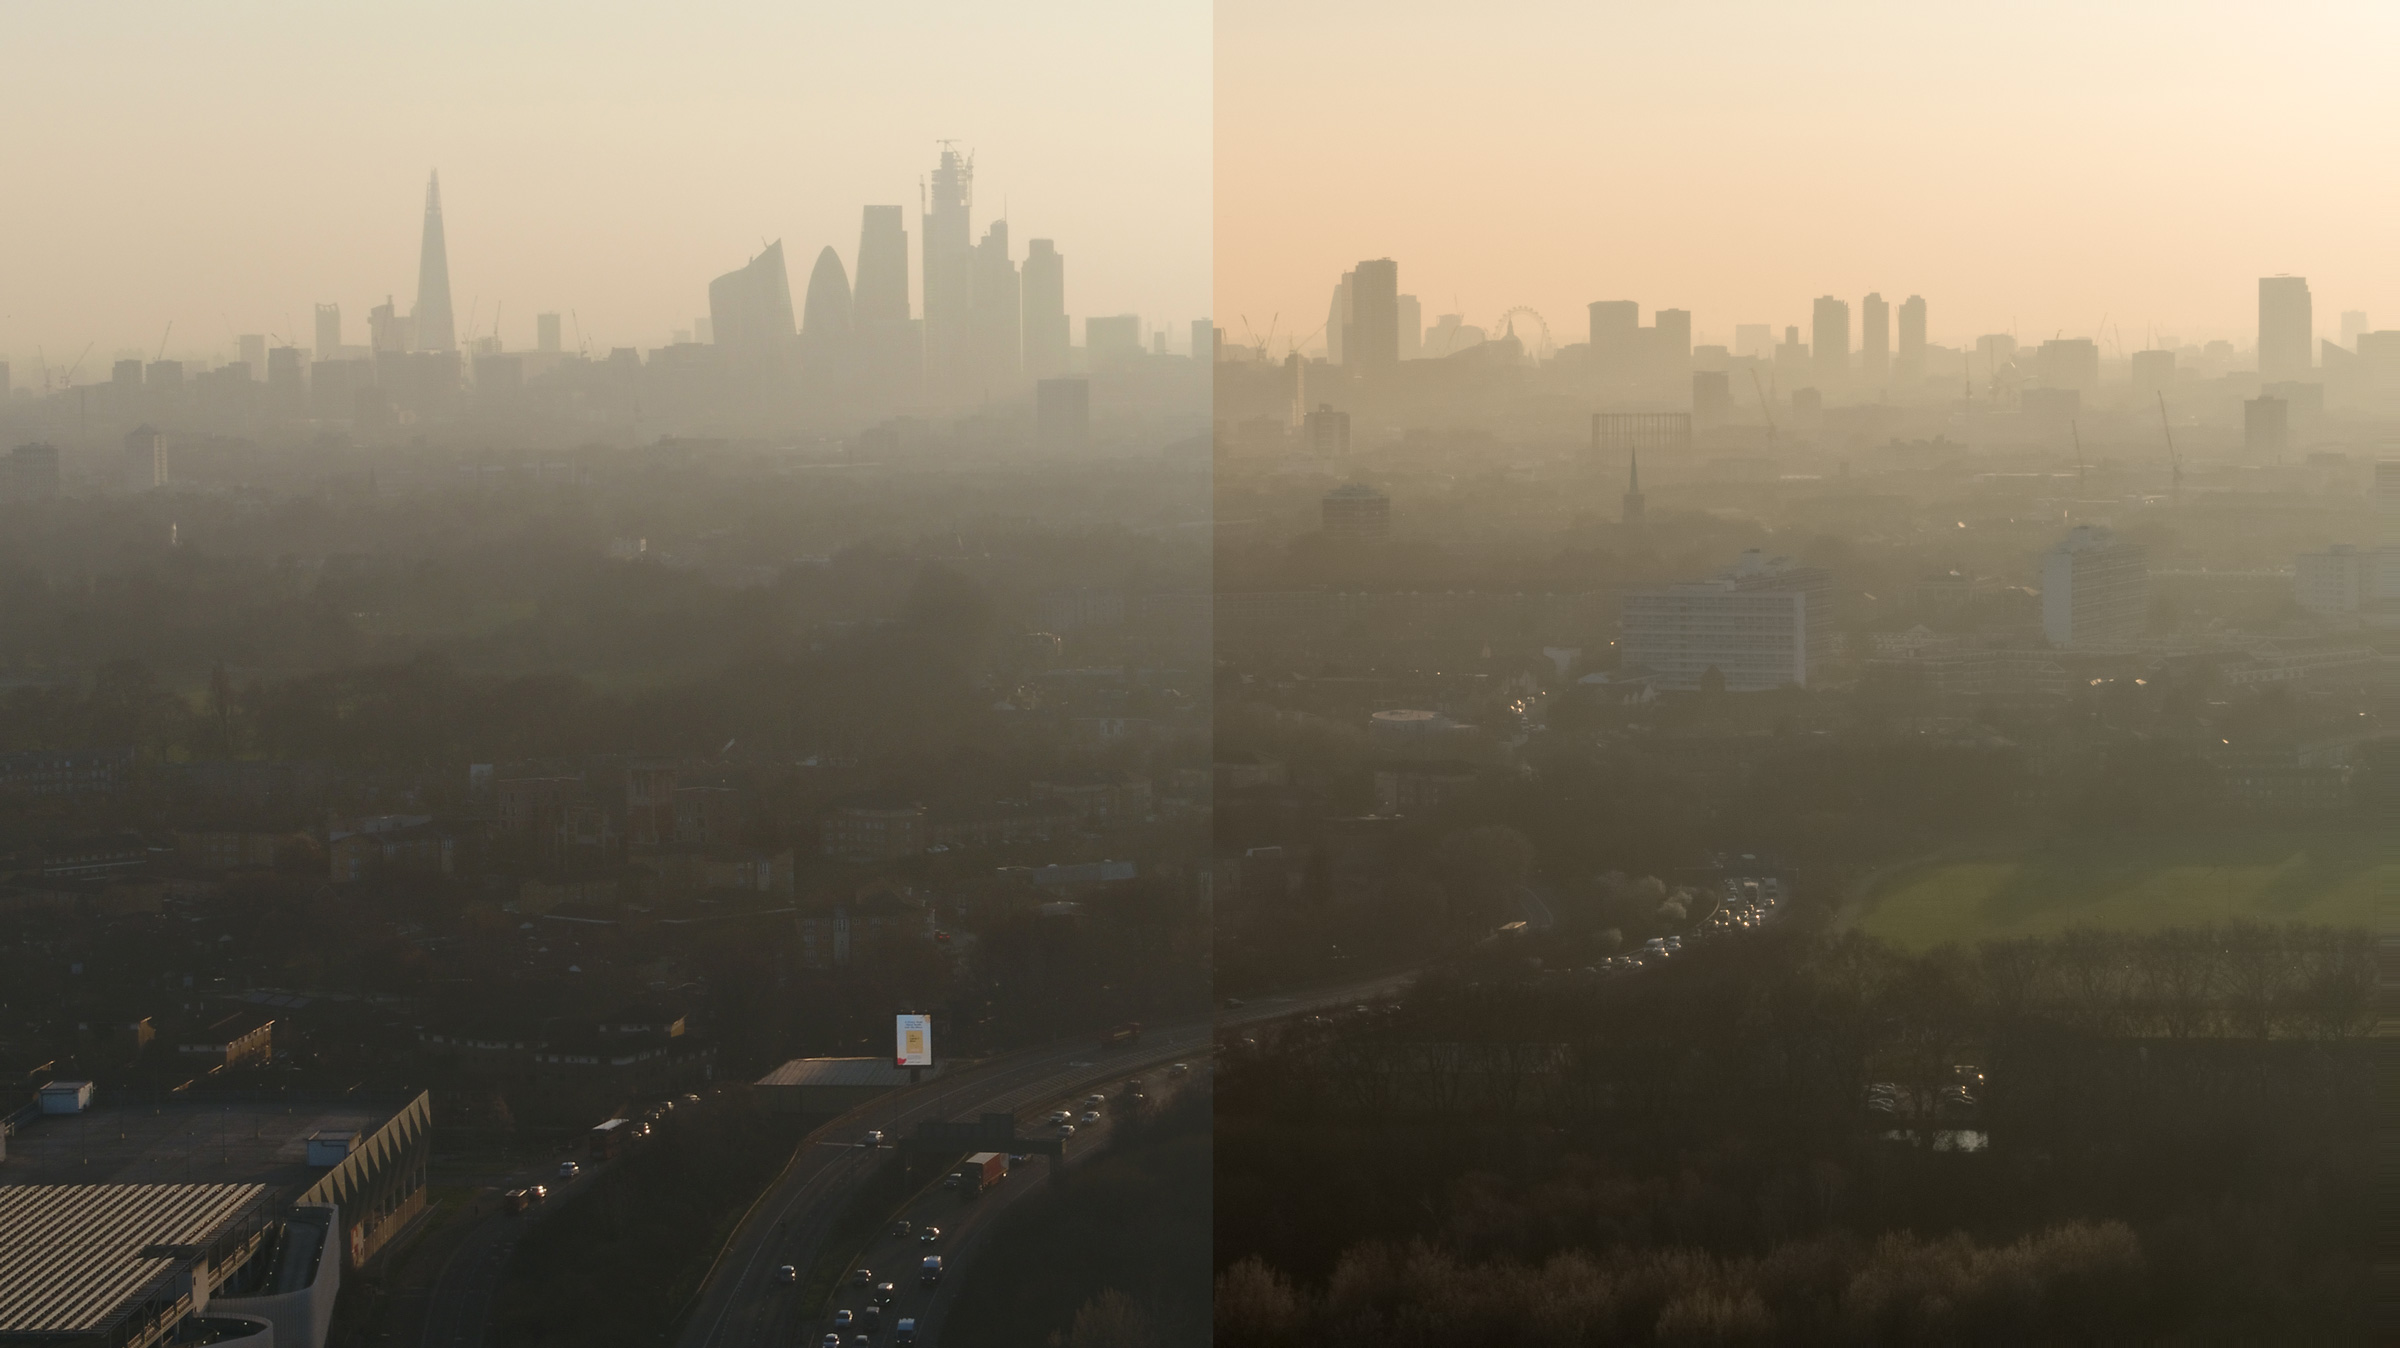
If you can maintain sight of your drone, perhaps by taking off from a position largely above it, then some fog can provide another interesting dynamic. Remember that you’re meant to be 120m (400ft) above the ground, not sea level, so if fog settles in a valley but you can still be above it, that’s OK, don’t miss a trick (but don’t got into the fog either; some sensors can be confused by tiny water droplets).
Tip 3: Everything spreads outward
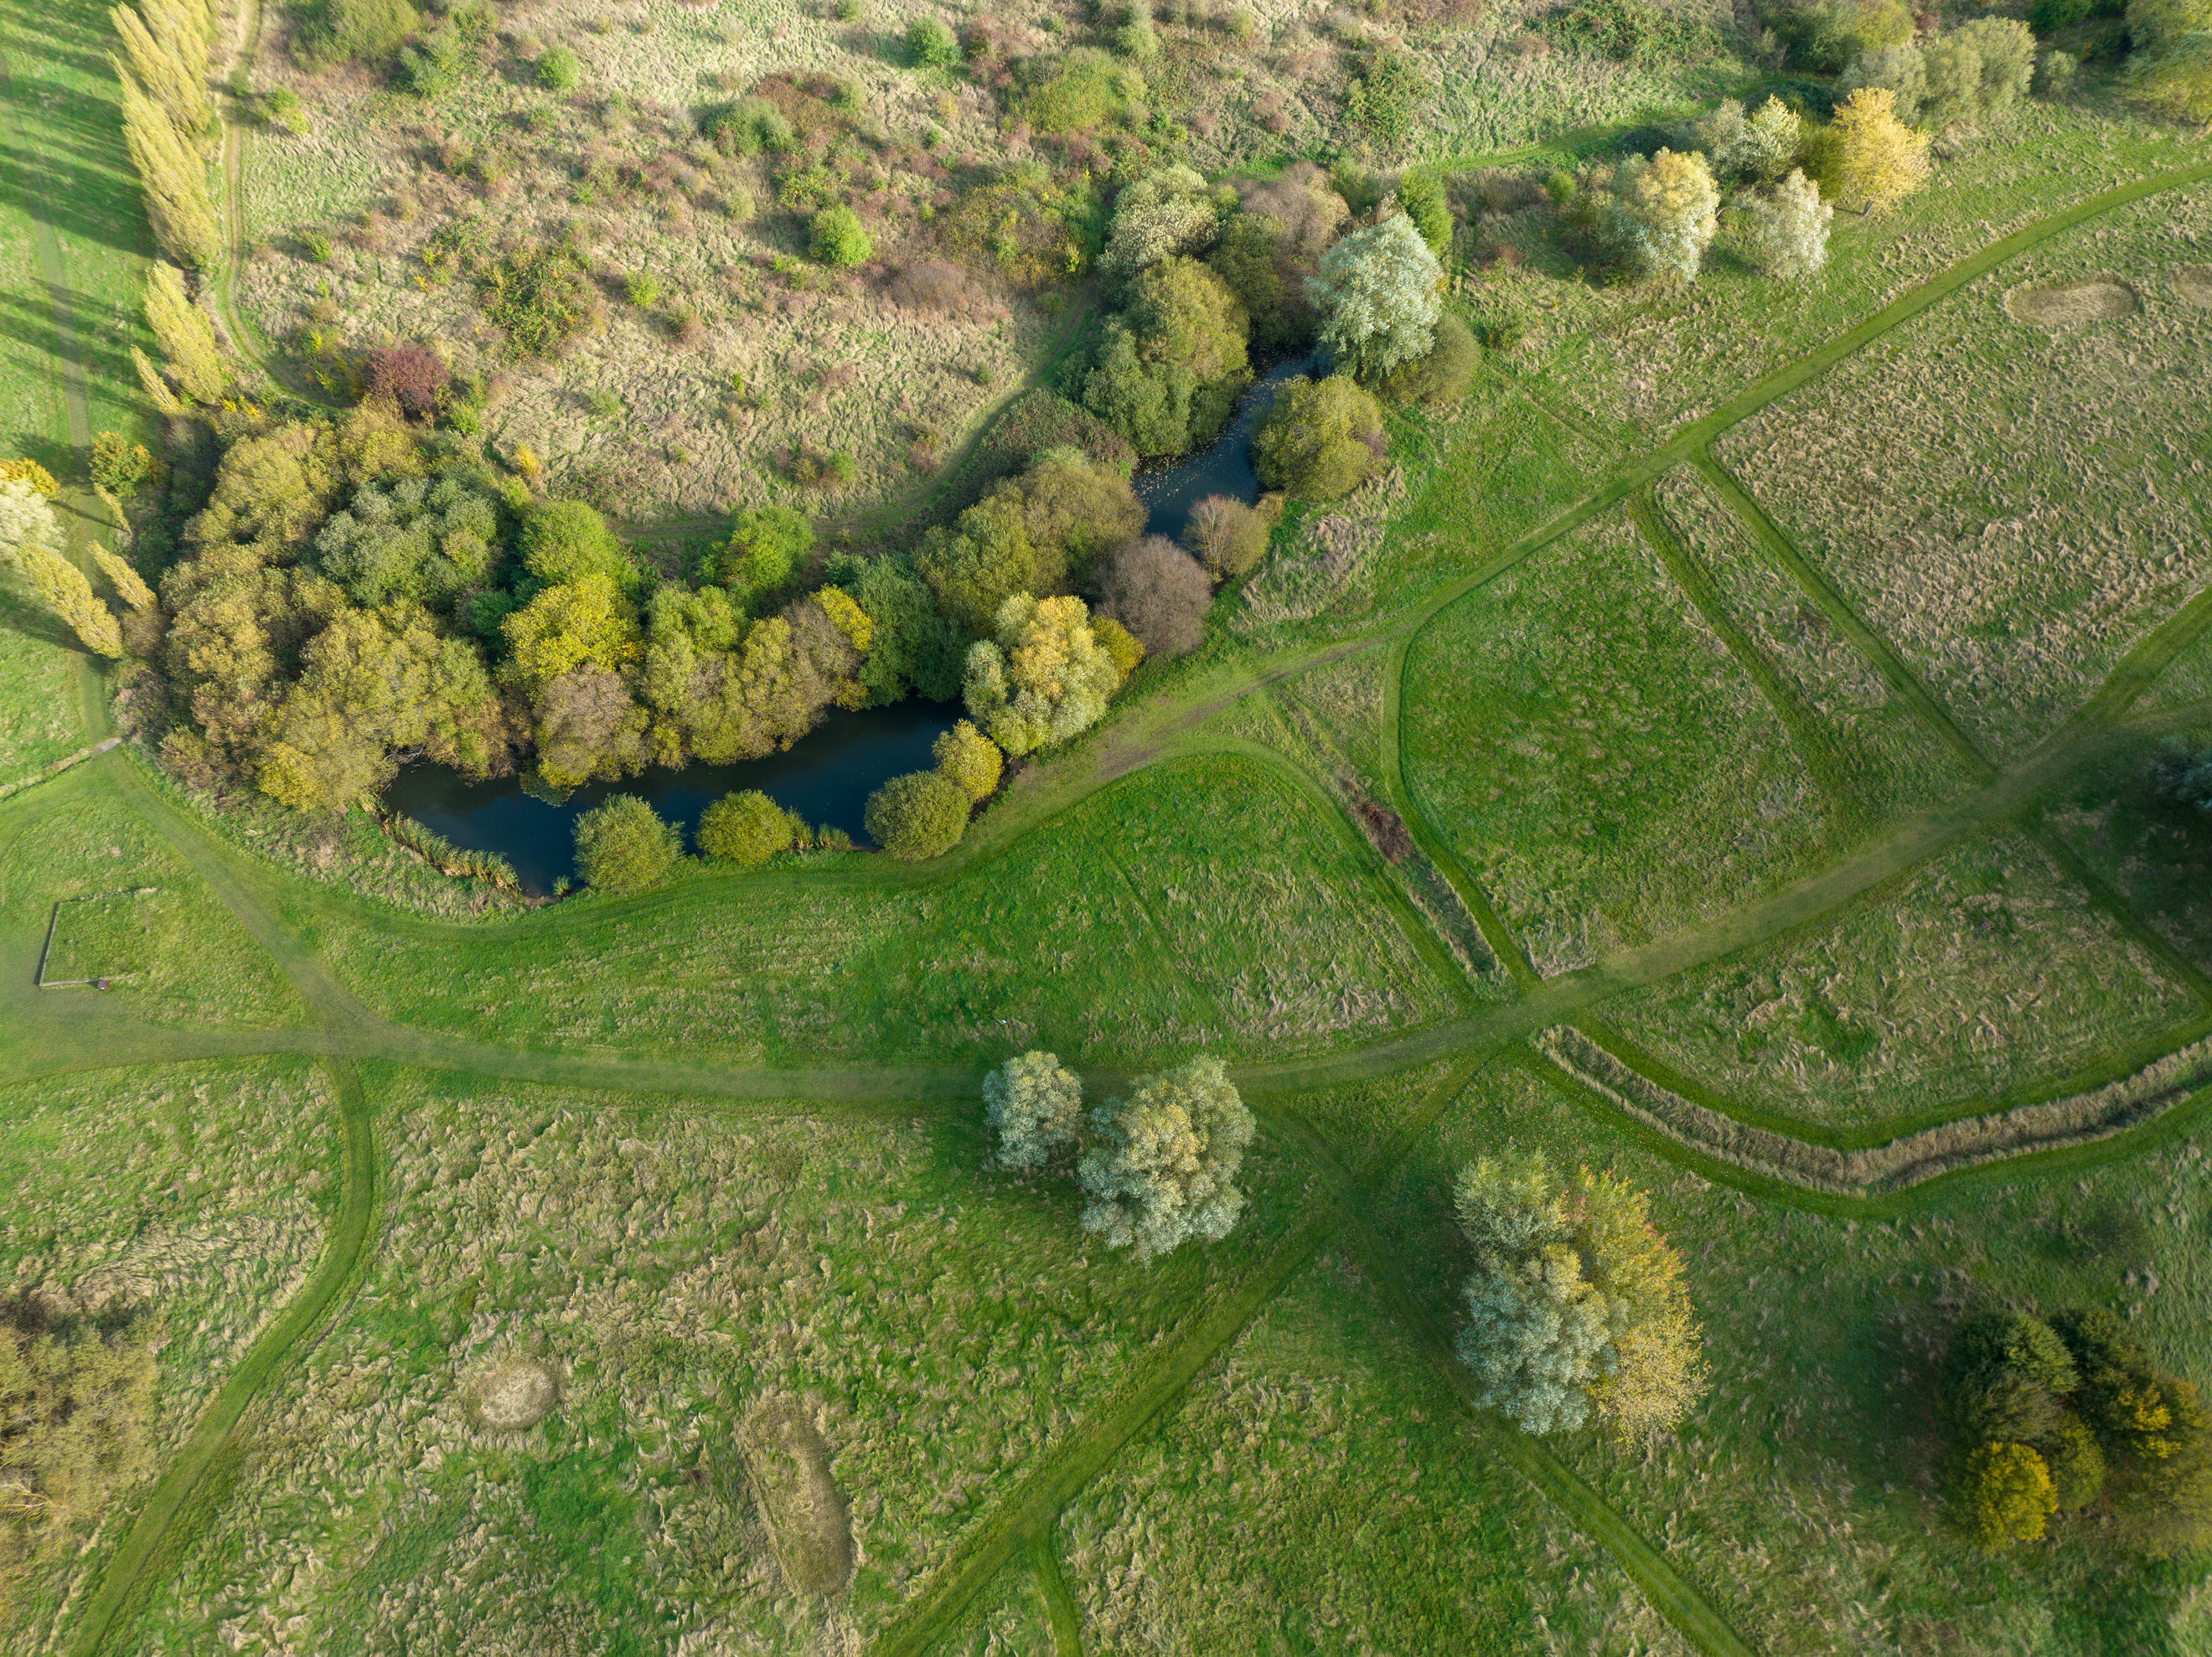
You’ll inevitably want to capture some locations with the satellite look, and why not? It’s important to remember the physics of light are the same everywhere and – even with perspective correction – if you hover above a point, you’ll look down on it directly and see it ‘square’, while the closer to the corner of the frame you get the more objects will appear to lean out. The classic example is a shot of a forest looking down, but you’ll see the effect everywhere if you look closely. One way to use it to your advantage is to ensure you place structures either centrally or a reasonable distance off-centre so the image feels clean.
Tip 4: Shoot Raw
If you have the chance to edit in Camera Raw or Lightroom, take it. Many drones offer a Raw or Raw + JPEG mode; JPEG is great because it’s a relatively small file and will usually be processed onboard to look pretty good, but Raw stores every bit of detail which you can later bring out in your own way. Drones don’t always offer the time to consider manual settings, so the chance to decide whether you’ll exaggerating the contrast or emphasize tones without the battery dripping away or while your scanning the skies for risks is a wise one. It might come at the cost of needing a larger memory card.
Tip 5: Parallax
One of the easiest and most satisfying things to do with aerial video is to make use of the parallax effect, like 16-bit era platform games. Since a drone can fly straight in true in any direction, it is like an invisible camera dolly, which can be used to either track in and out (in a classic scene setting or ending shot), or sideways in a manner more designed to move things along. Since you can use a little altitude too, you can pick the perfect height so foreground and background objects move at different speeds, giving the shot an engaging depth. There’s no reason to go over the top; it can be tempting to use more than one direction of travel (i.e. mix a bit of altitude and rotation in) but ask yourself if you’ll be making the motion more obvious, and more jarring, in the edit.
Tip 6: Reveal the unseen
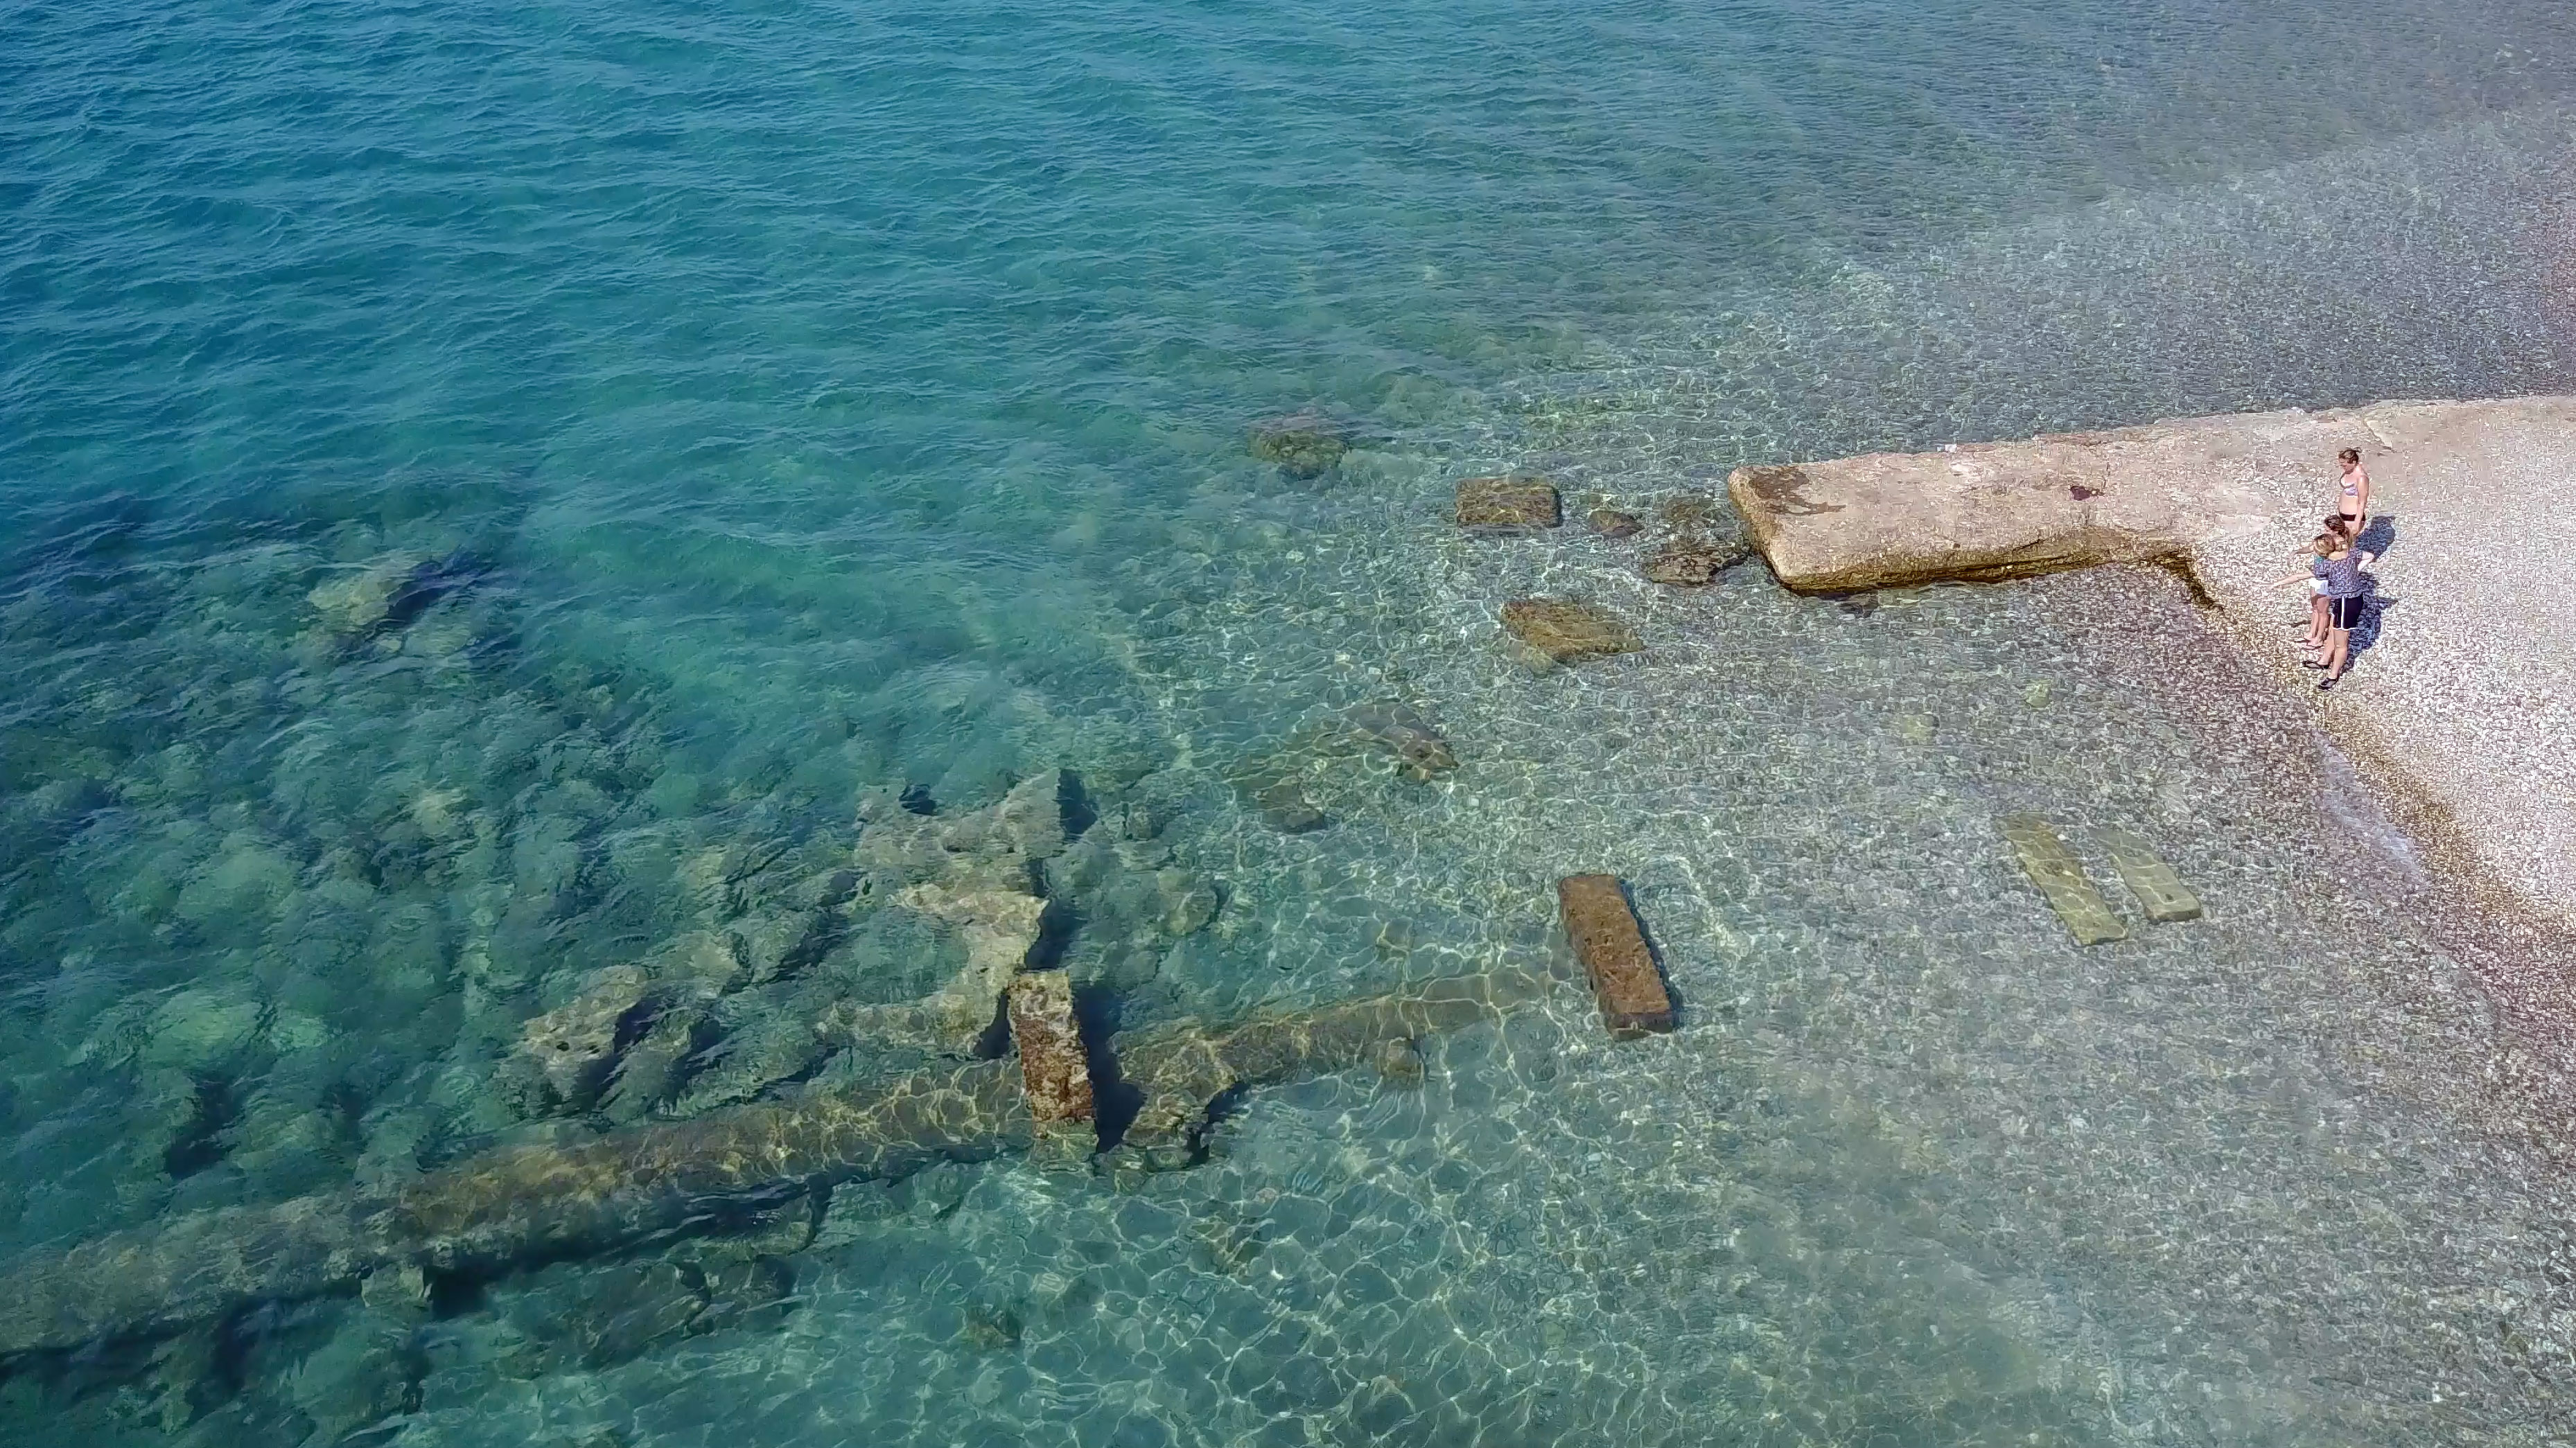
The phrase ‘unique perspective’ is thrown about all too often when talking about drones, but there are a few things that an aerial view will let you see which being on land will often not; looking straight down into water is a good example. Sometimes you should take the opportunity to unleash your inner photo-journalist. We’d be the first to admit the example here isn’t the greatest picture, but the angle affords a better view of the outflow pipe and broken concrete than you’d see through the water surface which makes it potentially interesting.
Tip 7: Get a landing mat
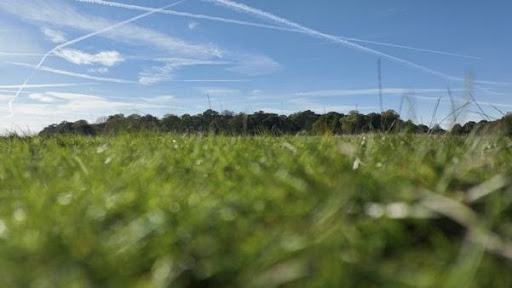
It might seem to be taking things a bit far, but if you don’t get yourself a drone landing pad, there is a good chance your lens – or even the mechanism – will be affected before you even get going. Shooting with a phone screen you won’t always see droplets on the lens which will be more obvious once you’ve landed, driven home and started editing. So, for the sake of a few moments – and a very little weight – keep a landing mat with your drone.
Read more:
• Best camera drones
• Best drones for beginners
• Best cheap drones
• Drone rules: US, UK and beyond
• Best underwater drones
• Best drone accessories
• Best drones for kids
• Best FPV drones
• Best indoor drones for fun

With over 20 years of expertise as a tech journalist, Adam brings a wealth of knowledge across a vast number of product categories, including timelapse cameras, home security cameras, NVR cameras, photography books, webcams, 3D printers and 3D scanners, borescopes, radar detectors… and, above all, drones.
Adam is our resident expert on all aspects of camera drones and drone photography, from buying guides on the best choices for aerial photographers of all ability levels to the latest rules and regulations on piloting drones.
He is the author of a number of books including The Complete Guide to Drones, The Smart Smart Home Handbook, 101 Tips for DSLR Video and The Drone Pilot's Handbook.
