10 tips for ecommerce photography
Want to improve your ecommerce and product shots? Check out this advice from a professional photographer

So many individuals and small businesses are now selling their own products through online marketplaces, and those that see the best performance are often those with the most professional looking product photography.
This makes sense. After all, if you create and/or sell products that people love, whether that’s on your own website, via Amazon, Etsy, or other online marketplaces, you want to show them off to their best.
Our attention spans are all said to be shorter than they used to be, and professional product photography can be a strong decision-making factor in whether people decide to purchase from your store.
By ensuring your product photography is of the highest quality, you can help potential customers get the best possible feel for your products, almost as if they were shopping on the high street.
For those looking to shoot their own ecommerce images, it’s the little things that can make all the difference. We spoke to photographer and founder of Pic-Up Peter Cryer, for his top 10 tips when shooting ecommerce photographer.

Peter Cryer is a professional photographer based in London. He has been building a diverse editorial and commercial portfolio for more than six years, working with international brands, publications and model agencies. Peter is the founder of PIC-UP, a product photography service that makes it easier and faster for ecommerce businesses to create memorable and eye-catching images of products.
1. Choose the right camera & lens
The first and potentially most obvious tip is ensuring you have the right camera and lens to shoot with. Many of the best professional cameras are a good choice for shooting ecommerce because they provide flexibility, extreme precision and picture sharpness.
As products are static, you're not necessarily looking for the fastest camera, or one with video features that you won't use. Having high quality color, tone and contrast, makes all the difference in your end results – making your products ‘pop’ to gain extra attention and clicks within online marketplaces.
When your competitors are using the best cameras and your photos are in a directly competitive space, if you have lower quality shots, it’s easy to lose out on sales.
When choosing your ideal lens for product photography, a 24-70mm lens is a good choice because it provides the most flexibility, especially when you need to shoot a vast range of products. You can also create close-up shots with no compromise on quality. The focal length is also incredibly versatile with a robust and comfortable feel, helping you shoot comfortably with zero sacrifice on quality.
2. Lighting setups and equipment
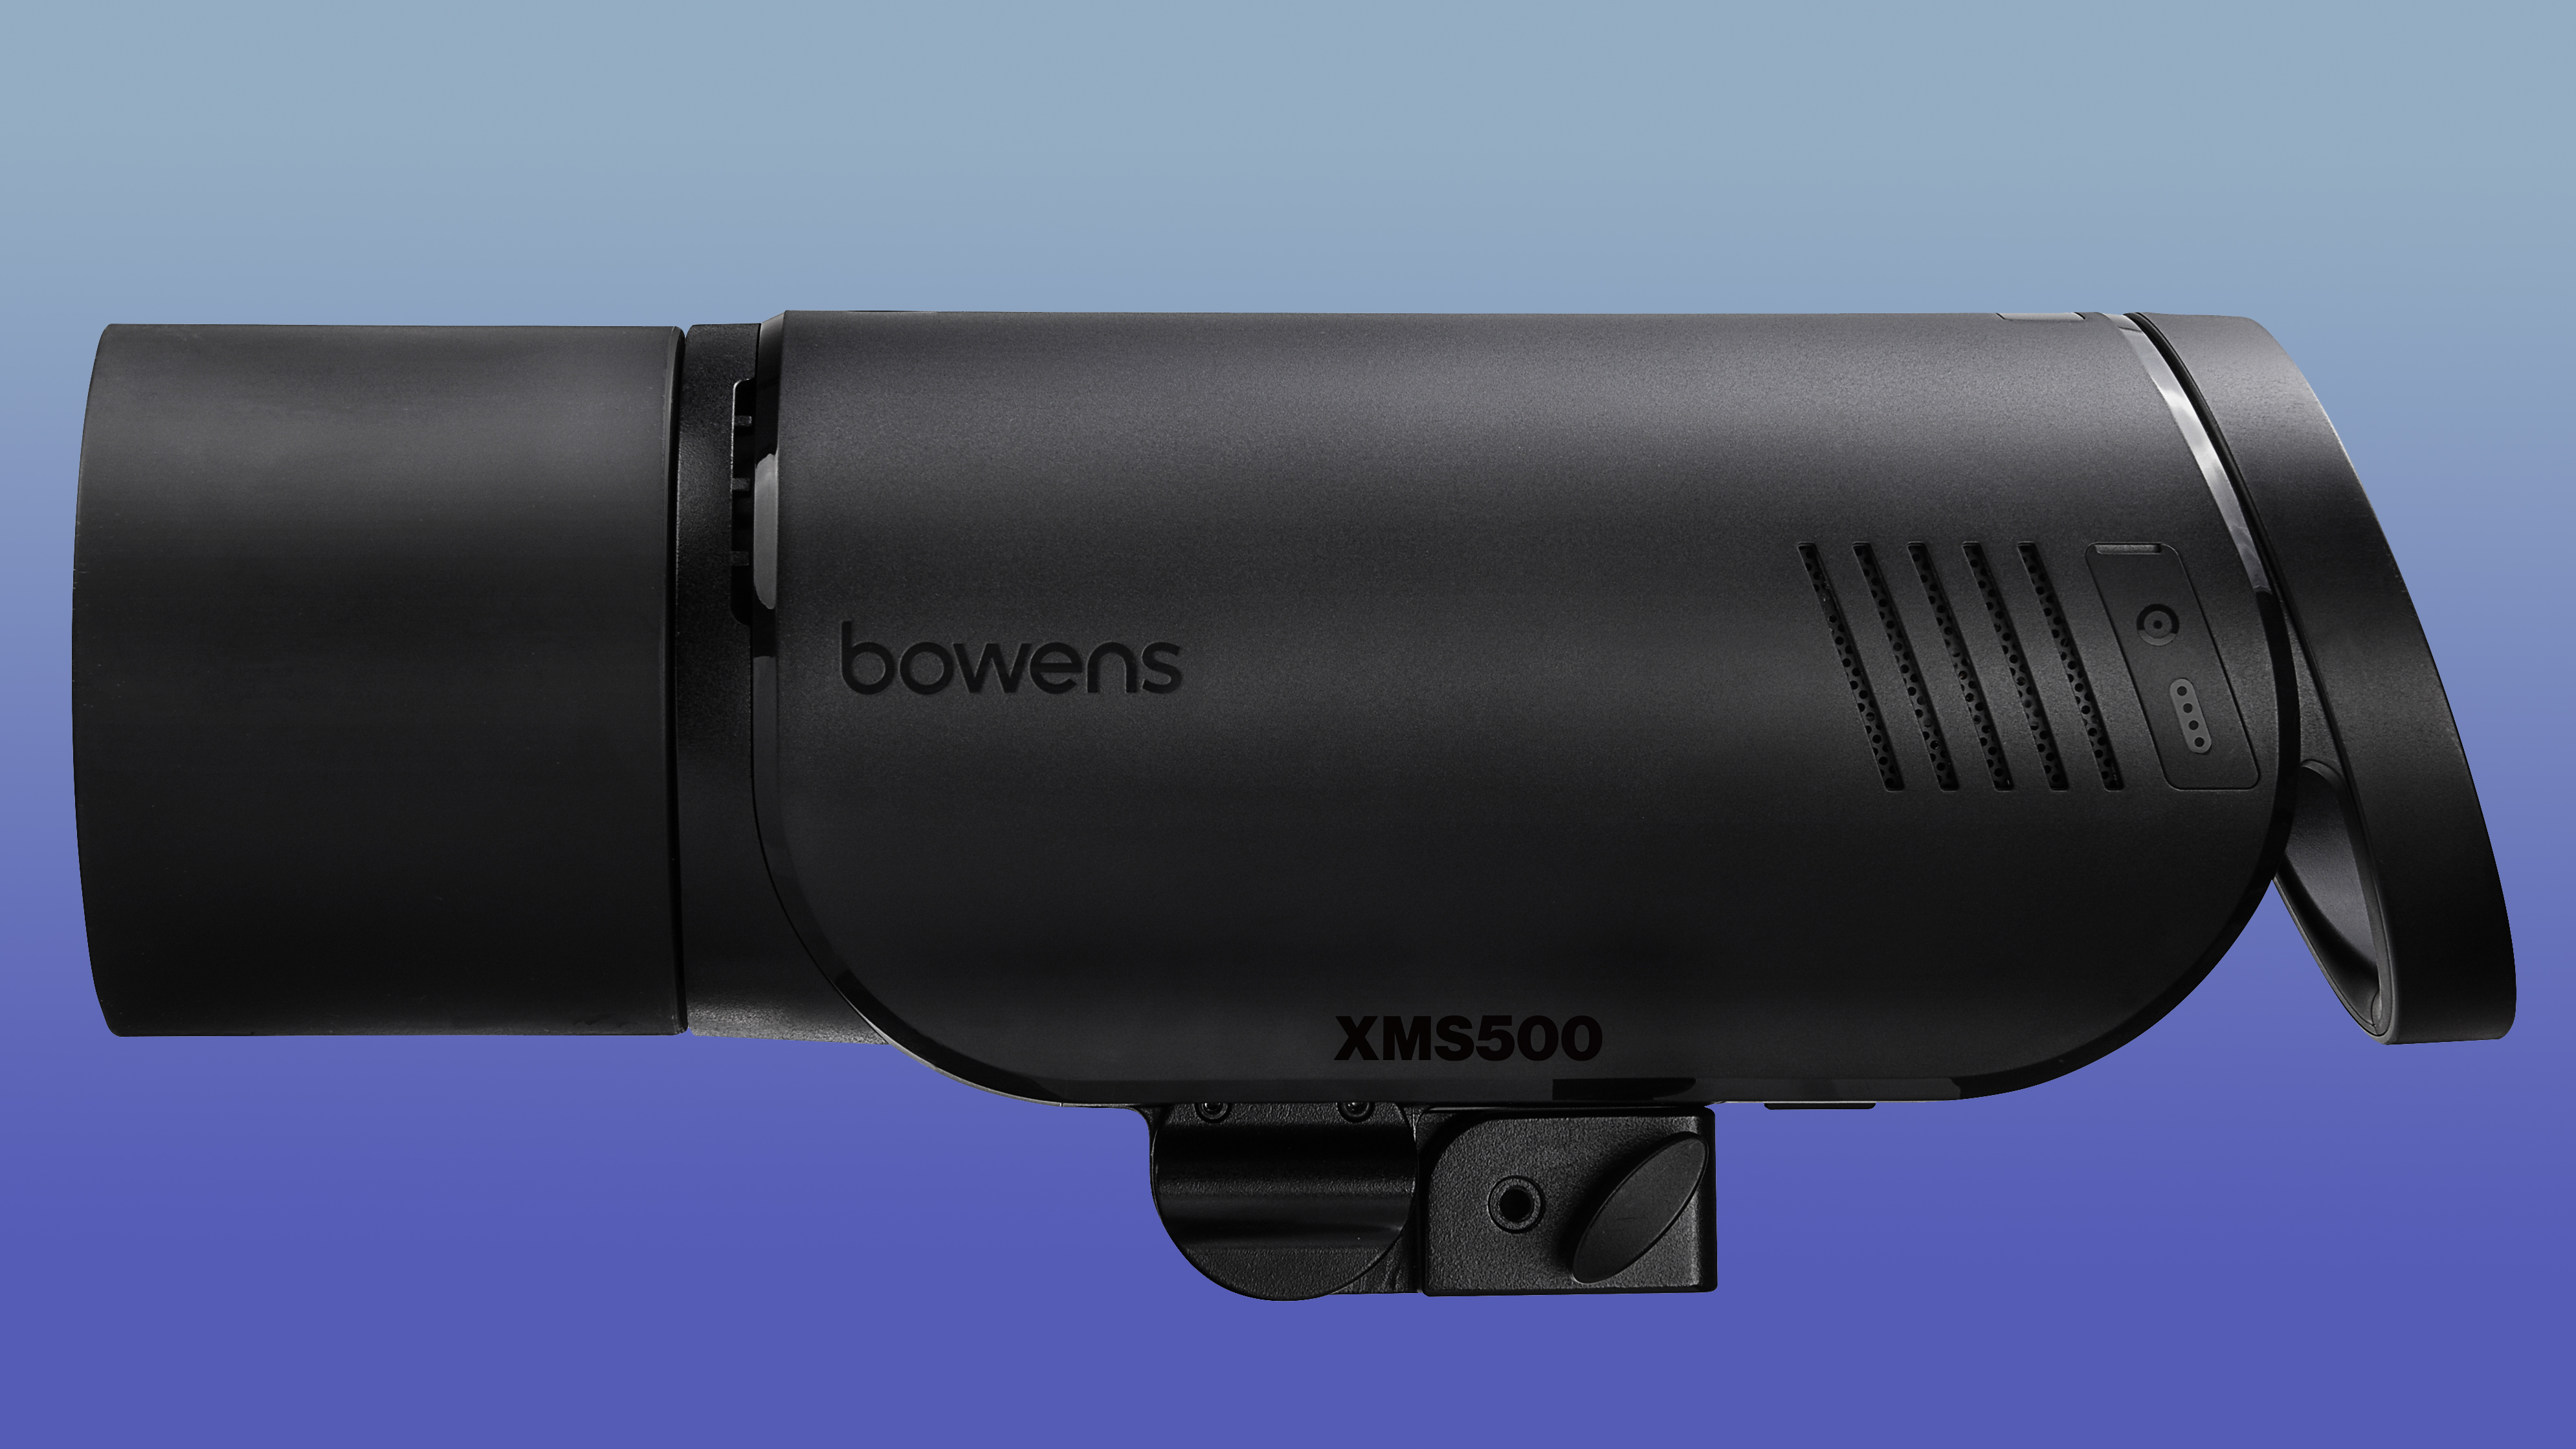
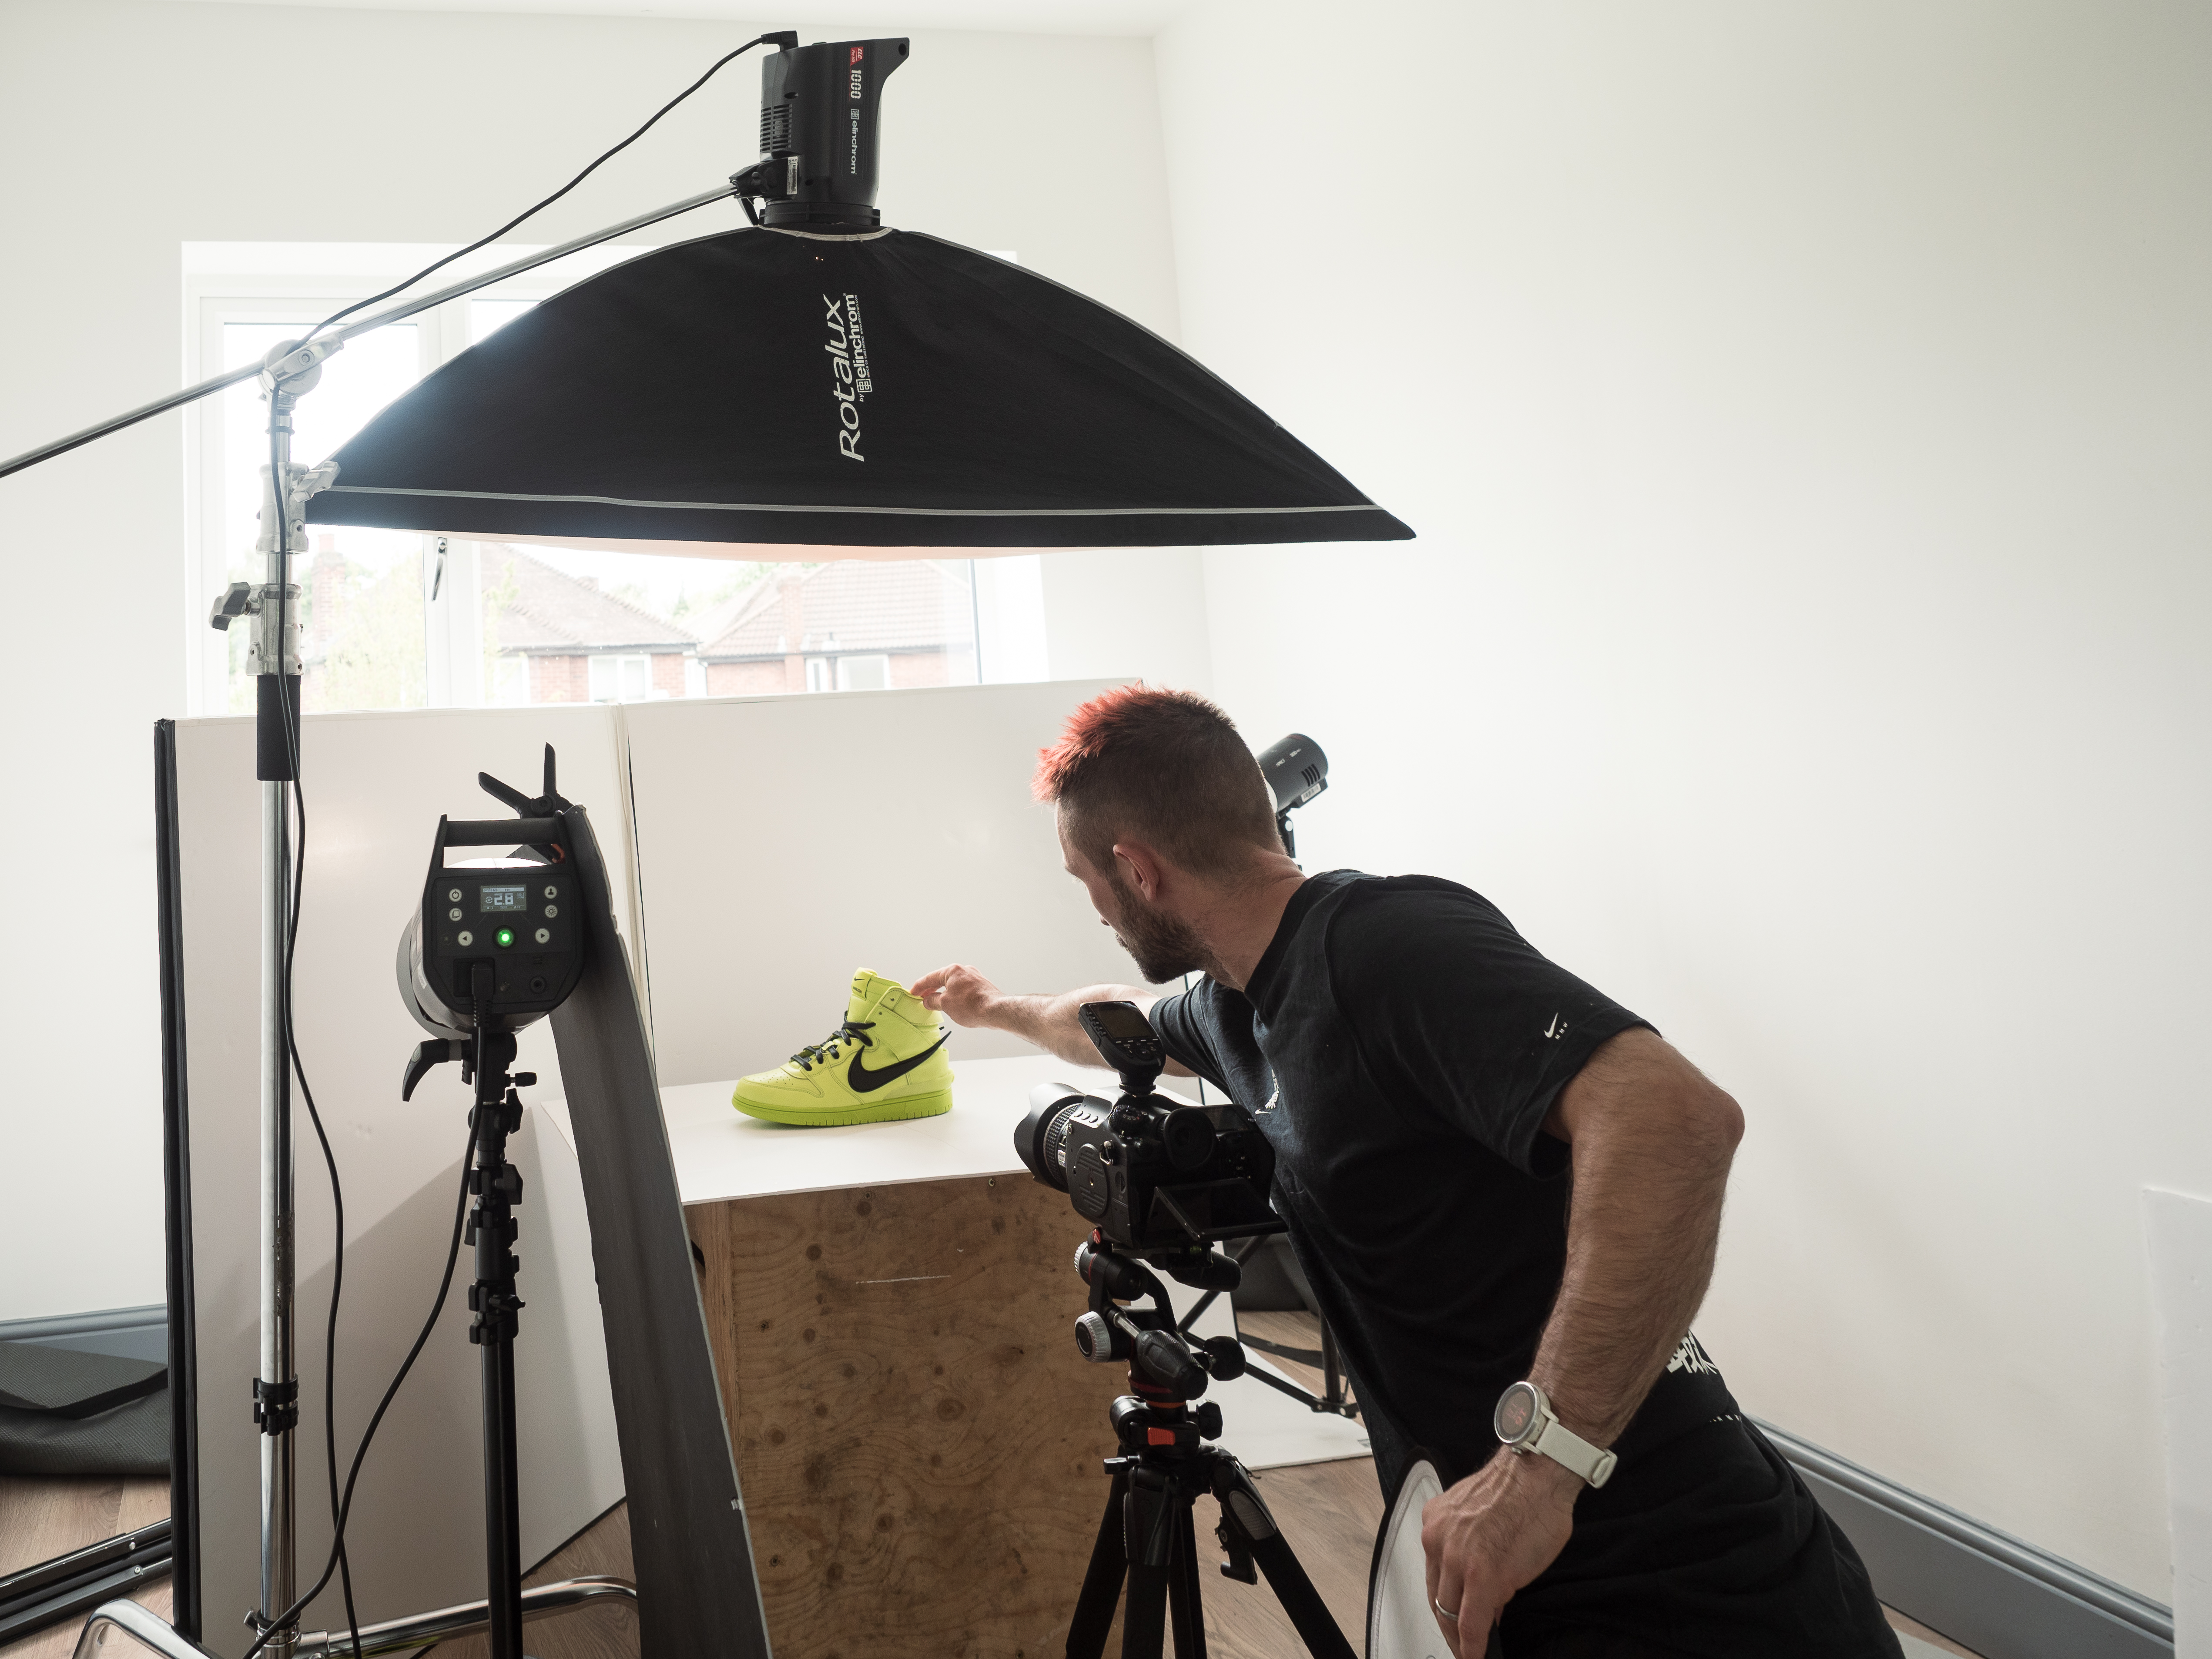
If you’re looking to improve the appearance and quality of your shots, you should definitely consider artificial lighting. Natural light is always your cheapest option, but it’s not always the most flattering effective when it comes to lighting products.
When shooting for ecommerce, lighting can make or break an image. Not only in terms of brightness and darkness, but the mood, tone and atmosphere of your product shots, all of which can have a big impact on shopping behaviors.
If the products you are shooting have lots of intricate details, artificial lighting will highlight them clearly and could be the difference between someone buying your product or scrolling on to a competitor's listing.
3. Use a tripod for consistency
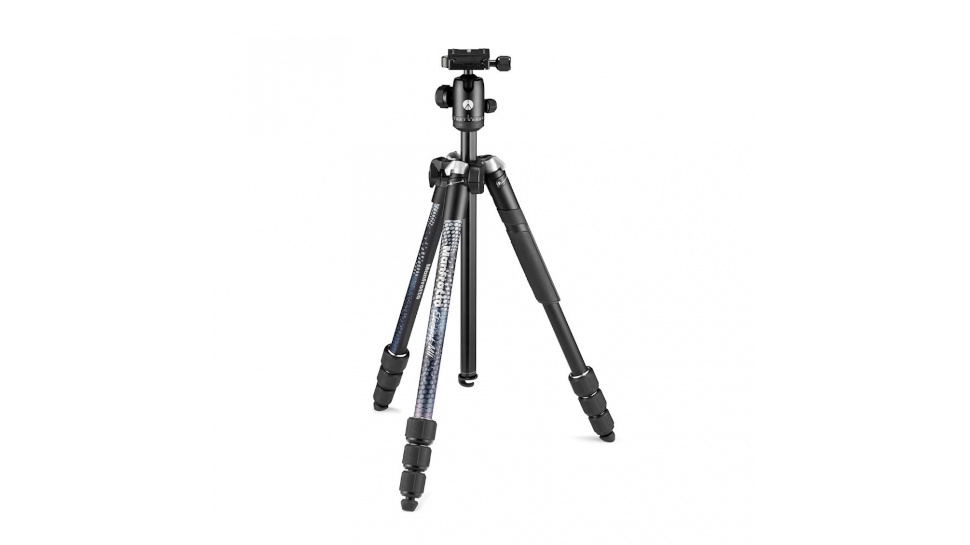
In online marketplaces, consistency is key, and shooting from a tripod ensures that each image is taken from the same distance, height and angle. The best tripods will ensure a steady shot, and enable you to compose from a stable position.
This can make all the difference in the consistency of your brand, appearance of your online store and the impact your product imagery has upon your customers. When competing in ecommerce spaces, wherever that may be, the way your product shots make your users feel is extremely important. It also makes your job easier, as it does half of the work for you!
4. Tethering to a laptop or computer
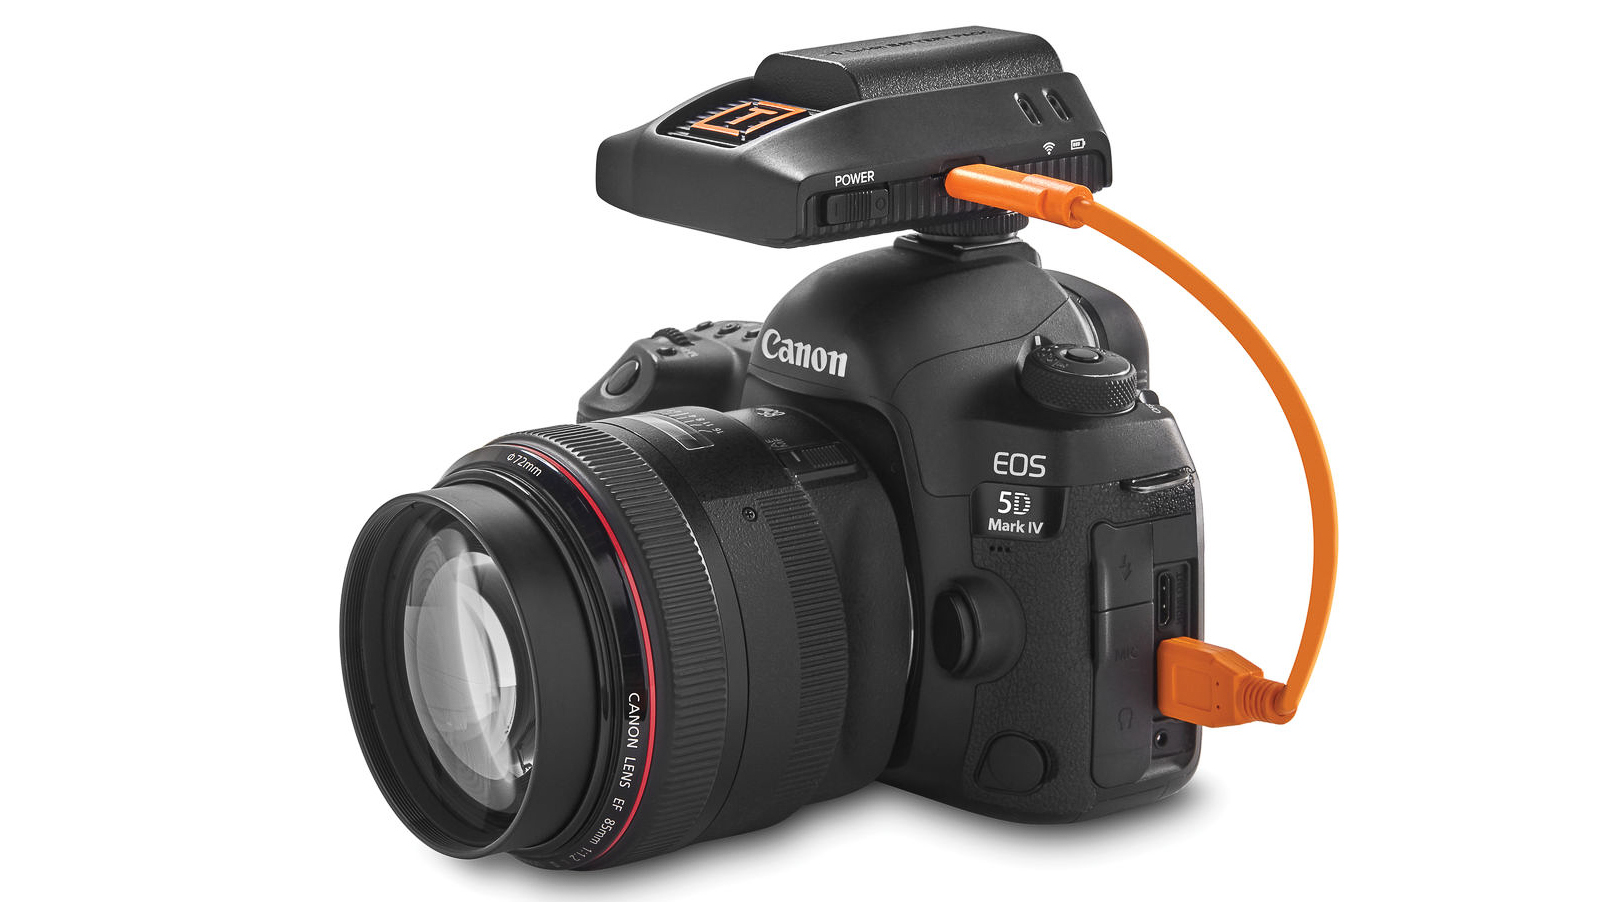
Tethering is the process of shooting with your camera connected to a laptop so that each image is instantly uploaded to a bigger screen. This allows you to see the images in detail, just as the customer would see them.
The last thing you want is to spend hours taking hundreds of images, to upload them later on and realise there's an annoying shadow or reflection that completely ruins the image.
Rather than just seeing them on your camera's LCD screen, tethering to a laptop can show all the intricate details you definitely don’t want to miss. You can then readjust as you shoot to ensure your images look great whilst saving time and effort along the way.
5. Use white polyboards or paper for even lighting
Polyboards are large sheets of foam that are traditionally used as insulation in building construction. They are also a cost-effective way of ensuring your images have even light distribution.
By using white and black polyboards, you can also reflect light and create shadows where they didn’t originally exist. This helps you modify lighting within your shots to your advantage, giving you a better outcome and higher quality shots. If you've got more space and a more generous budget, white rolls of paper will also do a similar thing. If you've got less space, light tents are a good option.
6. Use a set designer or fashion stylist
Our next tip for shooting ecommerce is to work with other specialists when taking photographs of your products. Using a set designer or fashion stylist can ensure the end results look even better. Having an allocated person to maneuver things into position, change angles and create the perfect scene saves time, effort and always leads to better results.
7. Use white background paper
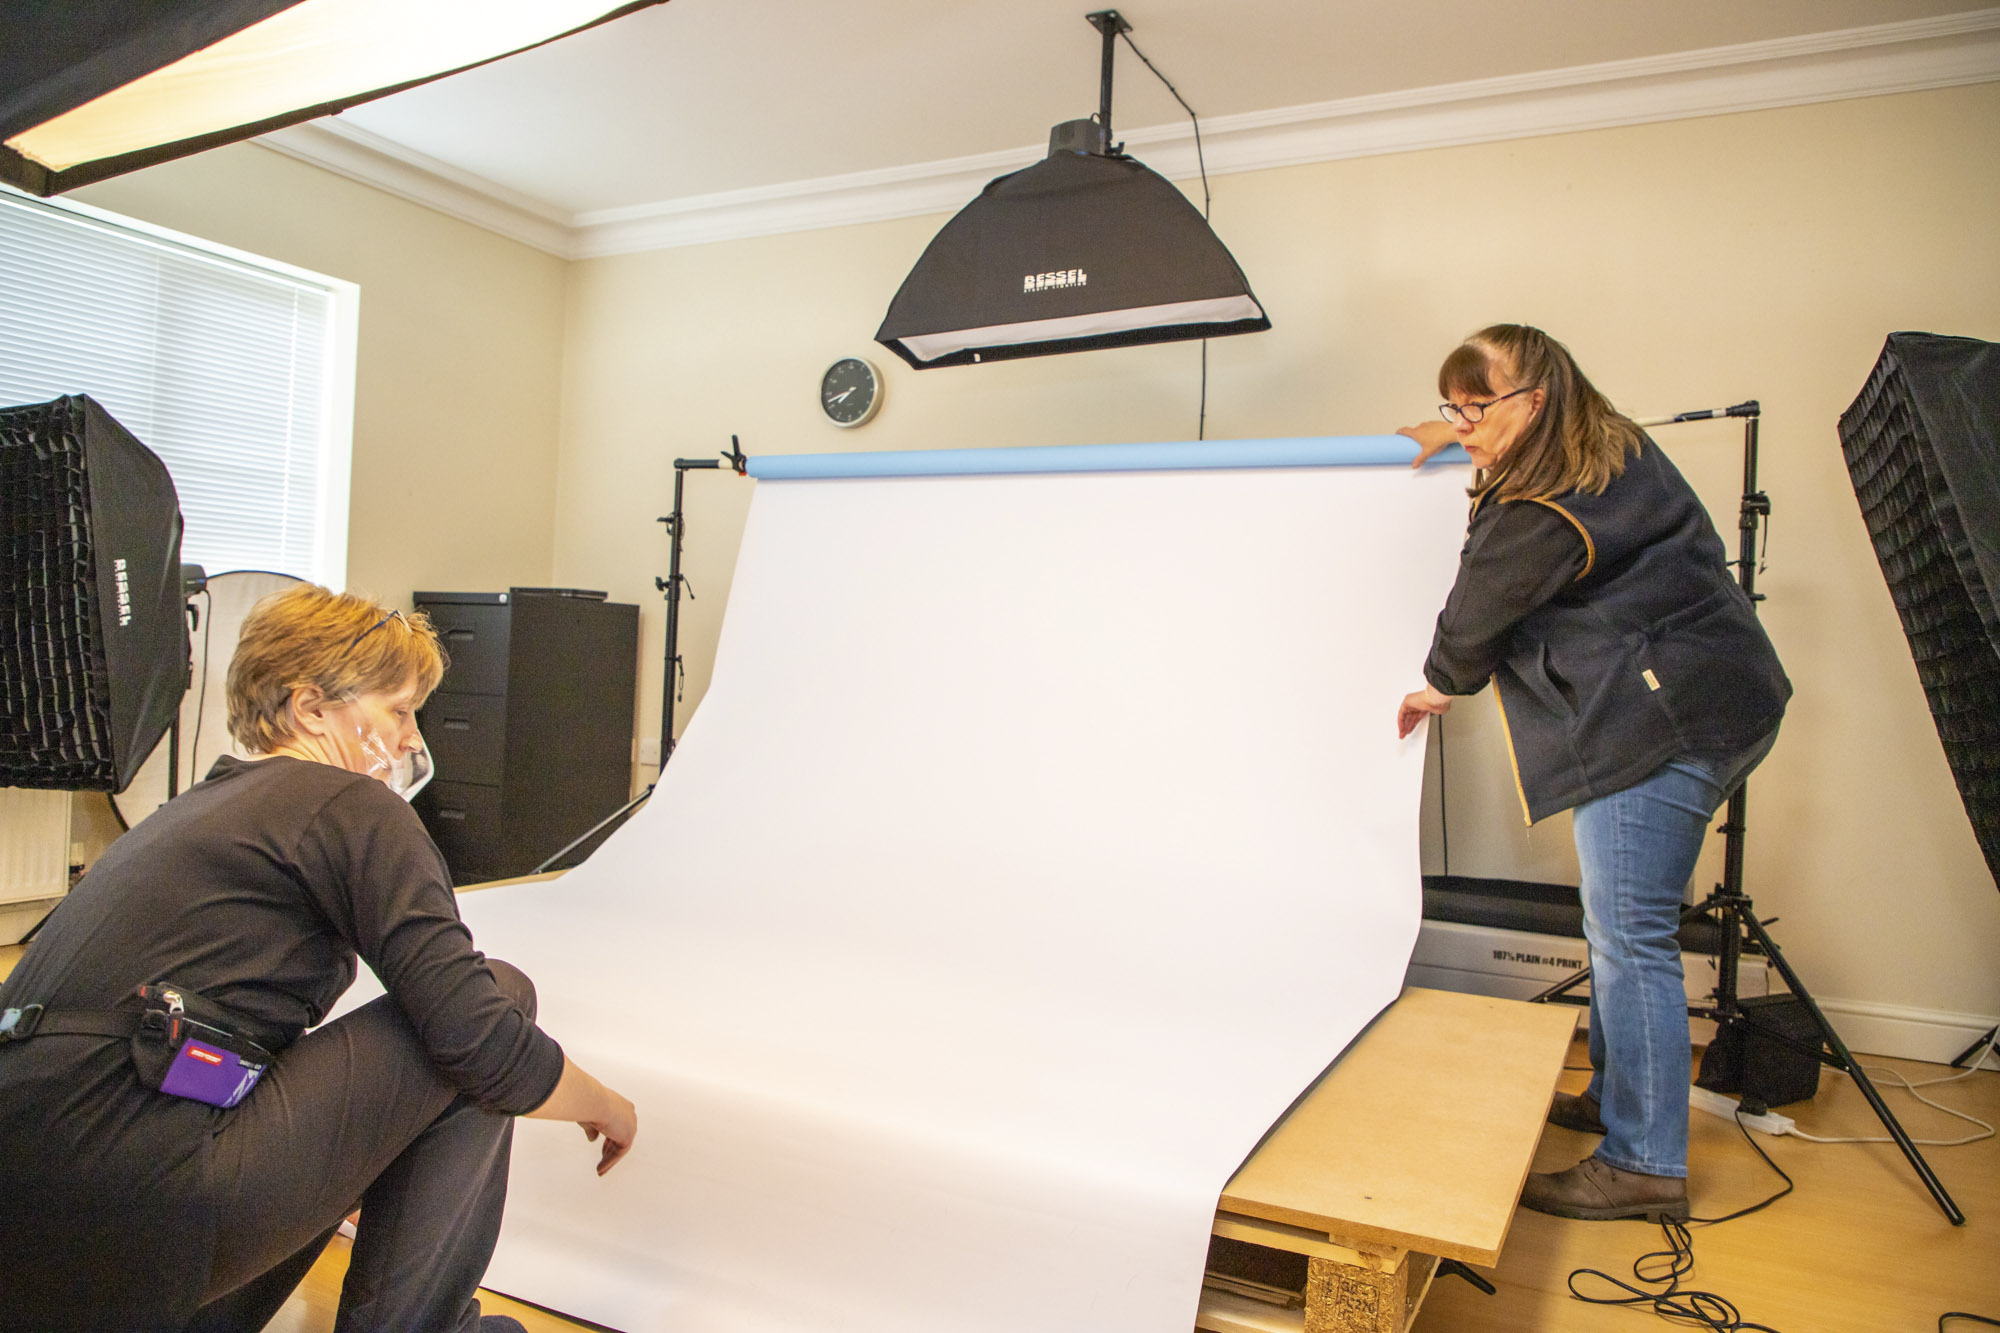
A white background is perfect for capturing the eyes of online customers through isolating your product and drawing more attention to it.
Using white background paper also eliminates the risk of your camera picking up on any blemishes or marks in the background that may take your customers attention away from the image, and it’s also a cheap alternative to using a professional set up or studio.
Your product sits on the paper, and the paper curves up to form a white wall behind the product, producing a perfect white background free of any blemishes, marks or inconsistencies.
8. Minimum crop dimensions
When you’re shooting for ecommerce, always have a clear plan for every image you need, and also the necessary crop dimensions for the platforms that you wish to sell on.
For example, for Amazon products, Zoom has been proven to enhance sales. In technical terms, the optimal zoom experience requires files to be over 1600px on the longest side of the image. The longest side cannot exceed 10,000px or go under 500px. So be cautious.
9. Tracing paper to soften reflections
If you’re looking to shoot jewellery or reflective items, believe it or not, tracing paper is a must. Not only will it block out unsightly reflections, but it will also soften the lighting where needed. A very diverse and cheap piece of equipment that leads to great shots on low budgets.
This is definitely a tip for those that are looking to create high-quality product photography without breaking the bank.
10. Photoshop to cut out and retouch the product

As all photographers know, not every image is going to be absolutely perfect, so using Adobe Photoshop is a great way to make final touches and edit out any imperfections. This helps to really make your product’s finer details stand out. Through Photoshop, you can resize images, change contrast, brightness and saturation, whilst making small adjustments one at a time to get your final desired image.
When should you use a professional?
When shooting for ecommerce, quality is a proven factor in driving sales and there are many tips and tricks beyond the ones included within this article. If you don’t have the time or skills to take your own product photos, then using a professional product photography service might be a better option for you.
Companies such as Pic-Up can collect your items, shoot them and return them to you so you don’t have to lift a finger.
Get the Digital Camera World Newsletter
The best camera deals, reviews, product advice, and unmissable photography news, direct to your inbox!

Lauren is a writer, reviewer, and photographer with ten years of experience in the camera industry. She's the former Managing Editor of Digital Camera World, and previously served as Editor of Digital Photographer magazine, Technique editor for PhotoPlus: The Canon Magazine, and Deputy Editor of our sister publication, Digital Camera Magazine. An experienced journalist and freelance photographer, Lauren also has bylines at Tech Radar, Space.com, Canon Europe, PCGamesN, T3, Stuff, and British Airways' in-flight magazine. When she's not testing gear for DCW, she's probably in the kitchen testing yet another new curry recipe or walking in the Cotswolds with her Flat-coated Retriever.
